Plan-
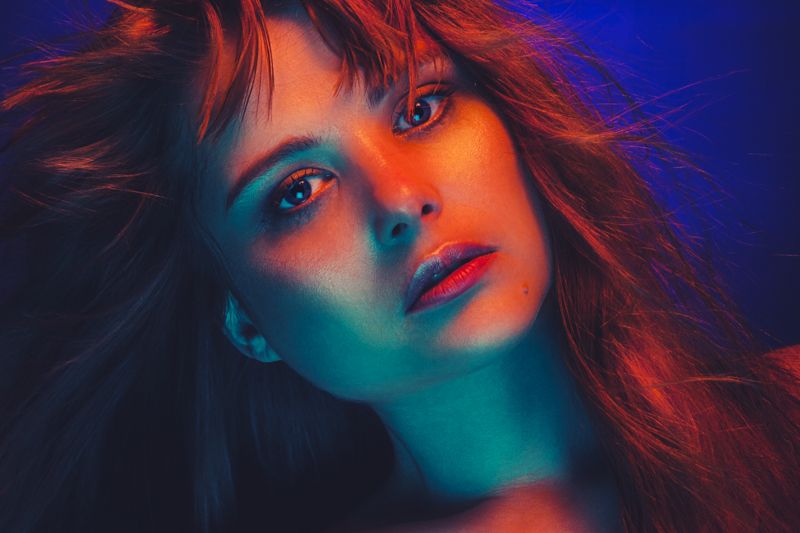
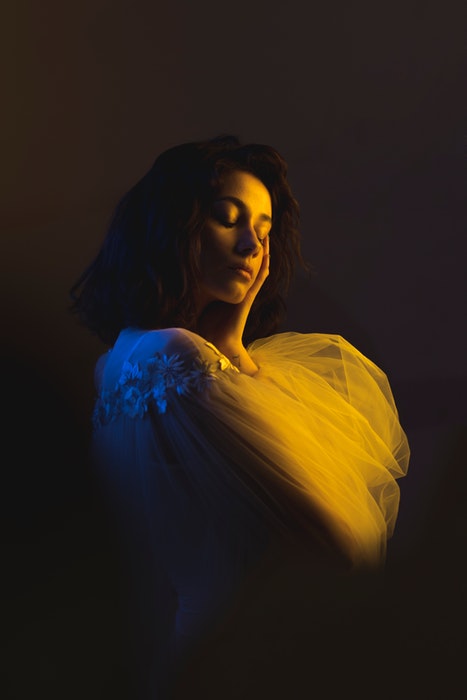
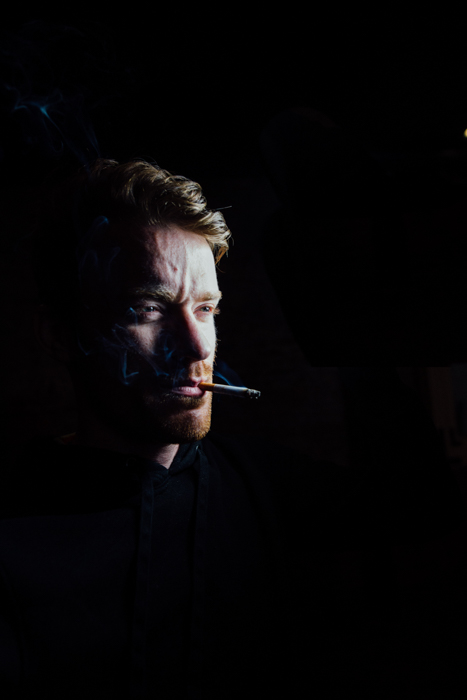
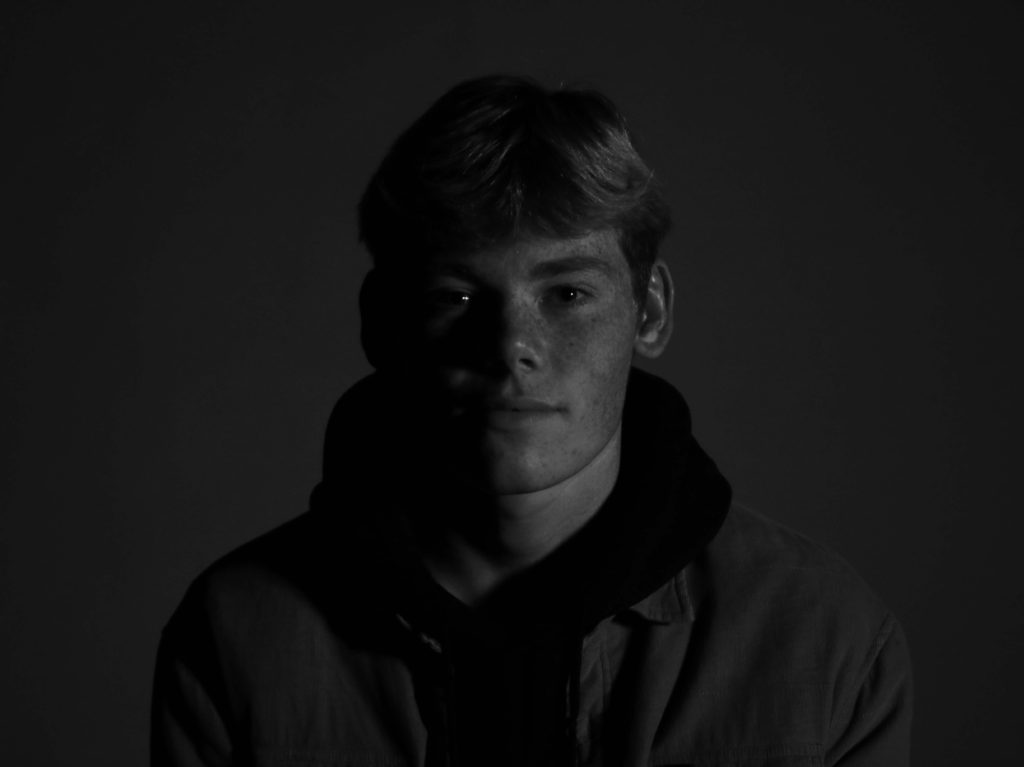
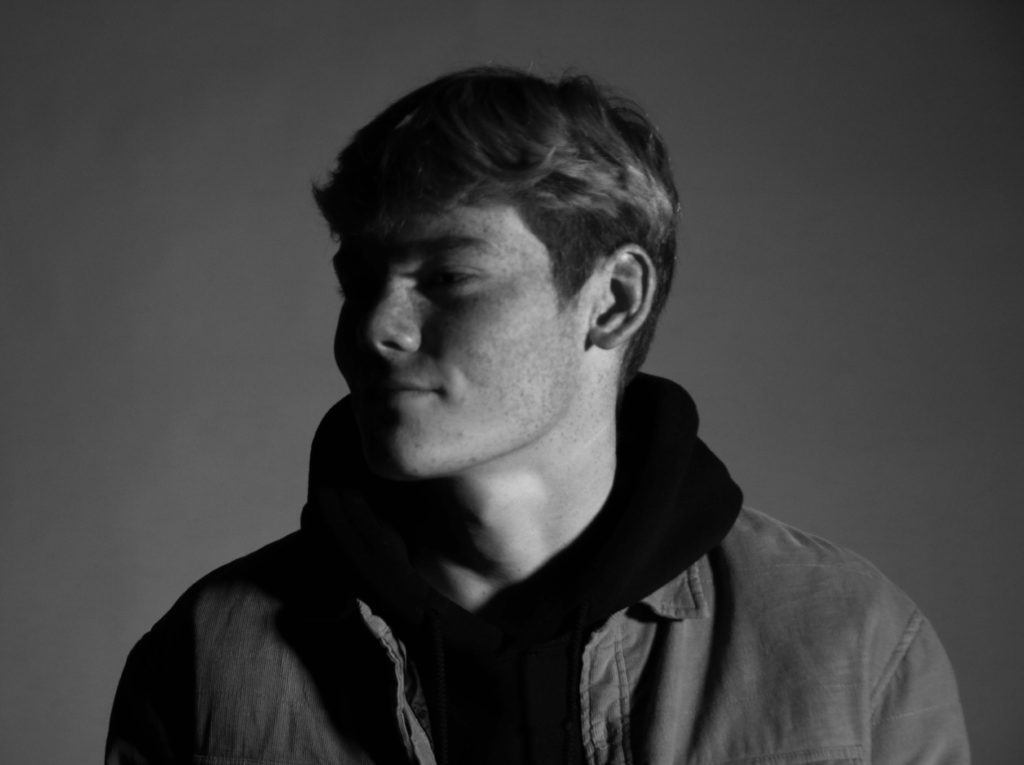
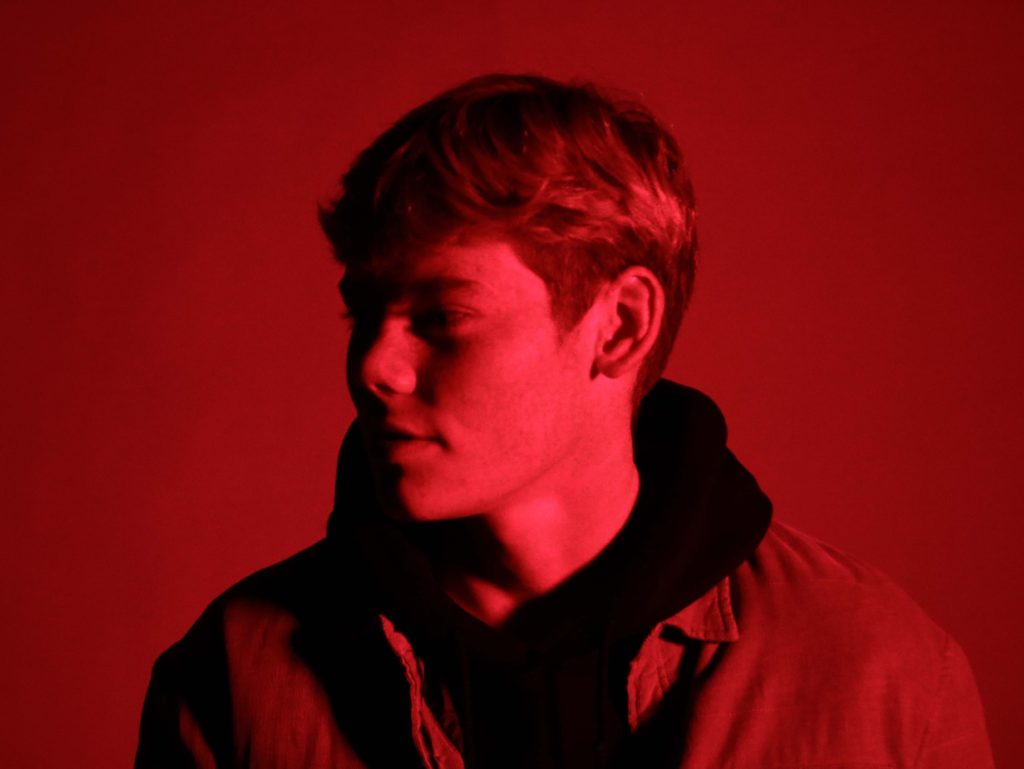
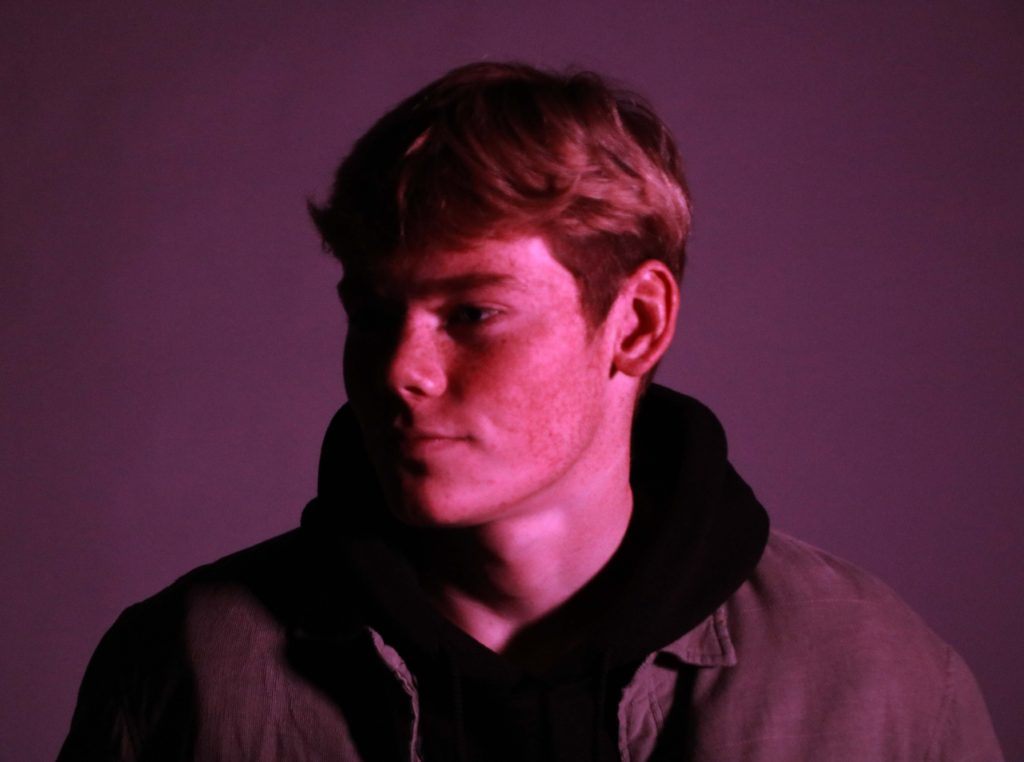
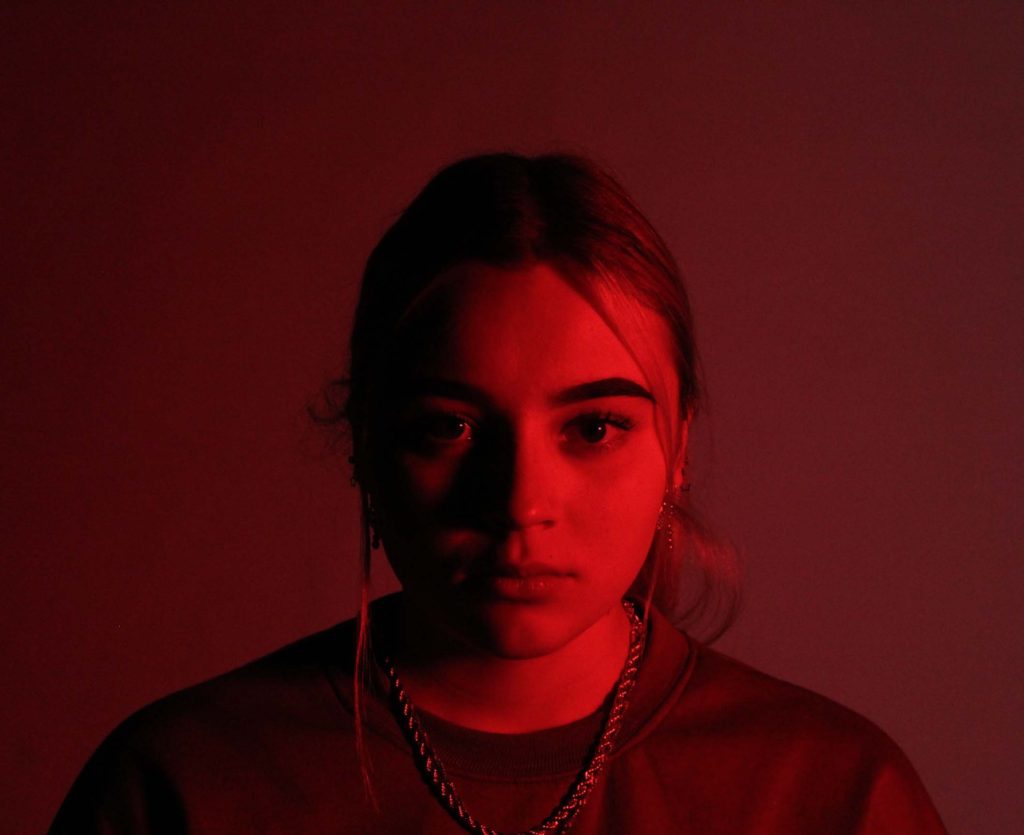
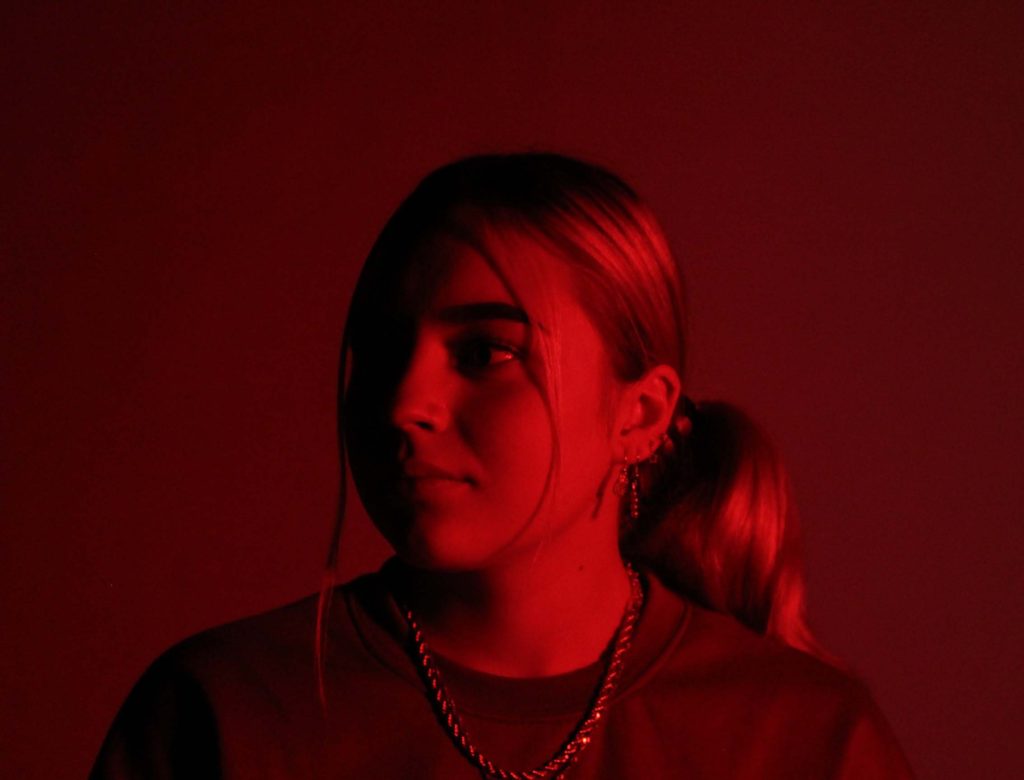
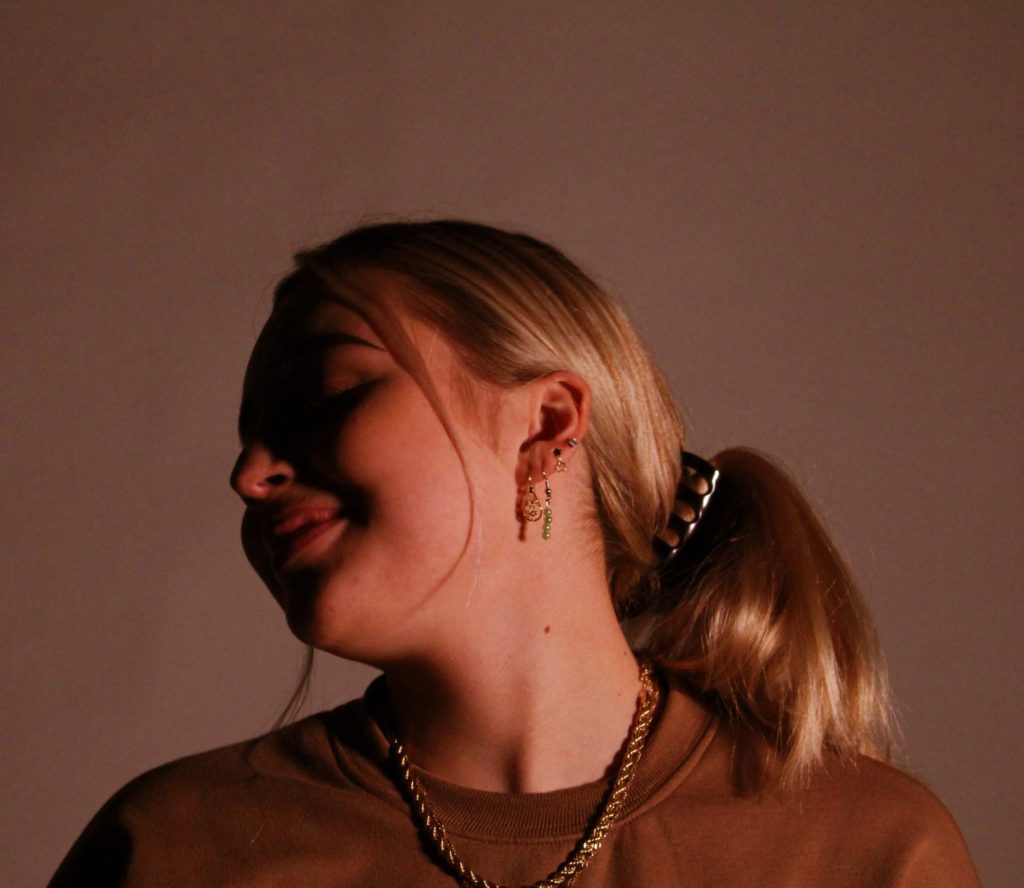
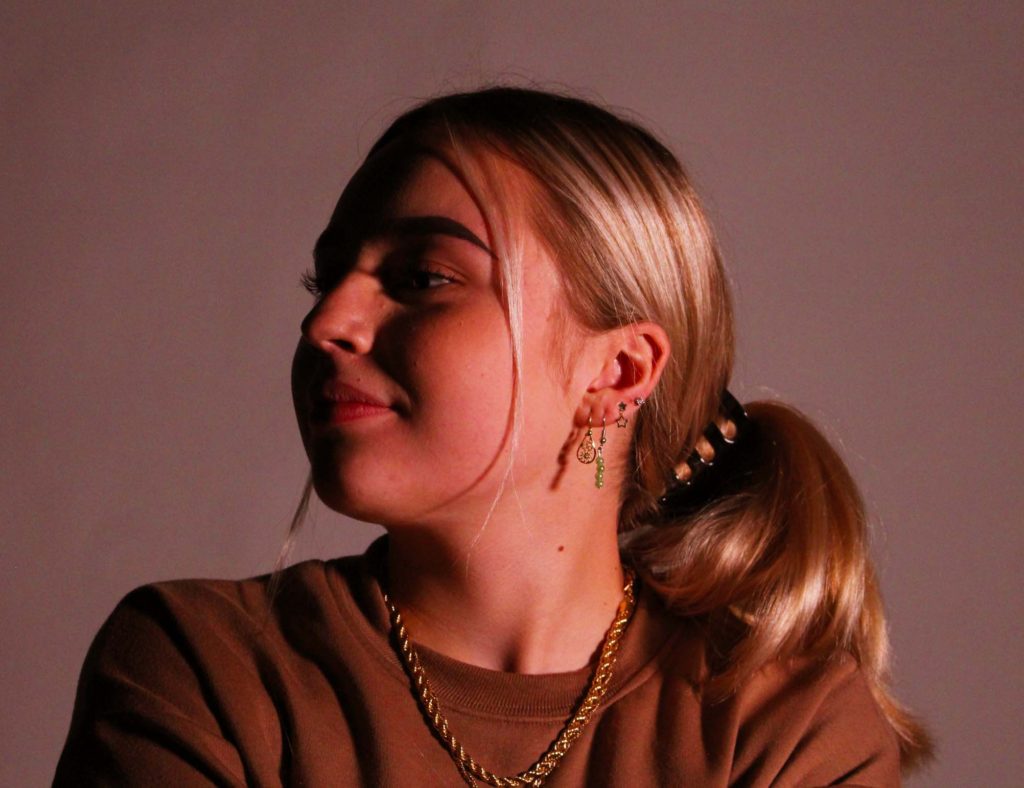
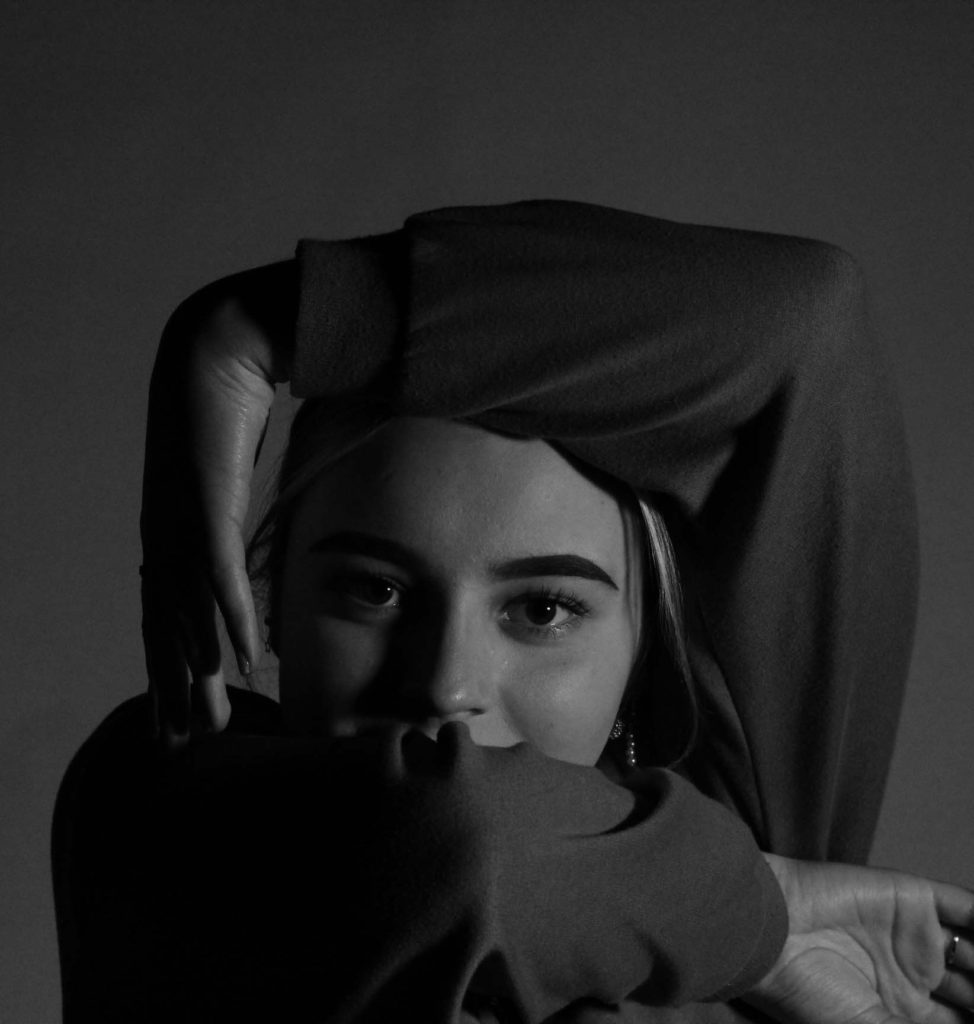
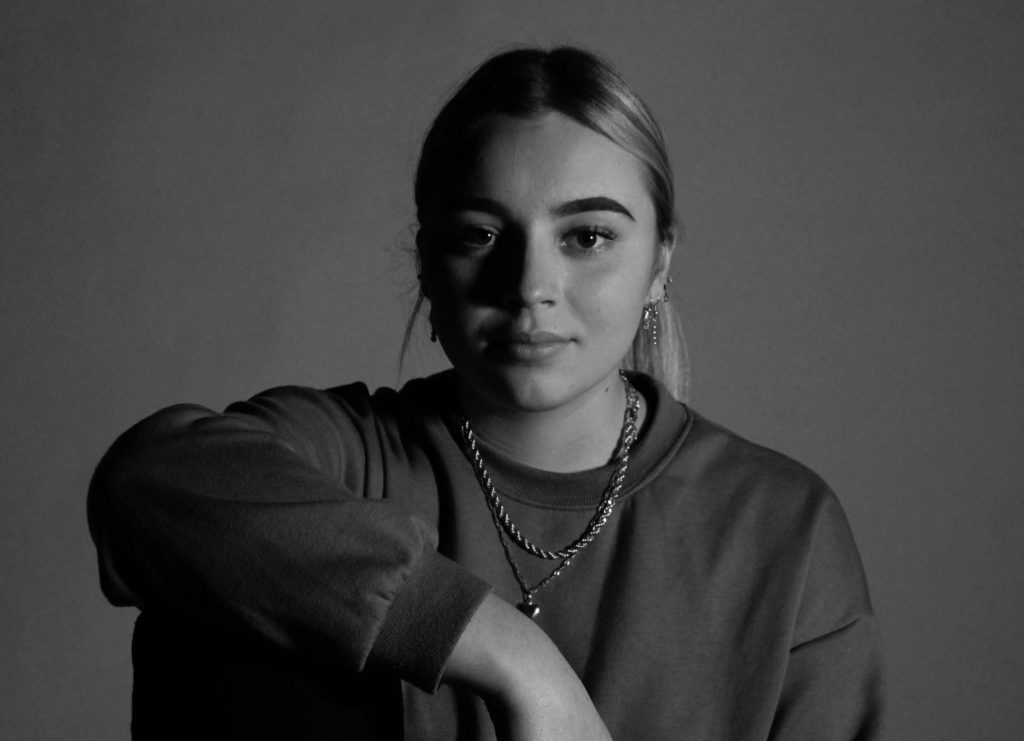
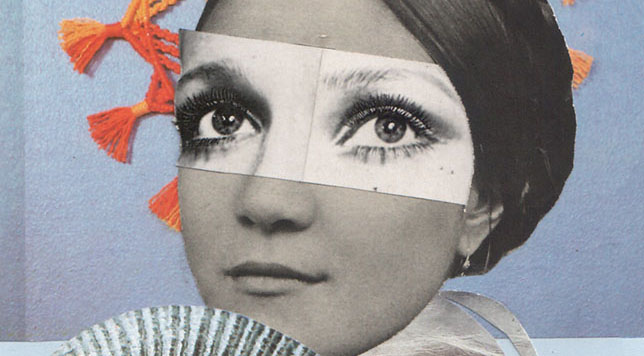
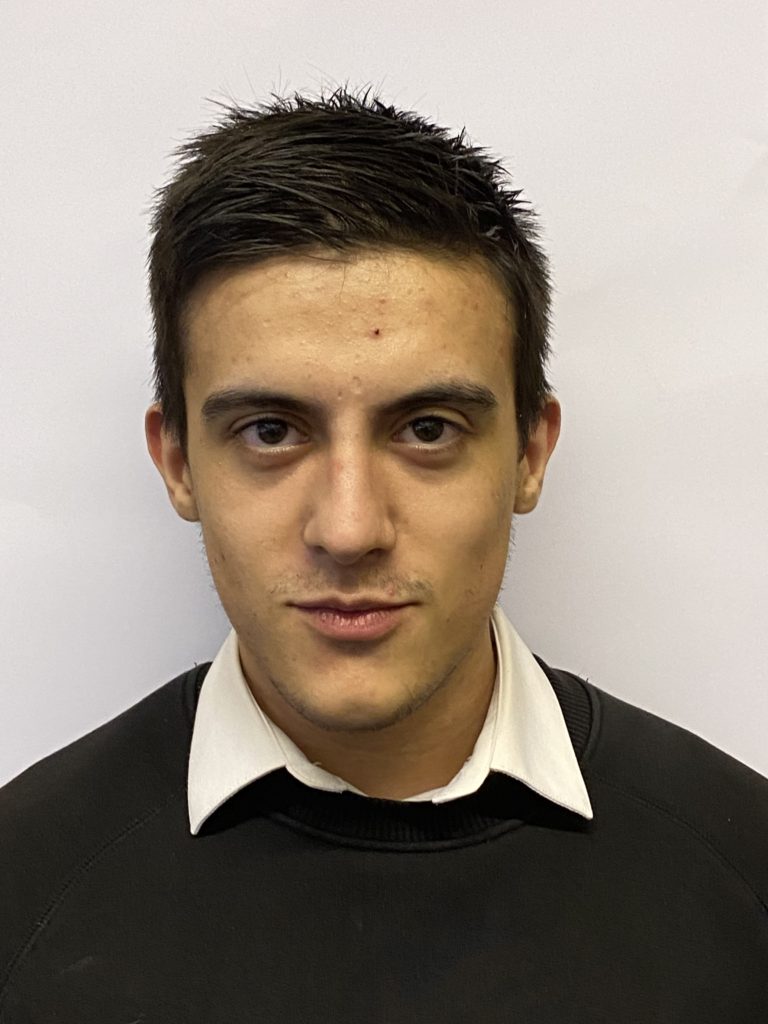
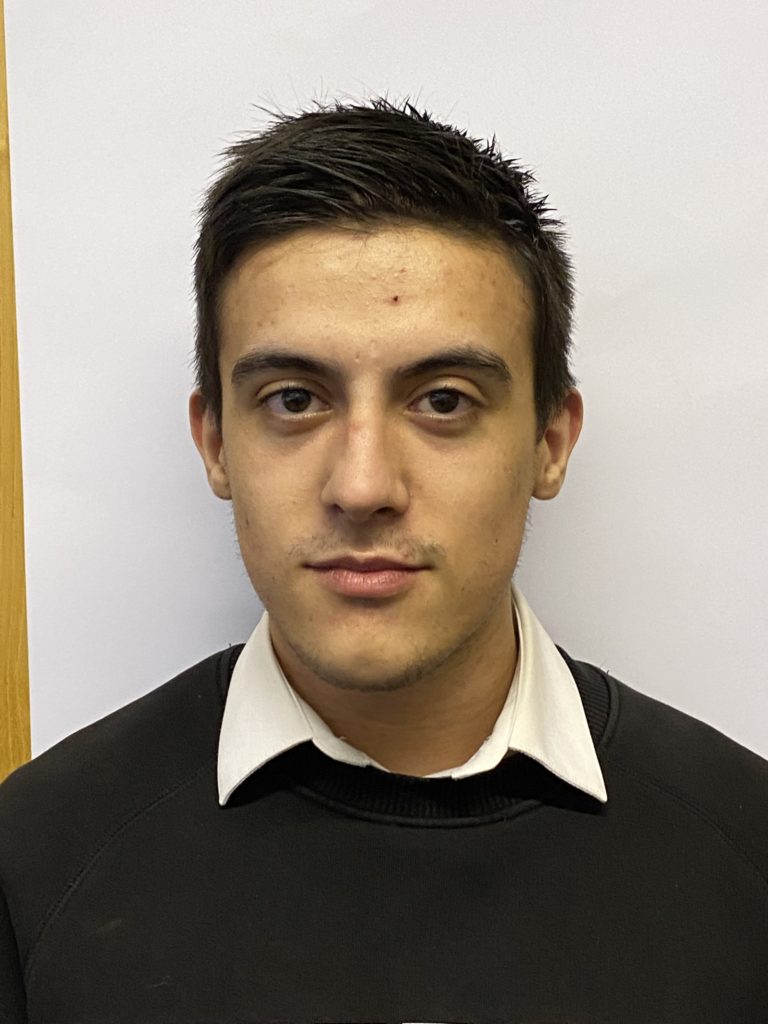
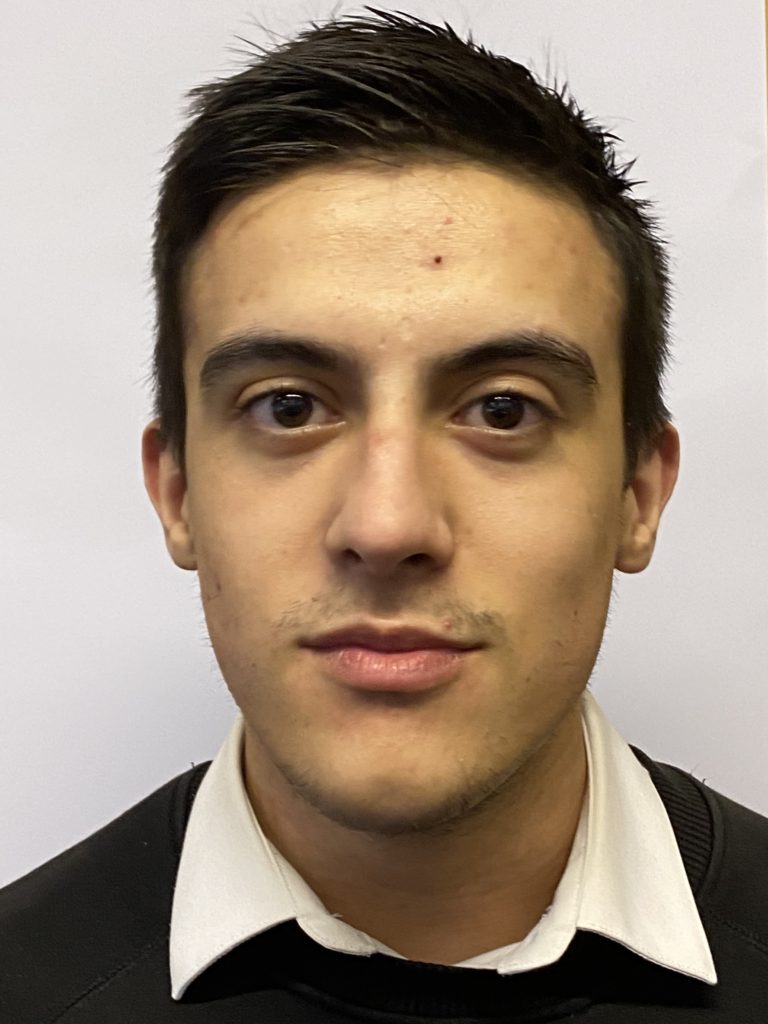
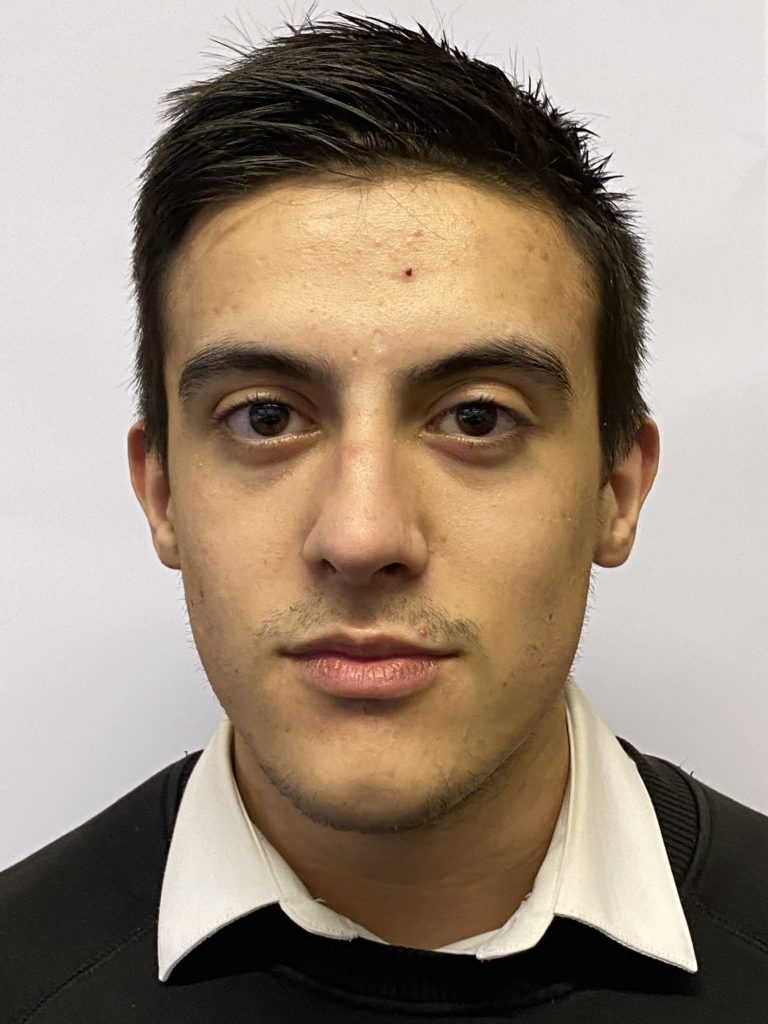
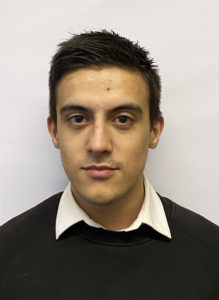
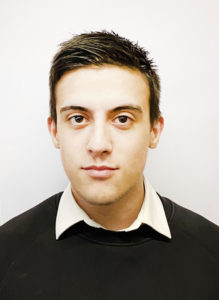
I will be photographing my friend in the studio using a soft box light as a main light to project good lighting on my models face. With this light i can also change the level of warmth and cold. This means i can capture more color in the facial feature and more dynamic and contrasting lines of shadow in the face. More color in the face relates to Satoshi’s work as her work is seen with peoples faces to be colorful and bright. I used between a white and black backdrop to contrast the face between the two to capture different perspectives of the face. My camera settings were as such; exposure – 1/100 ISO – 400 and 200 (depending on the level of the soft box light) and i used a 50mm lens.
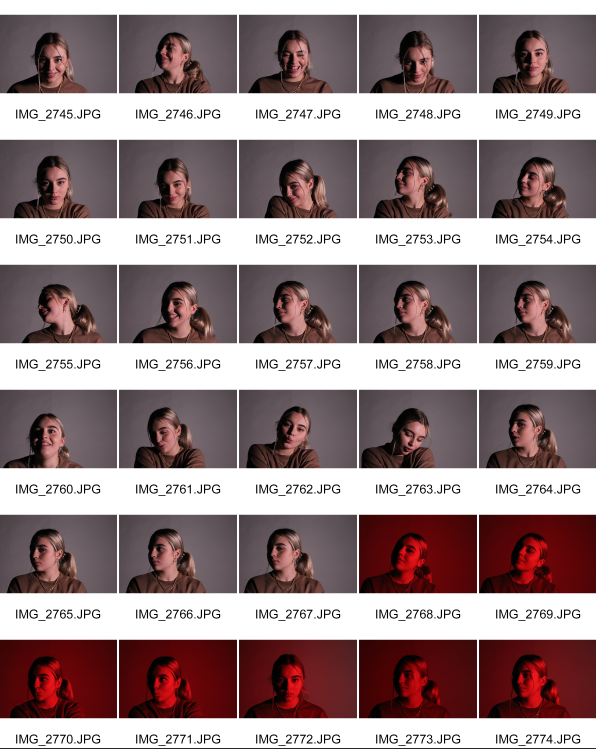
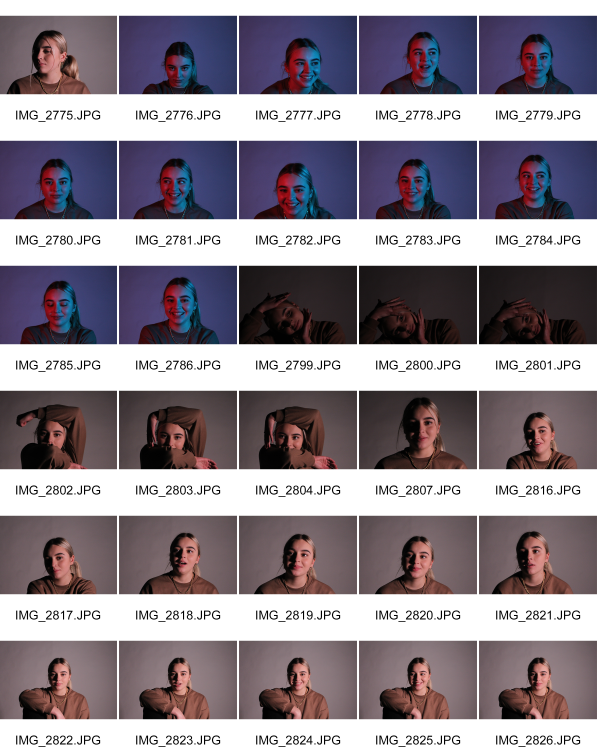
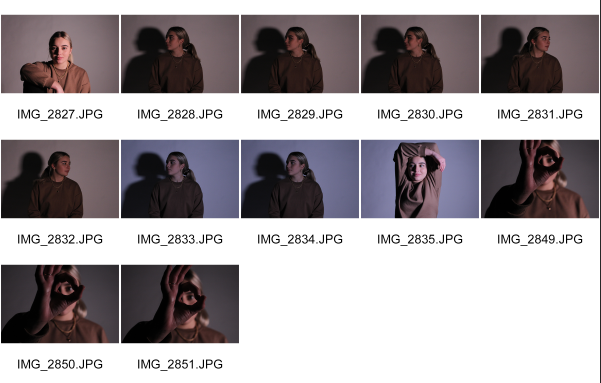
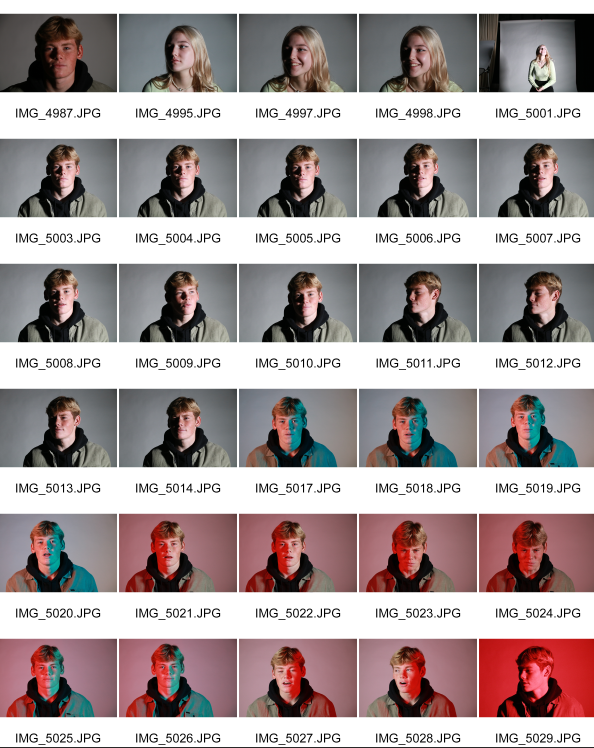
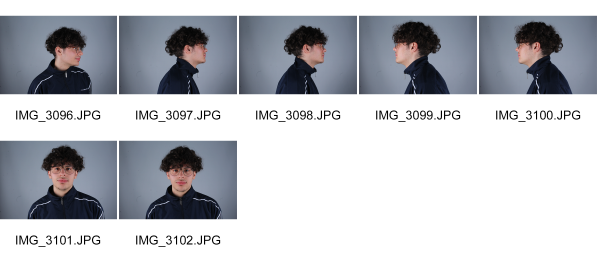
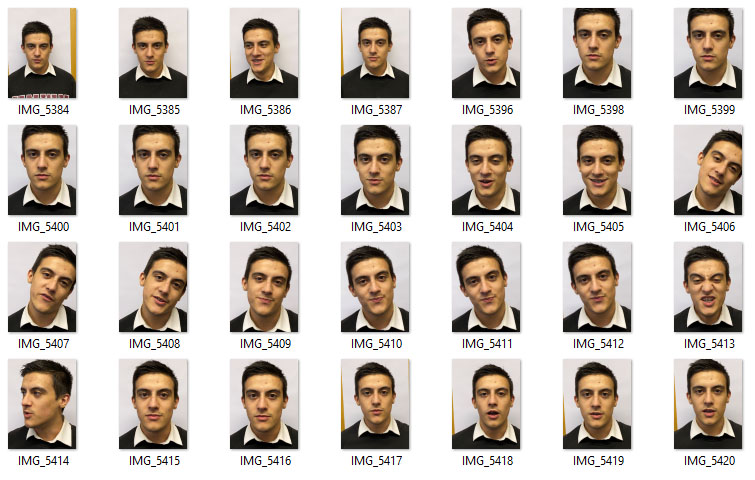
Contact sheet –
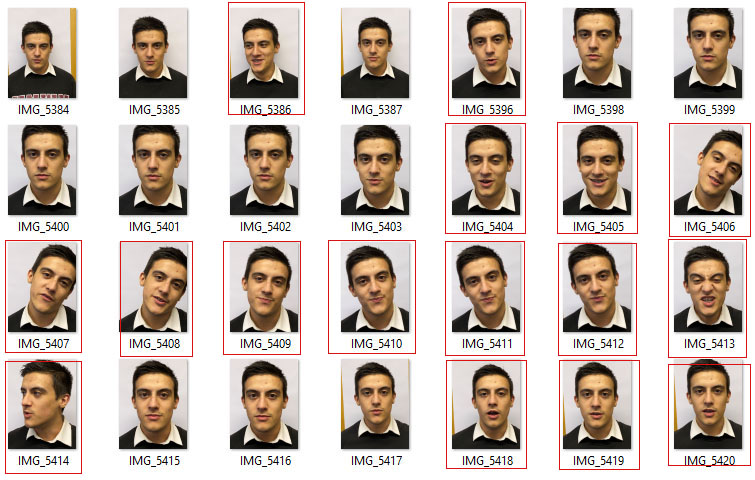
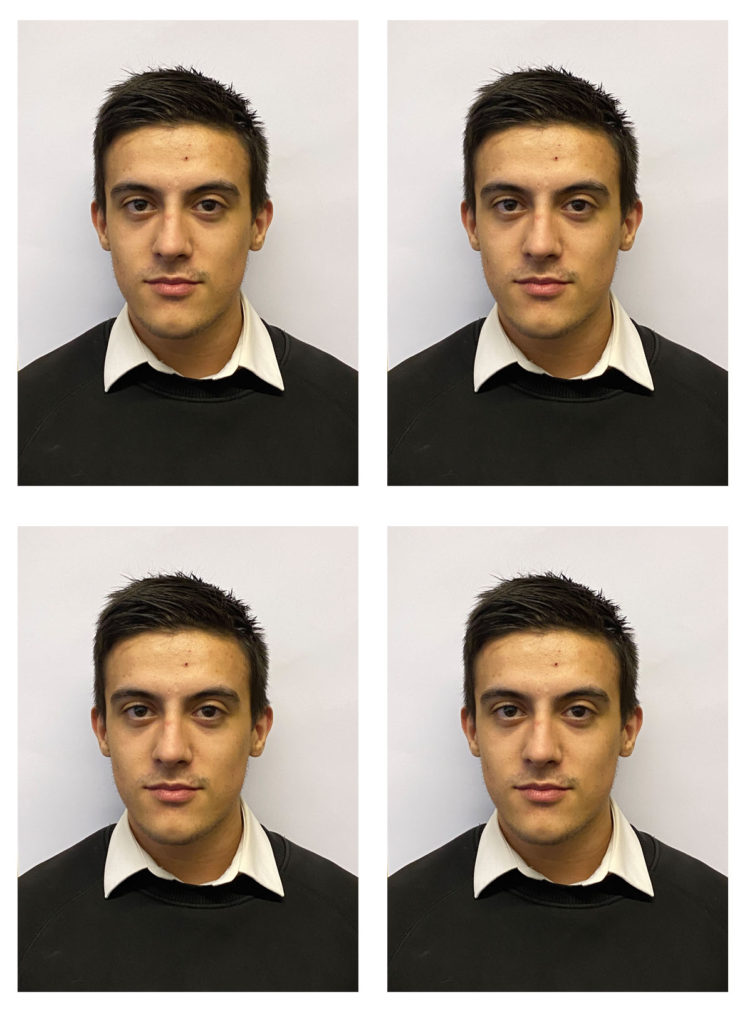
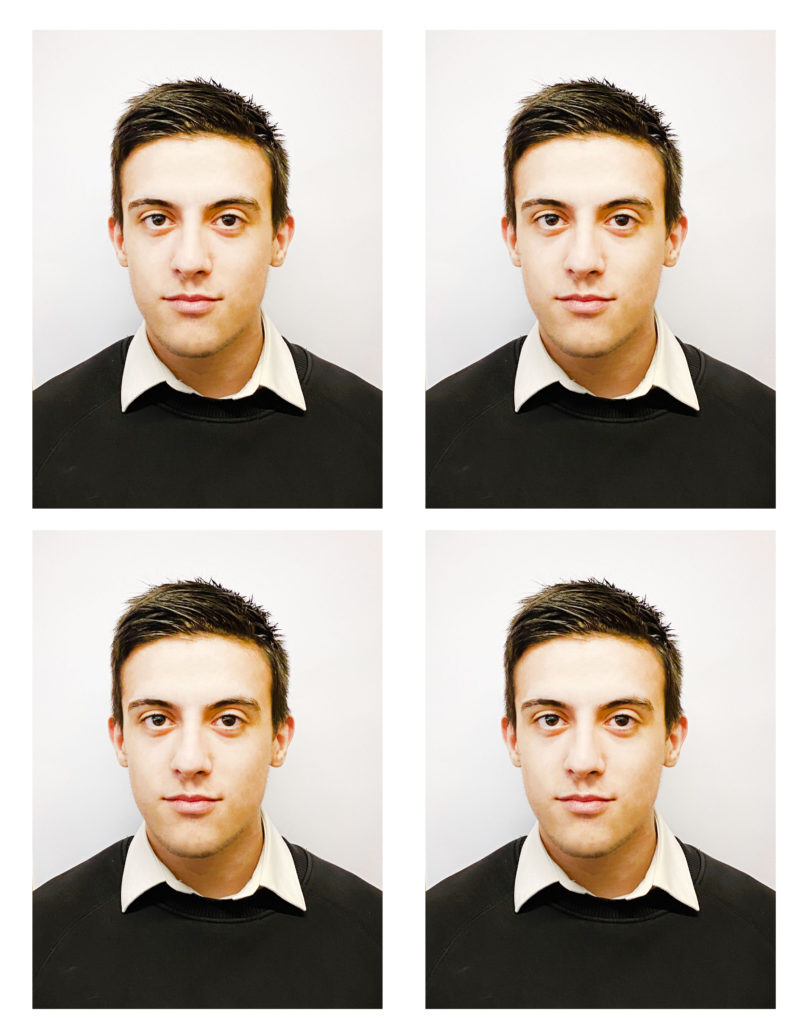
Best Images –
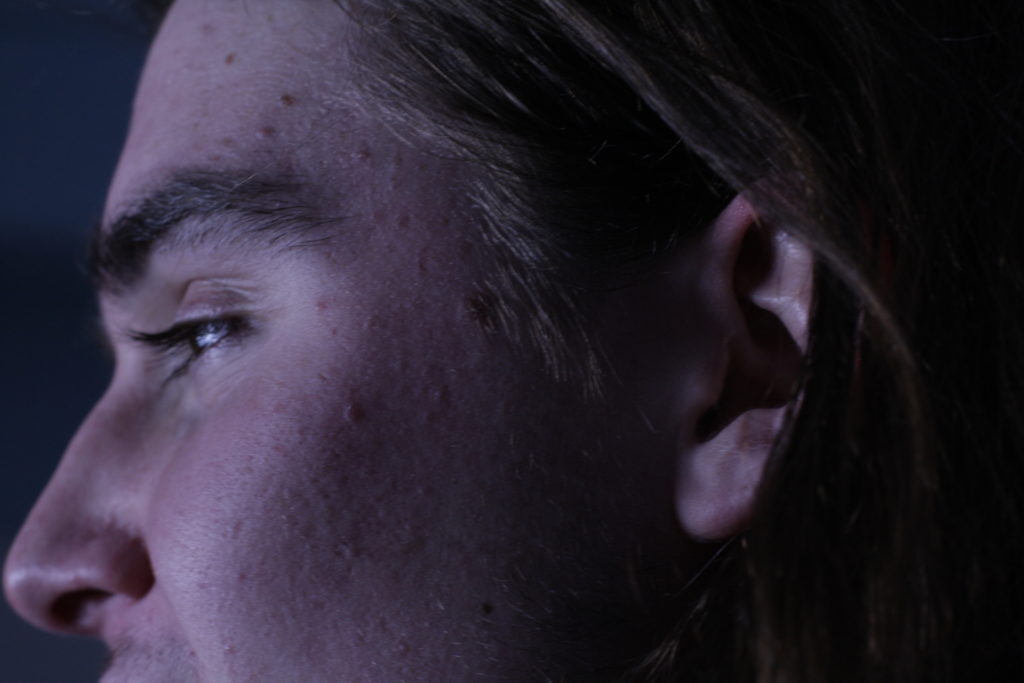
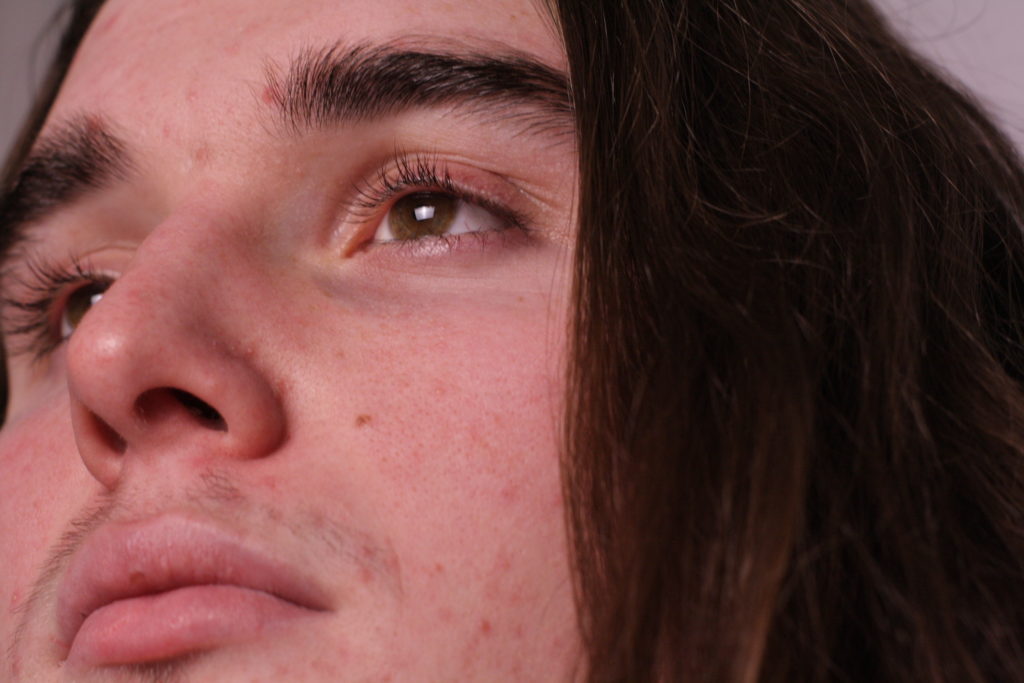
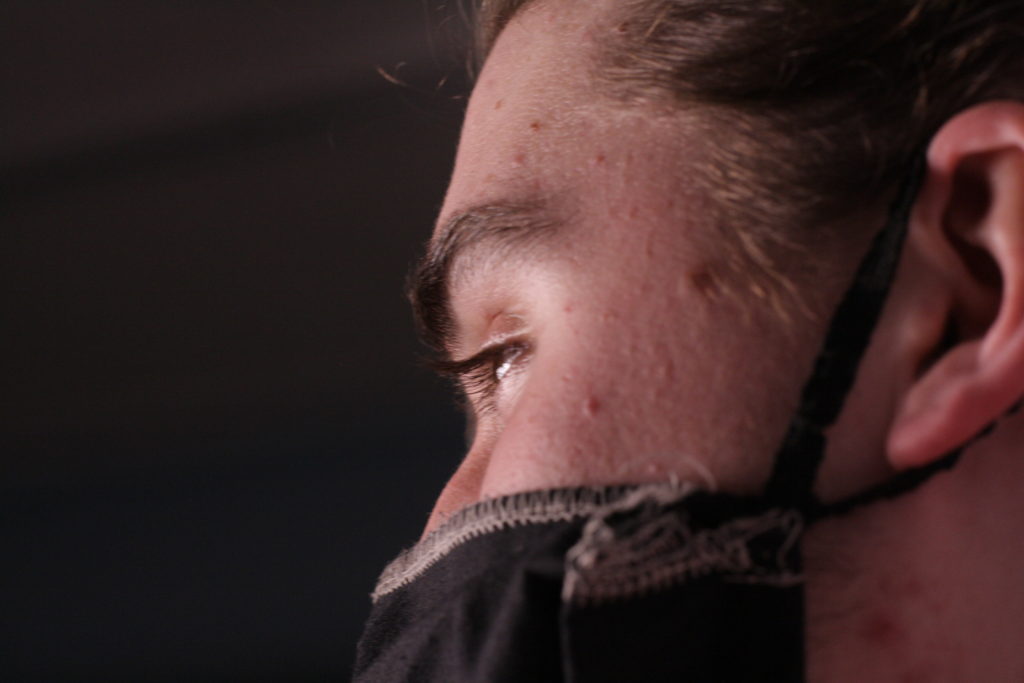
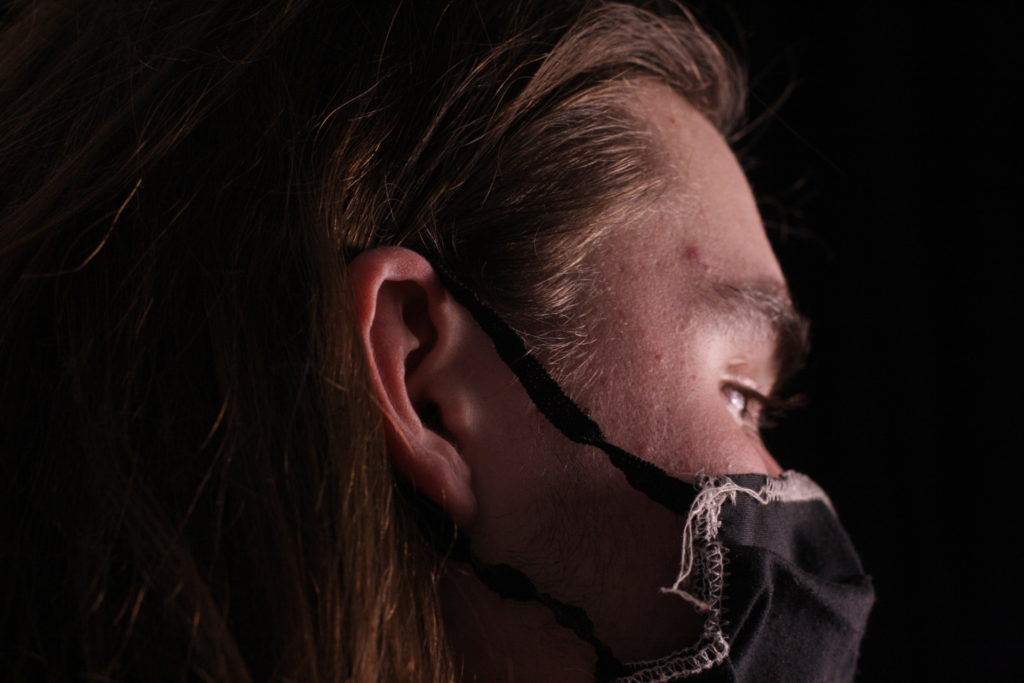
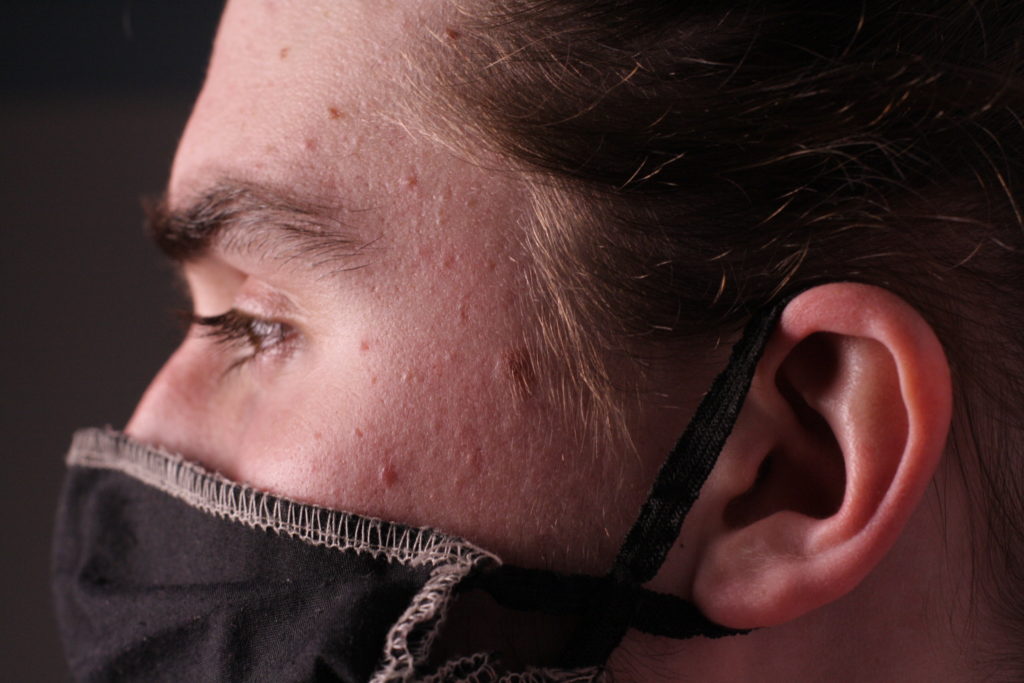
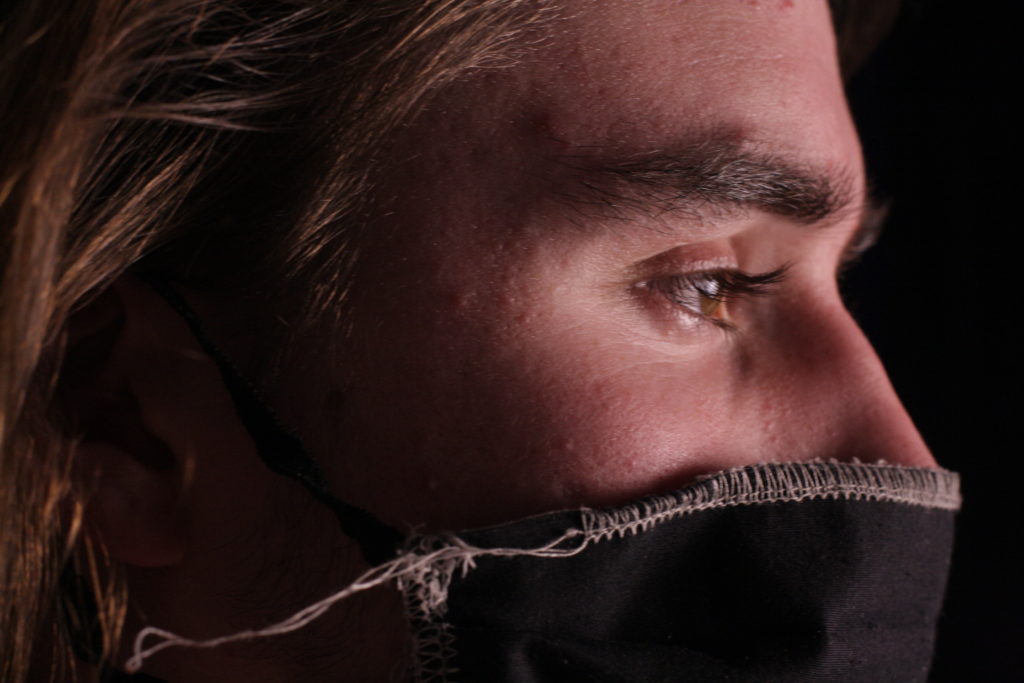
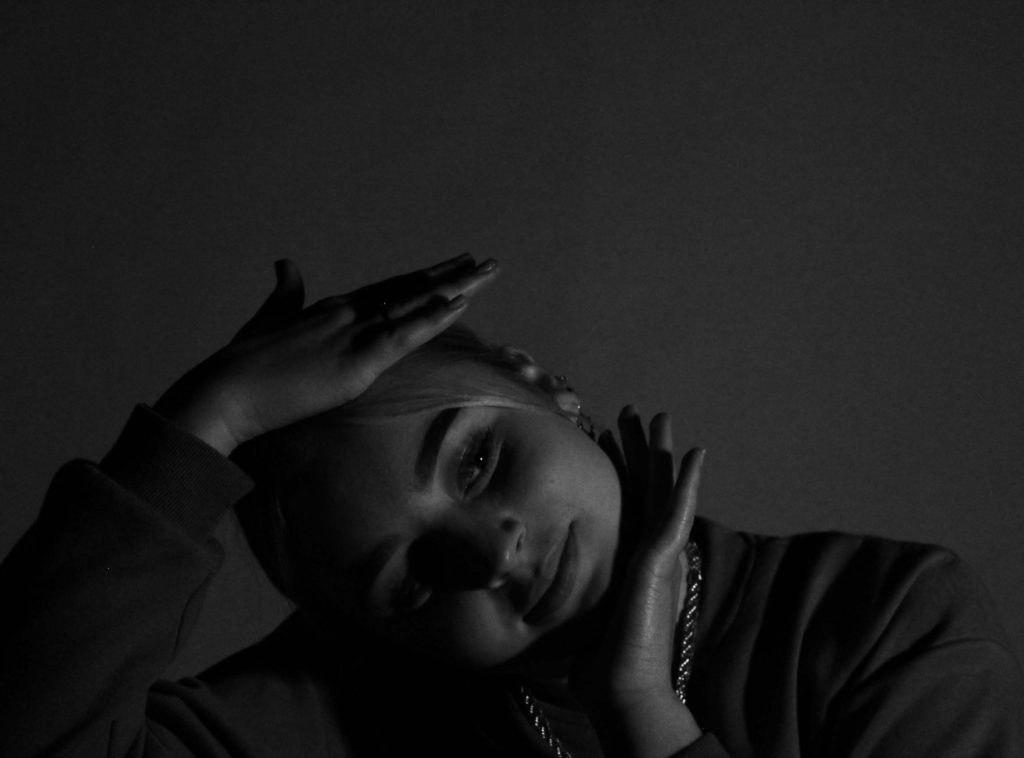
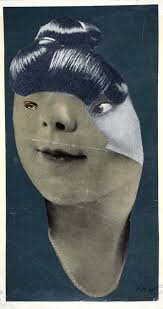
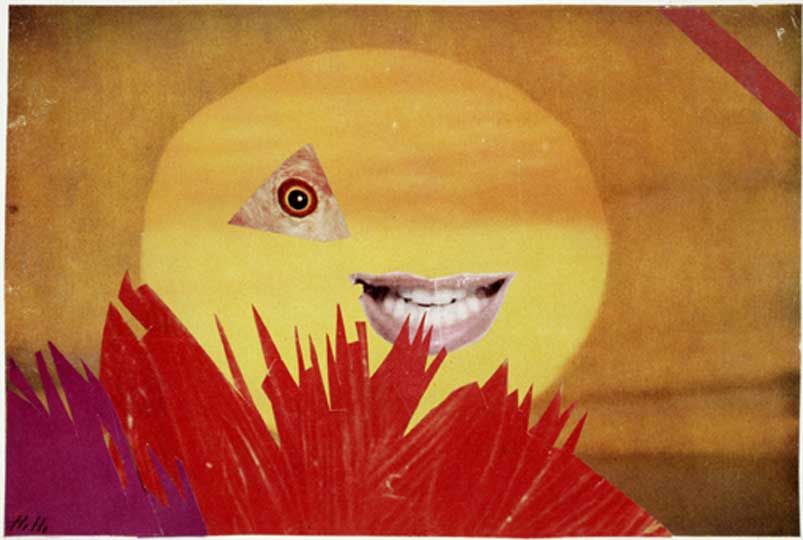
These images relate to Satoshi Fujiwara’s work as these ‘portrait’ photographs have a similar appearances towards them. For example, the dynamic shot from the bottom of the face upwards. Cutting out the rest of the image and only capturing some or even all facial features. This is what makes the image seen close up.


Evaluation-
This photo-shoot was a quick and easy shoot to do within 30 minutes or so. Using studio lighting made this an easy shoot for the focus of the Lens to be in focus on the face when really close up. Satoshi’s work seems to be using bright flash light and keeping the face bright with maybe just natural light such as a sunny day. If I was to do this shoot again i would choose to do a range of different people with using different scenery and lighting. I might get my model to not pose as much and make the photos captured to be more natural and content.