
Firstly, I started out to create an image in the style of Evilsabeth Schmitz-Garcia.
I would use the photographs from Photo Shoot 1. These were the photos that I took that were simplistic, and had a variety of facial expressions. This was because that was one of the key aspects of Evilsabeth Schmitz-Garcia’s work, other than the warped and manipulated effect.
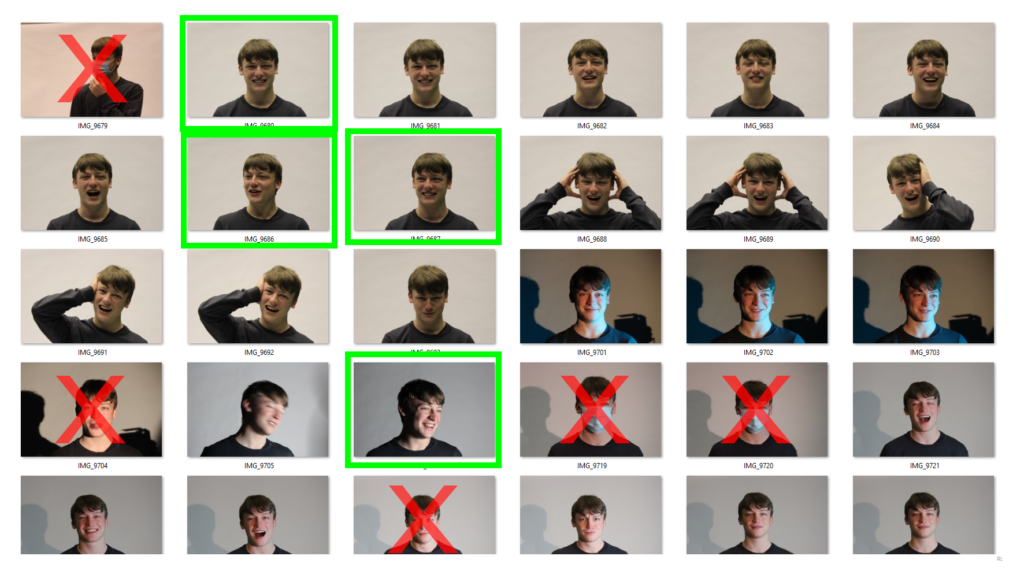
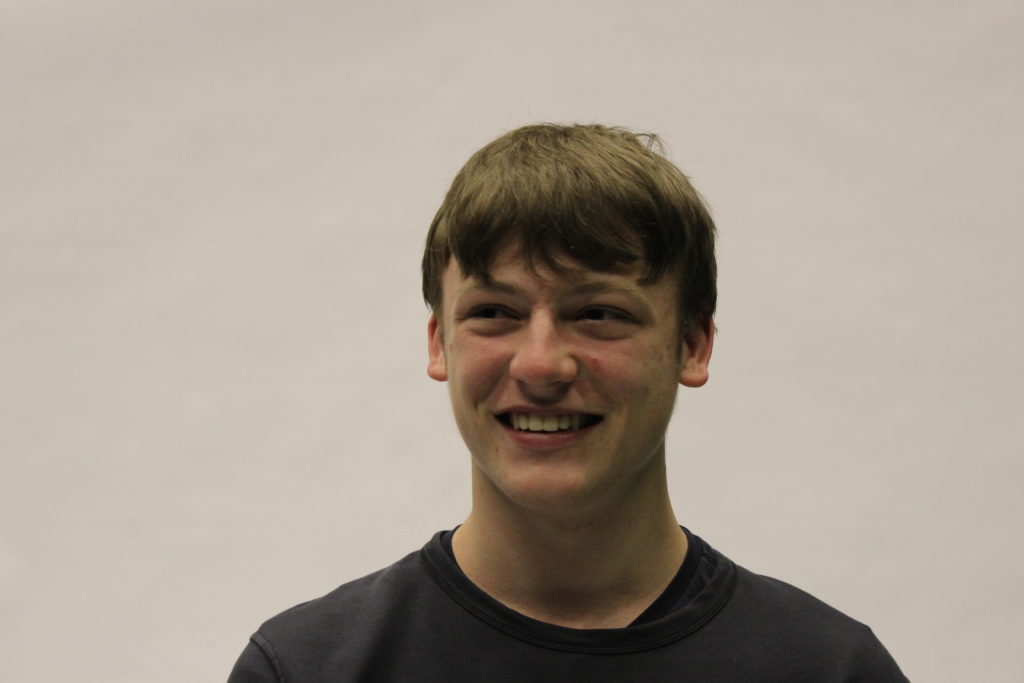
Overall, I chose the photo where the subject was smiling as most of Evilsabeth Schmitz-Garcia’s work has their mouth open or semi-open, as the manipulation effect works better.
This is the photo I chose to edit :
Process
In Photoshop I would need to :
– Edit the background black (as all of Evilsabeth Schmitz-Garcia’s photos have a dark background)
– Add some green/yellow particles into the background (In Evilsabeth Schmitz-Garcia’s photos there is always some colouration in the background)
– Add grain/noise (to get the scan effect)
– Experiment with overlays, such as the hands I took in Photo Shoot 3.
After Photoshop I would print out the image and place it on the scanner. Whilst it is scanning i would move the printed photo along, this is how the manipulation effect occurs.
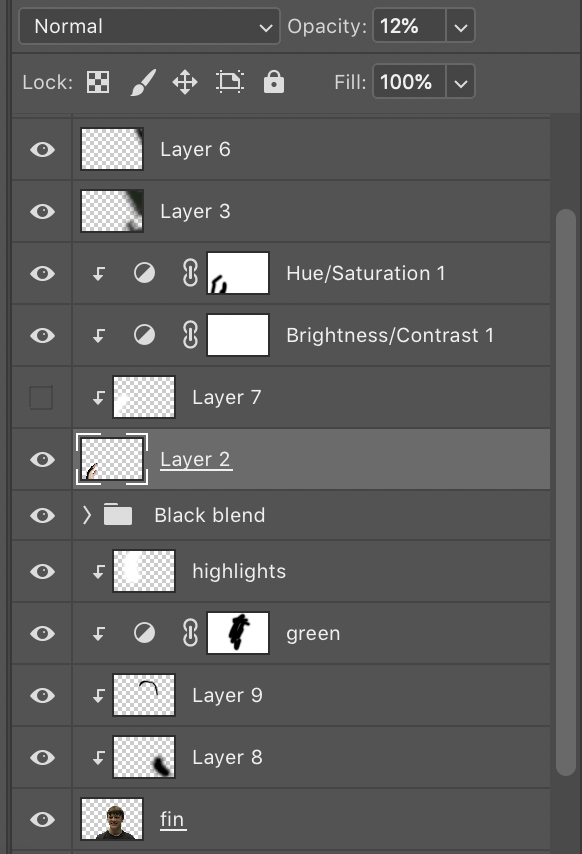
These are all the layers in Photoshop.
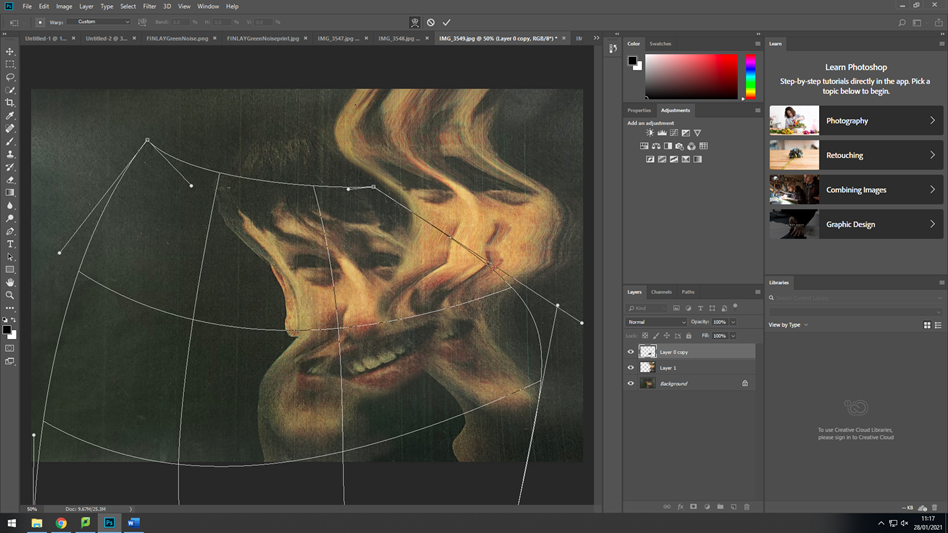
Firstly, I selected the object with the quick selection tool, then clicked the select and mask option. This would remove the white background so I could replace it with a black background.
To clean up the edges, I used the refine edge brush in the select and mask screen. This blurs the edges so any white space; cause by the lights, in the hair would get removed. This gave the cut out a clean look. After I outputted it onto a new layer then renamed it “fin”.
I created a black background layer under the “fin” layer, this made the edges of the face stand out too much and created a sharp line, which I didn’t want. To fix this I created a Clipping Mask then used the brush tool (black) with a hardness of 0% and smoothing of 0%. This made it so the brush wasn’t harsh and gave it a “gradient” effect, so it faded into the background.
On the left side of his face I added some “highlights” using the brush tool (white) at 0% hardness, I used a clipping mask then used the brush to create the shine effect, where the light was coming from. I had to turn down the opacity to 65%, otherwise the white was too overpowering.
I added a green tint to a part of the face, the layer named “green”. I used an adjustment layer then changed the hue to green. This made the whole face green, so I used the eraser tool with a hardness of 0% to remove the green from 70% of the face.
To add the background colours I used the brush tool with 0% hardness, the colours I used were green and yellow. I added motion blur to the colours, so they weren’t just block of colour in the background. I also turned down the opacity so the colours weren’t as bright to match the tones Evilsabeth Schmitz-Garcia used.
I experimented by adding a hand into the photo. I started by removing the background with quick selection and select and mask, which is the same process as the face cut-out. First of all, it seemed out of place as it was really bright, so I added an adjustment layer for brightness and contrast, which I turned down the brightness and turned up the contrast. After I turned down the opacity to make it so that was almost hidden, therefore not contrasting the main focus point.
I printed the image, although it was a bit dark so the increased the brightness and reprinted it.
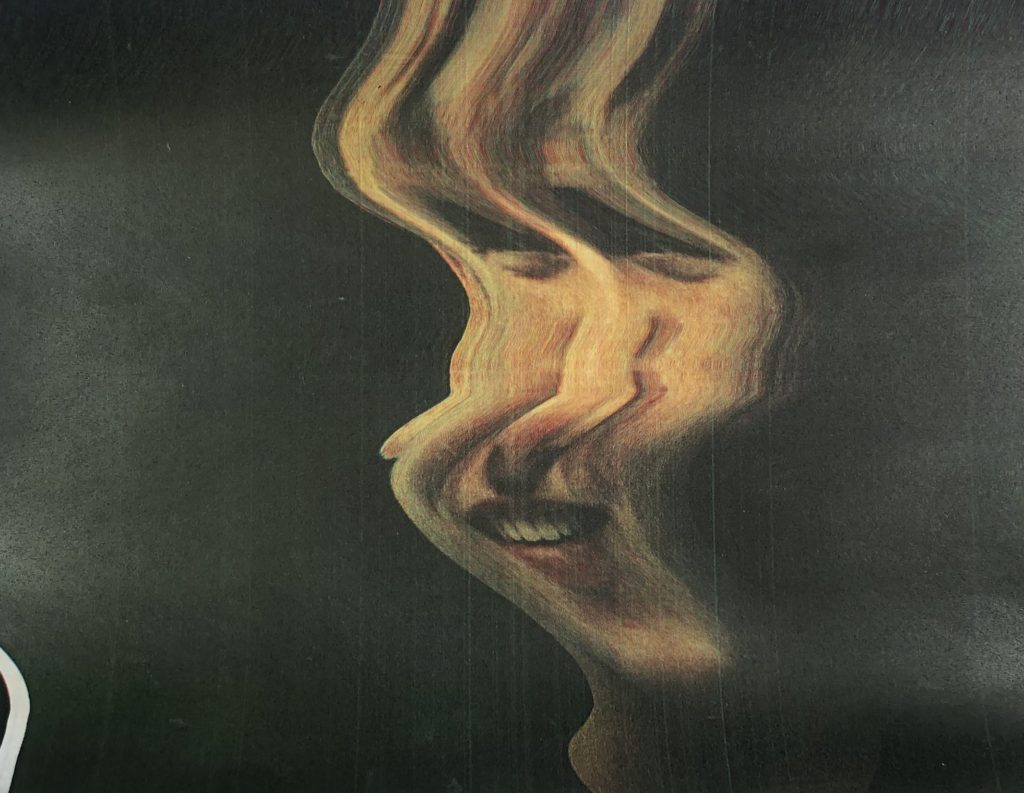
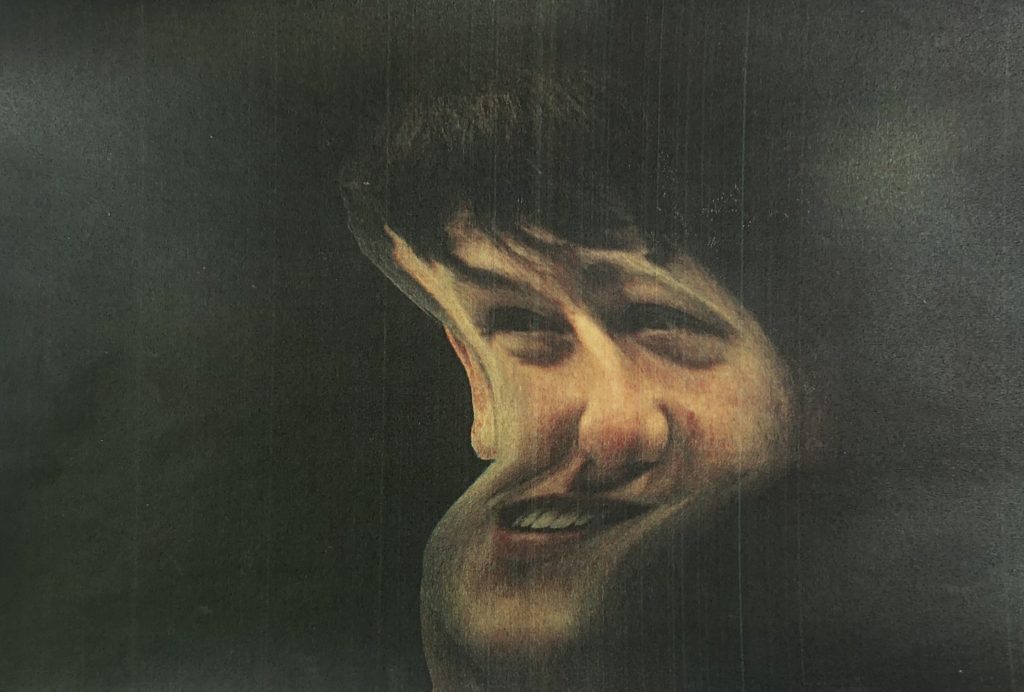
After, I placed the image on the scanner. As it started to scan I moved the image to manipulate the outcome. I did this about 20 times. I photographed the best 4 so I can take them into photoshop, and refine them. these were the 4 scanner outcomes:
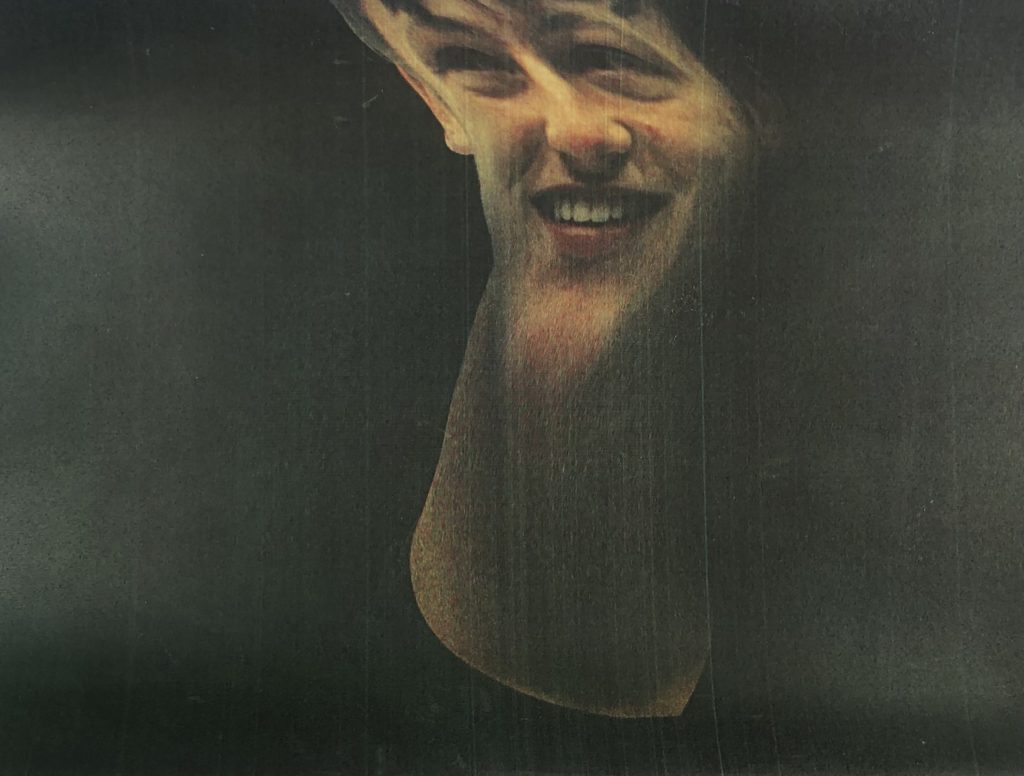
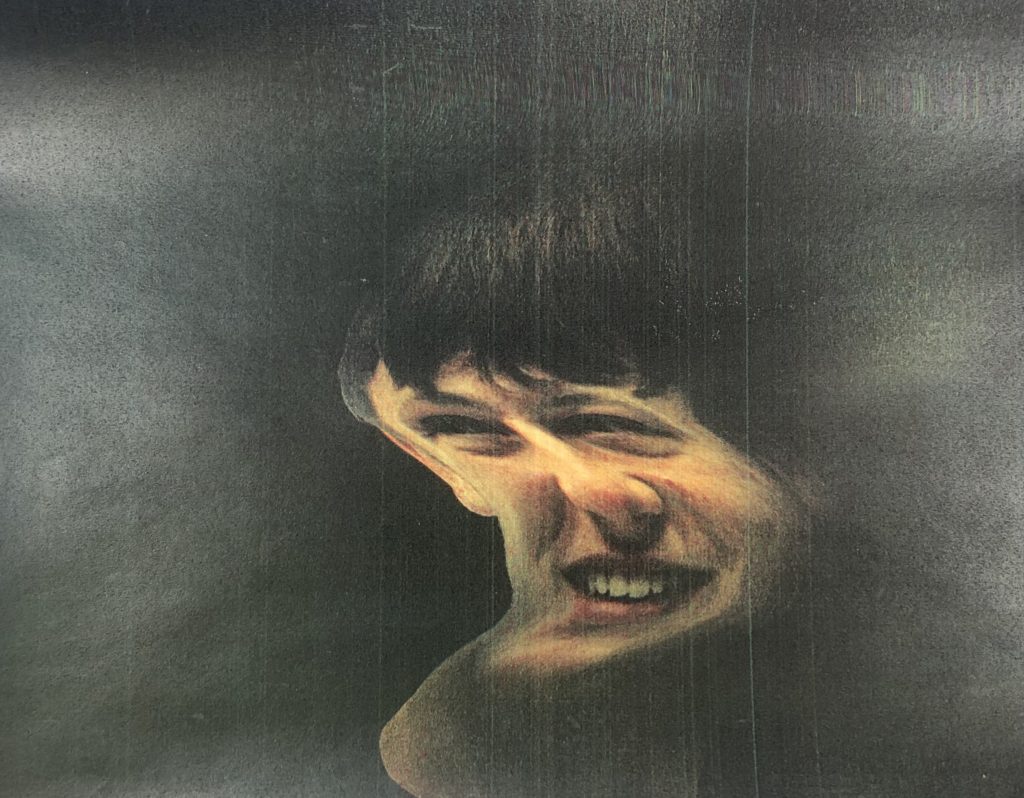
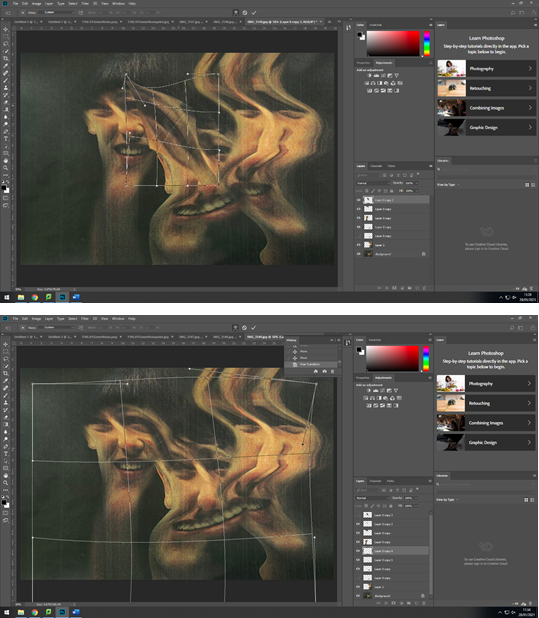
I took these 4 images into Photoshop. Firstly I, found my base layer, which was the one in the top row far left in the selection above.
Then, I removed the background of the tall image with the eraser, then added it on top of the base layer. I used the eraser tool with a hardness of 0% to create a gentle gradient into the base layer.
Next, I only masked out the lips from the tall face, and made duplicate copies of it. I used the warp tool to change the aspect ratio of it to match the image so it would look like it is being stretched and pulled between the faces. After, I added motion blur to smoothen it out.
After it all matched, I added another face as Evilsabeth Schmitz-Garcia normally uses 3 faces. I removed the background then uses the eraser tool again to fade it into the base layer (middle face).
After, I masked out the right eye from the new face then used the warp tool the connect it to the middle faces eye. I would need to use the eraser tool to get rid of the sharp edges.#
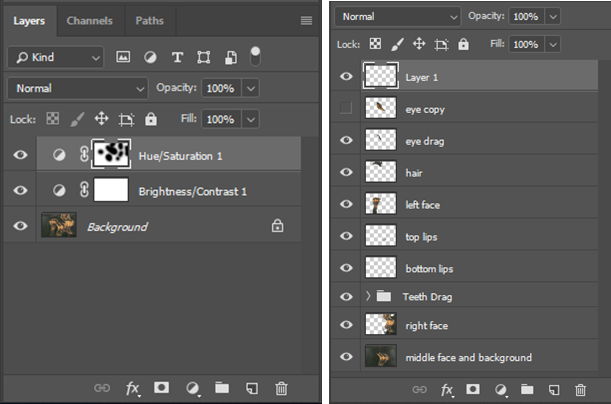
Once I had finished the composition of the image, I renamed all of the layers, then fattened the image. I added adjustment layers to make it more in the style of Evilsabeth Schmitz-Garcia.
I used a hue/saturation where I added the green effect that Schmitz-Garcia uses in here final images.
The brightness/contrast adjustment is a normal adjustment where I brightened the images and made the blacks more dark.
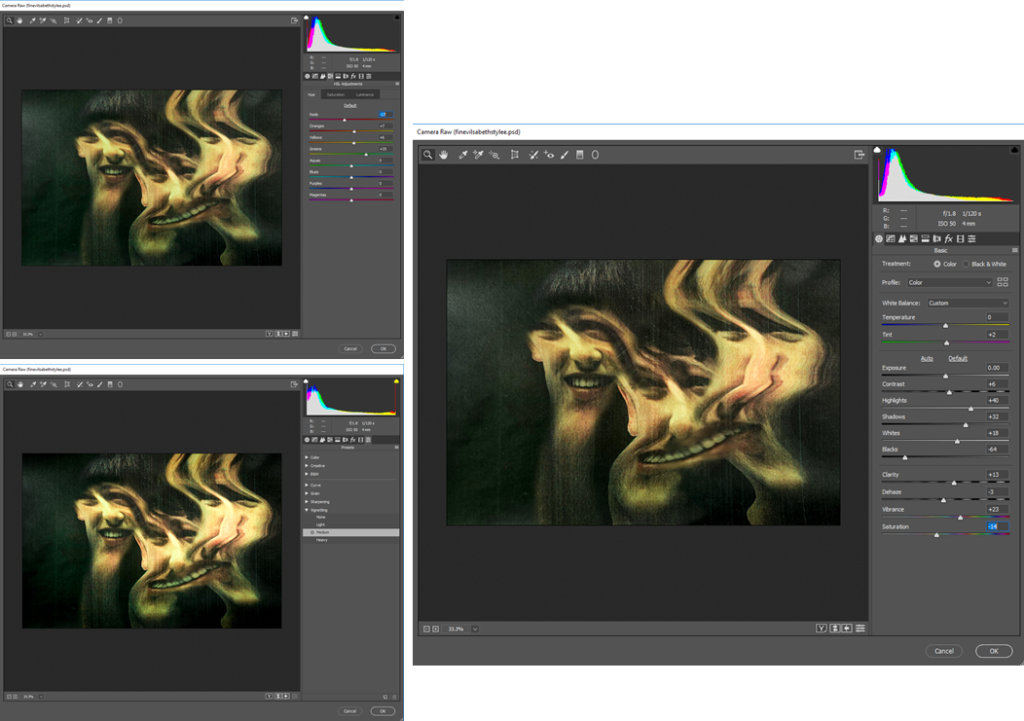
Finally I added a camera-RAW filter to touch up the final image. I started off by changing the tint, highlights, shadows, blacks, and the white. (right image).
Secondly, I changed the individual colours, but mostly the greens, yellows, and oranges. The greens I increased the most as it was one of the more distinguishable colours. The yellows and oranges I also increased to counter the green. As it was too strong in some areas.
After, I realised that the background was too shiny as I took the images of the paper with a camera. So, I decided to go over the background with the black brush tool and made opacity 75%. It fixed the problem and removed the lighter areas.
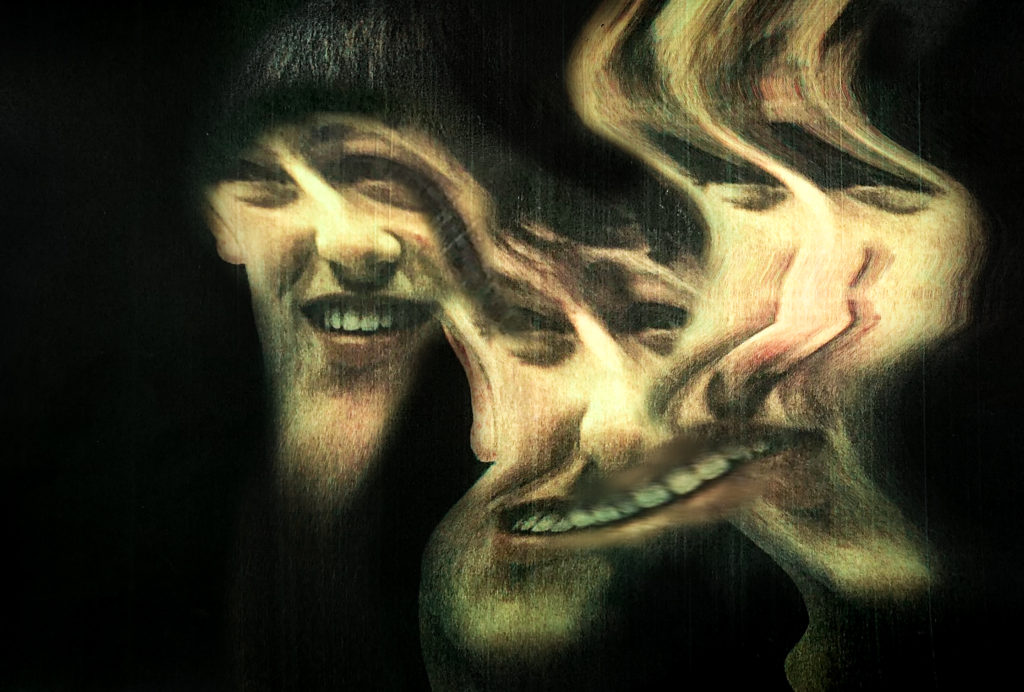
That is how I edited my image in the style of Evilsabeth Schmitz-Garcia.
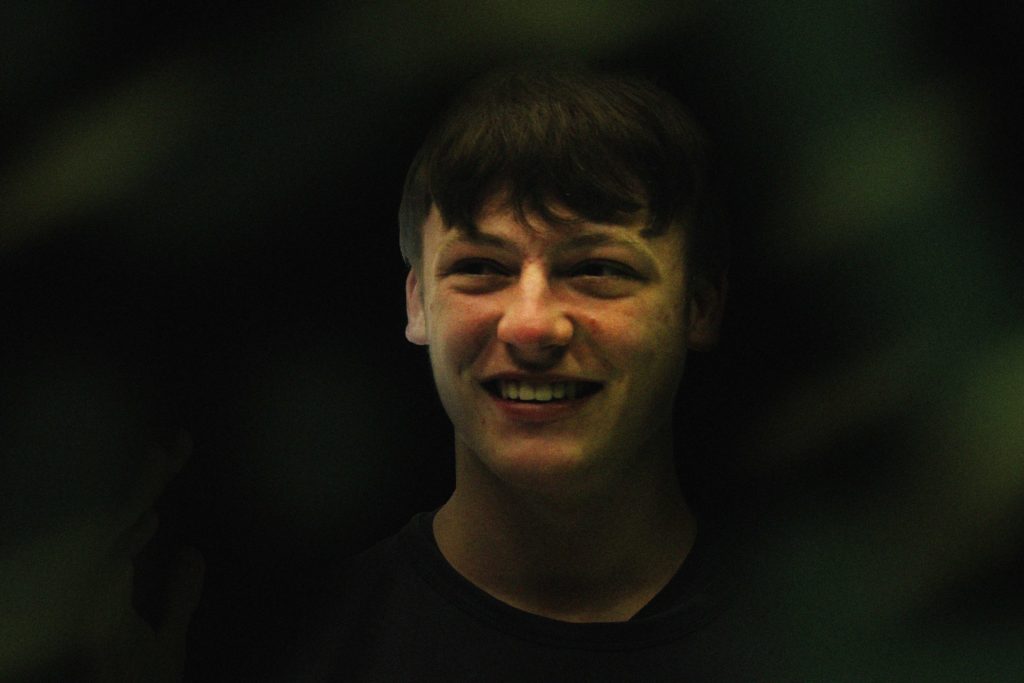
Final Image
Evaluation
Reviewing my image, I like how it turned out, and I feel that there is a strong connection between my image and Evilsabeth Schmitz-Garcia’s image.
The main reason she displayed her images in her style was to capture people with multiple personality disorder. I feel that the manipulation in my image shows that perfectly as there is no sharp interrupting lines between images, instead it looks like it is all one image.
The colours mostly match. I feel that the camera raw filter really helped me achieve this look.
The scanner produced lines on the my images similar to Evilsabeth Schmitz-Garcia image. This is because I actually used a scanner and was a good idea even though it was risky, and I didn’t think it would work.
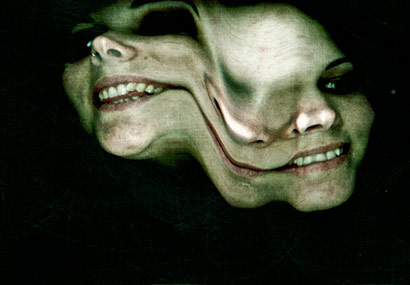
This is my image side by side with Evilsabeth Schmitz-Garcia’s image that I based mine off, and inspired me.
As you can see they are fairly equal. Overall i think it turned out well.
Critique
Looking back it all went smoothly, except from when I went to print it and it turned out really dark. This is an easy fix, I could of printed it on higher quality paper or better printer. I fixed it by making the image really bright before printing, so when it printed it would be how it was on the screen.
Also if the printer saved a digital copy of the scan I wouldn’t need to take photos of the manipulated results, therefore getting a clearer version. Although, it did add more texture to the image, so it turned out better.
Originally, I was going the use the liquify filter in Photoshop to create the result. In the end I didn’t use it at all. Instead, I used the photocopier, which was a good idea.