one point lighting studio portraits

Studio lighting is an essential part of most photographer’s work, as it allows them to create an effect which can be either natural or artificial. A photographer’s choice of lighting is an integral part of the composition of their photographs, and can be the difference between a good image and a bad image. Studio lighting in particular can be manipulated in so many different ways, allowing the photographer to create a numerous amount of images just by changing the lighting.

Rembrandt lighting is a standard lighting technique that is used in studio portrait photography and cinematography. It can be achieved using one light and a reflector, or two lights, and is popular because it is capable of producing images which appear both natural and compelling with a minimum of equipment. Chiaroscuro is the use of contrast in light and shading across an entire image composition. It is a technique that creates a three-dimensional quality in images on a two-dimensional plane. Chiaroscuro lighting was developed by Leonardo Da Vinci, Caravaggio, Vermeer, and Rembrandt.

MY RESPONSE
FINAL IMAGES

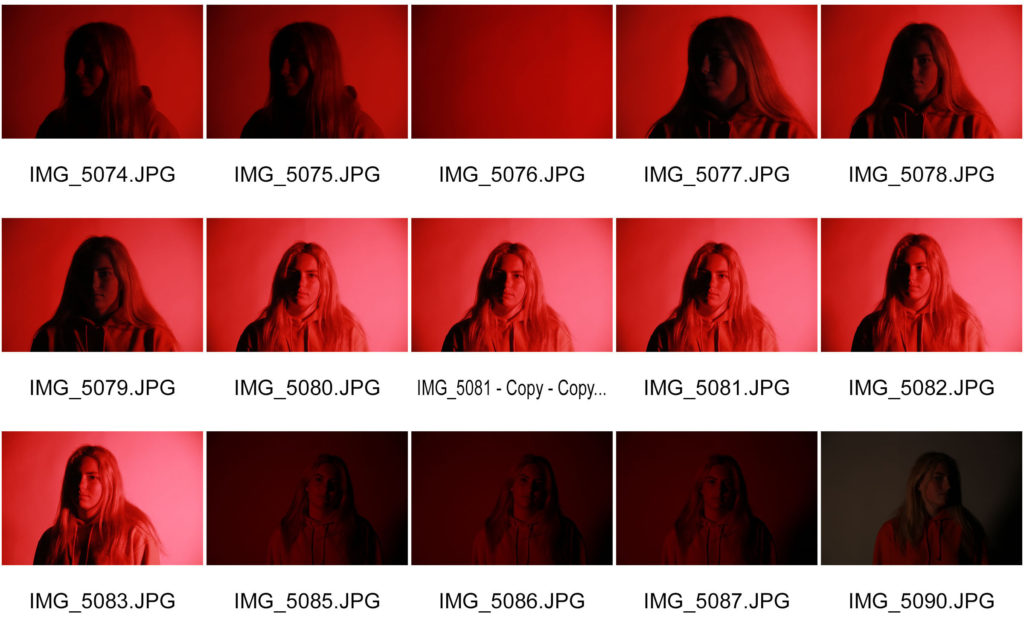
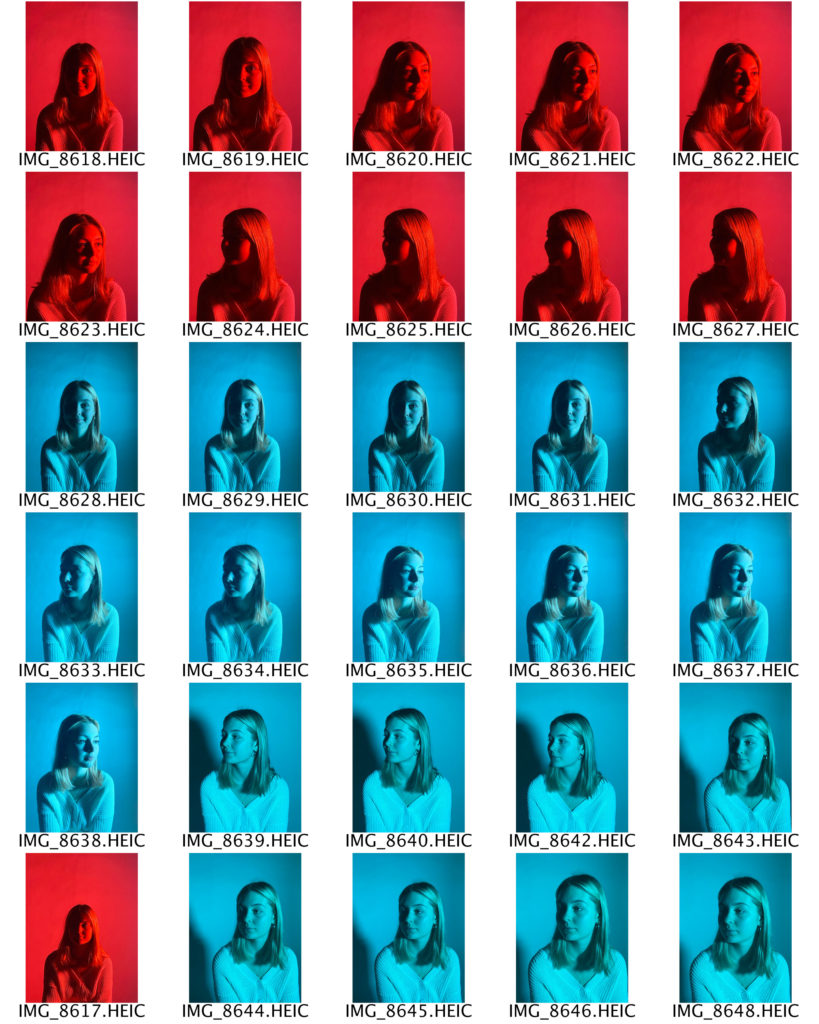
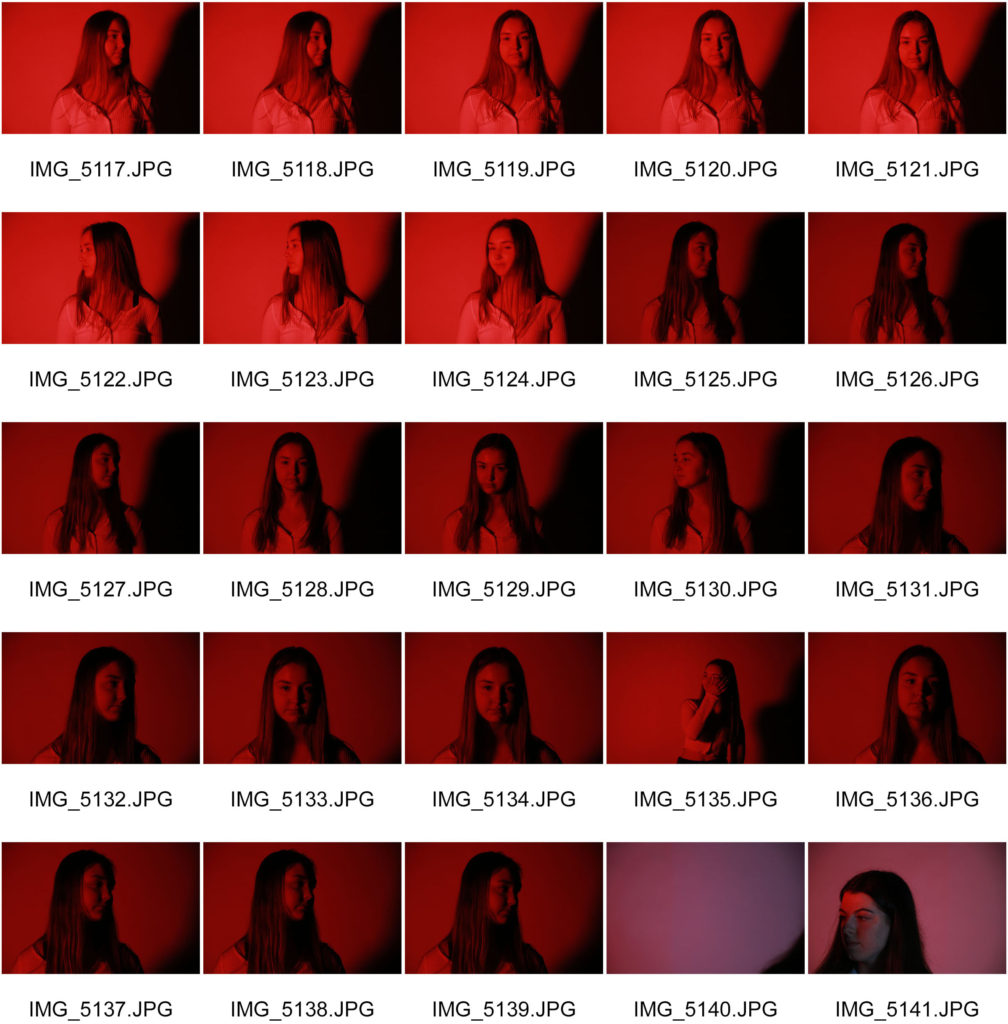
I have selected these three photographs as my final images because I think that they best show the Chiaroscuro lighting technique. The shadows being cast across my subject’s face fall in a triangular shape, which creates a three dimensional effect. I had my light set up on one side of my subject’s face and I switched sides regularly in order to create and explore different angles and shadows. I decided to use a colourful plastic sheet over an L.E.D. light instead of a spotlight because I wanted as much of my subject’s face illuminated as possible, but still with the shadows being cast over one side of her face. Additionally, I think that the colour adds a slightly modern touch to the old technique, and makes the photographs appear more vibrant and full of life. I chose the red and blue colours because they gave the best visibility through the camera lens, and were the most contrasting in tone.

HEAD SHOTS – Diamond Cameo

Henry Mullins

Henry Mullins was a portrait photographer known best for introducing professional photography to Jersey, after moving from London in July 1848, and setting up one of the first photography studios on the island. This was known as the Royal Saloon, located at 7 Royal Square. He promoted his business to Jersey locals by pricing his portraits at “one half of that in London”, half a guinea.

Mullins’ photographs have been preserved and stored online by https://societe-jersiaise.org/photographic-archive with his collection amounting up to 9600 images. Mullins was well known for printing his portraits on carte de visite paper, which was popular due to its small size, allowing friends to trade them amongst each other.

A technique often used by Mullins were the diamond cameo portraits, in which four different portrait angles were taken and printed onto one card, in the format of a diamond.

Diamond Cameo portrait of Philip Baudains, taken by Henry Mullins.

Analysis

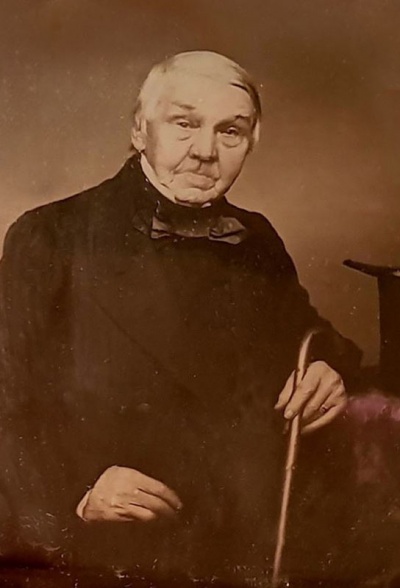
Mr Bolton, photographed by Henry Mullins in 1849-50

This sepia toned image taken by Henry Mullins displays a Mr Bolton, almost a year after Mullins set up his business. This is said to be of a very high quality for its time, due to the fact that it captures facial details such as wrinkles and shadows sharply. In addition, here Mullins has showcased a strong contrast between light and dark, with the black suit Mr Bolton is dressed in and the bright tone of his skin.

For this portrait it appears that Mullins has chosen to use a two point lighting technique, allowing for little to no shadow behind the subject or around his face. The way in which Mullins has framed this image demonstrates a half body shot of Mr Bolton sitting down, also leaving little empty space around the subject, as the background is not important for the viewer of the photograph.

Photo-Shoot

Plan

Contact Sheet

Edited Images

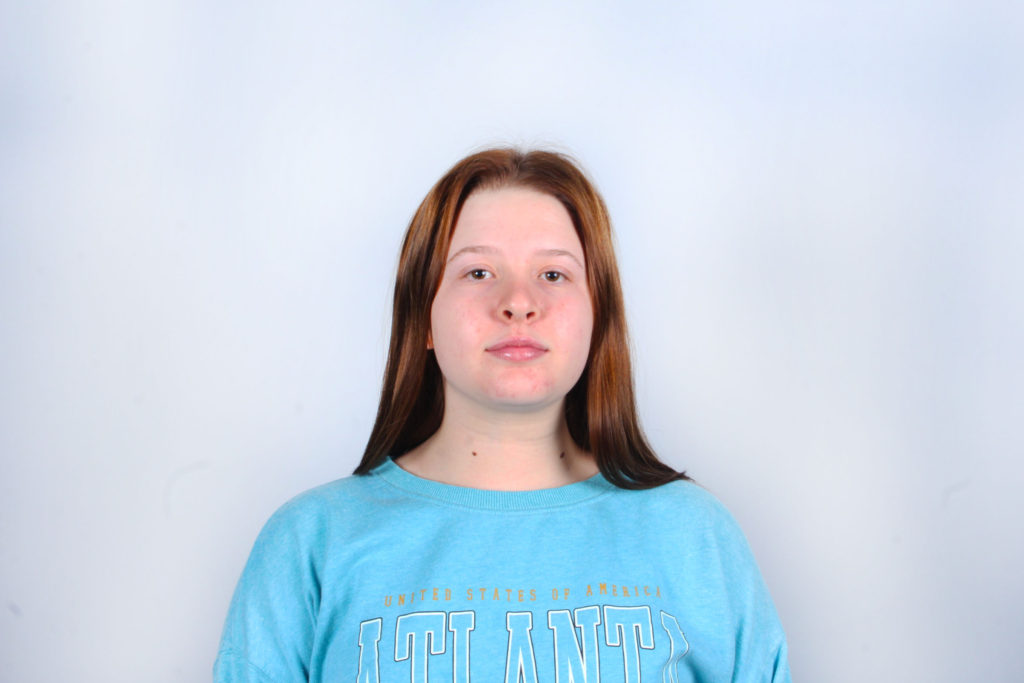
For these two point lighting photographs, I started editing them by decreasing the brightness slightly, meaning the images wouldn’t be over exposed, and then increased the contrast allowing for a sharper image. I also used the dodge tool in order to make the facial highlights brighter, and to brighten the backgrounds of the photographs.

Diamond Cameos

In order to create these diamond cameo edits, I used the elliptical tool in Photoshop to cut out an oval shape from four of my best images for each person. I then copied these cut out sections and dragged them onto a blank A4 page, and arranged them into a diamond format. For my second diamond cameo edit, I also added a sepia tone over the cut out images, by using a sepia image from the internet and blended it over the top of the photos.

Street photography – my analysis

My ideas

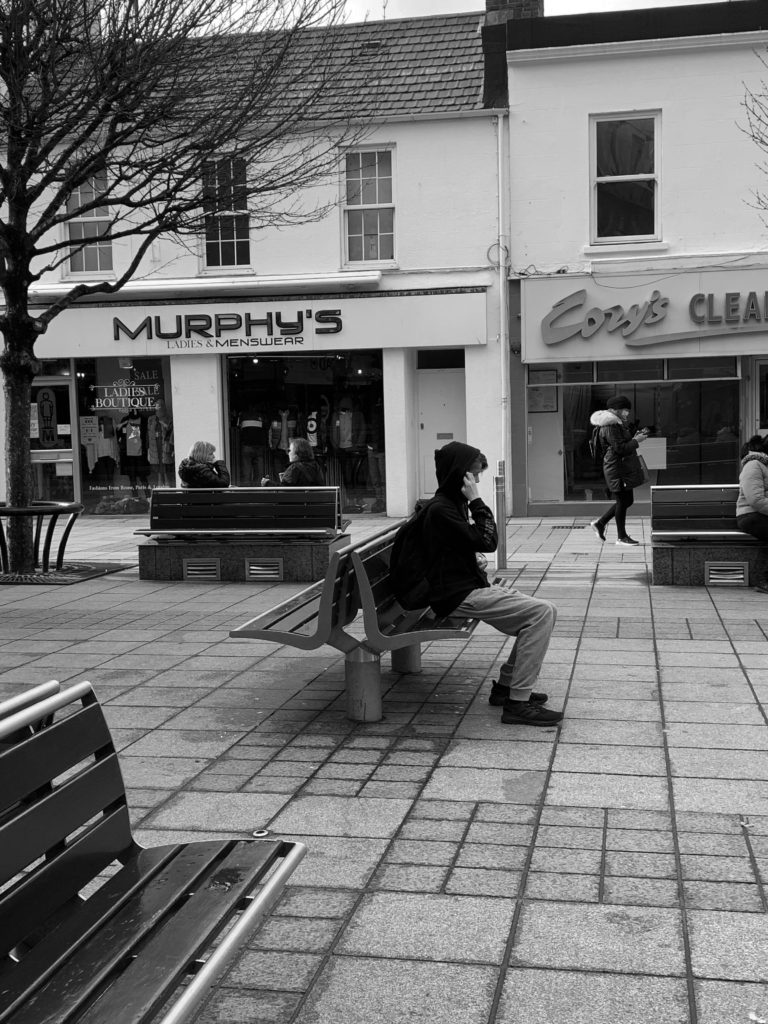
I chose these images as my final images as I felt these where my strongest images that fitted into the candid/street photography idea.
I liked these images as they were all people in the moment and unaware of the images being taken which means I captured them in their candid moments.
I decided to put all my final outtakes into black and white as that is what a lot of street photographers had their images in black and white and I felt it throughly captured the image the best.