essay writing

DEADLINE: Essay MUST be handed in Mon 31 Jan 2022

ESSAY: In the Spring term will be spending 1 lesson a week every Wednesday on writing and developing your essay. However, you will need to be working it independently outside of lesson time.

Objective: Criteria from the Syllabus

  • Be aware of some of the methods employed by critics and historians within the history of art and photography.
  • Demonstrate a sound understanding of your chosen area of study with appropriate use of critical vocabulary. – use for image analysis
  • Investigate a wide range of work and sources
  • Develop a personal and critical inquiry.

Academic Sources:

  • Research and identify 3-5 literary sources from a variety of media such as books, journal/magazines, internet, Youtube/video .
  • Begin to read essay, texts and interviews with your chosen artists as well as commentary from critics, historians and others.
  • It’s important that you show evidence of reading and draw upon different pints of view – not only your own.
  • Take notes when you’re reading…key words, concepts, passages
  • Write down page number, author, year, title, publisher, place of publication so you can list source in a bibliography

Quotation and Referencing:

Why should you reference?

  • To add academic support for your work
  • To support or disprove your argument
  • To show evidence of reading
  • To help readers locate your sources
  • To show respect for other people’s work
  • To avoid plagiarism
  • To achieve higher marks

What should you reference?

  • Anything that is based on a piece of information or idea that is not entirely your own.
  • That includes, direct quotes, paraphrasing or summarising of an idea, theory or concept, definitions, images, tables, graphs, maps or anything else obtained from a source

How should you reference?

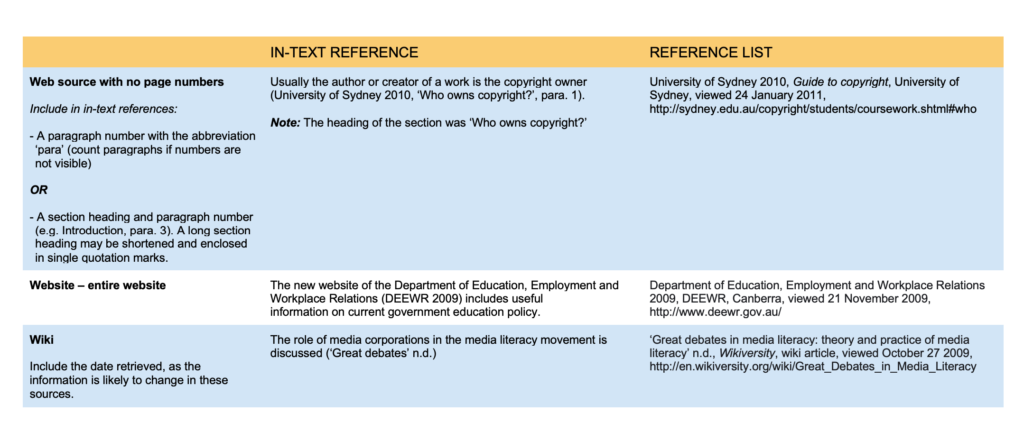
Use Harvard System of Referencing…see Powerpoint: harvard system of referencing for further details on how to use it.

https://vimeo.com/223710862

Here is an full guide on how to use Harvard System of Referencing including online sources, such as websites etc.
TUE: Essay Question

  • Think of a hypothesis and list possible essay questions
  • Below is a list of possible essay questions that may help you to formulate your own.

Some examples of Personal Study essays from previous students

In what way have Jim Goldberg and Ryan McGinley represented youth in their work?

What Constitutes a ‘Real’ Image

How do Robert Mapplethorpe and Karlheinz Weinberger portray ‘Lad Culture’ through the medium of portraiture?

In what way does Nick Hedges portray a sense of state discrimination and hopelessness through his monochromatic imagery?

To what extent can we trust documentary photography to tell the truth about reality?

How does Jeff Wal’s Tableaux approach depict a seemingly photojournalistic approach?

Compare how Cindy Sherman and Phoebe Jane Barrett challenge gender stereotypes.

How can something that doesn’t physically exist be represented through photography?

How can photography bear witness to reality?

To what extent does Surrealism create an unconscious representation of one’s inner conflicts of identity and belonging? 

How does Carolle Benitah and Claudia Ruiz Gustafson explore their past as a method of understanding identity?

How has children’s stories and literature influenced the work of Anna Gaskell and Julia Margaret Cameron?

How do Diana Markosian and Rita Puig-Serra Costa express the notion of family history and relationships in their work?

How does the work of Darren Harvey-Regan explore abstraction as an intention and process?

How can elements of Surrealism be used to express and visualize the personal, inner emotions of people suffering from depression?

Essay Plan:

Make a plan that lists what you are going to write about in each paragraph – essay structure.

  • Essay question:
  • Opening quote
  • Introduction (250-500 words): What is your area study? Which artists will you be analysing and why? How will you be responding to their work and essay question?
  • Pg 1 (500 words): Historical/ theoretical context within art, photography, visual and popular culture relevant to your area of study. Make links to art movements/ isms and some of the methods employed by critics and historian. 
  • Pg 2 (500 words): Analyse first artist/photographer in relation to your essay question. Present and evaluate your own images and responses.
  • Pg 3 (500 words): Analyse second artist/photographer in relation to your essay question. Present and evaluate your own images and responses.
  • Conclusion (250-500 words): Draw parallels, explore differences/ similarities between artists/photographers and that of your own work that you have produced
  • Bibliography: List all relevant sources used

Essay questionHypothesis

Think of a hypothesis and list possible essay questions

Here is a list of  possible questions to investigate that may help you.

Opening quote: Choose a quote from either one of your photographers or critics. It has to be something that relates to your investigation

ESSAY STRUCTURE

See below for a possible essay structure. Further help can be found here essay structure or see link here The Royal Literay Fund

Introduction (250-500 words). Think about an opening that will draw your reader in e.g. you can use an opening quote that sets the scene. You should include in your introduction an outline of your intention of your study e.g. what and who are you going to investigate. How does this area/ work interest you? What are you trying to prove/challenge, argument/ counter-argument? What historical or theoretical context is the work situated within. Include 1 or 2 quotes for or against. What links are there with your previous studies? What have you explored so far in your Coursework or what are you going to photograph? How did or will your work develop. What camera skills, techniques or digital processes in Photoshop have or are you going to experiment with?

Paragraph 1 Structure (500 words) Use subheadingThis paragraph covers the first thing you said in your introduction that you would address. The first sentence introduces the main idea of the paragraphOther sentences develop the subject of the paragraph.

Content: you could look at the followingexemplify your hypothesis within a historical and theoretical context.  Write about how your area of study and own work is linked to a specific art movement/ ism. Research and read key text and articles from critics, historians and artists associated with the movement/ism. Use quotes from sources to make a point, back it up with evidence or an example (a photograph), explain how the image supports the point made or how your interpretation of the work may disapprove. How does the photograph compare or contrast with others made by the same photographer, or to other images made in the same period or of the same genre by other artists. How does the photograph relate to visual representation in general, and in particularly to the history and theory of photography, arts and culture.

Include relevant examples, illustrations, details, quotations, and references showing evidence of reading, knowledge and understanding of history, theory and context!

See link to powerpoints: Pictorialism vs Realism and Modernism vs Postmodernism here

Paragraph 2 Structure (500 words) Use subheading. In the first sentence or opening sentences, link the paragraph to the previous paragraph, then introduce the main idea of the new paragraph. Other sentences develop the paragraphs subject (use relevant examples, quotations, visuals to illustrate your analysis, thoughts etc)

Content: you could look at the following...Introduce your first photographer. Select key images, ideas or concepts and analyse in-depth using specific model of analysis (describe, interpret and evaluate) – refer to your hypothesis. Contextualise…what was going on in the world at the time; artistically, politically, socially, culturally. Other influences…artists, teachers, mentors etc. Personal situations or circumstances…describe key events in the artist’s life that may have influenced the work. Include examples of your own photographs, experiments or early responses and analyse, relate and link to the above. Set the scene for next paragraph.

Include relevant examples, illustrations, details, quotations, and references showing evidence of reading, knowledge and understanding of history, theory and context!

Paragraph 3 Structure (500 words) Use subheading. In the first sentence or opening sentences, link the paragraph to the previous paragraph, then introduce the main idea of the new paragraph. Other sentences develop the paragraphs subject (use relevant examples, quotations, visuals to illustrate your analysis, thoughts etc)

Content: you could look at the following…Introduce key works, ideas or concepts from your second photographer and analyse in-depth – refer to your hypothesis…Use questions in Pg 2 or add…What information has been selected by the photographer and what do you find interesting in the photograph? What do we know about the photograph’s subject? Does the photograph have an emotional or physical impact? What did the photographer intend? How has the image been used? What are the links or connections to the other photographer in Pg 2? Include examples of your own photographs and experiments as your work develop in response to the above and analyse, compare, contrast etc. Set the scene for next paragraph.

Include relevant examples, illustrations, details, quotations, and references showing evidence of reading, knowledge and understanding of history, theory and context!

Conclusion (500 words) : Write a conclusion of your essay that also includes an evaluation of your final photographic responses and experiments.

List the key points from your investigation and analysis of the photographer(s) work – refer to your hypothesis. Can you prove or Disprove your theory – include final quote(s). Has anything been left unanswered?  Do not make it a tribute! Do not introduce new material! Summarise what you have learned. How have you been influenced? Show how you have selected your final outcomes including an evaluation and how your work changed and developed alongside your investigation.

Bibliography: List all the sources that you used and only those that you have cited in your text. Where there are two or more works by one author in the same year distinguish them as 1988a, 1988b etc. Arrange literature in alphabetical order by author, or where no author is named, by the name of the museum or other organisation which produced the text. Apart from listing literature you must also list all other sources in alphabetical order e.g. websites, exhibitions, Youtube/TV/ Videos / DVD/ Music etc.

HEAD-SHOTS

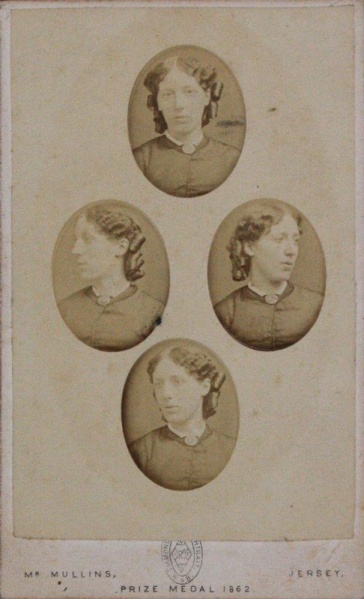
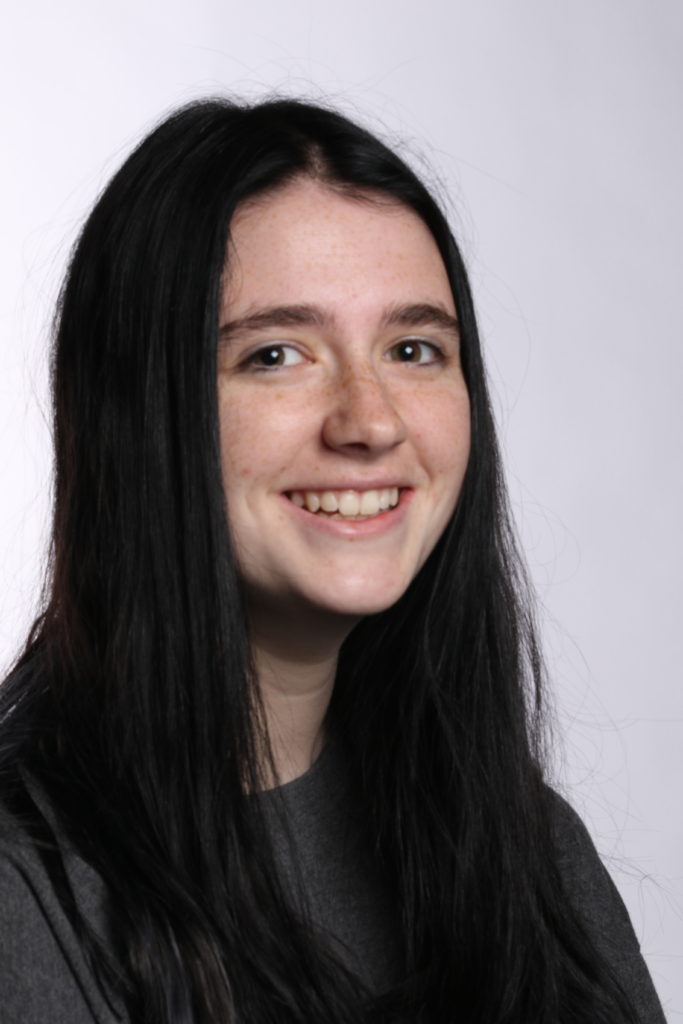
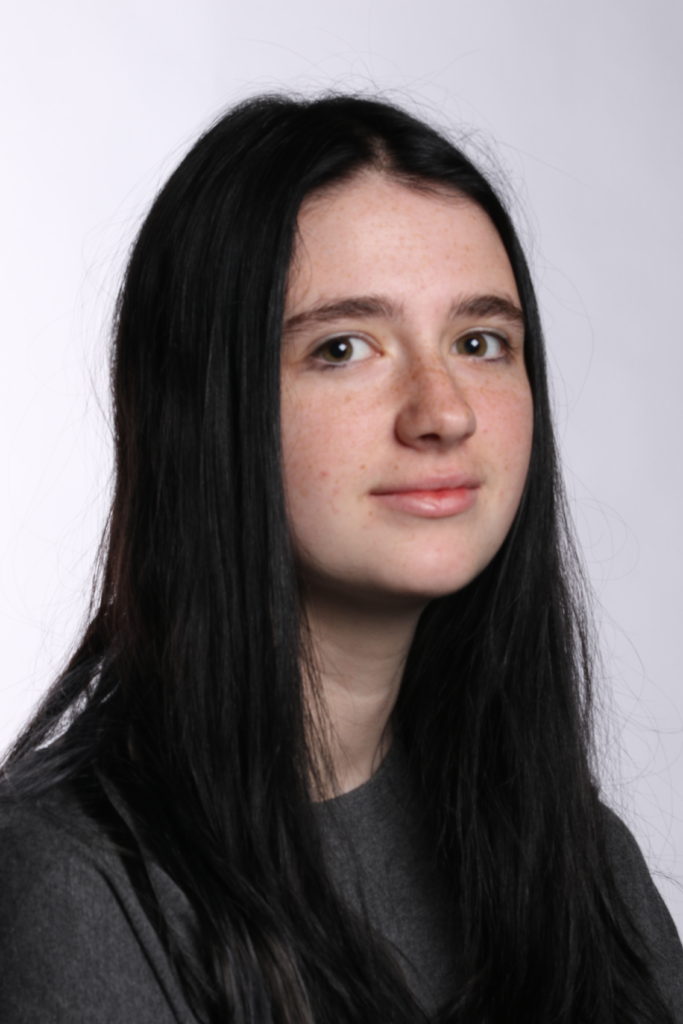
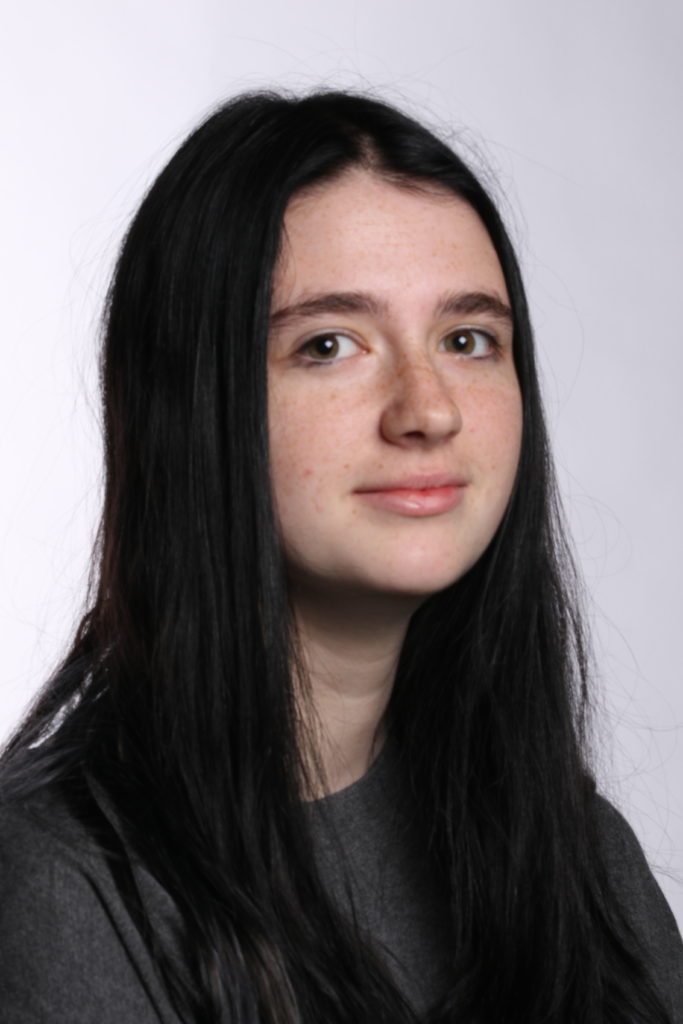
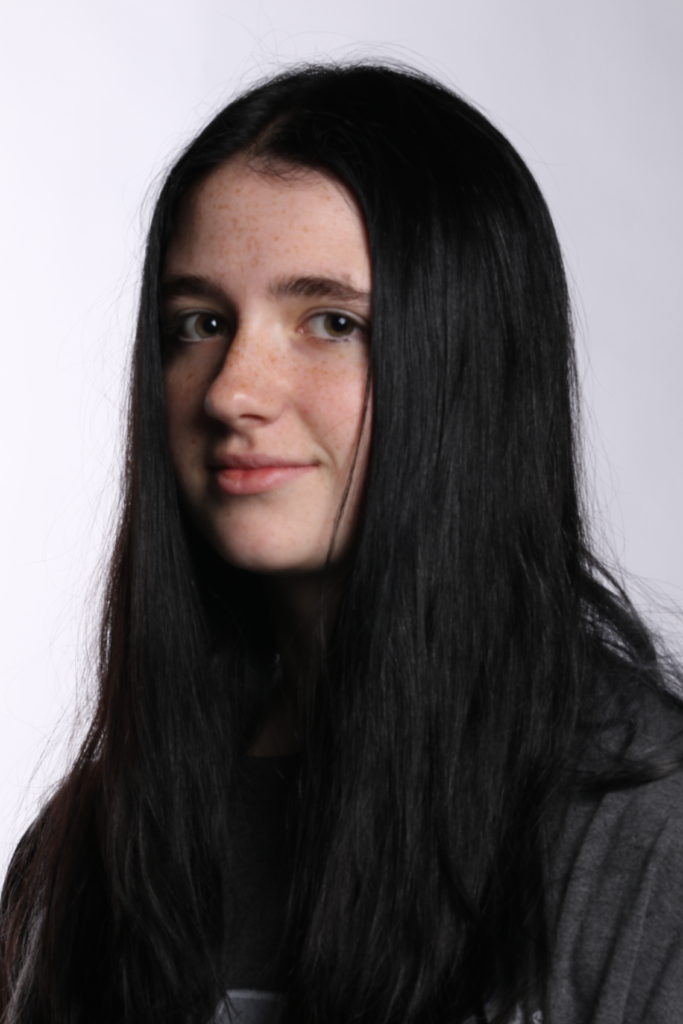
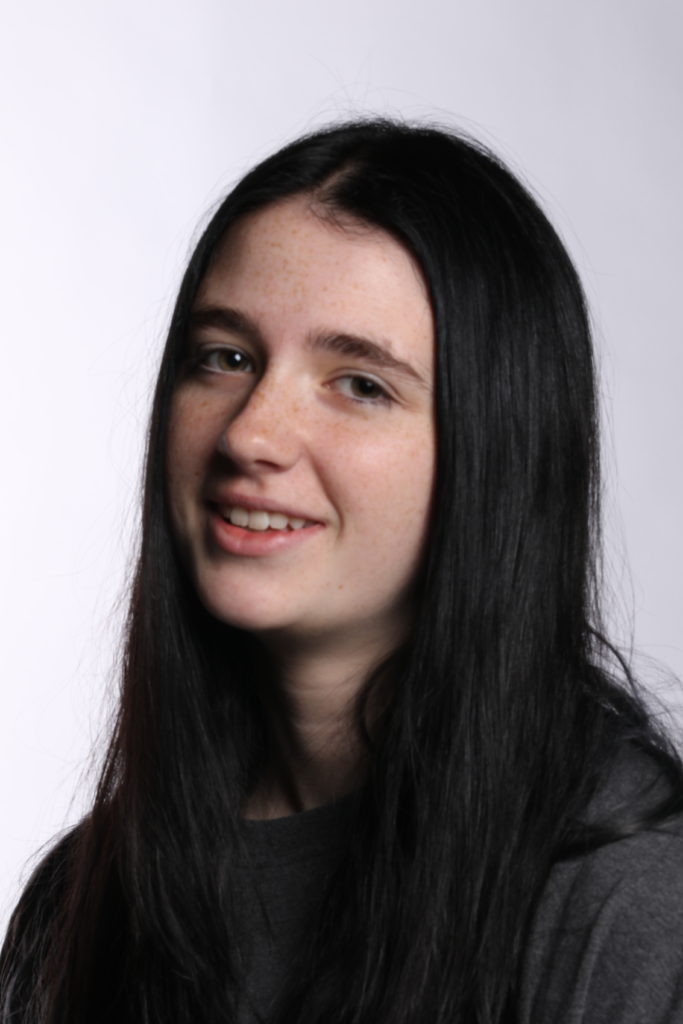
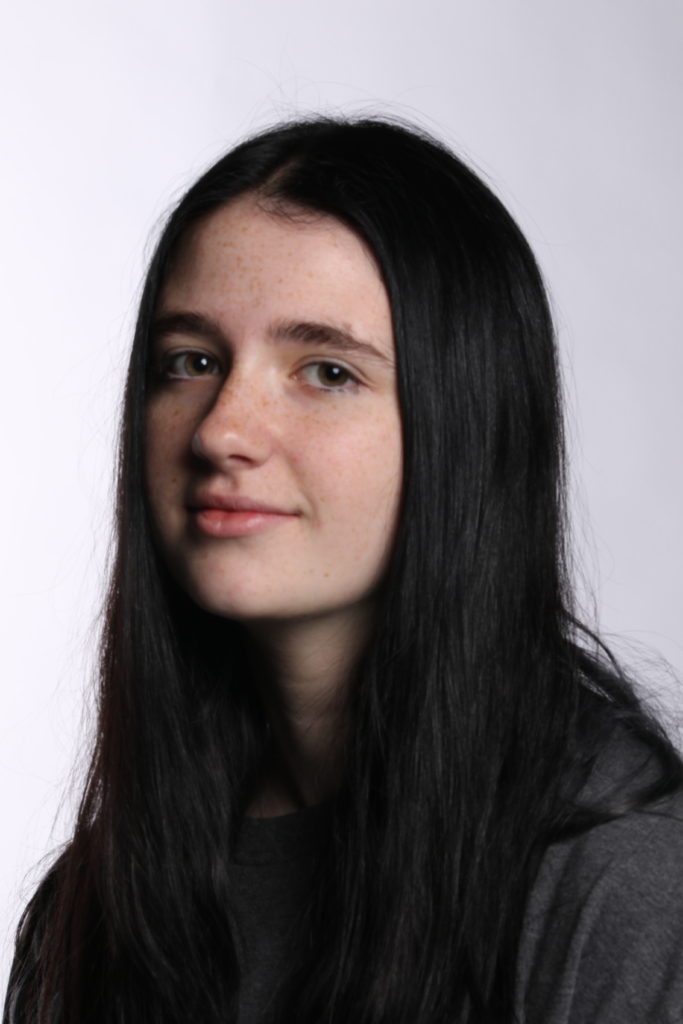
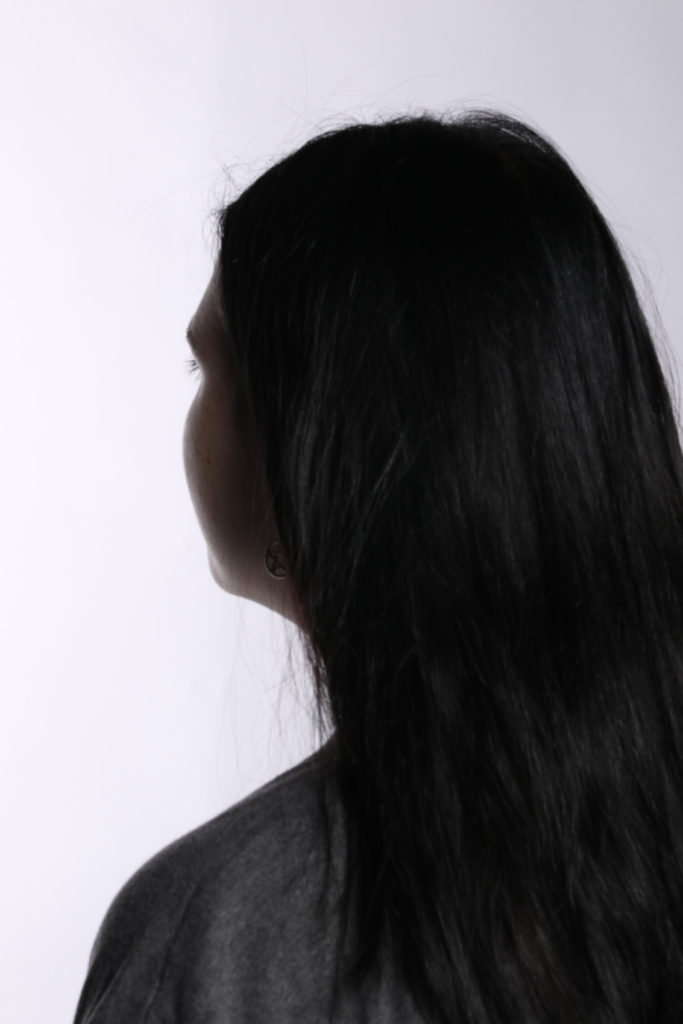
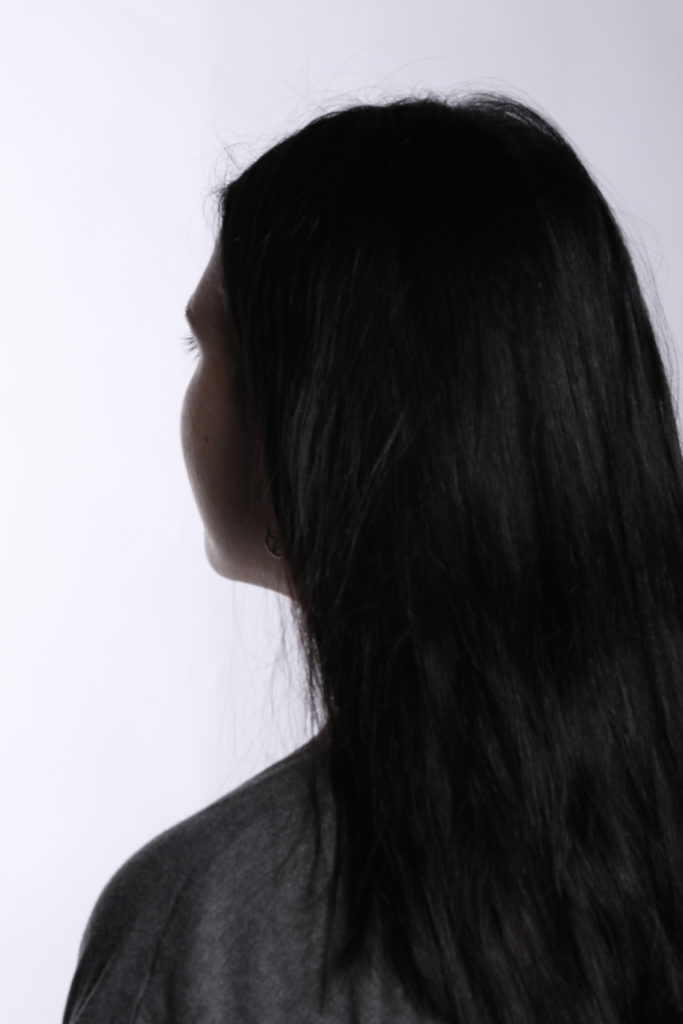
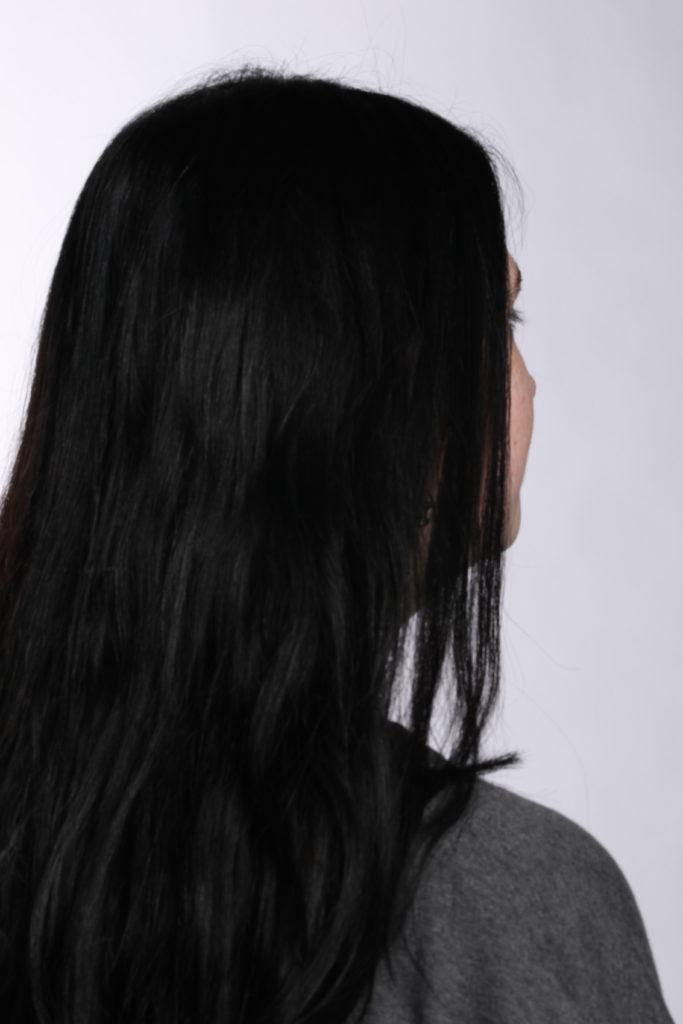
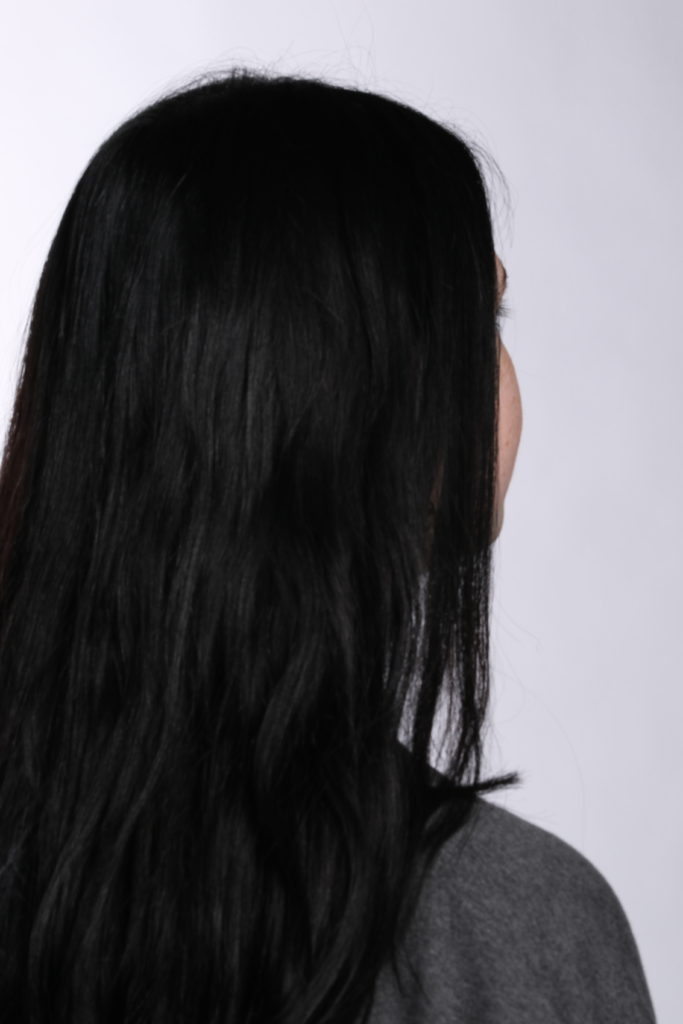
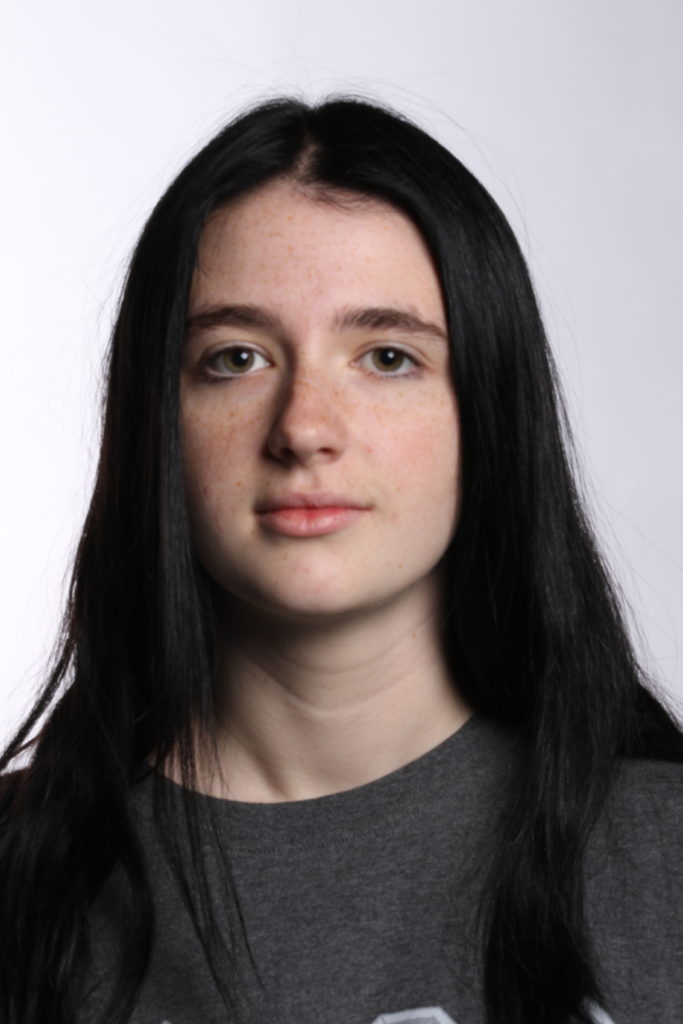
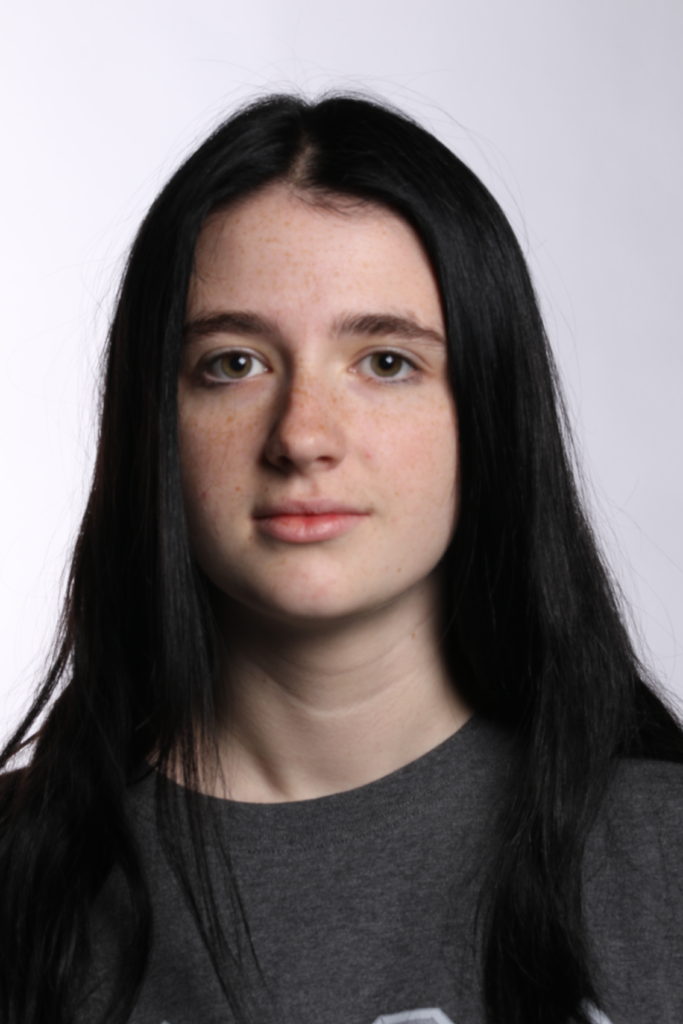
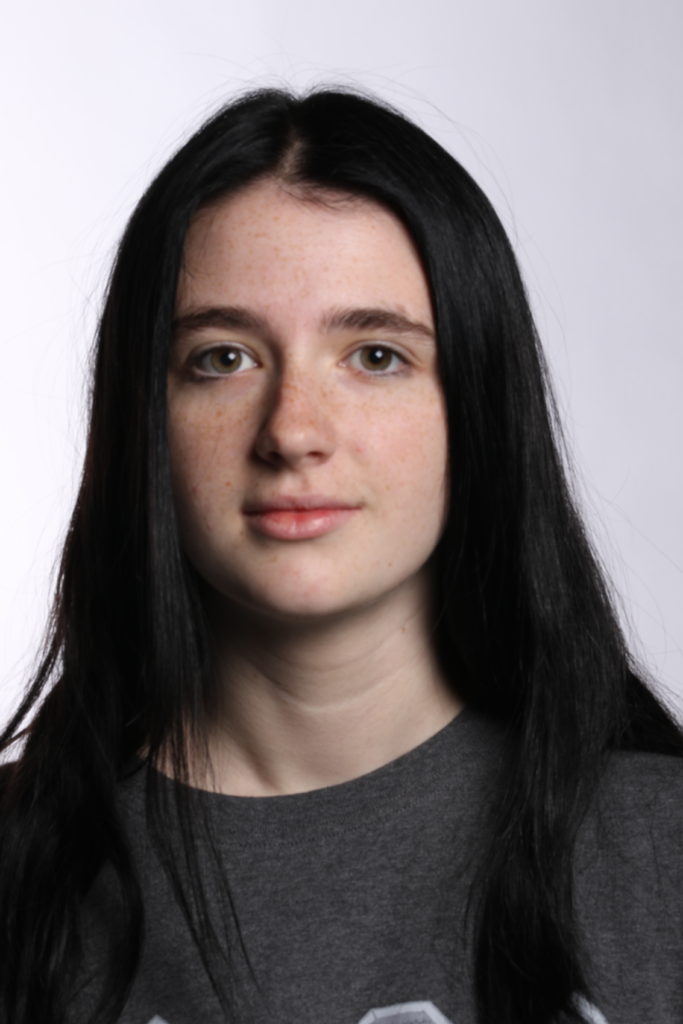
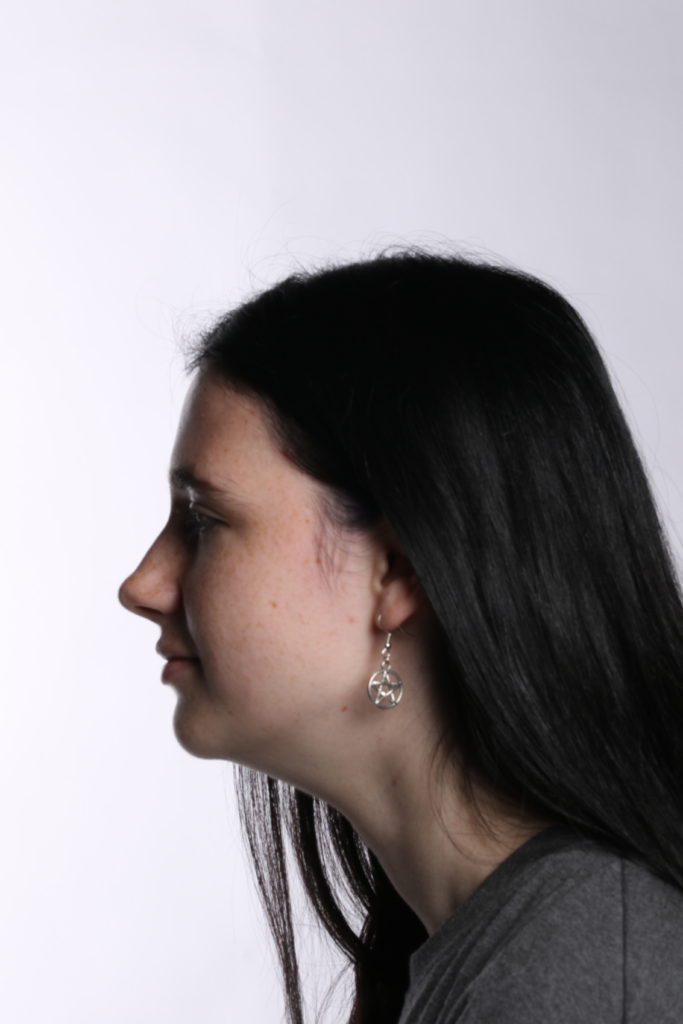
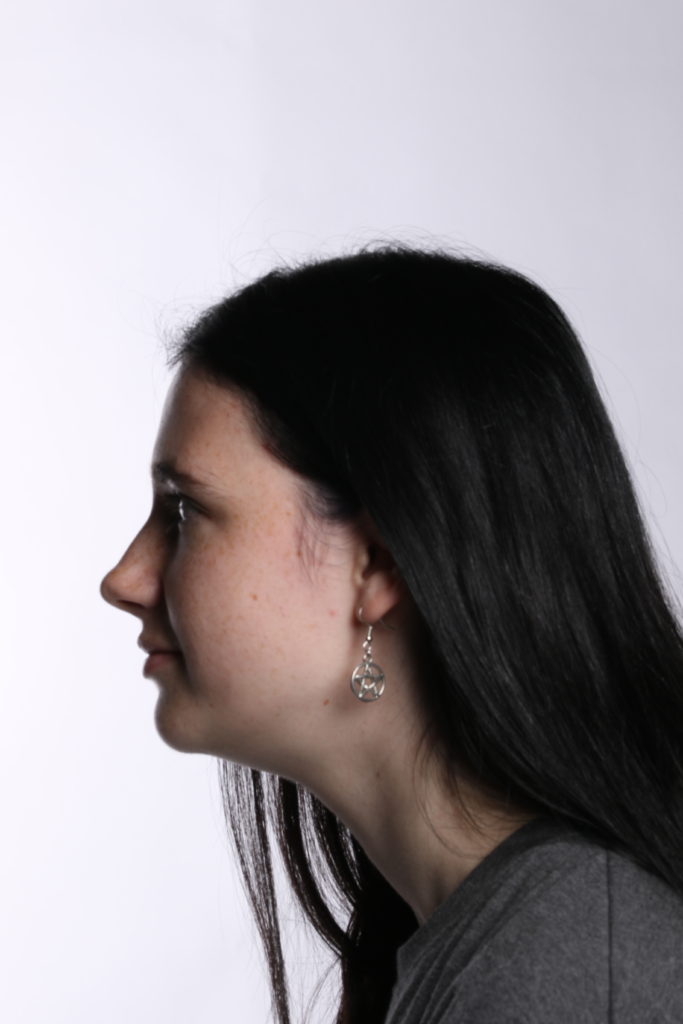
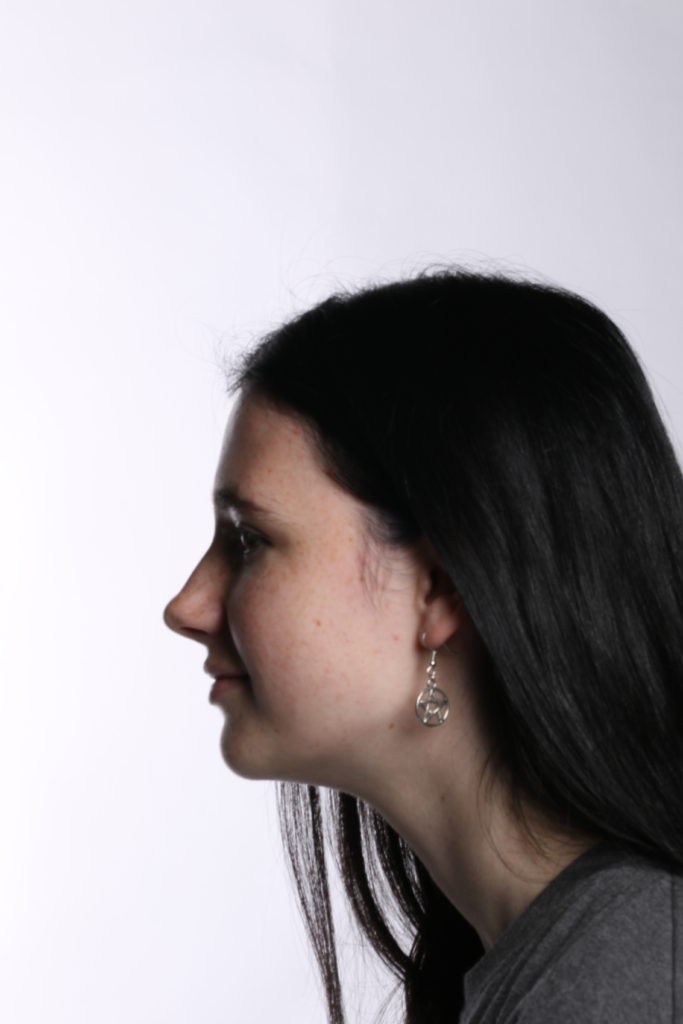
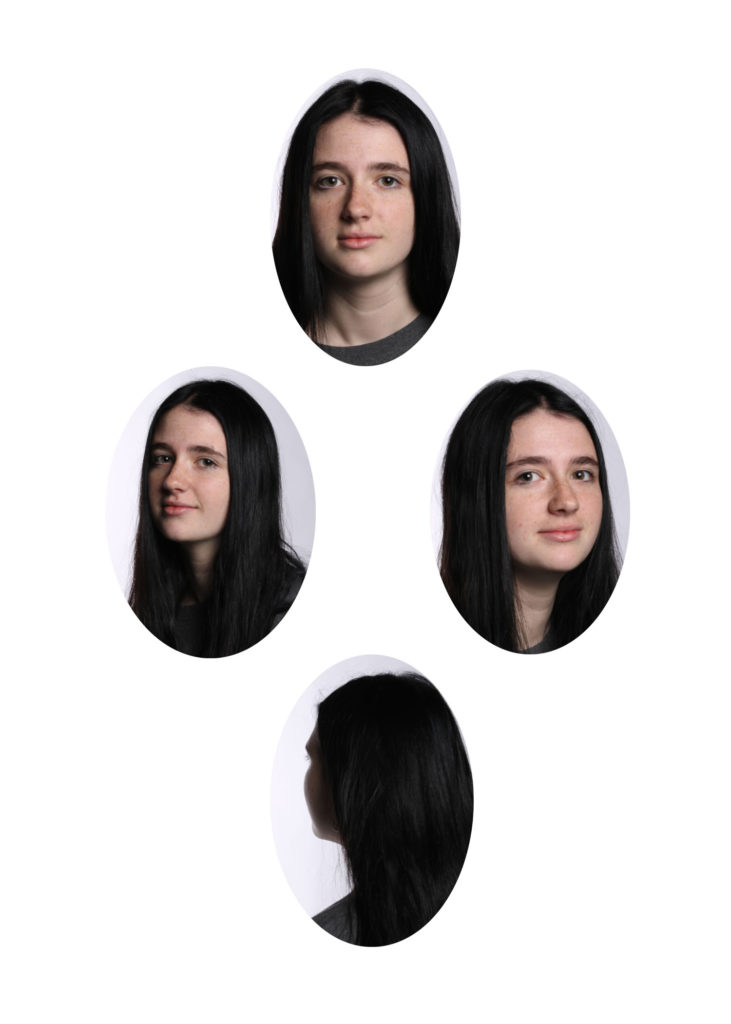
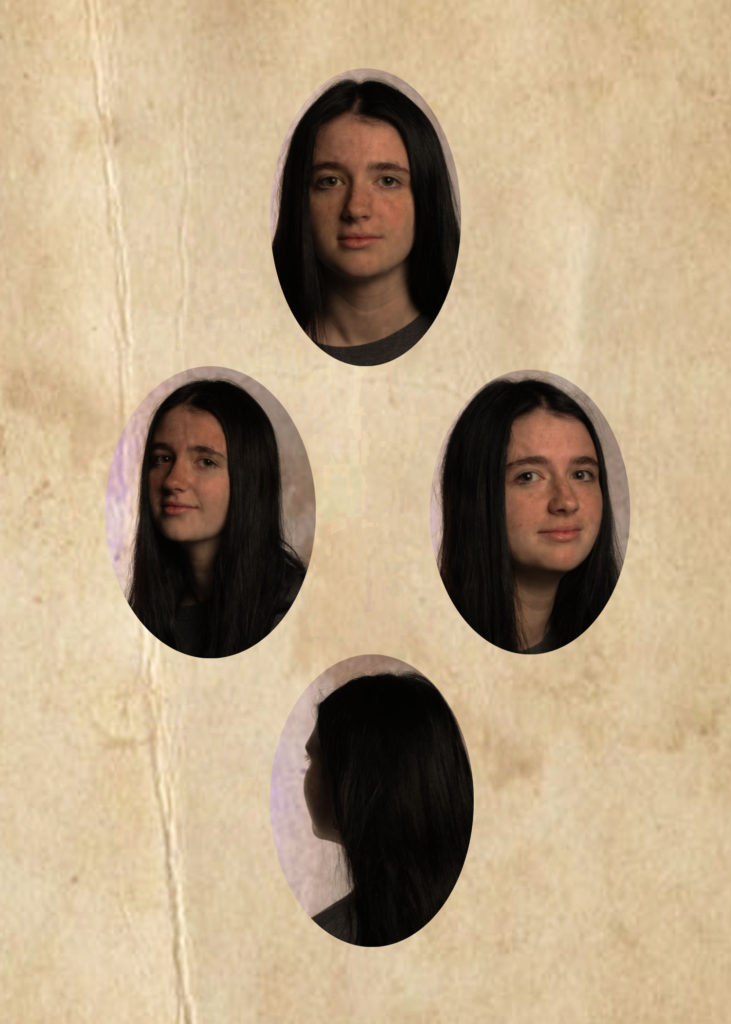
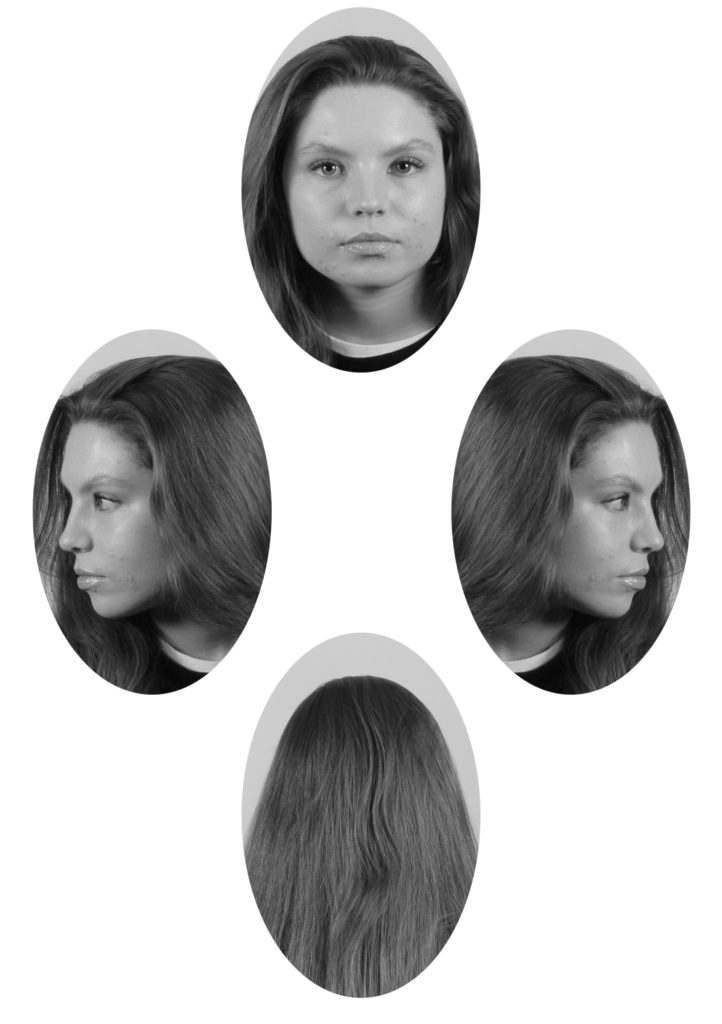
The inspiration for this tasks comes from Henri Mullins photography in jersey in the 19th century. His work mainly focused around portraits specifically headshots and his photos were often made into cartes de visite. I am going to attempt to replicate Mullins diamond cameo by photographing different sides of my subjects face.

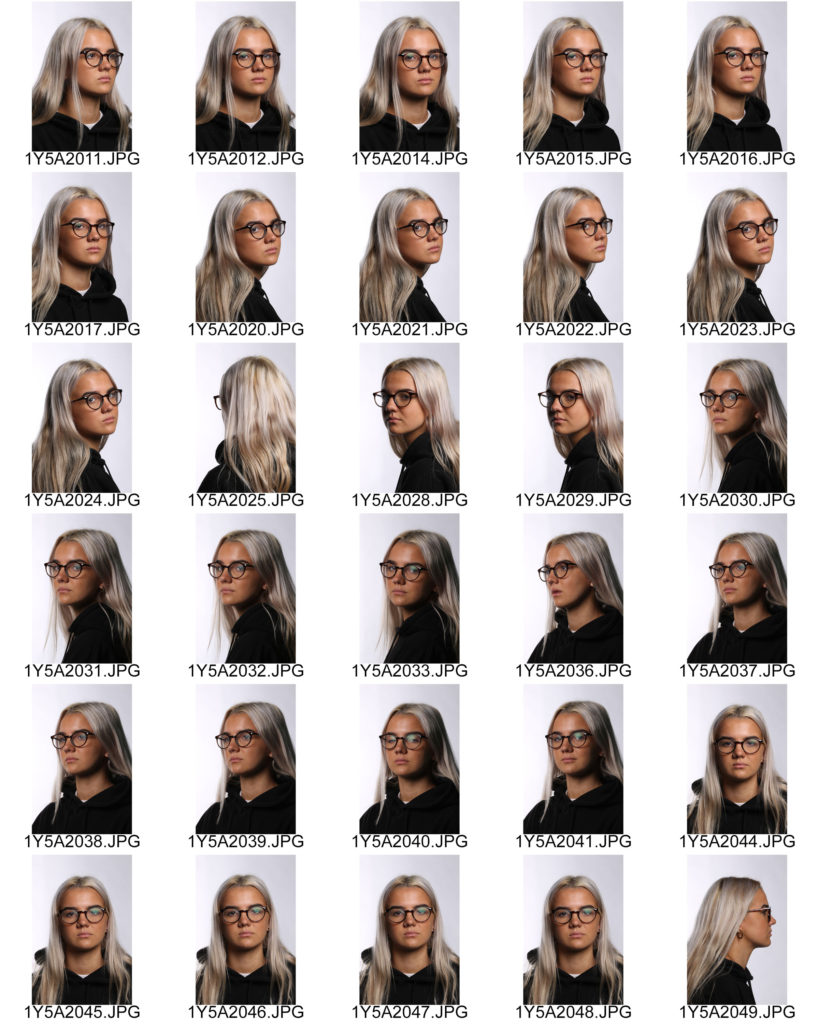
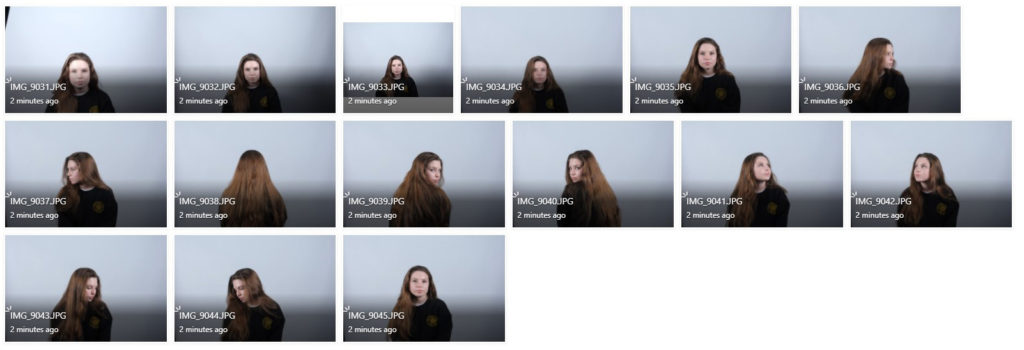
CONTACT SHEET

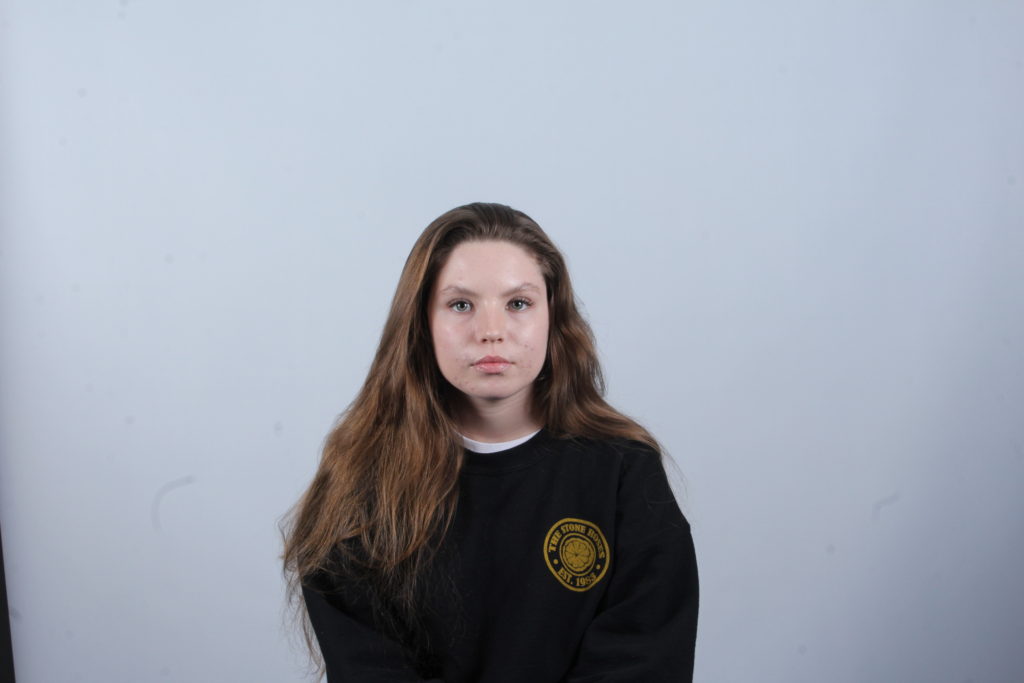
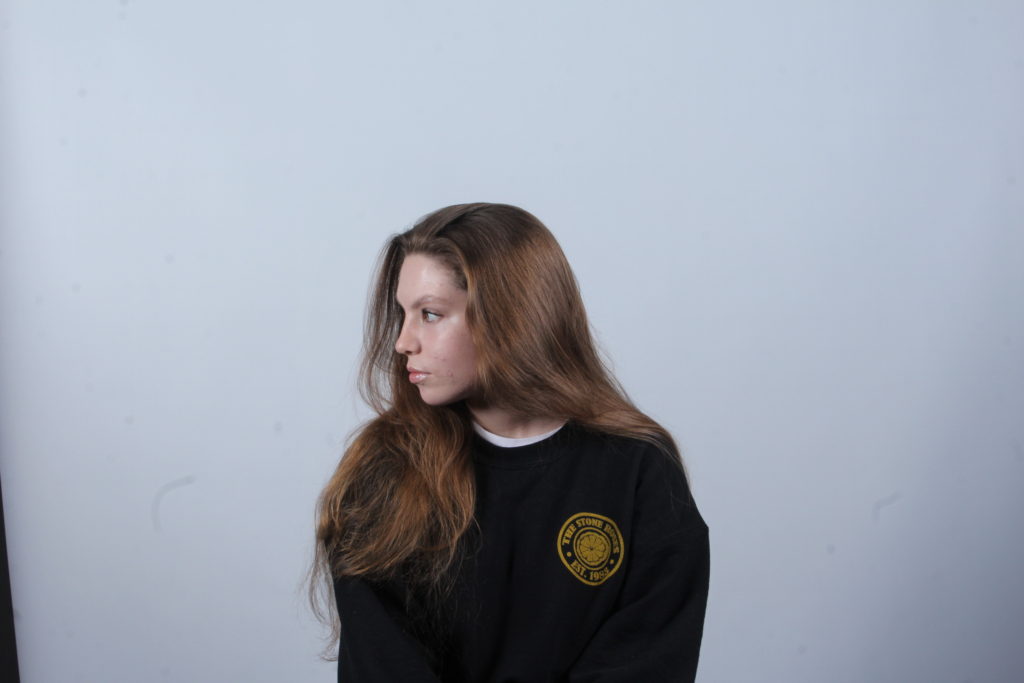
From these photos I chose my favourites from each looking direction and then using Photoshop I edited them into a diamond cameo.

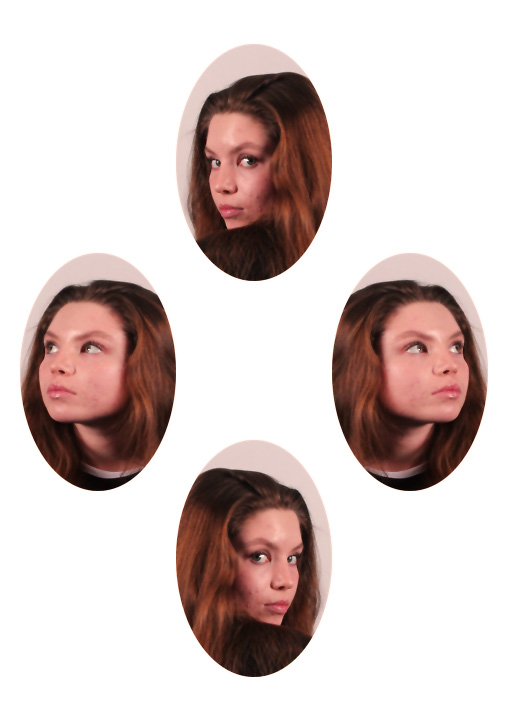
After this I copied an image of old paper from google to add texture to my cameo to make it more true to Henri Mullins photography.

headshots

Inspirations

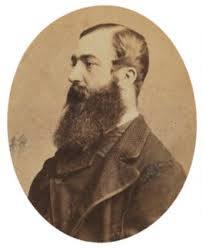
Henry Mullins started working at 230 Regent Street in London in the 1840s and moved to Jersey in July 1848, setting up a studio known as the Royal Saloon, at 7 Royal Square. Here he would photograph Jersey political elite (The Bailiff, Lt Governor, Jurats, Deputies etc), mercantile families (Robin, Janvrin, Hemery, Nicolle ect.) military officers and professional classes (advocates, bankers, clergy, doctors etc).

Henry Mullins Inspired work

Diamond Headshots

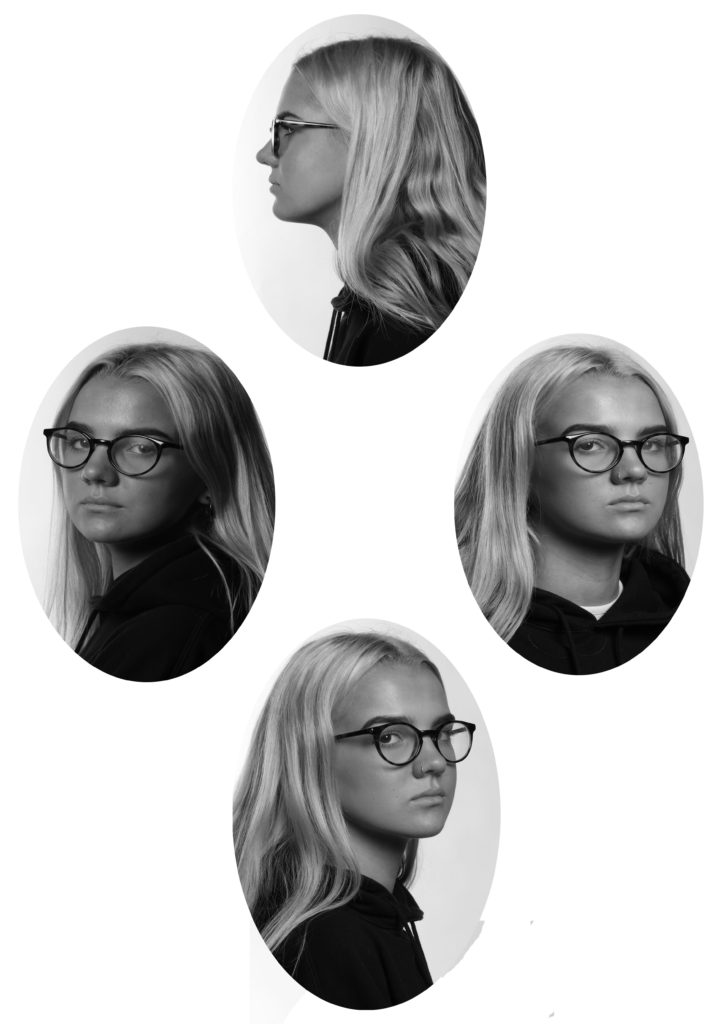
I took inspiration from Henry Mullins to create this idea on photoshop. I used the eliptical marquee tool to create an oval shape to cut out the headshots. I then arranged them into the diamond shape so that it resembles Henry Mullins work.

Photo Montage

What is a photo montage?

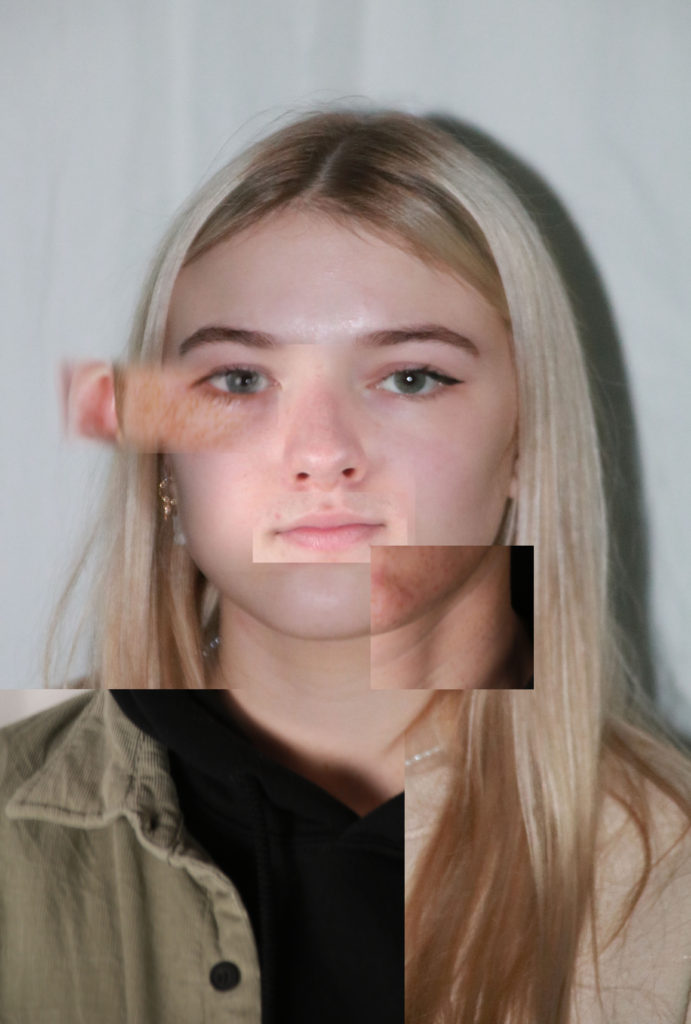
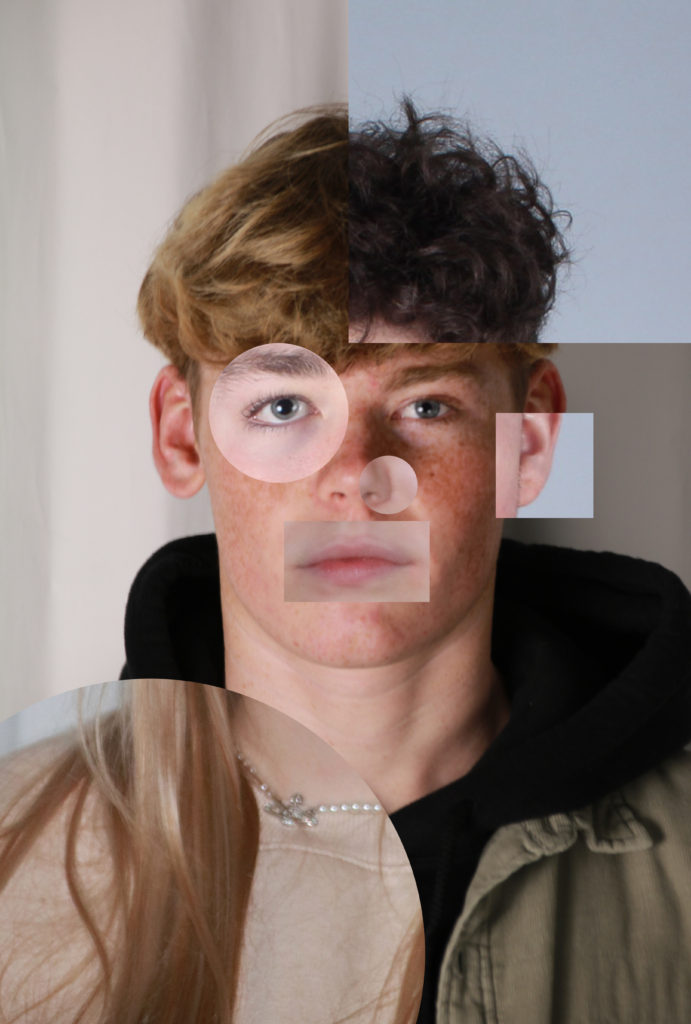
A photo montage is when you copy and paste parts of different images of different peoples faces, and put them into one image.

Brno Del Zou

Brno Del Zou is a French born artist in 1963. He uses fragmentation of the body in order to better understand it.
The body and the faces are revisited and their volumes are highlighted in order to create installations of multiple scales.
These “photo montages” suggest a clear aesthetic preference which does not hide the chaotic and “messy” side of our minds.

How I made mine?

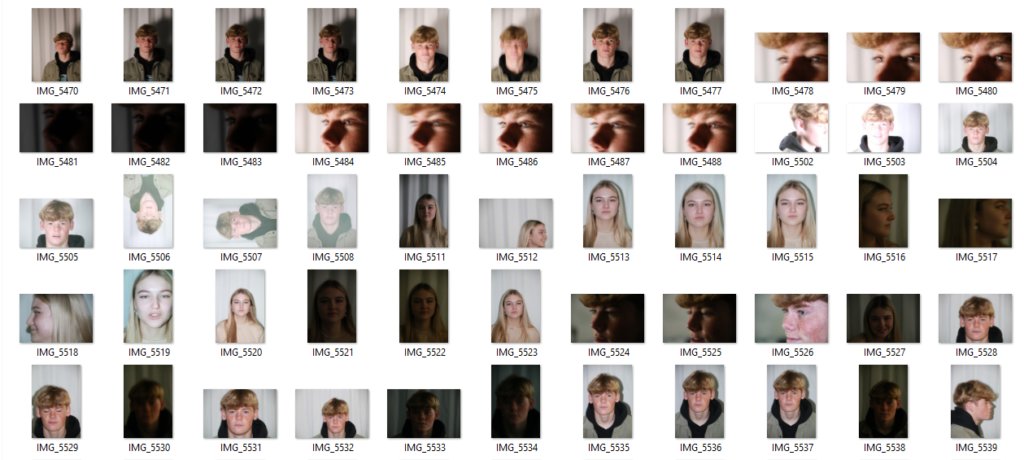
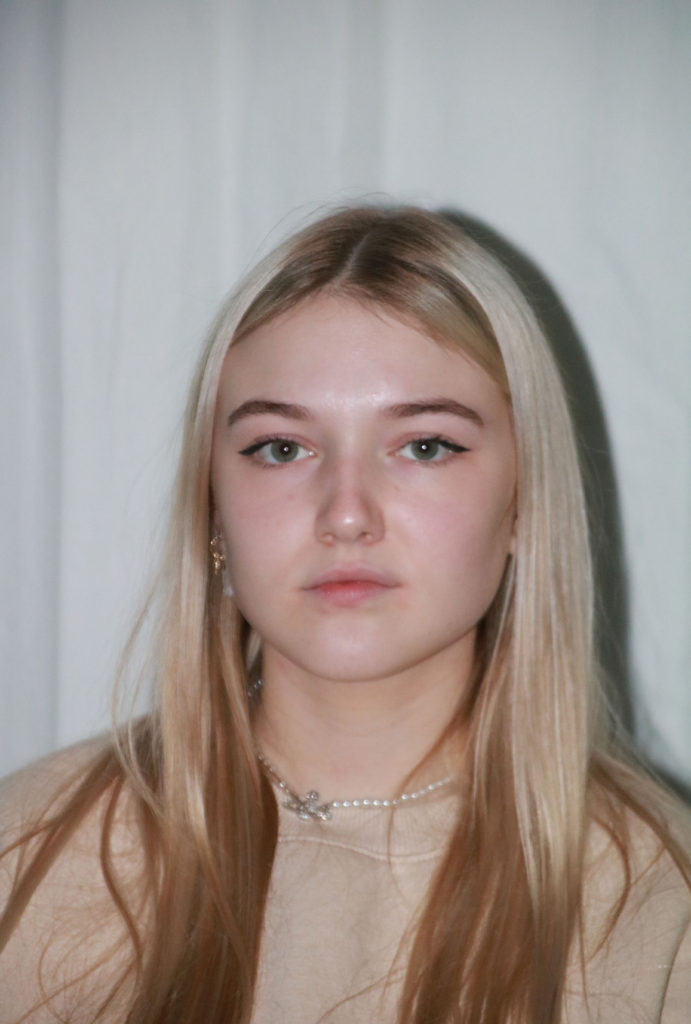
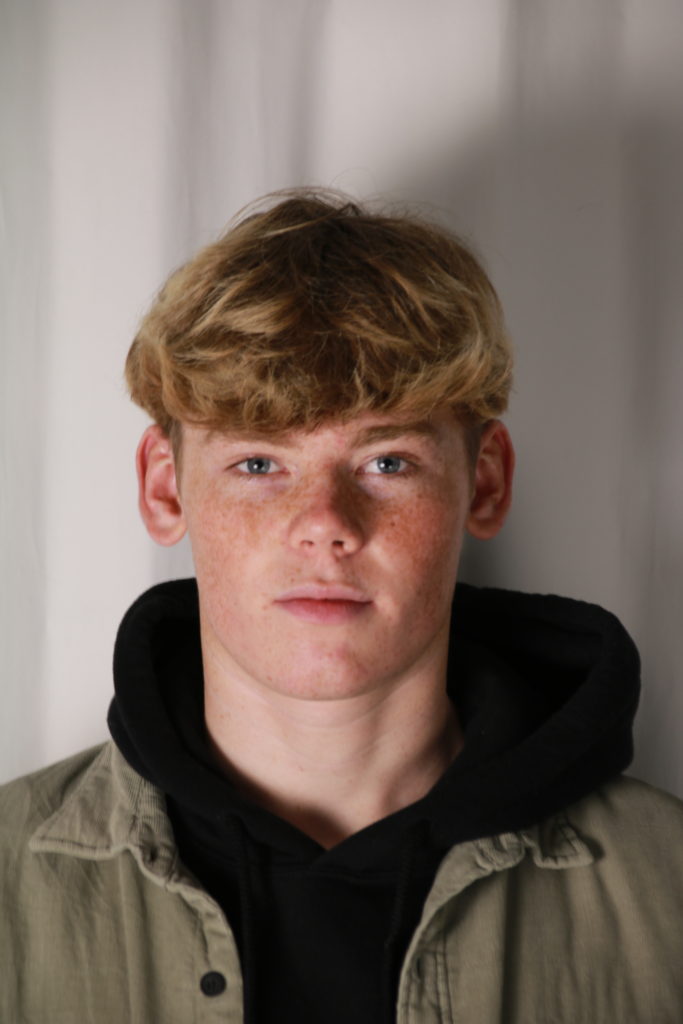
I started by taking images of my friends. They looked into the camera with no expression, this was because it would be easier to match their faces together in Photoshop

Contact sheet:

This were the 3 images I chose to use.

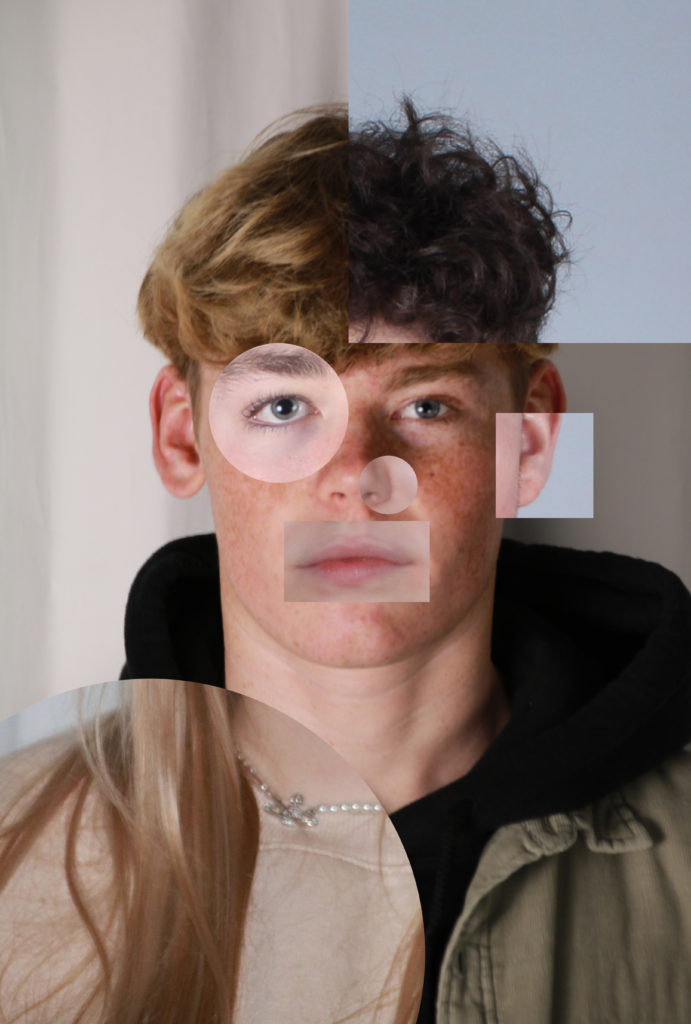
I made layers of shapes in Photoshop to create clipping masks so the image overlays the background image to create a “cut-out” section which would be another person face.

I moved the layers around to see what looked best then saved it.

Final Images

I experimented with different compositions as used circles and rectangles to show the different faces. Overall, I thought that all 3 looked good, but 1 stood out better.

Best Image

I like this image as it worked out well. The shapes that contained the other images contrasted the background image, I think it made it more clear so that you can see the edges. Therefore creating a better outcome. I lined the others images up with the background image so that it looks more natural.

Critique

I don’t really like the harsh lines, so I could of used the eraser tool the fade the image together, although I think that it would take the photo montage aspect away.

environmental portraits photoshoot

Photoshoot Plan

Environmental Portraits inspired photoshoot

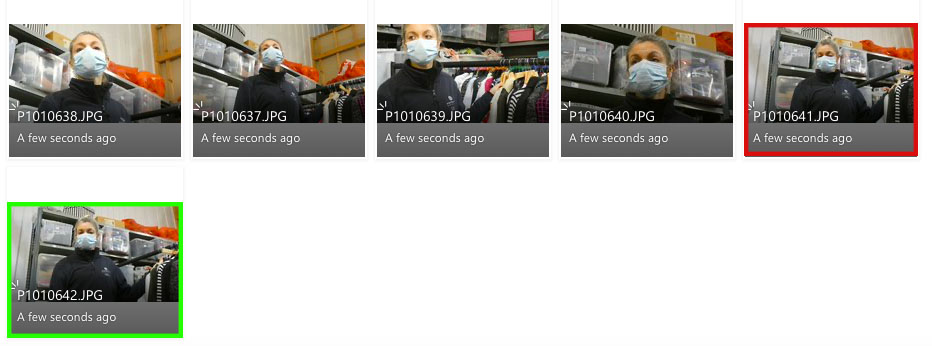
The photographs highlighted in red are what I believe to be my least successful images. This is because these are out of focus, the worker’s eyes are closed or the image doesn’t focus on the aspect I want to highlight.

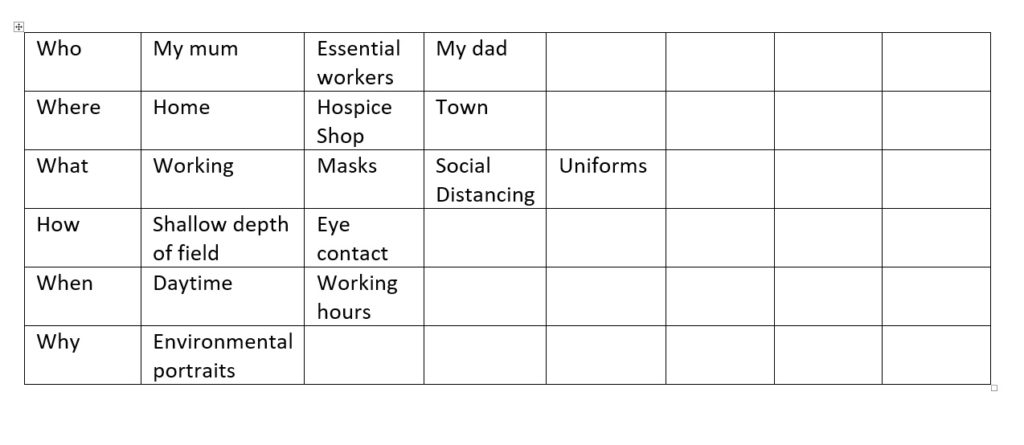
My most successful images are highlighted in green. I think these are my most successful photographs because they represent the worker in their environment, therefore they represent the theme of environmental portraits the best. These images are taken at various angles in order to achieve different perspectives. Also, the use of the essential worker’s uniform notifies the audience the role the worker plays, which was the key signifier for this project.

Photoshop development

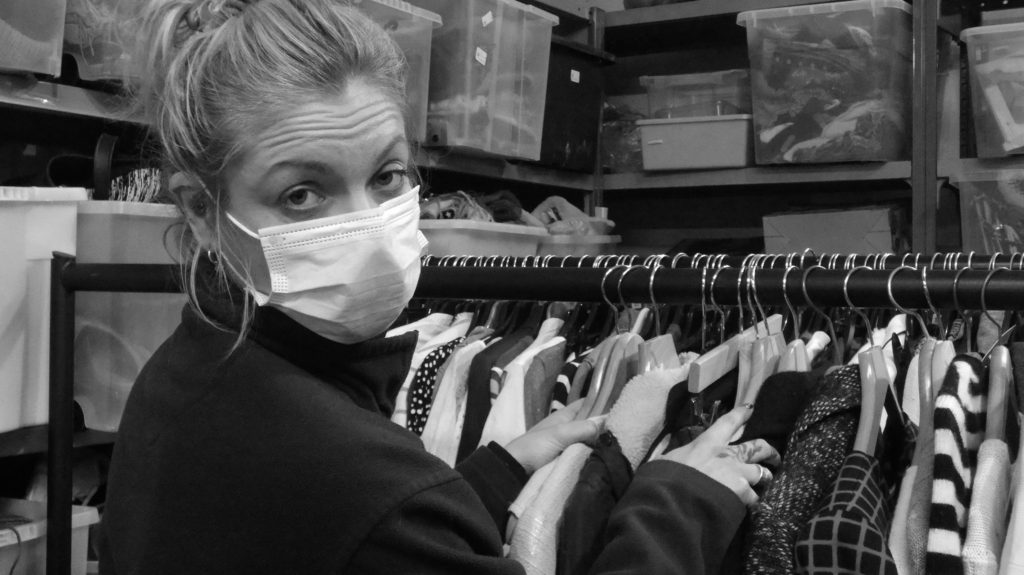
Original image
Edited image

To edit this image, I used the monochromatic filter and adjusted both curve levels and contrast in order to make the photograph more dramatic. The mask creates a focal point as it is a point of extreme contrast against the darker tones.
Diamond Cameos

Henry Mullins

“Edward Joseph Bellew, 2nd Baron Bellew” – Henry Mullins (circa 1862)

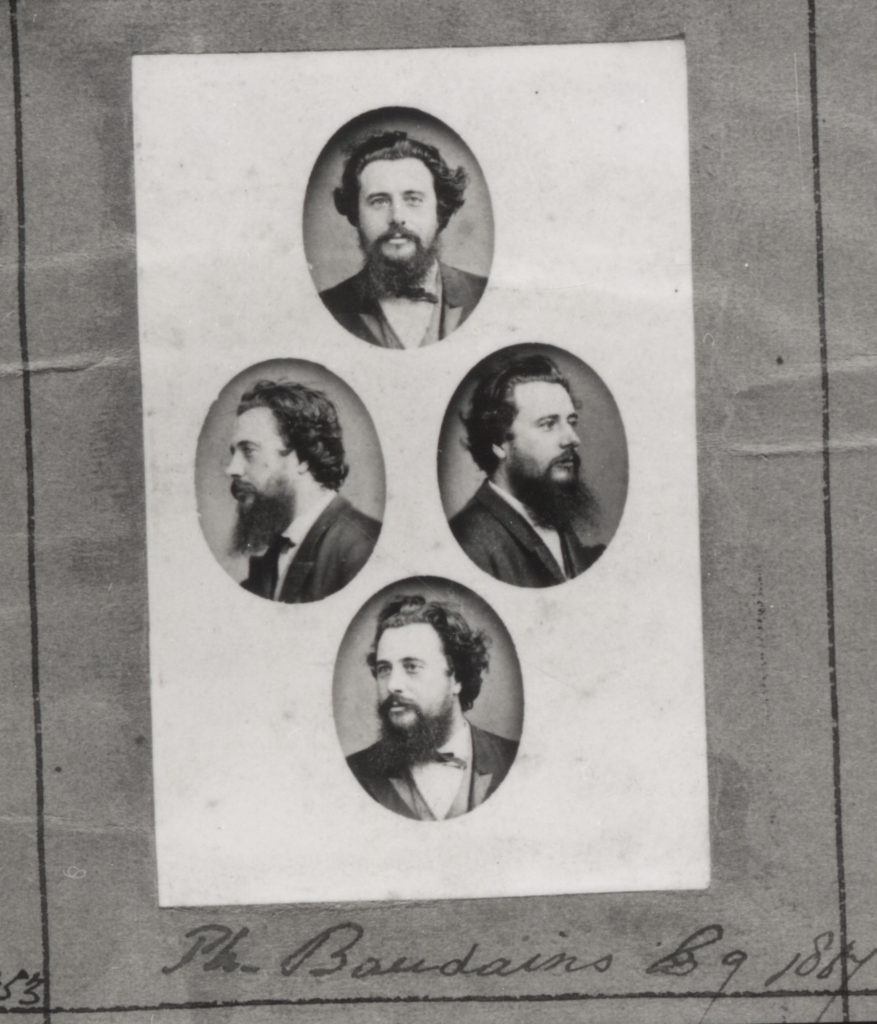
Henry Mullins moved from London to Jersey in 1848. He set up his studio knows as the “Royal Saloon” at 7 Royal Square, where he worked in partnership with Mr Millward for a year. He then worked alone in the same studio for another 26 years. He would take multiple portraits of high class people such as police officers and the Royal Militia, and narrow his portraits down into a set of 4 images cut into oval shapes, and placed into a diamond formation.

Analysis of Diamond Cameo images

Headshot of Philip Baudins – Henry Mullins (circa 1850)

Henry Mullins uses 2-point-lighting in his portrait photographs to gently illuminate the face. The soft lighting subtly highlights the high points of the face without creating harsh shadows. However, some of Henry Mullins photographs can be seen as over-exposed as not a lot of detail of the face is captured, and the photos tend towards lightness although the clothing creates a strong contrast between light and dark.

He instructs the model to turn themselves at different angles in order to capture multiple perspectives of the face. Mullins uses a white background so that nothing is distracted from the face. He would usually take photographs of the models entire body and cut down the selection of images to create headshots

Once Henry Mullins takes the images, he cuts them down into a card which was commonly traded amongst both friends and visitors around the island.

Photoshoot Plan

Diamond Cameos inspired photoshoot

For this photoshoot, I used two-point lighting with soft box lighting to gently alluminate the face without creating harsh shadows. I took photos of the face at different angles and used a tripod in order to keep the camera still and prevent the photos from blurring.

Photoshop Development

Original Image
Original Image
Original Image
Edited Image
Edited Images

To edit these images into the diamond cameo style similar to the technique used by Henry Mullins, I used the elliptical marquee tool and cut oval shapes over the face of the model. I then copied and pasted these onto a new page on Photoshop and arranged them into a diamond configuration. For one of my diamond cameos, I used the monochrome filter to achieve the same effect that Mullins does in his images, however I tried a more vintage look on my second diamond portrait to give it a more modern look without discarding the aged appearance of the photographs.

STudio Portraits

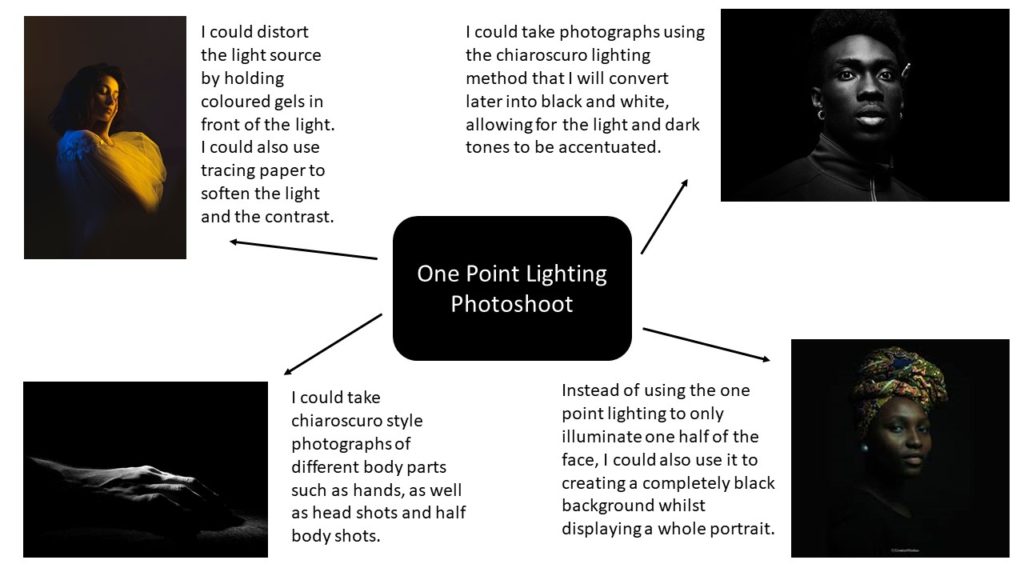
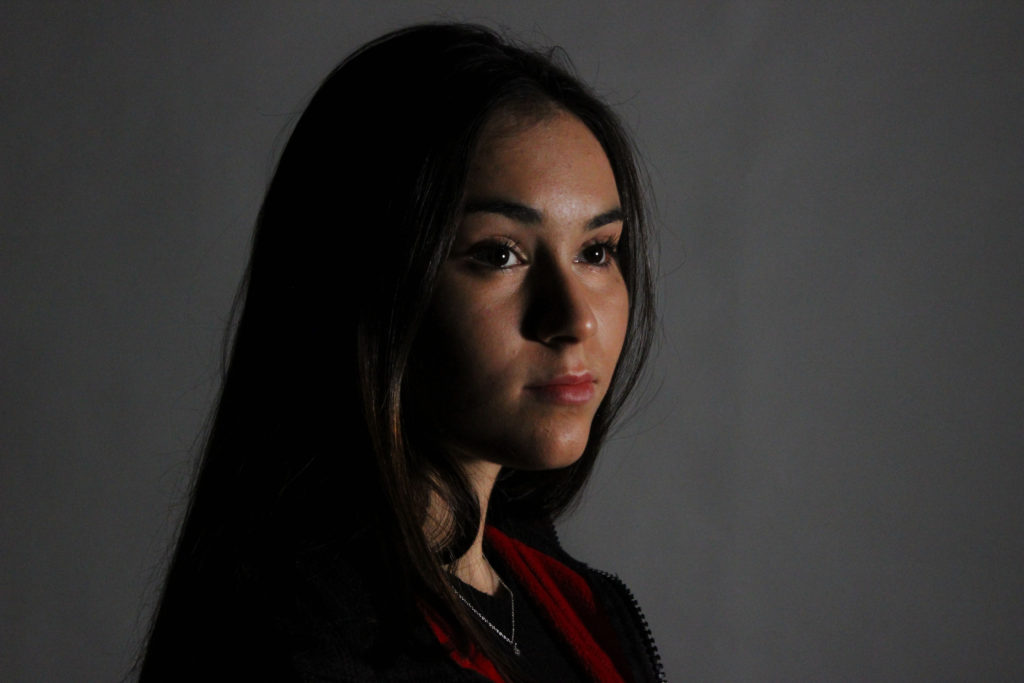
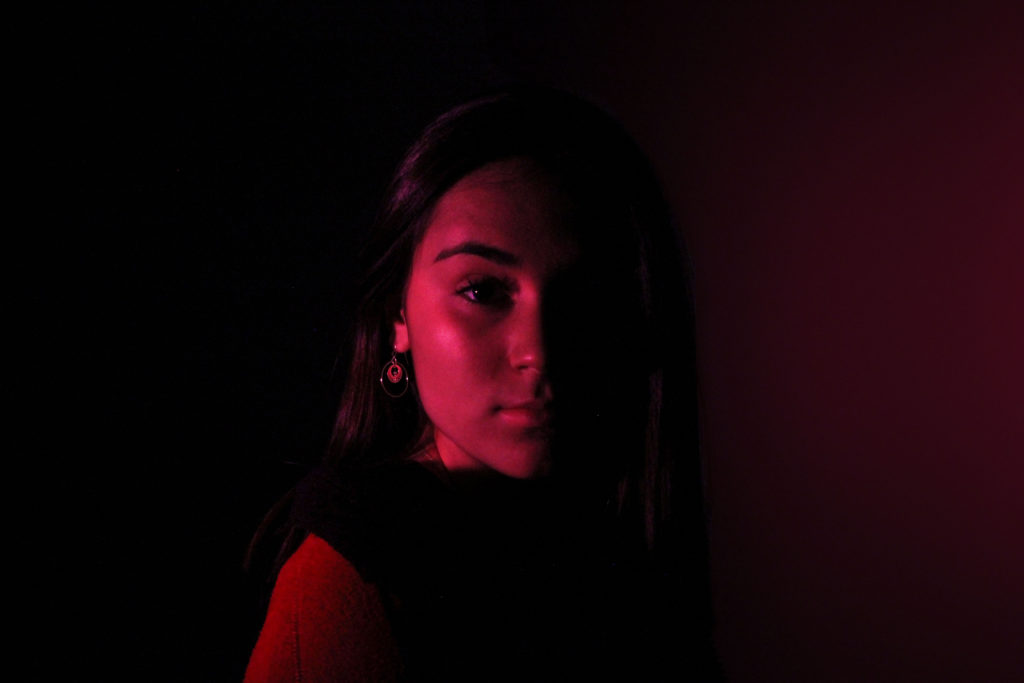
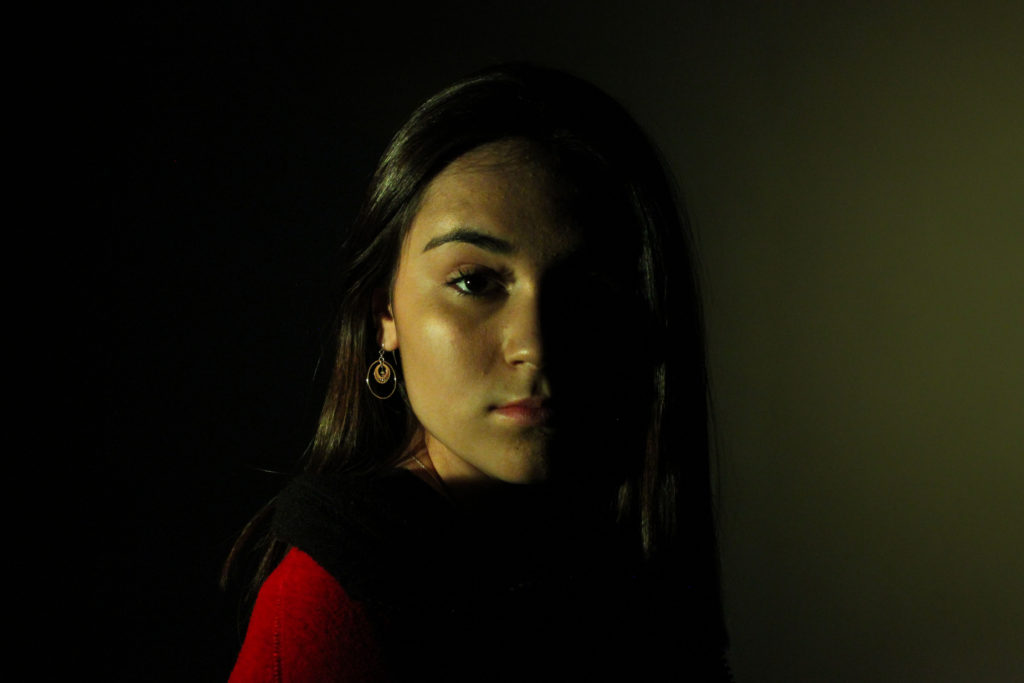
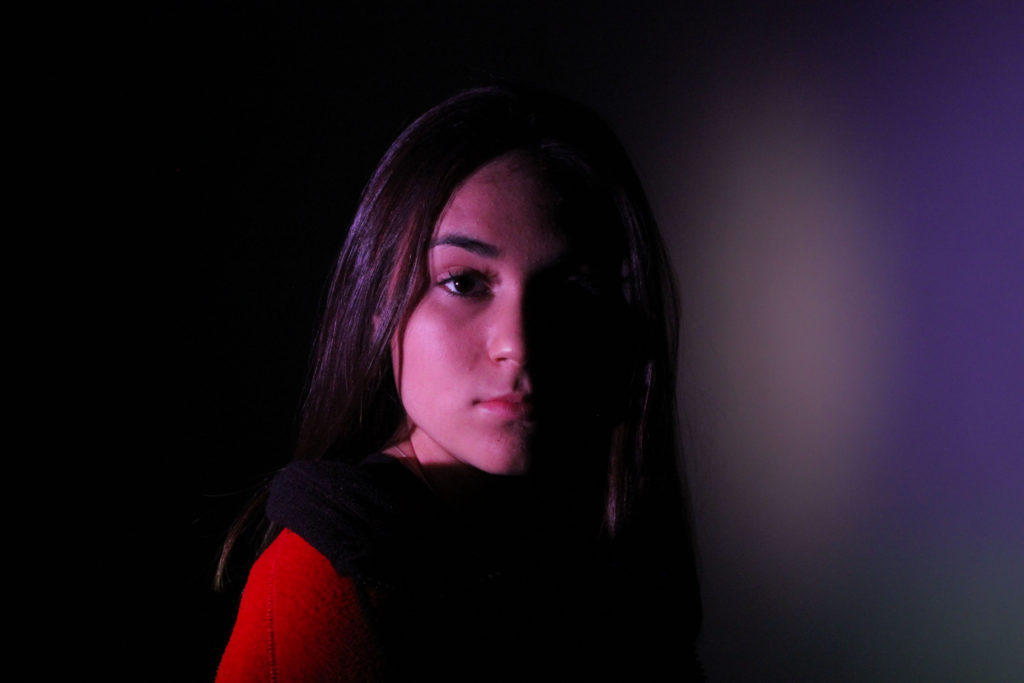
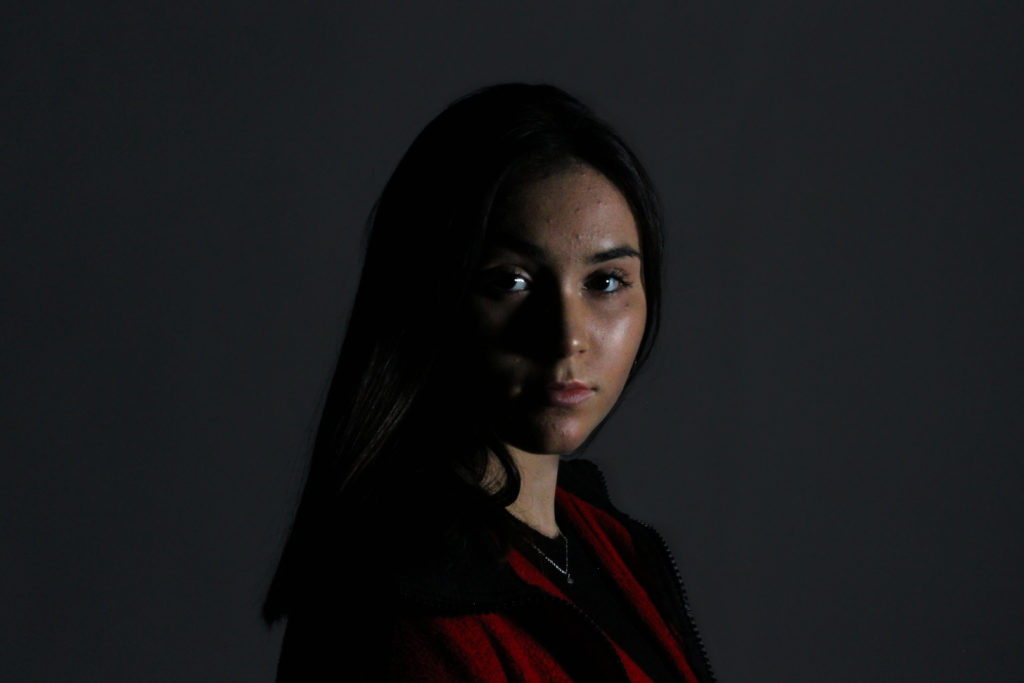
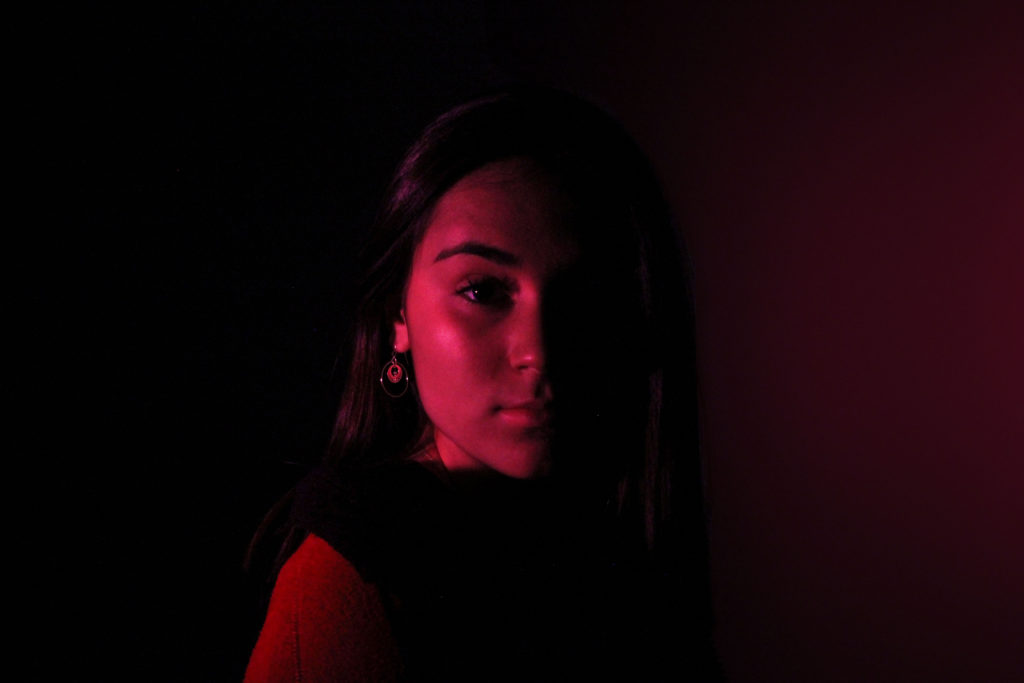
The use of artificial lighting offers many creative possibilities such as chiaroscuro, Rembrandt, hard and soft lighting. This can be done through the use of 1 and 2 point lighting. One point lighting is a type of studio portrait, in which only one light source is used to illuminate the subject, resulting in often dark and moody images. On the other hand, two point lighting is a type of studio portrait, in which two light sources are used to illuminate the subject, causing the images to often look clear, professional and shadow-less.

One Point Lighting and Chiaroscuro

Chiaroscuro is an Italian term literally meaning ‘light and dark’, and also is a method of lighting in which the use of contrast and shading is used to produce a composition. This type of lighting was originally showcased and developed to its full potential by artist Leonardo Da Vinci. Artist or photographers often use this technique in order to achieve a dramatic or impactful final image.

Analysis

Peter Lindbergh

Peter Lindbergh was a German fashion photographer, born in 1944, known best for his cinematic photography and being one of the most influential contemporary photographers. Lindbergh first started off his creative career by studying painting at the College of Art in Krefeld. After graduating Lindbergh turned to the medium of photography, later working for Stern Magazine.

Lindbergh was said to set himself apart from other photographers by redefining beauty standards in fashion photography. He did this by not defining the subject in the photographs by their age, and excessively retouching the images to conceal it. Lindbergh believed that photographers should “free women, and finally everyone, from the terror of youth and perfection”.

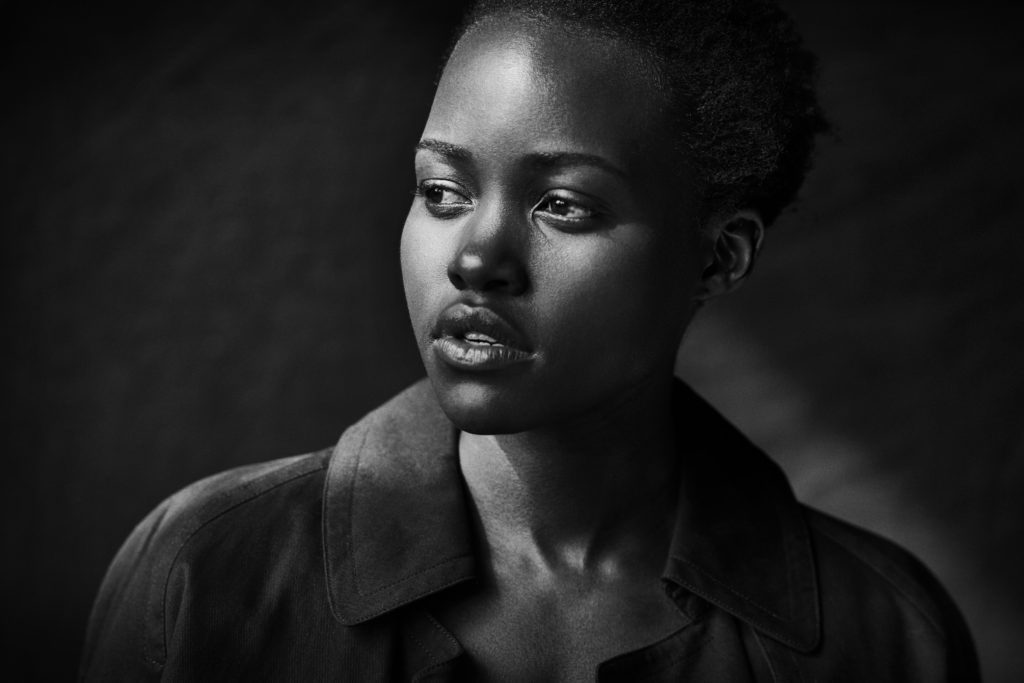
Lupita Nyong’o, photographed by Peter Lindbergh for the 2017 Pirelli calendar.

This black and white image taken by Peter Lindbergh displays a head shot of actress Lupita Nyong’o in one point lighting. By using this method Lindbergh has illuminated the left side of her face while casing a dark shadow on the other. In addition, it can be said that Lindbergh’s use of black and white, instead of colour, accentuates this chiaroscuro lighting and the contrast between light and dark. These contrasting tones also create various angular lines around the image, such as the sharp diagonal shadow line on her neck, which can be said to lead the viewer’s eye towards the focal point of her face. Here Lindbergh has centred Nyong’o in the centre of the image, which allows for almost an even amount of empty space either side of her and the main focus to be on the headshot itself.

Focusing on the technical aspects of this photograph, you can see that Lindbergh has used a fast shutter speed to capture this image, due to the fact that there is little to no blur and it was taken in a dark setting. Furthermore, he has also used a medium to large aperture, as you can see that the background has been given less focus than Nyong’o herself, allowing for a small depth of field. The one point studio lighting for this photograph also means that Lindbergh must have used a high ISO, so that the camera would be more responsive to the little amount of light in the room.

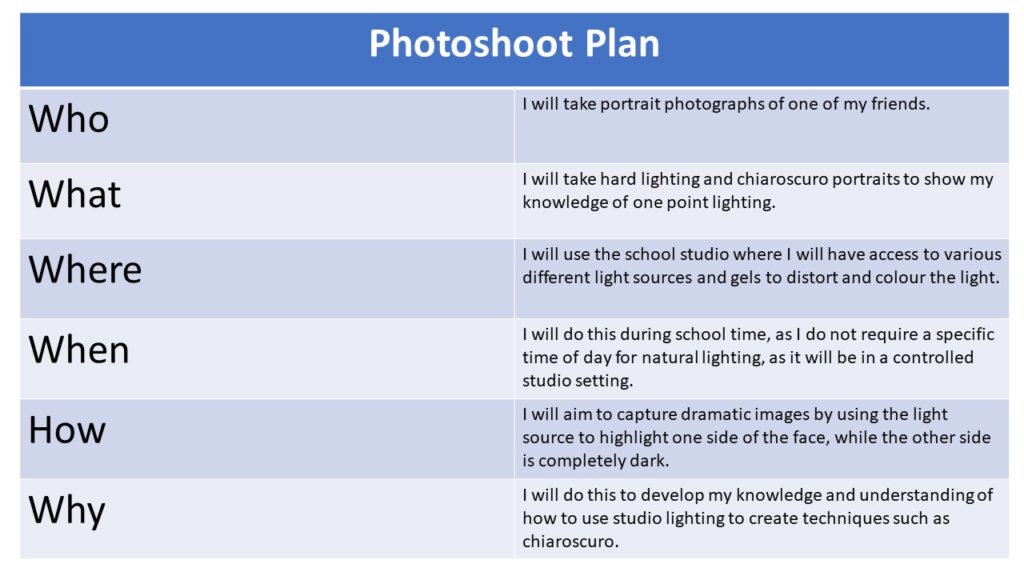
Photo-shoot

Plan

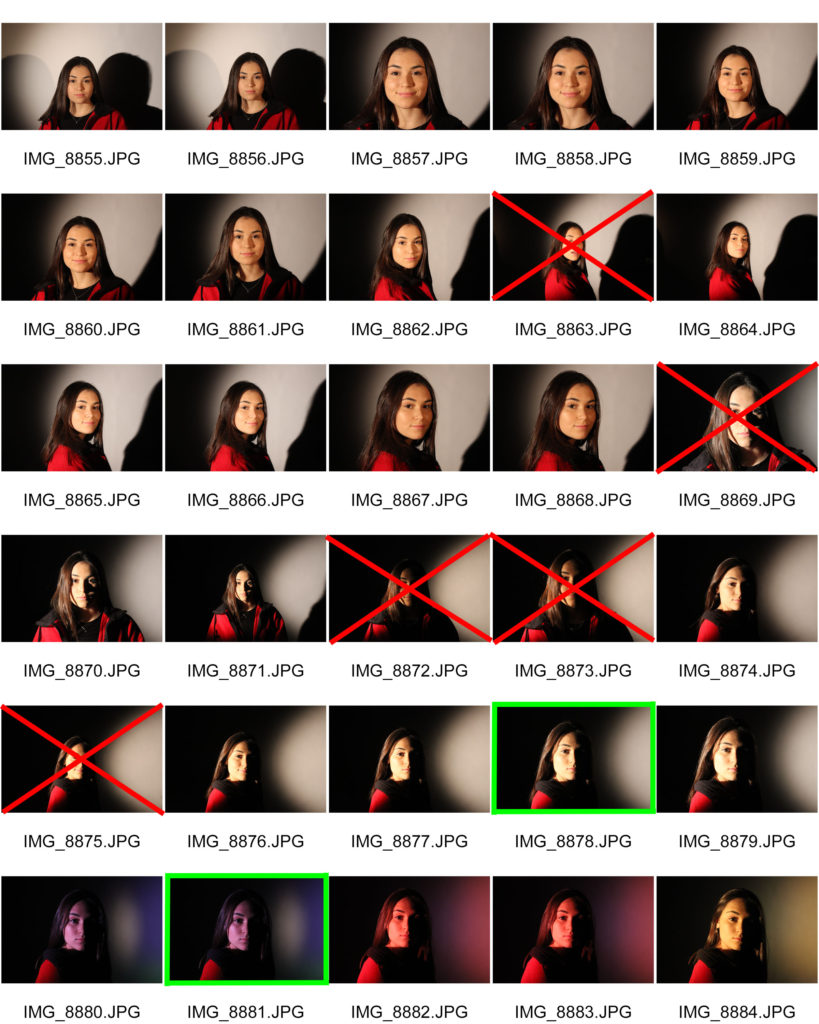
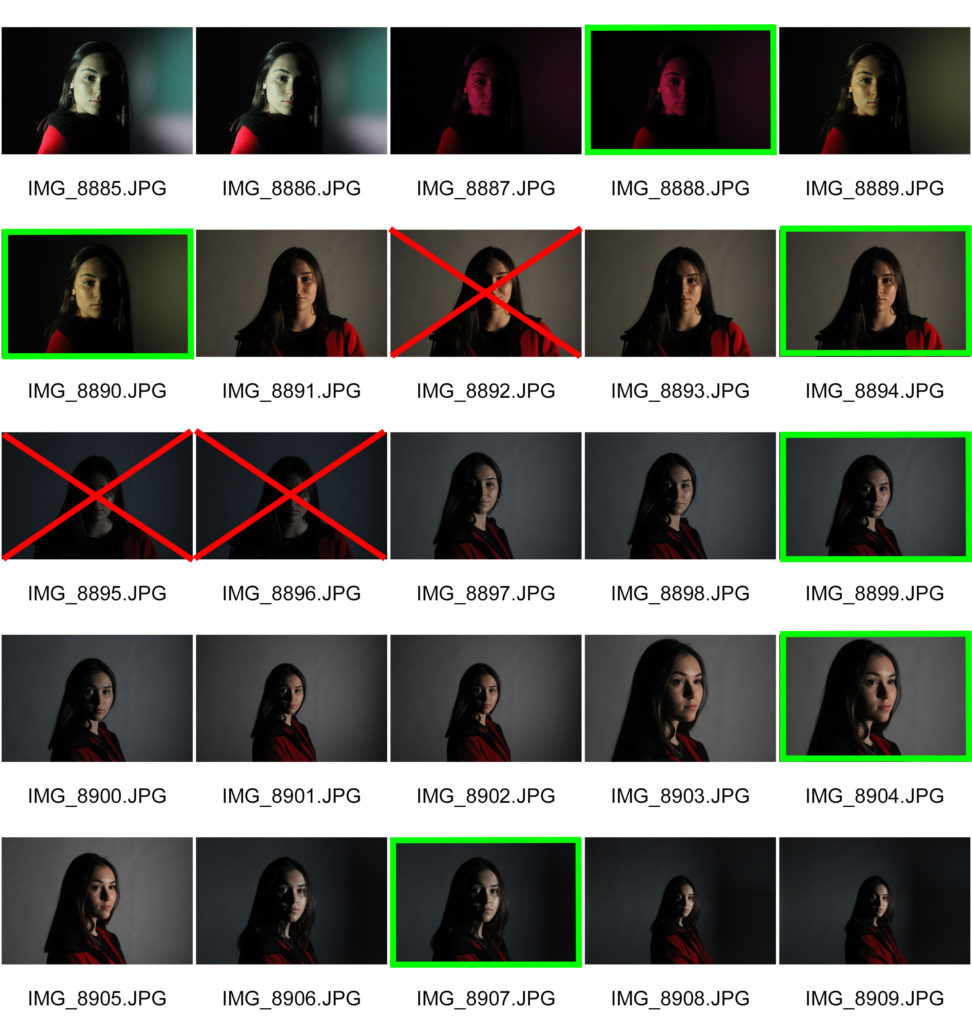
Contact sheets

Edited Images

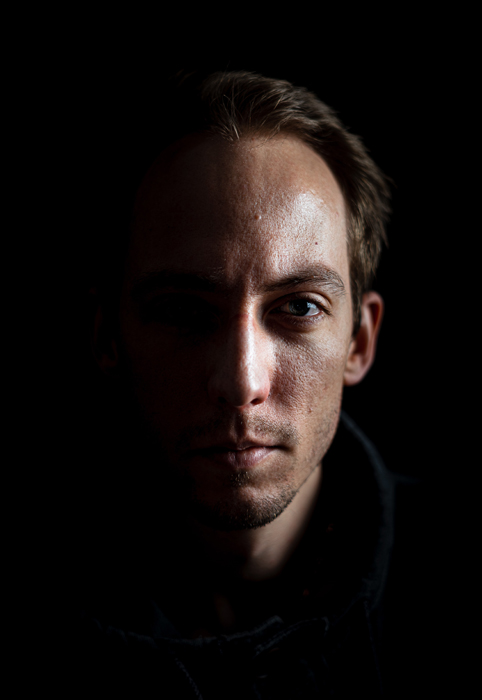
While editing these images I focused mainly on adjusting the exposure and contrast, so that my use of one point lighting would be best displayed. To do this I made sure my images were not too under or over exposed, allowing for a clear and sharp portrait. To further the effects of this type of lighting I increased the contrast on all of my images, in order to get a more dramatic chiaroscuro photograph. I also reduced some of the noise in the background of the images, due to low light.

Final Image

I believe that this is my best image from my studio one point lighting photoshoot, due to the fact that I think it best showcases the technique of chiaroscuro and the contrast between light and dark. In addition, it is also one of my sharpest images and is well centred with a basic background, allowing for the viewers attention to be drawn to the focal point of the subject in the image.

DOUBLE/ MULTI-EXPOSURE

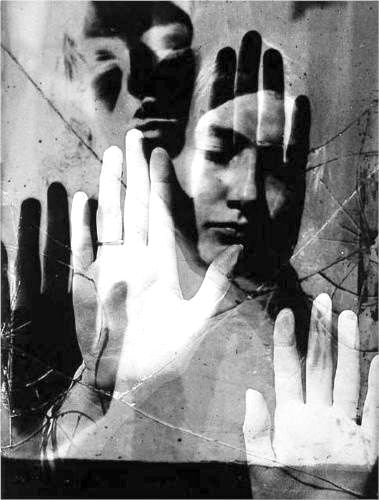
Either in camera or merge two or three images into one portrait. The use of double exposure creates a surreal feeling to the photos, with this it can show deep meaning or symbolism. A similar technique, called a “multiple exposure,” is when you combine more than two exposures in a single image.

Andrés Gallardo Albajar

Andrés Gallardo Albajar is a Spanish self taught photographer living in Estonia who was originally from Spain. He has a background in advertising and marketing but it wasn’t until the summer of 2012 when his mother and brother got him his first DSLR camera. Mostly been inspired by architecture and urban elements which his parents help impact on as they are both architects. He was also inspired in portfolio platforms and also on social media where he follows photographers on sites like Instagram not only a source for inspiration but also helps him find good locations.

Final Outcome

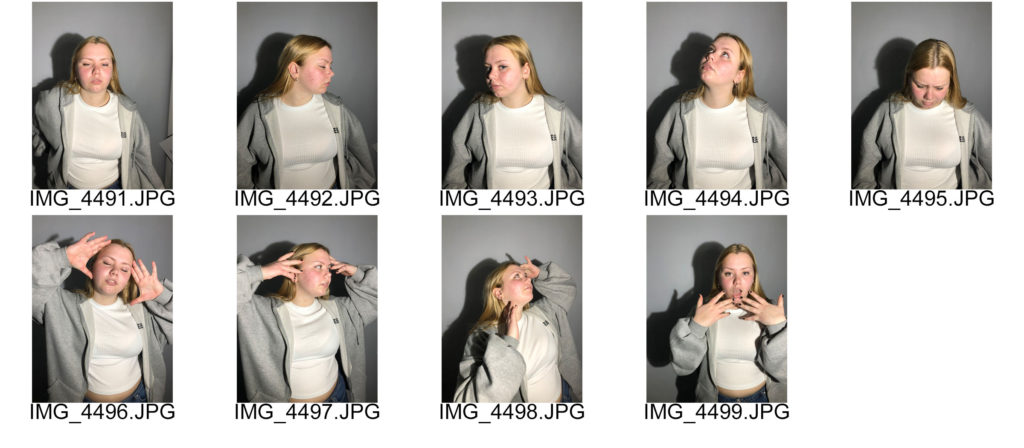
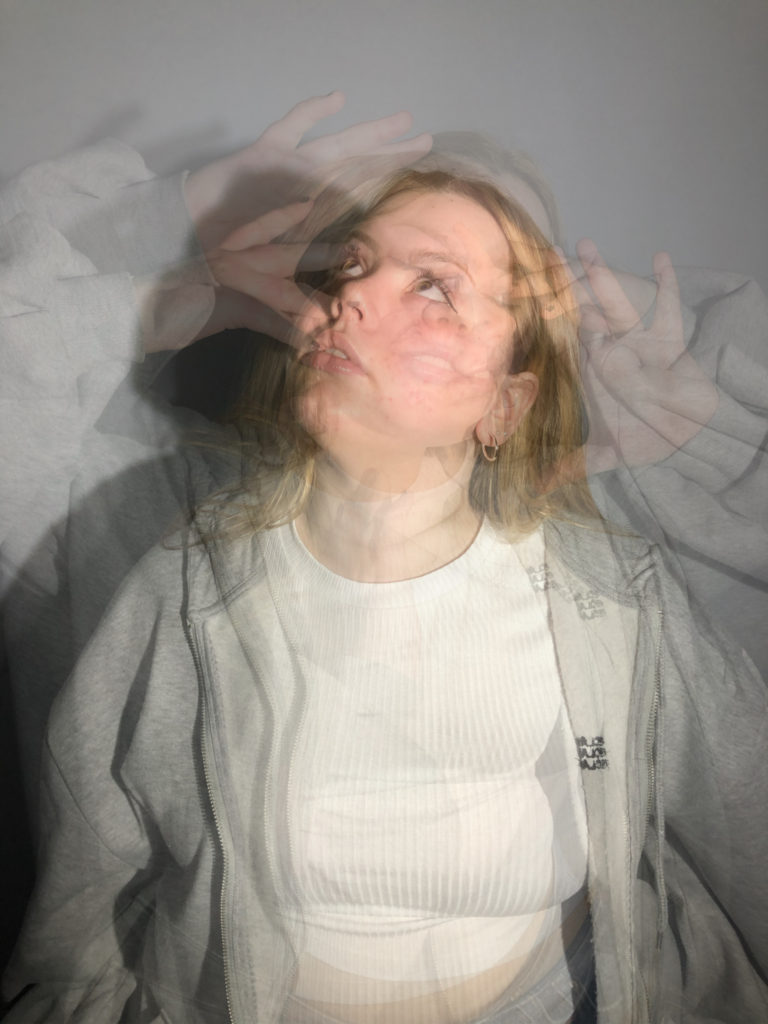
I took some of the portraits that I took of Lucy and layered them on top of each other where I made the only image where she’s looking to the left and no hands on her face the clearest because I want the image to have the idea that these are her emotions that is running through her head. I used 4 images to create this multi exposure with 3 of them having her hands on her head expressing emotions through that way then having one image without her hands and facing the top left corner to give the idea that she is thinking or daydreaming. This symbolises ADHD as daydreaming is a symptom, this represents the idea of lack of concentration and as she is showing different positions and the image is very noisy as though she finds it difficult to sit still.