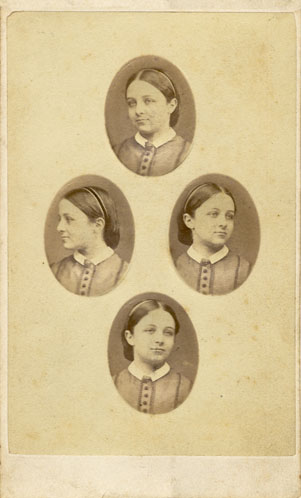
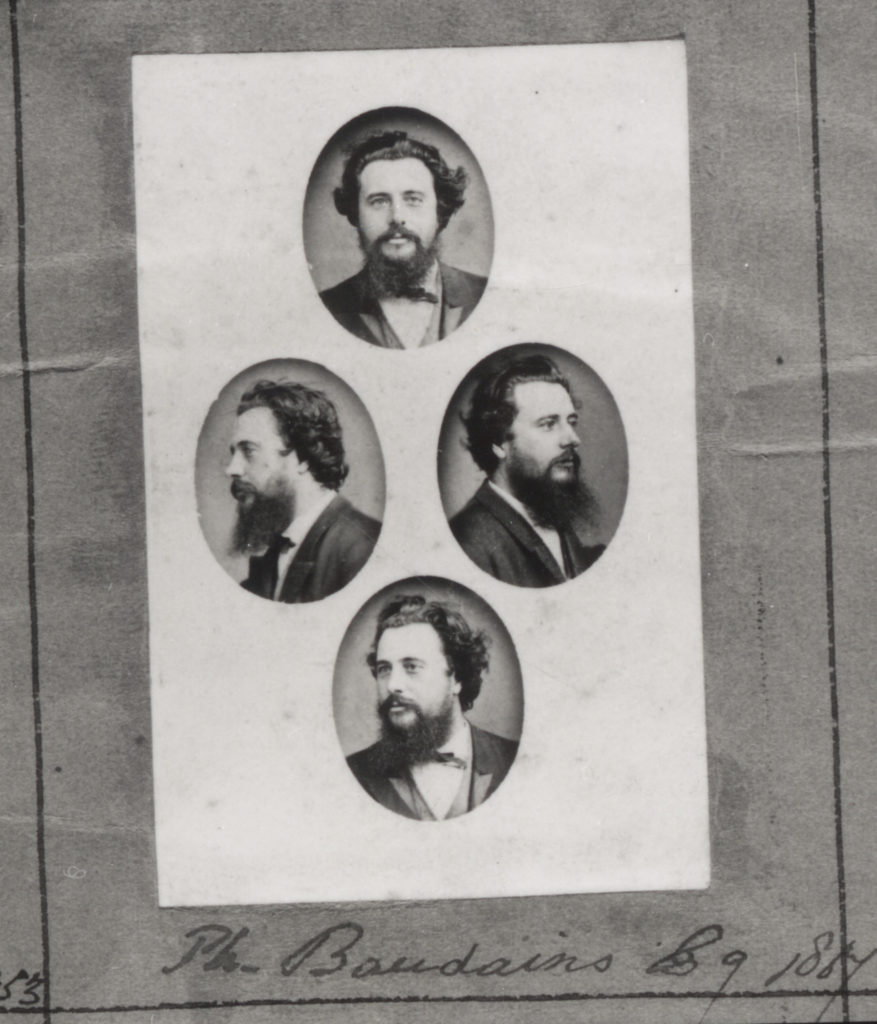
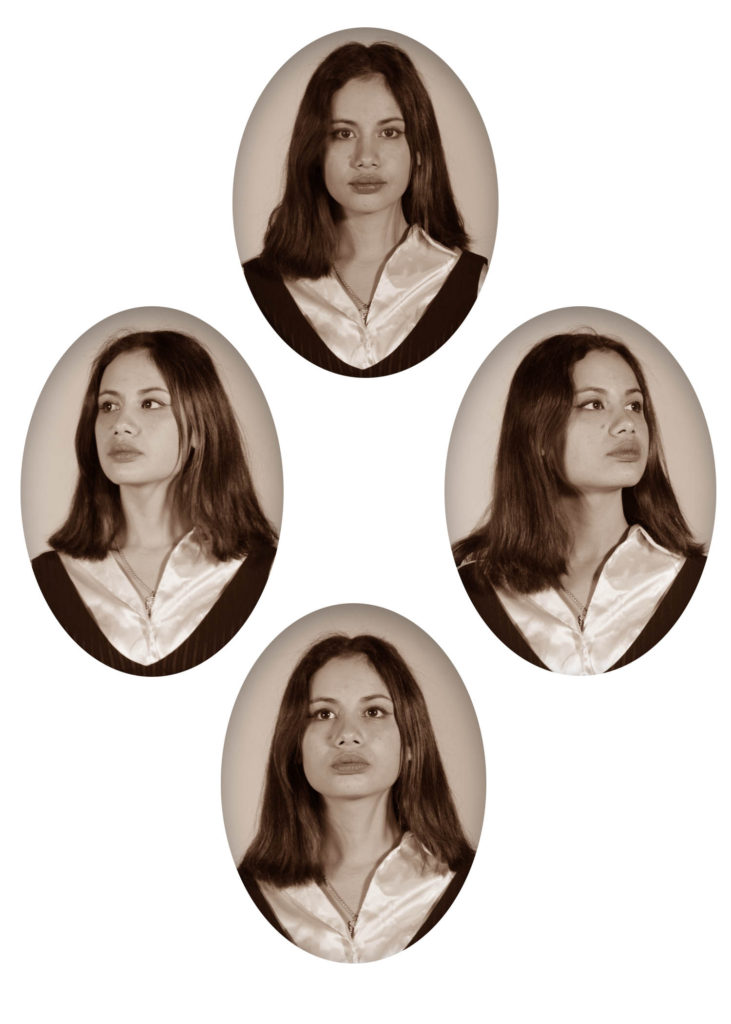
Portrait of Philip Baudains, Writer, Advocate, Constable and Deputy of St Helier. The four headshots of Baudains are presented in a Diamond Cameo which is a process in which four separate portraits of the same subject are printed on a carte de visite.
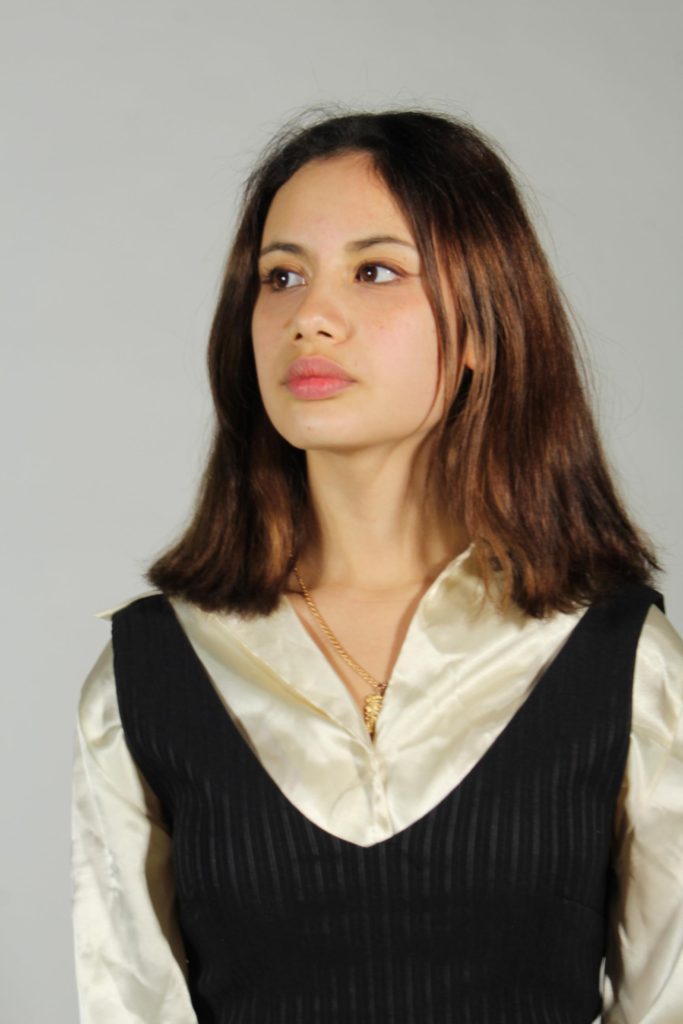
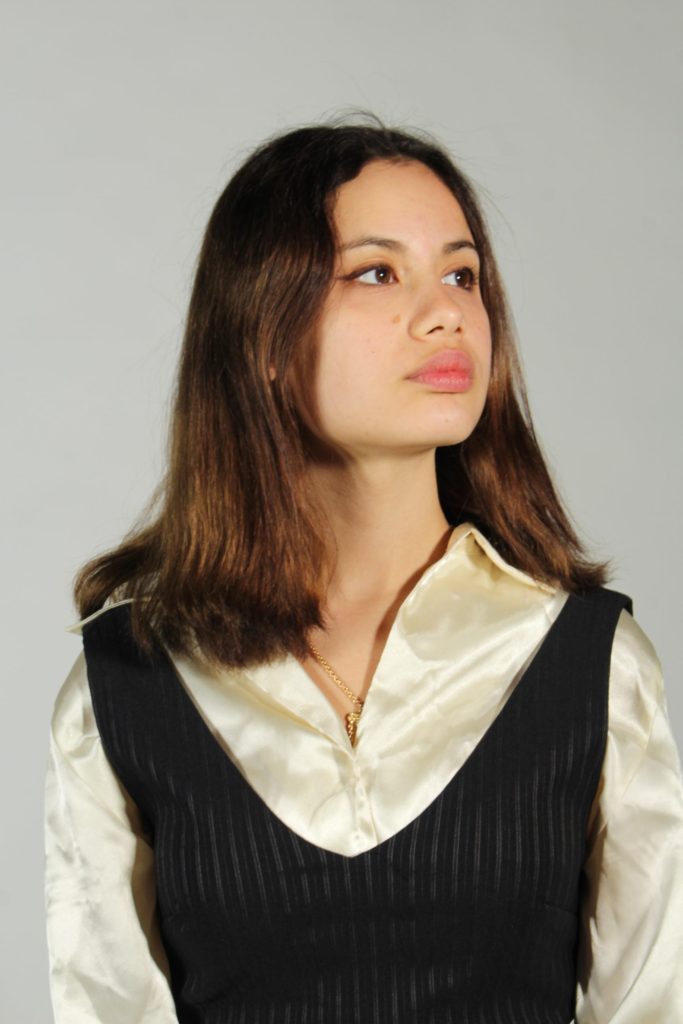
I began by taking normal portrait headshots: one of the right side of the face, one of the left, one of slightly below and one straight on.
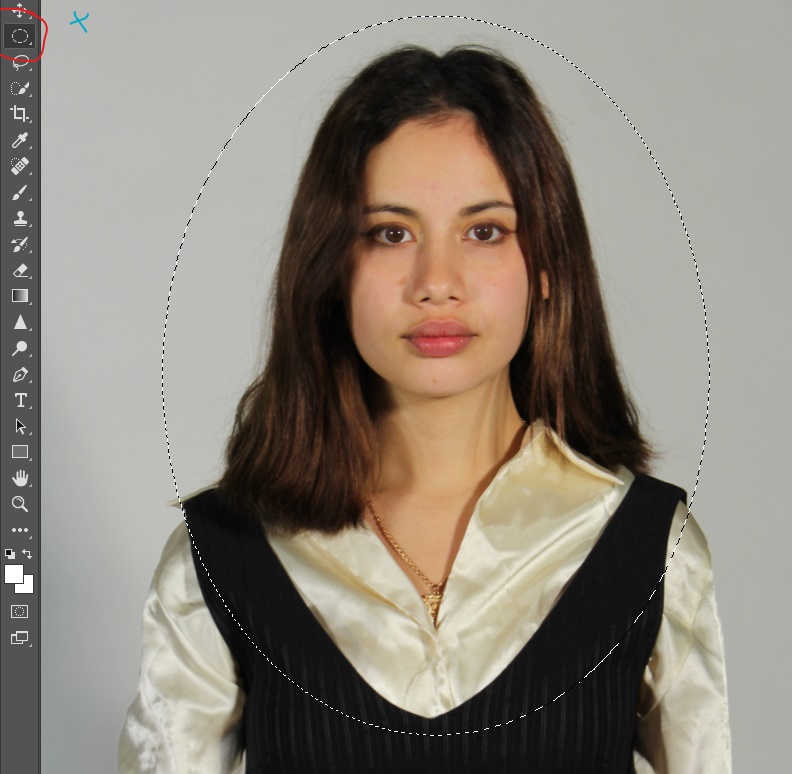
Image 1 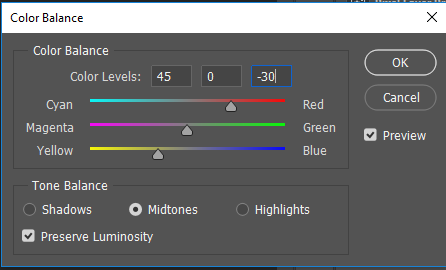
Image 2 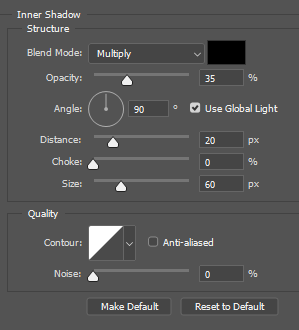
Image 3
On photoshop, I began by selecting the Elliptical Marquee Tool, held left click and dragged from approximately where I drew on the blue X for an even and symmetrical cut (shown on image 1). I then pasted this cut-out onto a new, plain white document and sized it down – I repeated this step for all four images and placed them in a diamond shape (as seen in the examples right at the top). One by one I changed eash of the images to black and white and changed the colour balance levels to ‘45,0,-30’ as seen in image 2. This was to create a vintage-like tone. Lastly, I dropped an inner shadow with a distance of 20 and a size of 60 as shown in Image 3. This was to create a sense of depth.


Great…well done. Please add more about Henry Mullins / SJ Photo Archives / history of portrait photography .
This is clear and purposeful with a sound level of creativity too.
As a target : aim to include relevant hyperlinks and embed useful clips / podcasts too to keep your blog interactive, visual and a hub for your knowledge and understanding!