Studio Portraits

Studio Lighting

We use studio lighting because it allows us to create natural lighting effects in a variety of situations. This lighting can be manipulated to the users living to create the desired final effect of highlights and shadows. In a studio, 1, 2 and 3 point lighting can be used. By using three point lighting the photographer can light the subject whilst controlling shading and shadows produced by direct lighting. By using two point lighting the subject is lit and the shadows are controlled by the second light source. By using one point lighting the subject is only lit from one direction, creating string dark shadows. If two lights are used, this is called fill light, it is used to fill the shadows created by the fill light.

Chiaroscuro

‘The term “chiaroscuro” has come to define images in which there is a strong contrast between light and dark areas that help inform the shape and form of a subject.’

Camera Settings

Camera settings (flash lighting)
Tripod: optional
Use transmitter on hotshoe
White balance: daylight (5000K)
ISO: 100
Exposure: Manual 1/125 shutter-speed > f/16 aperture
– check settings before shooting
Focal lenght: 105mm portrait lens

Camera settings (continuous lighting)
Tripod: recommended to avoid camera shake
Manual exposure mode
White balance: tungsten light (3200K)
ISO: 400-1600 – depending on how many light sources
Exposure: Manual 1/60-1/125 shutter-speed > f/4-f/8 aperture
– check settings before shooting
Focal lenght: 50mm portrait lens

Photo shoot’s from the studio
STUDIO PORTRAITS 1

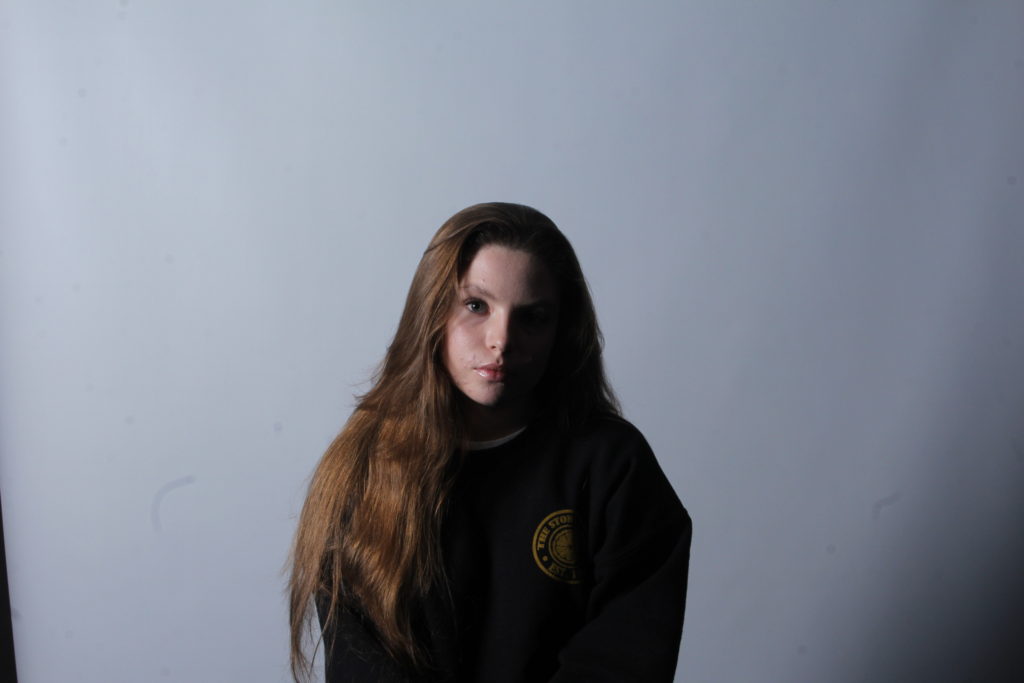
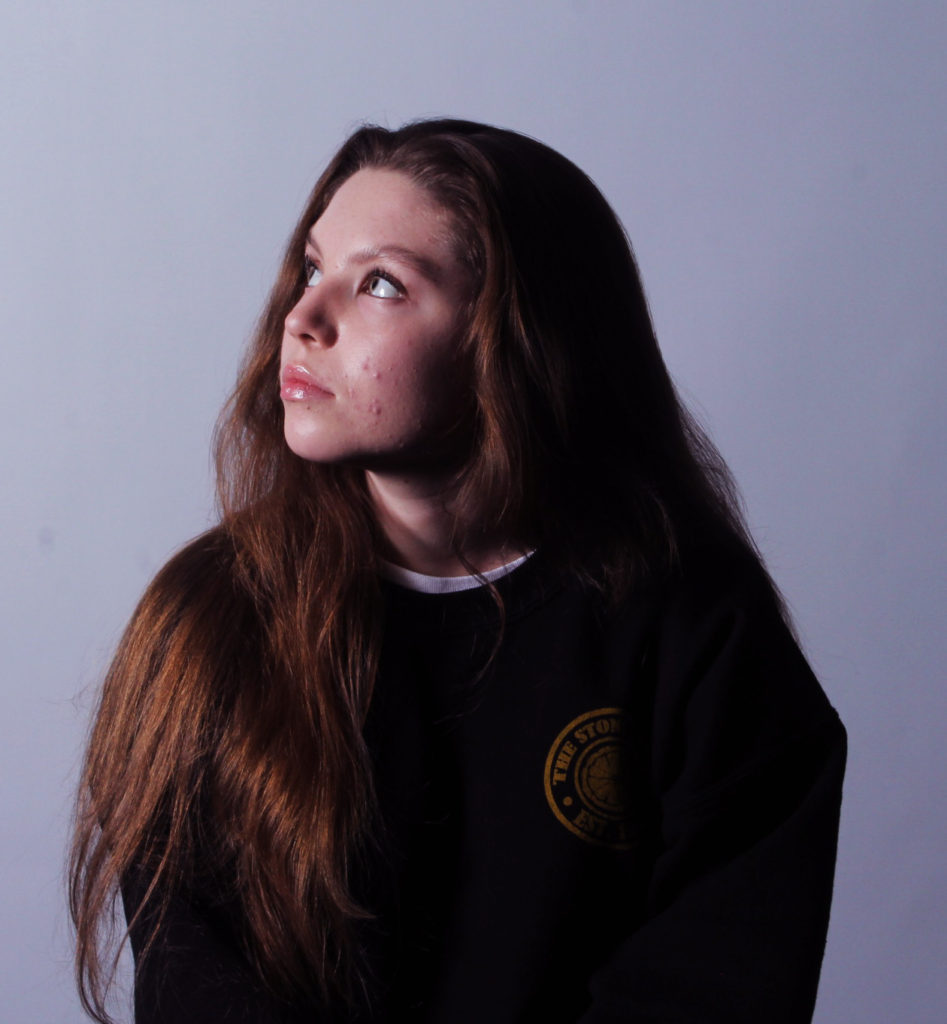
Studio portraiture is an incredibly versatile genre of photography: images can be anything from bright, punchy, high-key images full of light and energy, to dark, intense images that draw the viewer to the subjects eyes. Studio portraits are widely used for many things, especially media.

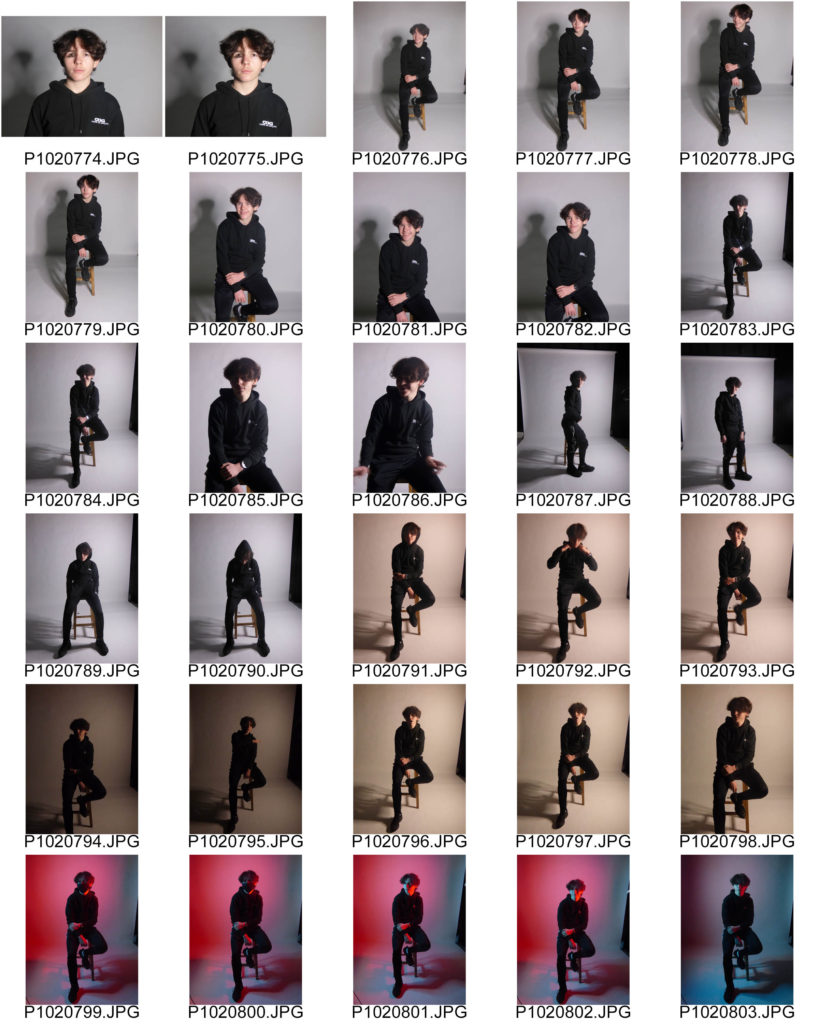
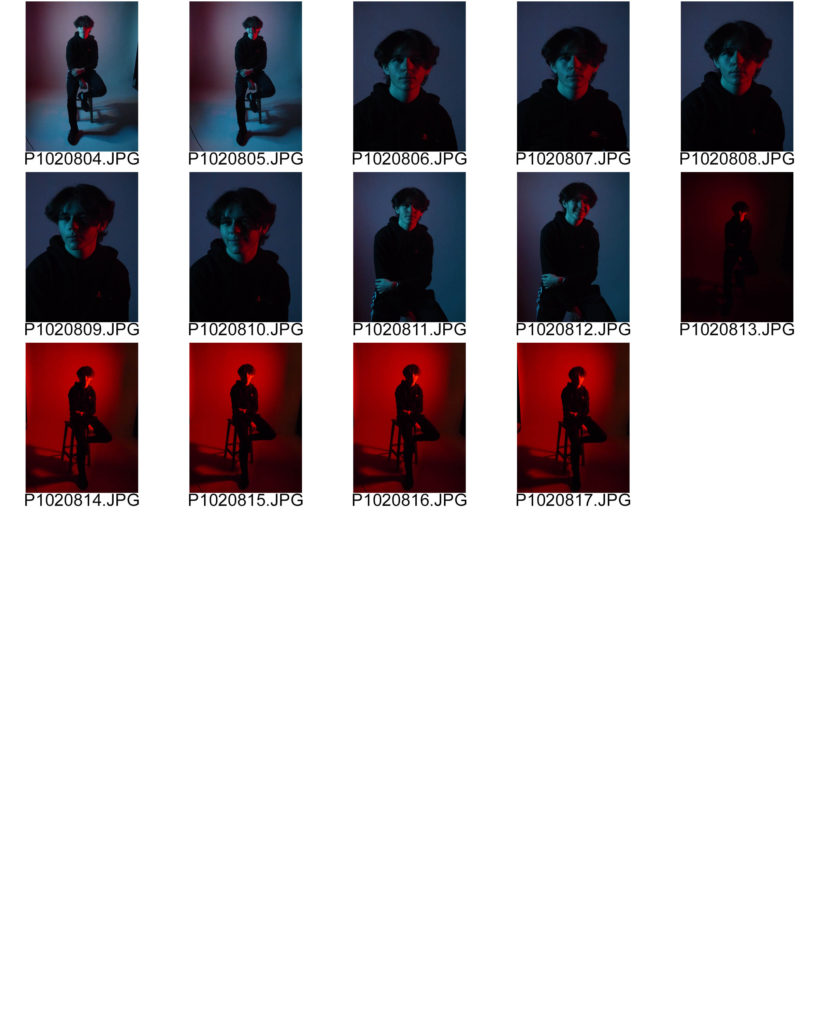
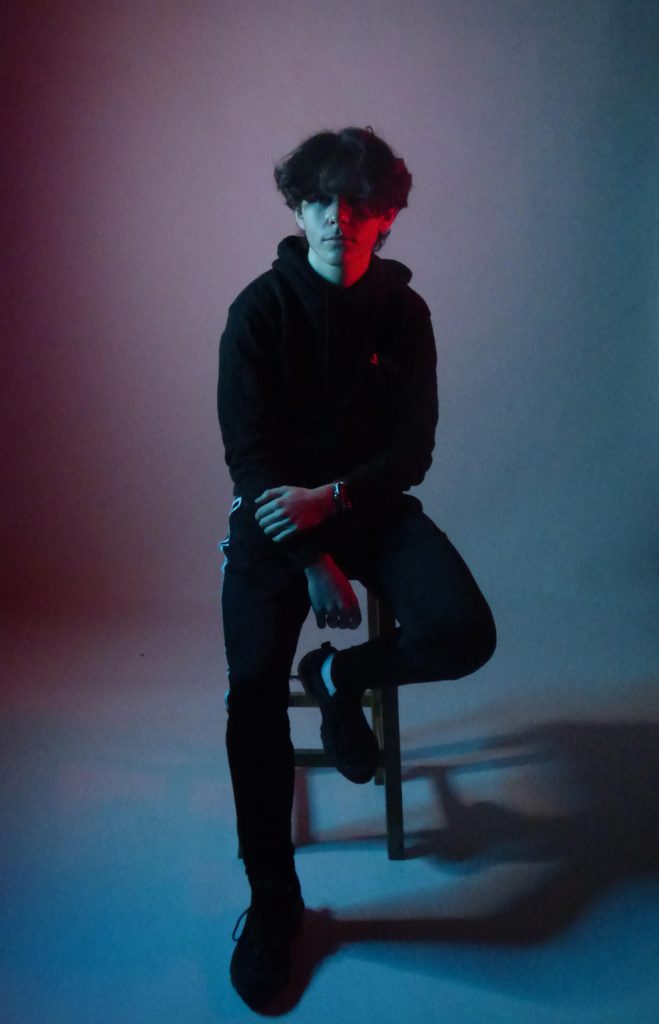
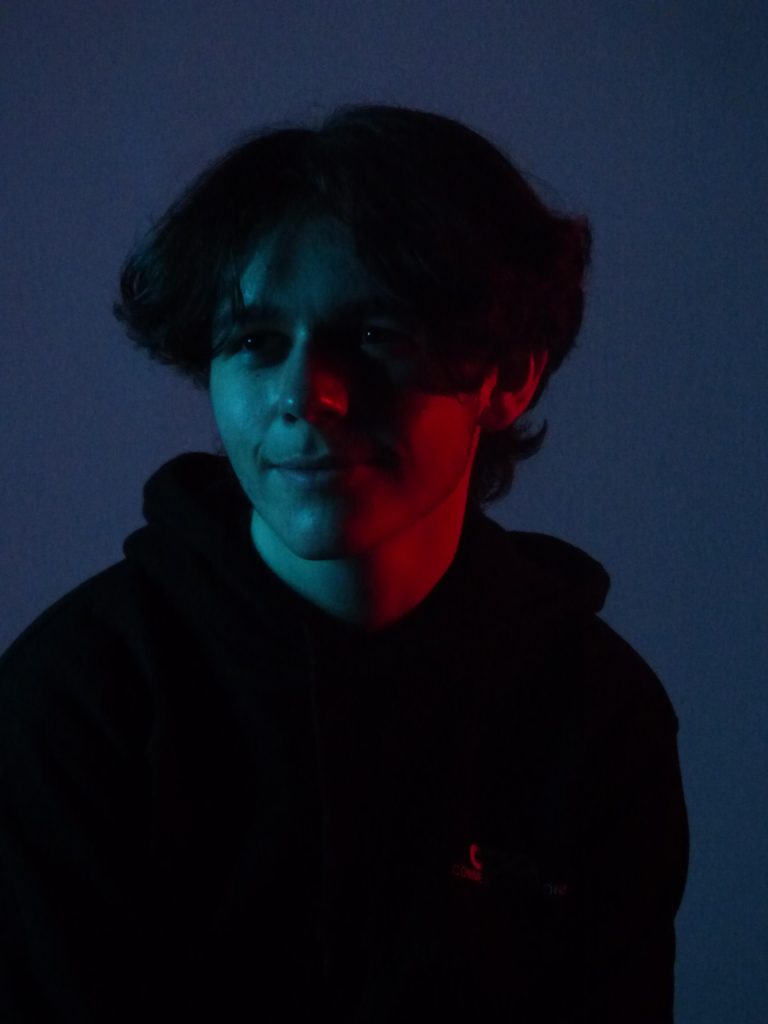
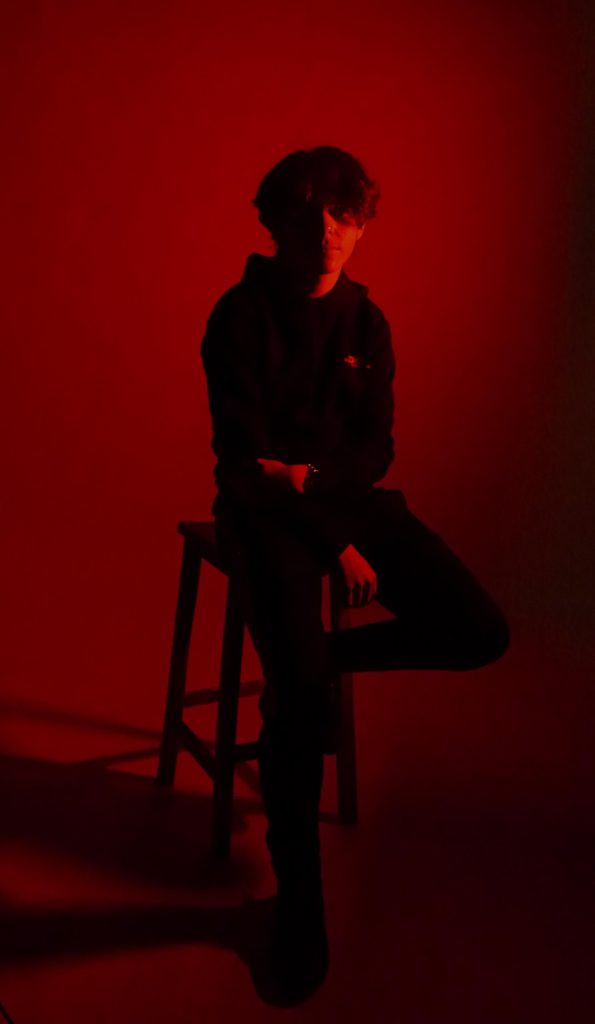
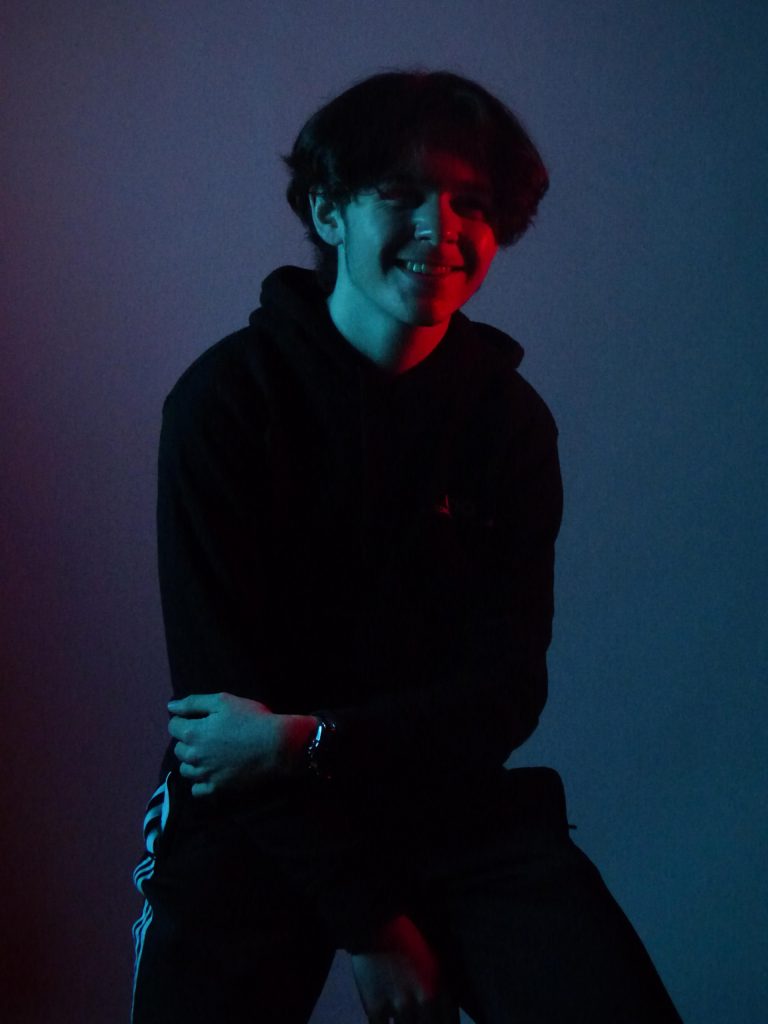
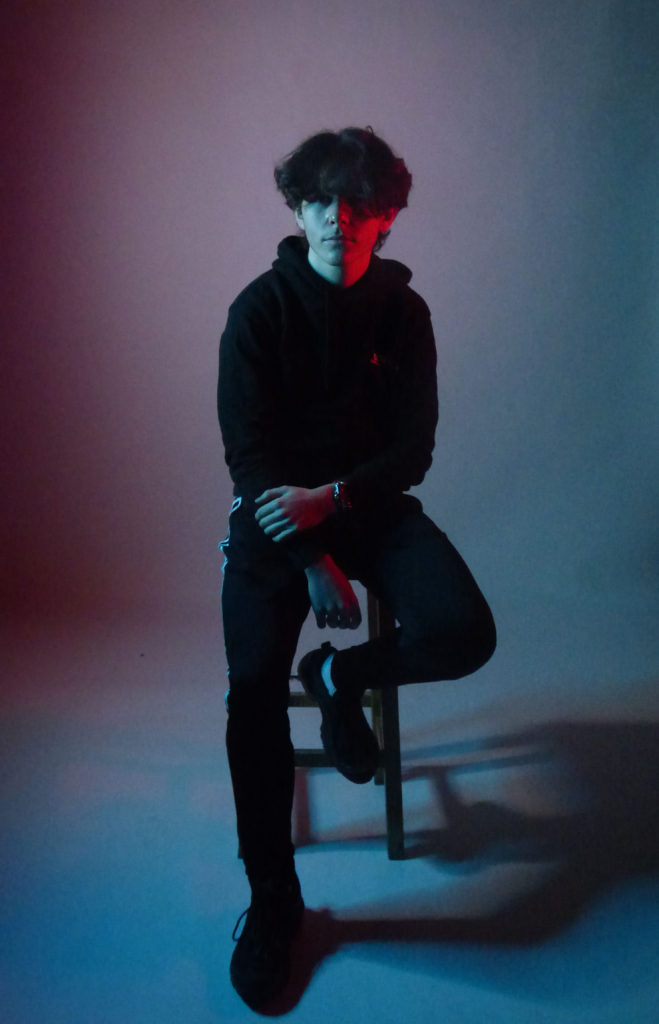
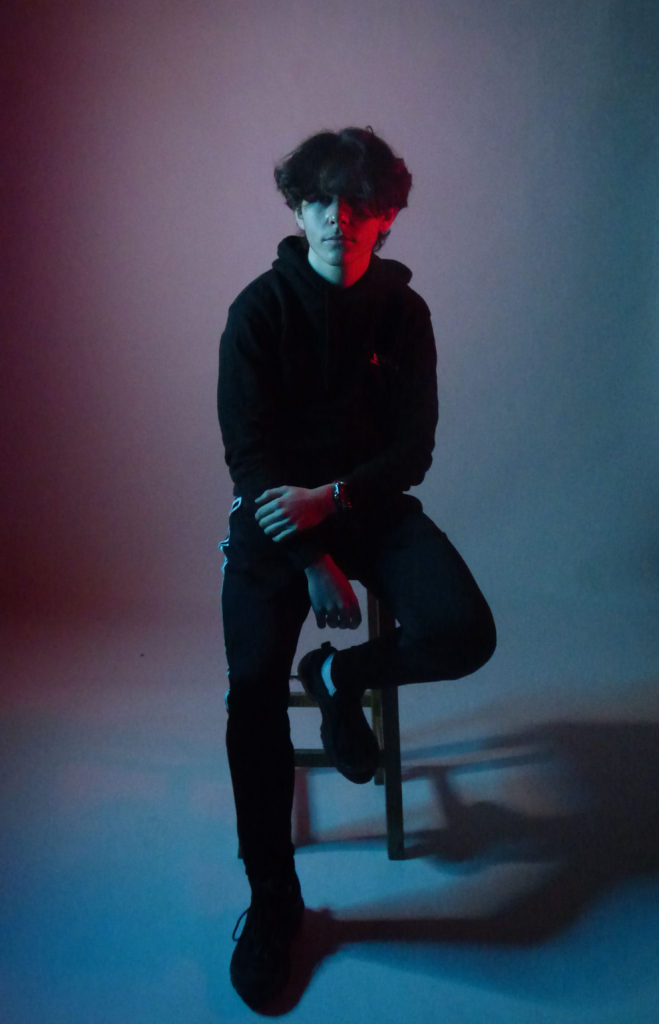
When taking the photos, I began with a few test shots using 1 point lighting and instantly chose to include a stool- I feel like it made my photos a little more interesting. I began testing different lighting for example light, dark, warm, cold. I had previously taken photos using coloured lights and they always added a dramatic effect, so I added blue and red gels on either side of the model, creating 2 point lighting– I really liked the outcome.

When editing these images, I slightly cropped each side as my original images had the sides of the studio showing. I sharpened the face a little and increased the exposure to lighten them.

I chose this image as the final image as the composition turned out well- I like the smooth transition of colour in the background and the strong shadow on the bottom right. The focus is still drawn to the face due to the bright colour and contrast which is what I was going for.

Studio Headshots

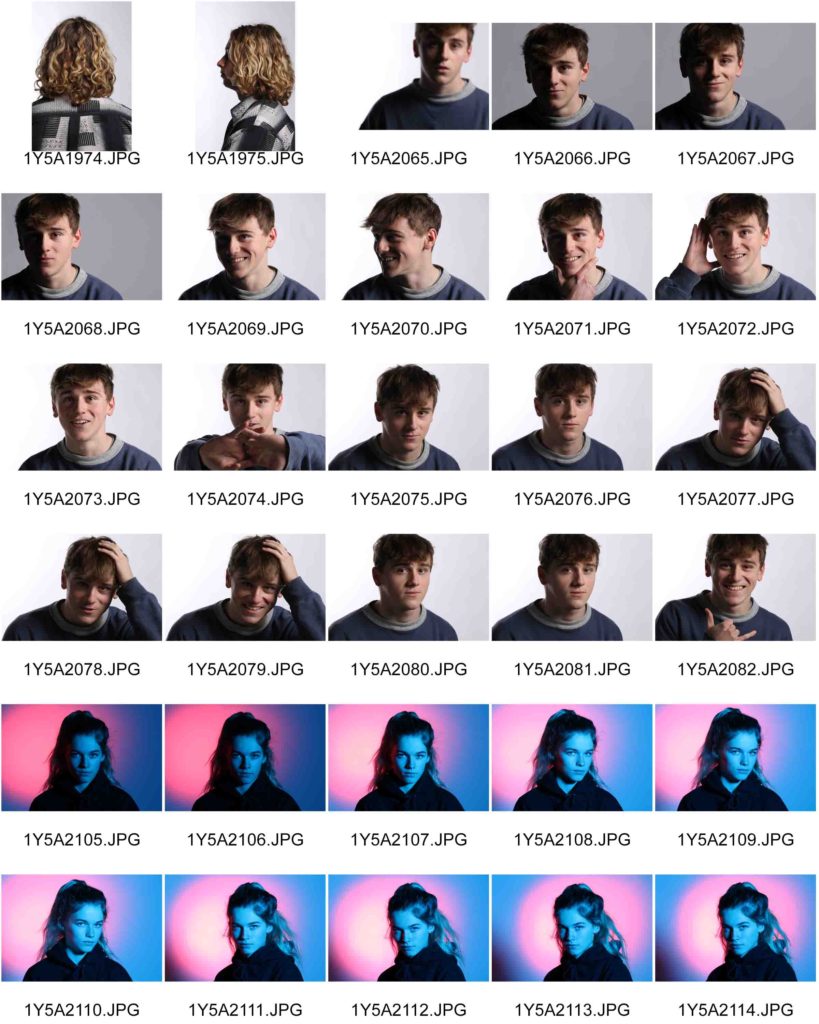
In this photoshoot I experimented with soft box lighting and flash lighting. I used a transmitter to set off the box lights at the same time as the shutter speed to create an intense contrast between light and dark.

ISO=100

Exposure set manually

Shutter speed=1/125

Aperture=f/16

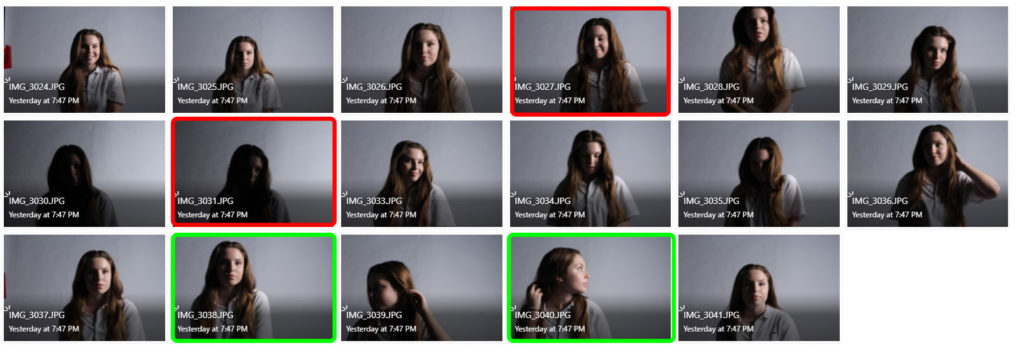
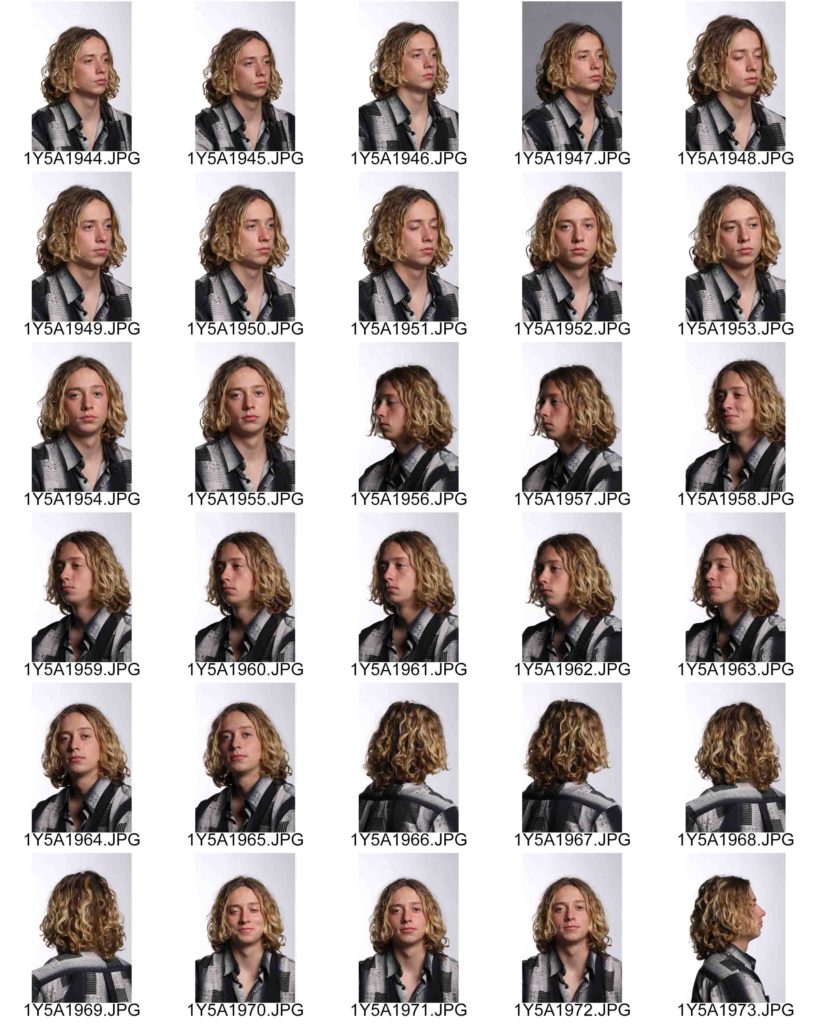
Experimenting with lighting photoshoot

The images highlighted in red are my least successful images because they are slightly out of focus, making them blurry. One is also underexposed which makes it too dark, preventing any visual contrast of light and dark.

The photographs highlighted in green are most successful because they are not too over or under exposed and create a clear, strong contrast between light and dark.

Photoshop development

Original Image
Original Image
Edited Image
Edited Image

I wanted to keep the tones and colours in the image similar but slightly cooler, however I increased the contrast in order to create a stronger juxtaposition between light and dark and then cropped the image to get rid of excess background that I didn’t want in my final photo.

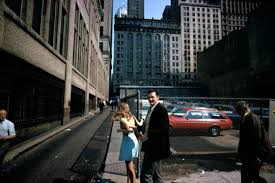
CANDID PORTRAITS AND STREET PHOTOGRAPHY

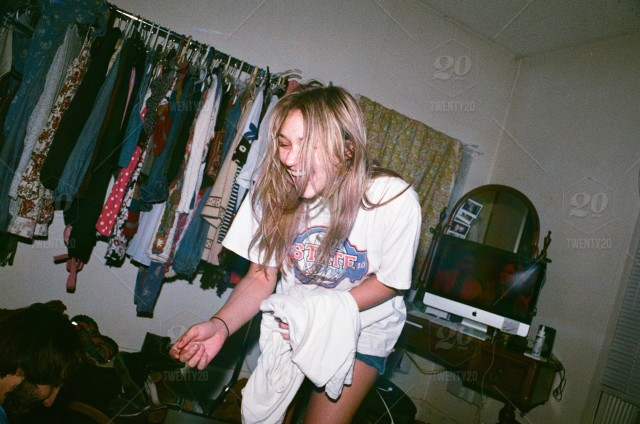
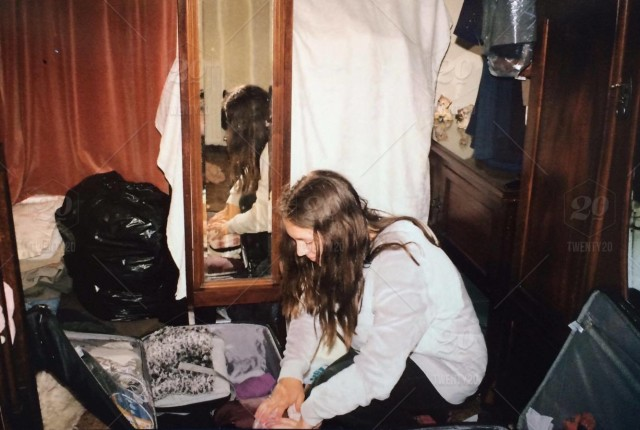
A candid photo is of an unplanned moment. There is no posing. There is no direction from you as the photographer.

Tips to have greats candid PhotoShoot

1. Always Be Ready

2. Use the Right Equipment

3. Use a Longer Lens

4. Flash Free Zone

5. Plan Ahead

6. Take Lots of Photos

7. Photograph People in Group

8. Frame Images

Ideas

Candid Photography

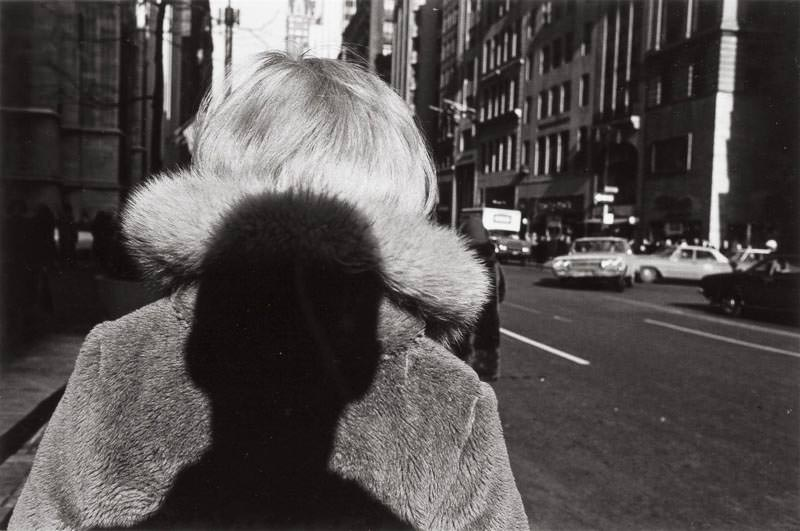
Lee Friedlander 1965
Helen Levitt 1940

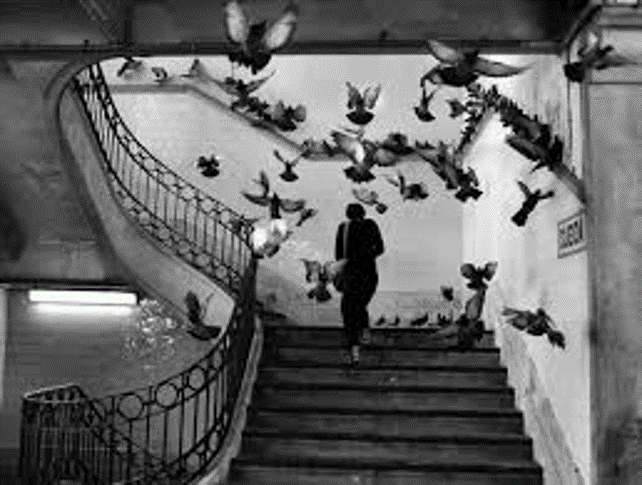
Henri Cartier-Bresson

Who is Henri Cartier ?

Cartier-Bresson was born in Chanteloup, and studied literature at Cambridge University in 1928-29. He began photographing in 1931 and purchased a Leica in 1933.

Henri Cartier-Bresson

His work

My pictures


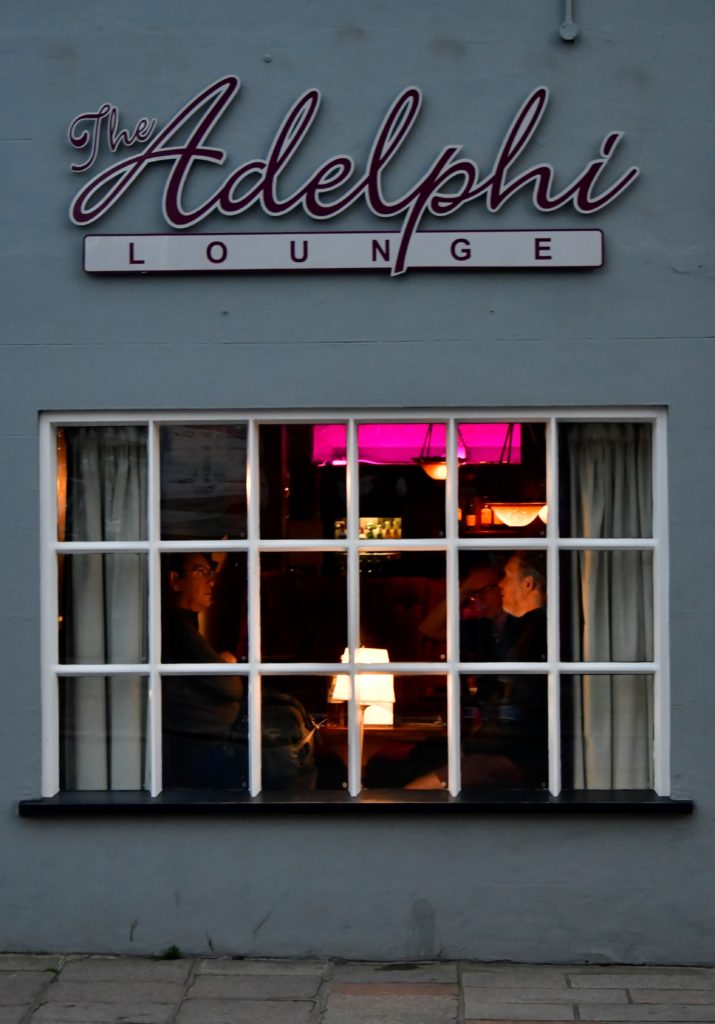
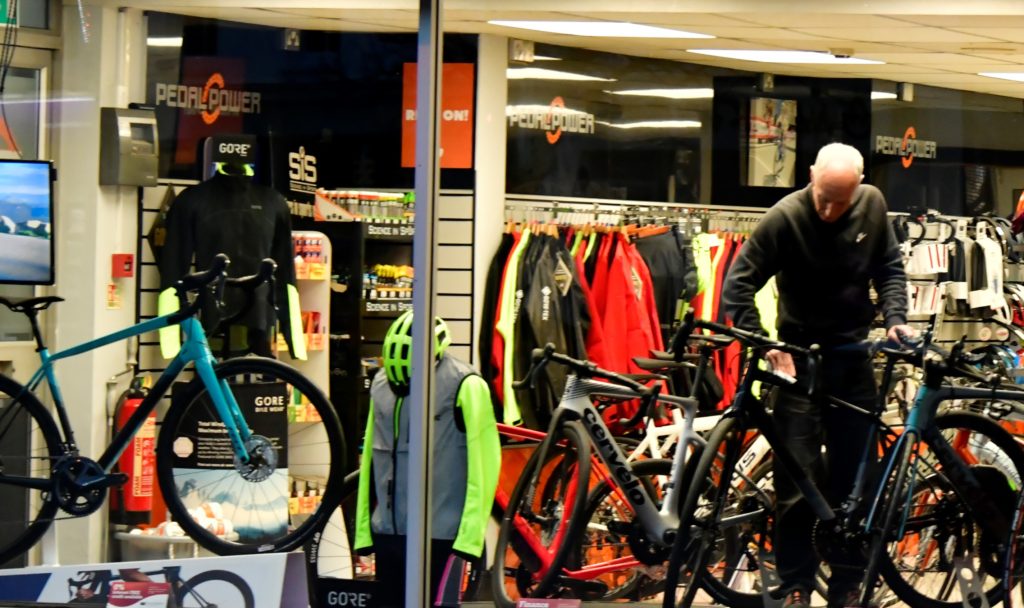
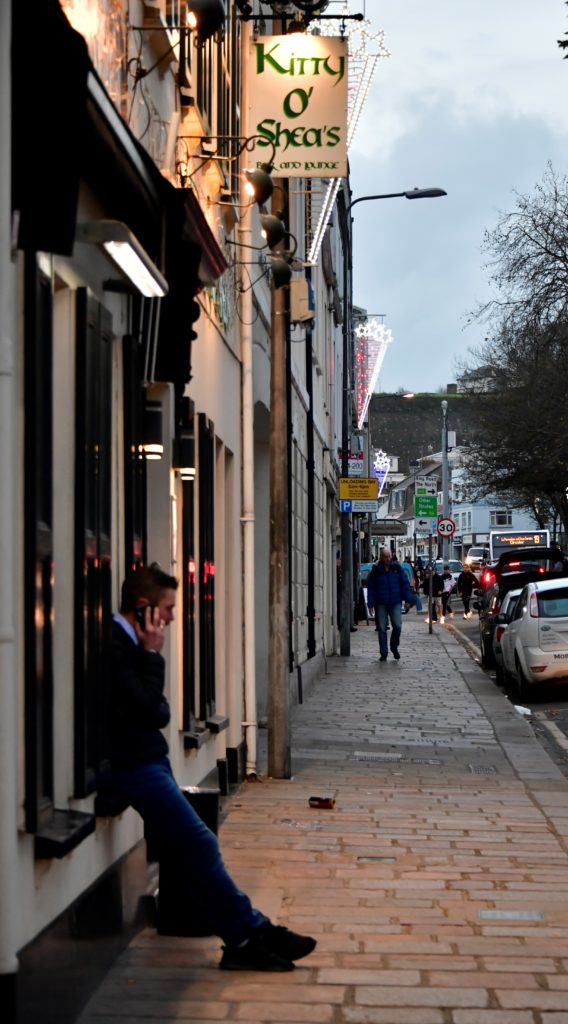
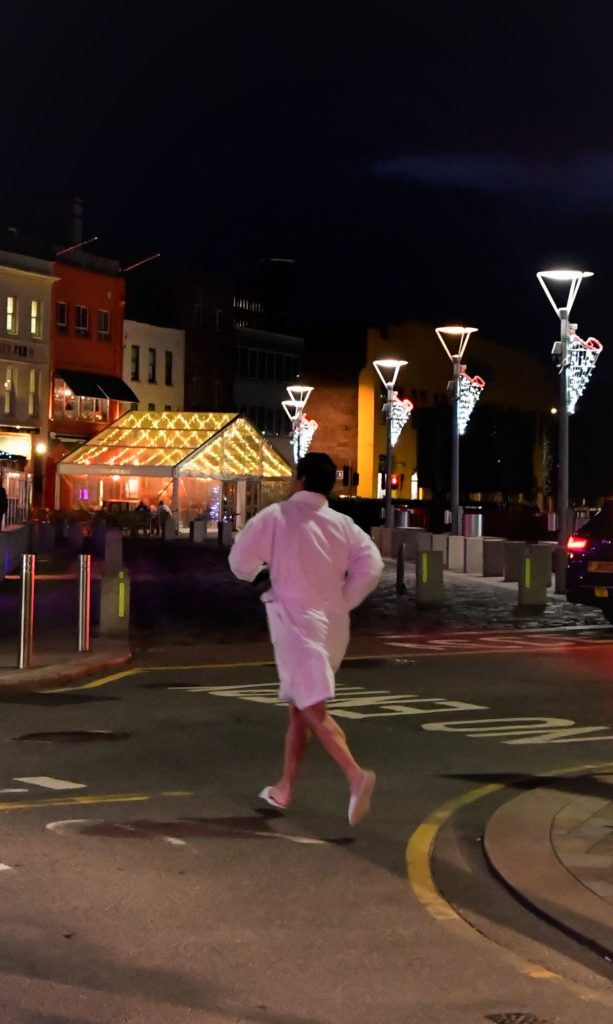
I looked for people , buildings or situations that we do not see every day. What I find impressive about street pictures is that photographers can create something ”basic” into something original they see things differently. I tried to do the same thing, see the world differently to succeed I changed the angles to create object longer or larger . When I was walking I saw a man in a robe I thought it was very strange to be honest we don’t really see that everyday so I took the opportunity. Even if the man run fast I caught the moment and now I have a original picture. I don’t have a favourite image I think their all different I can’t compared them. I’m happy for results.

Studio Portraits 2
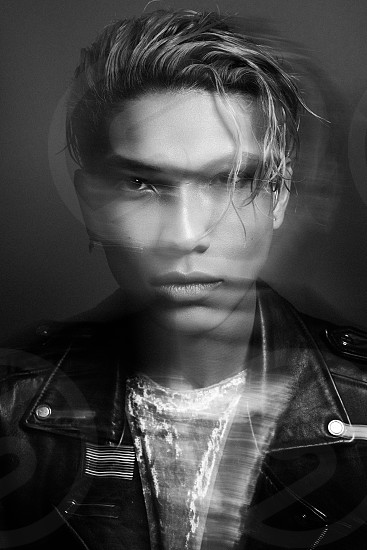
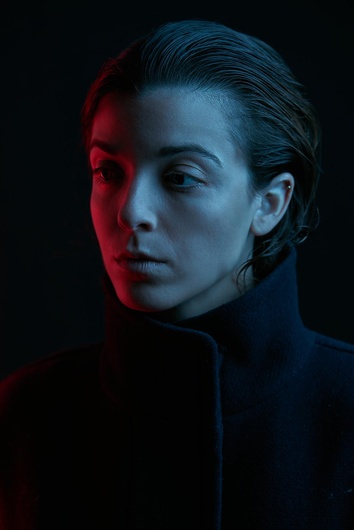
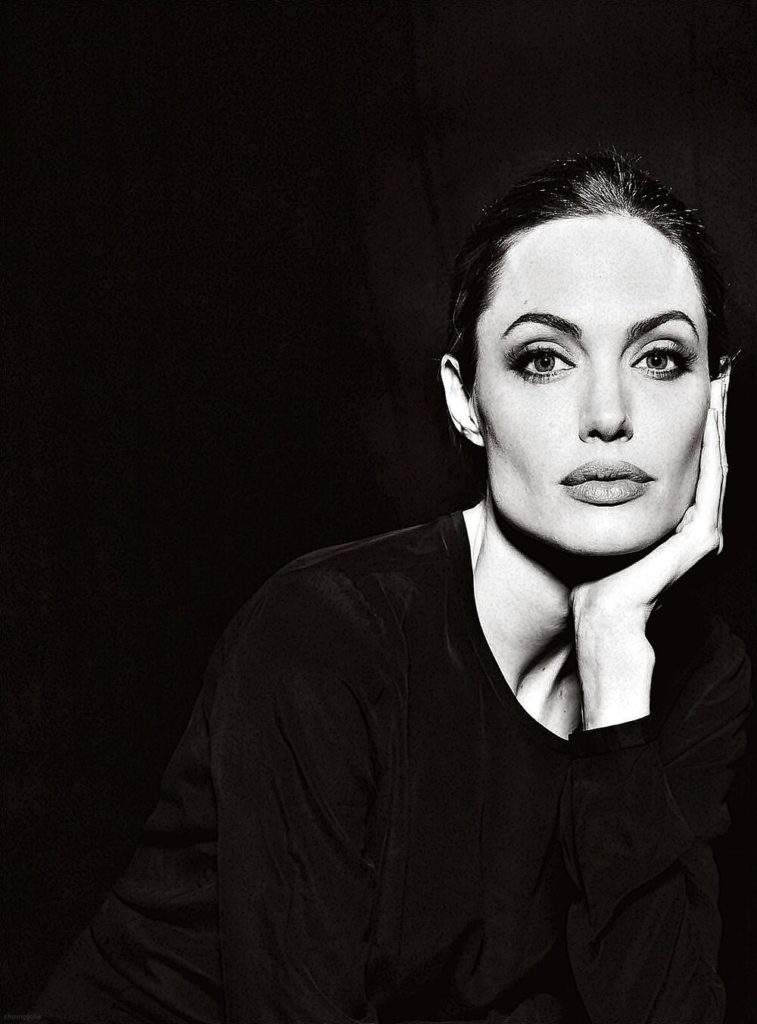
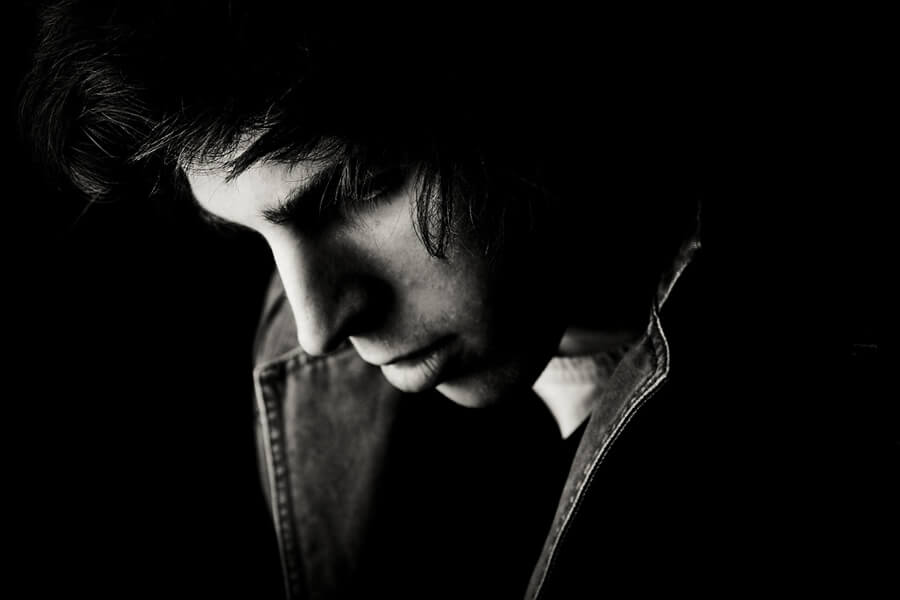
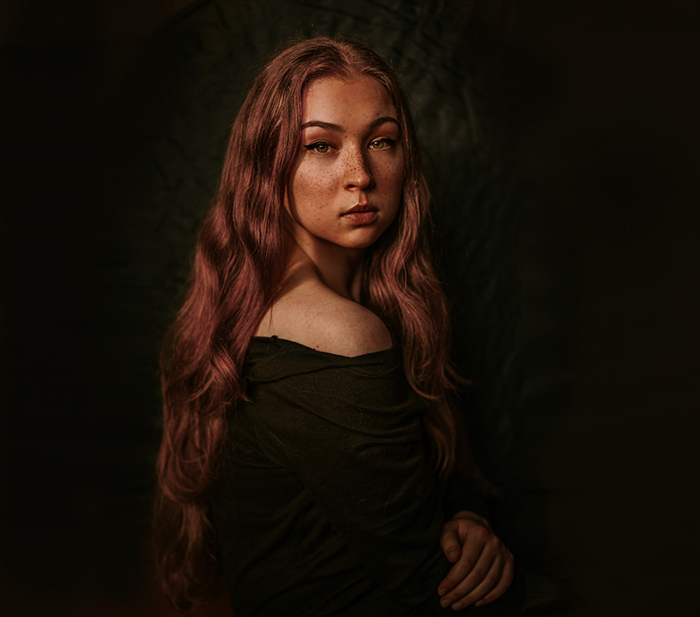
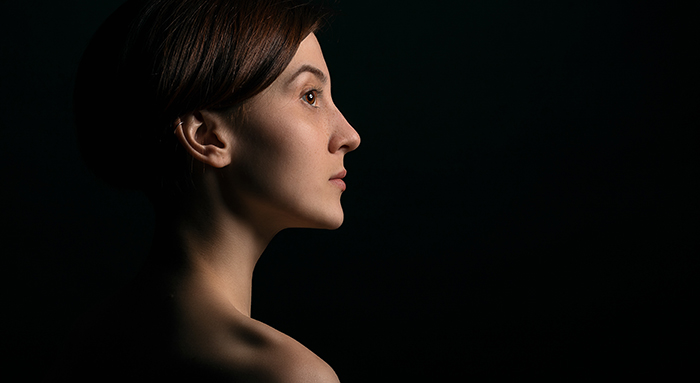
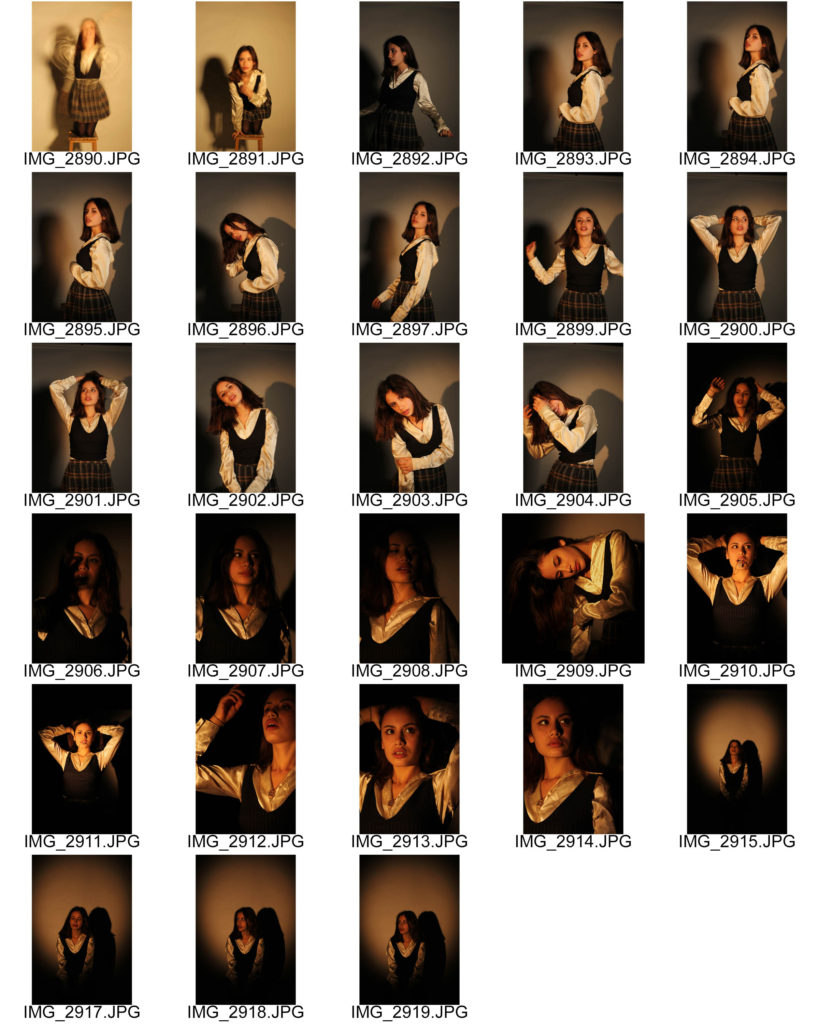
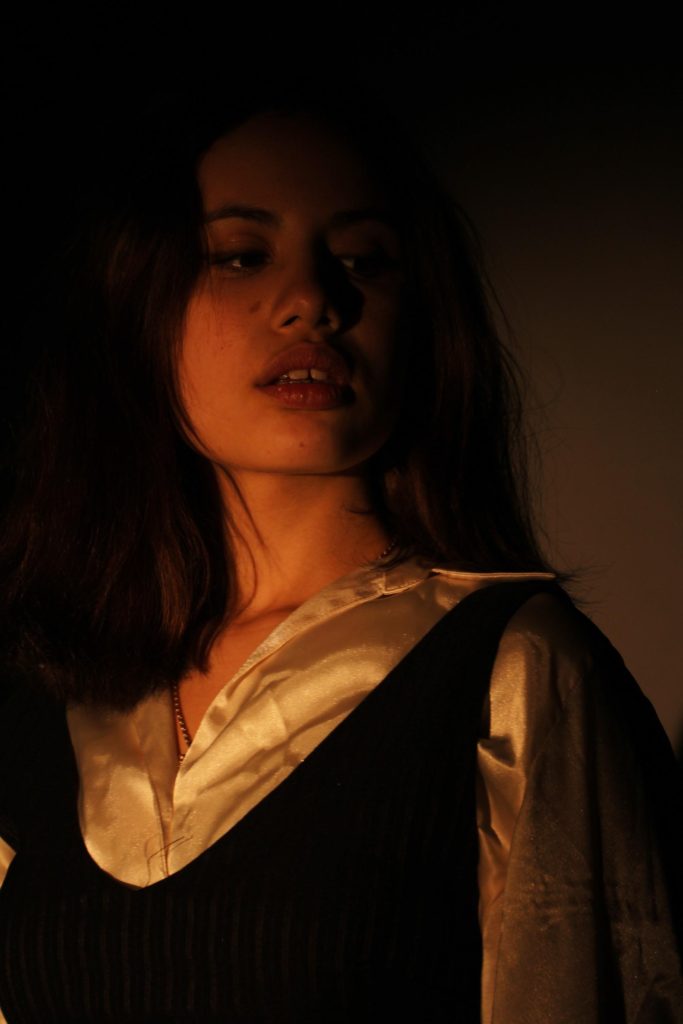
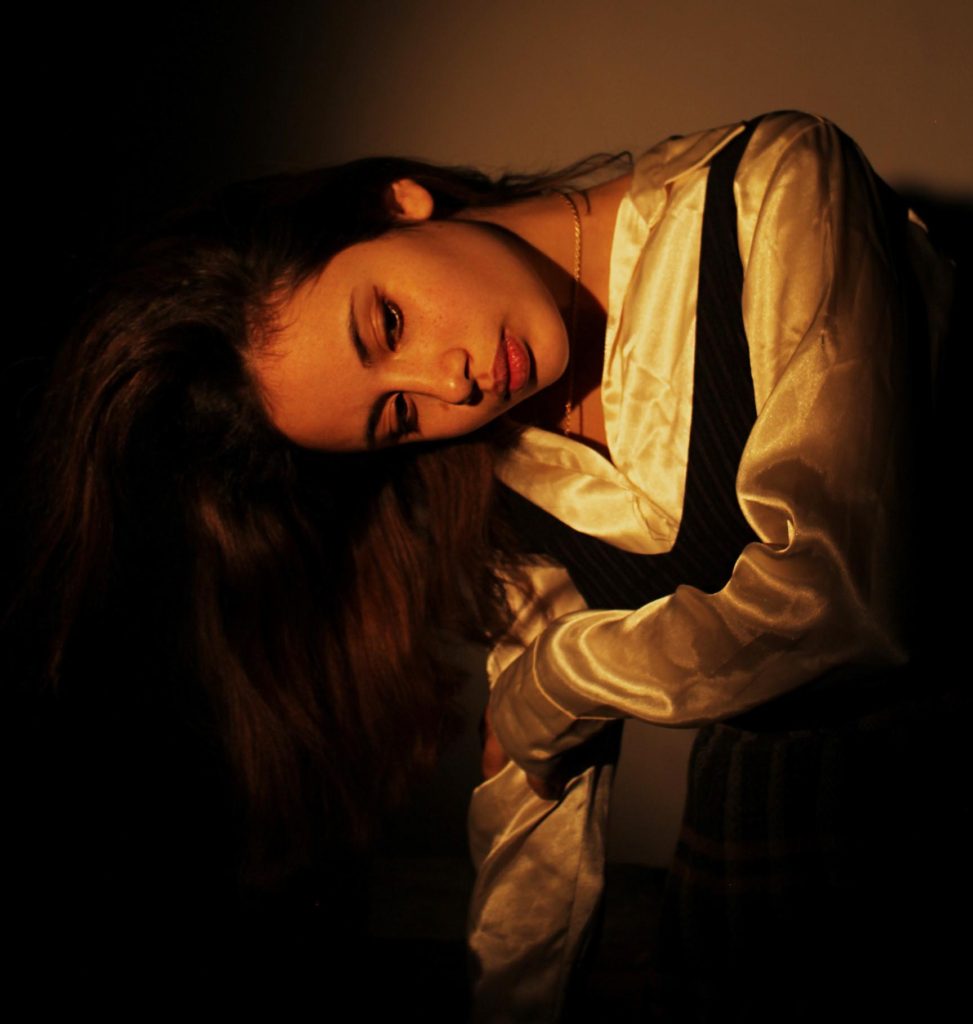
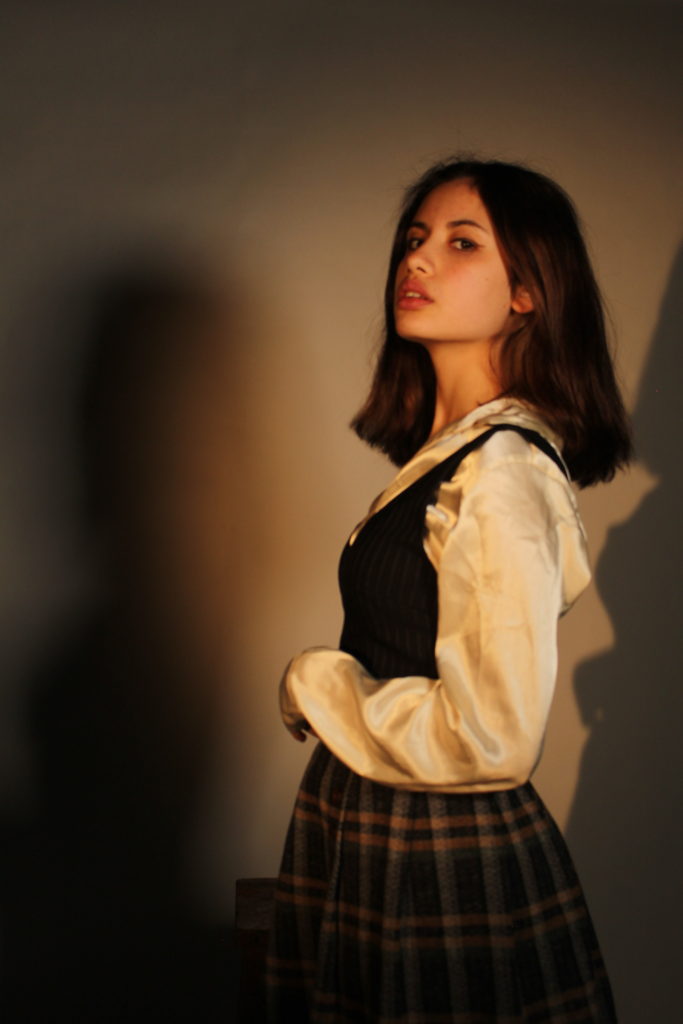
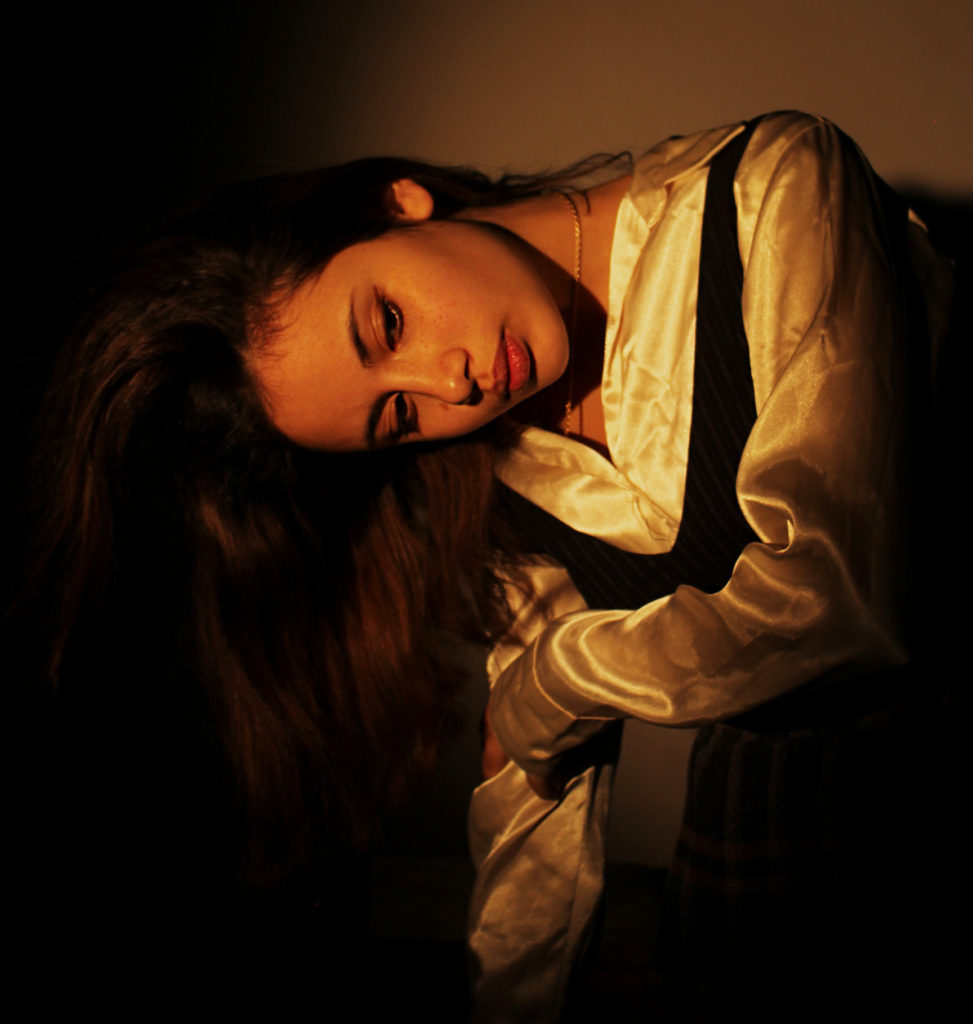
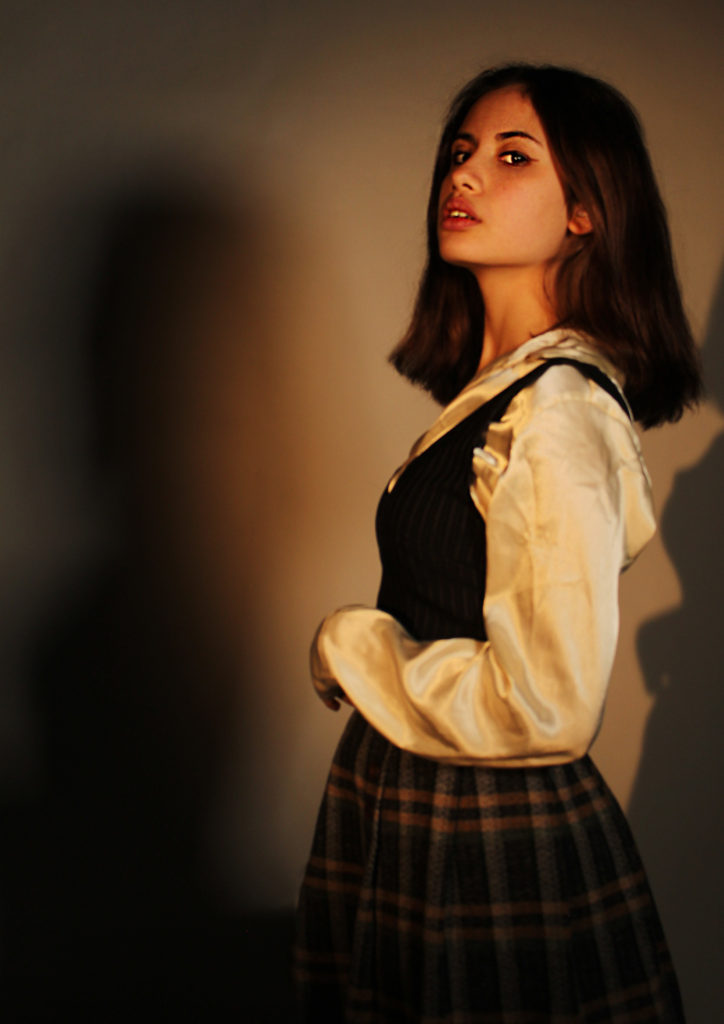
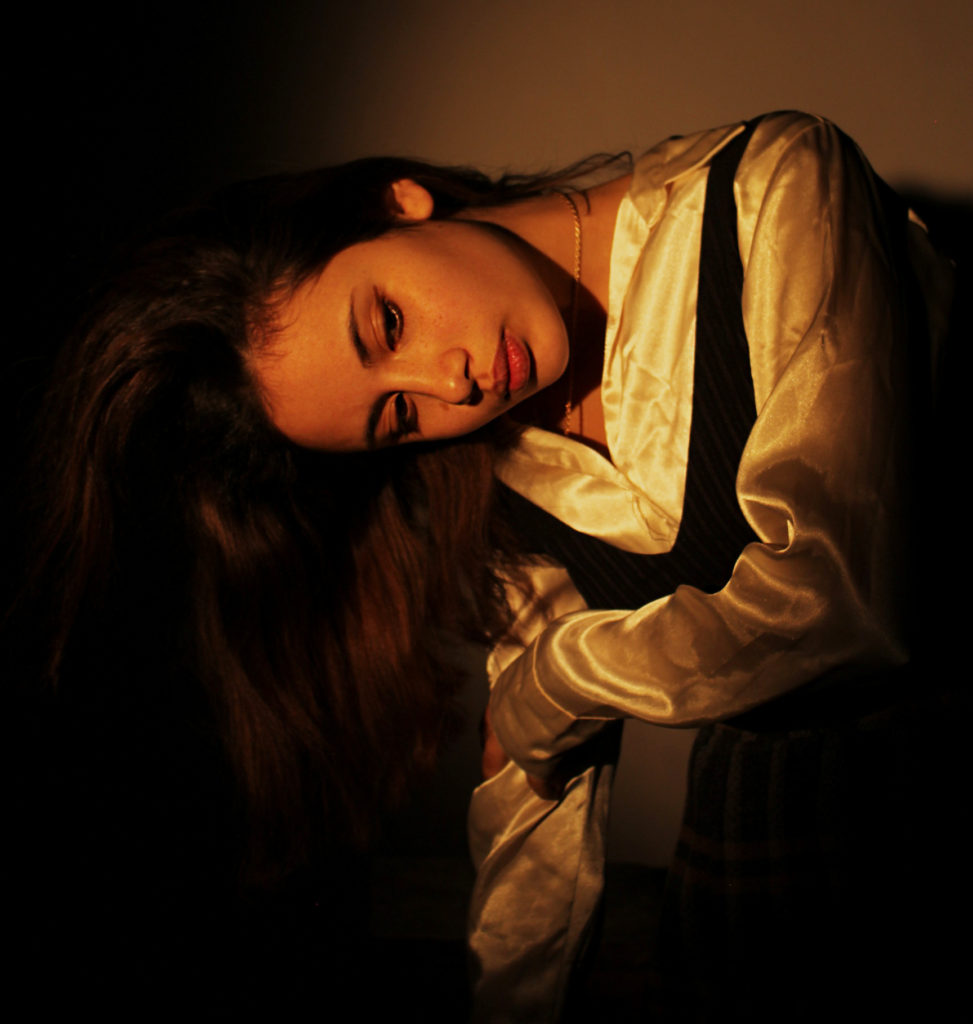
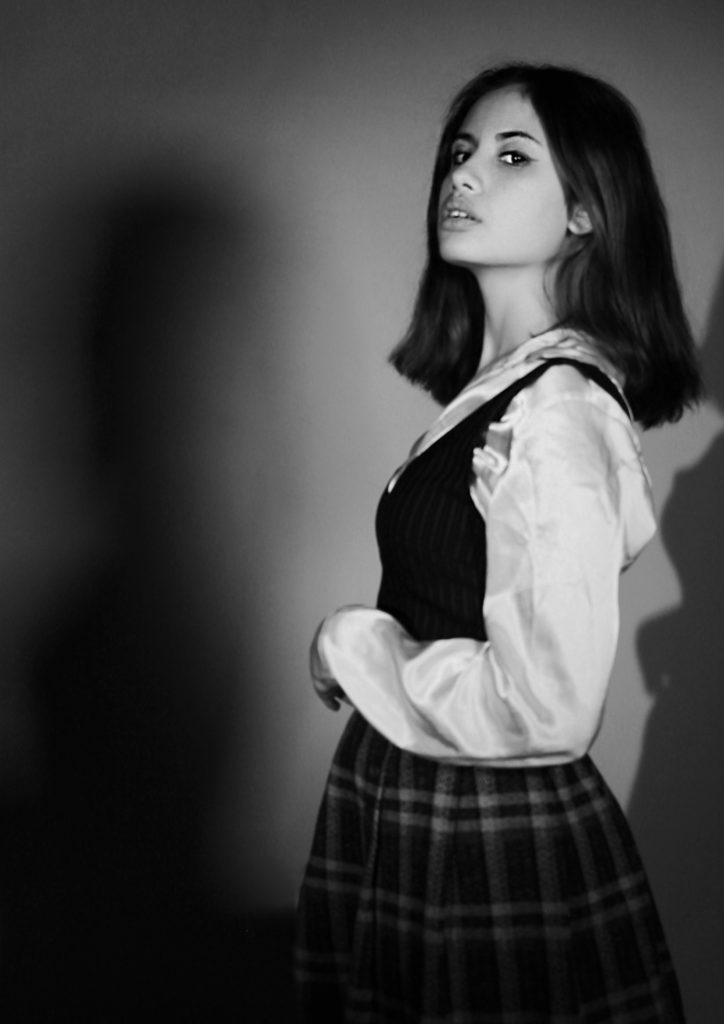
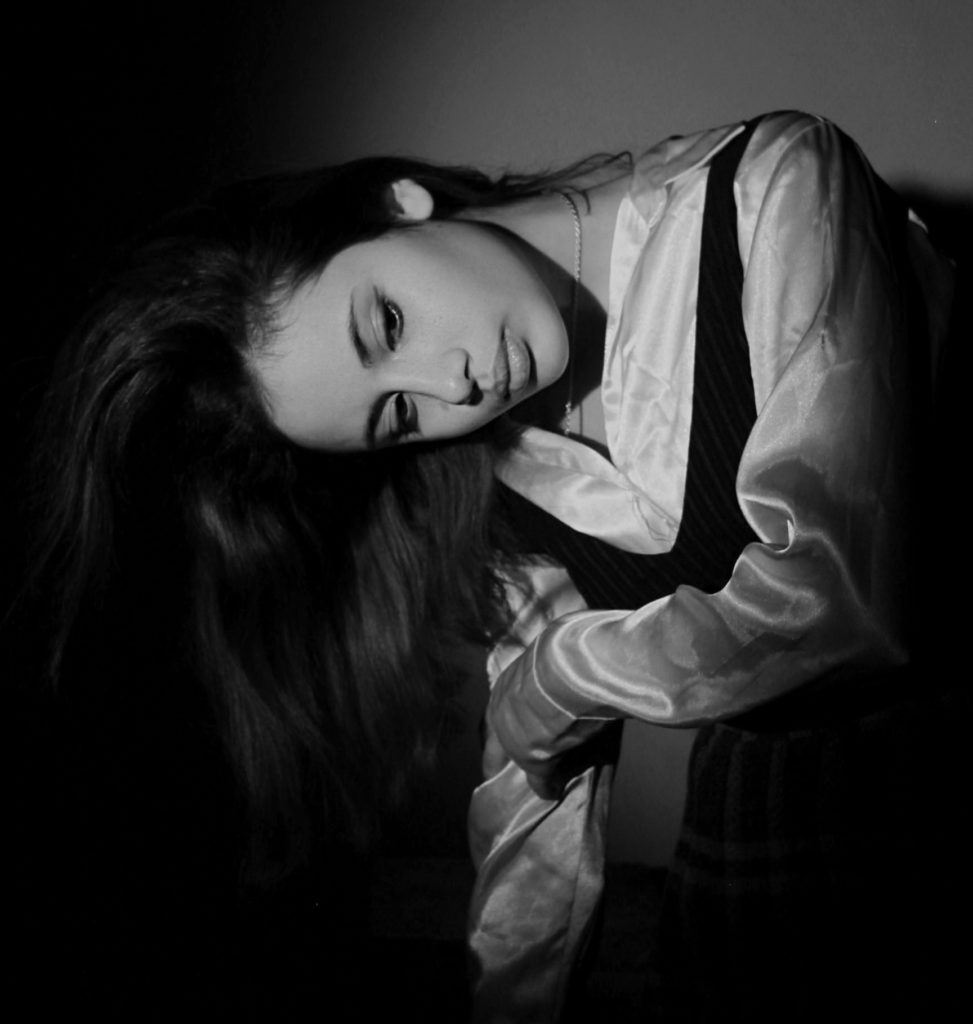
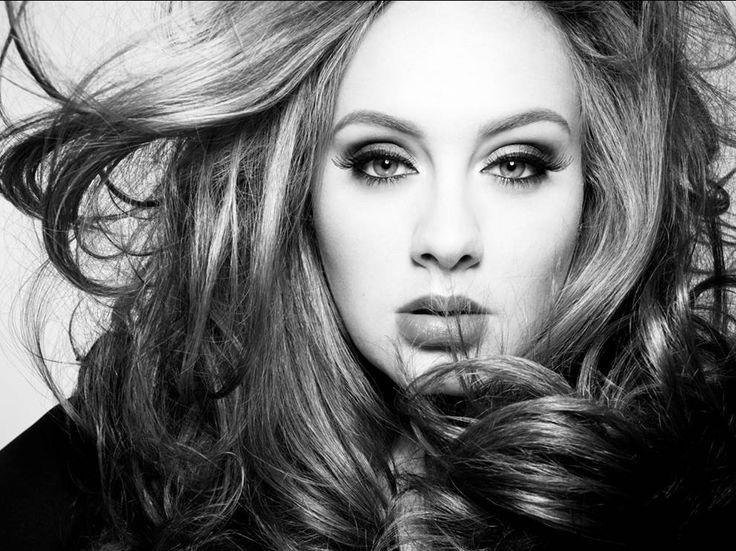
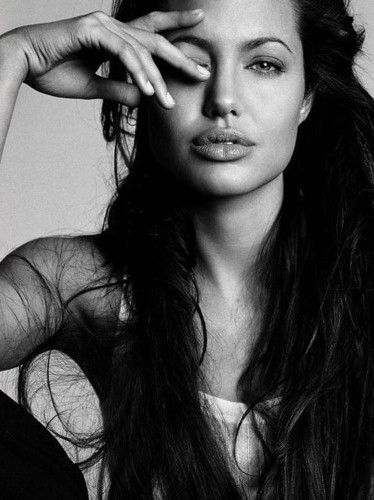
As you can see in the photos above, 1 point lighting (also knows as chiaroscuro) creates a high contrast of shadows- and with portraits, its a great way to bring out the facial shape and its features.

Within this photo session in the studio, my main focus was to experiment with 1 point lighting varying from both sides and slightly below.

Throughout the photo-taking I kept to the same tone of light (which was warm) as it responded well to the choice of clothing which was vintage-like. However I tried different intensities (dull and bright). Also, used a variety of different poses.

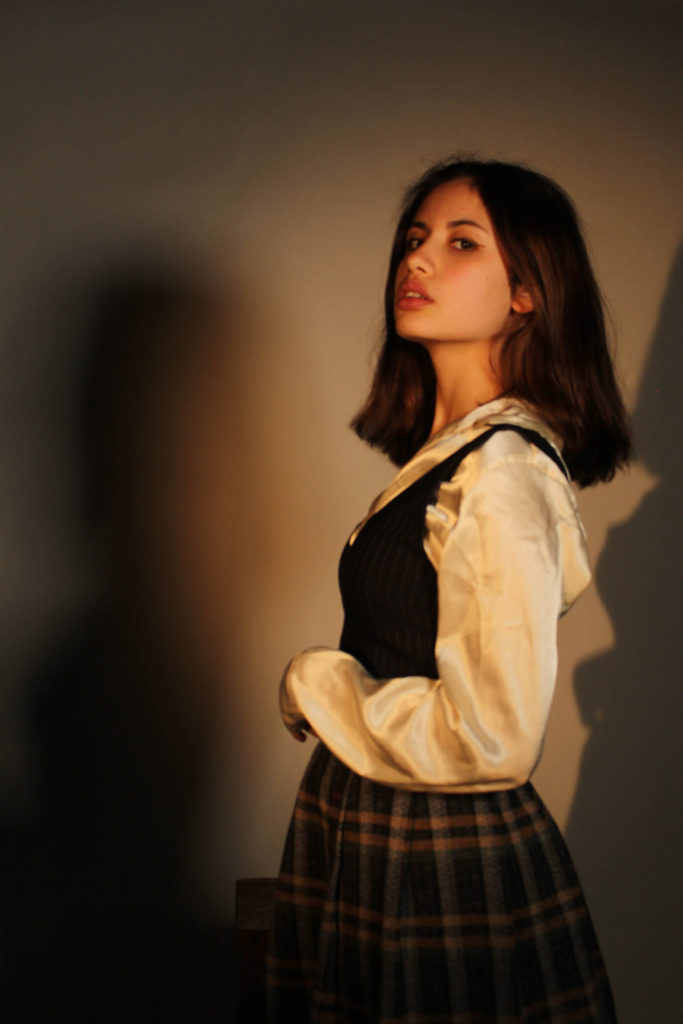
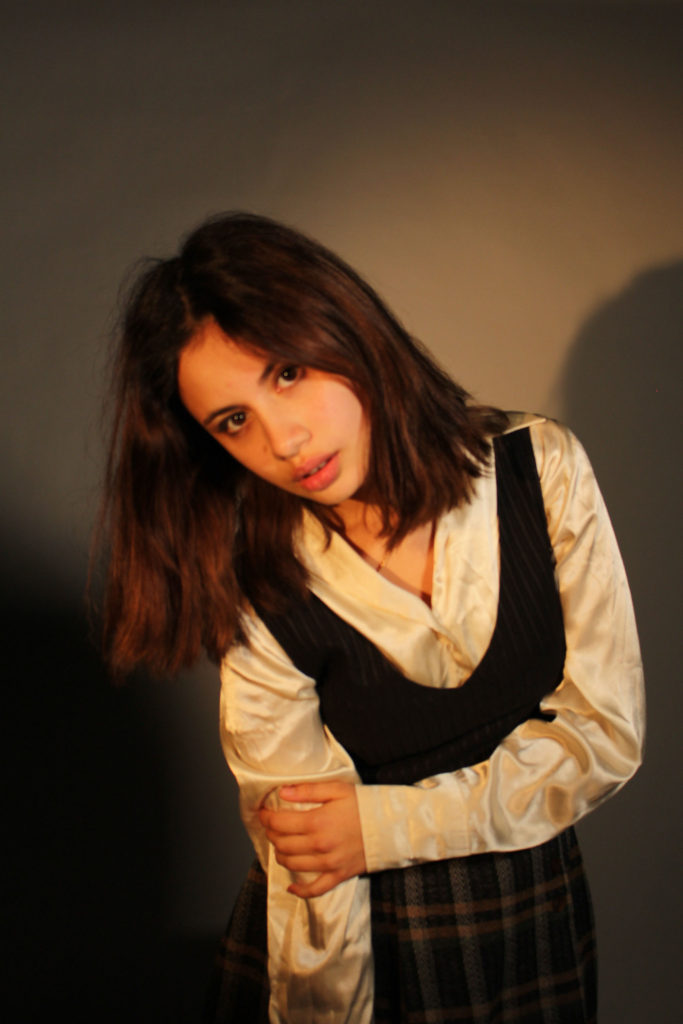
I chose these two images out of my first selection. In image one, I like the composition and the straight posture of the model which portrays dominance, strength and confidence- there is also one sharp shadow on the right and a much more soft shadow on the left which contrast. In image 2, There are sharp shadows and bold golden reflections coming off the models shirt- however the majority of focus is still on the models face which is very defined due to the angle and lighting.

When editing I made a couple small adjustments such as cropping image 1 and sharpening both images very slightly.

Another outcome that I think turned out well was turning the images black and white- this was to refer to the 3 images by other photographers at the beginning on the blog.

modern day heroes and environmental

Portrait photography is aimed towards capturing the personality of a person or group by using effective lighting, backdrops or poses.

Mood Board

Contemporary Portrait Photography

Contemporary portrait photography is described as being comparing a portrait photograph of your time against one of that from a much earlier period.

LensCulture - Contemporary Photography

Environmental Portrait Photography

An environmental portrait photograph is a portrait in which he subject is in their usual environment such as their home or workplace. For example a mechanic in a garage or a police officer in a police station.

Tips from a Pro: Brian Harkin Environmental Portrait Photography | Popular  Photography

Annie Leibovitz

Annie Leibovitz is an American Photographer and is most famous for her portrait photography of some of Hollywood’s most famous celebrities.

Annie Leibovitz or Woman Who Changed Photography | Blog for photographers |  KeepSnap
Famous Photographer: Annie Leibovitz
Annie Leibovitz | Wiki | Photography Amino
Famous Photographer of the Front Page – #iranianstoday

Photo-shoot

I will take photos of first line workers in a medium-close up similar to what Annie Leibovitz does in her photos. I will go to different first line workers that might not be usually described as first line to show that more people are classified as first line that we first think.

Mind Map

My Photo Shoot

Best From Photo Shoot

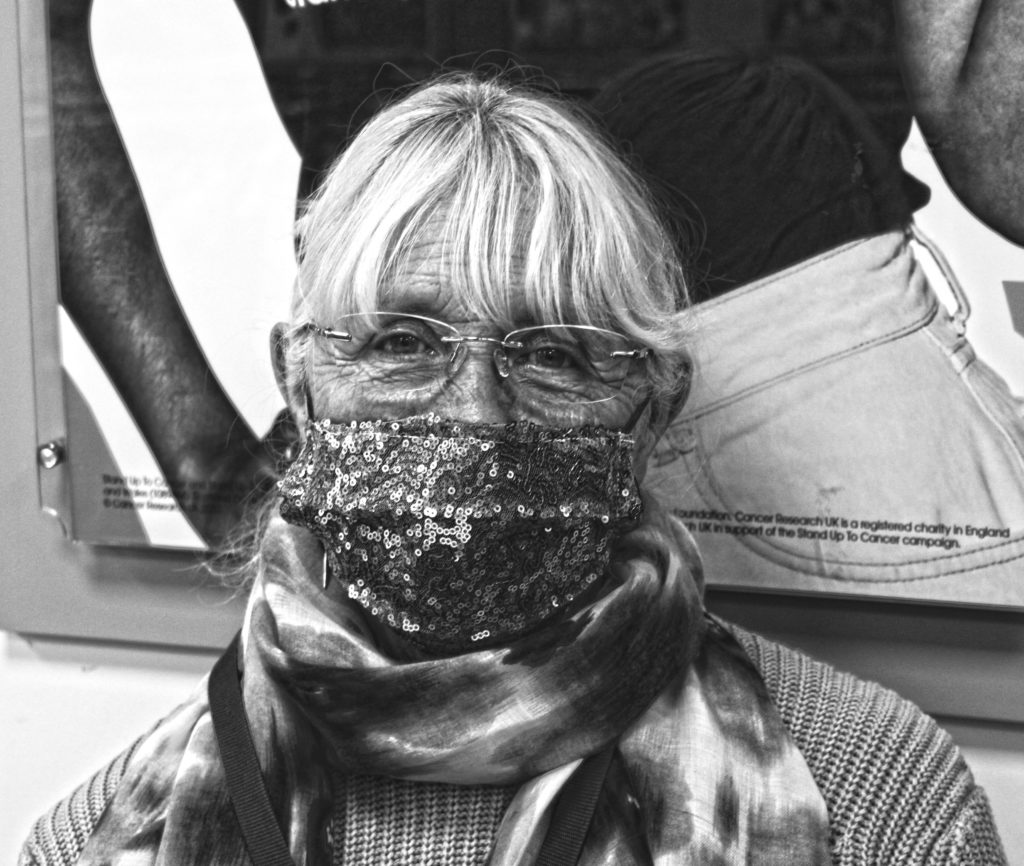
Best Front Line Image

I like the image above because it shows an elderly woman with glasses on looking at the camera with a sense of despair but also hope. This image is strong because she is wearing a mask preventing full understanding of her real emotions so everyone will interpret her expression in different ways.

Environmental

image analysis & interpretation

Examining Arnold Newman's Environmental Portraits - The New York Times
Arnold Newman | Alfred Krupp Portrait |1963

Arnold Newman was an American – Jewish photographer who was most known for his ‘environmental portraits’. In the photograph above, his subject is Alfred Krupp, a German industrialist who benefited heavily from the use of Jewish slave labour during World War 2. One theme in this photograph is religion and ideals, as Krupp and Newman have ‘conflicting’ beliefs and values, which makes the photograph even more eerie and unsettling than it already appears to be. Further more, Krupp’s face could indicate that he is looking at Newman and not at the camera, as his expression is foreboding and threatening.

Newman has manipulated the composition of this photograph in order to frame Krupp in the middle with the two pillars either side of him, and symmetrical shapes in the background. Additionally, the colours in the photograph are dark and muted as a way to mirror Krupp himself, and the things that he’s done. There is natural light shown from above Krupp’s head, which creates an image of a church or cathedral, which relates back to the theme of conflicting religions and ideals. Also, Newman is looking down on Krupp from his position behind the camera, which could be interpreted to mean that he is figuratively ‘looking down’ on him, as a way to belittle and judge him for the things he did to other people of his religion during World War 2.