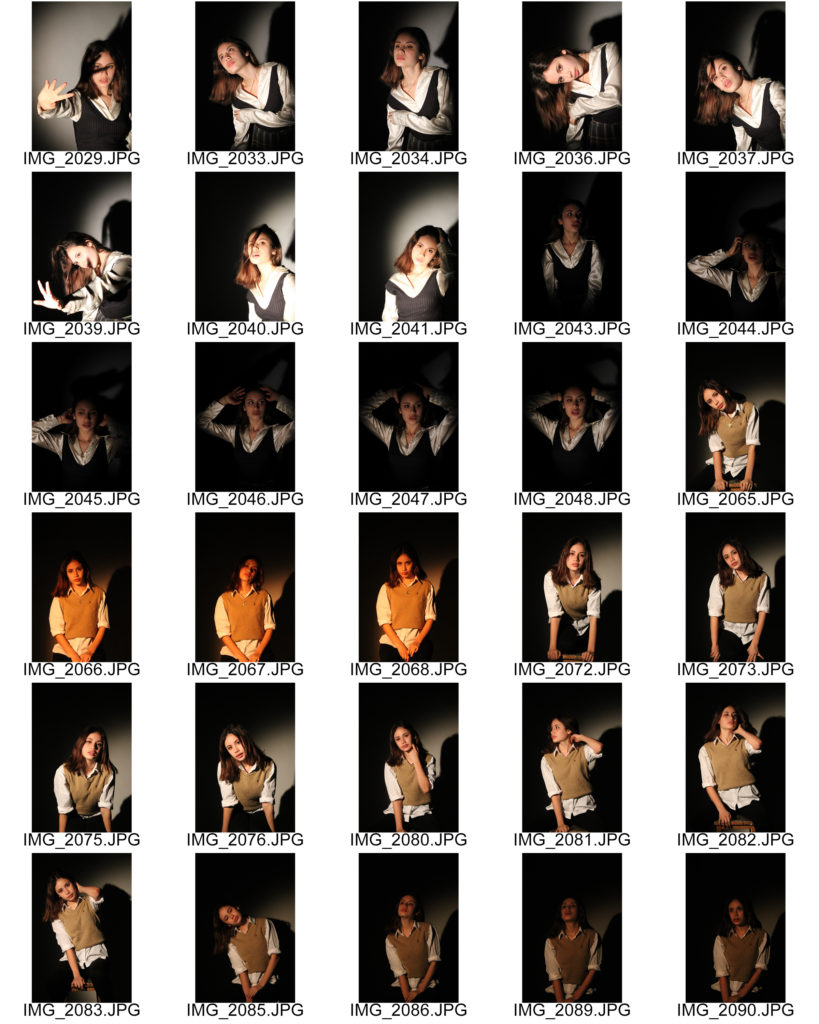
2 Point Lighting – This style of lighting usually consists of 2 main light sources, a key light and a fill light. The key light illuminates the subject while the fill light removes any unwanted shadows that the key light has created. It is important to note that the second ‘light’ could actually just be a reflector or wall that allows the light to bounce off it onto the subject.
My plan for this photoshoot is to have a 2 point lighting set up in the studio at school, I will photograph my friend who is comfortable in front of a camera in hopes of capturing images of a professional standard. I am going to use a spotlight to the left of my subjects face and a panel LED light to the right. I plan on using different coloured gels over my two lights to experiment with complementary and contrasting colours. Additionally, I want to explore using different camera angles and compositions. For example, I plan on taking headshots, close-ups, mid-shots and long-shots in hopes of producing a range of images with different compositions and seeing how the camera angle effects the lighting and atmosphere of the photo.
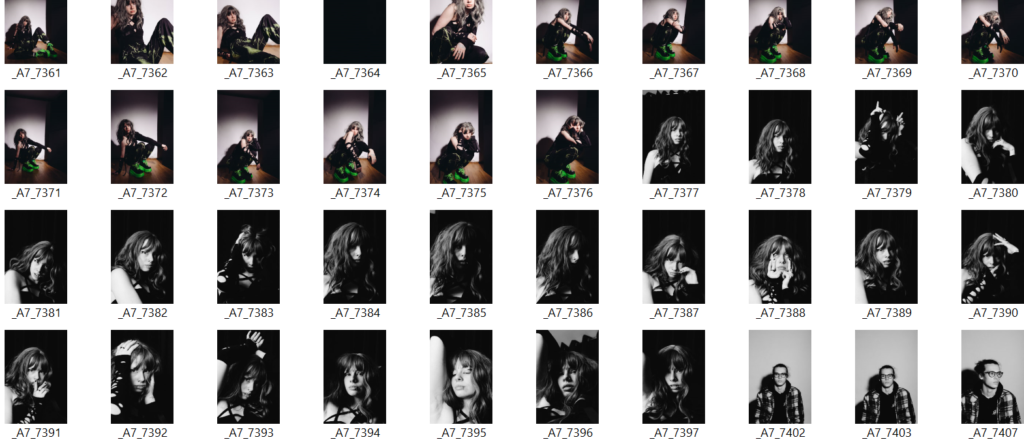
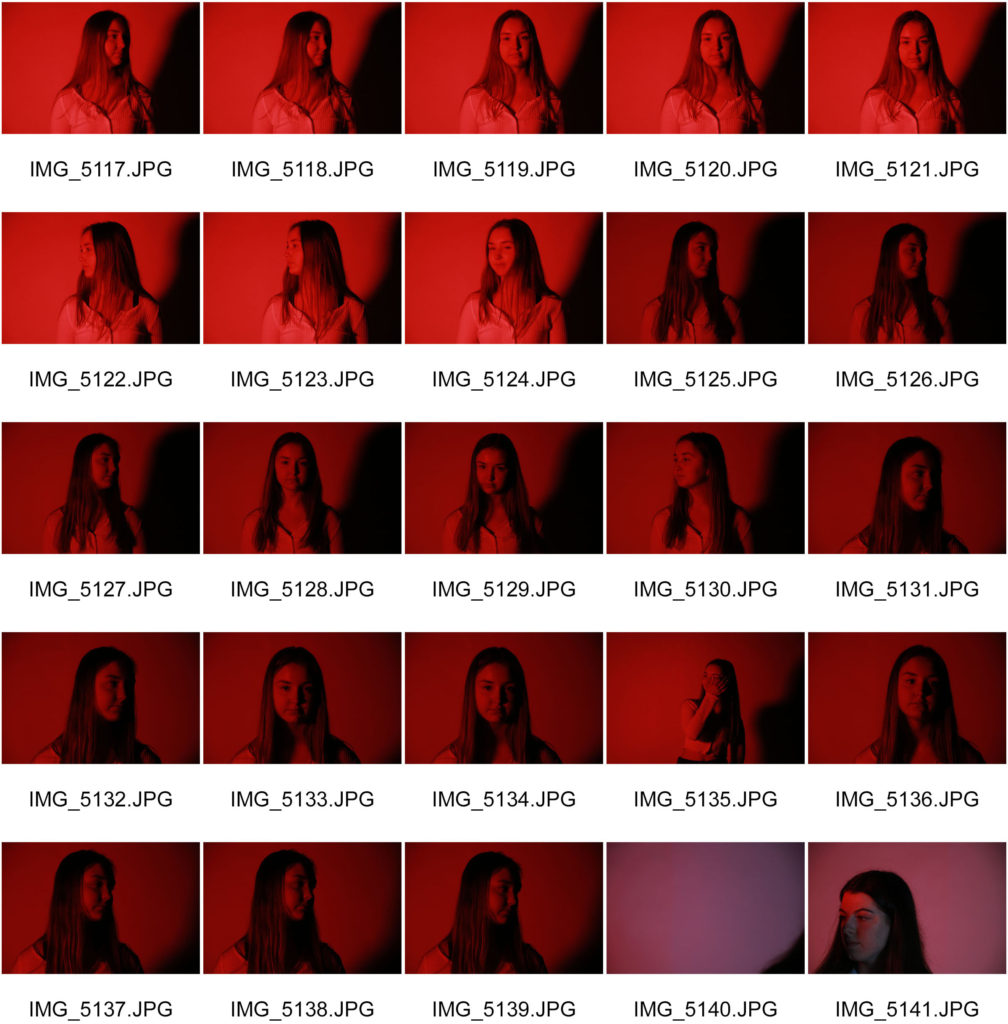
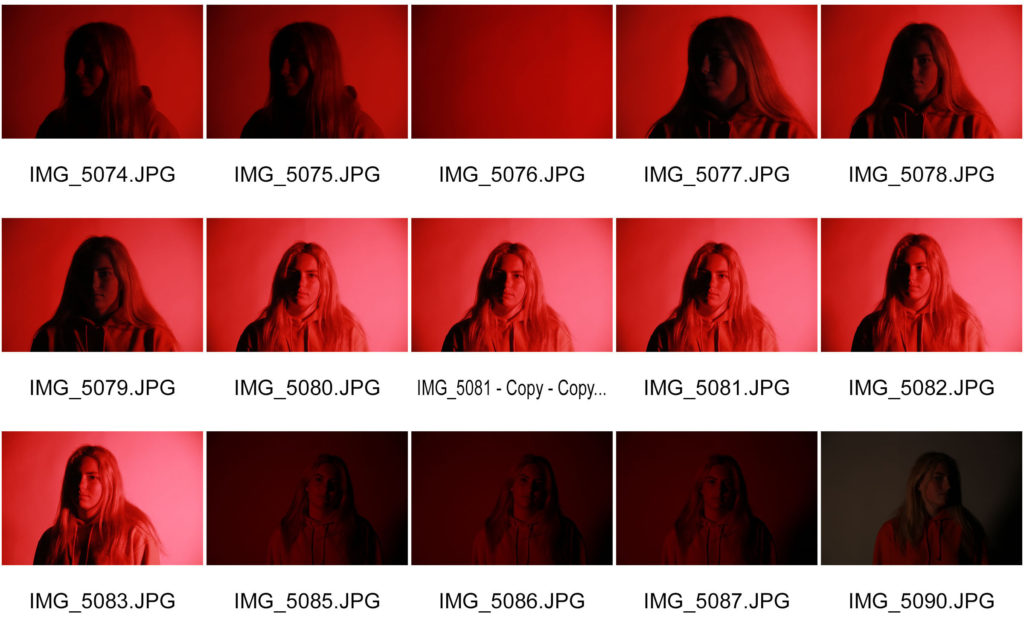
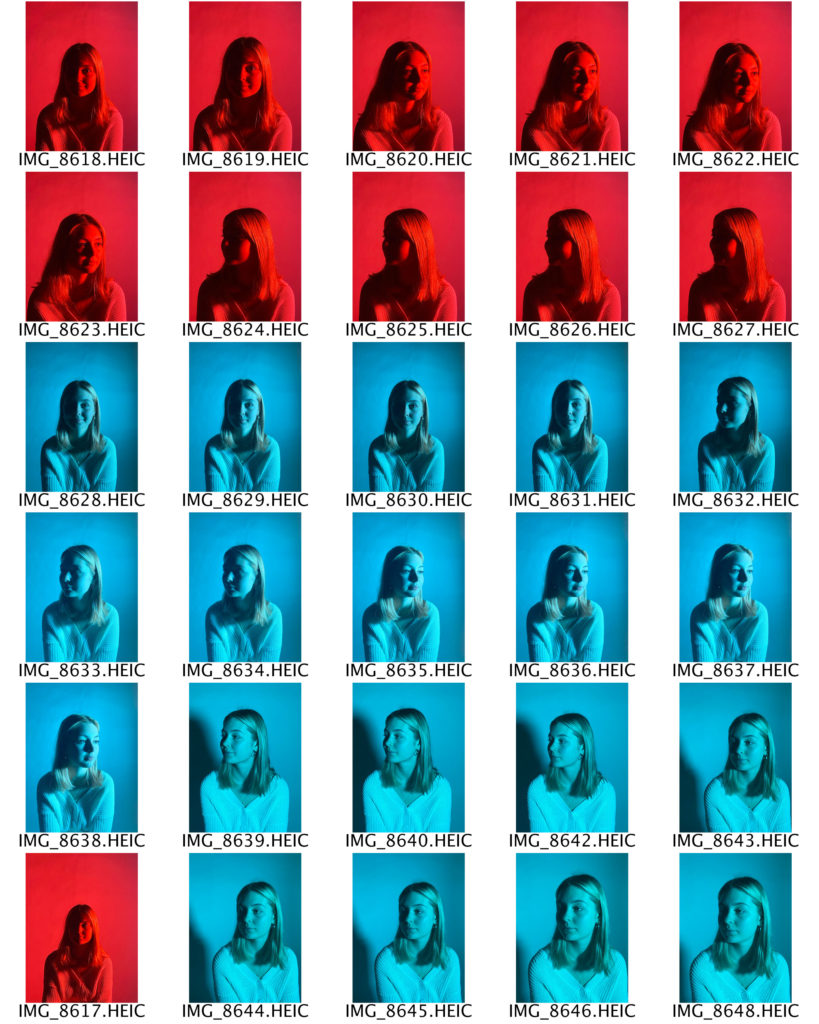
Contact Sheets
Selected Images
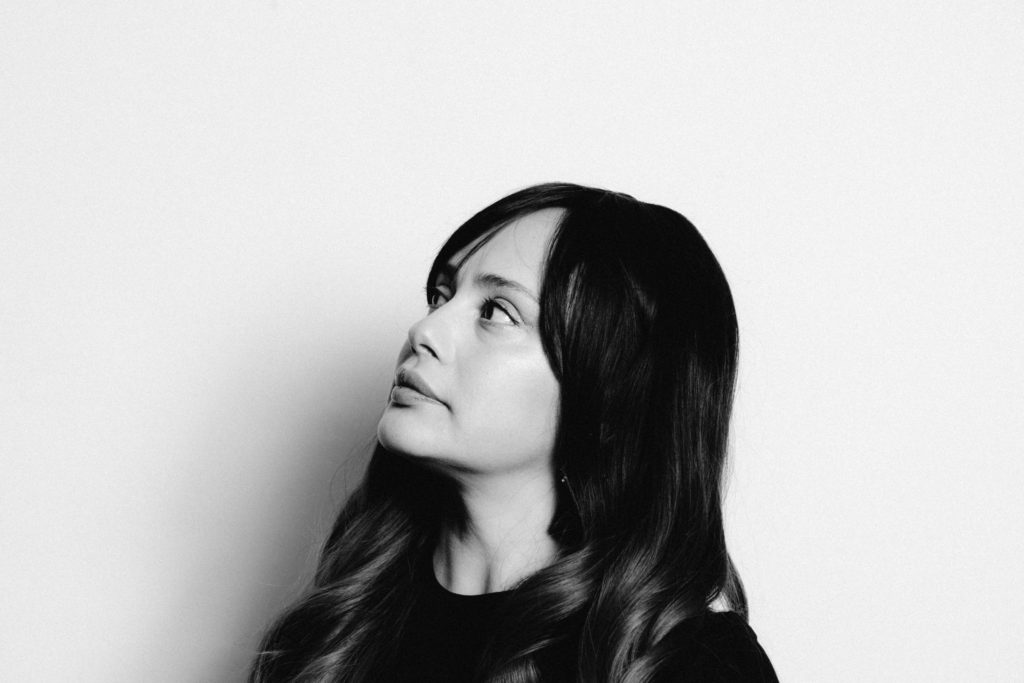
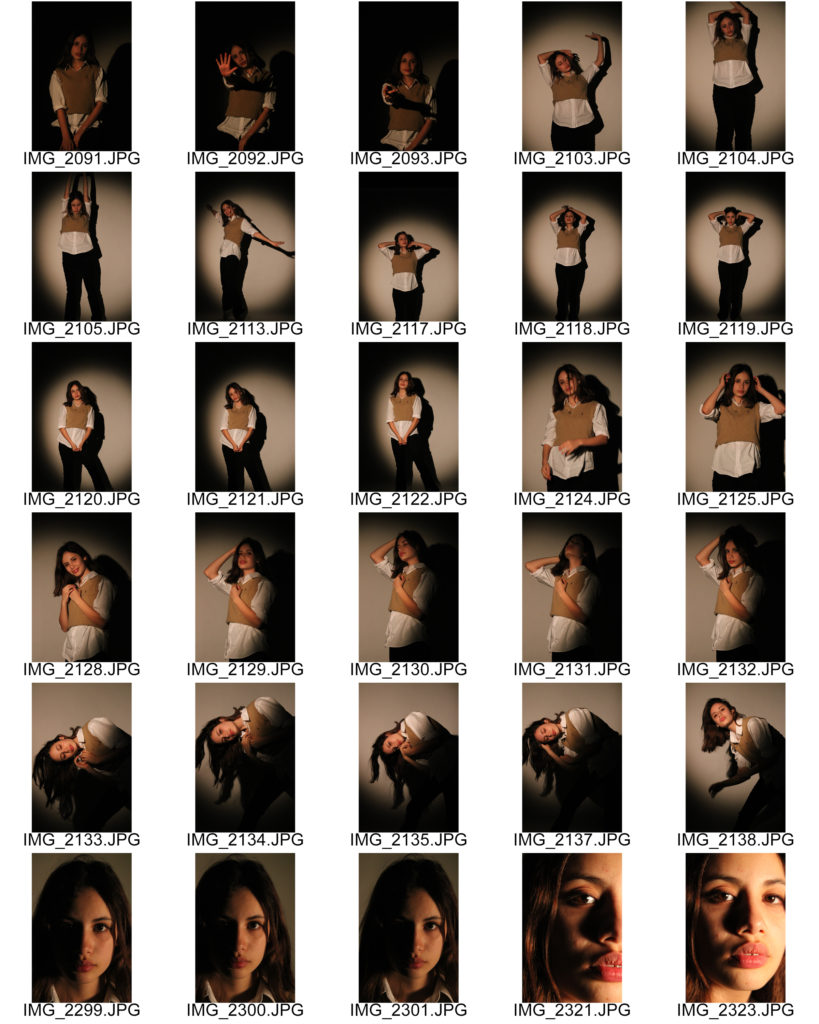
Final 2 Point Lighting Portrait
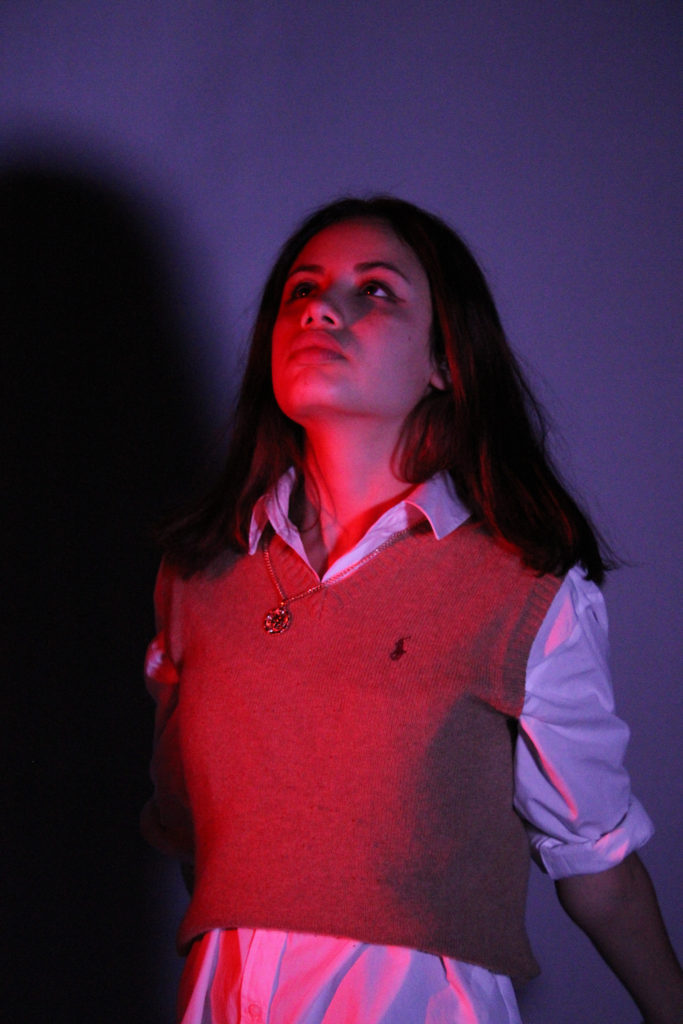
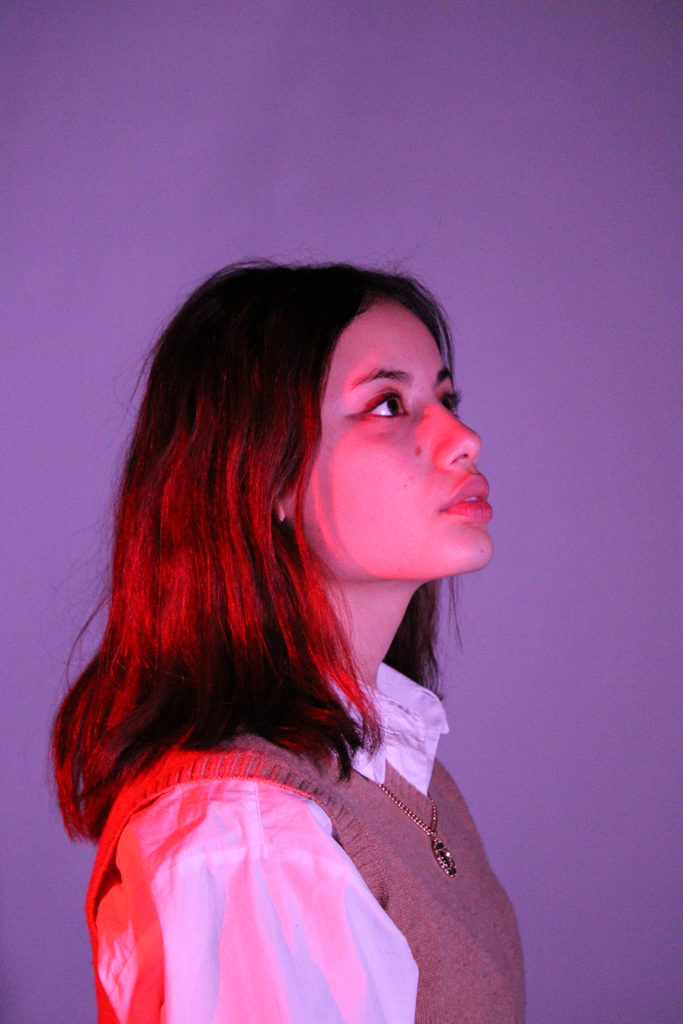
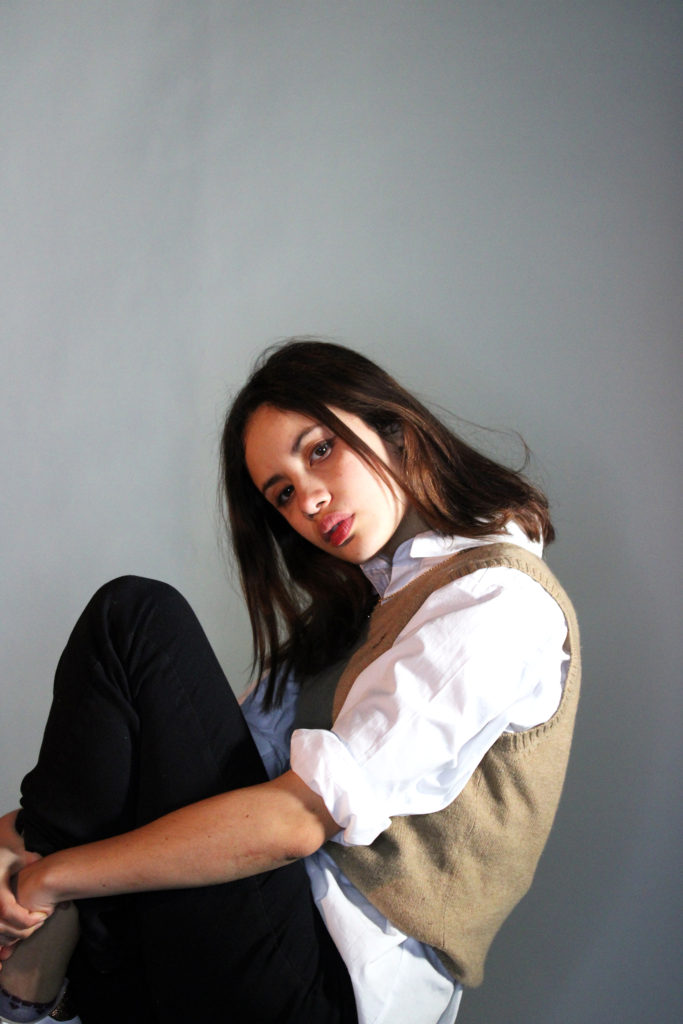
I chose this image for my final 2 point lighting portrait due to its highly saturated colours and clear abstract lighting. My image was taken using artificial lighting, with gel colours providing a contrast in tones. I really enjoy the way the red lighting highlights the subjects face, creating an effect similar to sunlight shining through a window. As I had set up this light to the left of my subject, it allows the warm colour to fall across the photograph and gradually gradient to a less saturated tone. Additionally, I used red and purple gels in this image to experiment with clashing colours. I love the way the purple lighting provides a subtle background colour while emphasising the bold red highlights that fall across the subject. Moreover, I believe this contrast in colour forms a warm inviting mood in the image which is furthered by the subject’s direct eye contact with the camera. Furthermore, due to the harsh lighting of my photo, several dark lines can be seen on the subjects clothing and neck which contrast with the bright red surrounding them. The dark areas of this image clearly direct the observer’s focus, for example as my subject has dark hair and eyes they stand out against the pastel background, creating a clear focal point in the centre of the subject’s face.
Double/Multi-Exposures
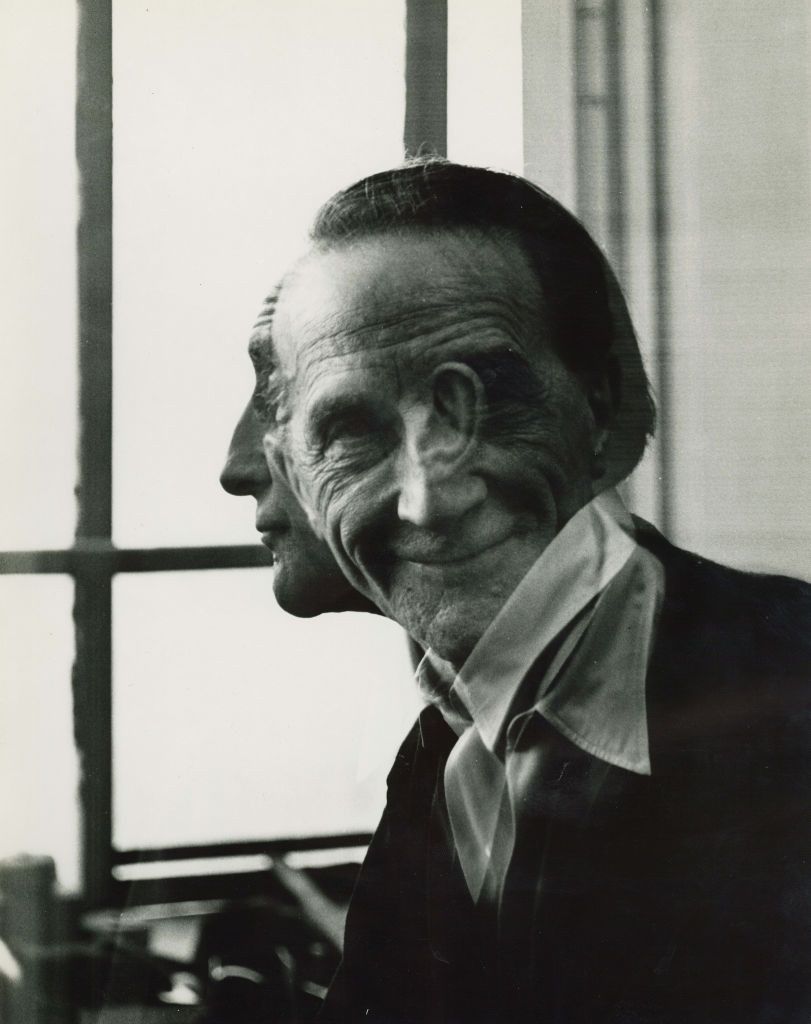
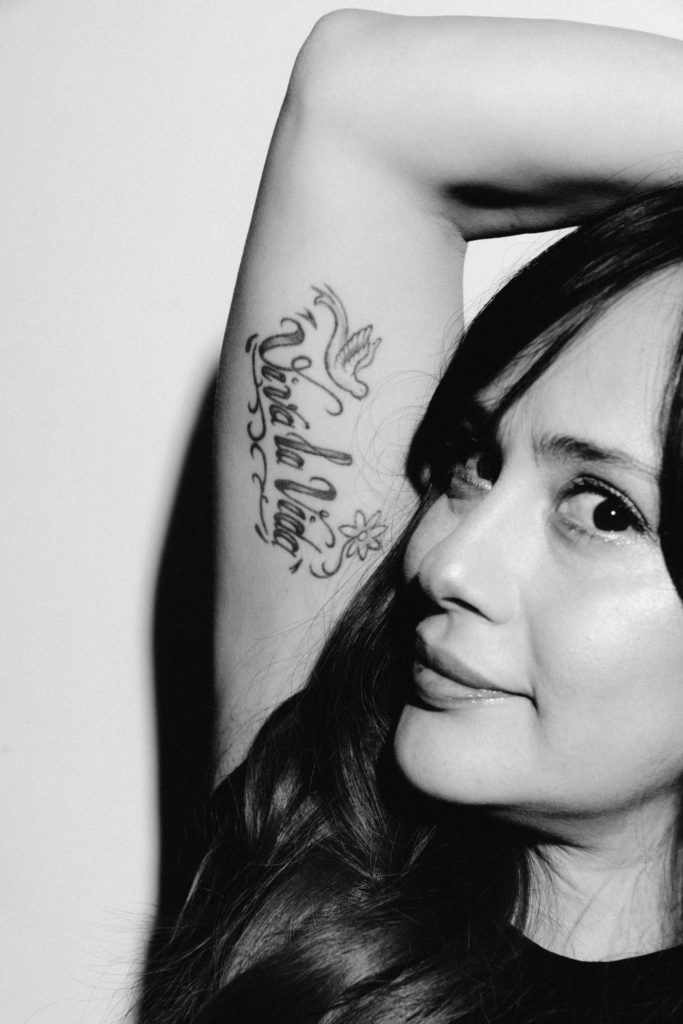
I decided to experiment with creating some double/multi exposure images from this photoshoot, similar to the work of photographer Man Ray and his work during the Surrealism movement- more info on Man Ray can be found here https://www.manray.net/ and examples of his work are below. I produced these images by layering different photos, and sometimes the same photo, from the shoot on top of each other on Photoshop. I reduced the opacity of one layer to produce the ‘multi exposure’ effect which I believe creates a more abstract atmosphere in my images. In addition, the bold colours of these photos mixed with the strange composition created by the multi exposure editing makes the subject appear alien-like and resembles something you may see on a sci-fi movie poster. I really enjoy the way this editing has created such a contrast in mood and context from the previous in this shoot, I like how the repetition of the subject gives the impression she is moving quickly. Furthermore, the repetition in these photographs symbolises echoes of the past, especially in the top right image where it seems as if the subject is leaving her body behind, conveying the idea of time moving swiftly on.
These 4 images above have been chosen as my final outcomes. In my opinion they successfully show a vast understanding and application of Henry Mullin’s work as we both have used similar techniques, such as: we both have used the diamond shape, have captured our models in 4 different angles, have a similar, old style and our images are similar in colour too as we both have this brown, crème effect.
I have used the Sony Alpha 380 DSLR Camera with the portrait mode to emphasize subjects by blurring away background and reproduce soft skin tones, with a shutter speed of 1/30 and an ISO equal to 400. Additionally, I have used manual focus to successfully bring the subject into focus and blurring out the background. The camera was still during the shoot as I used a tripod
I have edited these images using photoshop to cut and create the diamond shapes on my images but have also used Snapseed to edit my images by adjusting the Retrolux and Grunge tools on the application. Have also used it to adjust the brightness of my images so they are the best they can be.
In comparison to Henry Mullin’s diamond cameo project, as mentioned above, “we both have used similar techniques, such as we both have used the diamond shape, have captured our models in 4 different angles, have a similar, old-style and our images are similar in colour too as we both have this brown, crème effect.” However, Henry Mullins portrays his images in a photograph book whereas mine is digital, his subjects are adults and mine is a young adult, he has a border around his work, and I do not, and finally, his shots kind of fade around the oval shape which in comparison to mine, the images are fixed and aren’t fading.
Illuminating a studio configuration, portentous lighting is important. Portentous lighting can be created by adding a lot of contrast. Dark areas are just as important as light areas. This type of lighting requires a number of light sources located in a way that produce very light areas and some very dark ones. The most basic studio lighting uses a main light (1), a fill light (2), and a backlight (3). This is the most common lighting setting for studio-independent objects. A three-point configuration will immediately work well and is an excellent starting point for creating special effects. Light bulbs are useful because they allow you to control your direction and incident points to provide drama to the scene.
Thomas Ruff
Thomas Ruff
Alec Soth
My pictures :
3 Point Lighting :
Three-point lighting is a standard method of three-source lighting, I only use this technique with a few images This technique does not please me too much
1 Point Lighting :
I had a lot of fun with one light, I love the shadows found behind or on the faces of people in the pictures. I often ask people on the cheek picture with their hands their arms their body basically to create more shade.I create different types of lights just by placing the main flash in several different places.
An environmental portrait is a portrait taken of a person or people in a situation that they live in and a place that says something about who they are. It is often a place of work, rest or play.
Mood Board
This is a selection of different occupations and workers within their environment. This mood board gives an idea of what i wish my final outcomes will picture.
Arnold Newman
Arnold Newman is often credited with being the photographer who articulated and who consistently photographed the genre of environmental portraiture, in which the photographer uses a carefully framed and lit setting, and its contents, to symbolize the individual’s life and work. Newman’s career stretched over the 1940s through to 1960s.
Photo Analysis
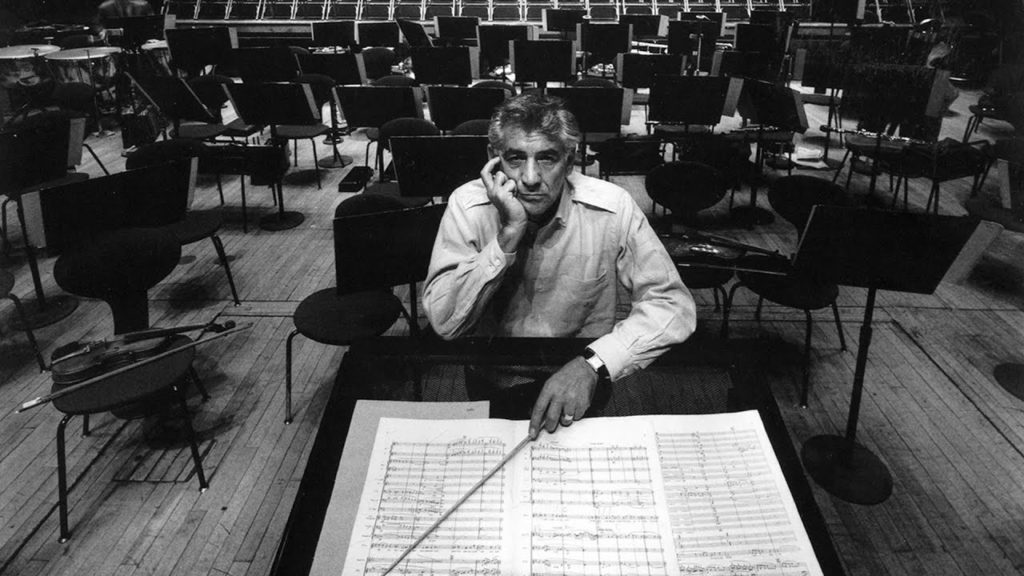
Arnold Newman
This photo depicts a conductor Leonard Bernstein in the center of the photo. The under-exposure of the background creates a contrast between the empty chair and the focus point. The angle at which the lens is capturing the conductor from, shifts the authority of the photo, this contradicts the environment as the conductor holds the authority in this orchestral workspace.
Contact sheet
Edited Photos
When editing these photos, I edited them to black and white photos to correlate my response to environmental photos to Newman’s work.
Final Image
I chose this image as i feel it most displays the models environment of his work place. His offset positioning opens up the background to allow the eye to wonder and admire the workplace in more depth. At first look, this photo illustrates a rule of 3 composition, splitting the photo into 3 vertical sections.
Photomontage is the process and the result of making a composite photograph by cutting, gluing, rearranging and overlapping two or more photographs into a new image. It is often used as a way of expressing political disagreement. It was first used as a technique by the Dadaists in 1915 in their protests against the First World War. It was later used by the surrealists who explored the possibilities of photomontage by using it to bring together widely contrasting images, in order to reflect the workings of the unconscious mind. In 1923, the Russian constructivist Aleksander Rodchenko began experimenting with photomontage as a way of creating socially engaged imagery exploring the placement and movement of objects in space. Other artists who have used this technique are John Heartfield, the German artist who reconstructed images from the media to protest against Germany’s Fascist regime and Peter Kennard; whose photomontages explored issues such as economic inequality, police brutality and the nuclear arms race between the 1970s and the 1990s.
JOHN STEZAKER
John Stezaker ( 1949 – ), is a British conceptual artist. His work is surreal in tone and is often made using collage and the appropriation of pre-existing images such as postcards, film stills, and publicity photographs. Art historian Julian Stallabrass said, “The contrast at the heart of these works [by Stezaker] is not between represented and real, but between the unknowing primitives of popular culture, and the conscious, ironic artist and viewer of post-modern images.” One work included in an exhibition at Salama-Caro Gallery, London, in 1991, depicted an image of a punch clock together with the caption “Why Spend Time on an Exhibition Like This?”.
Studio lighting is an essential part of most photographer’s work, as it allows them to create an effect which can be either natural or artificial. A photographer’s choice of lighting is an integral part of the composition of their photographs, and can be the difference between a good image and a bad image. Studio lighting in particular can be manipulated in so many different ways, allowing the photographer to create a numerous amount of images just by changing the lighting.
Rembrandt lighting is a standard lighting technique that is used in studio portrait photography and cinematography. It can be achieved using one light and a reflector, or two lights, and is popular because it is capable of producing images which appear both natural and compelling with a minimum of equipment. Chiaroscuro is the use of contrast in light and shading across an entire image composition. It is a technique that creates a three-dimensional quality in images on a two-dimensional plane. Chiaroscuro lighting was developed by Leonardo Da Vinci, Caravaggio, Vermeer, and Rembrandt.
MY RESPONSE
FINAL IMAGES
I have selected these three photographs as my final images because I think that they best show the Chiaroscuro lighting technique. The shadows being cast across my subject’s face fall in a triangular shape, which creates a three dimensional effect. I had my light set up on one side of my subject’s face and I switched sides regularly in order to create and explore different angles and shadows. I decided to use a colourful plastic sheet over an L.E.D. light instead of a spotlight because I wanted as much of my subject’s face illuminated as possible, but still with the shadows being cast over one side of her face. Additionally, I think that the colour adds a slightly modern touch to the old technique, and makes the photographs appear more vibrant and full of life. I chose the red and blue colours because they gave the best visibility through the camera lens, and were the most contrasting in tone.
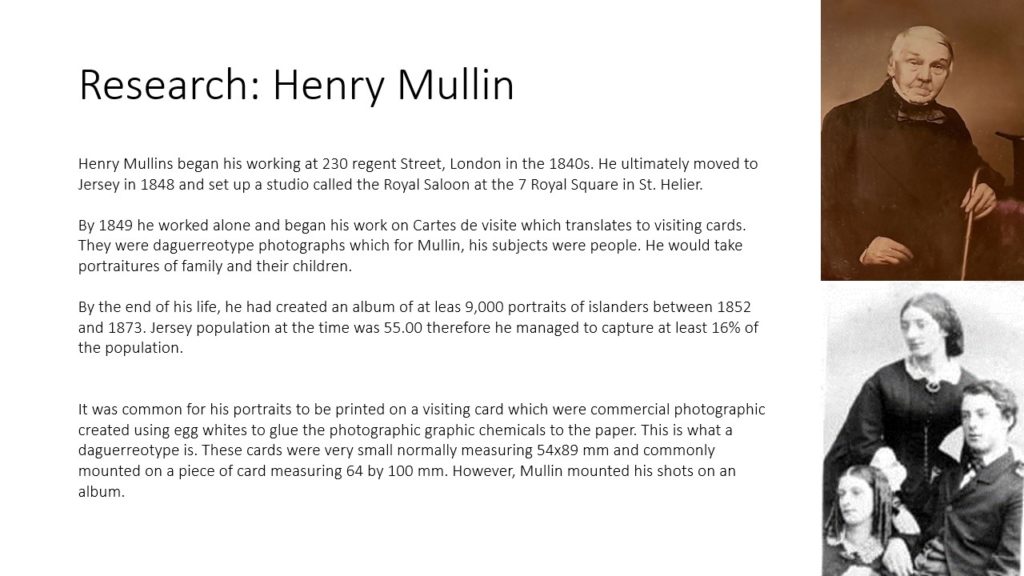
Henry Mullins was a portrait photographer known best for introducing professional photography to Jersey, after moving from London in July 1848, and setting up one of the first photography studios on the island. This was known as the Royal Saloon, located at 7 Royal Square. He promoted his business to Jersey locals by pricing his portraits at “one half of that in London”, half a guinea.
Mullins’ photographs have been preserved and stored online by https://societe-jersiaise.org/photographic-archive with his collection amounting up to 9600 images. Mullins was well known for printing his portraits on carte de visite paper, which was popular due to its small size, allowing friends to trade them amongst each other.
A technique often used by Mullins were the diamond cameo portraits, in which four different portrait angles were taken and printed onto one card, in the format of a diamond.
Diamond Cameo portrait of Philip Baudains, taken by Henry Mullins.
Analysis
Mr Bolton, photographed by Henry Mullins in 1849-50
This sepia toned image taken by Henry Mullins displays a Mr Bolton, almost a year after Mullins set up his business. This is said to be of a very high quality for its time, due to the fact that it captures facial details such as wrinkles and shadows sharply. In addition, here Mullins has showcased a strong contrast between light and dark, with the black suit Mr Bolton is dressed in and the bright tone of his skin.
For this portrait it appears that Mullins has chosen to use a two point lighting technique, allowing for little to no shadow behind the subject or around his face. The way in which Mullins has framed this image demonstrates a half body shot of Mr Bolton sitting down, also leaving little empty space around the subject, as the background is not important for the viewer of the photograph.
Photo-Shoot
Plan
Contact Sheet
Edited Images
For these two point lighting photographs, I started editing them by decreasing the brightness slightly, meaning the images wouldn’t be over exposed, and then increased the contrast allowing for a sharper image. I also used the dodge tool in order to make the facial highlights brighter, and to brighten the backgrounds of the photographs.
Diamond Cameos
In order to create these diamond cameo edits, I used the elliptical tool in Photoshop to cut out an oval shape from four of my best images for each person. I then copied these cut out sections and dragged them onto a blank A4 page, and arranged them into a diamond format. For my second diamond cameo edit, I also added a sepia tone over the cut out images, by using a sepia image from the internet and blended it over the top of the photos.
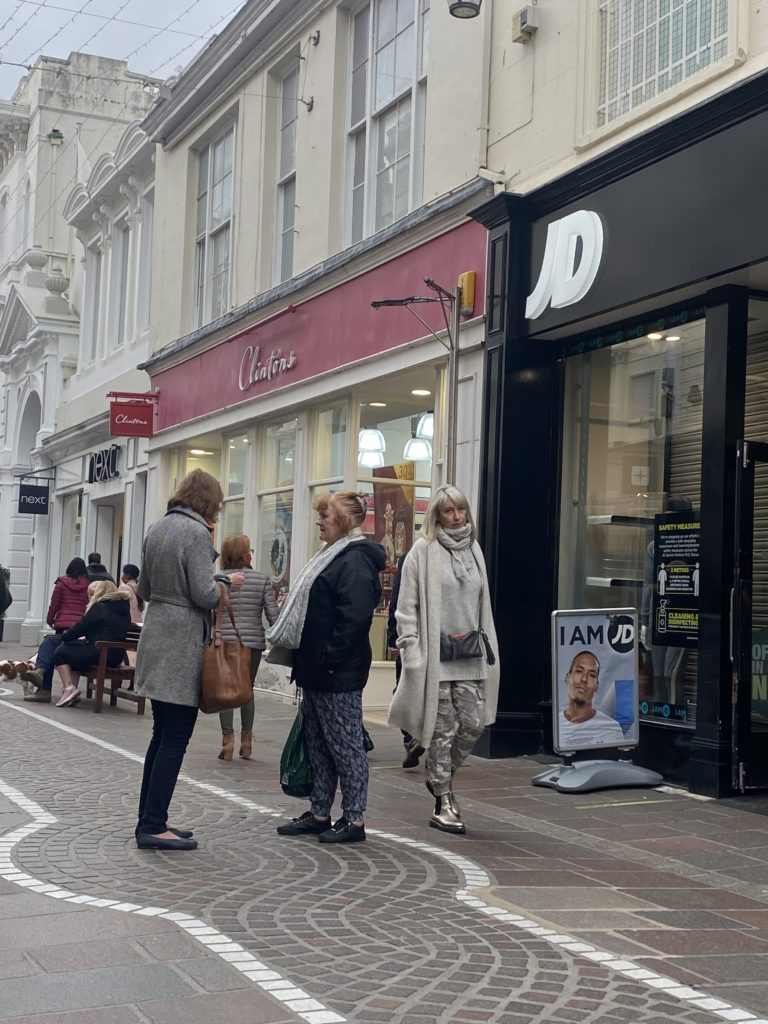
I chose these images as my final images as I felt these where my strongest images that fitted into the candid/street photography idea. I liked these images as they were all people in the moment and unaware of the images being taken which means I captured them in their candid moments. I decided to put all my final outtakes into black and white as that is what a lot of street photographers had their images in black and white and I felt it throughly captured the image the best.
Lighting in an image is such an important factor, it can not only determine how bright or dark an image is but also how different the mood or atmosphere is. Studio lighting is used because it allows us to manipulate the lighting of a photograph to create a desired texture, vibrancy or shadow on our subject. Studio lighting also allows photographers to experiment with different styles and perspectives when capturing an image, it is important for them to be able to photograph abstractly and naturally.
1 Point Lighting – This style of lighting involves just one light, the key light, which is the main light source that lights up the subjects face. Images taken using 1 point lighting usually contain lots of shadows surrounding the subject, this is due to the singular light providing the only highlights in one specific spot. This lighting style can create very dramatic and abstract images due to the contrast between the bight highlights and dark shadows.
Rembrandt – Chiaroscuro Technique
Rembrandt Portrait Paintings
Chiaroscuro is an art and photography technique which shows a bold contrast between light and dark. It is an Italian term which translates as light-dark, and refers to the balance and pattern of light and shade in a painting or drawing. Painters of the Renaissance and Baroque periods used this technique to create a dramatic atmosphere in their work to interest and excite their viewers. For example, above are two paintings by the Baroque painter Rembrandt, who used Chiaroscuro to illuminate one side of his subjects face- therefore leaving the other in shadow creating an impressive dramatic image. Rembrandt’s contrast between light and dark was inspirational throughout the baroque period, many other artists produced similar paintings such as Caravaggio and Johannes Vermeer.
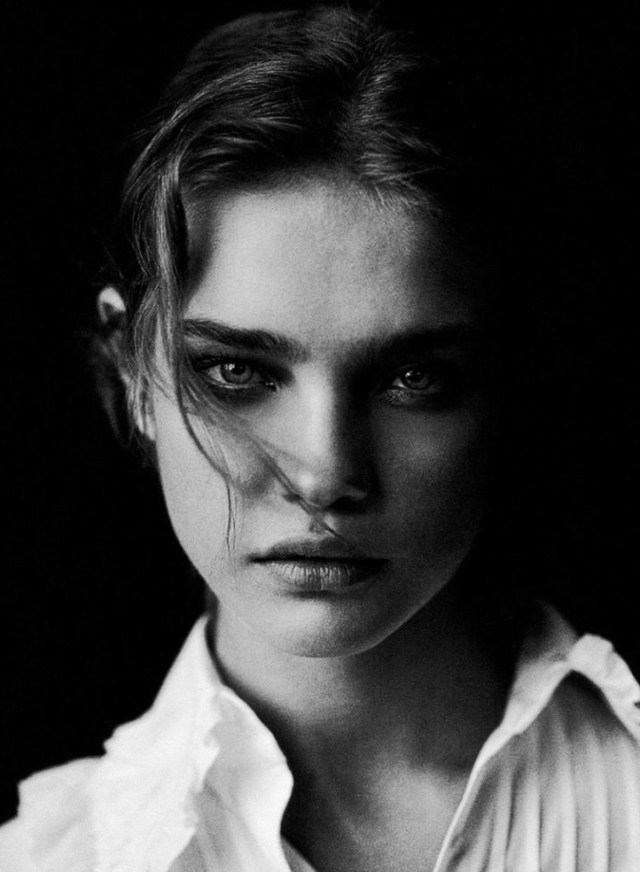
Peter Lindbergh
Peter Lindbergh (1944-2019) was a German fashion photographer and film director. Considered a pioneer in photography, he introduced a form of new realism by redefining the standards of beauty with timeless images. His humanist approach and idealisation of women sets him apart from other photographers as he privileges the soul and the personality. Lindbergh is considered to be one of the most influential contemporary photographers to date and his use of Chiaroscuro in his images produces a mysterious atmosphere which intrigues the observer greatly.
Peter Lindbergh | Natalia Vodianova | Vogue Italia, May 2003
Lindbergh uses Chiaroscuro in this image to create a cinematic shot that captivates the observer. He has clearly used 1 point lighting to illuminate the left side of the model’s face, which produces a dark shadow on the right. Additionally, Lindbergh’s images are black and white which furthers the mysterious mood created by the deep shadows falling across the model’s face. The tonal range in this image is limited to a main white highlight, grey mid-tone and black shadow- with the darkest point of the image in the background. This black background produces negative space in the photograph, emphasising the focal point of the subject by allowing her to stand out against it. Furthermore, the harsh contrast between light and dark in this image creates several sharp lines. For example, on the models nose we can see a straight dark line formed by the Chiaroscuro lighting. The composition of the image is not abnormal to those usually printed in a vogue magazine, as the subject is directly addressing the observer through eye contact straight down the camera lens. Also, the model’s eye contact with us creates an enticing atmosphere in the image, supported by the secretive shadows that surround her.
Photoshoot Plan
Who – I plan on photographing a friend who has done modelling in the past in hopes of capturing images with more professional poses. Additionally, my model will be comfortable in front of the camera so will be relaxed when experimenting with different angles and poses.
What – I will attempt to photograph my model using Chiaroscuro, letting shadows fall across her body, face and the background of the photograph.
Where – My plan is to do the photoshoot in the photography studio in school as the professional lighting equipment will allow me to create the Chiaroscuro images more easily and effectively.
Why – I am going to produce this photoshoot in hopes of broadening my knowledge of using studio lighting and shadows to create different moods and atmospheres in my images. I also wish to experiment with lighting techniques and take inspiration from Peter Lindbergh’s work.
How – I plan on using 1 point lighting with a spotlight to create most of my Chiaroscuro images, I wish to experiment with changing my camera’s white balance and ISO settings whilst also changing the whiteness of my lighting to find the most effective lighting colour.
Contact Sheets
Selected Images
Final 1 Point Lighting Portrait
I have chosen this photograph for my final 1 point lighting image as I believe it shows a successful example of chiaroscuro and the abstraction of using a singular light. I produced this image using a spotlight to create the 1 point lighting set up, I had the key light positioned to the left of my subject and angled slightly below their chin pointing upwards. This therefore produced dark shadows surrounding the subject and falling across the right side of their face as my key light was close enough to her that it limited the highlights falling anywhere else. I believe this manipulation of shadows has created a mysterious atmosphere as the limited light connotes the idea that the subject is being consumed by the darkness. Additionally, with the subject not having direct eye contact with camera lens it forms a cold and disconnected aura in the image, almost as if she is looking away from the light because of a darker temptation. I experimented with changing my white balance to ‘daylight’ so I could manipulate the image’s lighting to look like ‘golden hour’, however after consideration I re-took my image with the automatic white balance as the warmer lighting didn’t reflect the desired cold atmosphere. Similar to the work of Peter Lindbergh, my solid black background allows the subject to stand out clearly. However, there are still moments in my photograph where parts of the subject blend with the shadow, for example as she is wearing a black vest it creates the impression she is being absorbed into the background. I think that I have succeeded in creating a dramatic image using chiaroscuro and 1 point lighting as my contrast in light and dark alludes to a clear story and produces a mysterious atmosphere.
Experimenting With 3 Point Lighting
3 Point Lighting – This style of lighting in photography involves 3 main sources of light usually in 3 different positions. The main light sources used are a key light, fill light, and backlight. In 3 point lighting images, in order for the subject to not blend with the background, the backlight is used to separate them. 3 point lighting is one of the most popular lighting set-ups in photography as it allows the photographer to clearly illuminate their subject and limit the amount of shadows created around them.
During the photoshoot I also wanted to experiment with using 3 point lighting to minimise the amount of shadows and see how it changed the atmosphere of my images. My plan was to keep the singular spotlight to the left of my subject, while also adding a ring light in the middle and a LED panel light on the right. I experimented by using warmer tones in one light compared to colder in the others to see how it would effect the image’s composition of shadows.
Final 3 Point Lighting Results
It is clear that by adding 2 more lights to this photoshoot it creates a completely different mood in the images. Before, the dark shadows surrounding and engulfing the subject created a secretive mysterious atmosphere. However, now by adding the ring light and panel, the photographs are brighter and clearer for the observer. This change in lighting created a more playful happy mood, nevertheless I still wanted to experiment with the subject’s facial expressions to see if I could change it further. By having her make direct eye contact with the camera lens while sitting in relaxed positions, it shows the subjects confidence and lets her connect with the observer. I angled the camera slightly above her eye-level to prevent the idea that the subject was looking down the lens in an intimidating manor. Instead, I believe this additional lighting and engagement with the observer creates a more laid-back atmosphere and a welcoming mood.
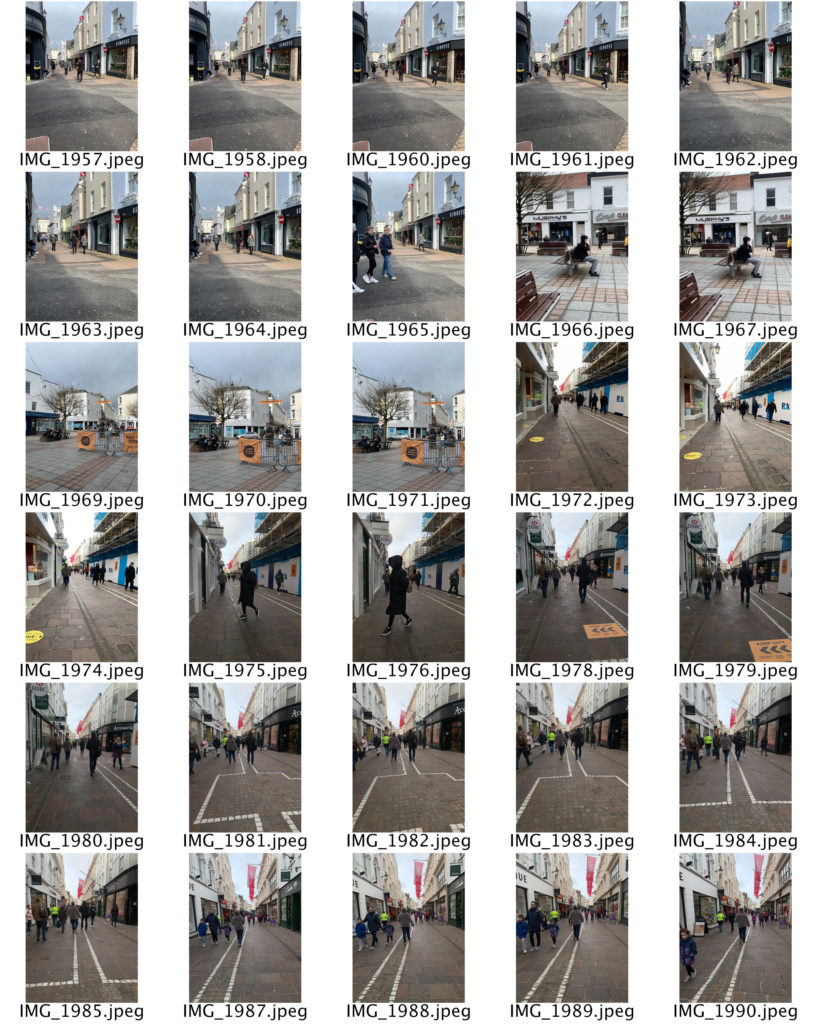
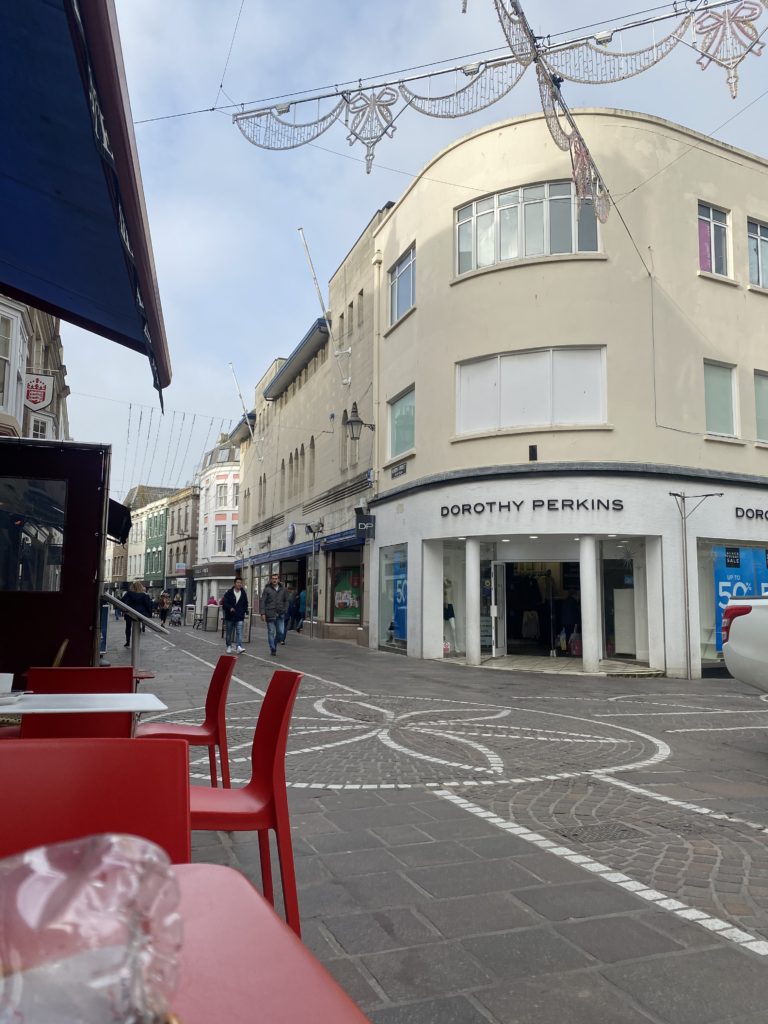
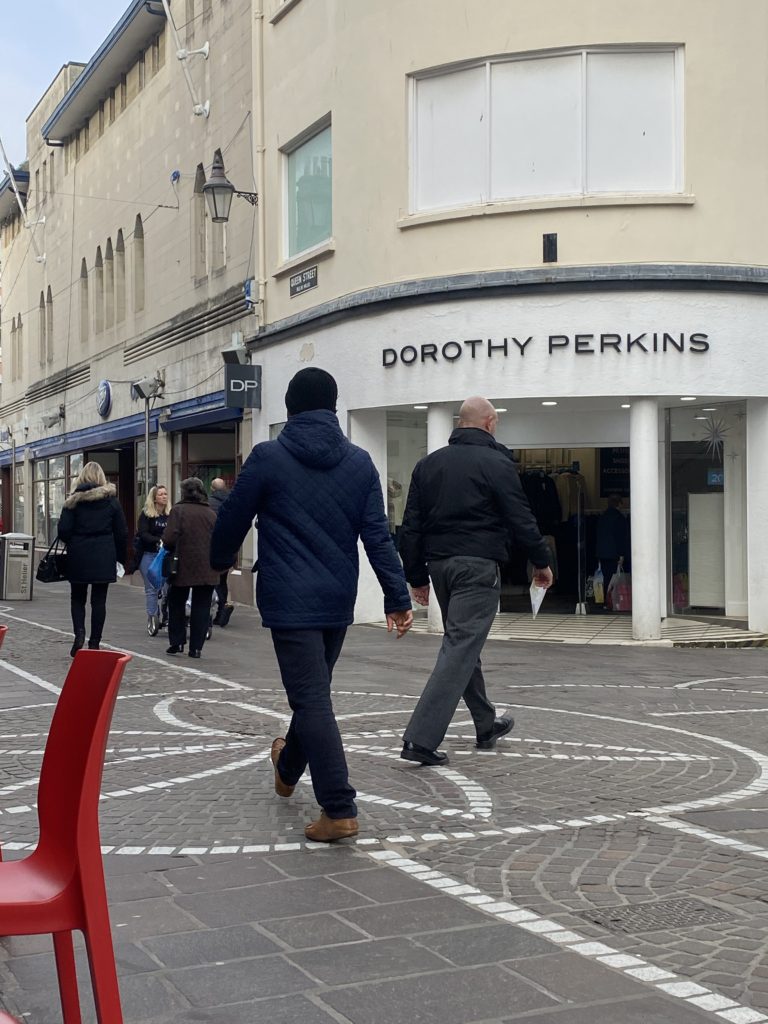
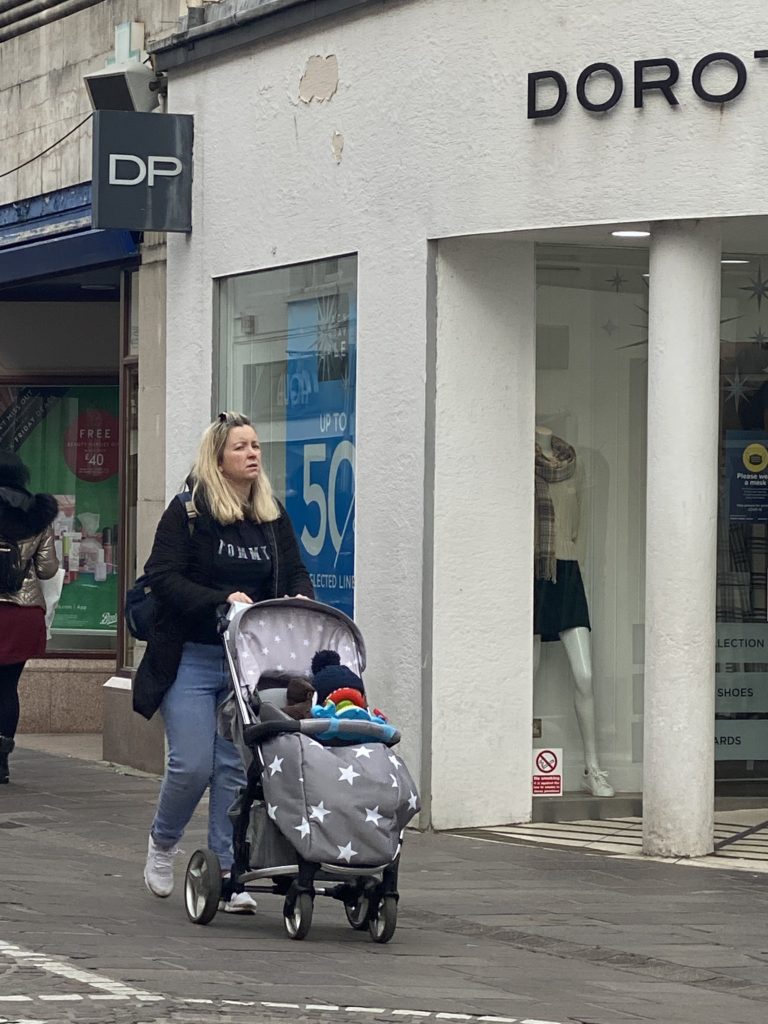
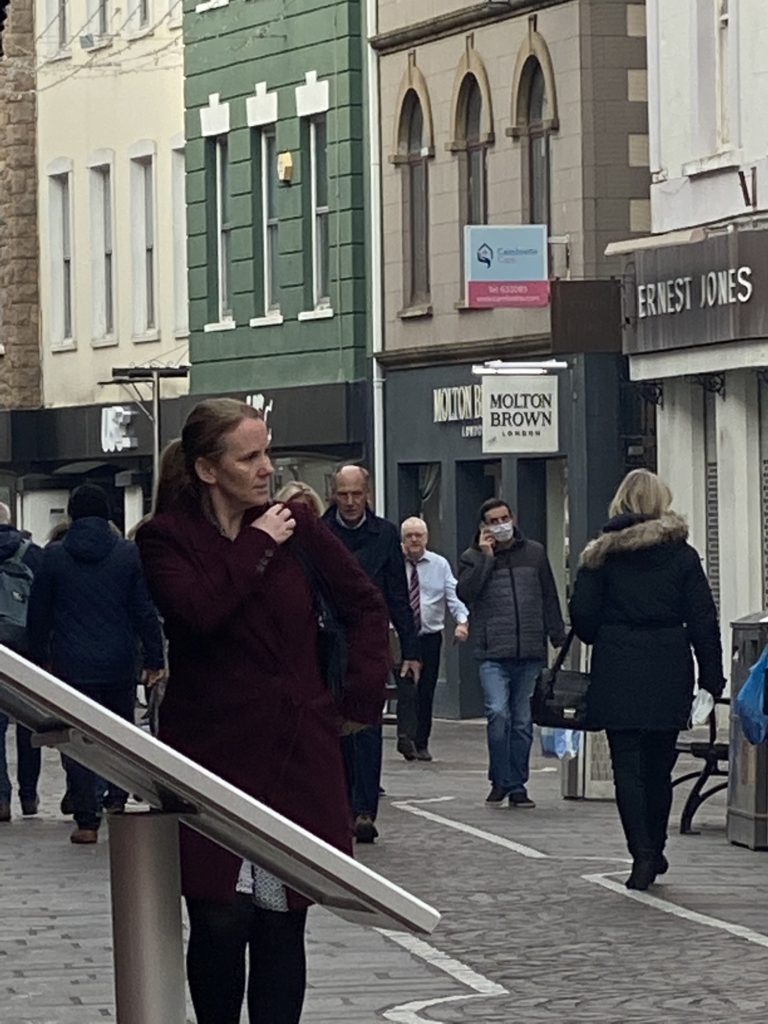
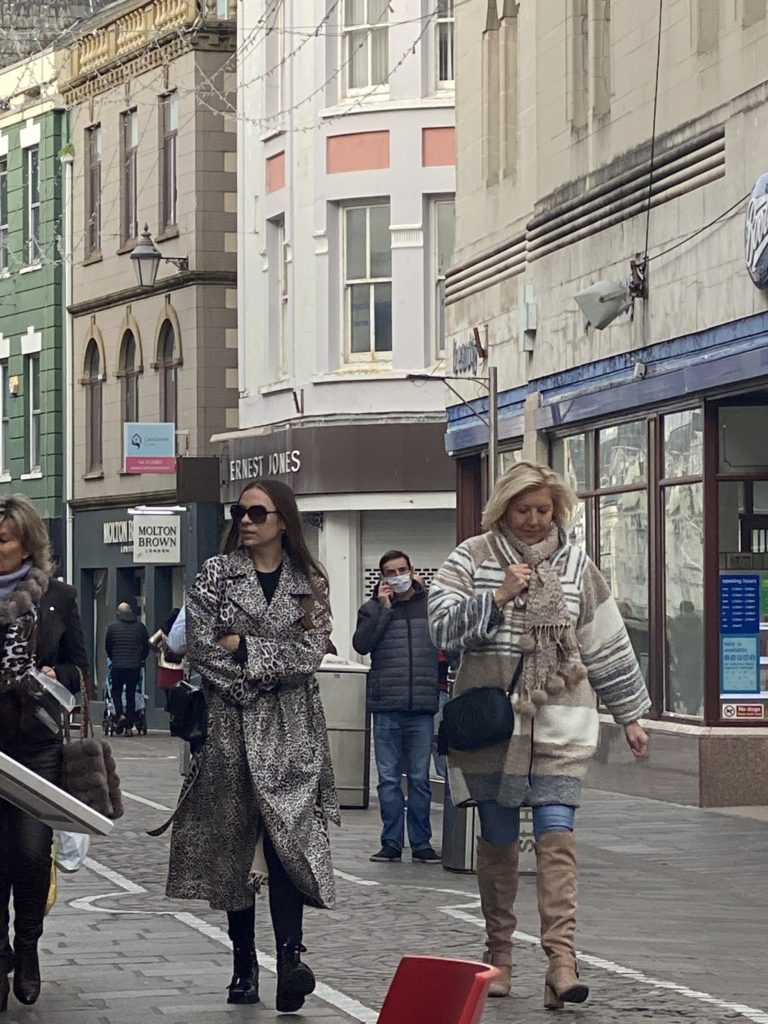
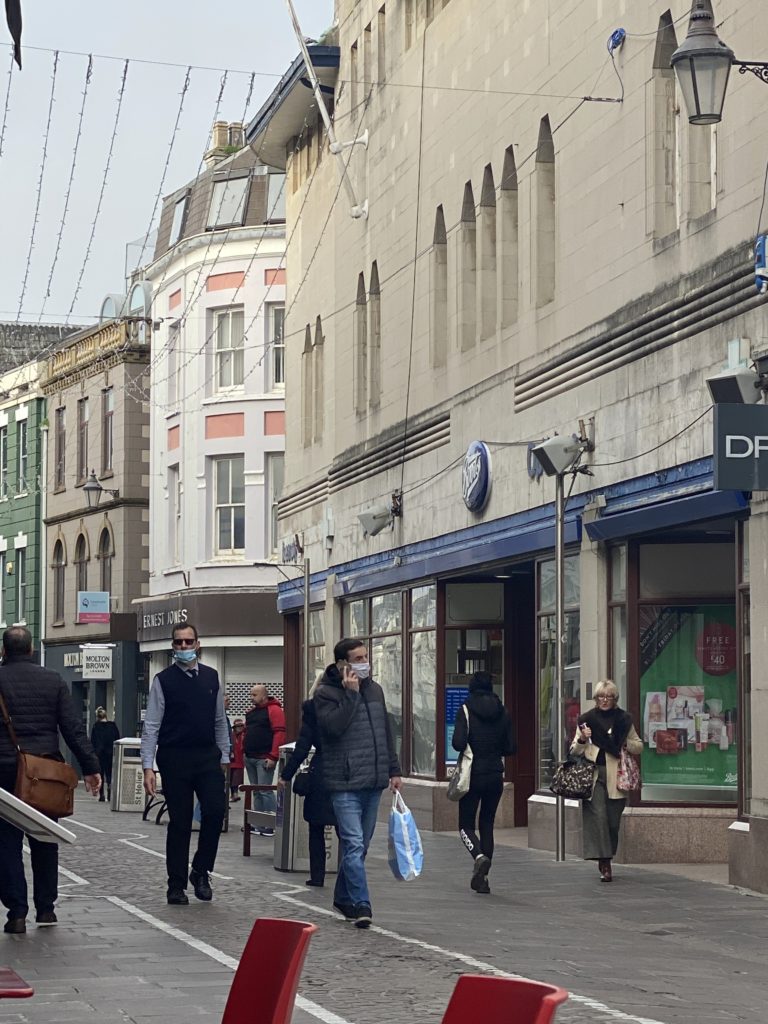
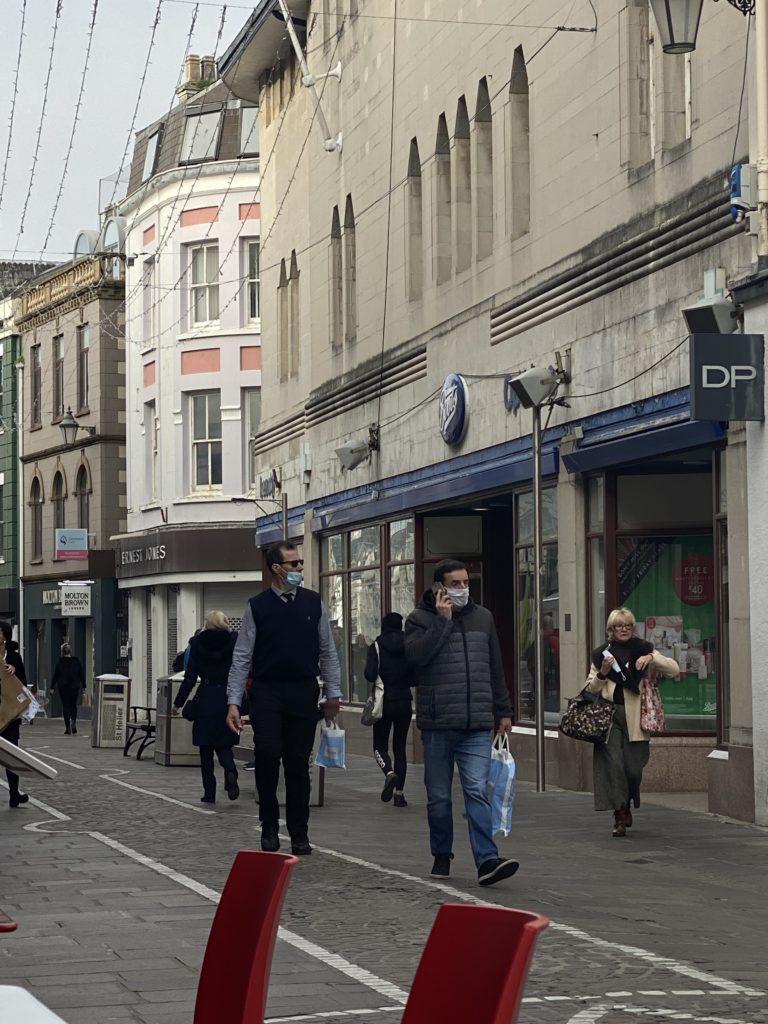
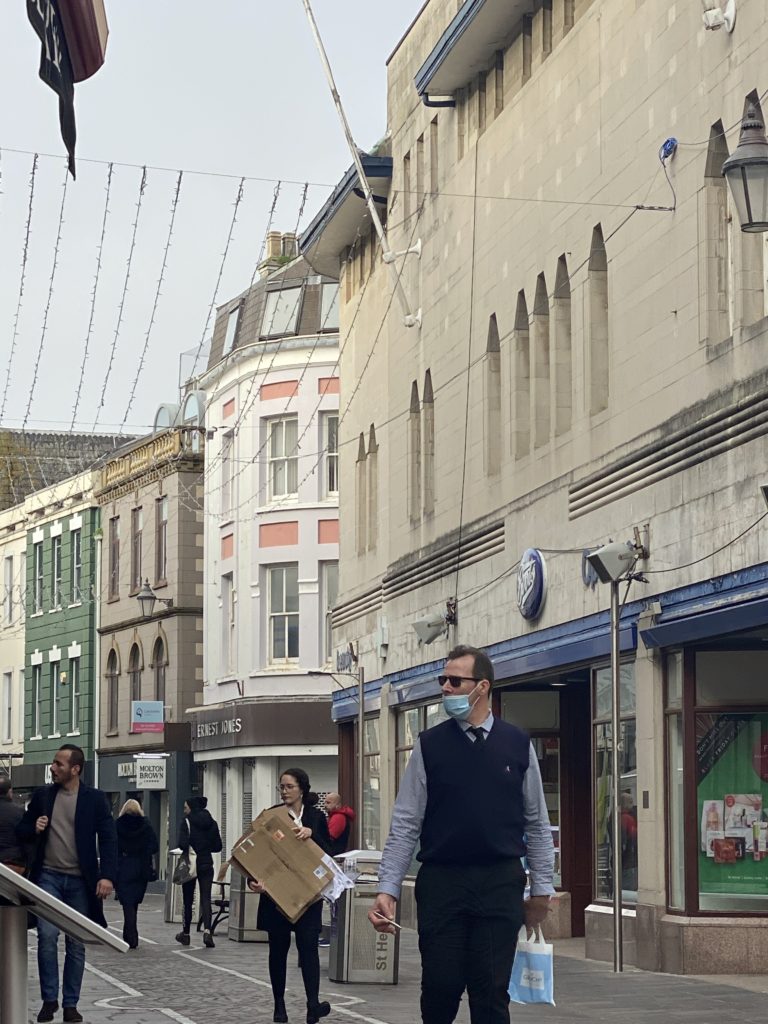
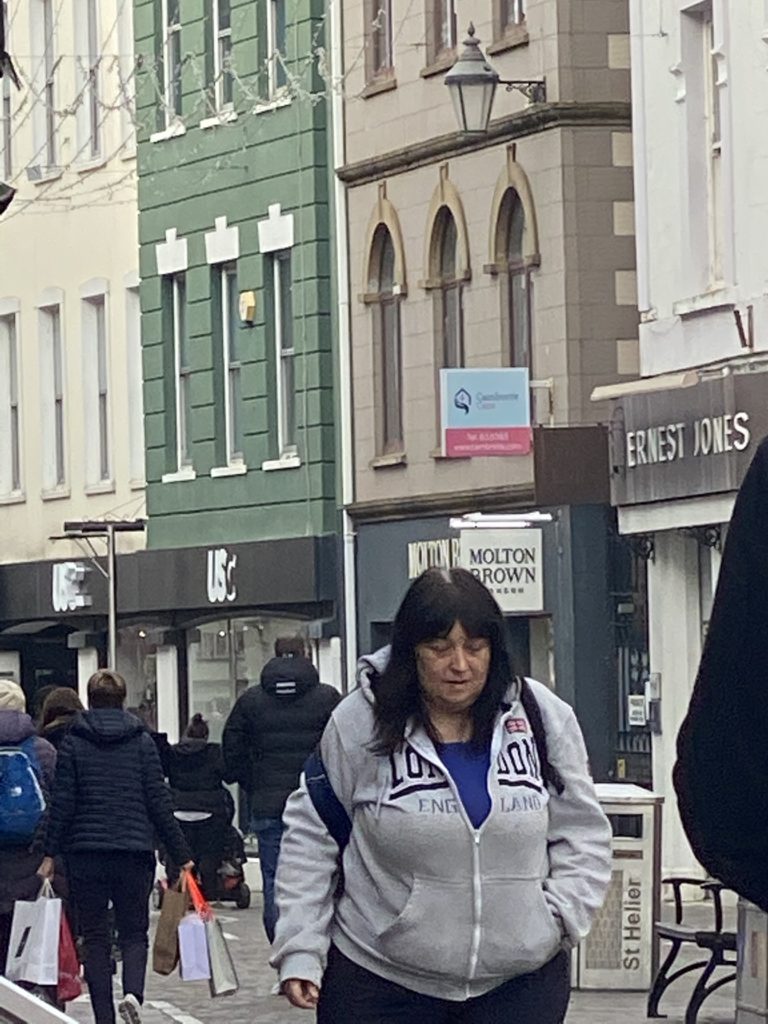
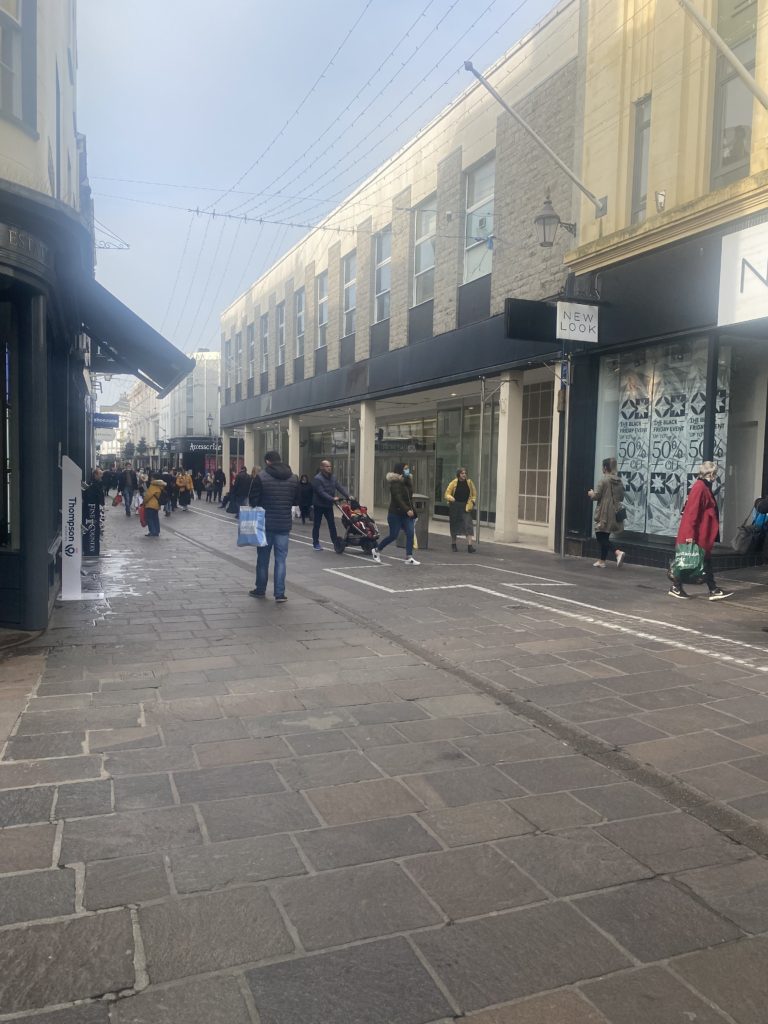
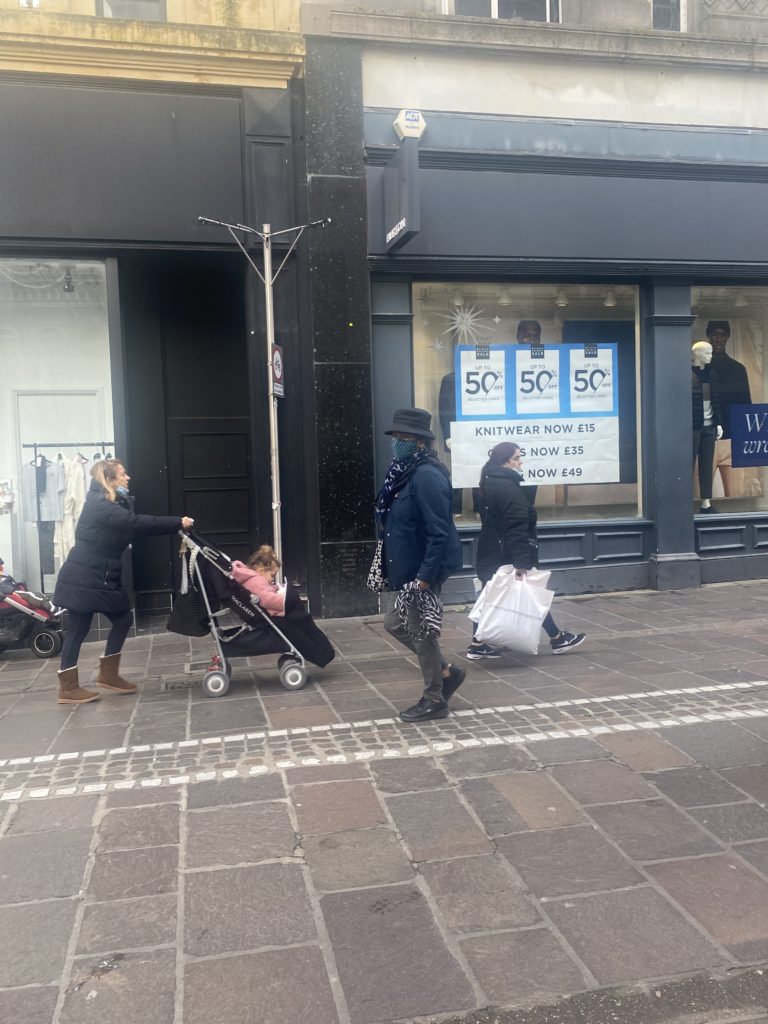
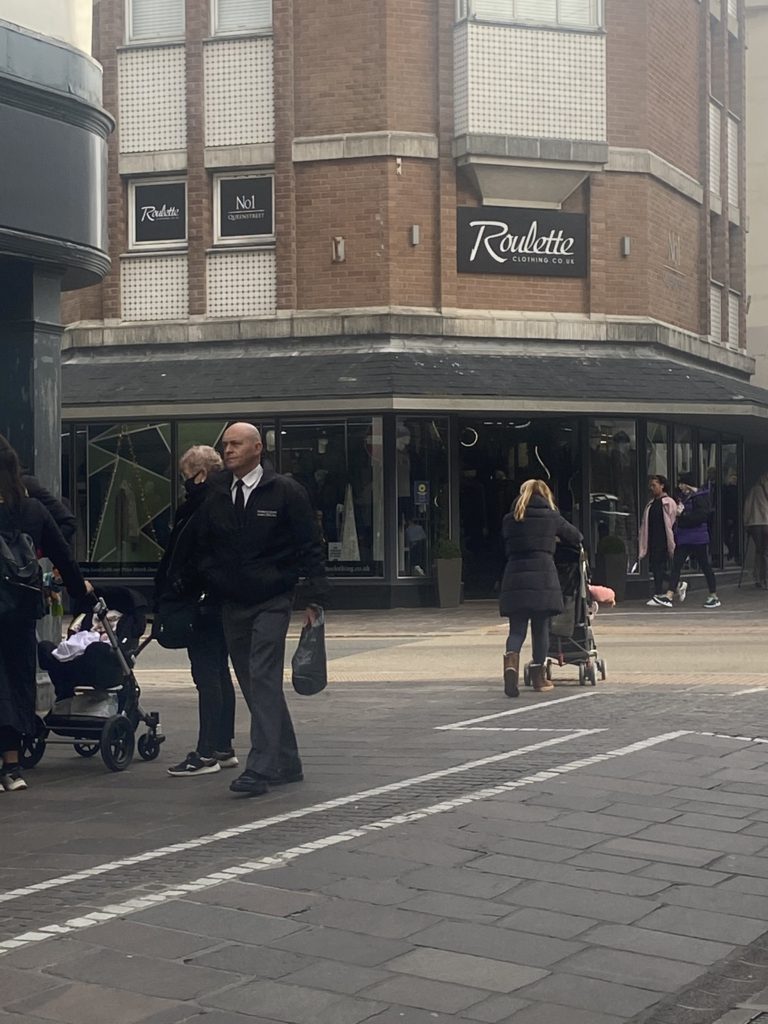
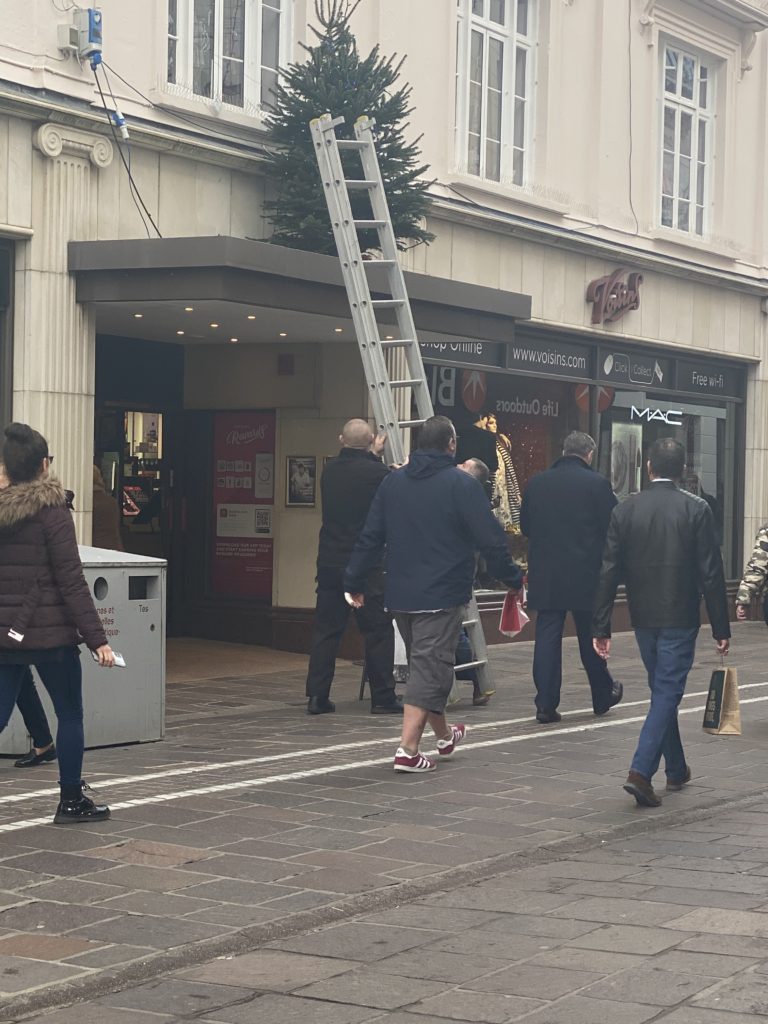
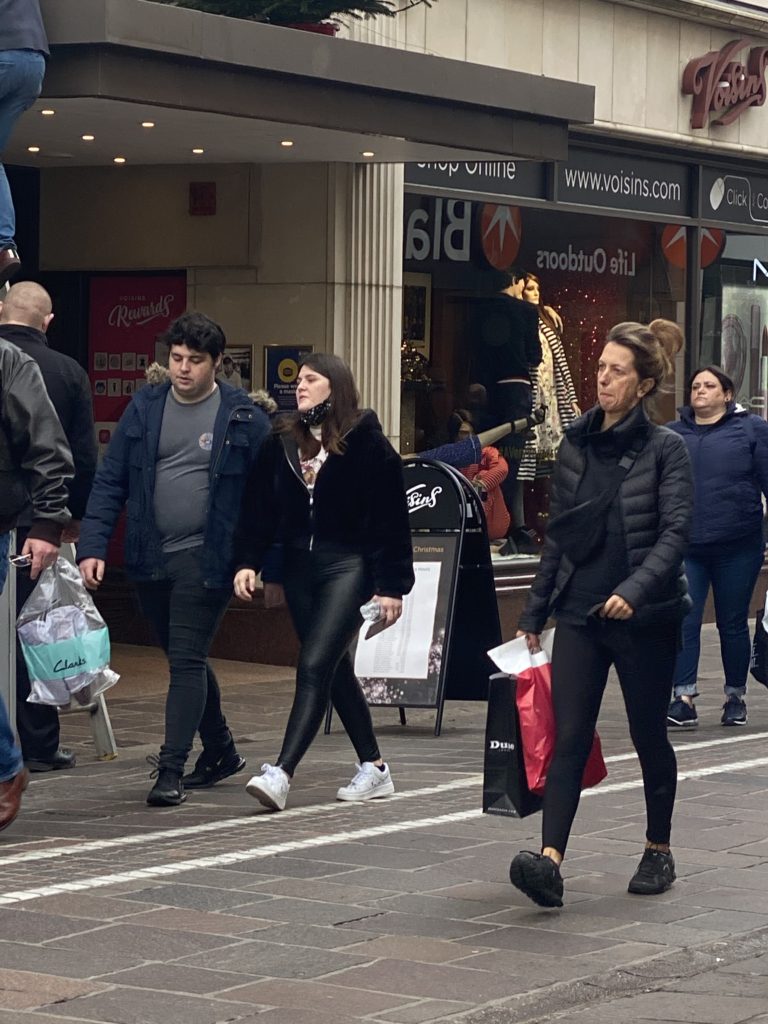
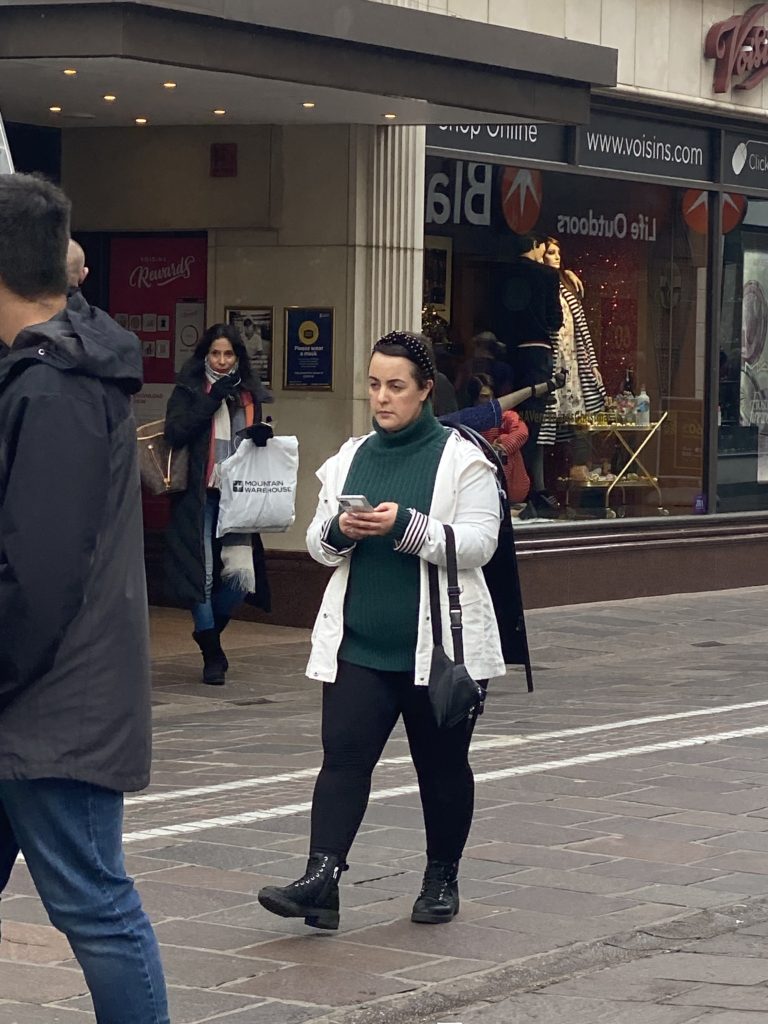
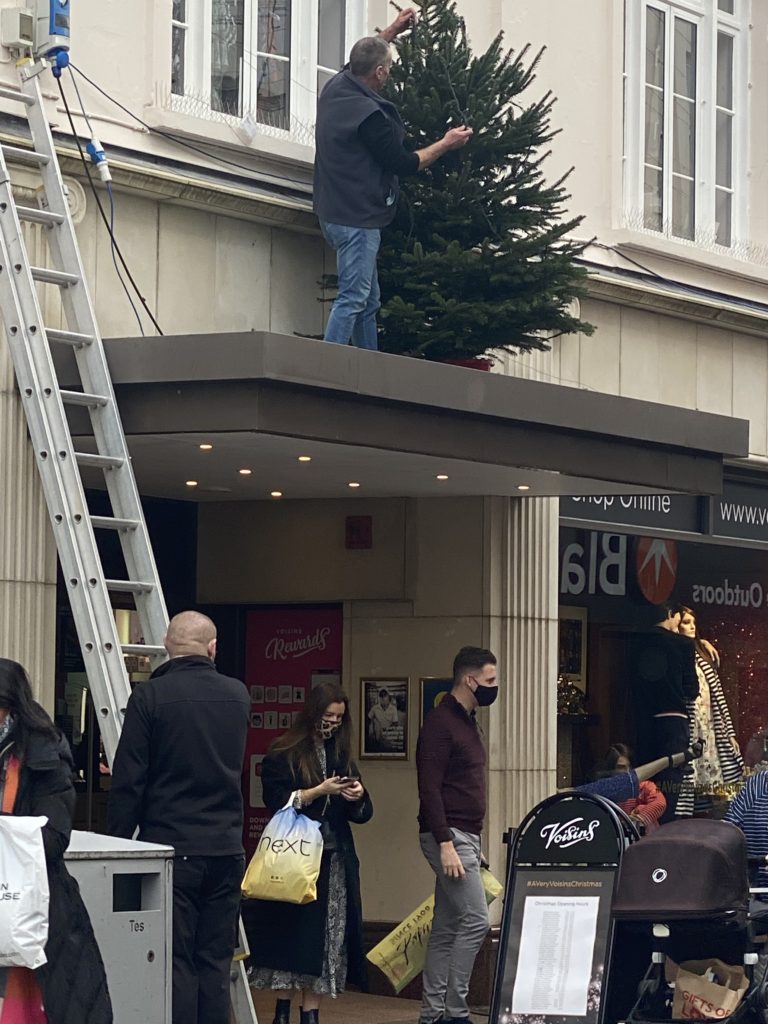
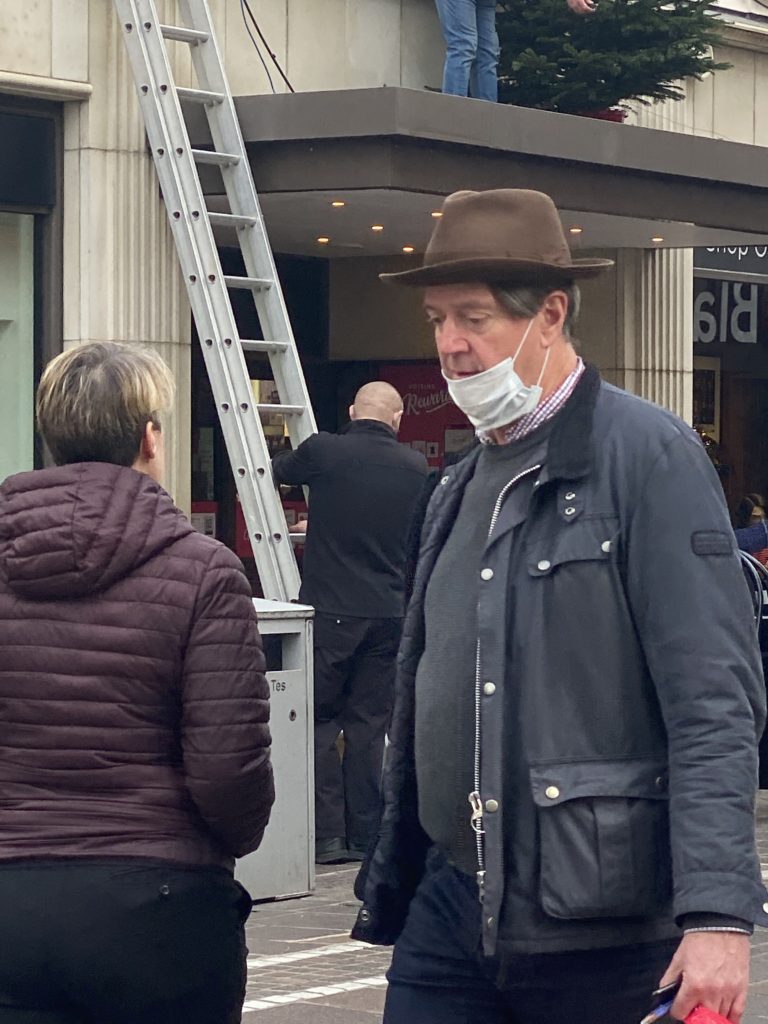
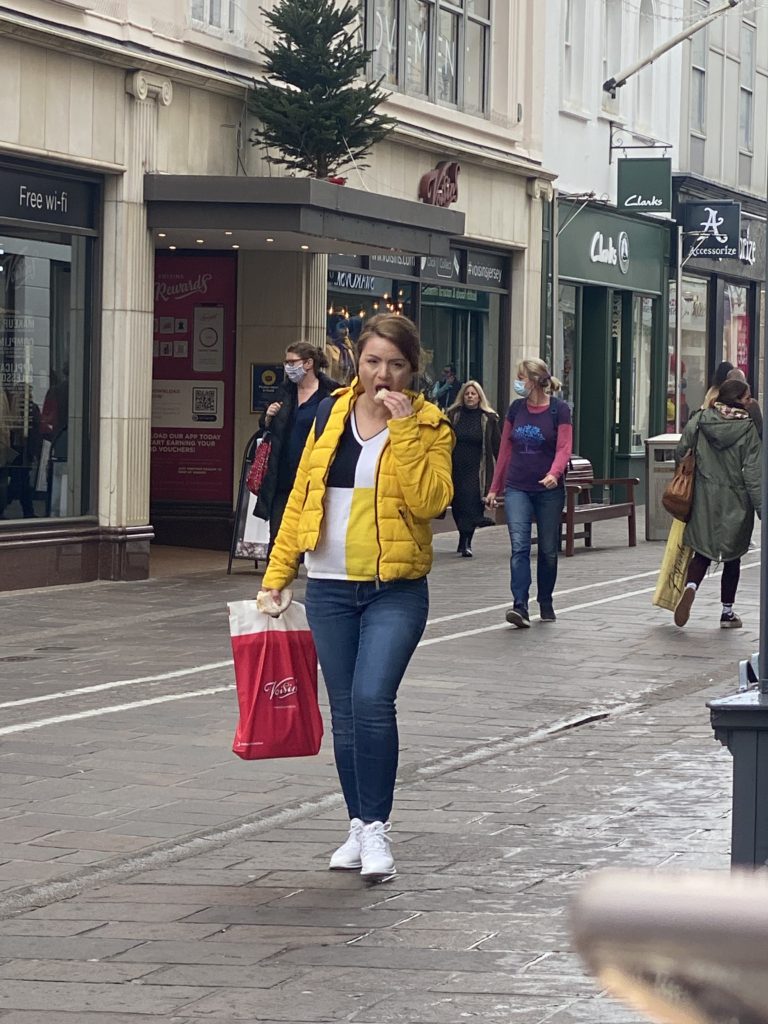
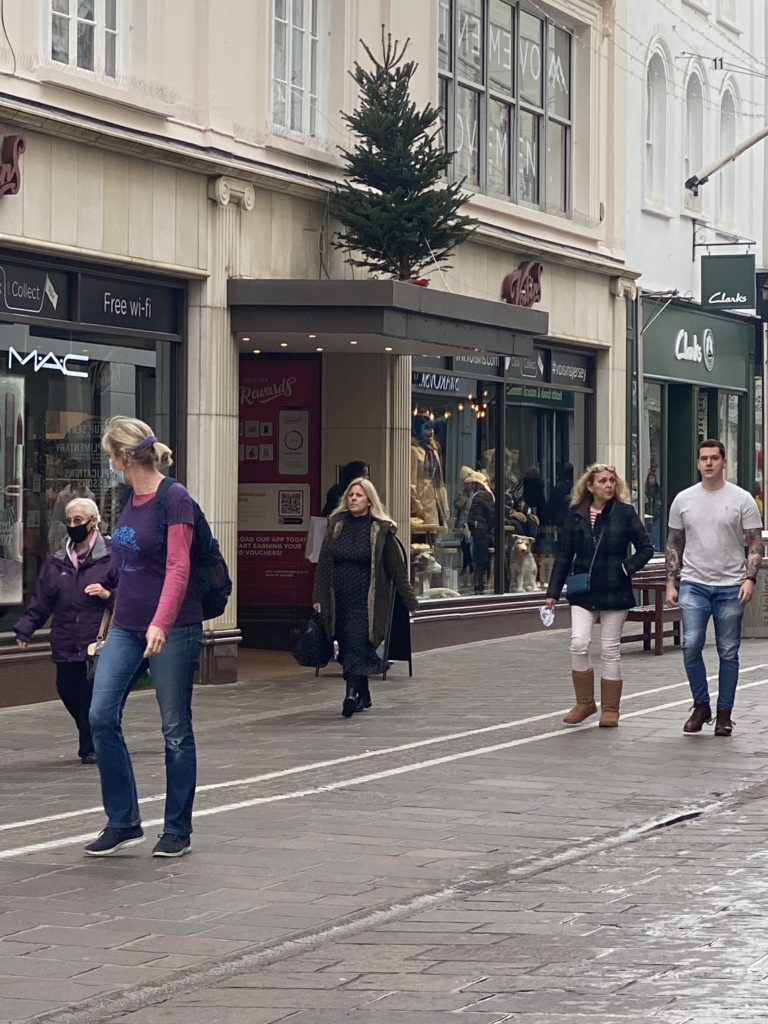
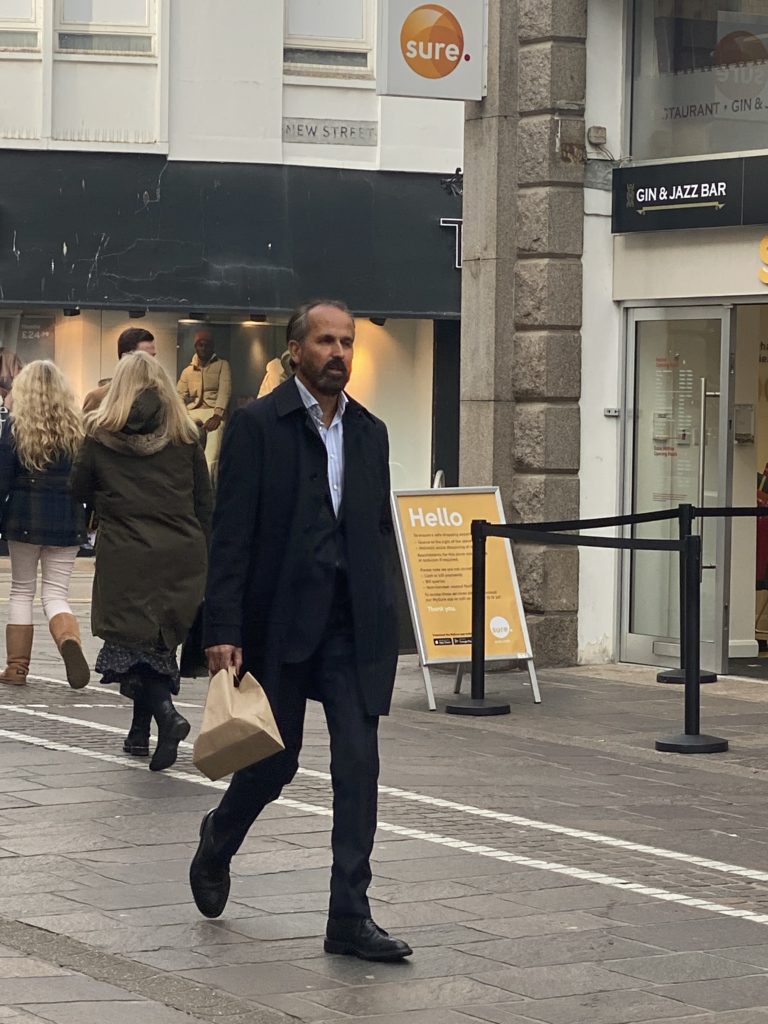
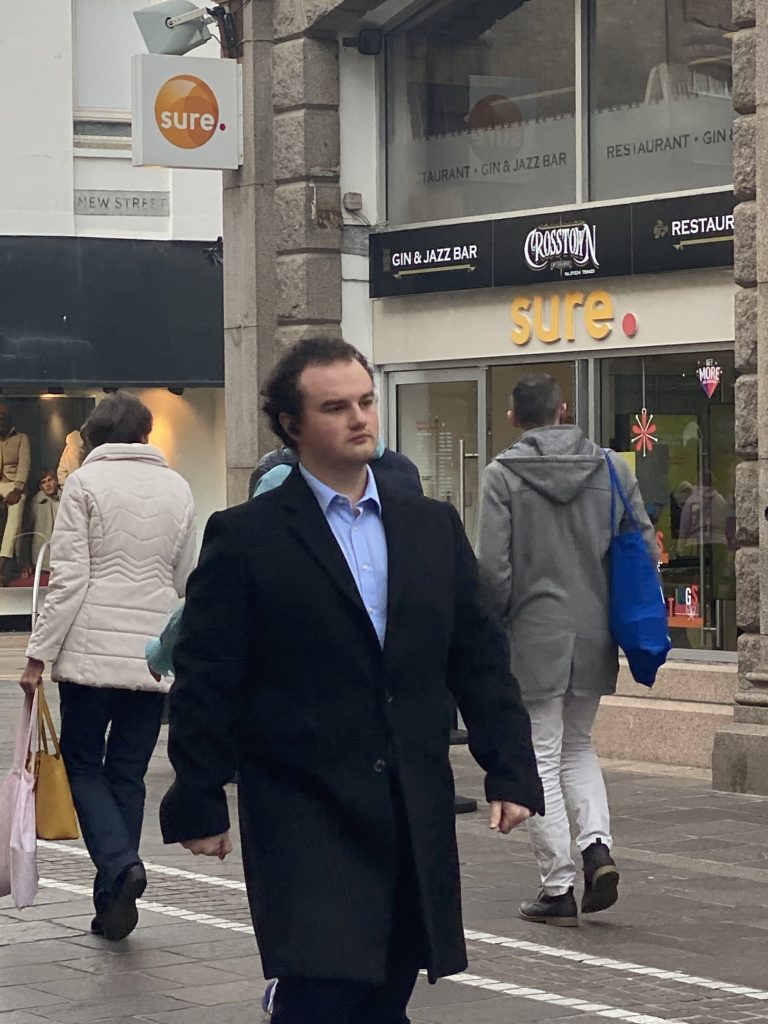
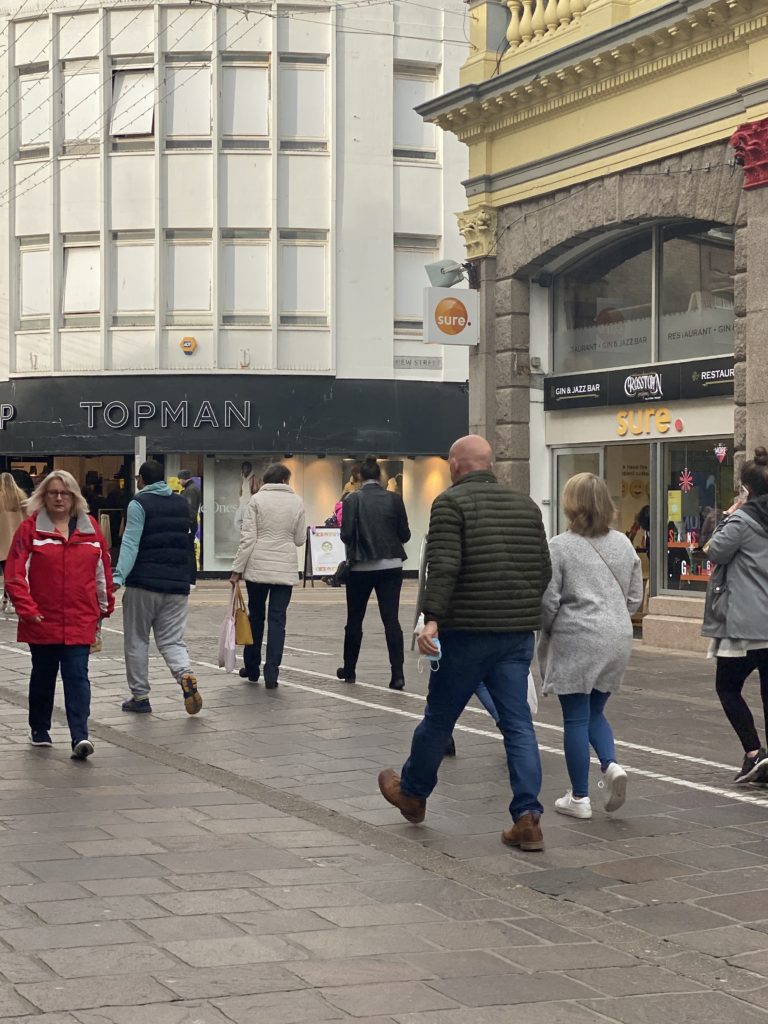
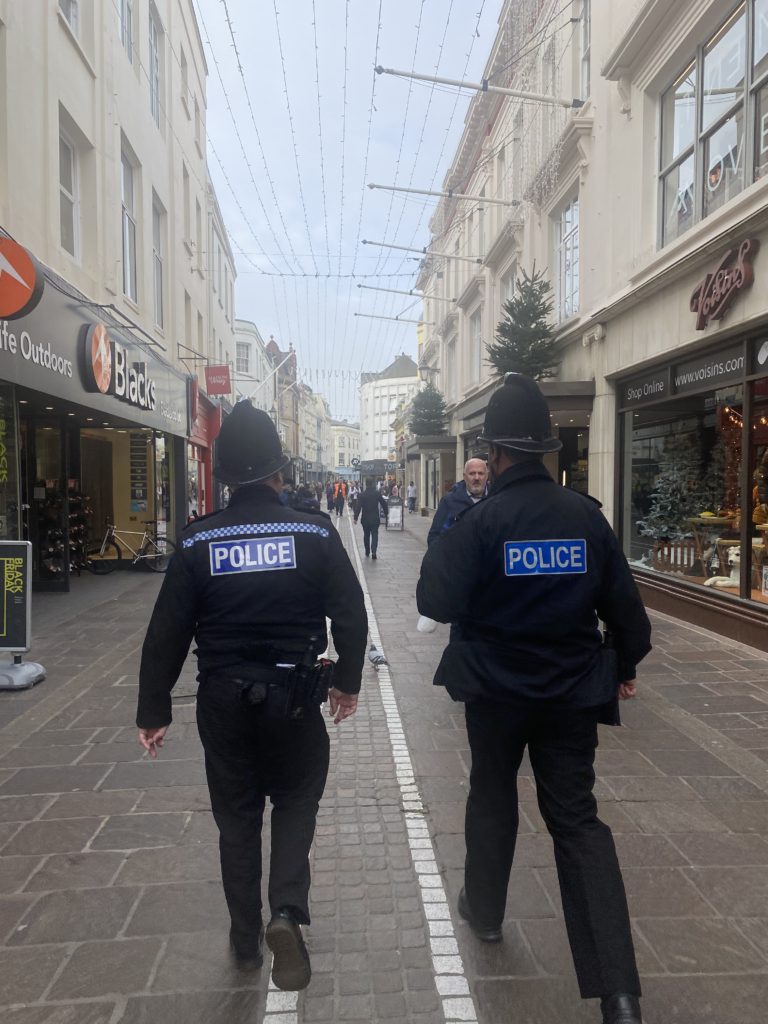
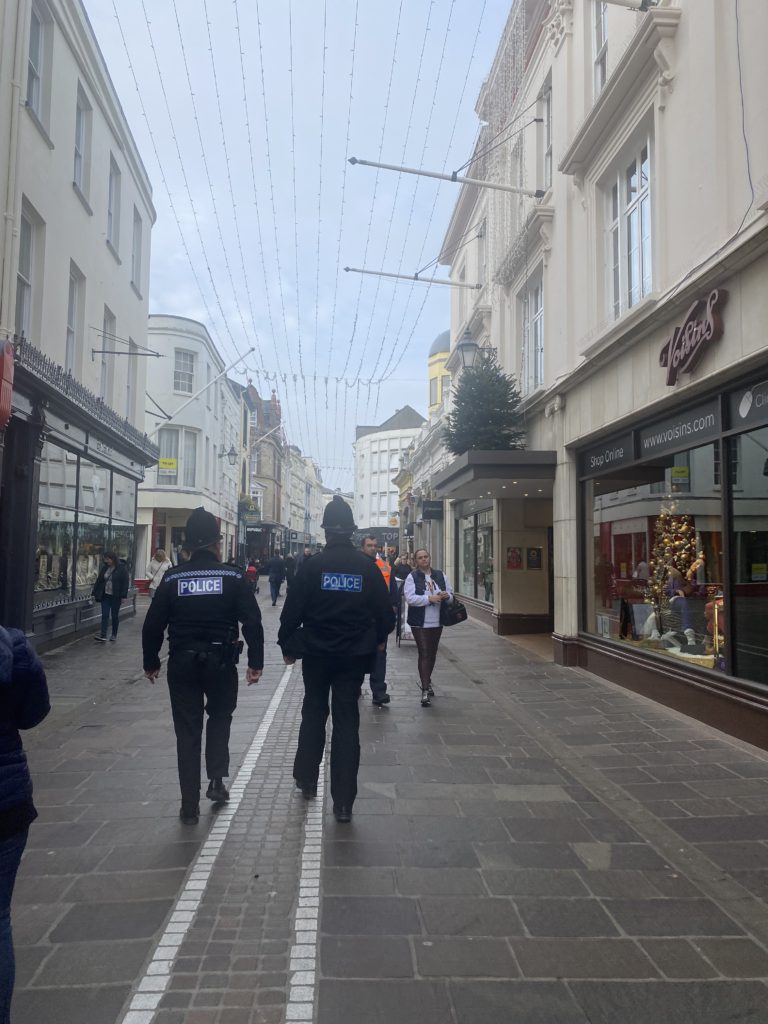
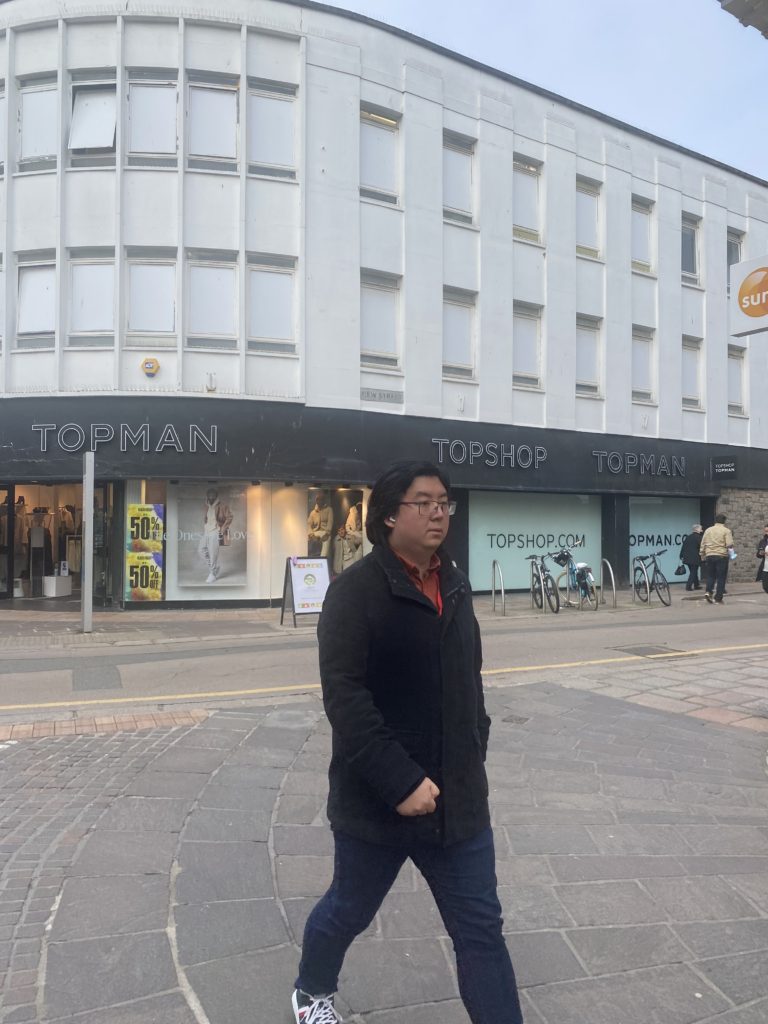
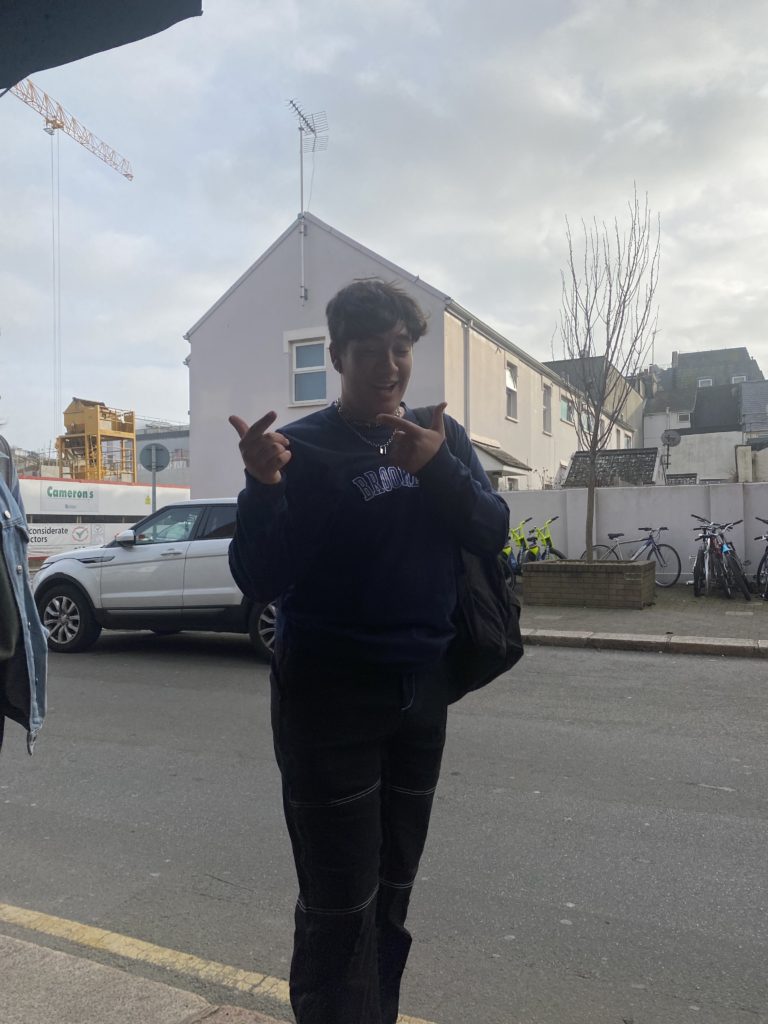
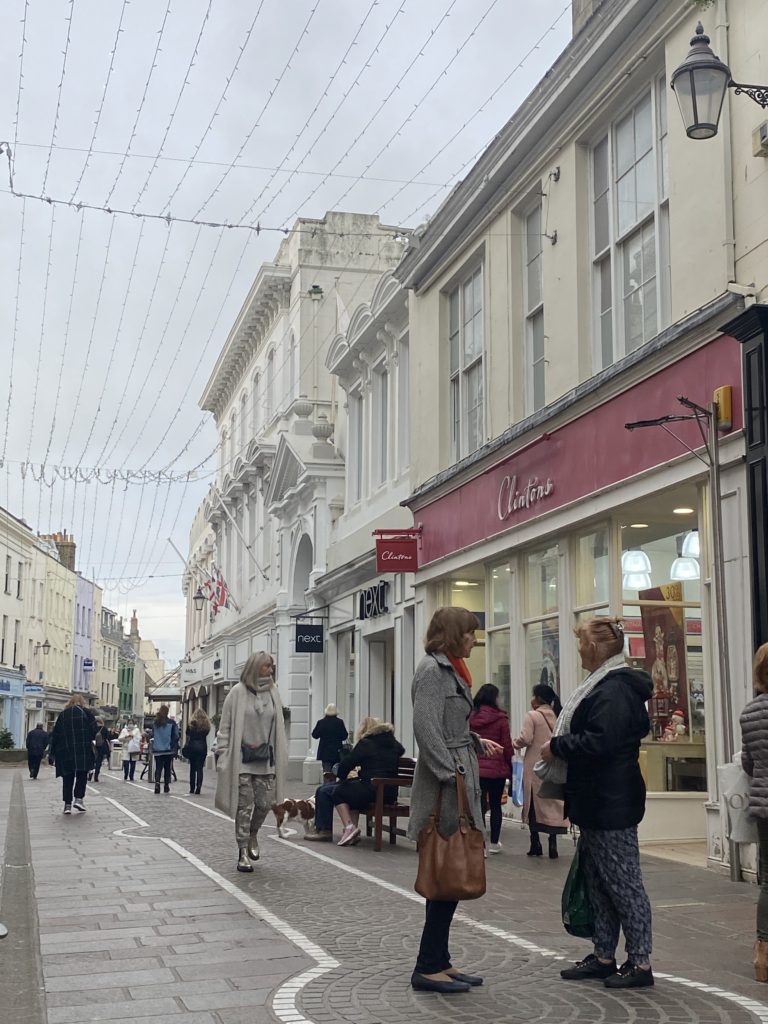
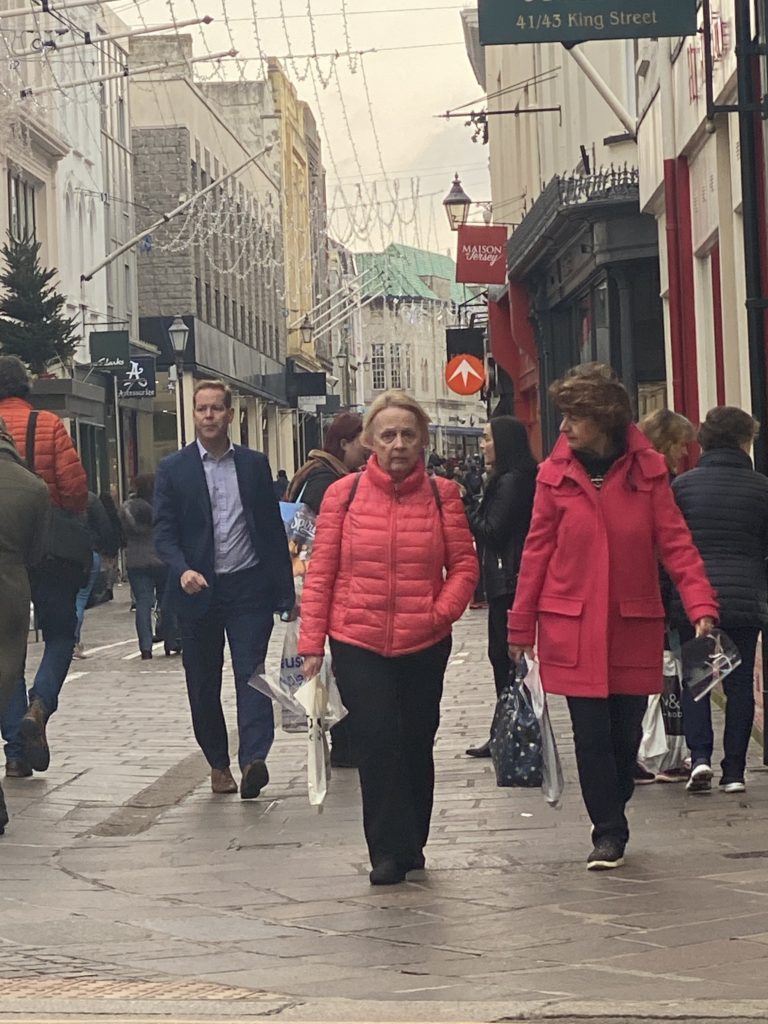
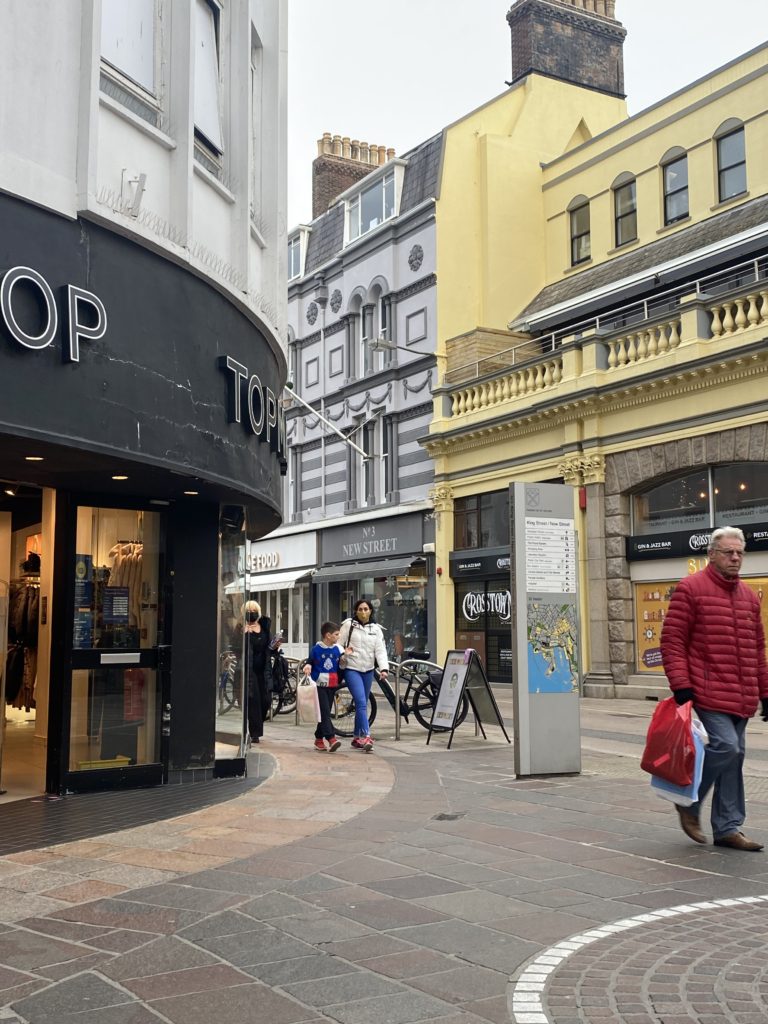
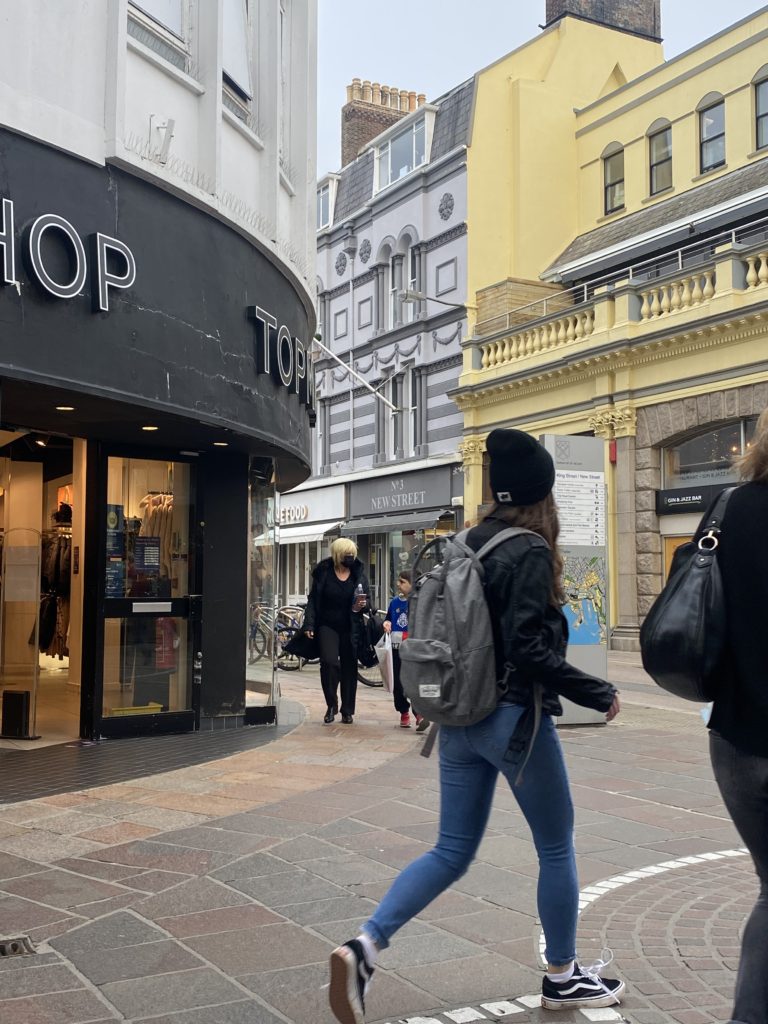
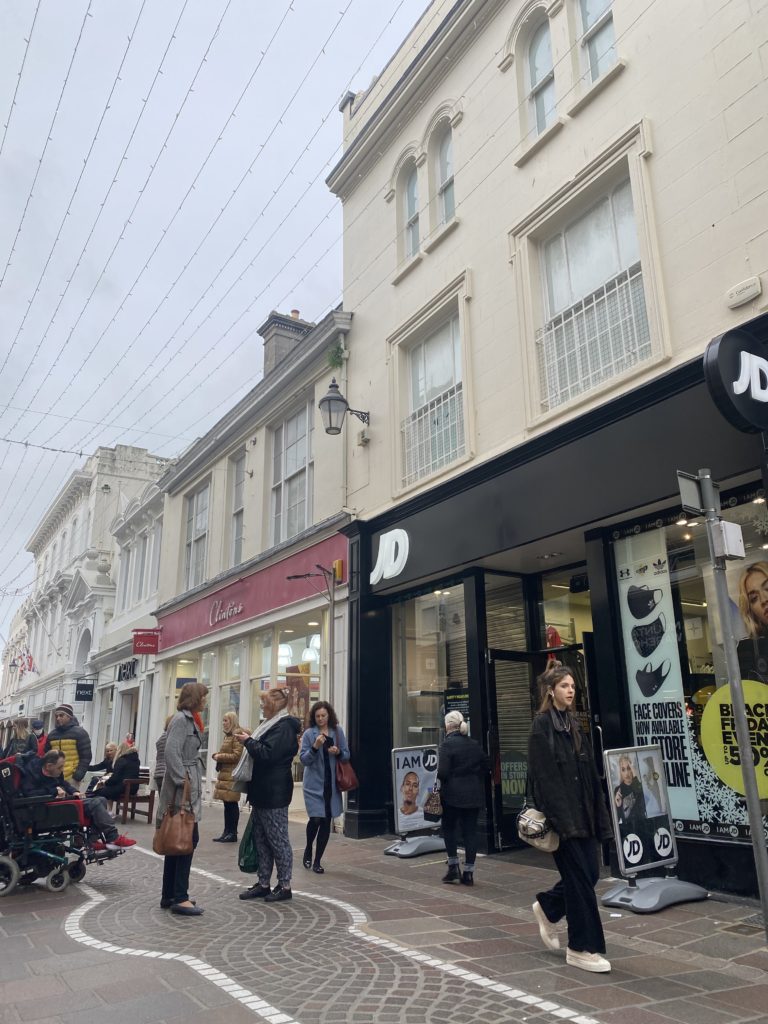
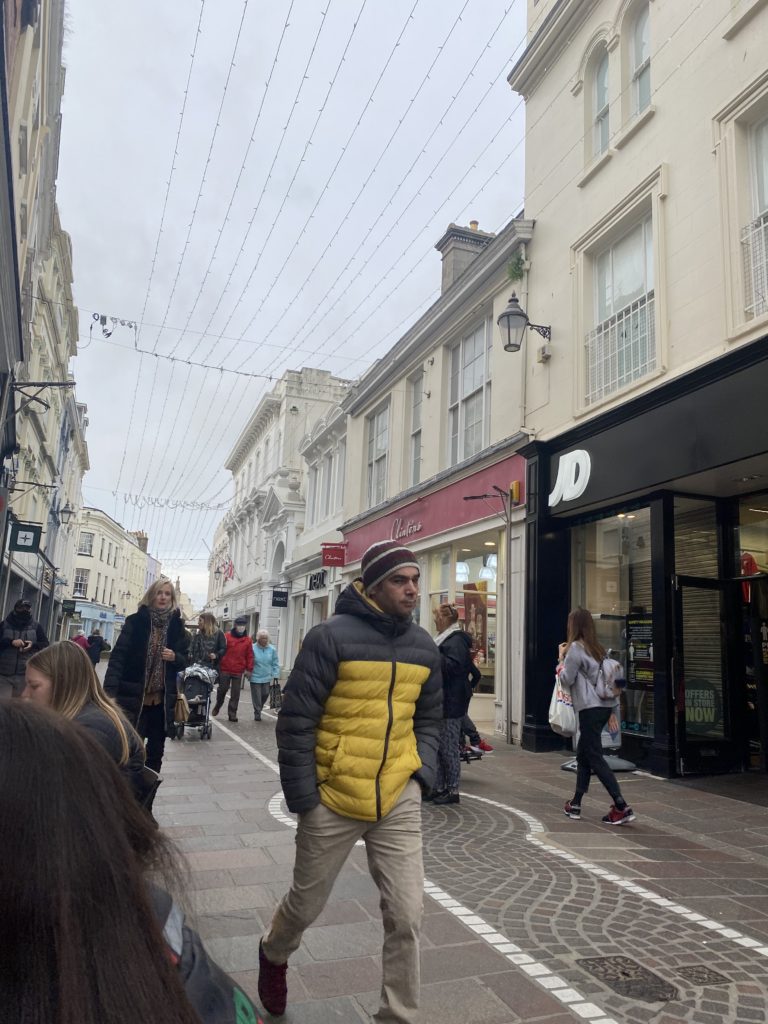
Candid portraits is a photograph captured without creating a posed appearance, as the person who is in the photograph is unaware that it is being taken. A candid portrait photograph is one of the most simple types of portraits to take. Similarly street photography is also very simple as you can capture one doing everyday things or even something people normally wouldn’t do.
PHOTO PLANNING:
Who – I’m going to take photos of people that are unaware of me capturing them
What– I’m going to take photos of people who are doing everyday things such as walking through town
When– I am going to conduct the shoot over the next week going into several different places.
Where– I am going to take my photographs town, cafes,
Why– I’m taking these photos to capture people in there everyday life which will make the photos more interesting as well as have more meaning to them
How– I’m going to take these photos in natural lighting or artificial and make sure the people in which i’m photographing do not notice I am taking a photo.
MY PHOTOS:
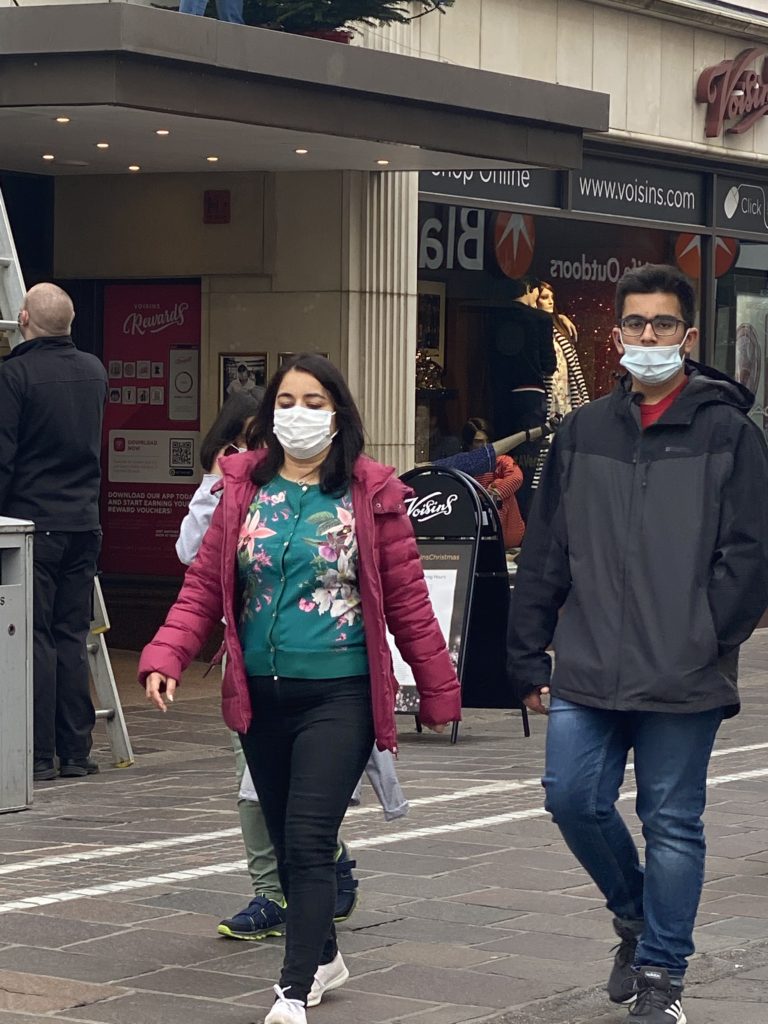
MY BEST PHOTO:
I feel as if this was the best photo in which I have taken as its more focused on the people in which I have captured rather than the non-focus of the background. The lighting of this photo is natural which adds clear perceptive and details to the photograph.