Selection Process
First I looked at all my abstract photos and decided one which ones were the best. I choose the ones that were the most colourful and used the rule of thirds as they tended to look better as it had more composition. For the other images I used other good images that I’ve taken to fill in the blanks.
Editing
After, I edited them and boosted the saturation by about +10 to make it ‘pop’ and cropped it to line up with the rule of thirds, to make it more visually pleasing.
Displaying
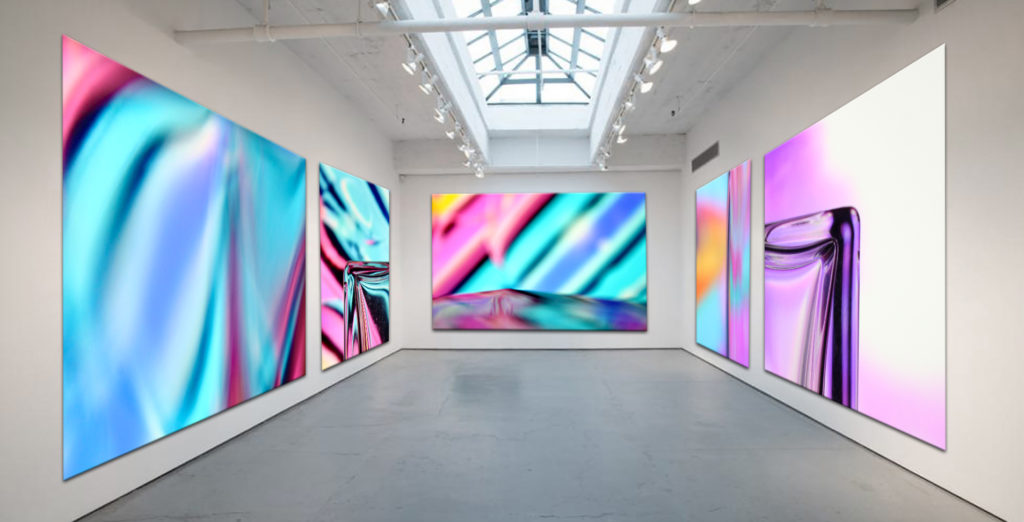
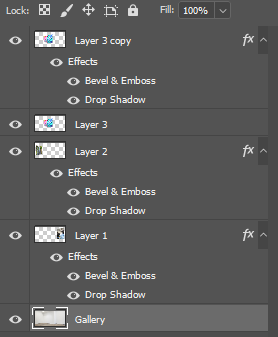
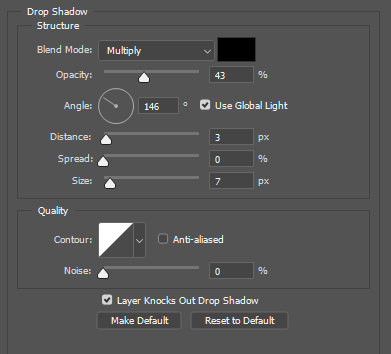
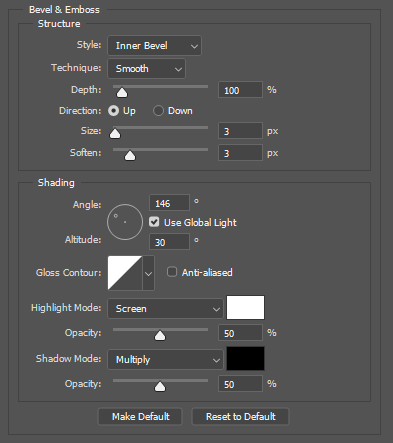
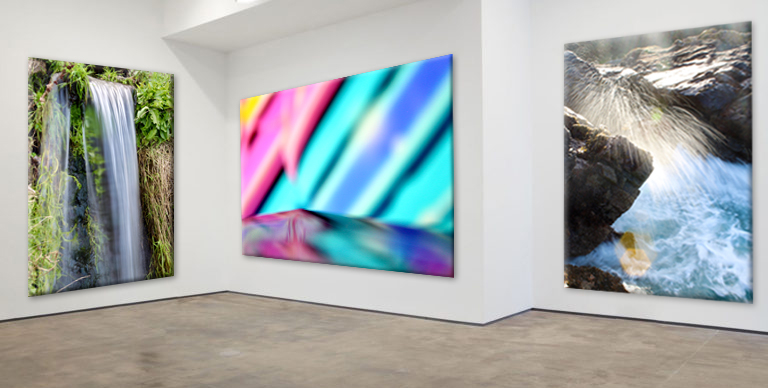
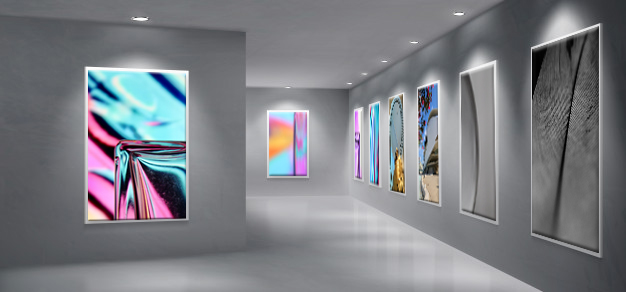
To Finalise the images I found 2 different art blank picture galleries on Google. I grouped my photos into two groups, portrait and landscape. The gallery with the large wall would be for landscape photos, and the other for portrait photos. I put my abstract photos into the galleries, I put the image onto the canvas in the gallery, where I wanted it to be, then in Free Transform mode I pressed CTRL and dragged on the corner of each edge of the image and moved it to the corresponding corner of canvas space in the gallery to match the perspective of the gallery and its 3D walls. After the image was properly on the canvas, I added Drop Shadow and angled it to the same as the direction in the base image. Then, I added bevels to the image to make it look 3D to make it realistic. To add the effects I right clicked the layer then went to blending options. As there were blank spaces in the gallery I put in other good photos that I’ve taken.
Evaluation
I really like how it turned out, as they look realistic and they all fit in naturally. The drop shadows and bevels really worked well. Overall, it was relatively simple but took a long time to added all the images in.
