
Using Photoshop to create symmetry

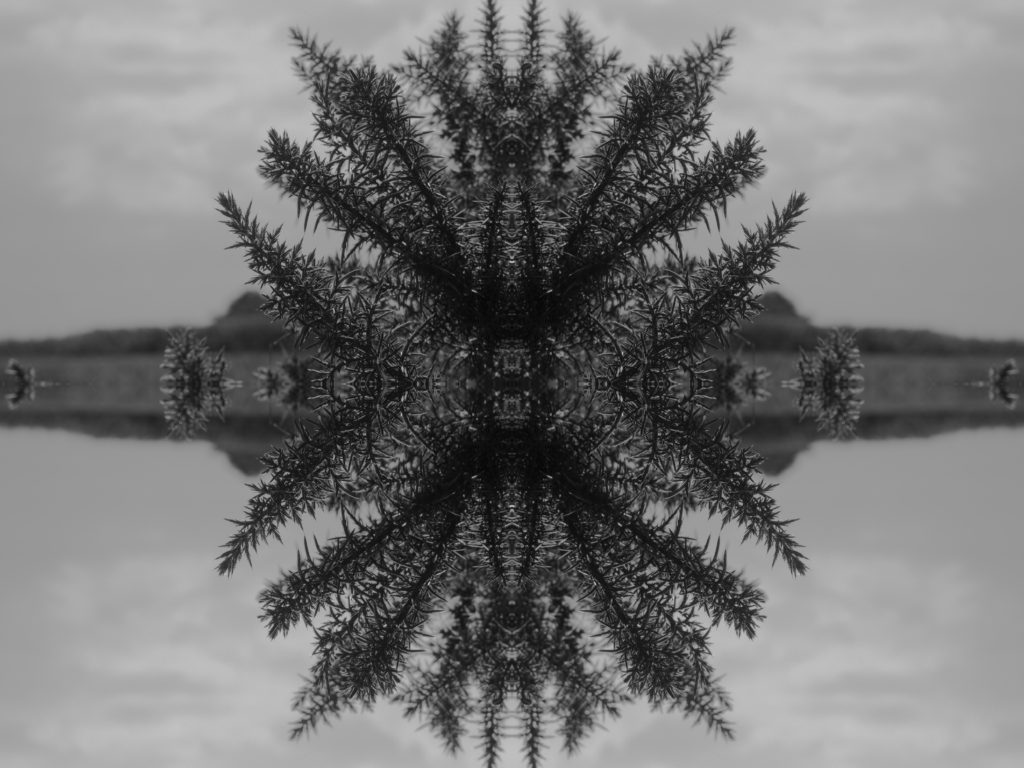
To edit this image, I copied and pasted the image onto a canvas that was double the size of the original image. I then used the transform setting to flip the image vertically to create a reflection-like affect, I flattened the image after each layer-copy aswell. I used a monochromatic filter to accentuate the shades of light and dark.
Experimenting with layers
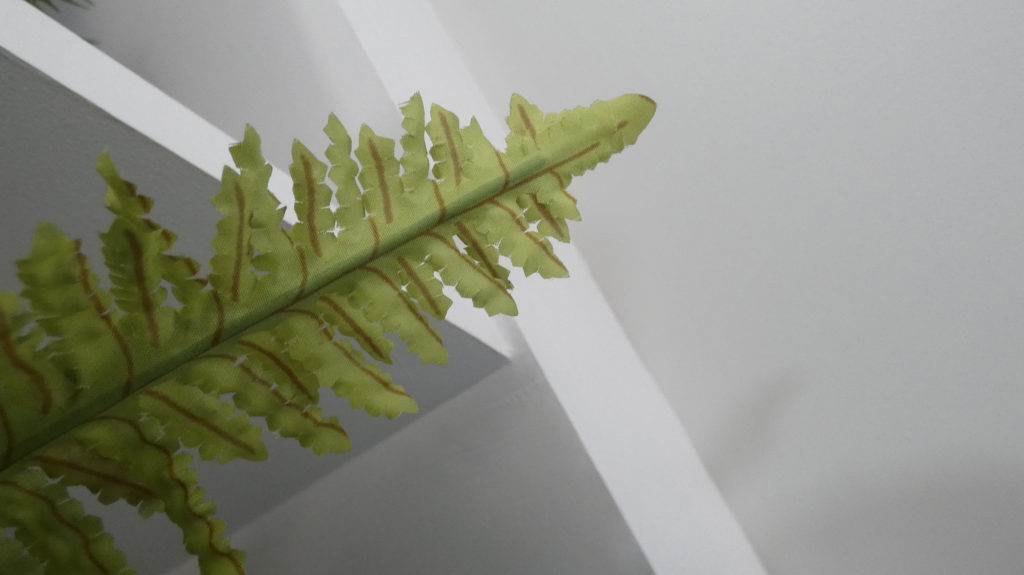
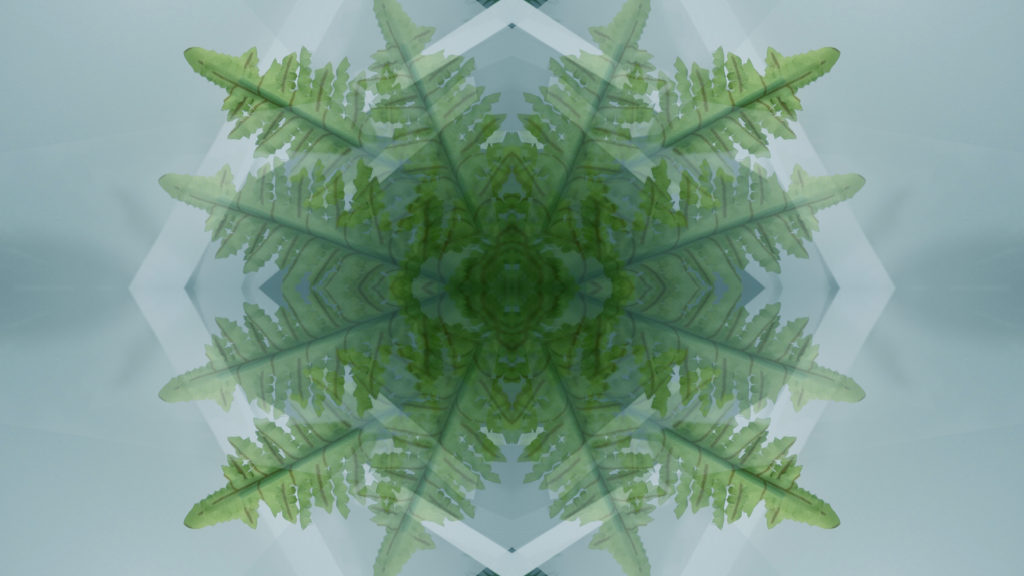
To edit this image, I repeated the same process in the first image to create the mirror affect, however for this image I copied and pasted the original layer back onto itself and lowered the opacity to create a ghost-like affect. I then used the eraser tool at a low harshness and opacity in order to remove extra sections of the image I wanted to remove, such as the added border of the copied layers. I adjusted the colours and curves of the image to give the photograph a cool-toned blue hue.