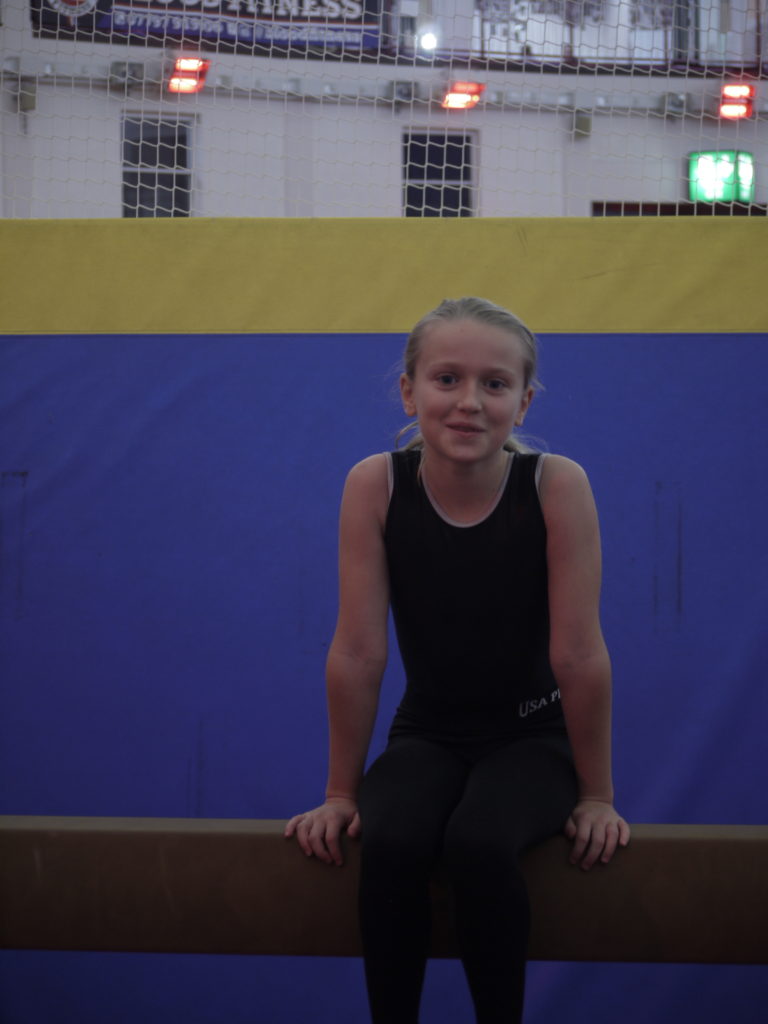
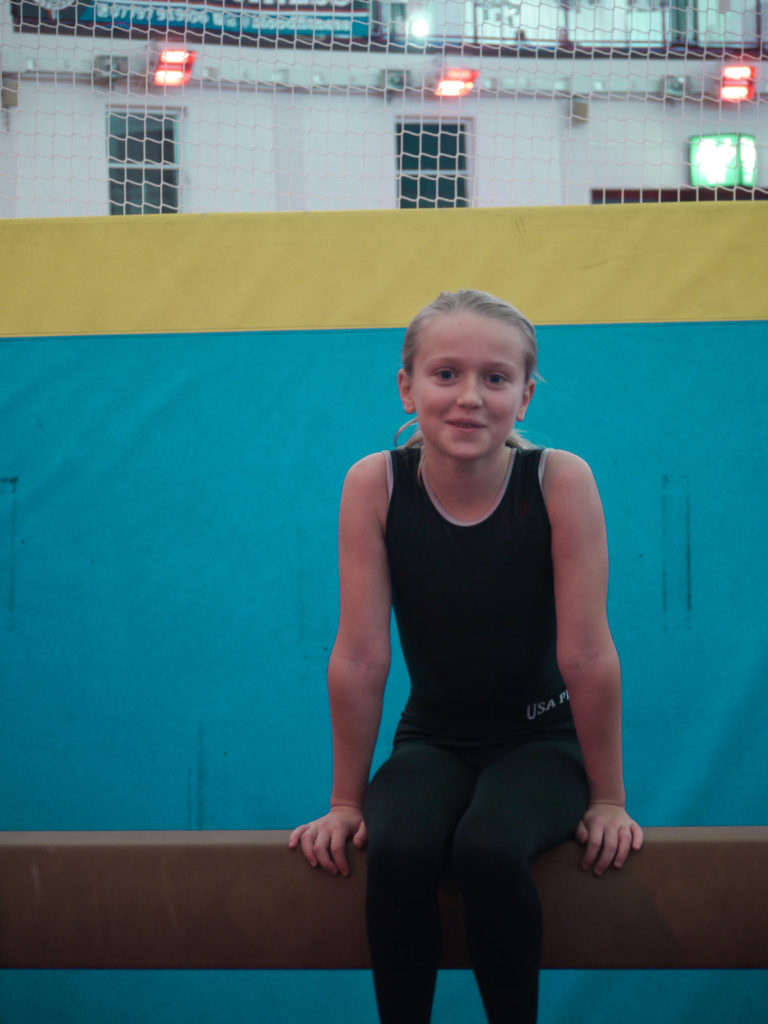
In this photograph I increased the exposure, to allow for the photograph to an overall increased brightness. I also increase the saturation, as all of the tones were quite dull. This increased saturation allowed for the tones to be stronger and more eye catching. I then changed the levels of blue to become a turquoise, because I found it fitted better with the photograph and make it look more interesting. To improve the composition and aesthetic of the photograph, I straightened it out, to allow for the beam to be level, as in the original it was slightly wonky.
photograph two
original
edited
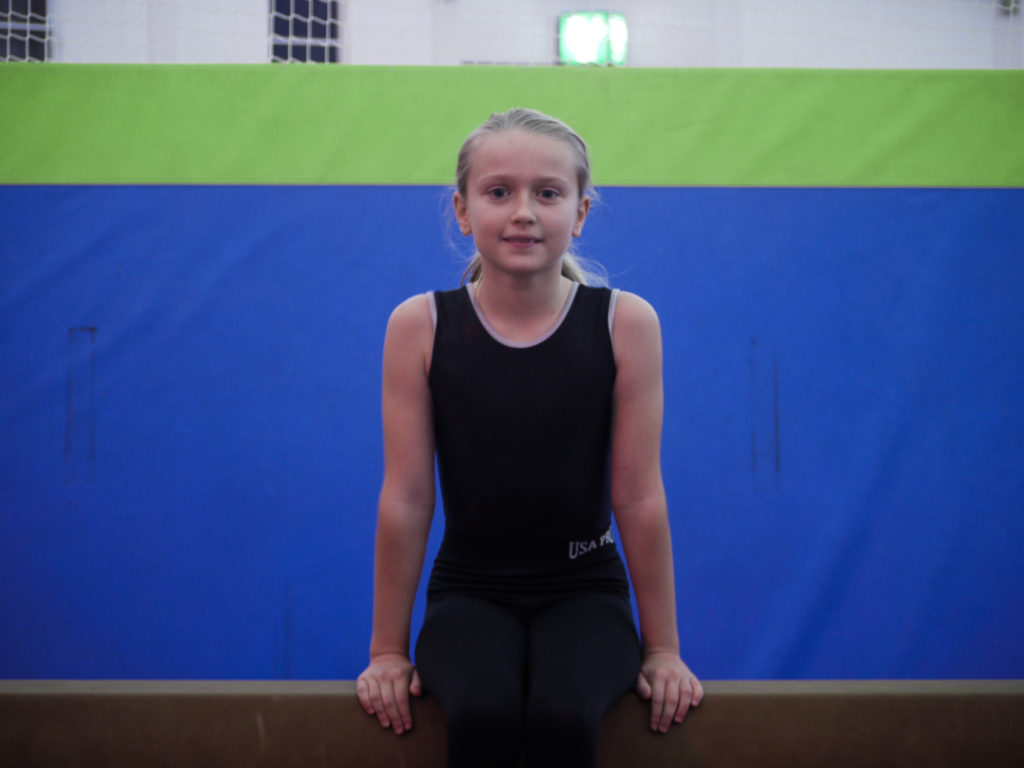
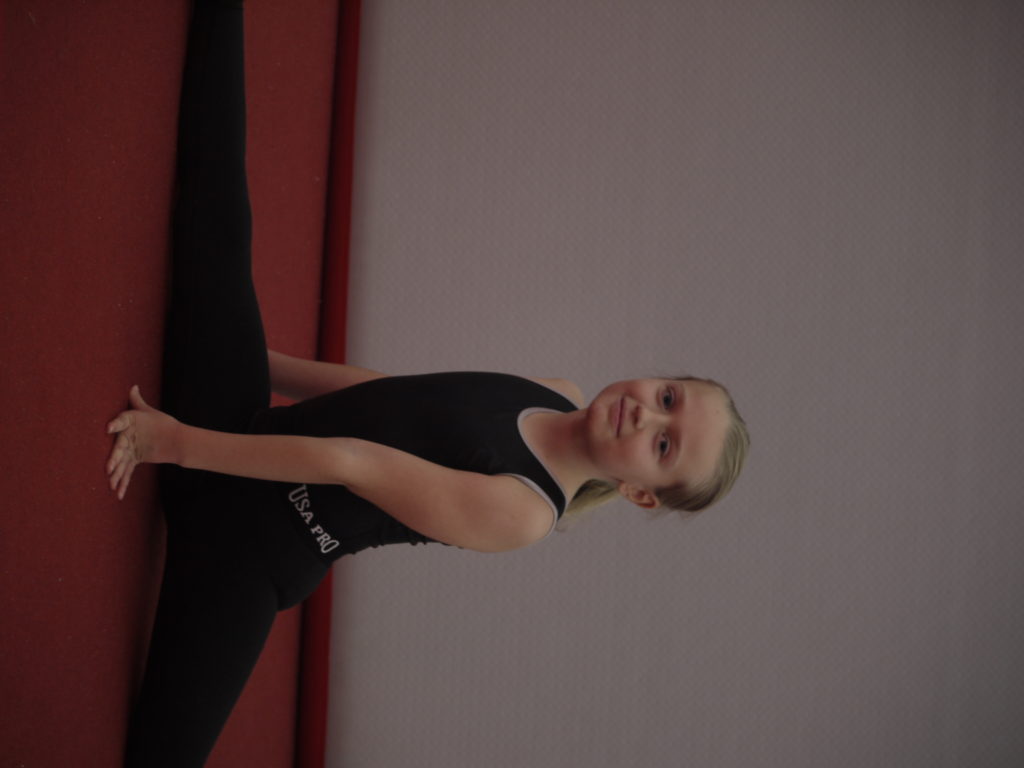
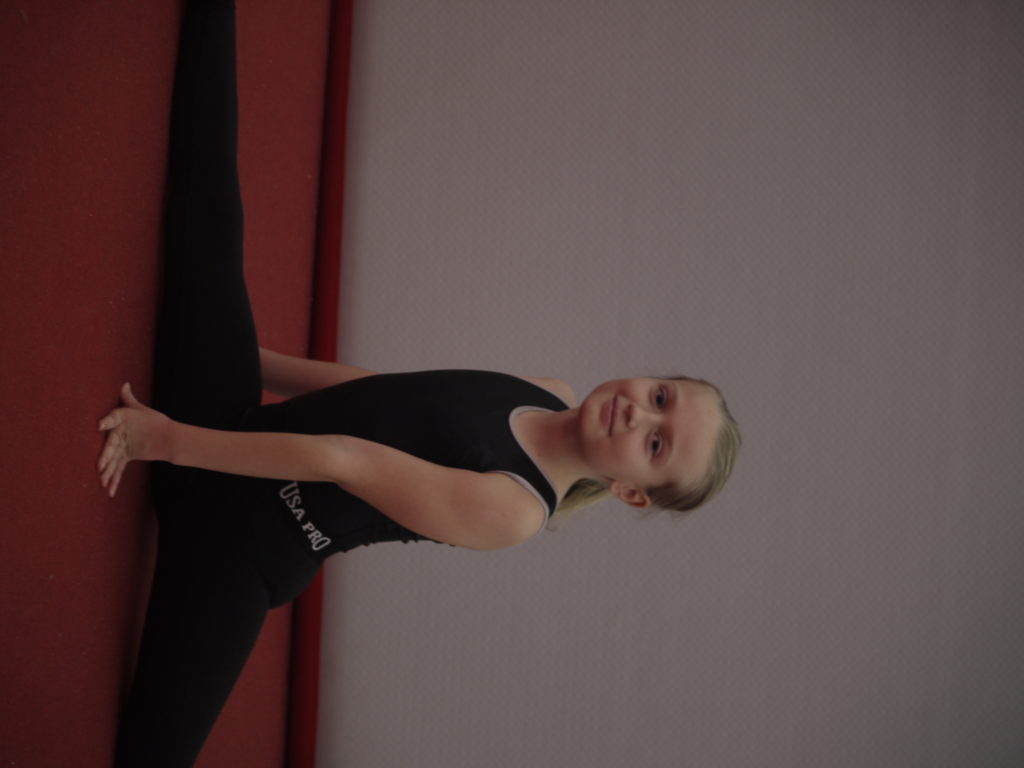
In this photograph, I increased the saturation as the tones were dull, by doing this it allowed for the colours to be released and shown to their full potential. I then changed the levels of yellow to change it to a green to add a more interesting aspect to the photograph.
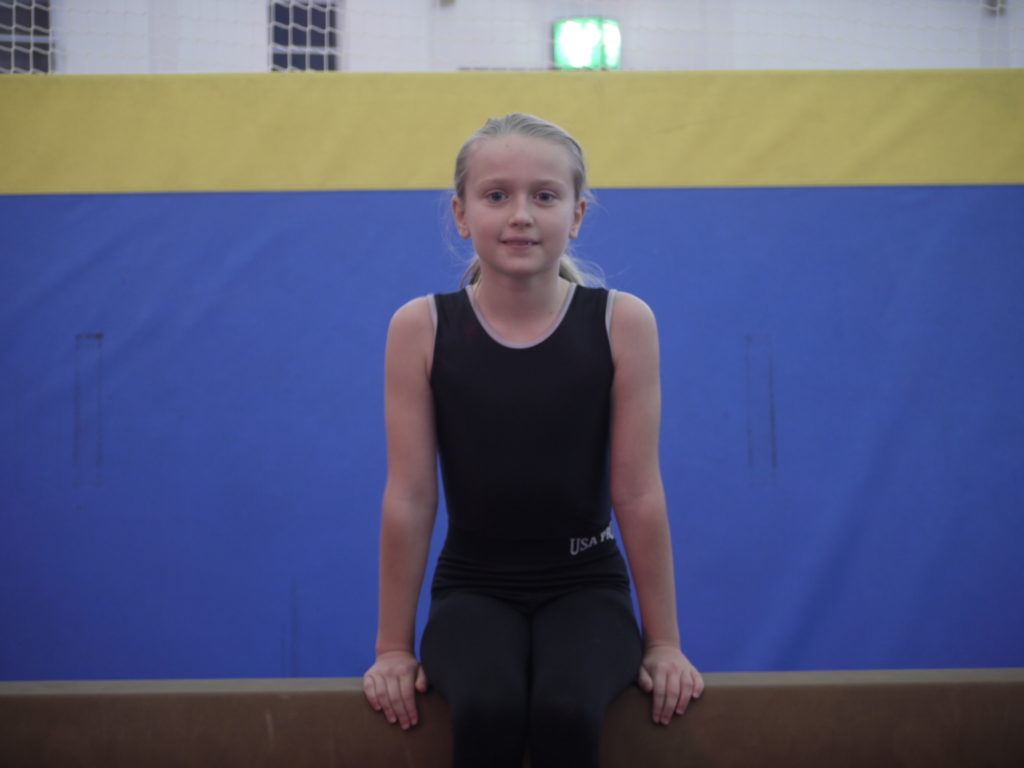
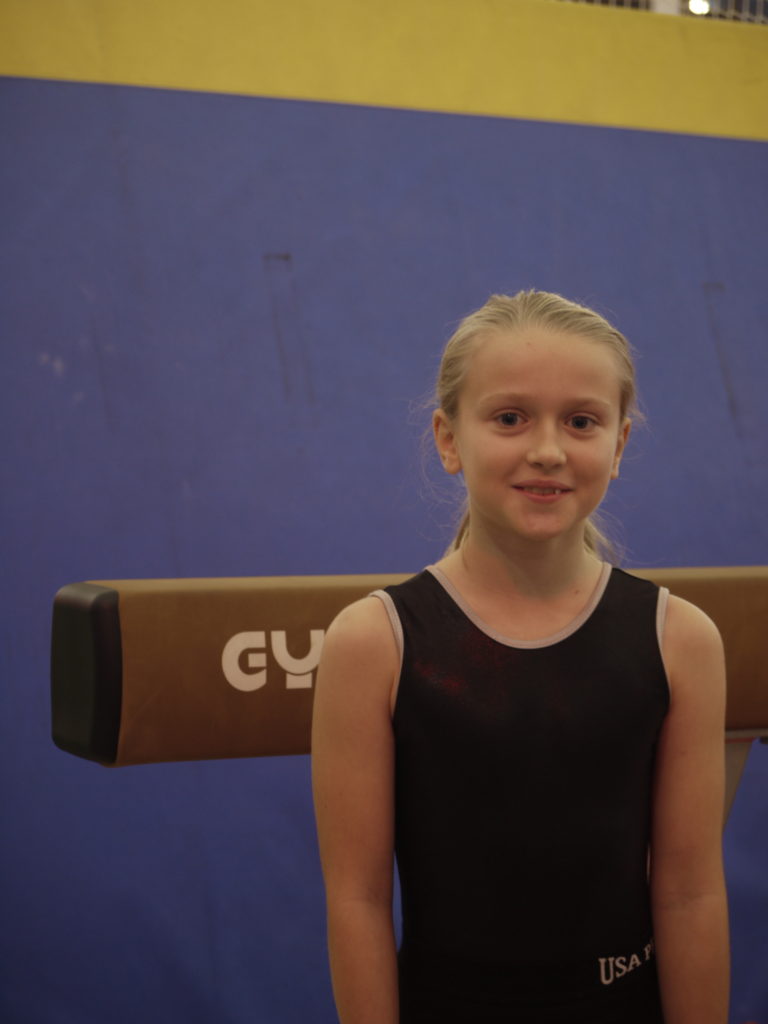
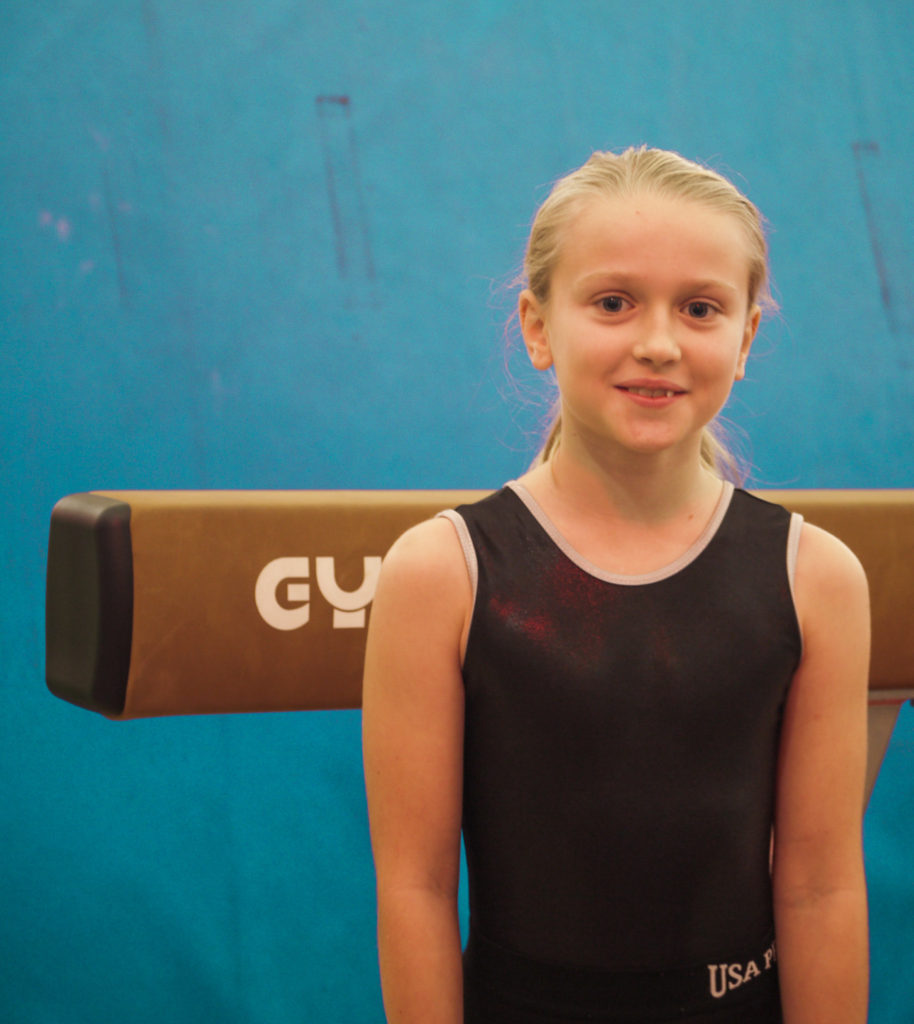
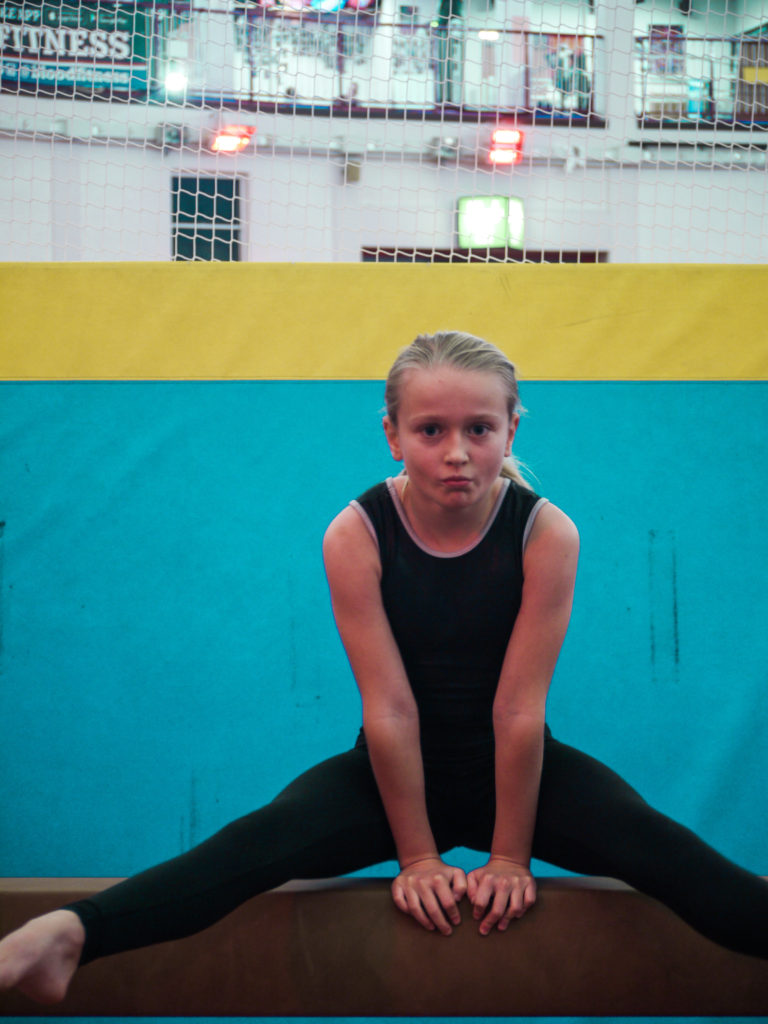
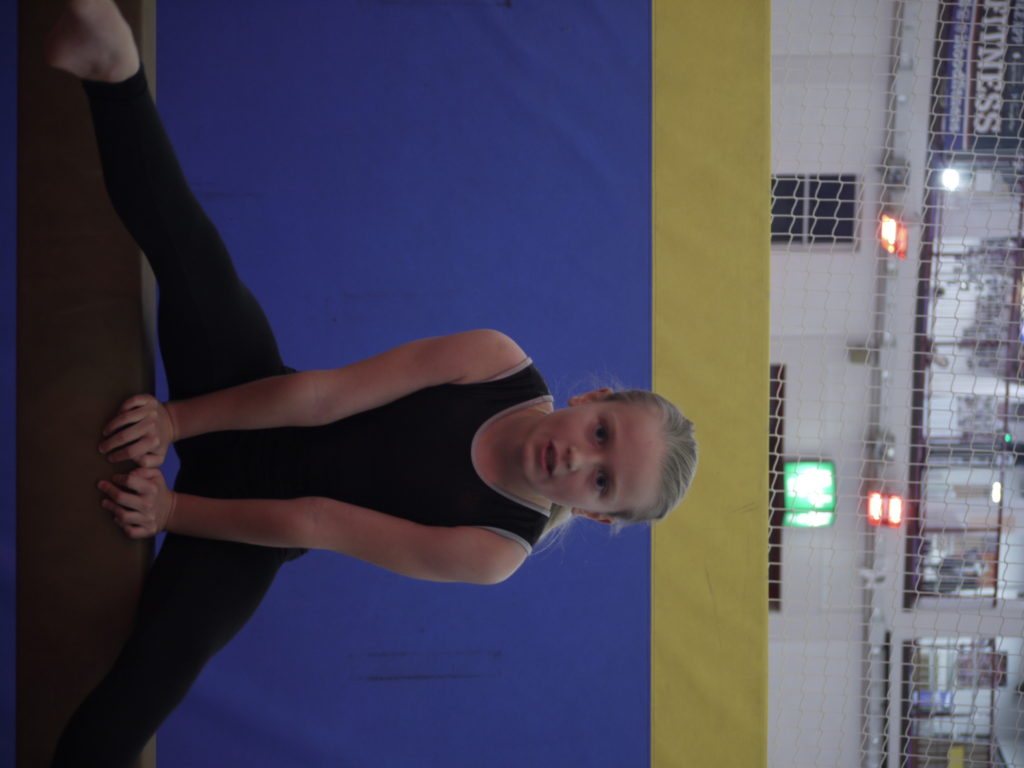
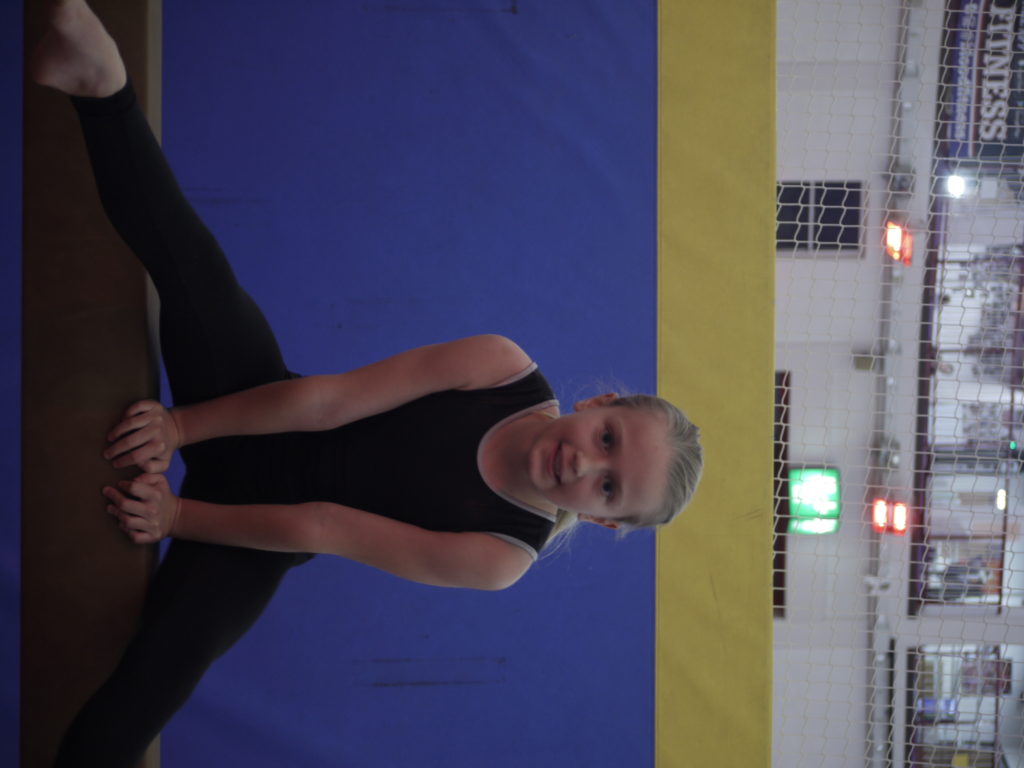
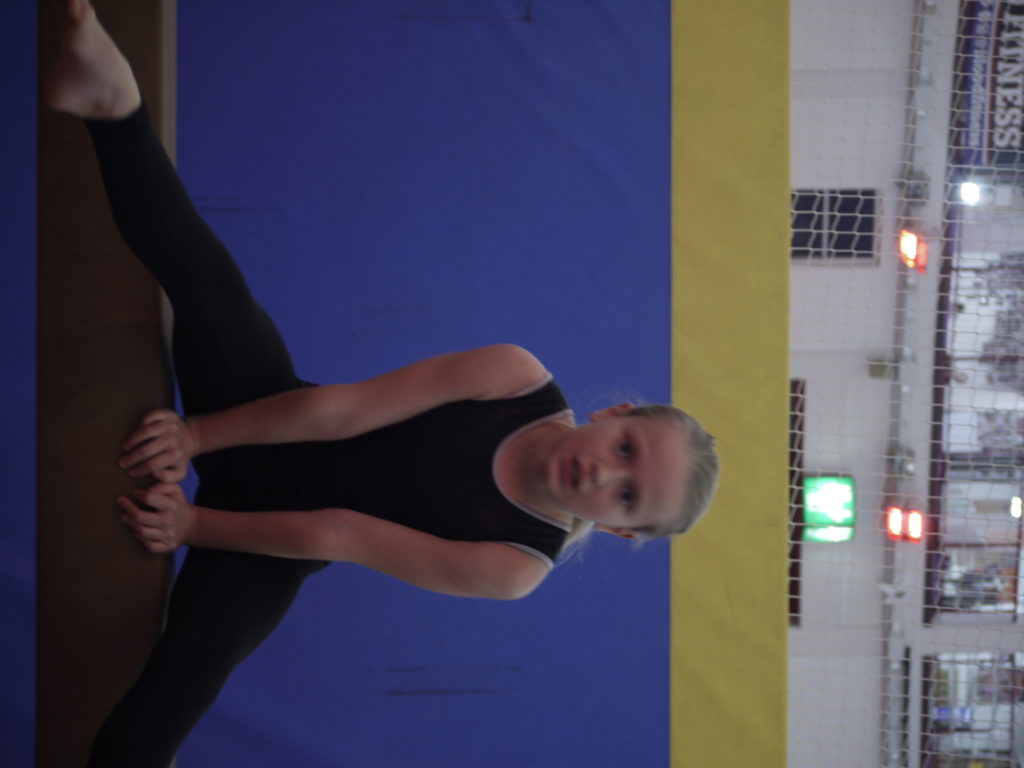
photograph three
original
edited
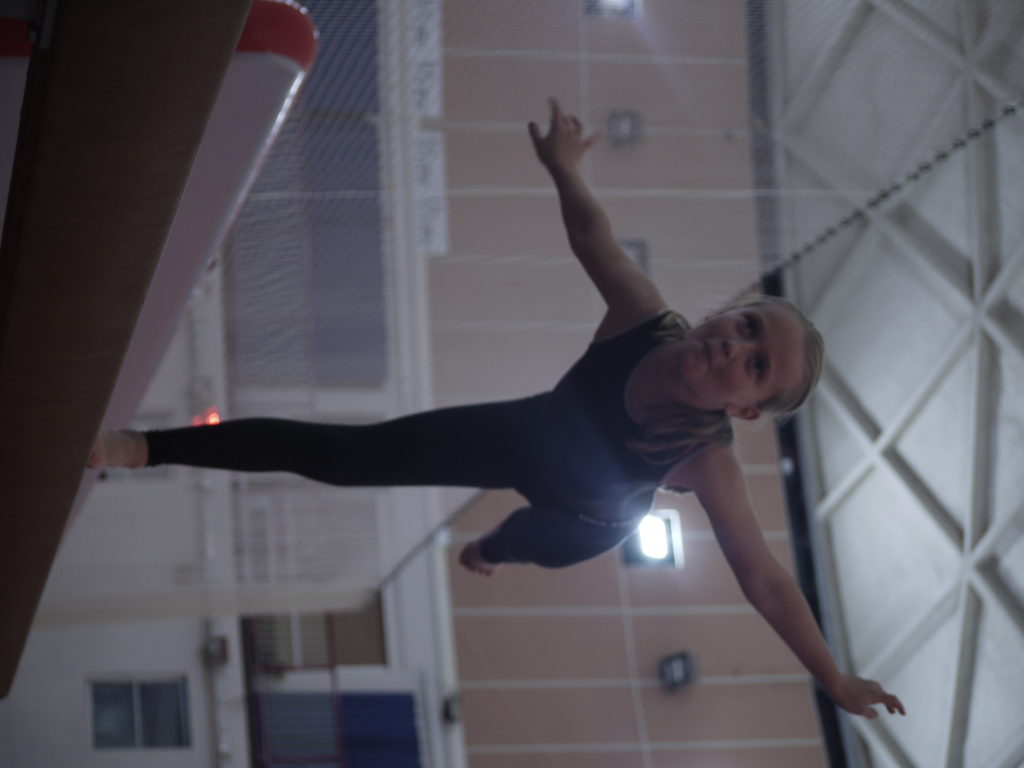
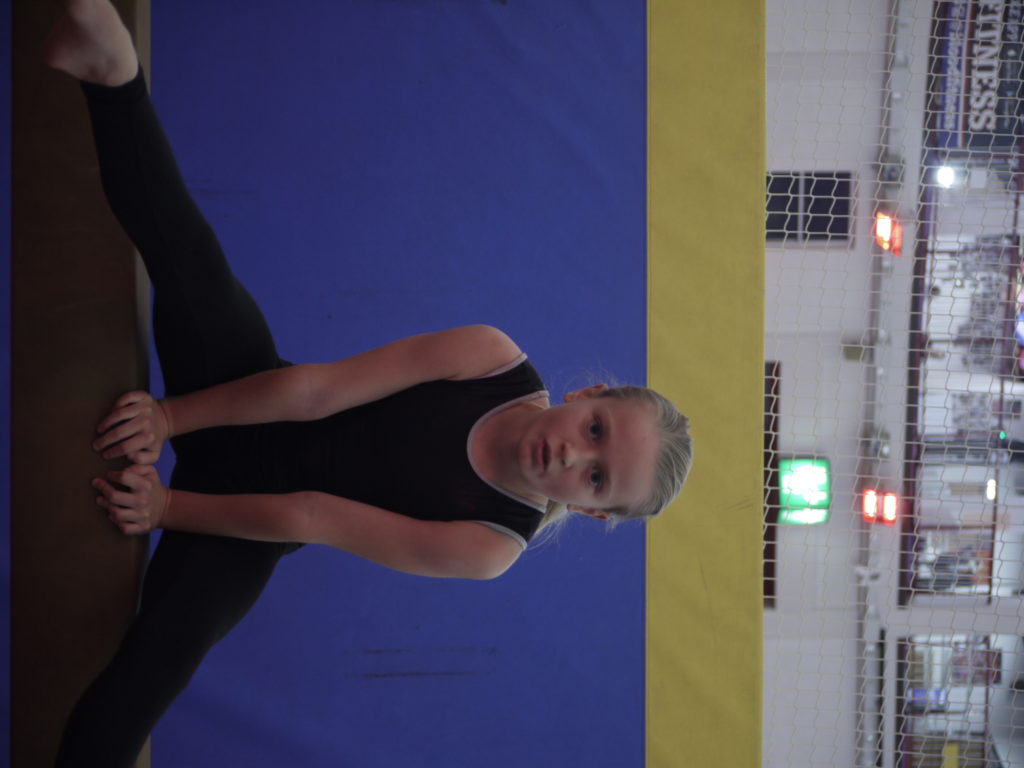
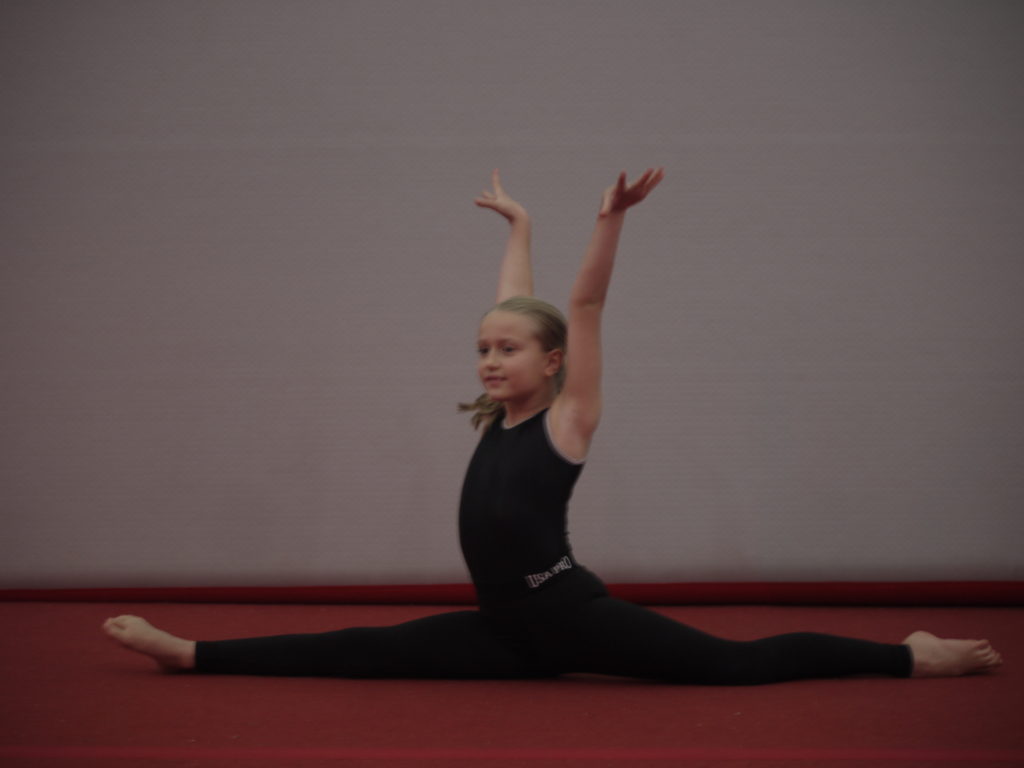
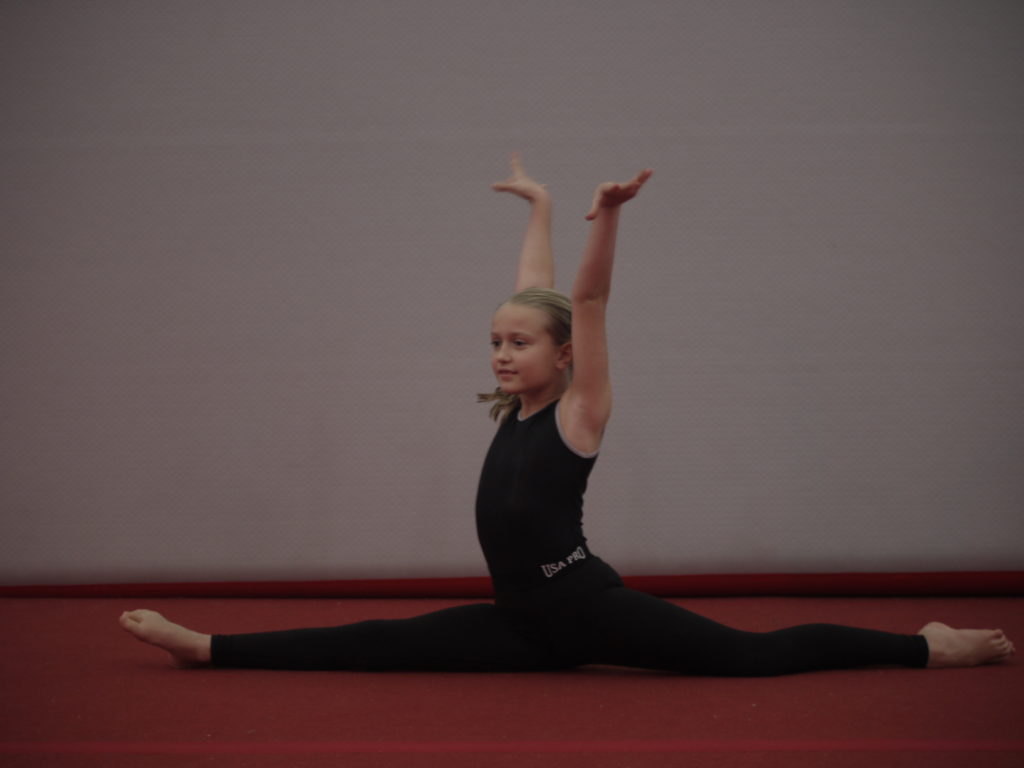
In this photograph, I increased the exposure as the photograph was quite dark. By doing this it allowed for all the features on the face to be illuminated. I then changed the levels of blue to create a turquoise instead, as this added a pop of colour and made the photograph more interesting too. To improve the aesthetics of the photograph, I cropped out the yellow block and the light peaking in from the top, to allow it to look more professional and sleeker looking.
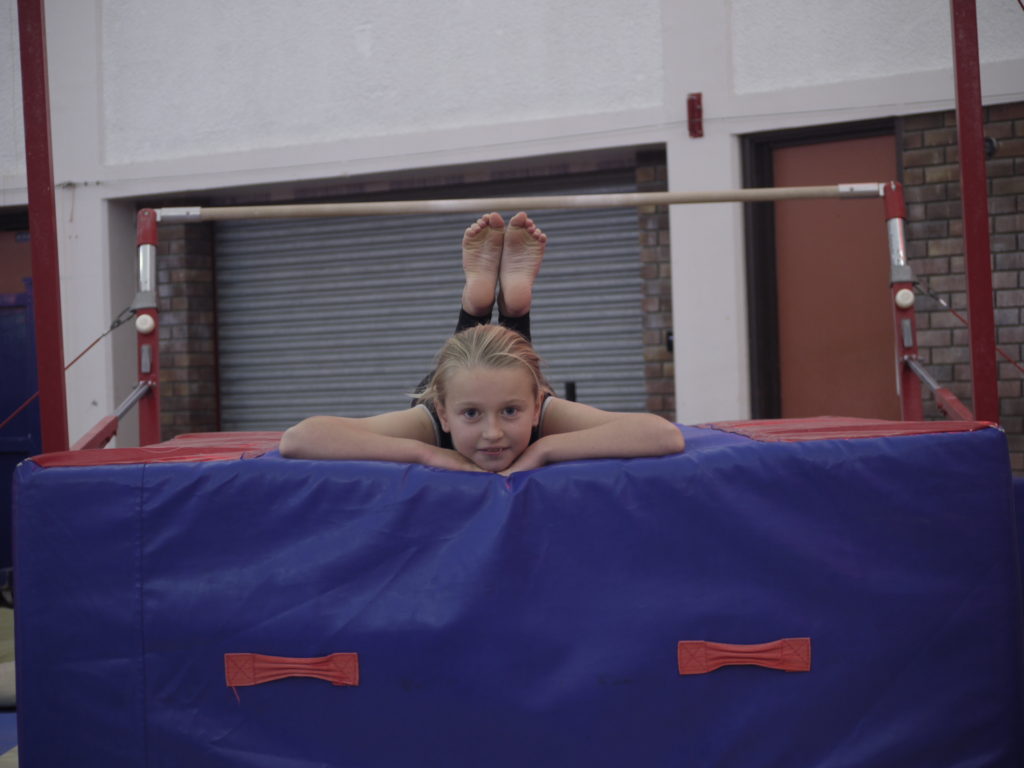
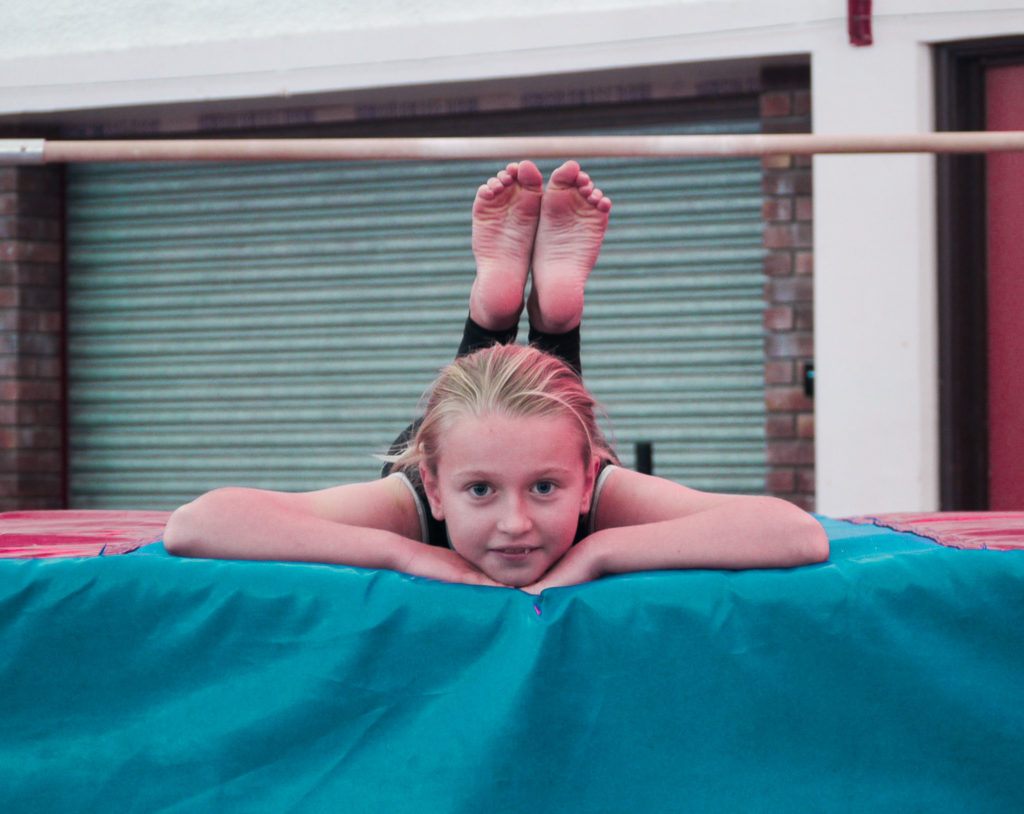
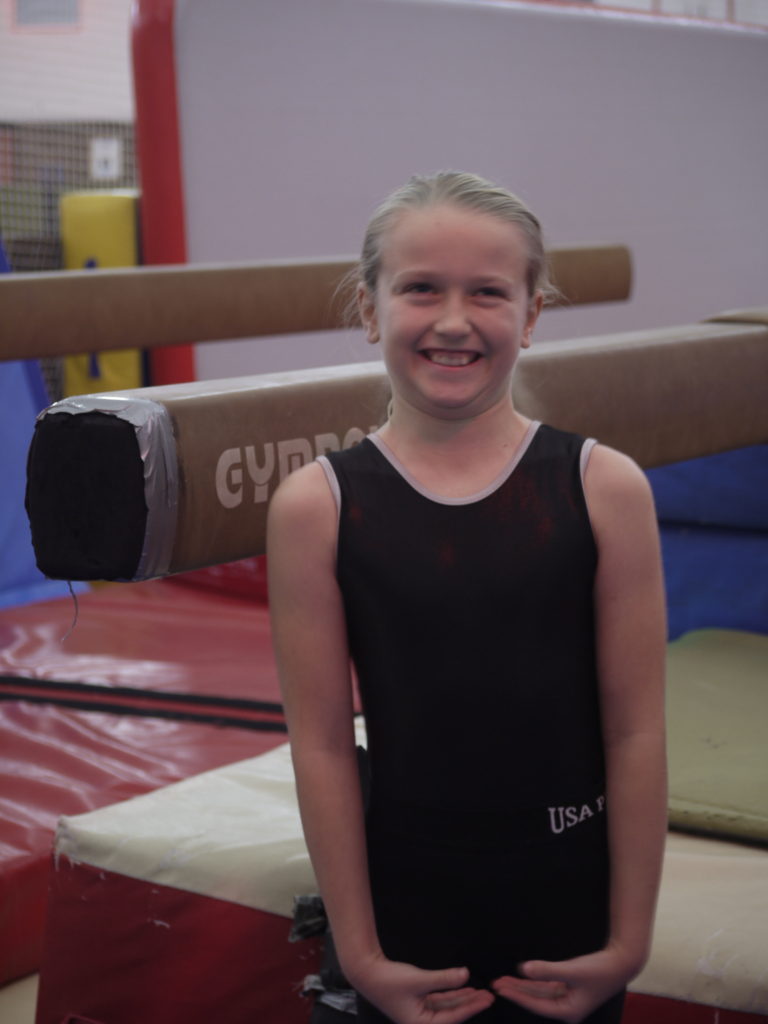
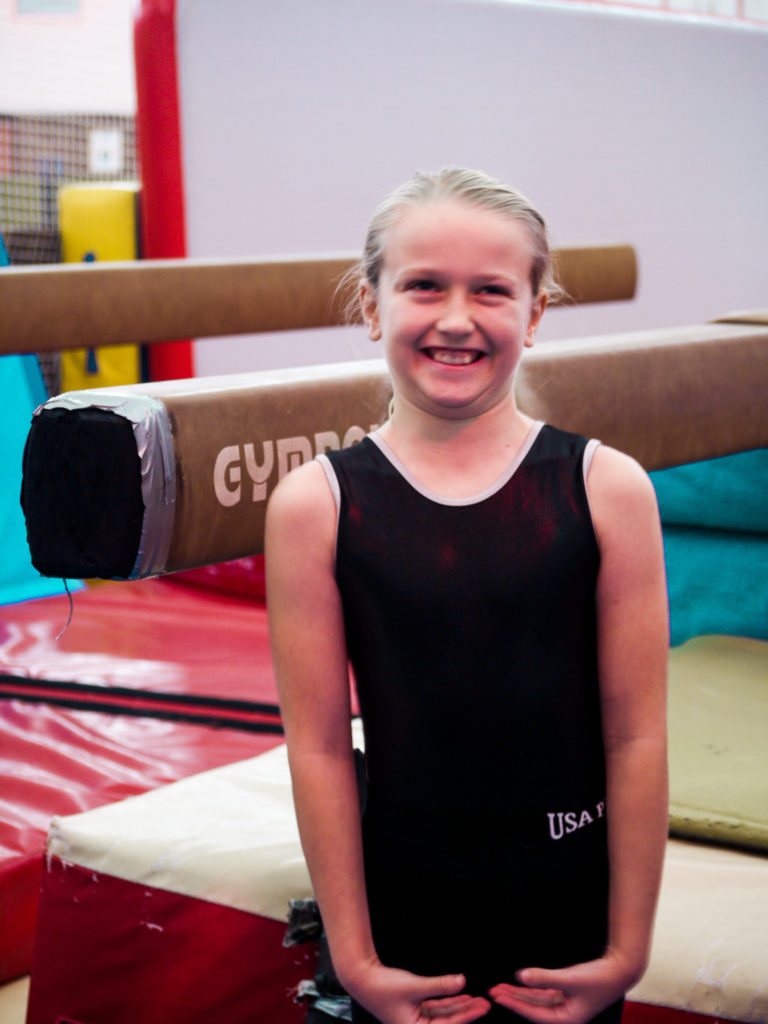
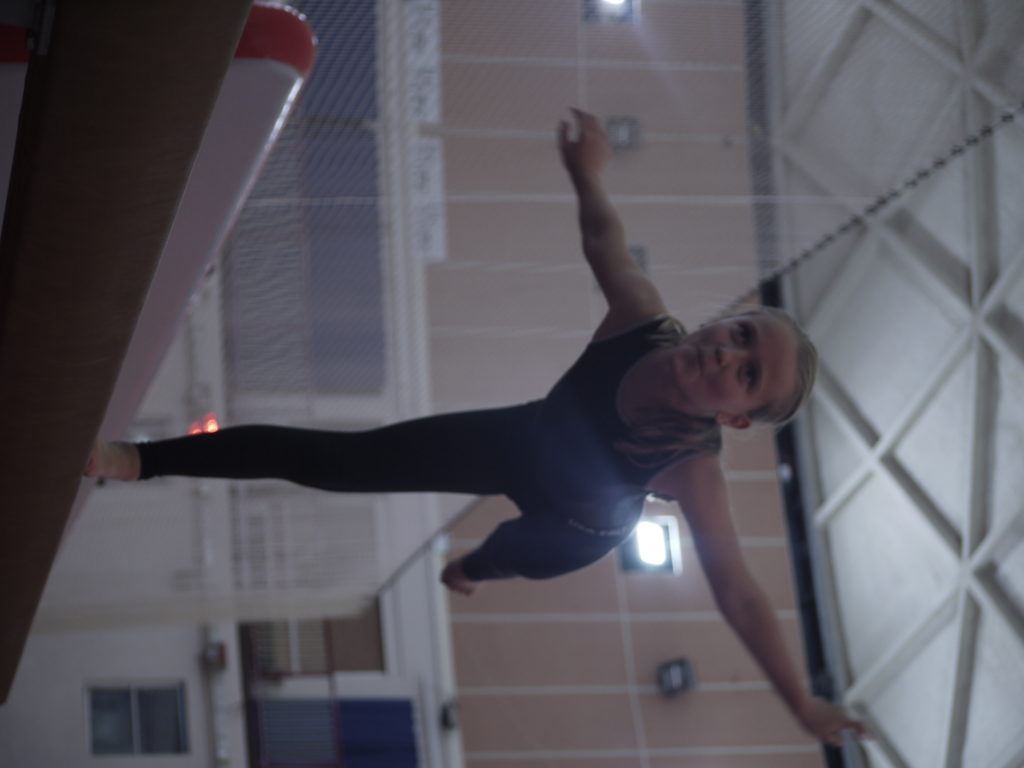
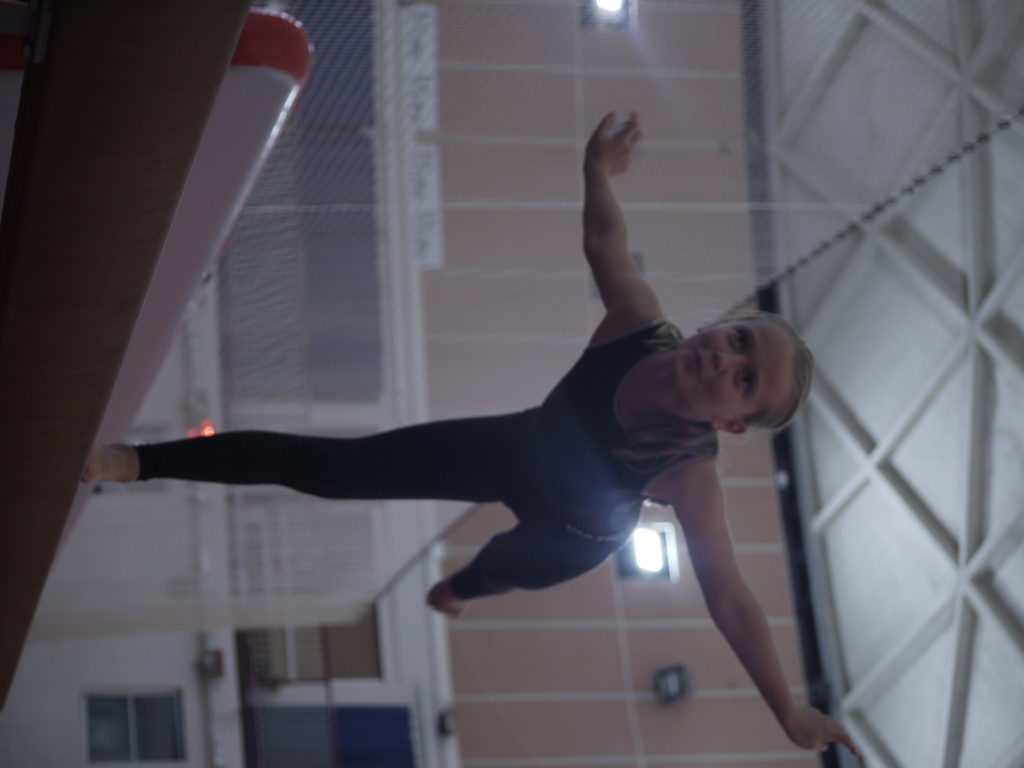
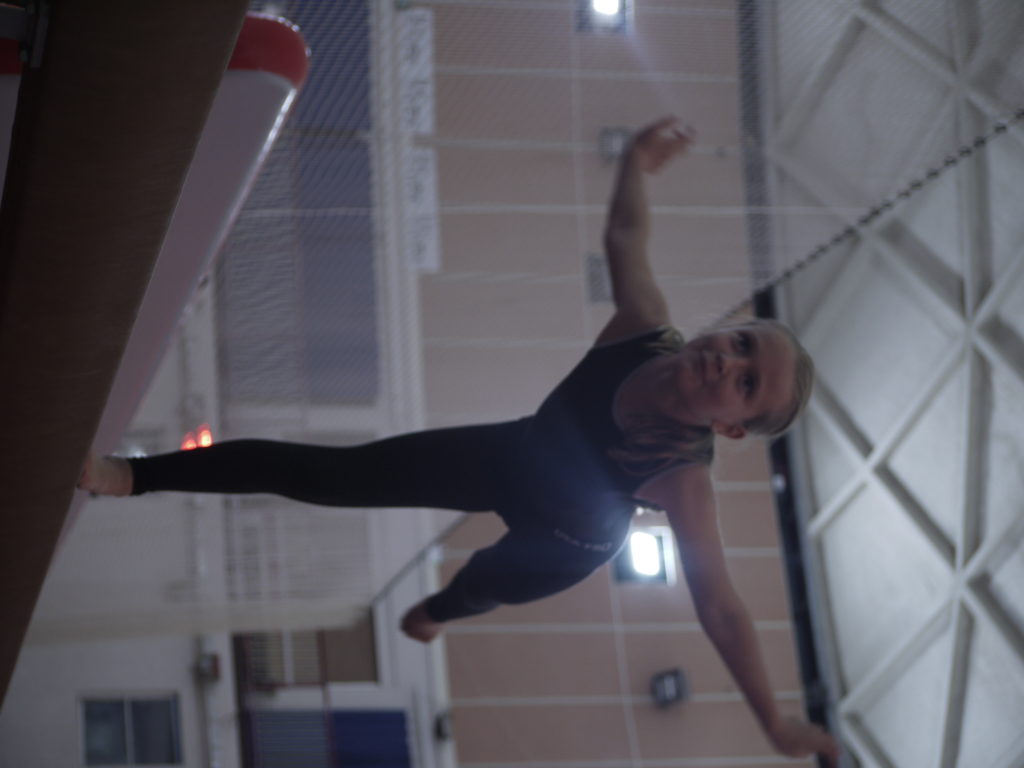
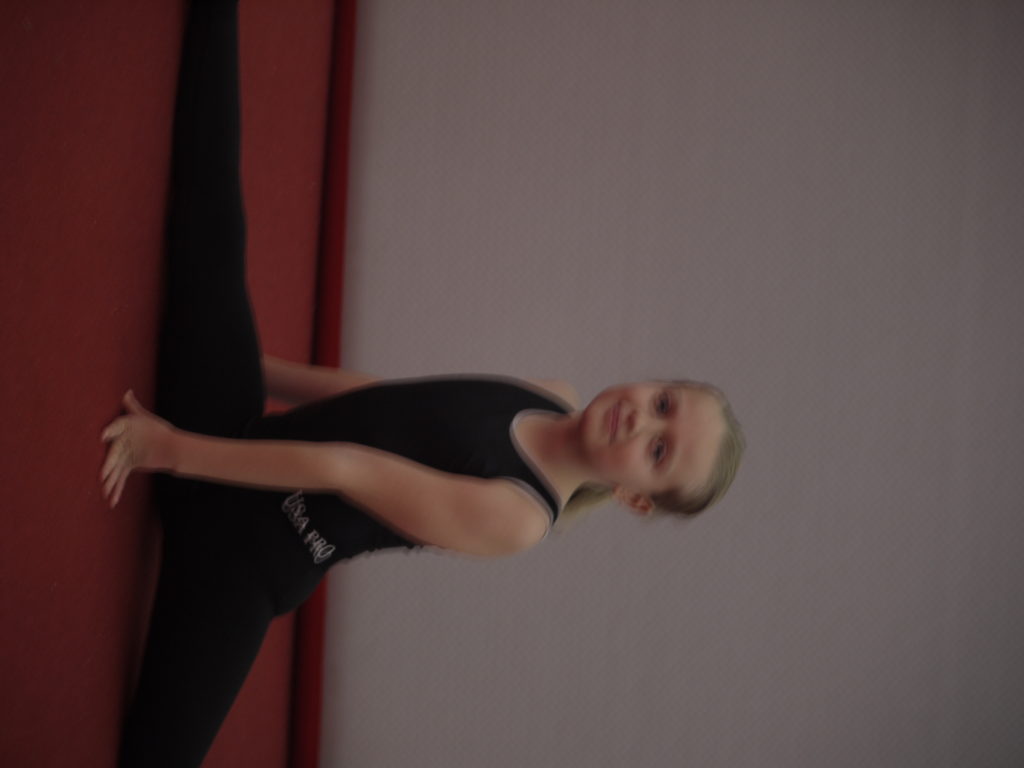
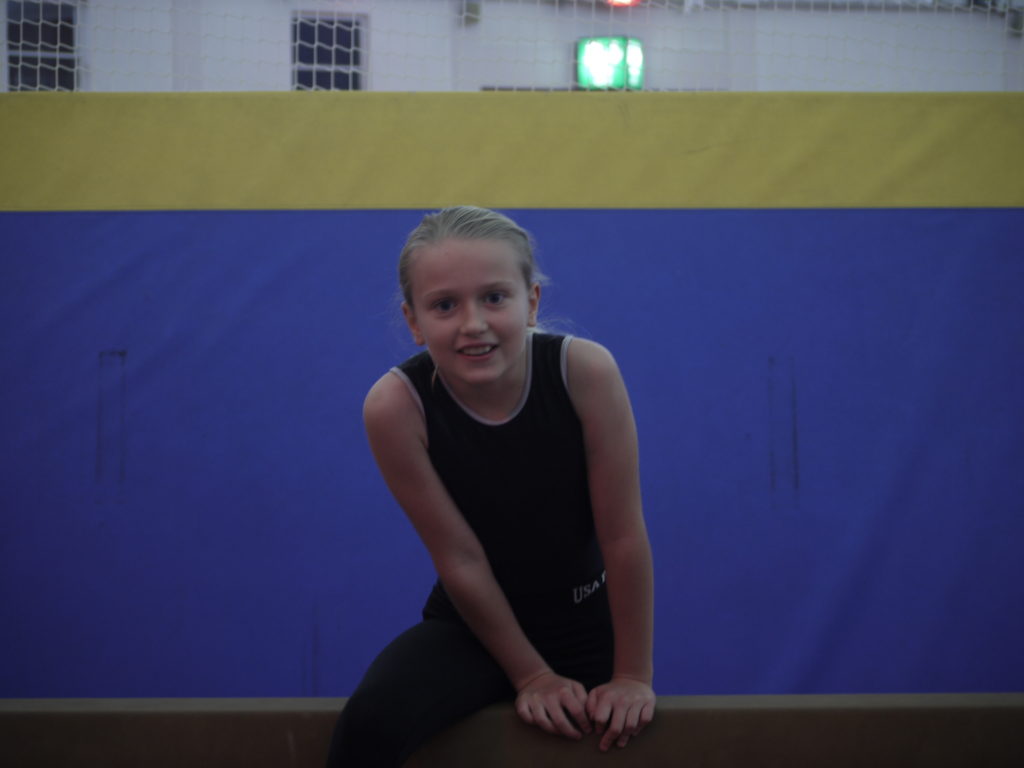
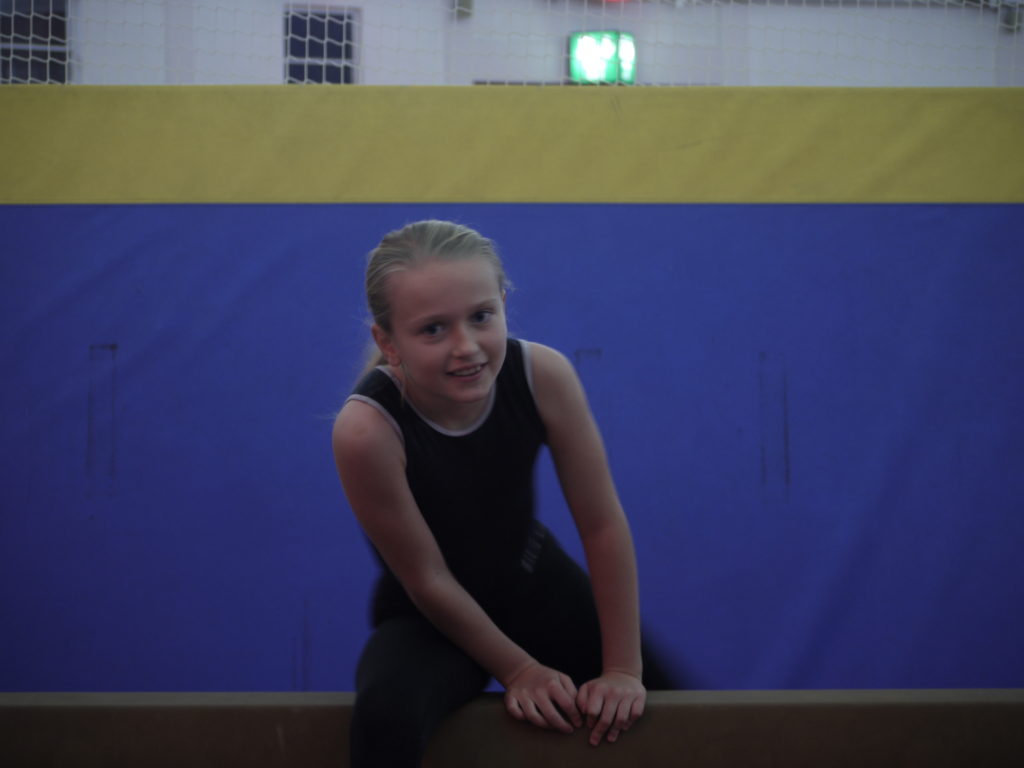
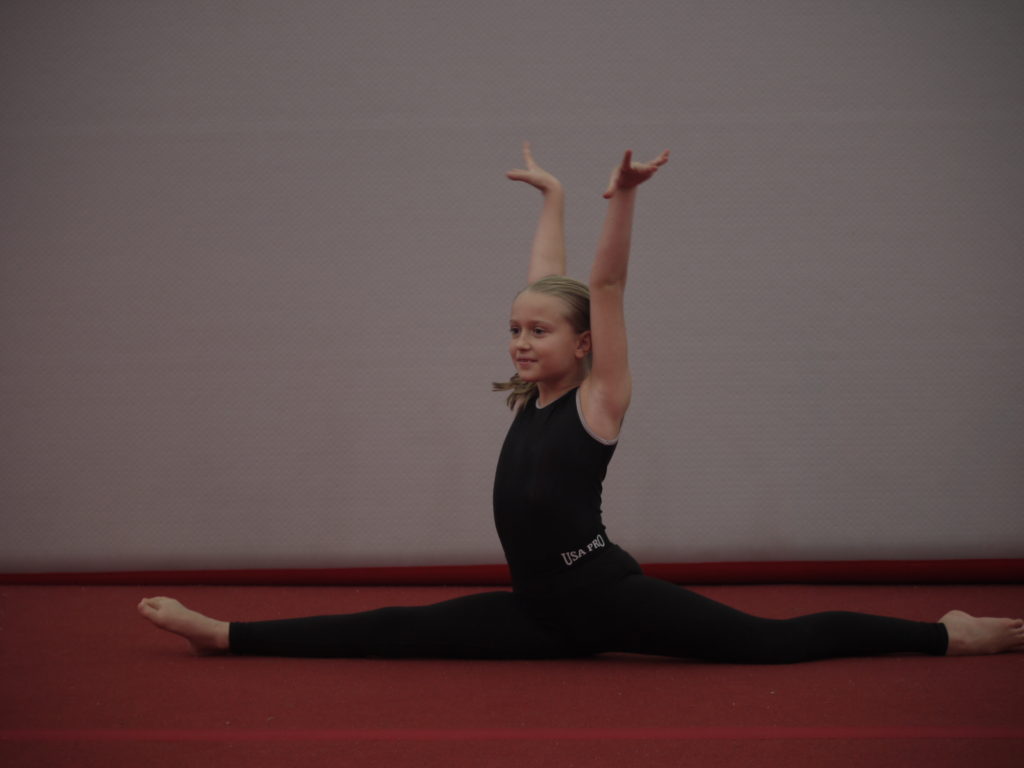
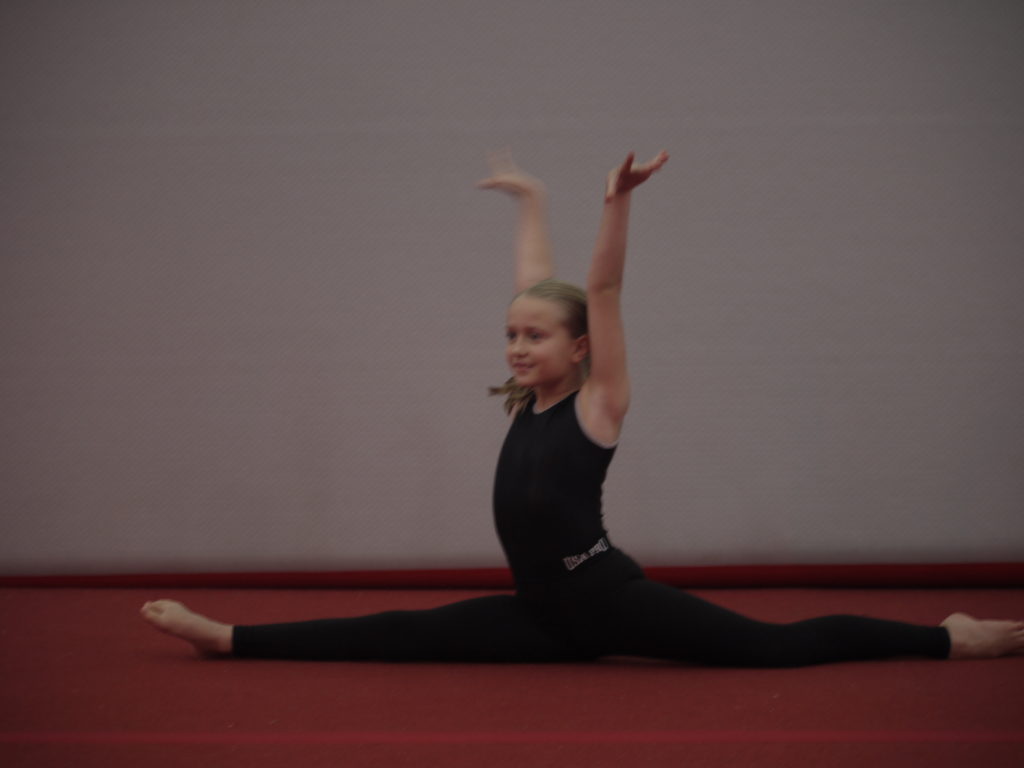
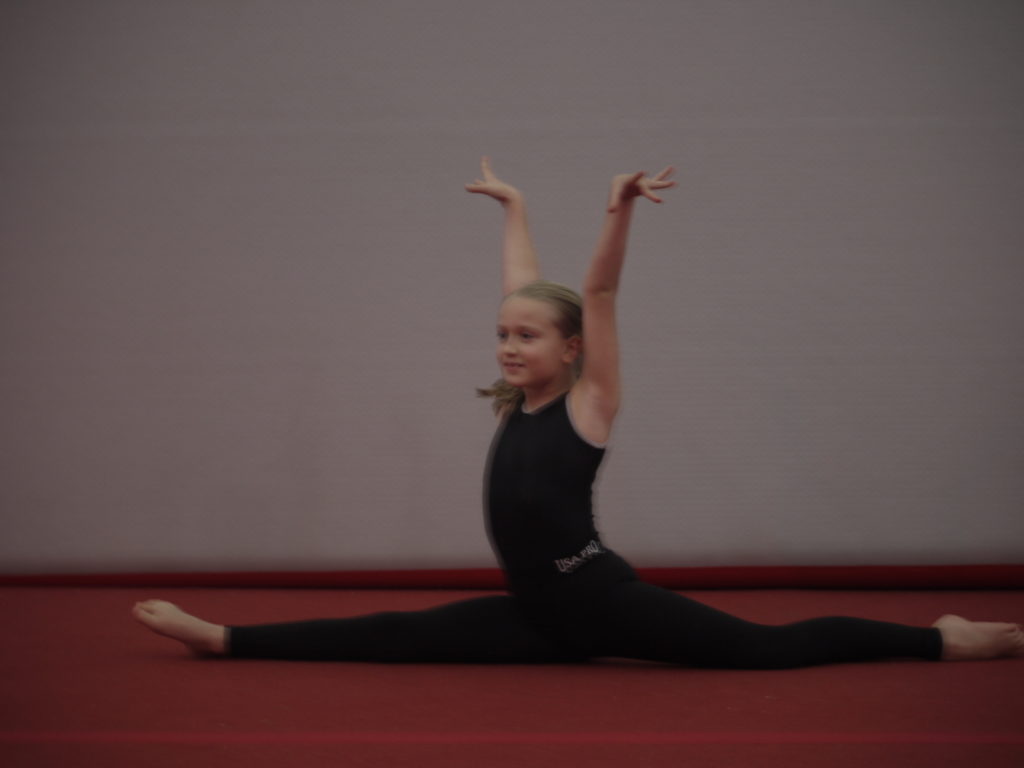
photograph four
original
edited
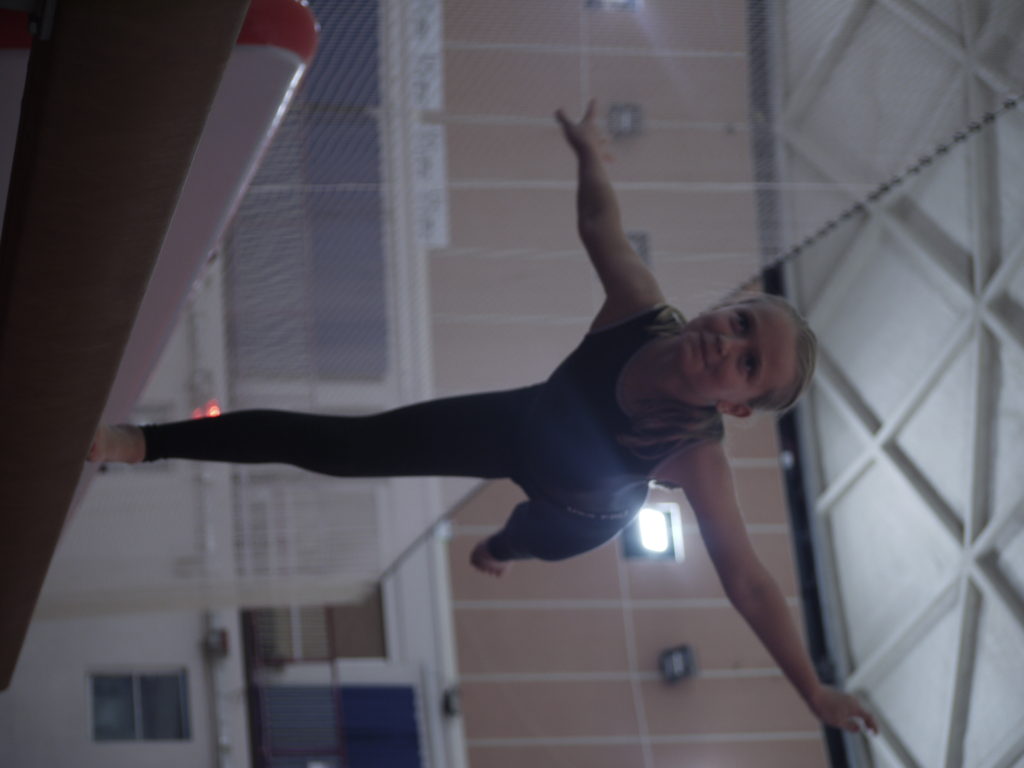
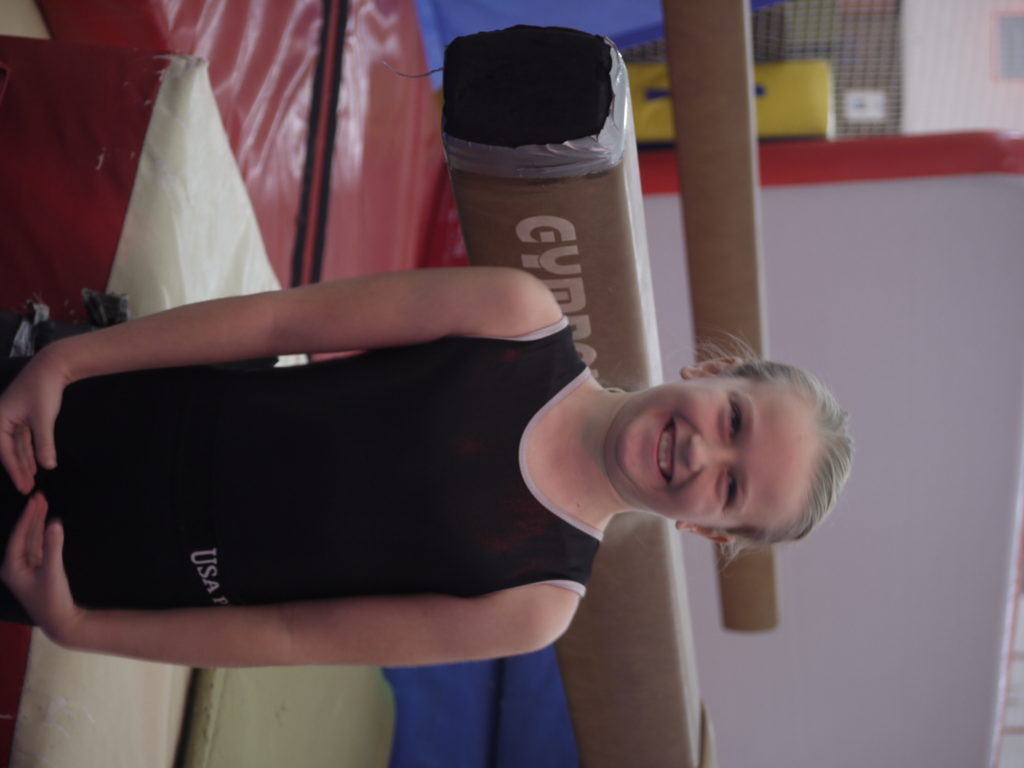
In this photograph, I mainly worked on the aesthetics, meaning it would be more easy on the eye. I straightened the photograph, meaning it is level. I then cropped the image, to remove distracting features such as the metal structure of the bar. I also changed the level of the blue to make it a turquoise, meaning there was a brighter pop of colour and made it more interesting.
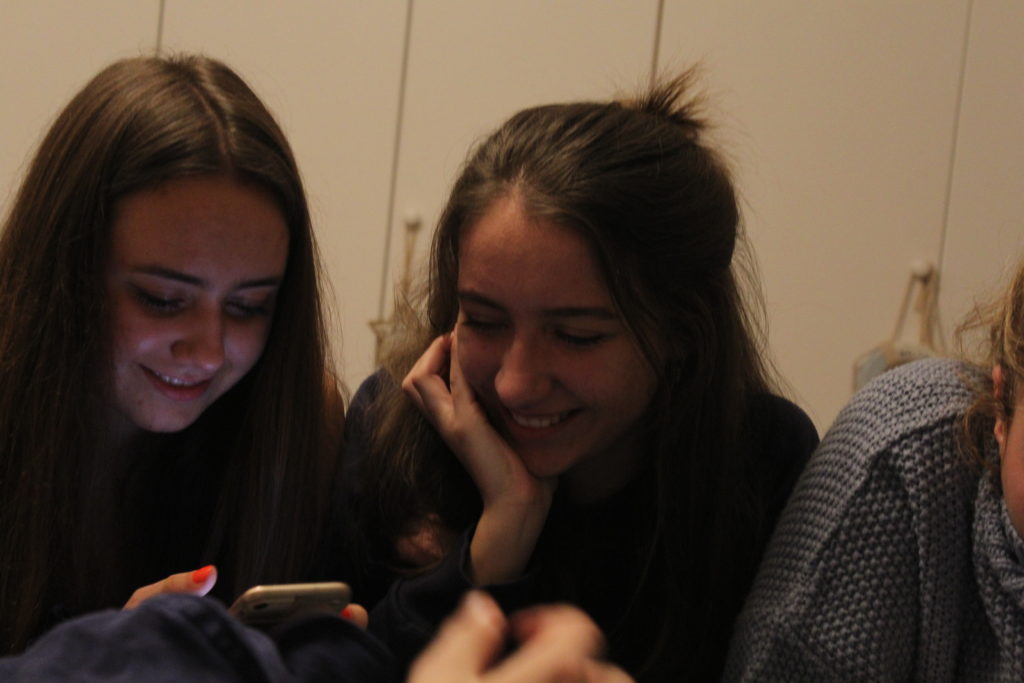
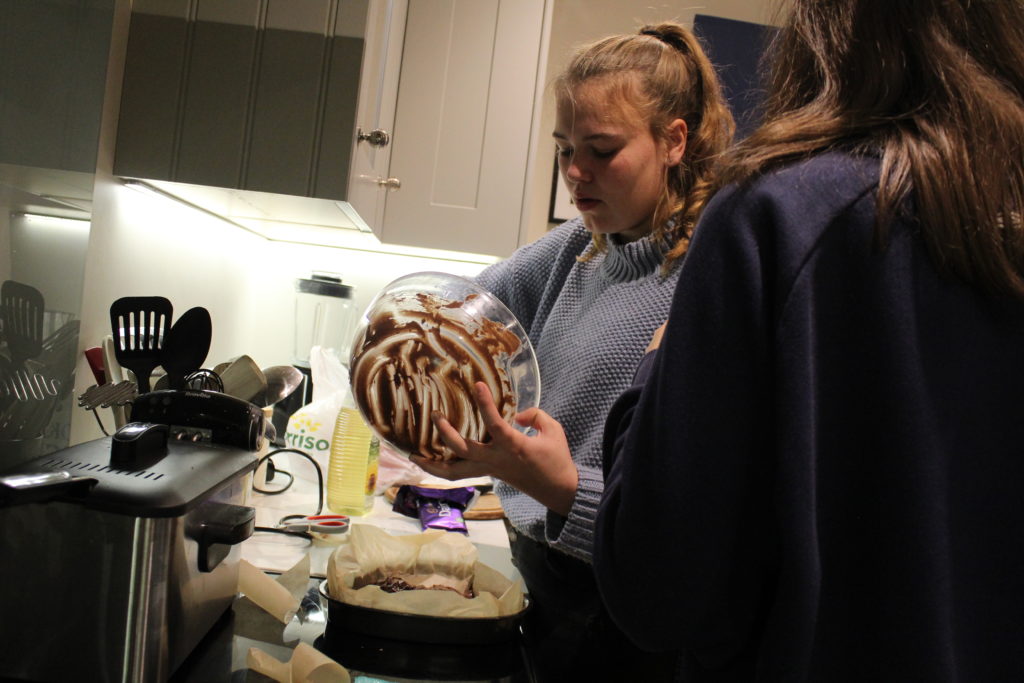
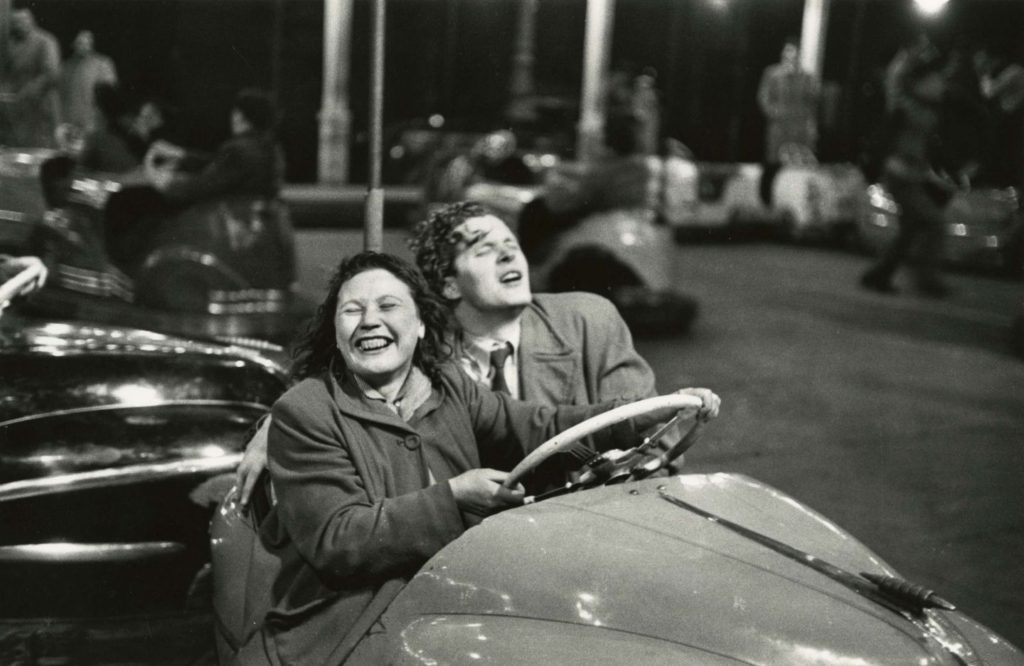
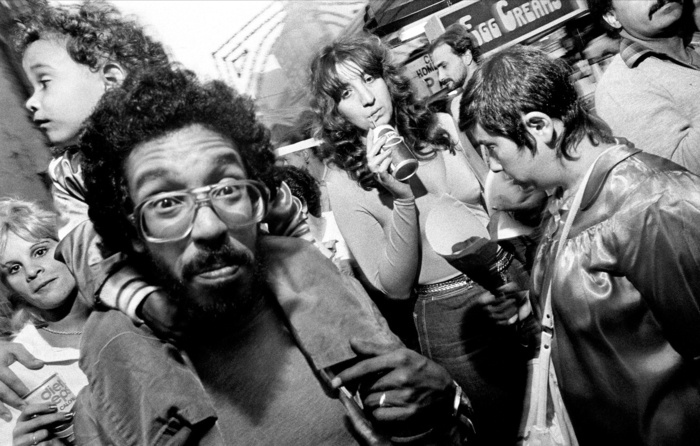
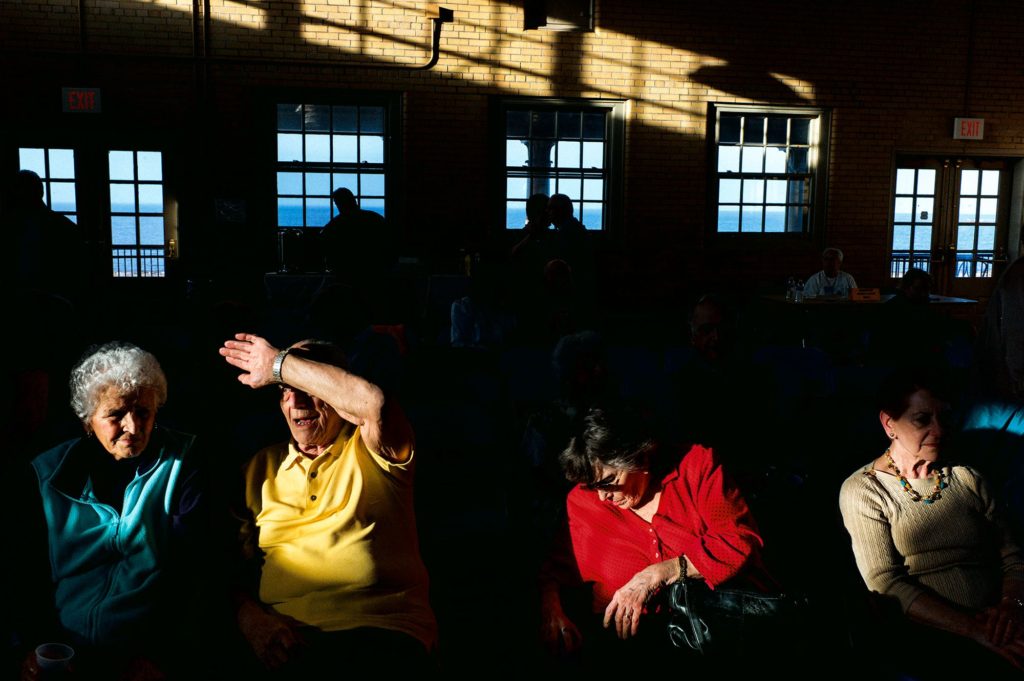
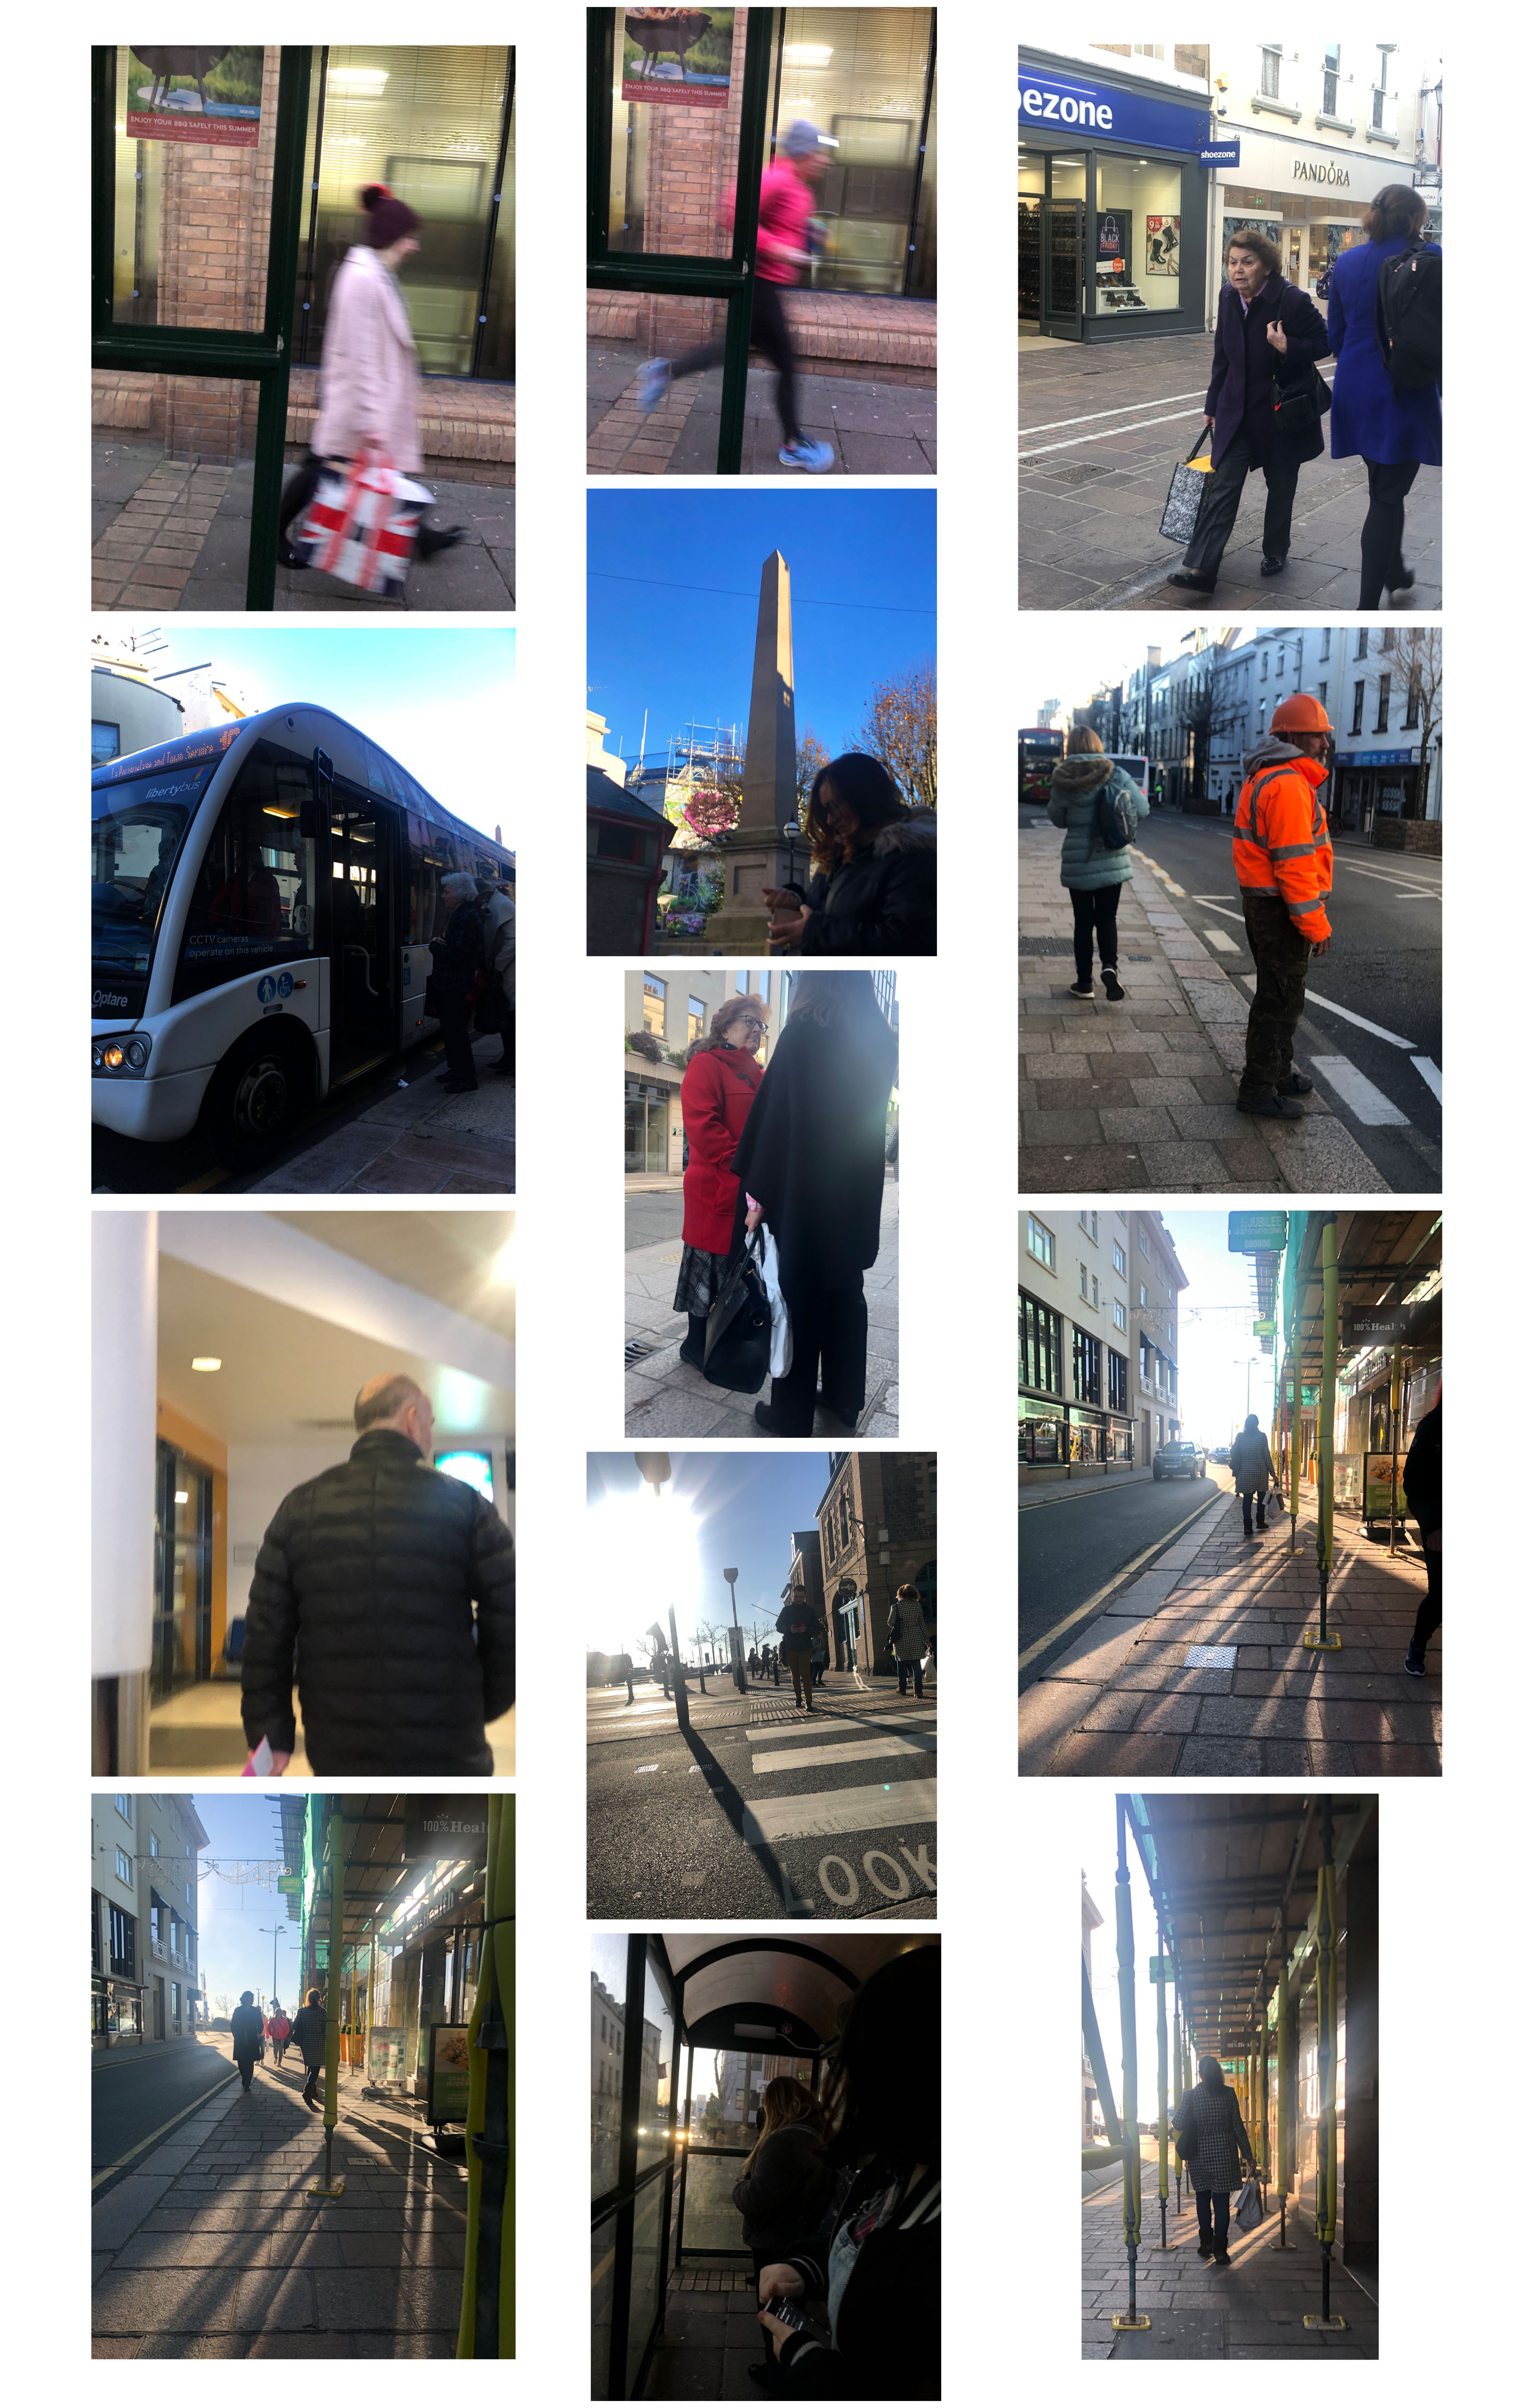
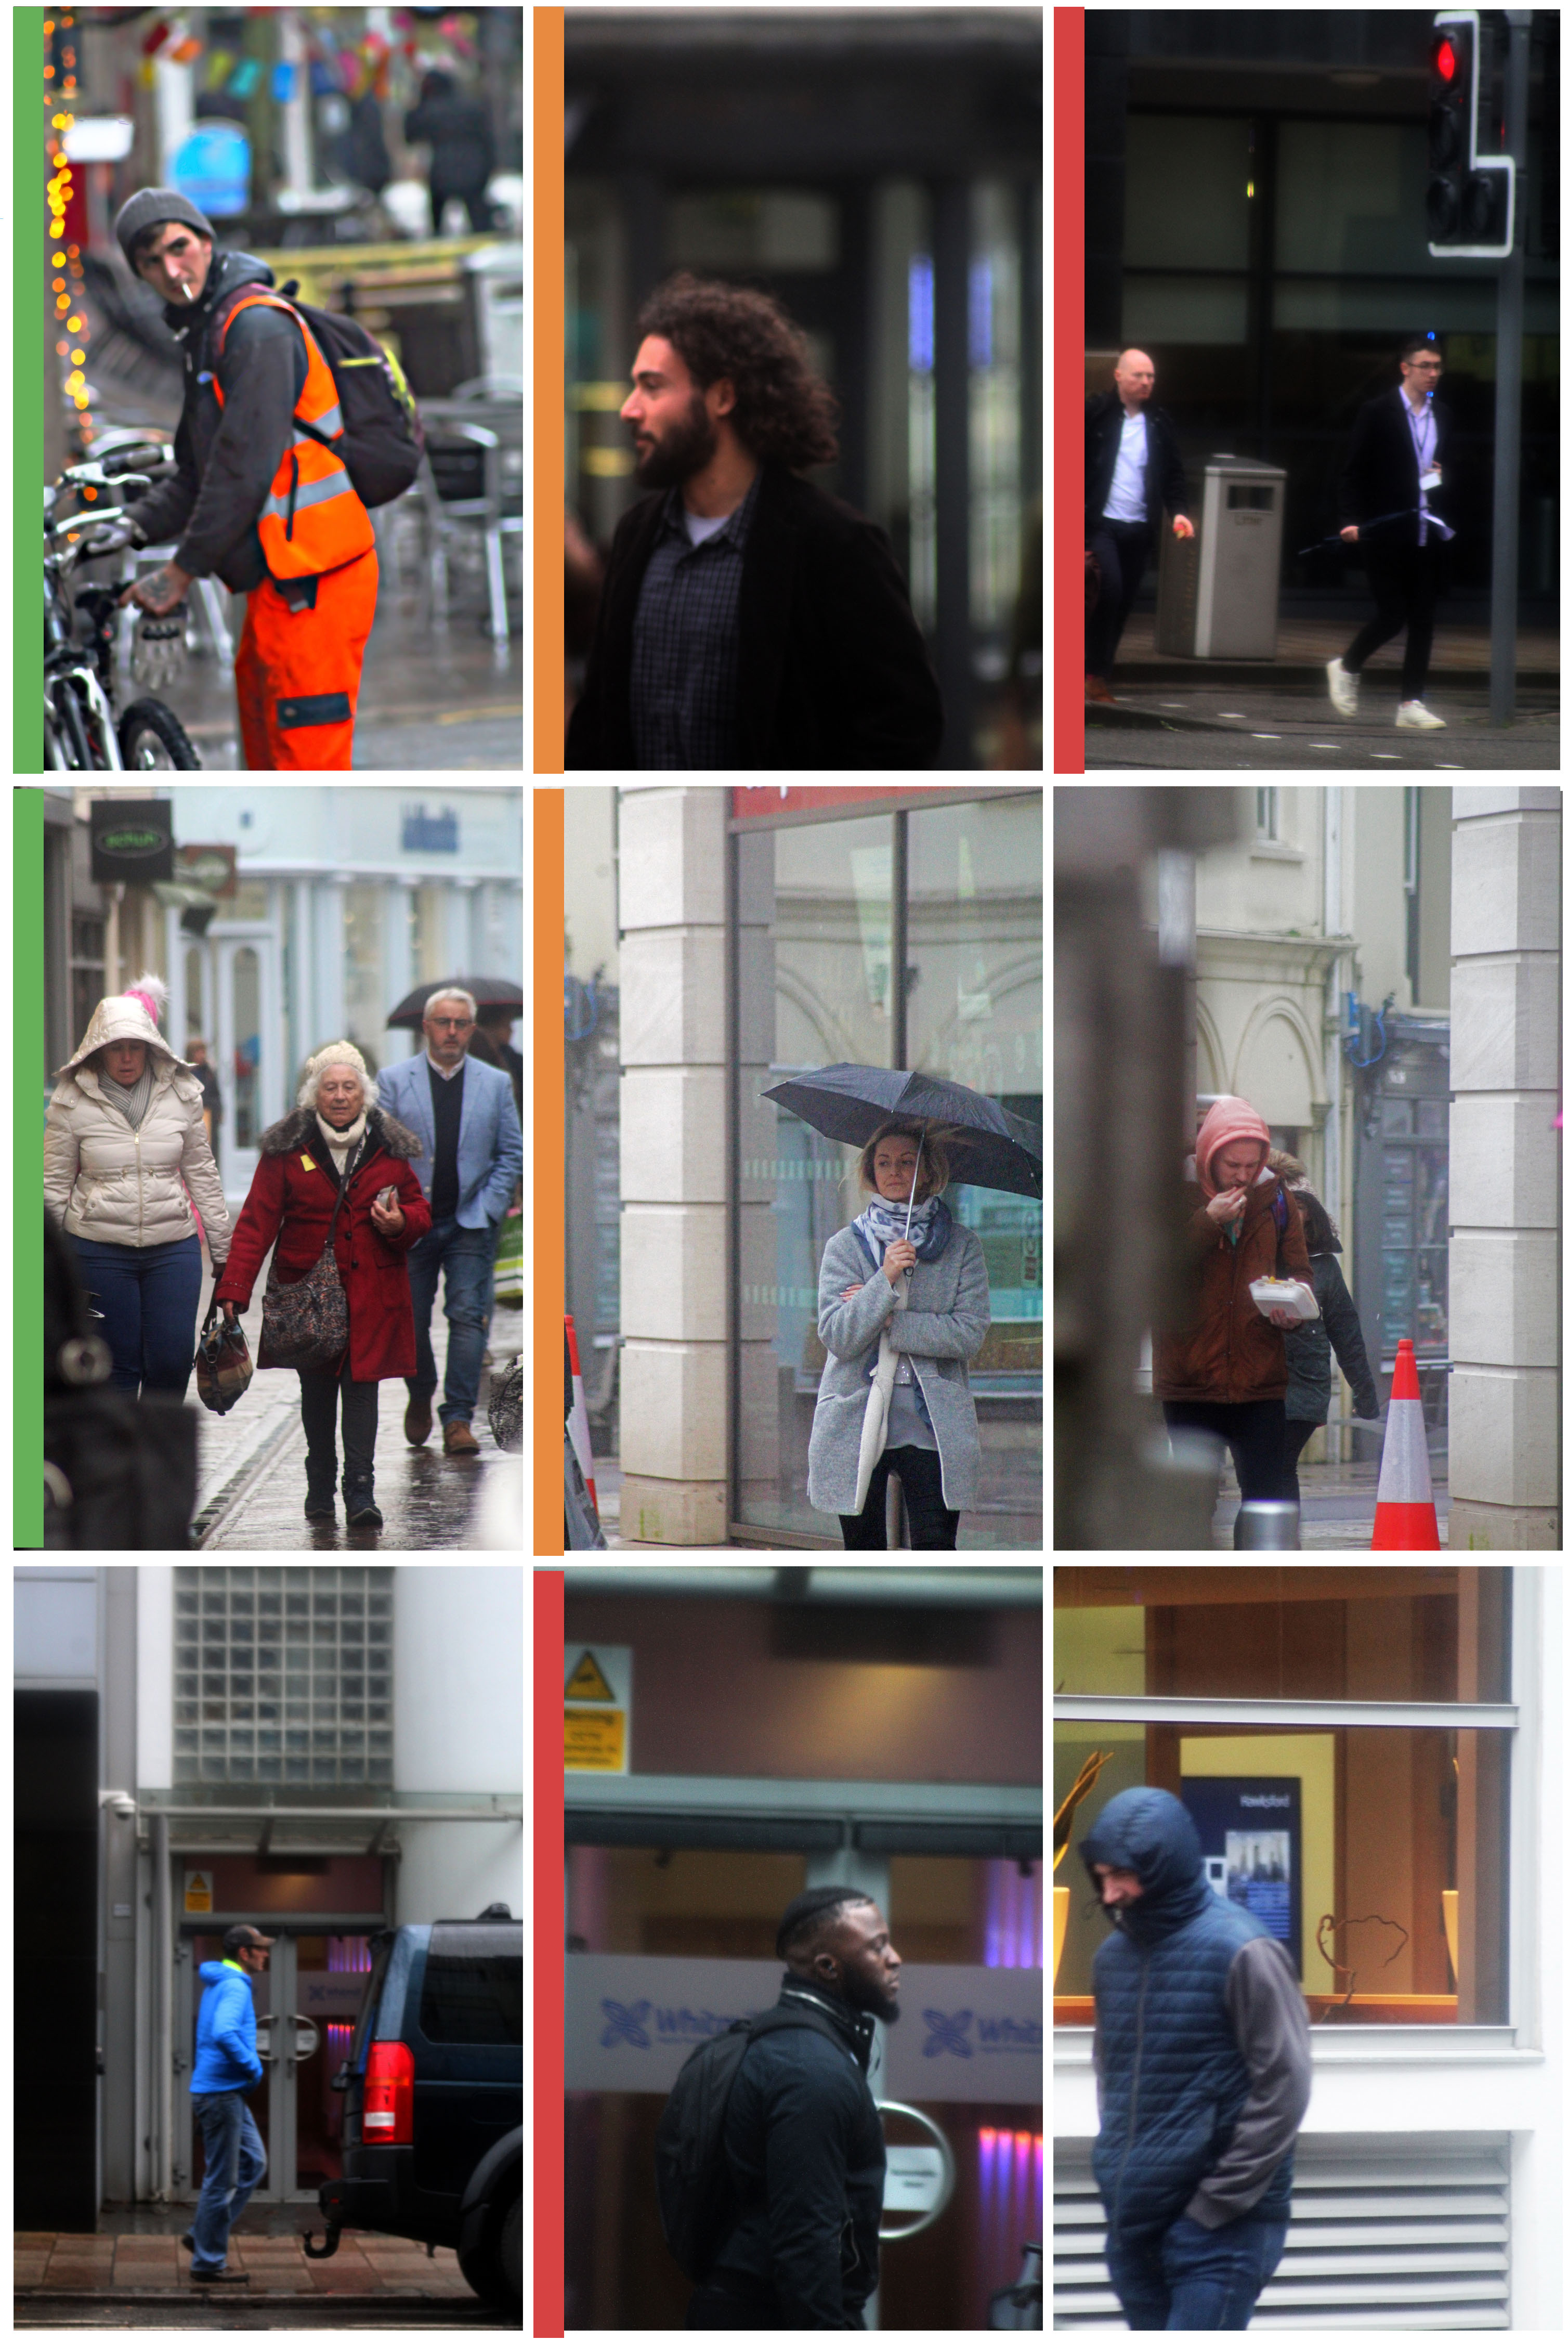
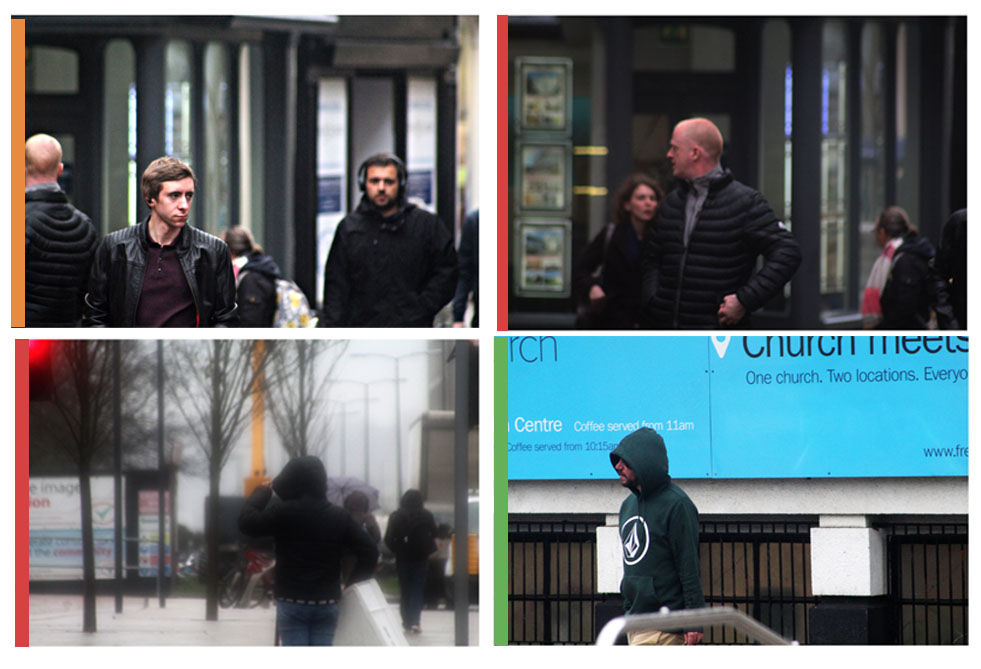
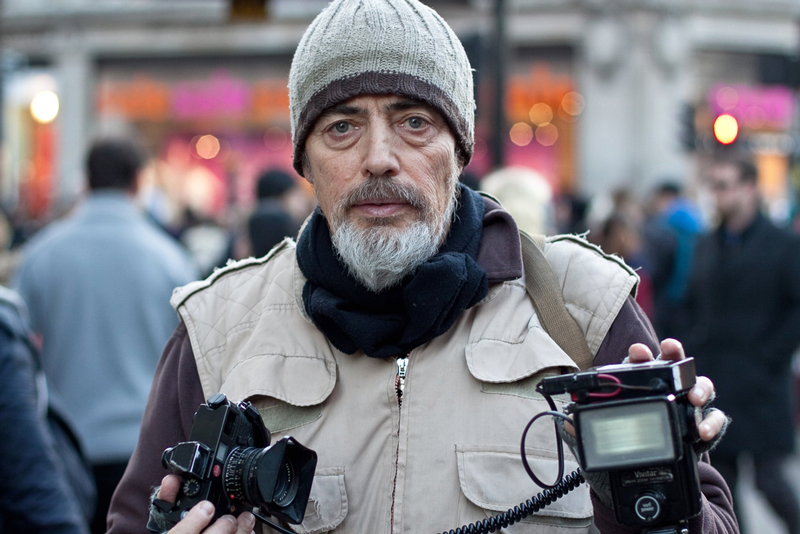
street photography is the capturing of photographs by chance of people in an urbanised, built up area. The individuals in the photographs are essentially unaware they are having their photograph taken. Street photograph produces an idea of peoples attitudes and behaviour in public. This type of photography may look like it is breaking ethical boundaries, but if you are out in the public, you almost always have the possibility of being looked at, and in this case photographed.
mood board of street photography
+
+
+
+
+
+
above are photographs from various photographers, that i would like to relate to and try to take some inspiration from. the photographs annotated with ‘+’ are from photographers I am going to have a closer look at as I find their photographs very interesting.
Also referred to as candid photography, street photography focuses on unique chance encounters of people during every-day life (public).
Street Photography Intro –
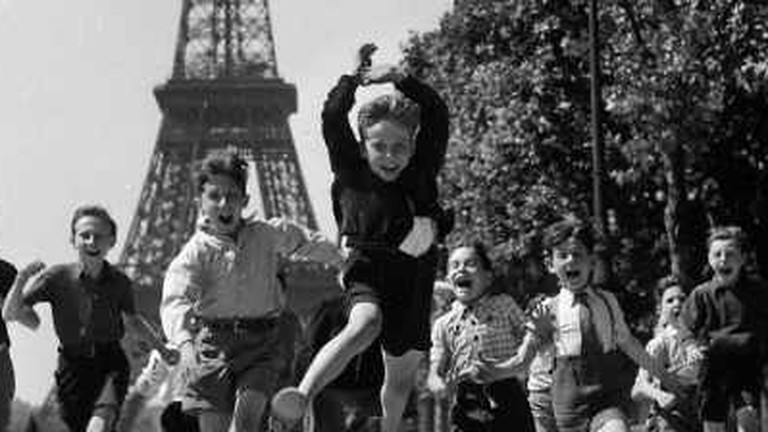
Sharing some themes with candid photography, street photography is a vehicle used to record everyday life in a public space (street), most of the time without the subjects knowledge in order to increase the photos reality. First emerging in the 19th century, Eugène Atget photographed the busy streets if Paris, and it’s major change in weather. Although, Henri Cartier-Bresson is most known for popularizing the sub-genre street photography and ultimately Photo Journalism.
Many of the ‘original’ or most know street photographs are in black and white, in contrast to how we see the world, which could be to allow more political messages such as the effects of war to impact the viewer rather than bright colours which could distract from the serious/ intended message. However, during the 1960s and more recently, street photography does emphasize bright colours in order to show change and modern society and life.
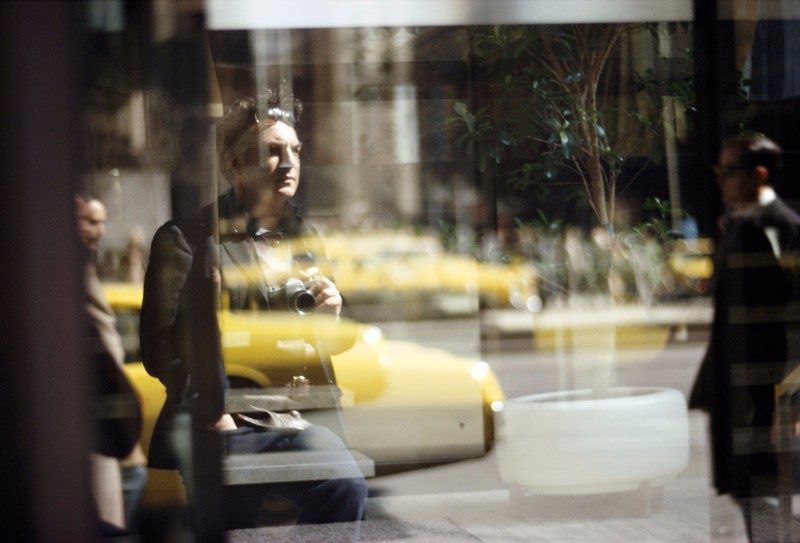
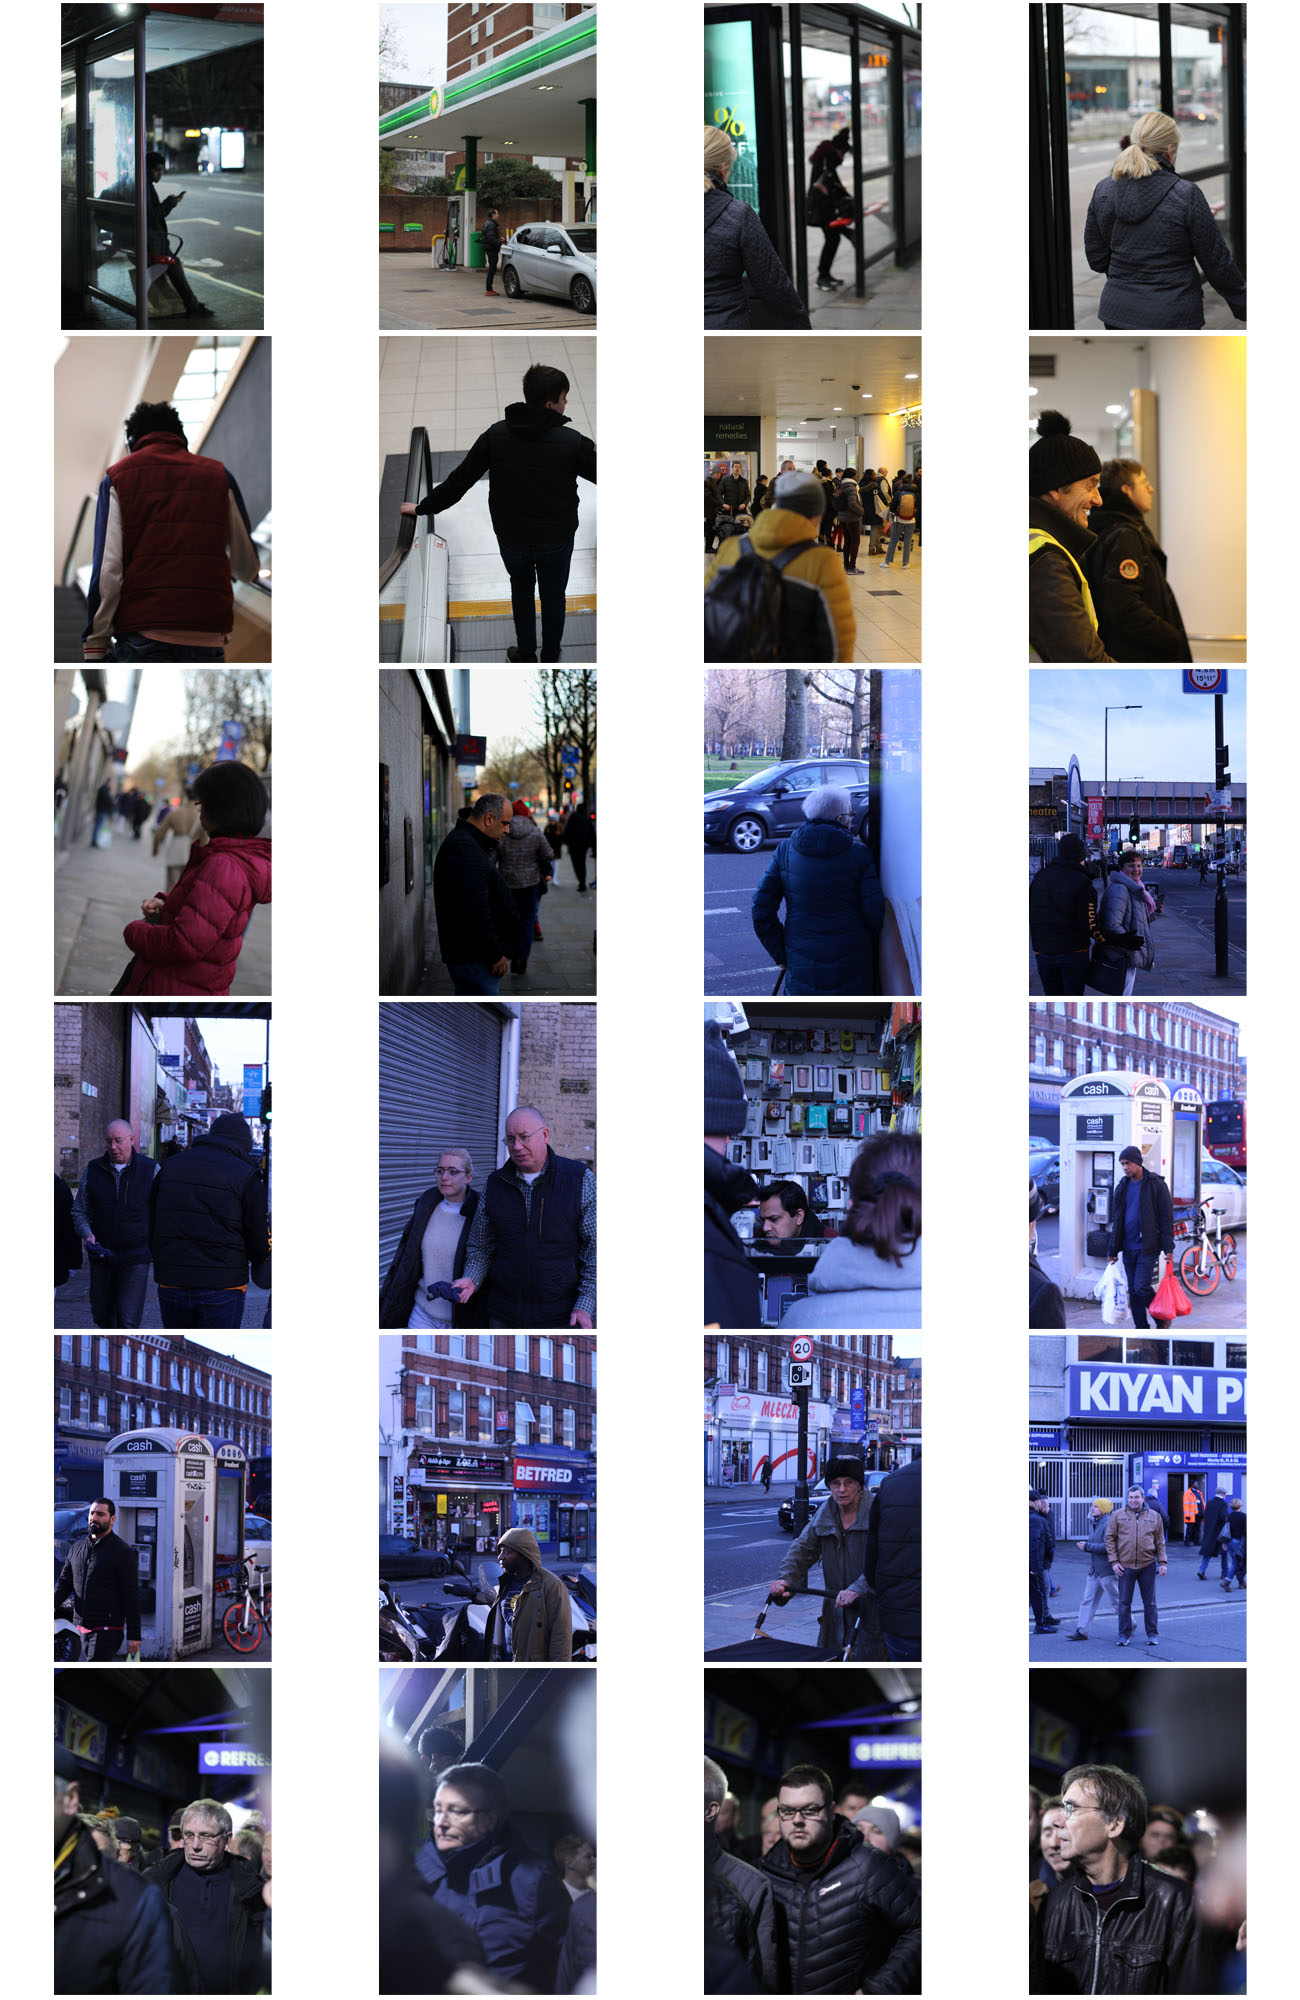
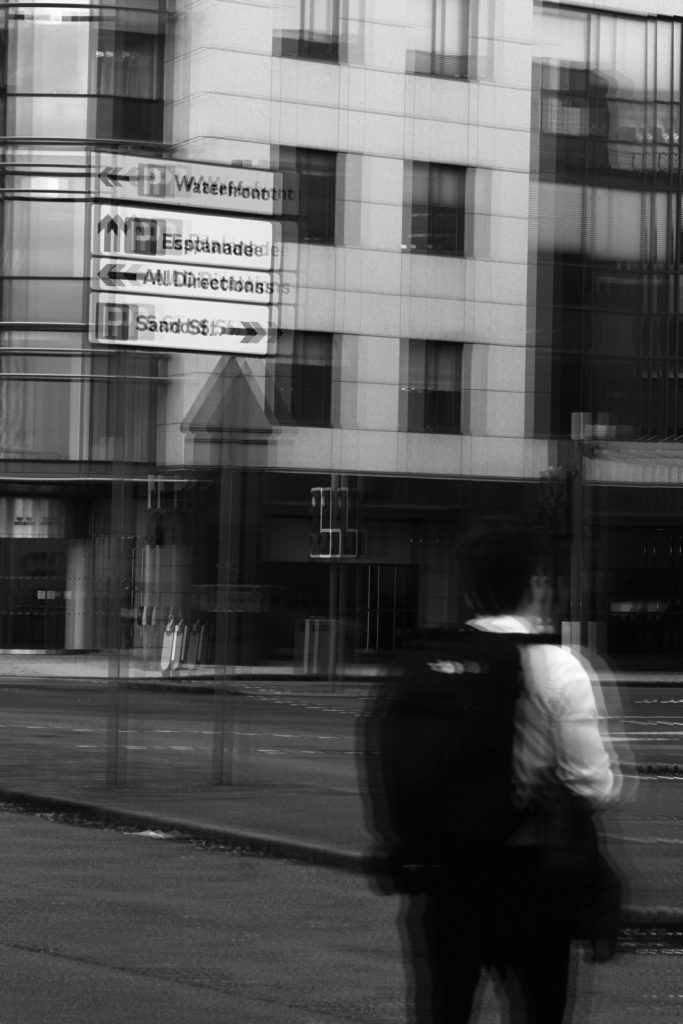
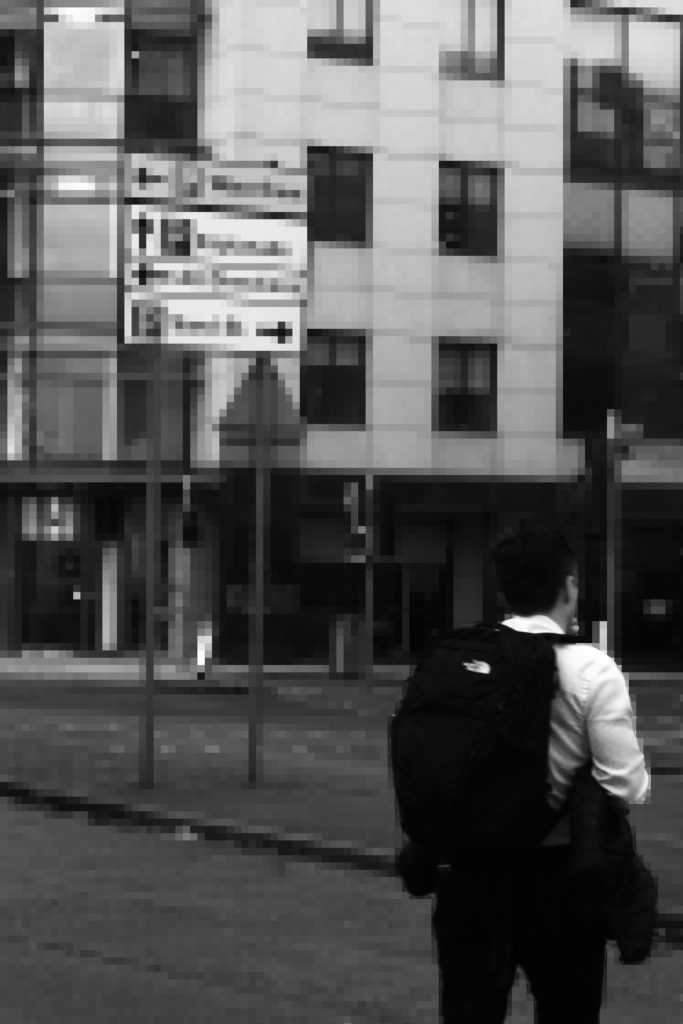
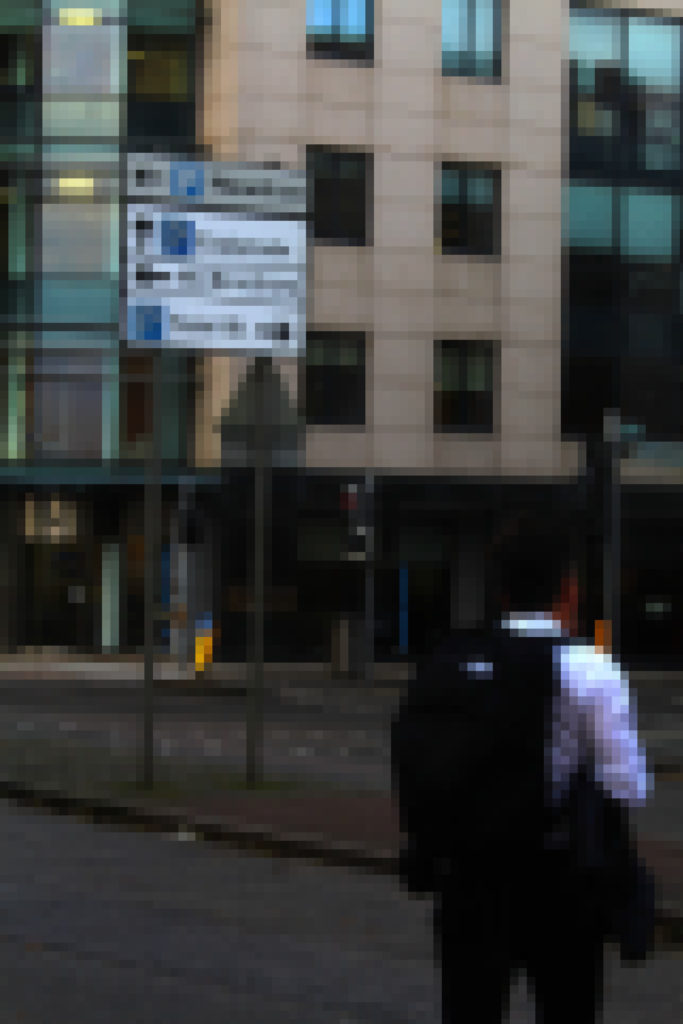
Street photography – London
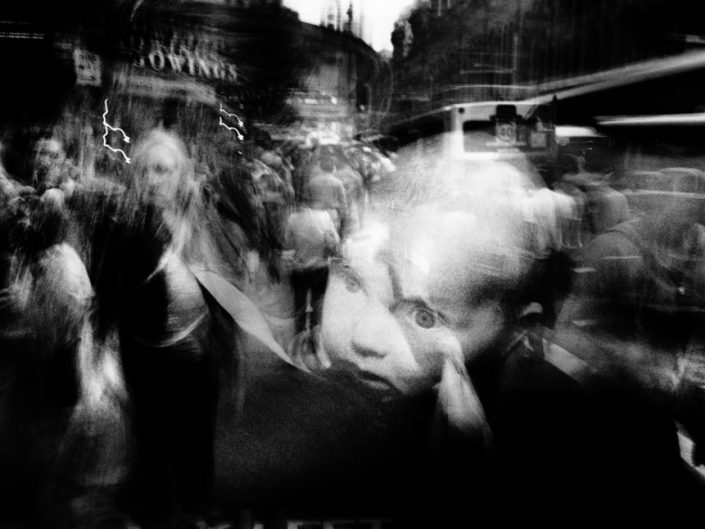
How I edited my images into a glitch effect –
This edit and effect was inspired by artist such as – Sophie Calle and Henrik Malmstrom, photographers who purposefully reduce the quality of their images in order to make a ‘CCTV’ effect, which I tried to replicate in this idea.
In order to gain the glitch effect I used a few techniques from the website which I linked below, where I used the rectangular maquee tool in order to select an area of the image and then move it slightly to distort the image. (I repeated this multiple times copying the selected area onto a new layer each time) I then merged ll of the copied parts of the image and selected blending options and unticked the ‘R’ button so that these sections were coloured. Finally, I changed the main image to black and white and increased the levels, noise and sharpness of the image in order to reduce the quality.
I edited all of these photographs in Adobe Lightroom, as I had never used it before and wanted to experiment with the different aspects.
photograph one
original
edited
For this photograph, I increased the exposure, as it was quite dark and all of the main features were dull. By increasing the exposure, it allowed for these features to be illuminated, and easier to view. I also increased the saturation, because the colours, in particular, the reds, were not shown as bright they could have been. I then, to increase the compostion, I cropped the photograph, as in the original, not all of the foot was included. This meant, to balance it out, I cropped the other side.
photograph two
original
edited
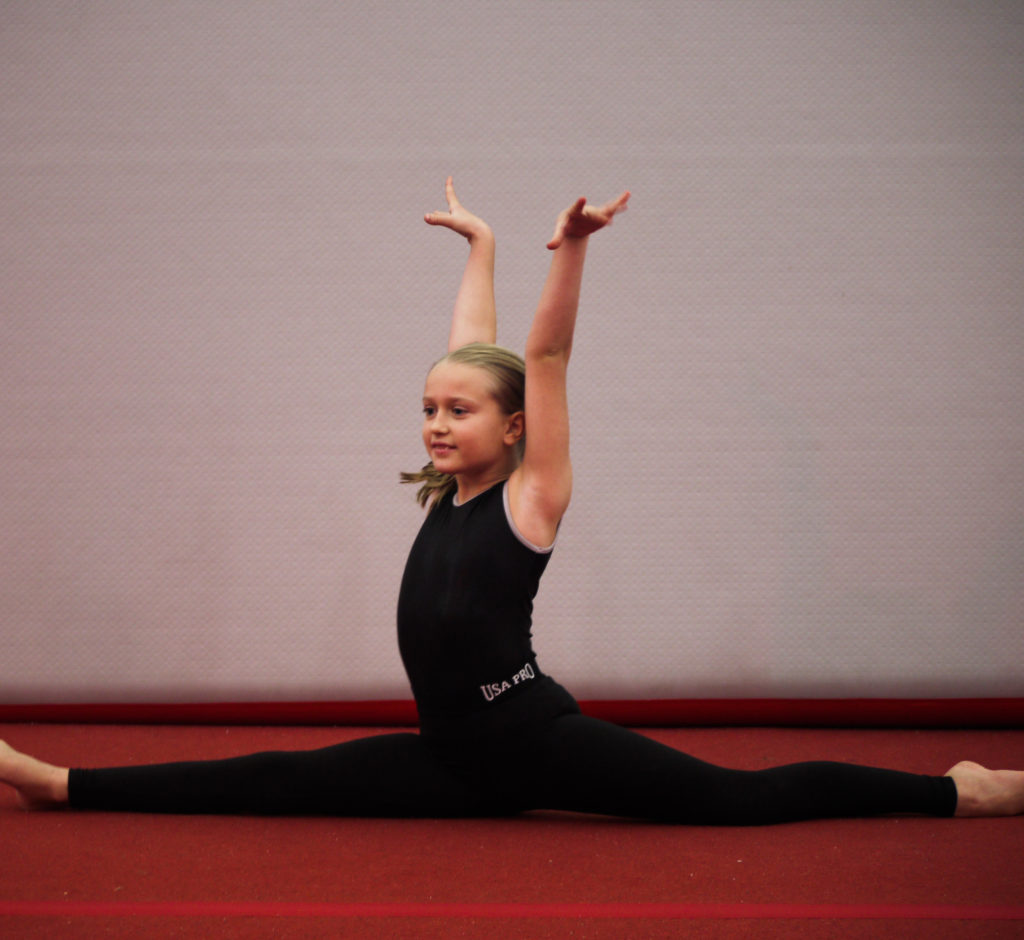
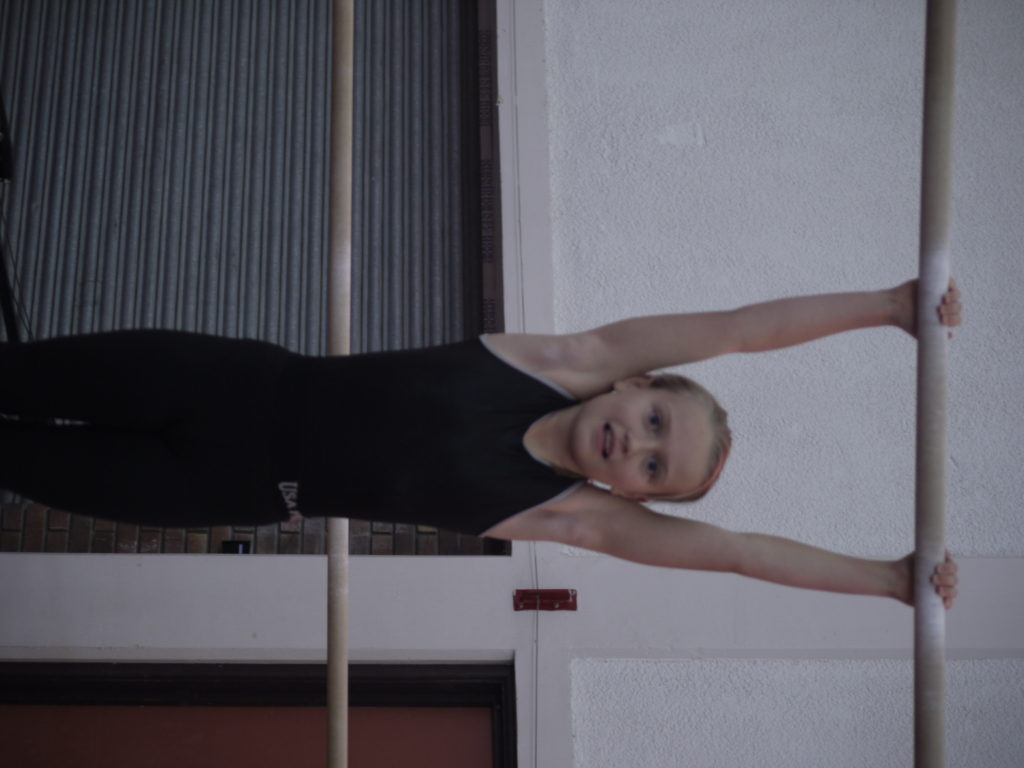
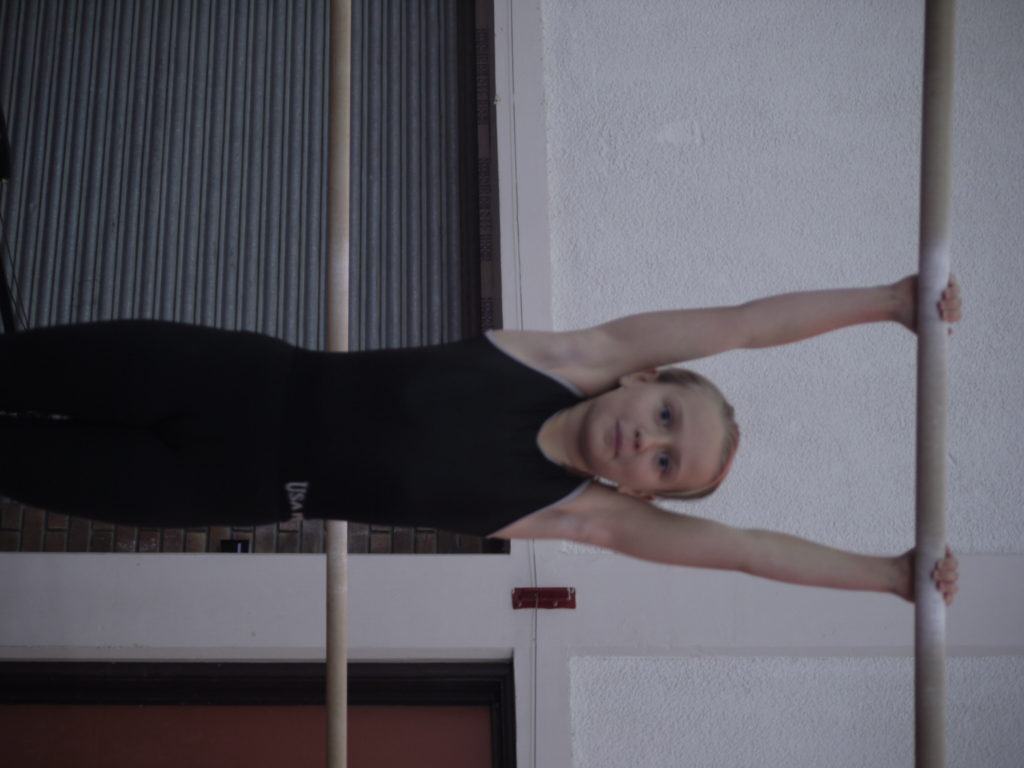
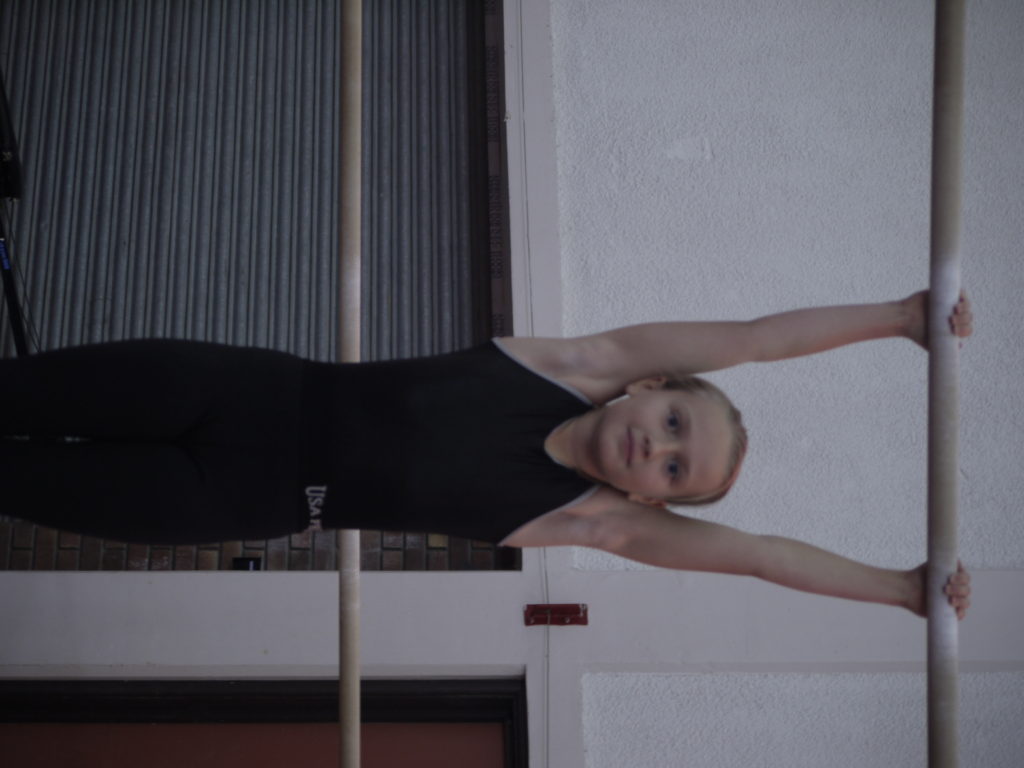
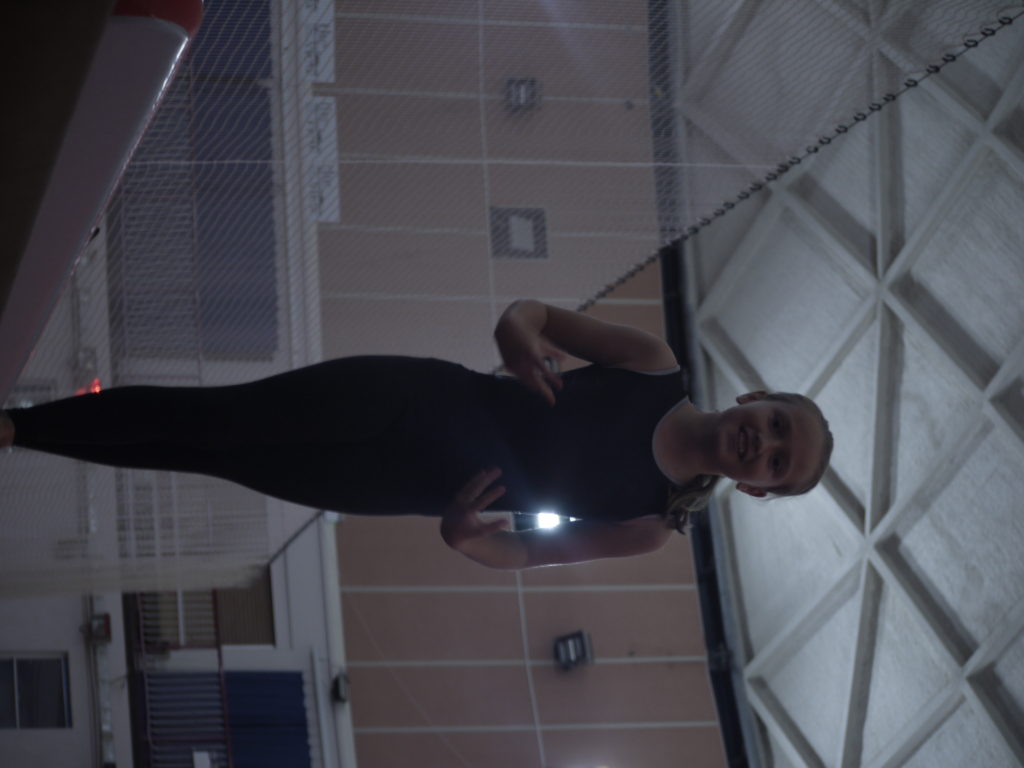
For this photograph, I increased the exposure to allow all the important features, such as the face, to be seen clearly and with more clarity. I also increased the contrast, to make sure the expression on the individual’s face was harsher and looked more expressive. I changed the levels of the blue, to allow the blue background to become a turquoise. Overall this meant the photograph was more eye-catching and bright.
photograph three
original
edited
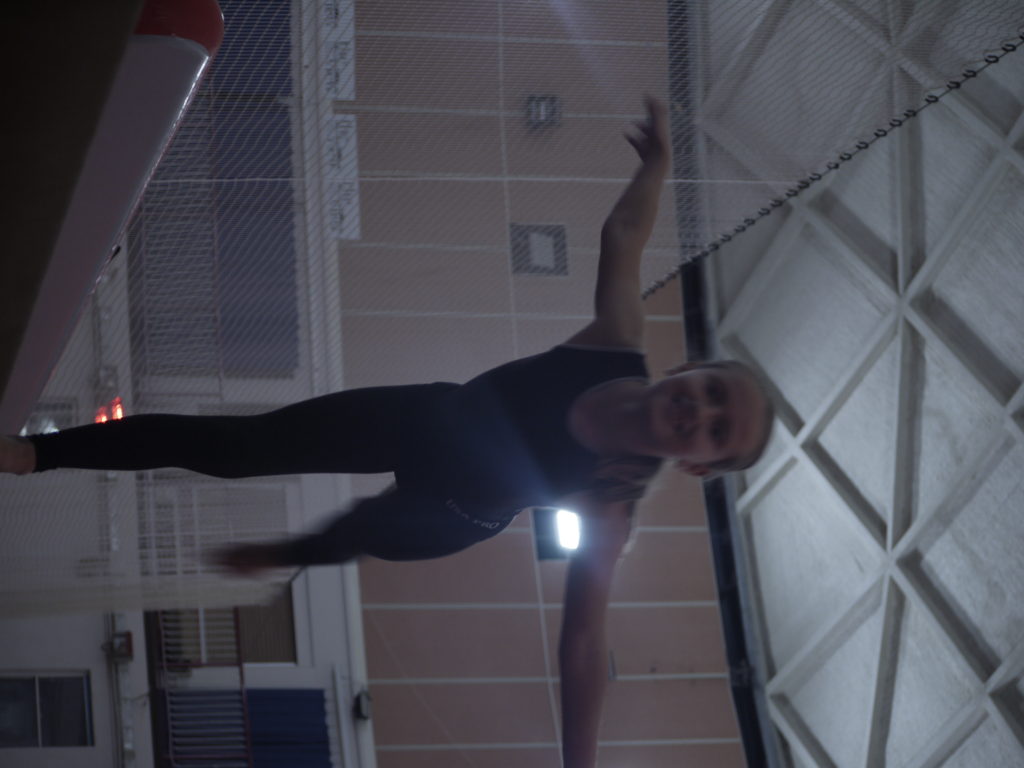
In this photograph, I increased the exposure, as the original was dark and dull. I then just changed the levels of the blue, to become a turquiose as it adds a pop of colour, and adds interest.
Street photography is a form of candid photography, is photography conducted for art or enquiry that features unmediated chance encounters and random incidents within public places. Typically, street photography is about candidly capturing life in public areas. And contrary to its name, street photography does not have to be done on the streets. You can do street photography anywhere.
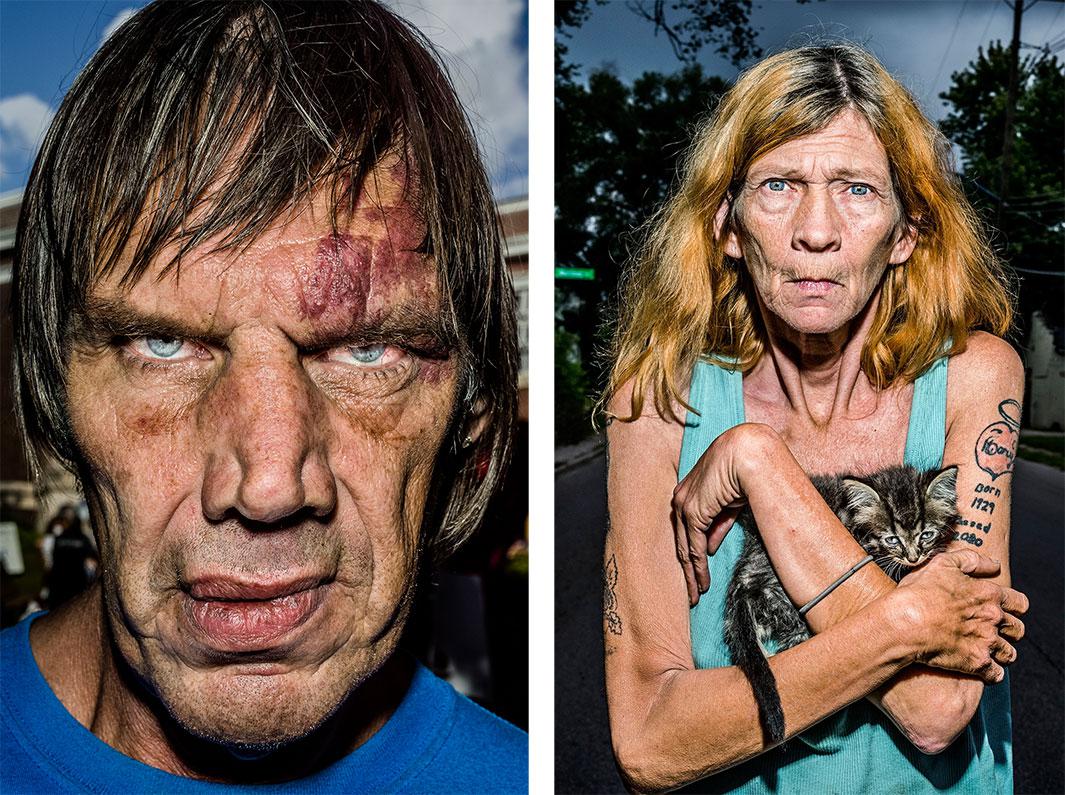
BRUCE GILDEN
Bruce Gilden is an American street photographer. He is best known for his candid close-up photographs of people on the streets of New York City, using a flashgun. He has had various books of his work published, has received the European Publishers Award for Photography and is a Guggenheim Fellow.
Gilden was born in Brooklyn, New York. While studying sociology at Penn State, he saw Michelangelo Antonioni’s film Blowup in 1968. Influenced by the film, he purchased his first camera and began taking night classes in photography at the School of Visual Arts of New York. Fascinated with people on the street and the idea of visual spontaneity, Gilden turned to a career in photography. His work is characterized by his use of flash photography. He has worked in black and white most of his life, but he began shooting in color and digital when he was introduced to the Leica S camera as part of Magnum’s Postcards From America project. He is renowned for controversially jumping-up at people and taking photos of them while they walk through the streets, minding their own business, which makes for the surprised faces that can often be seen in his photographs .
He has photographed people on the streets of New York, Japan’s yakuza mobsters, homeless people, prostitutes, and members of bike gangs between 1995 and 2000. According to Gilden, he was fascinated by the duality and double lives of the individuals he photographed. He has also photographed rural Ireland and horse racing there, as well as voodoo rituals in Haiti.
Bruce has experimented with other methods/approaches as compared to the ones above in his more recent projects.
The black and white creates nice shadows and enhances the various dark and light tones throughout the image. The broken wall creates a natural frame, adding depth and is useful to guide the viewers eyes to the wanted areas of the image. The rough broken border of the fame however, juxtaposes the smooth, flat wall that was there before. The subjects are dominant and clear in the foreground, and gradually fade out to the background, which all contributes to the images depth.
Technical
The subjects right at the foreground are slightly blurred as the cameras focus is on the middle section, the center of the frame. The image seems to have illuminating natural lighting, however its slightly overexposed as it has lots of light tones overall. The black and white could make it harder for the scene to be understood, as there could be details masked by the light and shaded tones.
Conceptual
The image was taken before the Spanish civil war in 1993, however that is quite confusing for the viewer to know as it looks like the children are playing in war ruins. The meaning of the image is to display the poor living conditions of the children, pre-war, to create a sympathetic message for the viewer
Contextual
These shots were taken in Seville, and these photos depicting broken buildings and some showing injured children, became associated with the horrors of the Spanish civil war, even though it was taken 3 years before the war had taken place.
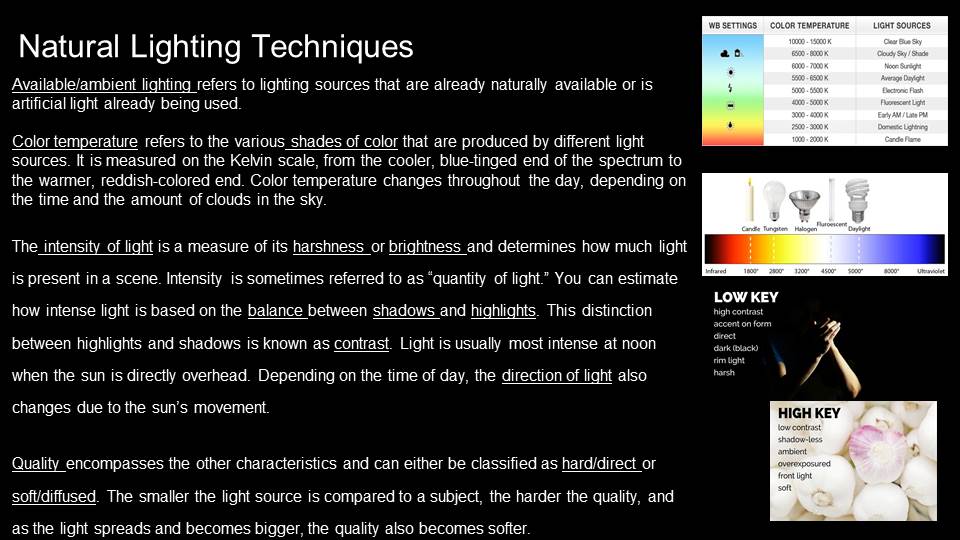
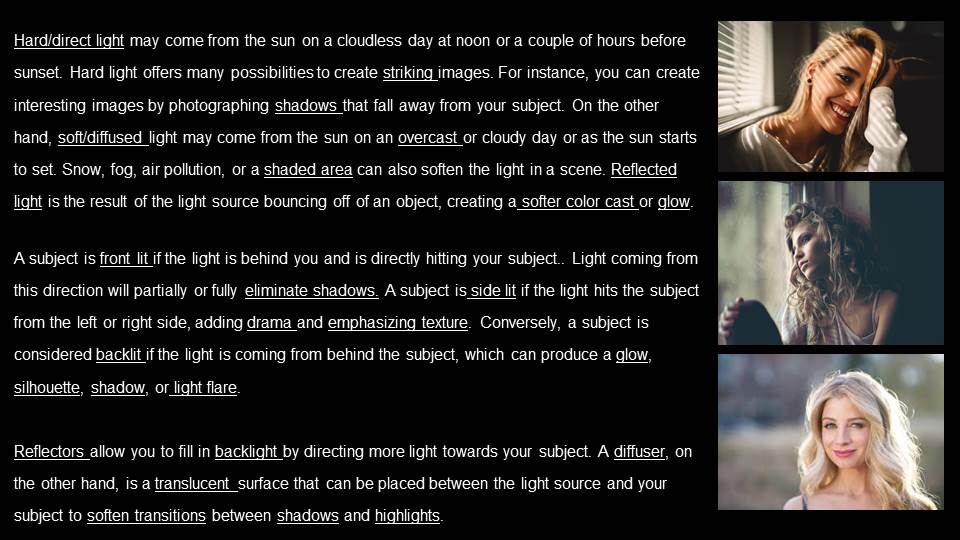
Remember >>>Photography is completely dependent on the availability of light.
In most cases we can make use of natural or available / ambient light…but we must be aware of different kinds of natural light and learn how to exploit it thoughtfully and creatively…
intensity of the light
direction of the light
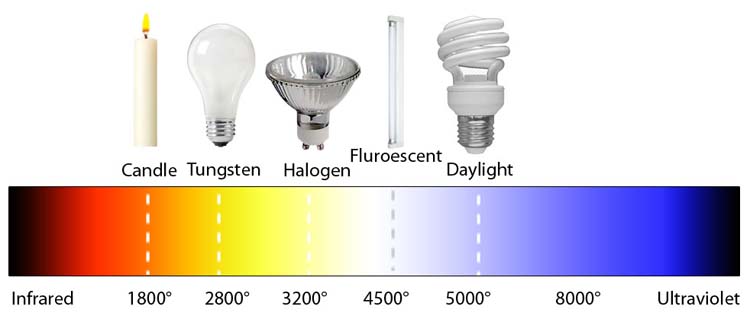
temperature of the light and white balance
Using reflectors (silver / gold)
White Balance (WB) and Colour Temperature
Explore using diffusers (tissue paper, coloured gels, tracing paper, gauze etc) to soften the light
Front / side / back lighting
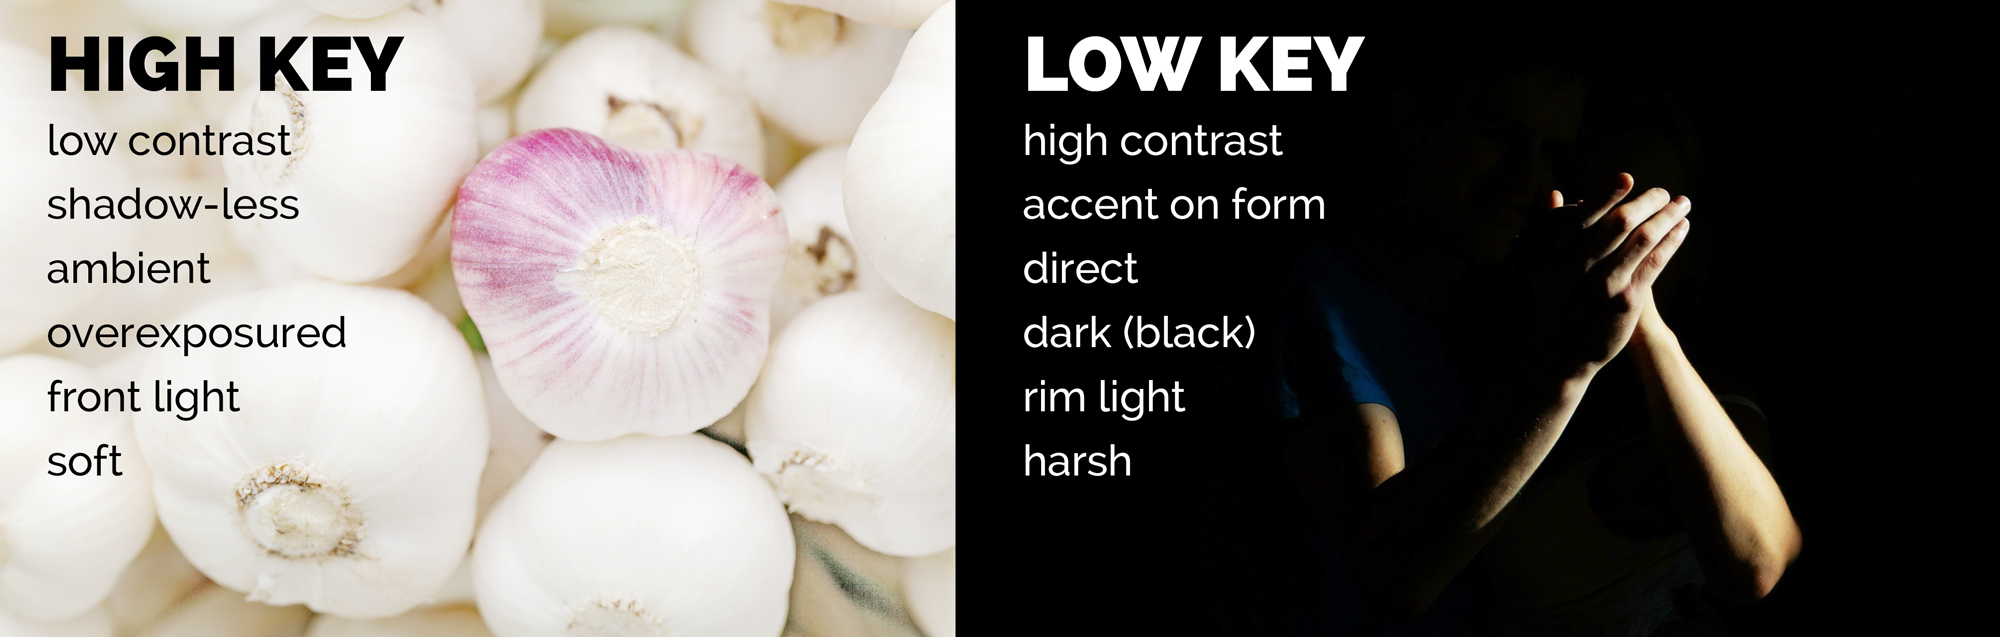
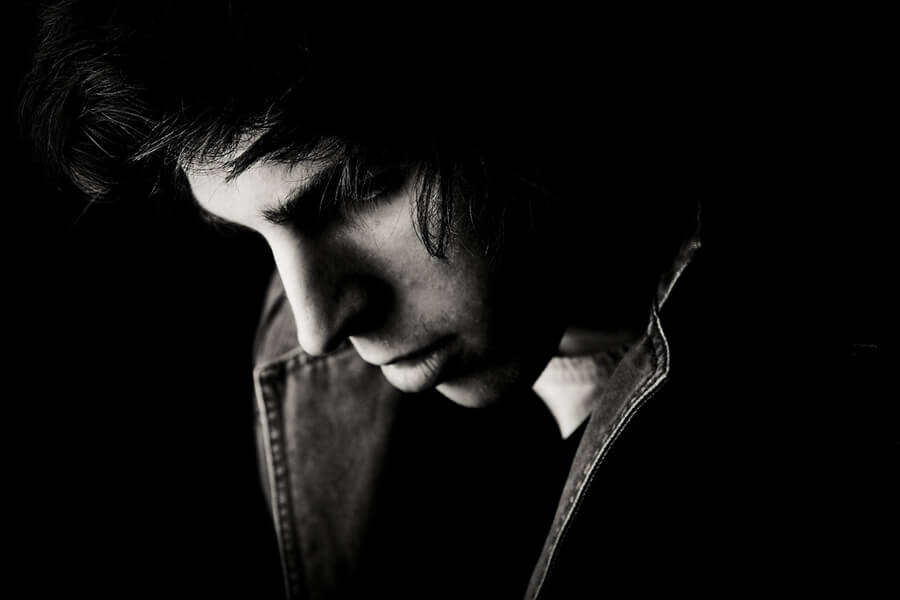
High Key / low key lighting
Shadows / silhouettes
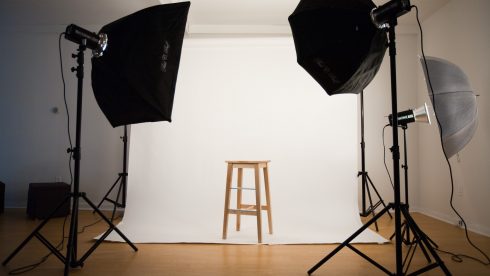
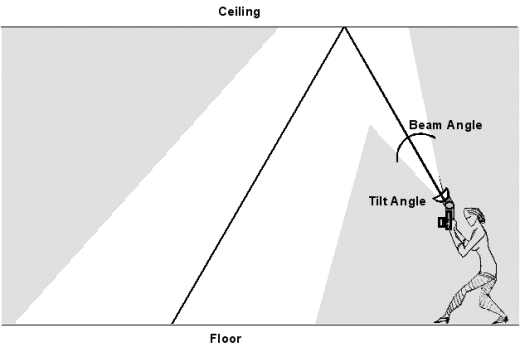
2. Studio Lighting
Using artificial lighting can offer many creative possibilities…so we will explore
size and shape of light
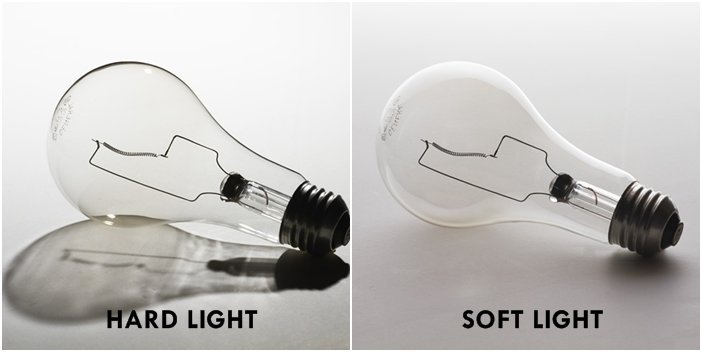
distance from subject to create hard / soft light
angles and direction…high, low, side lighting
filtered light
camera settings : WB / ISO / shutter speed etc
reflectors and diffusers
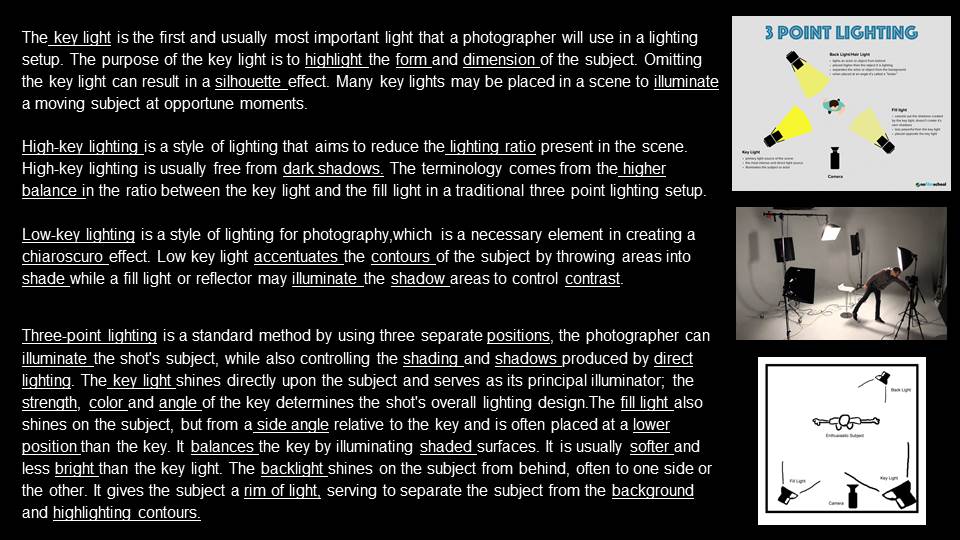
key lighting, fill lighting, back lighting, 3 point lighting
soft-boxes, flash lighting, spot lights and floodlights
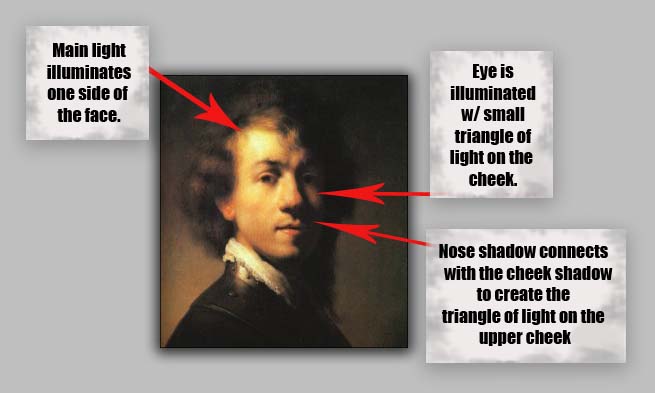
chiarascuro and Rembrandt lighting
high key and low key lighting techniques
backdrops and infinity curves
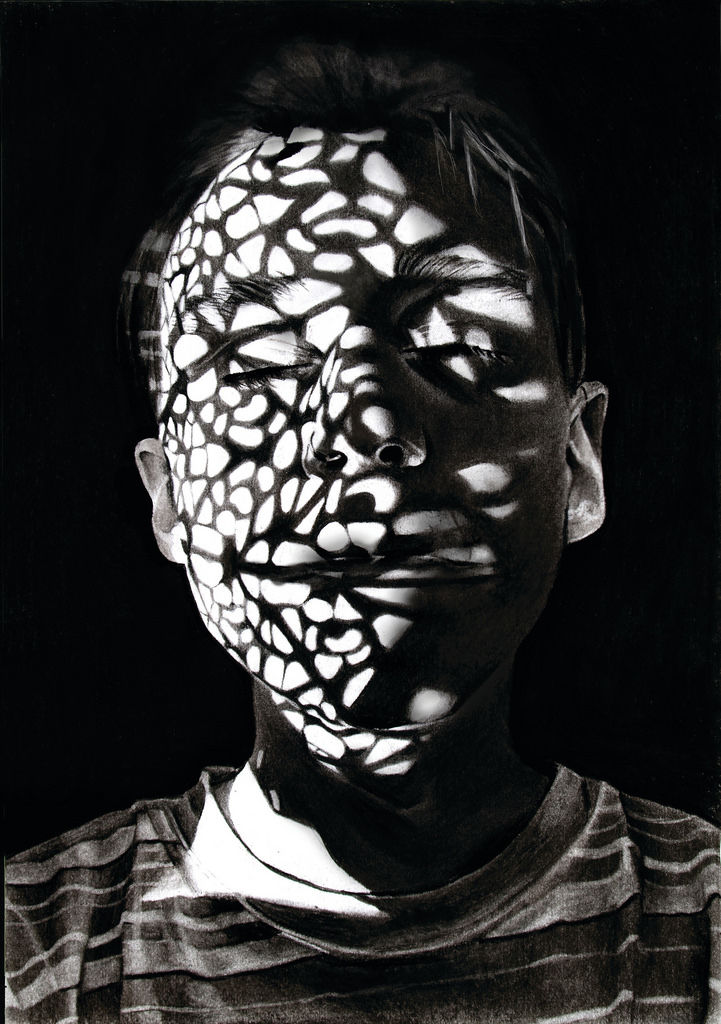
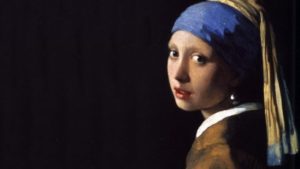
Chiarascuro used to illuminate features
Johannes Vermeer, The Girl with the Pearl Earring, 1665—-chiarusco as employed by the Dutch Masters
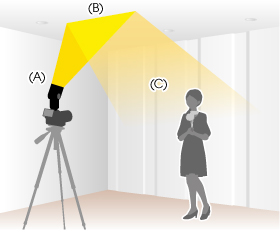
Above : An example of “bouncing” the flash to soften the effects and create a larger “fill” area…try this wherever there are white walls/ ceilings
Using Flash
Flash units offer a range of possibilities in both low and high lighting scenarios…we will explore
flash “bouncing”
fill-in flash
TTL / speedlight flash
remote / infra-red flash (studio lighting)
fast + slow synch flash
light painting c/w slow shutter speeds
Evidence of Your Learning
During this week we would expect all students to complete 2-3 blog posts detailing how you are experimenting with various lighting techniques eg CHIARASCURO / REMBRANDT LIGHTING
Rembrandt Lighting
Add information / links showing how Chiarascuro has been used since the Renaissance in painting…but also how it used now in photography and film
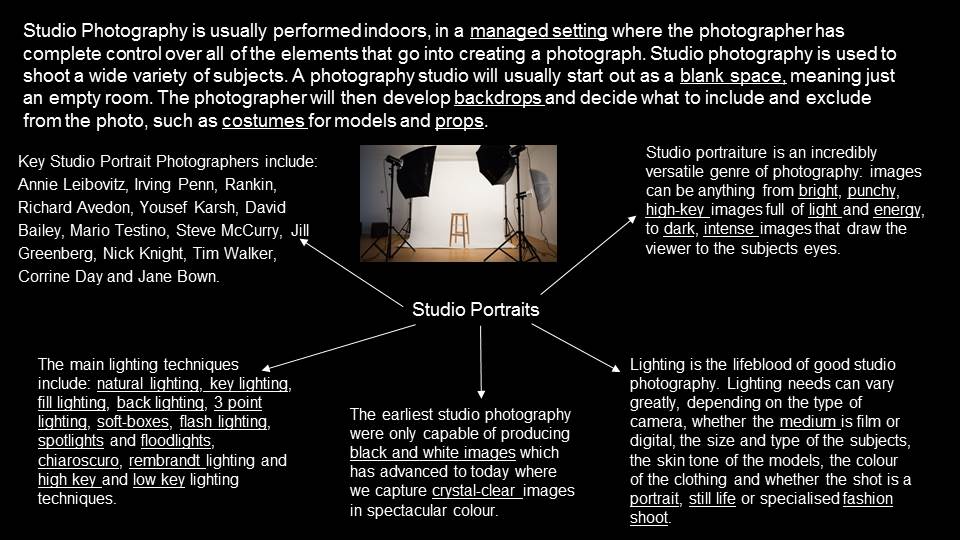
You must describe and explain your process with each technique…add your images to your blog as you progress, print off your successful images and evaluate your process using technical vocab and analysis skills. Think carefully about the presentation of your ideas and outcomes…compare your work to relevant portrait photographers as you go eg
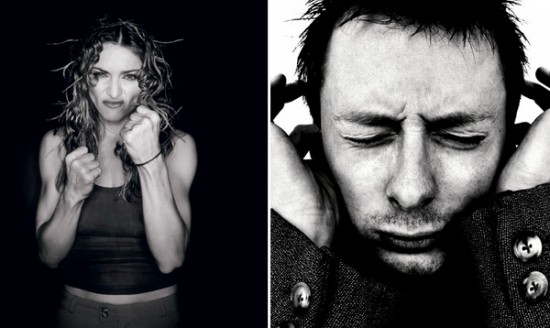
Annie Leibovitz, Irving Penn, Rankin, Richard Avedon, Yousef Karsh, David Bailey, Mario Testino, Steve McCurry, Jill Greenberg, Nick Knight, Tim Walker, Corrine Day, Jane Bown etc
Expected Final Outcomes by Friday 13th December
Case Study and Practical Responses to Rankin or another studio photographer
1 x Final Portrait using natural light + analysis and evaluation
1 x Final Portrait using artificial light (1, 2 + 3 point lighting) + analysis and evaluation
1 x Final Portrait using flash + analysis and evaluation
Think about how you can show evidence of head shots, cropped head shots, half body, three-quarter length and full length portraits.
Show that you can employ interesting angles and viewpoints…
Make sure you ANSWER THESE QUESTIONS IN YOUR BLOG
Why do we use studio lighting?
What is the difference between 1-2-3 point lighting and what does each technique provide / solve
What is fill lighting?
What is Chiarascuro ? Show examples + your own experiments
Bouncing the flash to soften its effects
Or use light painting techniques…
Slow Shutter speeds (1/30th sec or BULB setting)
Illuminate an area / person with a torch , study lamp, glowstick, car headlights etc…
Independent Study
(Refer to your tracking sheet)
You must complete a range of studio lighting experiments and present your strongest ideas on a separate blog post
Remember to select only the most successful images
You should be aiming to produce portraits that show clarity, focus and a clear understanding of a range of lighting techniques
Editing should be minimal at this point…we are looking for your camera skills here
But…be creative and experimental with your approach “in camera”…extremes, uniqueness and possibly thought provoking imagery will improve your ideas and outcomes.
Student Example
Hendrik Kerstens (in response to Dutch Masters paintings)