

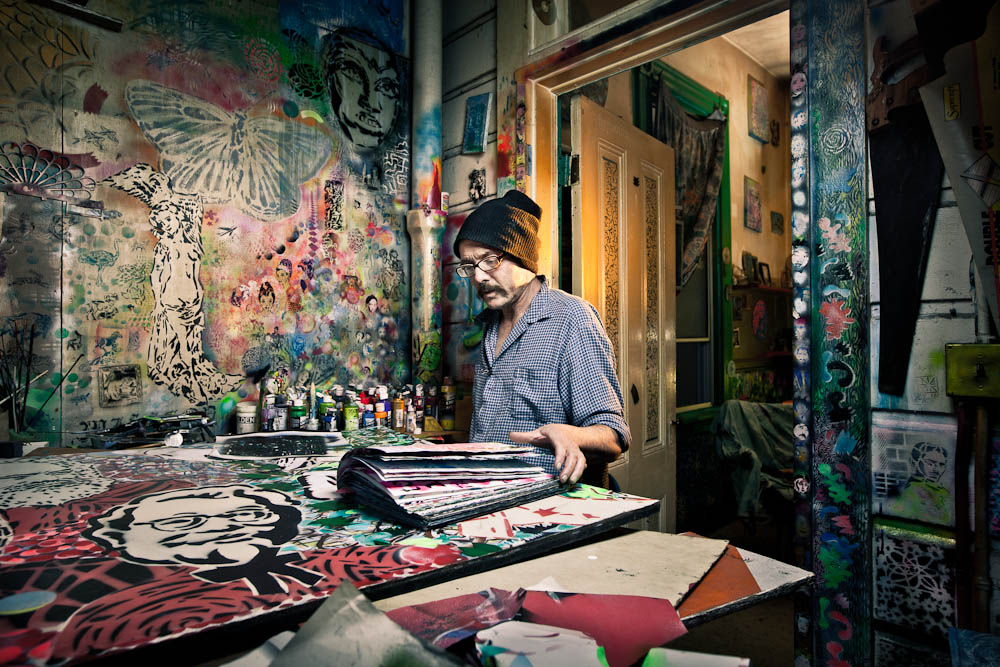
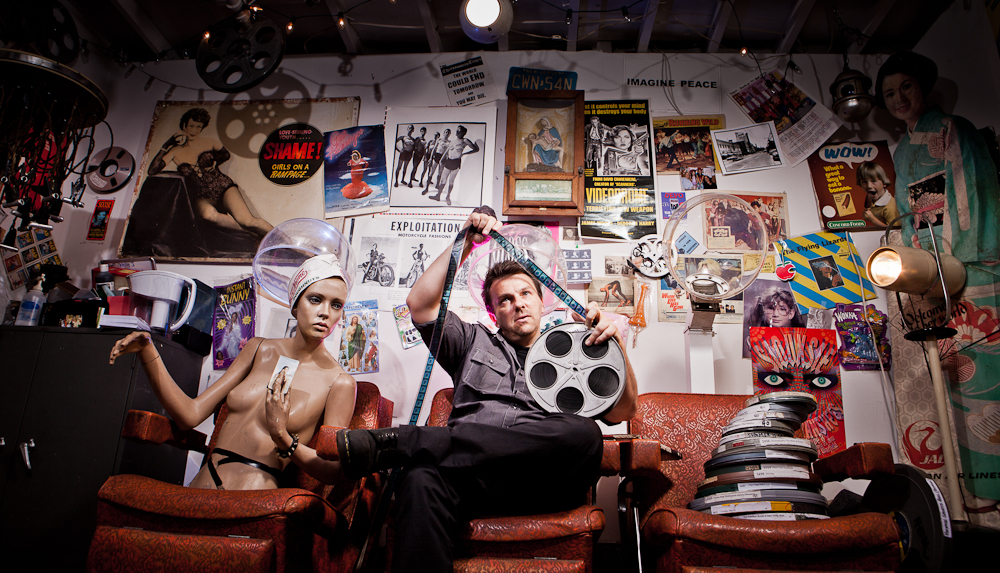
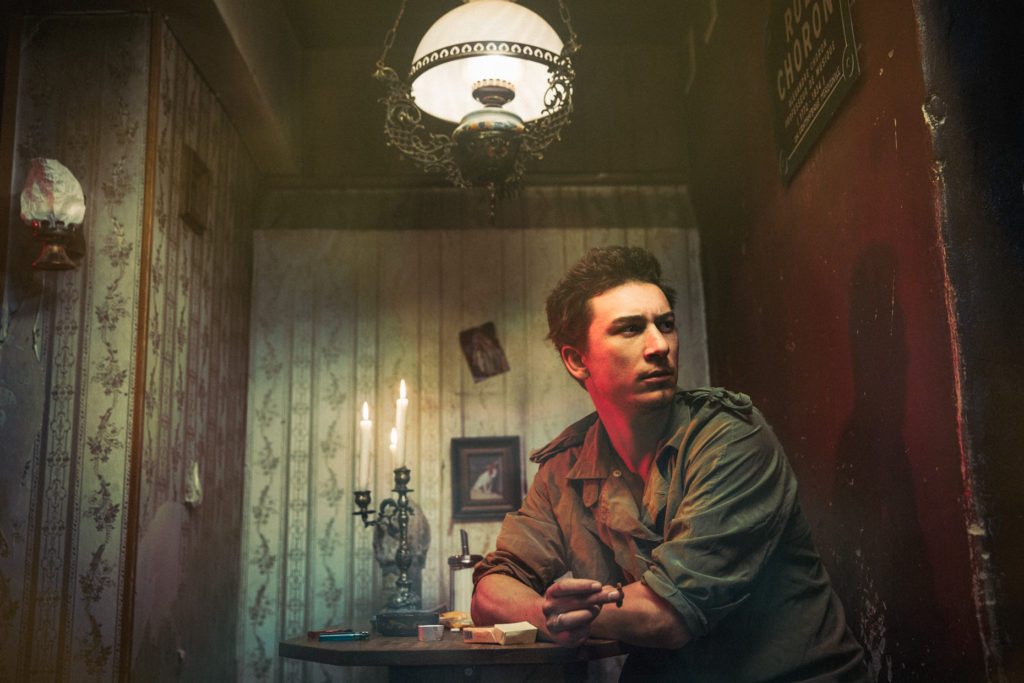
Anthony Kurtz’s works often focuses on marginalization and alienation. He documents people and places that exist on the edges of society, sometimes physically, mentally or both: excluded by choice or by circumstances. Recently in his photographs he has been using control and has been trying to use conformity and has been trying to represent both of these opposing forces within a single photograph. In his photographs there is a lot ideas surrounding our recent generation and he likes to question ideas of democracy, security and progress. The element of time also plays an important role in his work. He often refers to the future societal collapses and a world where humans are no longer in control. The images he captures with a camera are merely foundations upon which he builds by manipulating light, shadow and color to dull out tones or make the colours more vibrant. He also attempts to create a mood and atmosphere, a sort of “hyper-reality” that contains both a sense of mystery and sadness, hope and beauty in each of his photos individually.
I think Anthony Kurtz’s work is very inspiring as the colours that expressed in his photographs usually impact the photo in a dramatic way. In my photos I would like to experiment a lot with colour or even just have a wide variety or contrast with darker tones or lighter tones. I also admire how the photographer tries to make statement about recent society issues in each of his photographs.
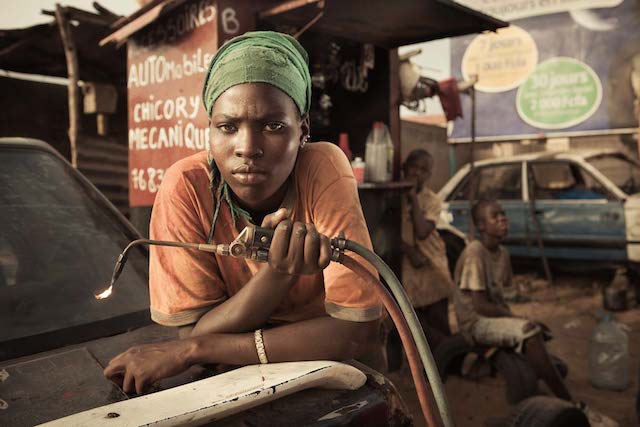

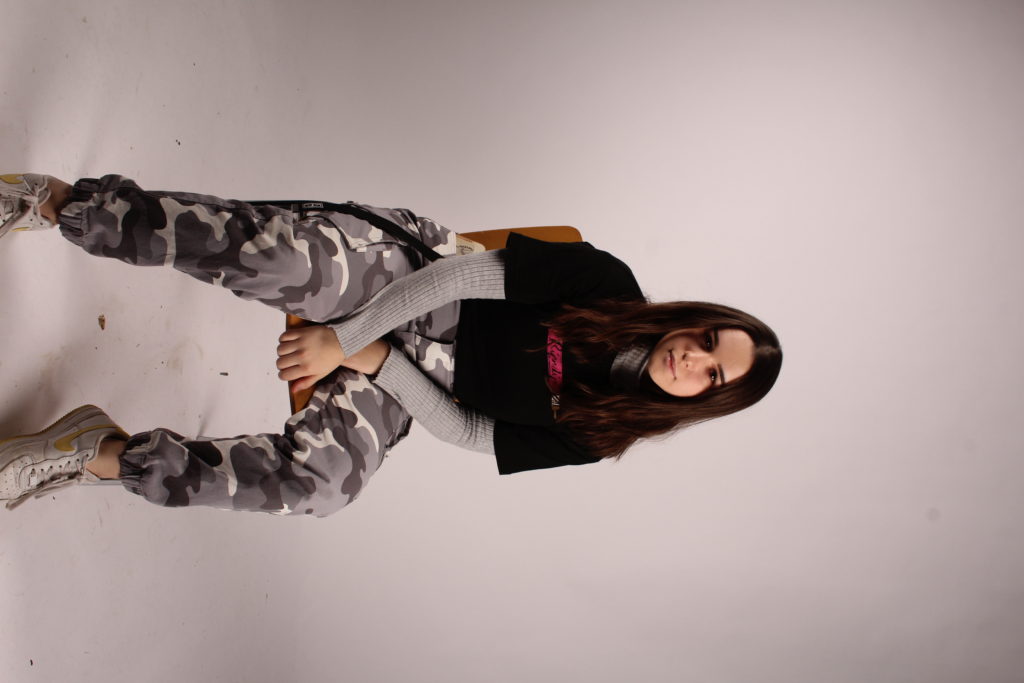
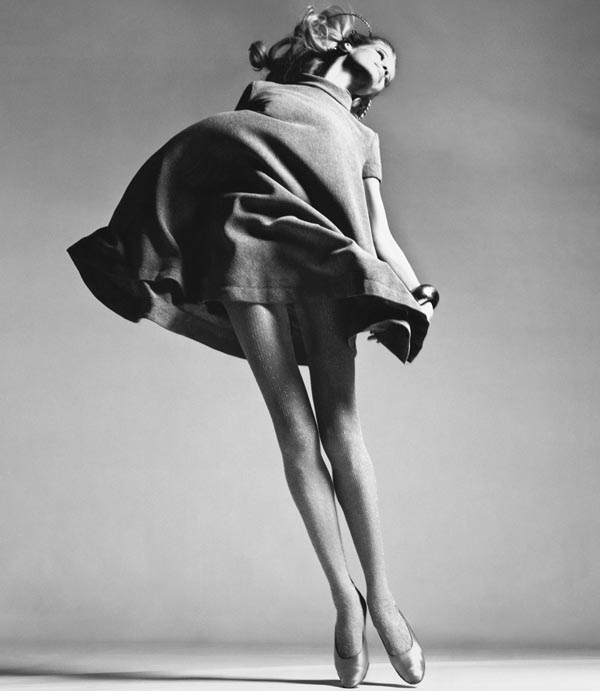
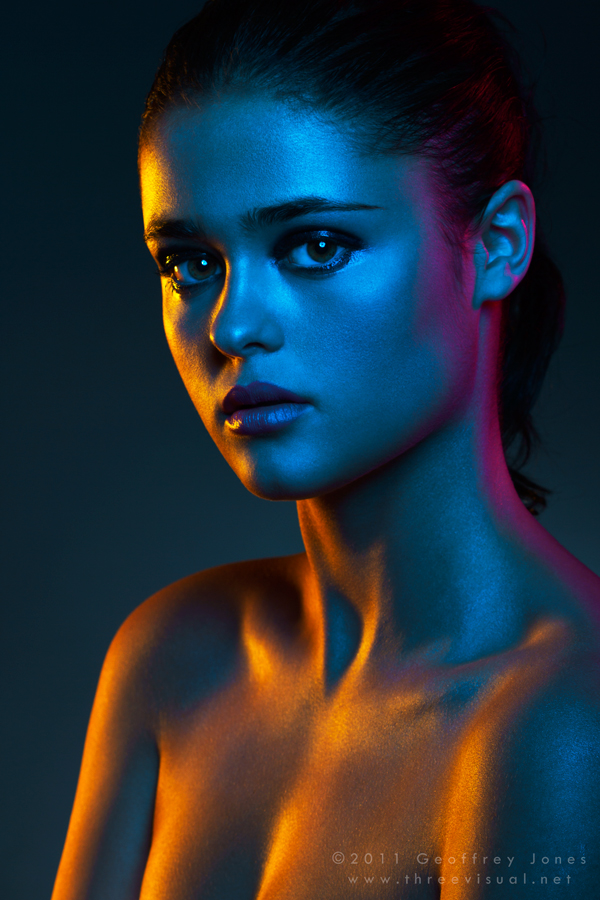
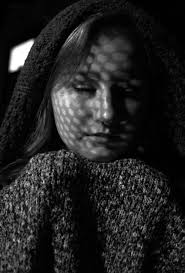
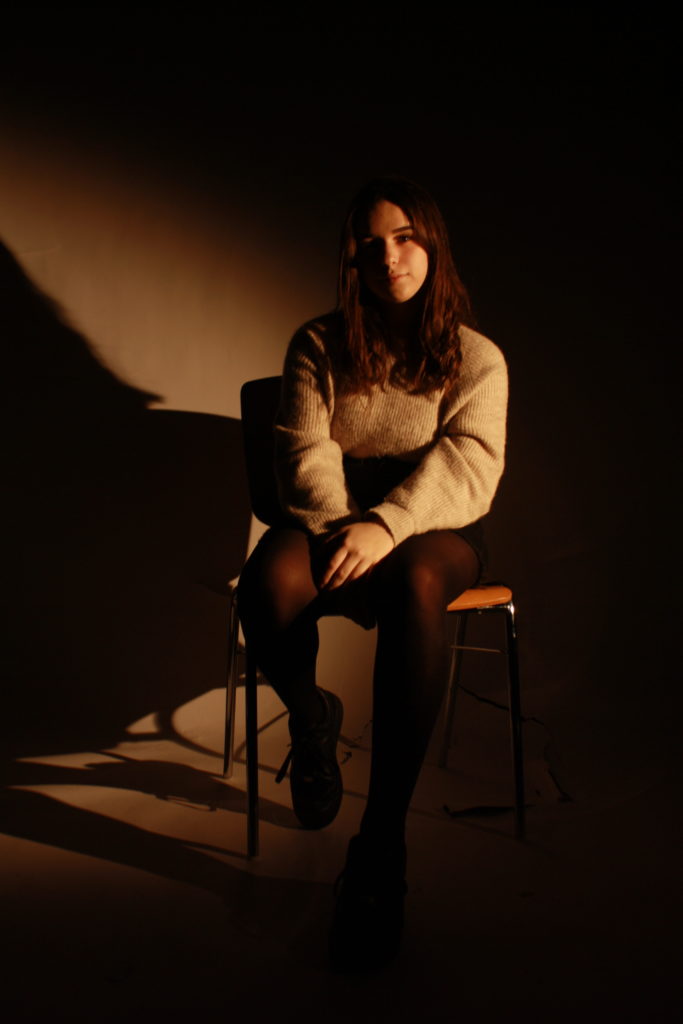
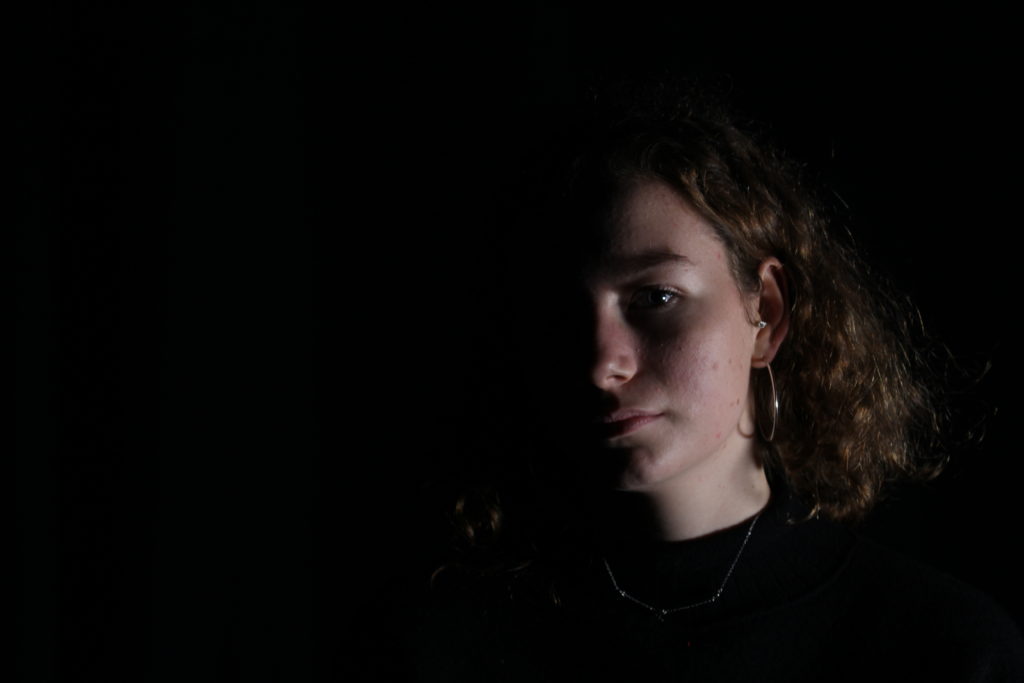
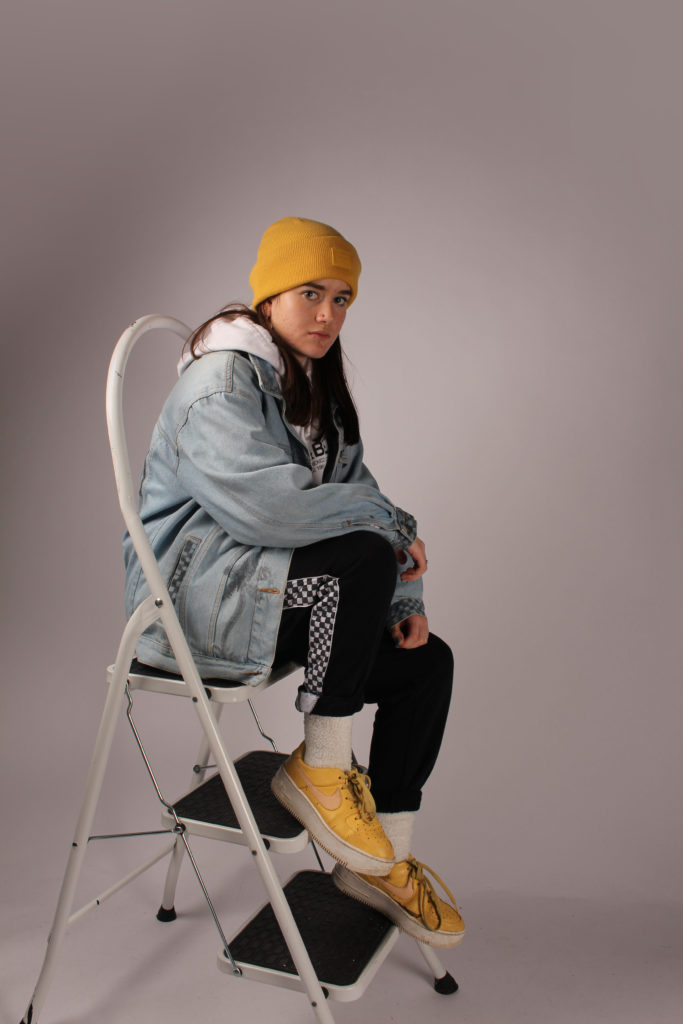
Lighting – In this image there seems to be natural lighting in the foreground but a lot of shaded areas in the background that look under exposed. A lot of the natural lighting reflects off the models skin which allows there to be some tonal range and the lighting also brightens the back drop behind her.
Aperture – The depth of field in this image seems to be quite shallow as the most sharpened part of the image is the model.
ISO -The light sensitivity is fairly low on this photo because the image doesn’t look grainy.
White Balance – There are warmer tones in this image.
There are subtle colours in this image meaning they’re not highly saturated and there is a lot of variation in tones, darker tones towards the back ground. There is also texture on the bench and on the girls dress but its not the sharpest. There doesn’t seem to be any 2D elements in this photo as it’s doesn’t seem to have been photo shopped too much. There is repetition of dull and brown colours in this photo other than the dress and maybe the cup. There is a fair amount of space surrounding the model as well as the cup making those two things the main focus of the image.
This photo is meant to represent what most young people have in third world countries and what little colour and liveliness surrounds them. By making the model slightly off center, it allows the viewer to focus on the cup also and the lack of cleanliness surrounding her.
Studio portraits are portrait photographs composed and captured in a studio, this means the photographer has control over the lighting of the composition of the subject and can adjust direction and intensity of light. Studio photography is preformed indoors. There are many ways to light a subject’s/ objects face, some of them are:
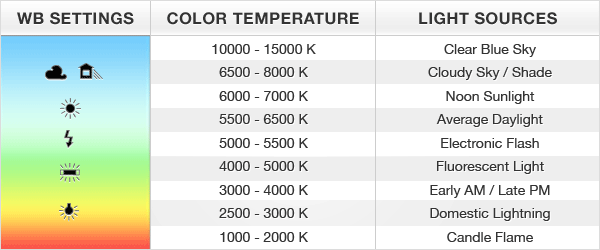
Many other aspects of study portraits photography will affect the final photo taken , such as intensity of the direction and temperature of the light and white balance. The table below shows the Kelvin Colour temperature scale. It is a way to describe the light appearance provided by a light bulb. It is measured in degrees of Kelvin (K) on a scale from 1,000 to 10,000. Usually, Kelvin temperatures for commercial and residential lighting applications fall somewhere on a scale from 2000K to 6500K.
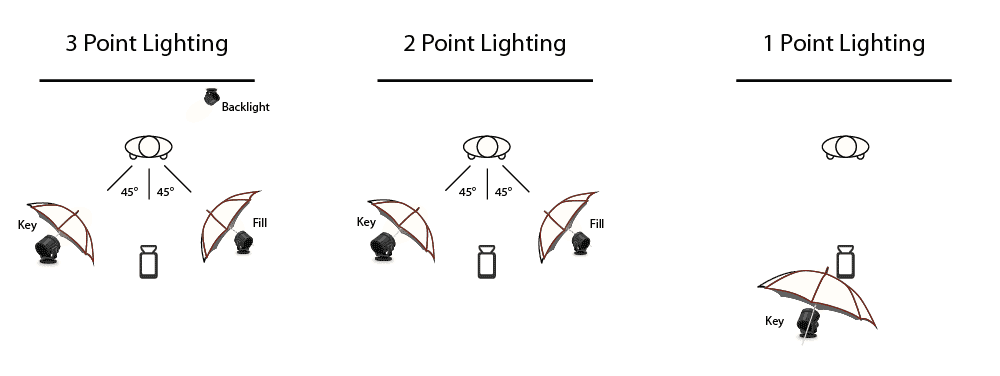
Lighting positioning techniques are also used to create diversity in studio portraiture, and a 3 point lighting system is the most common. The Three Point Lighting is a technique used in visual media such as video, film, still photography and many more. It is used to light a subject from three different light sources and angles. This is done in order to manipulate shadows, create contrast, and increase the overall quality of the footage that is captured.
Studio lighting is essential to most photographers’, especially in studios. It allows us to create natural lighting effects in a variety of situations, and is far more controllable than a flashgun. Indoors, it allows photographers to illuminate objects or subjects in specific ways, using different techniques such as chiaroscuro.
Studio photography goes back to 19th century and photographic technology has been continuously evolving since the first photographs shot with all-natural materials in 1824. The first studio photographers had to carefully combine chemicals in precise amounts for every single exposure, however now, today’s modern digital SLR cameras capable of capturing razor-sharp images without film.
With advancements in equipment, technology and techniques, studio photography began to develop as it became easier to produce high-quality images indoors. The first commercial studio photography was portraits of people. By the 1940s, studio photography had almost completely replaced painting for portraiture as the photography process was much simpler and took less time.

“To take a photograph is to align the head, the eye and the heart. It’s a way of life”
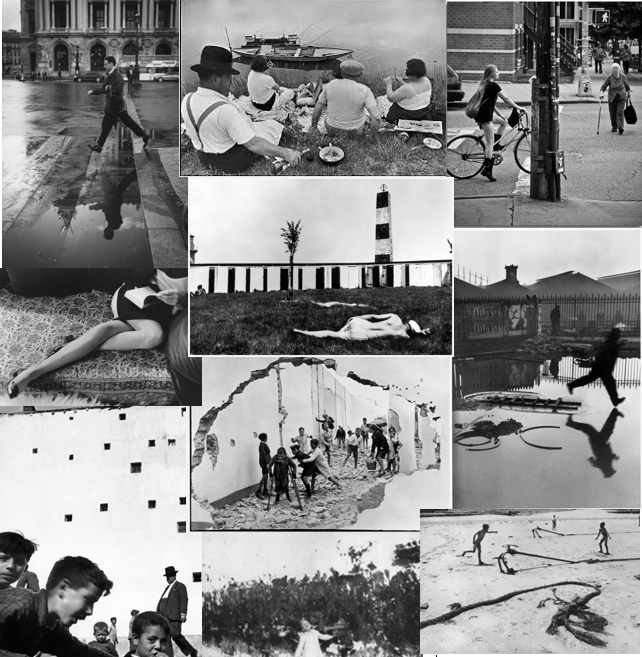
Examples of some of his work in “The Decisive Moment” ^
Henri Cartier – Bresson was born in Saturday August 22, 1908, in Chanteloup, France. Here the French photographer helped to establish photojournalism as an art form. After three years he had spent travelling in the East, in 1952, he returned to Europe, to create his book. He tried to capture the meaning behind peoples outwards appearances, which can be clearly found in his book ” Images à la sauvette (1952; The Decisive Moment)”.
One of Bresson’s images in the Magnum Photo Agency is this one called “America In Passing”, this photo was taken in Boston, USA in 1947.
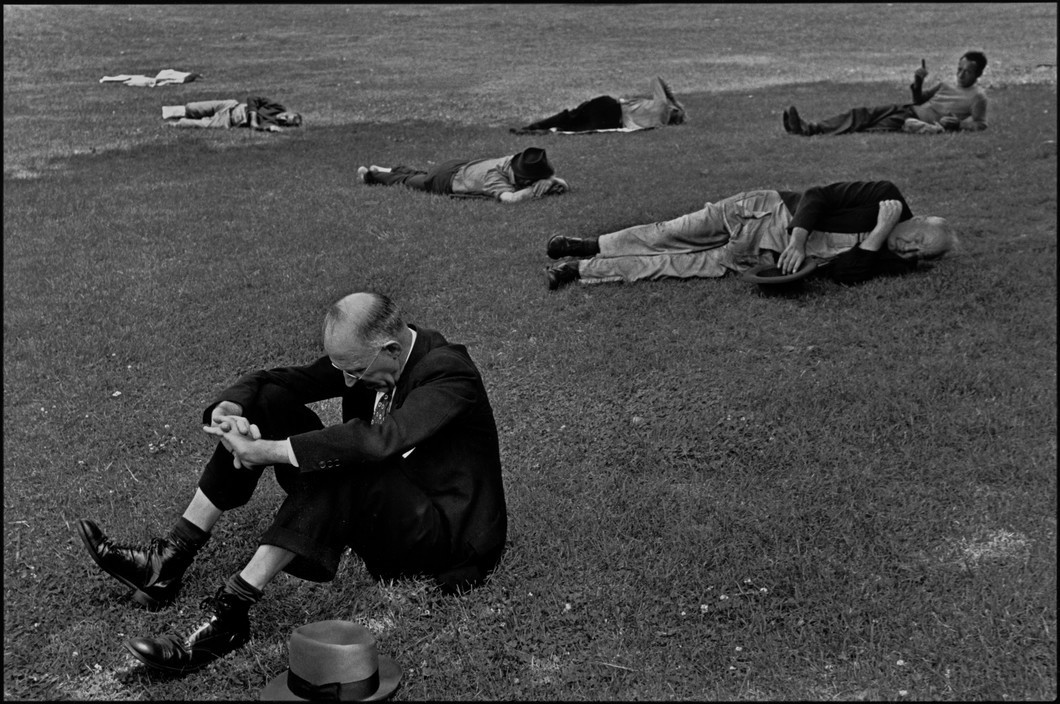
He has now got over 40 years of experience which allowed him to to travel so an immense amount of places around the world. Here he would often immerse himself in this environment so that he could explicitly express a desire to move slowly, to “live on proper terms” in each country.
Awards that he won over the years:
1986 Novecento Premio
1981 Grand Prix National de la Photographie
1975 Deutsche Gesellschaft für Photographie
1975 Culture Prize
1964 Overseas Press Club of America Award
1960 Overseas Press Club of America Award
1959 Prix de la Société Française de Photographie
1954 Overseas Press Club of America Award
1953 A.S.M.P. Award
1948 Overseas Press Club of America Award
https://www.britannica.com/biography/Henri-Cartier-Bresson
https://pro.magnumphotos.com/C.aspx?VP3=CMS3&VF=MAGO31_10_VForm&ERID=24KL53ZMYN
Henri Carter – Bresson
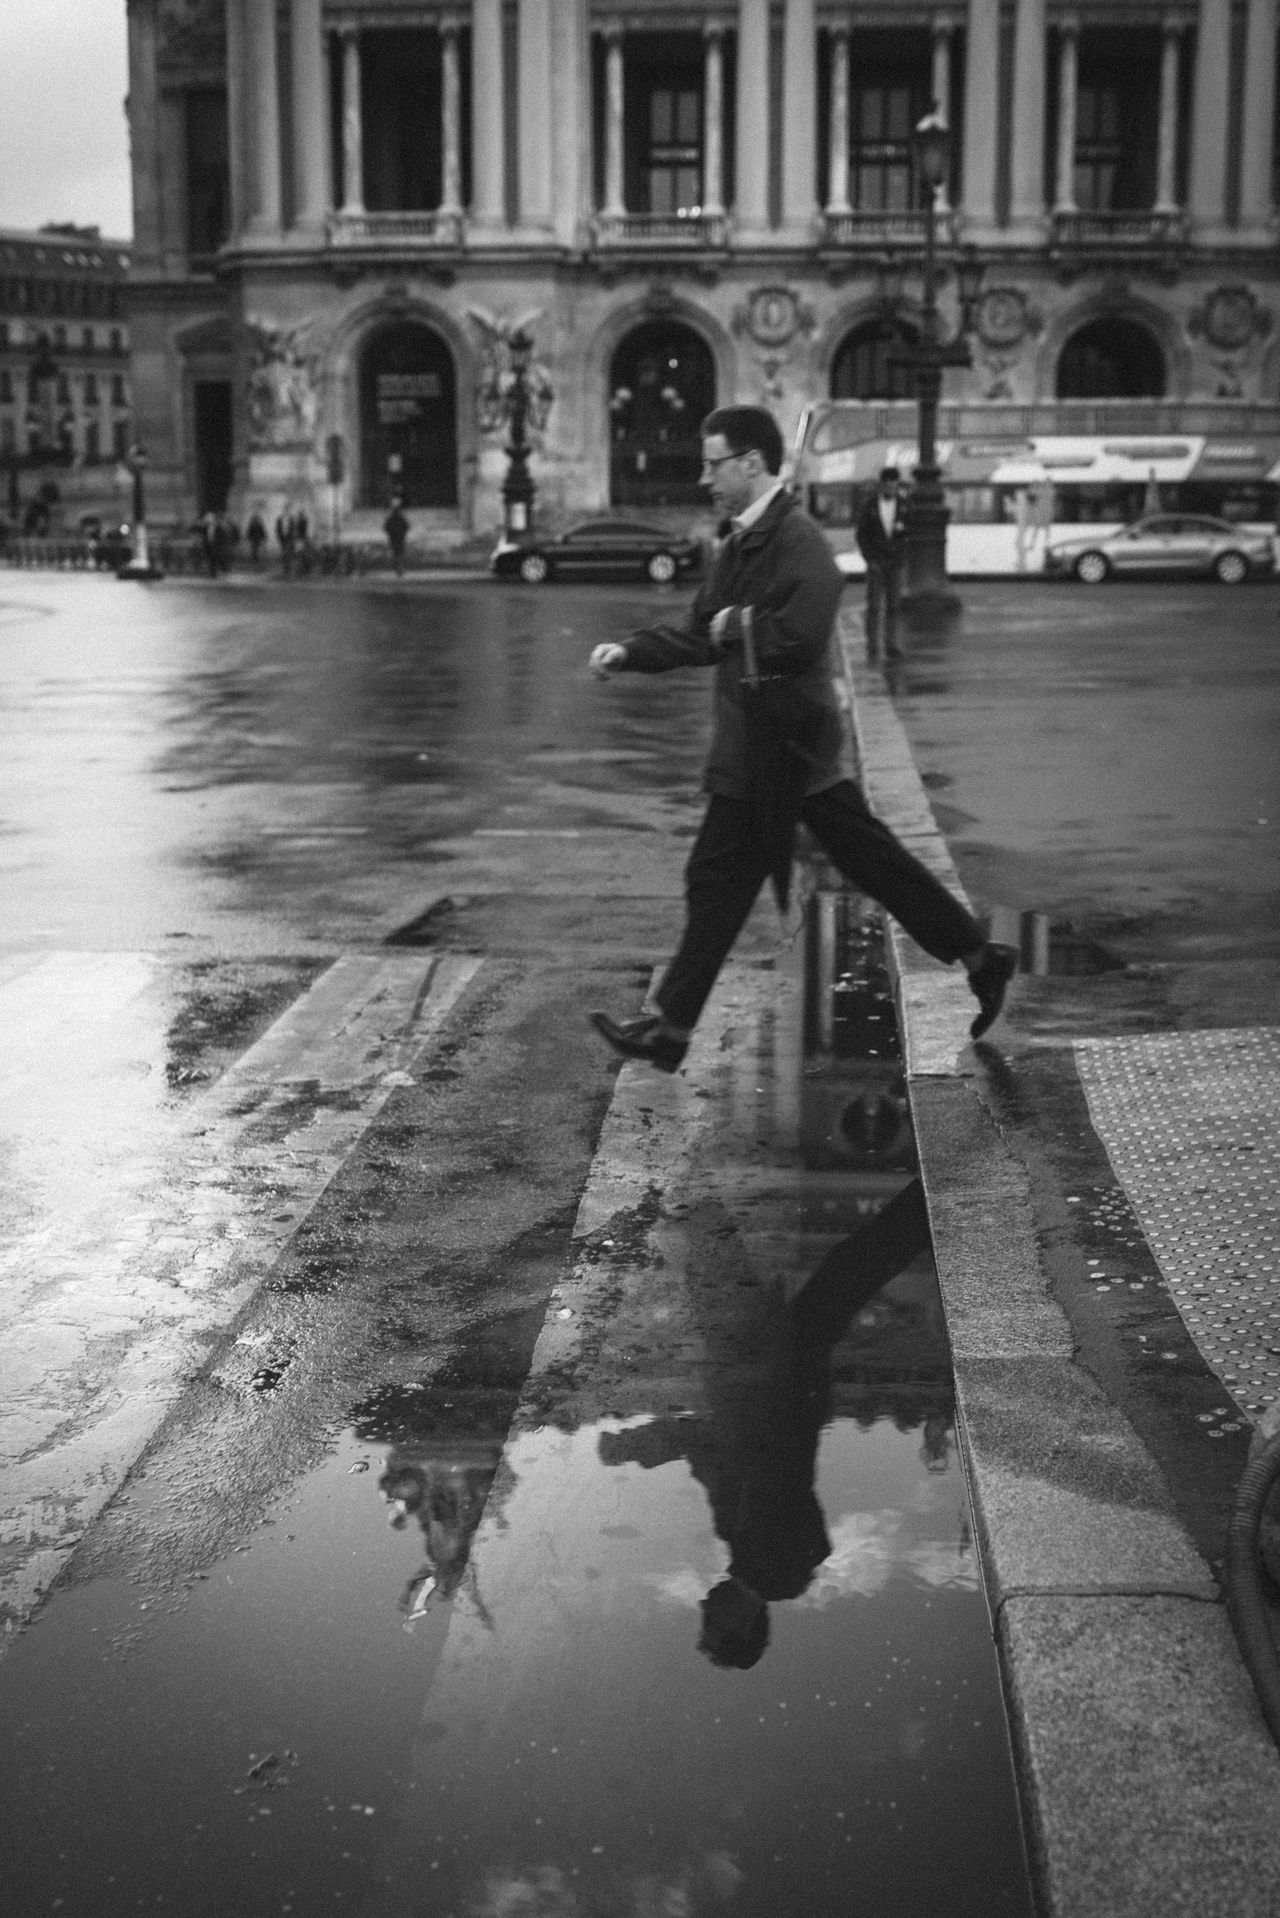
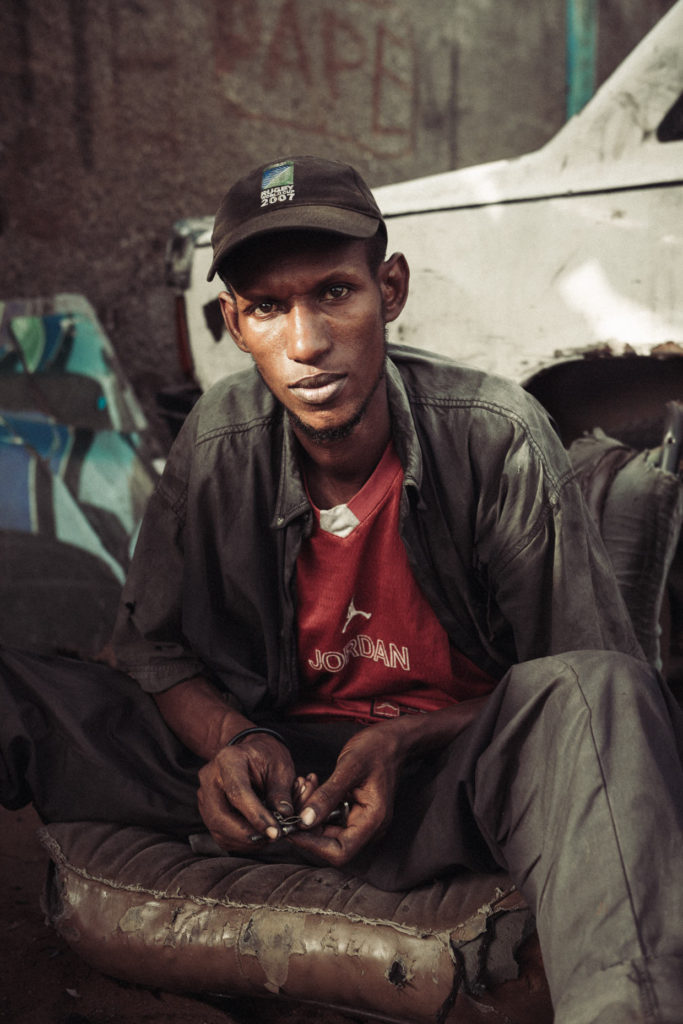
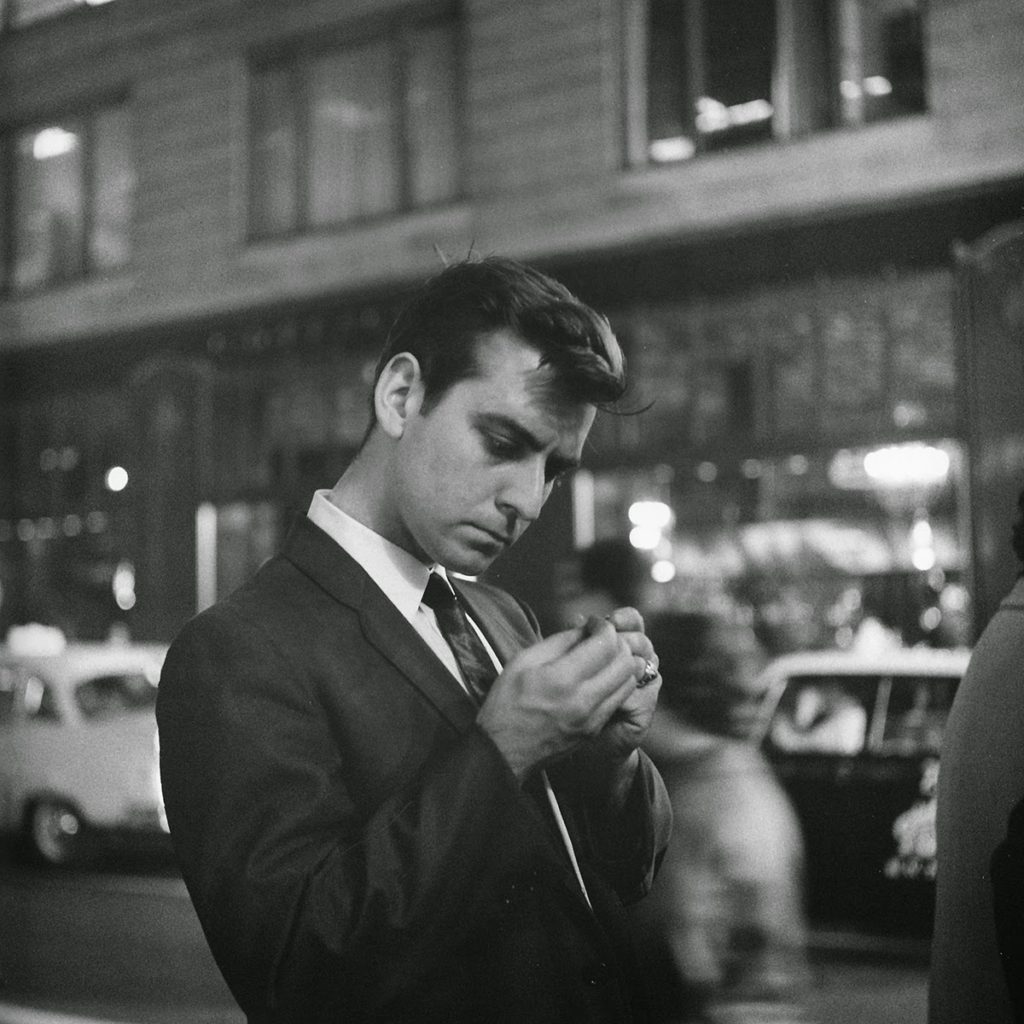
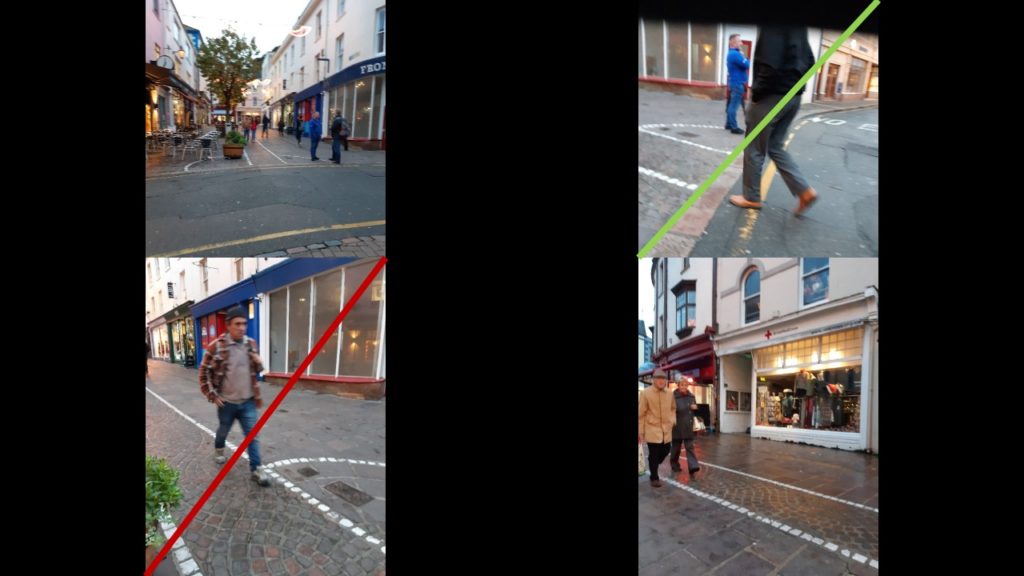
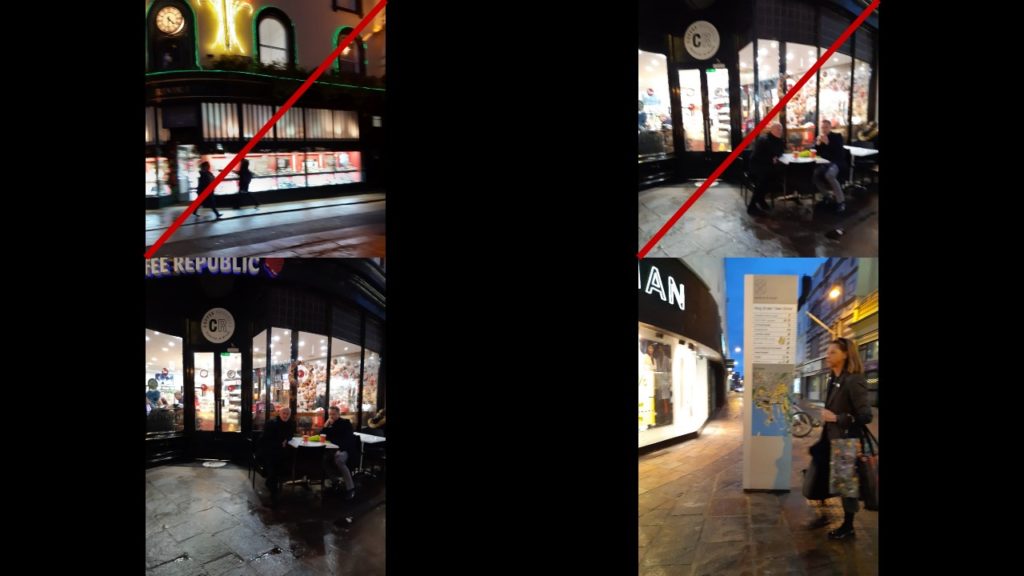
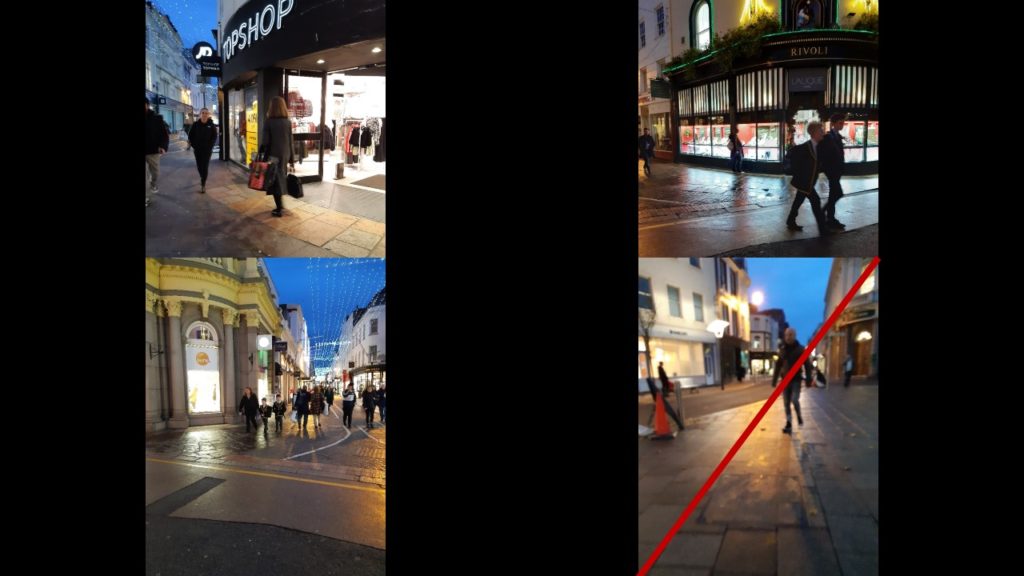
Technical: The type of lighting which was used in this image is natural lighting, here this is shown as there is no glare from the street lights and where there are no buildings, light is shown on the ground. The position of the camera was held quite low down at about waist level which is shown as there is more street shown before the man than above the man, which I believe was done to shown the man’s shadow. The tonal range is widely present with the darkest point being the shadows in the building windows; and the lightest point being the suns reflection on the ground which I assume has been freshly rained on.
Visual: Here Henri Cartier – Bresson, used black and white photography, which works well due to the tonal range that has been created. Texture is shown further down in the image in the foreground, in the tarmac of the road and the bumps on the sides of the roads to help the blind. There is repetition shown in the cars showing the fact that it’s a busy day, and the man due to his reflection. The eye is being lead straight to the man and his movements, and then onto the mans reflection, here this is interesting as all though it’s the same man in the reflection due to the shadows, he looks slightly different in the image.
Contextual / Conceptual: Similar to some street photographers, Bresson tries to create images that he thinks best represents the countries he is travelling in. To do this he immerses himself in the culture that he is staying in, here he tries to become accustomed before taking his first few images.
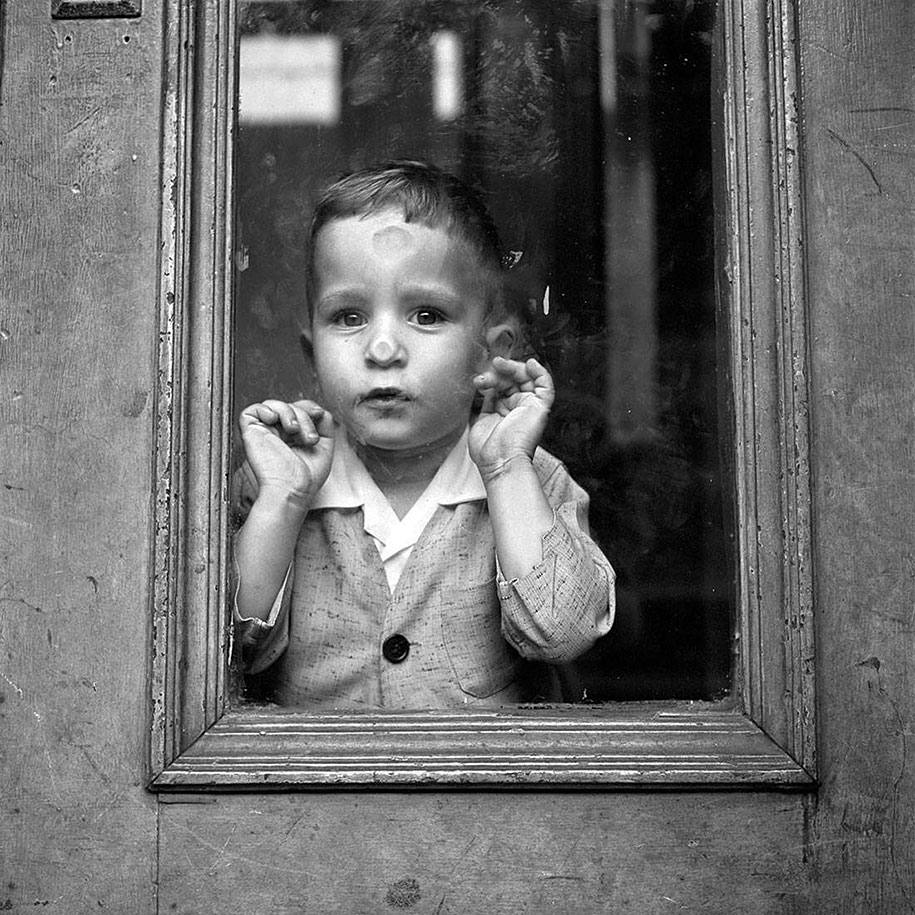
Vivian Maier
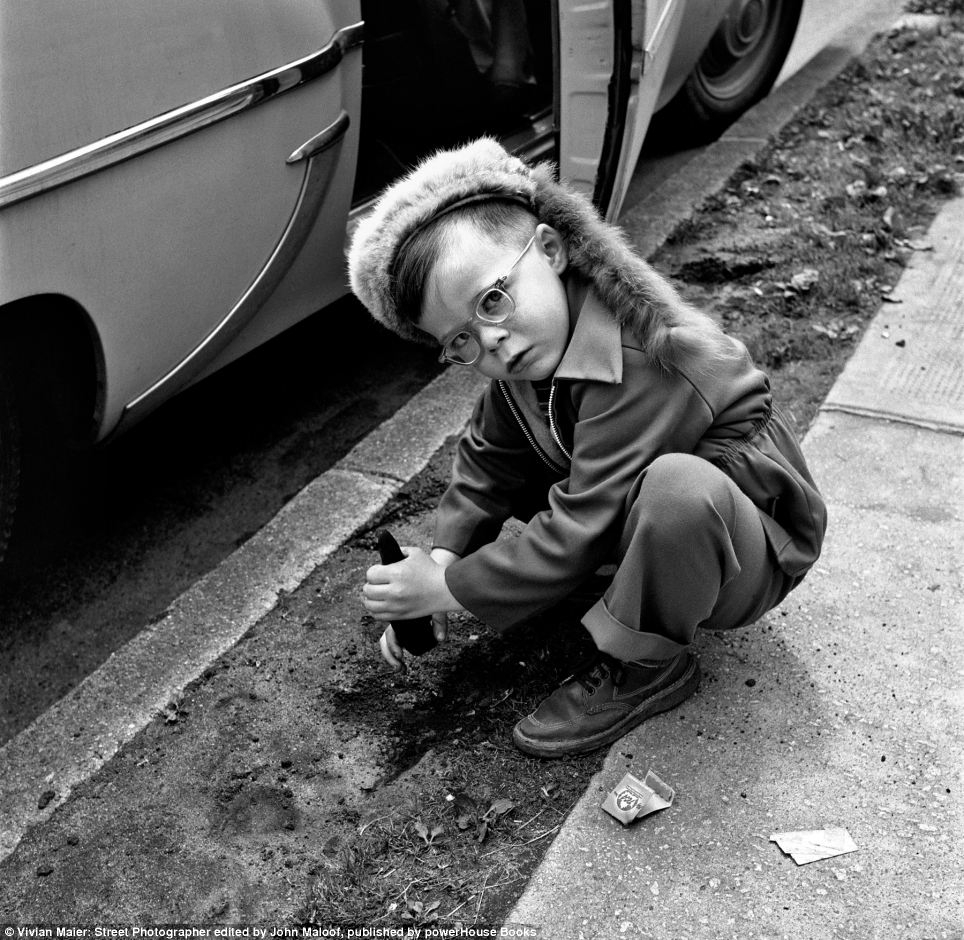
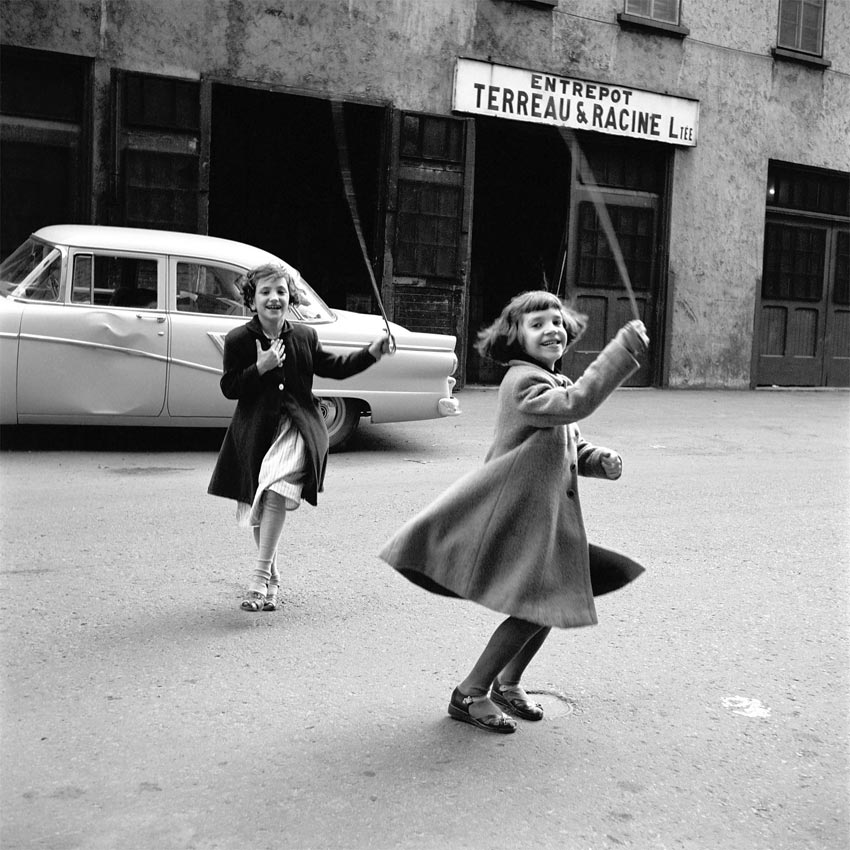
Henri Carter – Bresson vs. Vivian Maier
where– studio at school
when– during a free period (1 hour session)
who– one person to be the model and another person to help position the paper and the lights so that I can fully focus on the camera
how– use single point lighting for a low key, chiaroscuro effect, work with shadows on the face. use a chair and infinity curve, as well as spotlights
any other notes– use paper with holes and interesting shapes cut out to make a creative shadow on the face, have someone else hold it up to the light so that both the subject’s and my hands are free
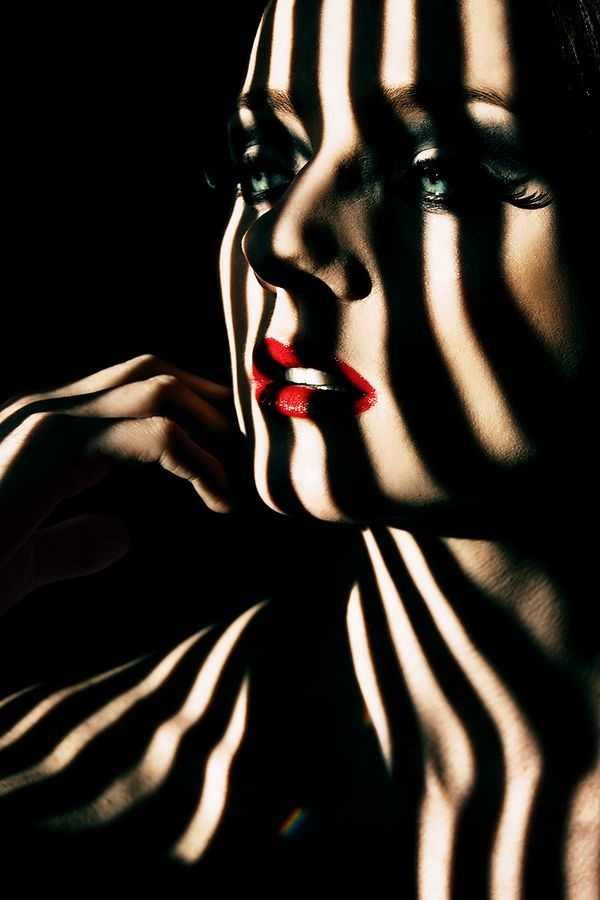


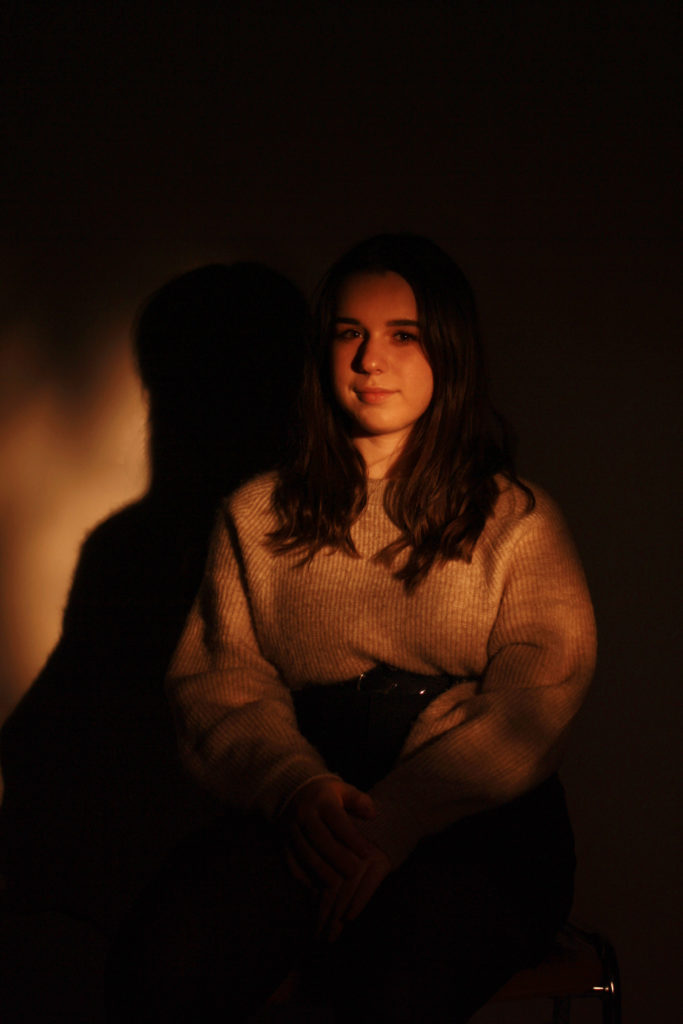
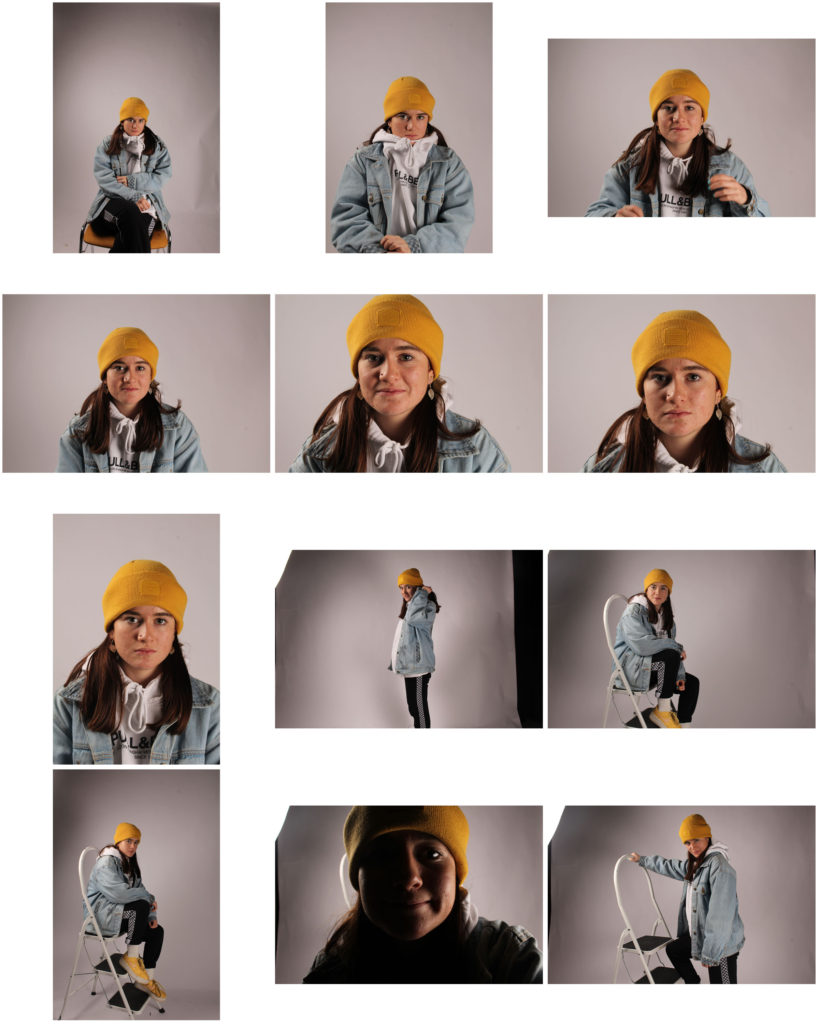
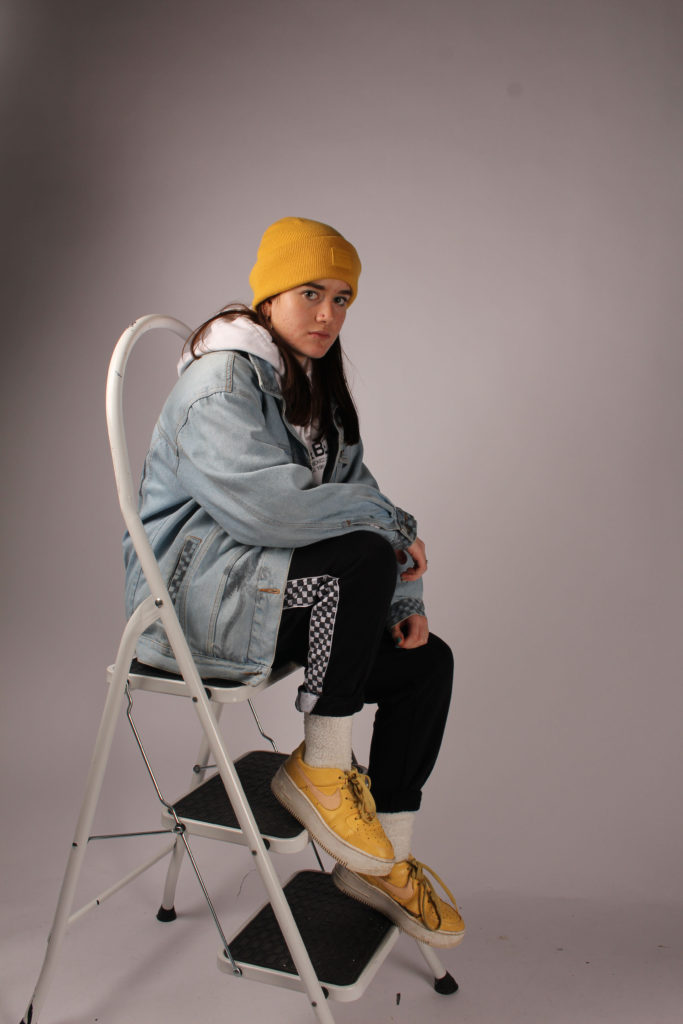
For this image I increased the brightness and saturation in order to maintain the bright spotlight on her face, as well as keep the highlights and the yellow tone of the whole image.
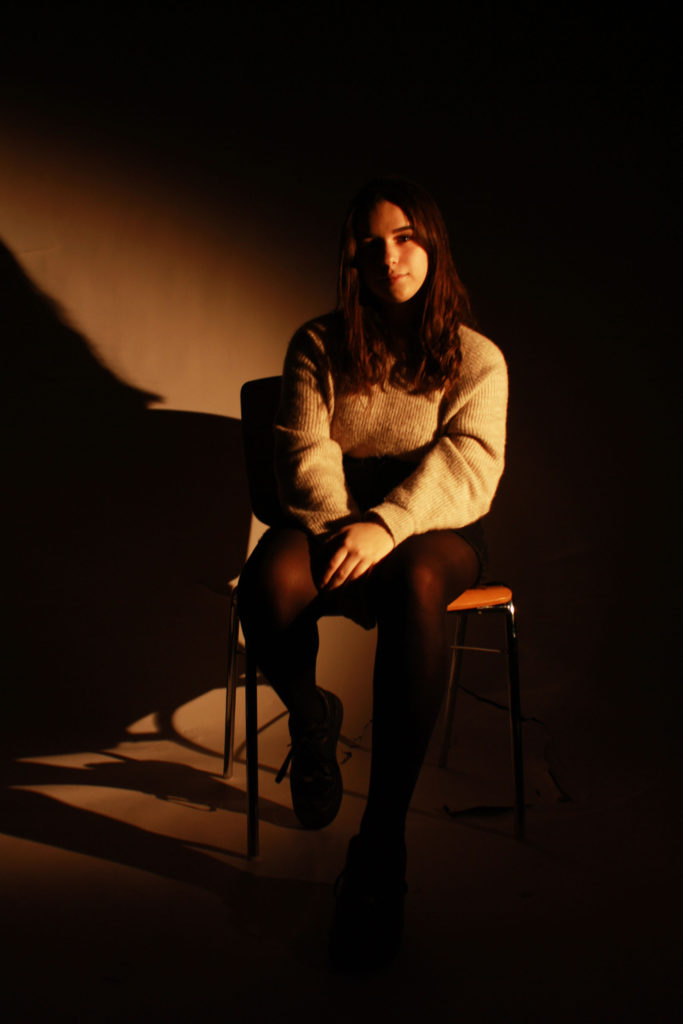
I like this image because of the position the subject is in, the single leg out closer to the camera draws the eye into the image and into the subject’s face, as well as making the image seem less boring. The spotlight had a nice chiaroscuro effect here, as one side of her face is completely obscured in shadow, while the other half is brightly lit by the light.

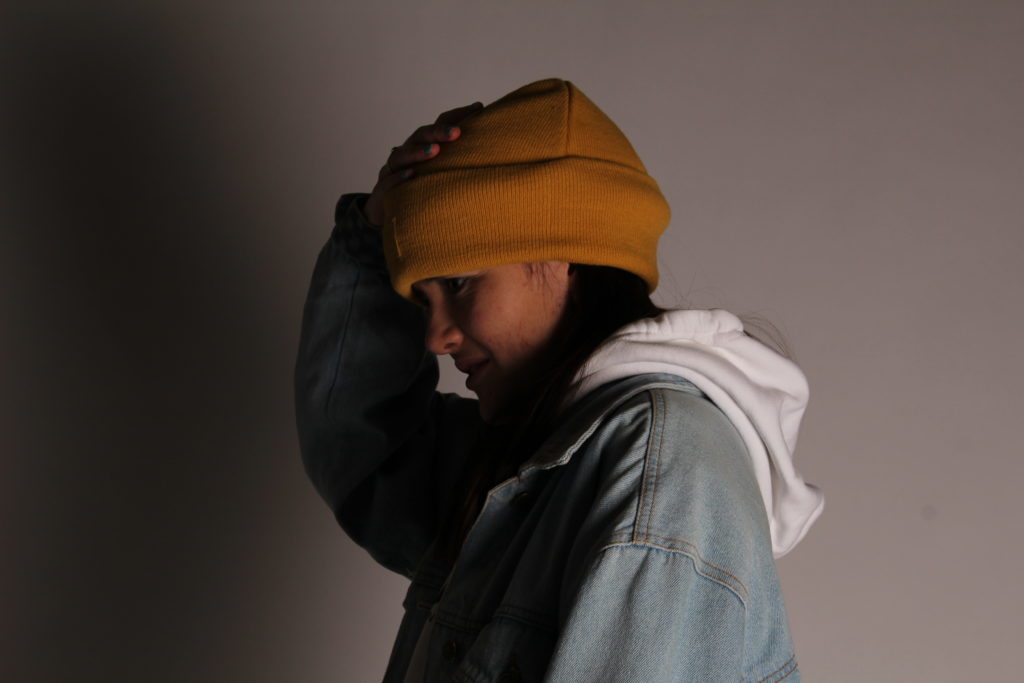
I edited the shadow mainly in this image, as it had a lot of wispy hairs that I felt detracted from the main focus of the image: the subject’s face. As with the rest of the images, I only did minimal editing to maintain the tone and brightness of the spotlight on the face.

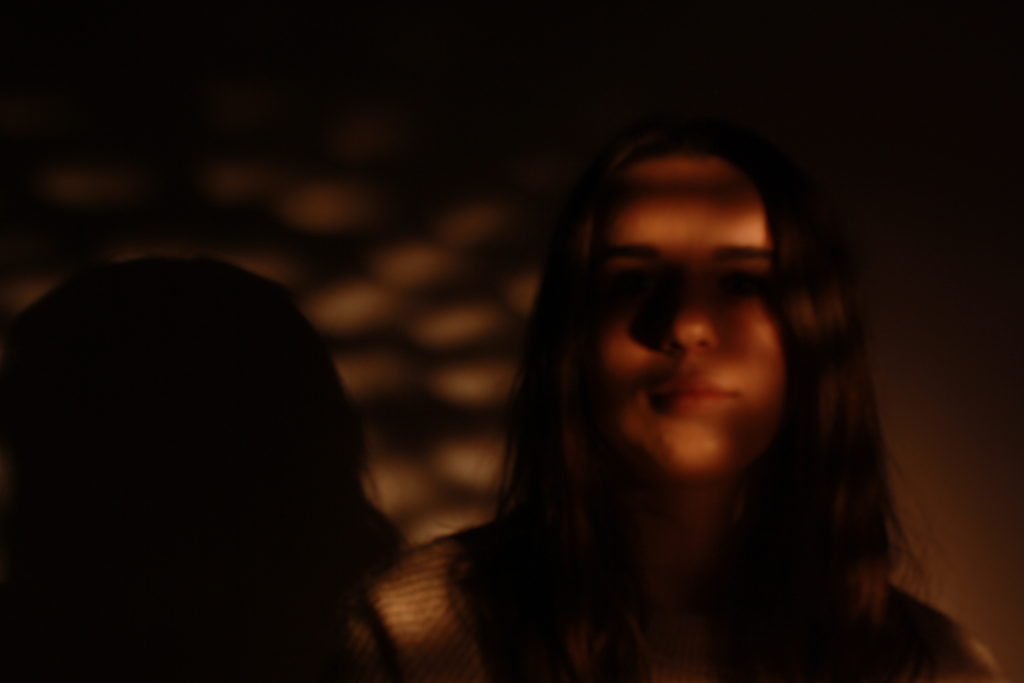
With this image, I reduced the blur and increased the effect of the light on the subject, including brightness vibrancy and saturation and overall just increasing the highlighting effect on her face.
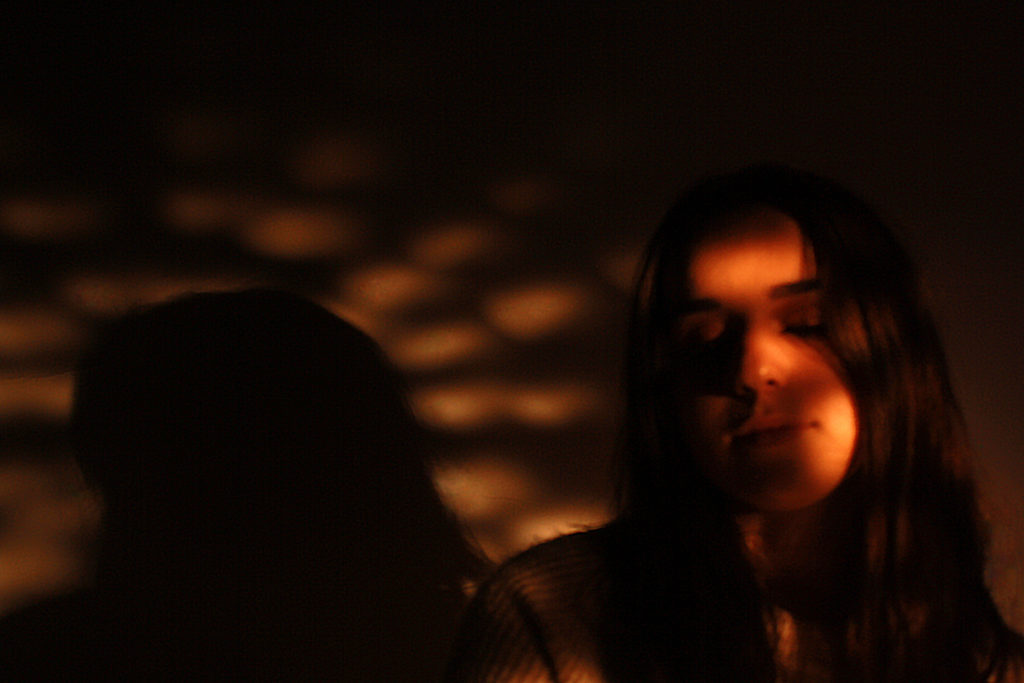
This image was one of the most successful I feel, even though it is slightly blurry due to an issue with the camera I had, because it demonstrates the shadows I was using the most effectively and it is an interesting image. The position the subject’s head is in mimics the position that the Virgin Mary’s head is often in in artwork, and the pattern of the light behind also imitates the artwork and stained glass windows often found in great cathedrals. This adds some background knowledge to the image and represents for other forms of art can influence photography, not just other photographers.
Overall, I feel that this shoot was well-carried out, with attention paid to the details of the props I would need (the paper) as well as the actual pattern of holes I would need to cut out to achieve the best overall result. I researched several different possible results and used them as inspiration for my own, as well as other artwork found in places where this sort of light pattern is normally found (i.e churches and cathedrals). If I were to do this shoot again I would make sure that the issue with the camera’s focus is resolved so that all of my images are sharp and clean, and I might experiment with different colours.
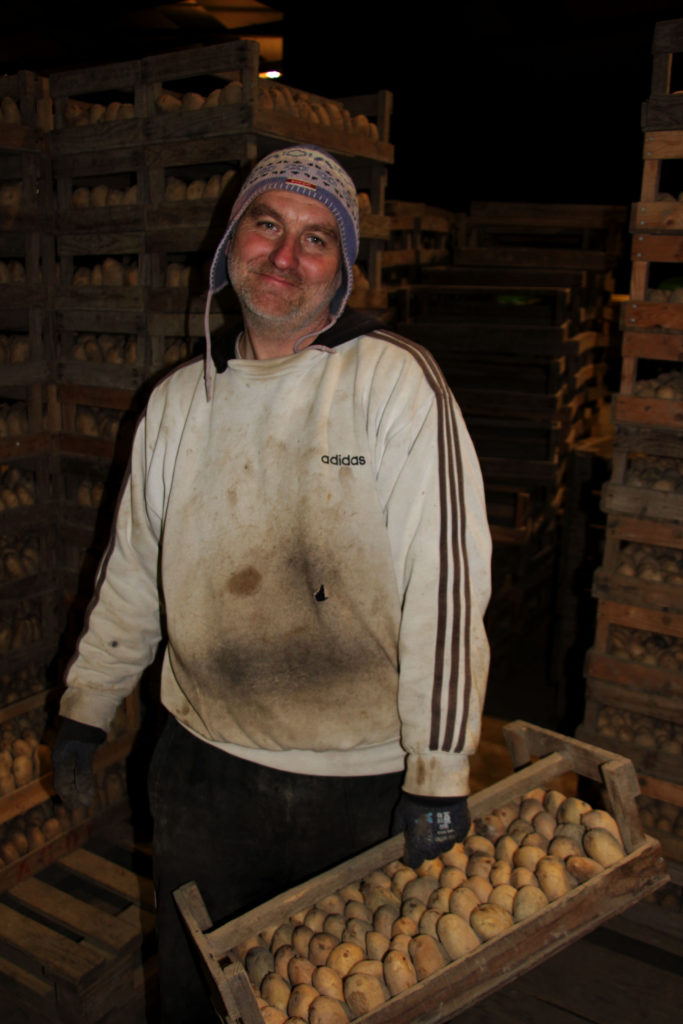
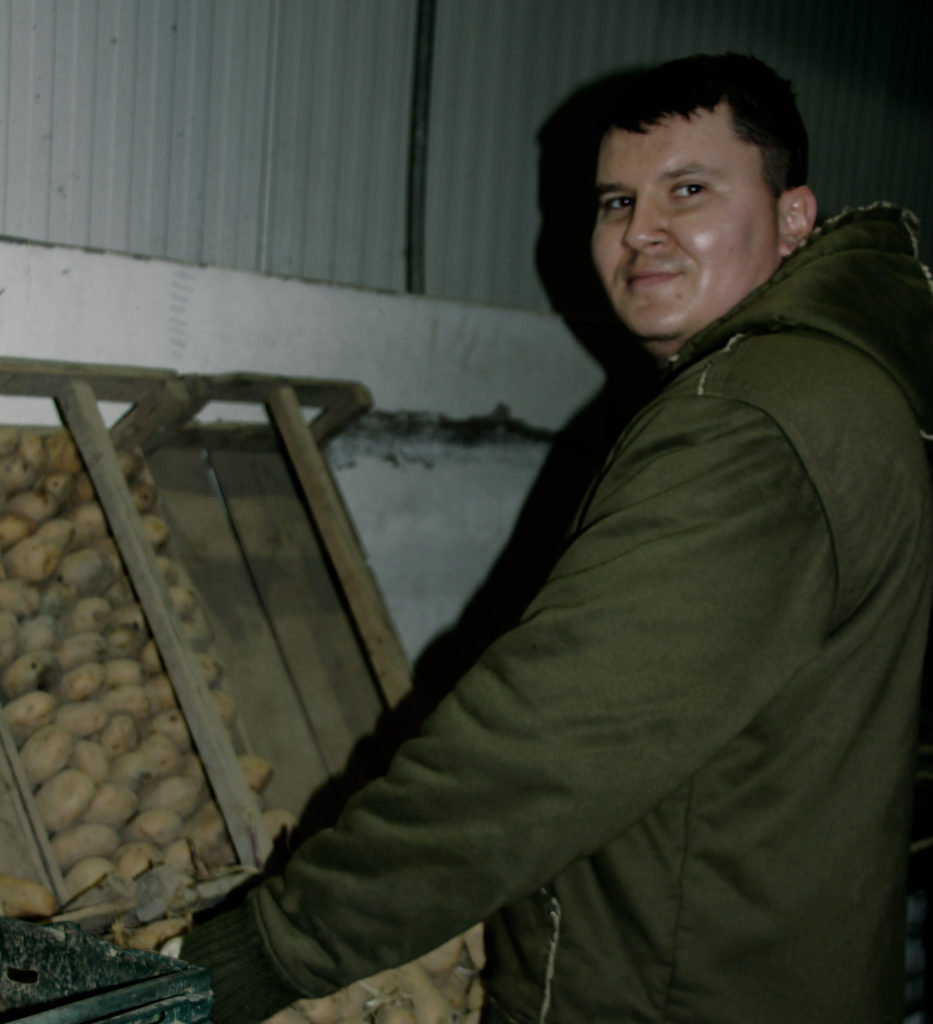

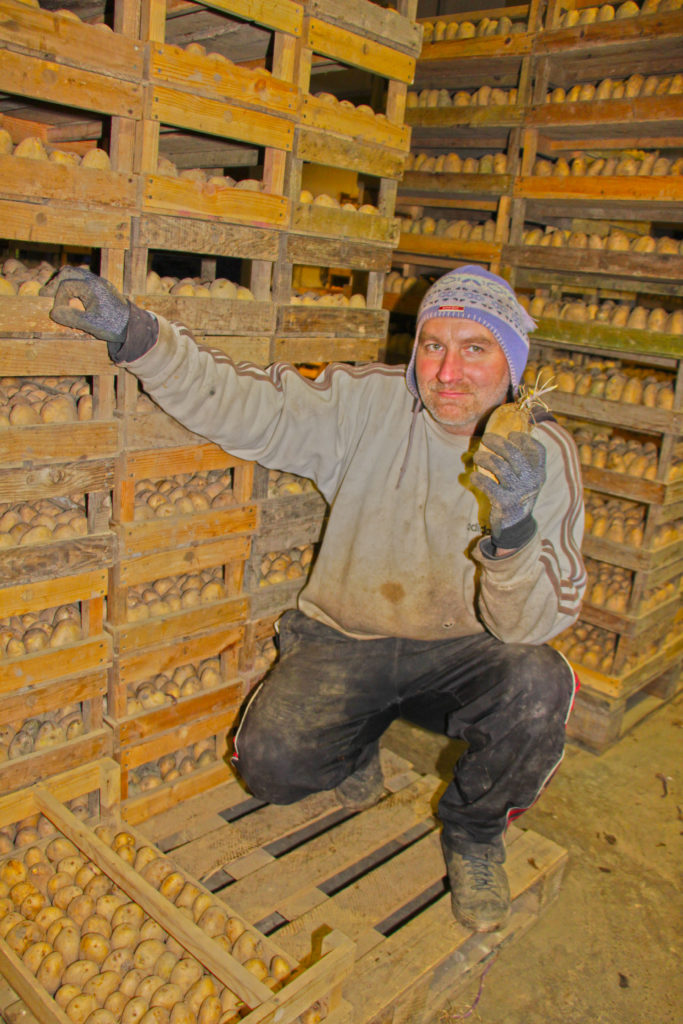
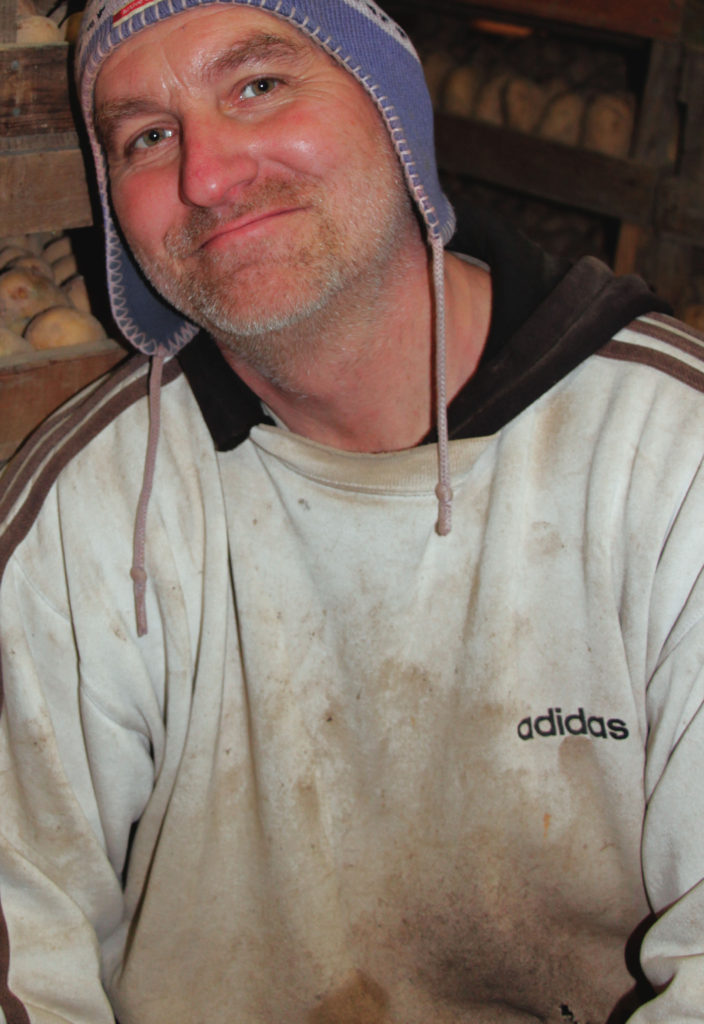
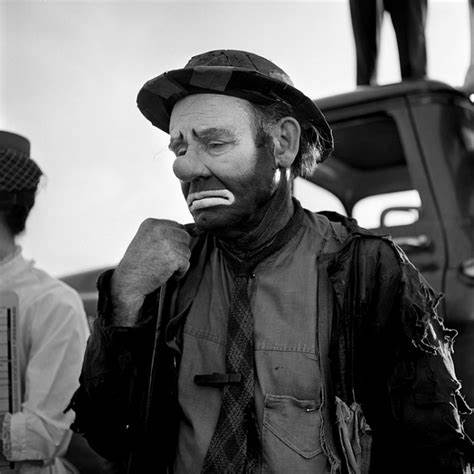
For this shoot i decided to go onto a families farm at around 5 in the evening. I decided to turn up un invited in order to capture the raw emotion of these farmers. The farmers had filthy clothes from hours of hard work. I decided to enhance the colors of the photos to add detail into there muddy clothes.
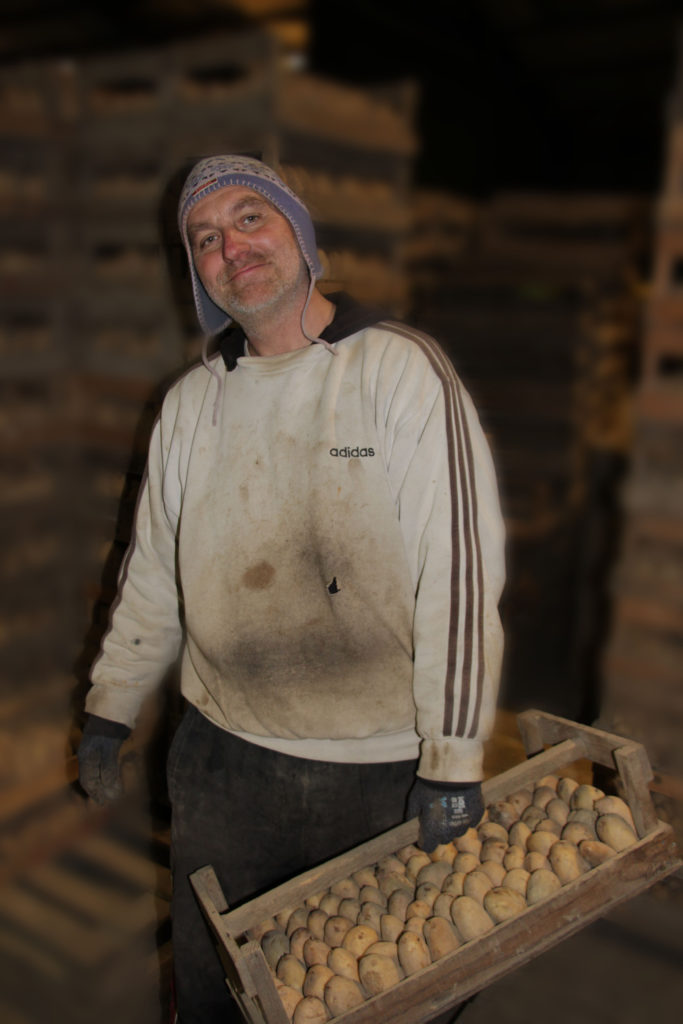
for my farm shoot i was inspired by Arnold Newman. newmans photography captured the raw emotion of his subjects and their surroundings. This was something I tried to convey in my photos. I wanted to capture the farmers around the potatoes however was more clutched around the idea of displaying their pride towards their crop. These farmers work tiresome hours to produce these delicacies which we take for granted. I found that using the flash on my camera helped composed the true feelings they had As it gave the subjects less time to put on a fake expression.

1 Point Lighting
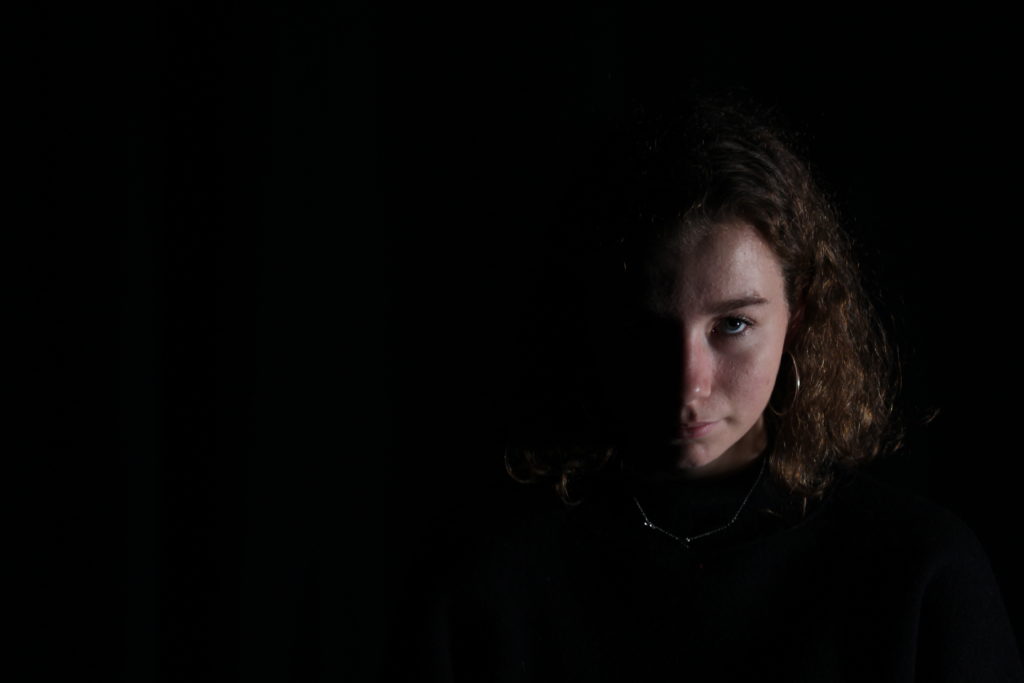
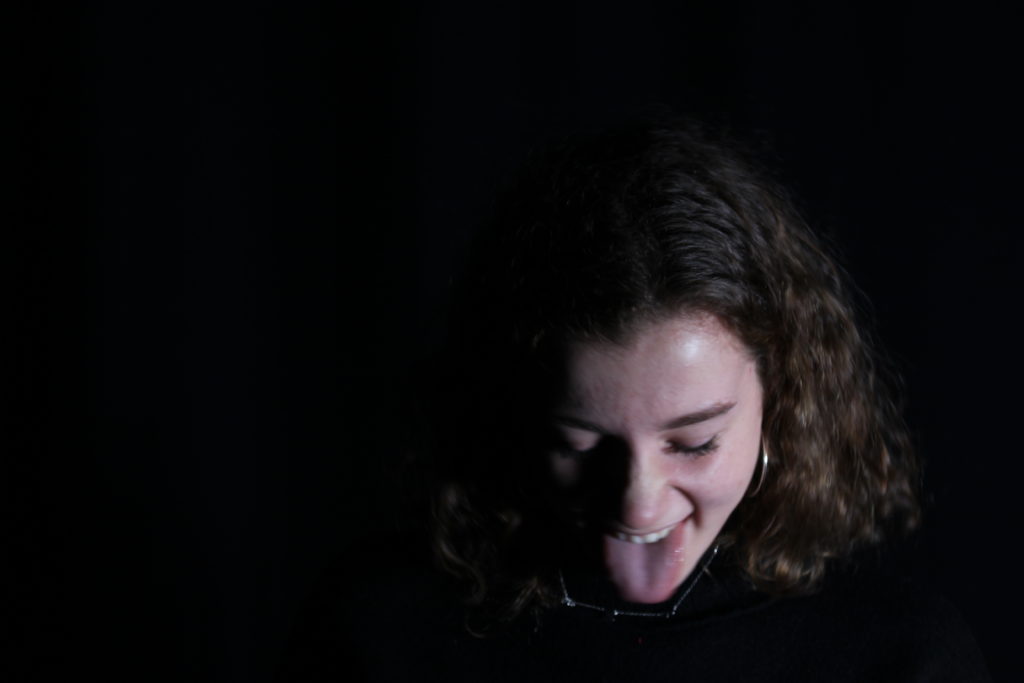
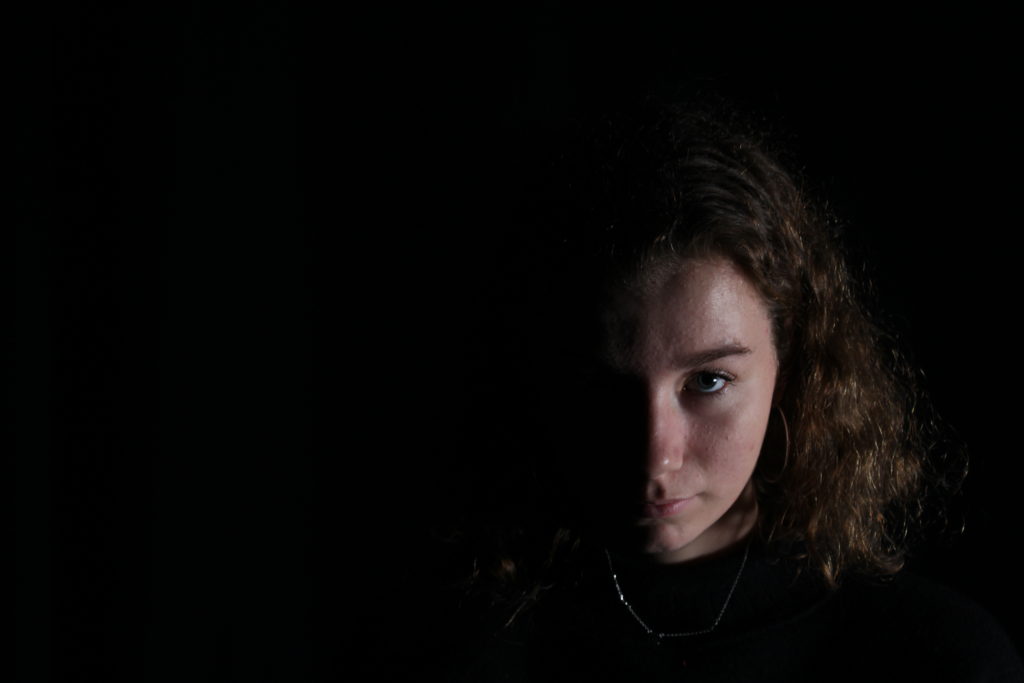

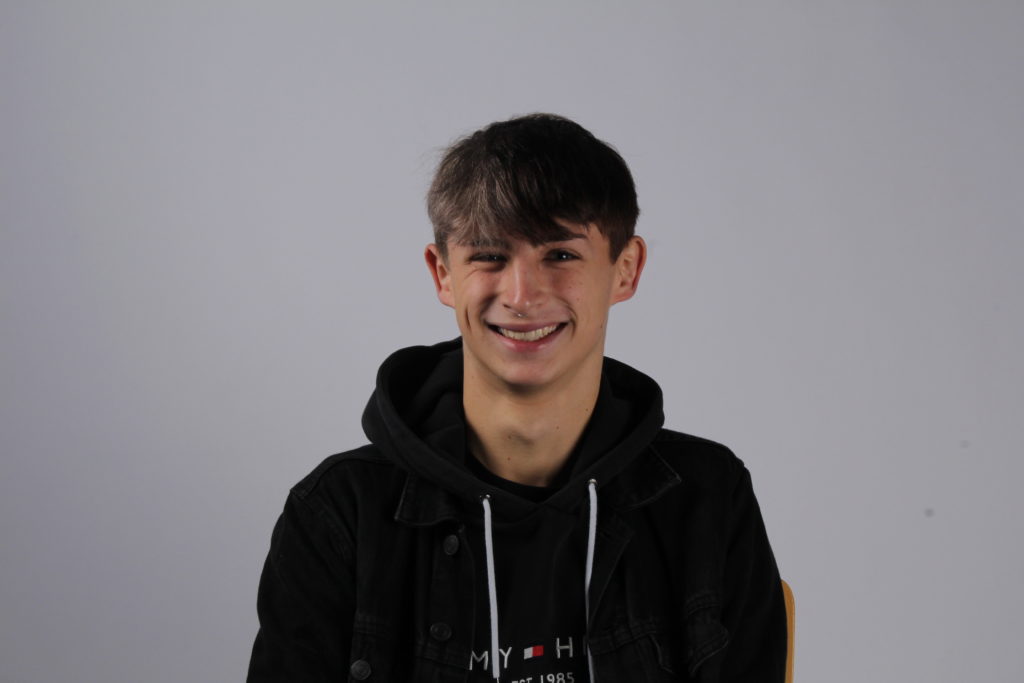
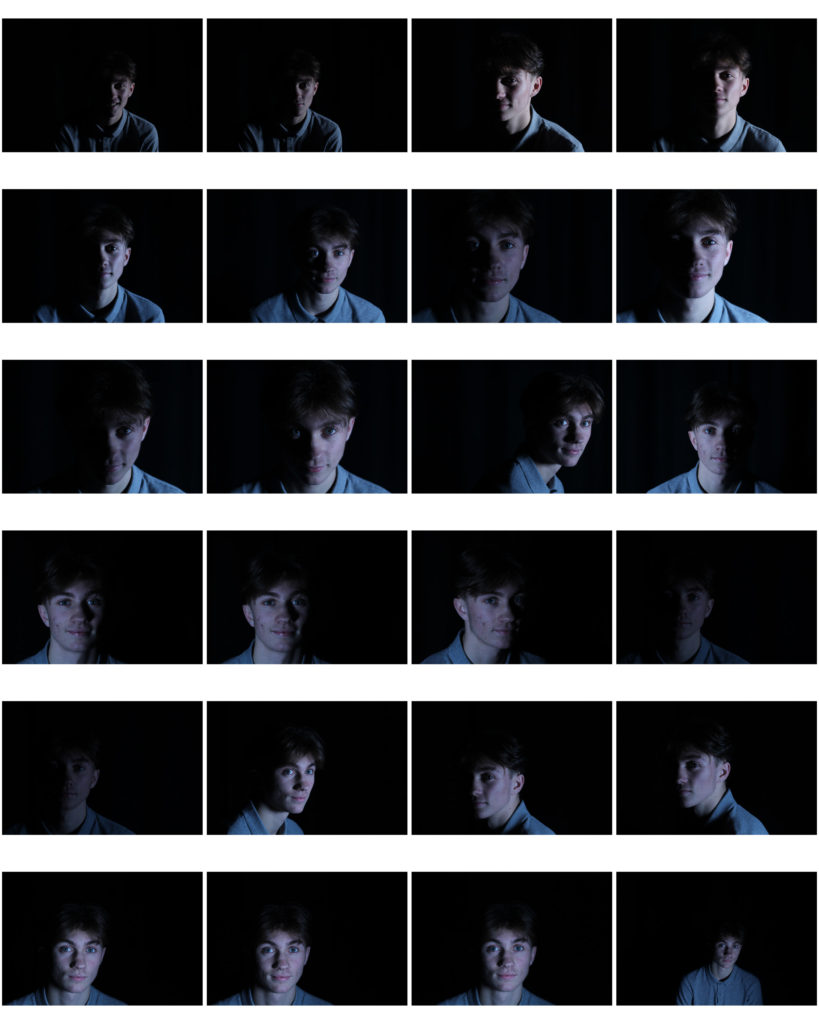
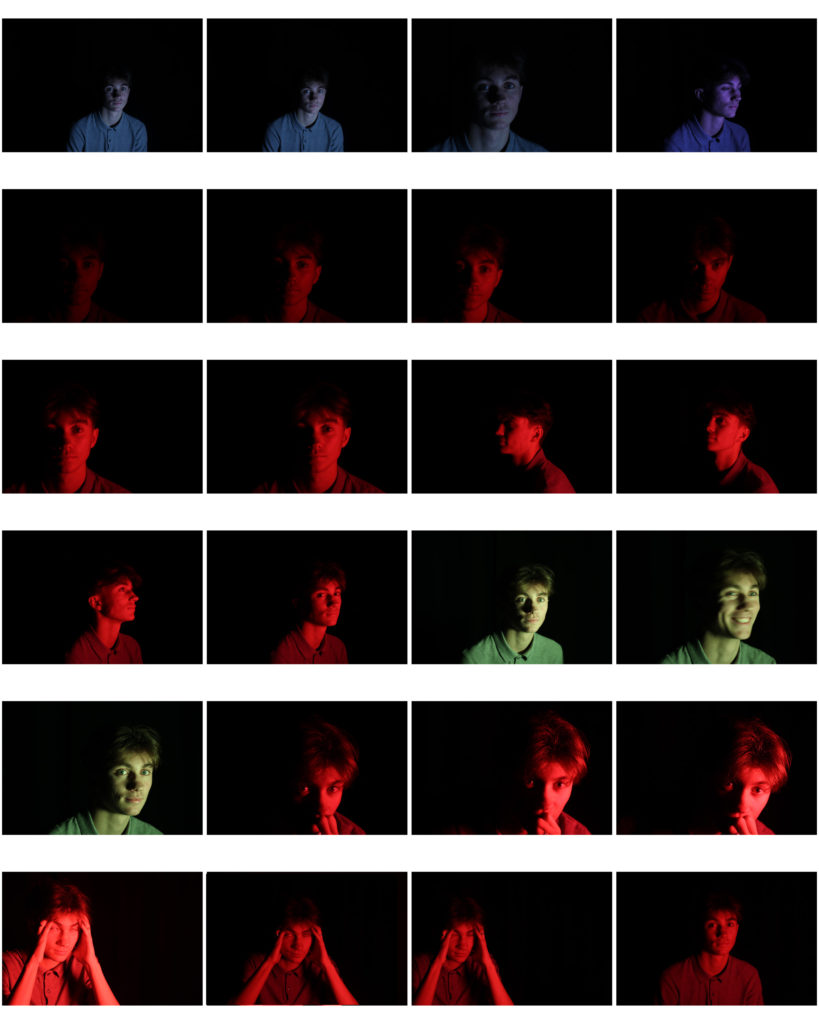
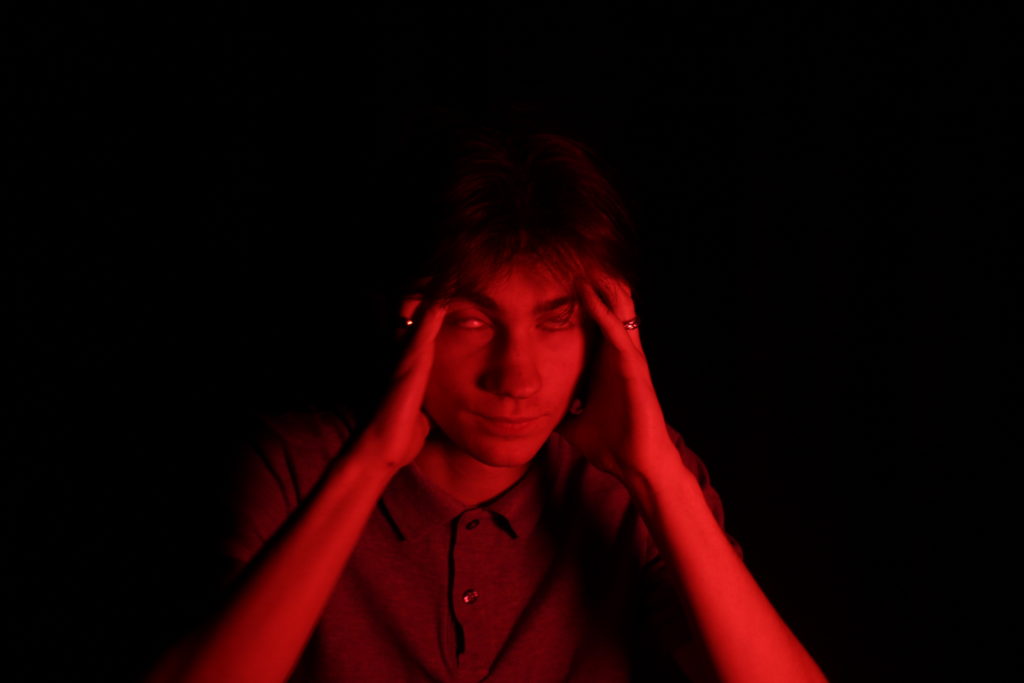
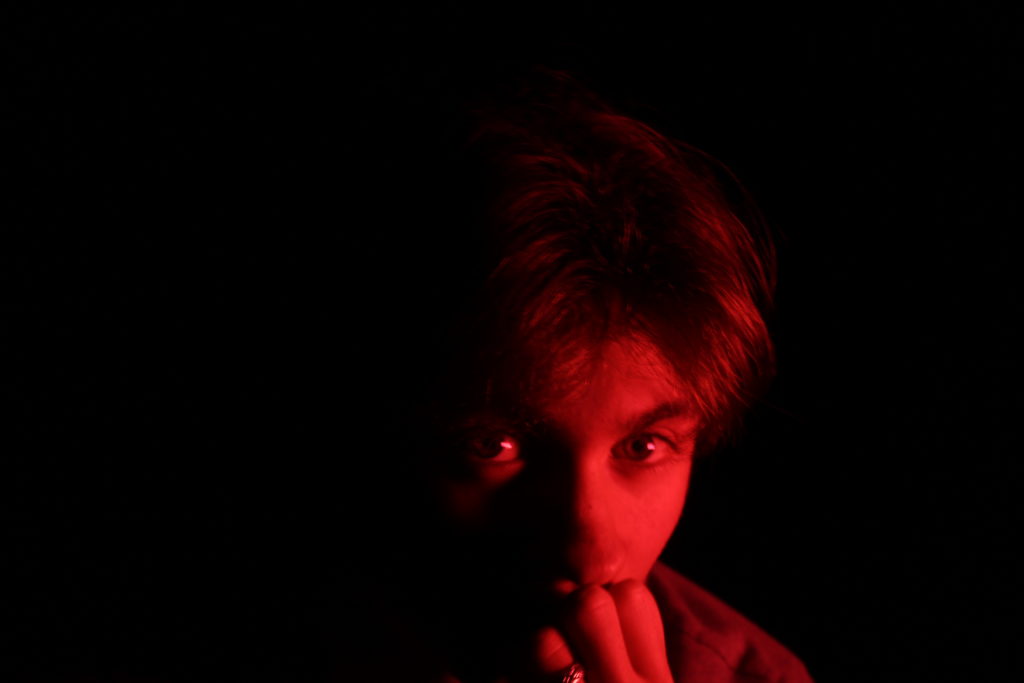
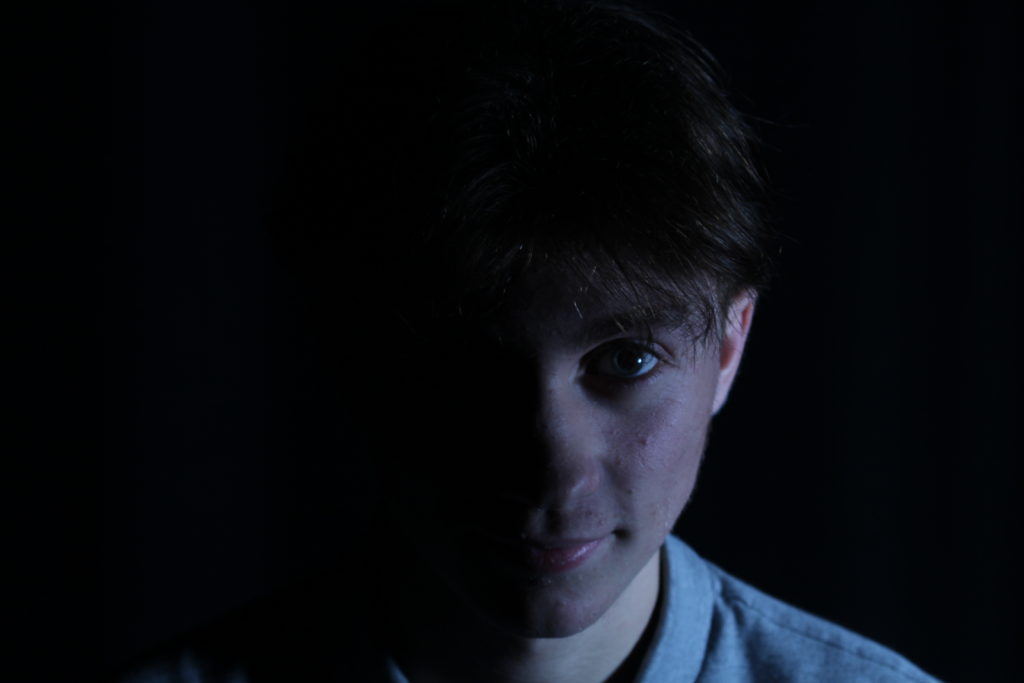
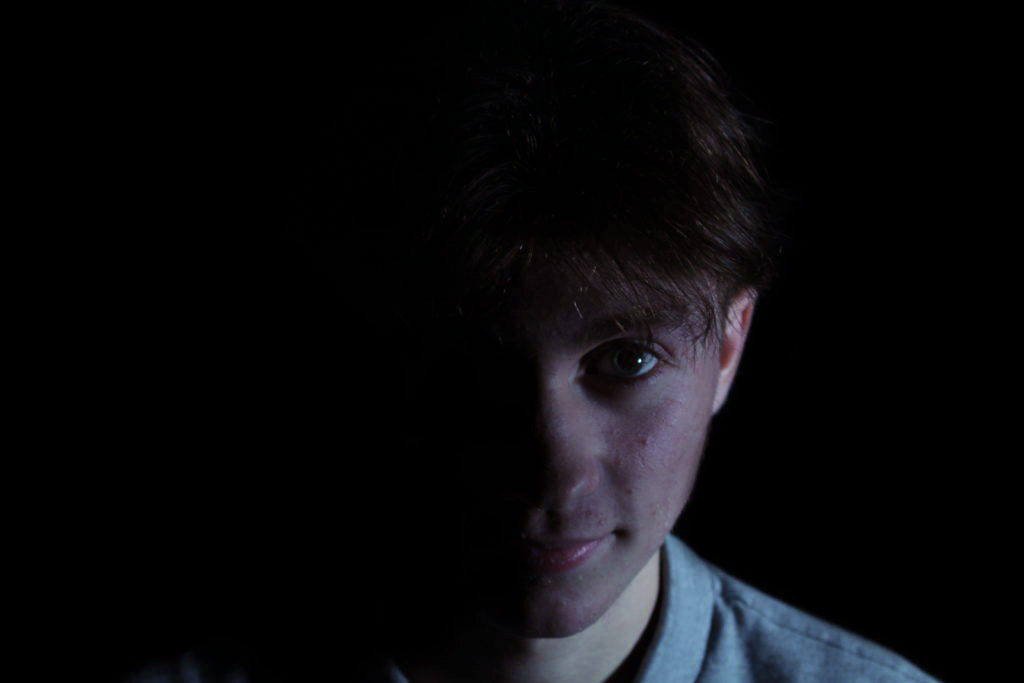
I used black background and a fluorescent lamp to create these Low-key images.
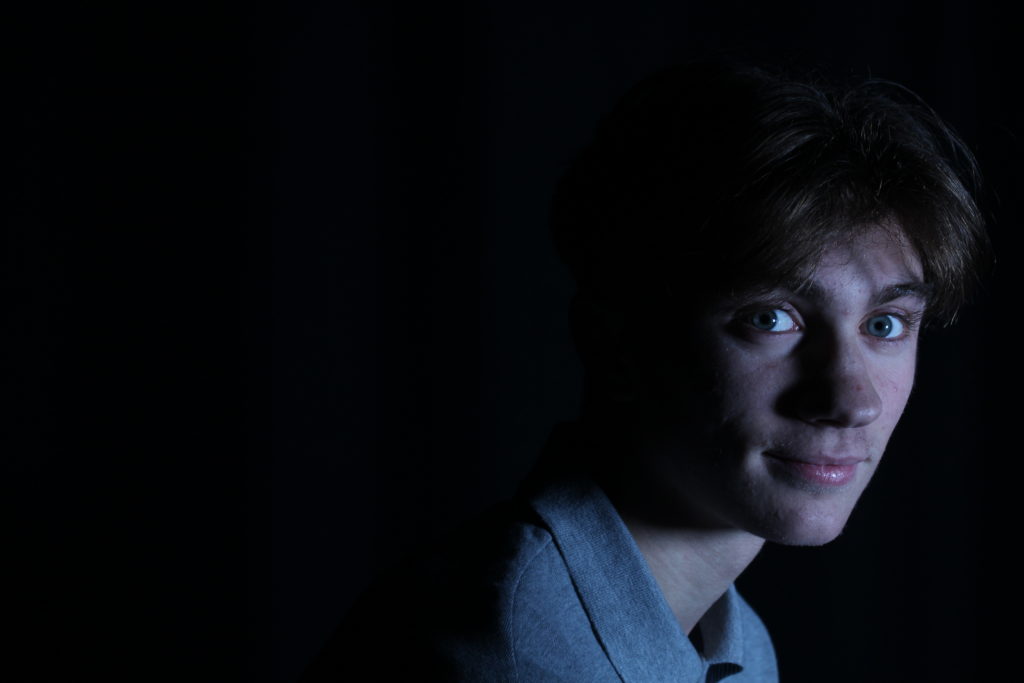

Editing
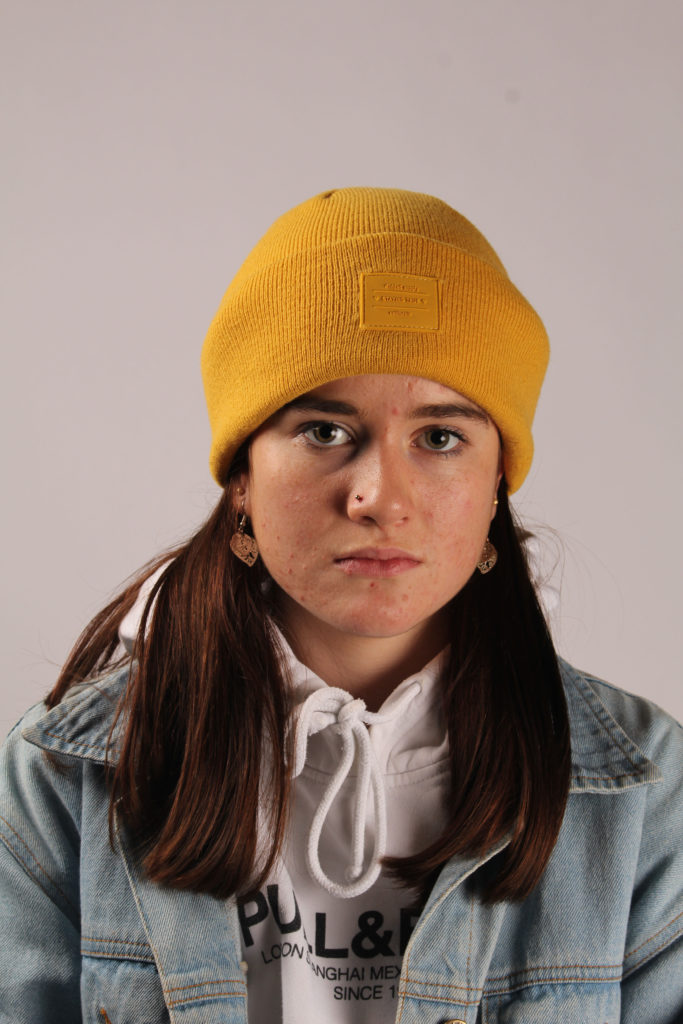
Using the brush tool on Photoshop, I blacked out the background completely, bringing the focus primarily on my subject’s face. I increased the exposure, red mid-tones and yellow highlights to get rid of the blueish tint caused by the lighting.
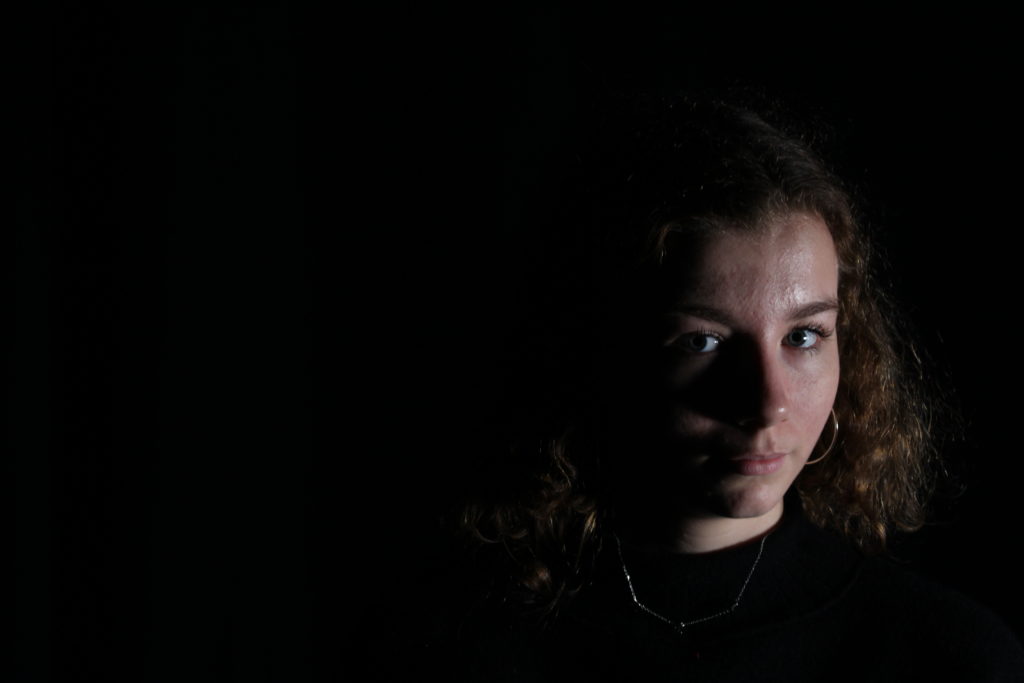

I used the brush tool to even out the background and increased the brightness and contrast slightly to enhance the facial features of my subject.
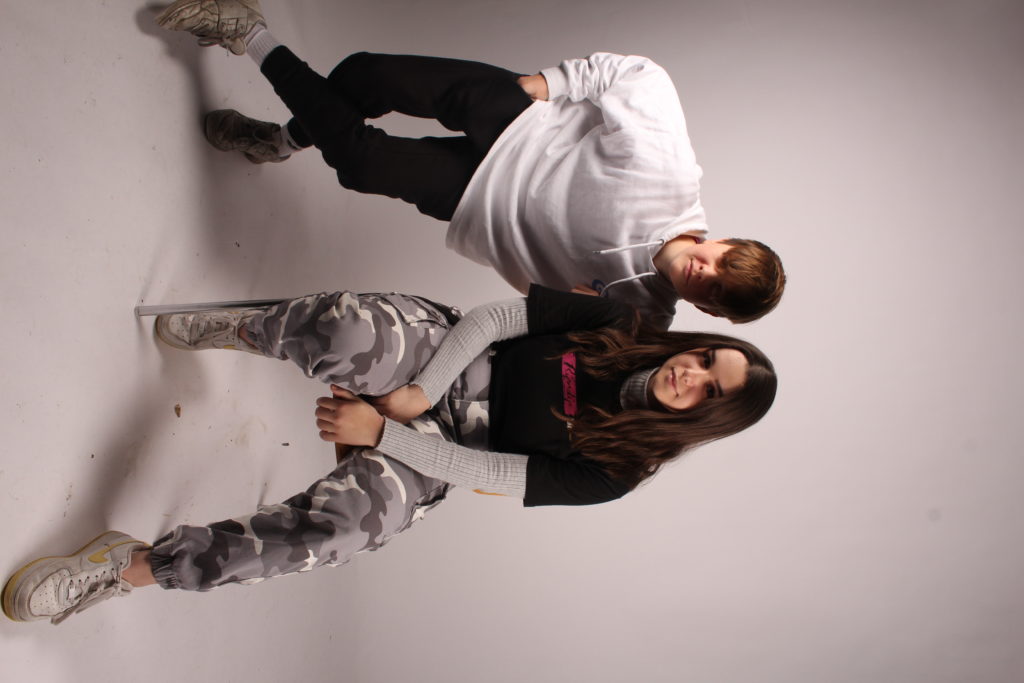
2 Point lighting – High Key portraits
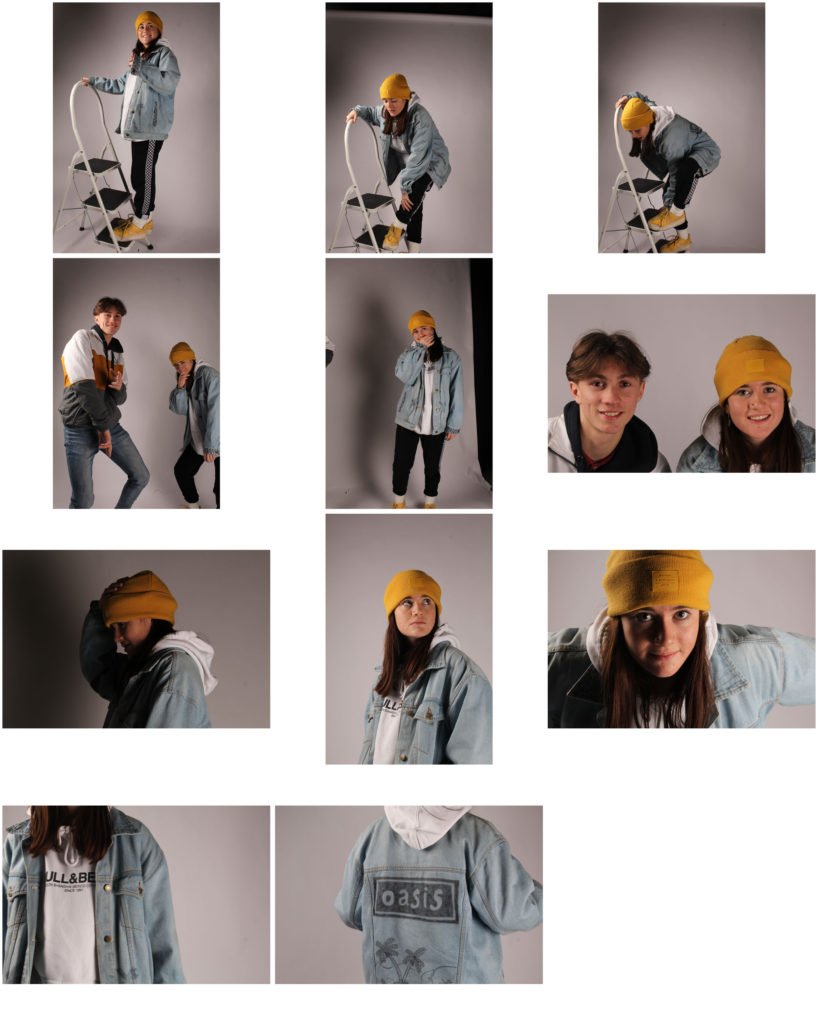
I used two flash head lights and a white background to create an airy, more high-key image.

I reduced the effect of the shadow and blemishes withing the background by using the brush tool on Photoshop.
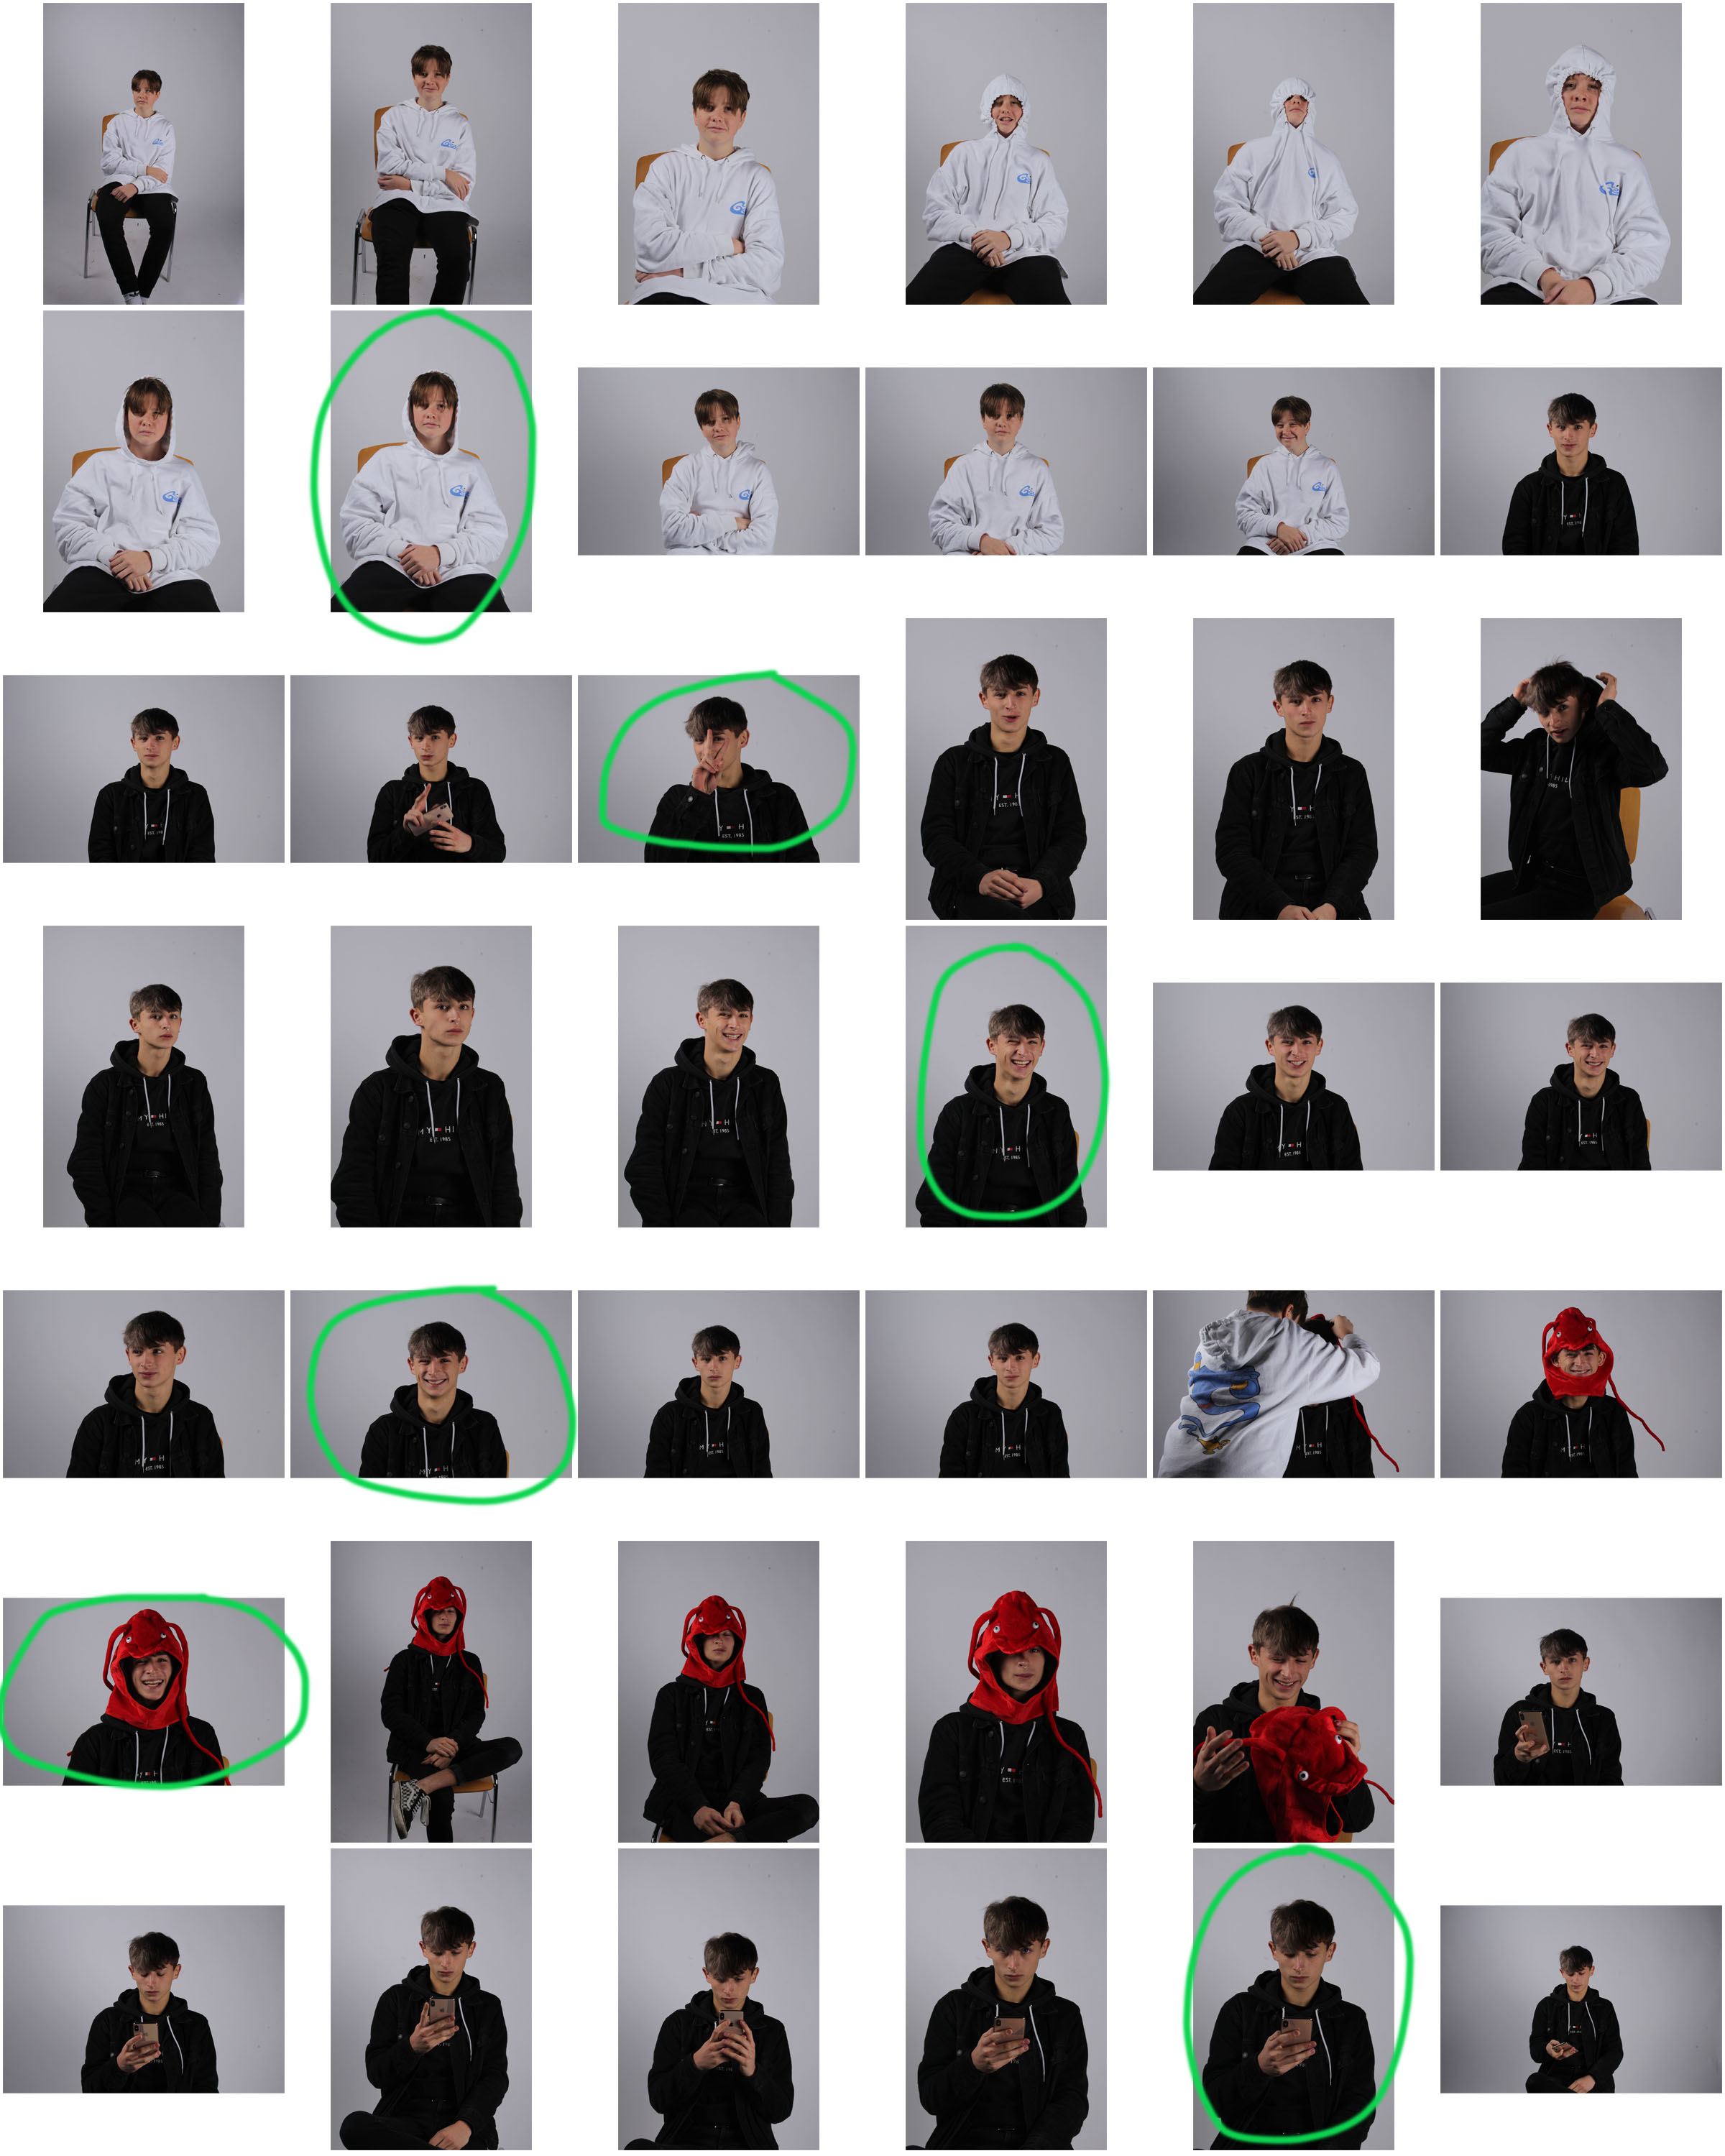
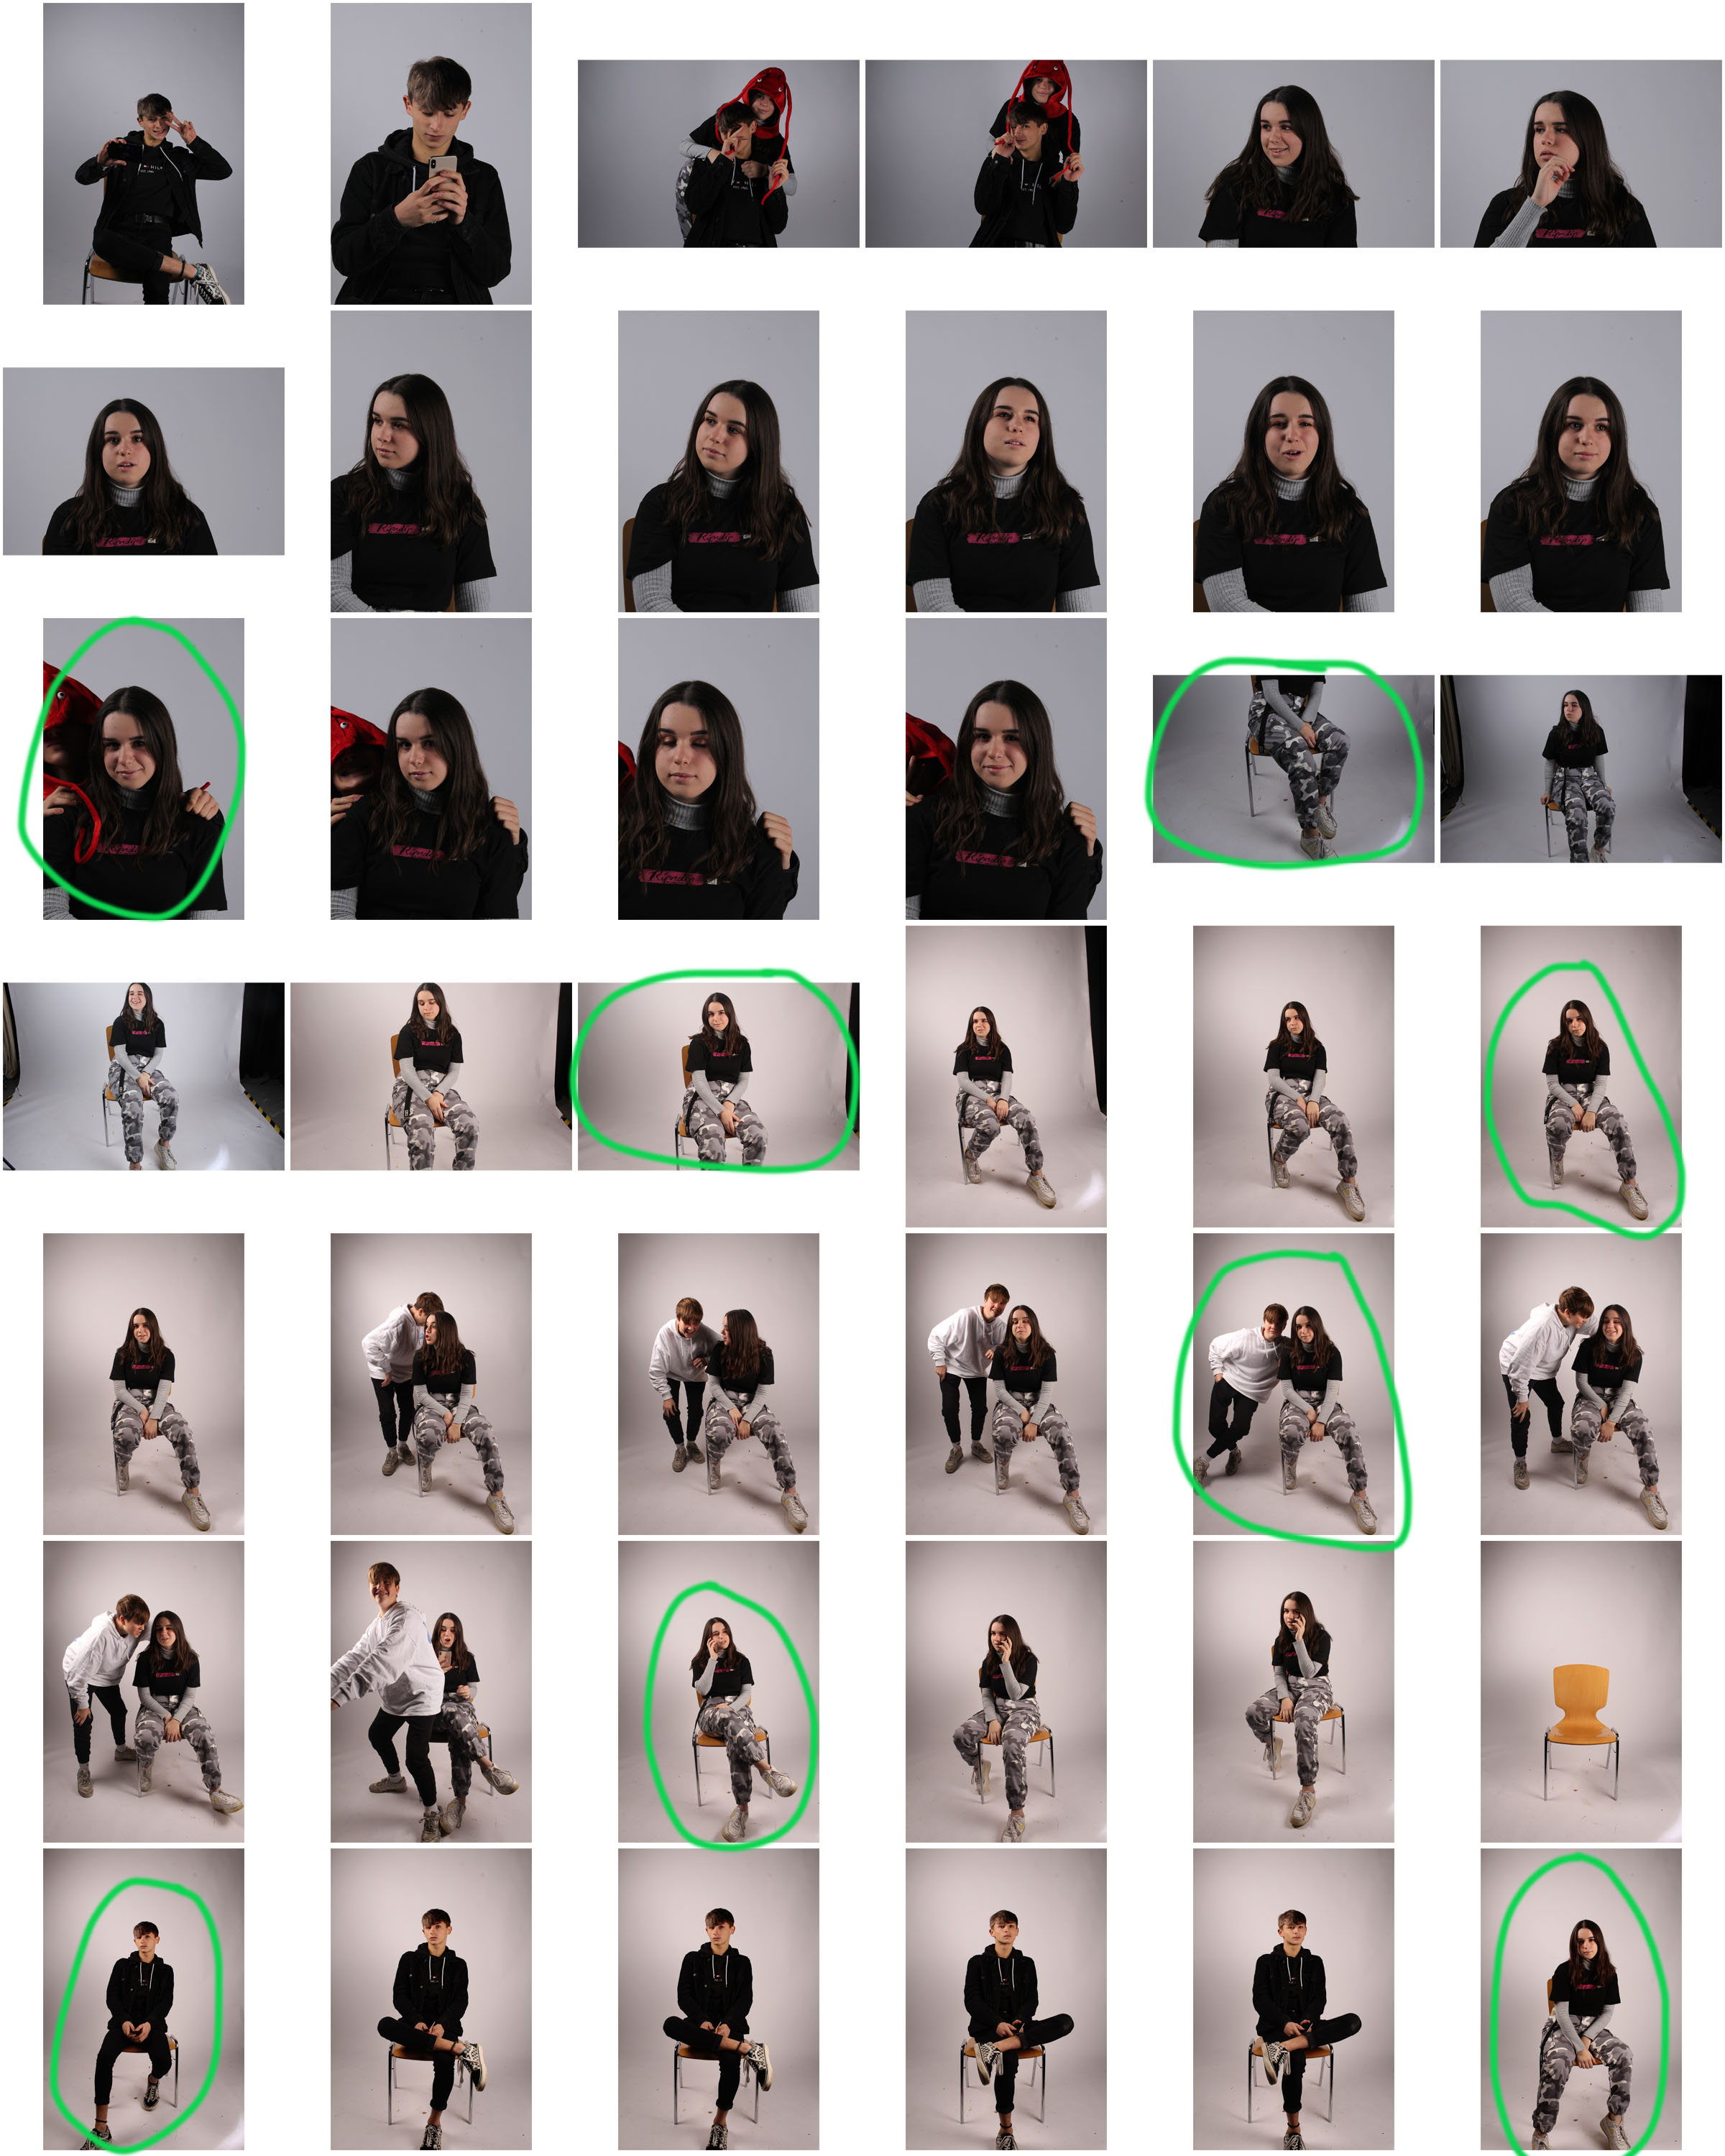
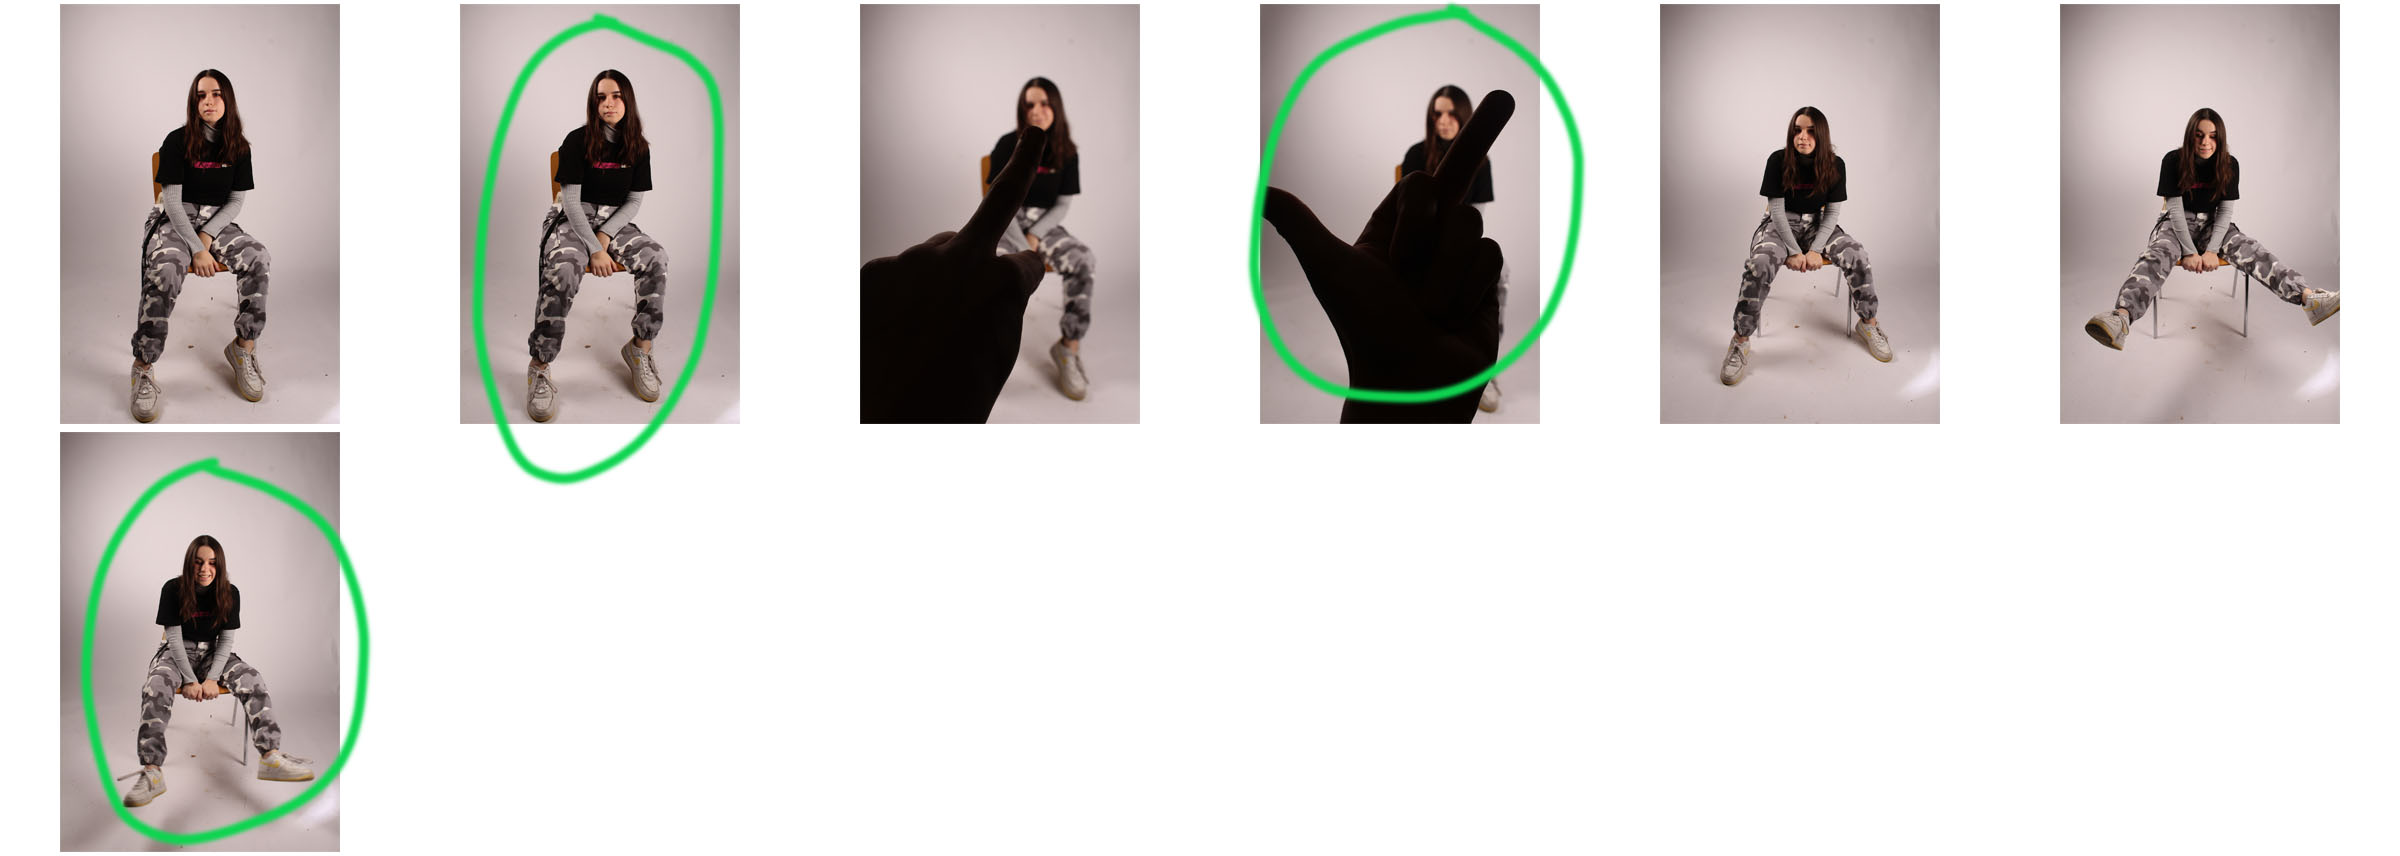
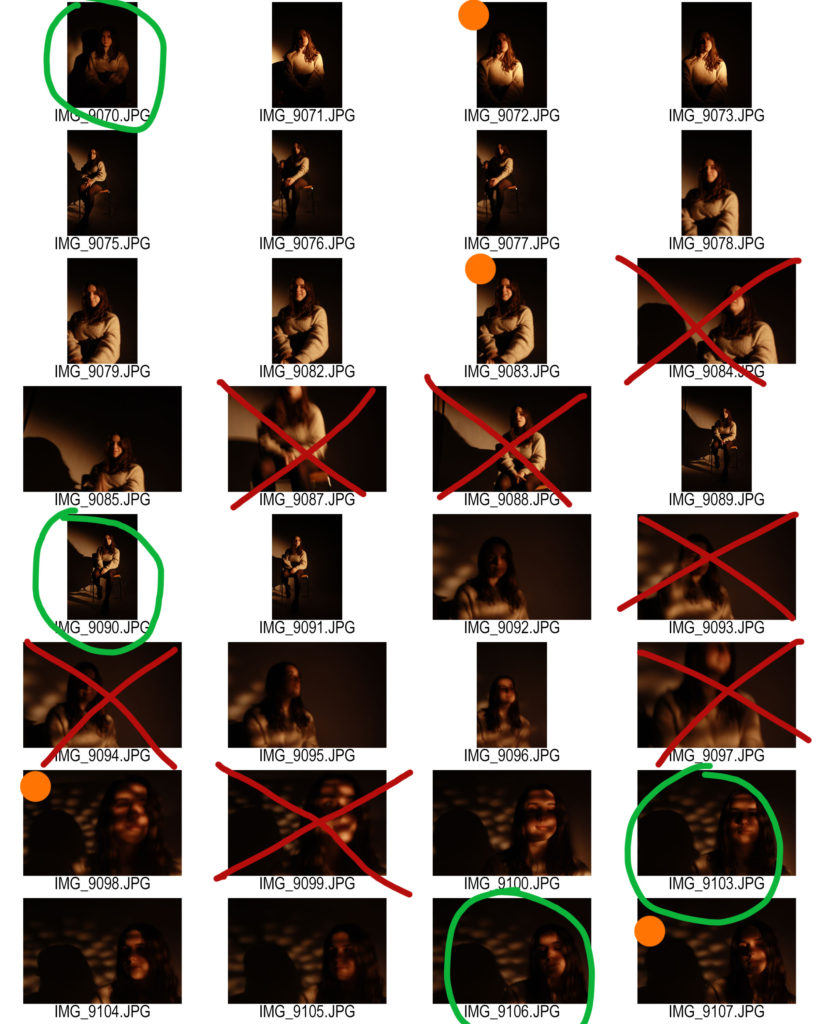
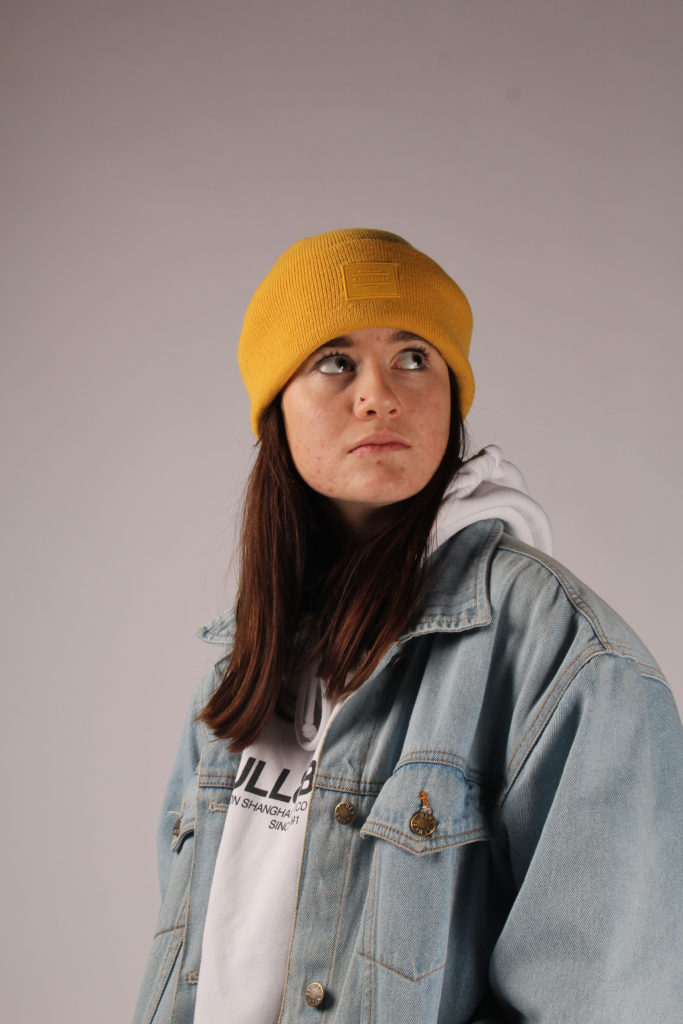
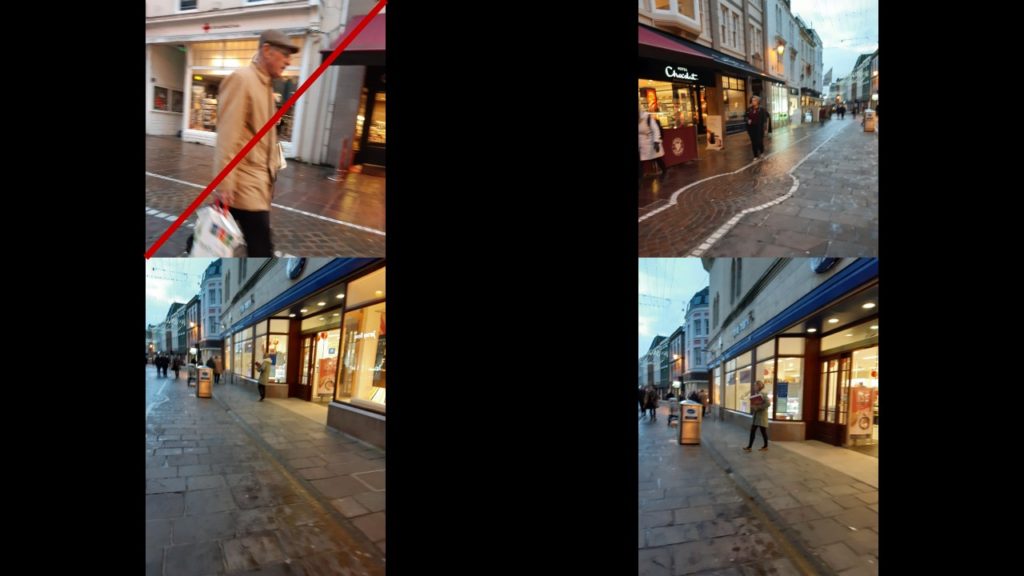
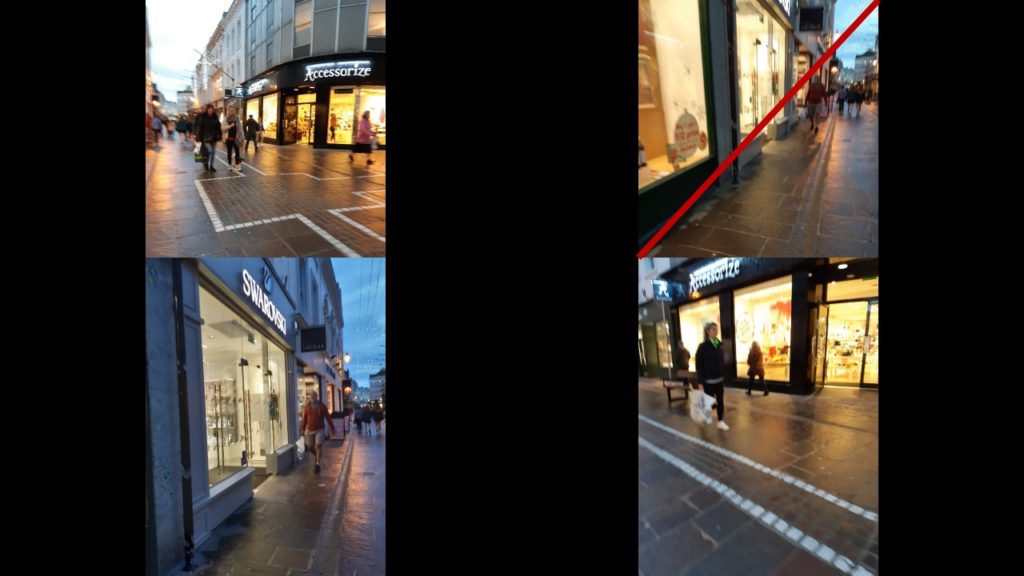
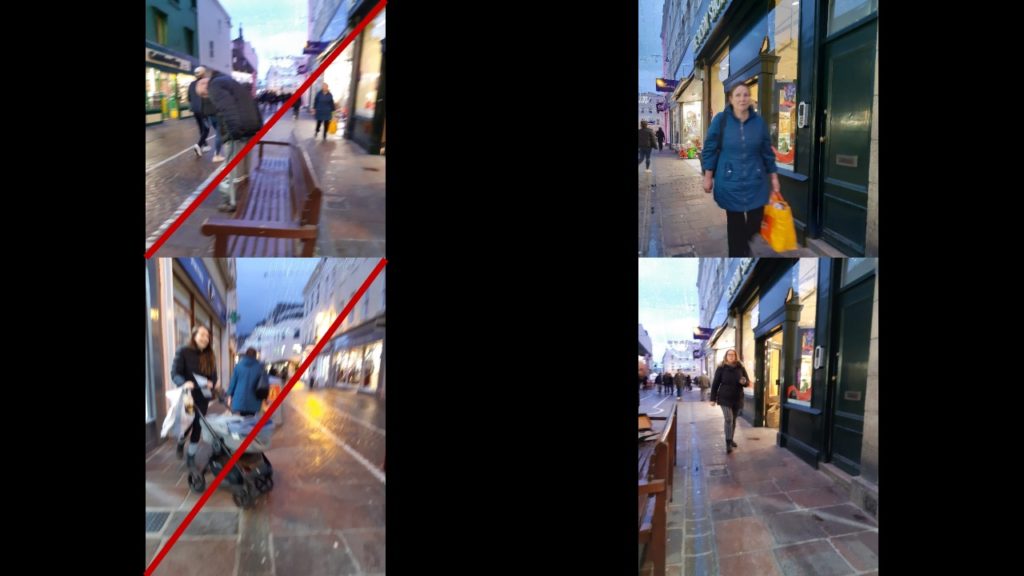
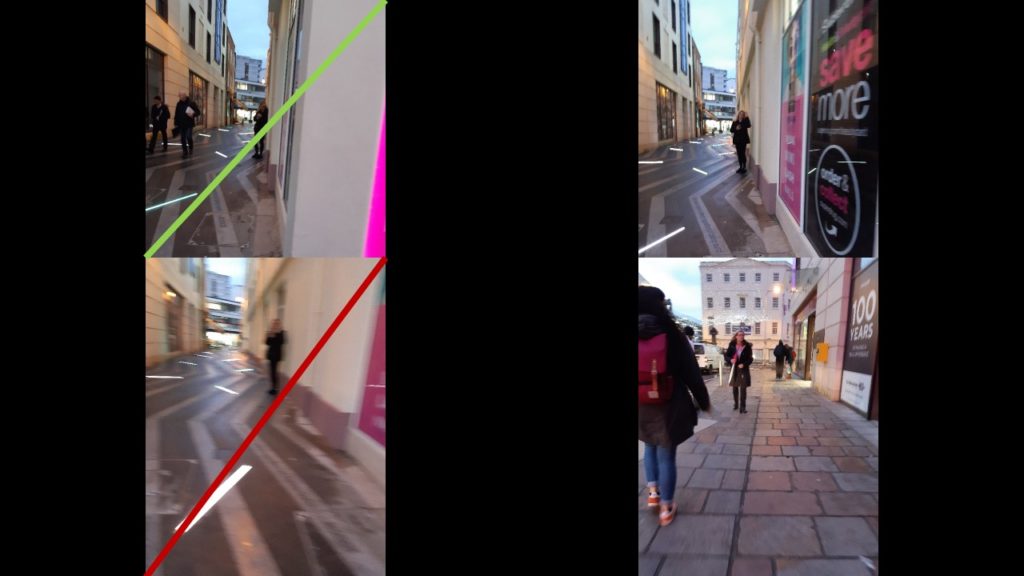
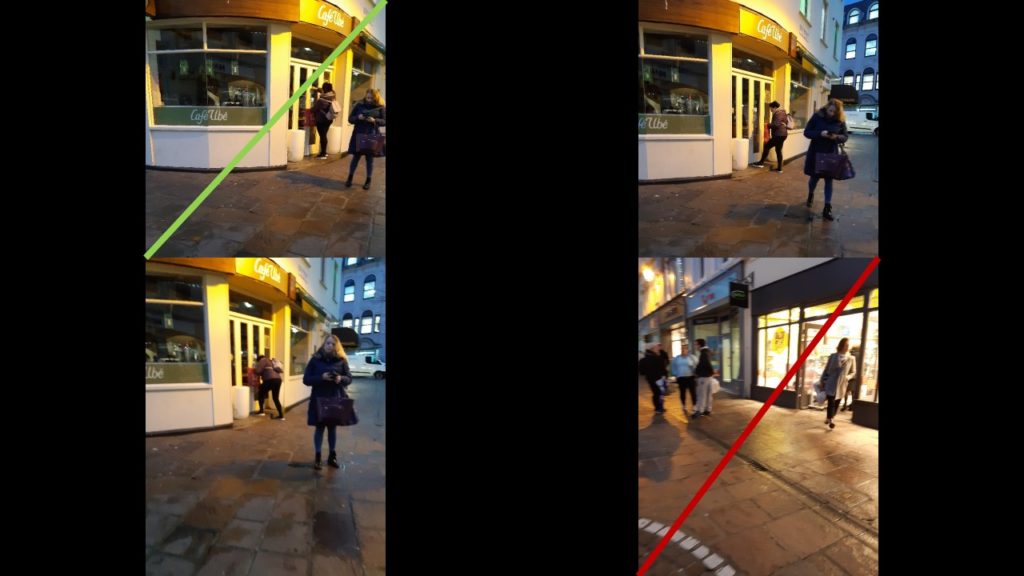
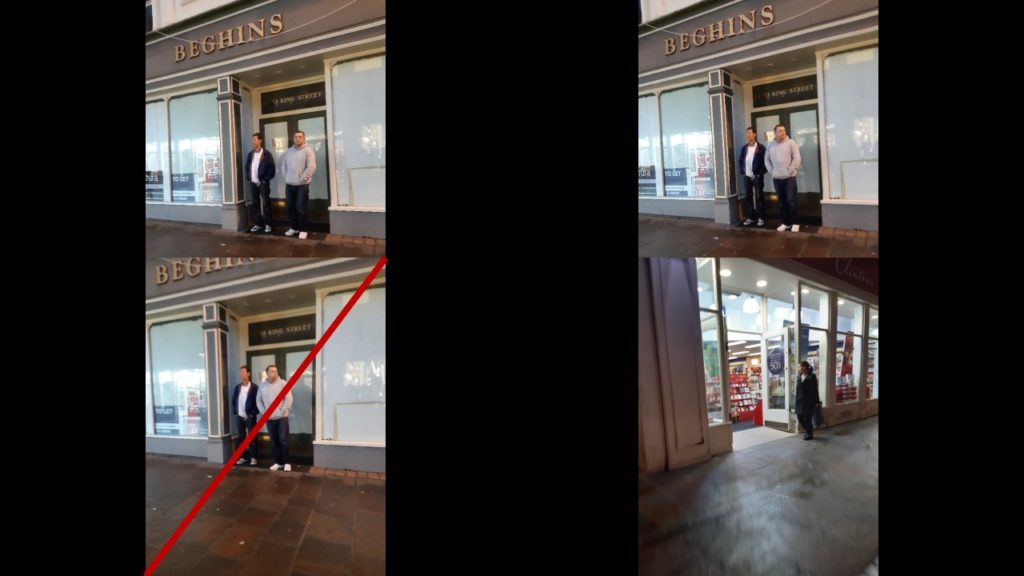
Red: Very Blurry
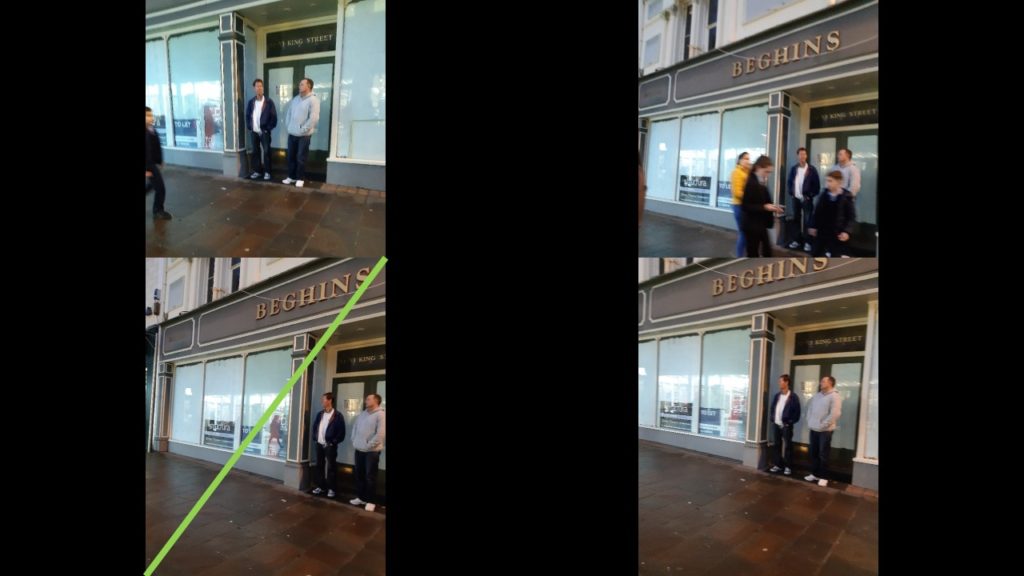
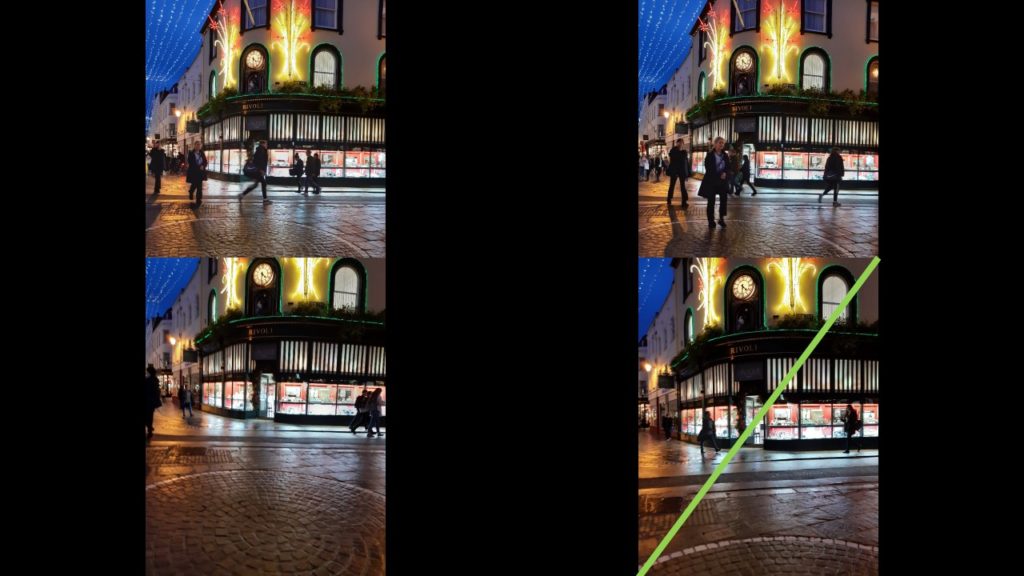
Green: Bad Angle


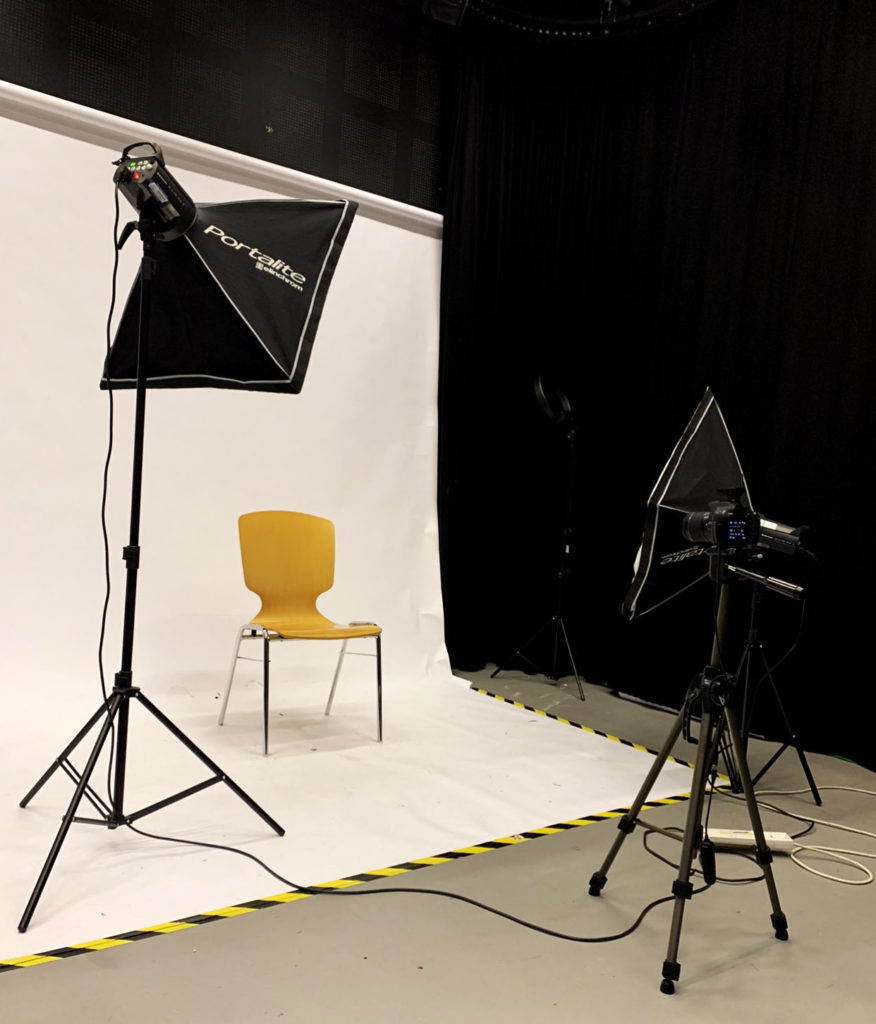
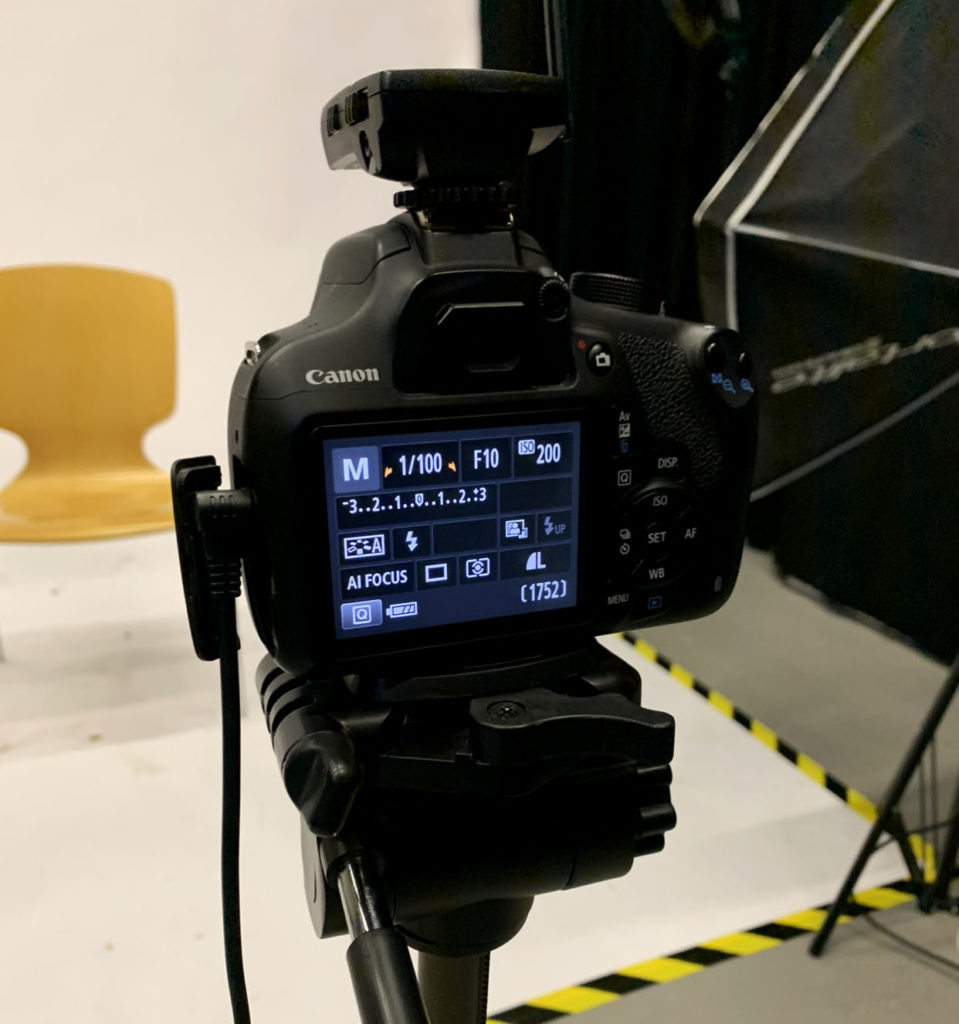
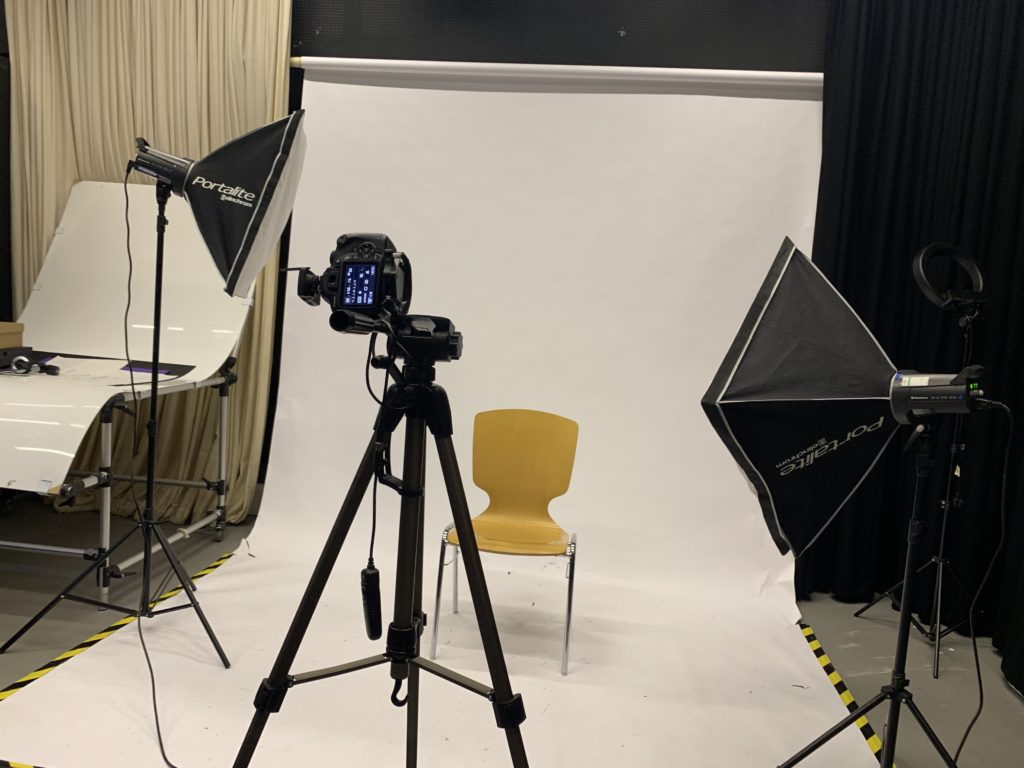
To create a collection of flash portrait images, we had to ensure the studio and camera was specifically set up to create successful outcomes. Our aim was to use high-key lighting techniques to create outcomes that eliminated the shadows completely. We used a white infinity backdrop for the background of the image, two flash unit lights, placed the camera on a tripod and used a transmitter to control the flash lights when the picture is being taken. The tripod allows the camera to be steady and still, to create focused and crisp outcomes, not affected by any movement. The camera settings used were ISO 200, aperture set to F10, and shutter speed 1/100. Furthermore, the white balance was set to flash mode and the camera was adjusted using auto-focus. These specific settings allowed the image to be perfectly exposed and highlight the form and dimension of the subject by illuminating them. This set up is an example of two point lighting; consisting of two light sources, one being a key light and the other acting as a fill light. The key light is the primary source used to illuminate the subject, whilst the fill light is the secondary source that can help to control shadows. The subject is going to be front-lit due to the positioning of the light sources and we will be using hard/direct light. The chair where the subject is placed has been positioned in the center of the backdrop to ensure the subject is the main focus in the foreground, ensuring a balanced composition.