All posts by Oliwia F

Filters

Author:
Category:

LANDSCAPE PHOTOSHOOT 2 PLAN:

PHOTOSHOOT PLAN:

WHO

I will be taking the photos, however with no human focal point, or any human make infrastructures, since landscape photography uses primarily nature only.

WHAT

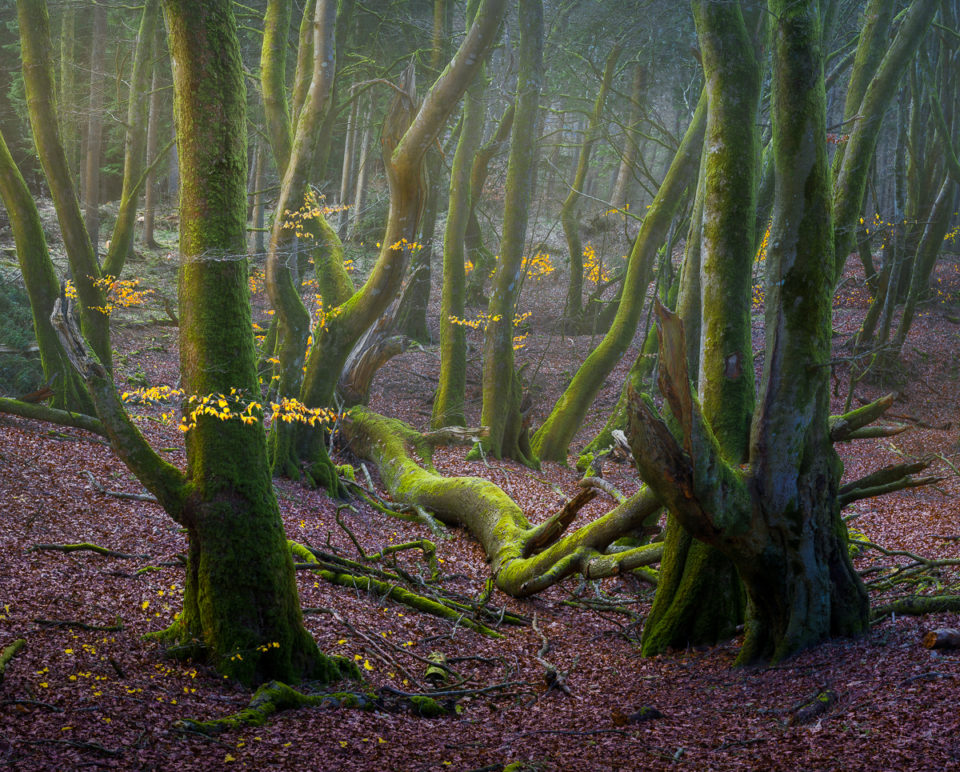
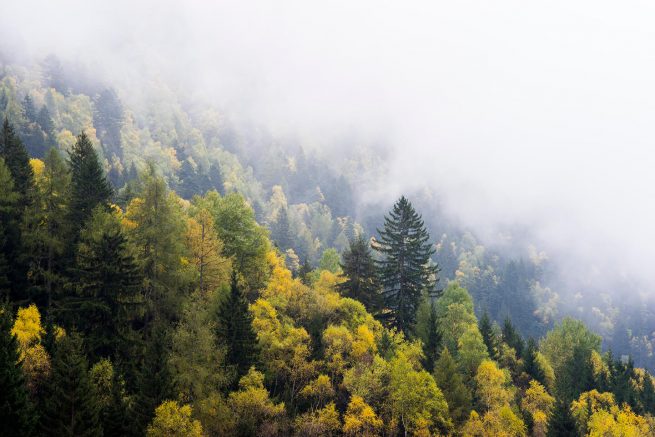
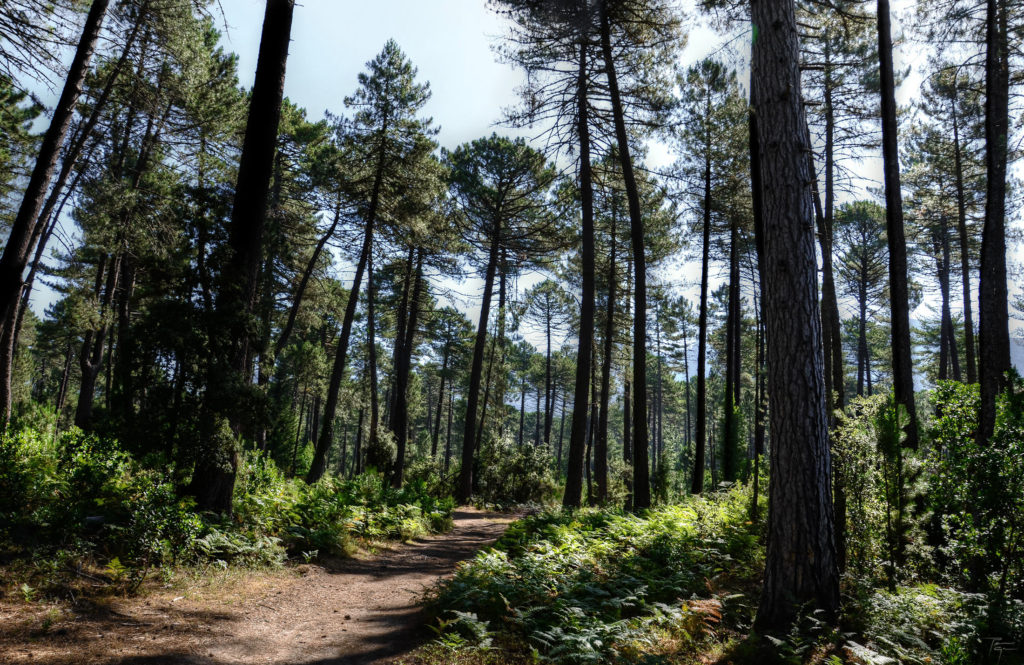
My photoshoot will focus on trees and Forrests, also consisting of marshes and lakes, as oppose to my last photoshoot in Jersey, Plemont where I took photographs off the headland and cliffs and the coast. As it is Autumn the leaves and colour of the trees should give my photos character.

WHERE

My photoshoot will take place within the Polish forests surrounding the town of Klonowo. I will be walking through the forest entering a very isolated and rural area, barely touched by humans, accept for the occasional road.

WHEN

I will take this photoshoot on the 27th October, during the morning, between 7am and 11:30am, the weather seems to look clear so the sunrise will provide beautiful natural lighting.

WHY

I have chosen this time as it will give my photos more variety of colour as the light will reflect off the leaves and trees. I have chosen this time period being Autumn as there may be some sun in the morning, altering the colour of objects in my photos. I also enjoy this location as its reflects a ver natural landscape and the are is very isolates, further having minimal human influences

HOW

Due to the constant moving around that I will be doing during the photoshoot, in order to complete walking through the forest, my photos may become blurred and I will be taking photos while walking (not using a tripod). To prevent blurred and unfocused images, I will change the camera settings, to a hight ISO of 1600, a fast shutter speed of 1/320 and an aperture of f/14. This will also make sure that any wind moving the leaves and trees, which will blur the focus, is minimised and photos will be taken quicker.

INSPIRATION:
EDITING AND FINAL OUTCOME

PHOTOSHOOT 1 ROMANTICISM APROACH FINAL EDITED IMAGE:

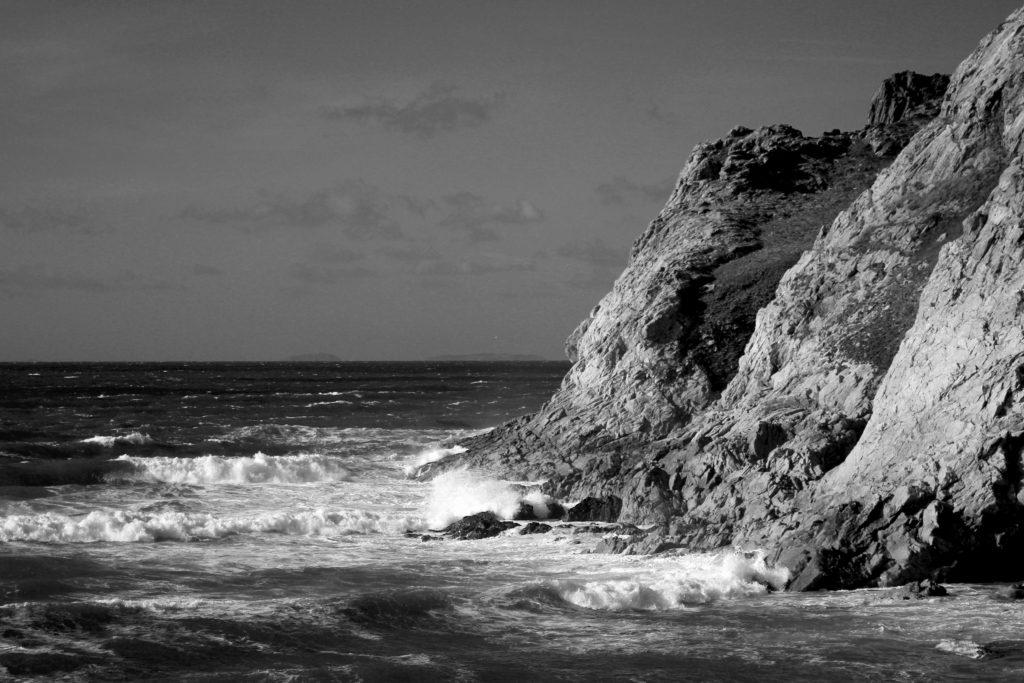
This is my edited final image. In this photo I have chosen from the range photos I took at Le Pulec. I found that this photo had a very good focal point of the lighter colour waves. I took inspiration from landscape photographer Ansel Adams and decided to edit the image in black and white.

HOW I EDITED IT:

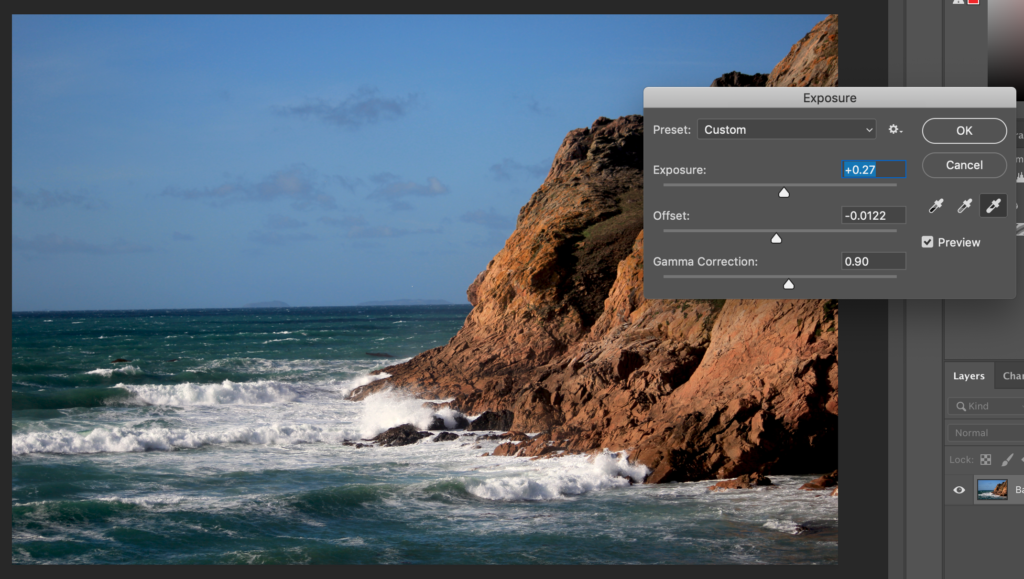
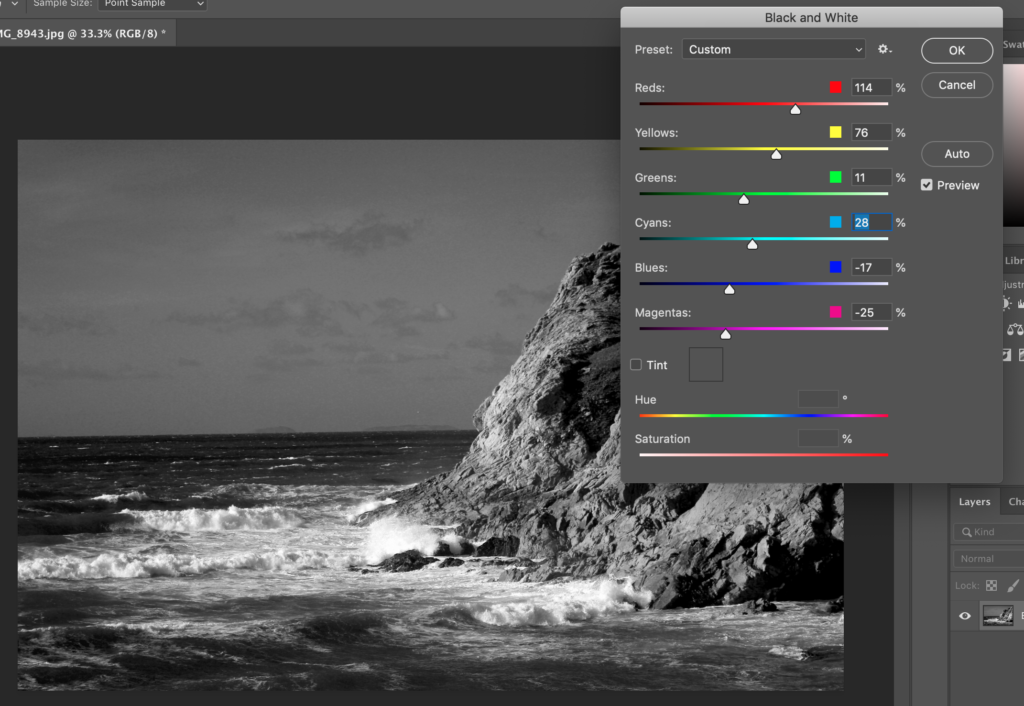
On photoshop, I decided to increase the exposure by going to “image, adjustments, exposure” and increasing the exposure to +90. As well as this I lowered the offset to -0.0163, and increased the gamma correction to +0.82, internally making shadows darker and highlights lighter. This created a high contrasted image with dark shadows and light highlights.

After this I changes the image into B&W by going to”image, adjustments, black and white”. After decreasing the colder colours such as blue and green, and illuminating reds and yellows in the black and white image, I cropped the image to straighten the horizon line. I think what after using the way Ansel Adams ported his photos my edited image fully exaggerates the cliff face

LANDSCAPE PHOTOSHOOT 1 OUTCOMES AND CONTACTS:


OUTCOMES, CONTACTS:

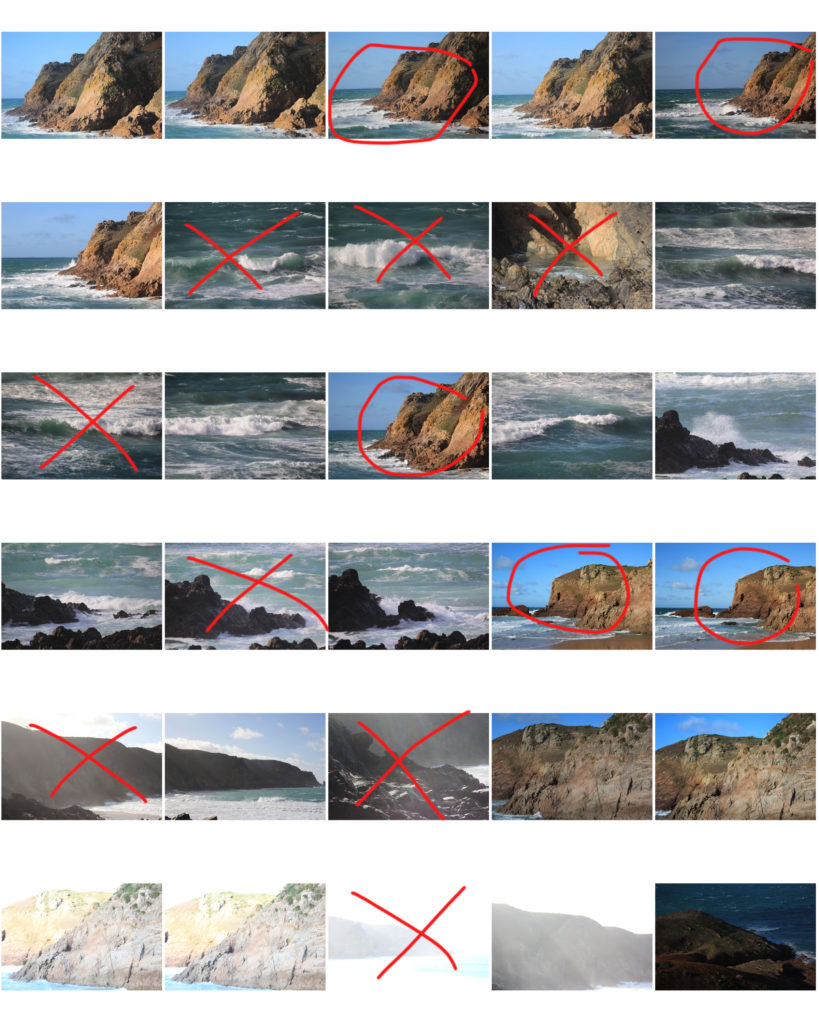
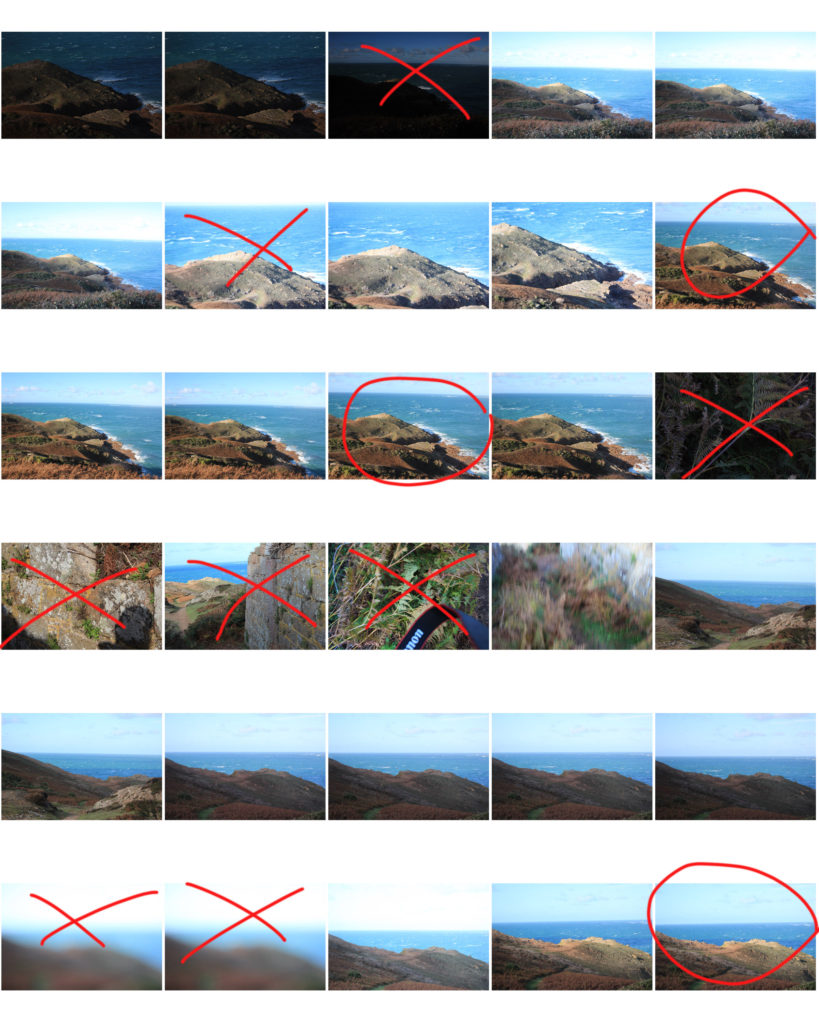
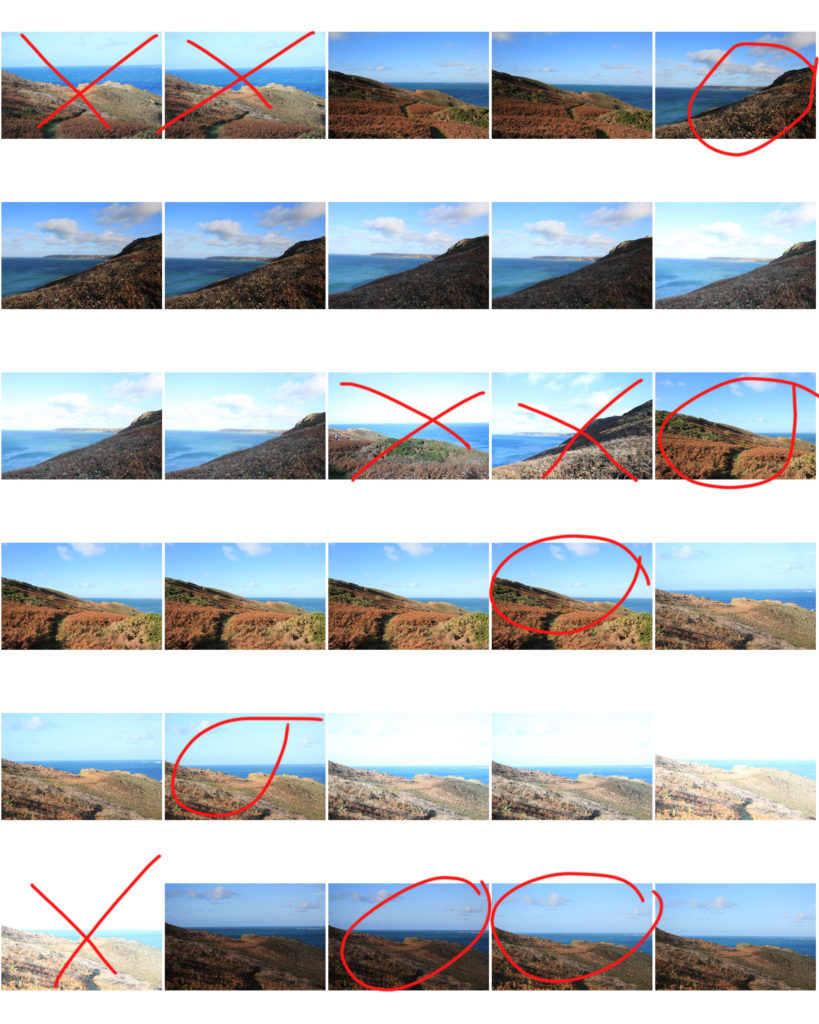
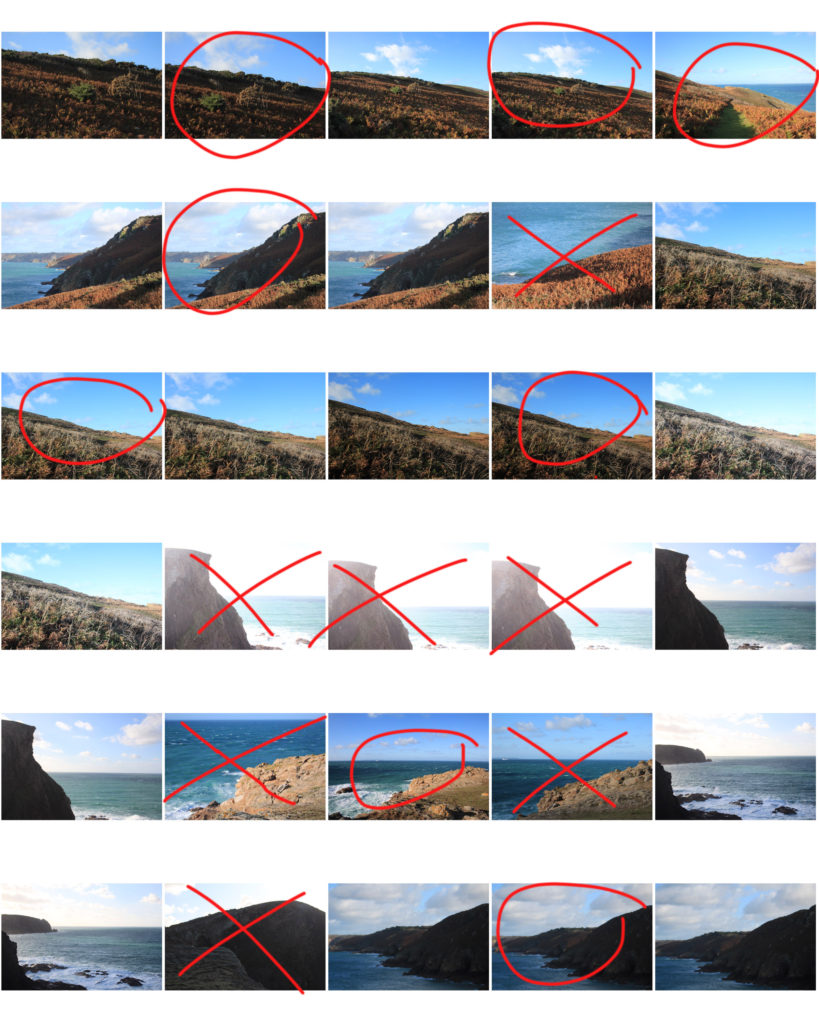
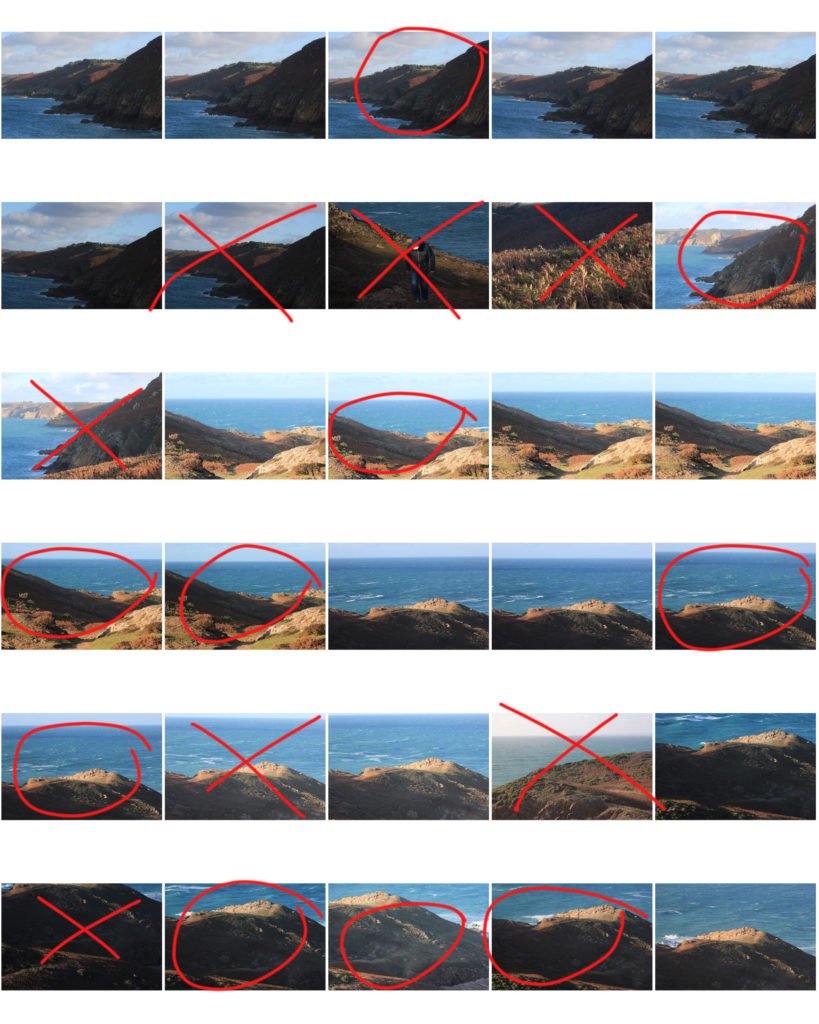
I think that my first shoot was successful, and I managed to capture a couple photos that I will be able to merge to HDR later in editing. However, many photos are out or focus due to strong winds. The photos from my contacts that are crossed out will specifically not be used in further editing stages, and photos circled will be. Any other photographs maybe used to create HDR images in editing later on.

In this page of contacts I changed my plan slightly by stopping off at Le Pulec at the west of the island to take photographs. This was because the waves where rough and the cliffs provided great composition. The first couple of photographs taken are my favourite and I will use them in my edits. The second half on the photographs from this contact sheet do come from Plemont, following my original plan. However many of these photographs where not in focus and did not have a large depth of field.

PHOTOSHOOT EVALUATION:
I think that my photoshoot was a success, however many changes could be made, for example the weather conditions where windier than anticipated, so many of the photographs where blurry or out of focus. I enjoyed using the different ISO setting to produce photographs with different exposures however I think that I could have changed the shutter speed to that the photos I took are in better focus and objects such as plants and bushes are not blurry.

SELECTED IMAGES :

Image 1:

Image 2:

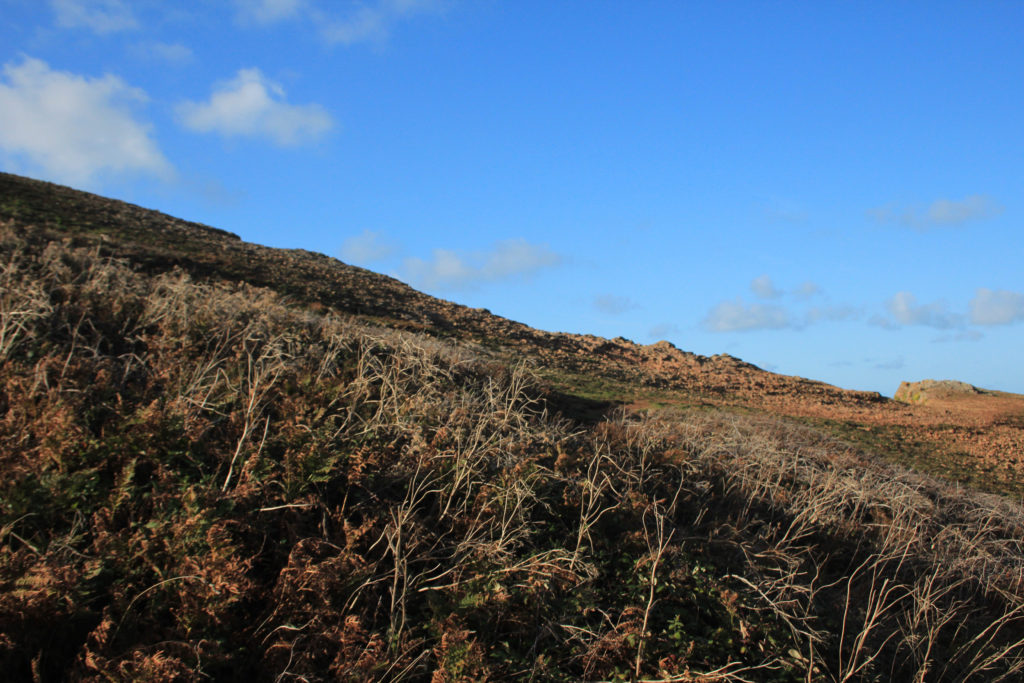
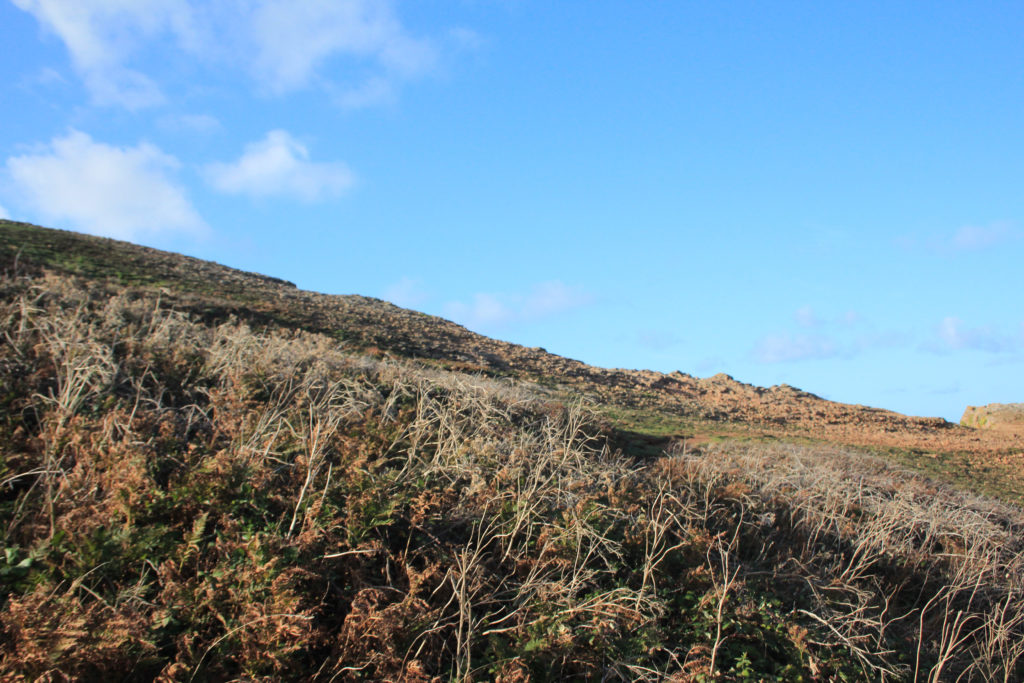
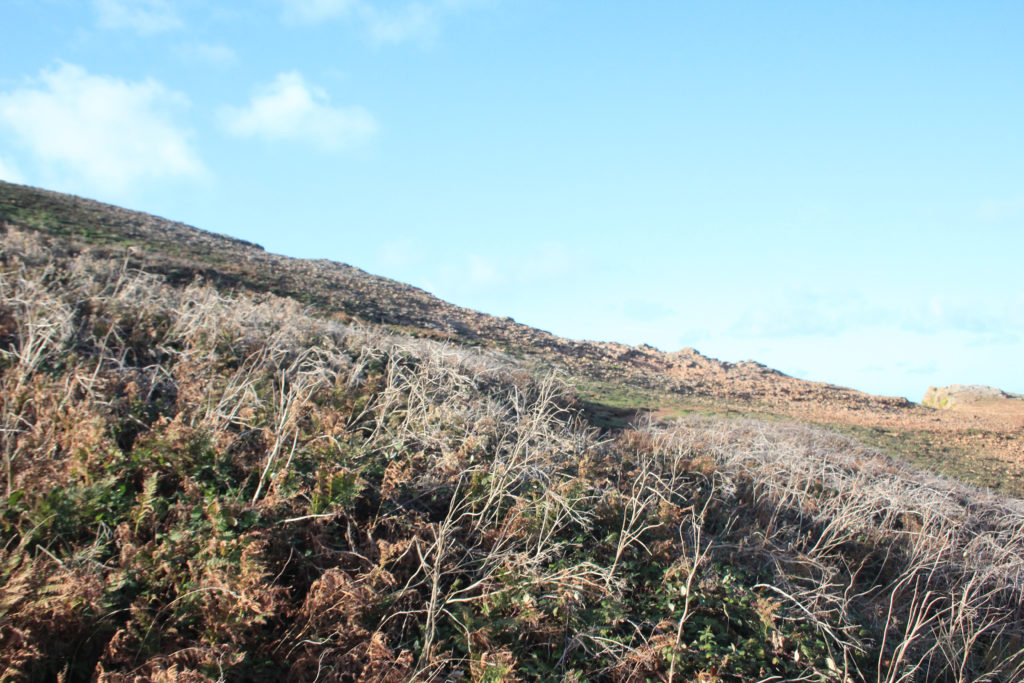
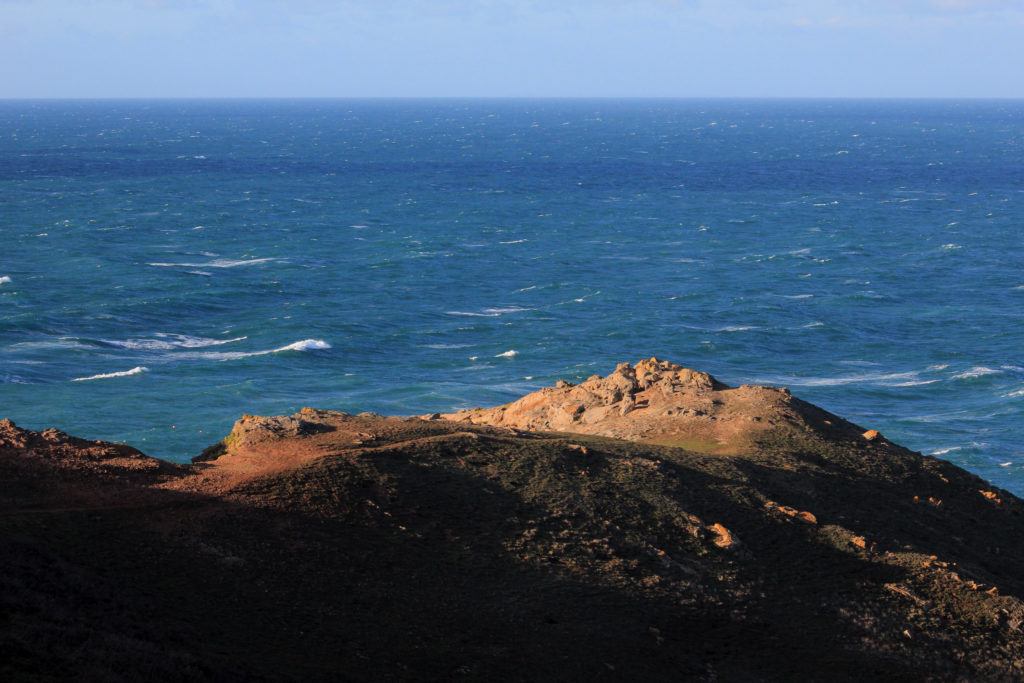
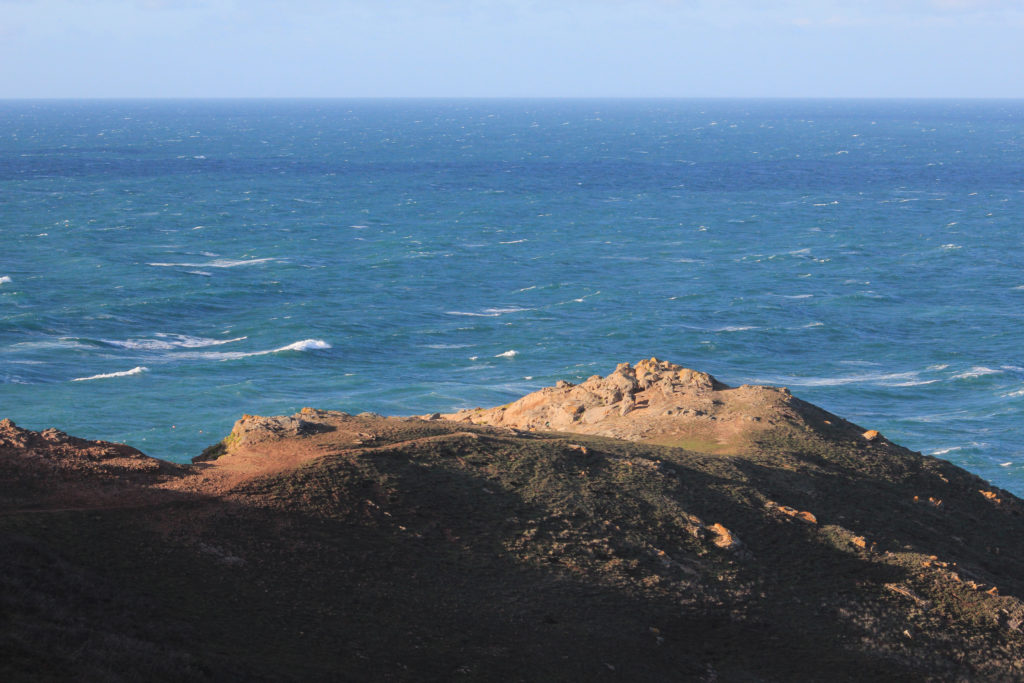
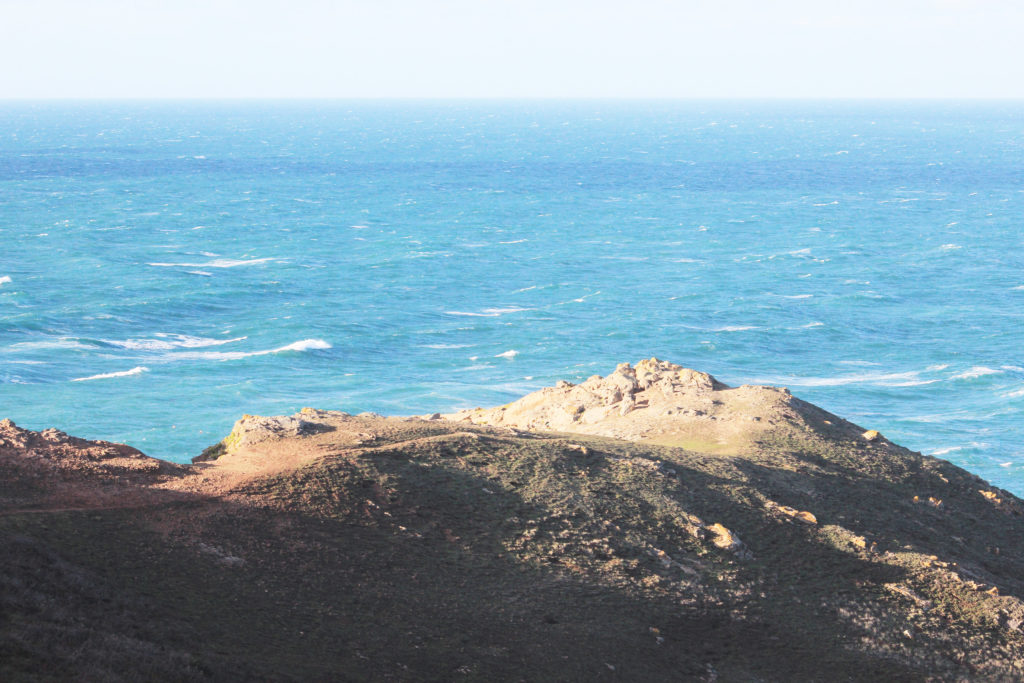
The two images I chose where actually singular photographs with different exposures. Here are an example of using exposure bracketing from under to overexposed, these photos can be used to create a HDR image on photoshop.

Image 3:

Image 4:

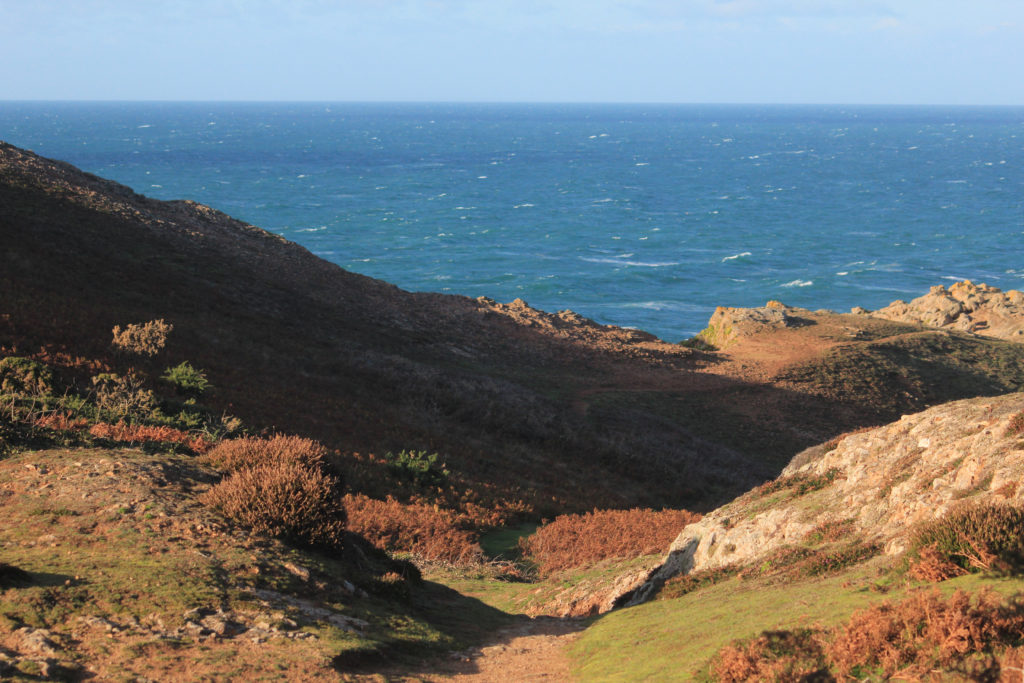
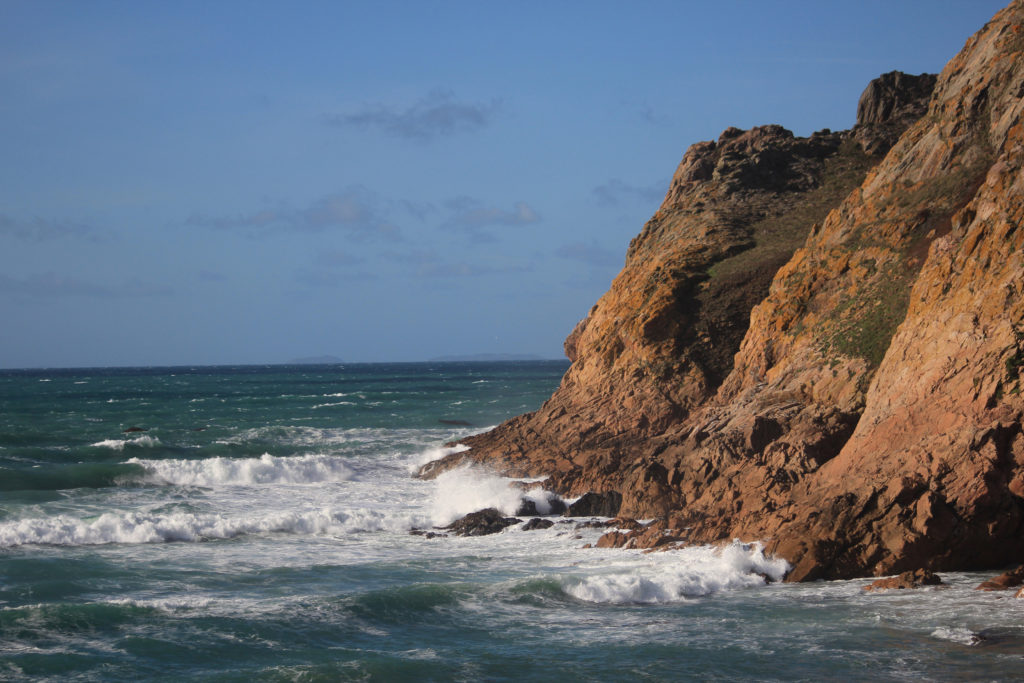
I think that the composition of this photo is interesting and shows the height of the headland. I think this could be a suitable photo for editing.

CREATING HDR

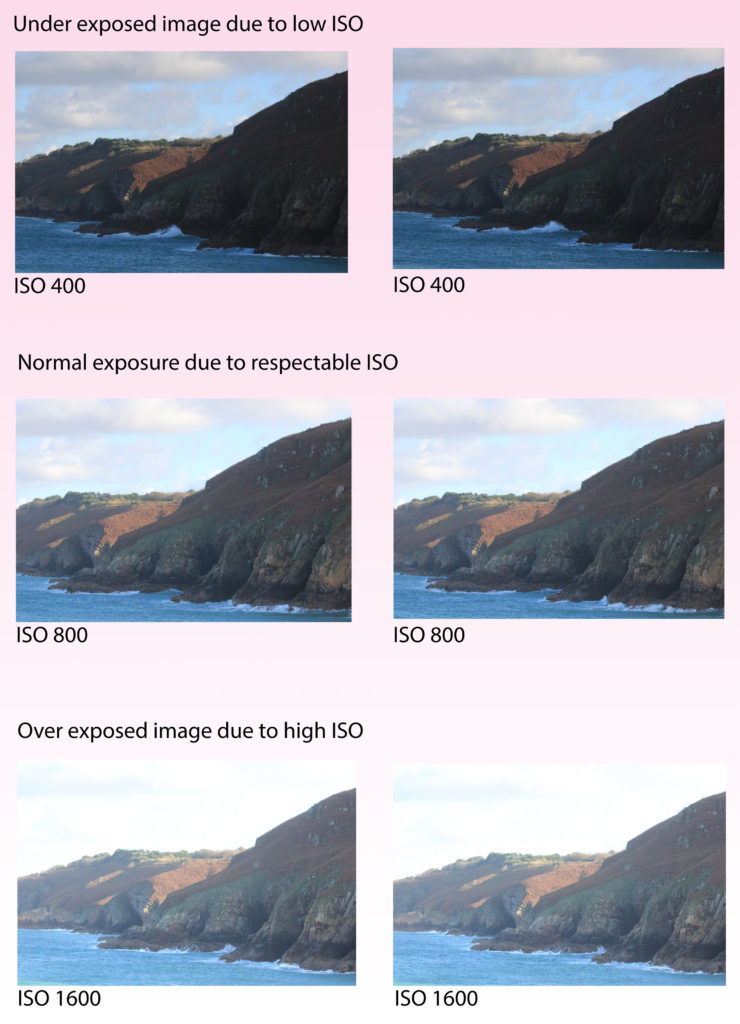
During my first photoshoot at Plemont, I experimented with different ISO’s in order to be able to create HDR images in photoshop later on. I used a tripod to keep the camera still while changing the settings (ISO number) between different photos. The ISO’s ranged from 400 to 1600. Later, using photoshop, I automated 3 photos with different exposures; over exposed, under exposed and normal, into a HDR photograph.

This image has an empty alt attribute; its file name is iso-3-740x1024.jpg

LANDSCAPE PHOTOSHOOT 1 PLAN:
PHOTOSHOOT PLAN:
WHO

I will be taking the photos, however with no human focal point, or any human make infrastructures, since landscape photography uses primarily nature only. As this is my approach to Romanticism, I will try to create focus on nature and exaggerate its beauty.

WHAT

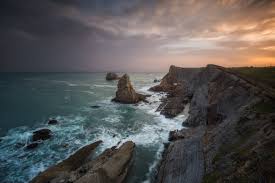
I will be taking photos of the headlands of Plemont, including the waves of the coastline as they will be rough and strong, as well as the rocks and harsh cliff faces of the headland. This will also uncle some shrubbery and other plants surviving along the coast.

WHERE

My photoshoot will take place at plemont beach in St Ouen, primarily the cliffs to the right of the headland. I will also walk to the end of the headland in order to gain perspective of as many angles of the cliffs as possible.

WHEN

The photoshoot will take place on Sunday October 6th, from 4pm until around 6pm. The weather forecast is due to be sunny with some clouds, which should help exaggerate the colours of the landscape and give emotion and drama to the images.

WHY

I have chosen this time and place as the cliffs can be very powerful and I believe represent a very natural, beautiful landscape. Due to the weather conditions and time of day, the golden hour lighting and clouds will provide a good variety of natural lighting.

HOW

It may be windy so I will take a tripod in order to stabilise the camera when taking photos. I will further use a quick shutter speed, around 1/500 to make sure objects such as waves are not blurry. (this may mea I will need a lighter iso to brighten the image.) I may take photos with different ISO levels, so keeping the camera still will create a smooth combination of different photos to a HDR photo.

WHAT IS HDR AND HOW I WILL USE IT IN MY PHOTOSHOOT:

Image result for exposure bracketing photography

Bracketing refers to the changes in exposure between multiple image captures. This means taking frames at different light levels.

This can be done by changing the ISO on the camera settings. By changing the ISO number you can modify the brightness of the photo. By increasing the ISO, the image will become brighter, and by decreasing the ISO the image will become darker.

In the image to the left, a range of identical photographs are taken, however some are over exposed and some are under exposed, due to a change in ISO.

Image result for what is iso photography
An ISO of 100 would create a darker image compared to an ISO of 1600.

By taking photos at different exposures, a method called HDR can be used to increase the dynamic range in photographs, hence the name High Dynamic Range. Many applications such as Photoshop can be used to automate photos to HDR. When layering identical photos taken at different ISO’s it alters the ratio of light to dark, exaggerating highlights and shadows. This allows the viewer to experience a wider range or tones and colours when looking at a photo.

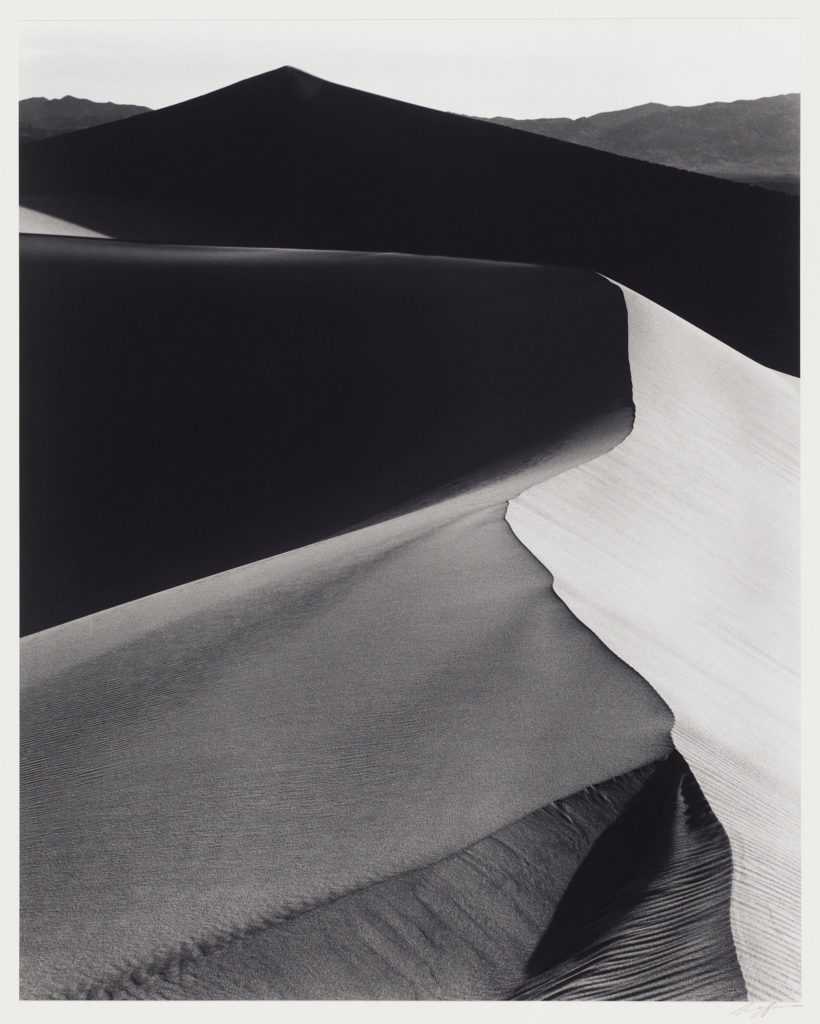
ANSEL ADAMS LANDSCAPE PHOTOGRAPHER

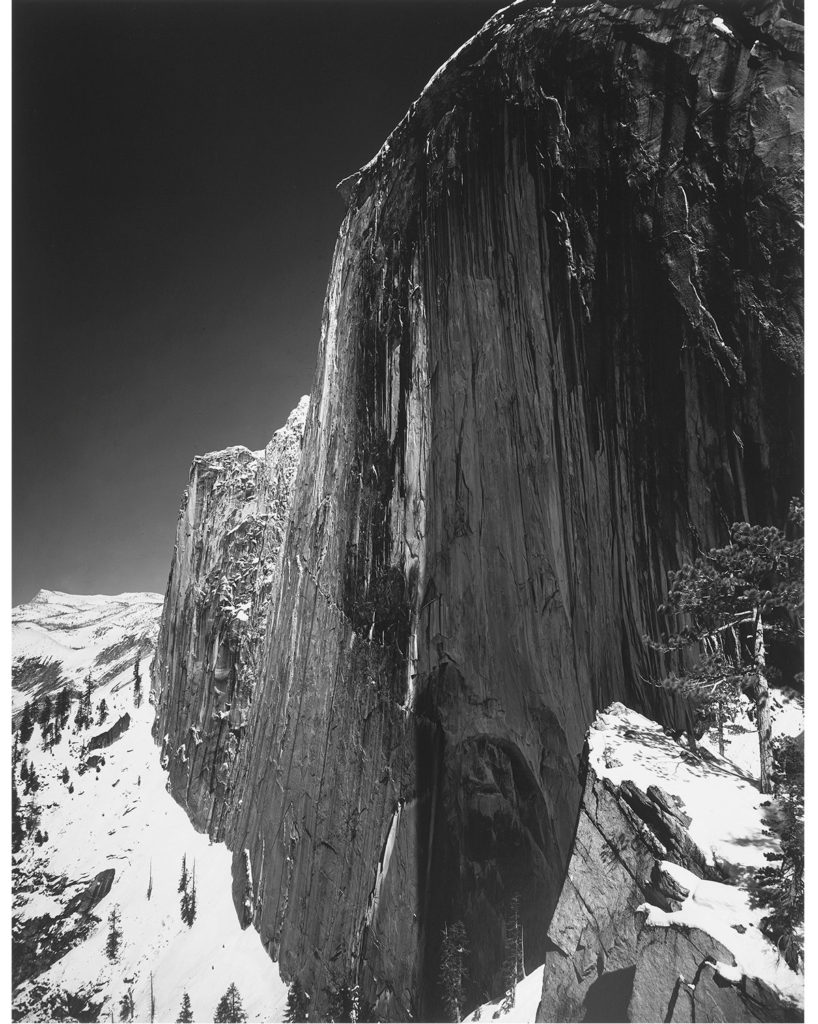
Image result for Ansel adams

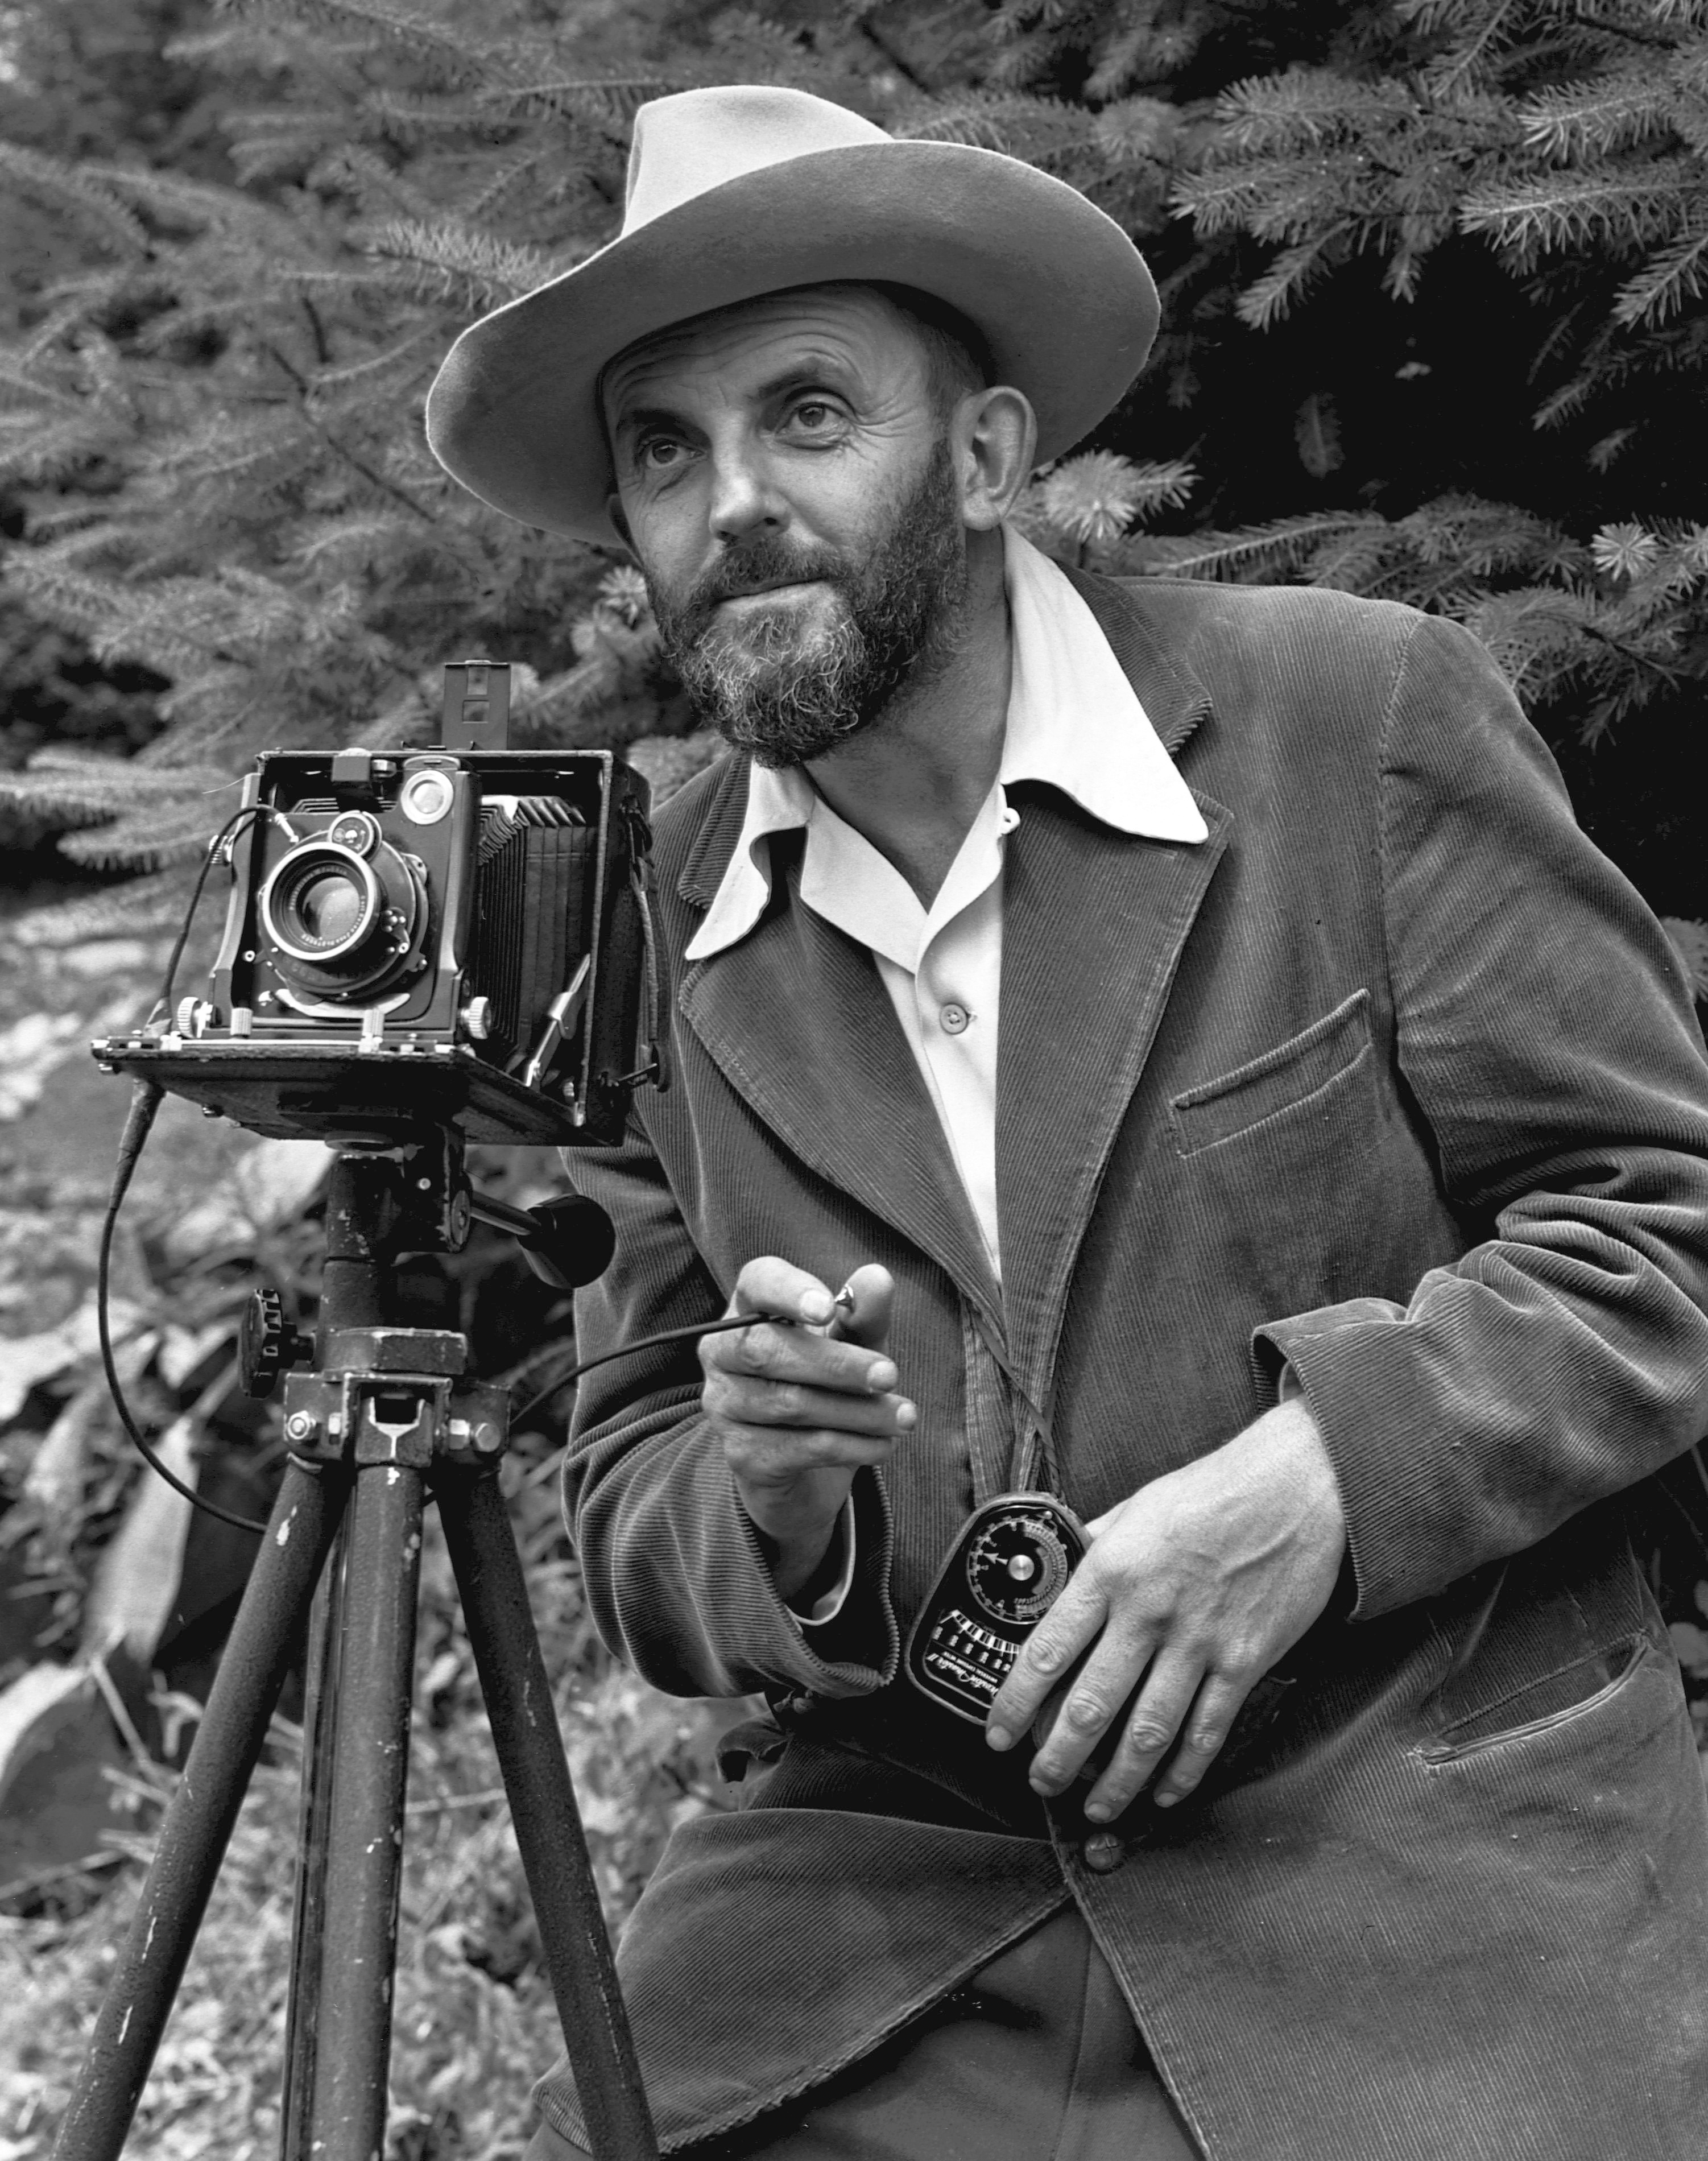
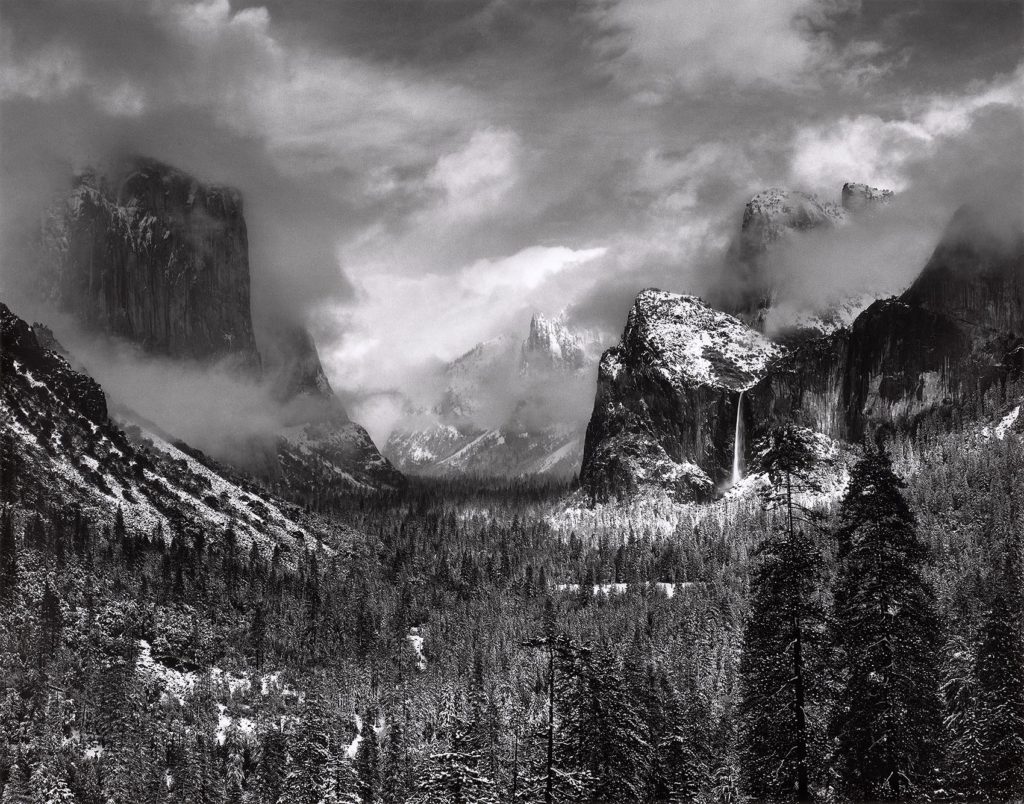
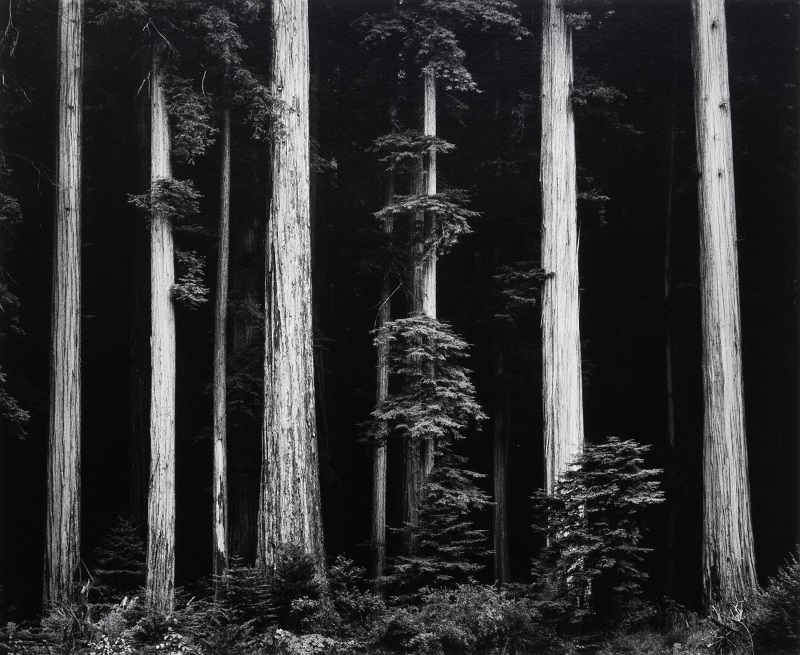
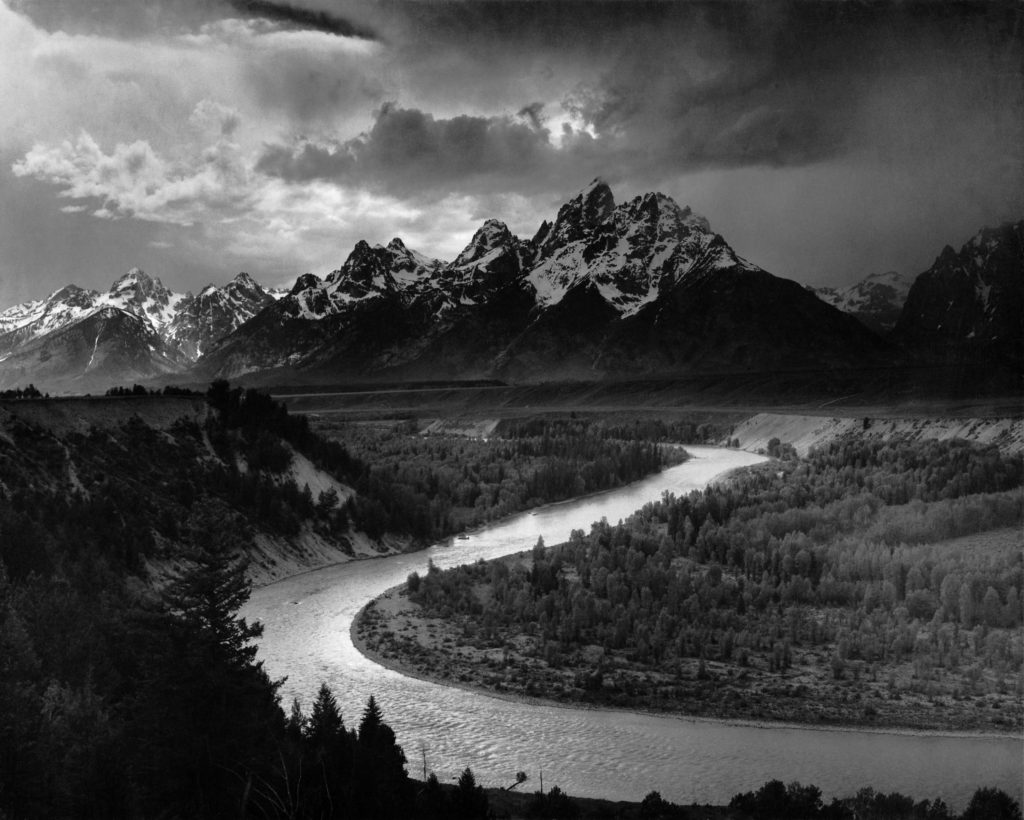
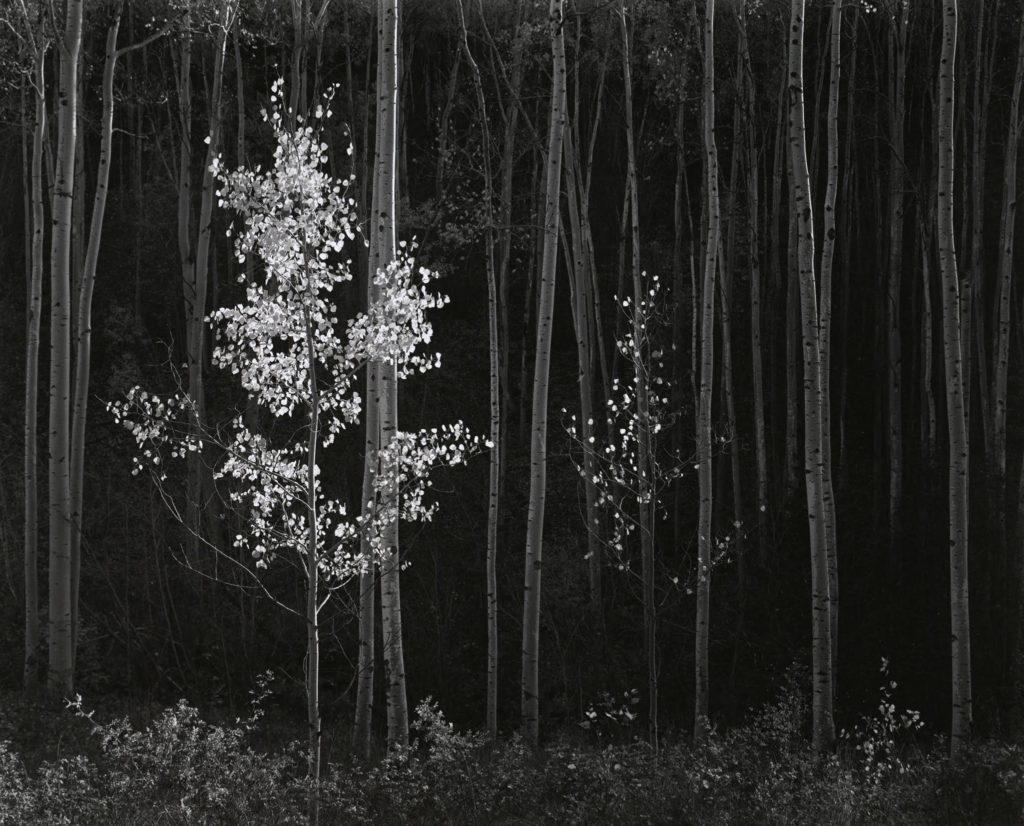
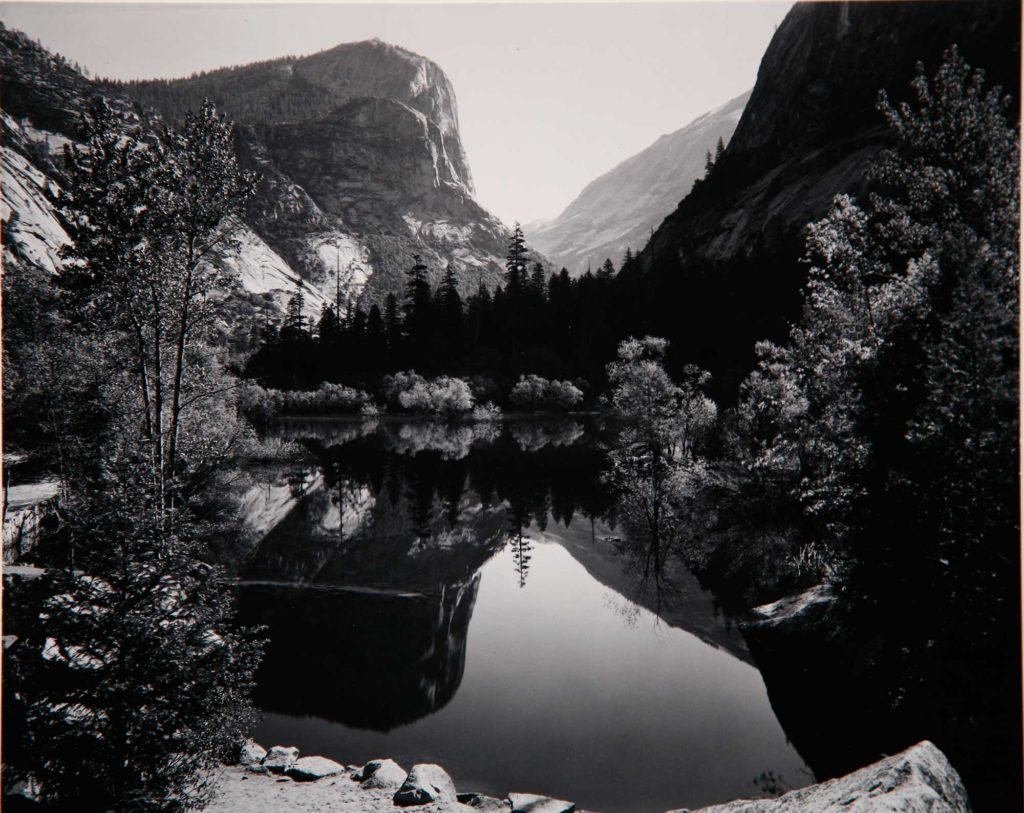
Ansel Adams was born on the 20th or February, 1902 in San Fransisco, California. He is one of the most important landscape photographers in the 20th century, creating iconic black and white photographs that established photography as a fine art. Adams particularly photographed the American west, focusing on Yosemite national park. As well as being a photographer, he was an environmental activist, and used his work to promote the conservation of wilderness areas.

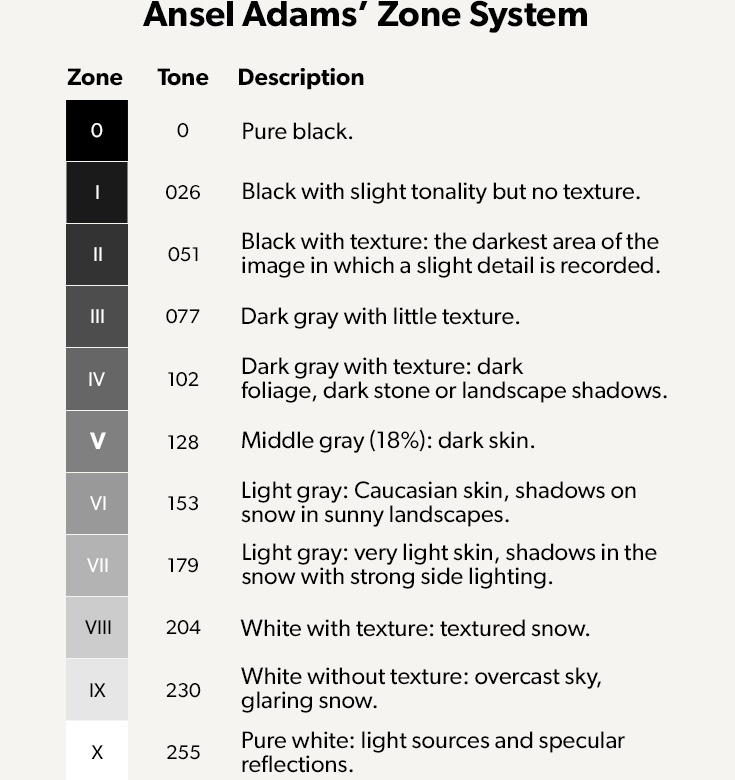
Spending much of his time in the dark room, Adams pioneered in the zone system, where he would paint onto enlarger the areas on the photo he thought where lighter or darker. We refer to this as burning and dodging.

In the 1930s, Ansel Adams and Fred Archer created the Zone system, which is a standardised way of working that ensures a correct exposure in every situation.

It creates an extreme difference between light and shadow areas of a scene. Zones are split into 10, with a 1 stop difference between each one.

This helps you to construct a precise evaluation of your scene’s tones and dynamic range, even before taking a photograph. It also determines how exactly how far apart to take exposure bracketed shots.

Image result for ansel adams
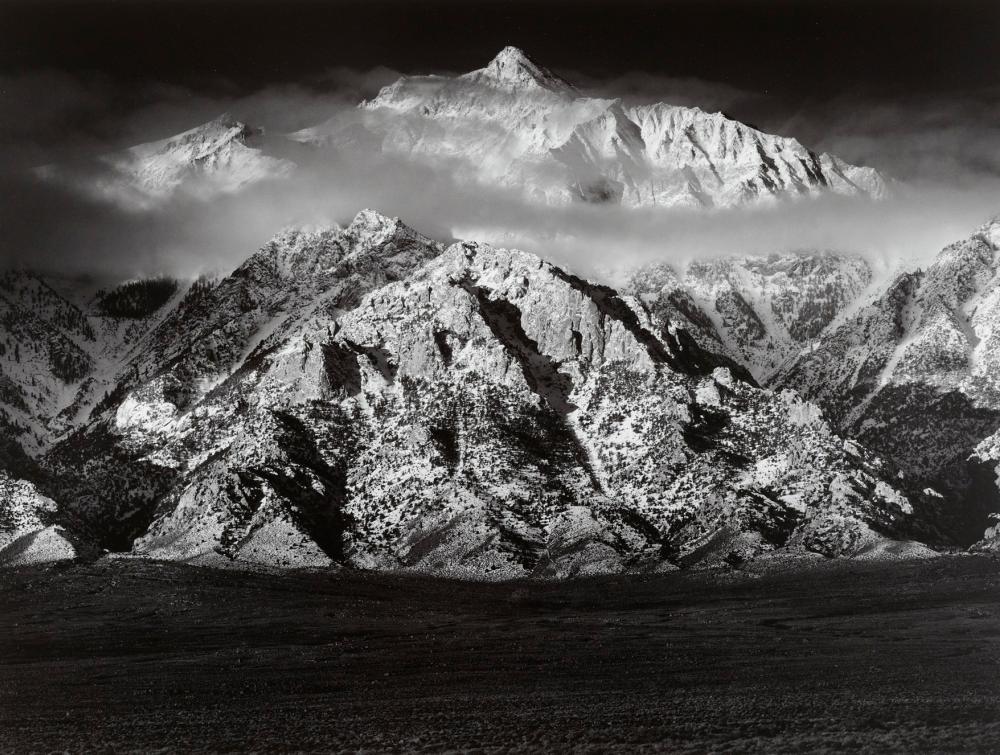
ANALYSIS OF HIS IMAGE:

TECHNICAL:

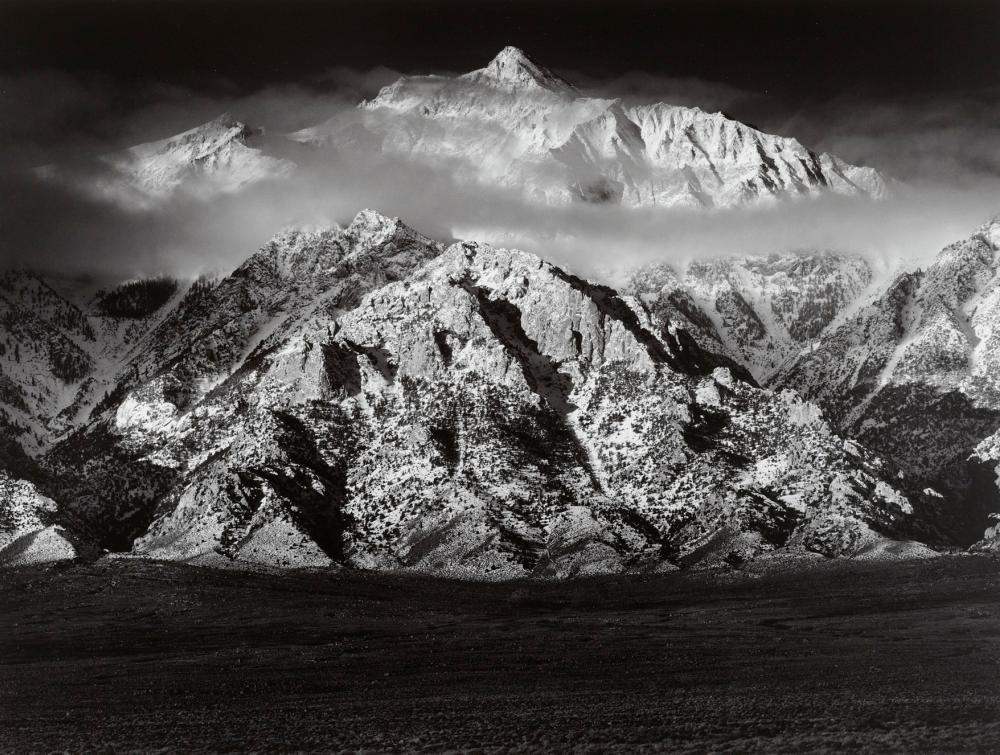
The lighting of this image is generally quite dark, with highlights of the mountain illuminated by obvious daylight. You can see this lighting is natural, reflecting the focus of the photograph. The image looks generally underexposed, with a high contrast between the shadows in the crevices of the mountain and the highlights scattered along the jagged mountains.

The aperture of the photograph looks as if is around f/16 as there is a deeper depth of field. The shutter speed seems to be quite short, maybe 1/320 as the image seems to be underexposed and quite focused and sharp. However you can see that this image is slightly grainy, which indicates a high iso. This could mean that the iso was high, maybe ISO1600.

VISUAL:

The colour of the image is black and white, which is very common in Ansel Adams work, however through this black and white image, there is a lot of tone, with very bright highlights and dark shadows (Zone System). There is a lot of texture coming from the mountains in the photo due to a range of lights and darks scattered across them, clearly indicating that they are the focal point.

There is very clear line in the image, between the dark rolling hills and the mountains, however the horizon line is very high up on the image, this could be to exaggerate the height and power of the mountain landscape. There is a very clear rule of thirds being applied in the image, with the segments going horizontal (lightest focal point being the mountains in the second third.)

CONTEXTAL/CONSEPTUAL:

The purpose of the image is to exaggerate the beauty of nature and the dramatise the landscapes in the image through the use of technique. This image truly reflects Ansel Adams ideas toward nature by bringing a Romantic approach to is photographs in order to promote the conservation of wilderness areas.

HISTORY OF ROMANTICISM

Image result for A Storm in the Rocky Mountains, Mt. Rosalie

Between the late eighteenth and mid nineteenth century, an artistic and intellectual movement took place in Europe. Romanticism involved the portrayal of the beauty of nature, focusing on landscapes, weather phenomenons and dramatic colours.

A Storm in the Rocky Mountains, Mt. RosaliePainting by Albert Bierstadt

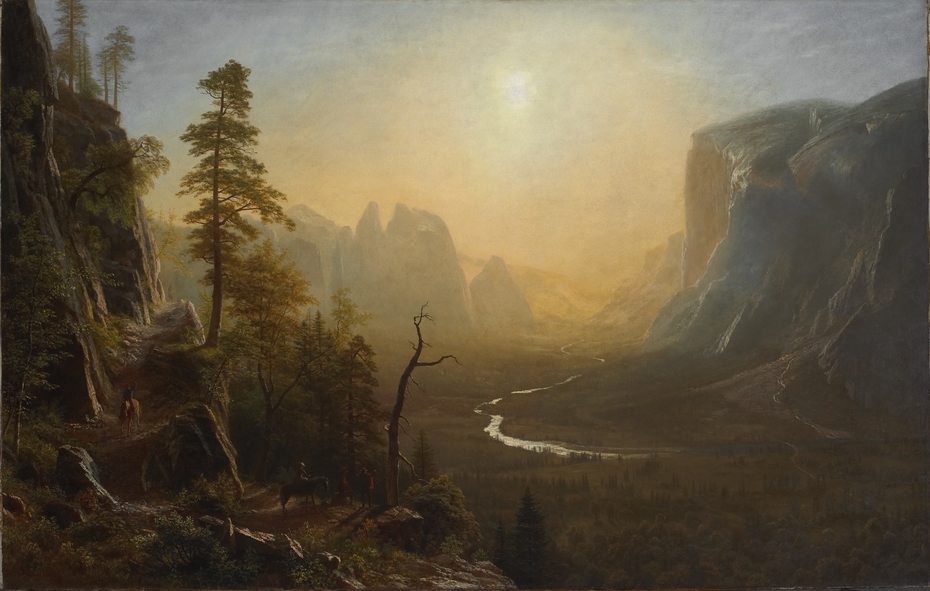
In the mid 18th century, romanticism in landscapes was portrayed through paintings. Artists like Albert Bierstadt, Frederic Church and Caspar David Friedrich are important figures in the Romantic movement, creating paintings that captured melodramatic scenery to initiate emotion, and a feeling of awe in the viewer.

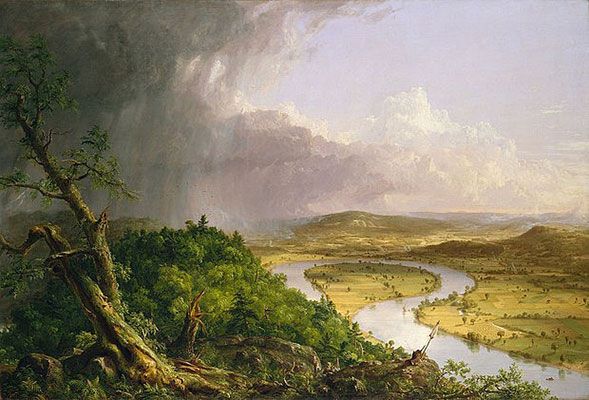
Thomas Cole: The Oxbow, View from Mount Holyoke, Northampton, Massachusetts, after a Thunderstorm (1836)
The Oxbow, View from Mount Holyoke, Northampton, Massachusetts, after a Thunderstorm (1836) Artist: Thomas Cole
Related image
Yosemite Valley, Glacier Point Trail  1873 painting by Albert Bierstadt

LANDSCAPE PHOTOGRAPHY INTRODUCTION

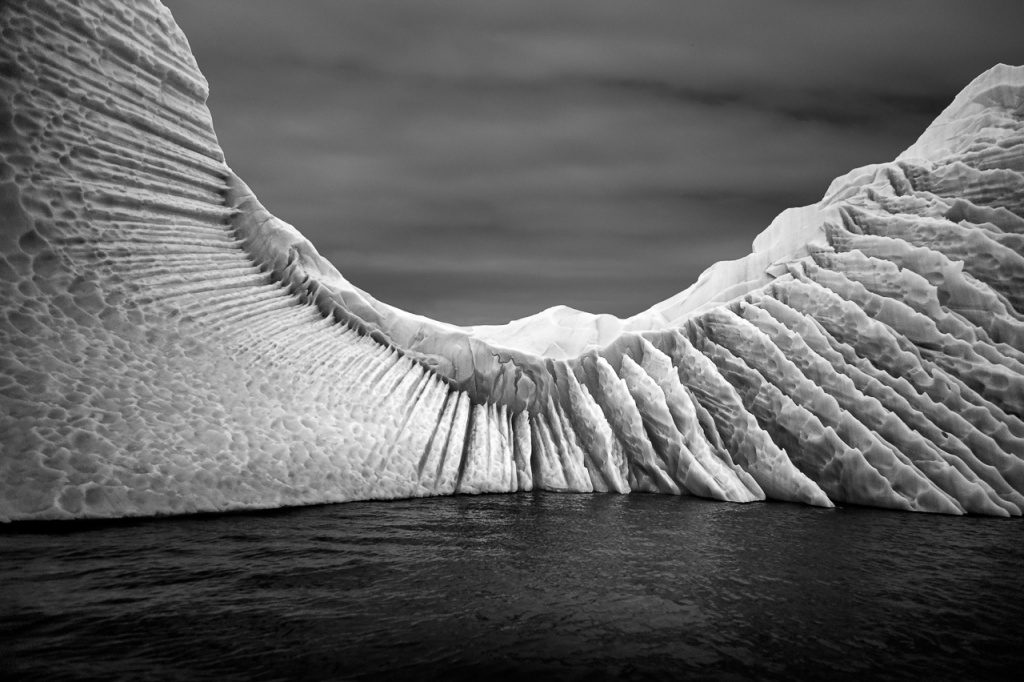
The idea of landscape photography is to capture an image that exemplifies the spirit of the outdoors, and to carry a sense of being there in the moment, so that the viewer is brought into the scene. Many of the most important landscape photographers have been motivated by an appreciation of the beauty of the natural environment and a desire preserve it. This means the majority of landscape photographs avoid human disruption in order to focus simple on nature.

MOOD BOARD

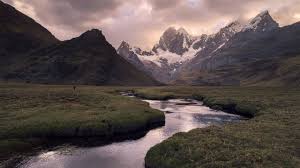
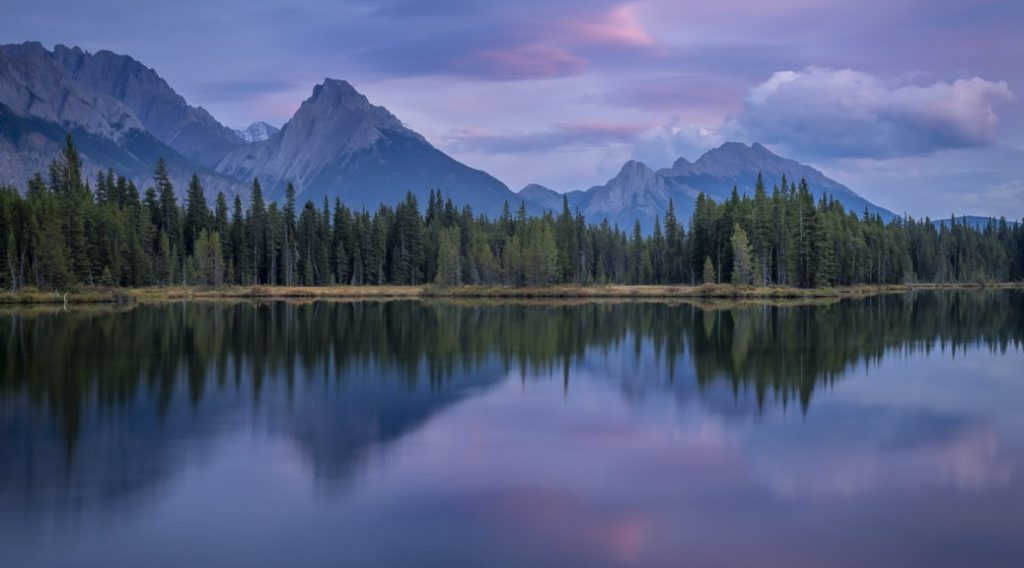
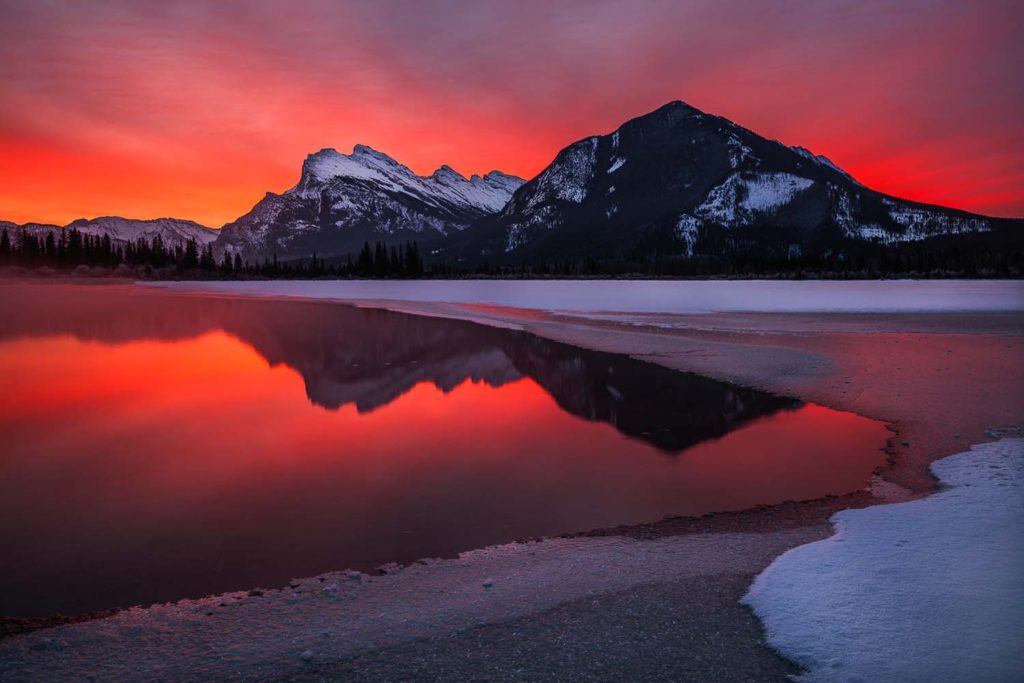
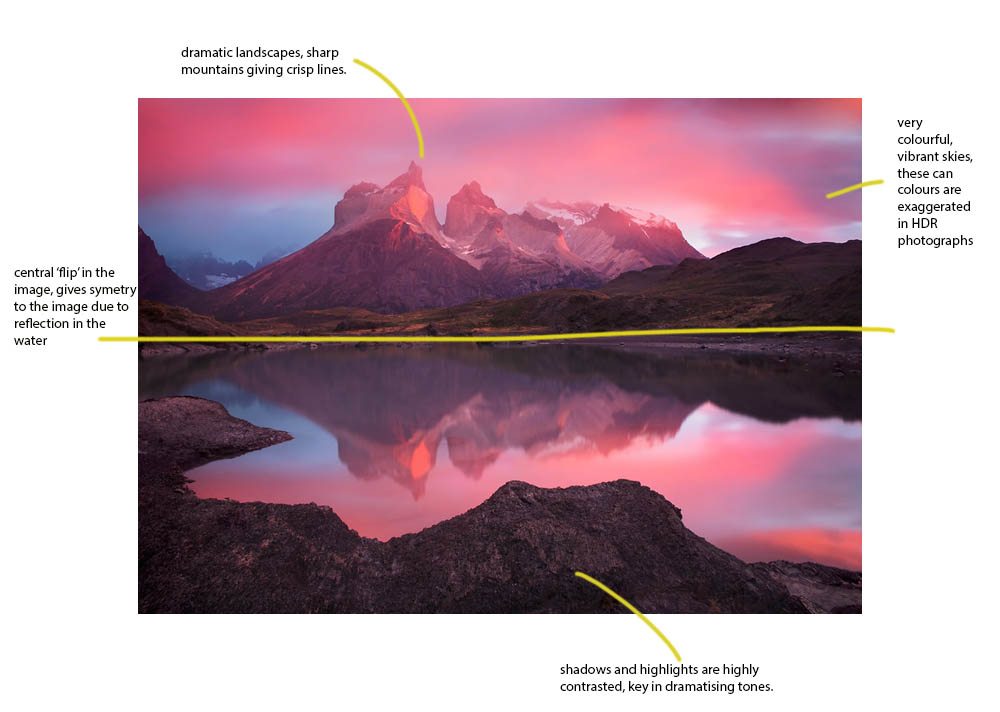
Features such as strongly defined landforms, weather, and ambient light are frequently, and photographs incorporate bright, vibrant colours from sunsets, dramatic tones from harsh skies, rough lines from mountains or cliffs, as well as reflections from lakes and rivers. This is a modern way of capturing an image of a Romantic landscape.

  • lighting; usually no flash, instead uses naturally occurring light such as sunrise, sunset etc.
  • wide angled lenses to allow broad angle of view
  • small aperture to allow all areas to be viewed in focus.
  • camera tripod usually used to maintain composition when taking same shot in different ISO’s.

EDITING IN PHOTOSHOP

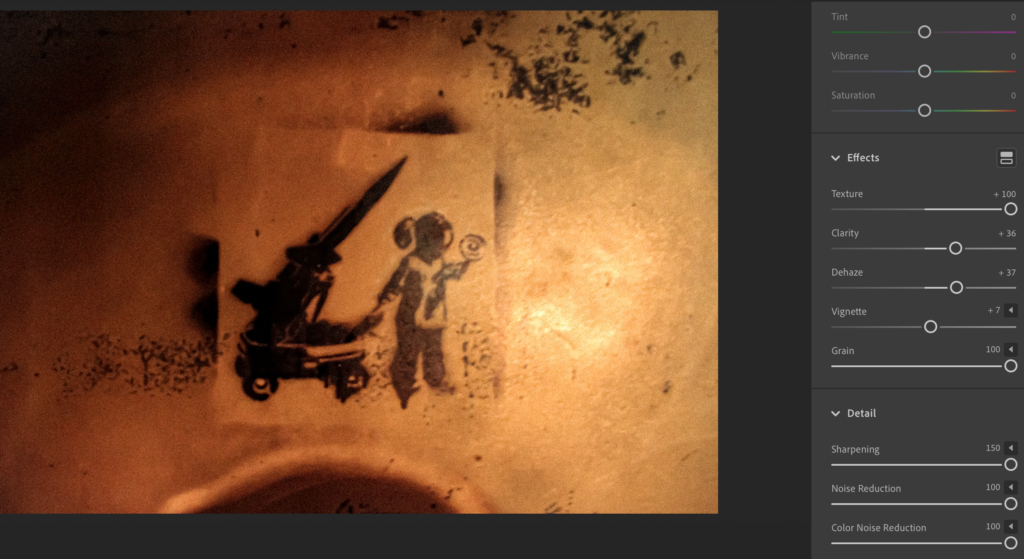
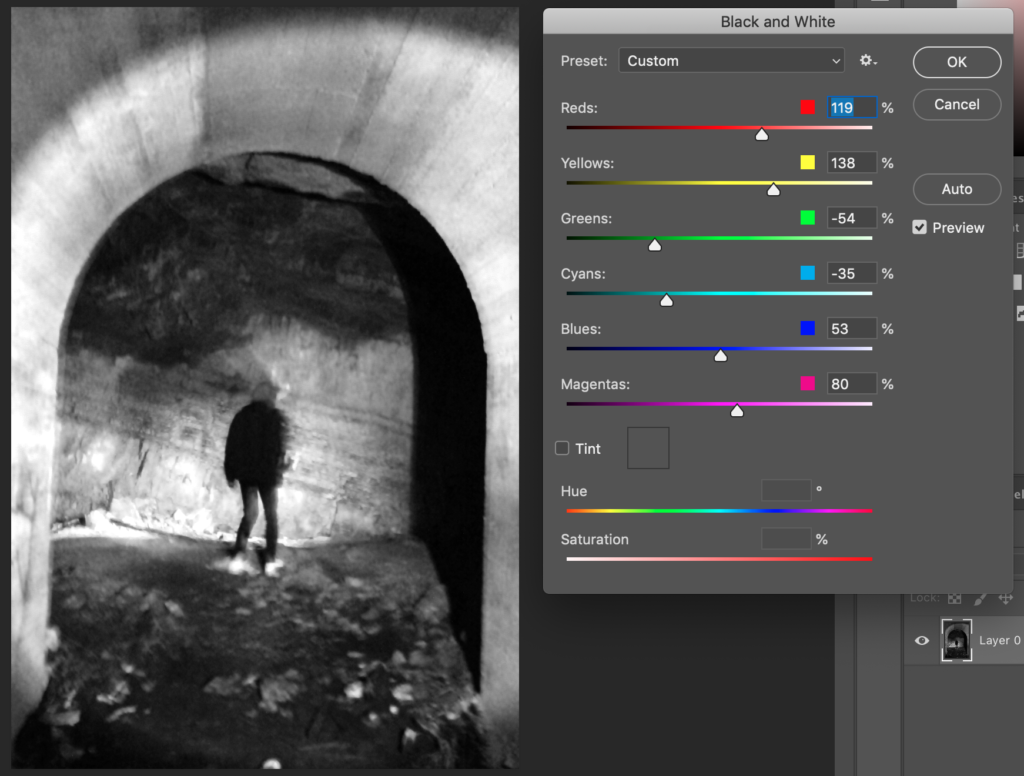
While exploring editing on photoshop, my main interest was increasing the highlights and shadows of each image. In this particular edit I preferred the photo in black and white. To increase the shadows and highlights, I increased the red and yellow tones, which would make shadows appear almost black, and highlights almost white. I picked this photo due to its interesting focal point. I feel that even though ones eyes are constantly being drawn towards the lightest and warmest areas, in this photograph the brightest part of the image (the centre) has an interesting high contrasted silhouette.

PHOTOMONTAGE PHOTOSHOOT; CONTACTS AND CHOSEN PHOTOS

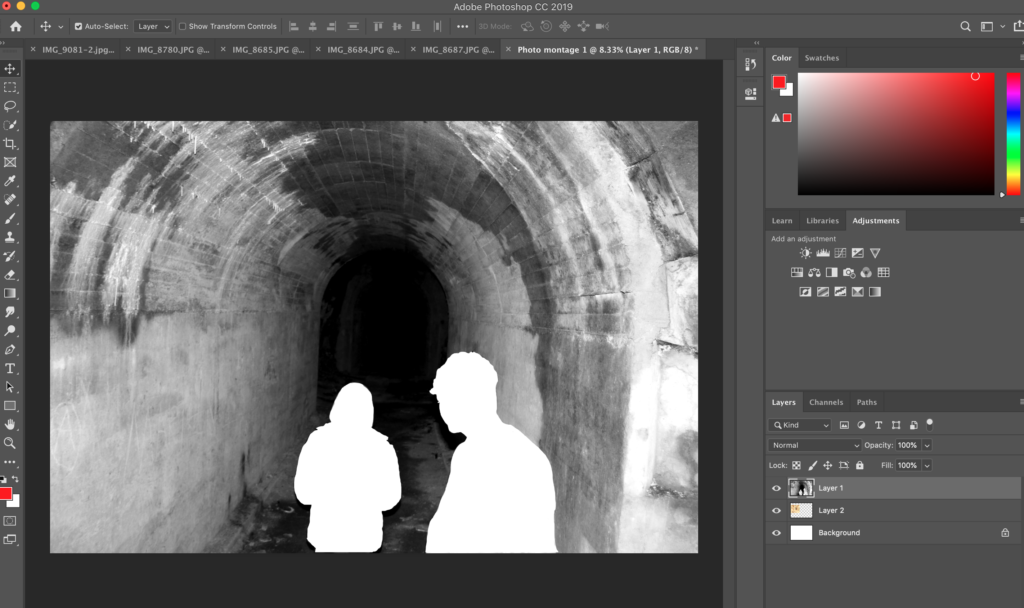
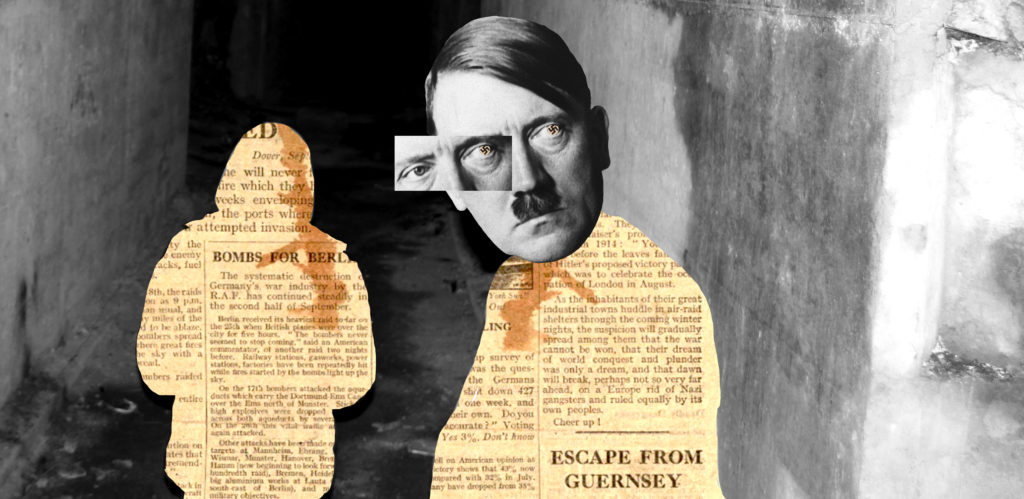
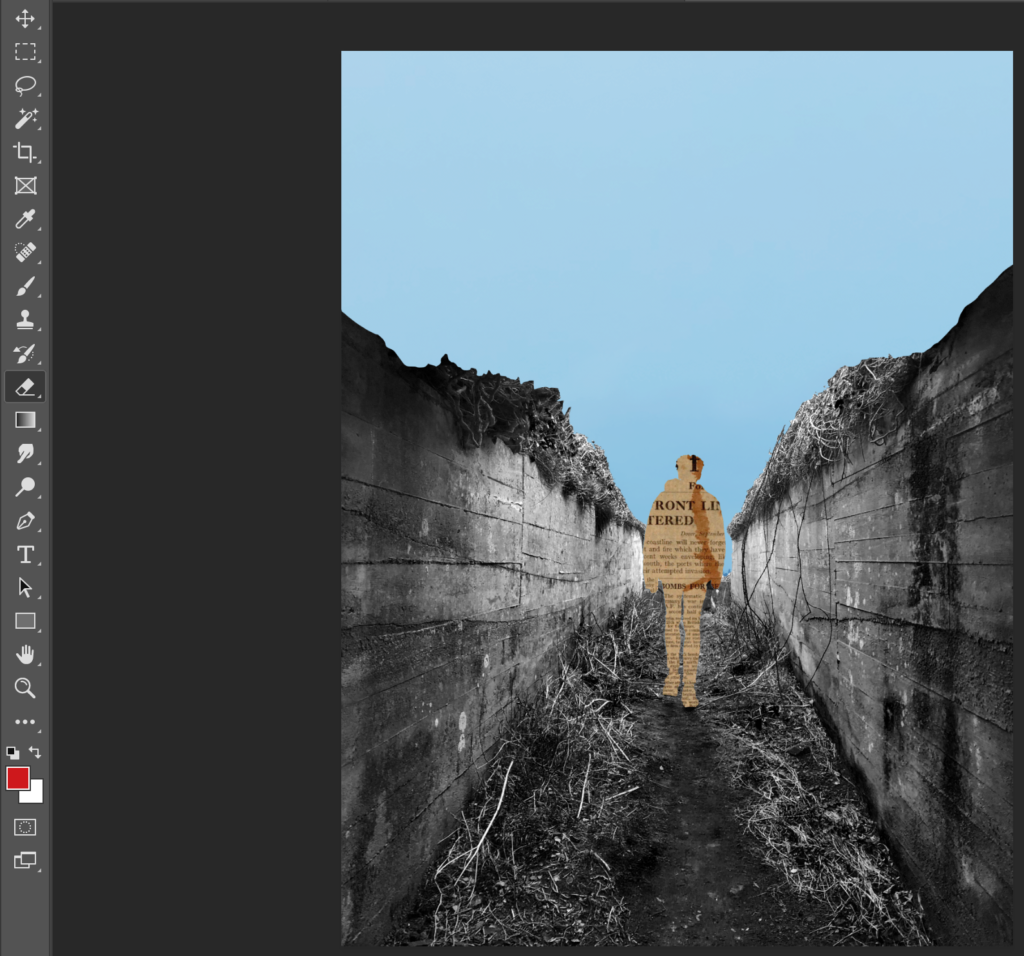
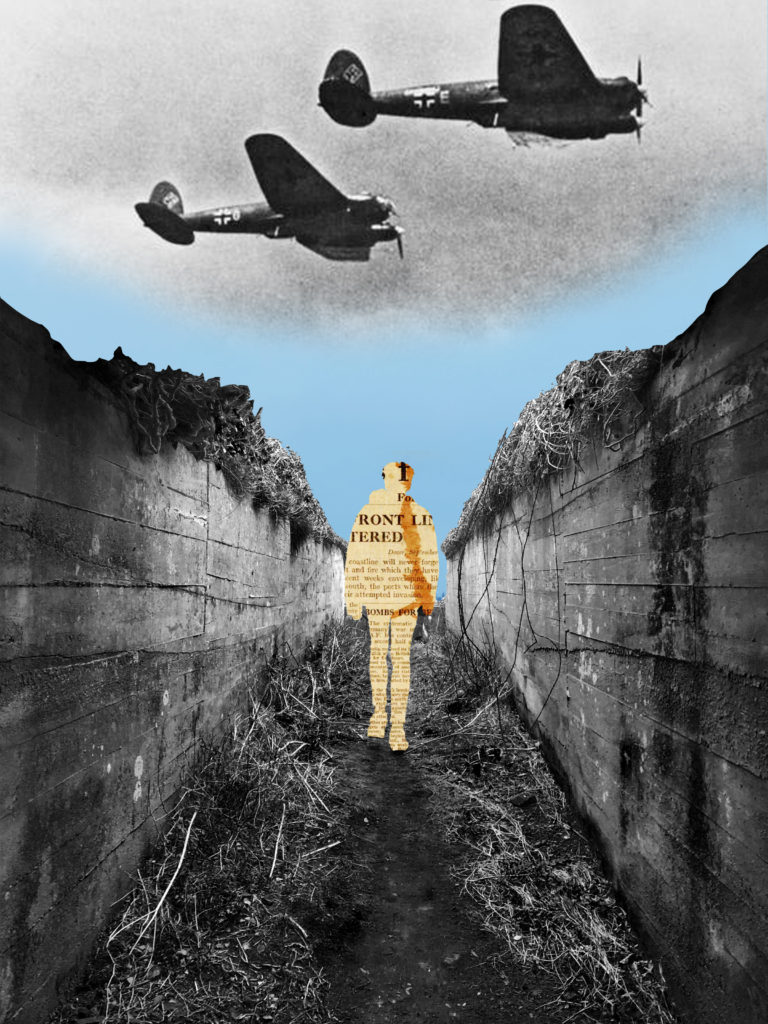
One of the main features in Jersey is its beautiful array of bunkers, built and left by the Germans during the occupation in WWII, symbolising the islands history. These concrete infrastructures scatter Jersey’s surface stretching from headland to headland, creating contrast to the organic landscape with their geometrical structure. However, some of these are not visible from above ground, and in fact seem more like cave systems hidden underneath Jersey.

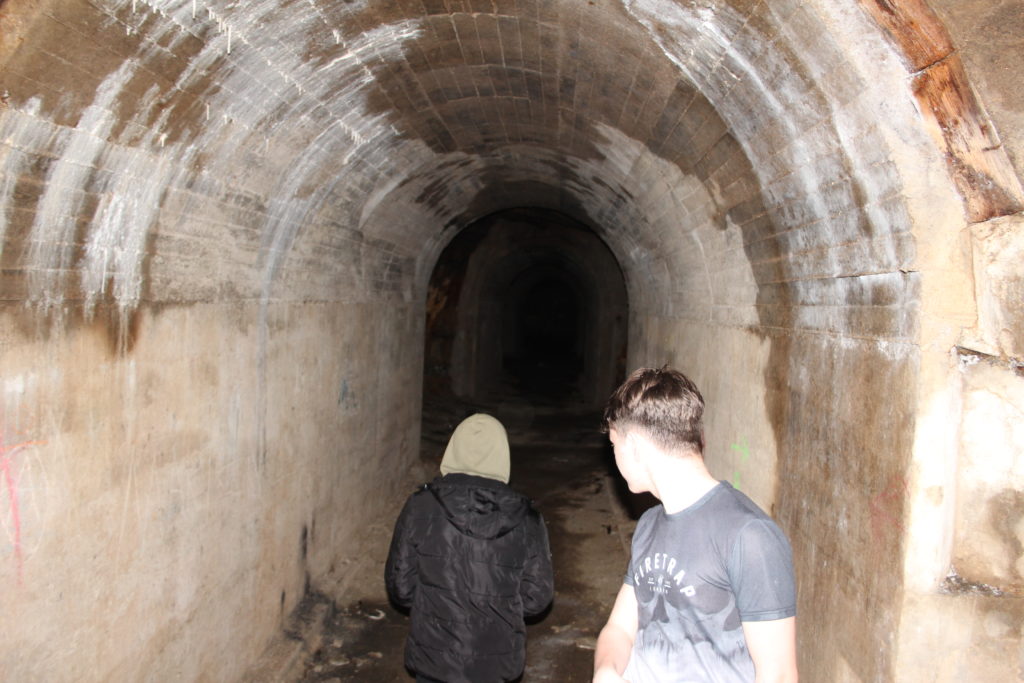
A specific bunker system I visited, H02, was such like that and lay under St Peters valley, left unfinished by the Germans. Exploring this system left me with a range of interesting photos, with tones of grey from concrete walls contrasting the rough-cut gamboge and ochre colour rocks. Since there was no natural lighting, a couple torches provided interesting experimental photographs when combined with an adjusted aperture. 

OUTCOMES: CONTACT SHEETS

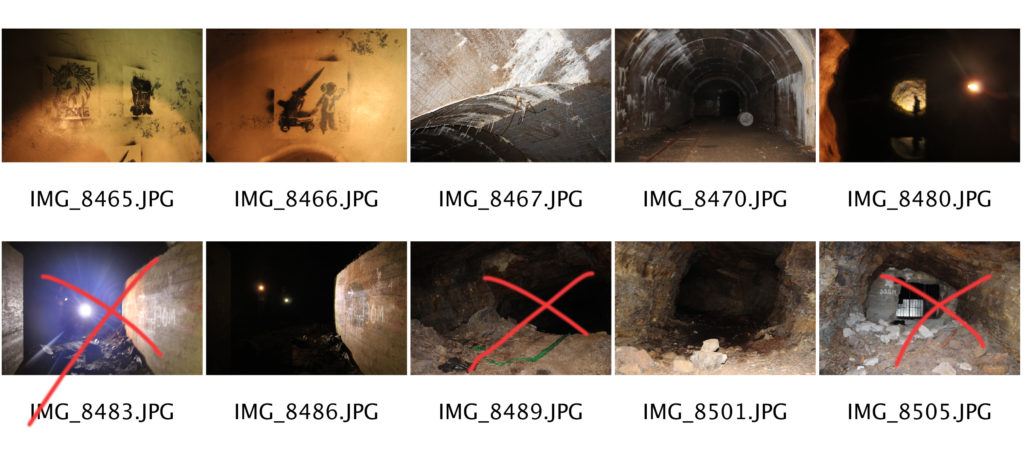
the photographs taken from this shoot will be used to experiment with editing in photoshop, and in the construction of my photomontages. within my contacts the circled photos represent my chosen photos to edit and include in my photomontages. the crossed photos will specifically not be used since they are not in focus and I personally dislike the composition.

SELECTED IMAGES:

Some other photographs used in my photomontages will be from the internet, such as ones of Hitler and an ‘occupation related newspaper’.