All posts by Jessica P

Filters

Author:
Category:

studio portraiture – edited images

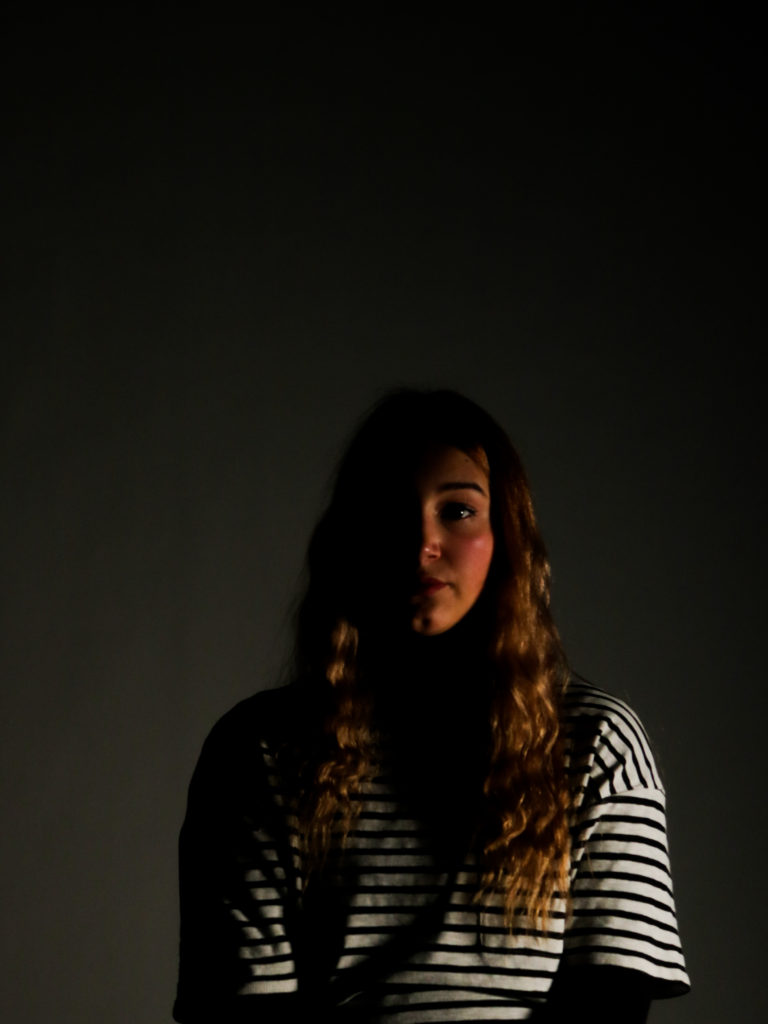
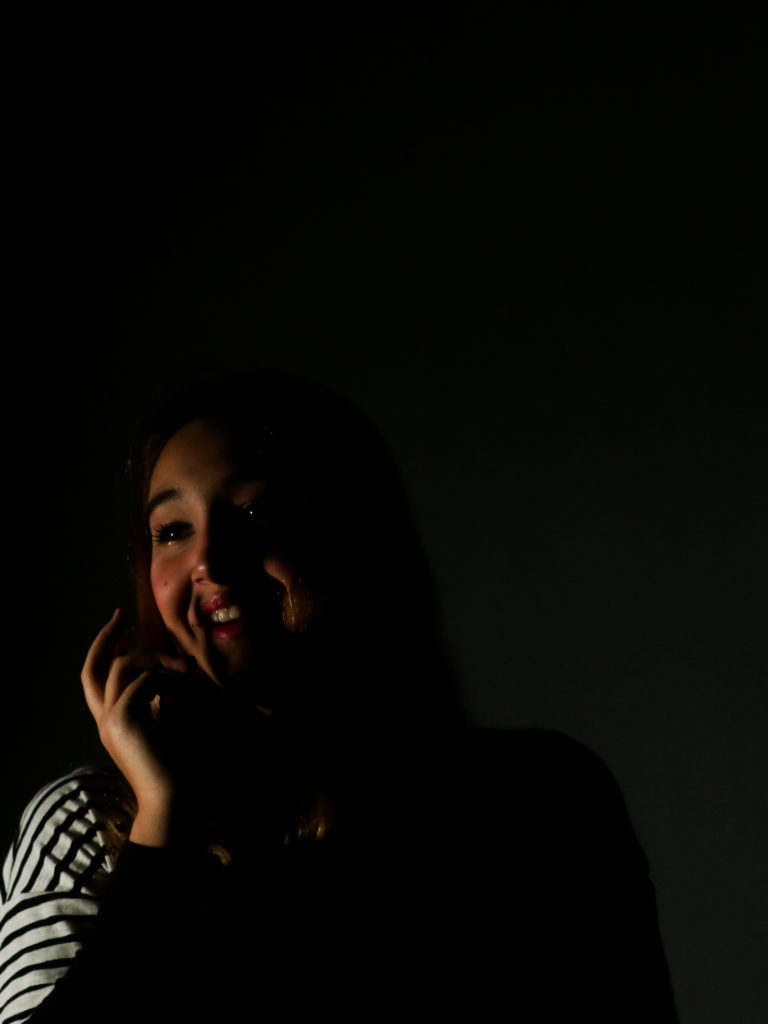
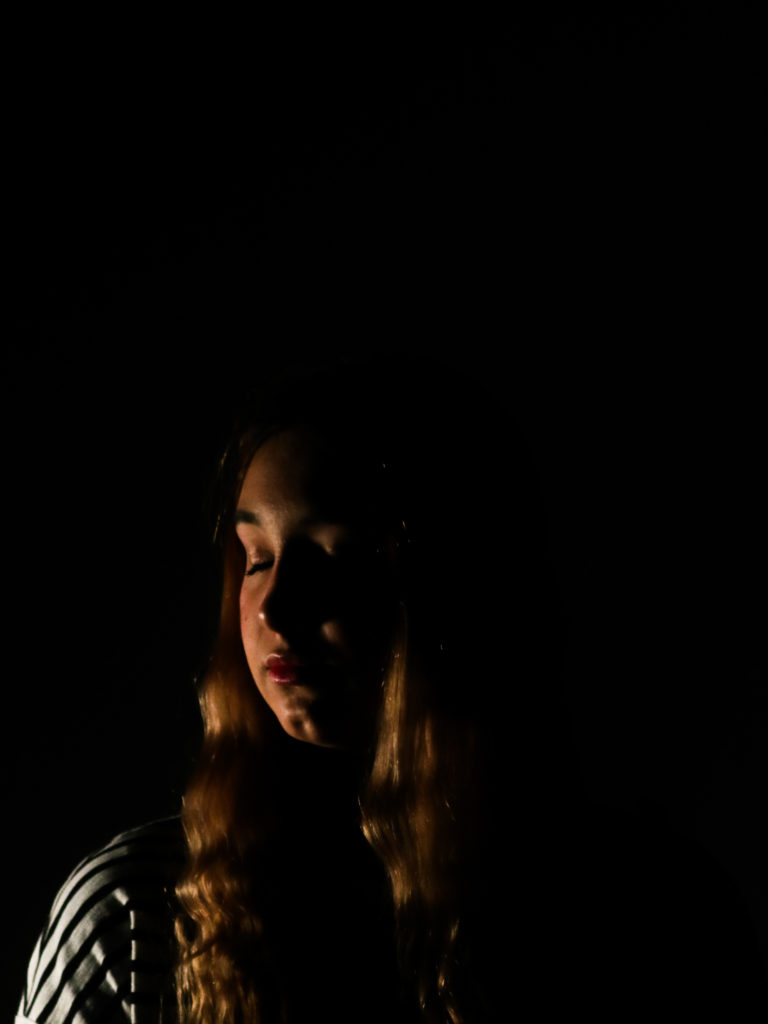
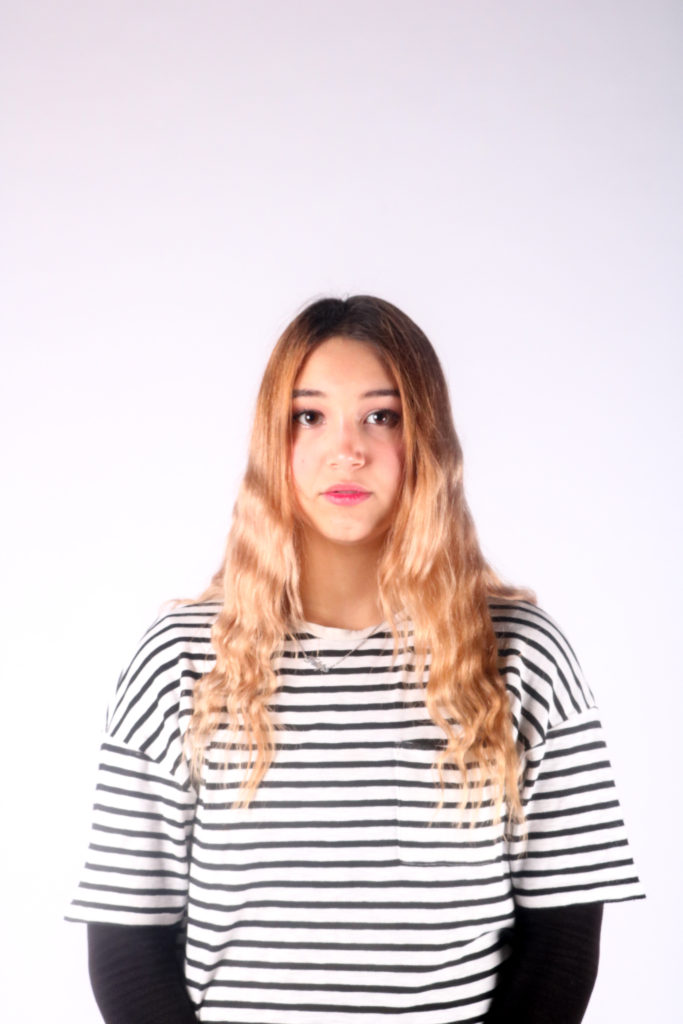
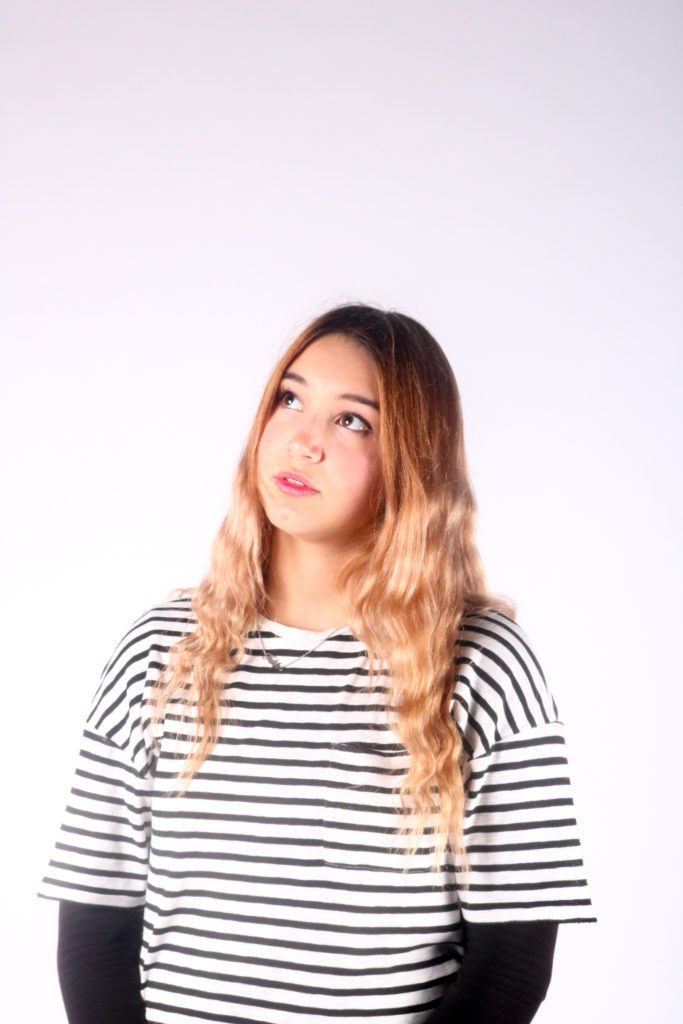
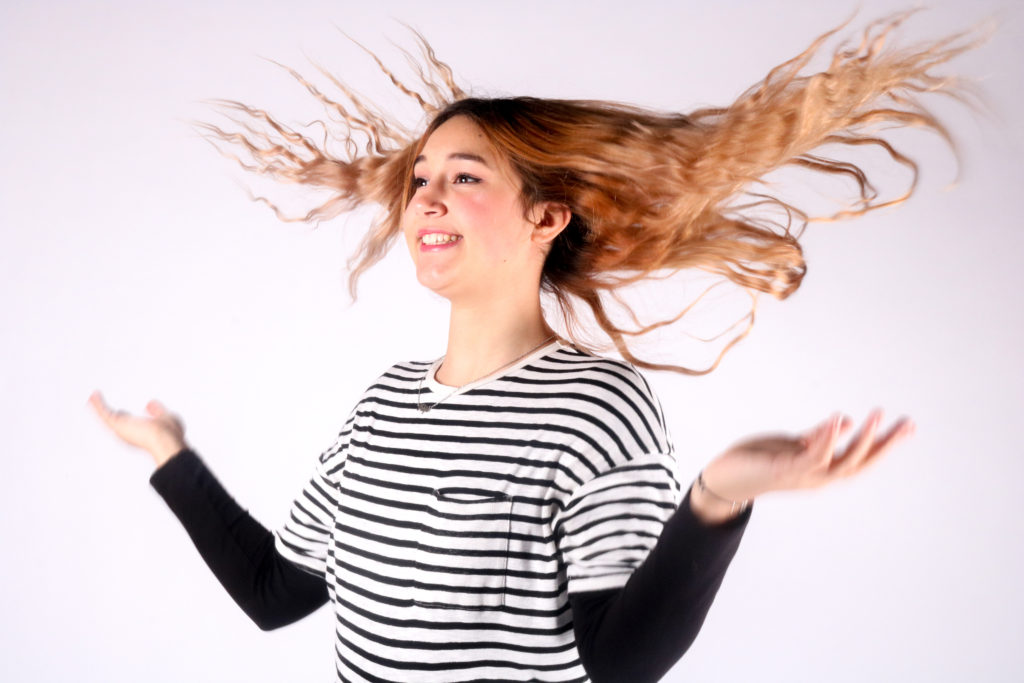
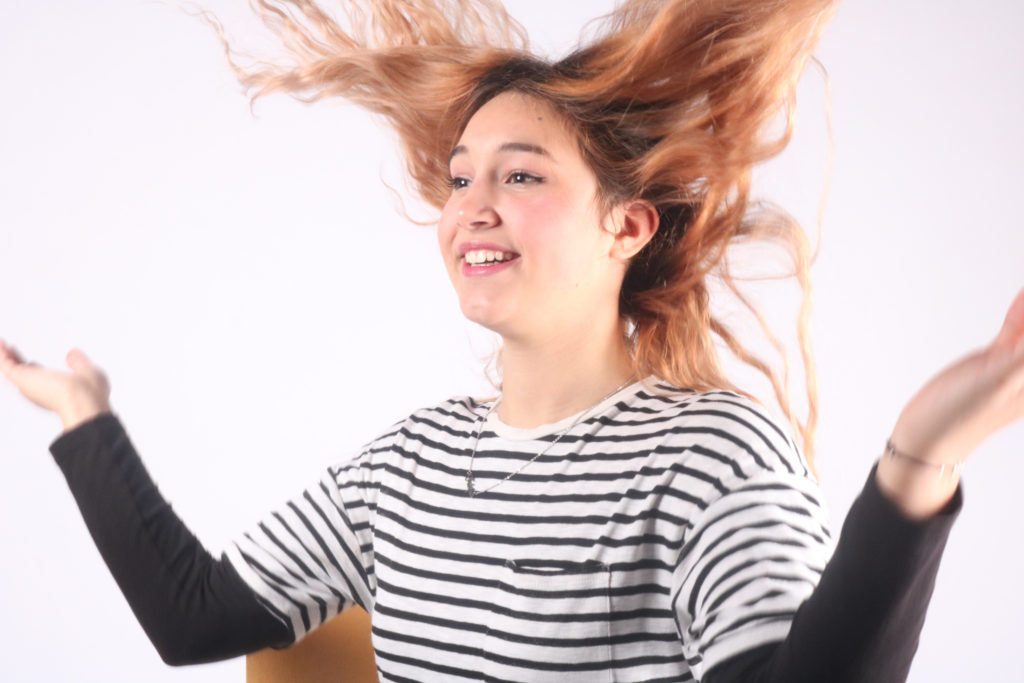
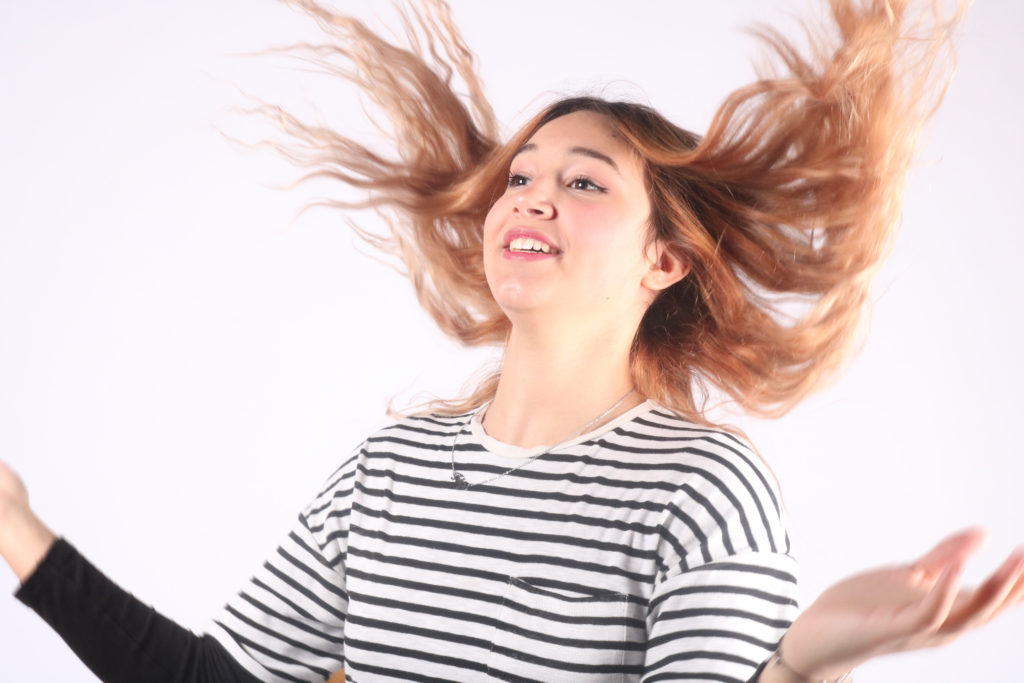
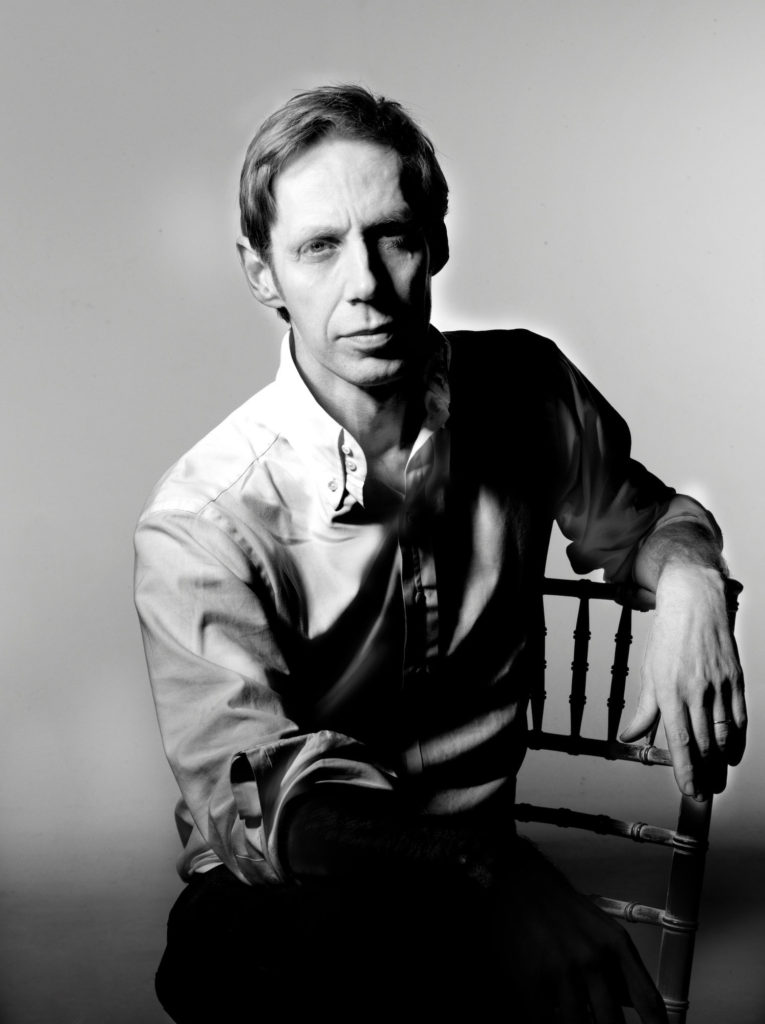
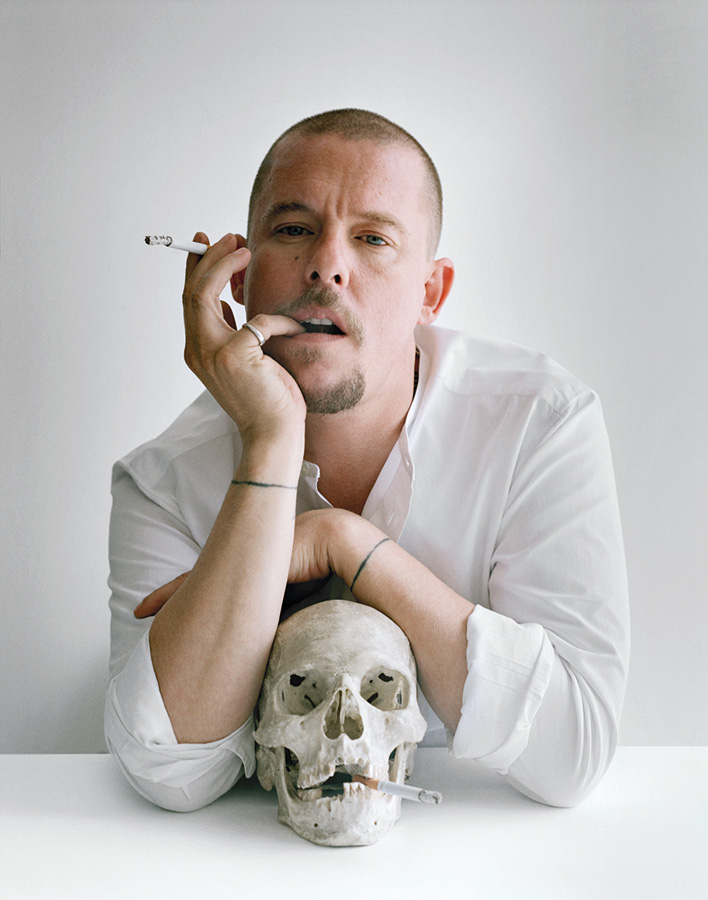
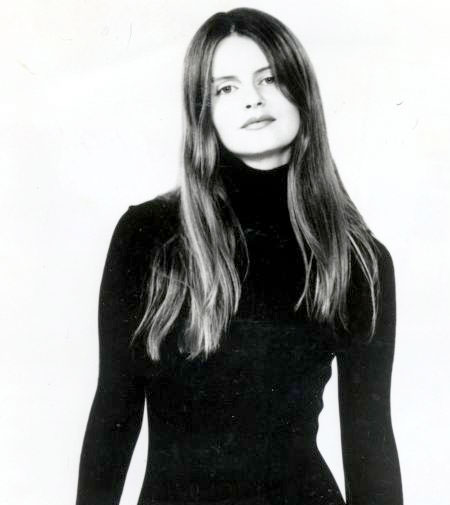
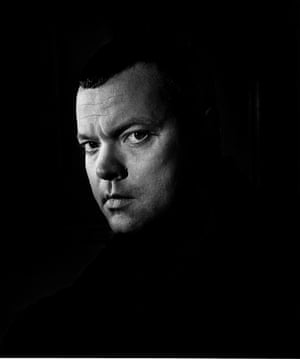
Below are all the images I decided to edit on Lightroom, as they came out the best and were the closest to the image I had wanted to create. They are all strong images which I will select from to be my final images.

image one
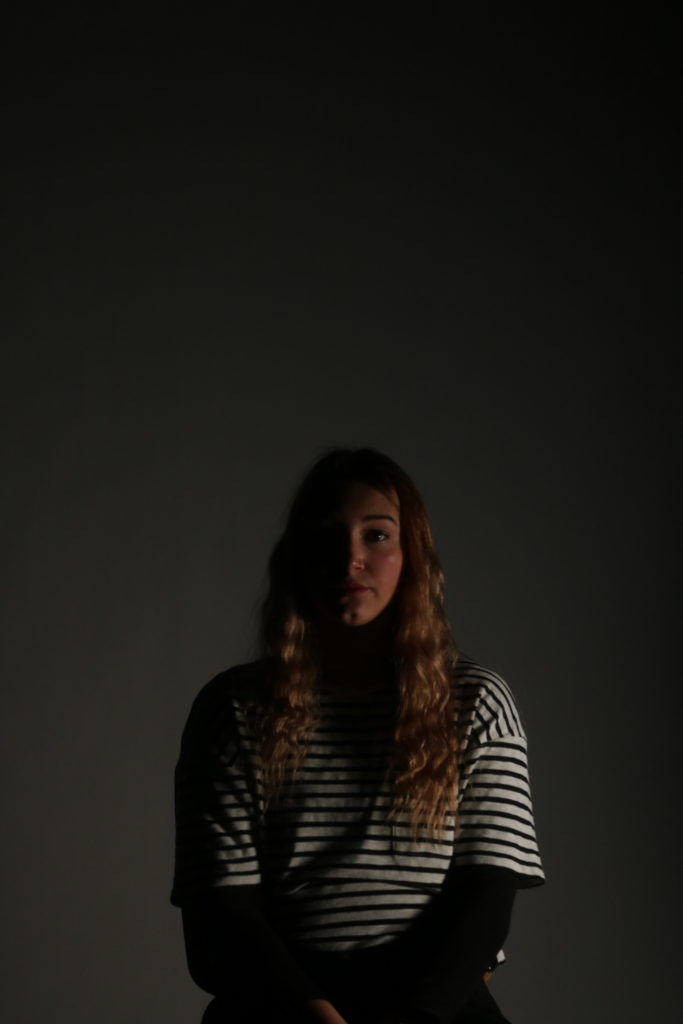
original
edited

For this image, I increased the exposure, as the illuminated areas of the face was a touch dark and didn’t create the effect I had intended to. I then increased the blacks to create a stronger contrast between the lights and darks, to create a chiaroscuro effect. To increase the overall aesthetics of the image I cropped it down, so you could only see the top half of the individuals’ body.

image two
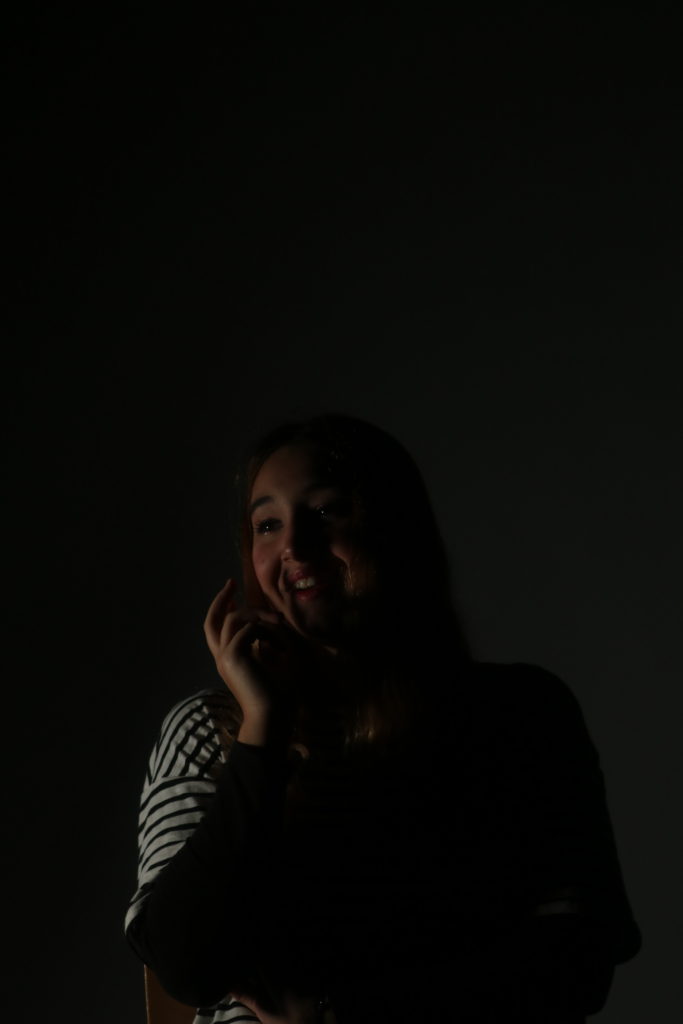
original
edited

For this image I increased the highlight, to make them brighter so that the illuminated side of the face was more contrasted too. I also increased the whites to make the highlights more profound. I also cropped the image to allow there to be some negative space, that is very effective in this instance.

image three
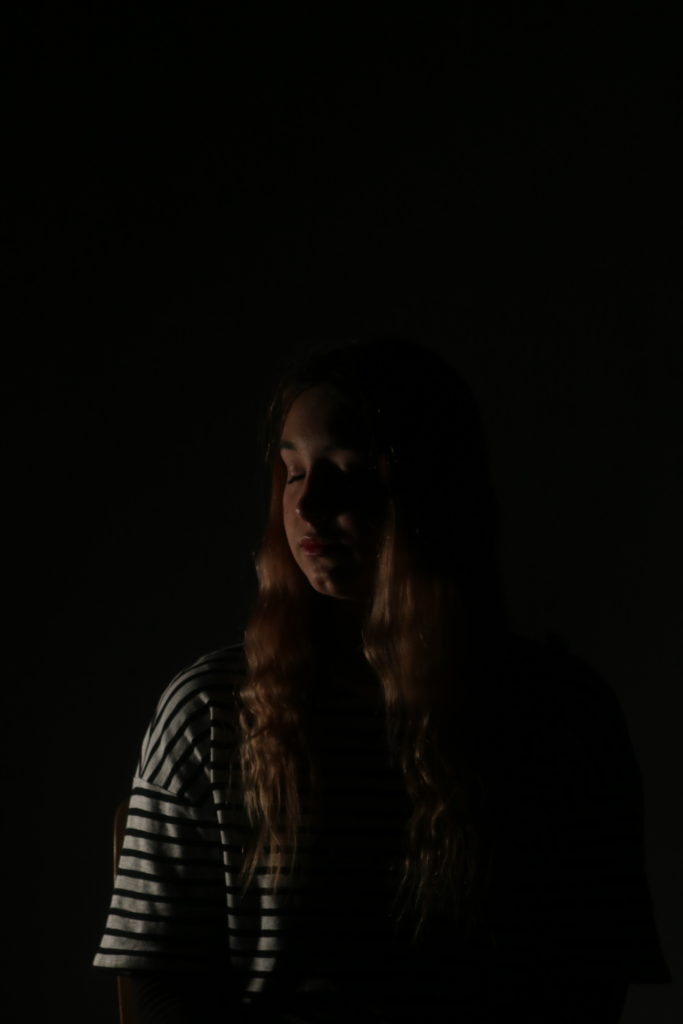
original
edited

For this image, I increased the exposure to fully illuminate the half of the face that had the constant light on it, as the original photograph was very flat. This simple adjustment let the photograph become more contrasted and let the tonal ranges become separated. I then increased the blacks to allow the background to blend into the individual’s hair and body. I also cropped the image as in the original there was too much negative space, which distracted the eye away from the individual.

image four
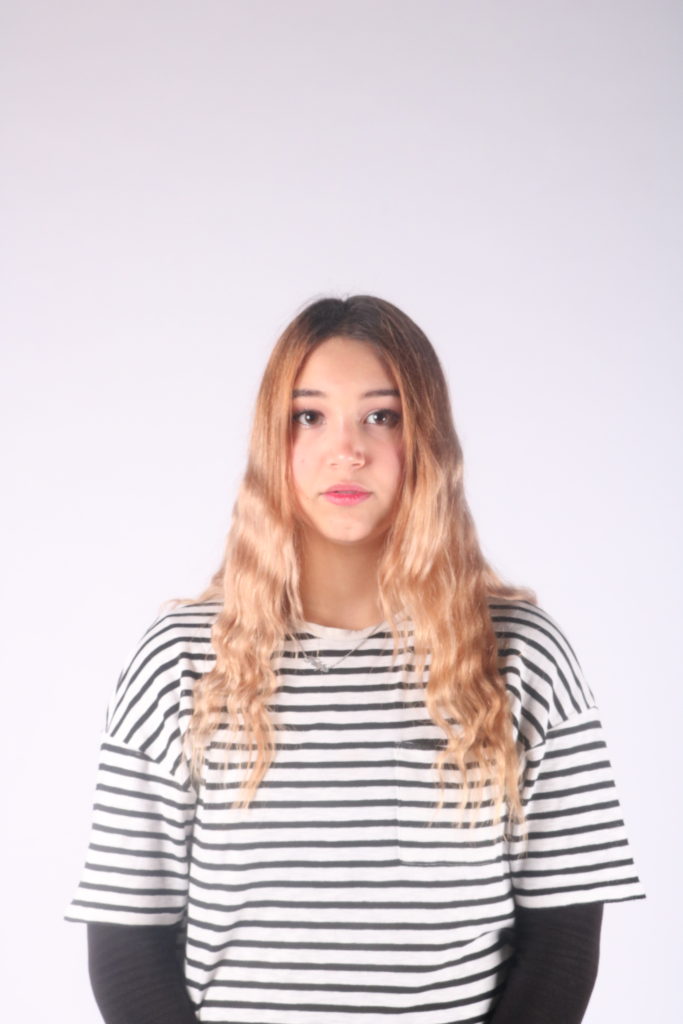
original
edited

For this image, I increased the whites, to create a high key image, that is very bright. This accentuates all the features and makes them illuminated. I then just increased the contrast to make the features bolder and for the tonal range to increase.

image five
original
edited

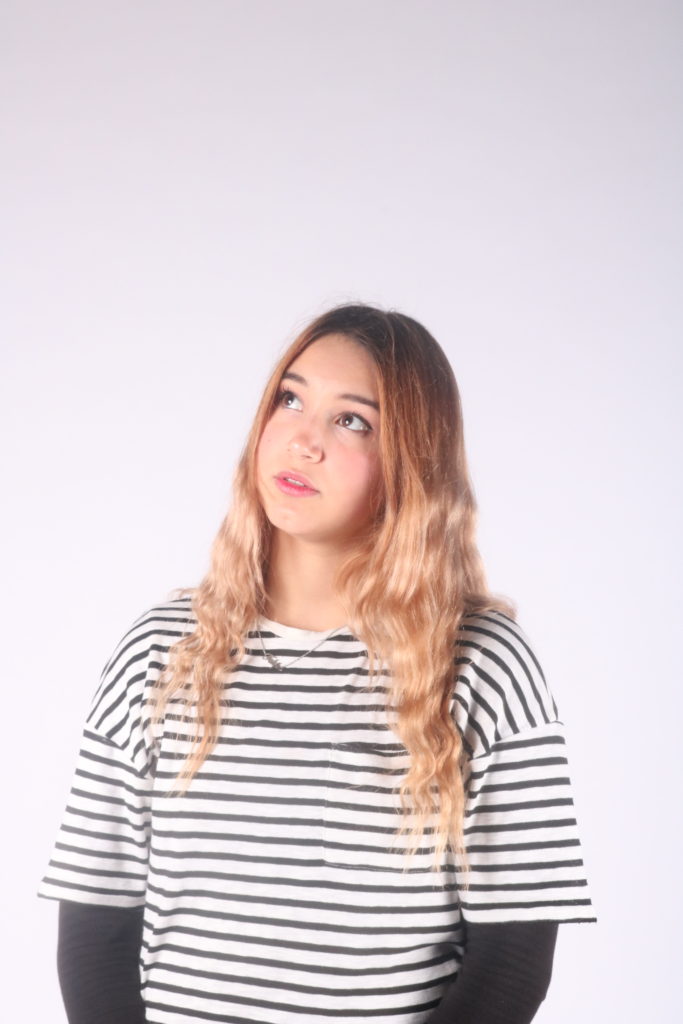
For this image, I increased the whites to allow the features on the individuals face to be more prominent, as it allowed for the highlights to increase. I also increased the contrast to make sure that the tonal range was large.

image six
original
edited

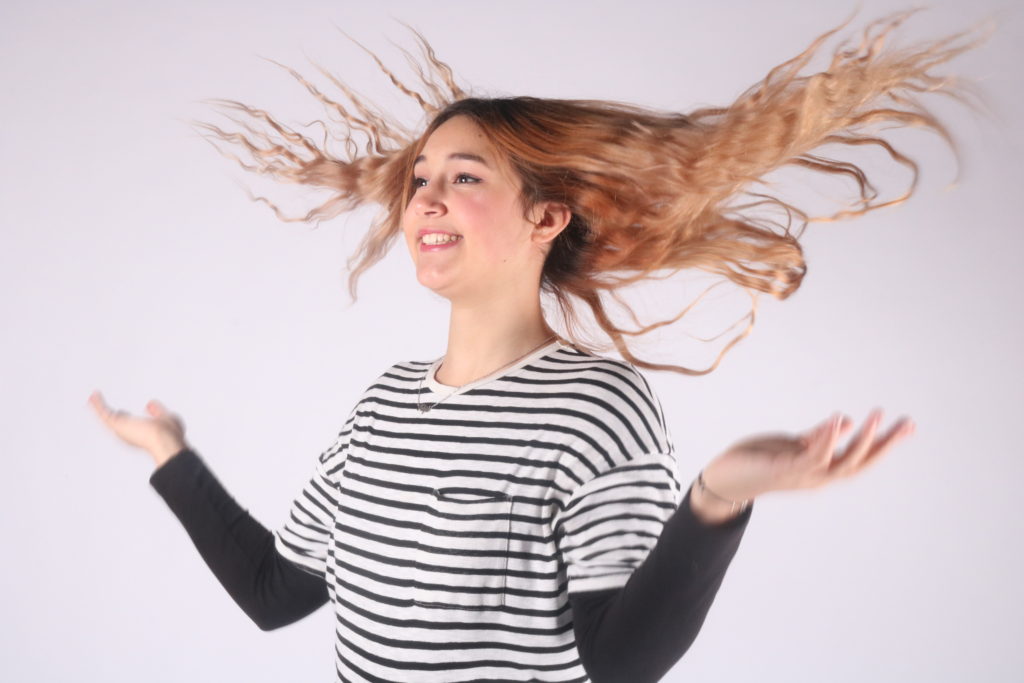
For this image, I increased the whites to make the backdrop whiter, to allow for a more aesthetically pleasing photograph. Increasing the whites also allowed for the image to be a lot brighter and for the features to be accentuated.

image seven
original
original
original
edited

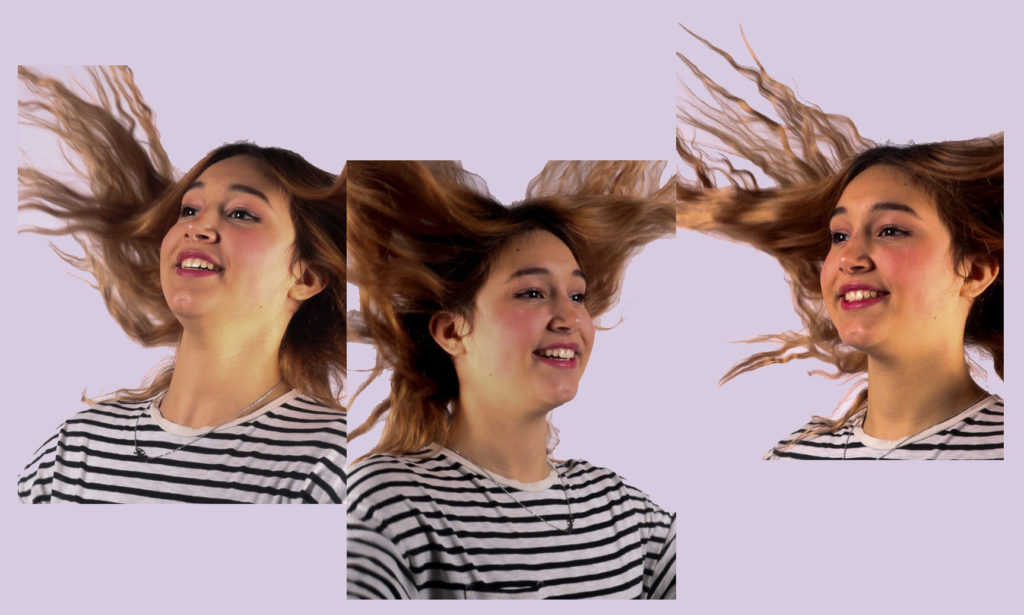
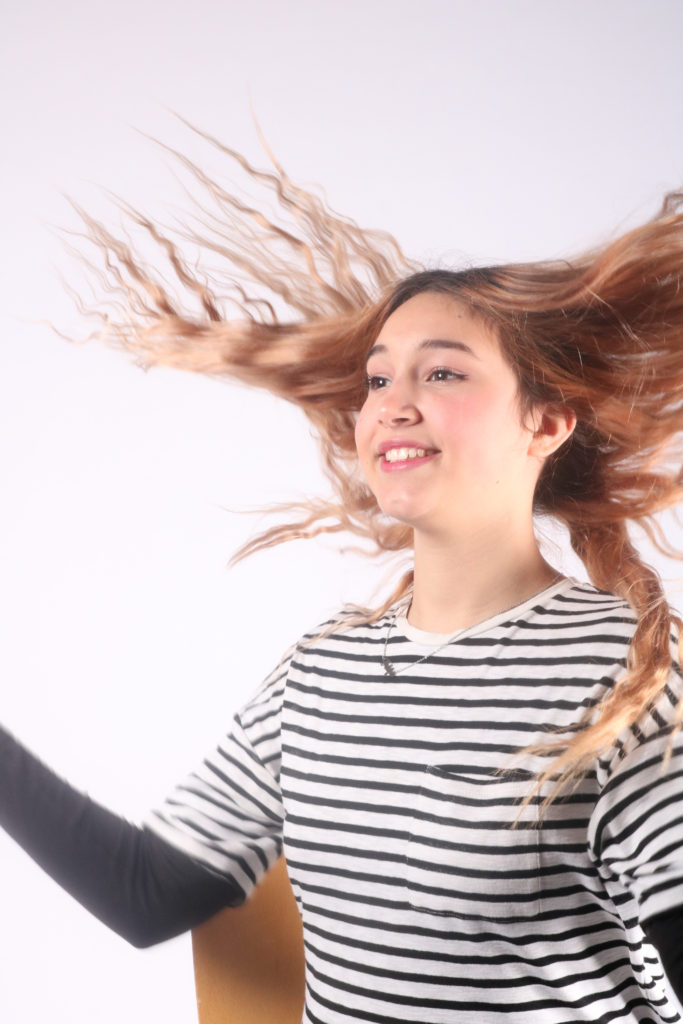
For this image, I cropped all the images down to allow for there to be a closer and more defined photograph. I increased the contrast, in all the images, to allow the features to become more defined. I then just put them in Photoshop, and arranged them in a way that made it look like the hair connected in a way, kind of. I then filled in the background in a lilac colour, as it is very subtle, and doesn’t distract from the images.

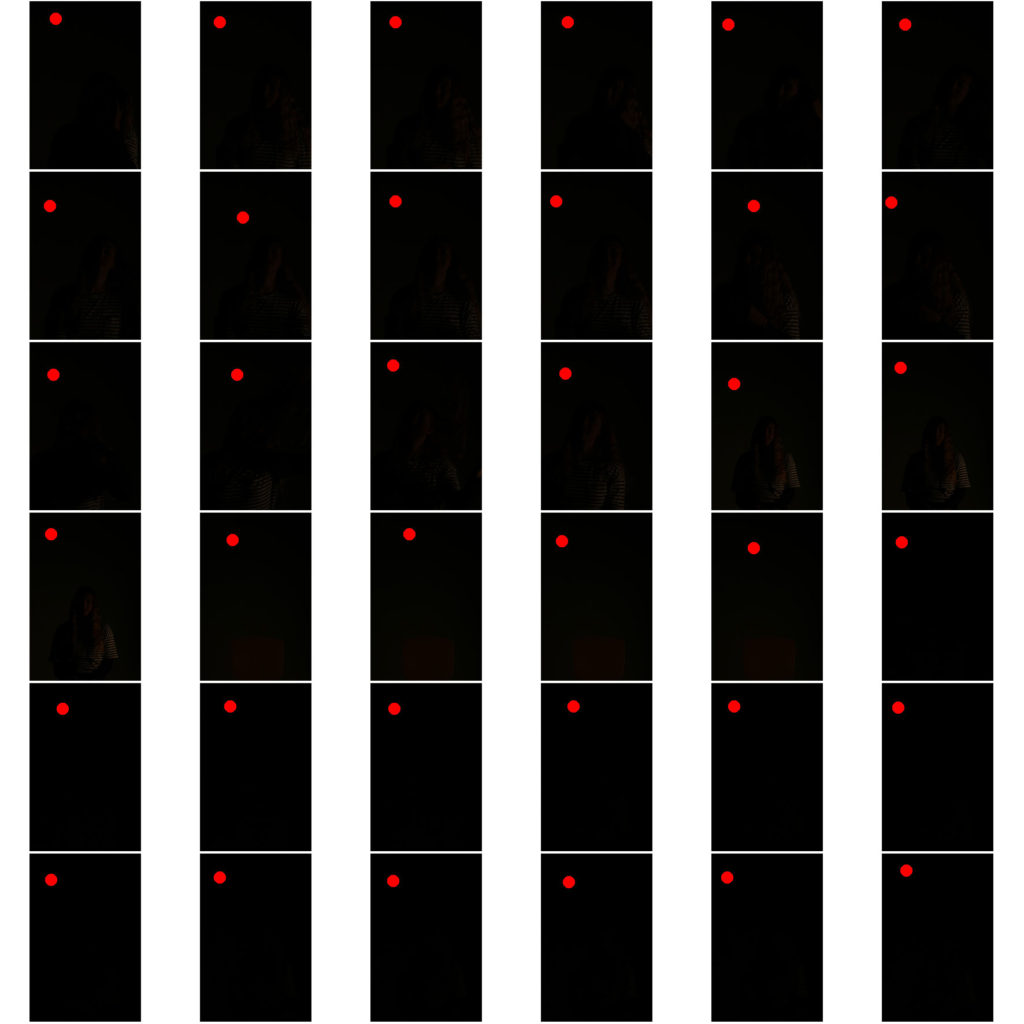
studio portraiture photography -contact sheet

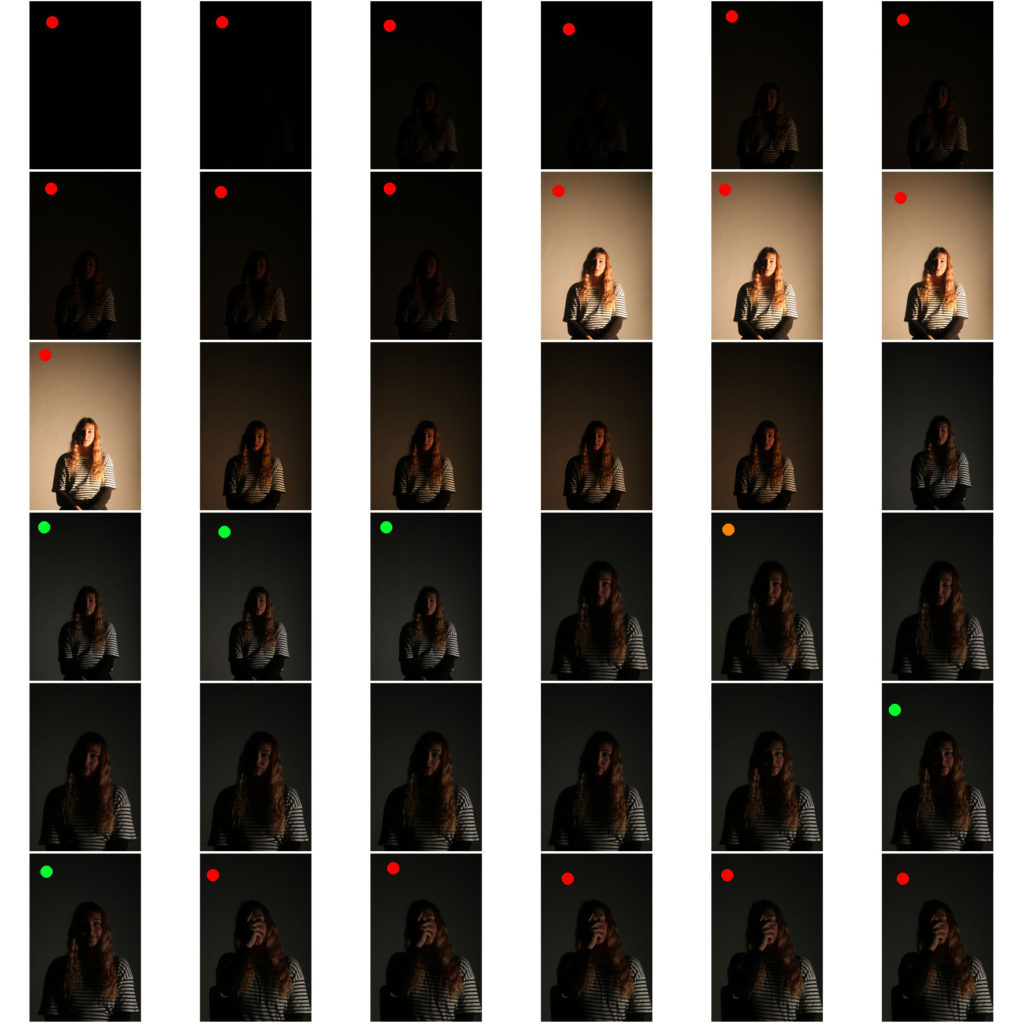
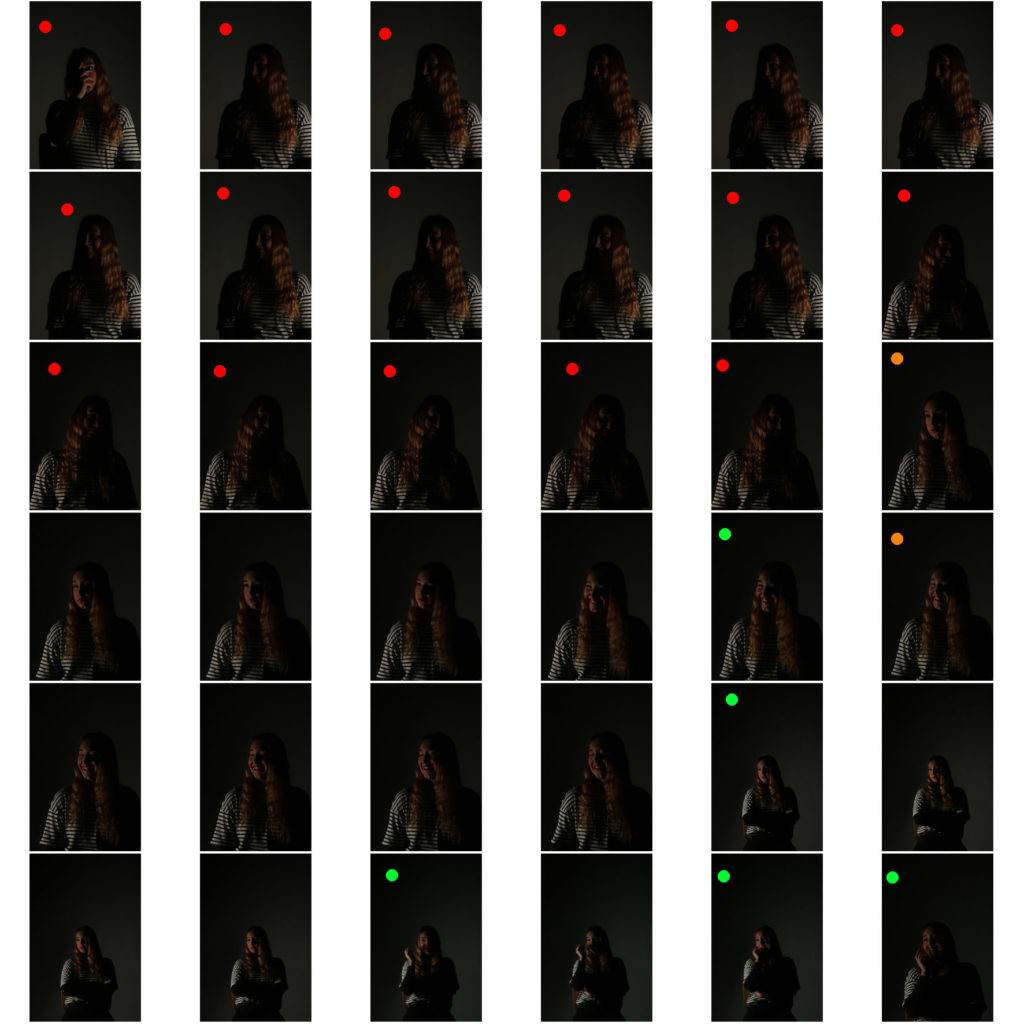
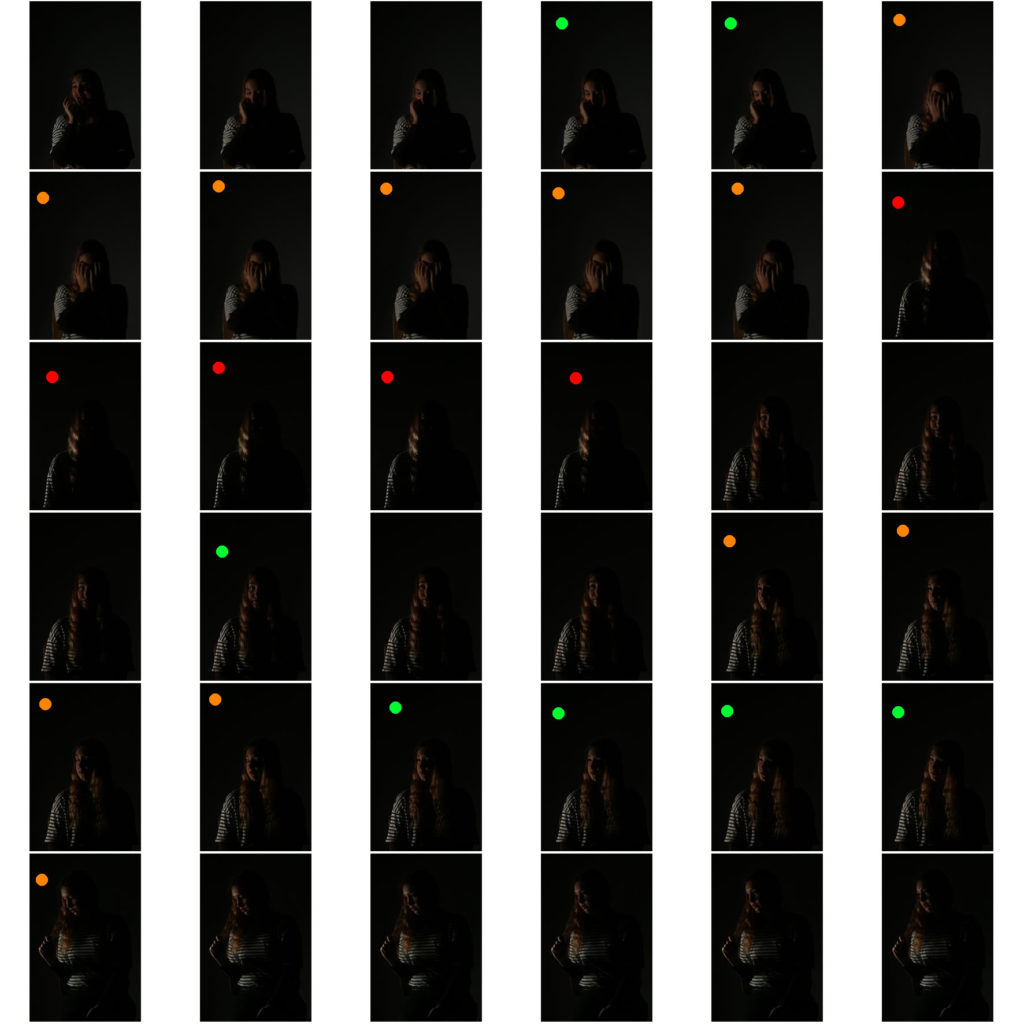
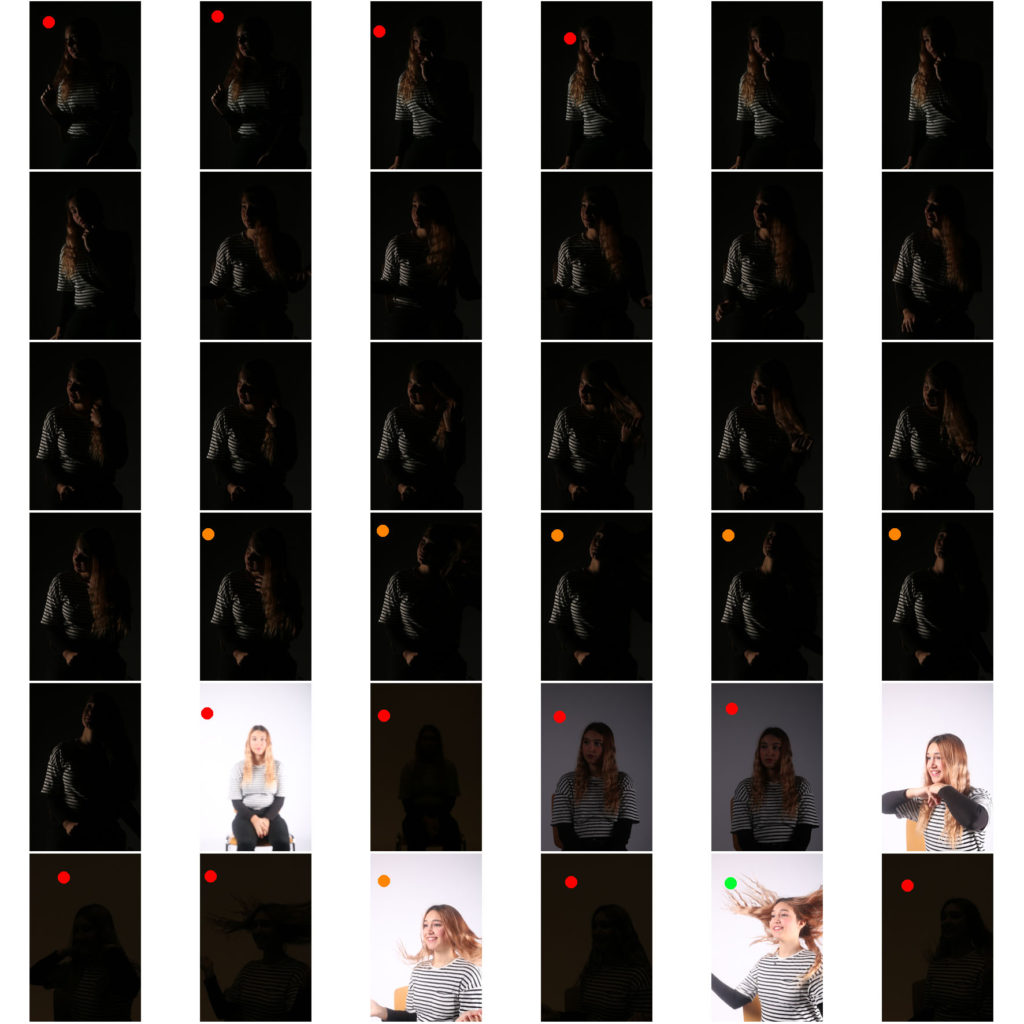
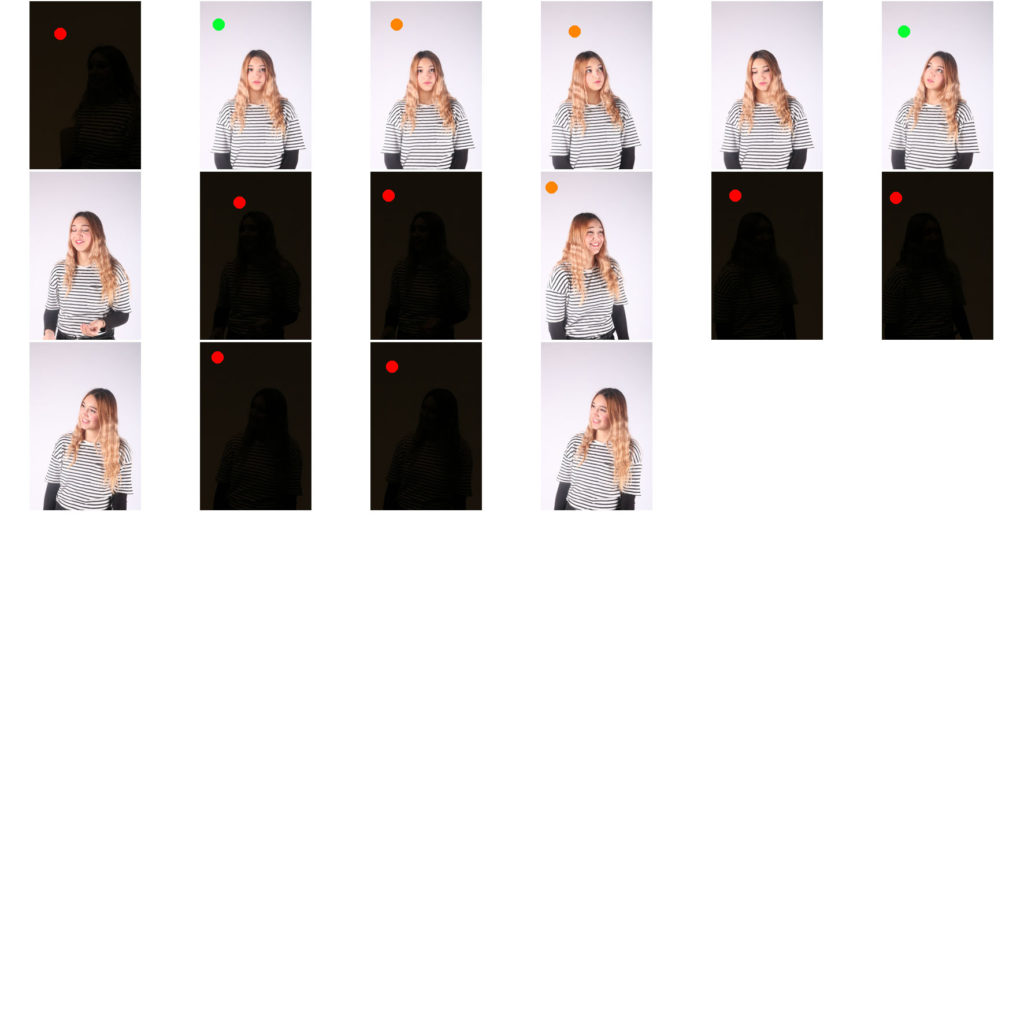
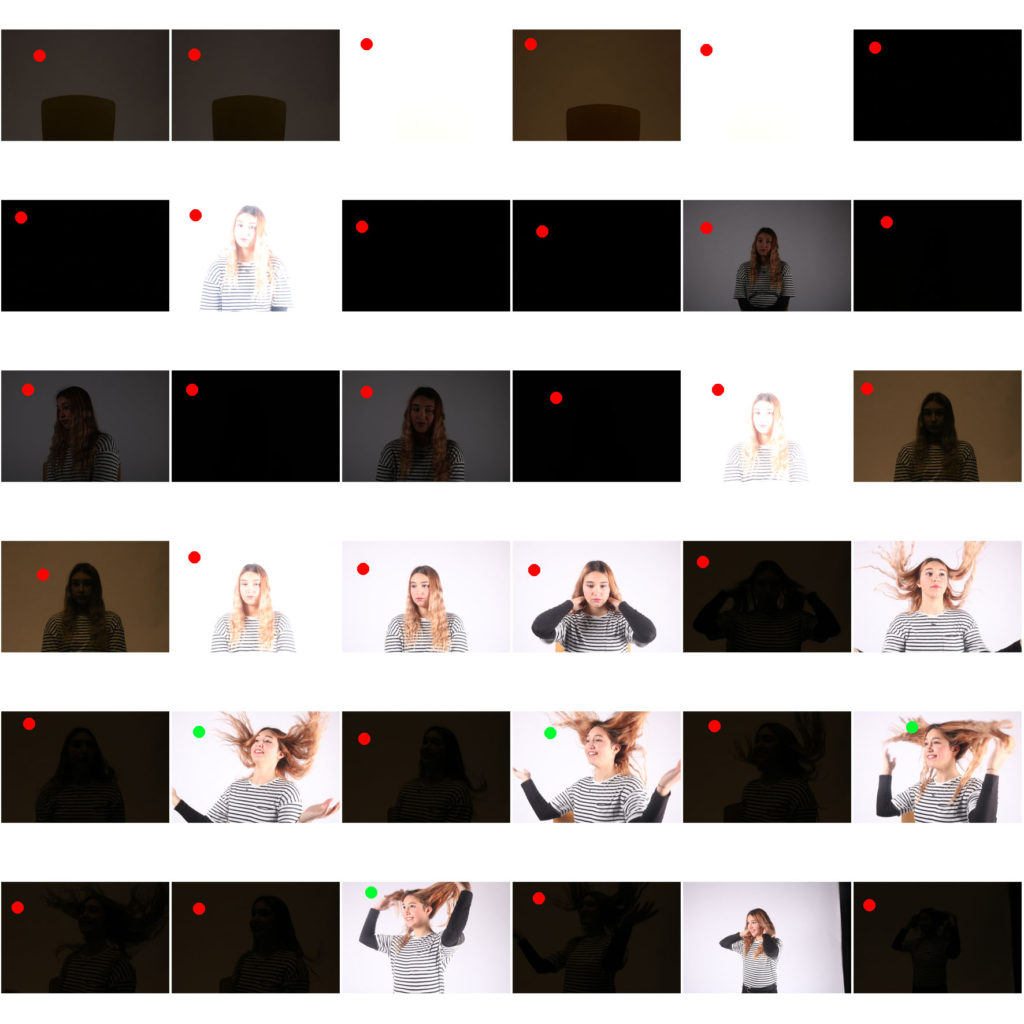
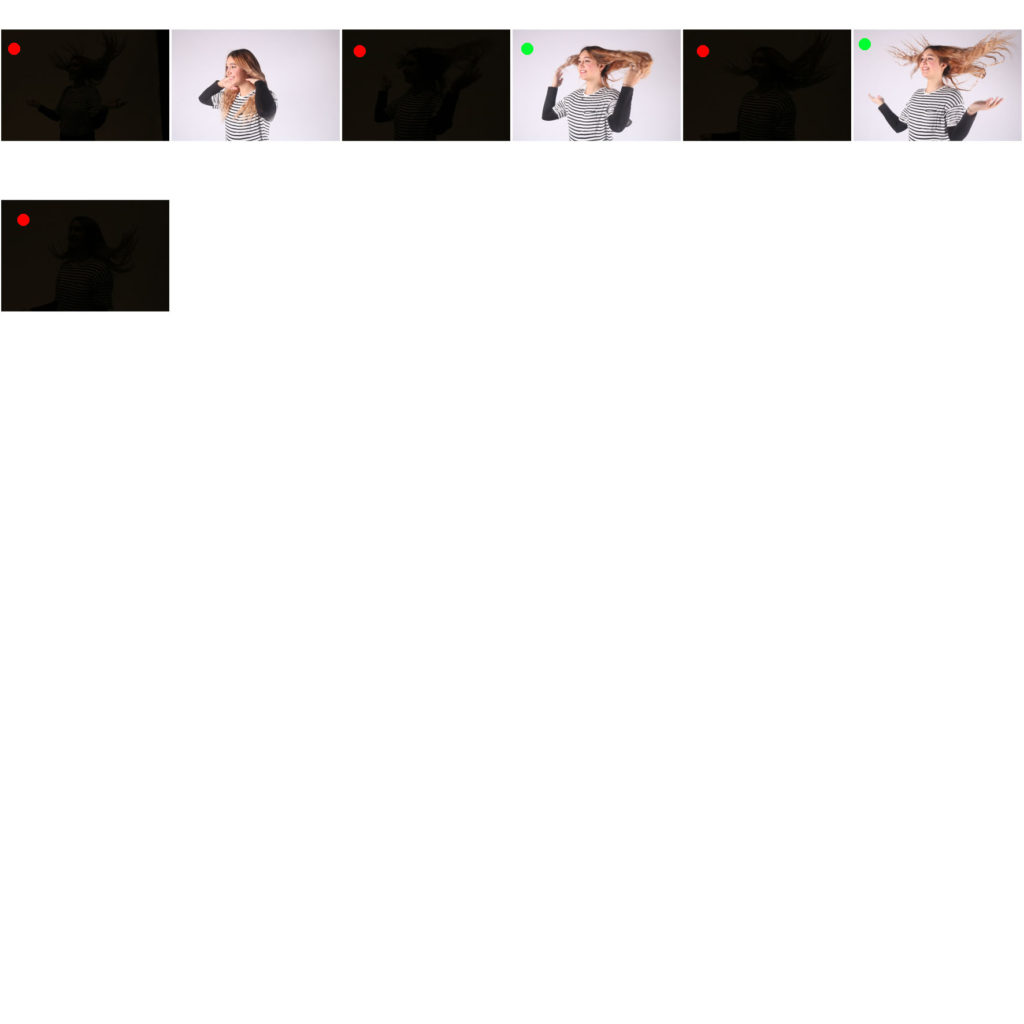
below are the contact sheets from the studio shoot i did with my friend. i have annotated pictures either in red, as i will not include them in my selection, orange, as i will have a look at them further and may add them to my selection, and the ones in green will definitely be added to my selection, as they are my favourites.

STUDIO PORTRAITURE photo shoot plan

what will i photograph?

i am going to take photographs of my friend

where am i going to take my photographs?

i am going to take my photographs in the studio, infront of the infinity screen

how am i going to take my photographs?

i am going to take my photographs on a canon camera, using a tripod, as for lighting i am going to use single lighting and 2 point lighting.

why am i designing my shoot in this way?

i am designing my shoot in this way so i can experiment with lighting and how to set up my camera to capture in these lighting situations.

studio portraiture

what is studio portraiture?

a versatile genre of photography that can include high key photographs, which are full of light, or low key photographs, which will be highly contrasted. studio portraits allow you to use lighting to enhance the images and create a more interesting and eye catching image. in the studio the light is completely controlled by the photographer, so we can change the lighting to allow for there to be lots of different moods to be captured.

mood board of studio portraiture

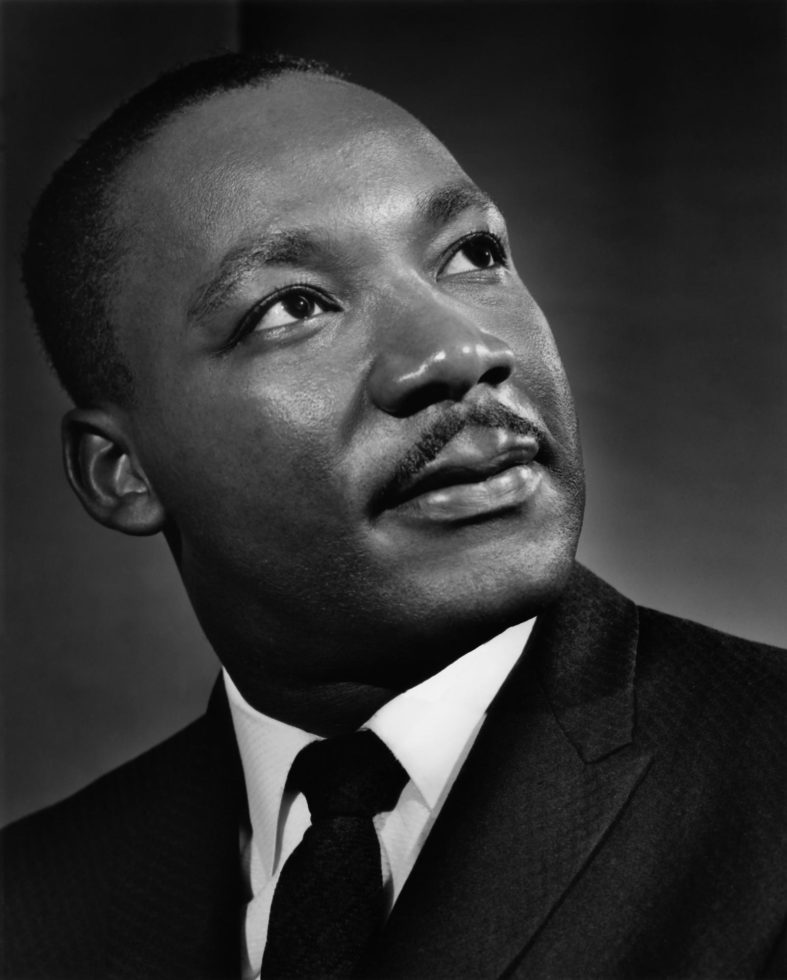
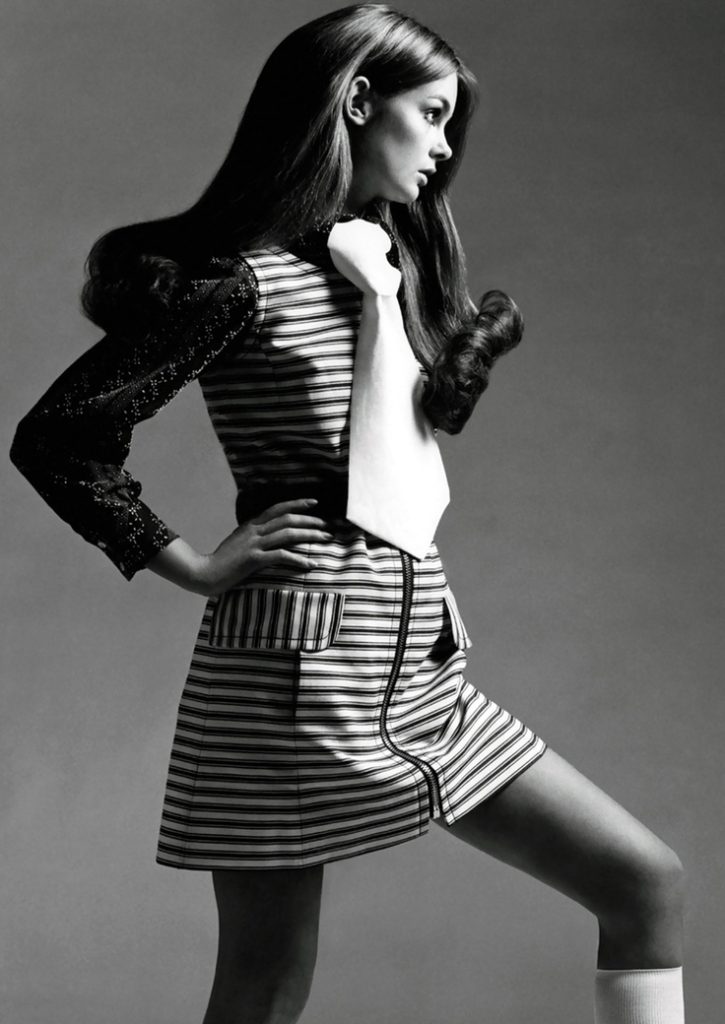
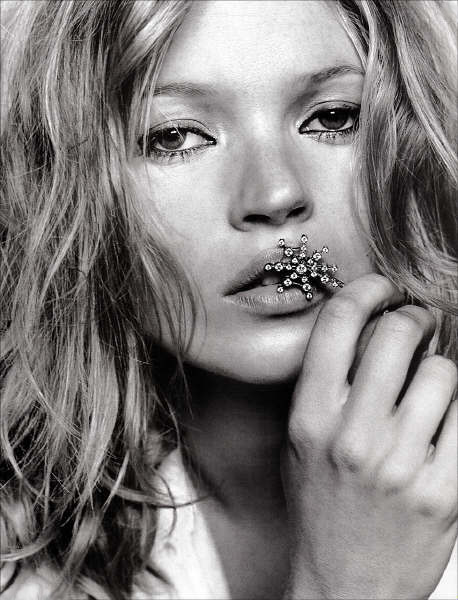
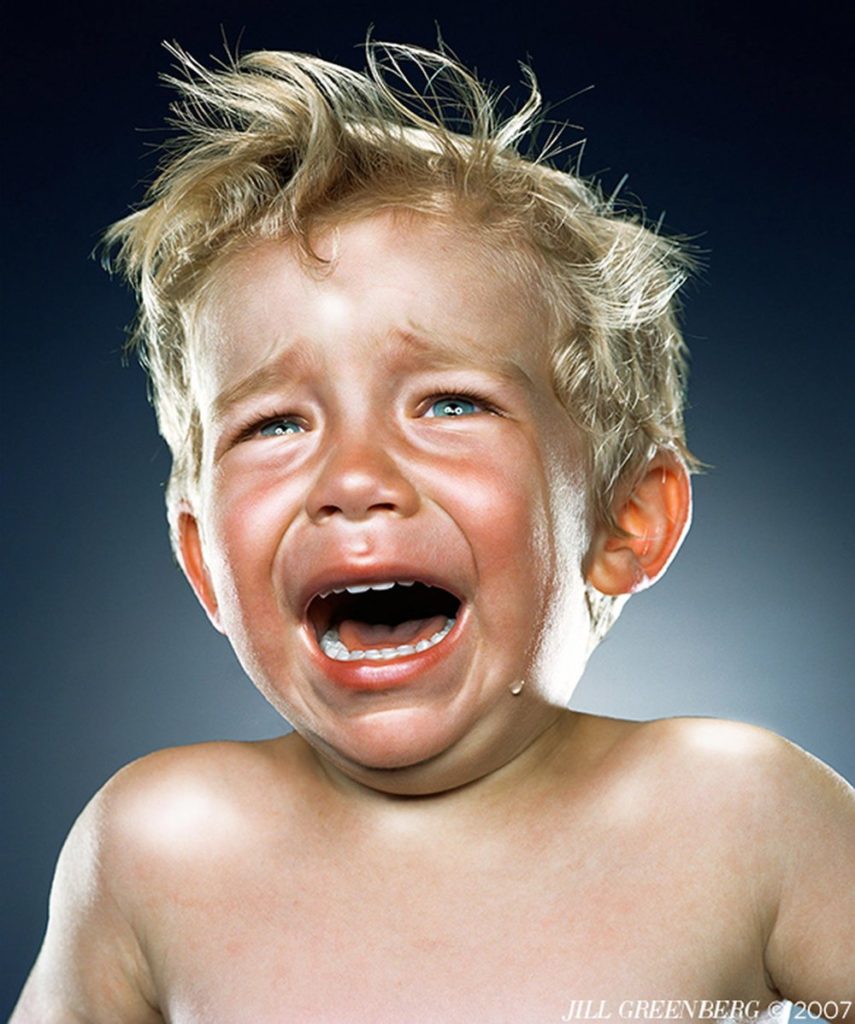
above are photographs from various photographers, that i would like to relate to and try to take some inspiration from. the ones annotated with a ‘+’ are from photographers that i would like to look at with more detail.

photographers i would like to look at further

  • DAVID BAILEY
  • JILL GREENBERG

henri cartier-bresson and “the decisive moment”

who is HENRI CARTIER-BRESSON and what do they do?

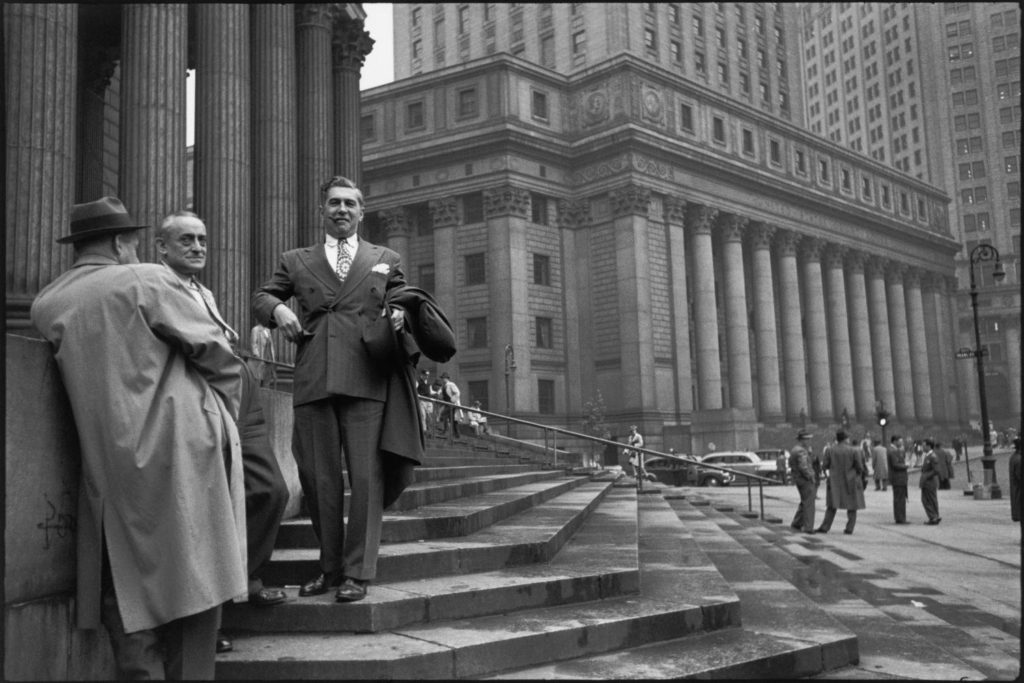
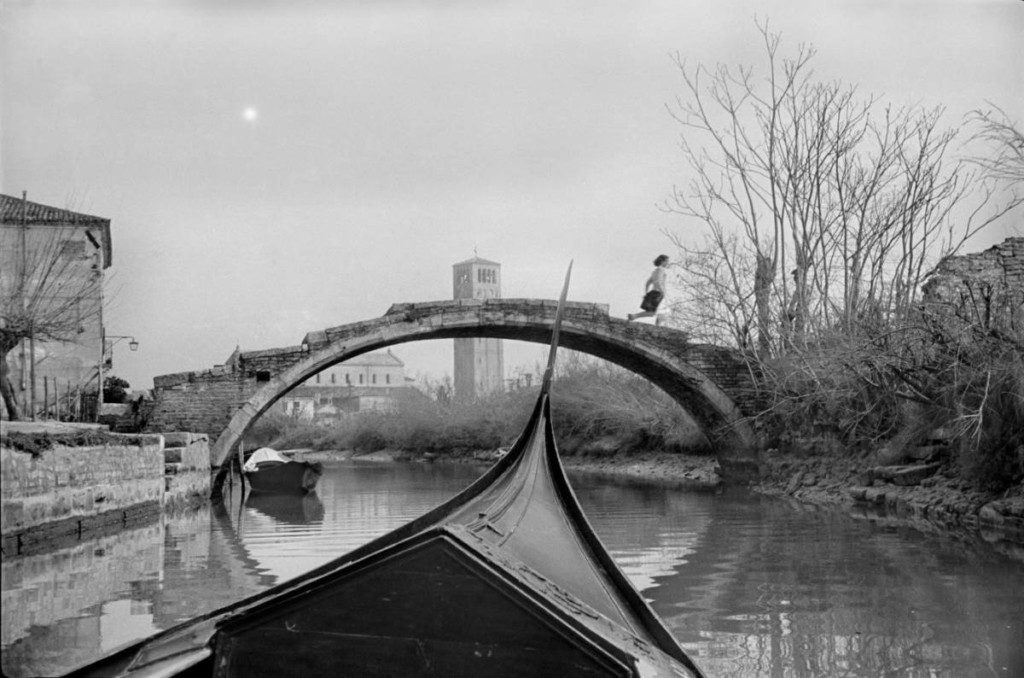
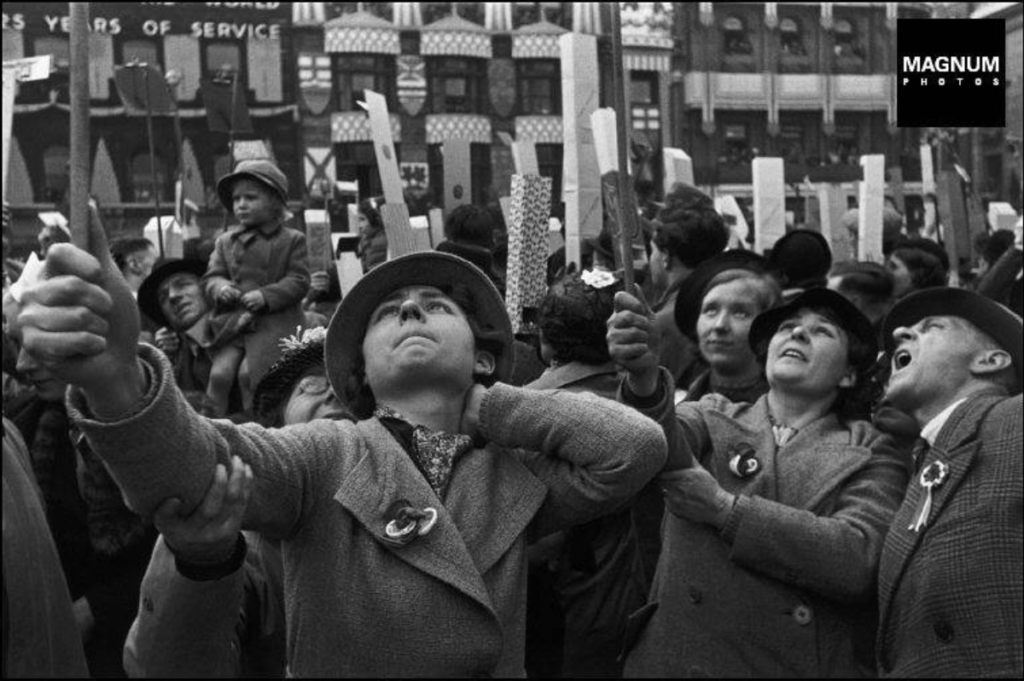
HENRI CARTIER-BRESSON is a french humanist photographer, who was born in 1908 and is considered the master of the candid portraiture genre. CARTIER-BRESSON also pioneered the genre of street photography too. He viewed photography as capturing a decisive moment. Their family supported financially, so they could pursue photography freely. In 1947, CARTIER-BRESSON along with a few other photographers founded Magnum Photos. They also achieved international recognition when they covered Gandhi’s funeral.

mood board of HENRI CARTIER-BRESSONS photographs

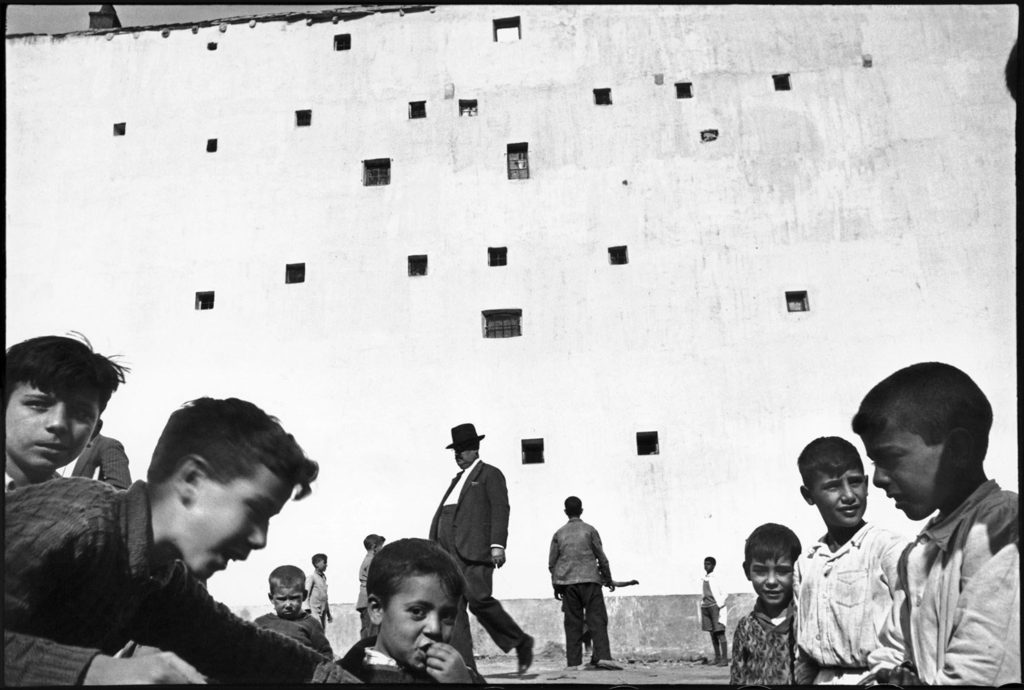
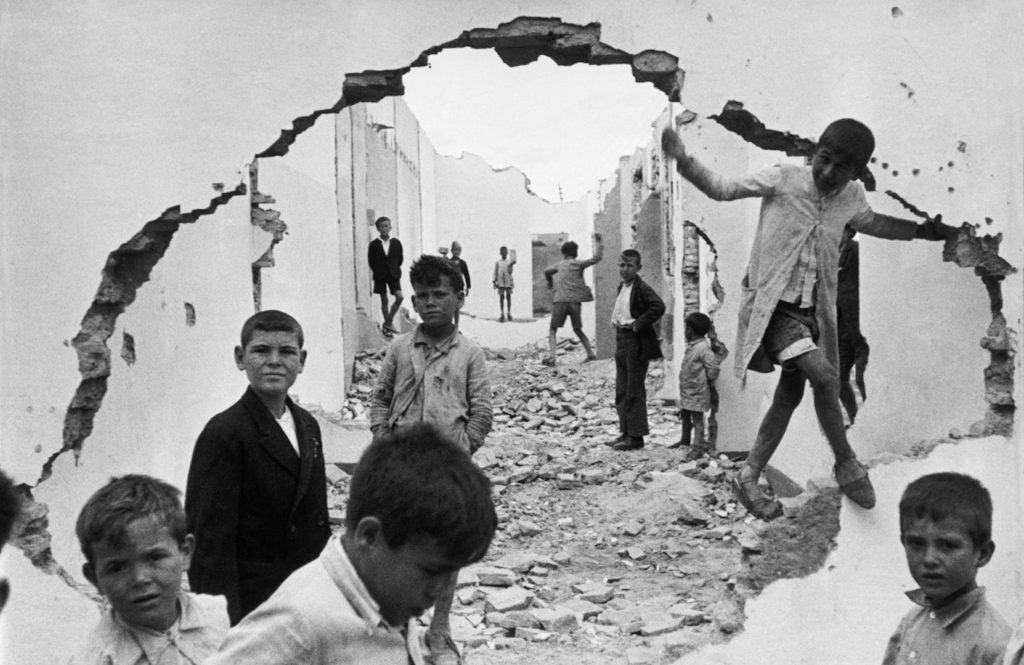
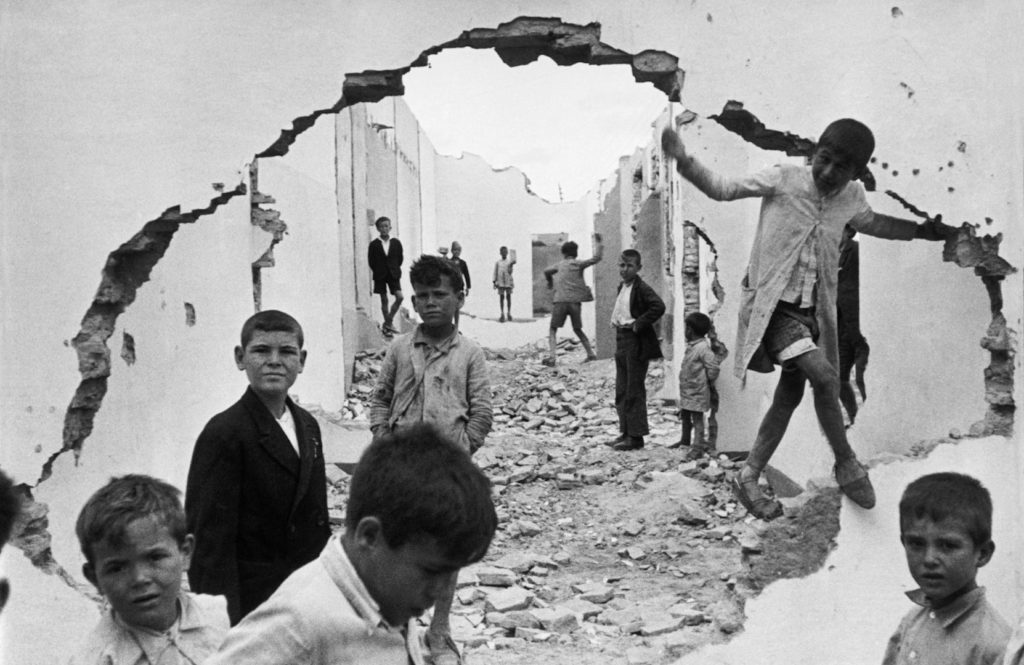
analysis of HENRI CARTIER-BRESSON image

The lighting in this photograph is natural, as CARTIER-BRESSON has shot in a natural landscape, not in a studio location. The light is flat, as there are no harsh shadows, which would be created by harsh lighting. This photograph is overexposed as the whites are overblown and this means that the whites take over the darks. CARTIER-BRESSON would have been using a wide angled lens, as the shot is taken from close up, however, everything is well placed in the shot. The depth of field is sharp. CARTIER-BRESSON has shot in black and white, which makes the photograph look very poignant and melancholy. The photograph has a very strong tonal range, as there is a balance between lights and darks. The dark darks are very bold and stand out well on the light whites. All of the different textures, including the rubble on the ground, the cracks in the buildings, and the materials of the clothes, add to the photograph and its complexity. This complexity increases the interest of the photograph for the viewer. In the background, there is a repetition of the houses, as they are in lines and repeat until they can not be seen. The composition of the photograph is symmetrical, which adds to the overall aesthetics of the photograph, as when it looks balanced, it looks clean and easy on the eye. The figures are framed by a broken wall, which brings up the notion of ‘their world’ and ‘our world’, and how we are not allowed in. ‘Their world’ looks like dystopia compared to ours, as it is broken, and run down. The figures act as leading lines into ‘their world’, they guide the viewers’ eyes into and past the broken wall into a place of suffering. HENRI CARTIER-BRESSON took this photo in Seville in Spain in 1933. If you had not known the date this photograph was taken, you might have thought it was shot during the Spanish War, which was in 1936-9, due to the photograph being situated in a run down place. However, the fact it was taken in 1933 gives an eerie feel to the photograph as the figures are in an area ‘attacked’ by a war that hasn’t even happened yet.

HENRI CARTIER-BRESSONS contribution to magnum photo agency

CARTIER-BRESSON and the rest of the founders split assignments between the members of the agency. CARTIER-BRESSON covered many areas and achieved recognition. Magnums mission was to ‘feel the pulse’ of the times.

contrasting to TRENT PARKE

similarities

  • both photograph in black and white
  • both photograph individuals in a natural environment
  • both photograph in a very creative way

differences

  • TRENT PARKE photographs in a more abstract way
  • TRENT PARKE photographs and edits to enhance the contrast, to create stronger blacks and whites
  • TRENT PARKE photographs more freely
  • TRENT PARKE photographs with less focus
  • HENRI CARTIER-BRESSON captures more of a flat photograph
  • HENRI CARTIER-BRESSON photographs have a lower contrast
  • HENRI CARTIER-BRESSON photographs are centered around culture

candid portraiture photography final outcomes and evaluation

Below are my favourite outcomes in response to the candid portraiture, as they are interesting and eyecatching.

final image one

This is one of my final outcomes because I enjoy the dramatic pose the individual is performing and the natural face they are making. The background is not distracting from the pose, meaning it is the most important thing in the image. If I were to take this photograph again, I would try to not cut off the feet, to allow for the photograph to be more aesthetically pleasing. I would also try to take a close up of the face, meaning I would have more of a selection when it came to picking my final images.
final image two

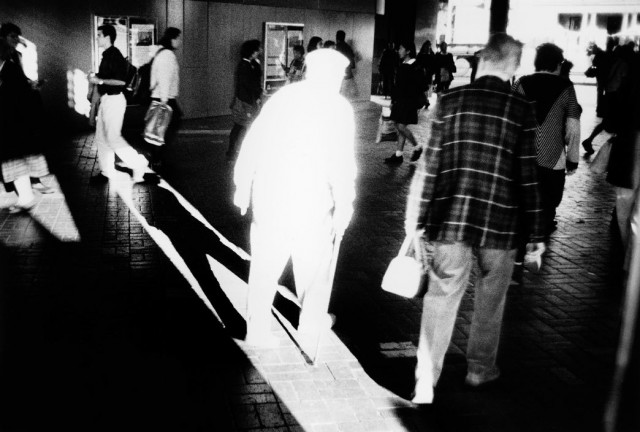
This is one of my final images, as I like the expression on the individuals face, as it is very strong and focused. I also like the way I have edited the background to make it more interesting and attractive. If I were to take this photograph again, I would try to make sure the face was more in focus, meaning I could gain a much stronger picture. I would also try to take this shot from different angles, as I seem to shoot from the same angle, meaning all my photographs look similar and that can be boring for the viewer.

final image three

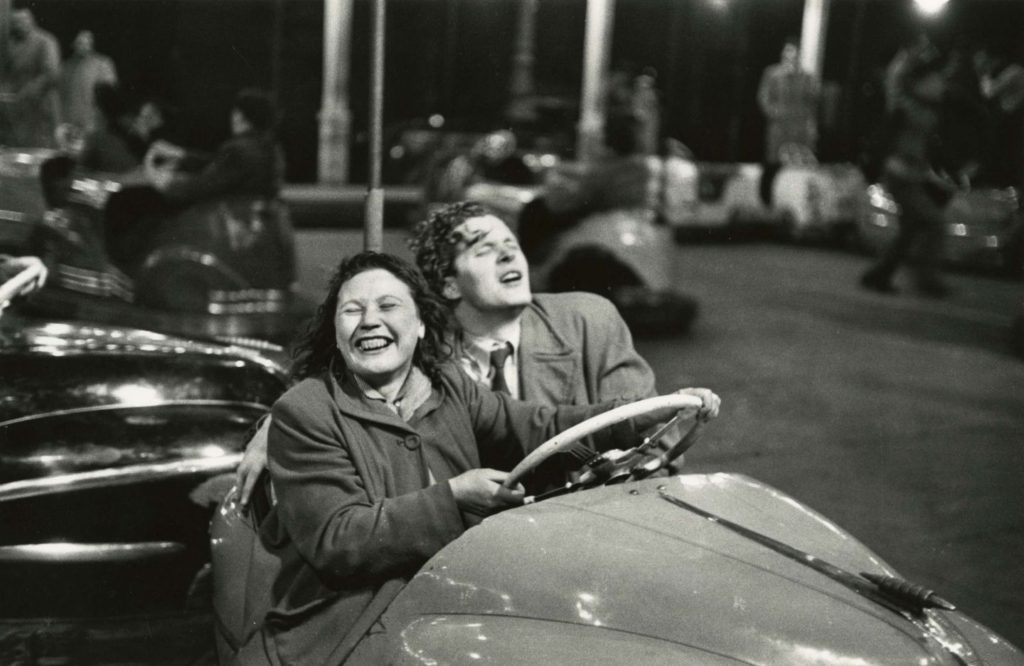
This is one of my final images because I find have really captured a truly candid shot, as the expression on the individuals’ face is natural and silly. When planning this photoshoot I intended to capture photographs similar to this, as I wanted to capture joy and happiness on my individuals face. This photograph captures the same essence as one of ROBERT FRANKS photographs (displayed below), as they both display the same facial expression. Even though the face is not in focus, I think it still looks sharp as the background is in focus. If I were to take this photograph again, I would try to get more light into the individuals’ eye, as it is dull and not illuminated. To do this, I could have positioned myself in a better place, or increased the exposure a touch more, when I edited the photograph.

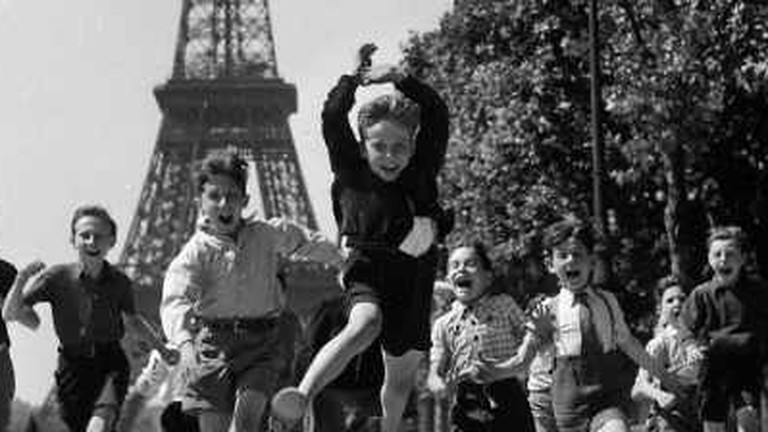
Image result for robert frank
robert franks image

whole shoot evaluation

Overall, i felt these pictures came out very well. Even though this was my first time using my camera to take pictures of people, I was impressed with my own camera skills. I don’t think many of my images related to ROBERT FRANK, as they didn’t all capture the same things he did. However, I really do like most of the photographs because of how bright, and interesting they are to look at. if I were to do this whole shoot again, I think I would try to capture my individual more times, even when walking around the gym, meaning I would have more images to choose from when picking out final images.
environmental portraiture photography final outcomes and evaluation

Below are my final outcomes in response to environmental portraiture, as they are interesting and eye catching.

final image one

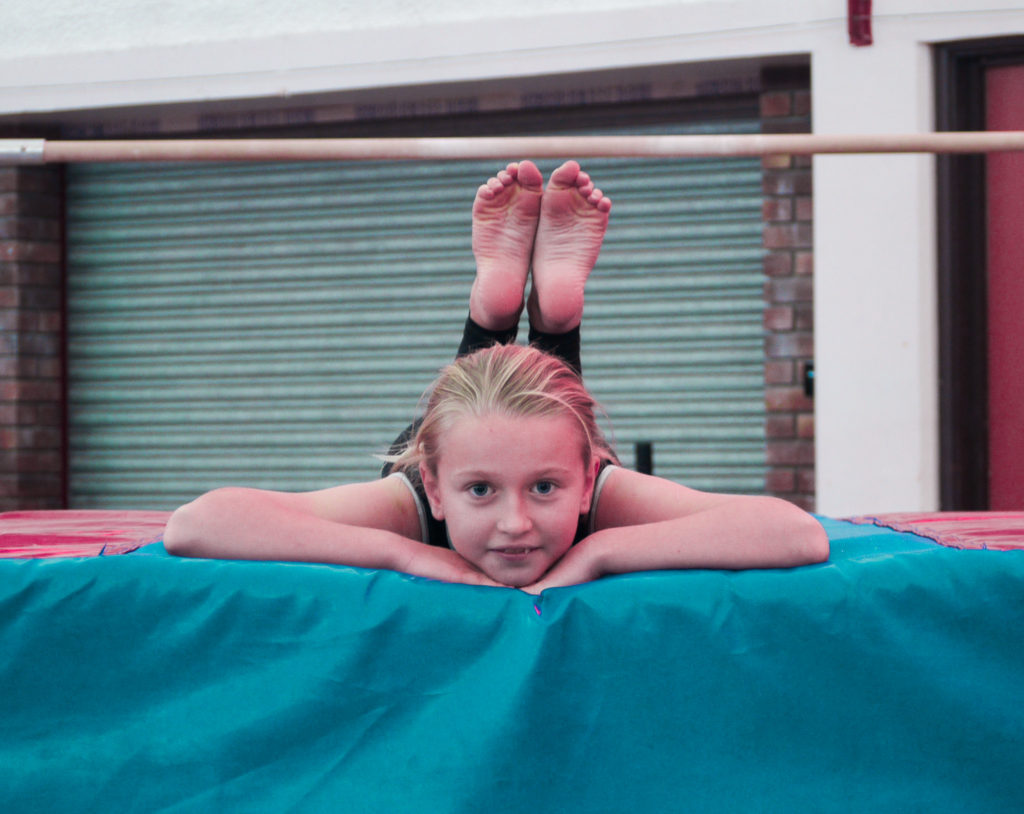
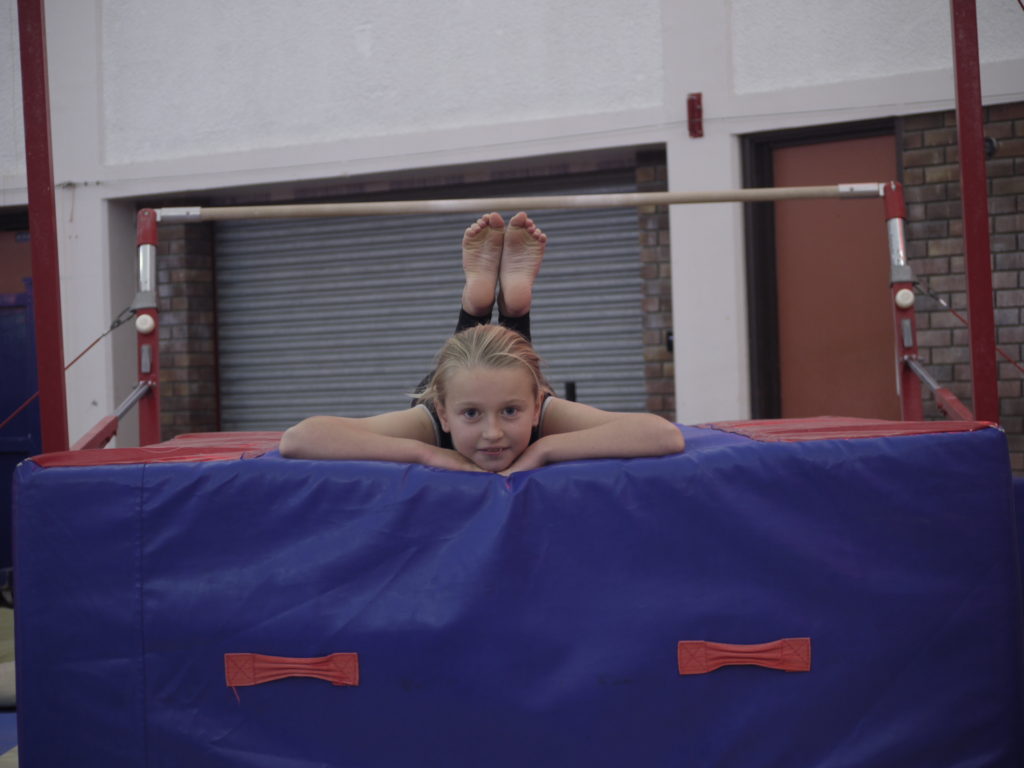
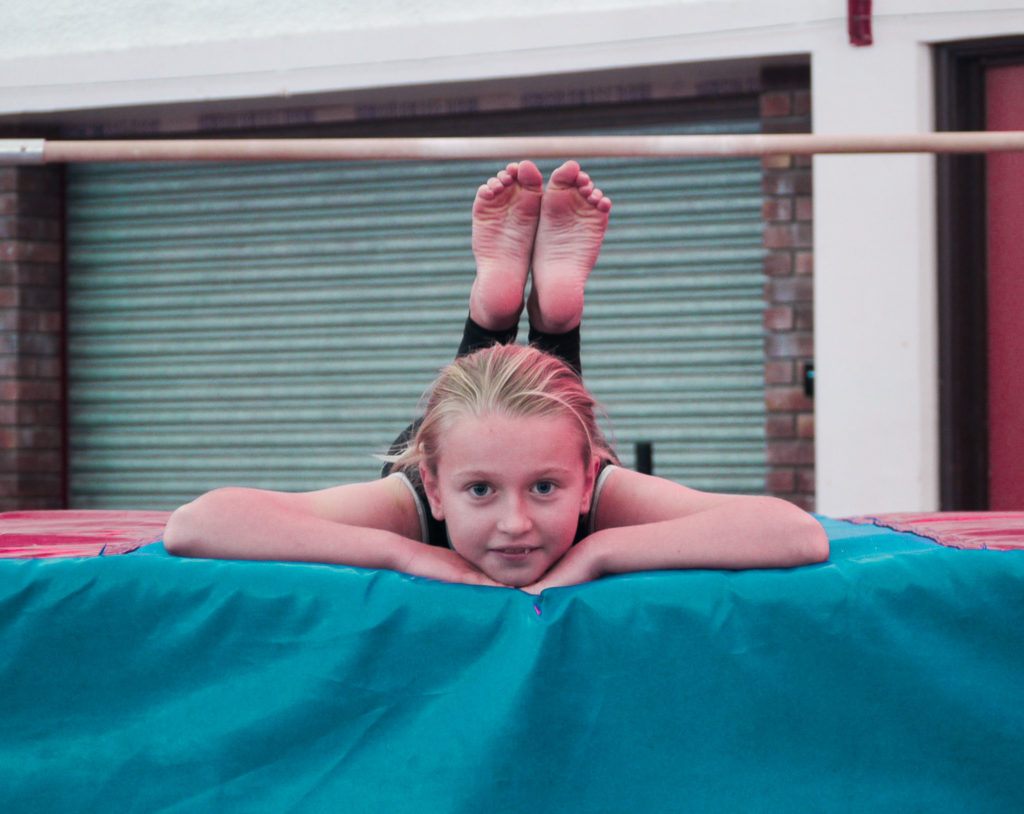
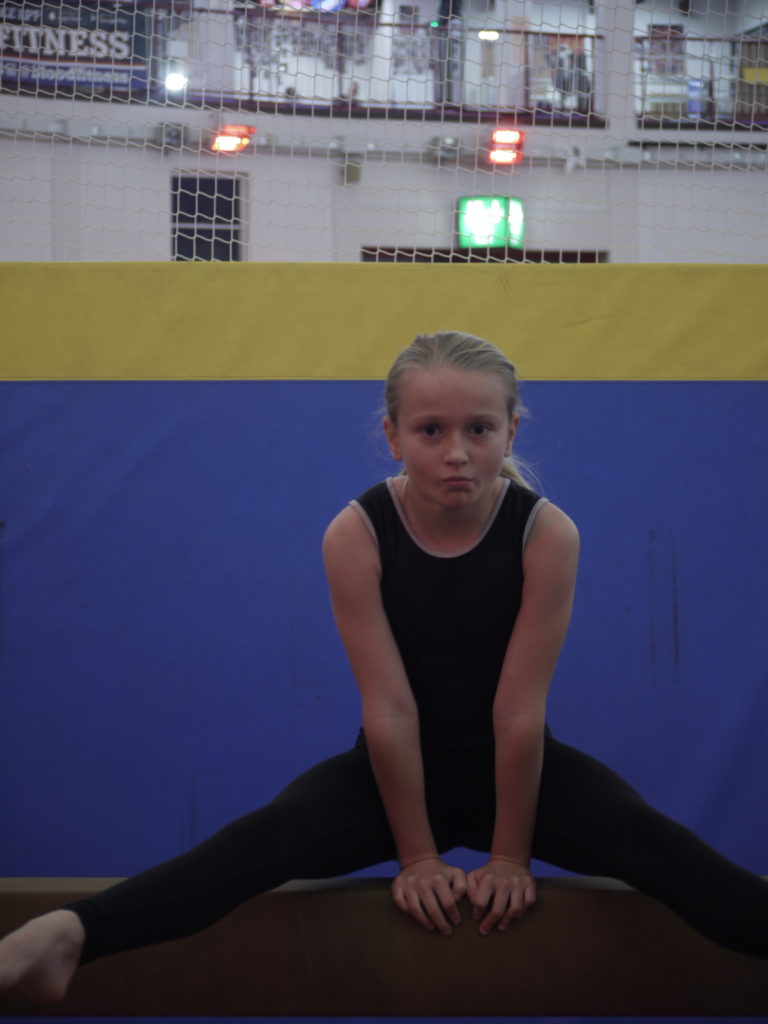
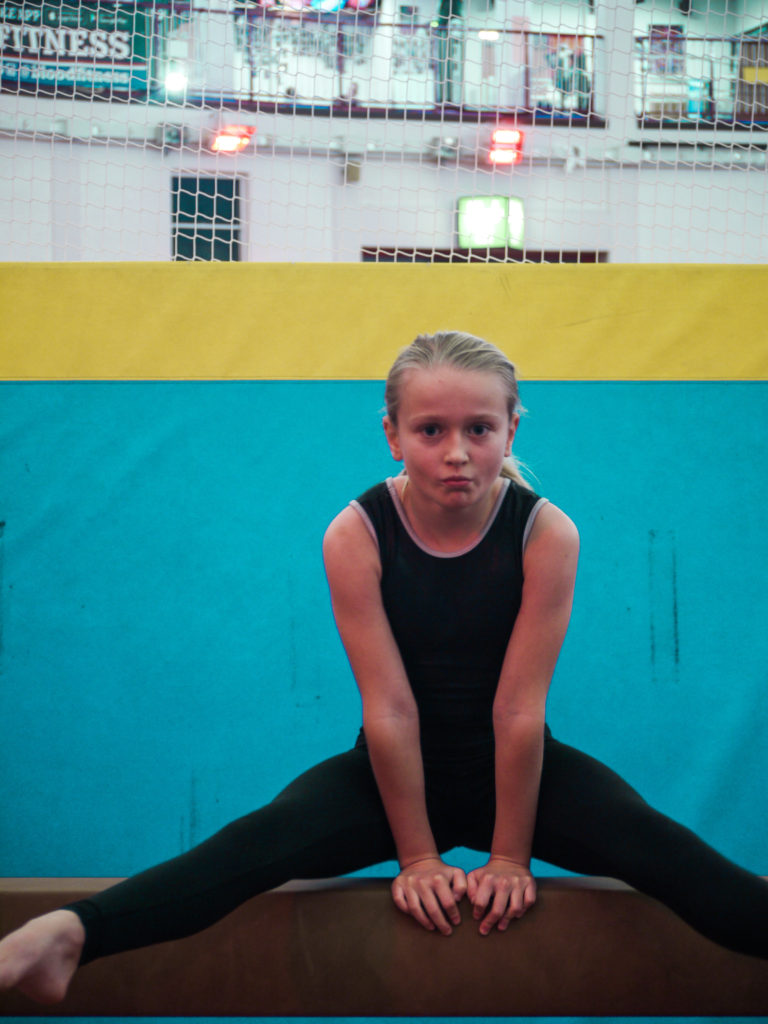
This is one of my final images, as I think is very eye catching and the pose the individual is in is interesting, and also relates to the environment they are in, which is the gym. The eye contact is very strong, which I also think is a striking element part of this photograph and adds interest for the viewer. The composition is also strong to as the bar is framing the photograph. If I were to take this photograph again, I would shoot it in front of a better background, as this one is kind of distracting, and doesn’t really relate to the gym.

final image two

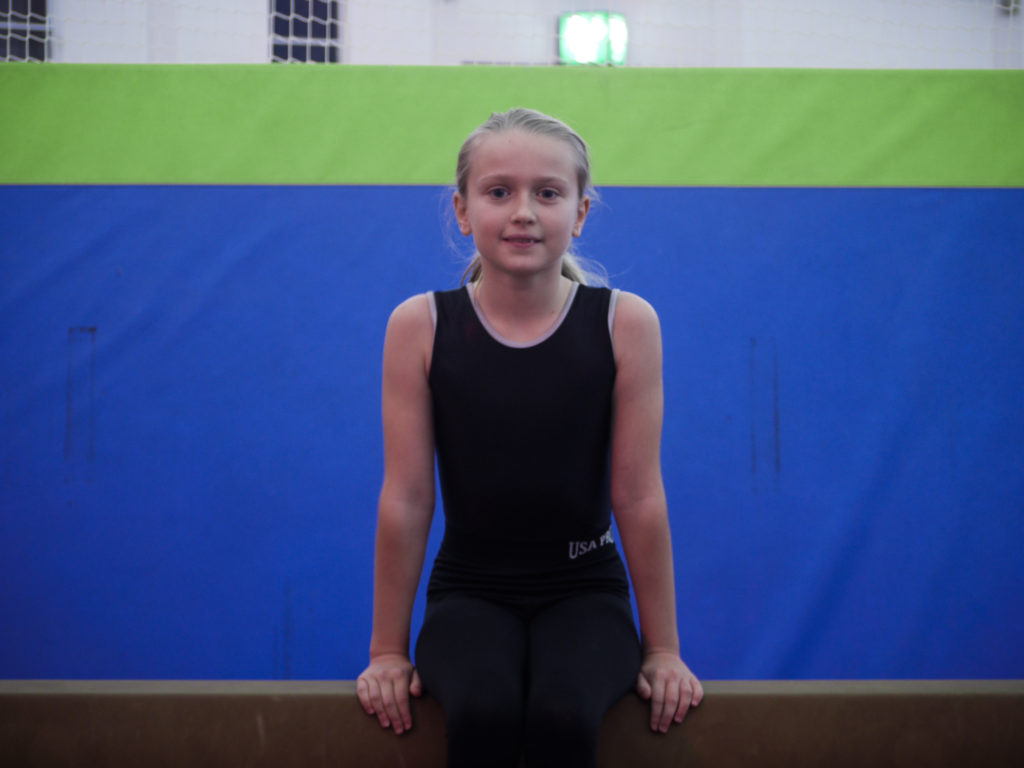
This is one of my final images, as I enjoy the linear aspects of the photograph as it is very aesthetically pleasing, and easy on the eye. The individual is captured straight on, which also is nice to look at and relates to documentary portraiture too. Overall I think this is a very nice photograph as there are no distractions, the individual is holding eye contact and the colours are prominent and bold. If I were to take this photograph again, I would try and get more of the legs in, as then it would include more of the linear aspects into the photograph.

final image three

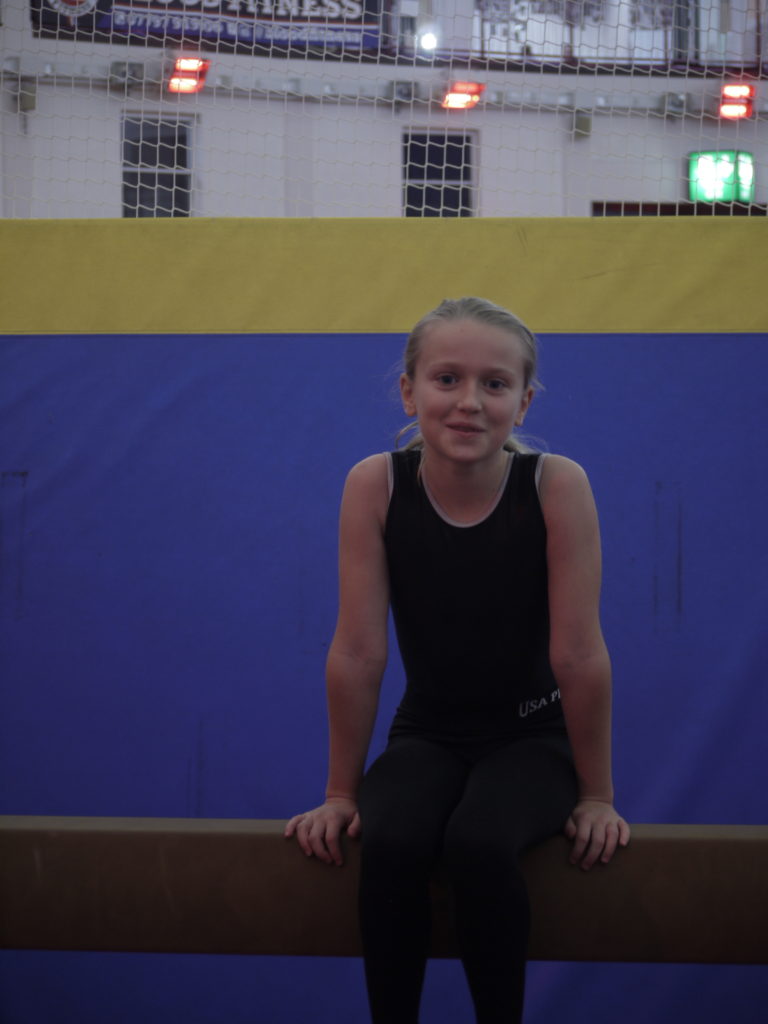
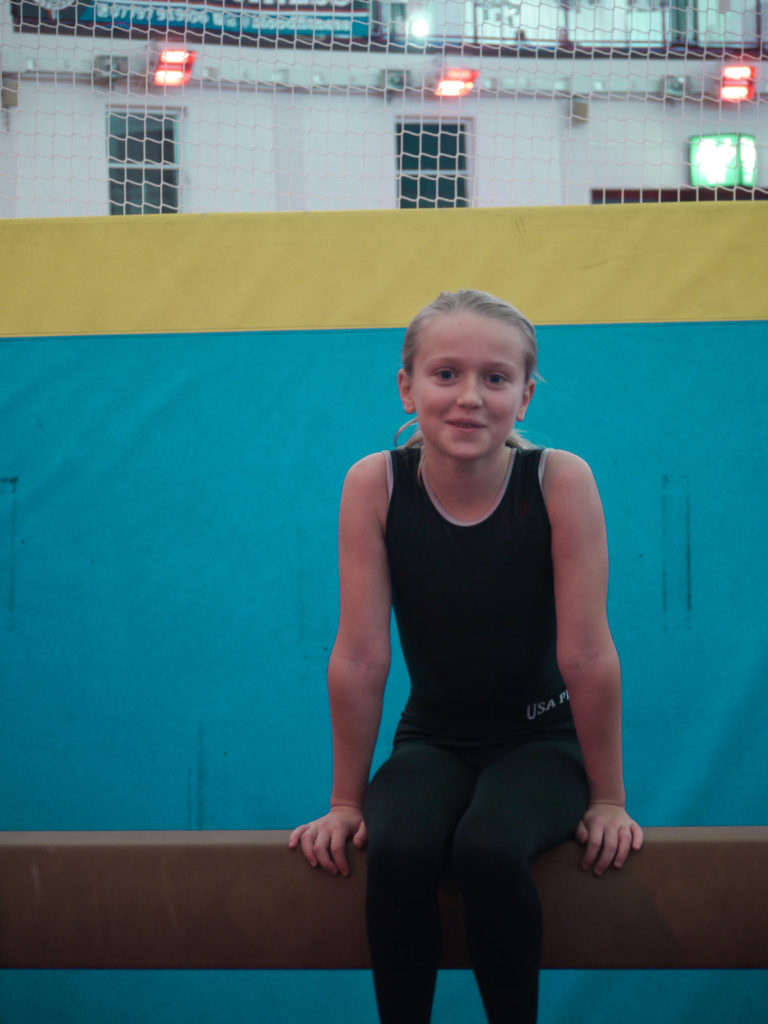
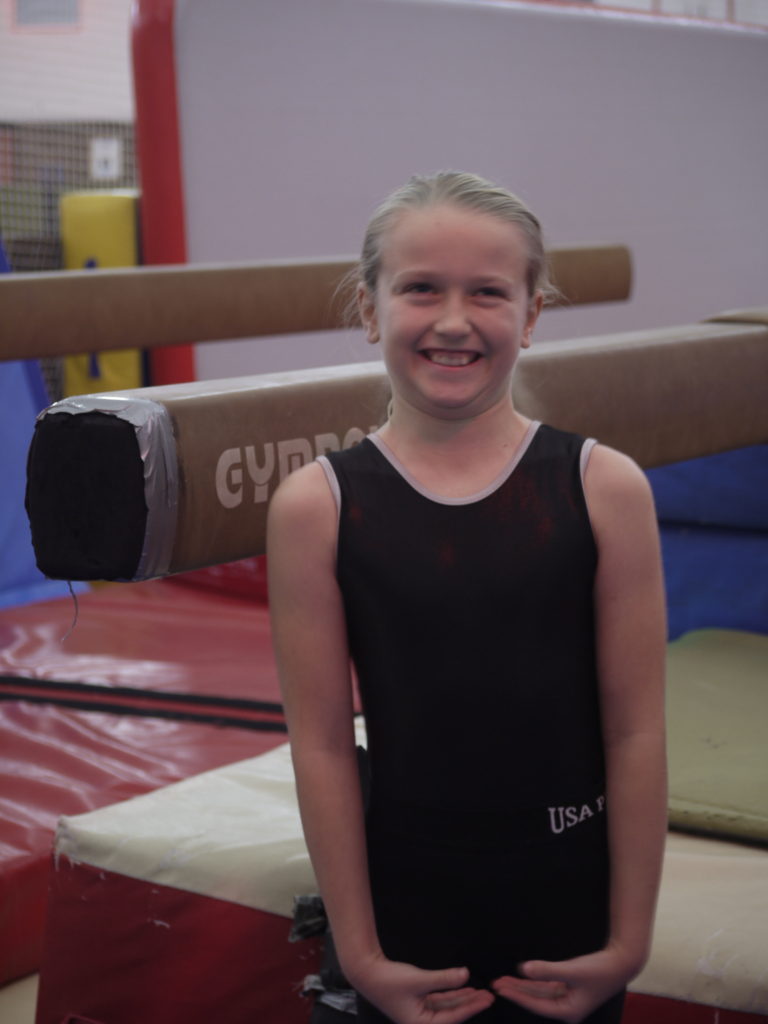
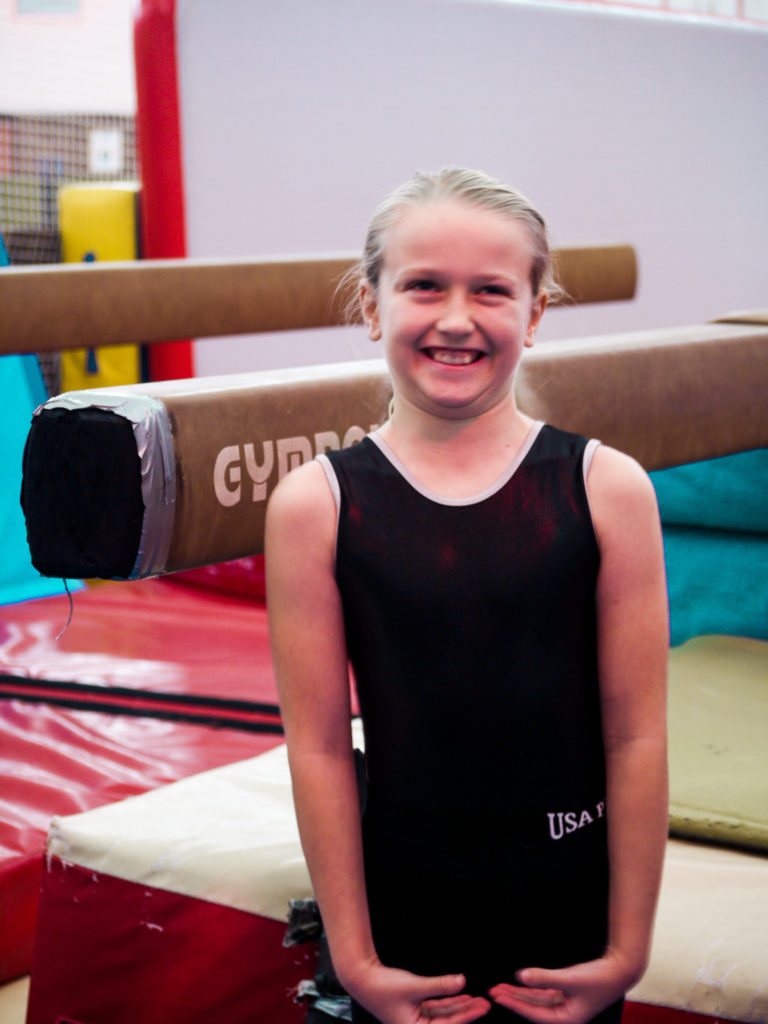
This is one of my final images, as I find it has the best background, which relates to my individuals environment, because it shows most of the gym. Although the gyms layout is not very aesthetically pleasing, it shows the best response to the environmental portraiture. If I were to take this photograph again, I would focus more on the face as it is slightly blurred, which brings down the overall quality of the image.

whole shoot evaluation

Overall, I felt these photographs came out quite well. This was my first time using my camera to take pictures of people, so I was impressed with my own camera skills. I don’t think the closely related to ARNOLD NEWMAN, but I think that is because I was nervous to tell the individual to change their position and go to another area of the gym.

Image result for arnold newman
arnold newman image

If I were to conduct this shoot again, I would try to get more shots at different areas of the gym, meaning when it came to the selection process, I would have more of a choice of backgrounds. This means that I would have more of a varied array of photographs. I would also try and focus the camera better, as some of the photographs came out blurred. Next time, I would try to direct my individual in a more efficient way, as some of the photographs didn’t really come out well because the individual wasn’t where I wanted them to be.

environmental portraiture photography – edited

photograph one

original
edited

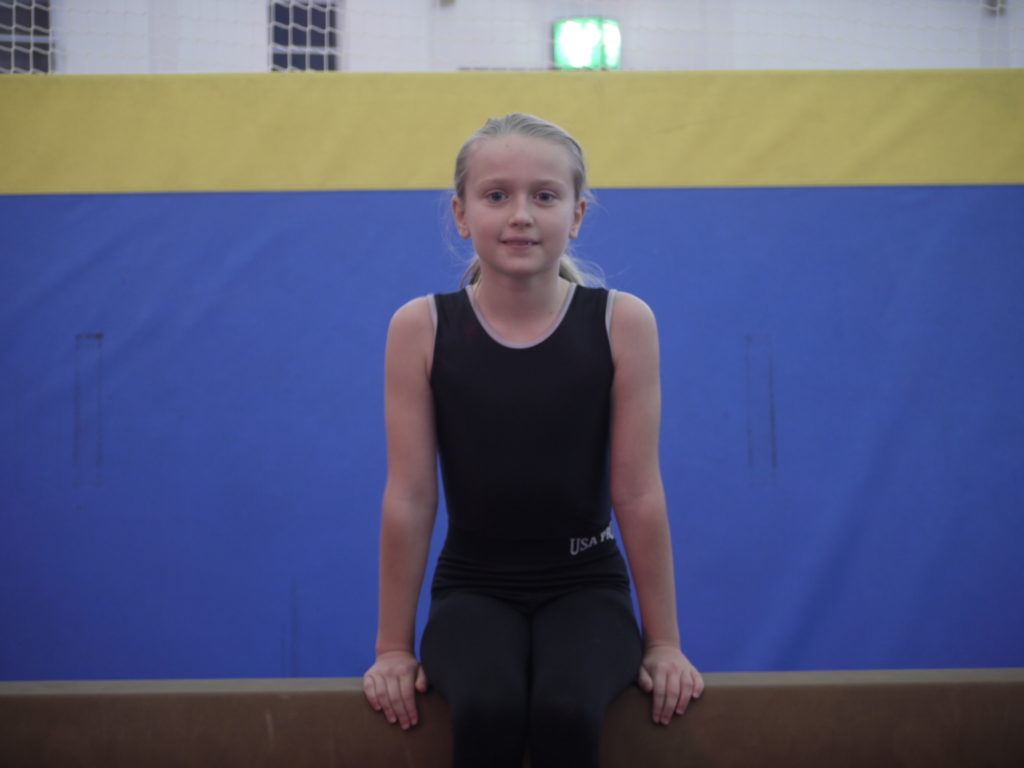
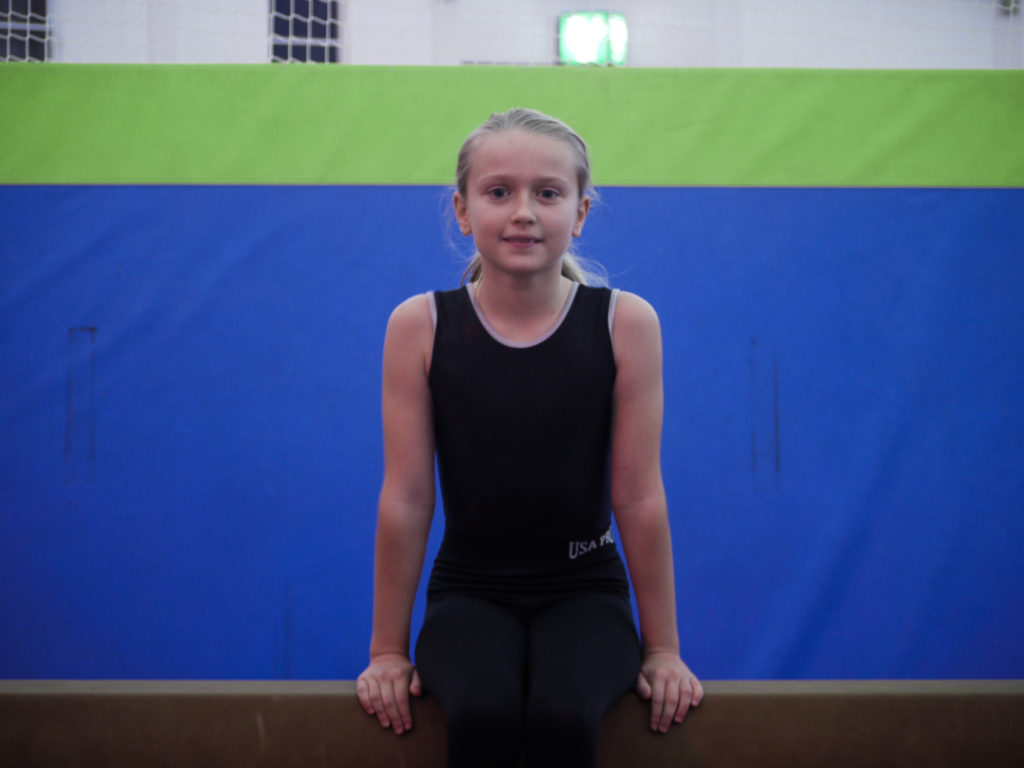
In this photograph I increased the exposure, to allow for the photograph to an overall increased brightness. I also increase the saturation, as all of the tones were quite dull. This increased saturation allowed for the tones to be stronger and more eye catching. I then changed the levels of blue to become a turquoise, because I found it fitted better with the photograph and make it look more interesting. To improve the composition and aesthetic of the photograph, I straightened it out, to allow for the beam to be level, as in the original it was slightly wonky.

photograph two

original
edited

In this photograph, I increased the saturation as the tones were dull, by doing this it allowed for the colours to be released and shown to their full potential. I then changed the levels of yellow to change it to a green to add a more interesting aspect to the photograph.

photograph three

original
edited

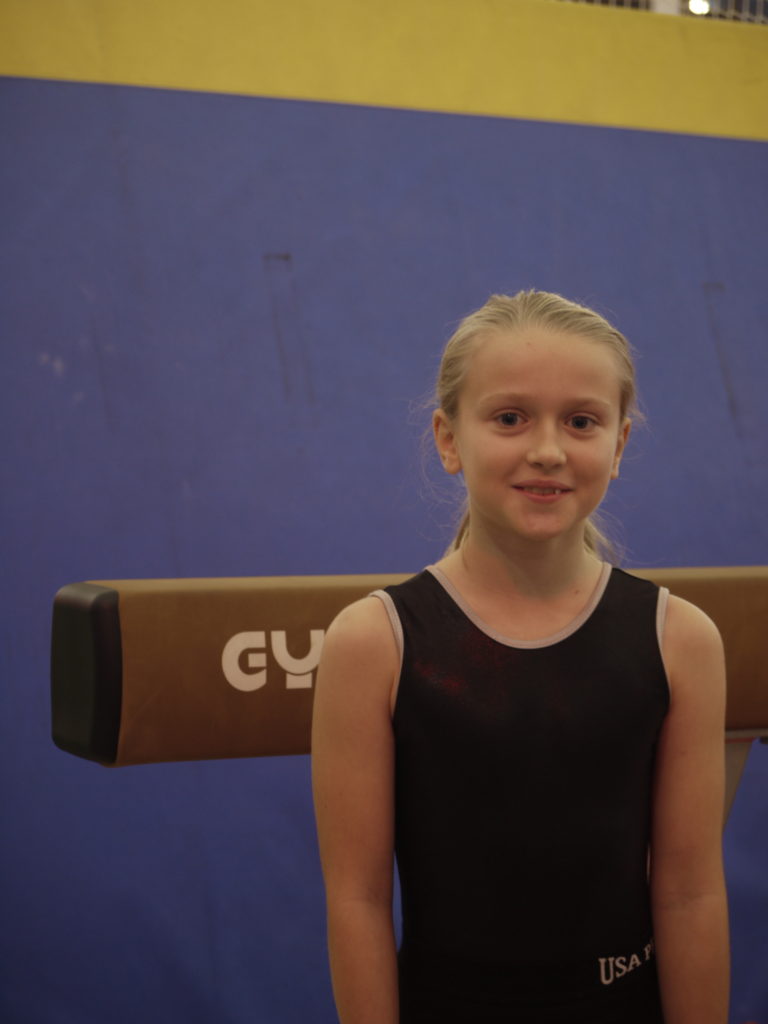
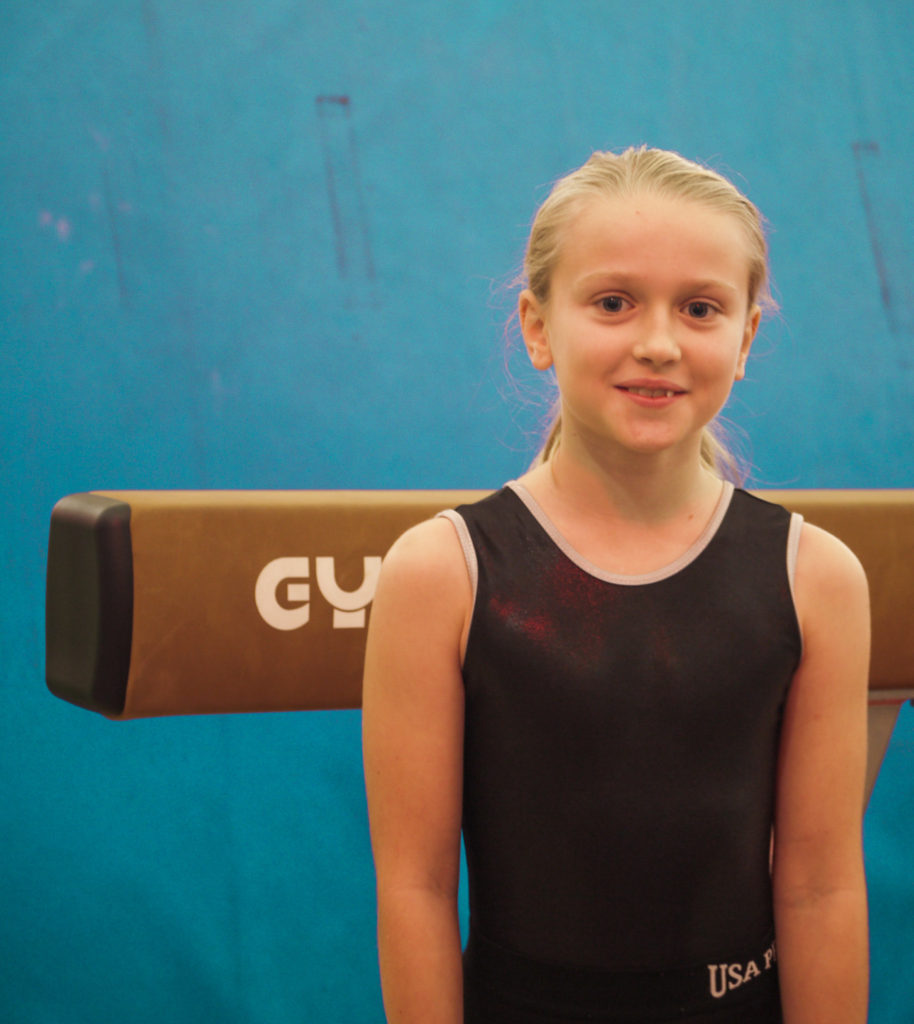
In this photograph, I increased the exposure as the photograph was quite dark. By doing this it allowed for all the features on the face to be illuminated. I then changed the levels of blue to create a turquoise instead, as this added a pop of colour and made the photograph more interesting too. To improve the aesthetics of the photograph, I cropped out the yellow block and the light peaking in from the top, to allow it to look more professional and sleeker looking.

photograph four

original
edited

In this photograph, I mainly worked on the aesthetics, meaning it would be more easy on the eye. I straightened the photograph, meaning it is level. I then cropped the image, to remove distracting features such as the metal structure of the bar. I also changed the level of the blue to make it a turquoise, meaning there was a brighter pop of colour and made it more interesting.

street photography

what is street photography?

street photography is the capturing of photographs by chance of people in an urbanised, built up area. The individuals in the photographs are essentially unaware they are having their photograph taken. Street photograph produces an idea of peoples attitudes and behaviour in public. This type of photography may look like it is breaking ethical boundaries, but if you are out in the public, you almost always have the possibility of being looked at, and in this case photographed.

mood board of street photography

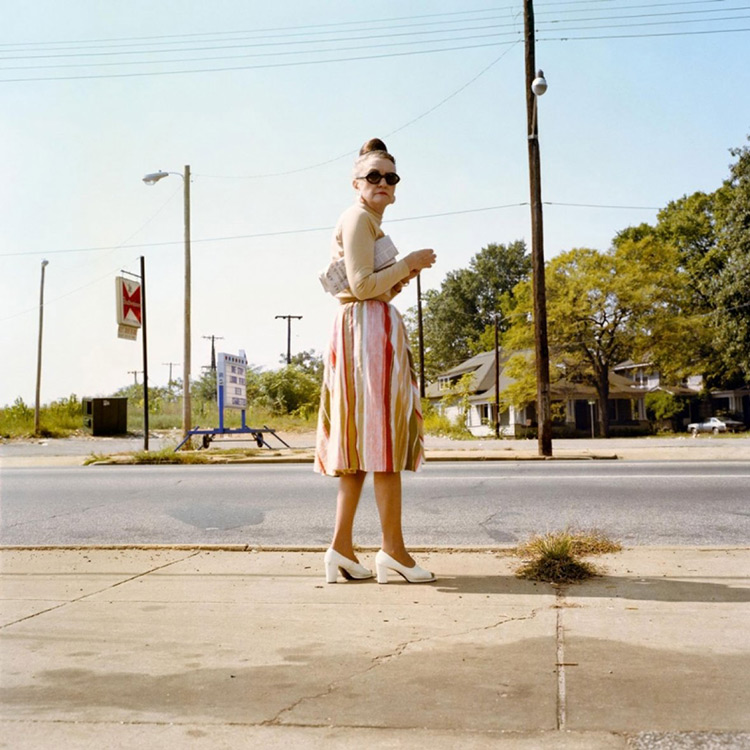
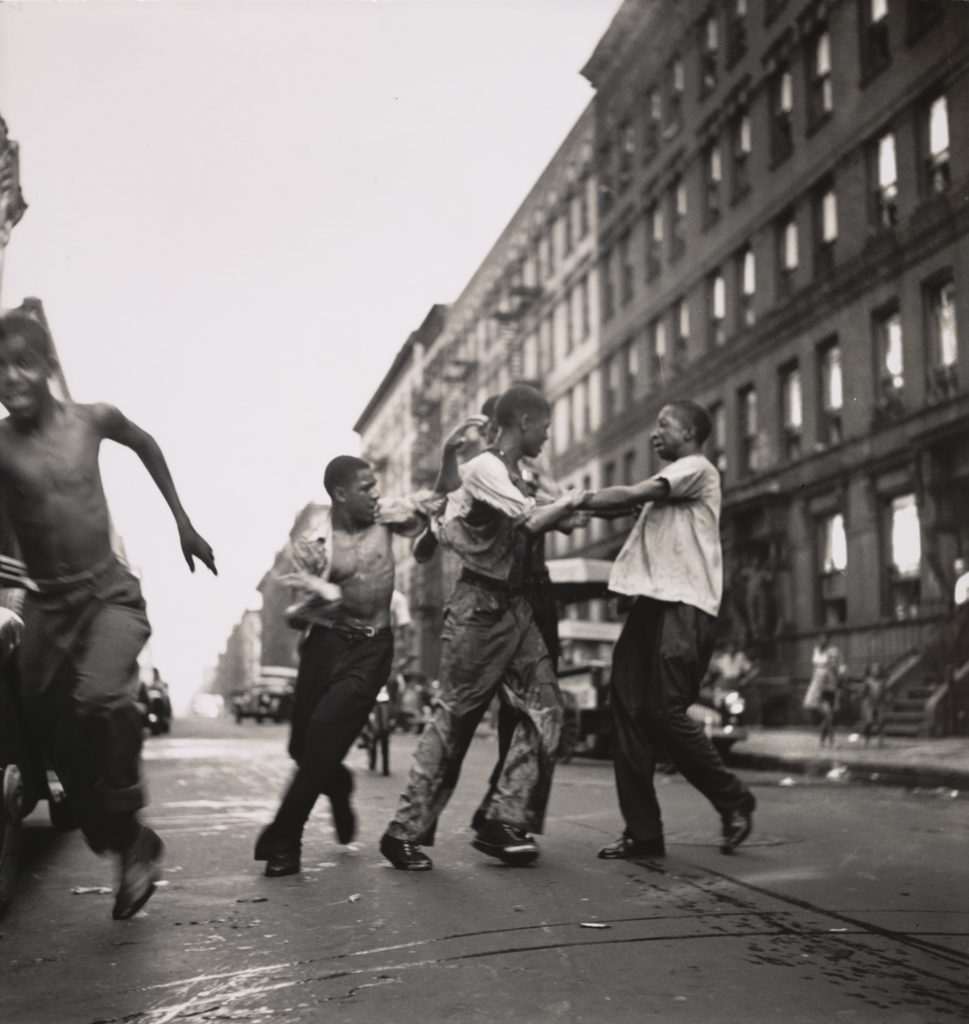
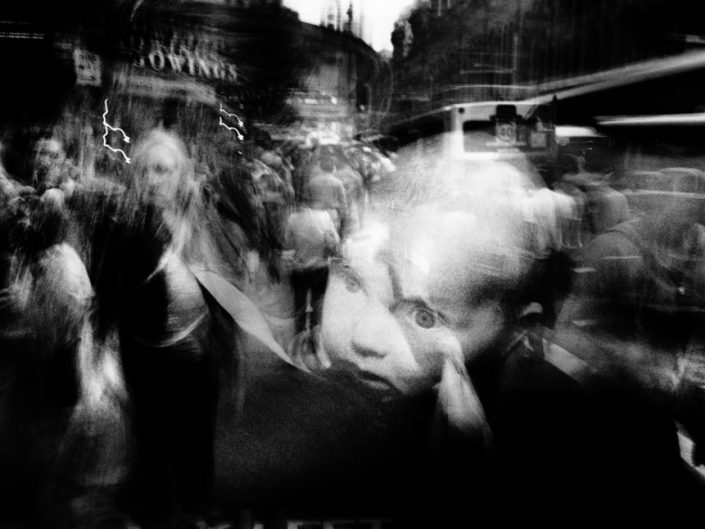
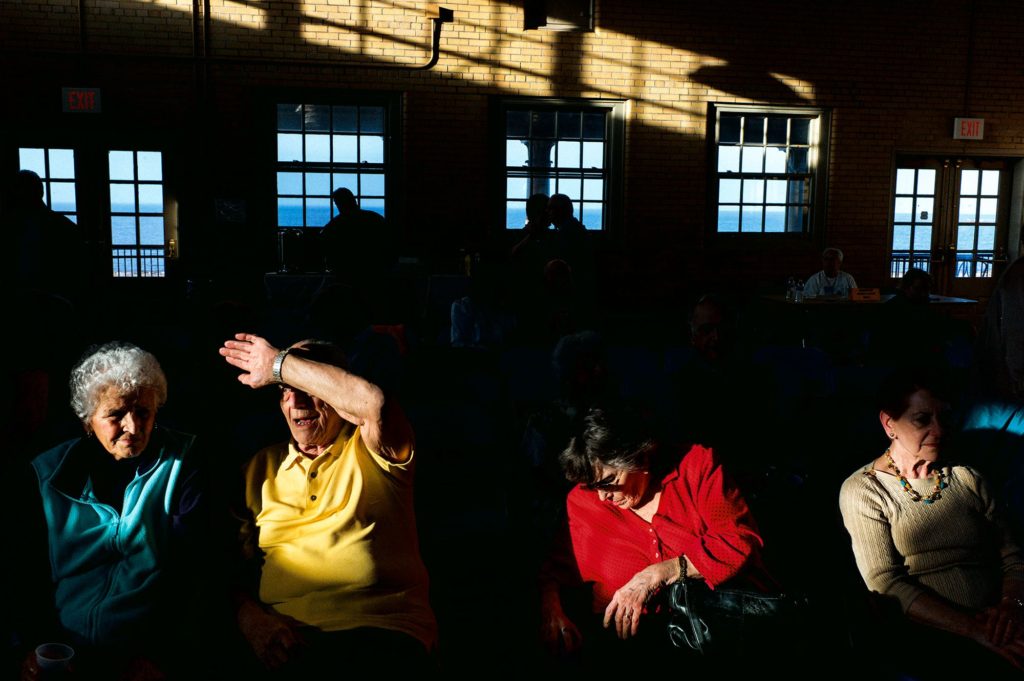
above are photographs from various photographers, that i would like to relate to and try to take some inspiration from. the photographs annotated with ‘+’ are from photographers I am going to have a closer look at as I find their photographs very interesting.

candid portraiture photography – edited

I edited all of these photographs in Adobe Lightroom, as I had never used it before and wanted to experiment with the different aspects.

photograph one

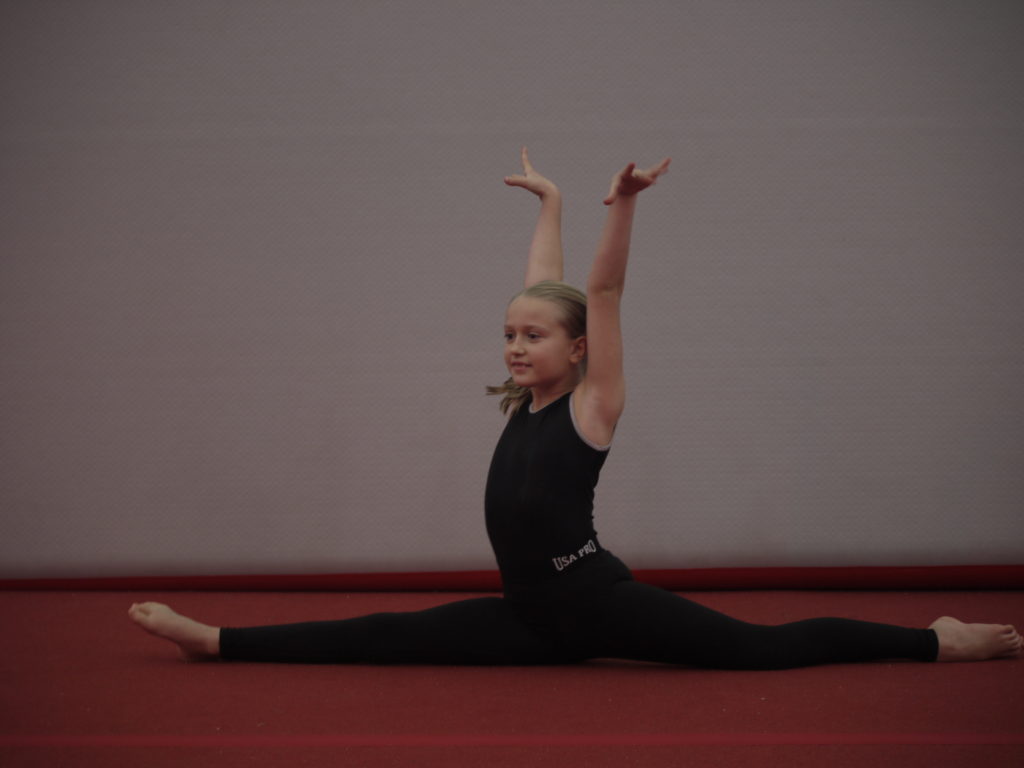
original
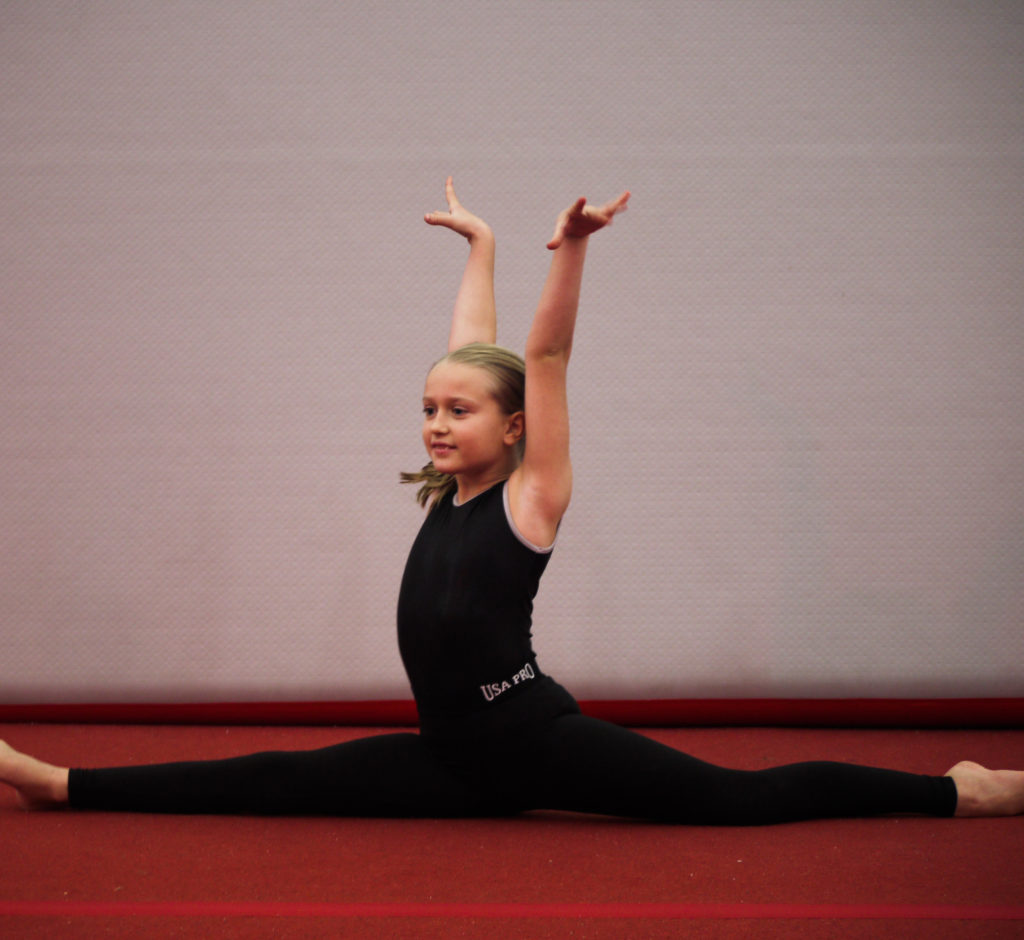
edited

For this photograph, I increased the exposure, as it was quite dark and all of the main features were dull. By increasing the exposure, it allowed for these features to be illuminated, and easier to view. I also increased the saturation, because the colours, in particular, the reds, were not shown as bright they could have been. I then, to increase the compostion, I cropped the photograph, as in the original, not all of the foot was included. This meant, to balance it out, I cropped the other side.

photograph two

original
edited

For this photograph, I increased the exposure to allow all the important features, such as the face, to be seen clearly and with more clarity. I also increased the contrast, to make sure the expression on the individual’s face was harsher and looked more expressive. I changed the levels of the blue, to allow the blue background to become a turquoise. Overall this meant the photograph was more eye-catching and bright.

photograph three

original
edited

In this photograph, I increased the exposure, as the original was dark and dull. I then just changed the levels of the blue, to become a turquiose as it adds a pop of colour, and adds interest.