All posts by Emma Price

Filters

Author:
Category:

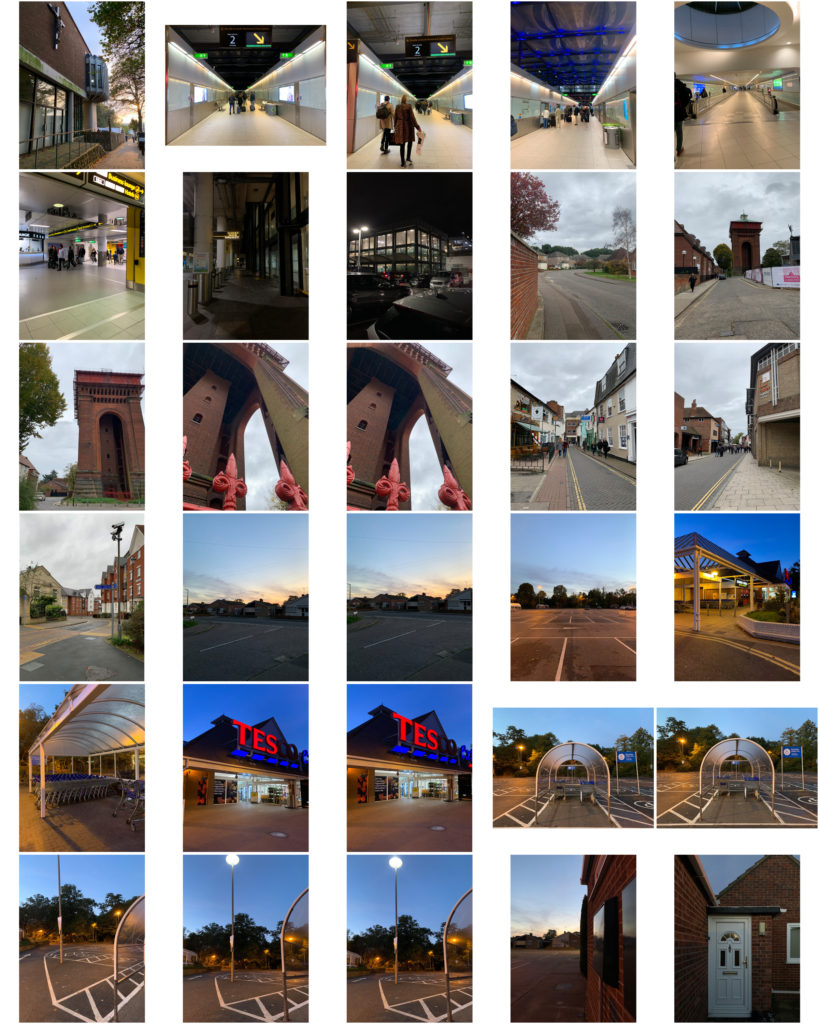
urban photography shoot

Previous shoot:

Shoot 1– Jersey
Shoot 2– Colchester

Lewis Baltz styled images.

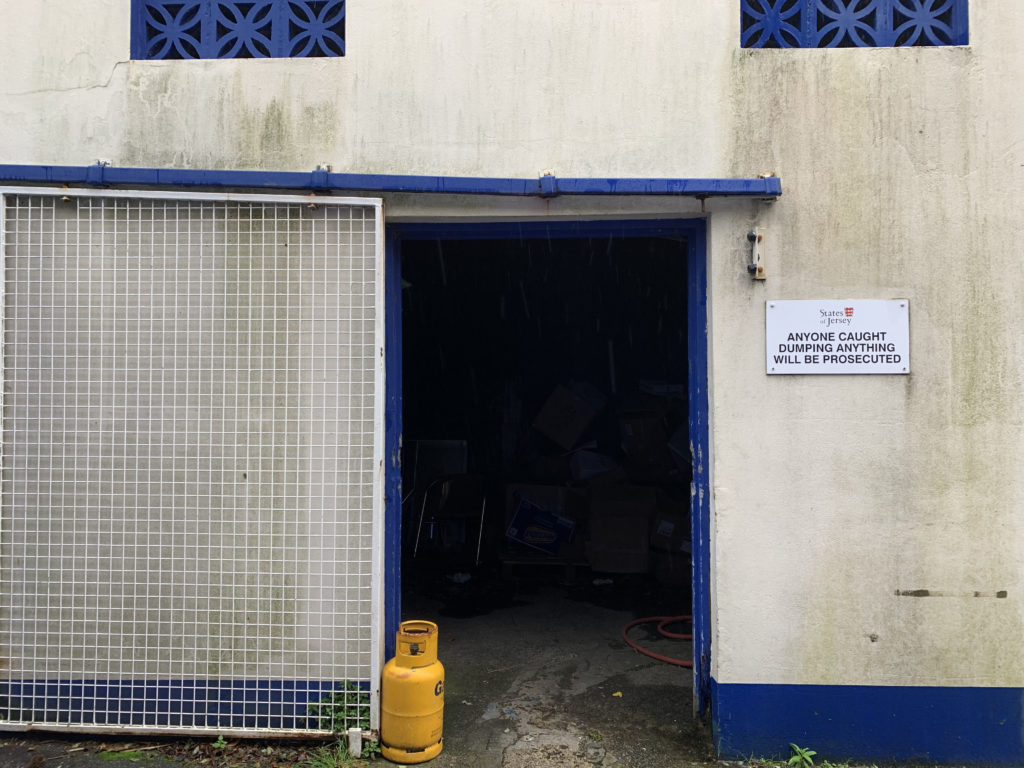
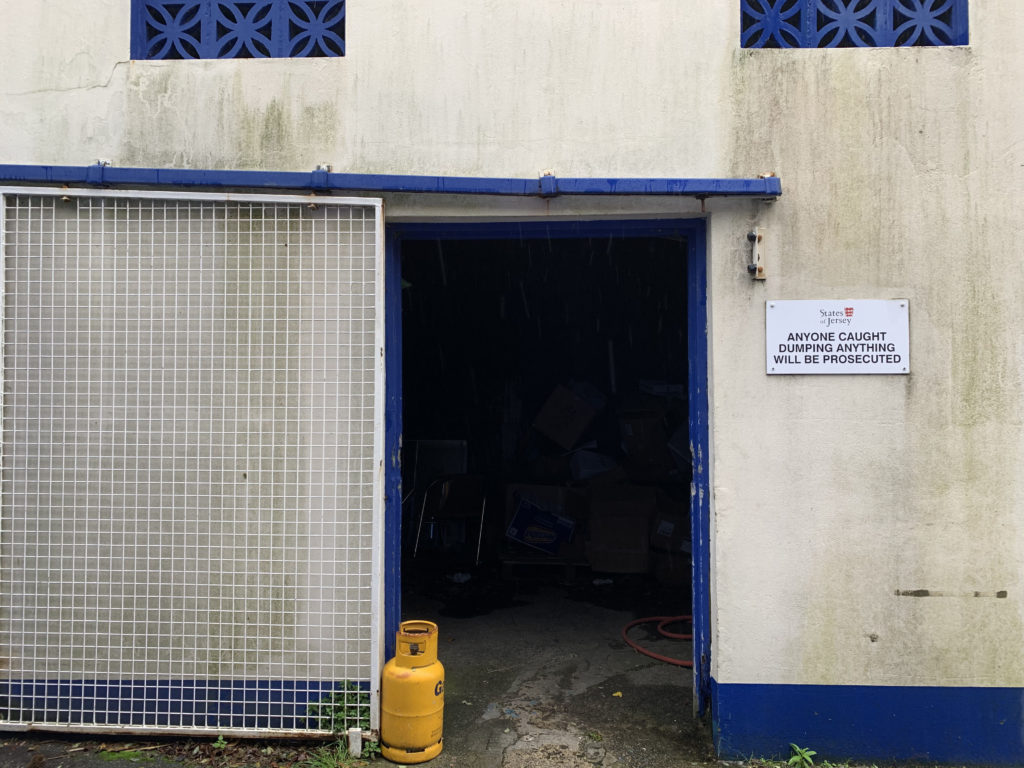
I produced these images during the shoot in the style of one of Baltz’s images from my previous case study (as pictured below). I aimed to produce a ‘frame within a frame’, adding depth to the image.

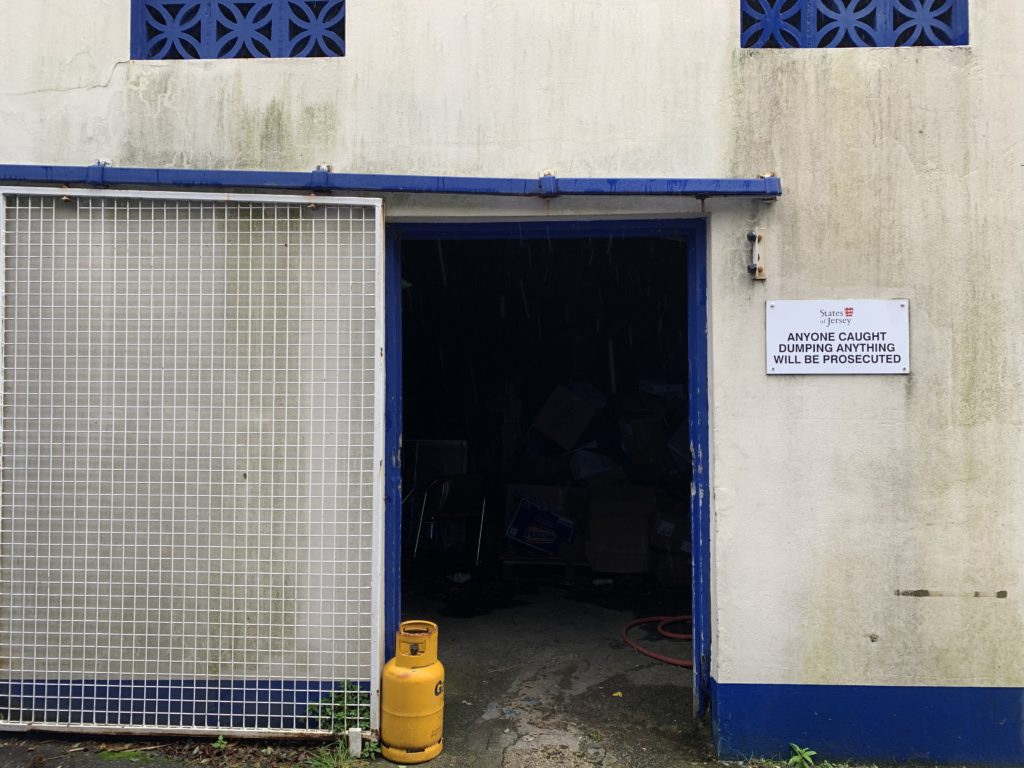
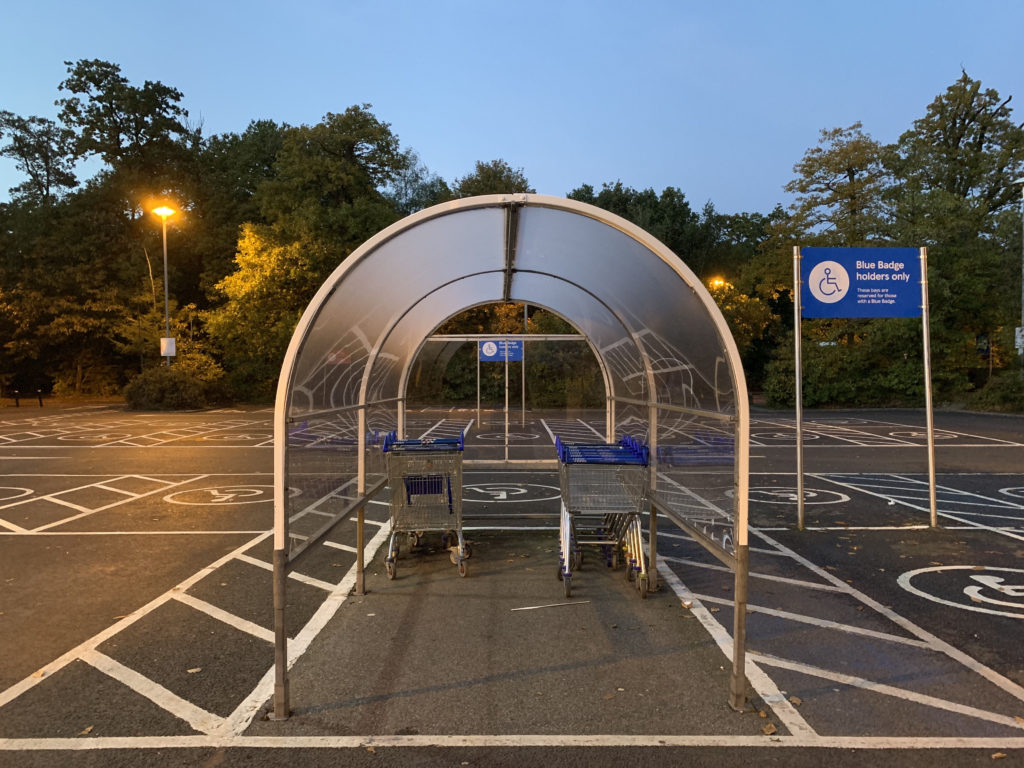
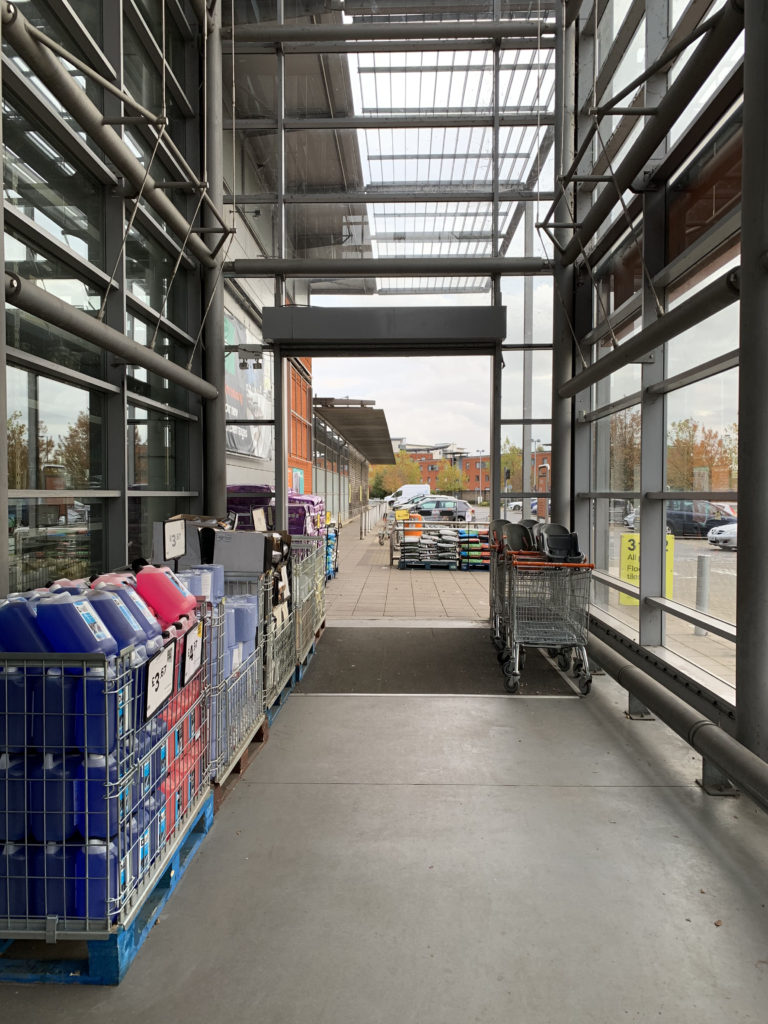
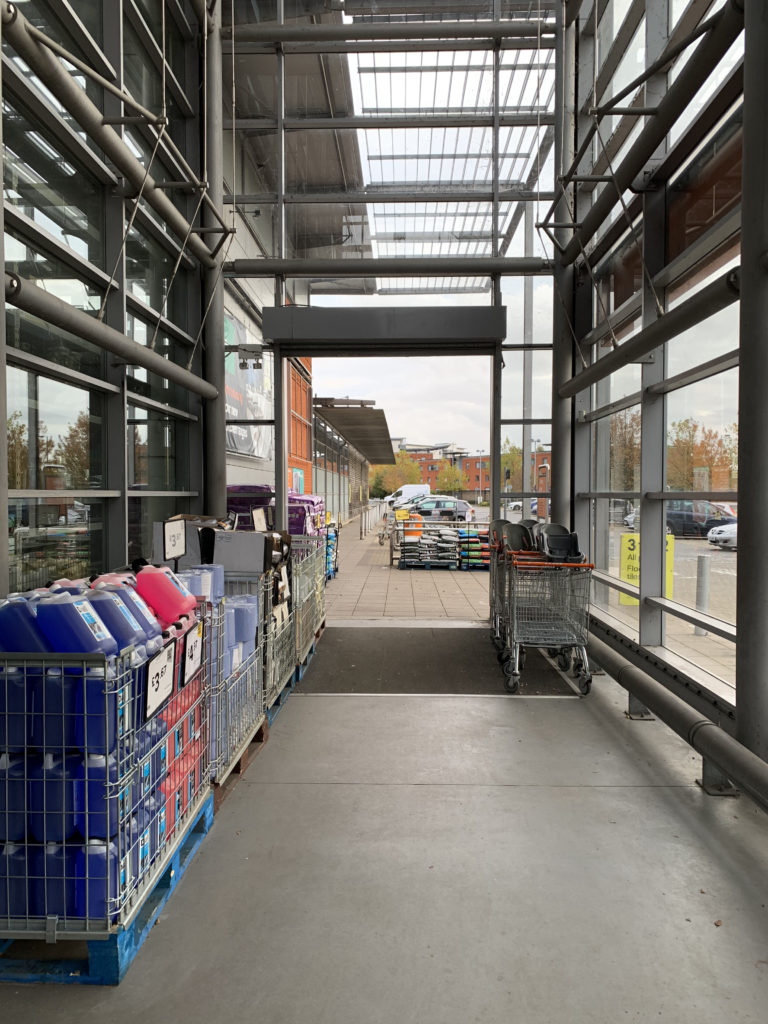
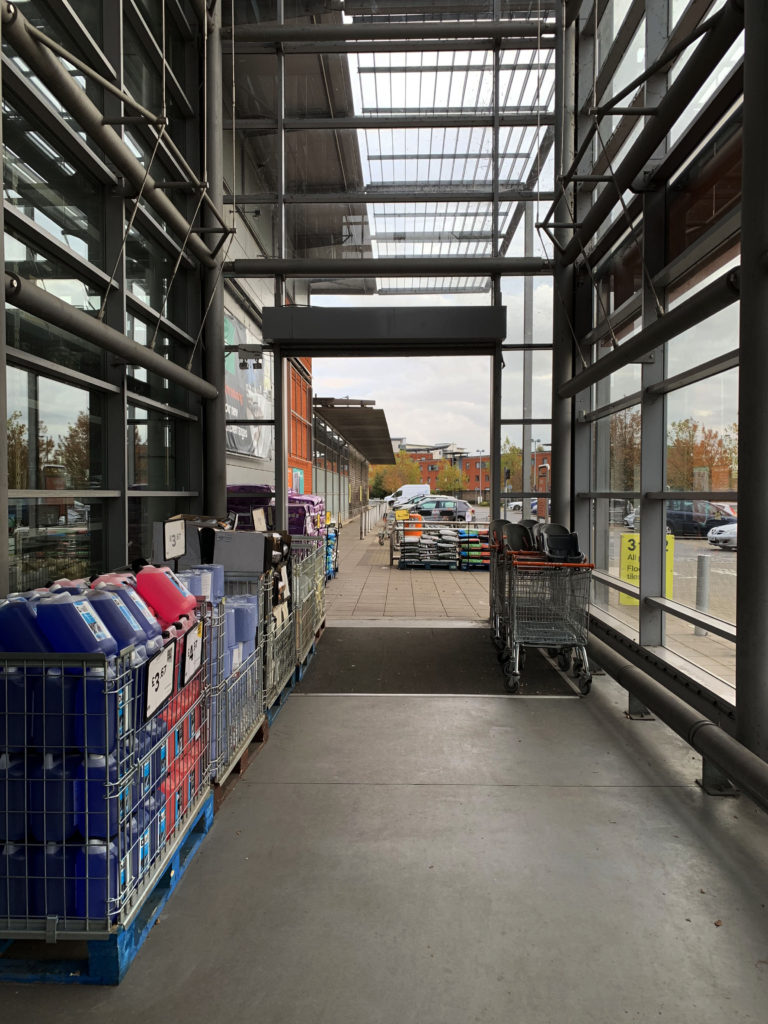
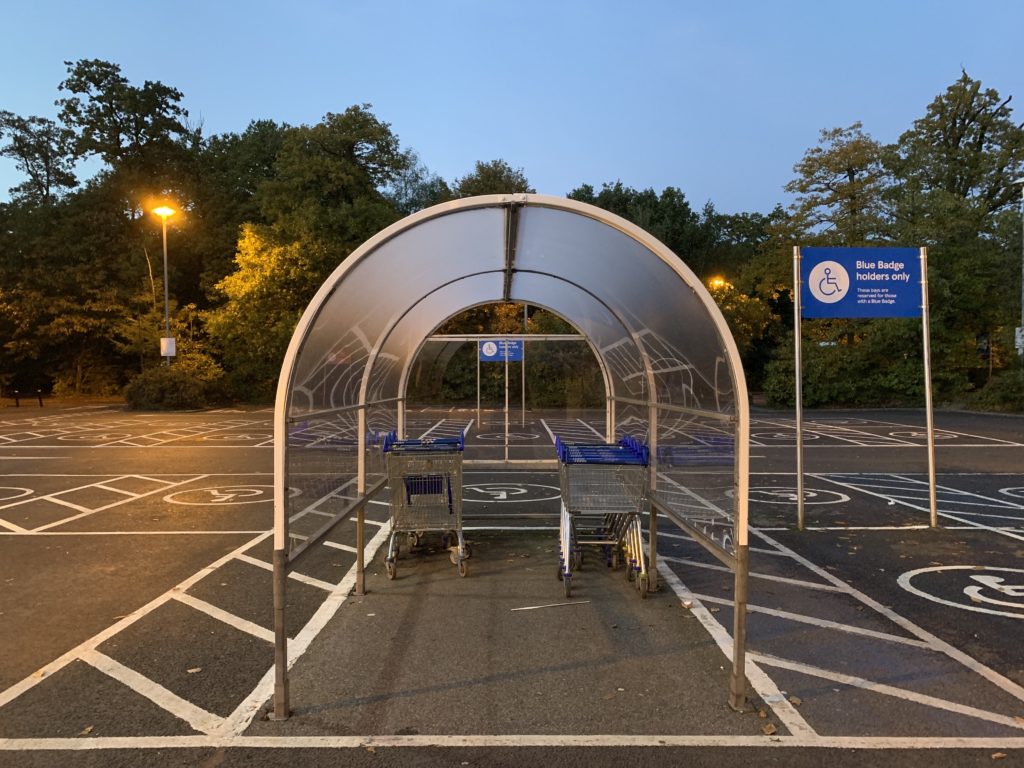
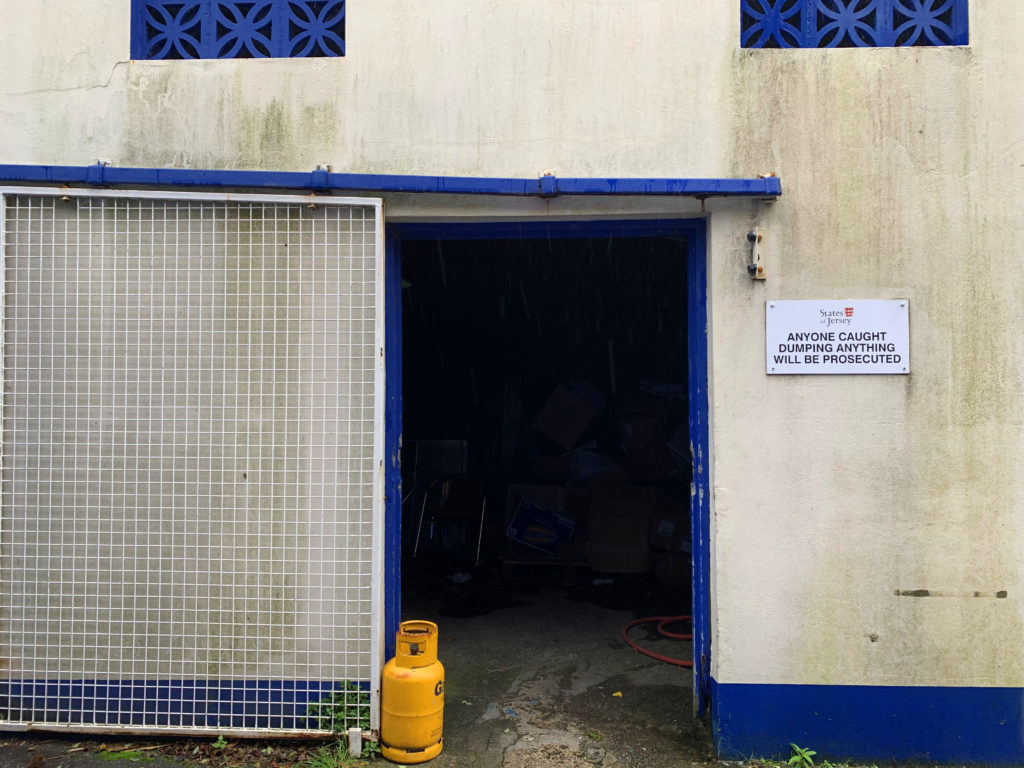
Both images have a ‘spot‘, which helps to dissect the images as Baltz did. The canister on the left image diverts the focus as the yellow colour catches the eye of those looking at it, resulting in the viewer revisiting different parts of the image multiple times. The green potted plants and white light act as the ‘spot’ for the image on the right.

Image result for lewis baltz new topographics
Lewis Baltz- inspiration for this shoot.

Best images:

Editing process:

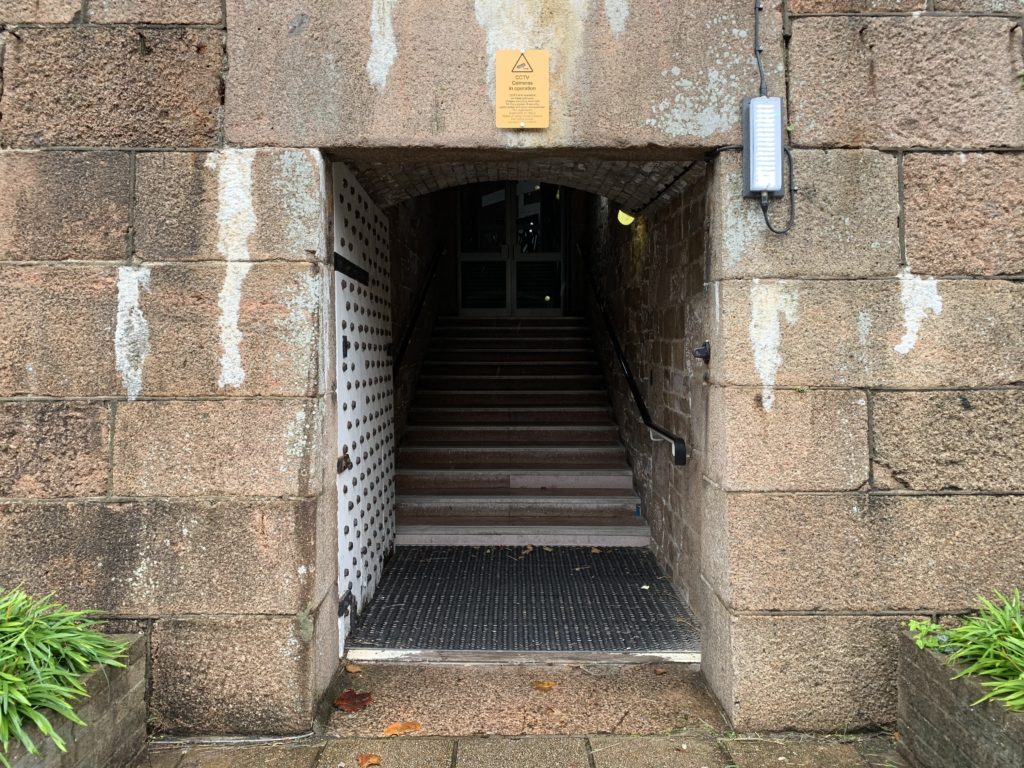
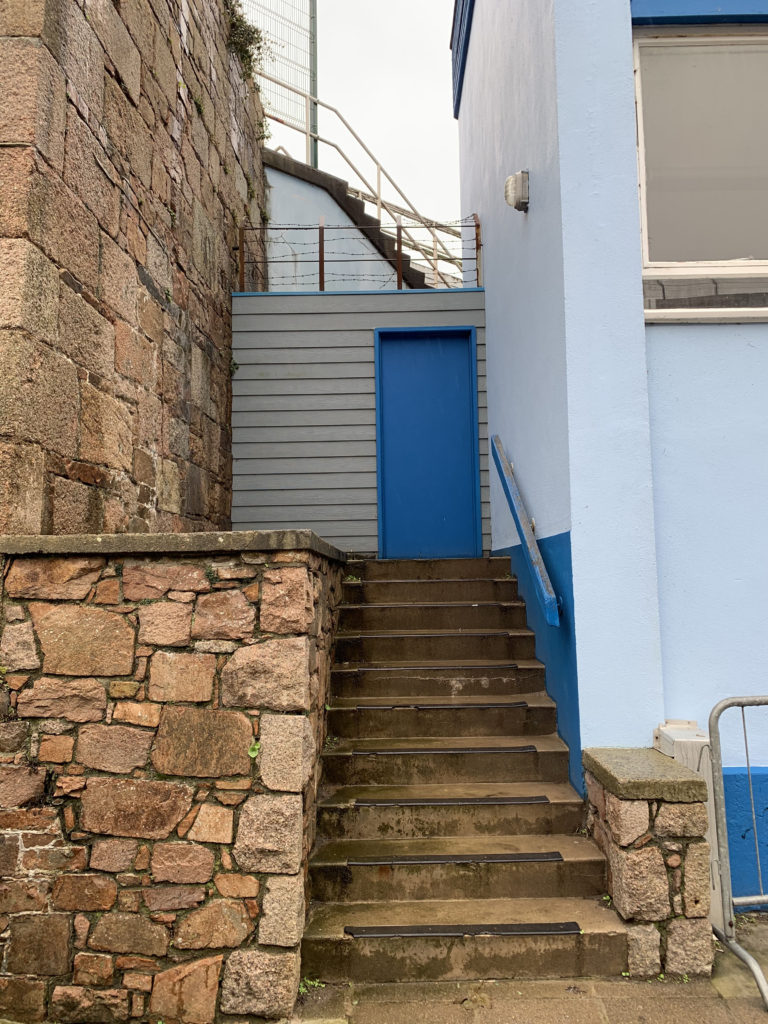
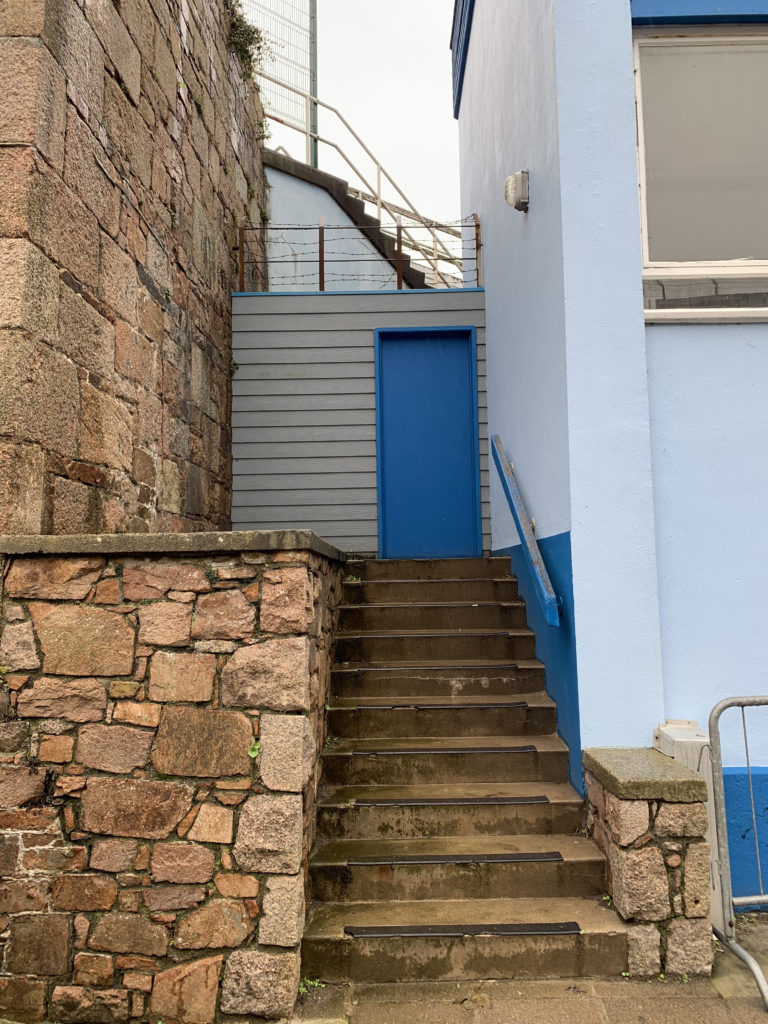
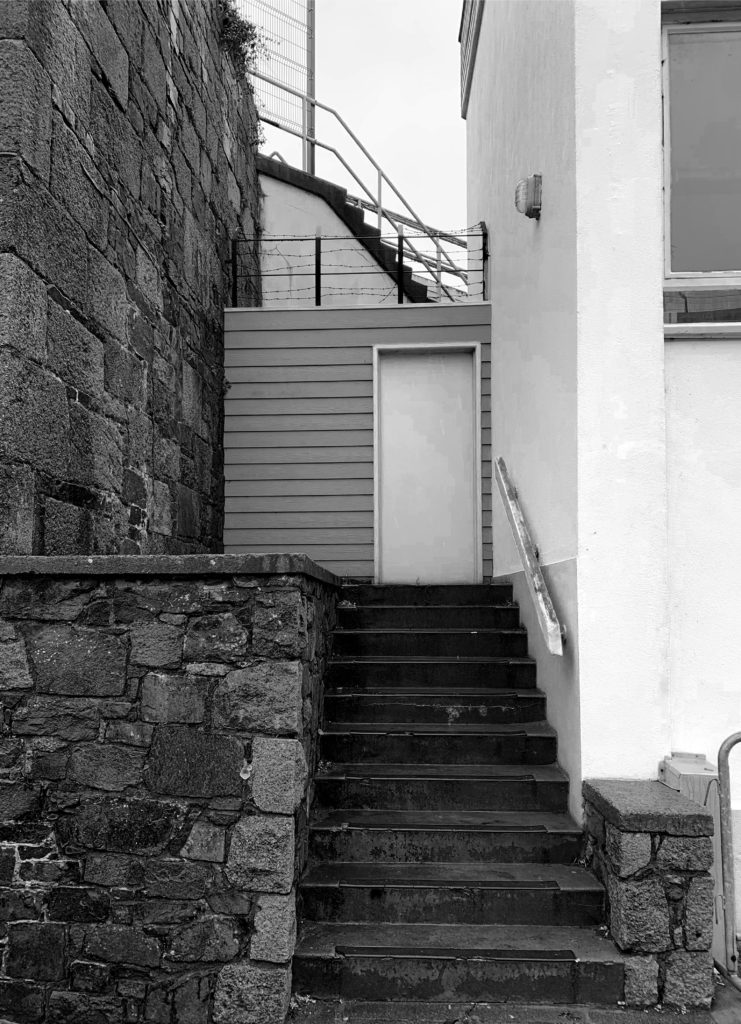
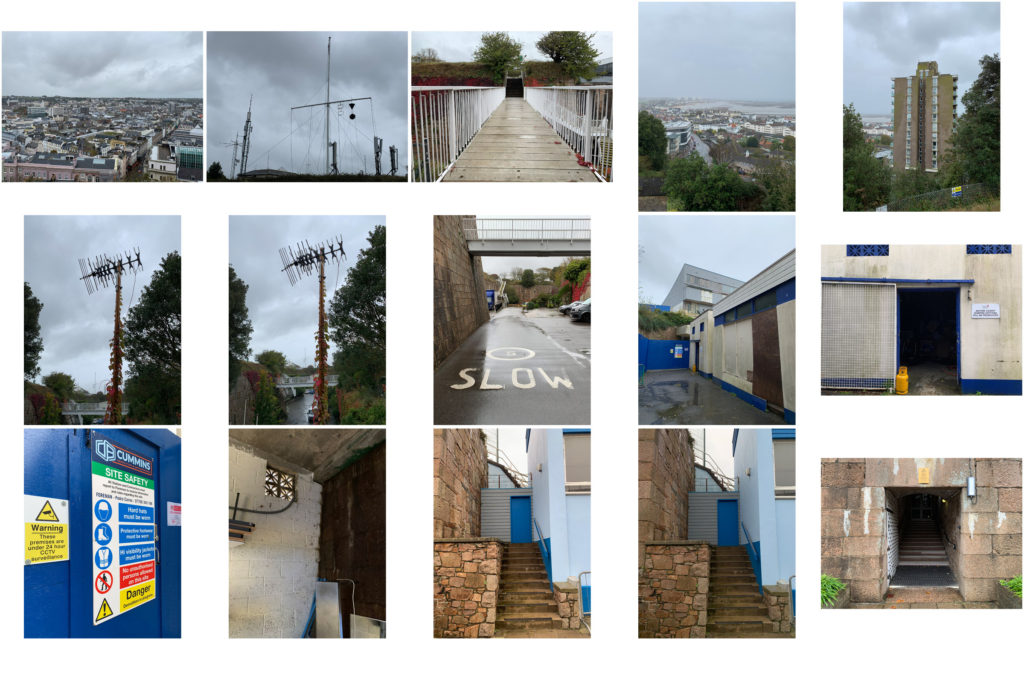
Using the perspective cropping tool on photoshop, I straightened the image out, making the sides of the wall parallel to the frame of the image. I decreased the saturation of red hues within the granite and highlighted the bluer hues of the image. I then experimented with black and white filters, making the blues completely white whilst contrasting it with a range of tones throughout the wall and stairs.

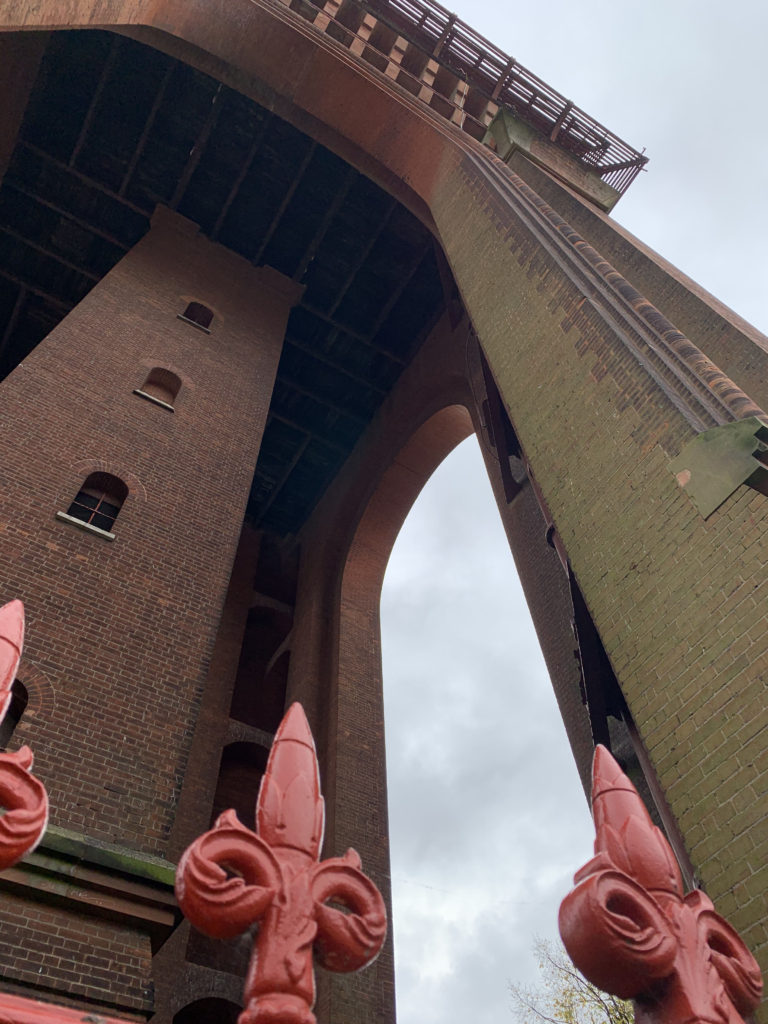
For this image, I decreased the exposure for the background behind the structure and edited the levels of RGB and Red tones within the image to make it more vibrant.

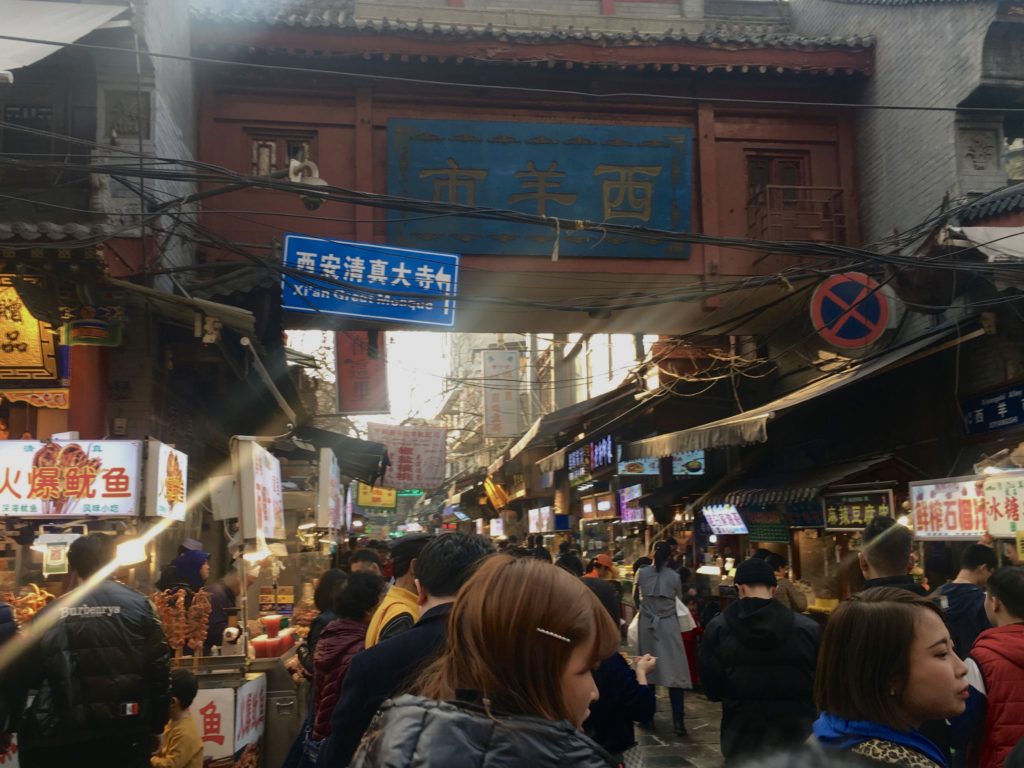
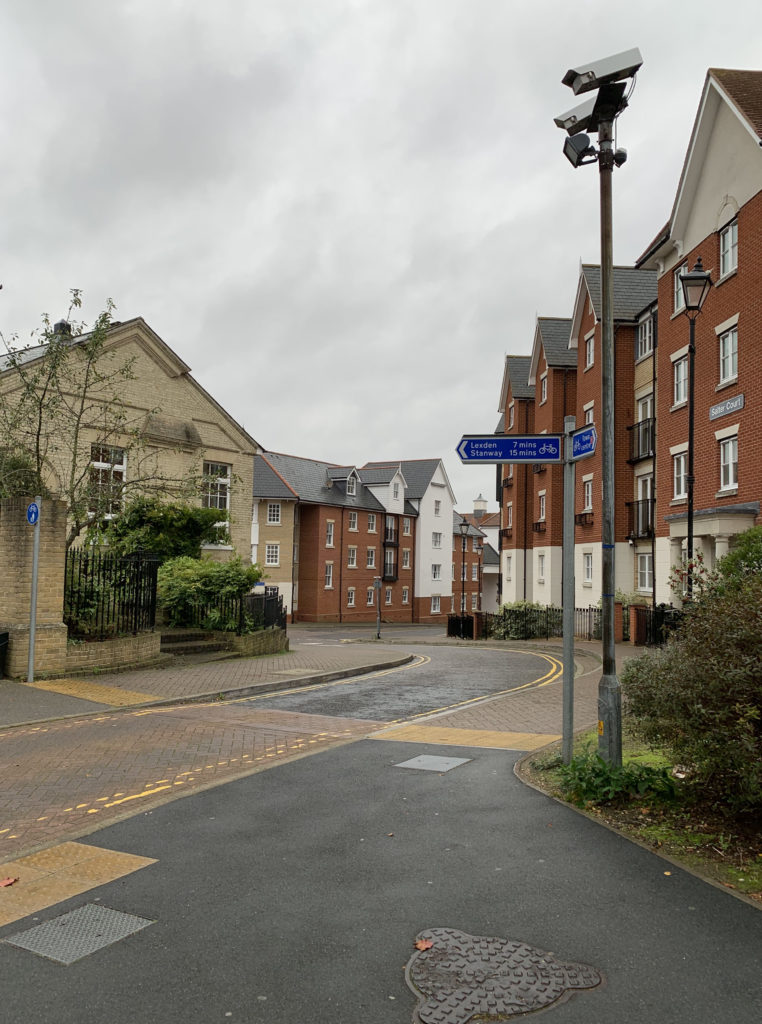
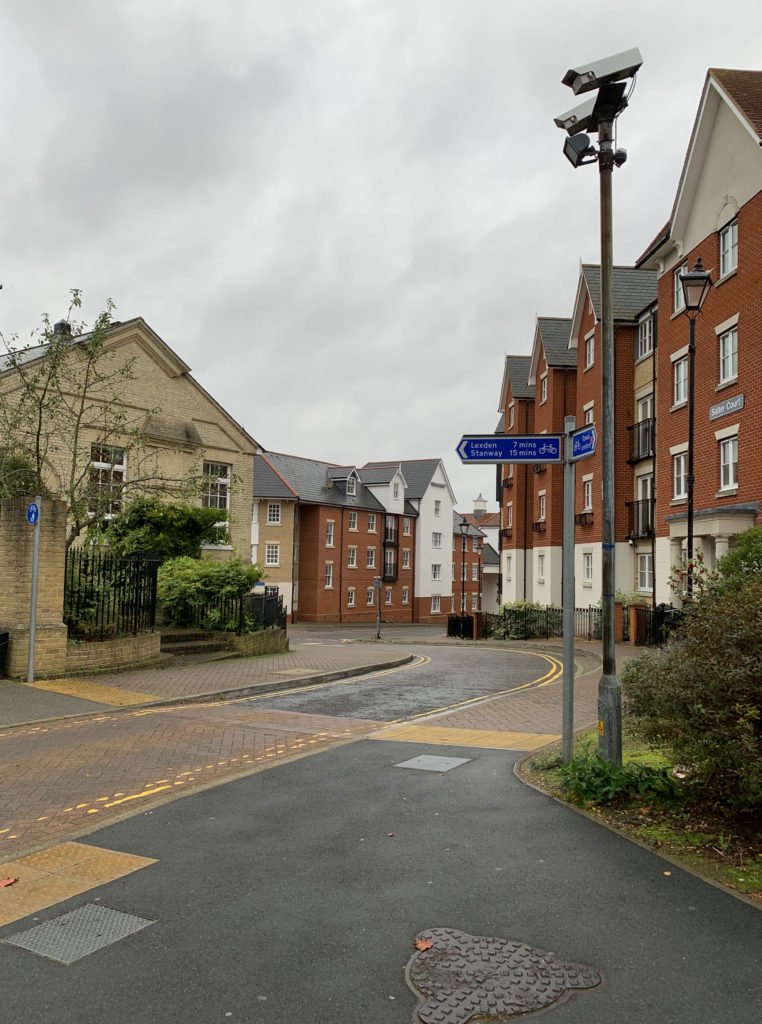
I didn’t change much with this image apart from enhancing the reddish hues in the road and buildings behind which is contrasted by the yellow marks in the pavement.

I decreased the brightness to -29 and increased the contrast to 39 to make the view through the doors more defined, allowing it to become more of a main focus within the frame.

I increased the green hues using the colour balance tool on photoshop.

I increased the saturation to bring out the yellow of the gas canister to increase the contrast against the blue trimmings of the door.

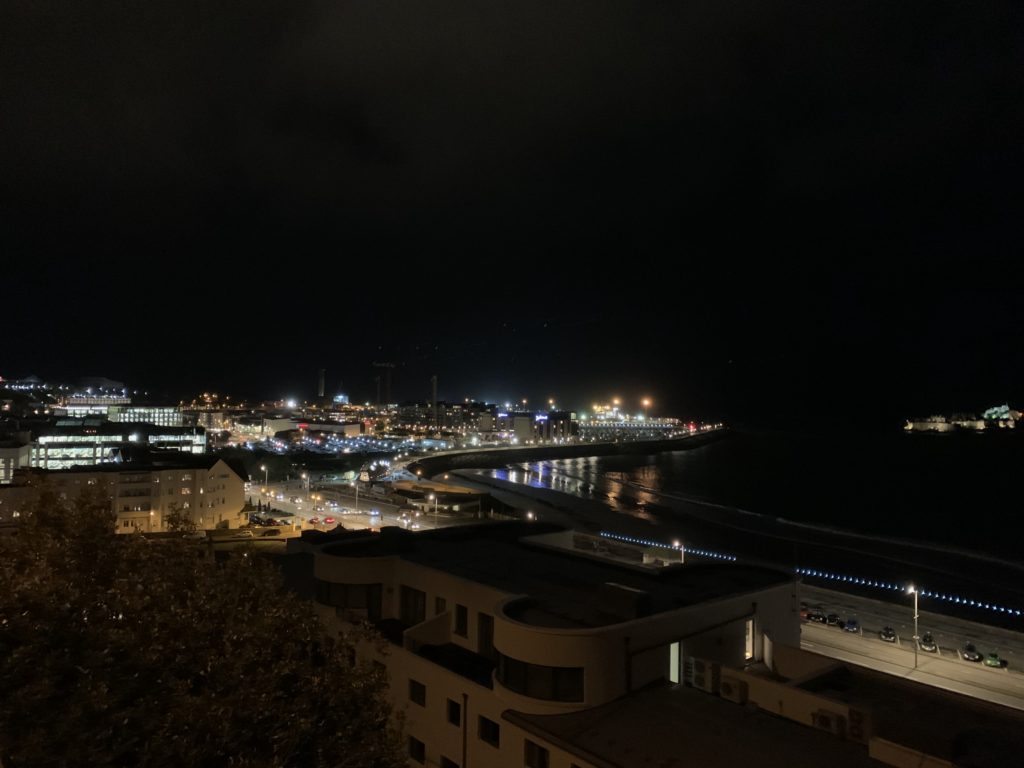
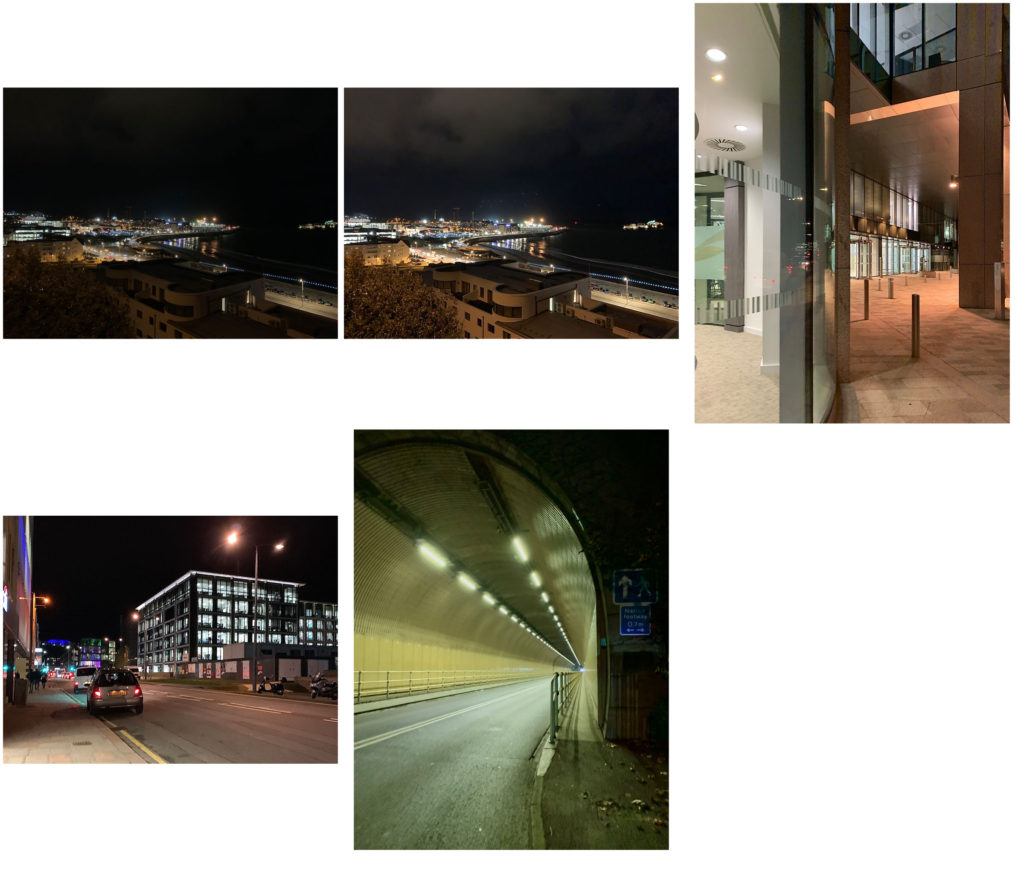
Firstly I increased the contrast, I then used the healing brush tool to decrease the harshness of the street lighting.

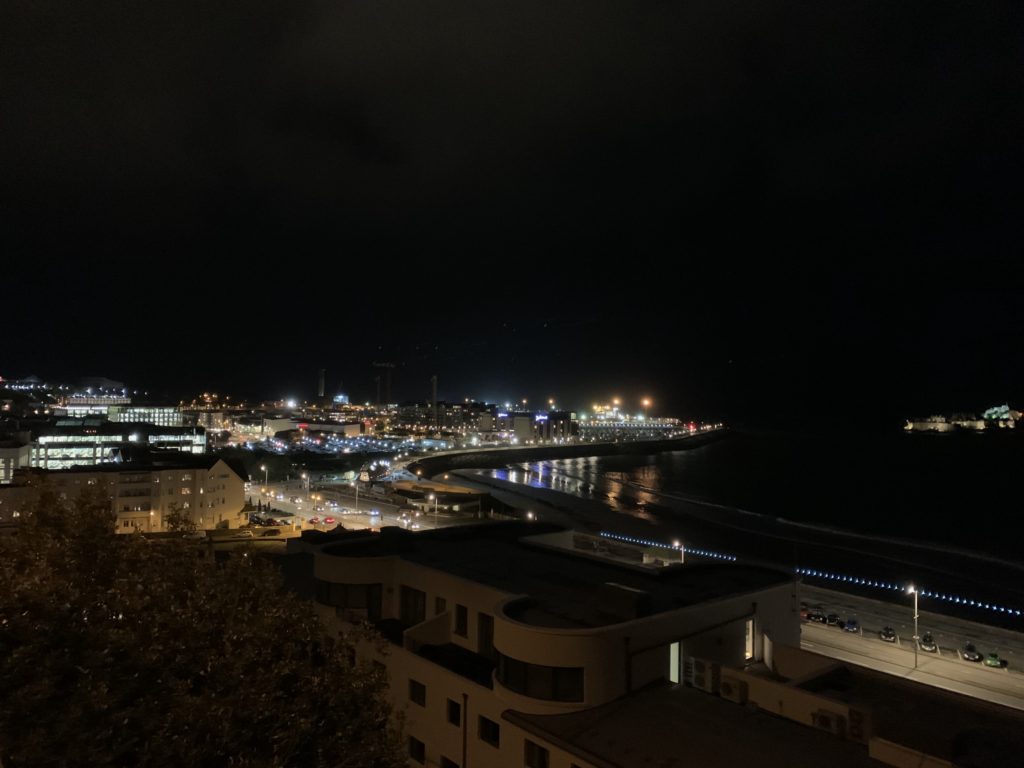
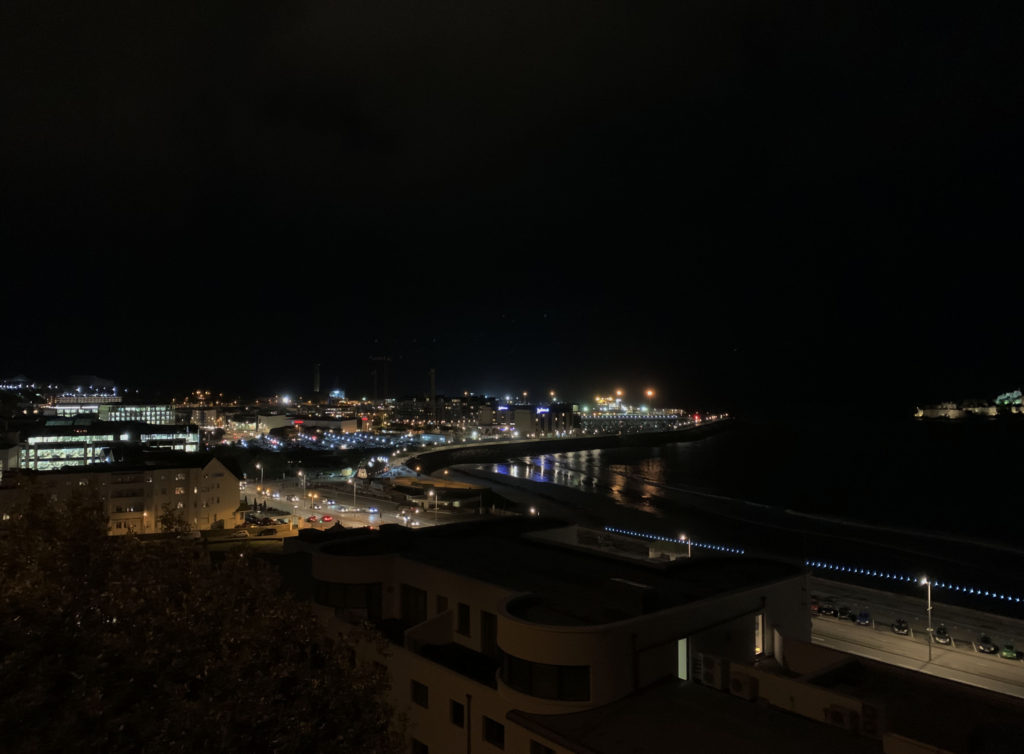
I rotated and cropped the image to straighten out the horizon, decreased the brightness of the image to -38 and finally set the contrast to 28 to isolate the artificial lighting of the landscape.

Project evaluation

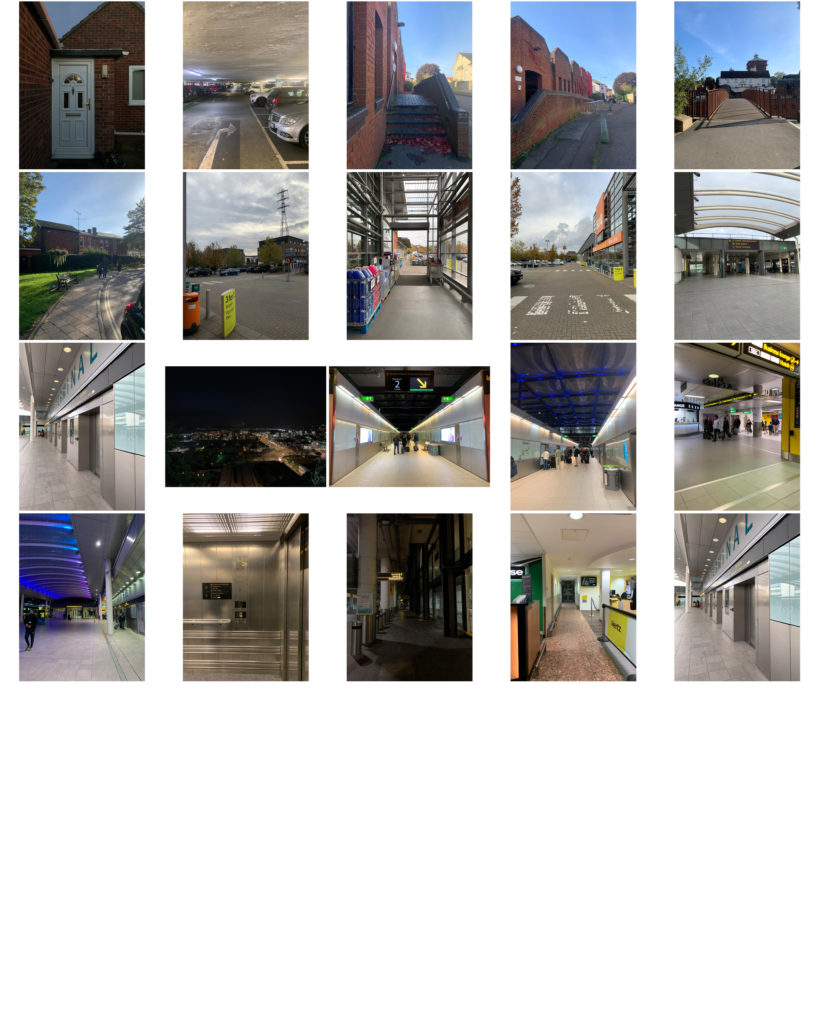
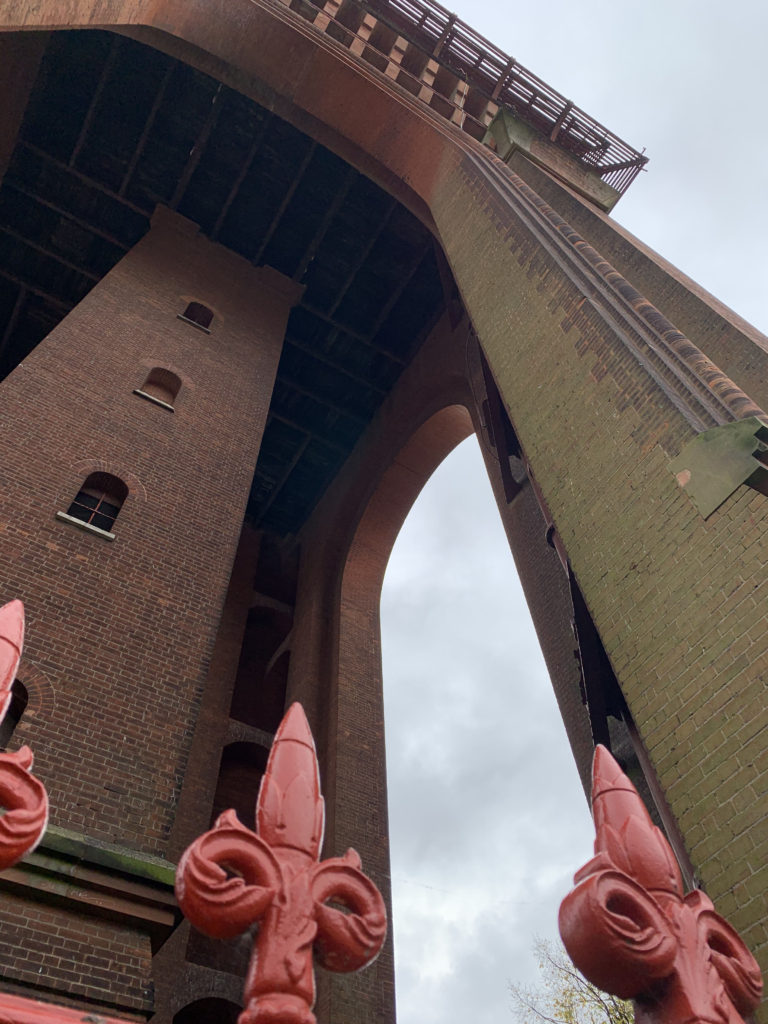
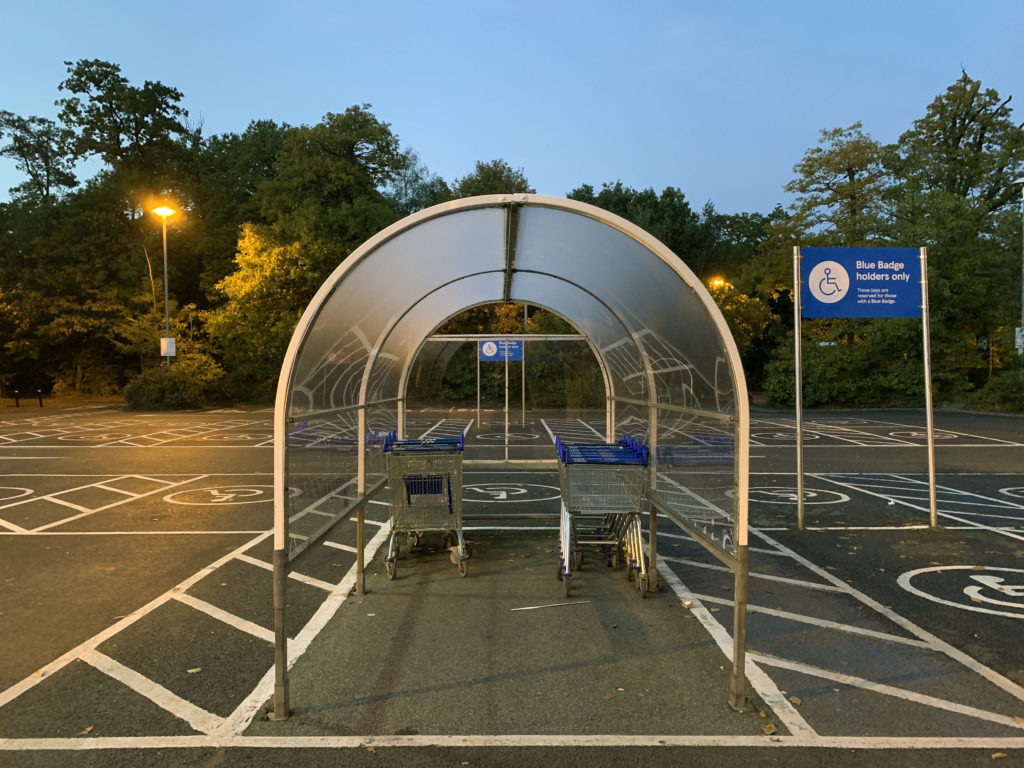
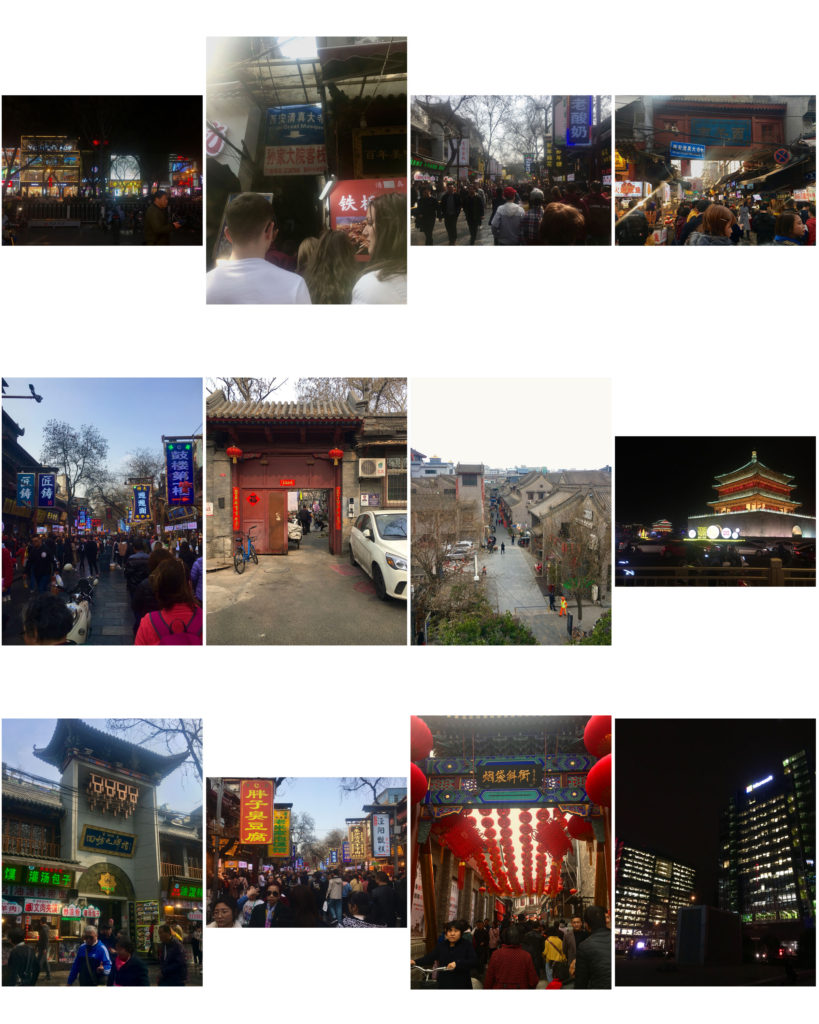
Personally I struggled with the elements within this urban landscape project. Whether to involve members of the public in my images or to avoid them proved difficult for me. I mainly focused on different shapes made by the architecture I came across, such as the rounded appearance of the bell tower and the shopping trolley section in a local car park.

Looking back at the project I would further expand the range of my images by photographing more urban scenes in the dusk and evening , capturing artificial lights from neon signs as an example or exploring the same scenes I’d previously visited during the day to see how the lighting at night altered the overall mood and atmosphere produced by the images.

Final image
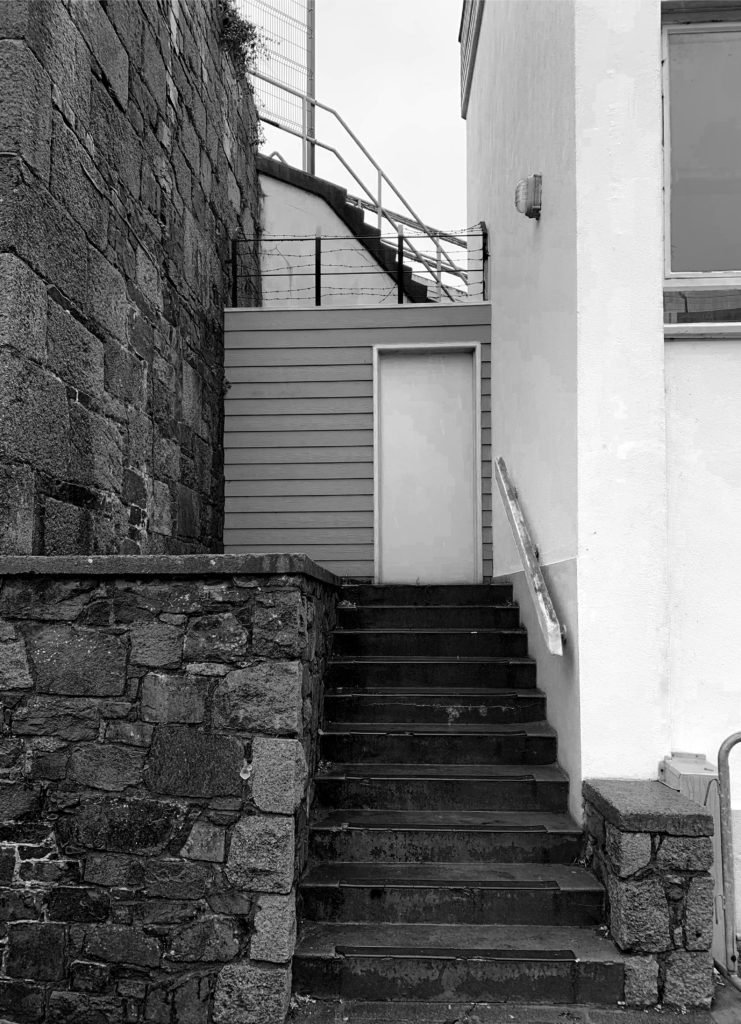
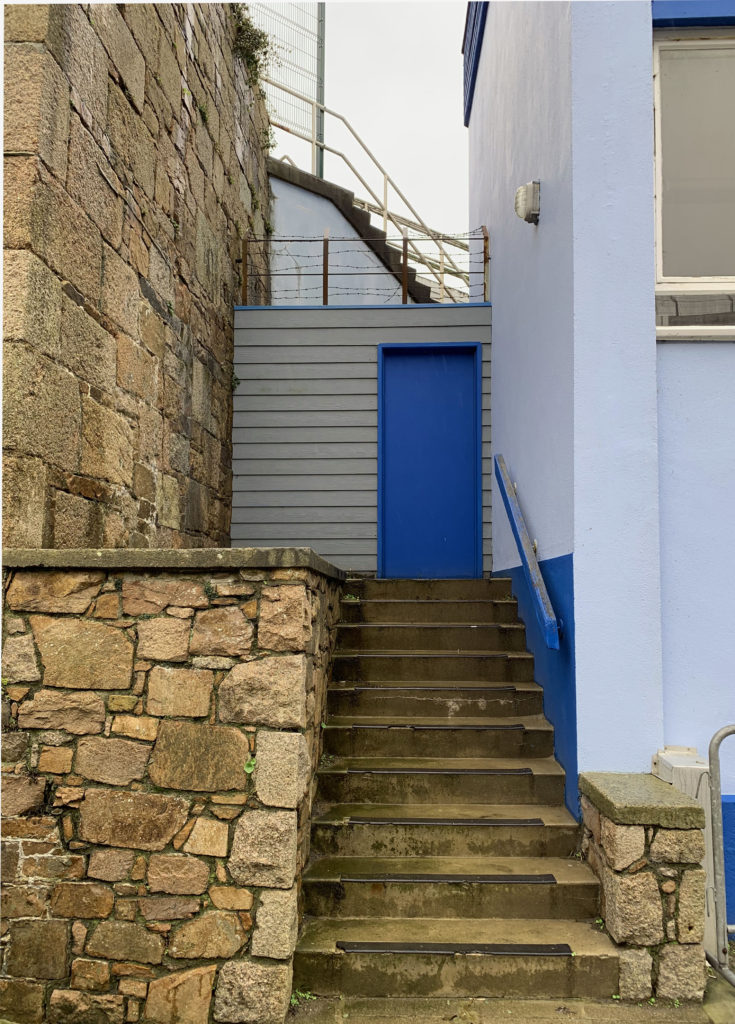
My chosen image has a wide tonal range, produced by the use of natural lighting the photo was taken in. The stairs and granite have darker tones in comparison to the walls and door. The overcast sky helps to form lighter tones in the background that can be contradicted by these elements. The darkest point in the image is apparent in the top third: a fence with barbed wire wrapped around it. This dark fence further contrasts the white door and beneath it. This begins to create a narrative, making the viewer question what’s beyond the fence and whose actions have led to its placement.

There is a main focus on the structure in the middle third; on the small building like structure, the wooden banister and stairs act as a sort of leading line towards the door, drawing the viewer’s eyes and focus to the center of the frame. The flat wall next to the stairs help to create depth within the image.

There are three main textures within my image that help with its success. The most prominent texture within the composition is the cladding surrounding the door. The vertical lines on the door add tot he contrast apparent in the photo. A second, more subservient texture is the smoothness of the walls which compliments the rough texture of the granite as they differ a great deal.

Dynamic tension can be seen by the different directions of components within the image. The stairs in the background of the image and the direction of the steps up to the door aid in this, drawing the viewer’s eye out of the photograph, in contrasting directions.

There is a sense of ambiguity within my image. As well as the barbed wire fence, the slightness of the structure in the center of the image is amplified by the features of a larger building beside it. This begins to make the viewer question the function of the building. The lack of detail on the door also adds to this, as it questions whether the building have a practical purpose or not.

I felt this image proved most successful due to the simplicity yet curiosity it arouses. The small area could have easily been overlooked but having photographed it, the building itself is intriguing.

LEWIS BALTZ case study

Lewis Baltz was an american artist and photographer, born in 1945, who became an important figure in the New Topographics movement in the late 1970s.

His work is focused on searching for beauty in desolation and destruction- banal aesthetic. Baltz’s photographs show the architecture of human landscape, including: offices, factories and parking lots. His images reflect the control, power and influence of human beings on the environment.

At the time Baltz was a very young photographer but later became a central figure in the New Topographics movement.

Image result for lewis baltz new topographics

New topographic photographers incorporated urban architecture and spaces into their images, differentiating themselves from natural landscape photographers who focused primarily on the sublimity of nature and completely avoided the effect man had on the environment surrounding them.

Baltz’s image has a large tonal range. In the bottom third of the image, the ground has darker tones compared to the top two thirds. The shadows apparent in the door-like feature and the darker tones of the trees create a further contrast against the white wall behind them. This creates a striking image that provokes the viewer’s eyes.

There are multiple patterns and textures within Baltz’s image that play a subservient role in the composition. The vertical lines on the door and at the top of the image add to the contradiction in the photo. It leads the viewers eyes up and down the image and creates another contrast against the softness and smoothness of the walls and the ground.

Leading lines towards the door create dynamic tension, drawing the viewer’s eyes and focus to the center of the frame. The also aid in creating a sense of depth in to the center of the image.

The plainness and almost symmetrical structure of Baltz’s image is broken by a group of trees lined up on the right, creating a ‘spot‘. This deliberate use of opposition forces the spectator to look over the photo multiple times.

The use of lighting in Baltz’s image is fairly natural. The photo’s been taken in the day, creating shadows of the trees and on the floor, implying there’s another man made or natural structure obstructing the natural light path that the viewer can’t see.

This unknown structure adds to the ambiguity of the image. The lack of sky and other landscape features, such as mountain ranges or naturally occurring plantation and earth, could possibly be Baltz’s criticism of human technology and how it’s enveloping and taking over the natural landscape that would otherwise be present in the image.

The New Topographics

‘New Topographics’ was a term created by William Jenkins in 1975 to describe a group of American photographers (such as Robert Adams and Lewis Baltz) whose pictures had a similar banal (ordinary) aesthetic. They were formal and mostly black and white prints of the urban landscape. Parking lots, suburban housing and warehouses were a main focus for many of these photographs.

The group consisted of 8 young, american photographers that Jenkins chose- Robert Adams, Lewis Baltz, Joe Deal, Frank Gohlke, Nicholas Nixon, John Schott, Stephen Shore, and Henry Wessel, Jr. He also included the German couple Bernd and Hilla Becher.

The New Topographics responded to man’s impact on the land by casting a somewhat ironic or critical view on what American society had become. Each of them had presented urban and/or suburban landscapes that were under expansion, gentrification or other changes.

They all discovered a sense of beauty within the ordinary ugliness of functional land use- a banal aesthetic.

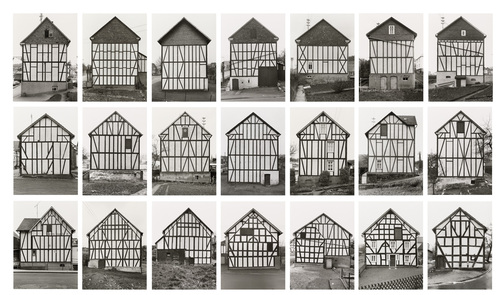
Bernd and Hilla Becher stood out from the New Topographics group, creating series of images called Typologies. A photographic typology is a study of “types”. It’s a photographic group that collects certain types of photographs rather than creating stand-alone images. It’s a powerful method of photography that can be used to reshape the way viewers perceive the world around them.

The Becher’s mainly photographed derelict and abandoned buildings, mostly in Bernd’s childhood town which was to be a victim of devastation. They took images of this area to preserve memories and the urban beauty of the town.

Exposure Bracketing

Humans vs Cameras: 

Simultaneously, the human eye can detect and process a larger range of light than any camera could at a single exposure. Longer/shorter exposures and the combination of multiple frames can bring cameras, and the images they produce, up to the similar complexity of the human eye and in some cases, can even have an advantage over human eyesight. 

Definition: 

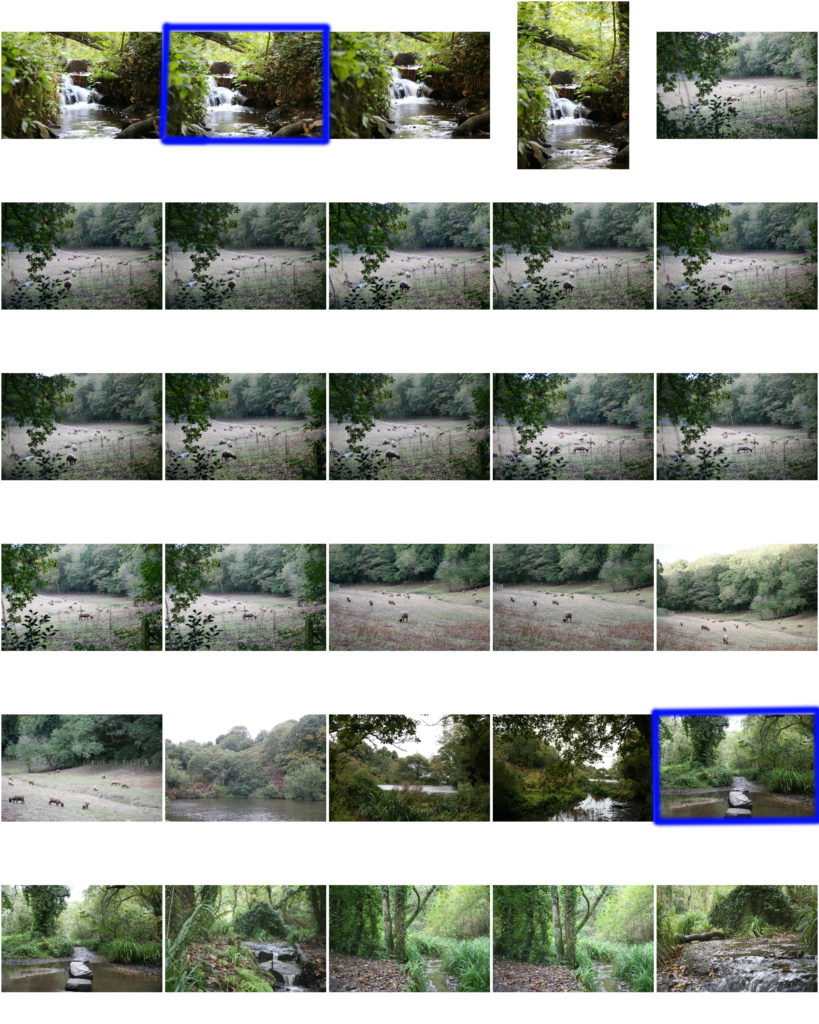
Bracketing is the process of photographing a group of the same image, changing a single setting (such as exposure) for each shot. This can result in a range of images like the ones below 

Why?: 

This process can prove to be extremely useful in photography as the range of images provides the option to choose which exposure worked the best in the image or to even combine them together, creating a photograph with ‘high dynamic range’, otherwise known as HDR images that typically have a large tonal range. 

How?: 

(manually) 

Exposure bracketing is typically carried out by adjusting the shutter speed of the camera, which in turn allows more or less light through the lens when taking the image. Manually, exposure bracketing is best achieved with the use of a tripod due to the risk of camera shake when using a slower shutter speed, which can result in blurry images. Tripod also make sure the camera’s view is static, preventing trouble later if you want to combine frames 

HDR

HDR can be done in using various software, such as Lightroom, Photoshop or other third-party software. A benefit of using HDR is that it’s a fast process, allowing for the completion of bulk work at a fast rate. It also involves the technique of ‘tone mapping’, which allows you to control the range of shadows and highlights. Landscape photographers often rely on and benefit from HDR. However, if HDR is done incorrectly it can result in images that look harsh with garish colours. The finished product may also be lower quality than images produced through compositing. 

Compositing

Compositing produces images that are much more realistic, high quality and provides more control over the range of tones within the image. A downside is that it’s extremely time consuming and requires a basic understanding of layers and layer masks. 

landscape photoshoot

Shoot 1,2,3 and 4

Best images:

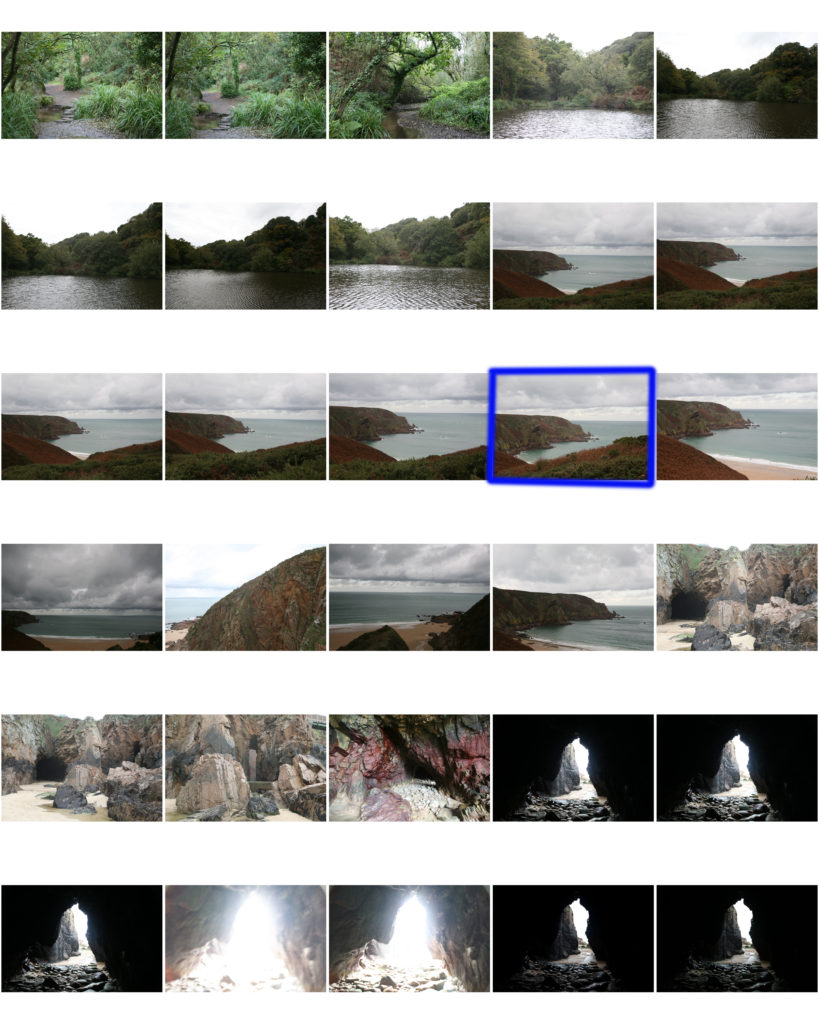
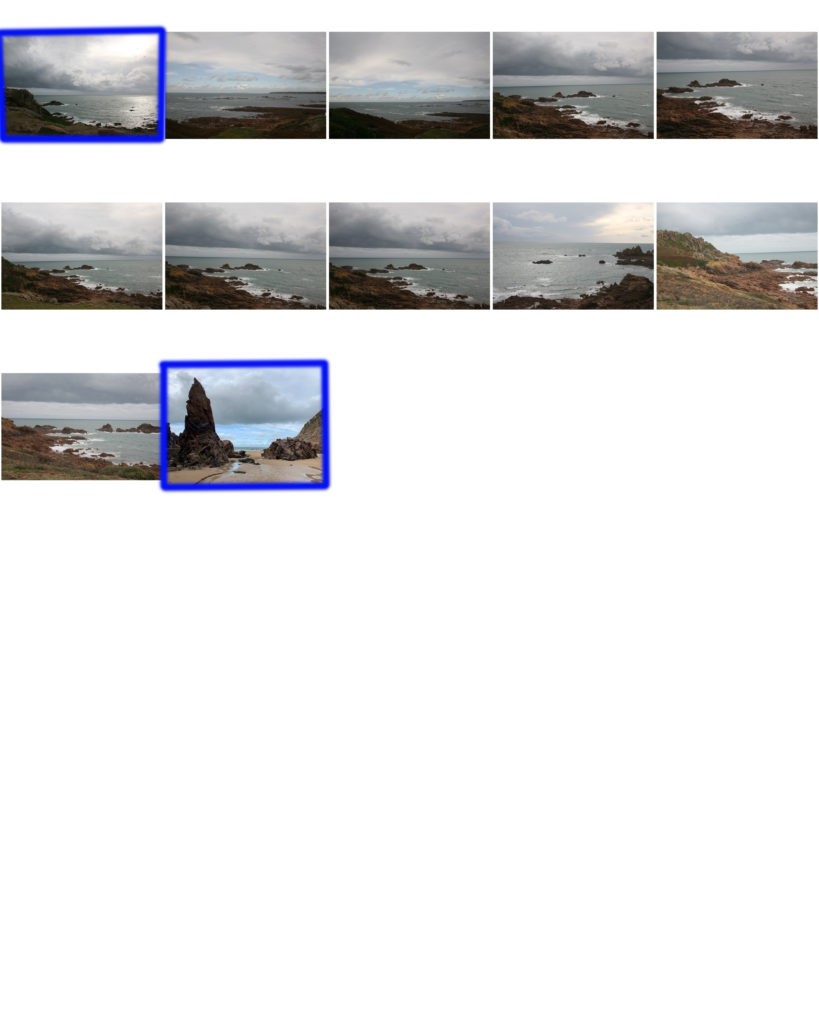
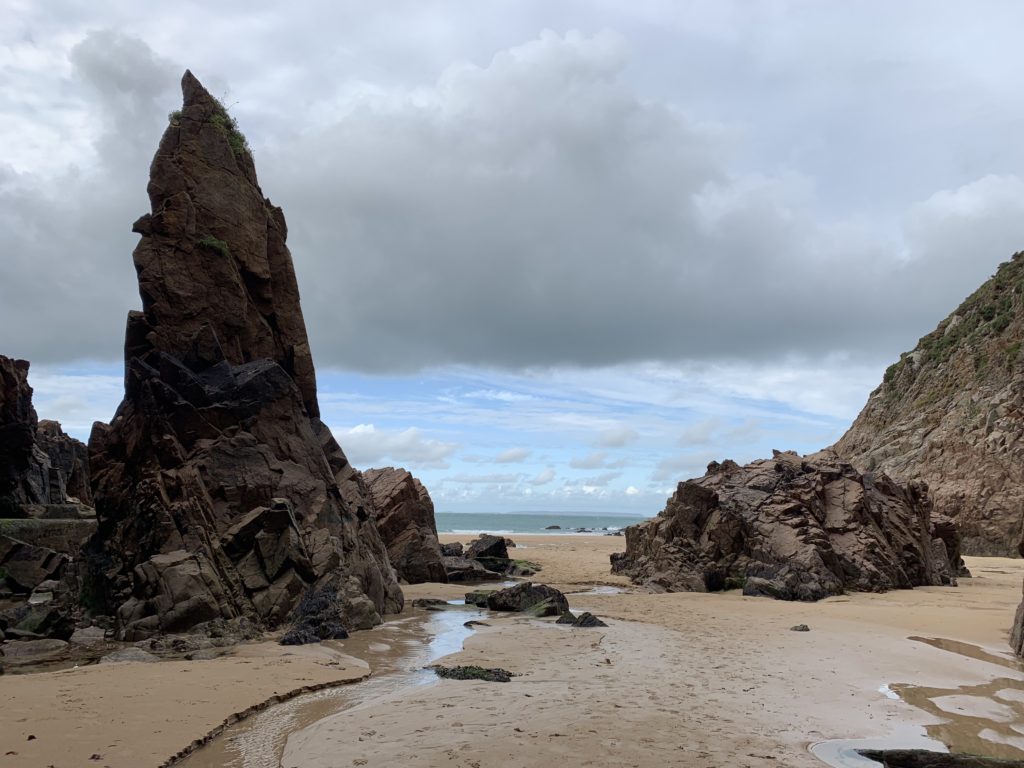
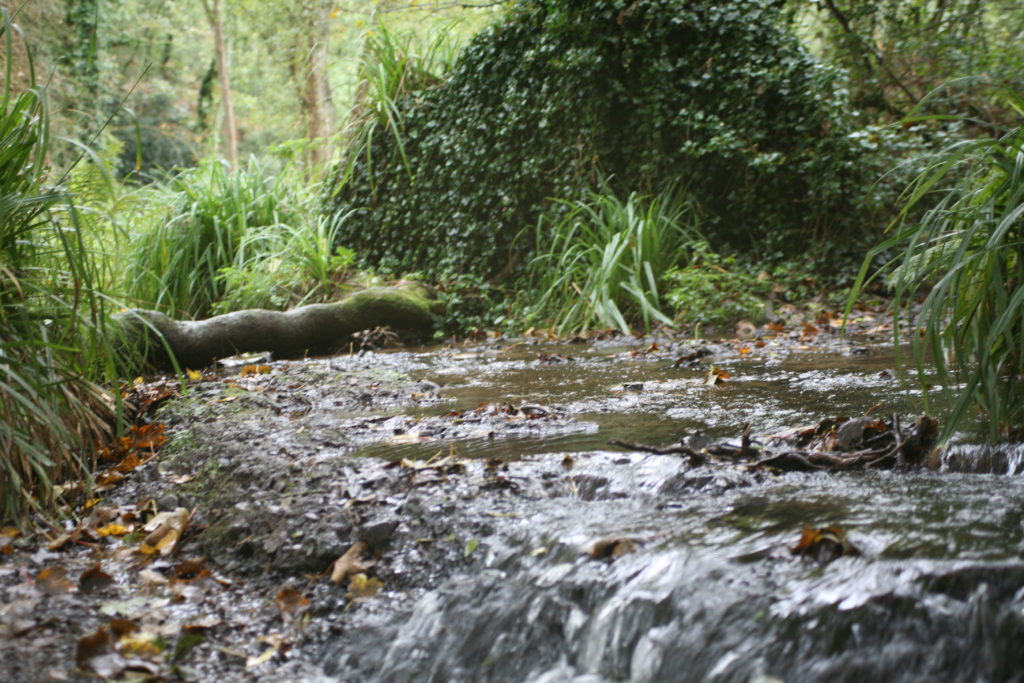
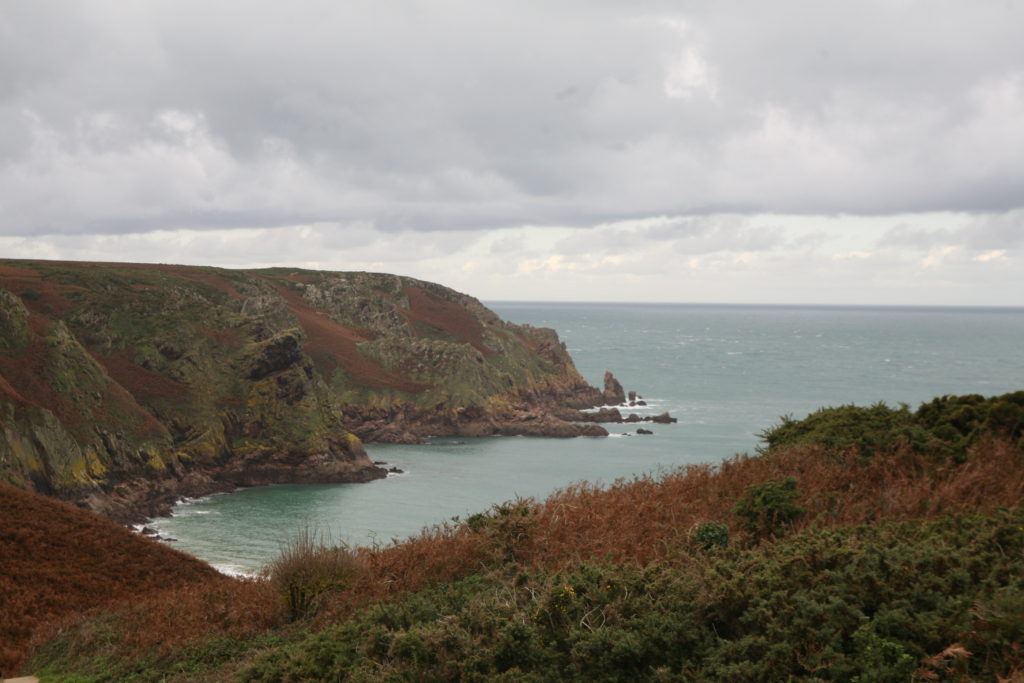
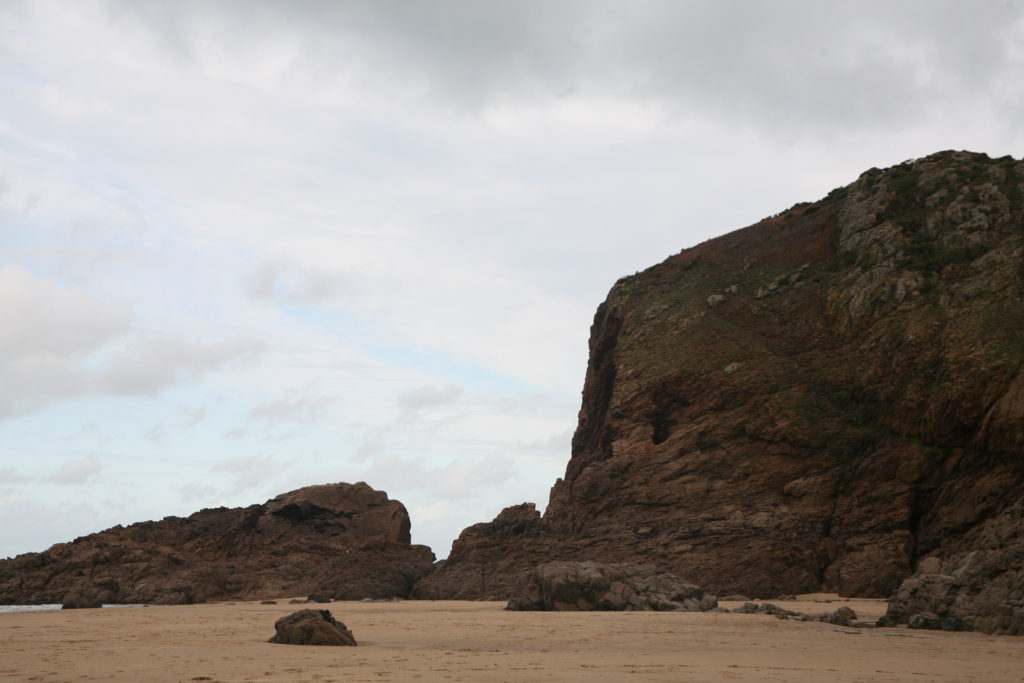
These images proved to be the most successful out of the 4 shoots, as they were clearly taken (no evidence of camera shake compared to the other photographs taken), the majority also show large structures associated with romanticism in landscape photography.

Editing process:

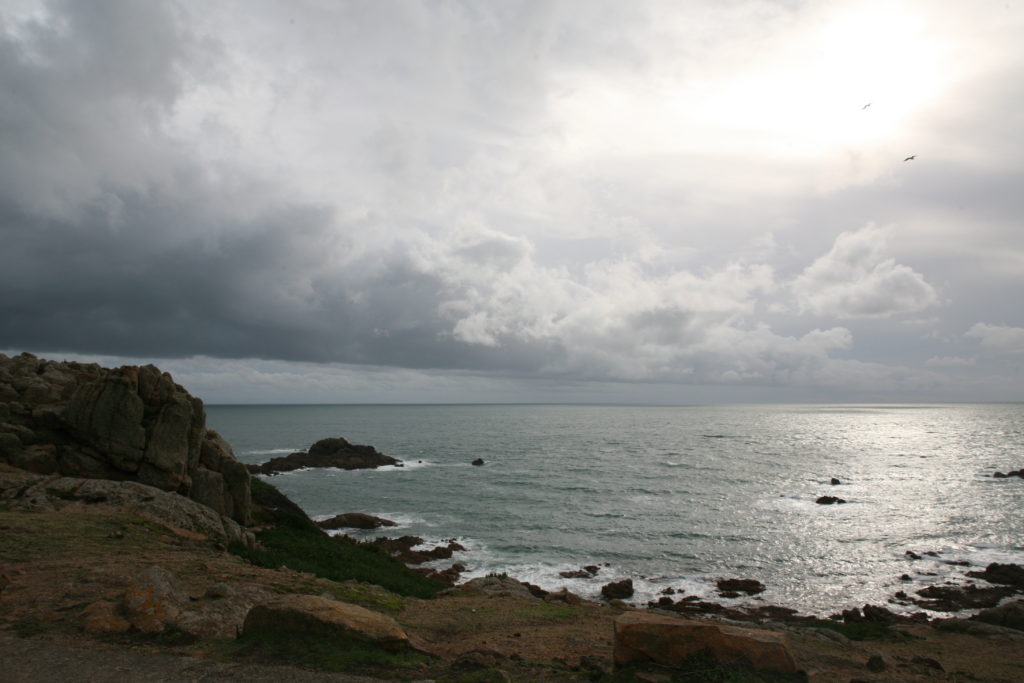
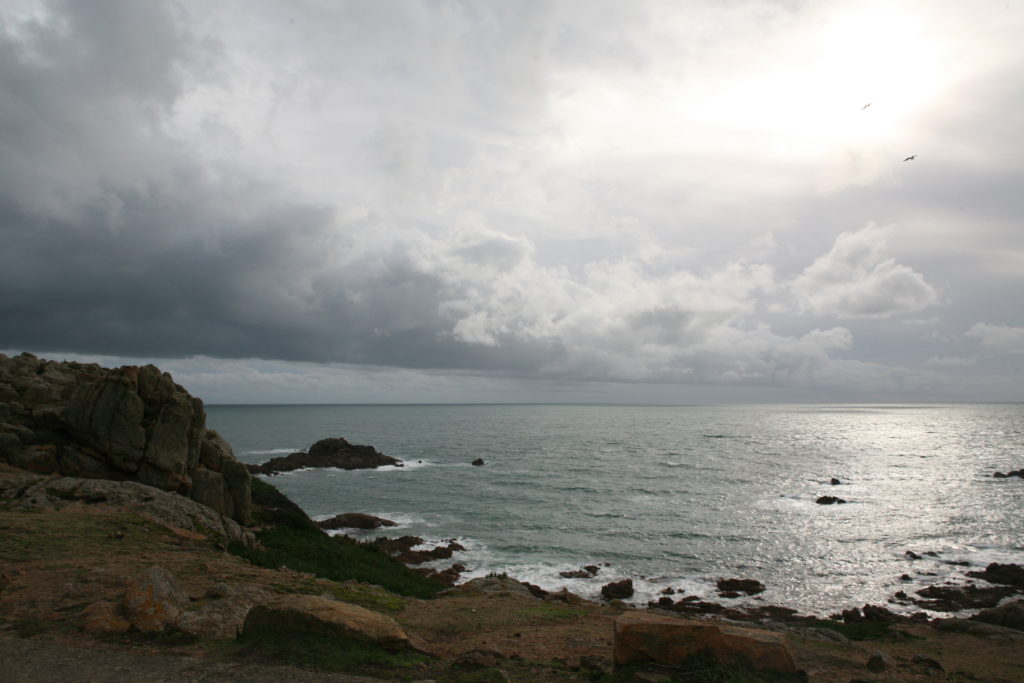
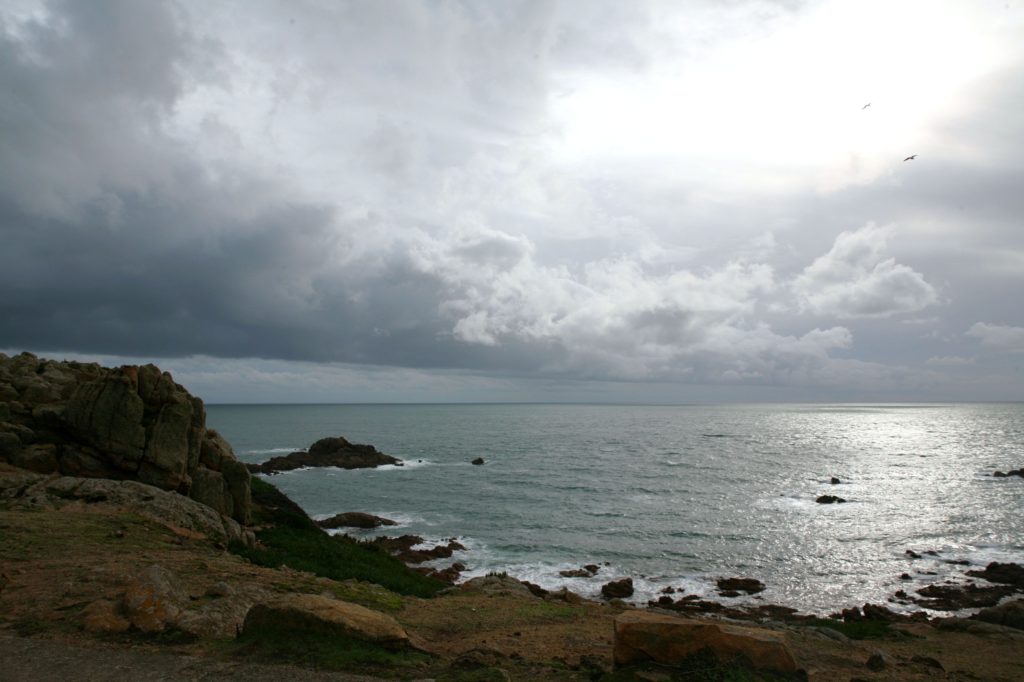
For the image above, I increased the temperature, highlights and contrast to accentuate the detail on the rocks and to make the water in the foreground of the image stand out. These adjustments also helped to outline the shape of the clouds in the top third.

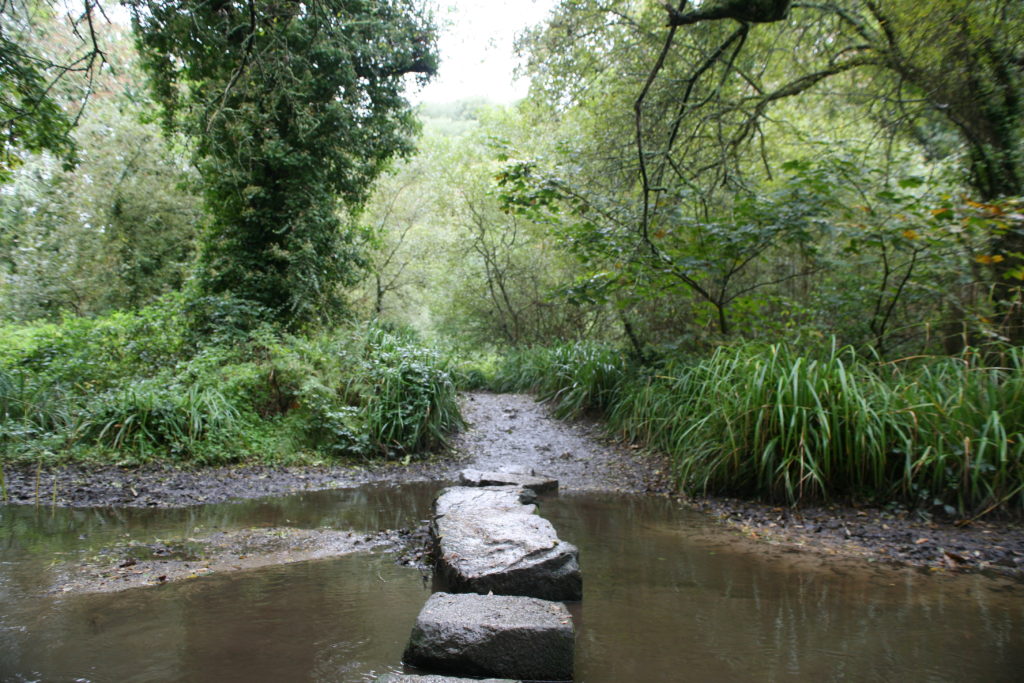
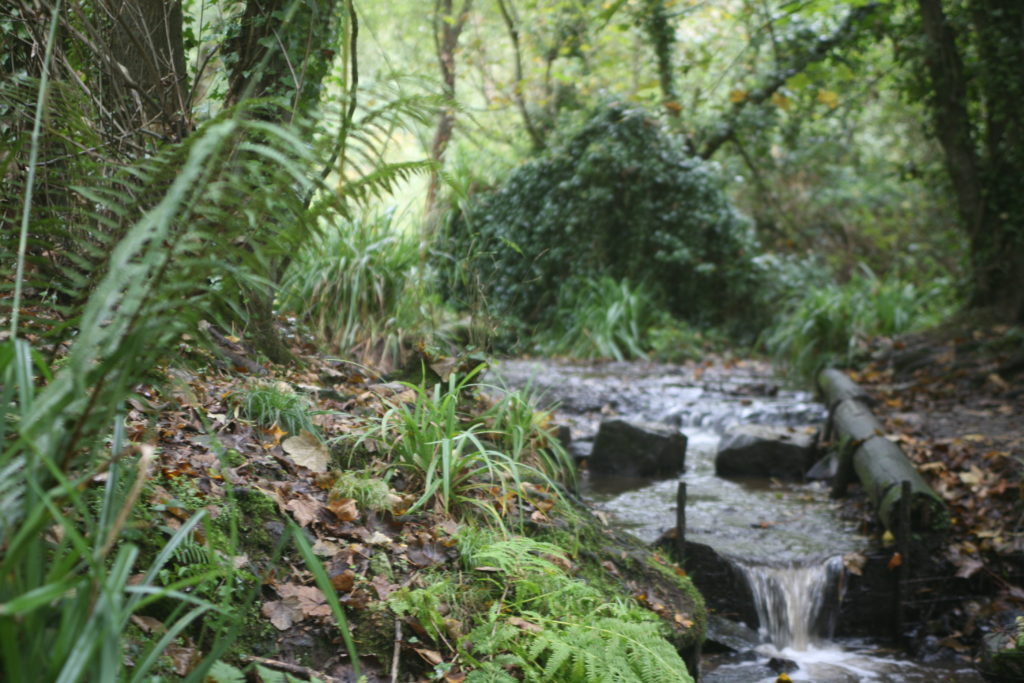
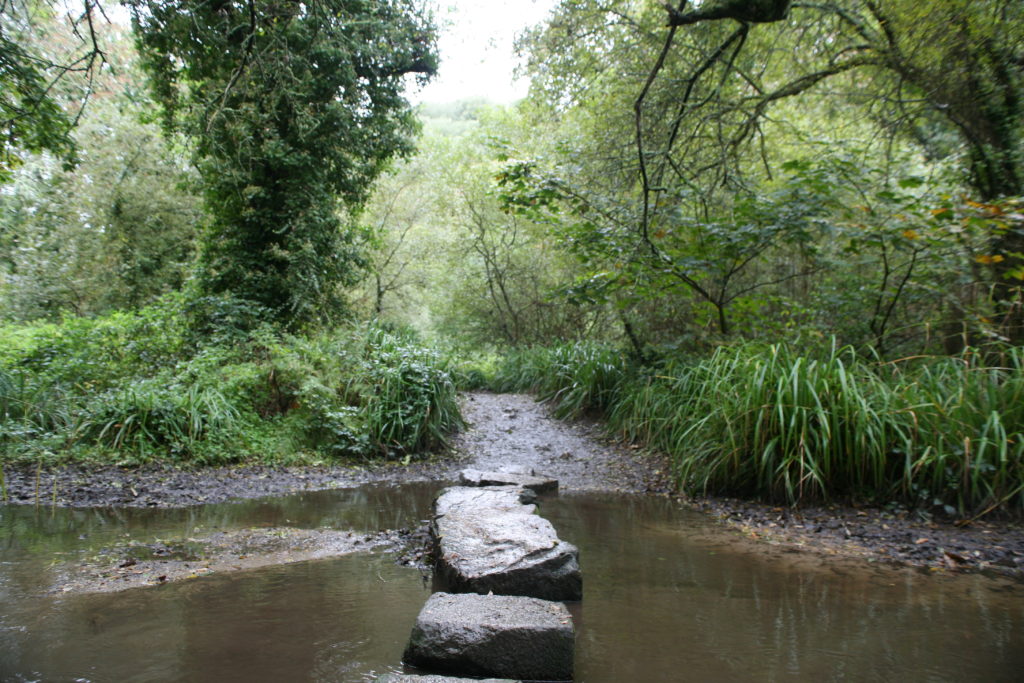
For this image, I wanted to focus on the green aspects of the landscape. Decreasing the brightness and increasing the saturation of the image brought out a range of green tones, which helped add atmospheric depth to the image. The increase in contrast and sharpness of the photo during the editing process helped to focus on the stones in the foreground and bring attention to the brown hue of the river beneath it. The deep colour of water breaks up the photo, drawing the viewer’s eyes away from the green of the leaves and foliage, making them look over different parts of the image.

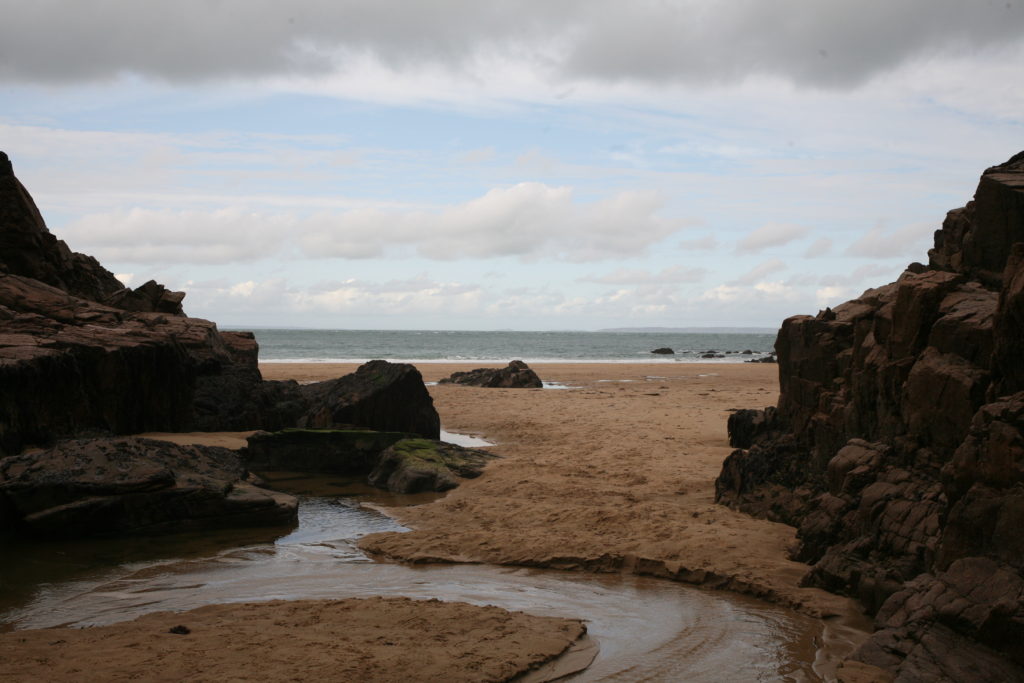
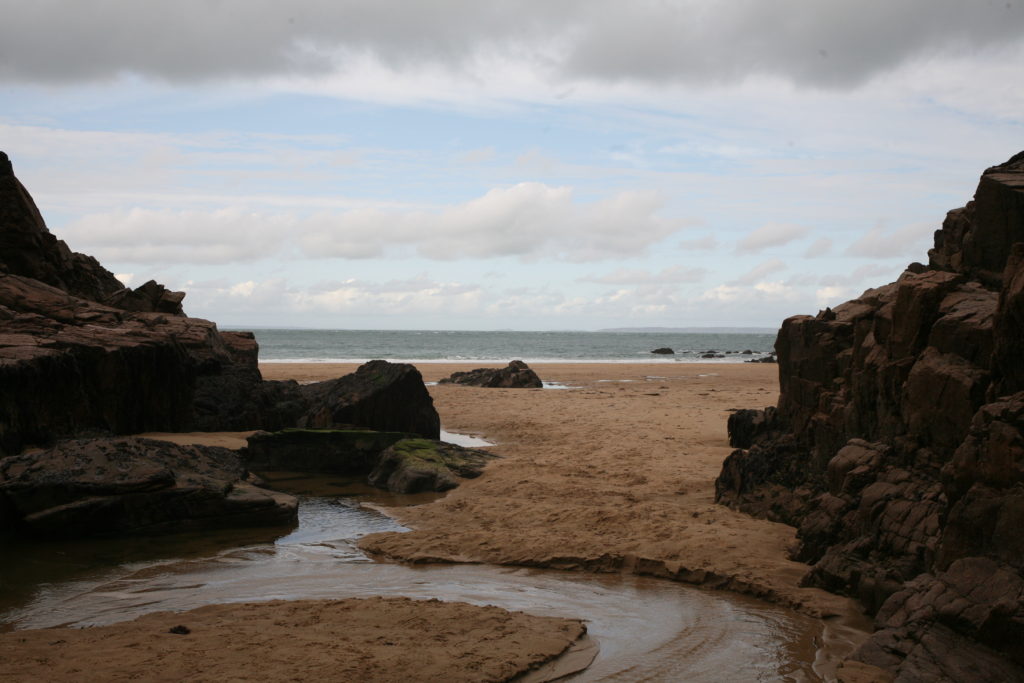
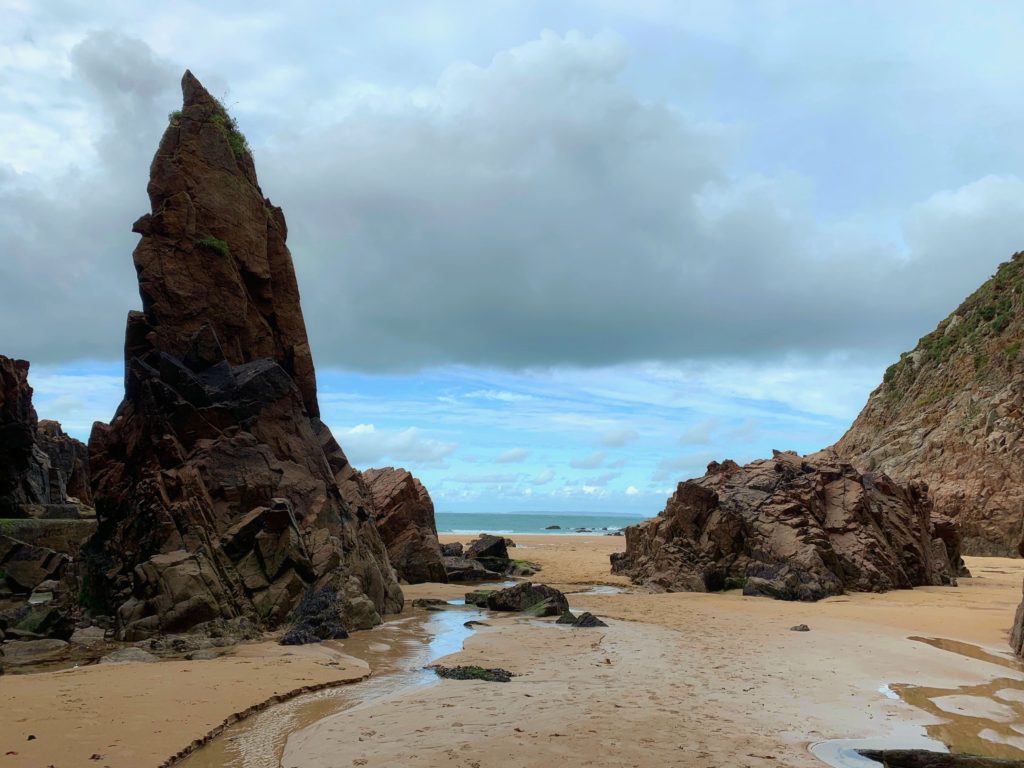
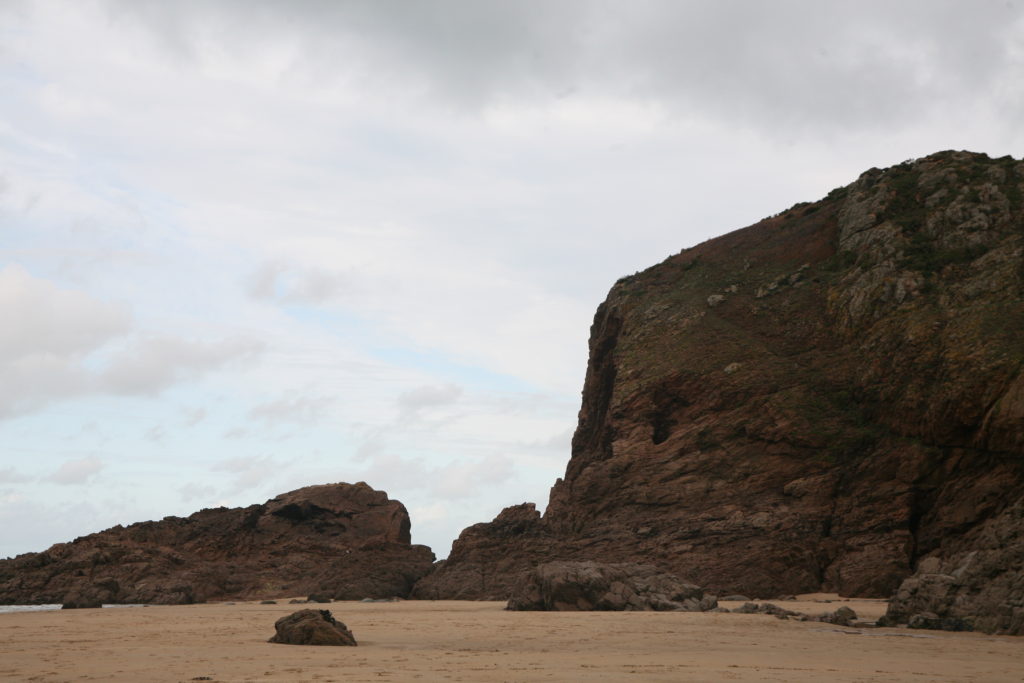
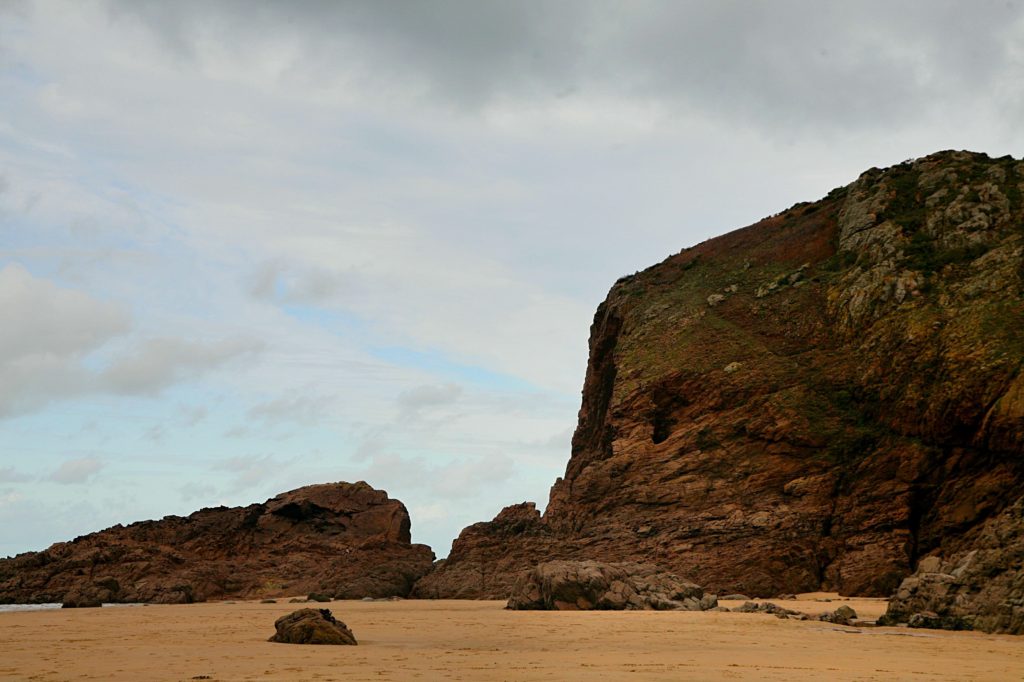
This image pictured above already had features I was satisfied with. I felt as though the photo would benefit from an increase in colour in the sand. To achieve this I increased the saturation, made the temperature of the image warmer and increased the contrast and shadows slightly to bring out the oranges and beiges in the rockfaces and sand.

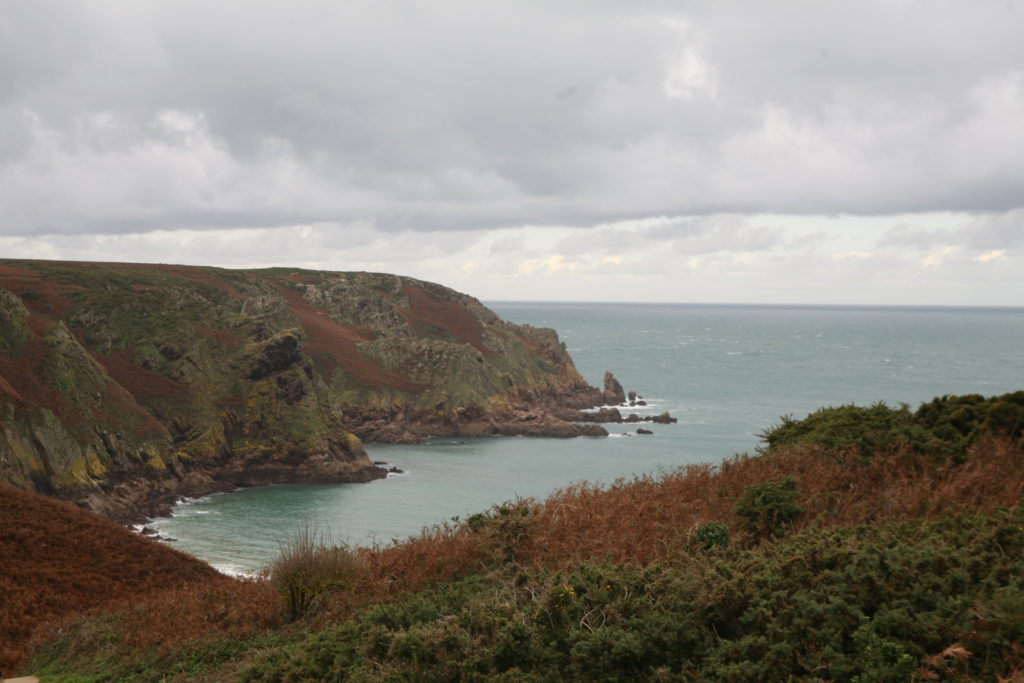
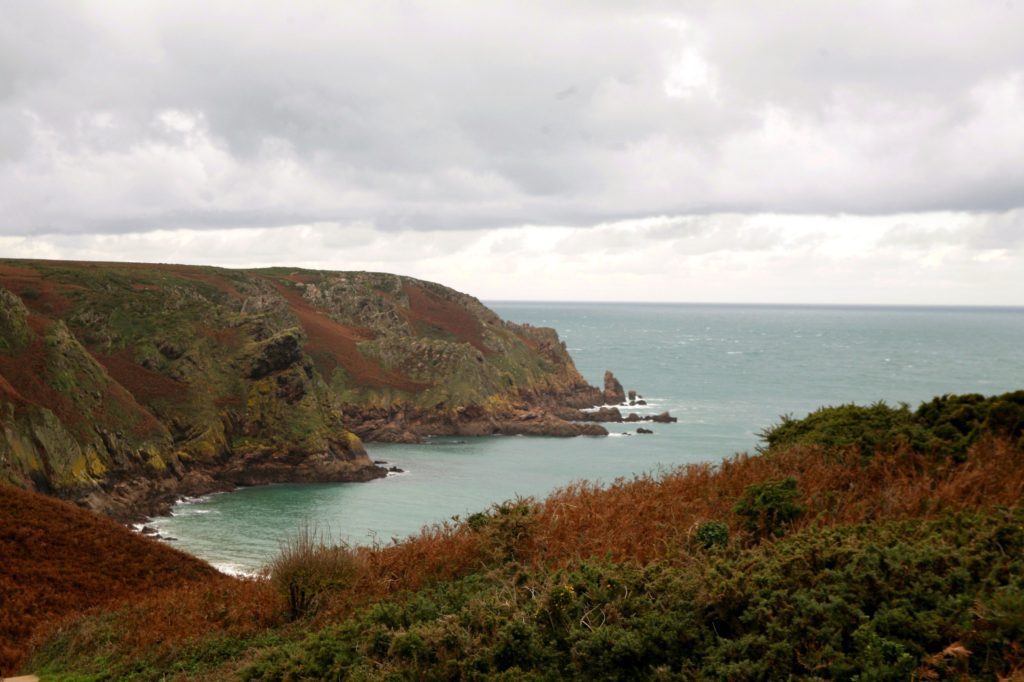
In this image, I wanted to bring out the oranges and dark amber colours of the cliffs. I increased the exposure to brighten the sky and seafoam where the water has broken on the rocks. Increasing the saturation and temperature of the image allowed the creation of a warmer image, in turn emphasizing the greens, yellows and the orange tones in the image.

Increasing exposure, contrast, saturation, the temperature and shadows allowed for a more dynamic image to be produced. The final alterations of the photo make the cliff structure the main feature and detract the focus from the background, which had been the most prominent in the original image.

First steps in editing the image (not final levels)

Decreasing the temperature, increasing contrast and saturation, and increasing the highlights within this image allowed me to achieve the sublime effect I was aiming for.

Project Evaluation:

Looking into natural landscapes has allowed me explore the idea of romanticism in photography. It’s resulted in me thinking about what type of landscapes and what aspects of nature provide the most powerful effect on an individual. Stone structures such as cliffs and rocky areas stood out to me as a photographer due to their robustness and permanence, a characteristic that humans lack. These landscapes proved to be entirely humbling due to the power of the sublime.

Having grown up in Jersey, many of these places I visited had a nostalgic and sentimental value to me which made it a challenge to photograph purely through how the image looks through the viewfinder.

The photo-shoots also proved to be difficult due to the mass amount of interference caused by man-made structures and objects. Completely ignoring these structures limited the angles at which I wanted to take photos at. Using the manual settings on the camera was a new experience and faults in my produced images, such as camera shake and over-exposure, are prominent throughout my shoots due to lack of experience.

An uncontrollable factor that limited the days I could complete shoots was the weather. However, its mercurial nature also meant that I could photograph and capture different cloud formations within my images and the sky had also provided dark greys and blues which helped to dissect many images.

Final image:

Editing in the style of Ansel Adams:

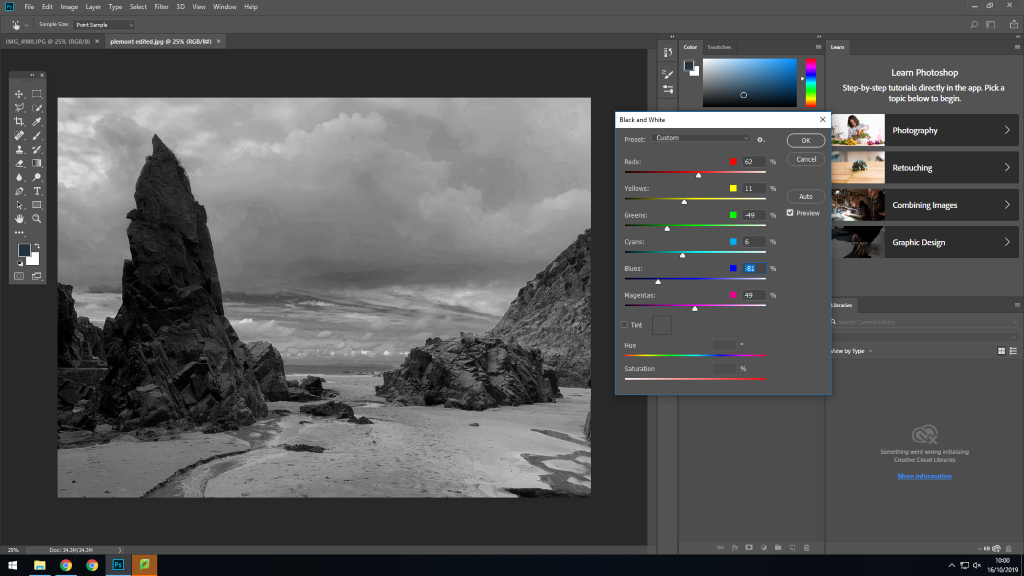
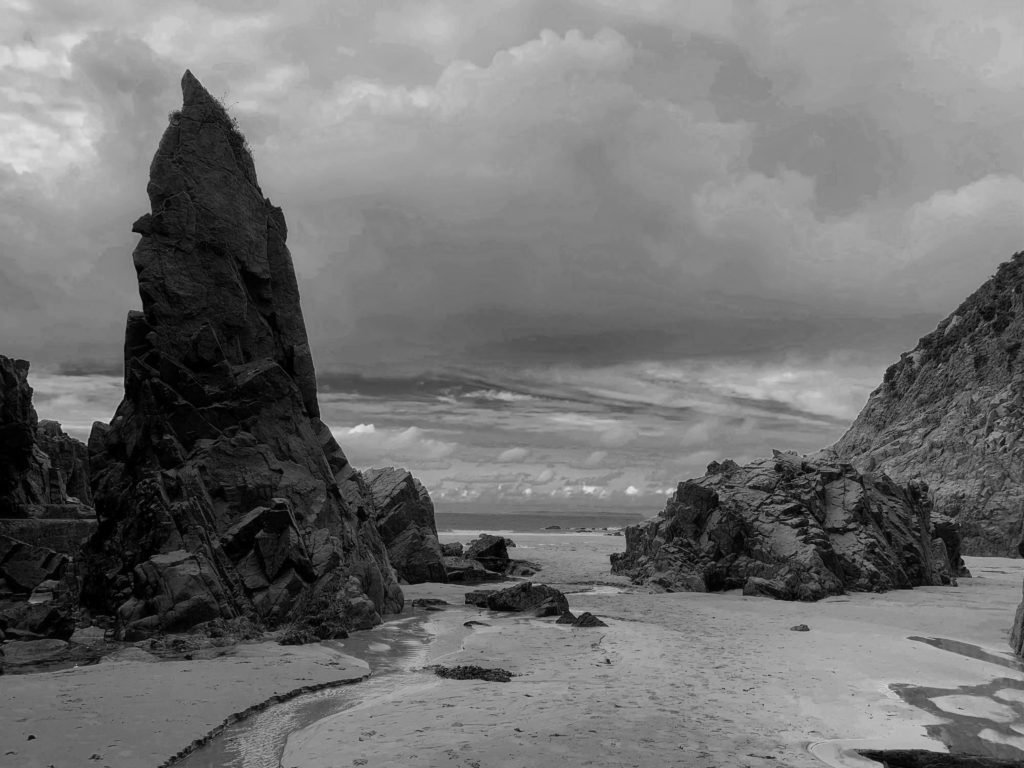
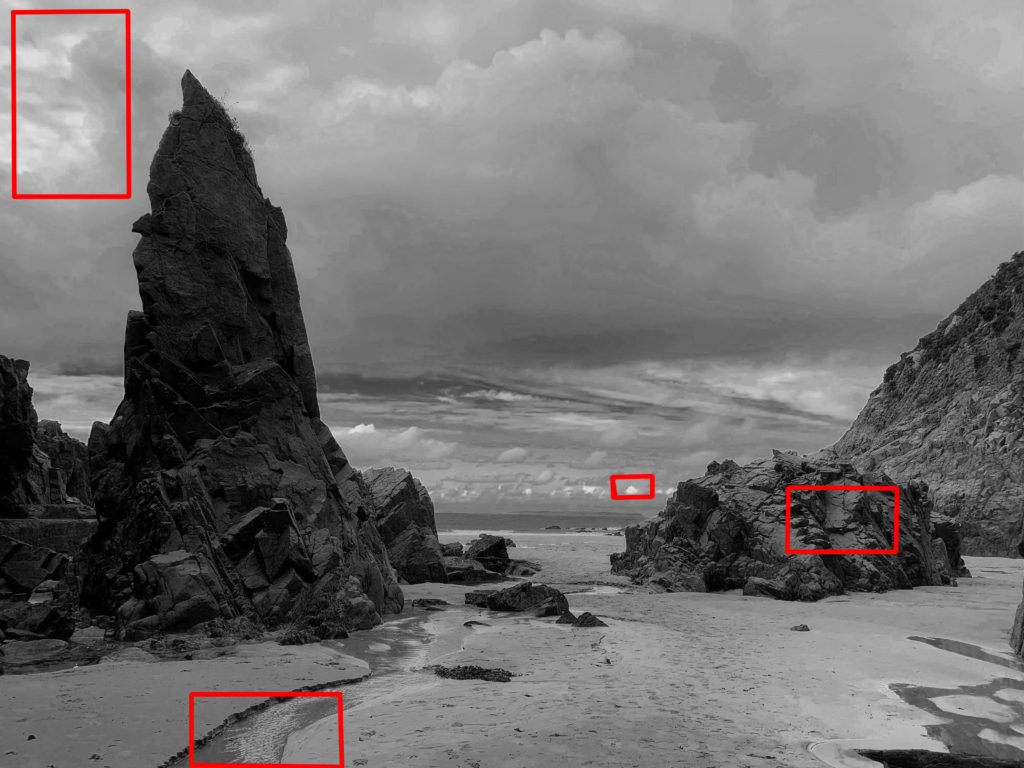
Editing the image in photoshop allowed me to control which colours within the image were darker and vice versa. This allowed me to make a highly contrasted image, similar to one of those produced by Ansel Adams. Following Adams zone system helped during the editing process.

Lighter tones are present in the small clouds in the background and elements of the sky. The ripple effect in the water is also highlighted by these light tones. The rocky formations help to dissect the image, making the photo more engaging to the viewer. The darker tones of these structures allow them to become a main focus of the image. I purposely wanted these to stand out when I took the photo as it’s a primary feature of romanticism to make the individual (or viewer) feel inferior to nature.

The sand within the image provides a texture that differs from the rough surface of the rocks. The stream of water creates a sort of leading line, directing the viewer though the smoothness of the sand to the uneven and irregular surface to the rock formations, sustaining the contrast within the image.

Photoshoot plan

What:

Romantic, landscape environments. Cliff faces, caves, woodlands, the sea and sand (beaches).

When:

Mornings, afternoons, leading into the evening – avoids harsh light from the middle of the day and allows for a different atmosphere and setting when the sun begins to set.

Where:

Possible locations:
Sorel point,
Grosnez,
Plémont Beach,
La Corbière,
Blanches Banques (sand dunes)

Why:

I’ve chosen to do this photoshoot with these locations to relate it back to the research and topic of Romanticism within landscape photographs we’ve been studying. I’ve chosen a variety of natural environments for my shoot in order to cover the different emotional responses that come from the power of nature and the sublime.

How:

Equipment:
– 2x Lens
– Tripod
Use of tripod to keep the camera static when using slower shutter speeds and to keep the camera view the same when exposure bracketing (to create hdr images).
Different lenses to have the optimum focal range and depth.

Image result for exposure bracketing
Example of exposure bracketing.

I’m aiming to purposely over-exposing and underexposing a group of images to build up layers for some hdr photos.
Checking the weather forecast (Wind strength, sunset, tides etc.) to work out the right locations for each condition.
– For example, when the wind is quite strong I might go to the cliffs or by the sea to photograph the effect of the waves on the coast.

Ansel Adams case study

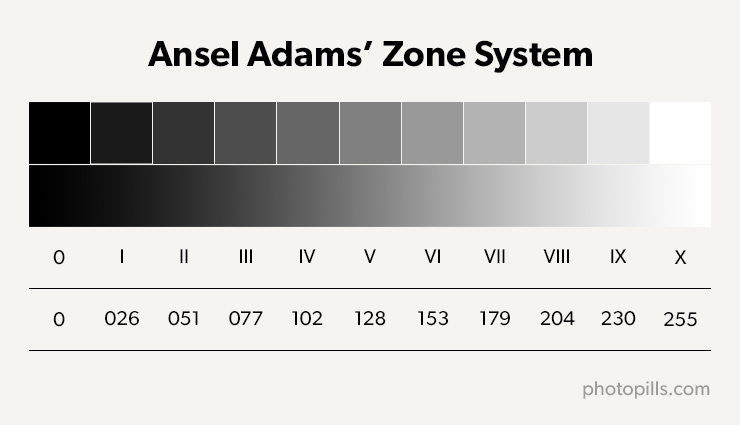
Ansel Adams was recognised for his monochromatic landscape photos. He formulated a zone system, from which he attempted to encapsulate each of the 11 zones into his photography.

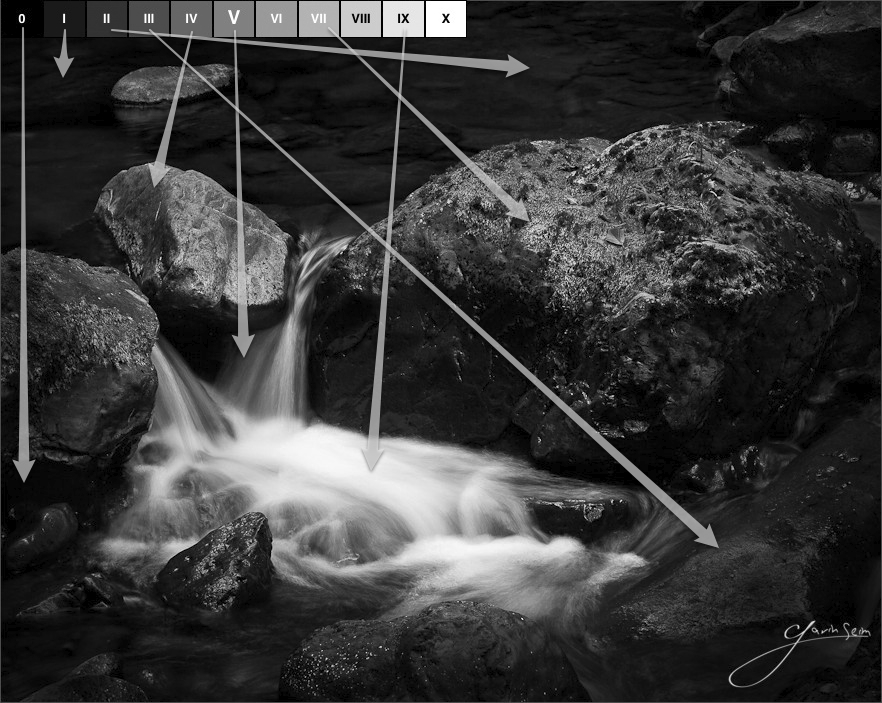
Image result for ansel adams zone system
Example of how the zone system is applied (Not one of Adams’ photographs)

Adams grew up and was tutored at home. The lack of interaction with others may have led to his interest in nature. He became an environmentalist, meaning he was passionate about protecting the wildlife and the natural environment. He aimed to encourage the conservation of nature and the wilderness through the use of his camera and the photographs he produced, allowing people to see the sublime power of nature.

Adams techniques

For his work, Adams used numerous different colour filters in order to achieve the tonal effect he was aiming for. He also spent a lot of time in the darkroom to develop a singular image, painting onto the enlarger the areas of the photo he thought should be darker or lighter than others- A method otherwise known as dodging and burning that he used to cover all aspects of his zone system.

Darkroom enlarger

Photo analysis

Image result for ansel adams romanticism

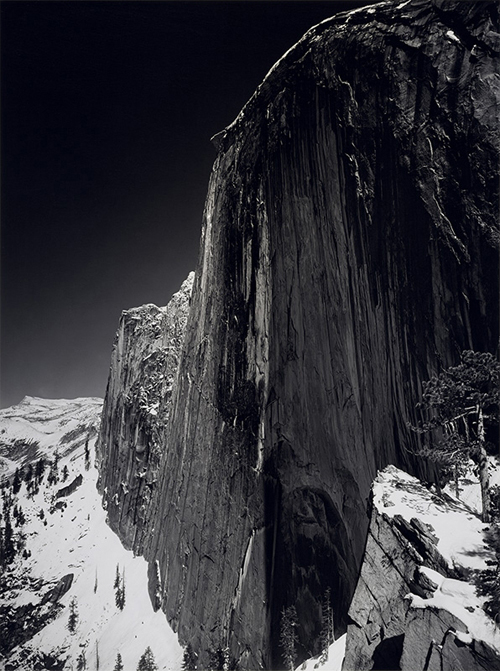
Monolith, The Face of Half Dome, Ansel Adams.

The composition of Adams’ image creates an atmospheric perspective. Having a small cliff edge in the foreground (and in the bottom third) aids in the sublime portrayal of the cliff face behind as it places the spectator where Adams would’ve taken the photo and highlights how the cliff face towers over everything in the image. It’s the only thing present in the top two thirds, illustrating how colossal the cliff face is.

The prolonged exposure on his camera allowed for Adams to produce highly contrasted images. This particular photo covers all 11 zones of his own developed zone system, with the darkest areas being a main focus in the center of the image. The light intensity is low at the top of the image (the sky), which makes the image quite dramatic as dark skies are unnerving and usually associated with storms and discomfort.

The lack of colour in his tonal imagery allows the spectator to focus on individual shapes and formations in the cliffs within the photo. If the image was in colour, the greens of the trees would divert the attention from the cliff face, in turn affecting the overall powerful aspects of his image.

Being an environmentalist, Adams wanted to preserve the beauty of nature in his photographs and advocated the protection of natural environments and landscapes. By producing images like this that are striking helps him to convey the sublimity of nature to the spectator.

Romanticism in landscape photography

Romanticism is a term used to describe the movement in literature and art in the early 19th century. During this time, literature, paintings and poetry were heavily influenced by natural, emotional and personal themes.


Romanticism focuses on the emotional response brought about by nature and rejects the idea of calm, order (rules and regimes), balance and idealisation. It represents the irrational and strong emotions of an individual or their spontaneity, celebrating wildness and nature above reason and science.

In the medium of photography, Romanticism is mostly associated with the natural landscape. The natural environment can be very humbling to a spectator and may produce strong emotional responses.

The power of the sublime can be overwhelming to the subject as it conjures up feelings of terror or even danger, due to its unpredictability and mercurial nature. However, nature to a romanticist can also be very sensual, calm and quiet, which in turn makes the subject respond in awe at the environment around them.

Examples

Within art: (paintings)

Image result for Albert Bierstadt (1868) 19th-century romantic painting
Albert Bierstadt (1868) 19th-century romantic painting
Image result for shipwreck in a rocky inlet
Shipwreck in a rocky inlet
Carlo Bonavia (1757) late 18th-century

In landscape photography:

Image result for upper twin lake mountains mark meyer
Upper Twin lake mountains, Mark Meyer
Image result for ansel adams

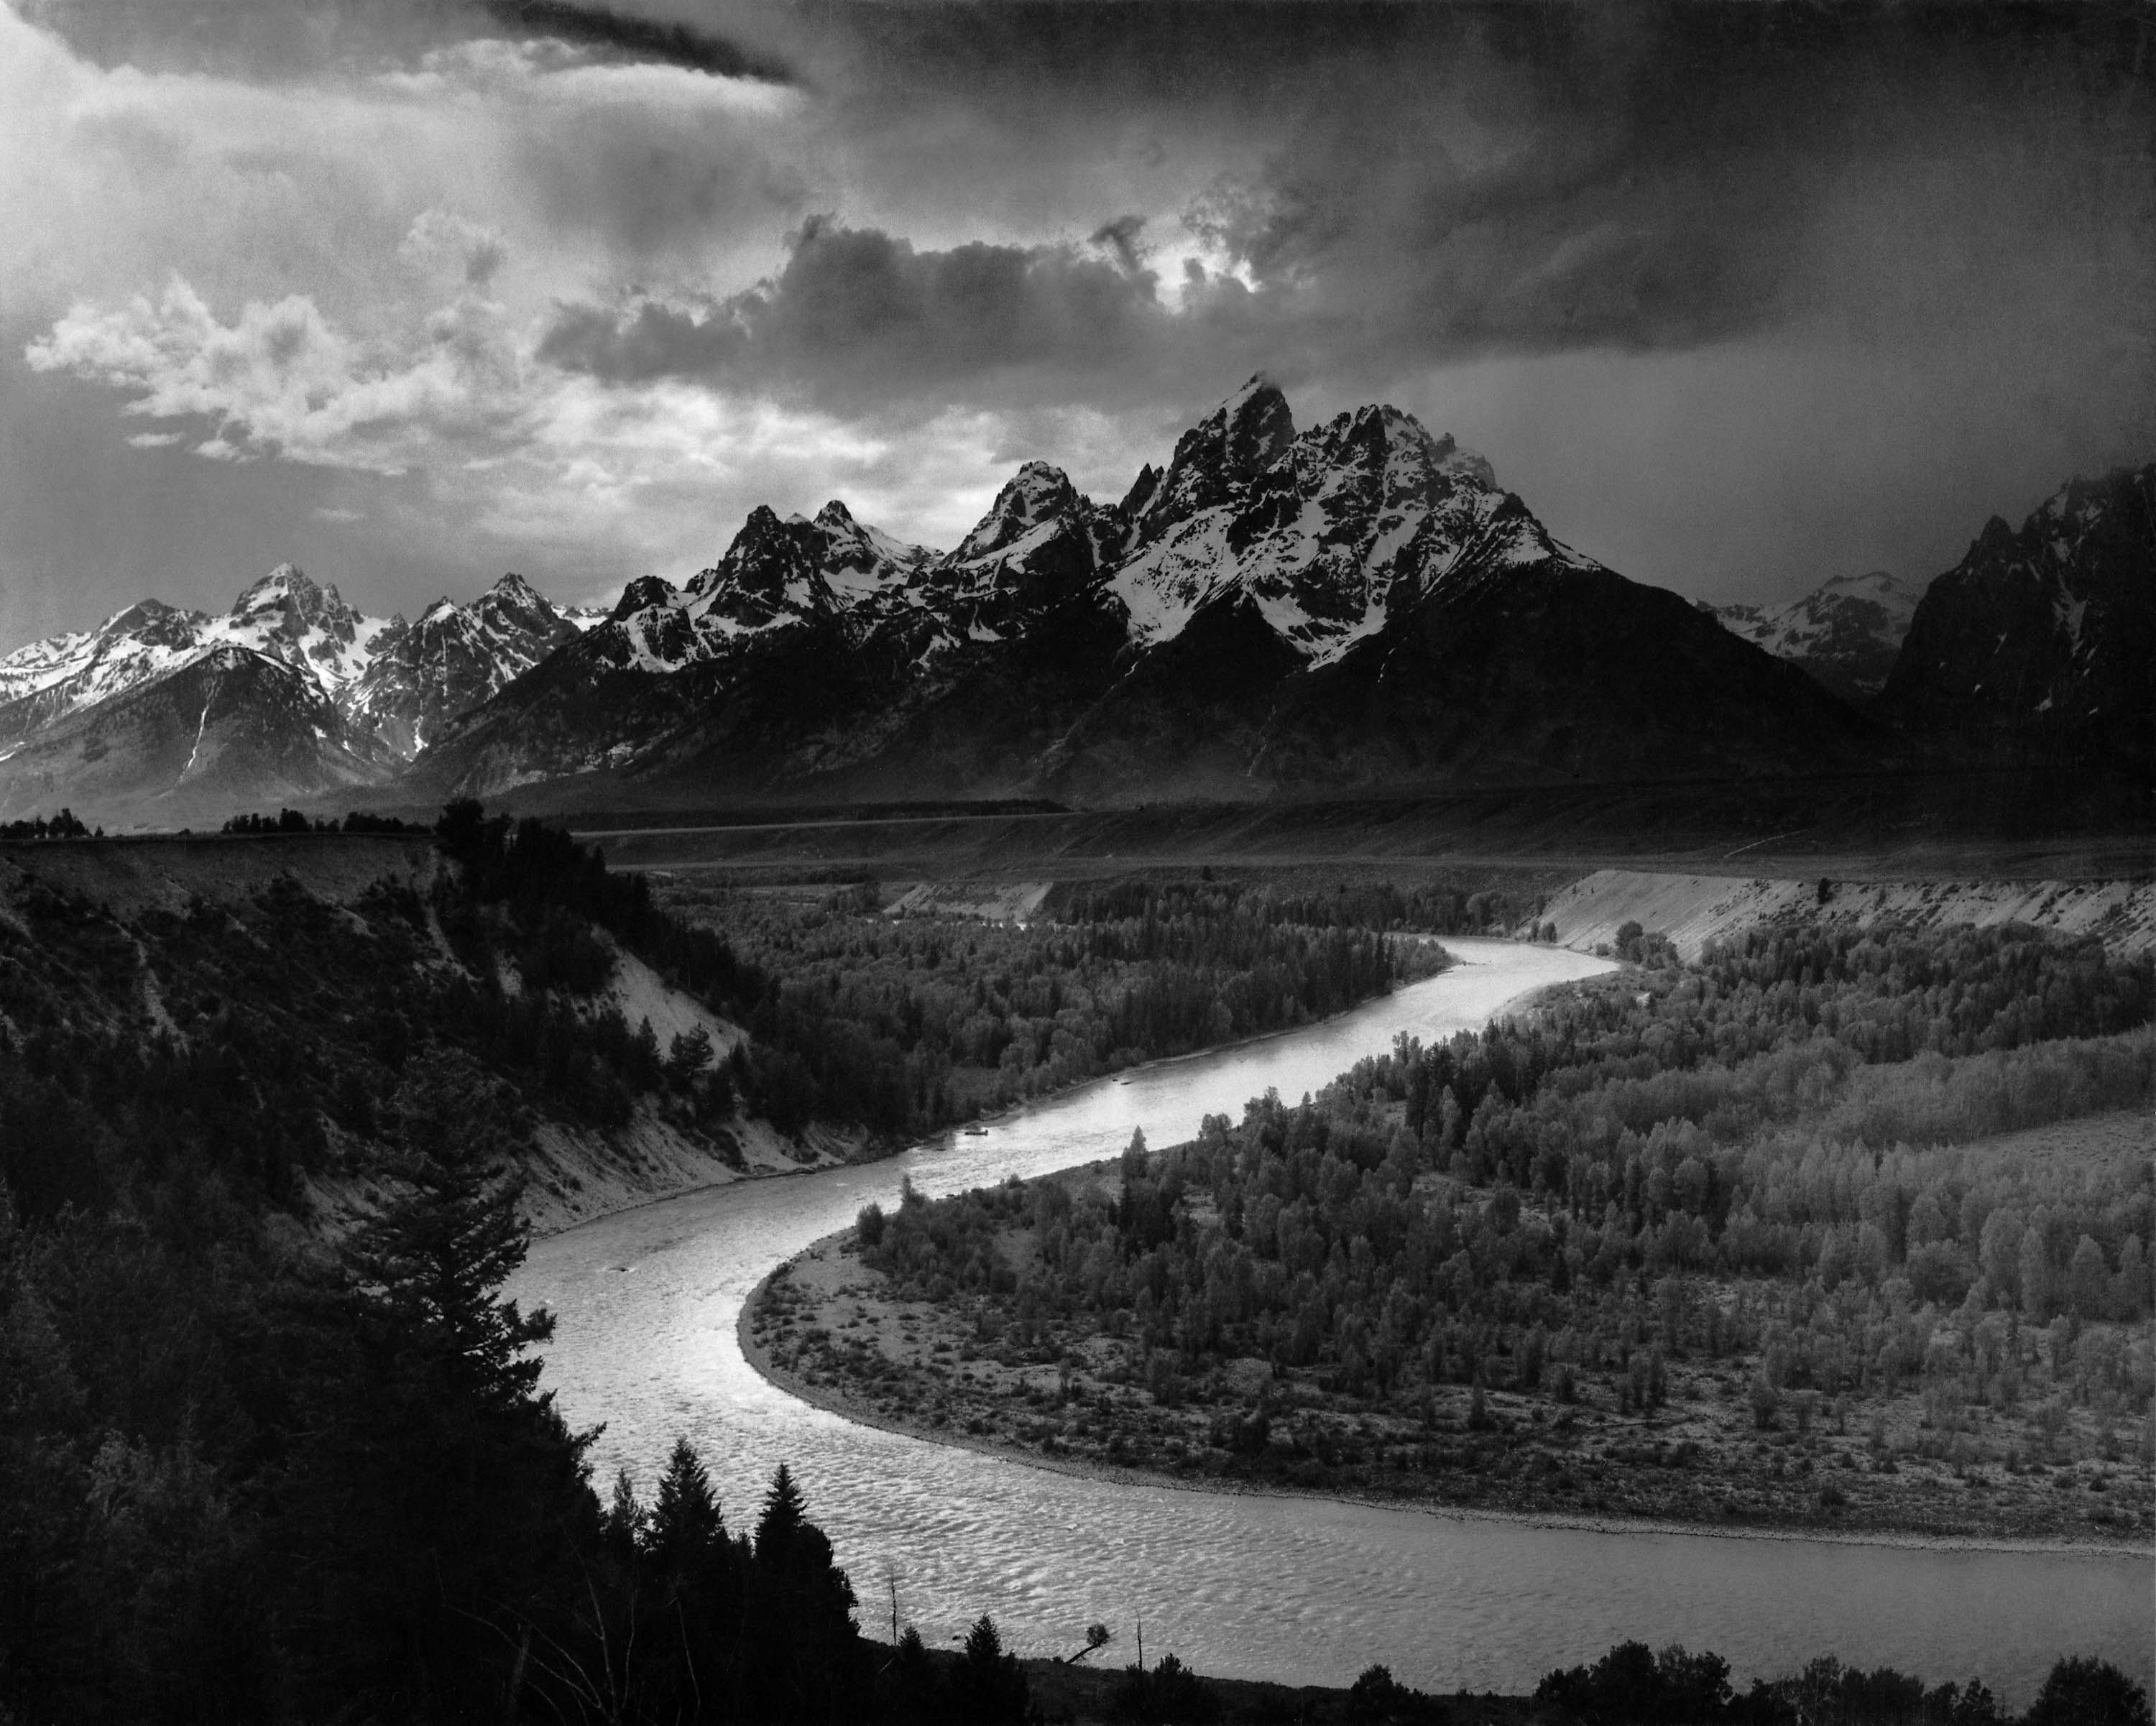
Ansel Adams ‘The Tetons and the snake river’

What makes a landscape photograph romantic?

Aspects of the wilderness can take you away from the bustling activity and norms of human-life. Certain landscapes may hold sentimental value to an individual (personal themes in romanticism). The enormity of some structures also takes away from the engineering of humans as their stature is incomparable to any work produced by us.

Mark Meyers commented on this saying, “Wilderness goes all the way to the core of this world and our human works merely touch the surface.”. He’s truly highlighting how insignificant humans are compared to the power and presence of nature and the sublime.

Landscape Photography

Landscape photography tends to show vast and unending areas in the world, such as land, sea and natural environments like cliff faces, woodlands and marshes in order to capture the presence of nature, avoiding the interference of humans on the area. However it can also focus on the integration of man-made structures and features, such as urban landscape photography.

History

Earlier versions of cameras and photographic technology forced photographers to take photos of fixed objects, due to the long exposure time of their cameras which made moving objects blurred. This restriction allowed for landscapes to become ideal material for photo shoots.

Louis-Jacques-Mandé Daguerre’s cityscape in 1839 is a prime example of these constraints. He managed to photograph a human being due to the static positioning they were in (having their shoes shined). The image took a pain-staking 10 minutes to make and he managed to capture the individual in his image by coincidence.

Boulevard Du Temple, Paris, France, 1839

Eventually, the technology involved in photography became more and more developed, allowing it to become more accessible and affordable to anyone. In the 20th century, landscape photography had been mainly led by American photographers, who had various and vast environments to experiment with.

Photomontage project

The shoot

Photoshop process

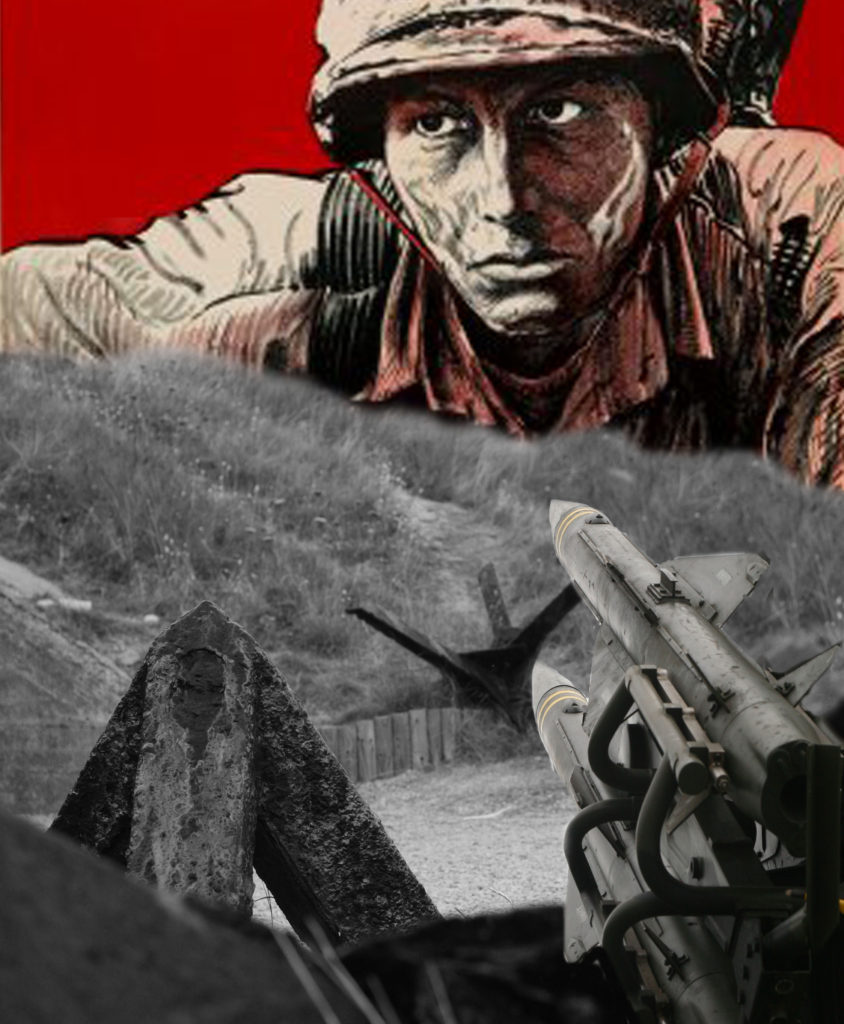
I began the montage by decreasing the brightness of the background to bring out the colour of the steel and grass for the background. I then added a cooling filter (blue tones) to the image to create a dejected atmosphere for the viewer of the photo.

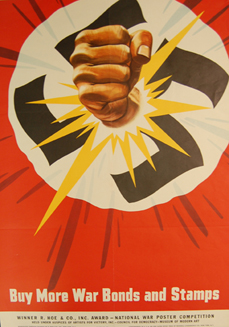
I experimented with the propaganda poster because of the red colour in the background, which I felt would be striking against a black and white image. I changed the colour of the background to be more greyscale and duplicated the background so I could replace the sky with the image.

Having decided I didn’t like the steel covering the background, I got rid of it and patched the grass where it would have been. I placed another own image of mine (Having cropped and flipped it) then blended it into the image for the final result.

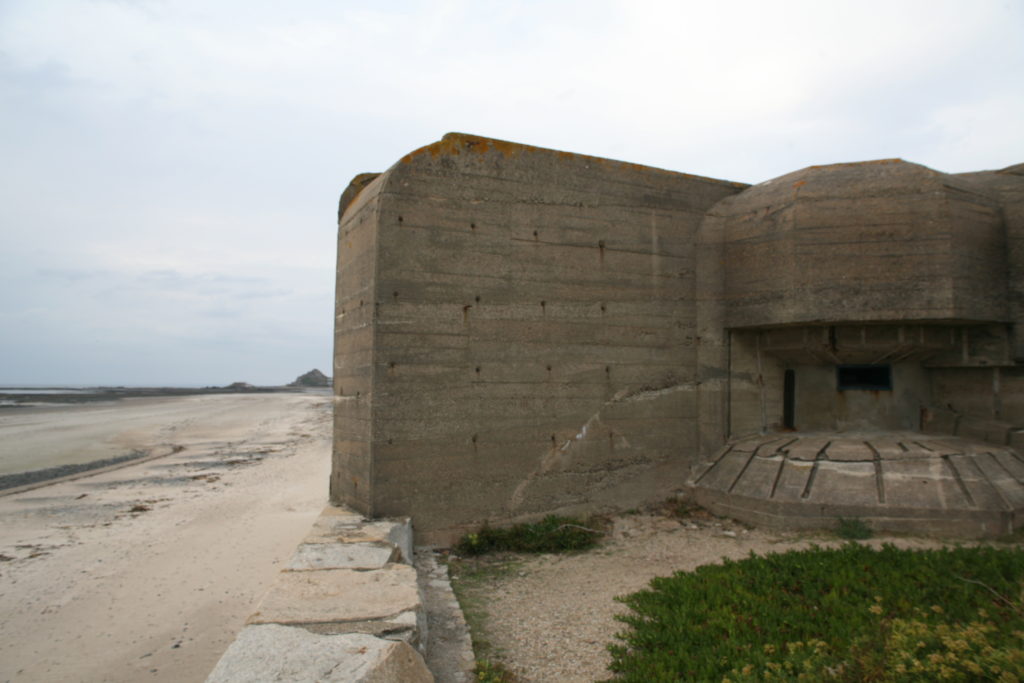
Above is the image I used as a base for my second photomontage.

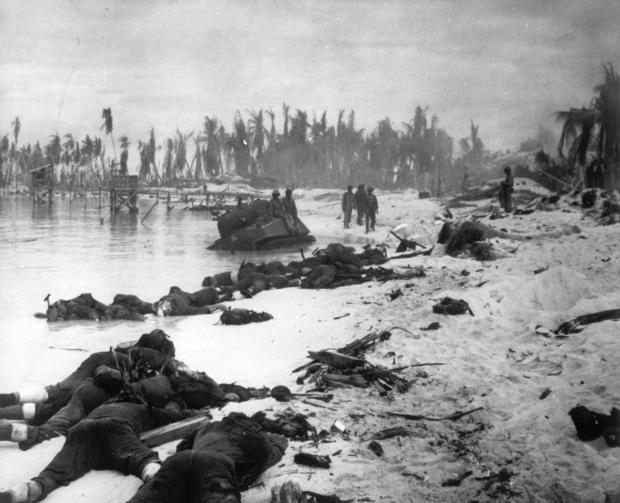
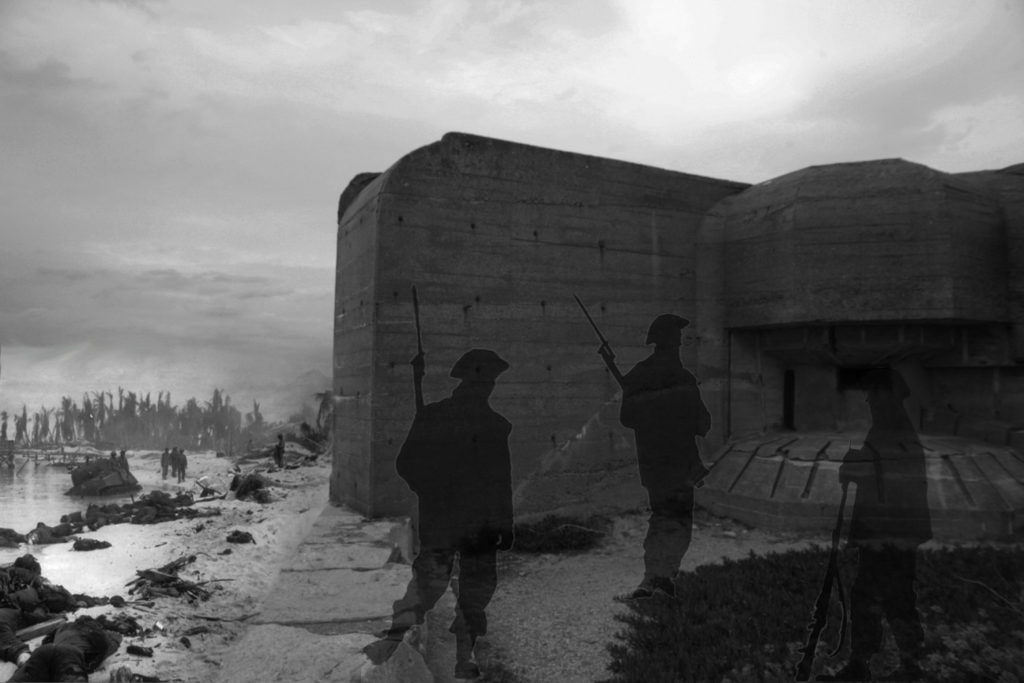
I decreased the exposure of the bunker image and changed it into black and white. I then collected an image from the D-day landings during WWII and used that to replace the original beach in the image. I blended these two images together (decreasing the hardness of the eraser tool and changing the brightness of the beach image).

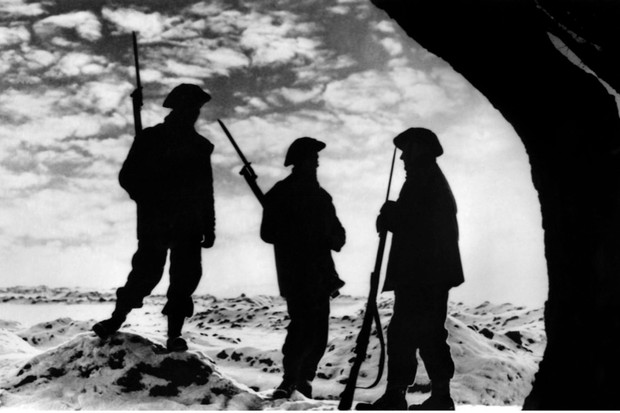
Finally, I added three silhouette war figures, decreasing the opacity to keep the bunker as a main feature of the montage.

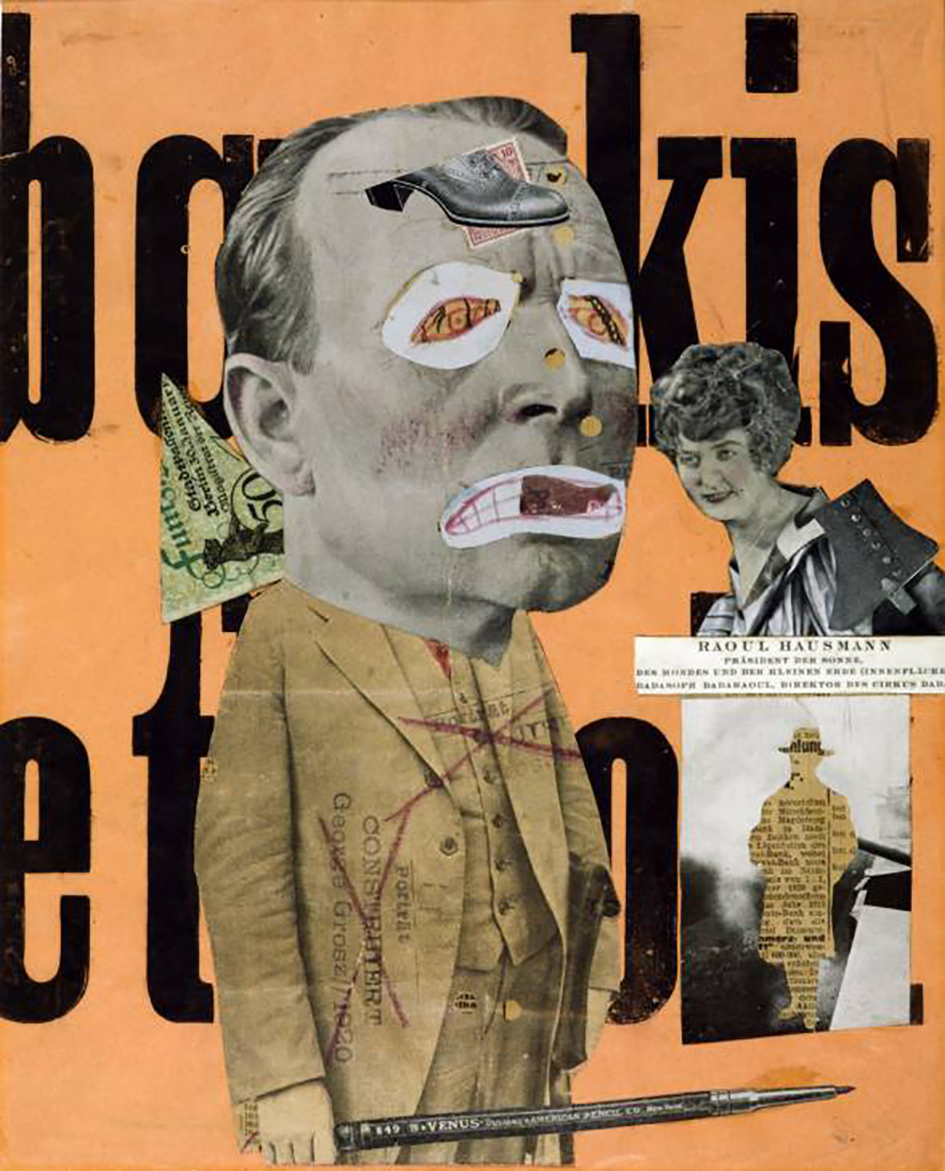
A montage inspired by Raoul Hausmann

Image result for photomontage hannah hoch
‘Art Critic’ by Raoul Hausmann

The process:

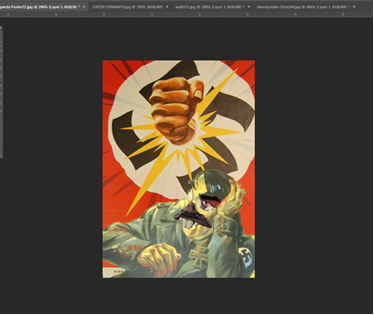
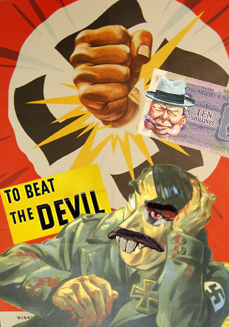
I started off by using the first propaganda poster as a background. I then found another propaganda poster with a caricature of Adolf Hitler on it, having cut him out of the original image, I incorporated it with the background as a new layer.

I decided to use this as the photomontage by Hausmann had a figure as a main element of the image. I’d found more propaganda and cut out Stalin’s eye and a rat mouth from another image, I reshaped and changed the angles then placed them on top of the Hitler layer.

This started to create a satirical-like image which had been a main aspect of the DADA artwork Hausmann was associated with. Having added this, I wanted to incorporate a text element to the montage. I chose an image with the words ‘To beat the devil!’. I added this behind the layer with Hitler to add more depth to the image.

I decided I wanted to add some British elements to the montage, so I collected a cartoonish style image of Winston Churchill (A very relevant figure in WWII) and an image of 10 shillings (old british currency). I layered these and placed them on the image.

I reshaped the false mouth I’d placed on Hitler as a final touch to the montage.