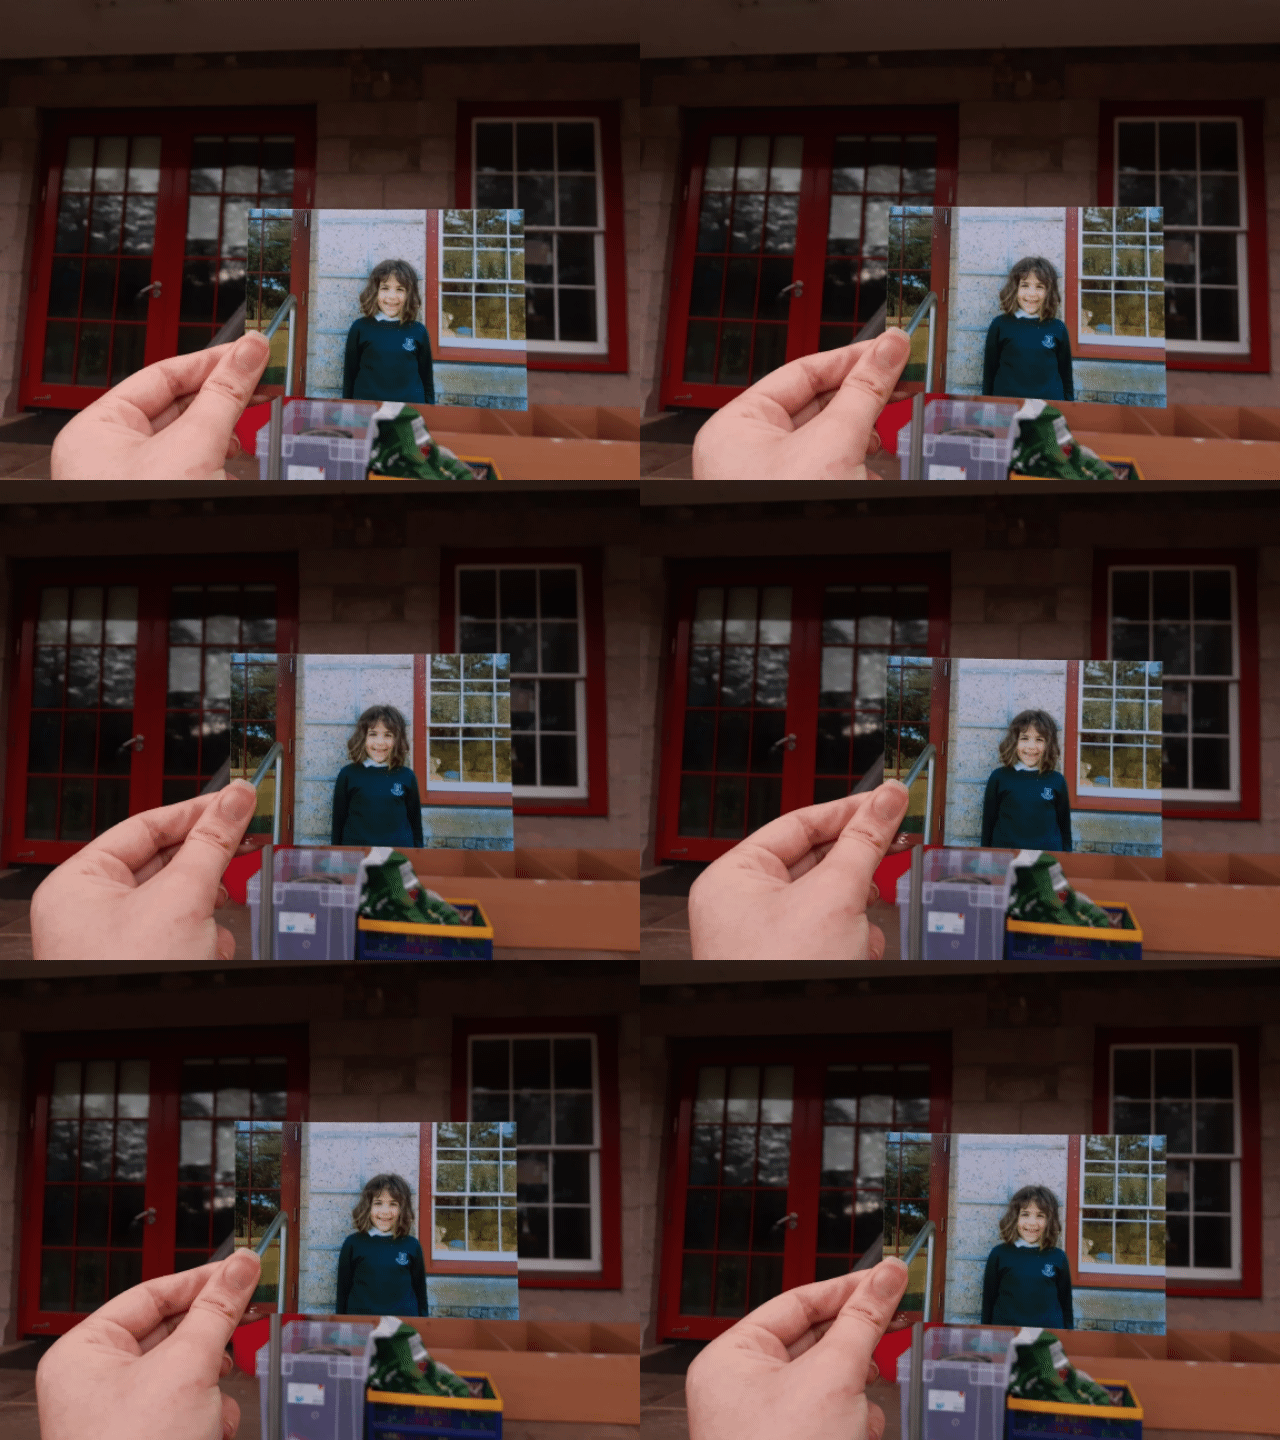
I want to explore the theme of transition by creating a project surrounding my parents work life including where it started and how their work is now. I chose the theme of transition as I hope to create a linear narrative which will work together to tell the story of their lives in jersey. I hope to photograph various aspects of their work and the site itself. I aim to learn more about my parents work and begin to see it through my parents lives. I aspire to take photos also through my own childhood eyes as well as my parents by photographing photos that bring us memories
All posts by Diana DR
Filters
Phototgame
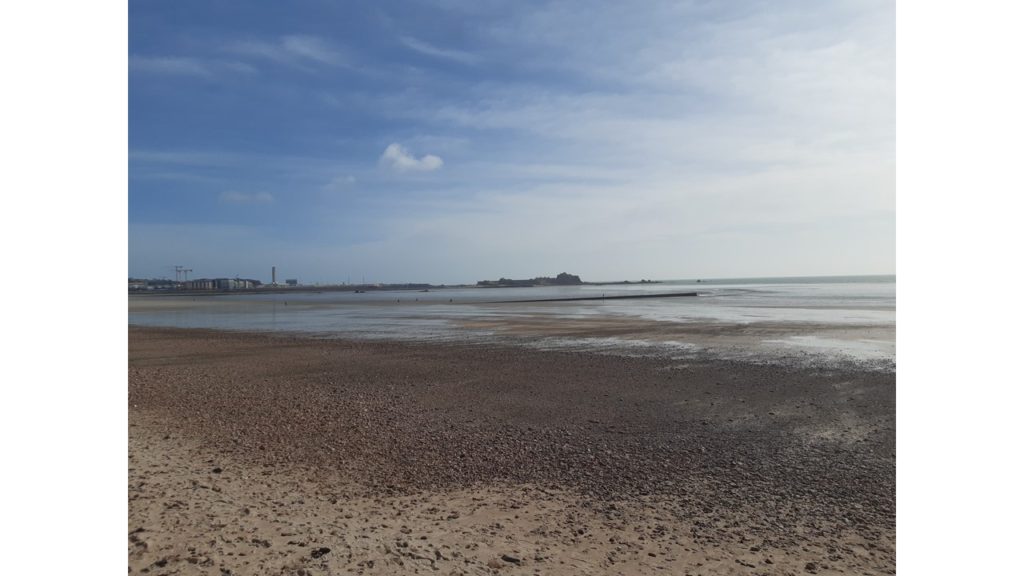
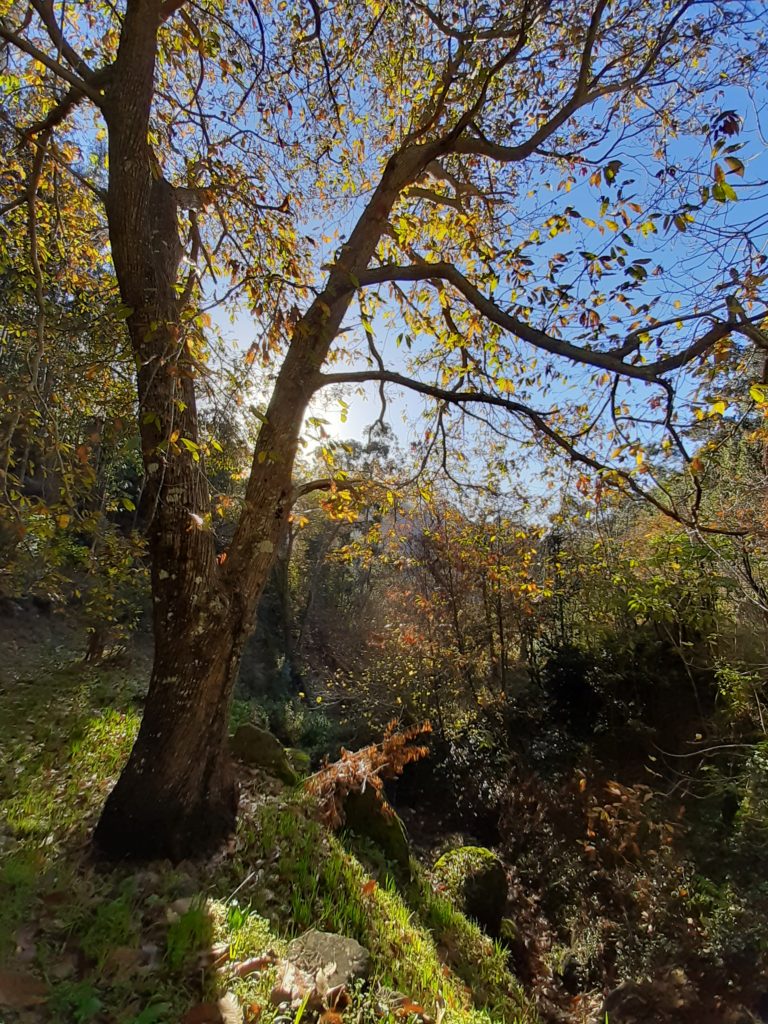
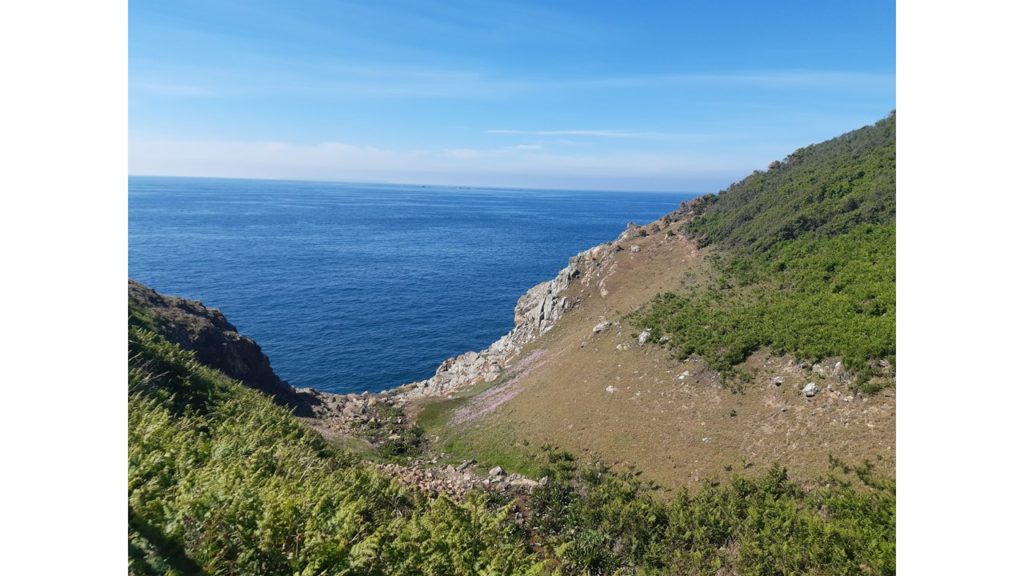
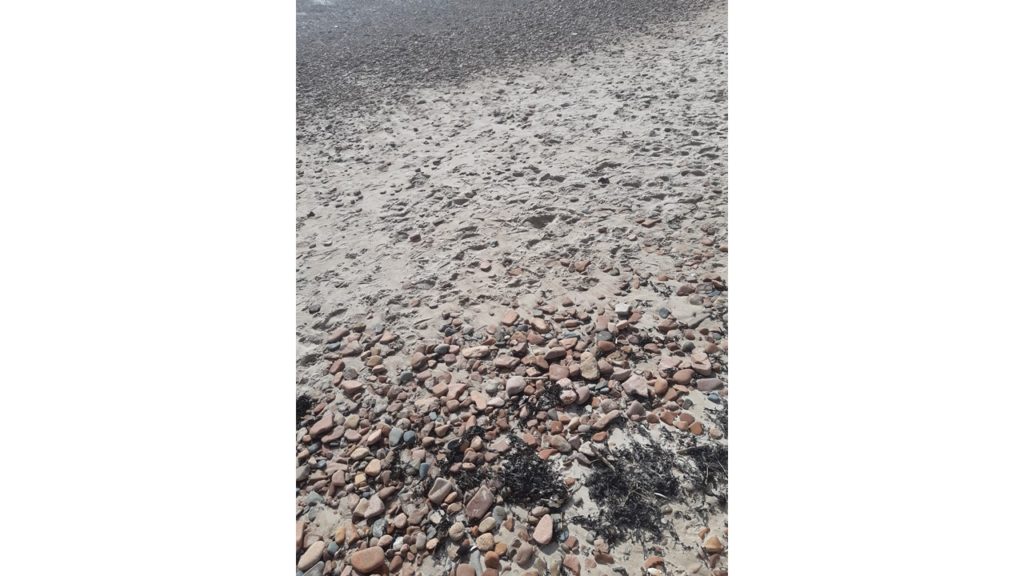
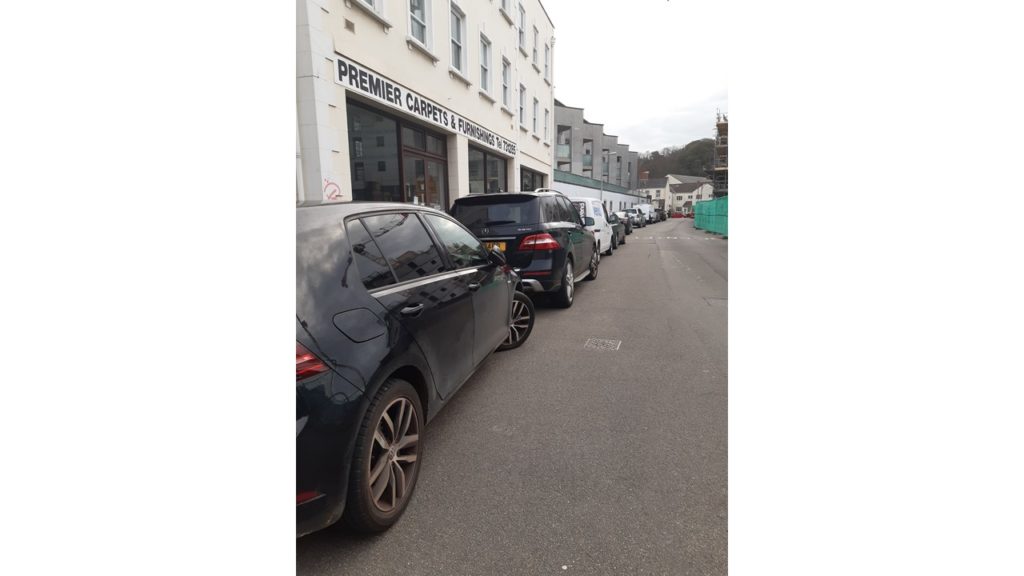
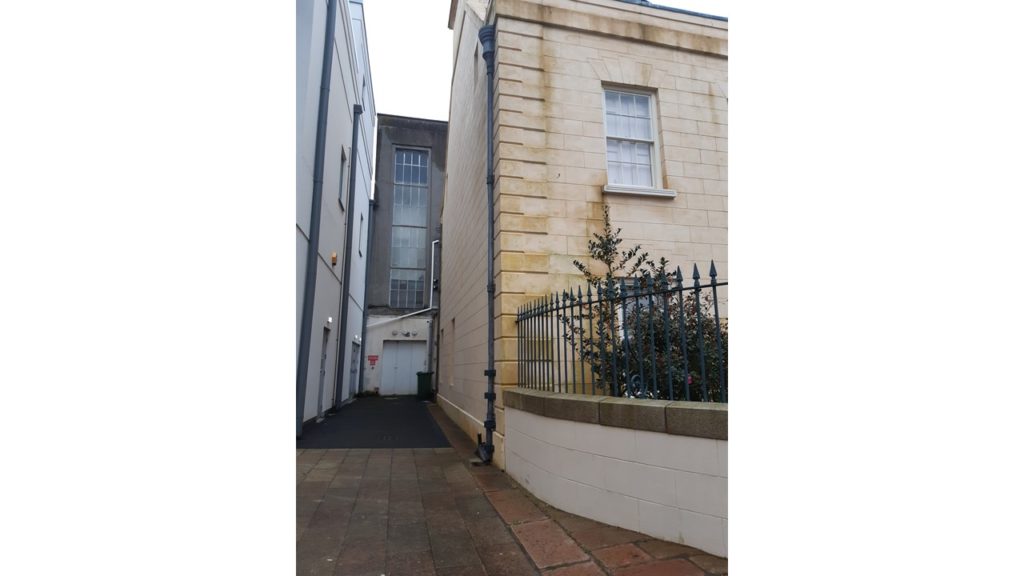
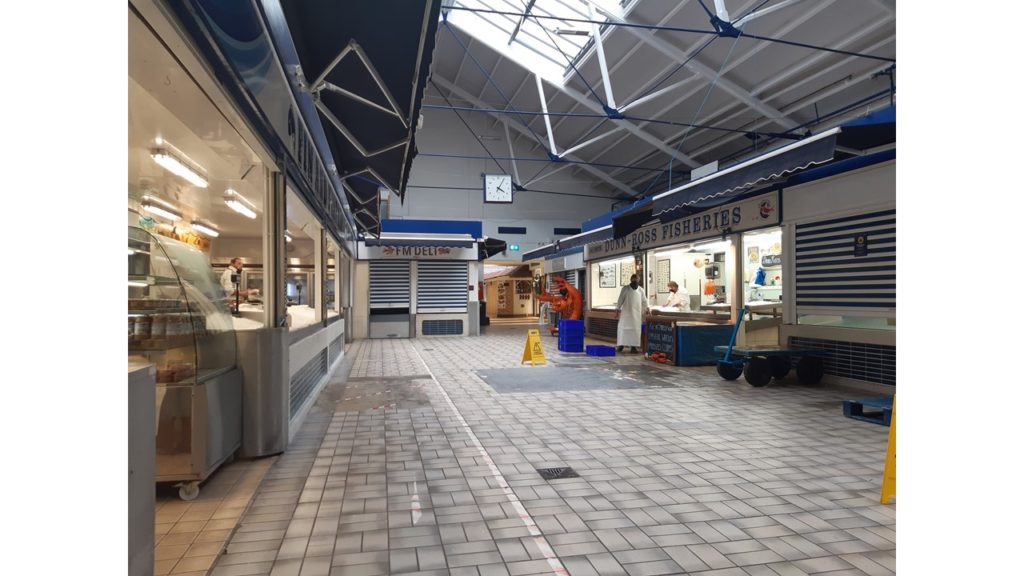
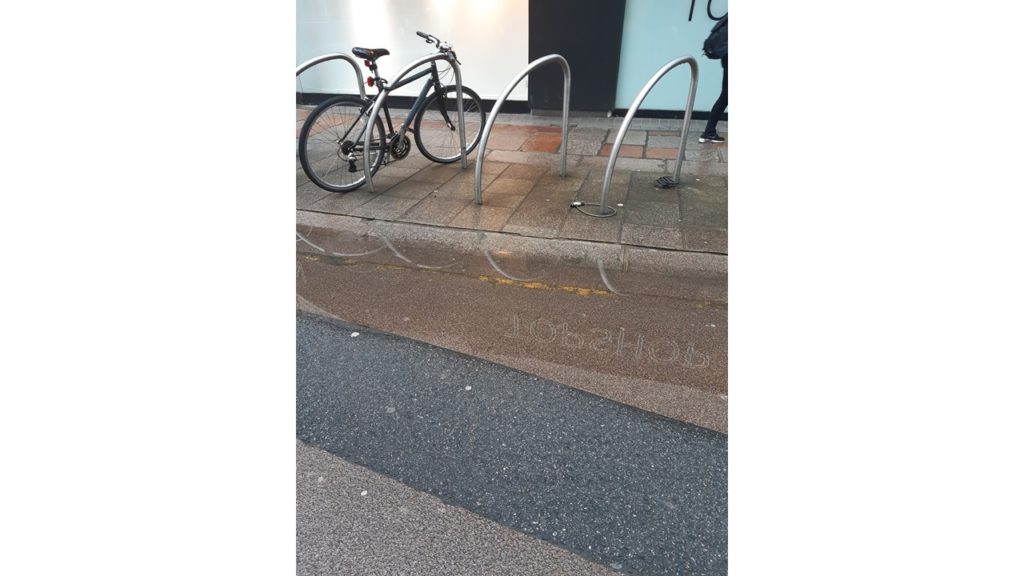
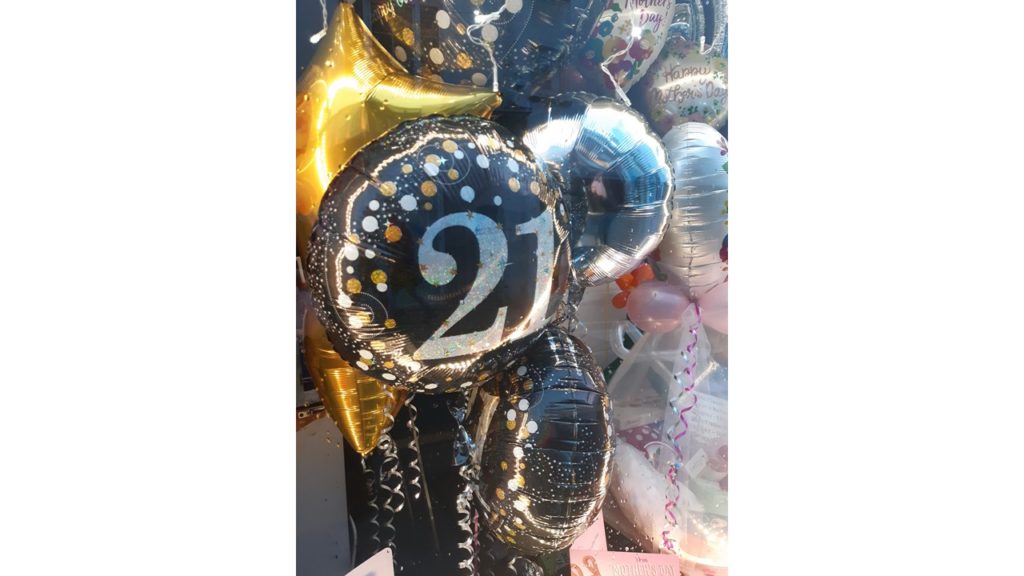
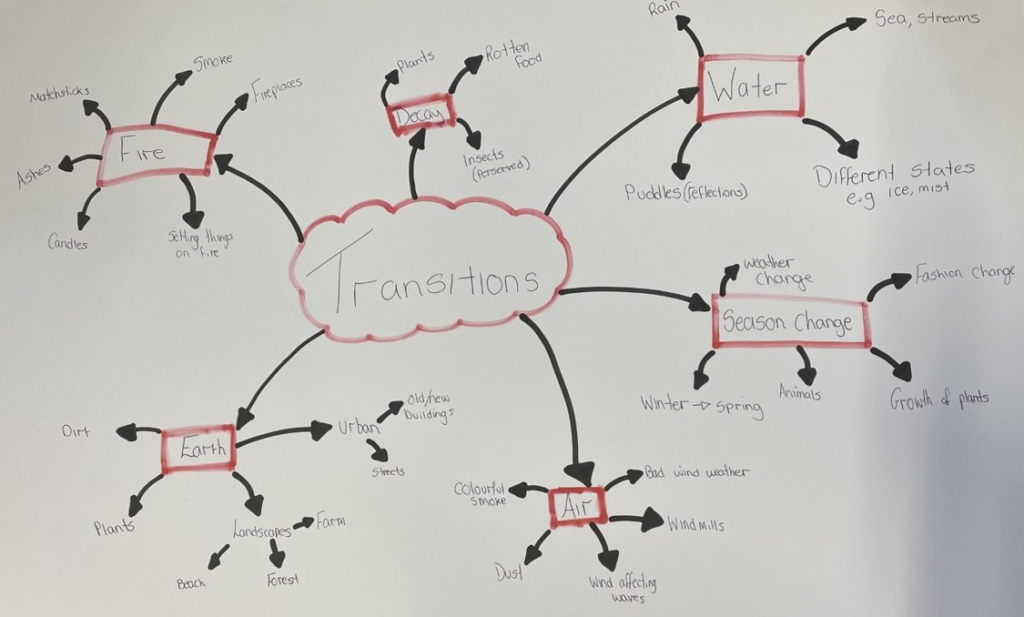
Transition moodboard & And Mindmap
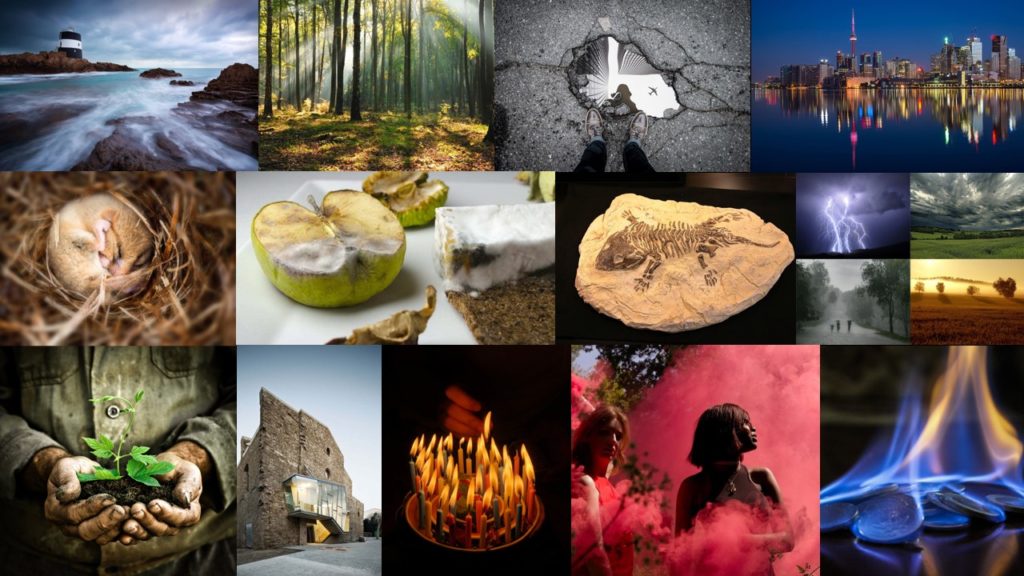
Newspaper spreads
In anticipation of the possibility of producing a newspaper based on the themes of LOVE & REBELLION design 3-4 versions of a newspaper spreads based on images from your photo book.
As I was doing a film I decided to focus on my images that I spent the most time on editing; that being my final prints and incorporated them into my newspaper spreads I also selected a few frames from my film which I used for my juxtaposition.
My favourite spreads are the first sequence and my montage.



film evaluation
Overall I am very pleased with my film, I think that it’s much stronger than my old project. This film is much more vivid with emotion and meaning. I think that the fact that I could layer multiple layers of audio and visuals, helped me to create a narrative as I could tell my story in multiple ways which isn’t possible with a photobook.
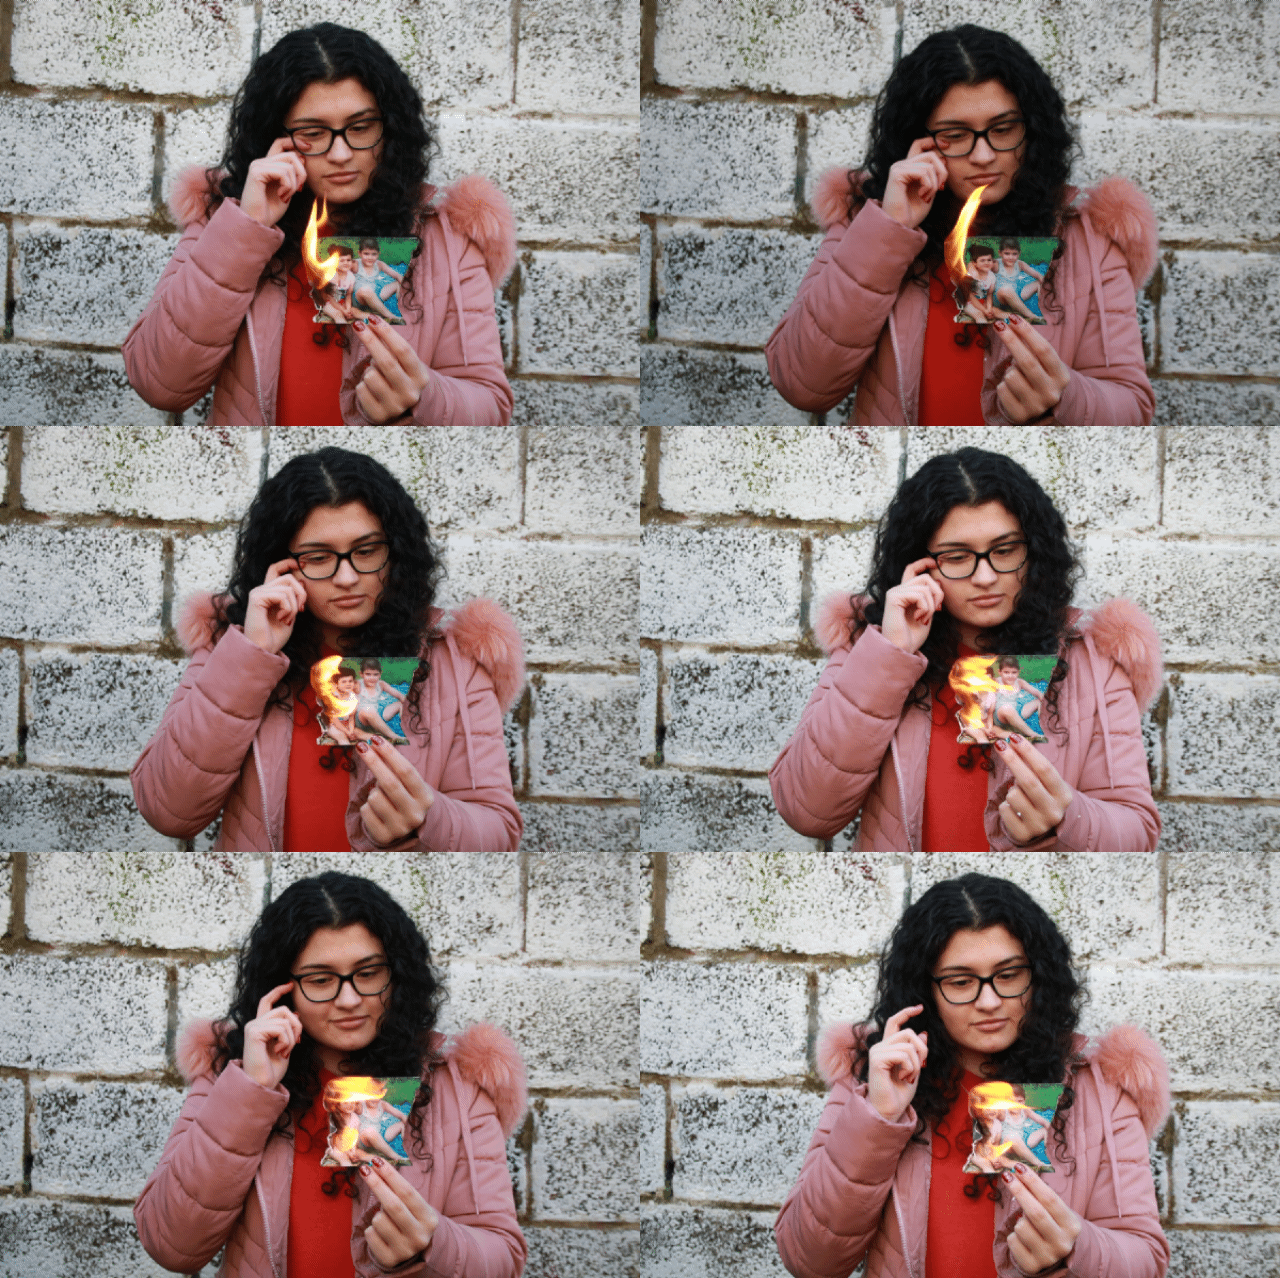
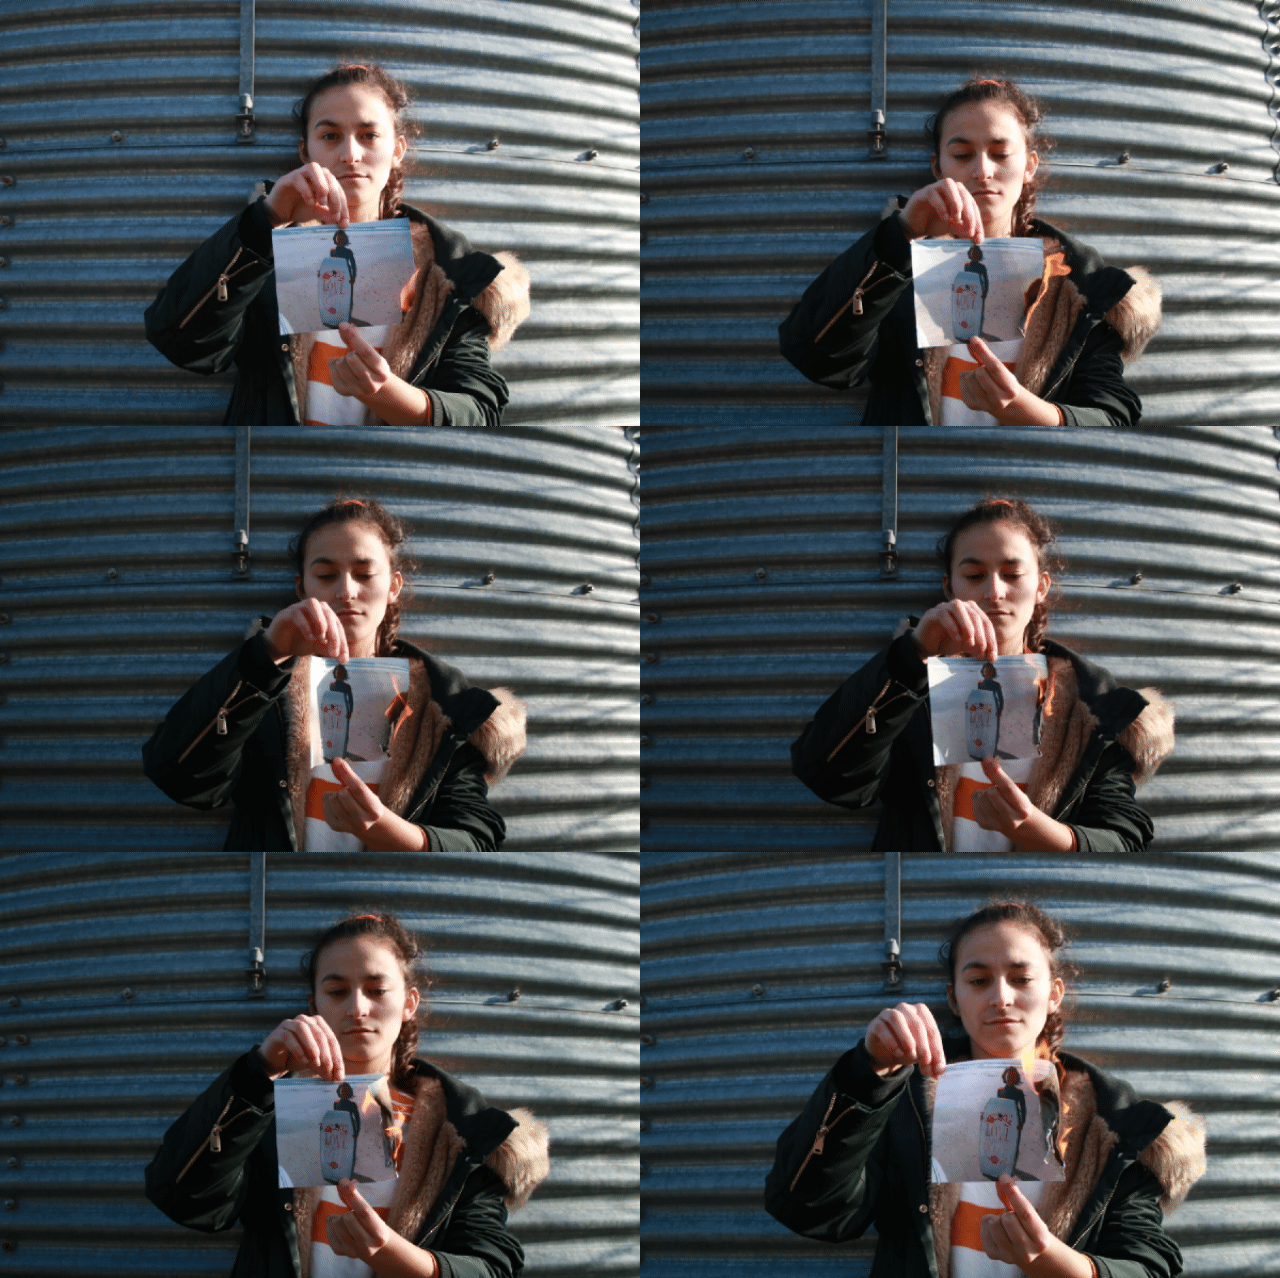
One of my favourite parts of the film is the use of motion pictures, as I think this gave the idea that this is a video, as one could see the flame burning; however, the fact that you can see the individual frames in the motion picture gives it an old film feel, similar to how the first films looked like. This worked well with the use of all the final prints as a motion picture as I used this to give the film structure. This worked especially in my use of my echo of “2024″ as I used dissolves and both the audio and video dissolved at the same time which I think created a dramatic echo and fade out.
My main struggle during the film was fitting the videos to start and stop at times that matched with my audios, which was difficult at times as I would have to constantly rearrange some clips as I sometimes needed them to align to the music, such as a note change or the start of a new audio clip. For this I decided to add gaps into the film on certain words of my audios which helped give them a more dramatic meaning; an example being the “covid situation and how its brought us so much instability”
I think the use of my lockdown audio clips throughout the film worked well as it gave the piece substance and made my piece more personal; I also believe the fact that my voice is of a young adult matches my images with the idea that my childhood years are quickly ending and lockdown has brought more sadness and speed onto this as it took away everything that childhood was supposed to be; happiness, fun and carefree days which have instead been replaced by more stress and loneliness.
I believe that I have improved with my film making skills from the last project as I managed to layer more audios together and learn how to fade items in and out which helped give my piece a more clean and polished look. I think that this film will serve as a good reminder of how my life was during a lockdown and allow me to look back on 2020 with my thoughts which will be useful way to remember.
Final Prints:
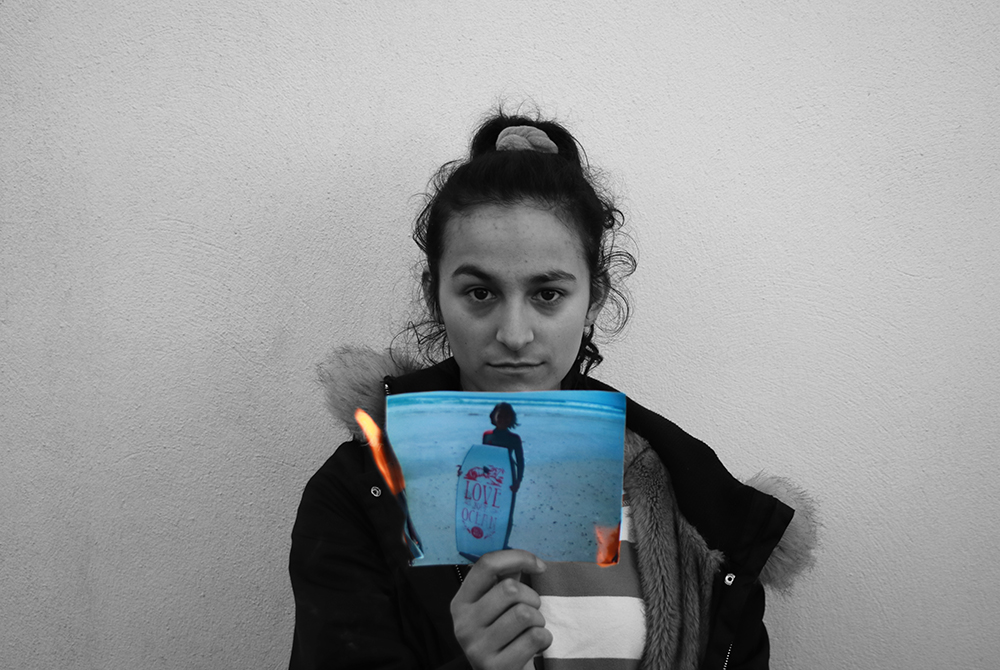
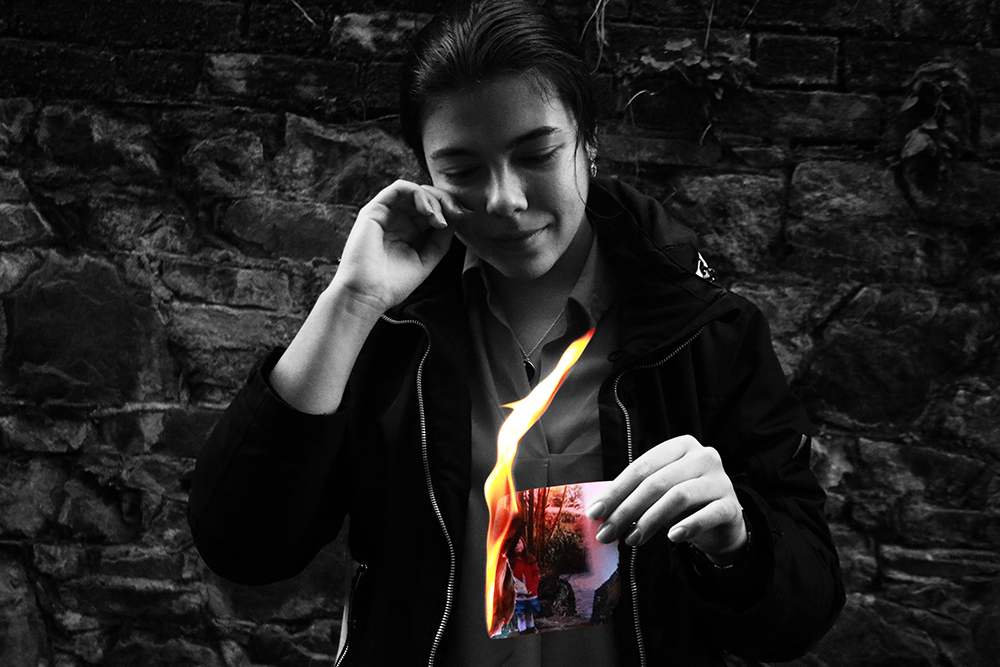
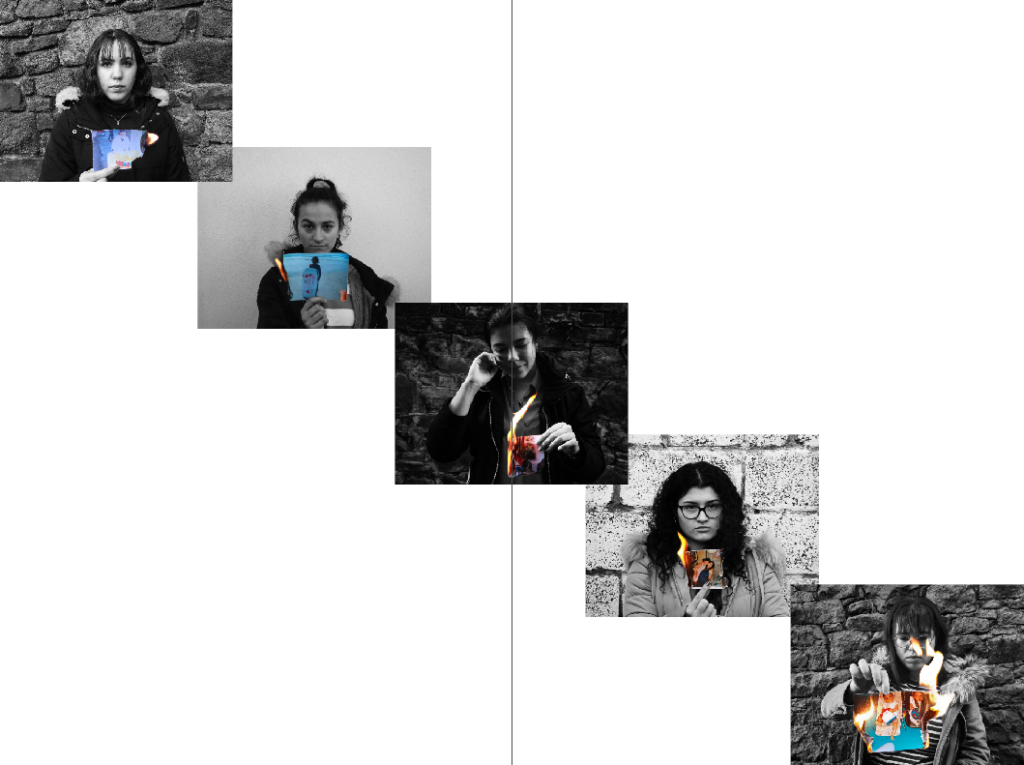
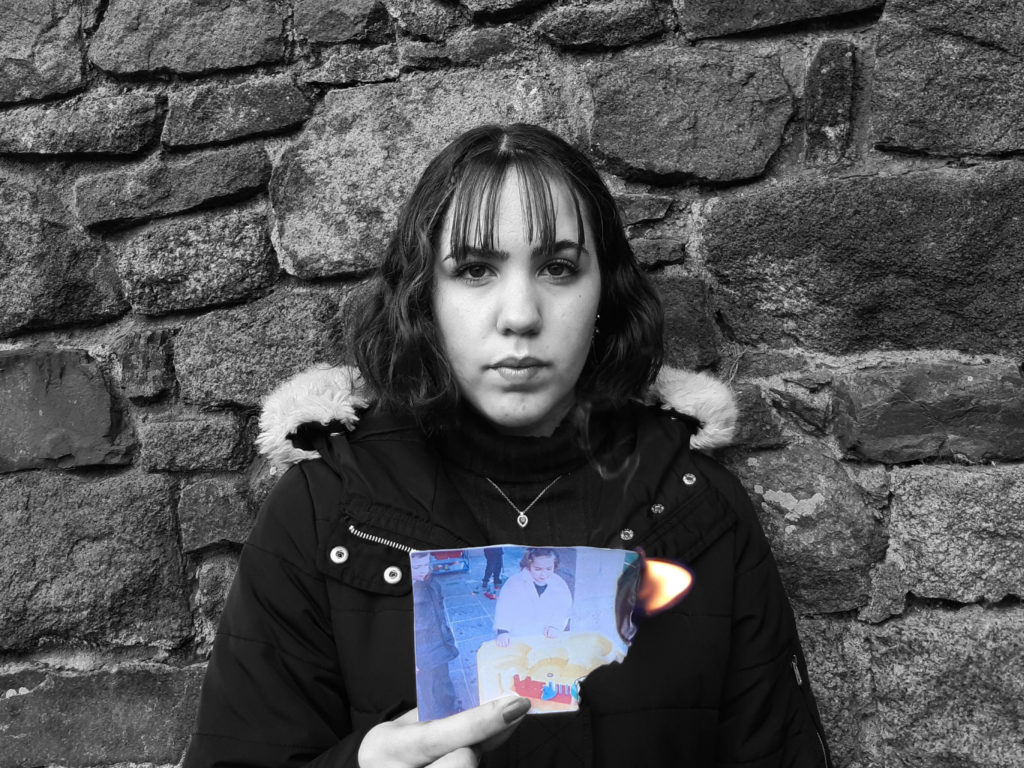
I am very pleased with my final images as I think they work very eloquently together as there are contrasts between light and dark in this set, which I think serves as a metaphor for our younger and present selves as these are two different people now and our childhood is fading as we are now becoming adults. This is again shown through the use of contrast between the colour and the monochrome scheme in each image as it shows that we are loosing these memories and this way of thinking. I plan to present these in window mounts with both, these images and the burnt pictures which I hope will be quite dramatic and powerful.
Film – The DAYS We’ve Lost
https://web.microsoftstream.com/video/83f2c5b2-7a88-4ced-899e-7034c840e075
A short Film detailing the life during lockdown through the eyes of a young adult with links to looking back on childhood memories.
Film Editing Process

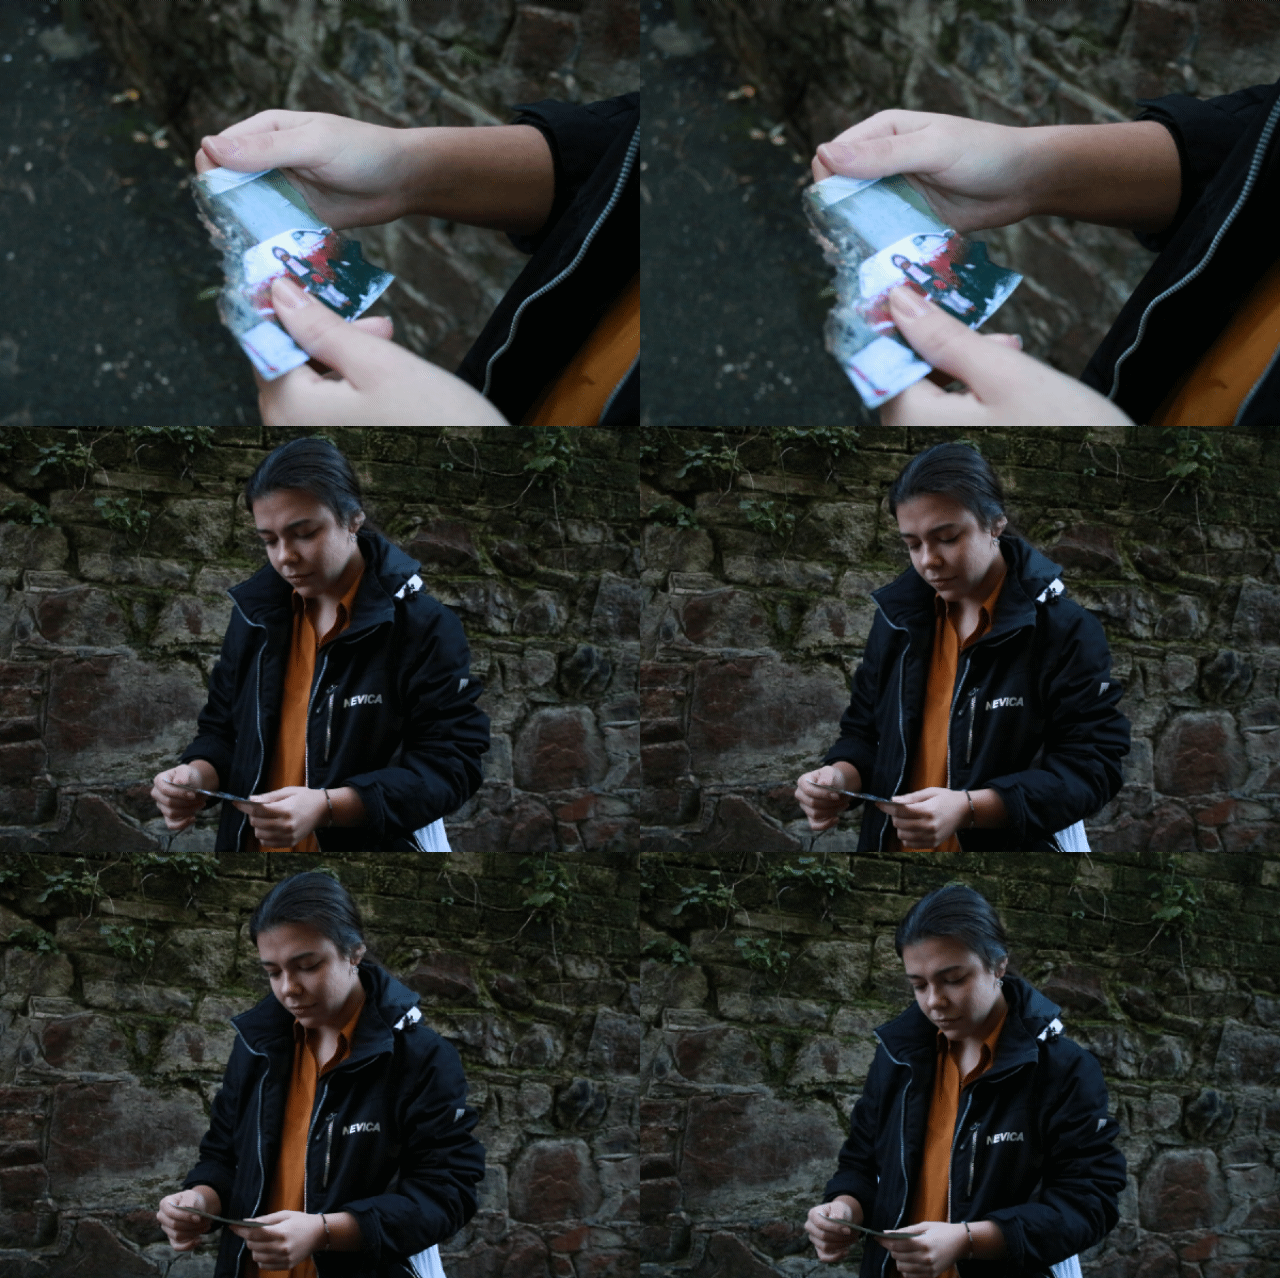
I started by getting all my editing images into folders so I could create and select gifs in order to create moving images. I then further separated each folder into subfolders for each gif I would make per person (around 6 gifs made per person)
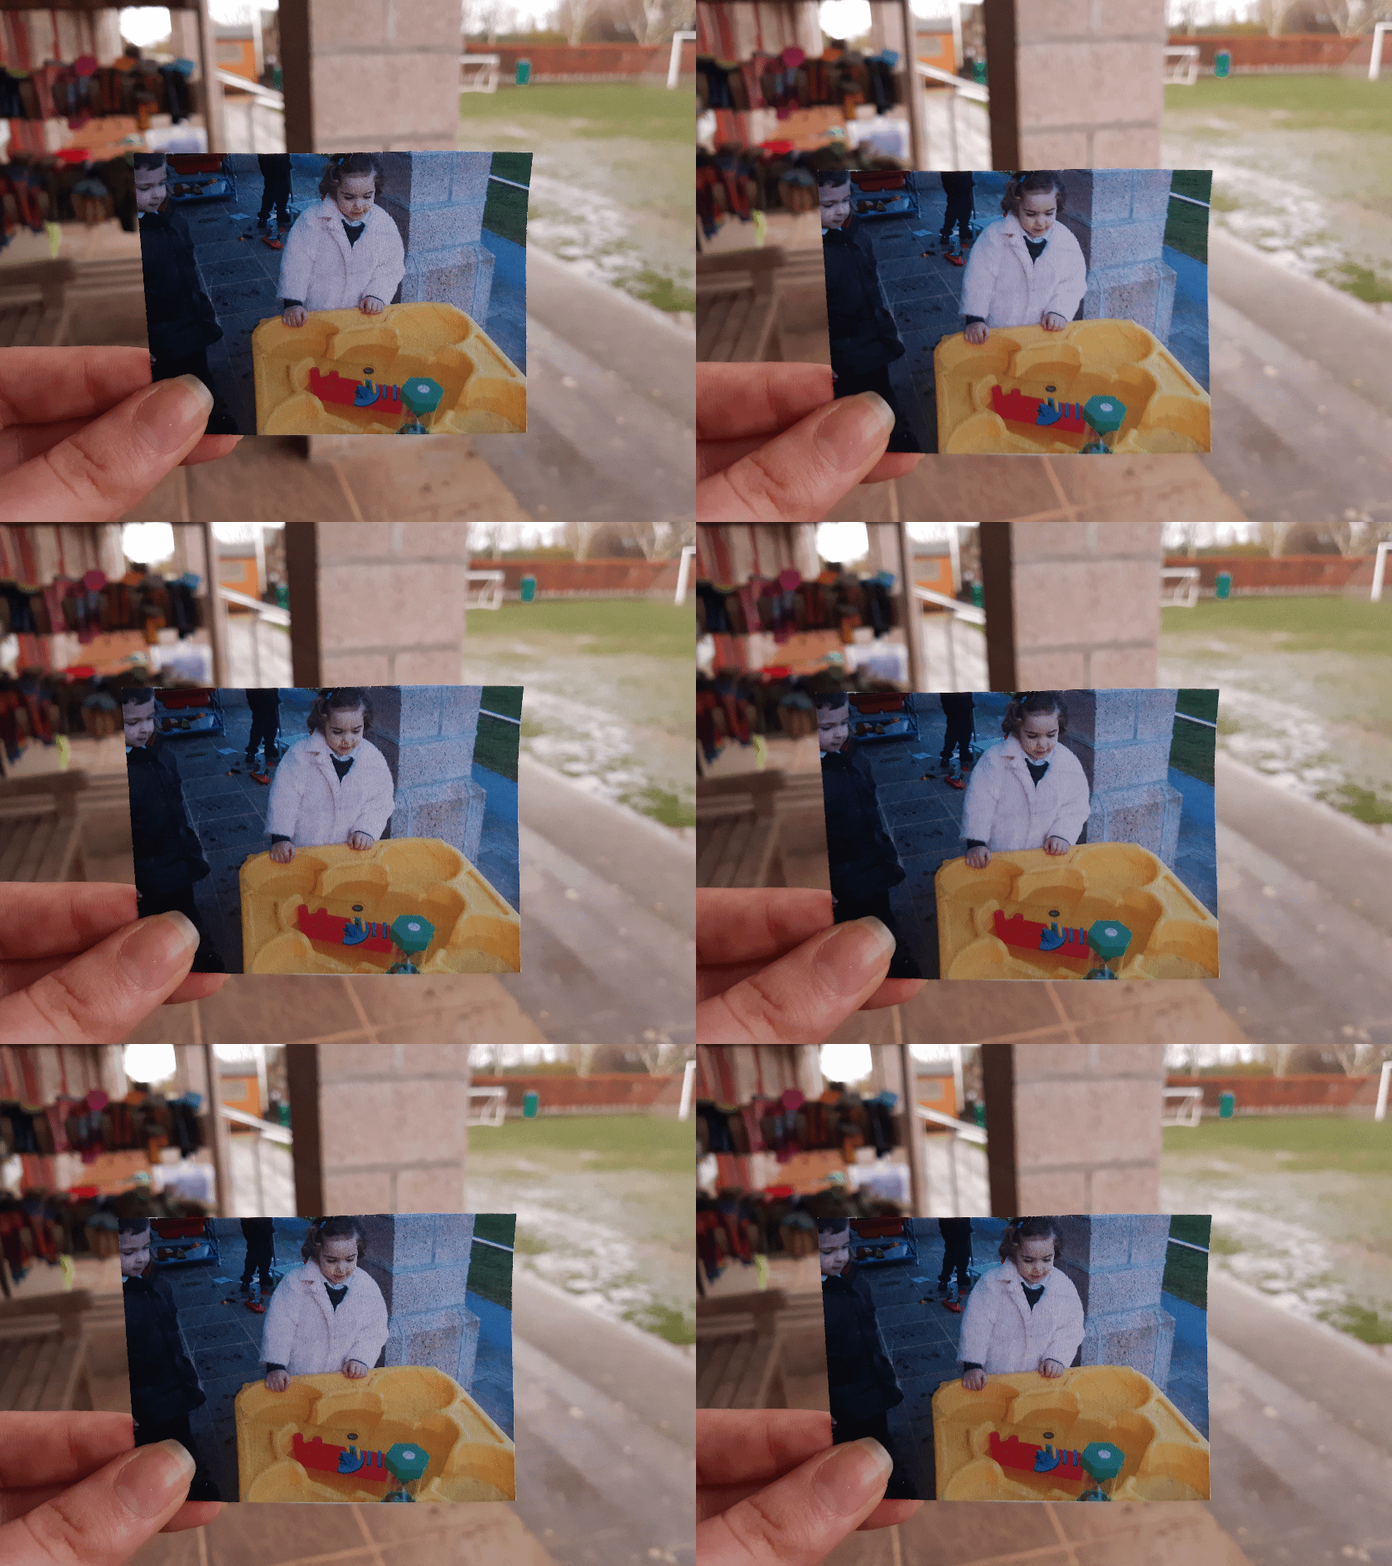
Examples of gifs made:
Premier Pro
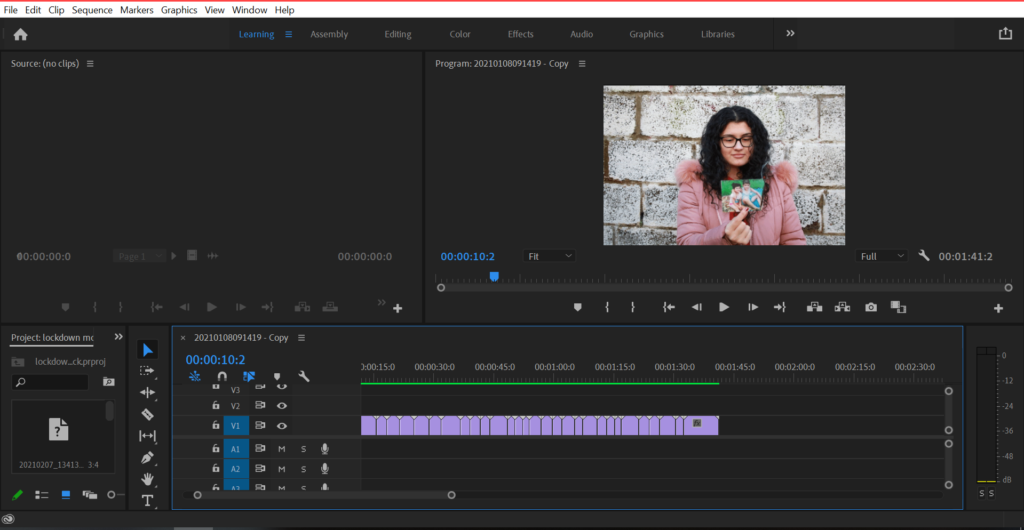
After making all my gifs I brought all my footage into Premier Pro and clicked “Render In and Out” to make sure they wouldn’t lag whilst working with them.
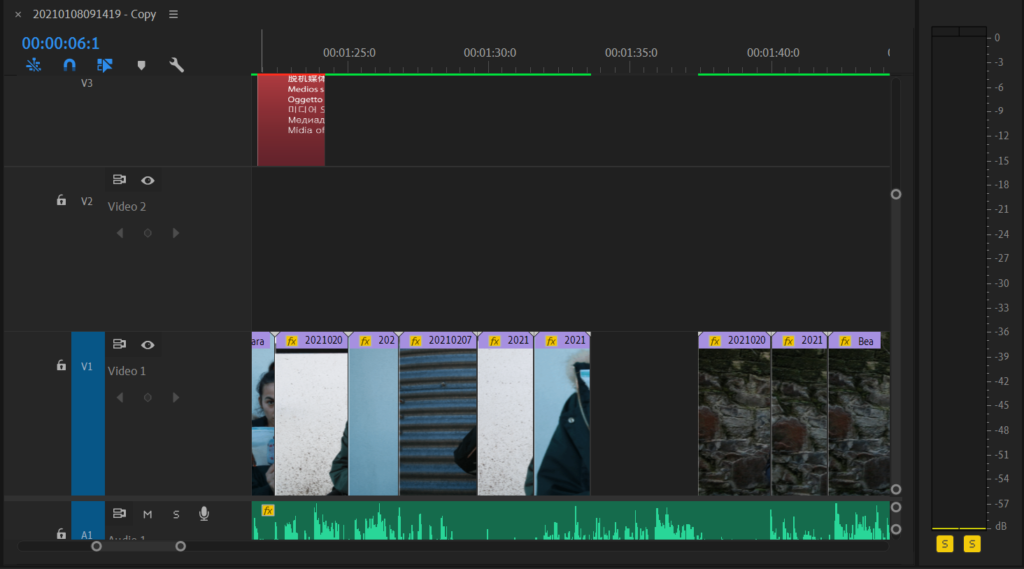
I then began to separate the visuals by people as I thought this would be the best way structurally-wise to do so.

After separating out the visuals I thought the best way to create a storyline would be through the audios as I could put them in a certain order and then place my visuals to complement them. For the beginning I wanted to create overlapping audios so that they would almost fade into each other.

I then began to listen to all audio clips again and thought that the best way to help break down and sort through all the audios would be colour co-ordinating. I did this through 3 colours: tan-beginning of film, yellow-middle, purple-end, brown-unwanted audios

After sorting them out by colour I then organised the colour clips in which order I wanted the audios to be heard. ( I put the brown clips at the end of the film incase I wanted to use them later on)

To avoid awkward gaps I slightly overlapped the audios. I also added in my video clips when I thought necessary.

This is what my audios looked like when I finished placing them in the correct place. ( I removed audios as I went along which are shown in purple which i then deleted later on)

When all audios where finished, I went back to my visuals and started to place them in sections that would work with the audio which required a lot of experimenting and moving around.

I experimented with effects such as adding cross dissolves and additive dissolves as I thought this helped to make the film look more clean and professional. Note I also added small gaps during my visuals as I sometimes wanted a phrase of the audio to stand out or wait until the clips could align with the audio again as if I didn’t the clips would look messy.
How I edited my images:
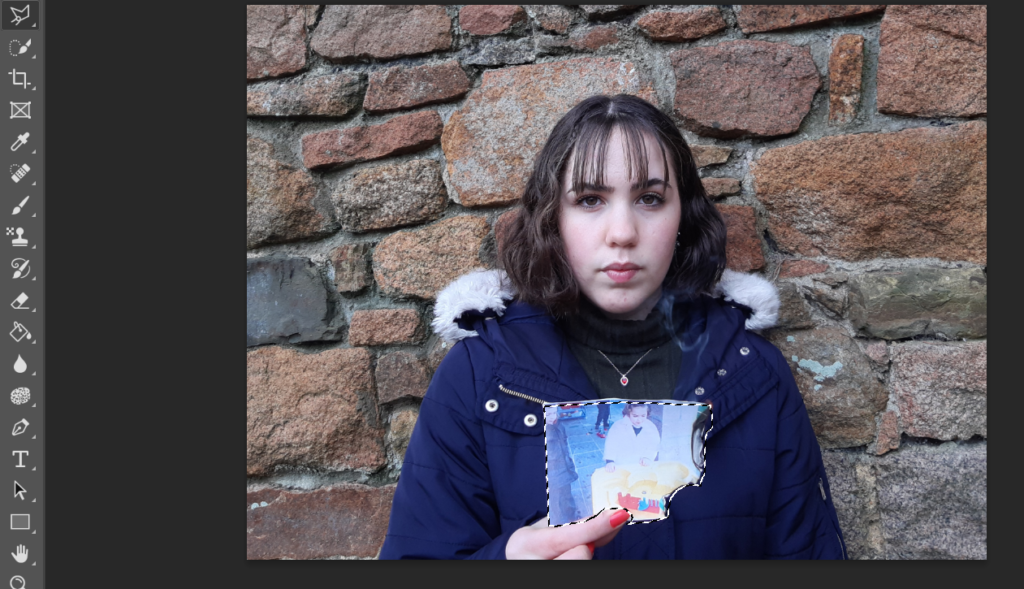
when I selected the images I wanted to use I started off by using the polygonal lasso tool and tracing around the childhood photo
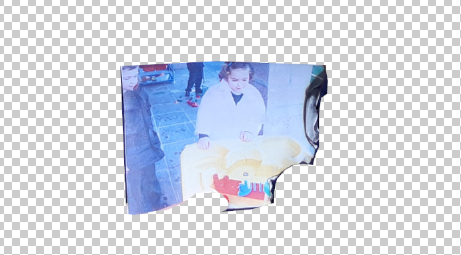
I then copied and pasted to create another layer
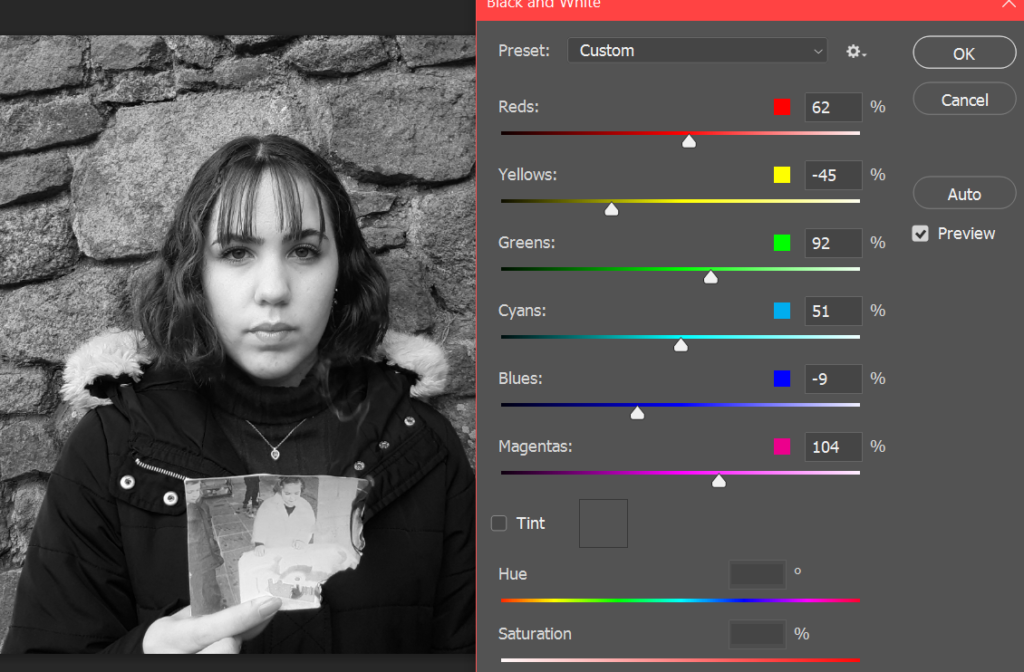
When Clicking on only the background layer, I customised the Black and white filter to best suit my image.
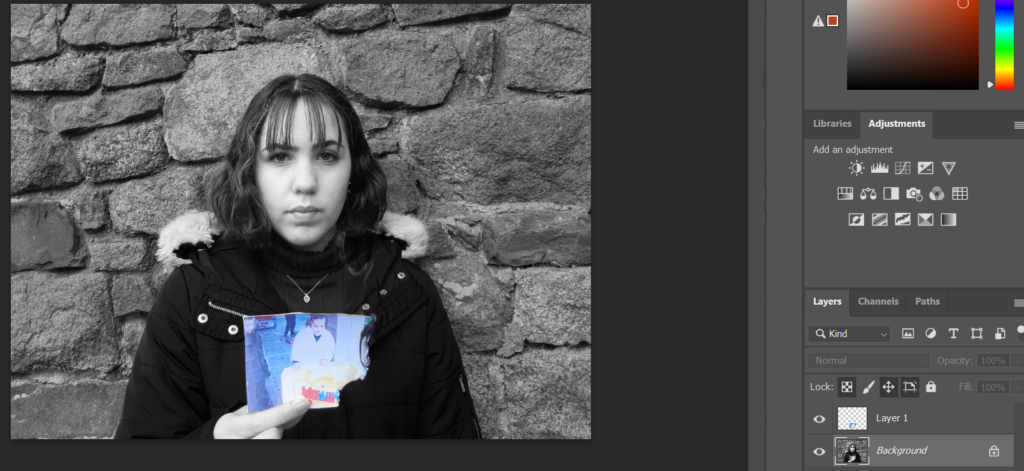
Then when I revealed both layers this 3D effect was created.
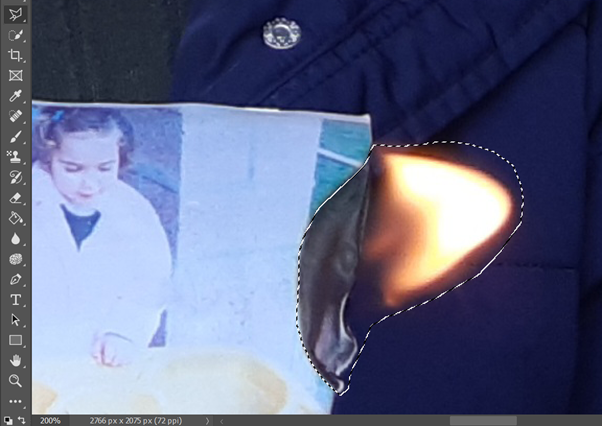
For this picture in particular I thought that I needed more flame as sue to the windy environment it was hard to get large flames. Here I decided to copy a flame from another image and paste it onto this image. To do this I again used the Polygonal lasso tool and traced around the flame. I again copied and pasted to create a new layer and then added this to the image I wanted to use.
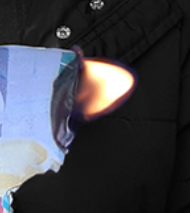
I then went back and forth with the blur and eraser tool until I was happy with the outcome.
Title Designs
In the polishing up of the film I realised that I needed a suitable title and design that would work for the film. I worked with the following websites:
Free Logo Maker – Get Custom Logo Designs in Minutes | Looka
https://www.wix.com/logo/maker/
Possible Logos:


Final Decision:
I really liked this design however I could not get it to the correct resolution; therefore I found a similar font and made a logo on word. I thought that a deeper black would work better because in some frames of the film where I don’t add visuals (in order for the audience to focus on the audio) the frame is a deep black so I needed something to compliment that. I also noticed my typo so I fixed that with the final cover.
Low Resolution 
Final product
Film Research
Sites I have used to research with and or will incorporate into my film.
The shocking centre of the COVID-19 crisis – YouTube
How to look after yourself at home if you have coronavirus (COVID-19) – NHS (www.nhs.uk)
(20) COVID-19 Patient & Mom Posts Video Before Passing | NowThis – YouTube
(20) ‘Holding hands while they go’ – Inside the Covid ICU – YouTube (1.48-2.00)
WHO Coronavirus Disease (COVID-19) Dashboard | WHO Coronavirus Disease (COVID-19) Dashboard
Coronavirus disease (COVID-19) (who.int)
Coronavirus (COVID-19) – Google News
What is coronavirus? COVID-19 explained – CNN
Possible reports to use throughout film
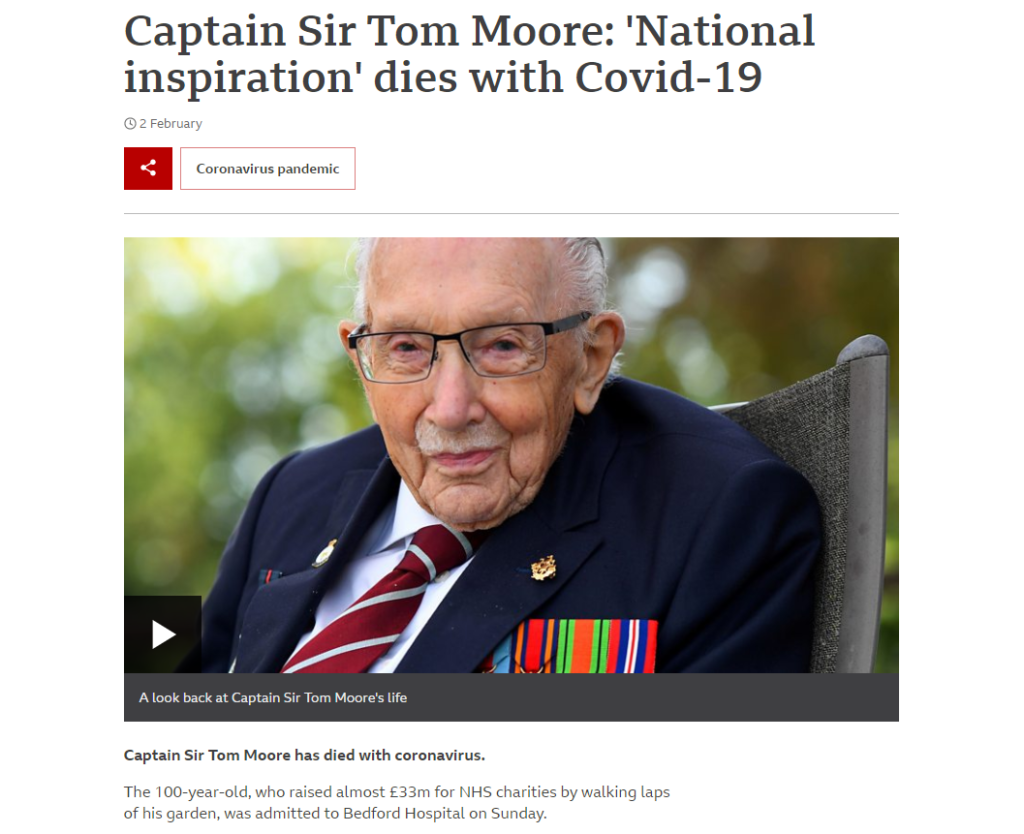

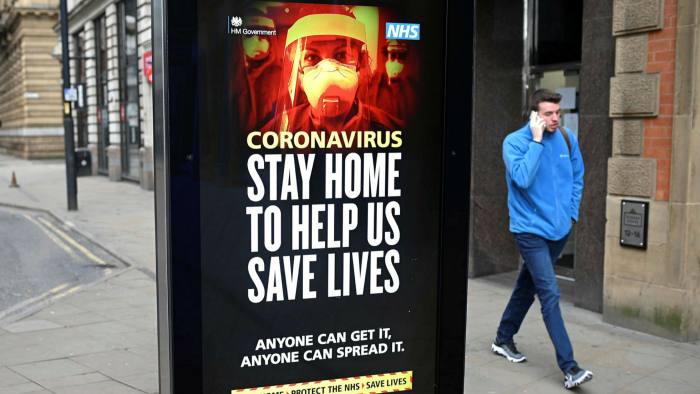
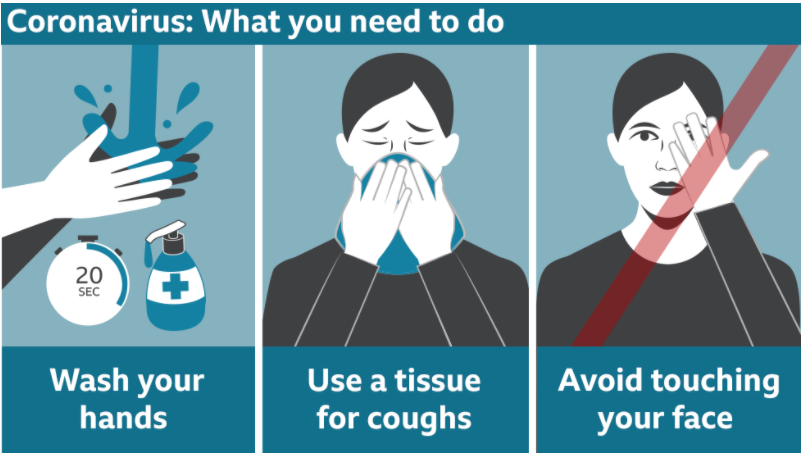
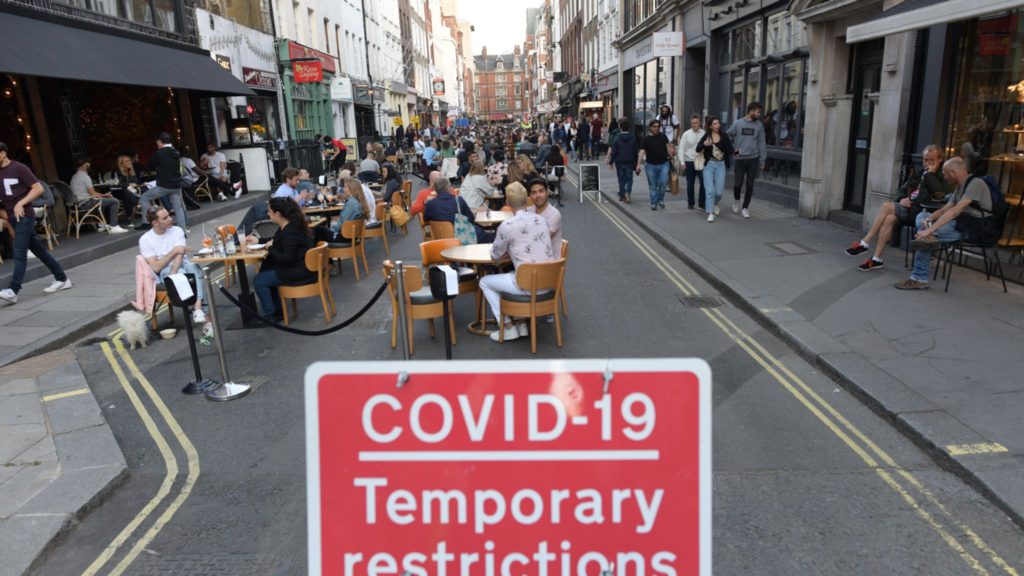
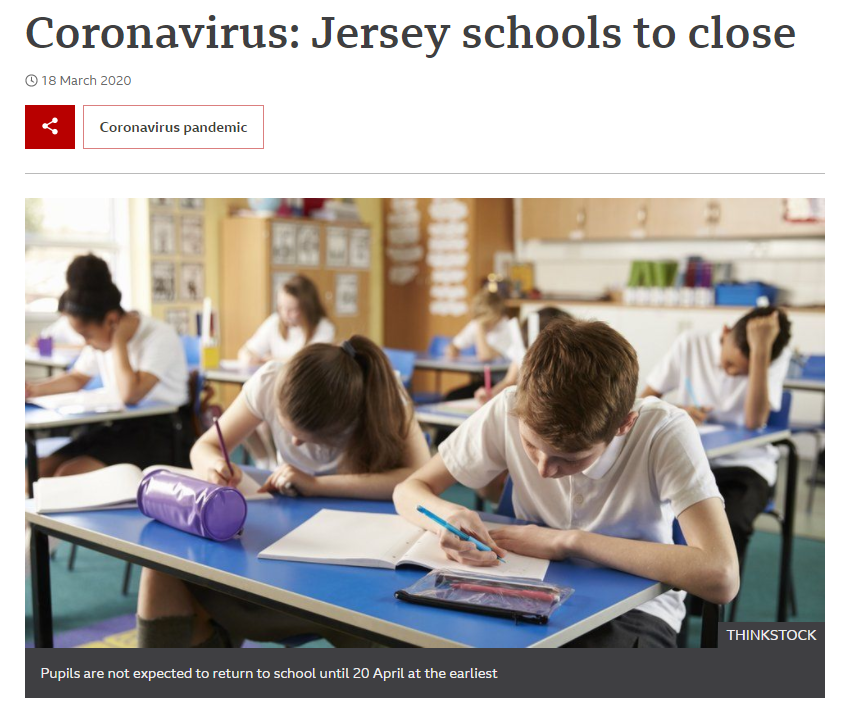
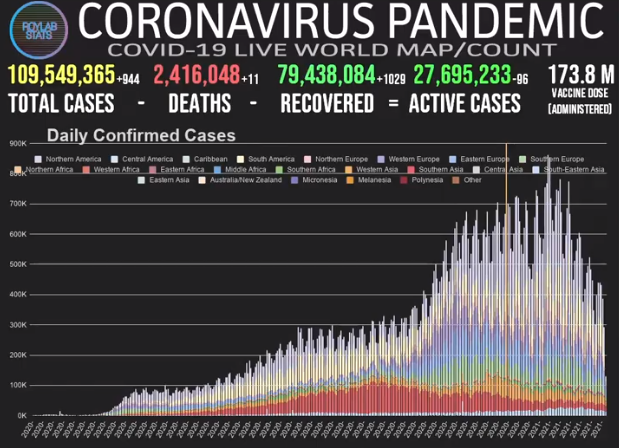
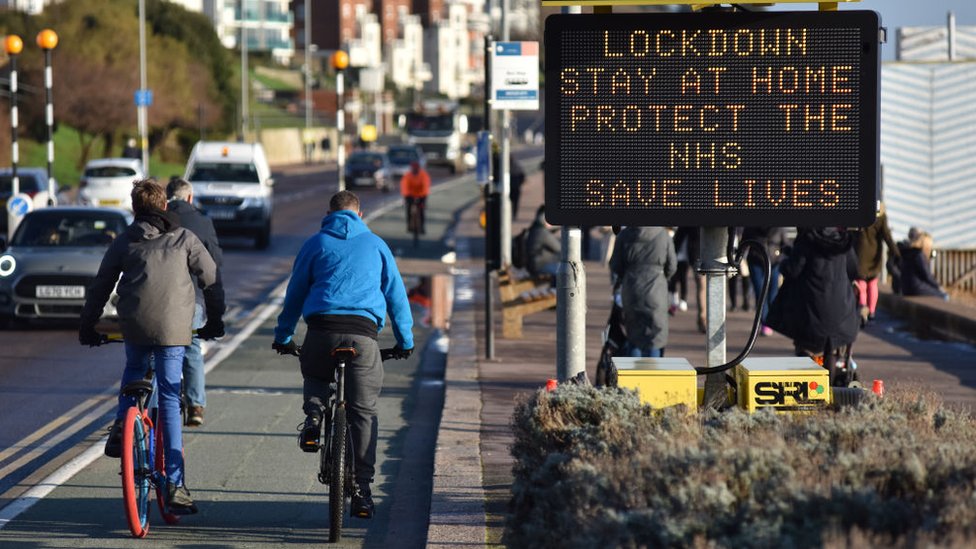
film footage plan
Visuals:
For this project I decided to use images from an older shoot and incorporate them into my film:
I will re-use these final images and and the unedited photos and form those images into sequences to then create a stop motion effect.
I will create another photoshoot by using my self and my old childhood photos. I will be following the same process with my unedited photos as stated before. Finally I will also use images from my old project showing my childhood portraits and once again use them to create gifs/moving images.
Audio:
- For audios I will use voice clips in which I recorded over the period of lockdown and add and layer them onto my film.
- I plan to find audio/video clips of news reports talking about Covid
- I will research music to find a simple instrumental song to play in the background of the film to help tie the film together

