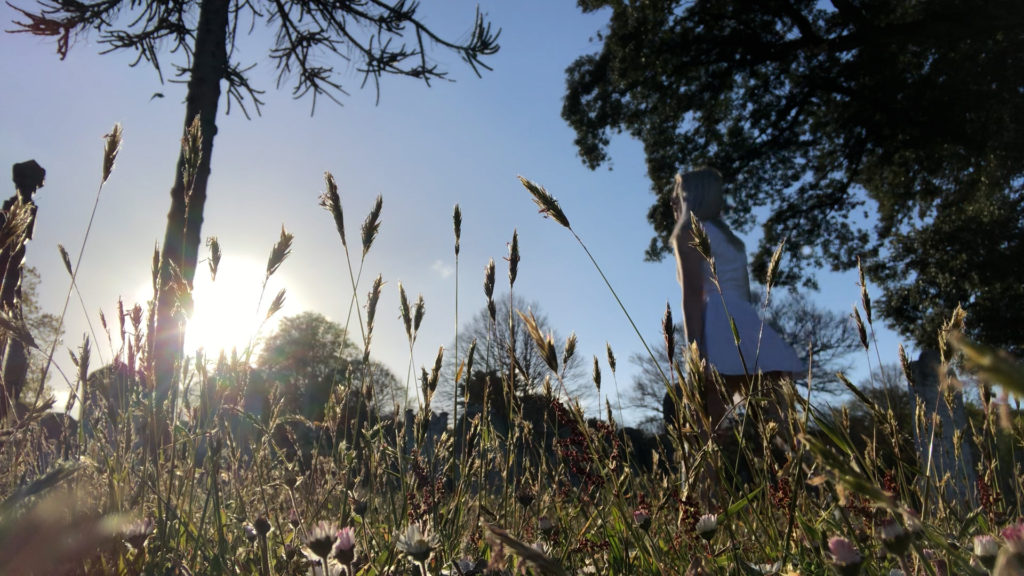
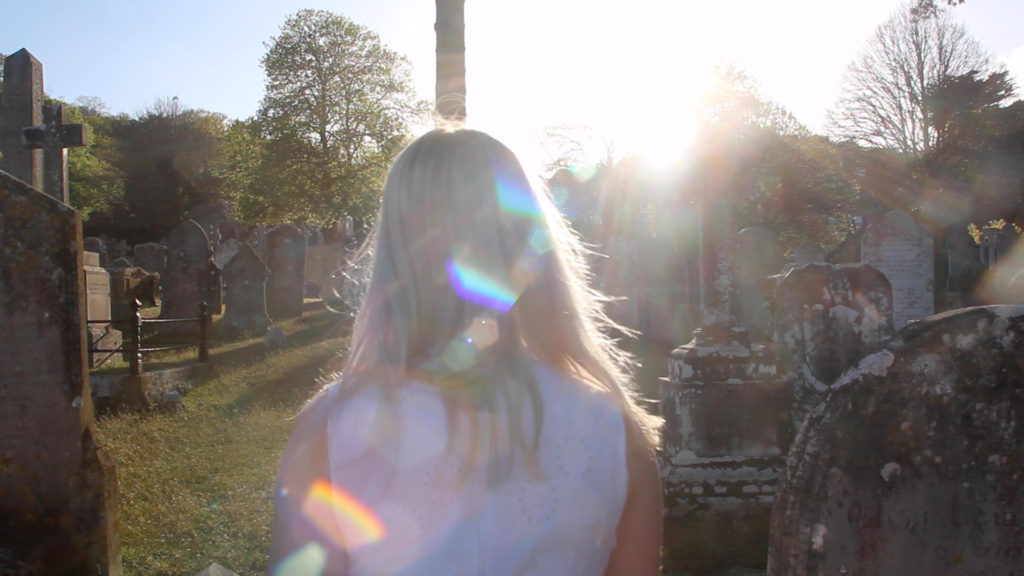
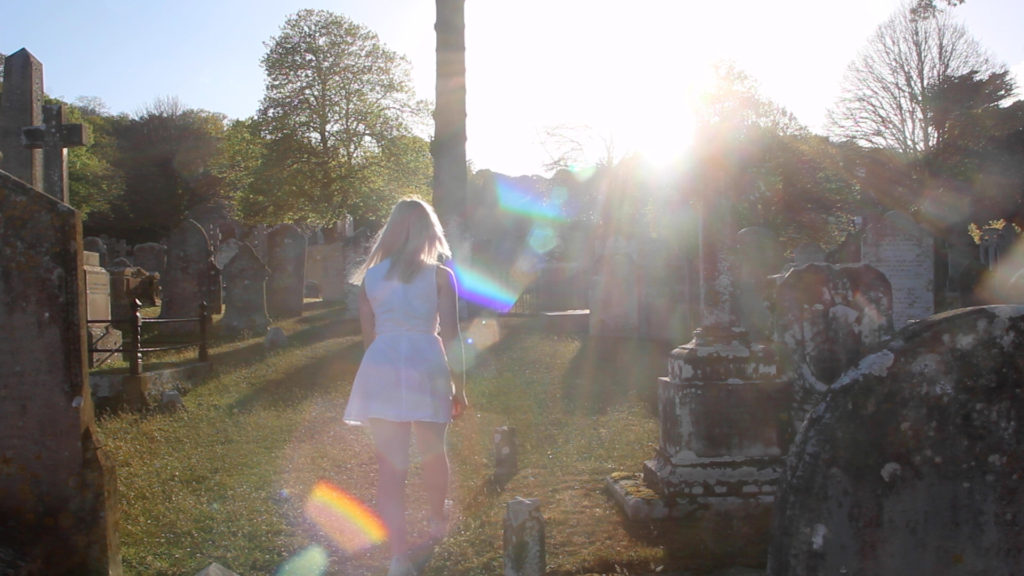
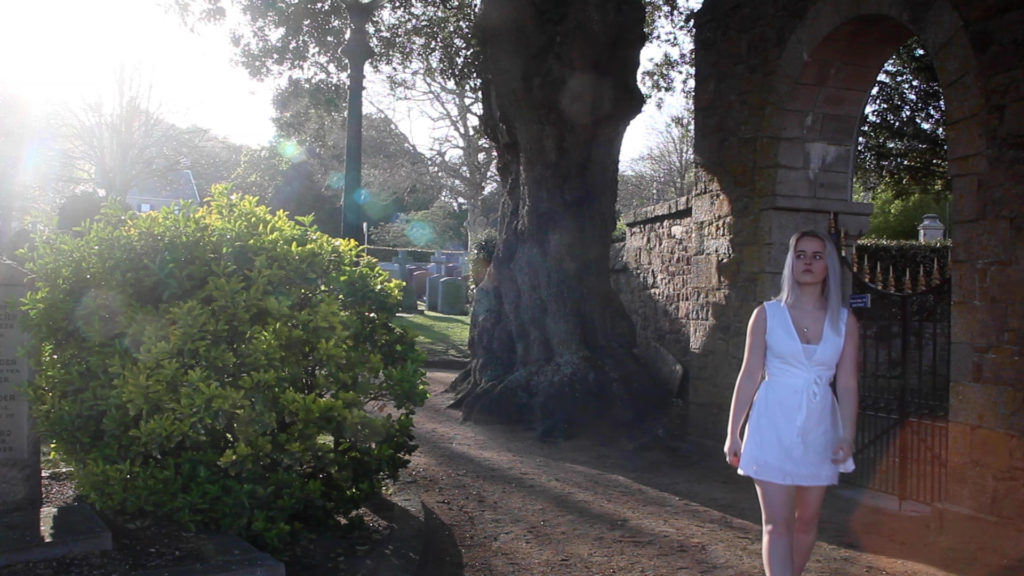
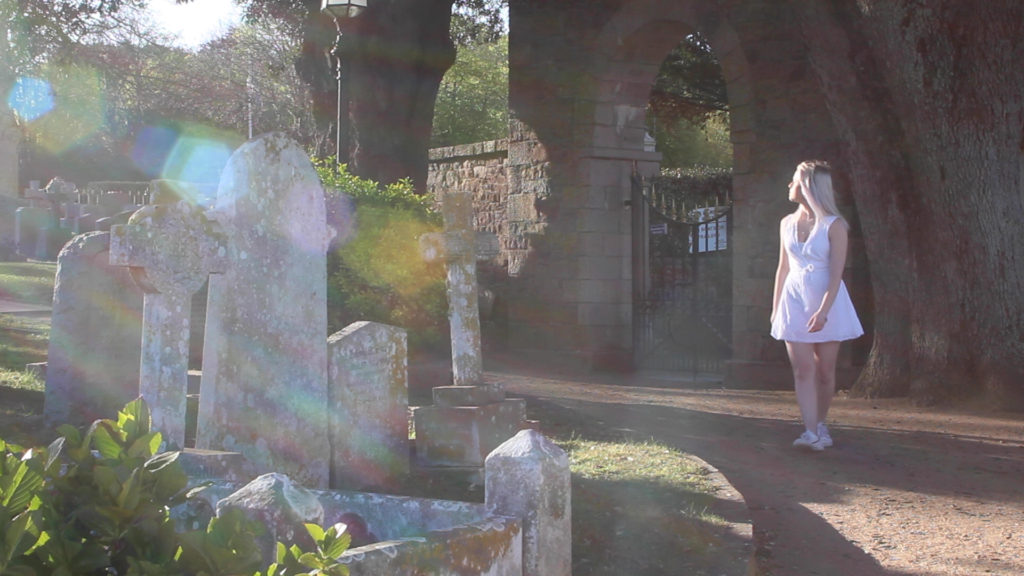
I like the contrast of colours in this shoots and the way that the light was coming through the trees as well as the way it was hitting the lease as it made a cool streaking affect. I also tried to make the footage more slow to have a more cinematic affect.
I was more inspired to make the footage more colourful which was inspired by specific photographers. A photographer that explores limitations, escapism and surrealism within reality is KangHee Kim. Kim studied painting at the Maryland Institute College of Art, graduating in 2014. It wasn’t until her senior year that she began using photography as a creative outlet, enjoying the freedom that came with the minimal equipment required. One of her ongoing series, Street Errands, began in 2016 and was born out of the mundane daily encounters of living in New York. “I realized, instead of waiting for miracles, I could instead create the magical moments in my imagination,” Kim says. “I construct my own form of escapism.” To create these photographs, she uses Photoshop to merge and manipulate multiple images from her travels in New York, California, Colorado, and Hawaii. Rather than preplan the scenes, Kim lets intuition guide her – creating cohesion with a uniform aesthetic and colour palette, and the returning motifs of moons, clouds, oceans, and skyscrapers.
Editing and Experimenting
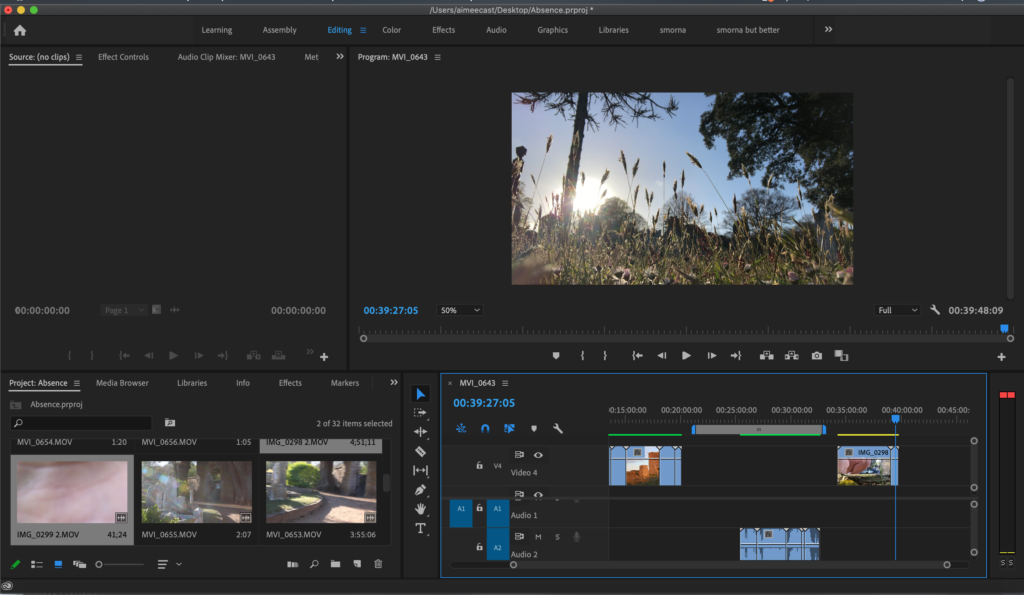
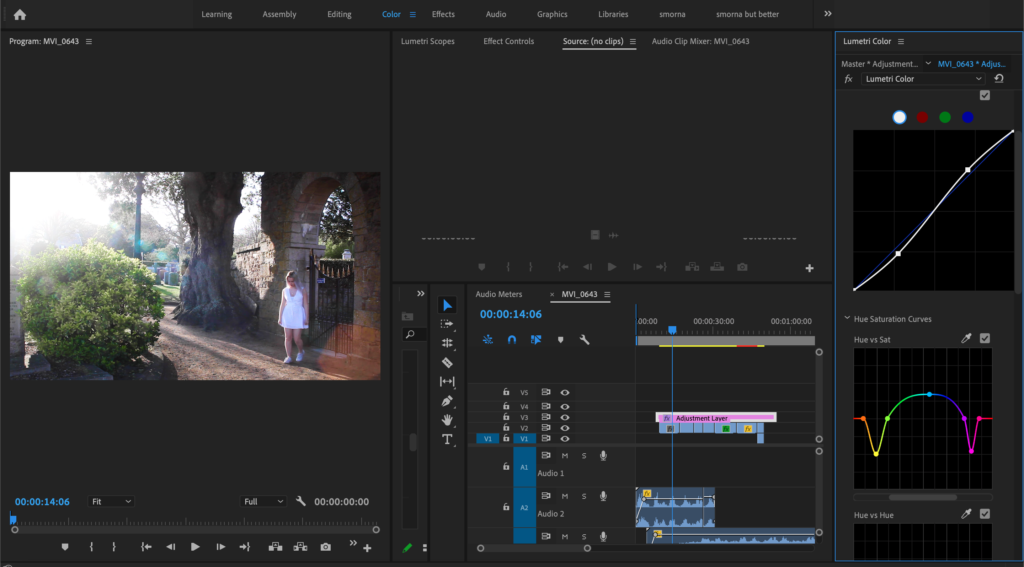
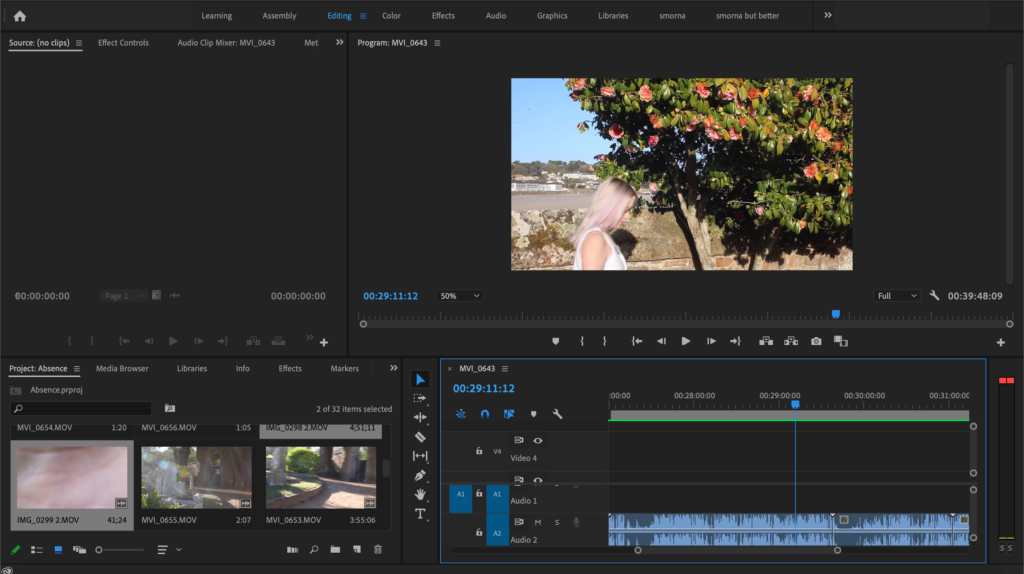
I was trying to make the greens more vibrant than any other colour and I did this by using the colour wheel and singling out the colour and dulling out the other colours. Whilst editing the saturation, shadows, highlight etc, I put an adjustment layer over the entire film and then individually edited the clips if they needed to be slightly more saturated or needed more contrast. For some of the clips I used the pen tool to mask the main focus of the clip as my camera wouldn’t allow me to adjust the depth of field too much whilst I was filming. I used the pipet tool to select the colour I wanted protect from the areas that weren’t masked e.g. my skin tones would be selected and I would add more to the different tones so all of my body was selected. I only did this for some clip that were slightly more still and didn’t have as much movement otherwise the tracker wouldn’t pick up where I was moving and wouldn’t change the depth of field. I also used the more advanced RGB tool on premier to get the colours that were more and less saturated to the correct colour, in other words it’s a colour correcting tool to make sure all the clips merge together smoothly between coloured clips. I tried to get all of the clips to look as if they were taken during golden hour as some of them were taken at different times or the cloud made the lighting not as good as it should’ve been.
Evaluating
Overall, I think that these shoots went moderately well. If I could do anything differently I would have gotten more angles from further away as well as some close up shots of my surroundings. I think that would have given the viewer a wider variety of things to grasp their attention other than the main character. I like the way I’ve edited this footage as the time of day made the makes the clips look really warm toned, which was the way I wanted it but I toned the warmth down I tiny bit to fit better with the rest of the film.


