PHOTO ONE
I originally started with one of my favorite photos from my bunker shoots as part of my summer task. The photo has a lot of potential thus creating many ideas for me to experiment with.

Firstly, I used the quick selection tool on Photoshop to quickly select the foreground with the bunker, and remove the background, mostly made up of sky. Then I added a layer underneath the bunker image with Nazi propaganda as seen above. The subtle yellow contrasts really well with the black and white foreground, and the positioning of the photo with Hitler’s eyes just peaking above the bunker adds a sense of style that makes the image seem “living” and thus come alive, bringing out this comedic effect.

Then, I started to try a different technique, trying to paste an image off the internet and “skewing” the image on Photoshop in order to make it look realistic and as part of the wall, sloping with the angle at which it comes across on the camera.

Here, I improved on the last photo and tried to create this abstract and unique design, using images of Nazi propaganda posters off the internet, pasting them onto this image and skewing them, trying to compliment the angles of the walls in order make them look as part of the bunker while trying my best to keep the original shape of the bunker and cover every visible wall/angle possible.
PHOTO TWO

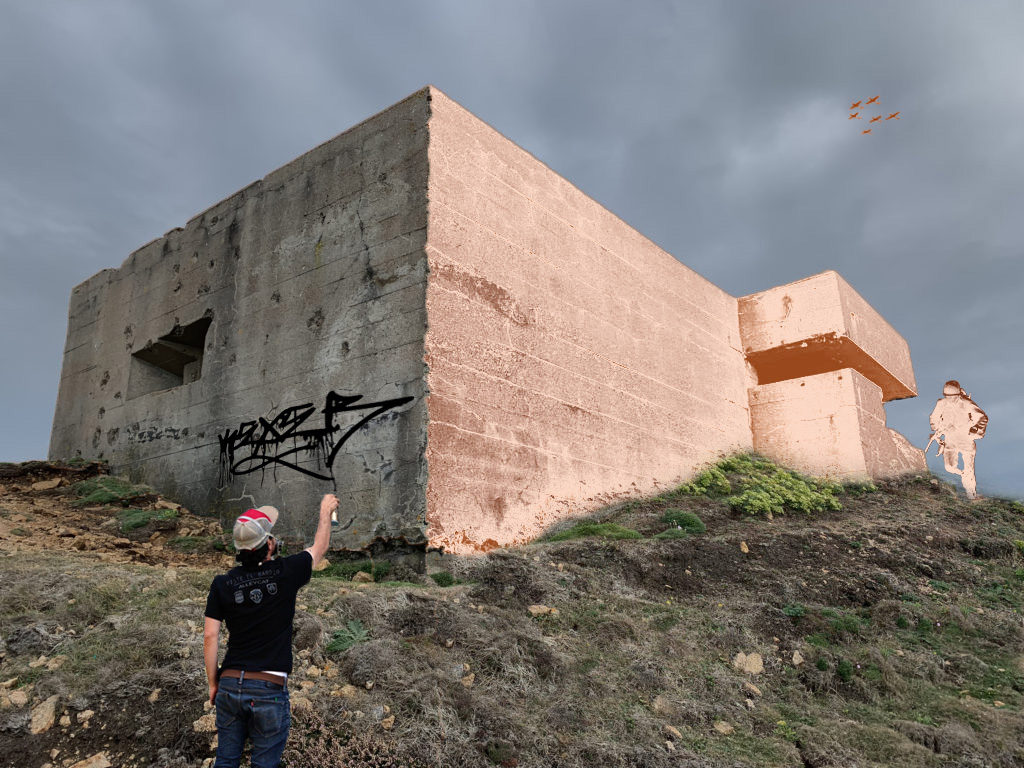
I now chose a new photo to experiment with and ended up with this rendition after much experimentation. I like it as it has that typical photo montage style as well as incorporating many different themes all in one. The graffiti on the side of the bunker wall took a while to edit, especially considering that I had to “skew” it on Photoshop to best match the angle of the wall, (the same process used in “photo one”). Additionally, I duplicated the original layer and added a new colour to it, and then removed the other side with the quick selection to create a sense of time gone by and a contrast as seen in the image, highlighting the differences between the past and present.

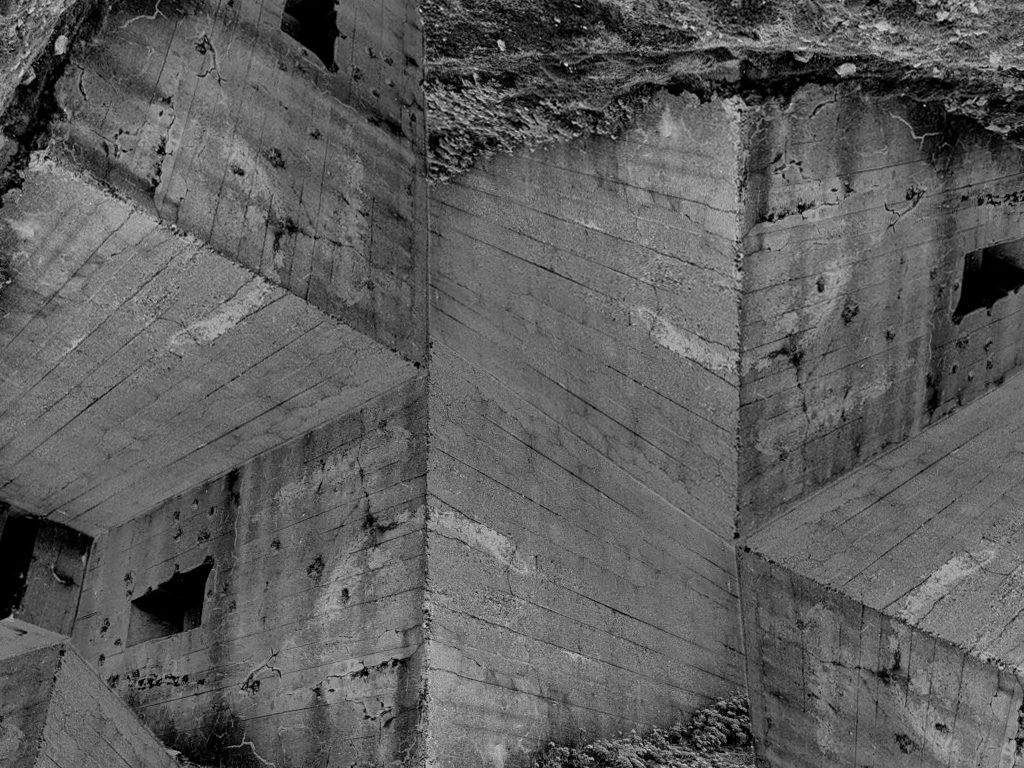
After that, I tried a new style of photo montage with a the same image as “photo two”, where I copy and pasted the same image and try to create a new image out of it. I experimented by rotating duplicated layers of the same image in different ways until I ended up with this photo, that is rather confusing yet pleasing to look at, a bit like an optical illusion… it’s quite hard to make sense of, and that was the aim.

A bit of altering later I ended up with a slightly different image.

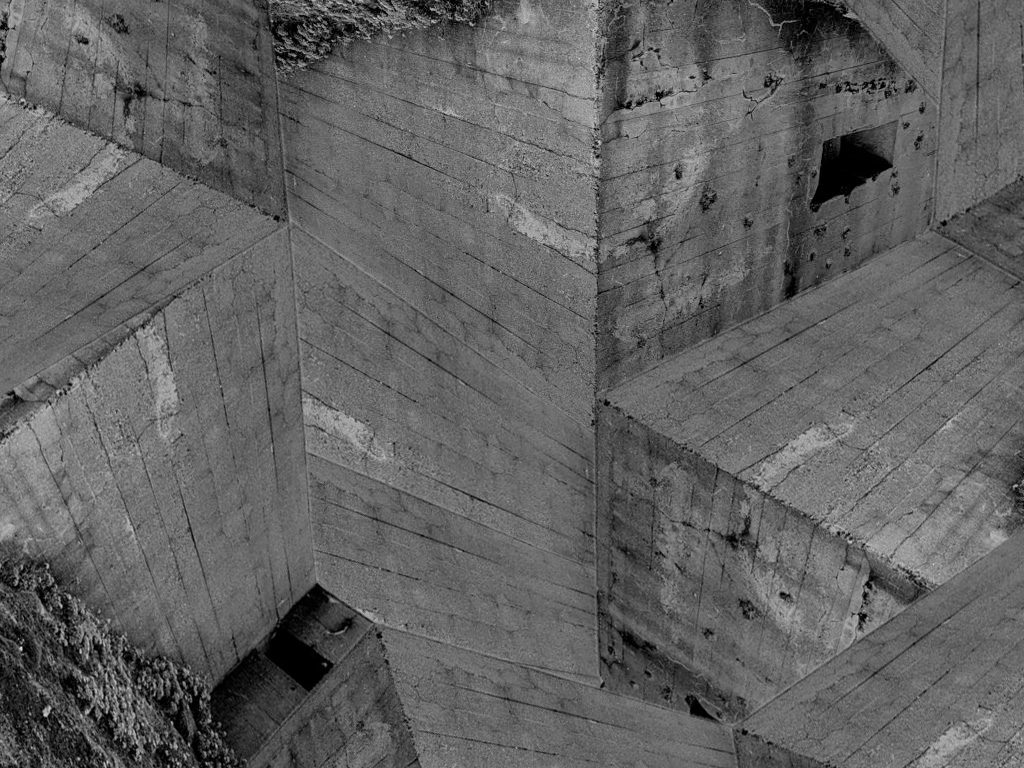
Lastly, I flipped the photo and changed it ever so slightly just to maximize the amount of concrete visible on screen, however keeping some of the bunkers unique and original features such as the observation and bullet holes meanwhile keeping the photo as aesthetically pleasing as possible as I had very little to work with.
Overall, I enjoyed this new element of photography, conducting some photo shoots, new styles of editing and researching the history and evolution of the photo montage style. Throughout the task, I think I have successfully experimented with different processes of editing, using lot of trial a error to end up with the final images I have ended up posting on this blog. Personally, bias aside, I think my photo montages successfully capture a sense of “remembrance” and the war-themed genre as a whole, imitating the work of Hannah Hock, Raoul Hausmann and other influential Dada and photo montage artists. The theme of these photo montages that we researched and imitated often related to pre and post war ideas, which was the theme of the topic and a good foundation for me to build up on as I already had plenty photos from previous photo shoots for similar themed tasks such as my AS Summer Task.
