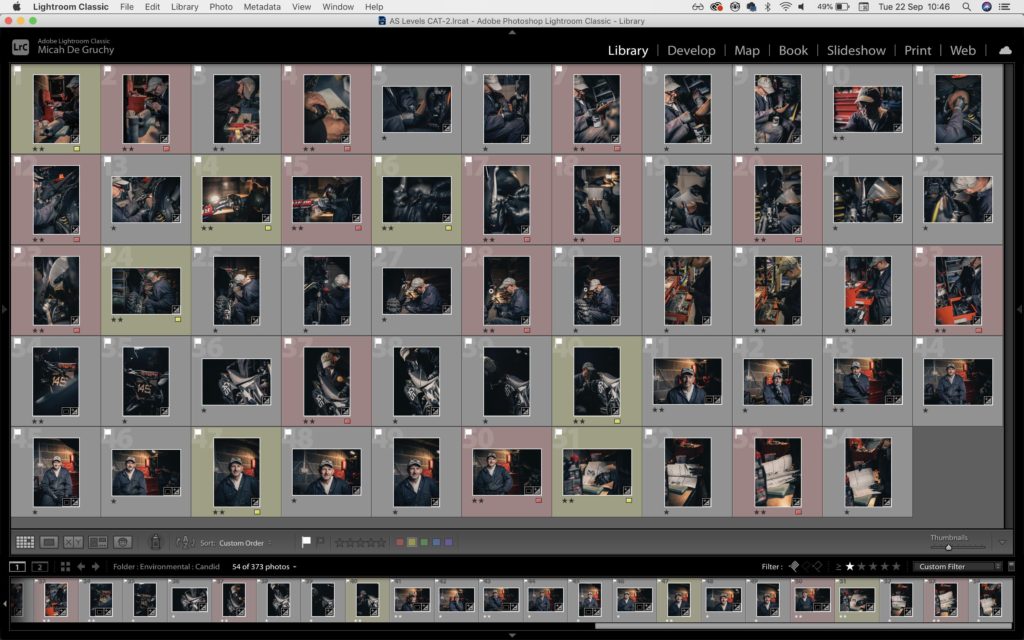
For my first stage of editing, I went sorted through 363 images and flagged the good sharp ones with P on the keyboard (white flag) and the unwanted images with X on the keyboard (Black flag). Second I went through and starred the images with 1 star a images that had good angles and eliminating duplicates. I then went through them all again giving 2 stars to the best images. Lastly I labelled the images I would use first with a red label and my second images with a yellow label.
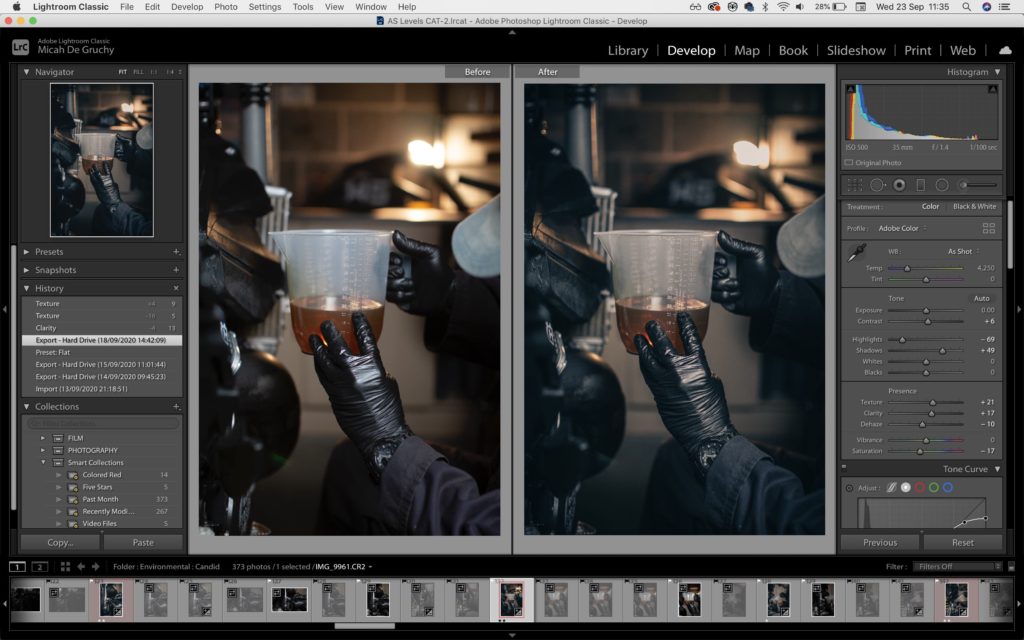

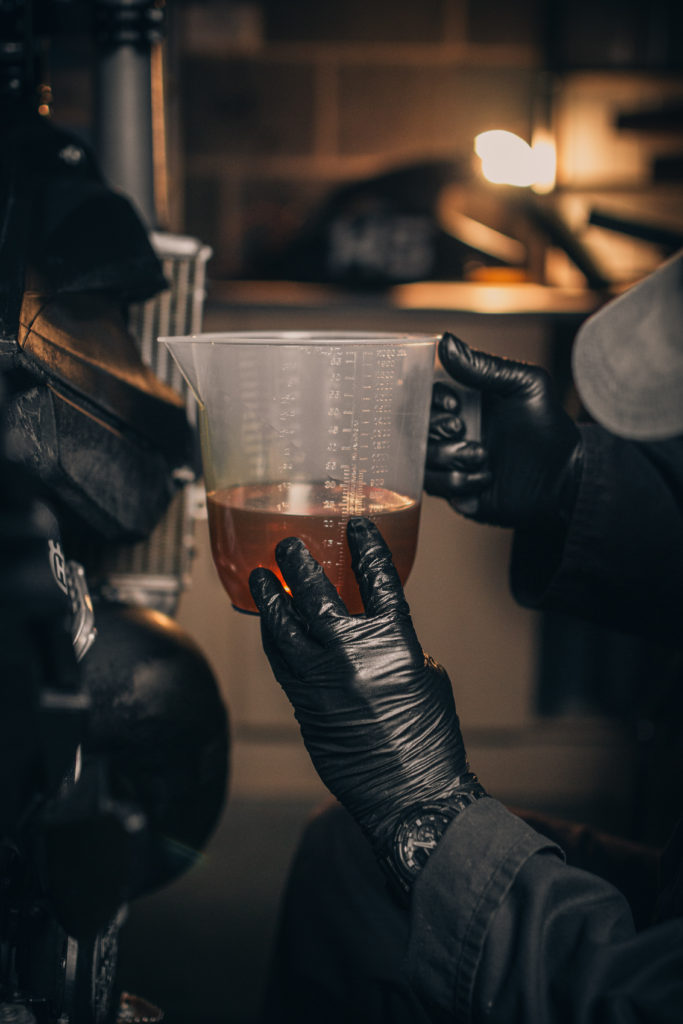
For this shoot I made a preset which I could apply to all the best images from this collection which made the editing process much quicker. Because all the images were taken in a similar environment using the same light and similar lighting angles, applying the edit to all the images worked well and they all look good straight off the bat. I wanted to go for quite a cold look in these images with hints of orange making it warm. I tried to make the images look as much like this in camera by using a 5600k key light and a 3200k colour temperature practical light in the background.
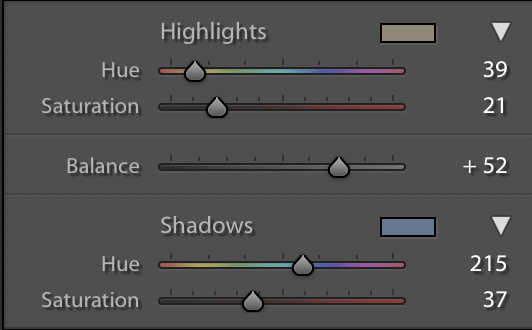
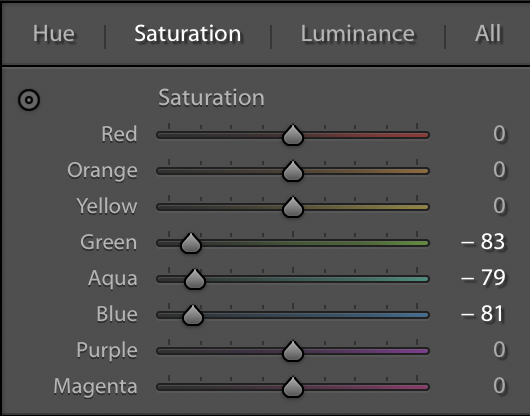
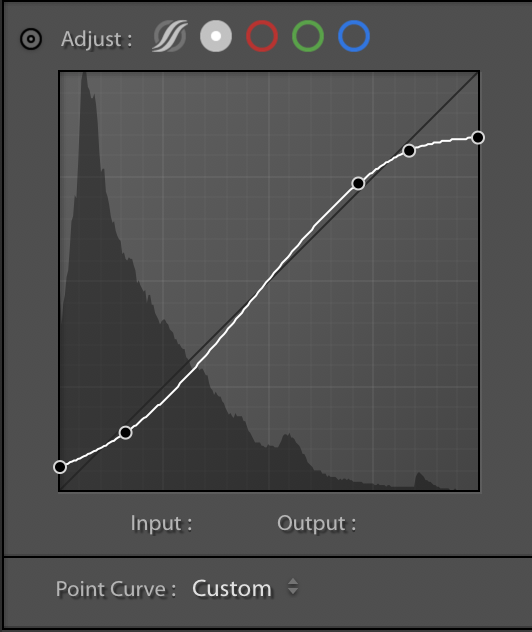
When it came to editing I used split toning to add an orange tint to the highlights and a blue tint to the shadows, this is what made the image feel cold. Because these photos were taken in a garage, I wanted a more grungy and dirty look, I emphasised this by increasing the clarity and texture but not too much so it doesn’t look unreal and too artificially sharpenned. Because of the blue tint in the shadows I had to compensate by decreasing the saturation of the blues to almost 0. I also turned the saturation of magenta and Purple right down to try and get rid of the purple colour fringing that is quite prominent in the images because there is quite a lot of reflective metal surfaces in the garage and on the bike.
Overall, I am very happy with the edit, It accurately captures the vibe and look I wanted but doesn’t look overdone.