
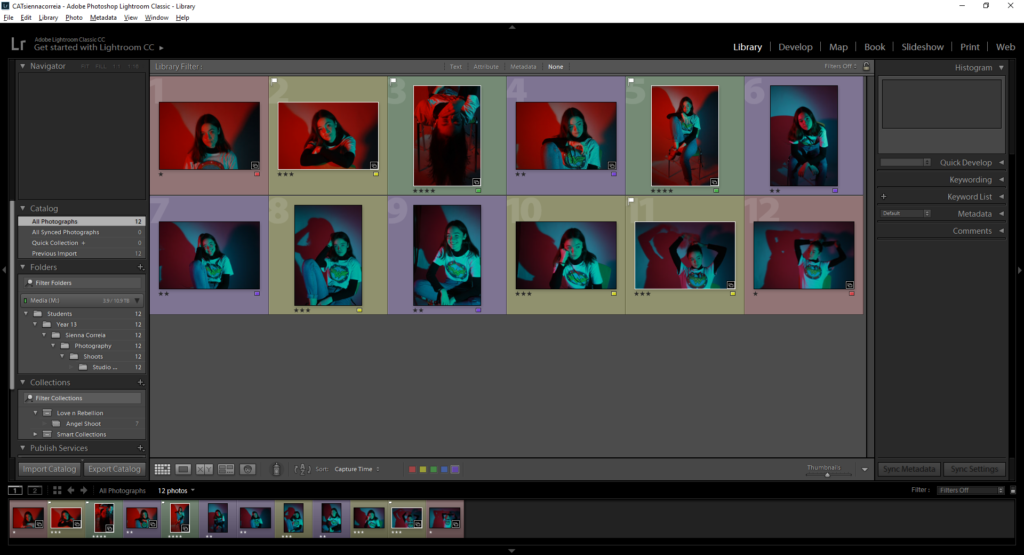
In this shoot i showed the selection of my images using P for Pick and X for reject. Then giving them stars and colours to show my best and least favourite images
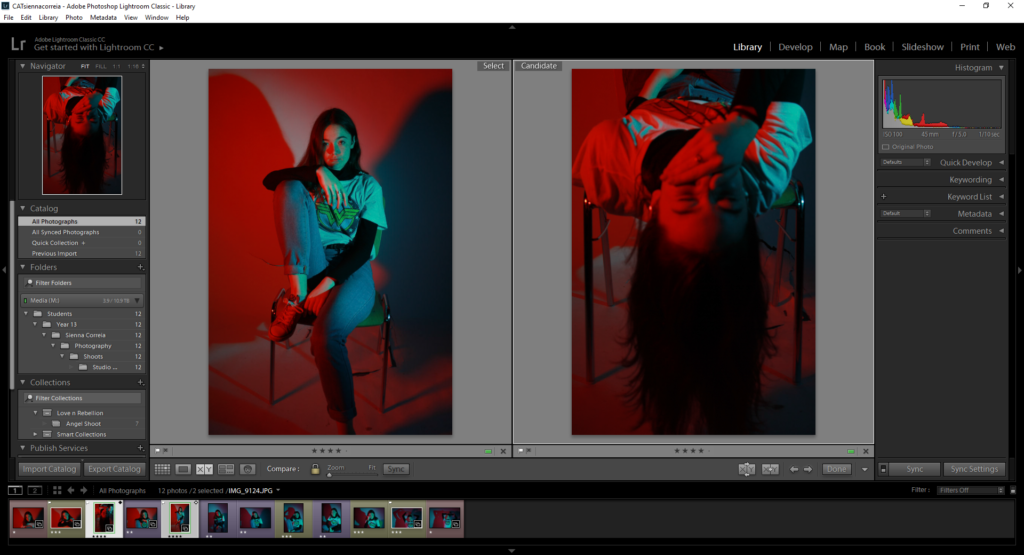
I used the compare view between my 2 best images
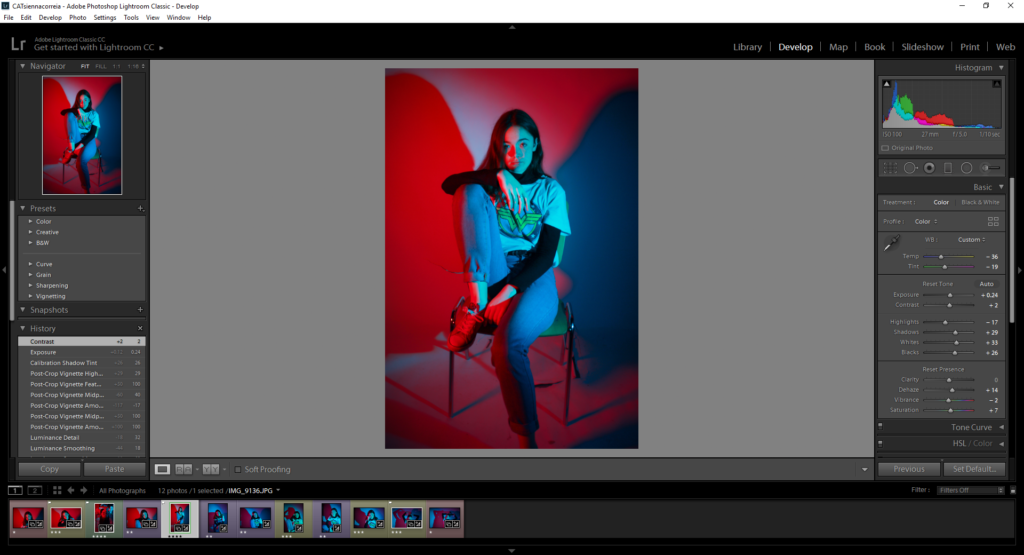
I started editing my image using all the adjustment settings such as tint, white balance and contrast etc. Then used sync settings to apply all the adjustments to the other images. I then went through all my images and slightly adjusted the settings to match each photo individually

I then exported all my images, saving it in a chosen folder on the media drive, renamed the images to have a more fitting title and therefore easier to find later. Then adjusted to a jpeg with 1000 pixels along the long edge, best for the blog, and exported
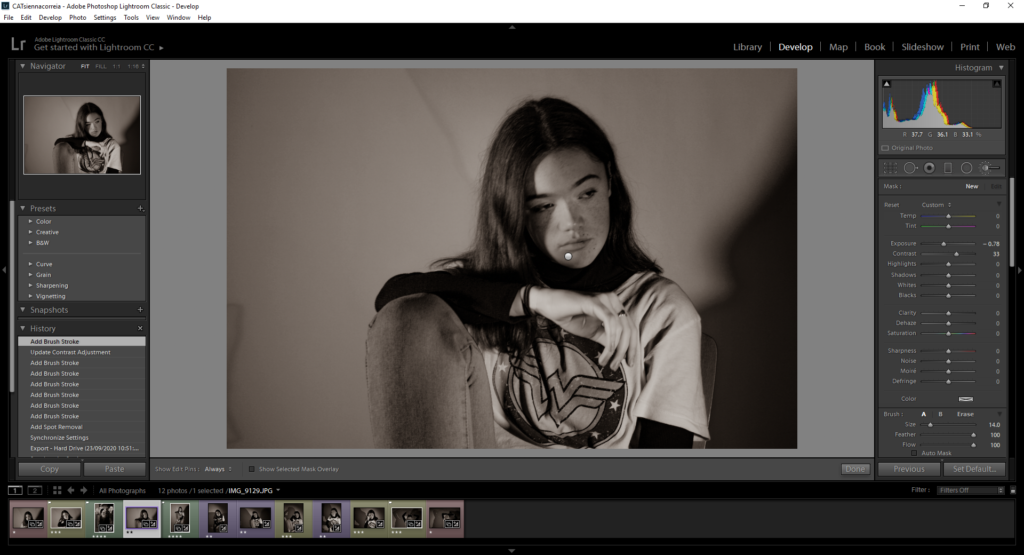
I then applied sync settings and made everything black and white, making slight tweaks from helpful tools like spot removal and the brush
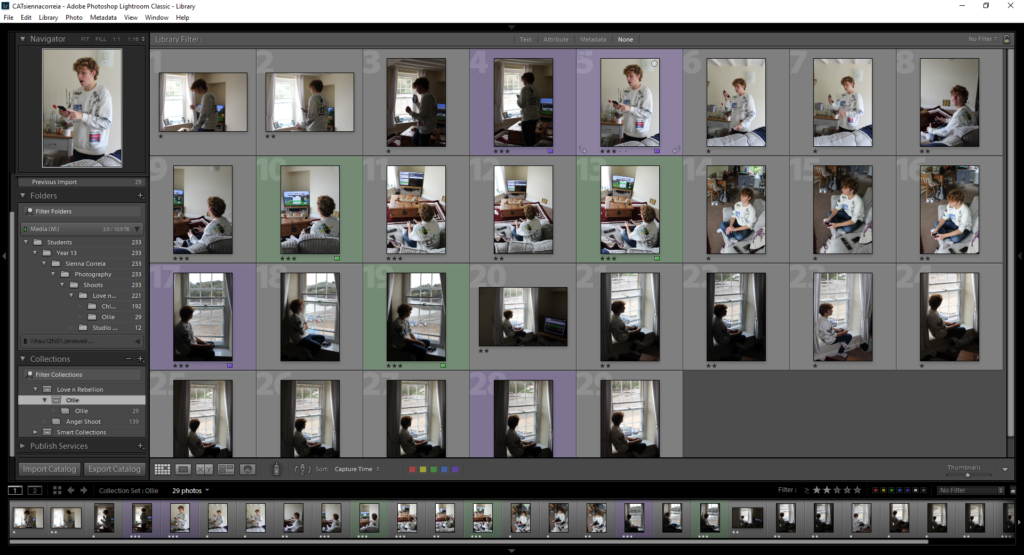
I have continued a star rating and colour rating for my shoots following a system of – 1 star means no good, 2 meaning alright, 3 meaning possibly (range of similar images with slight differences) 4 meaning good am likely to use, and 5 for my favourite images.
I then filtered to have equal to three stars and above, giving purple to good possible images, and green for most likely to use.