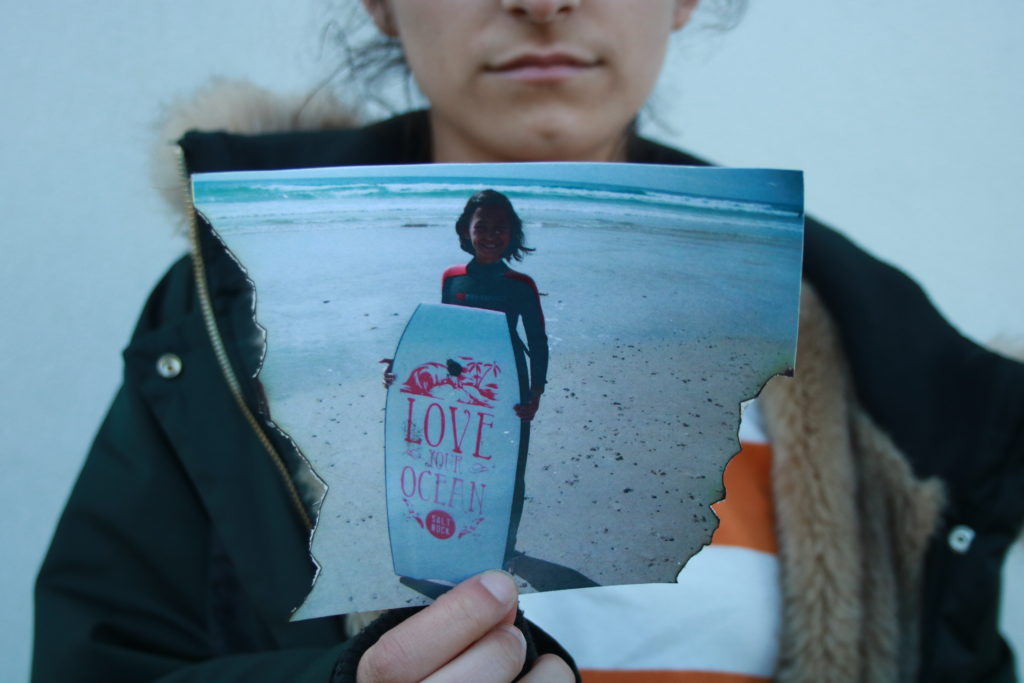
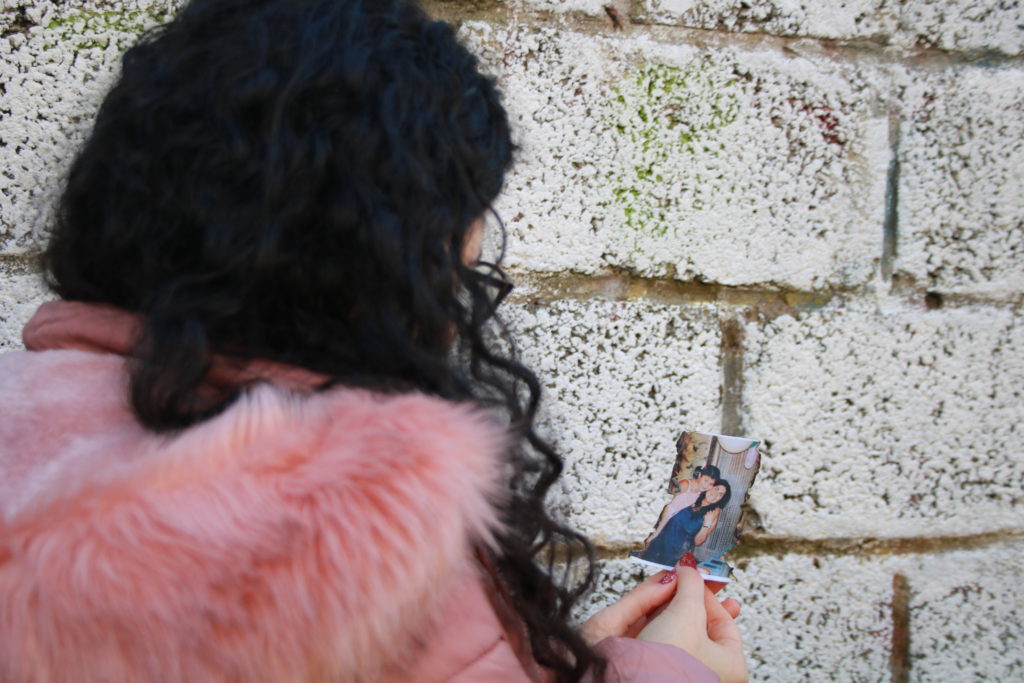
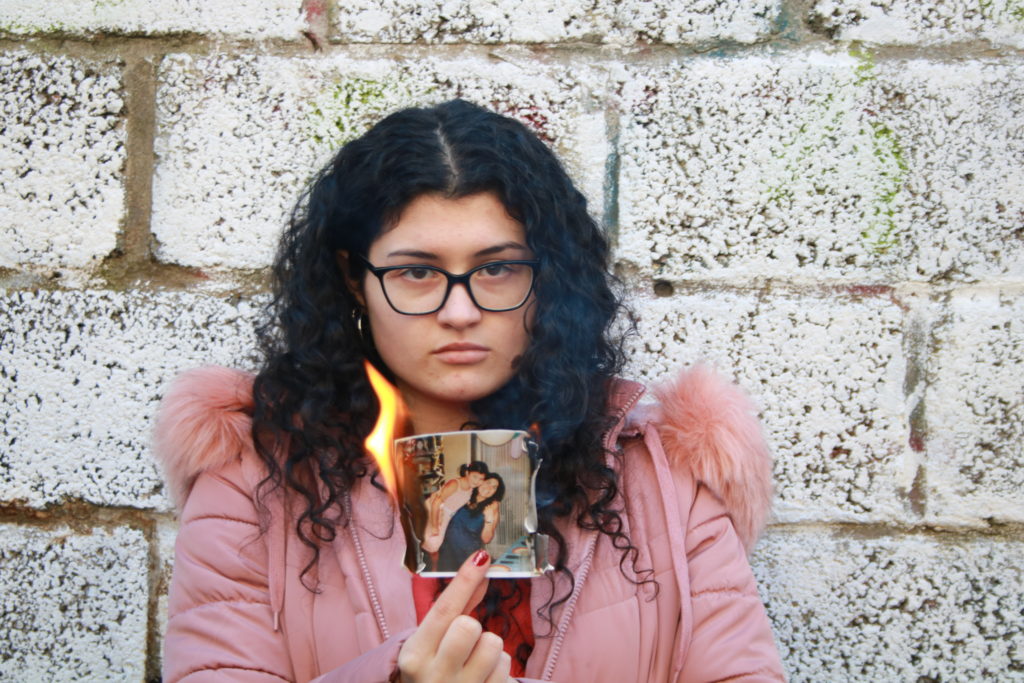
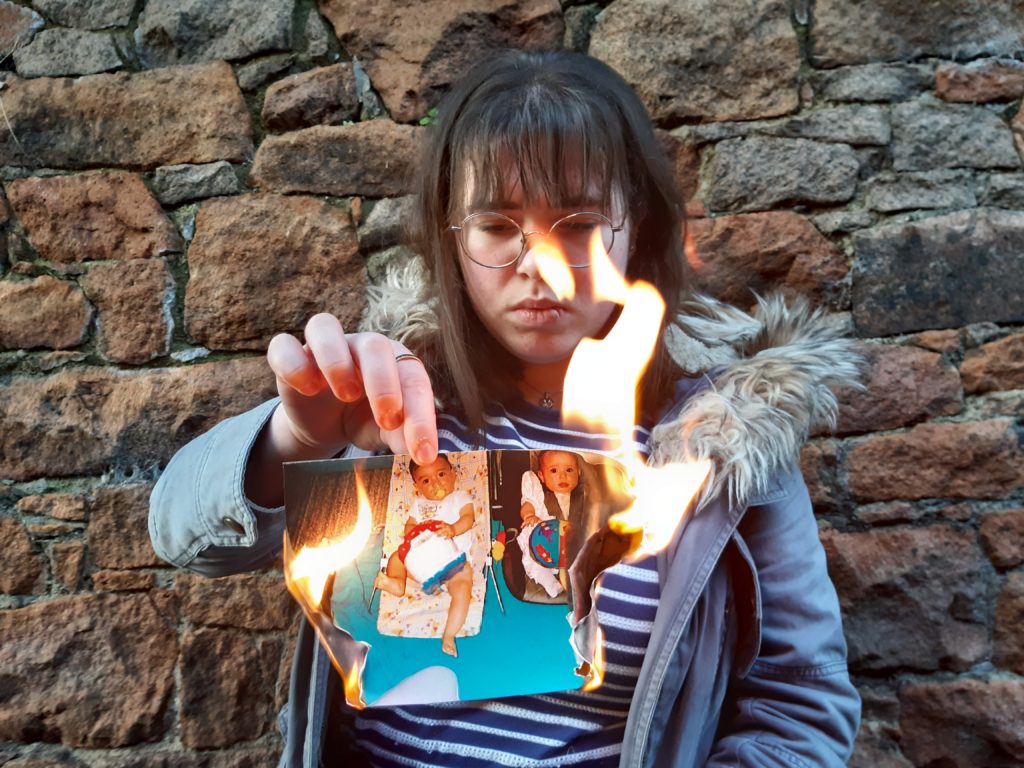
For this photo shoot I edited my images using Photoshop.
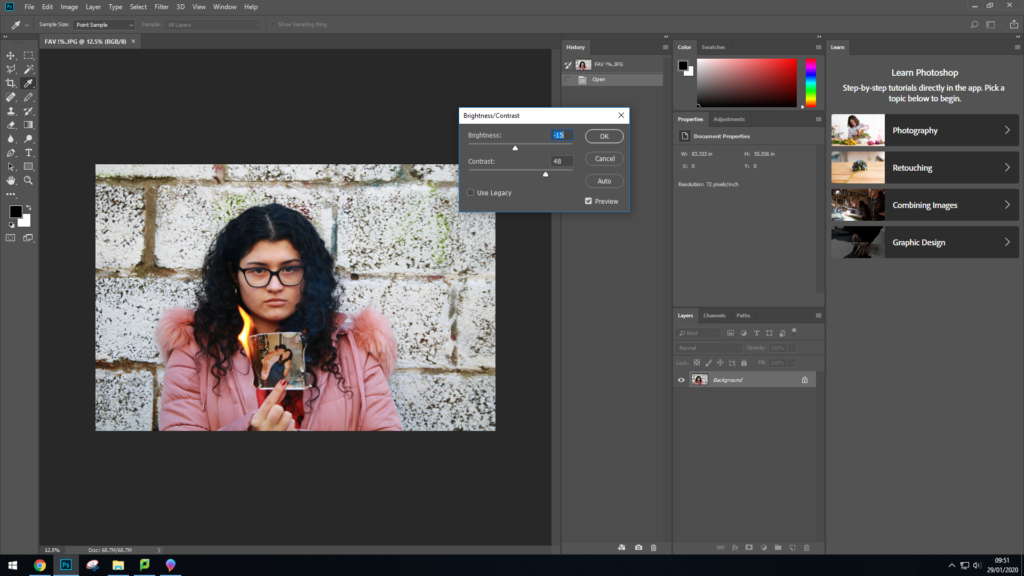
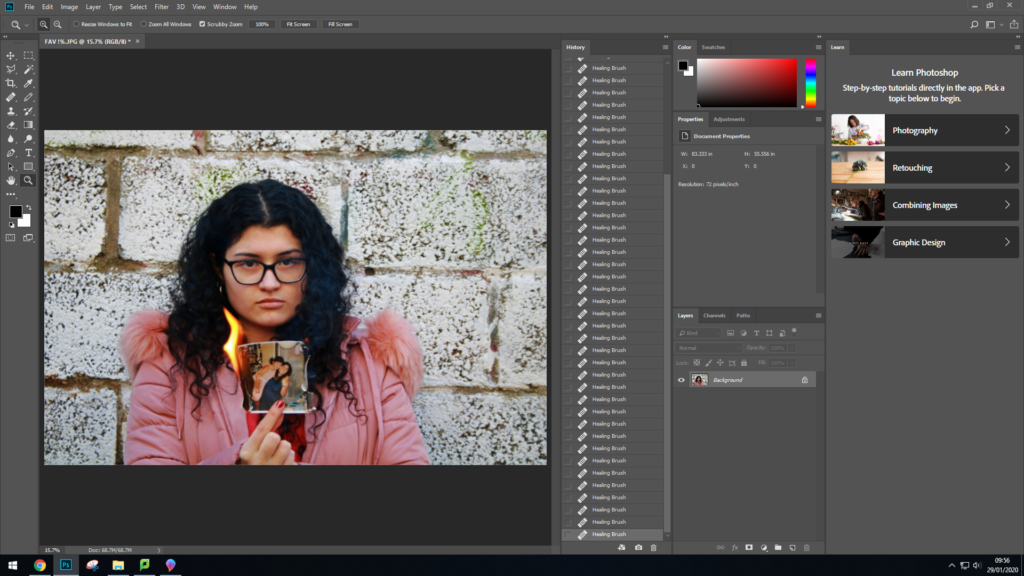
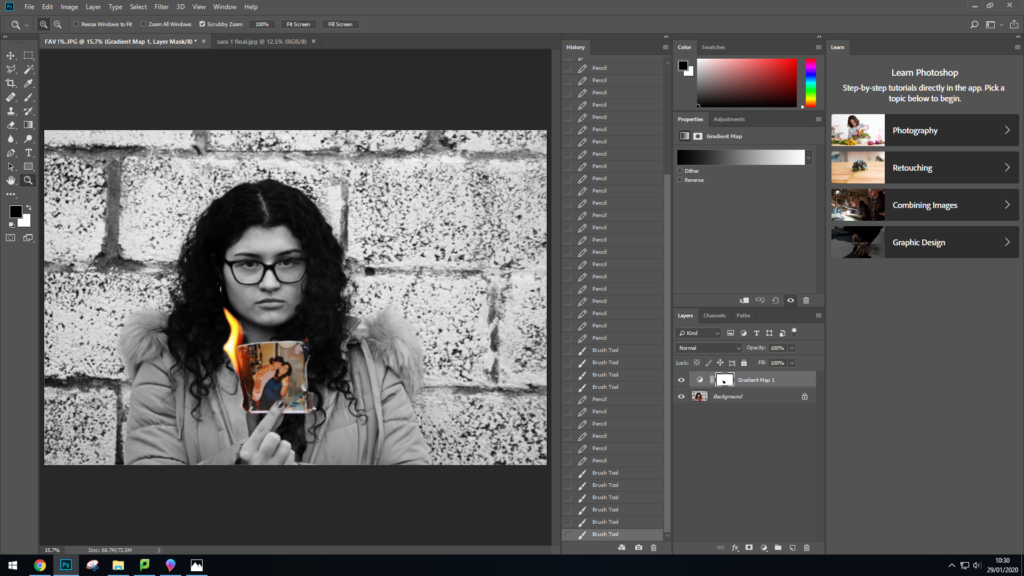

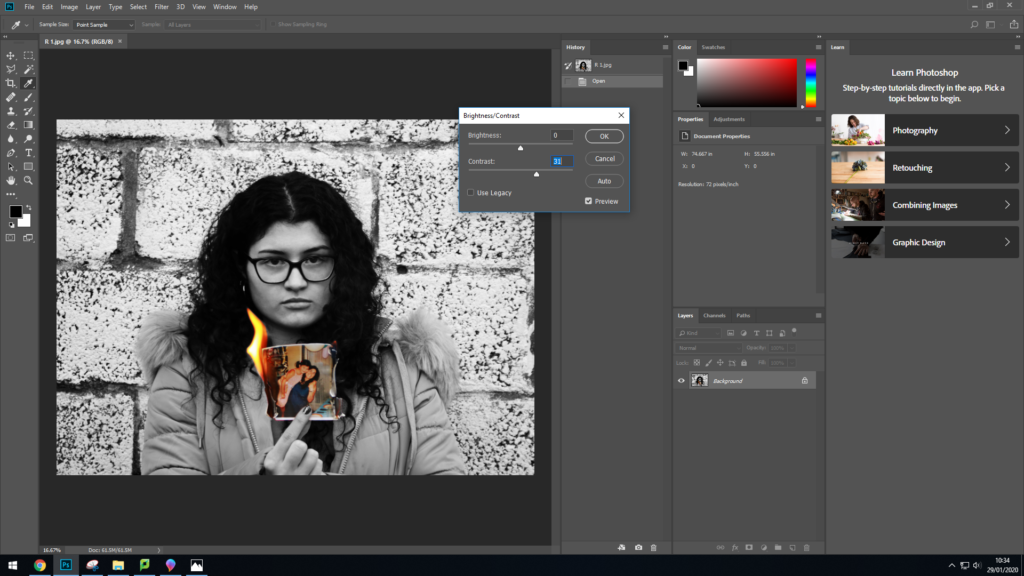
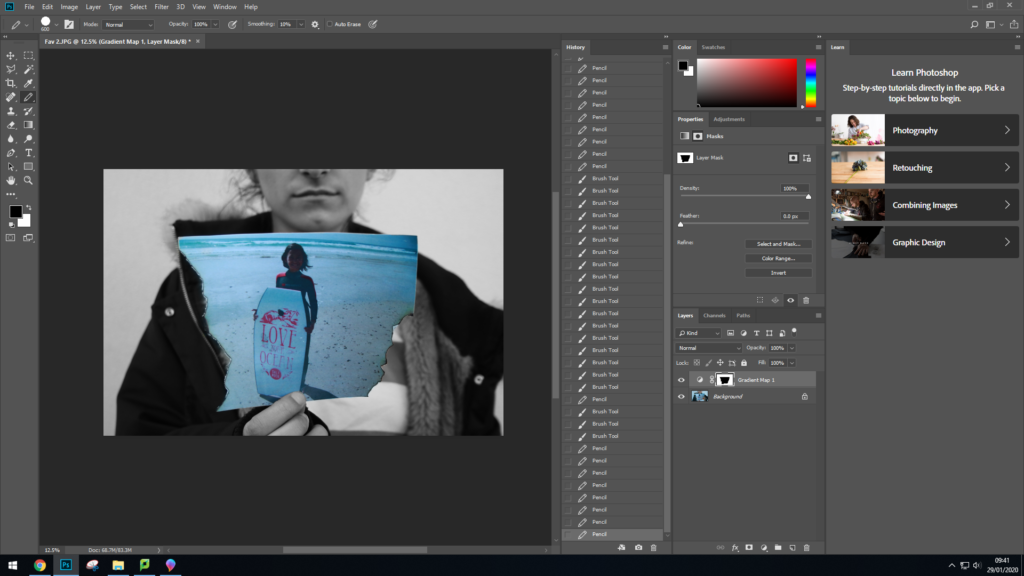
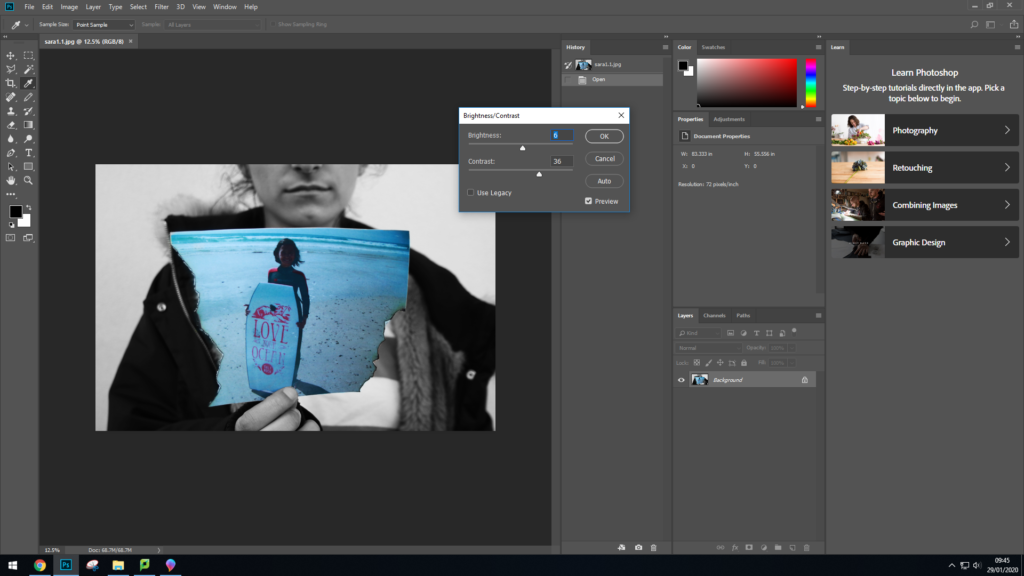
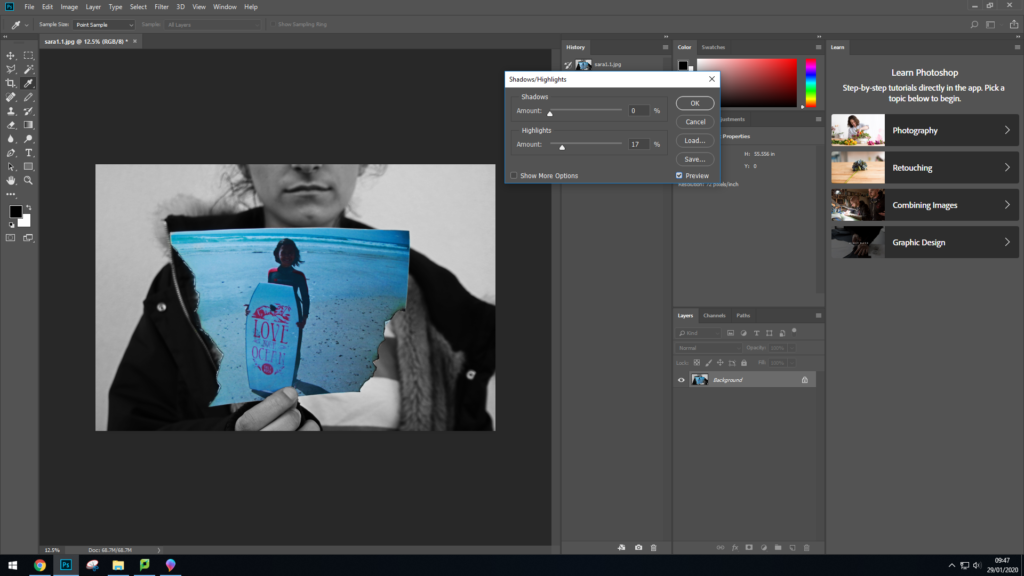
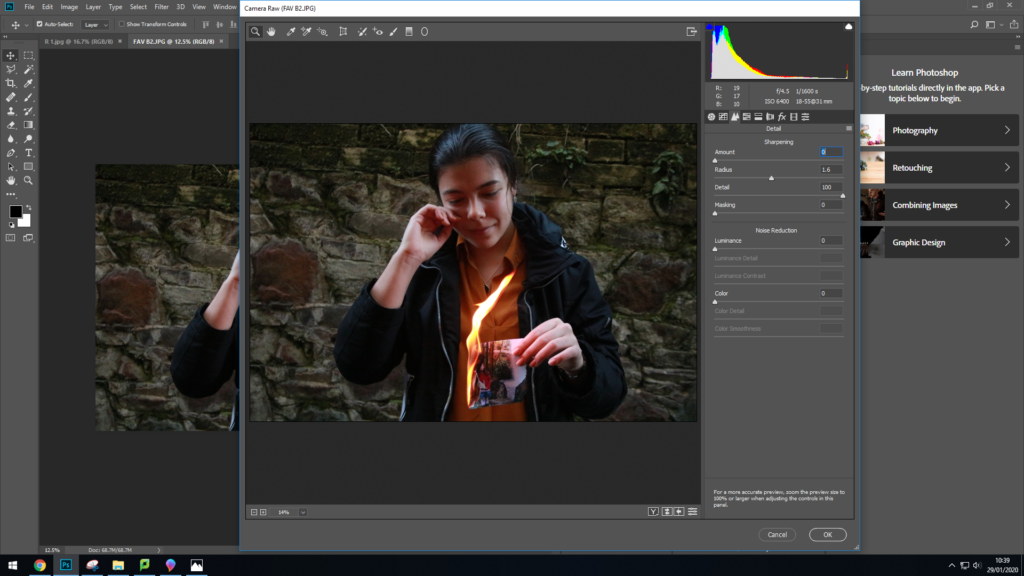
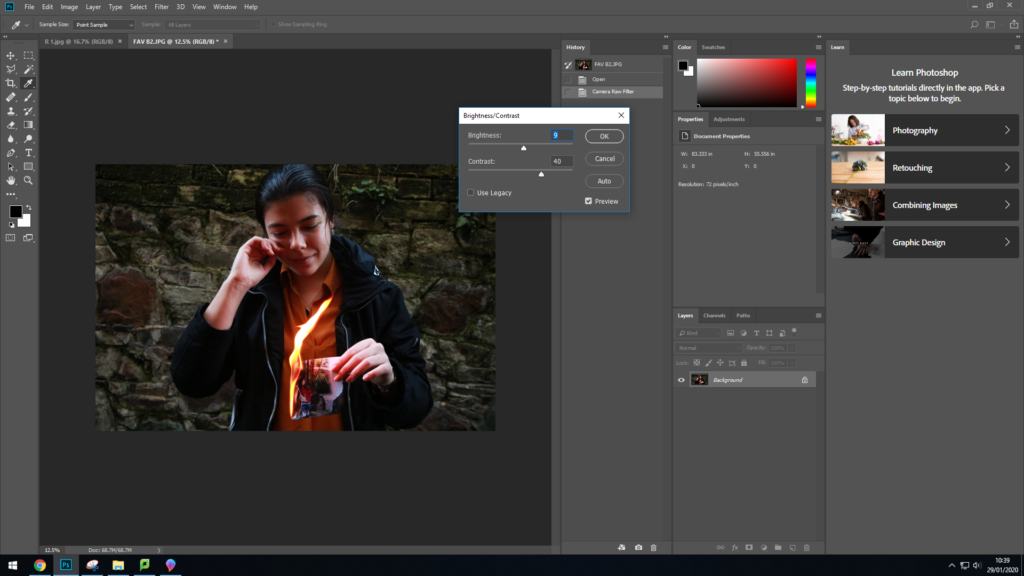
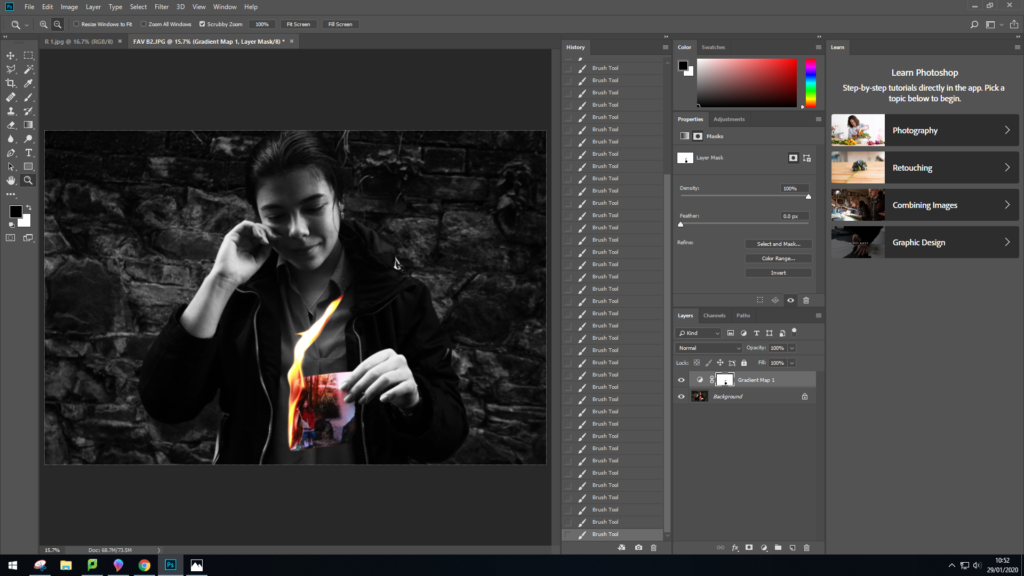
I then repeated these same processes for the rest of my images.
Edited Outcomes
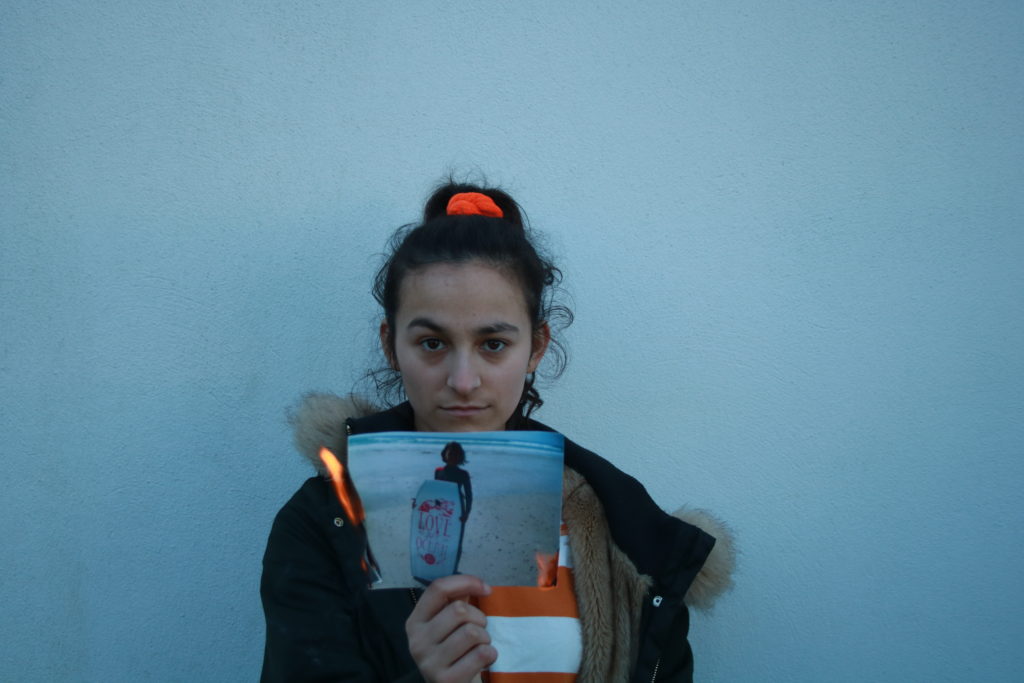
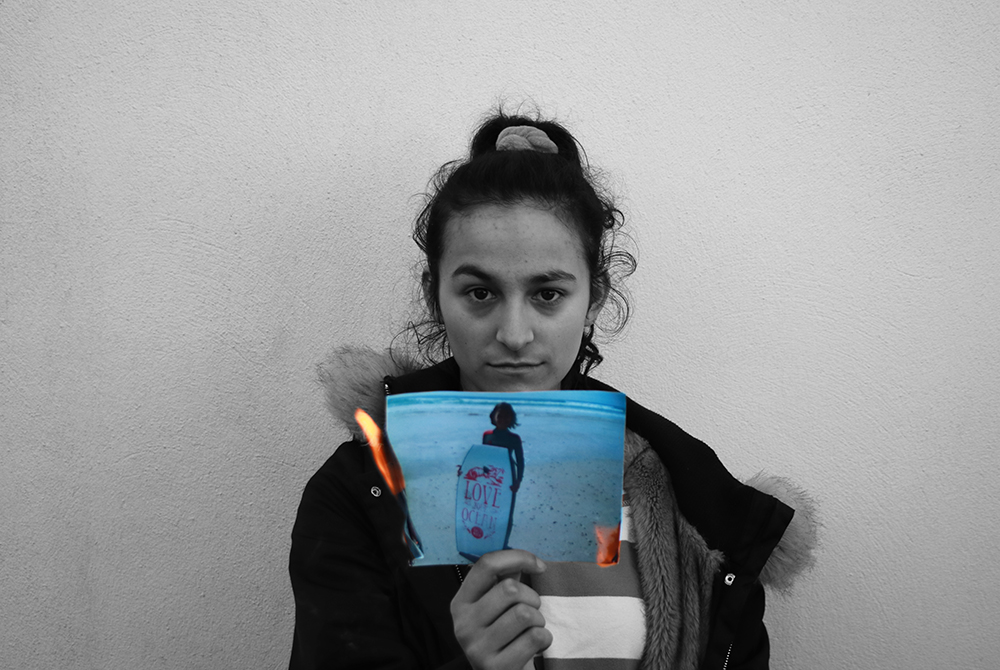
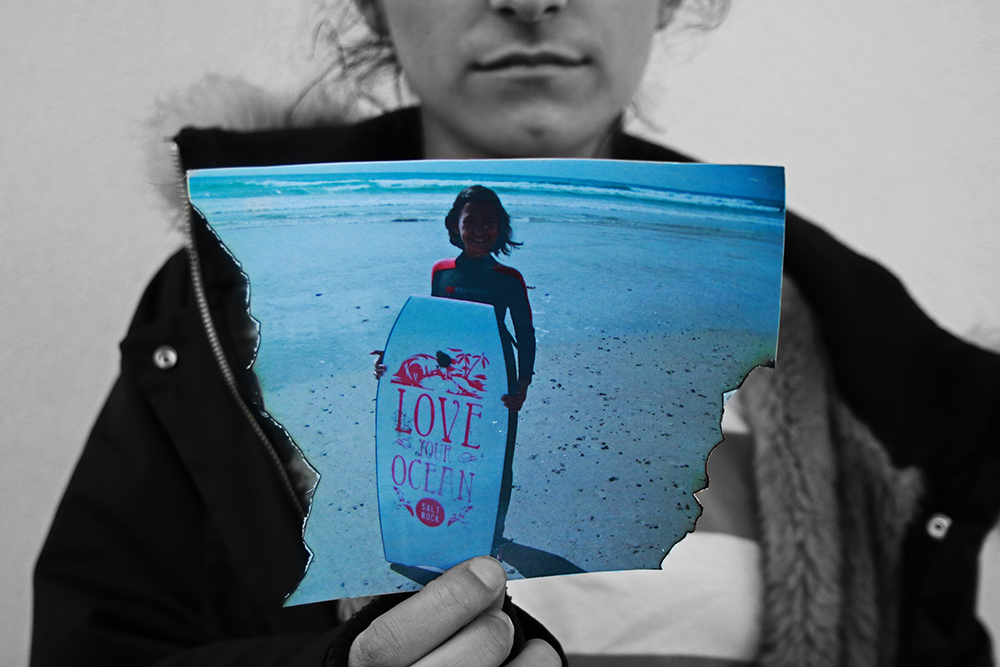
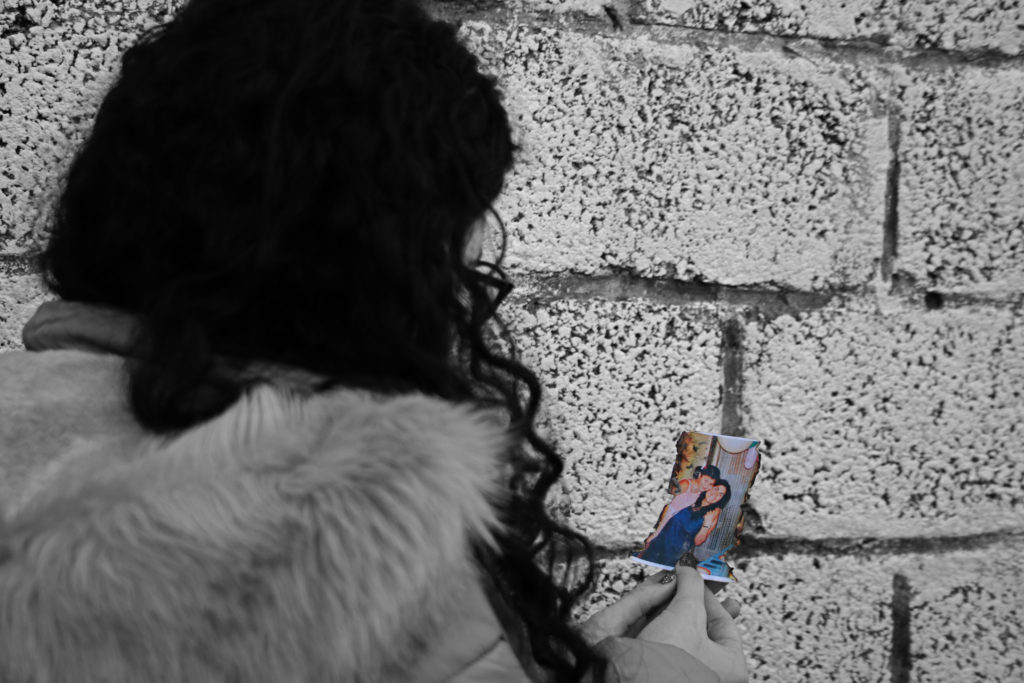
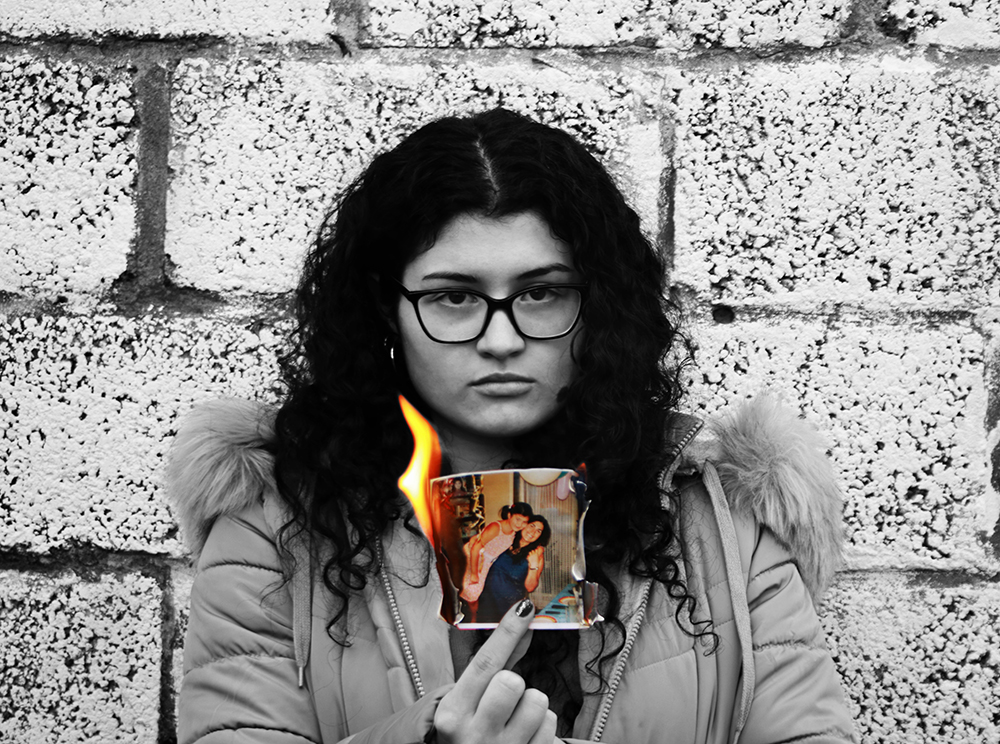
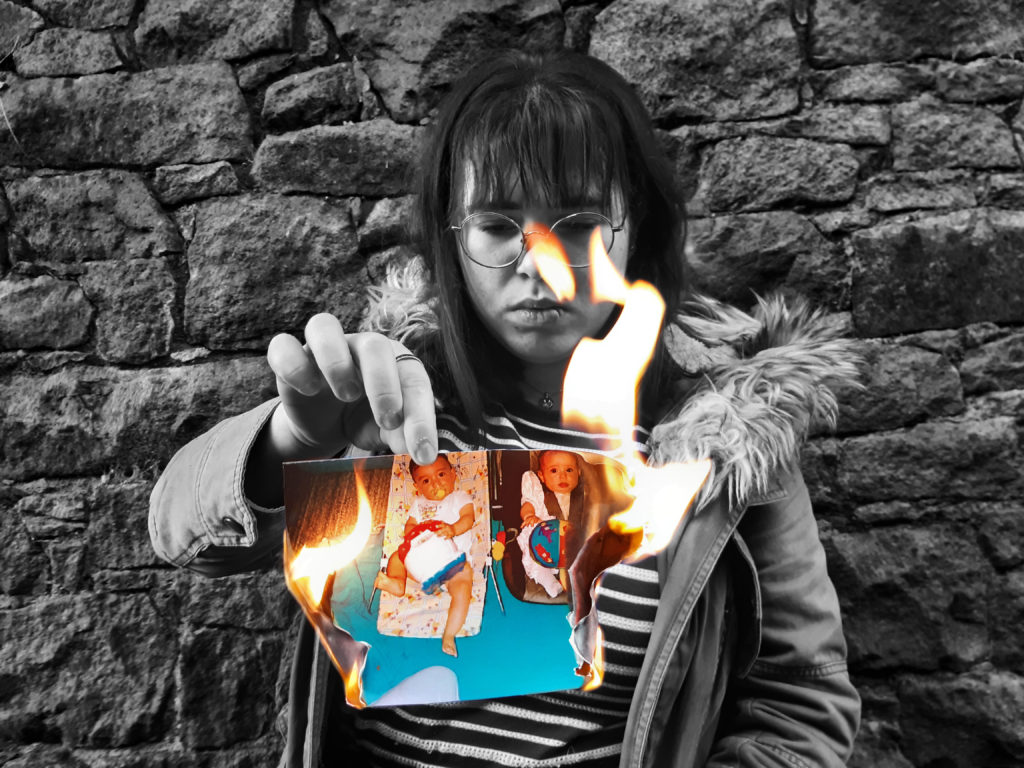
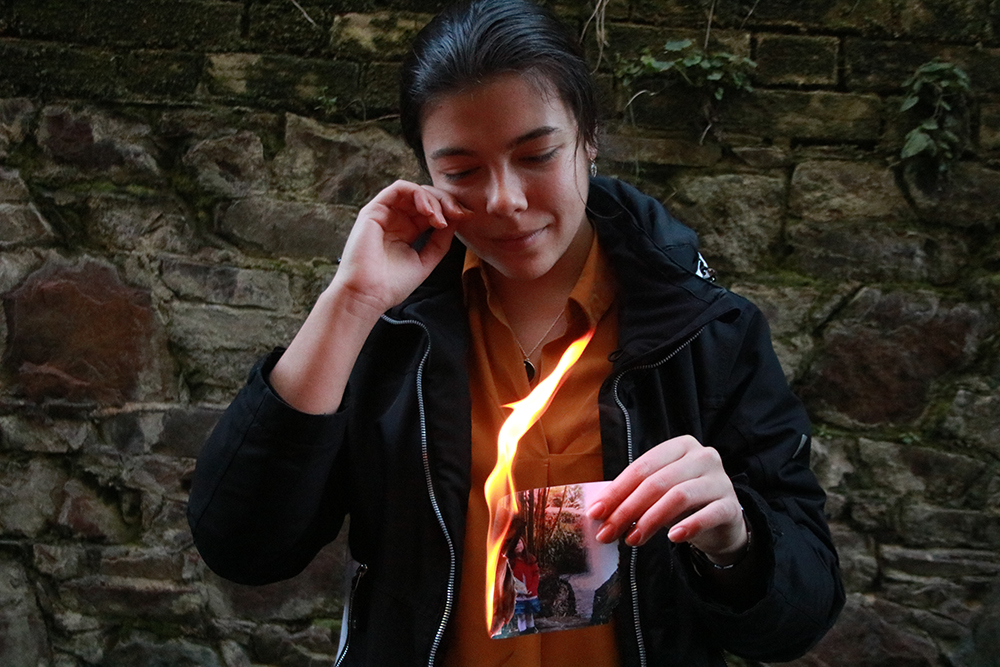
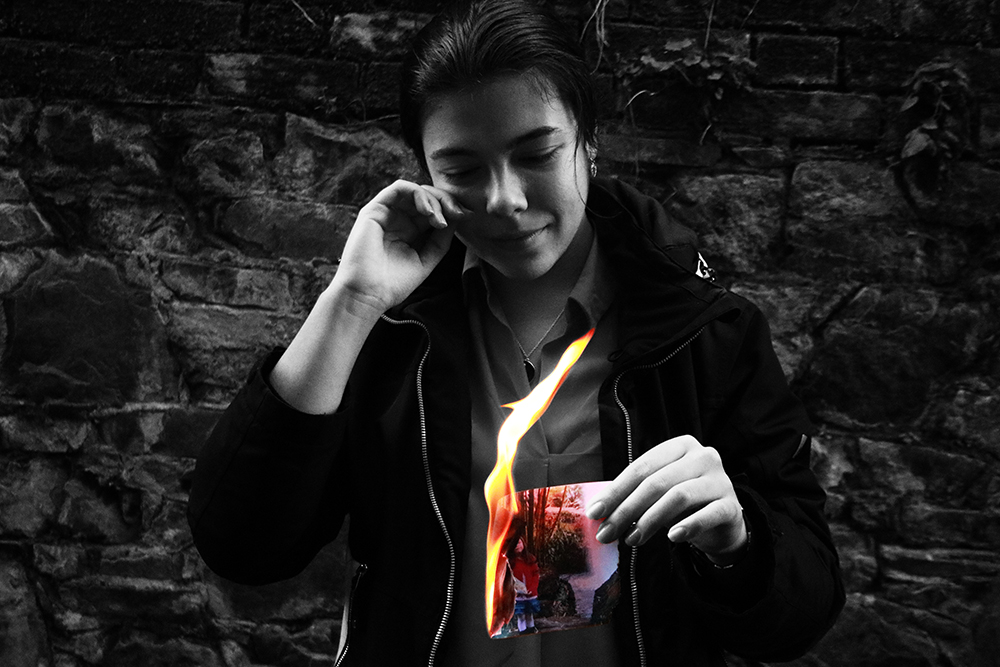
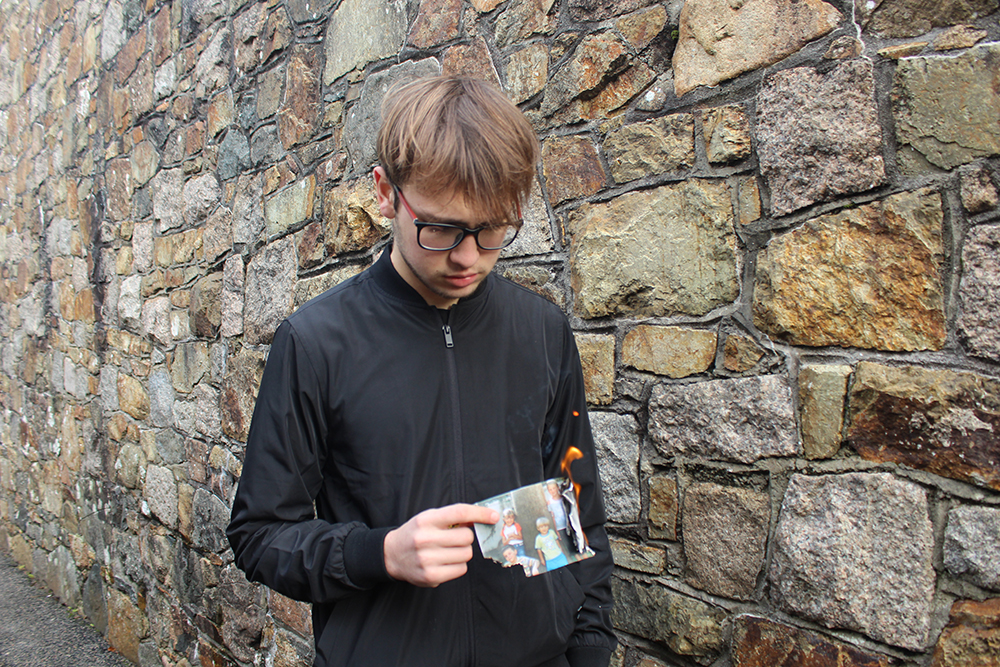
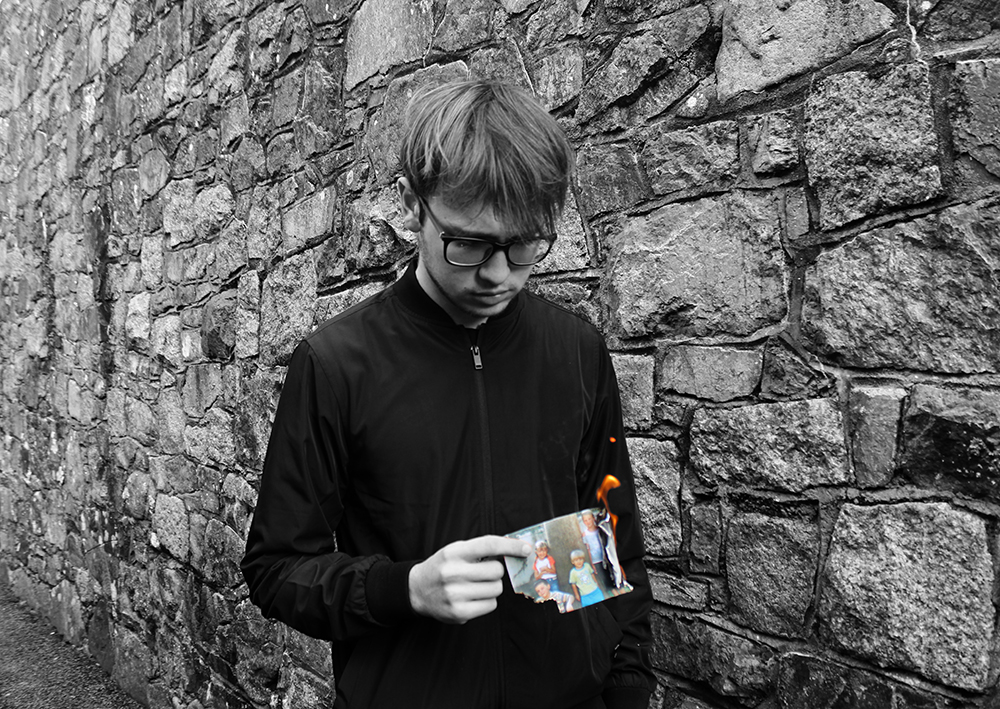

For this photo shoot I edited my images using Photoshop.
I then repeated these same processes for the rest of my images.