Studio edits

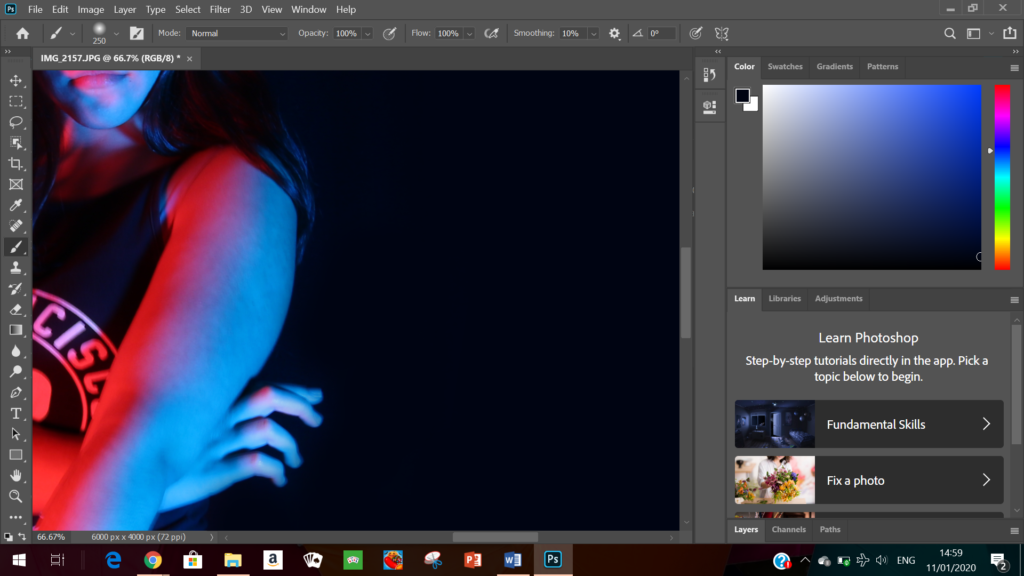
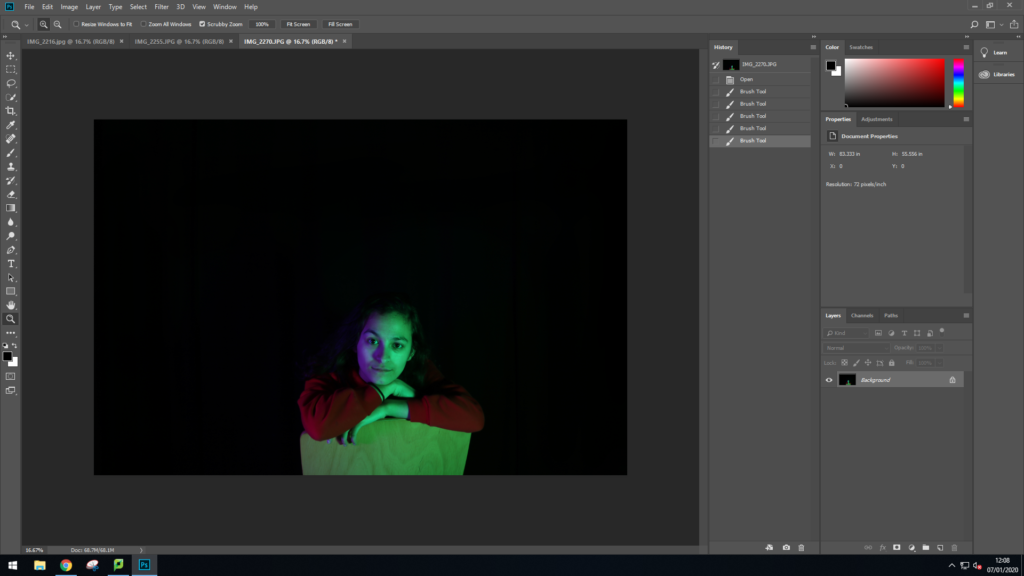
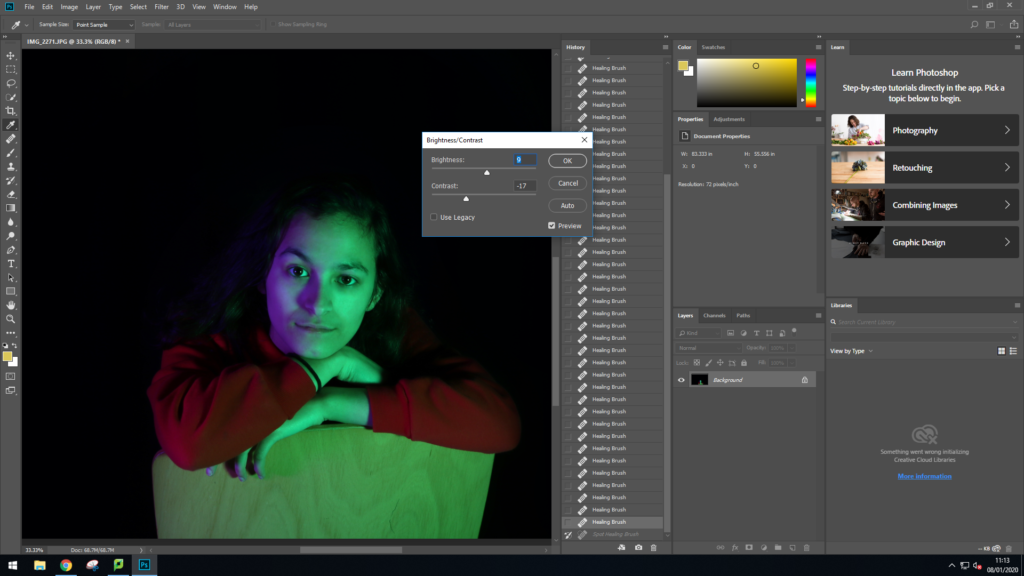
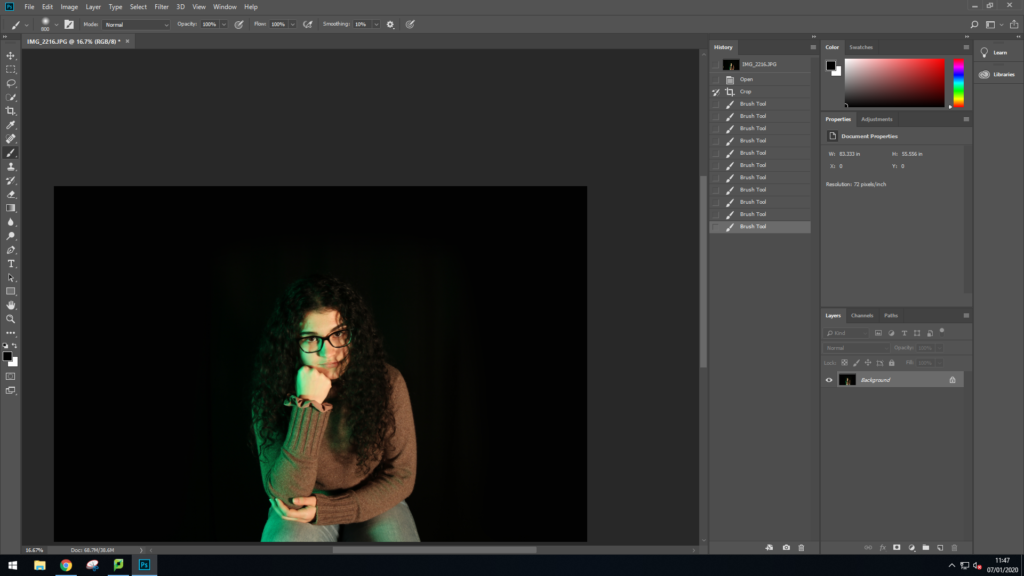
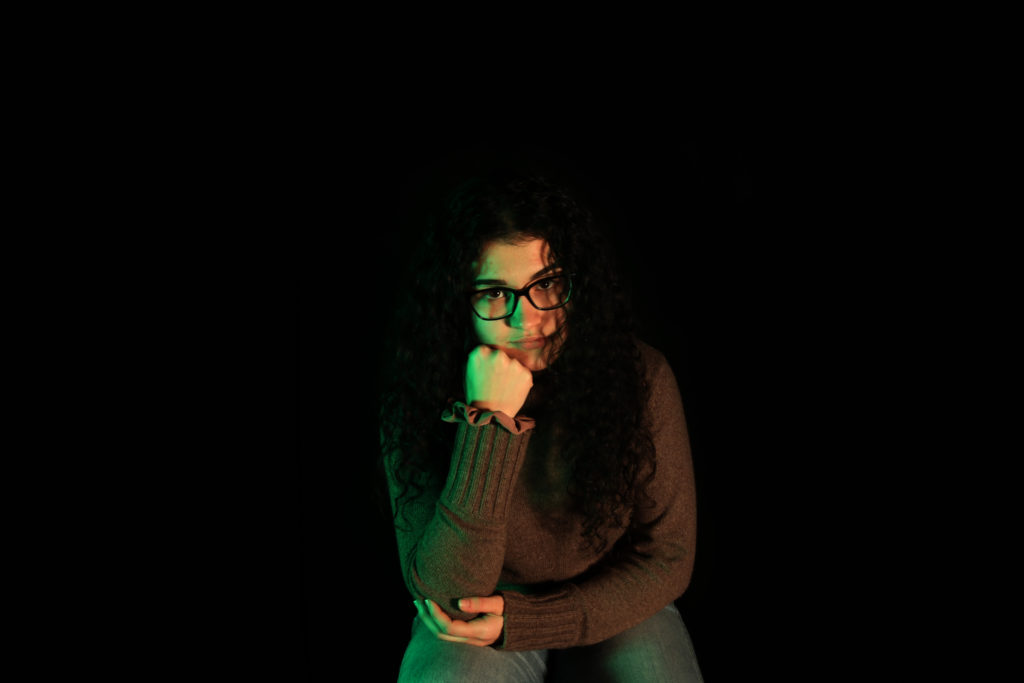
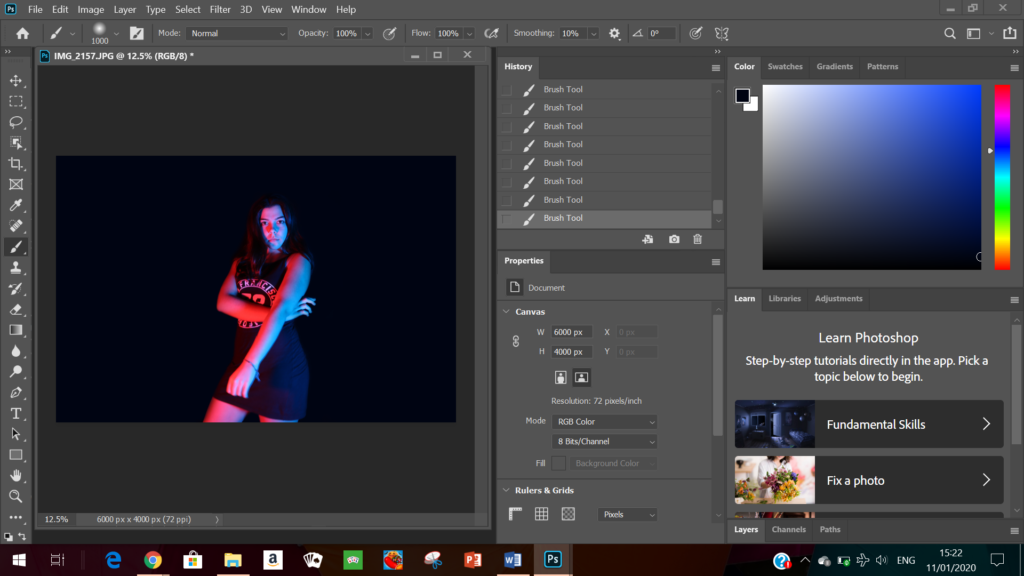
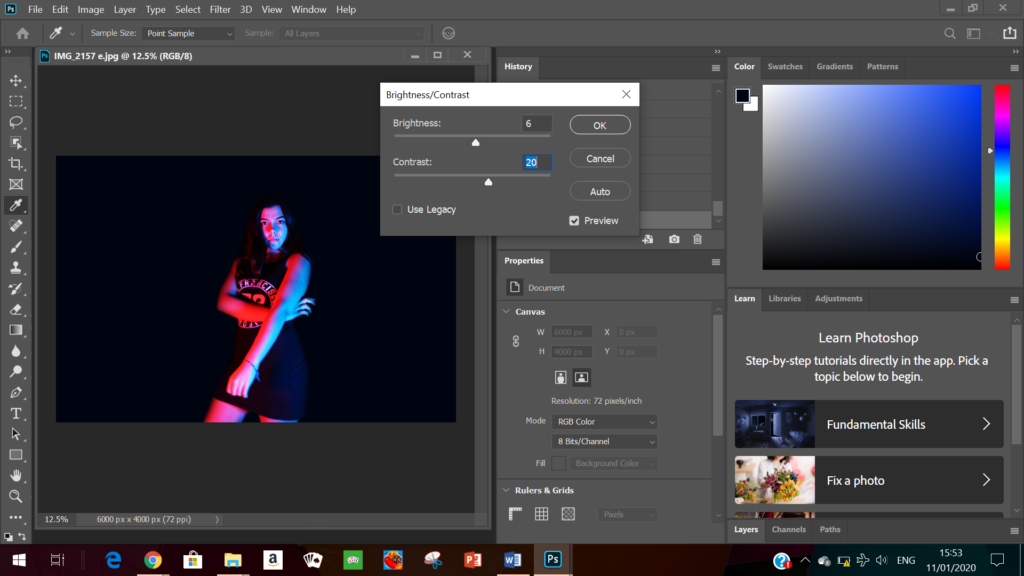
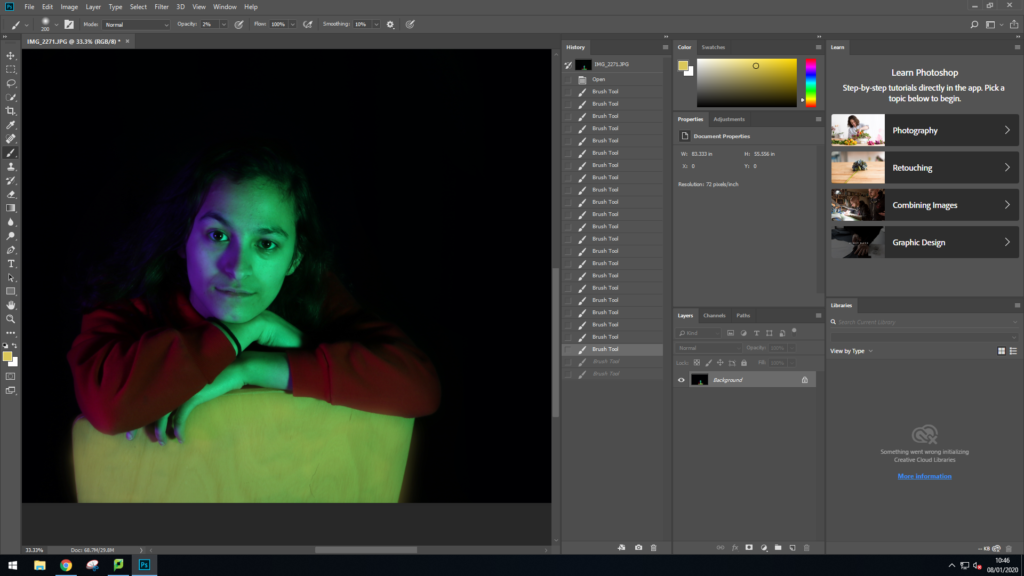
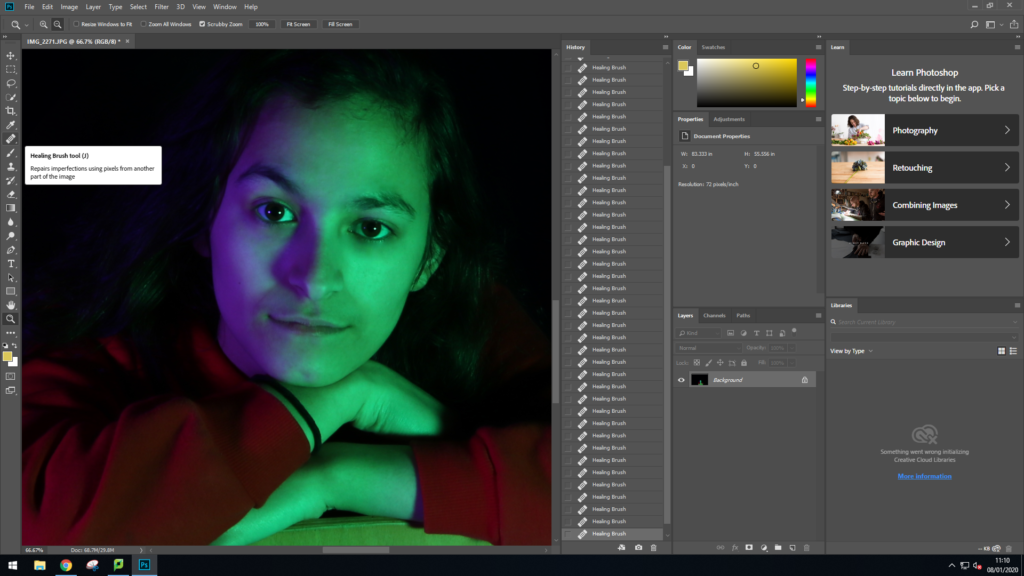
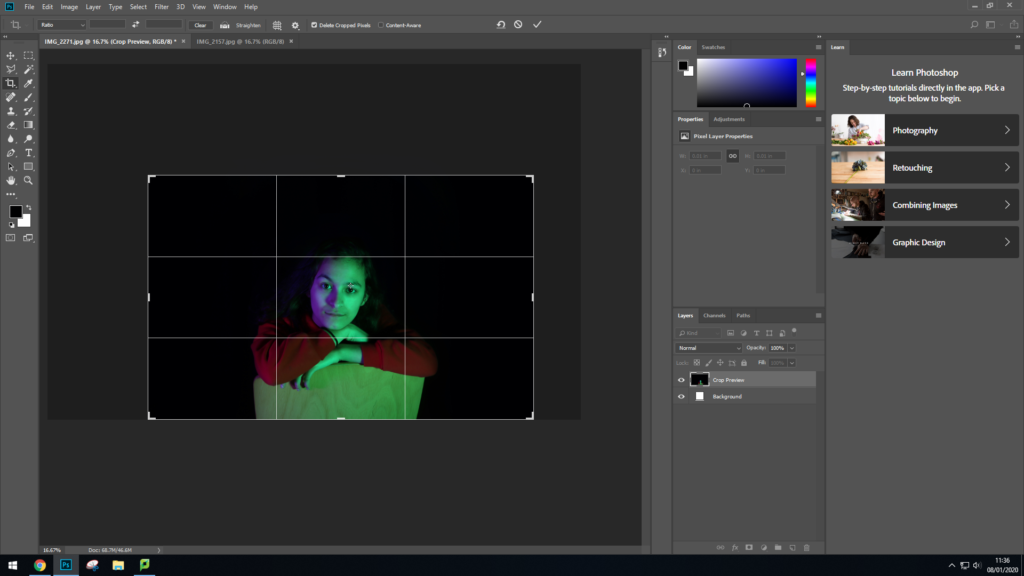
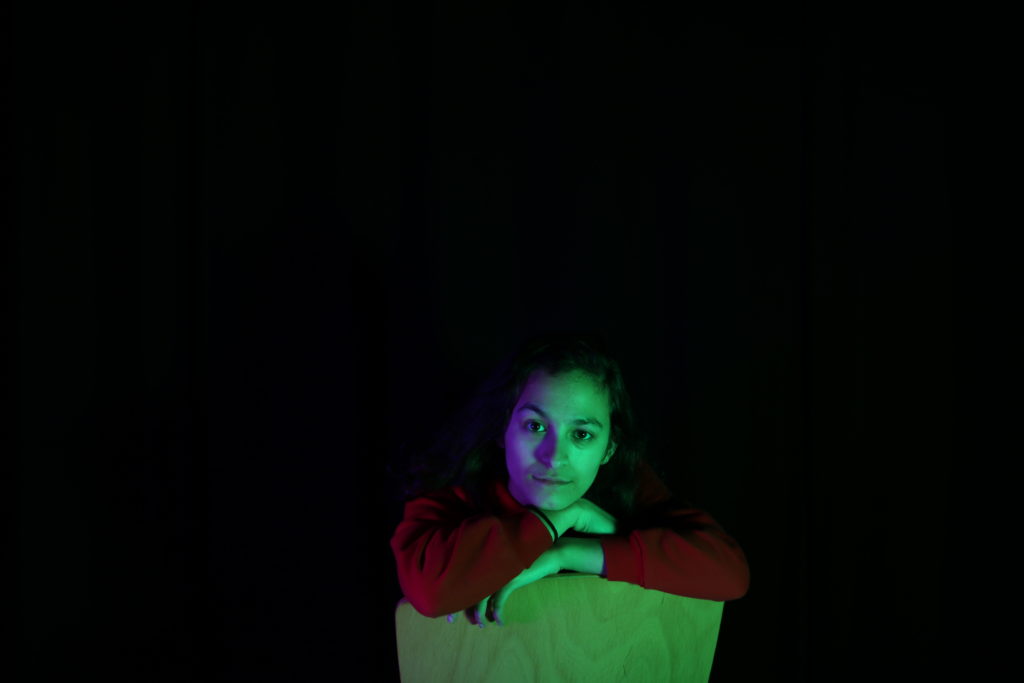
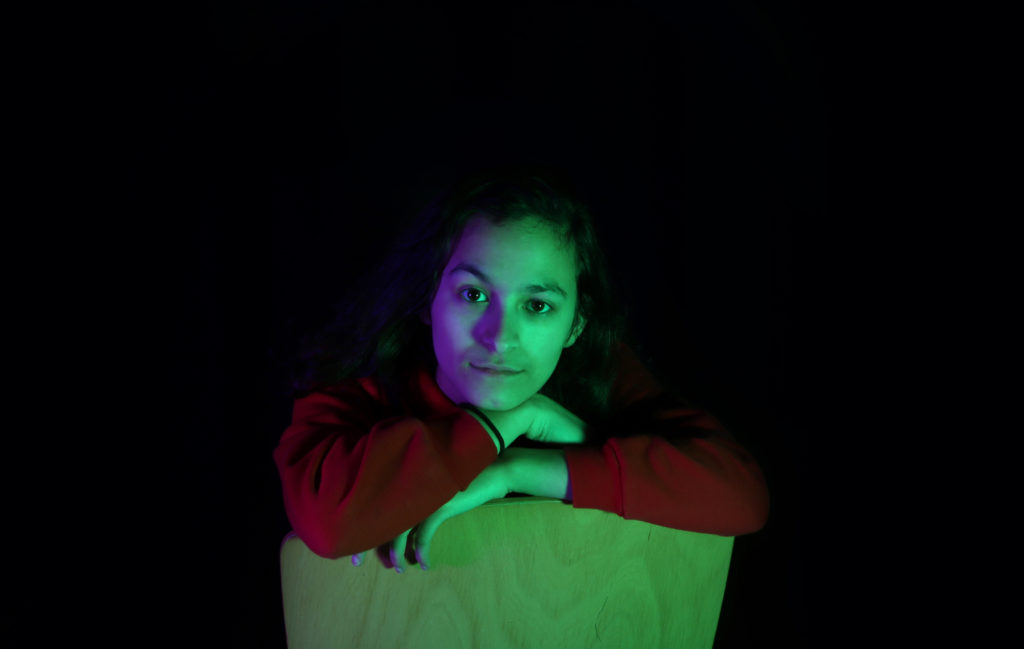
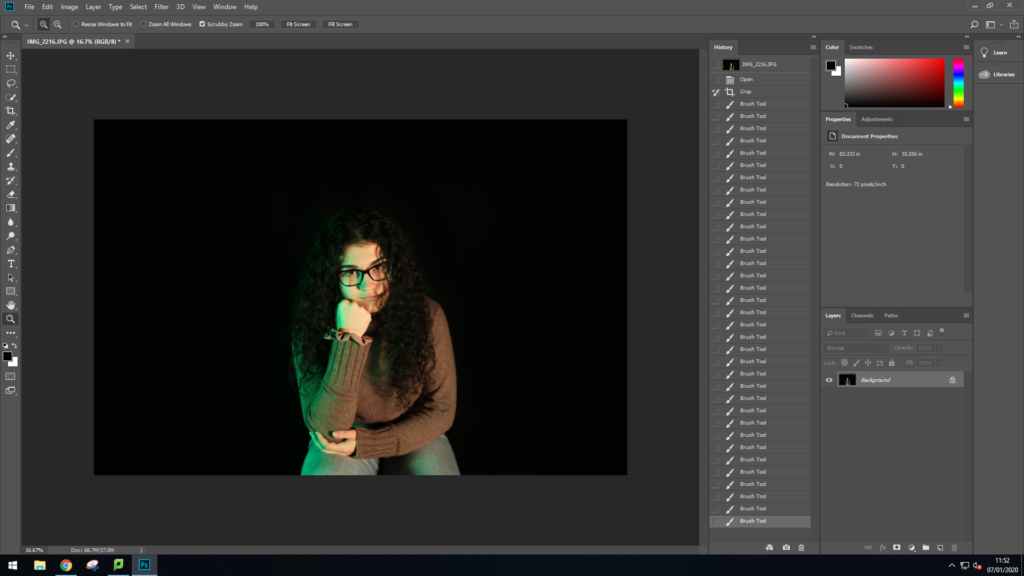
For my editing I used Photoshop as I found that it was the easiest option to help me edit the background.

I started off by choosing a colour from the curtain that I though worked best whilst still looking realistic. I then used the a large brush using the brush tool to crush the background around her.

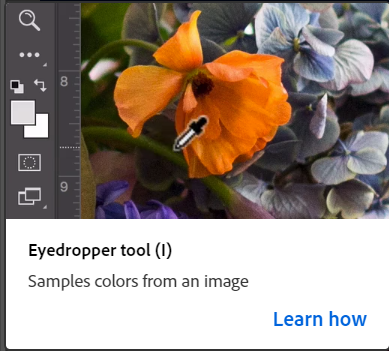
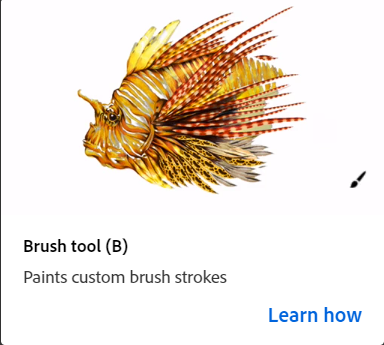
Here I used these tools to help my crush the background colours^^

Here using a smaller brush I started to get closer towards the model and carefully “colour” around her.
When I finished completely crushing the background^
Here I then increased the contrast twice (This ss shows the second time added) to make sure that I was happy with the contrast. I also added brightness to help the colours stand out.
Original
Final Edit
Here I concentrated on crushing the area not around the model to make sure that everything was the same colourr
I then zoomed in closer and worked on closer areas to the model.
I used the Healing tool in order to spot heal the models forehead by using other areas of the model that was the correct texture needed.
I then decreased contrast as it worked better on the models face as increased brightness slightly
I then cropped the image down as I found that there was too much negative space in my image
Original
Final Edit
In this image I got rid of chair that accidentally got in the shot then began crushing the background of the image.
I kept going until I had fully crushed the background around my model.
I then adjusted the Brightness and contrast until I felt happy with the outcome. Here I found that decreasing the brightness of the image gave an interesting impact to the image whilst making the photograph look more realistic
Original
Final Edit

Leave a Reply

Your email address will not be published. Required fields are marked *