
PLAN-
where- photography studio in school
when– during a free period, booked beforehand
who– one or two people to be the model/s and help with light positioning
how– use two point lighting with the colour filters to provide two different colours on different angles of the image
any other notes- use red and blue lights to mirror the 3D-glasses effect, maybe go down to a single colour during the shoot as well (?)
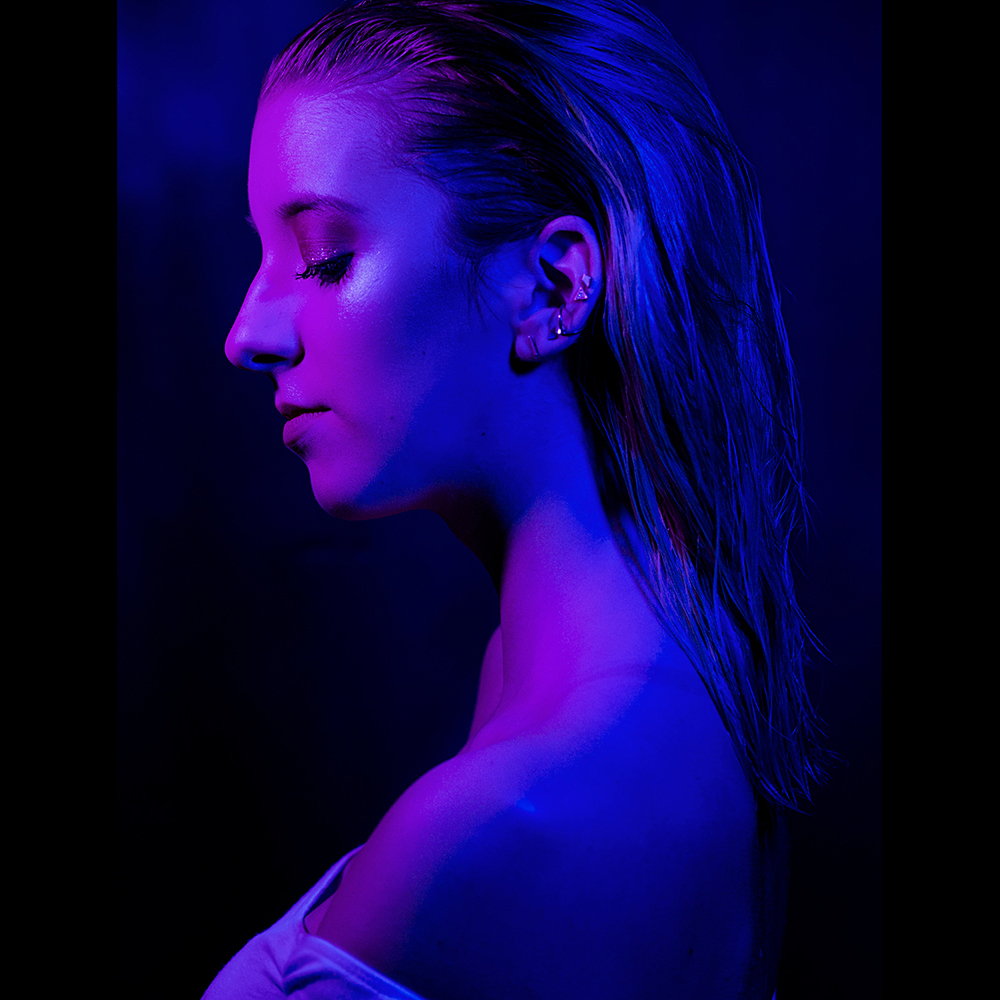
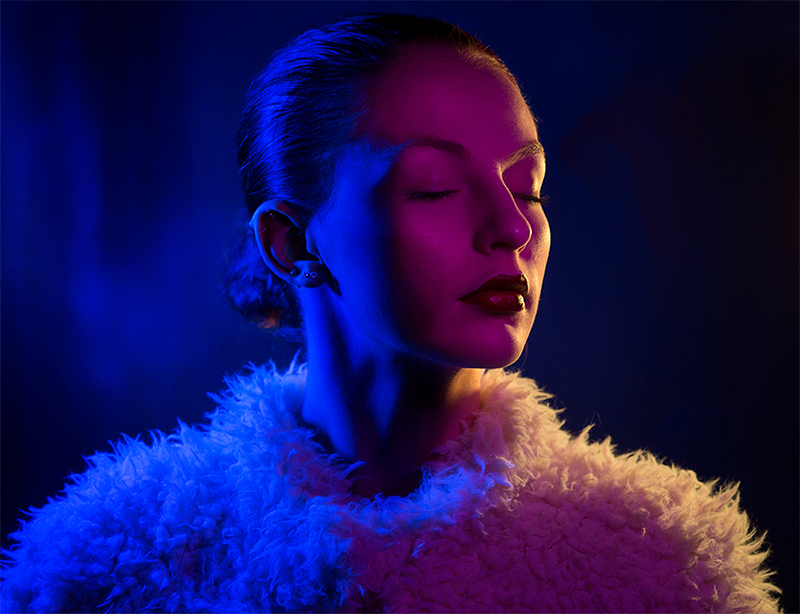
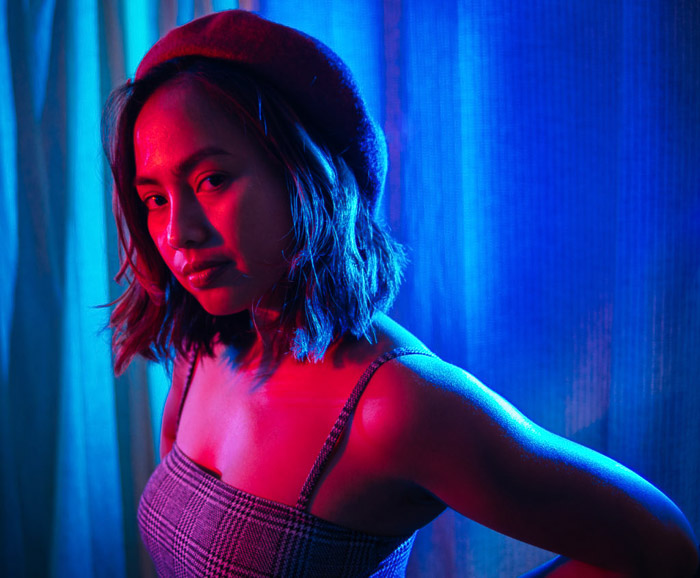
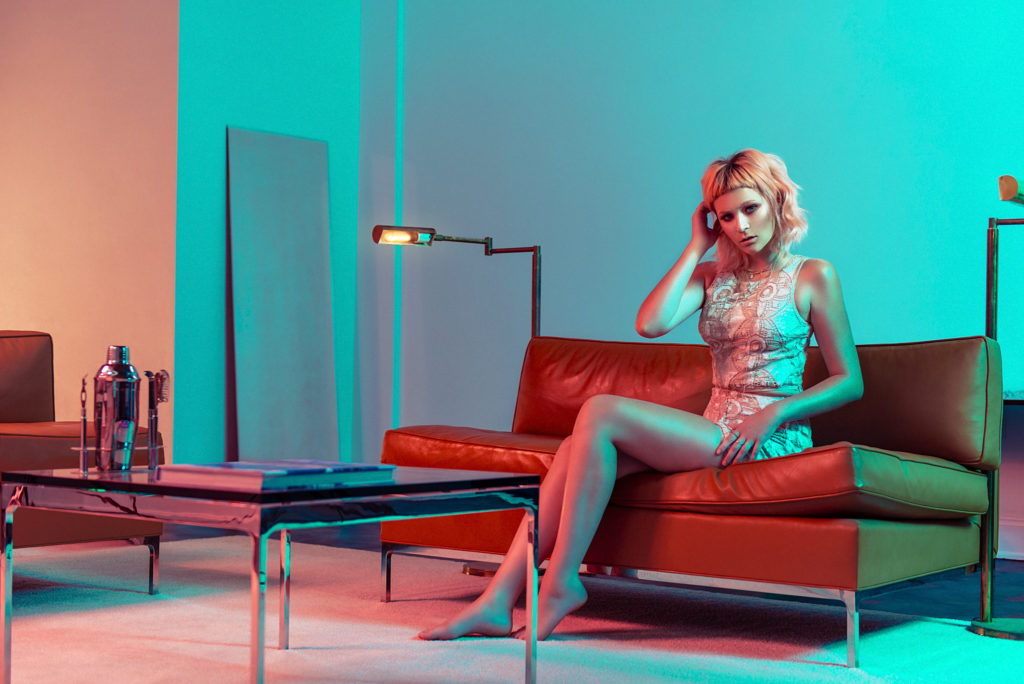
MOODBOARD-
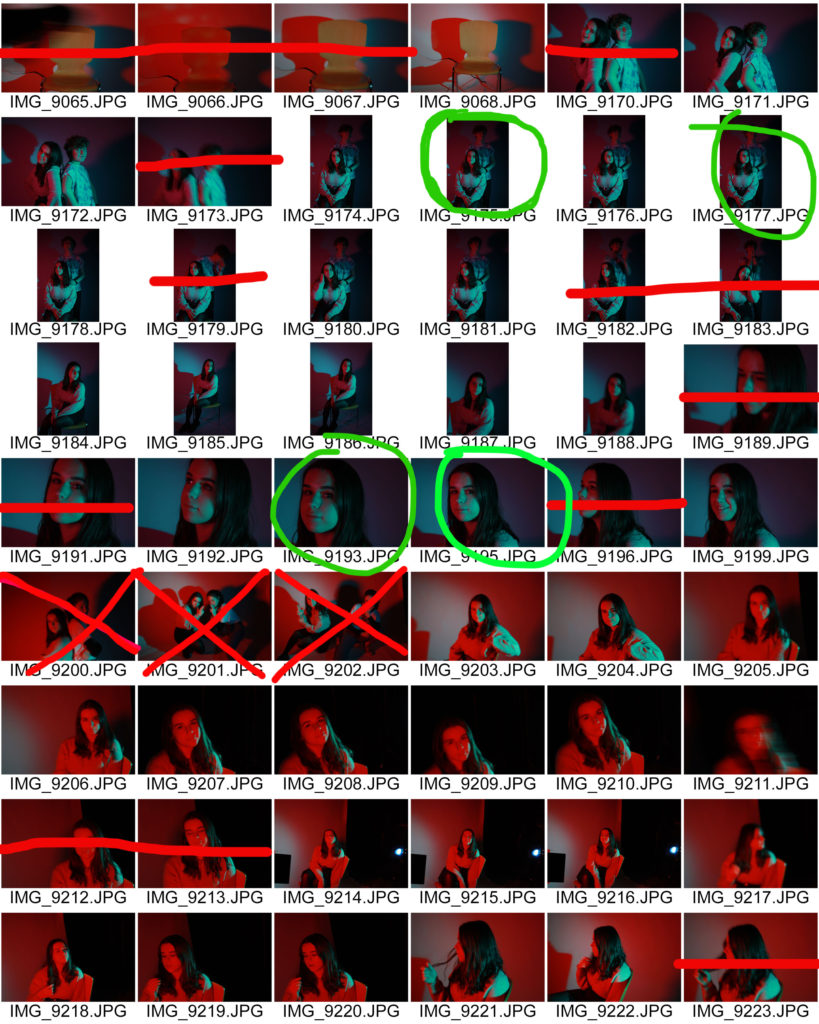
SHOOT CONTACT SHEET-
SELECTION-


FINAL EDITED OUTCOMES-

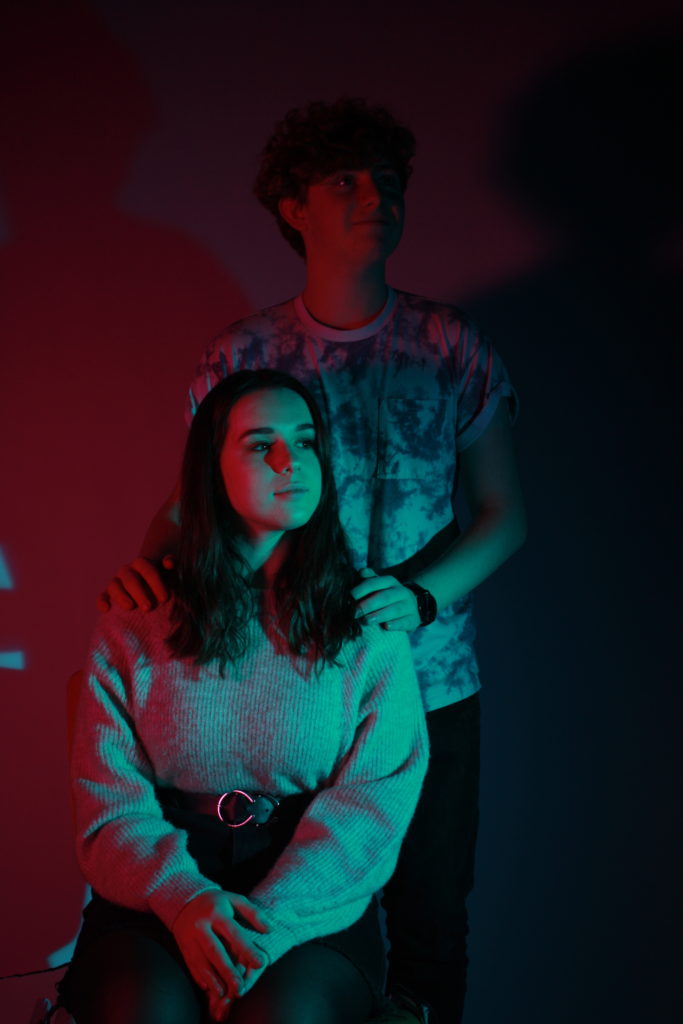
I used two people in this picture because I intended to emulate the “family portrait” style of image but with the modern twist of bright coloured lighting. I had them face towards me and look directly down the camera lens to create a sense of connection with the person looking at the picture, as a result the red light creates an effect mimicking chiaroscuro, as it obscures her face in red.

I really like this picture because the red casts a shadow on the side of her face really well, and it almost completely obscures the guy behind her, creating a contrast. I prefer this image to the previous one in the same style because I feel like them looking off into the distance mirrors more the “family portrait” style of image.
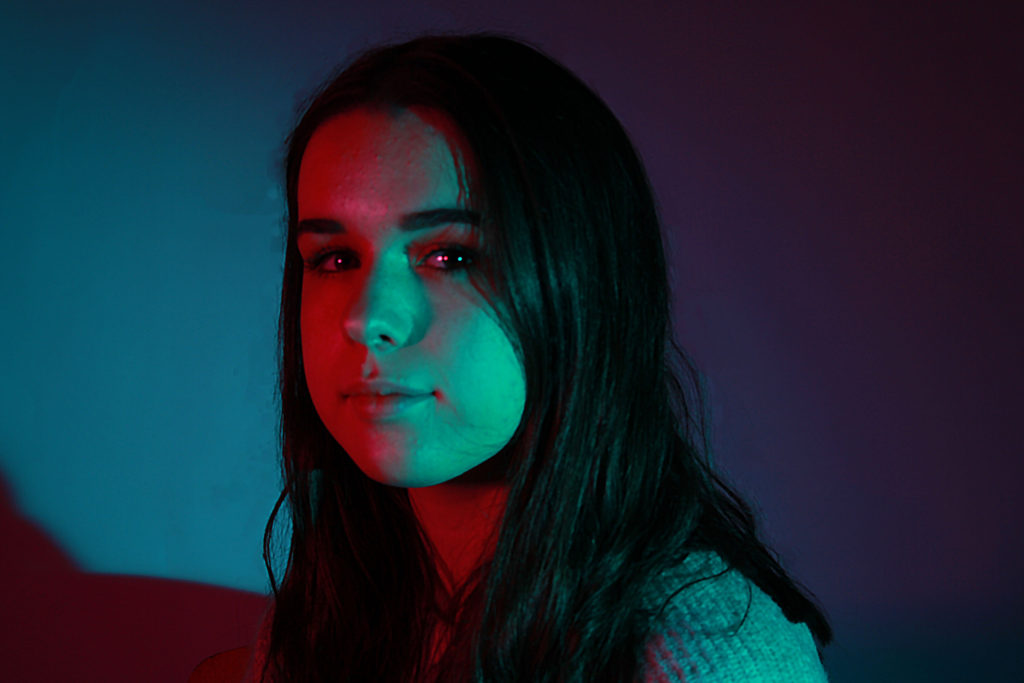
I like the lighting of this image as it has the two-toned colours on either side, so red and blue on both sides of her face, which makes the image interesting to look at. To edit, I covered up the wisps of hair using the spot healing tool, as well as increase the vibrancy of the coloured lights and the contrast, in order to make the shine in her eyes stand out. This photo is, unfortunately, slightly blurry due to a problem I had with the camera, so if I were to improve I would fix that problem.
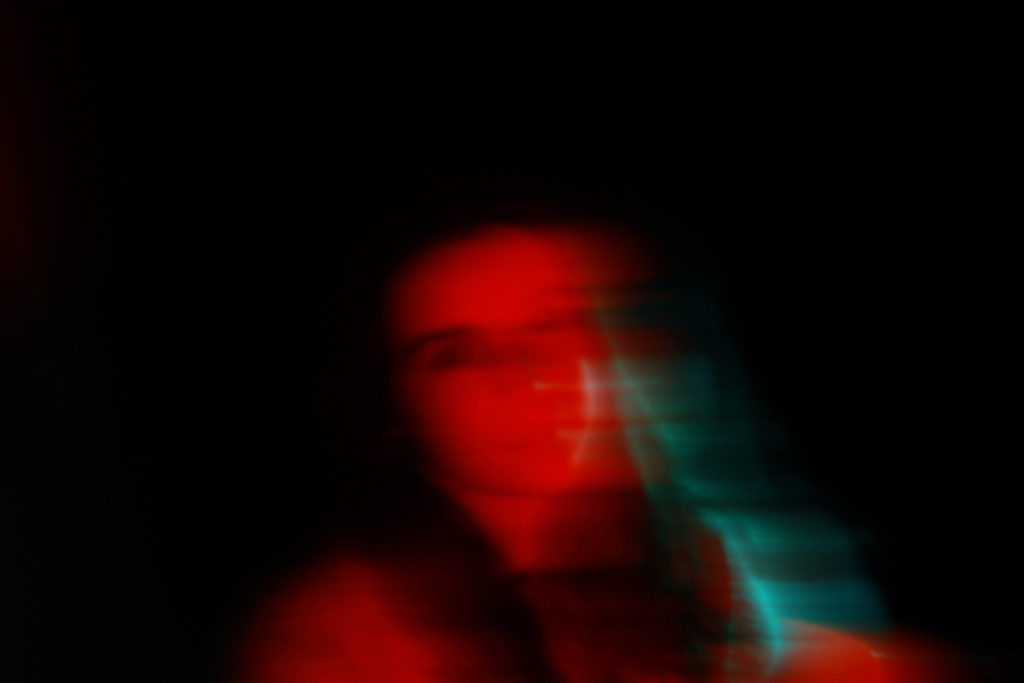
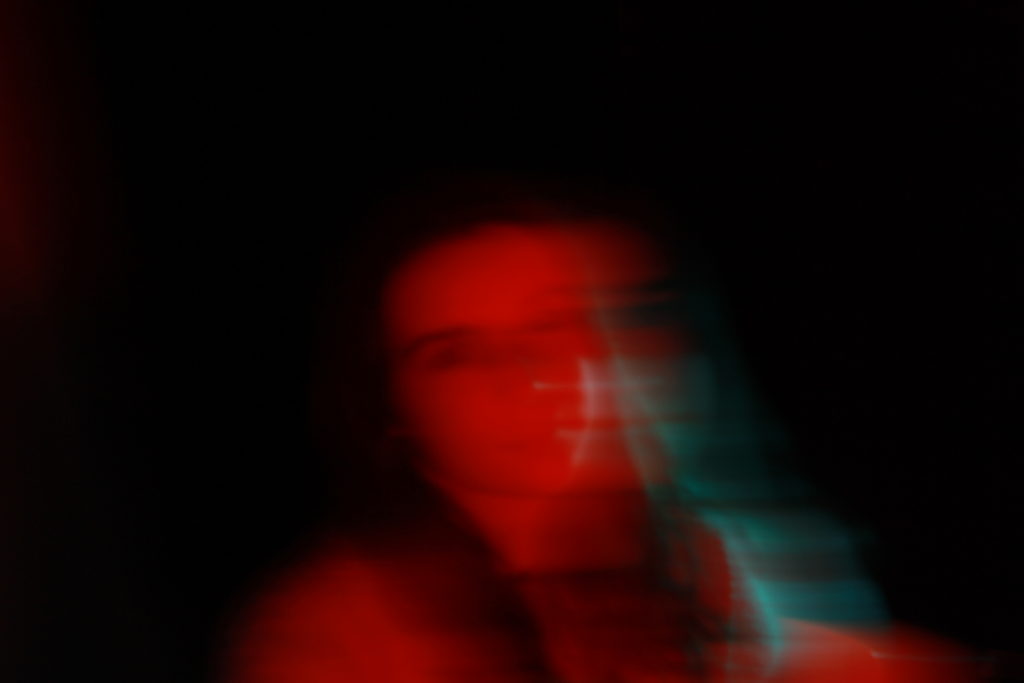
I decided to have my subject turn towards me in this image so that she was almost completely in one colour, expect for her back, which is still lit by the blue. I really like the blur in this picture as it shows more of my own style than imitating the other photographers’ I saw when researching colour portraits, and I feel that it is effective.
FINAL SELECTED IMAGE-
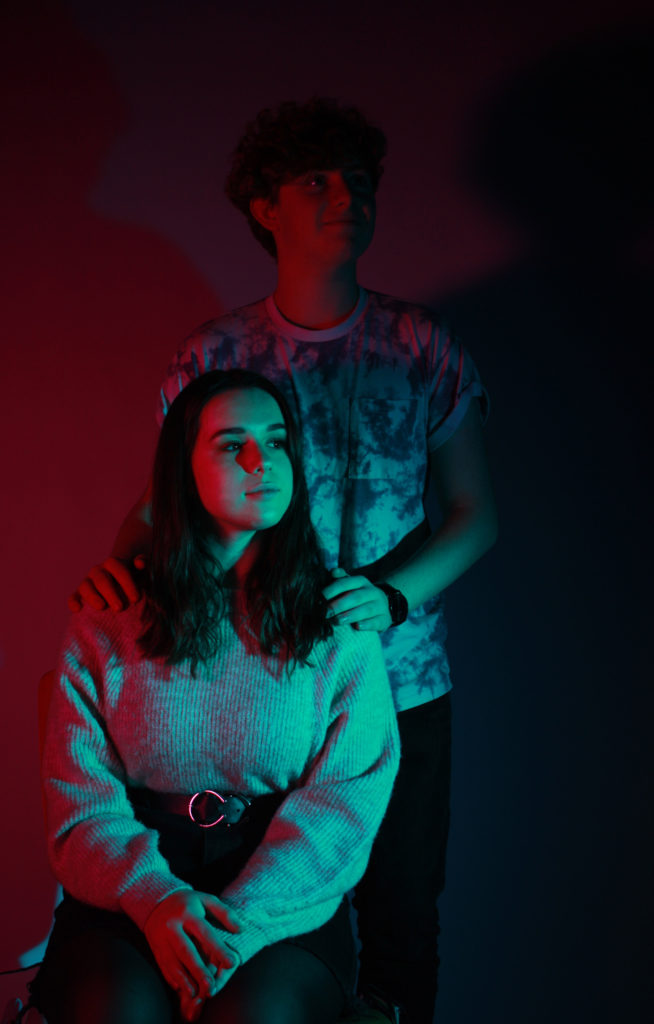
I chose this image because the colour contrast works best and the positions the subjects are in also works best with the lighting positions. I edited it by adjusting the vibrancy and saturation, as well as making small adjustments to the hue in order to maximize the blue and red colours as much as possible. I didn’t want to edit the image too much because it would take away from my own camera skills, which is what my time in the studio was for, and I feel like this image best encapsulates that.
EVALUATION-
If I were to do this shoot again I would experiment with more colours to see if that changes the overall tone of the image, as well as maybe trying with a single colour only. Additionally, I would make sure all of my images are clear and in focus, and if there is a camera issue I will resolve it before the actual shoot, as I found this was a major obstacle to properly succeed with this photo-shoot.