
Below are all the images I decided to edit on Lightroom, as they came out the best and were the closest to the image I had wanted to create. They are all strong images which I will select from to be my final images.
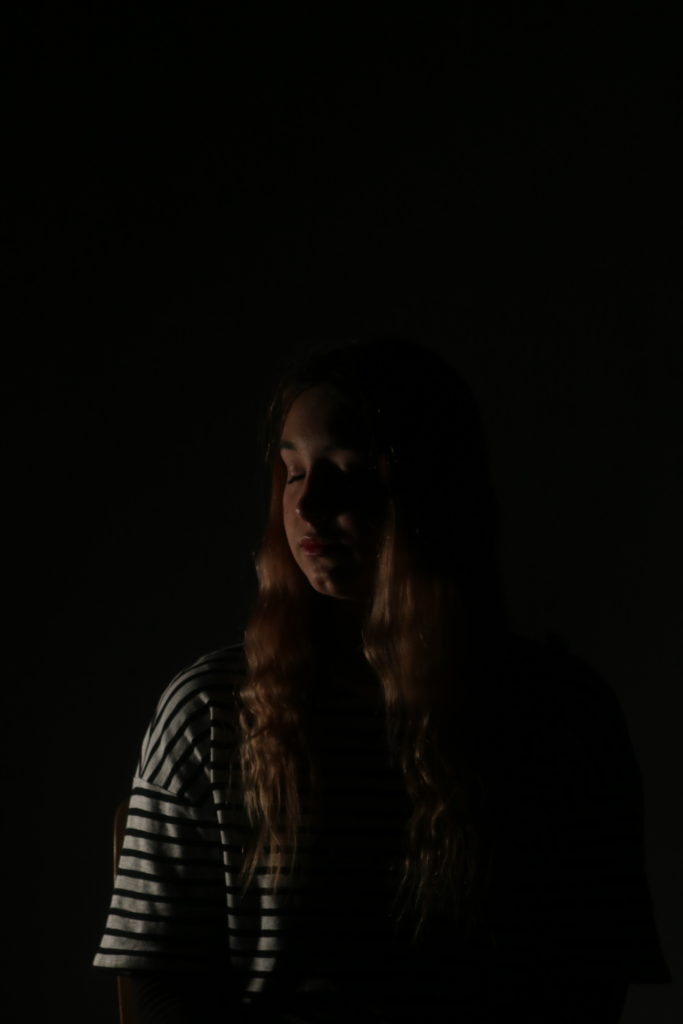
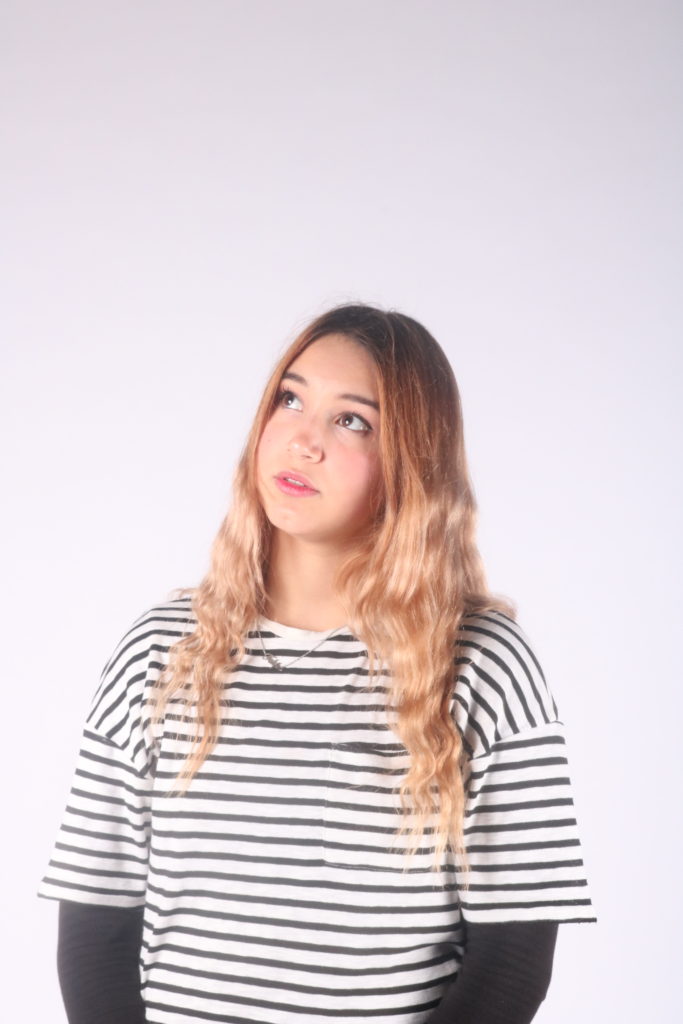
image one
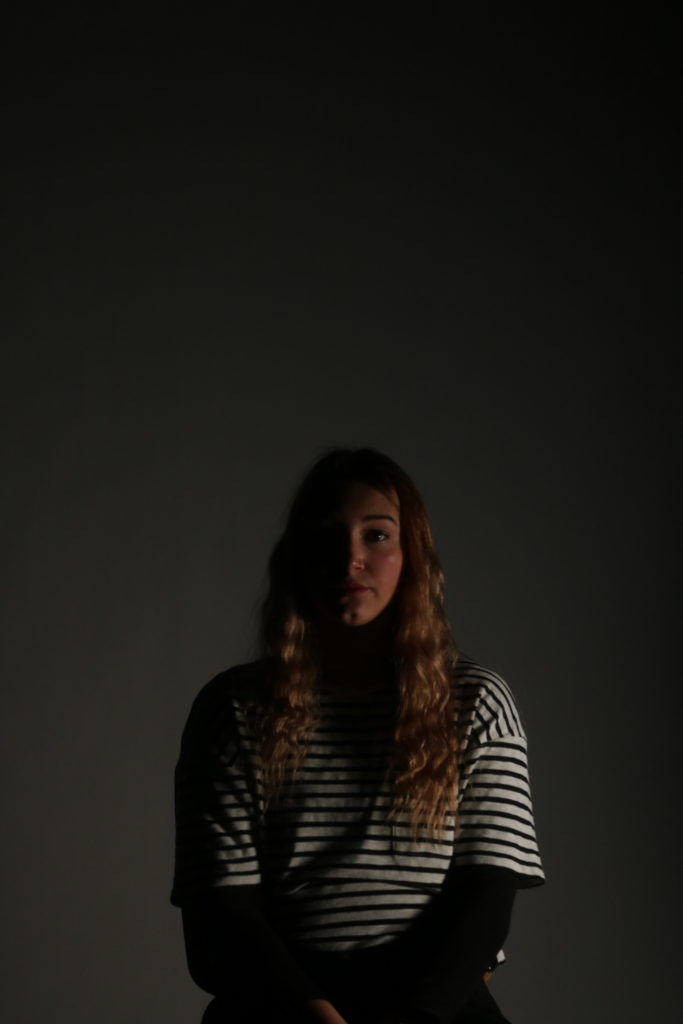
For this image, I increased the exposure, as the illuminated areas of the face was a touch dark and didn’t create the effect I had intended to. I then increased the blacks to create a stronger contrast between the lights and darks, to create a chiaroscuro effect. To increase the overall aesthetics of the image I cropped it down, so you could only see the top half of the individuals’ body.
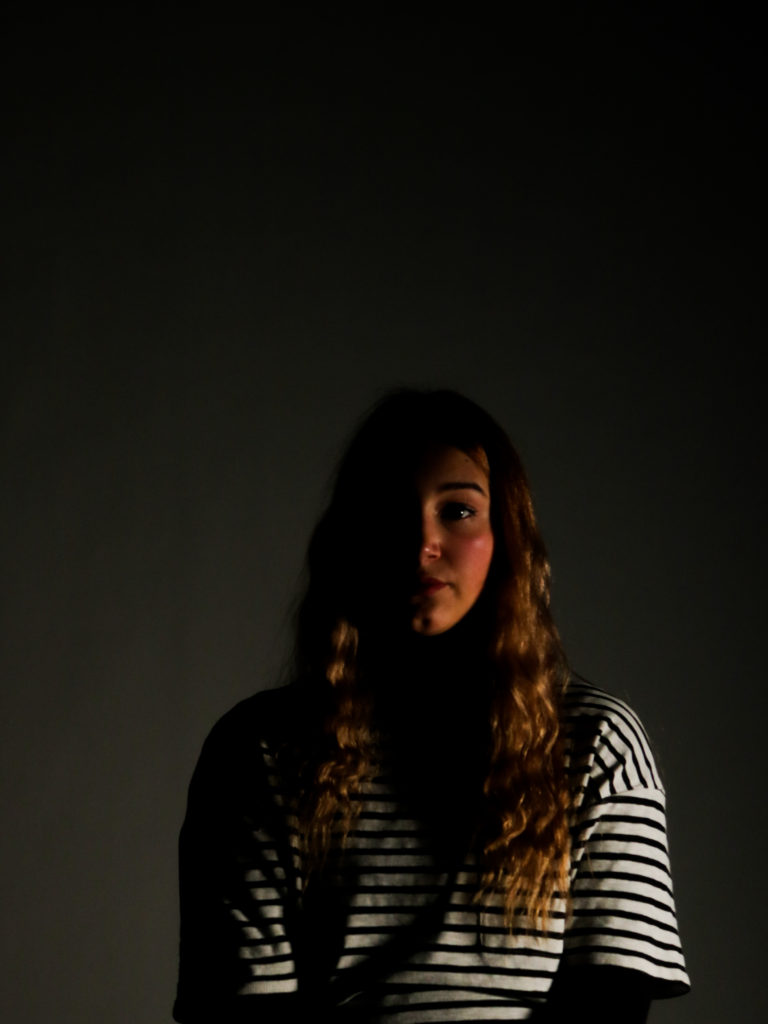
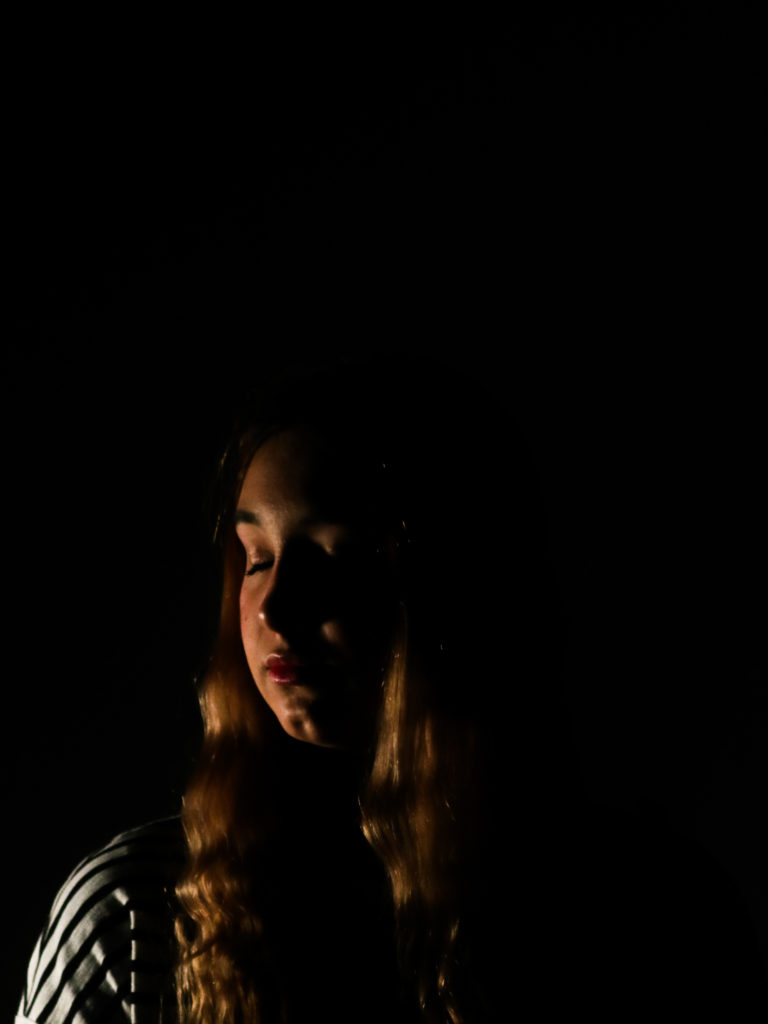
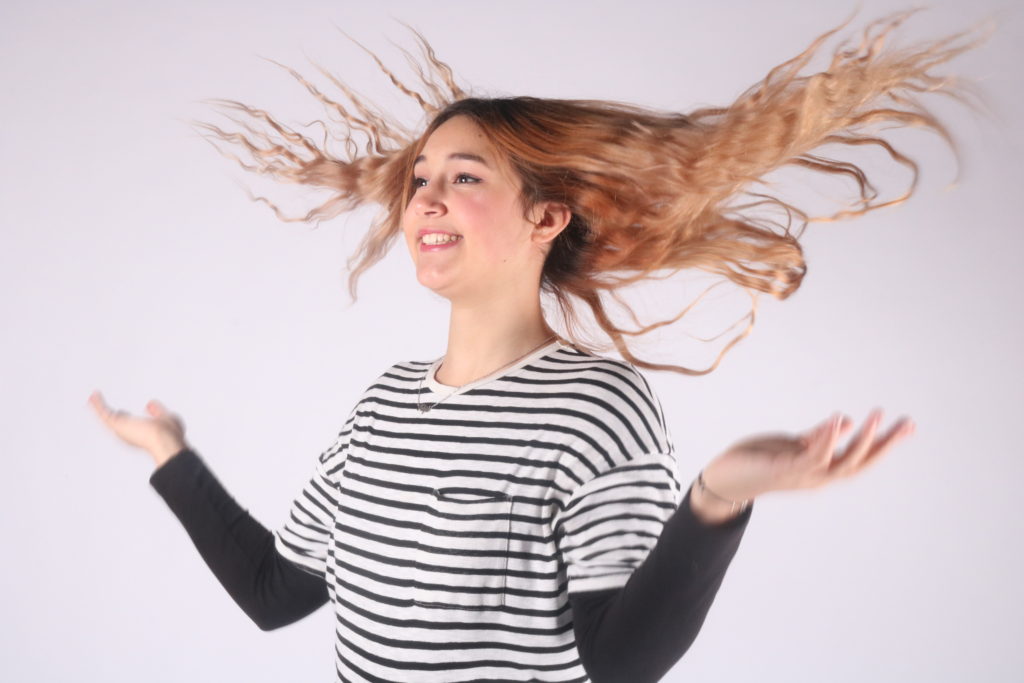
image two
For this image I increased the highlight, to make them brighter so that the illuminated side of the face was more contrasted too. I also increased the whites to make the highlights more profound. I also cropped the image to allow there to be some negative space, that is very effective in this instance.
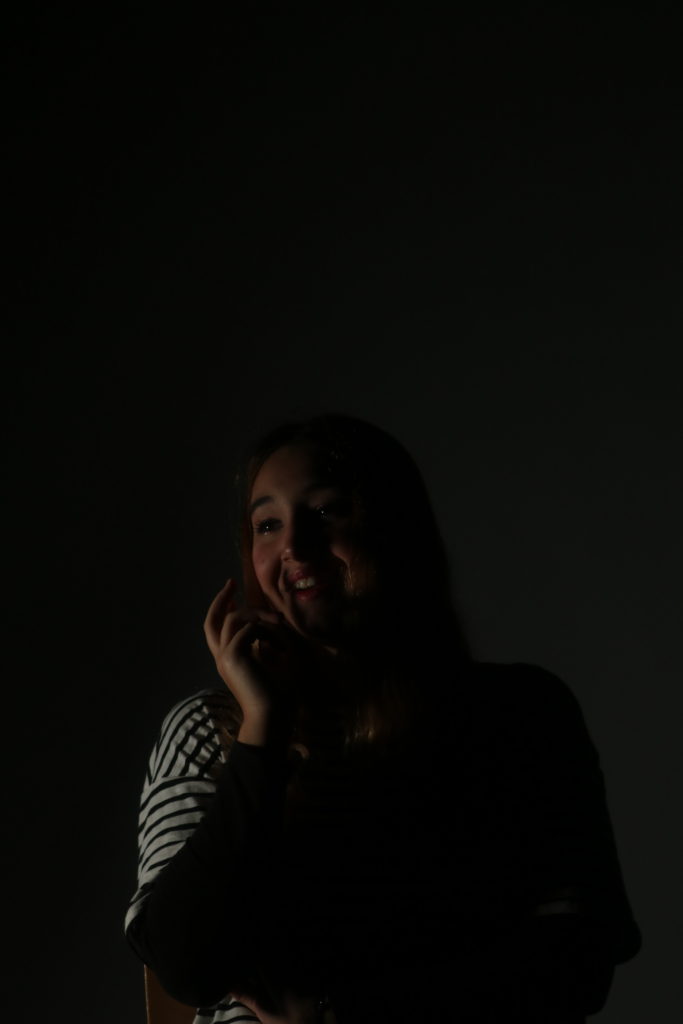
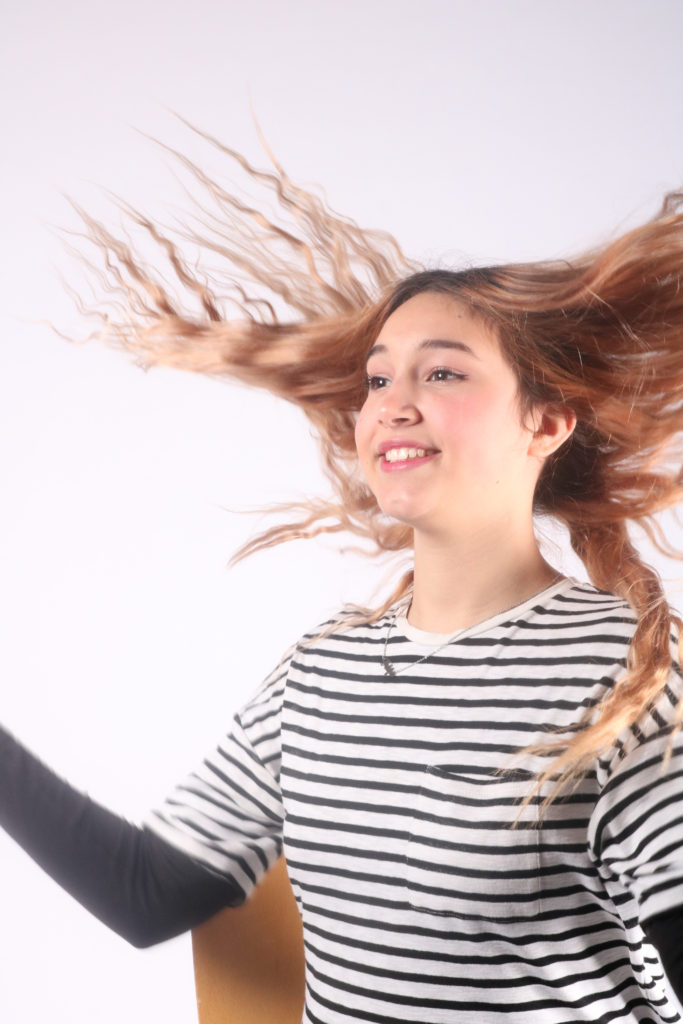
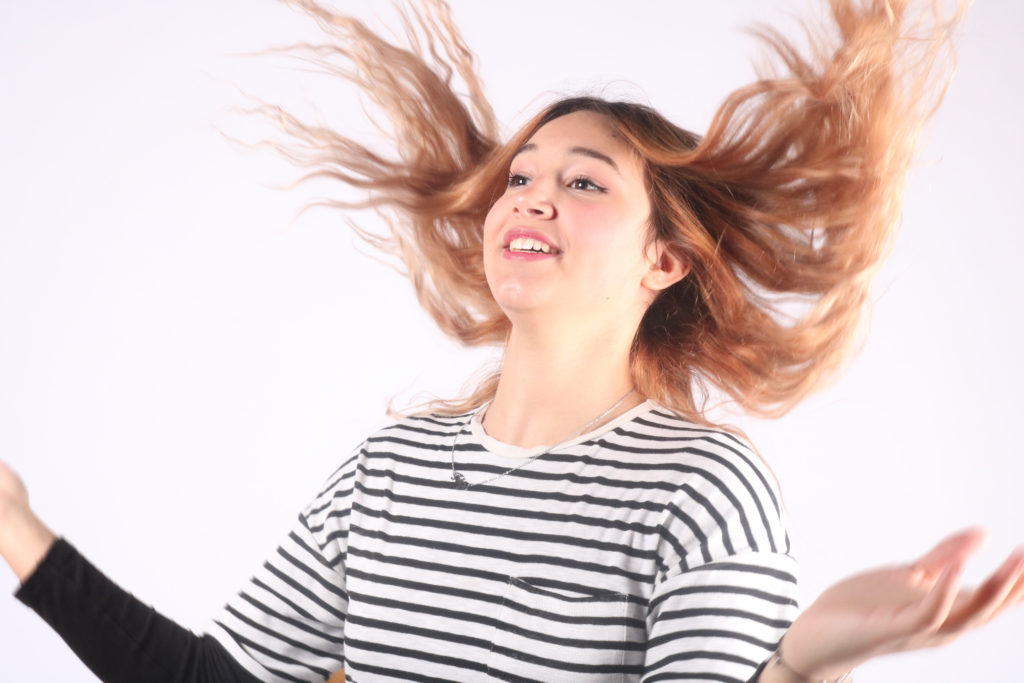
image three
For this image, I increased the exposure to fully illuminate the half of the face that had the constant light on it, as the original photograph was very flat. This simple adjustment let the photograph become more contrasted and let the tonal ranges become separated. I then increased the blacks to allow the background to blend into the individual’s hair and body. I also cropped the image as in the original there was too much negative space, which distracted the eye away from the individual.
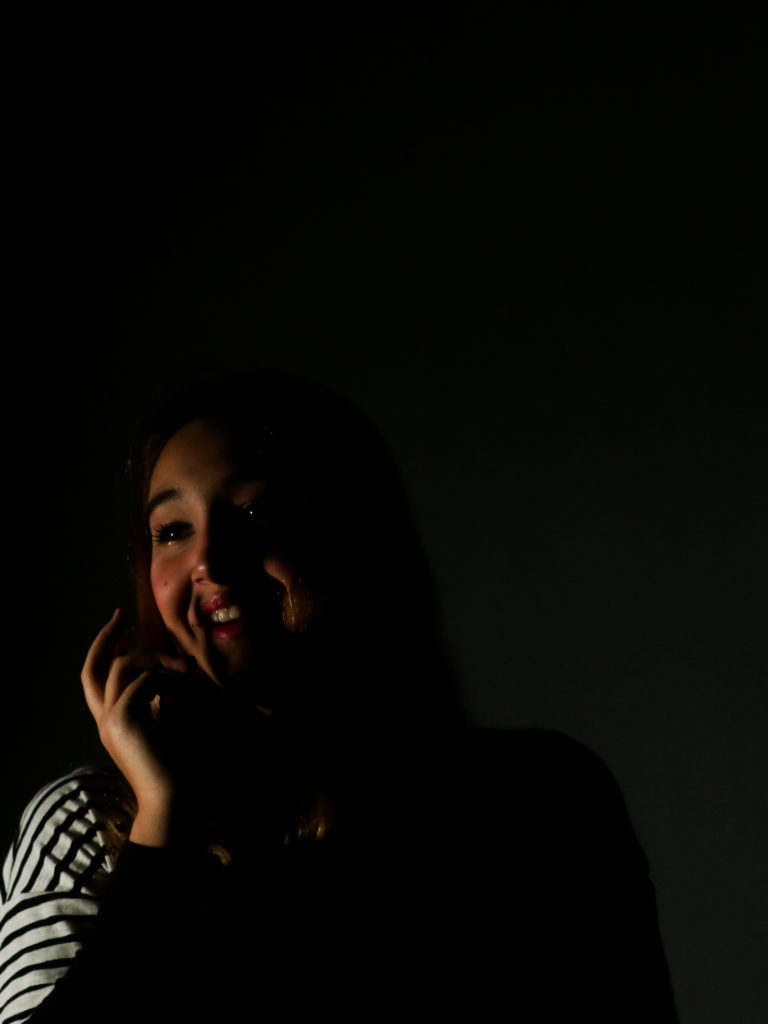
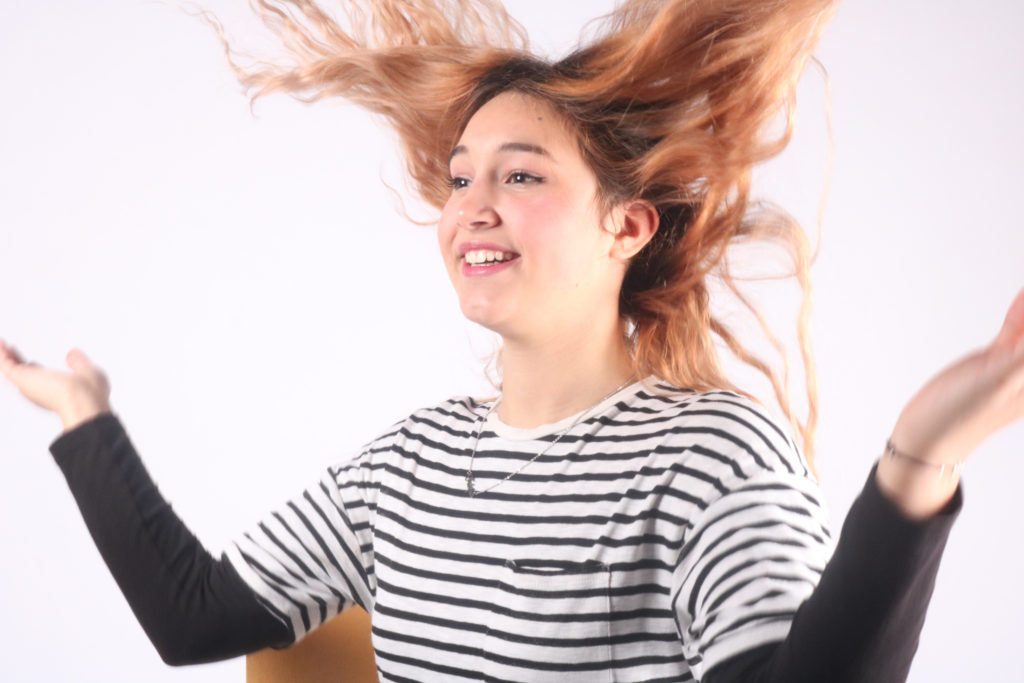
image four
For this image, I increased the whites, to create a high key image, that is very bright. This accentuates all the features and makes them illuminated. I then just increased the contrast to make the features bolder and for the tonal range to increase.
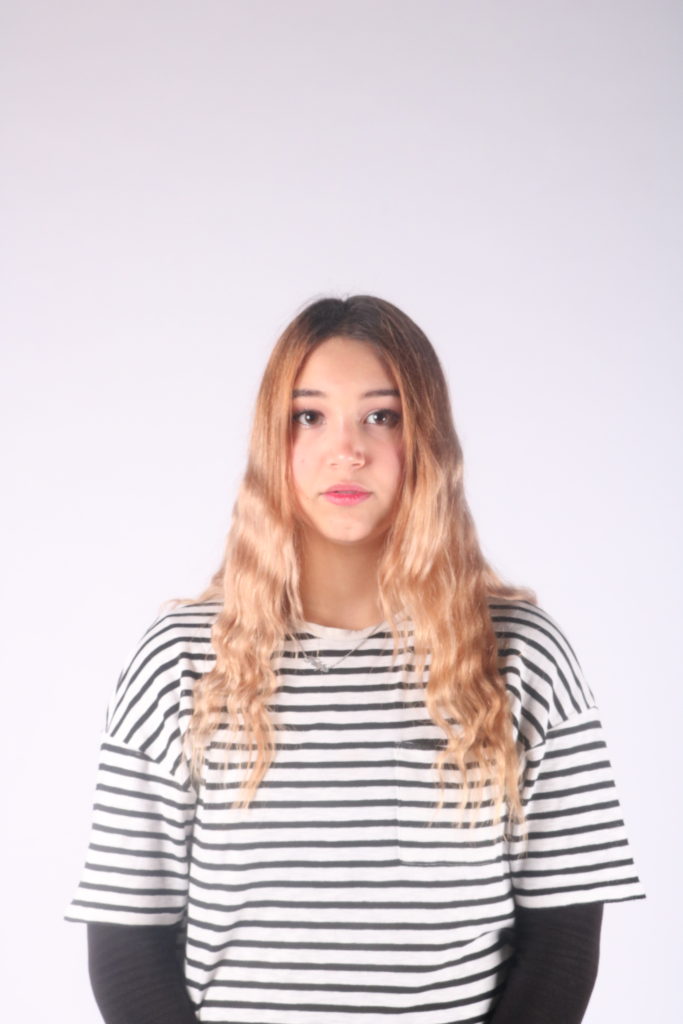
image five

For this image, I increased the whites to allow the features on the individuals face to be more prominent, as it allowed for the highlights to increase. I also increased the contrast to make sure that the tonal range was large.
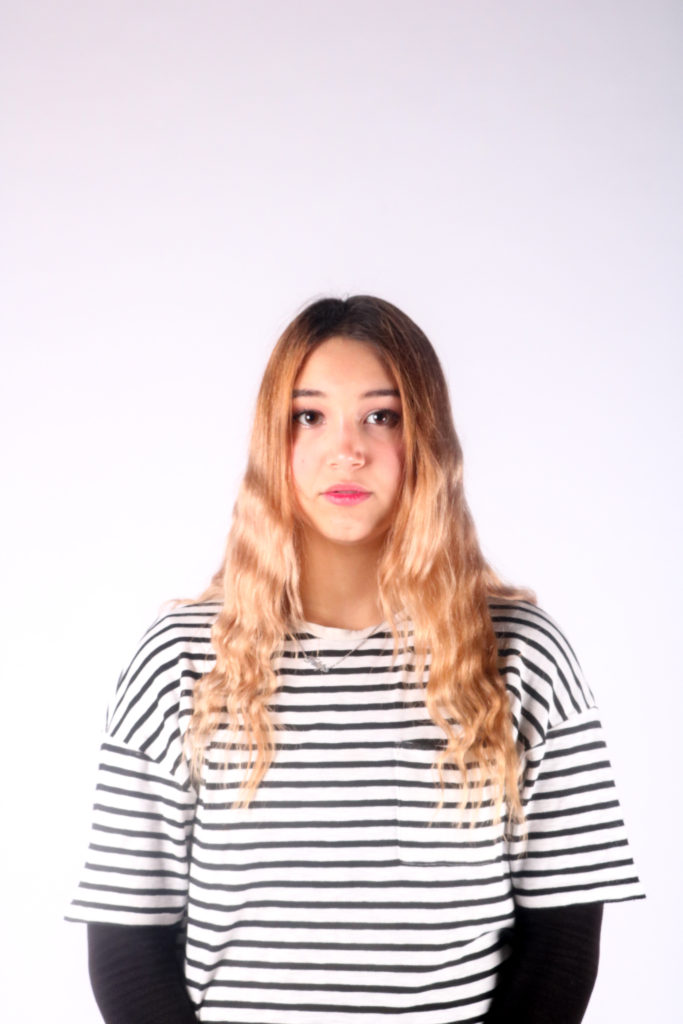
image six

For this image, I increased the whites to make the backdrop whiter, to allow for a more aesthetically pleasing photograph. Increasing the whites also allowed for the image to be a lot brighter and for the features to be accentuated.
image seven
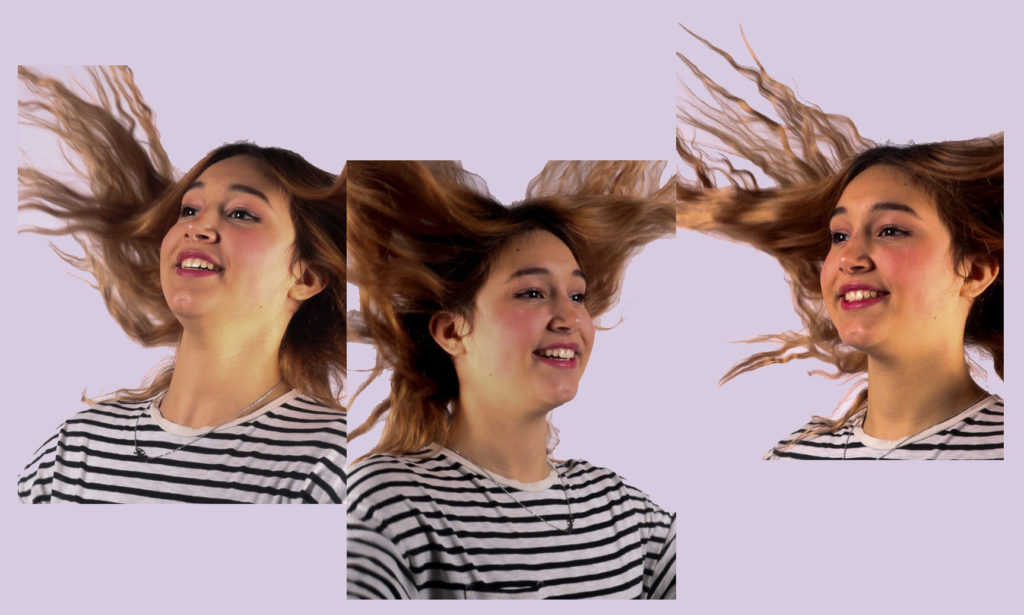
For this image, I cropped all the images down to allow for there to be a closer and more defined photograph. I increased the contrast, in all the images, to allow the features to become more defined. I then just put them in Photoshop, and arranged them in a way that made it look like the hair connected in a way, kind of. I then filled in the background in a lilac colour, as it is very subtle, and doesn’t distract from the images.