
Stephanie Jung
Stephanie Jung is a photographer based in Germany, providing images on a contract basis for her clients (freelance photography).
To create her images, Jung takes a series of images with multiple exposures and this creates the effect on her images ( as pictured below). She also uses double exposures: the superimposition of two or more exposures to create a single image, double exposure referring to the use of two images.
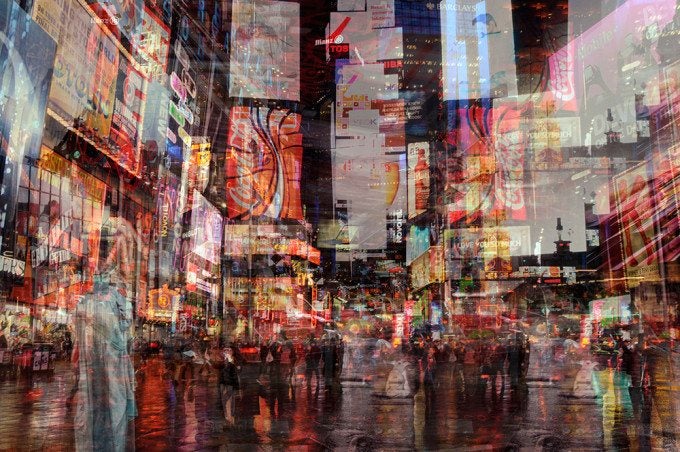
Jung’s indistinct and radical city-scapes place the viewer as a static observer in the mayhem of the city. Jung’s images show the intrusive bright lights and the dizzying chaos of different cities (with Tokyo, New York and Paris being a small selection). Her images give a strong sense of isolation that city life can bring to those caught up in it.
My interpretation:


process:
I began by using the orginal image as a background. I created multiple layers using the same image.
On the first layer, I increased the exposure of the image, to begin creating my multiple exposure produced image.
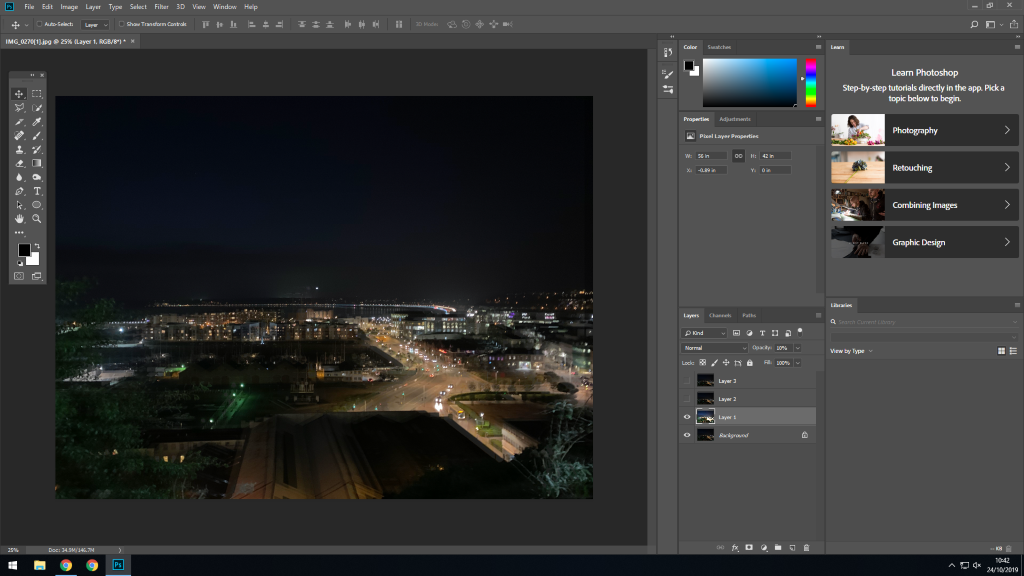
with the edited layer, I decreased the opacity in order to see the background layer. I then shifted the first layer slightly to the left to begin creating a disorientating image, similar to the style of Jung’s photography.

I edited the second layer by decreasing the exposure this time and in turn decreasing the opacity to see the layers beneath it. I shifted the layer even further to the left to further the dizzying effect.
I created a third layer- where I increased exposure and the gamma correction to make the lights on the road stand out against the shadows.
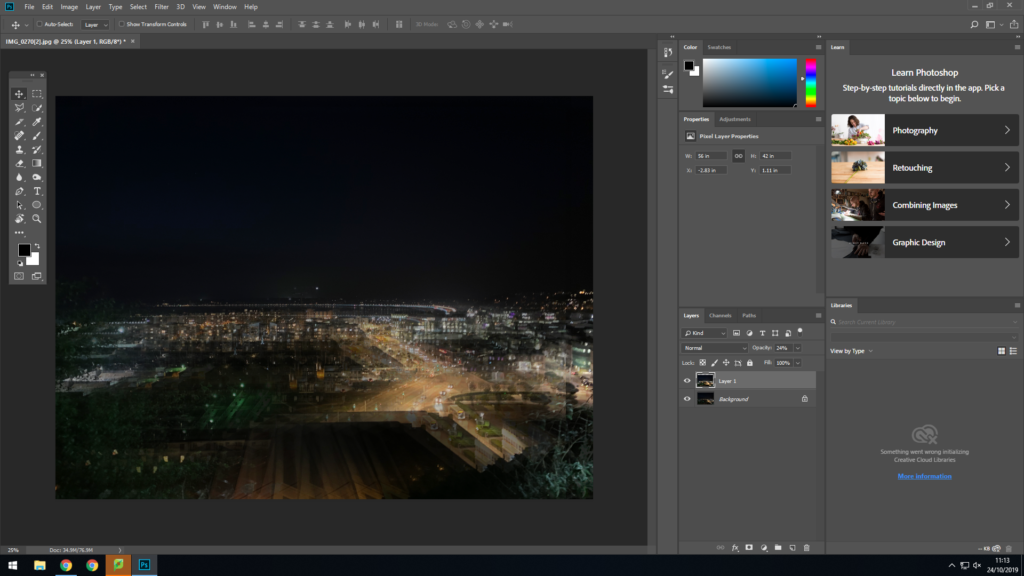
I erased some of the harsh lines from the different layers to make a smooth image.
I placed the final image back into photoshop (with all the layers flattened) and duplicated the background layer, shifting it to achieve the final effect I was aiming for.

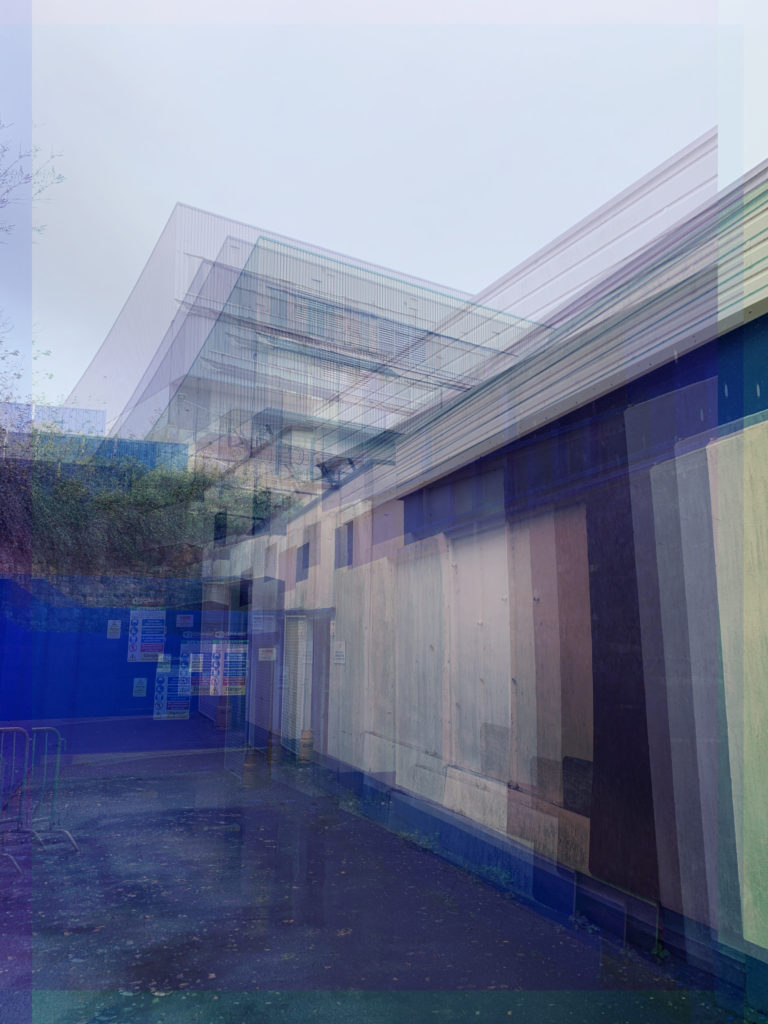
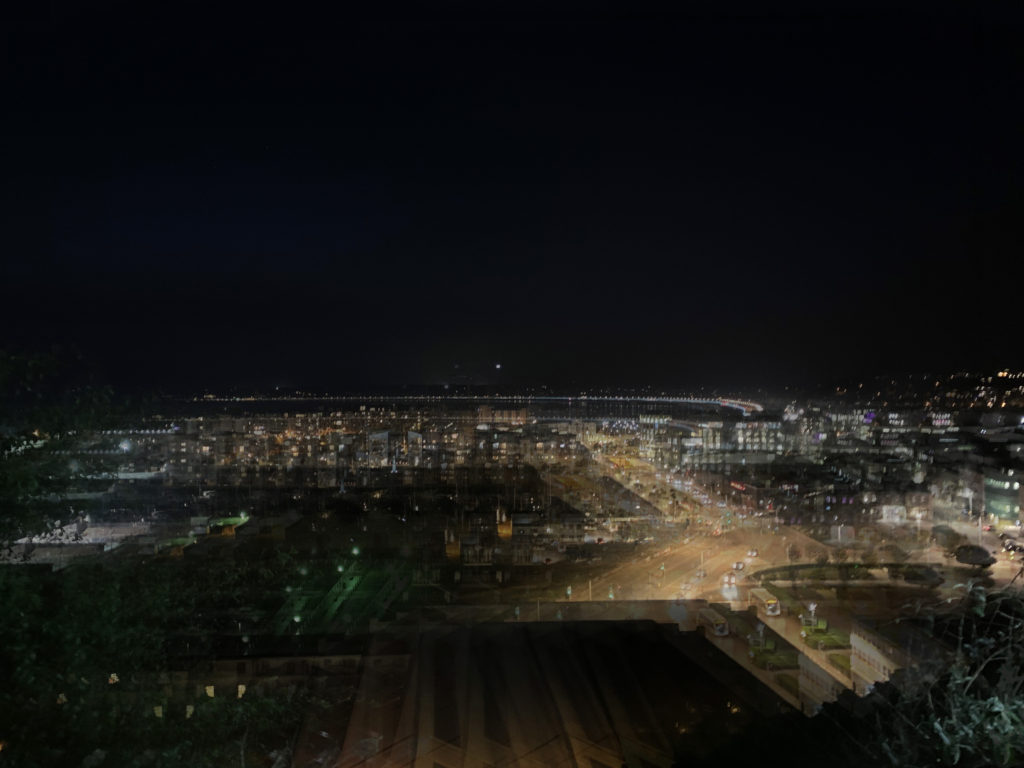
I experimented with a second photo and decided to create a more vibrant and colourful image.
process:
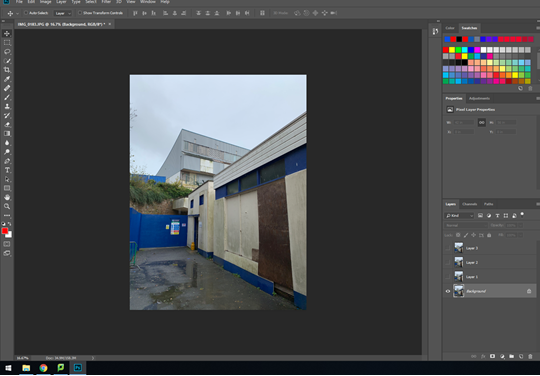
I started by making four different layers (including the background layer). For each layer I changed the opacity, excluding the background layer as it’s locked.


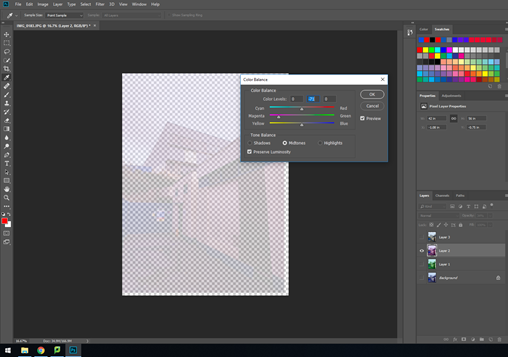
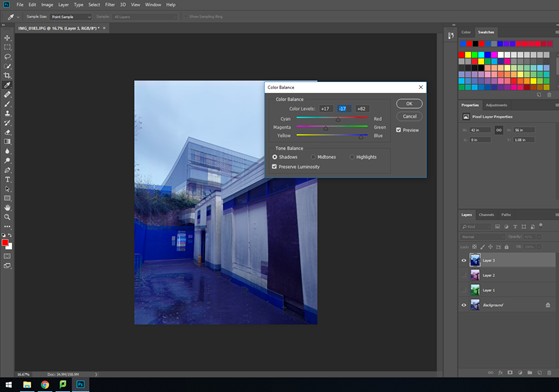
I then changed the overall colour of the background image, giving it dark blue midtones. For the first layer, changed the colour of the image to green a green tint and lowered the opacity. I changed the second layer, lowering the opacity again and created a pink image. The third layer I did the same, except creatubng another blue image to layer on top.
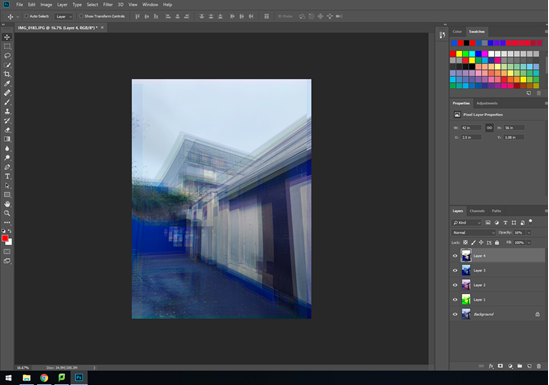
I added a fourth and final layer to offset the dark blue tones in the sky and midtones of the completed image.
