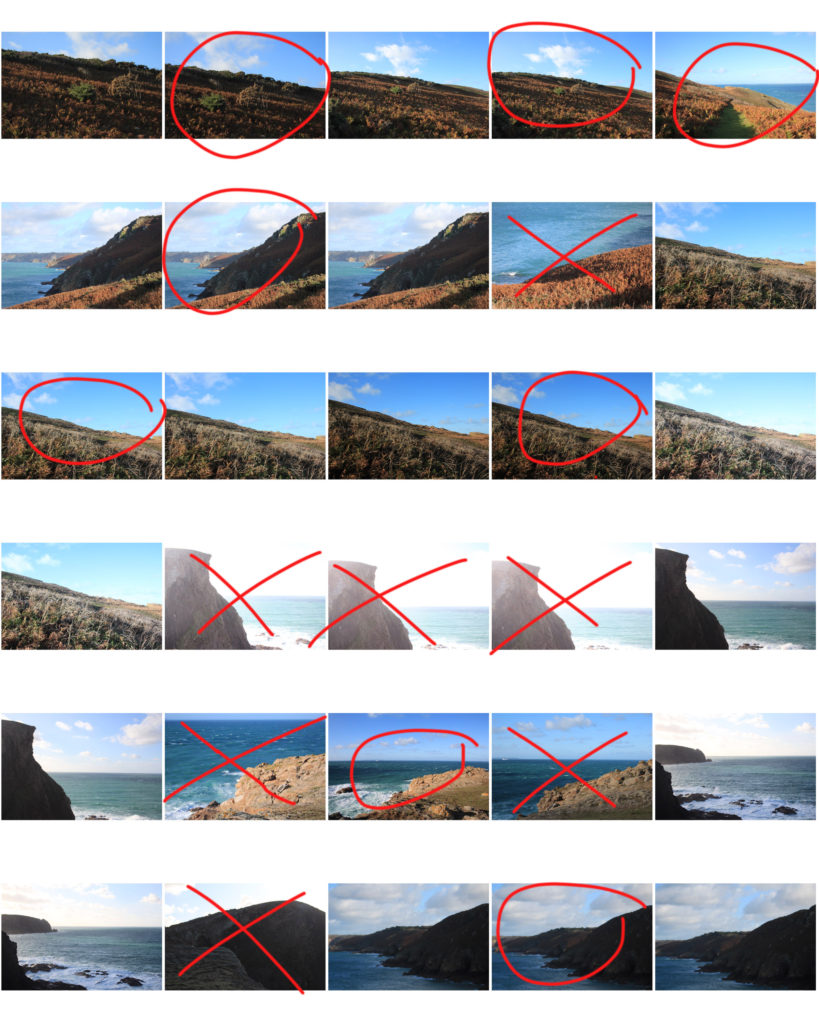
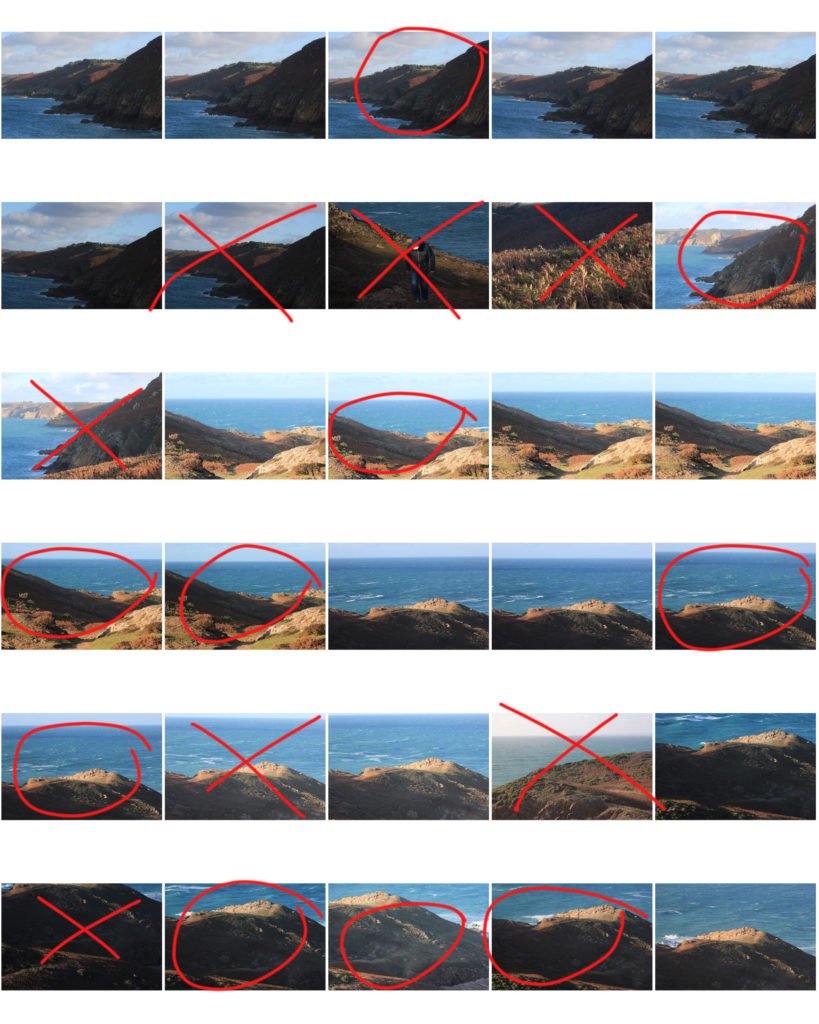
OUTCOMES, CONTACTS:
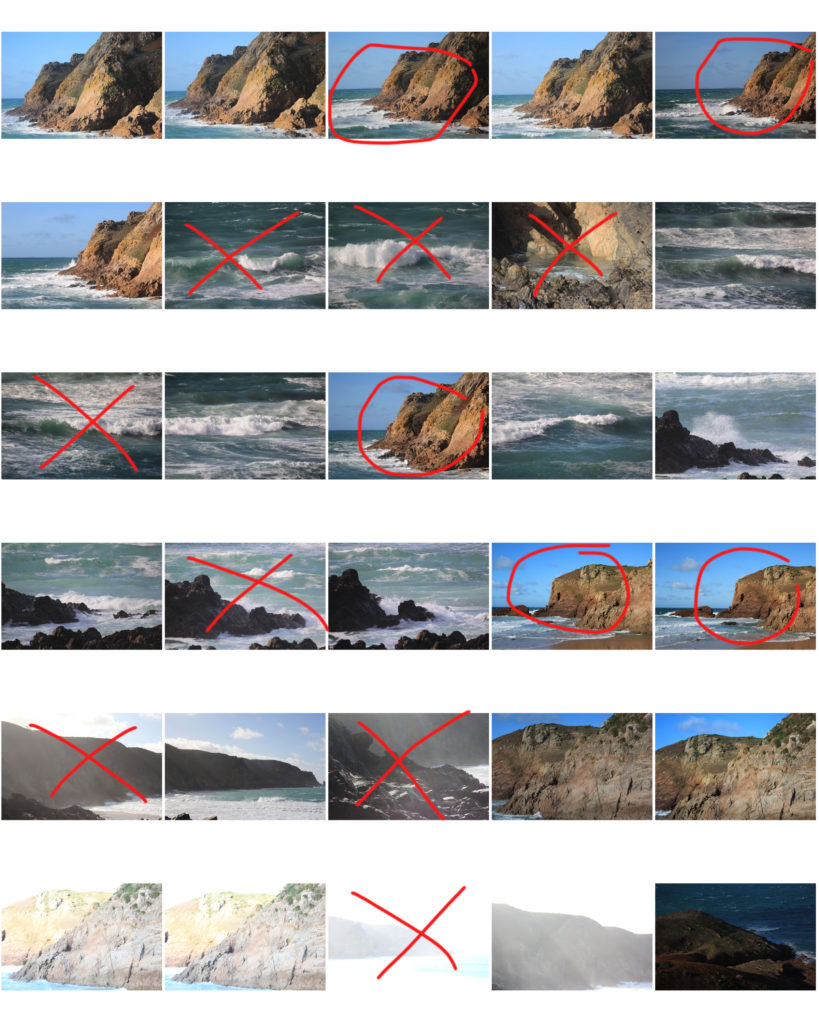
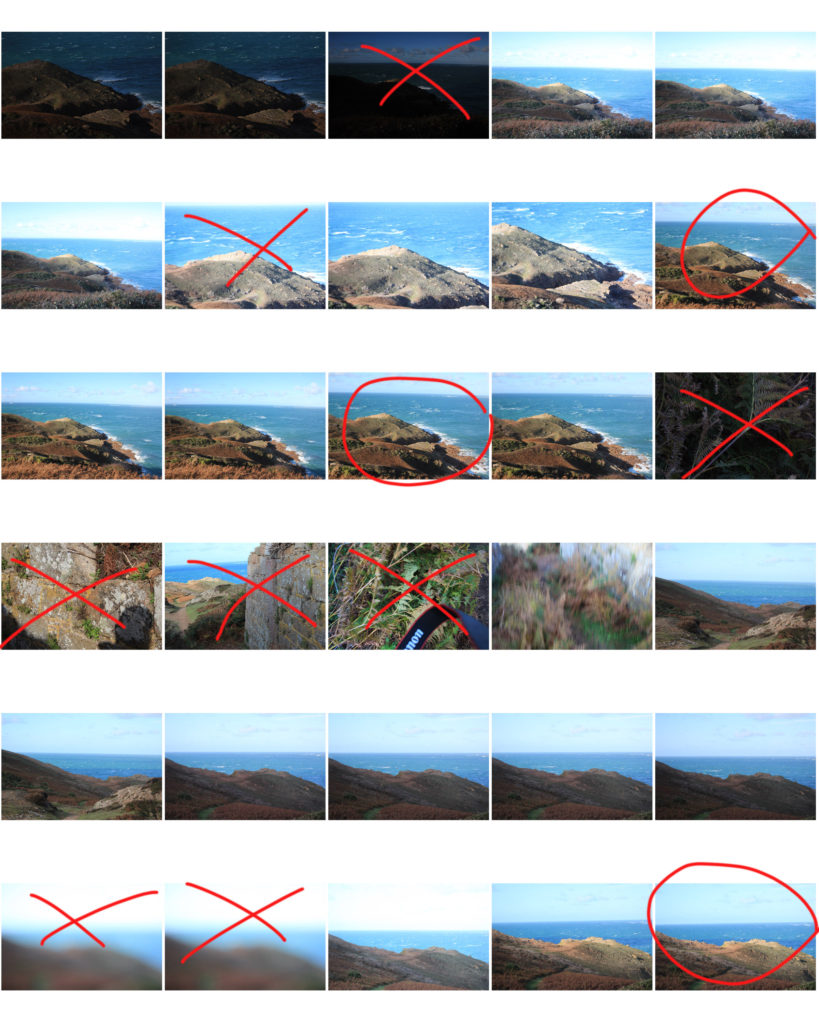
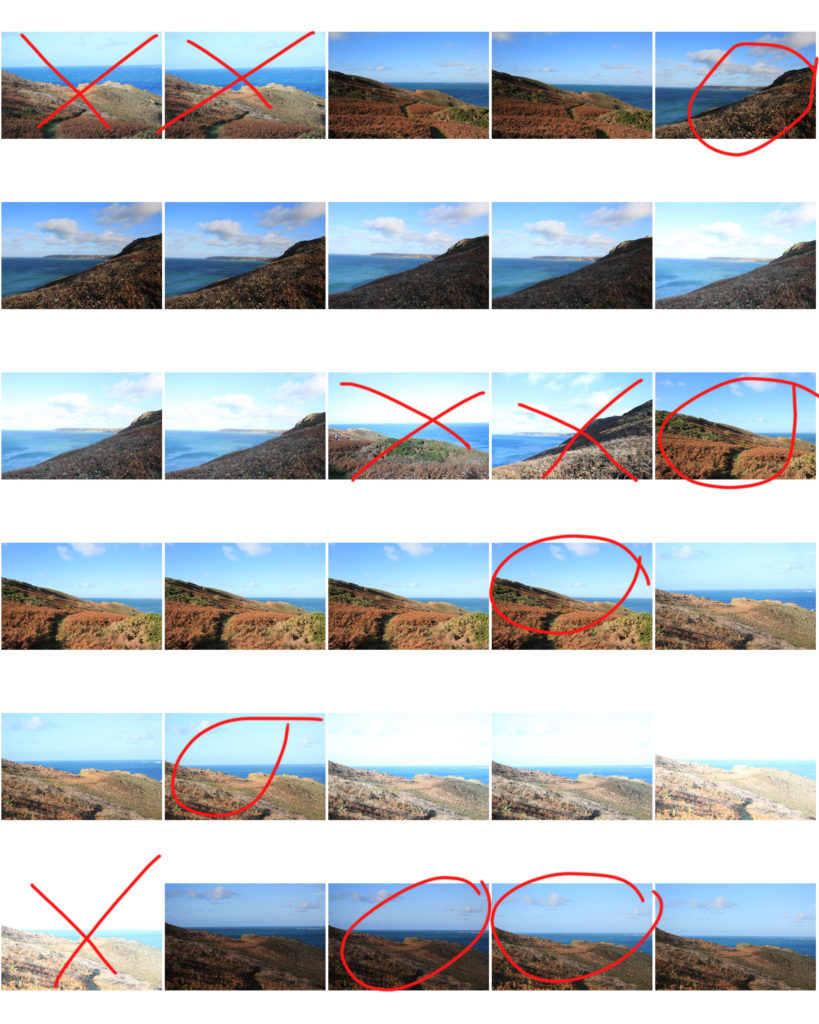
I think that my first shoot was successful, and I managed to capture a couple photos that I will be able to merge to HDR later in editing. However, many photos are out or focus due to strong winds. The photos from my contacts that are crossed out will specifically not be used in further editing stages, and photos circled will be. Any other photographs maybe used to create HDR images in editing later on.
In this page of contacts I changed my plan slightly by stopping off at Le Pulec at the west of the island to take photographs. This was because the waves where rough and the cliffs provided great composition. The first couple of photographs taken are my favourite and I will use them in my edits. The second half on the photographs from this contact sheet do come from Plemont, following my original plan. However many of these photographs where not in focus and did not have a large depth of field.
PHOTOSHOOT EVALUATION:
I think that my photoshoot was a success, however many changes could be made, for example the weather conditions where windier than anticipated, so many of the photographs where blurry or out of focus. I enjoyed using the different ISO setting to produce photographs with different exposures however I think that I could have changed the shutter speed to that the photos I took are in better focus and objects such as plants and bushes are not blurry.
SELECTED IMAGES :
Image 1:
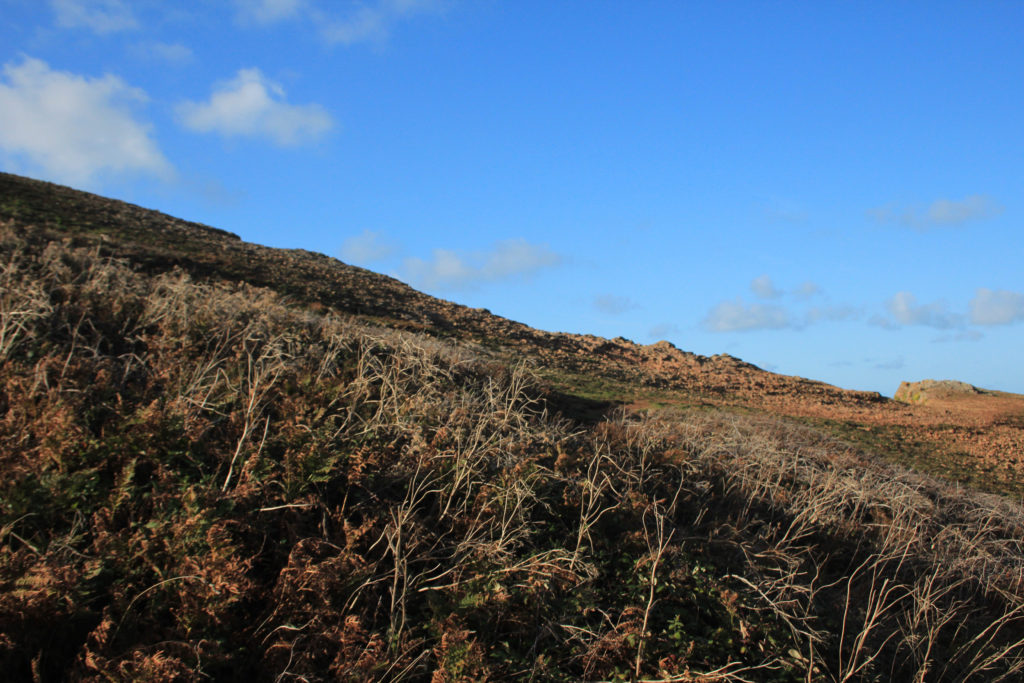
under exposed 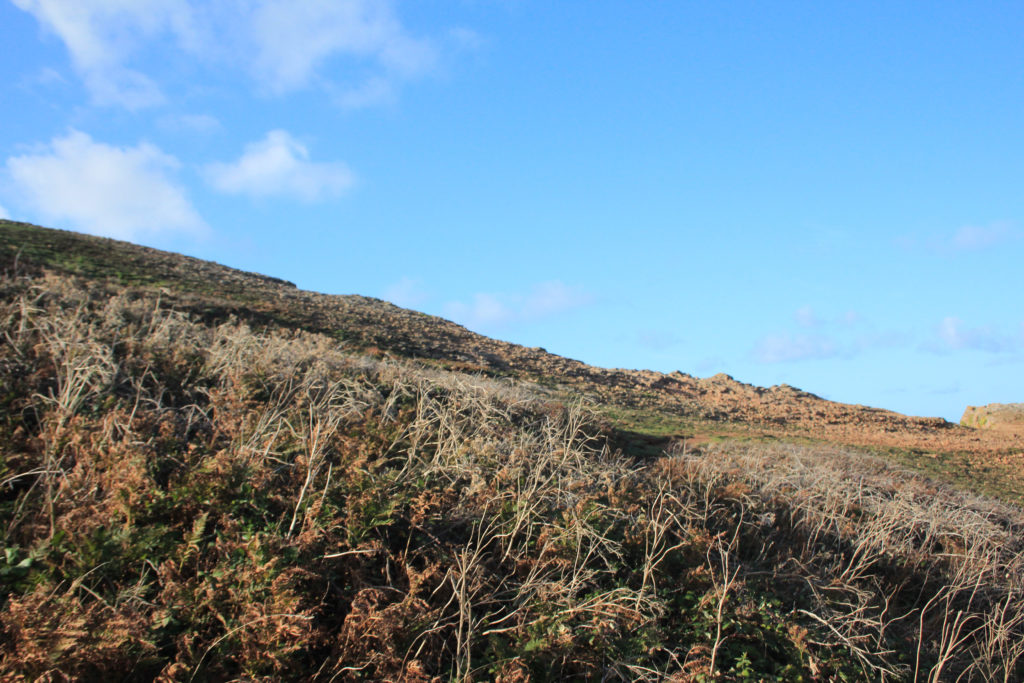
normal exposure 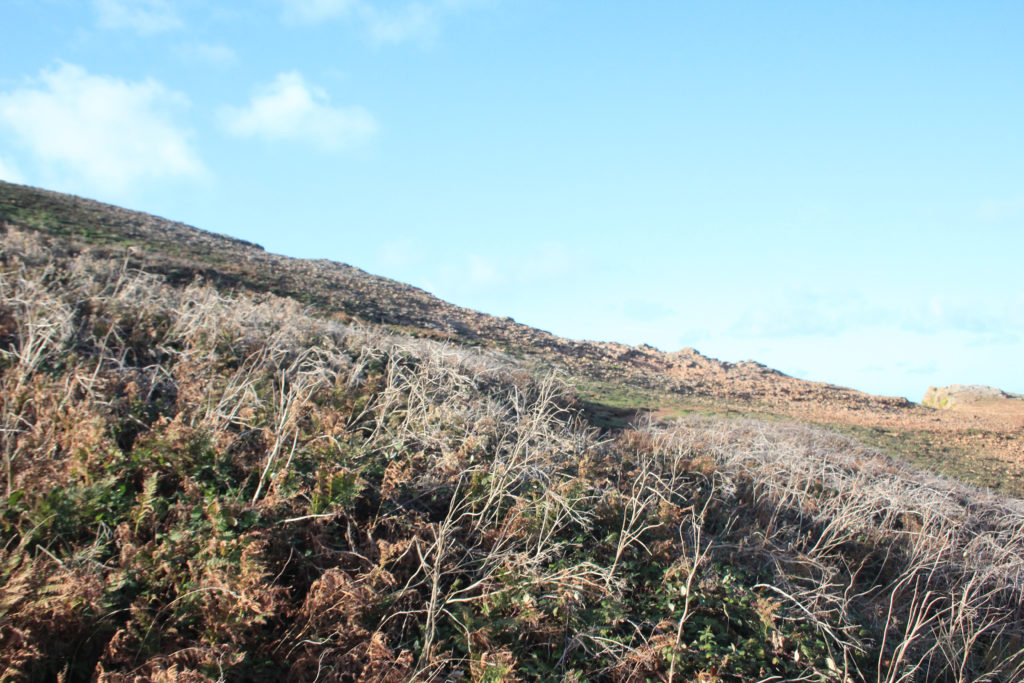
over exposed
Image 2:
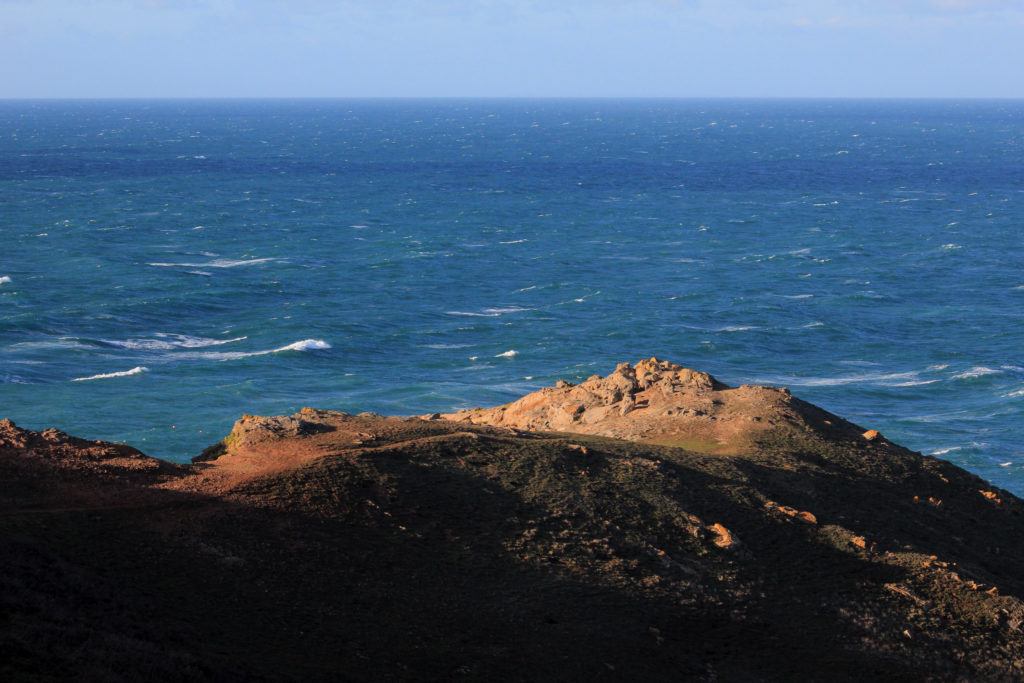
under exposed 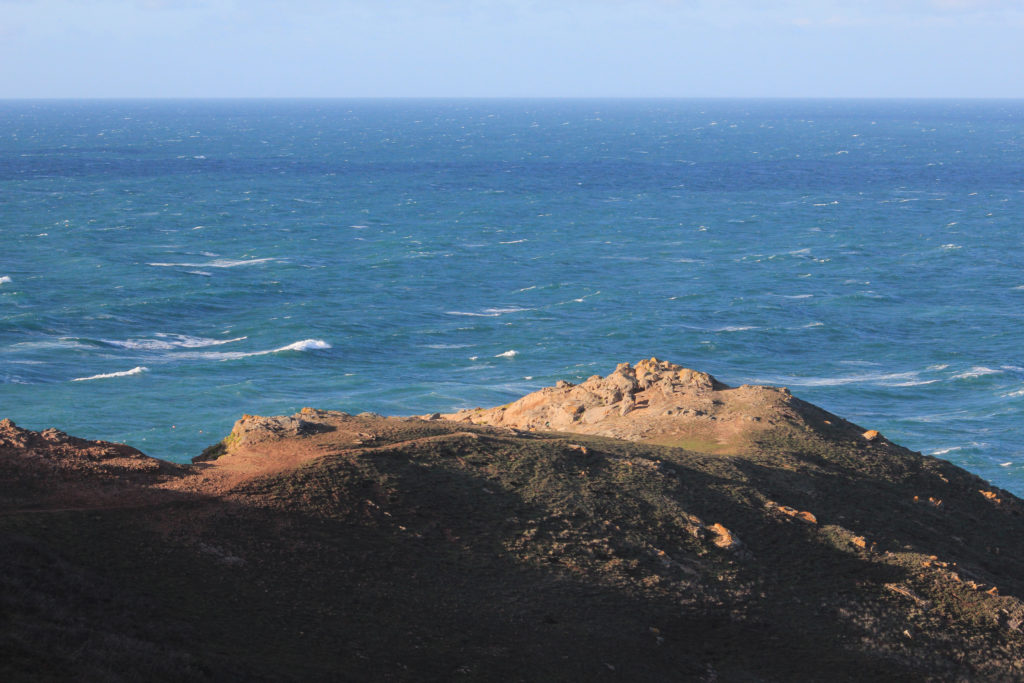
normal exposure 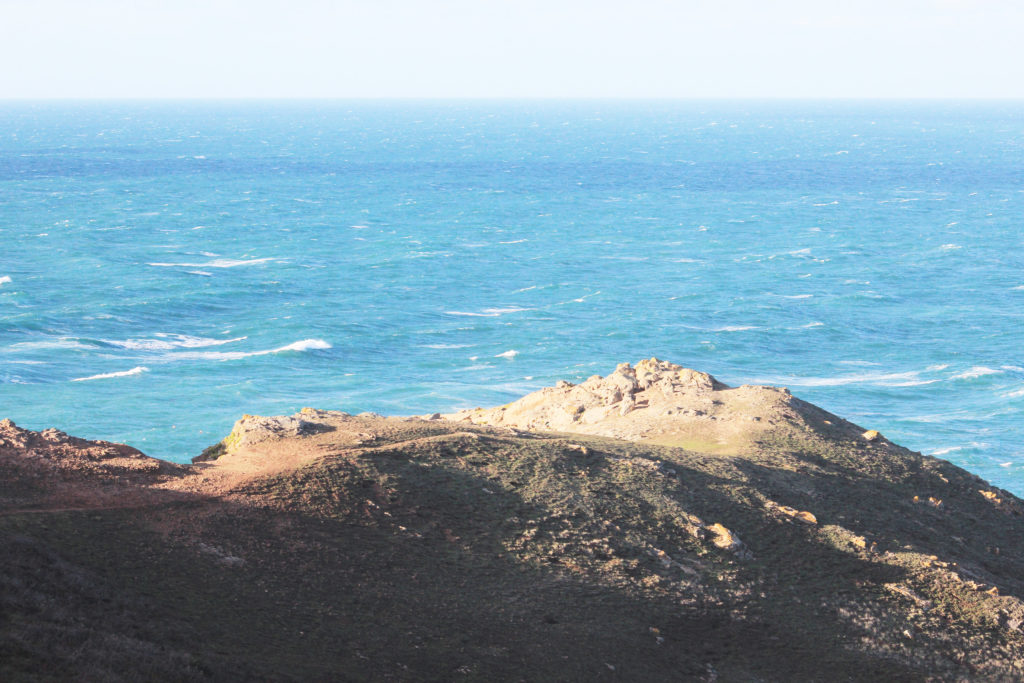
over exposed
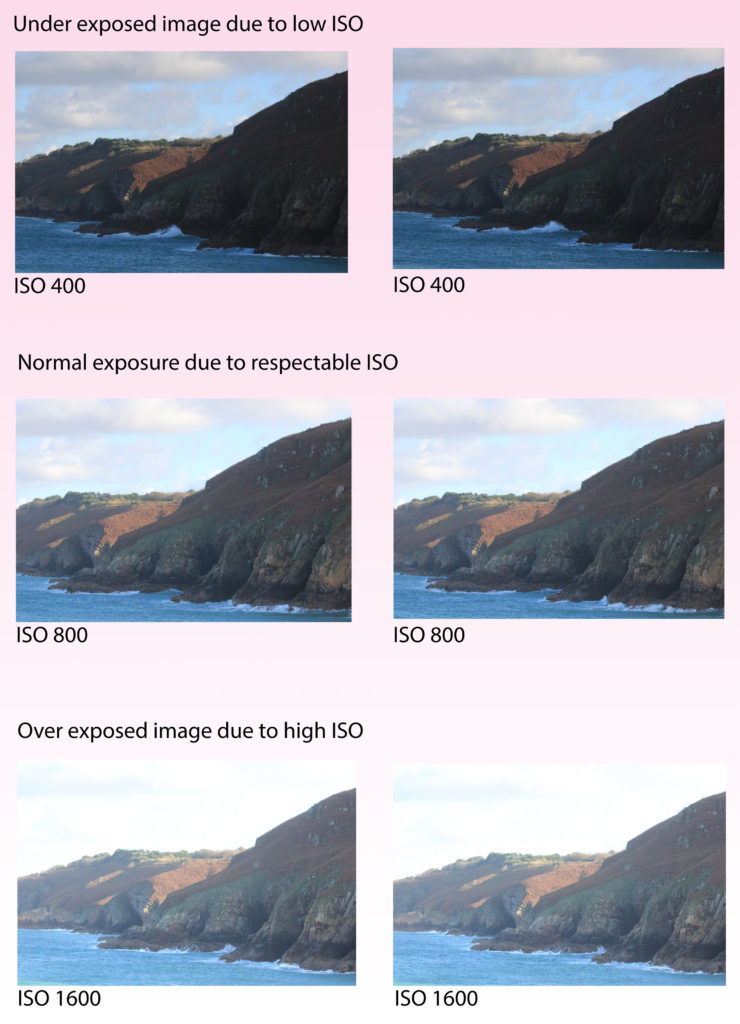
The two images I chose where actually singular photographs with different exposures. Here are an example of using exposure bracketing from under to overexposed, these photos can be used to create a HDR image on photoshop.
Image 3:
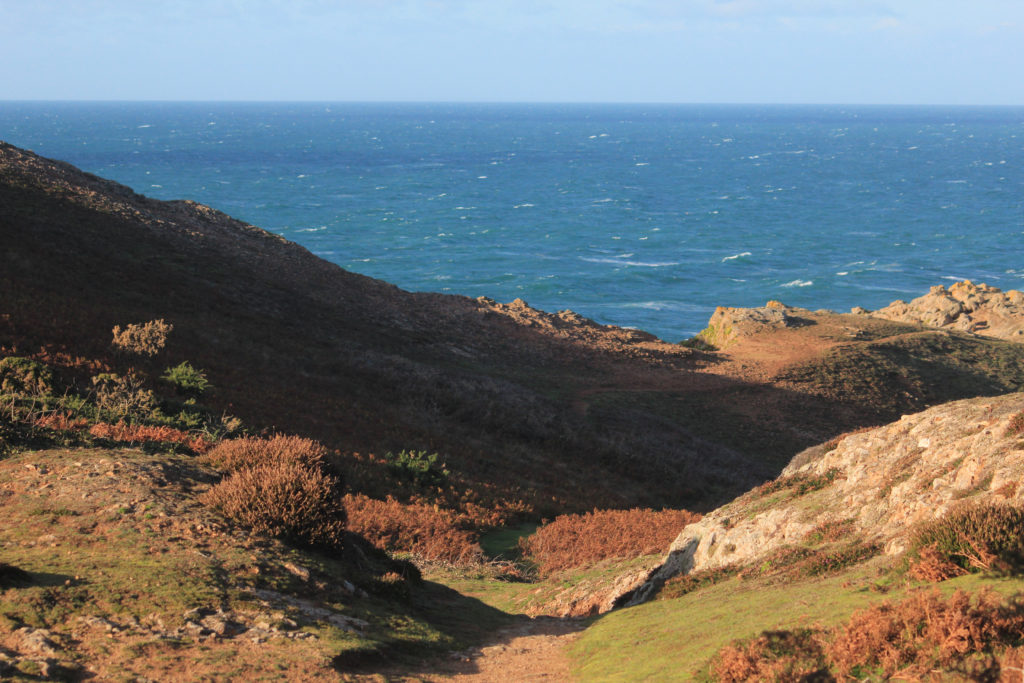
Image 4:
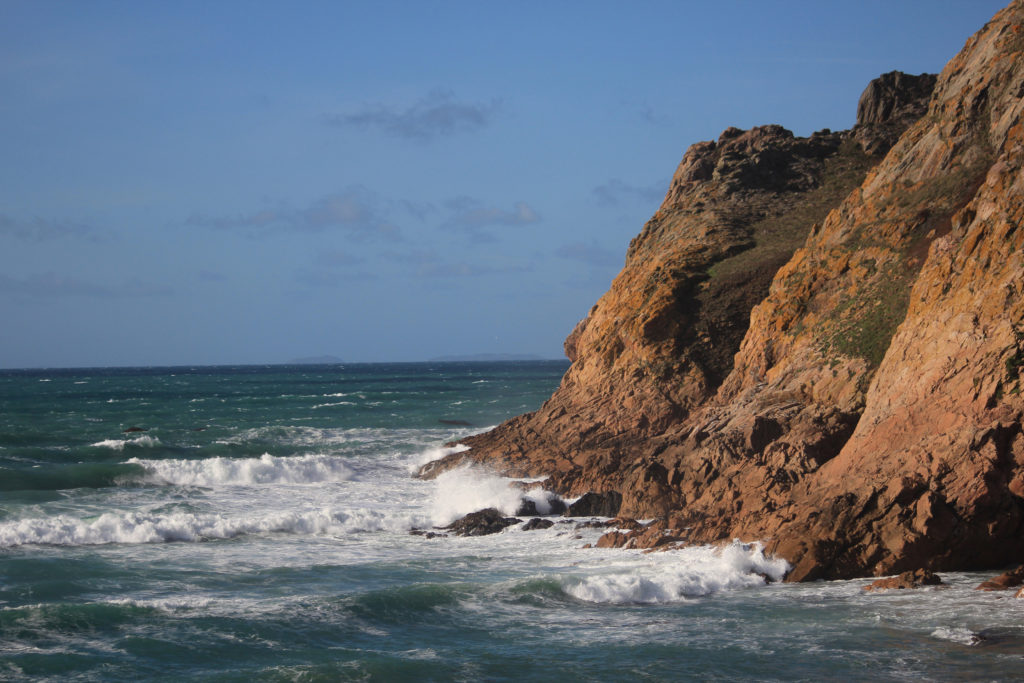
CREATING HDR
During my first photoshoot at Plemont, I experimented with different ISO’s in order to be able to create HDR images in photoshop later on. I used a tripod to keep the camera still while changing the settings (ISO number) between different photos. The ISO’s ranged from 400 to 1600. Later, using photoshop, I automated 3 photos with different exposures; over exposed, under exposed and normal, into a HDR photograph.
