I started by getting all my editing images into folders so I could create and select gifs in order to create moving images. I then further separated each folder into subfolders for each gif I would make per person (around 6 gifs made per person)
Examples of gifs made:
Premier Pro
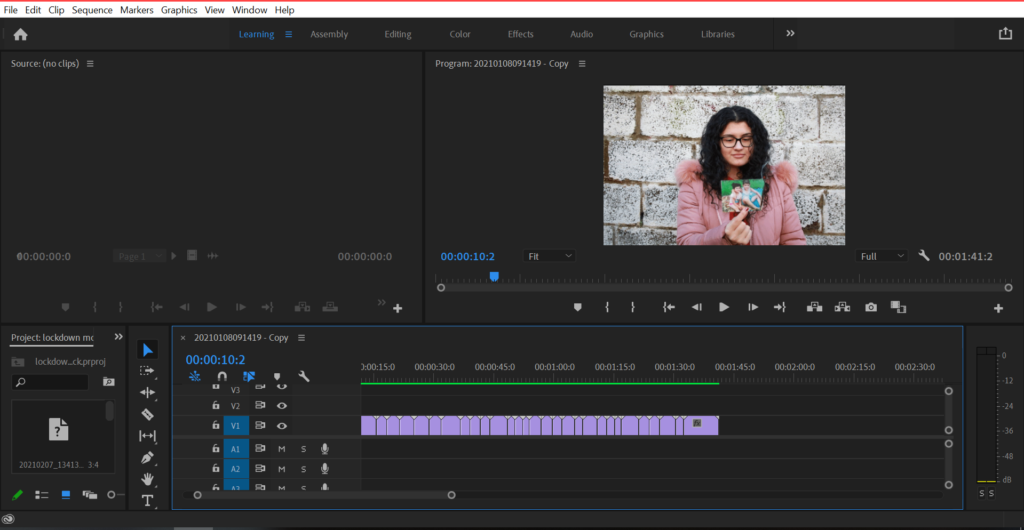
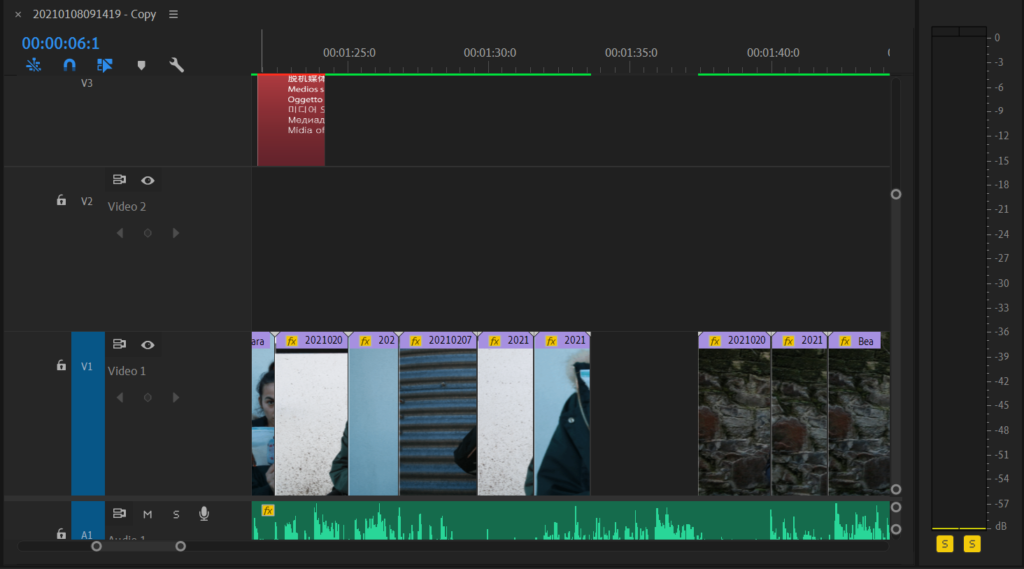
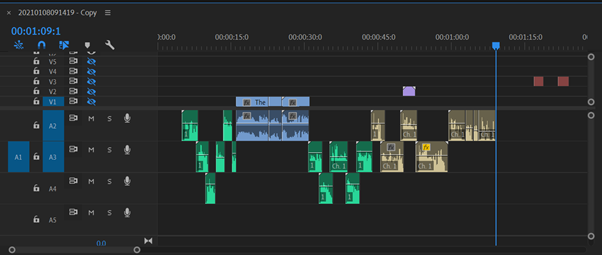
After making all my gifs I brought all my footage into Premier Pro and clicked “Render In and Out” to make sure they wouldn’t lag whilst working with them.
I then began to separate the visuals by people as I thought this would be the best way structurally-wise to do so.
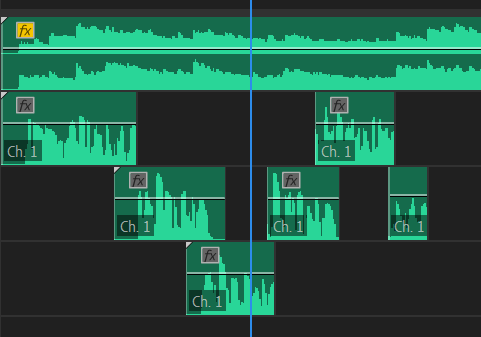
After separating out the visuals I thought the best way to create a storyline would be through the audios as I could put them in a certain order and then place my visuals to complement them. For the beginning I wanted to create overlapping audios so that they would almost fade into each other.
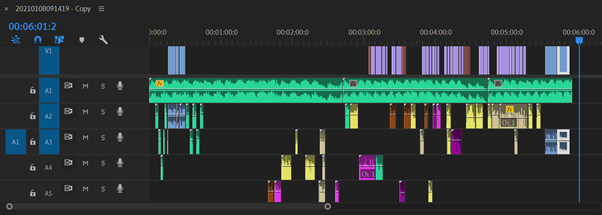
I then began to listen to all audio clips again and thought that the best way to help break down and sort through all the audios would be colour co-ordinating. I did this through 3 colours: tan-beginning of film, yellow-middle, purple-end, brown-unwanted audios
After sorting them out by colour I then organised the colour clips in which order I wanted the audios to be heard. ( I put the brown clips at the end of the film incase I wanted to use them later on)
To avoid awkward gaps I slightly overlapped the audios. I also added in my video clips when I thought necessary.
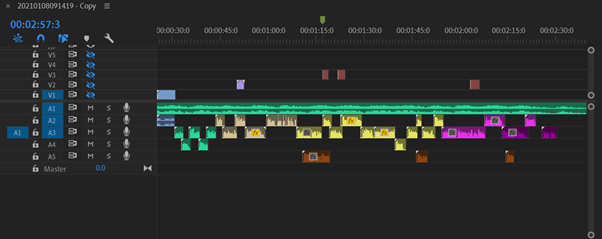
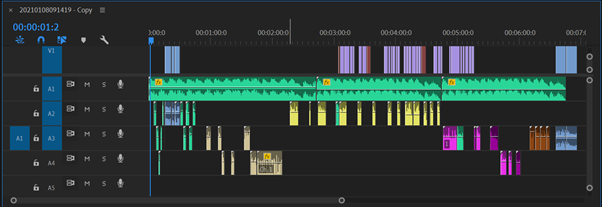
This is what my audios looked like when I finished placing them in the correct place. ( I removed audios as I went along which are shown in purple which i then deleted later on)
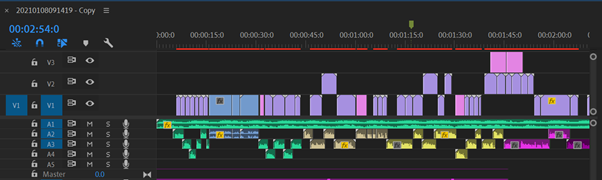
When all audios where finished, I went back to my visuals and started to place them in sections that would work with the audio which required a lot of experimenting and moving around.
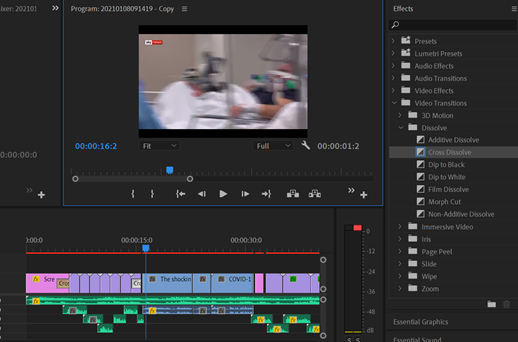
I experimented with effects such as adding cross dissolves and additive dissolves as I thought this helped to make the film look more clean and professional. Note I also added small gaps during my visuals as I sometimes wanted a phrase of the audio to stand out or wait until the clips could align with the audio again as if I didn’t the clips would look messy.
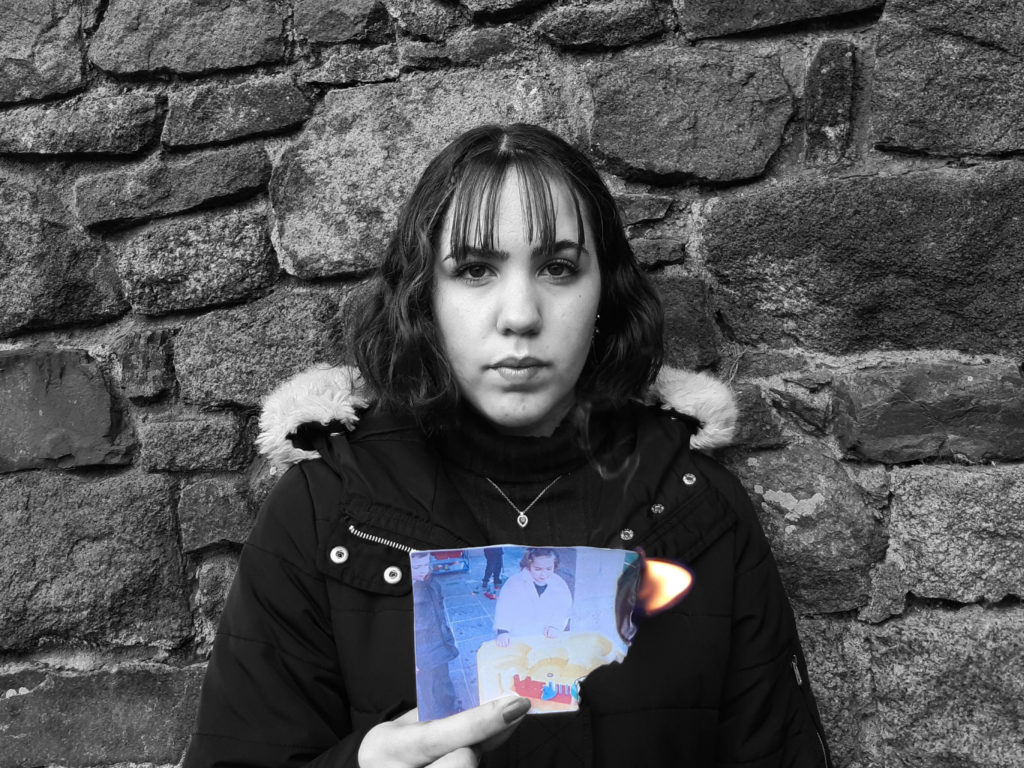
How I edited my images:
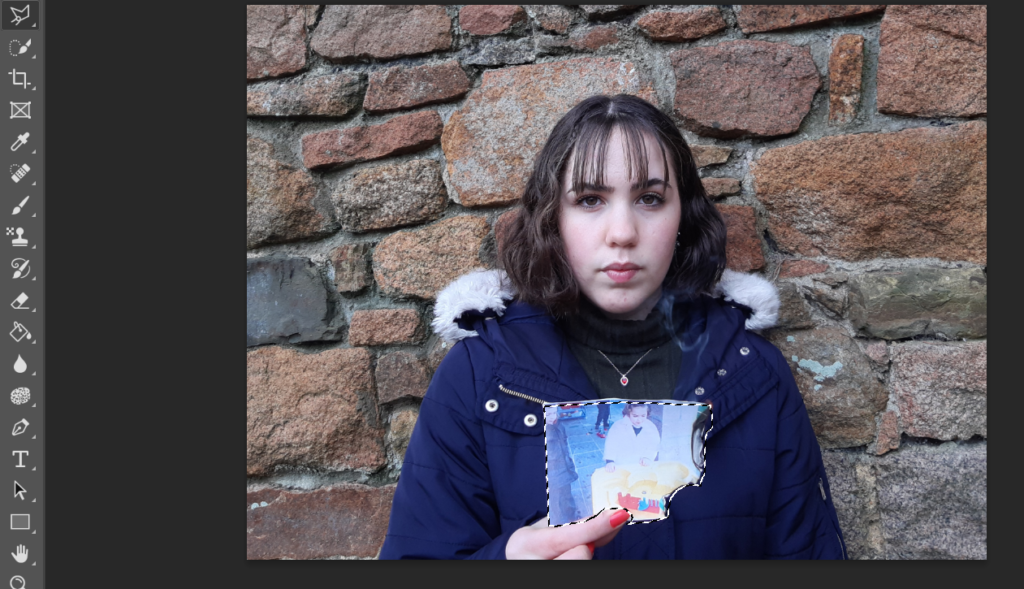
when I selected the images I wanted to use I started off by using the polygonal lasso tool and tracing around the childhood photo
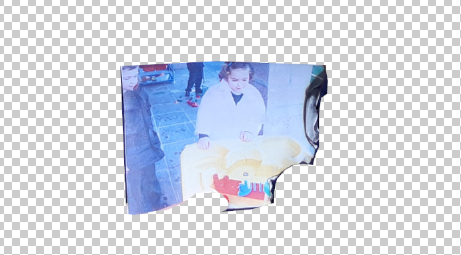
I then copied and pasted to create another layer
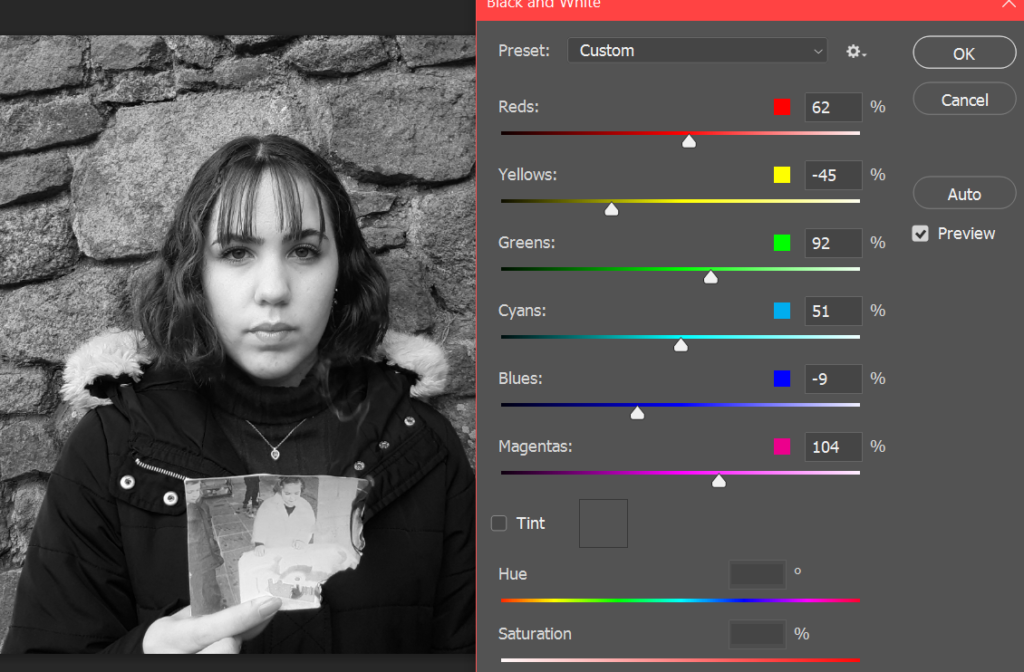
When Clicking on only the background layer, I customised the Black and white filter to best suit my image.
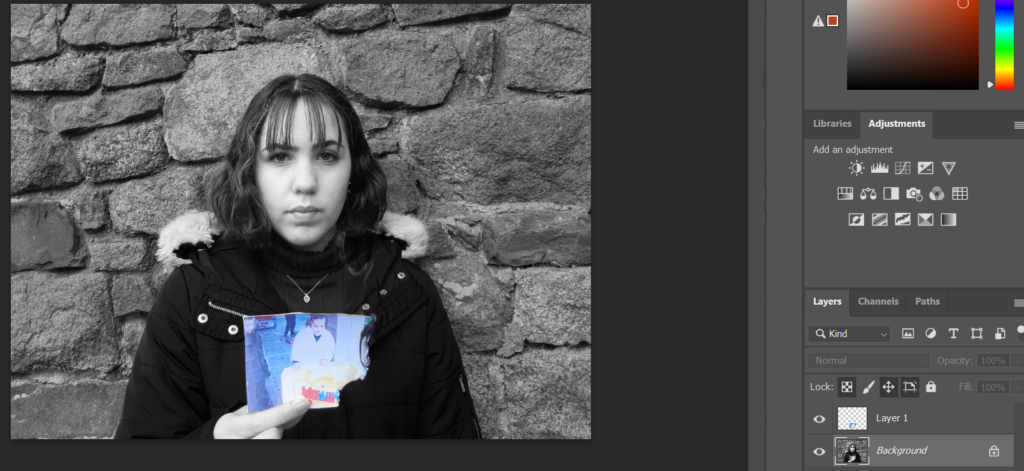
Then when I revealed both layers this 3D effect was created.
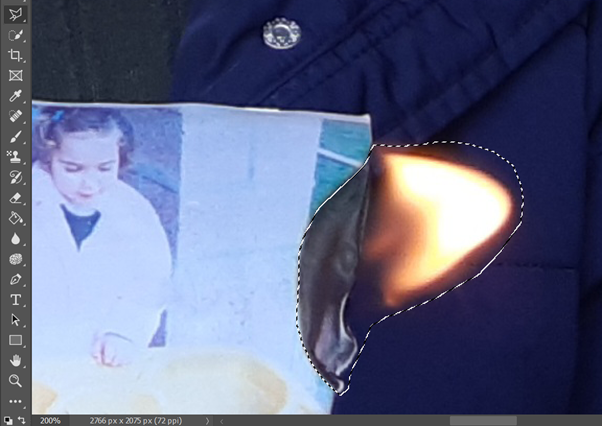
For this picture in particular I thought that I needed more flame as sue to the windy environment it was hard to get large flames. Here I decided to copy a flame from another image and paste it onto this image. To do this I again used the Polygonal lasso tool and traced around the flame. I again copied and pasted to create a new layer and then added this to the image I wanted to use.
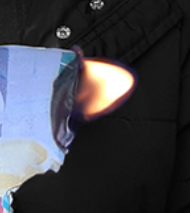
I then went back and forth with the blur and eraser tool until I was happy with the outcome.