SHOOT PLAN
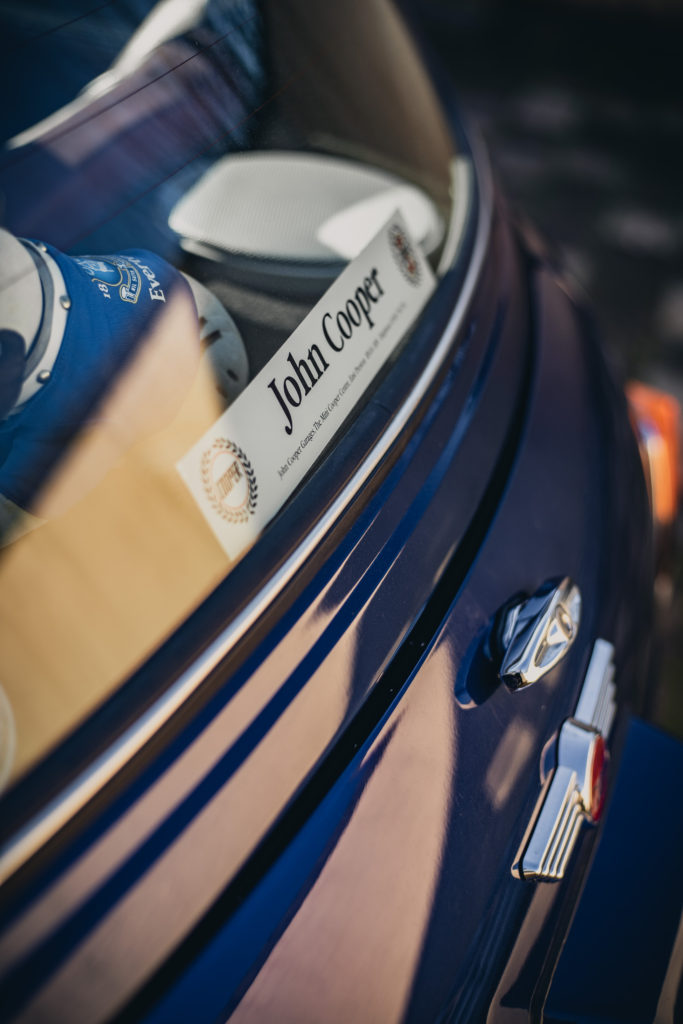
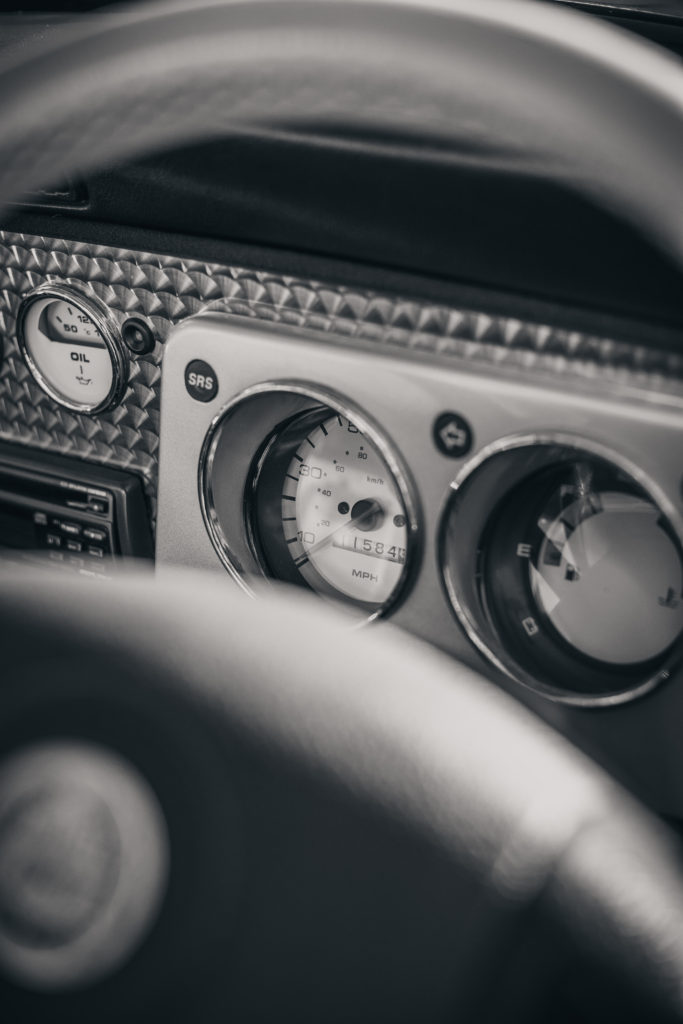
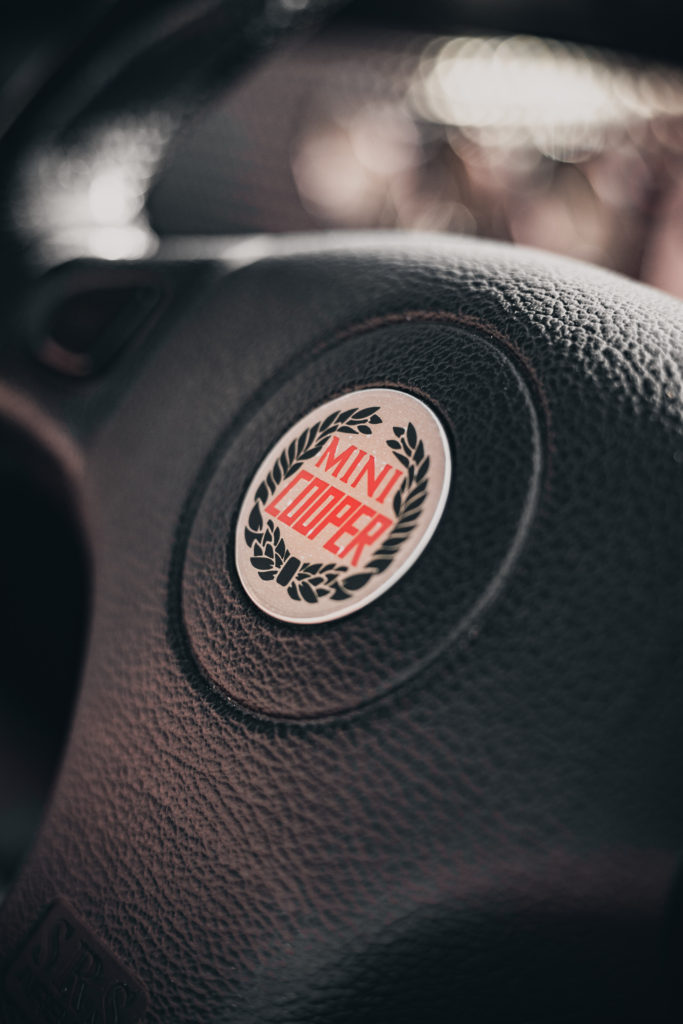
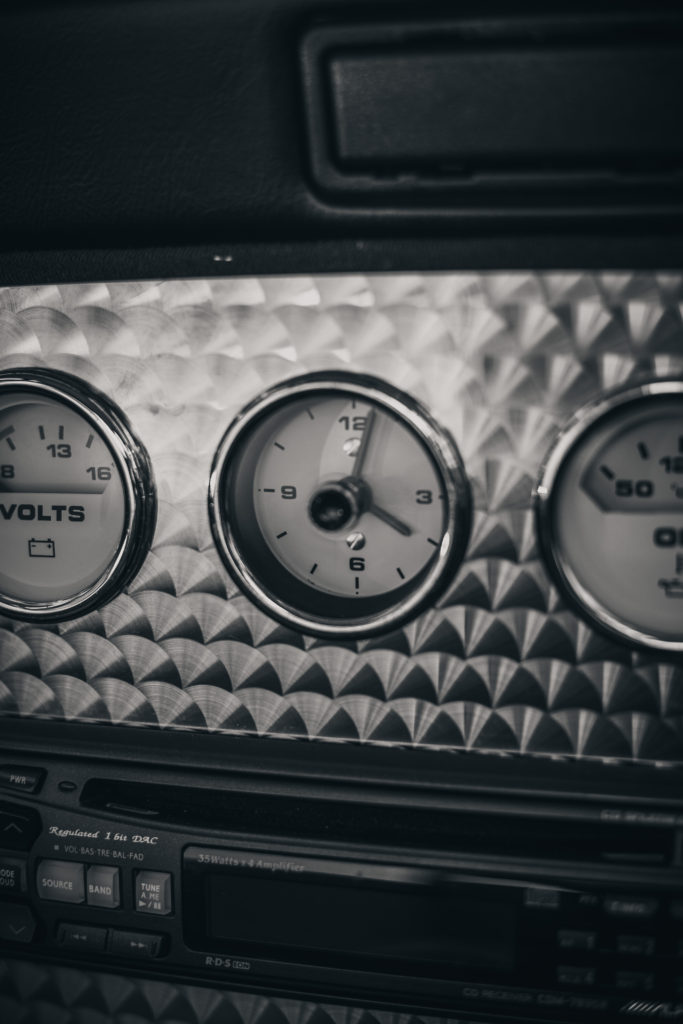
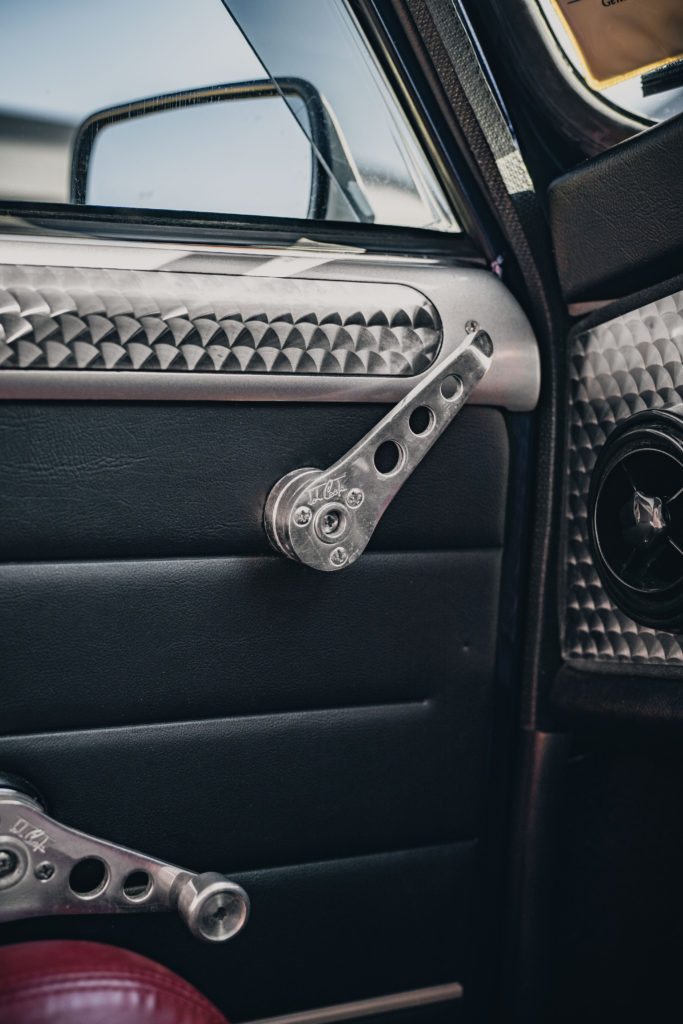
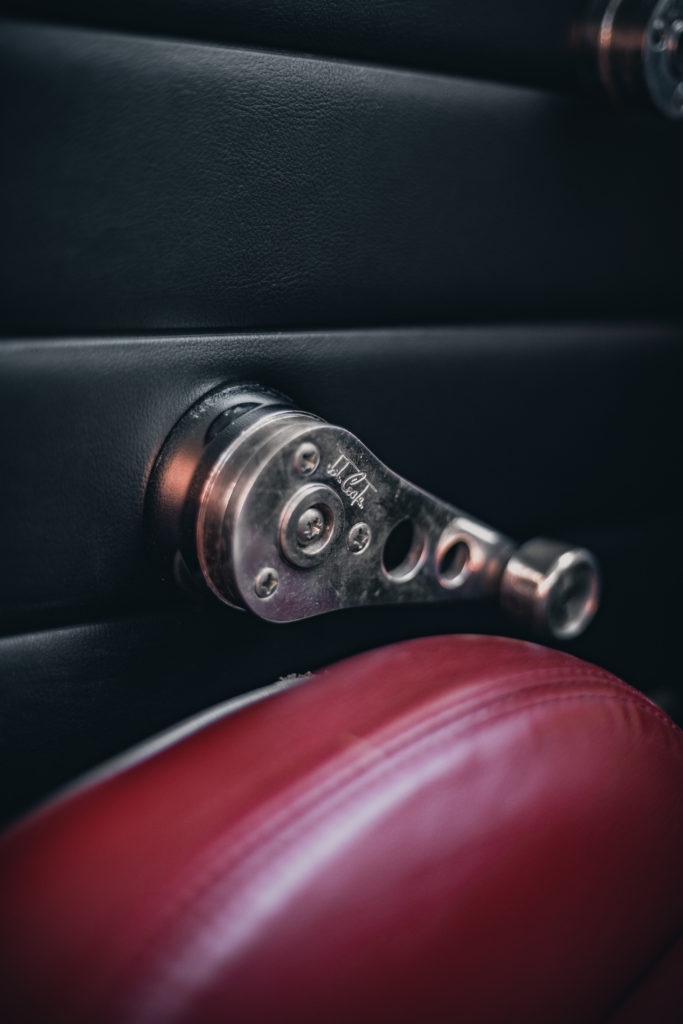
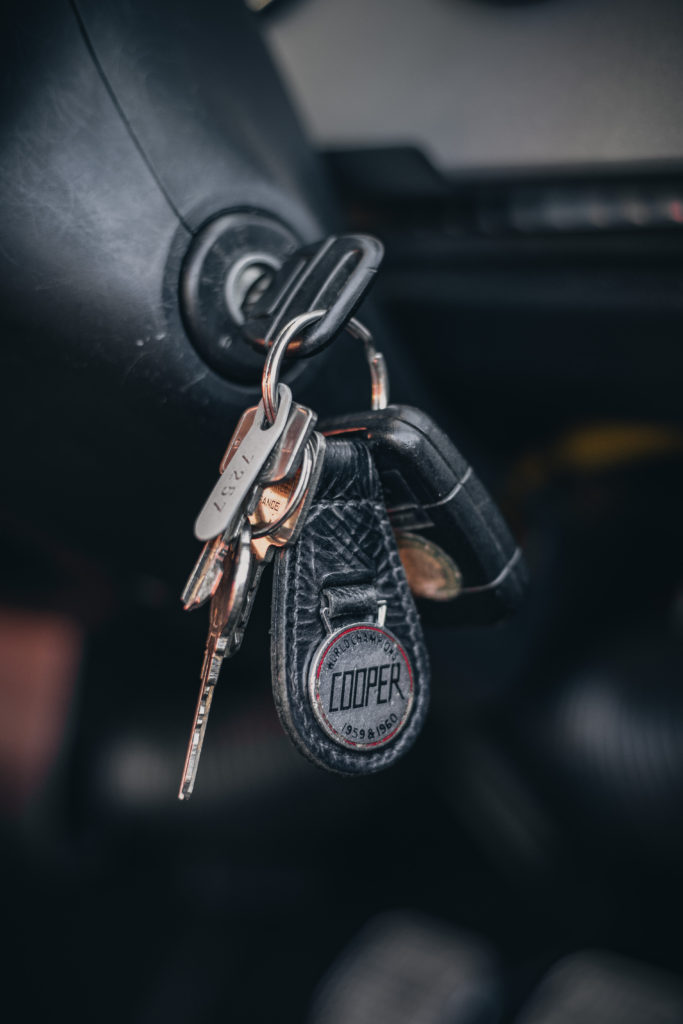
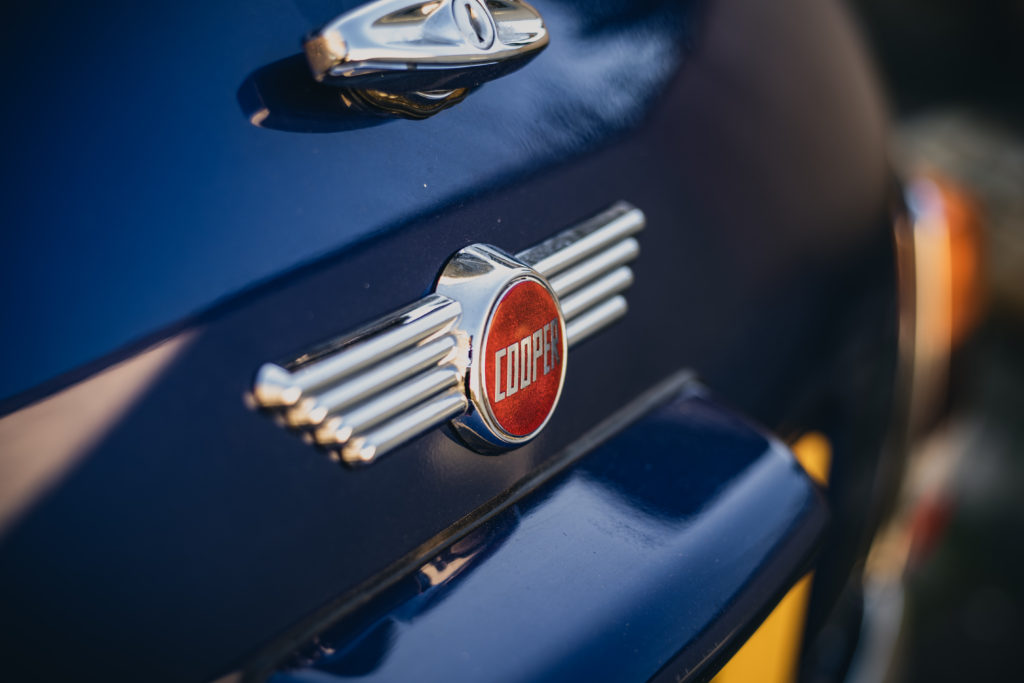
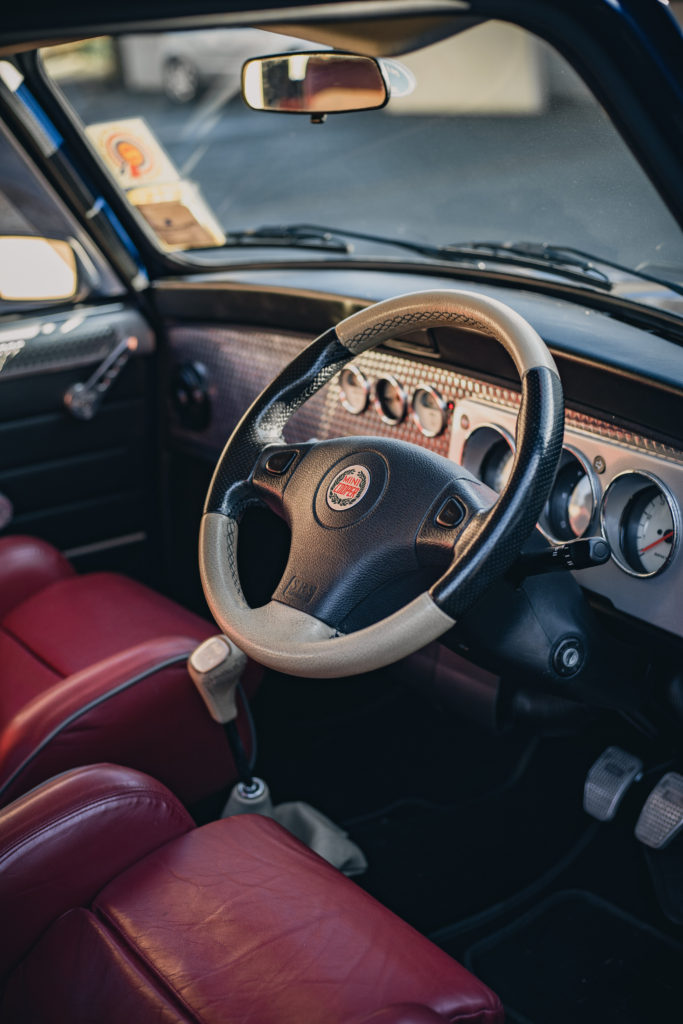
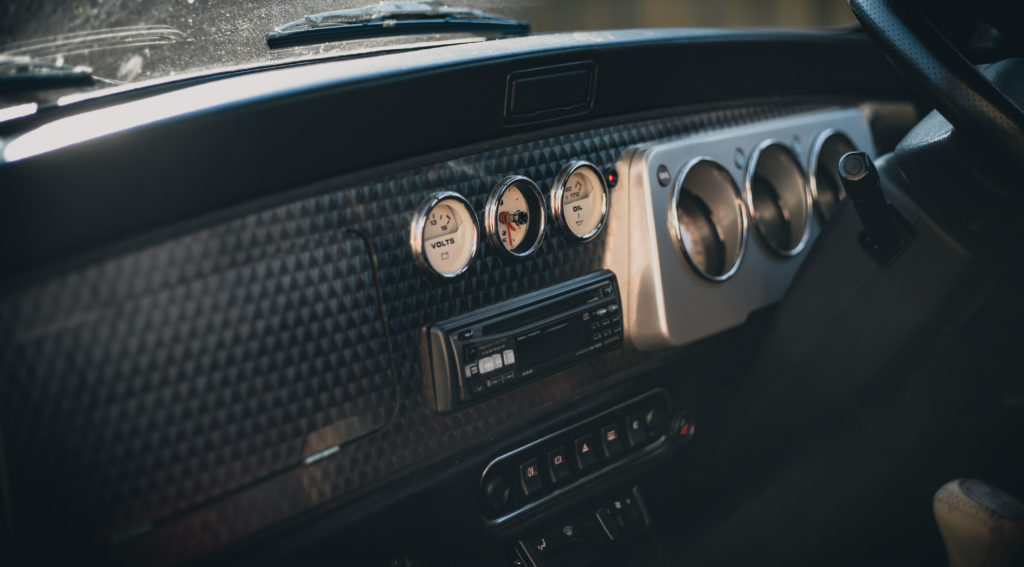
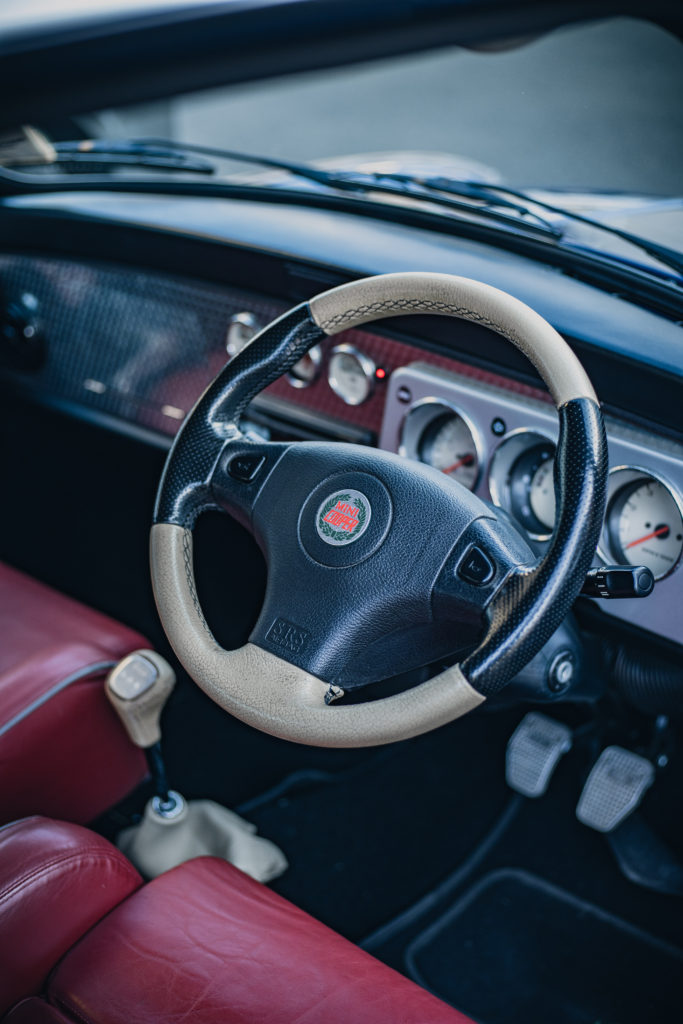
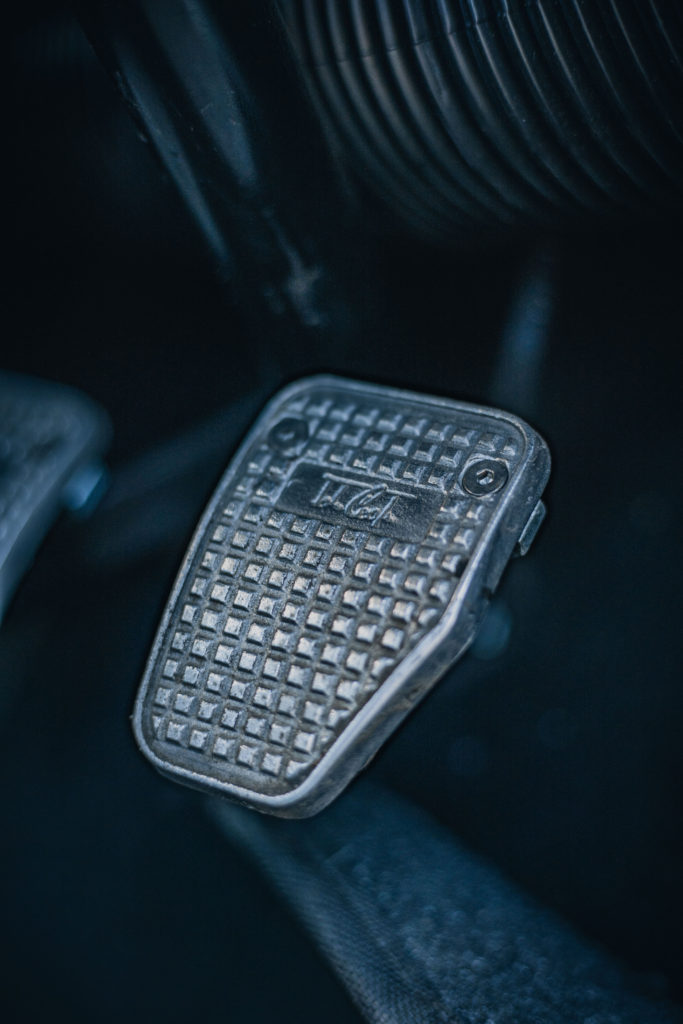
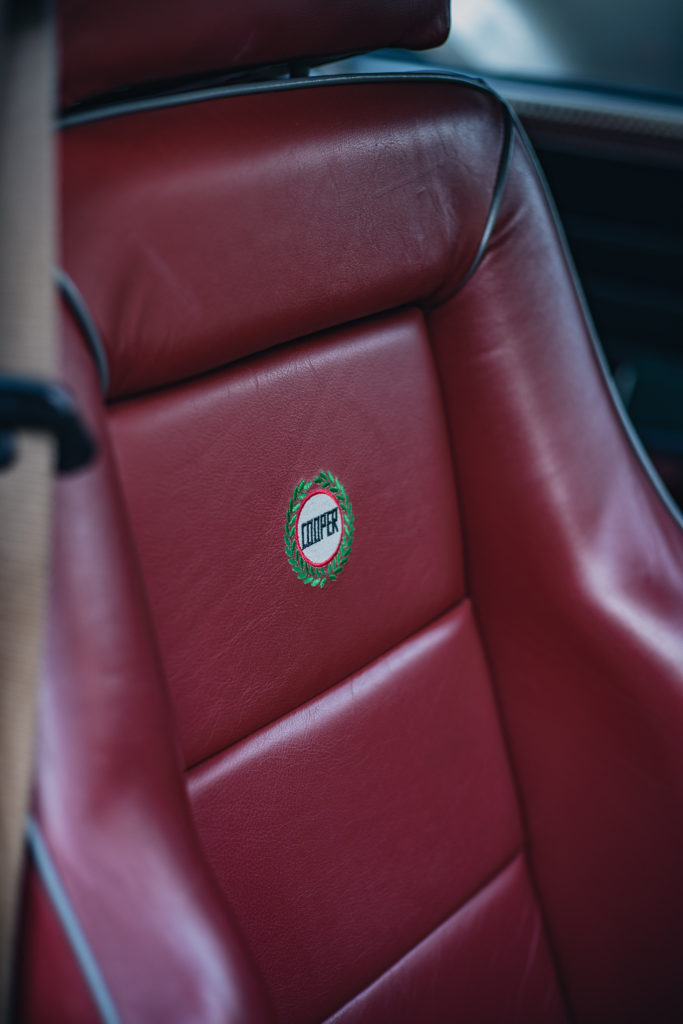
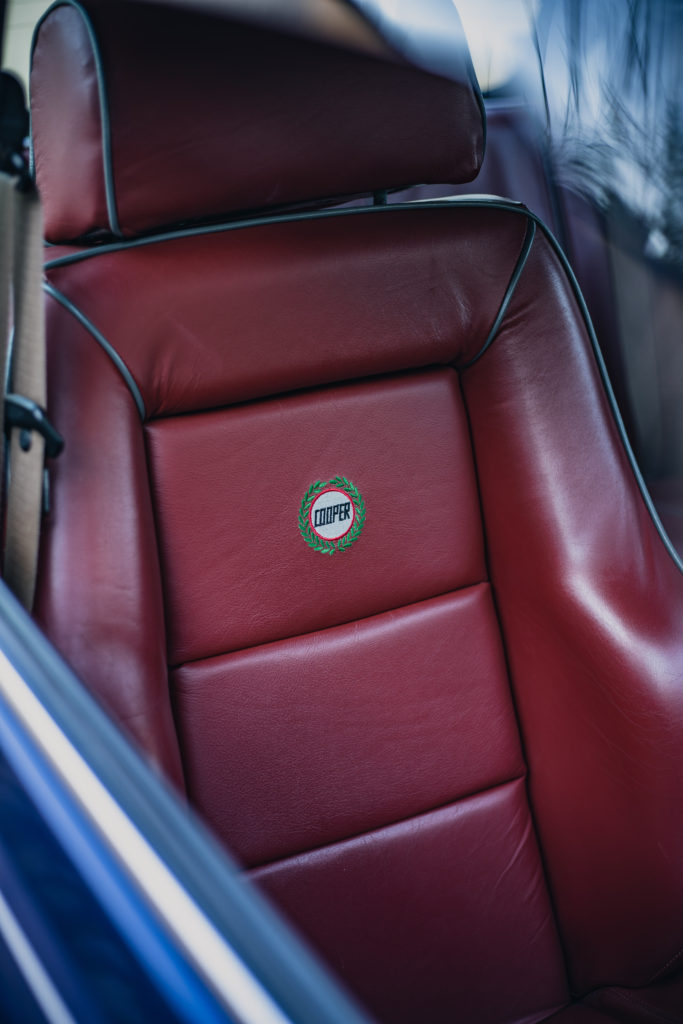
WHAT: For this shoot I want to capture the details inside my grandad’s Mini Cooper S. His car is the Sports pack model so has a lot of racing cooper details.
WHERE/WHEN: In my yard when it is cloudy so there is soft light. Shooting when it is cloudy means that the light is soft so it is easier to expose and the shadows won’t be as hard. The location doesn’t really matter because I will be photographing the inside of the car so I will take the photos in my yard outside my house as I have as much space as I need and can take as long as needed to get all the shots I want.
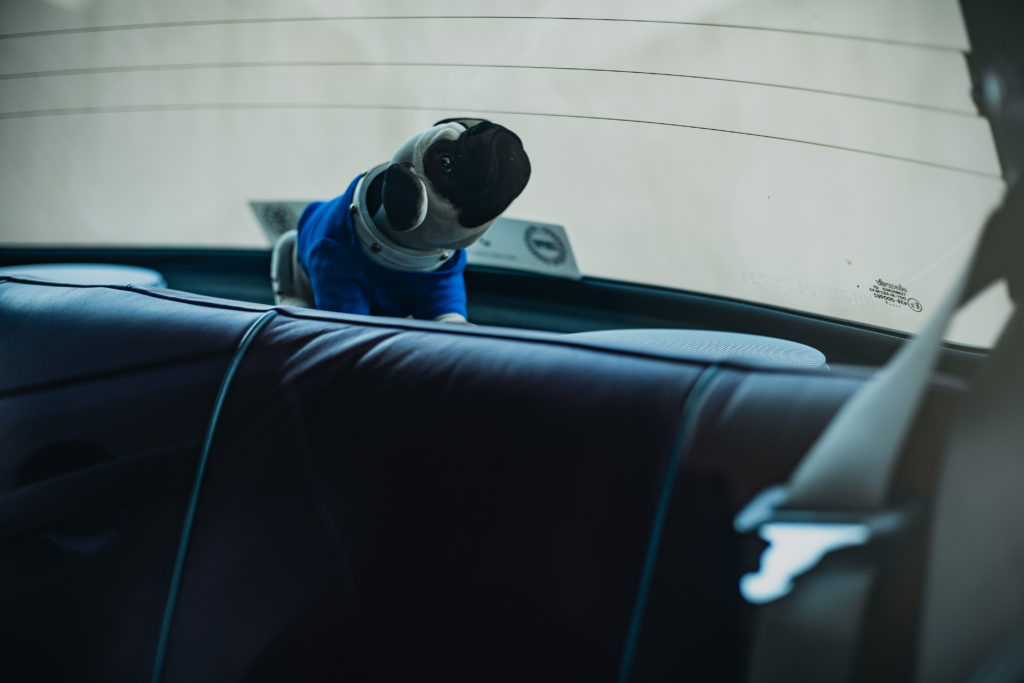
EQUIPMENT: I will use my sony a73 for all these photos as this is my main camera and has the best image quality. I have a selection of lenses I am going to use. I have a 16mm f2.8 lens for the wide shots of the inside where I want to capture more of inside the car. But for all the details I will use my 50mm f1.8 lens as the aperture is wide so it allows more light into the car as the car may be quite dark inside. The 50mm is more zoomed in which means there is more lens compression, this along with the wide aperture will help to isolate the subject from the background and there will be a nice amount of bokeh. I won’t need a tripod for this photoshoot as I want the flexibility to move around and there won’t be enough room in the car.
CONTACT SHEET

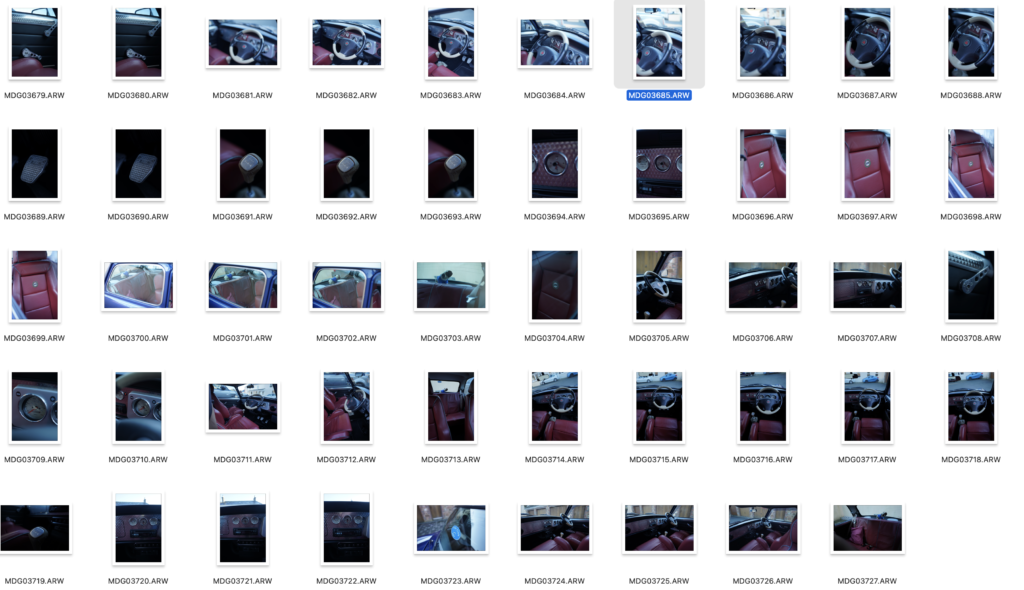
I actually did two photoshoots of this car in the same location. The first one was when we first picked up my grandad’s car. The sun was harsh and there were hard shadows. There was a big diagonal shadow on the car which I though looked good. I took one set of images while the shadows were hard then I went back a bit later when the car was completely covered in shadow so I could take some photos with nice soft lighting.
EDITED IMAGES
I was really happy with the outcome of these photos. I like the way the harsh shadows fall on some of the images. When taking the photos I used manual focus at times to make sure I got perfect focus on the things I wanted. Because there were a lot of logos I wanted to make sure that the whole logo was in focus, this meant sometimes stopping down the aperture from 1.8 to 2.8 or even smaller.
EDITING
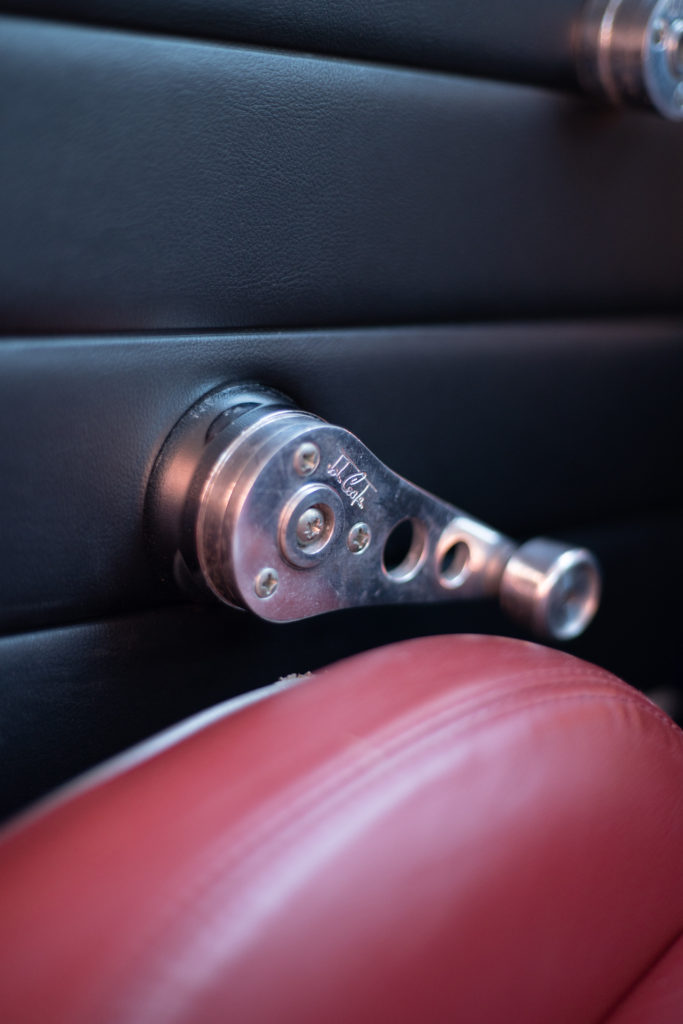
RAW 
Edited
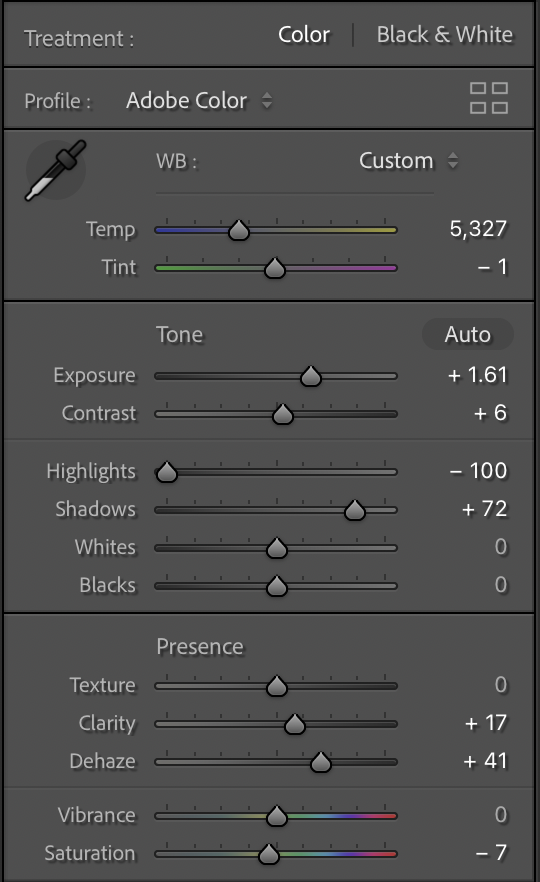
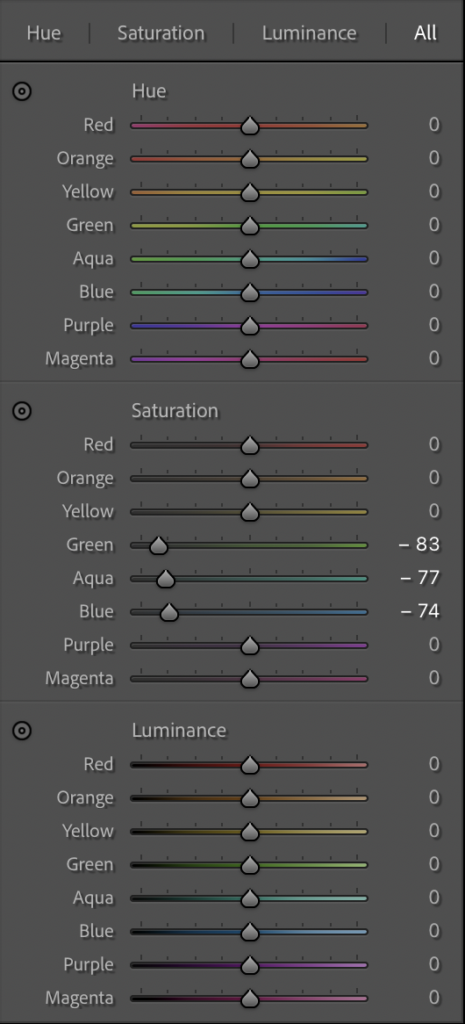
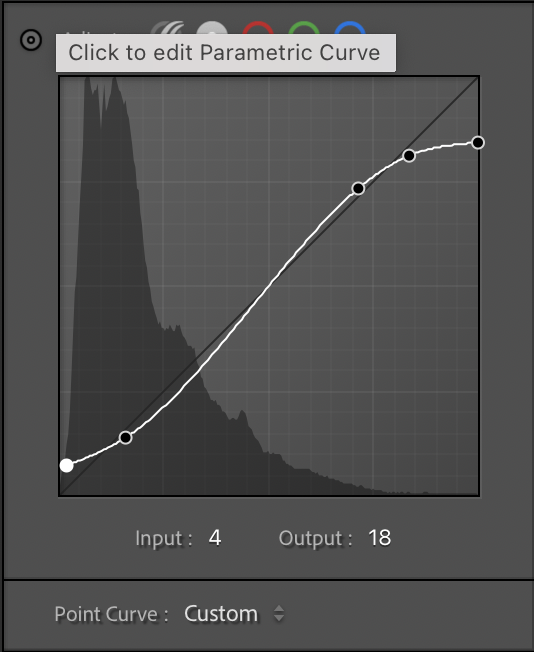
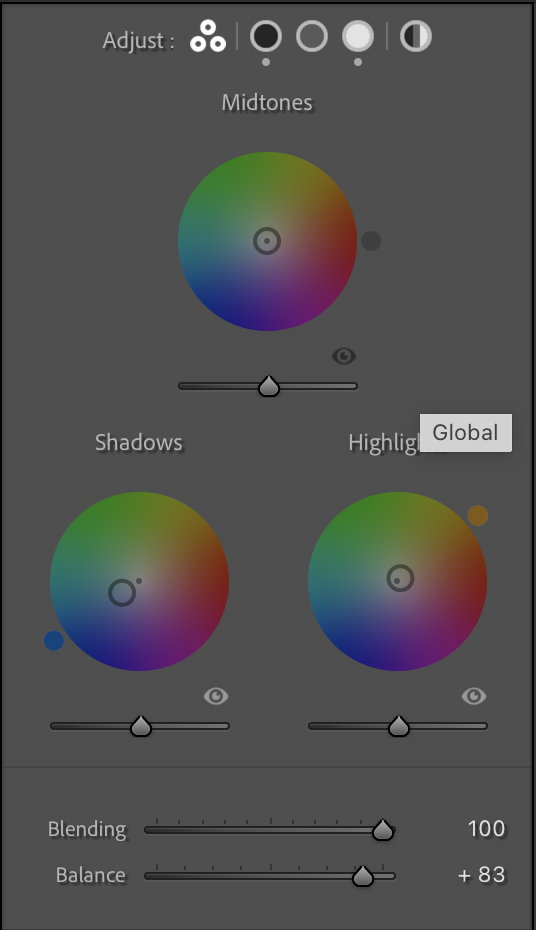
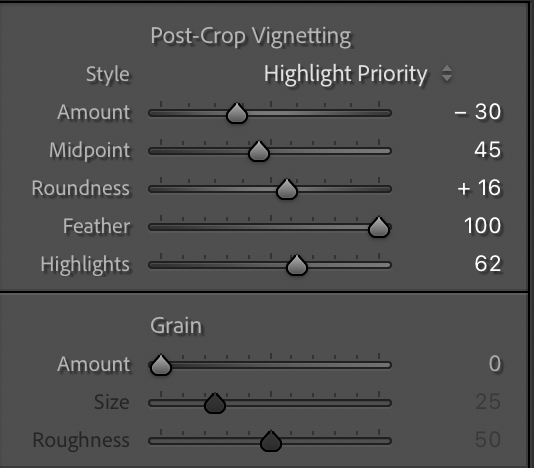
This was one of my favourite images. I wanted to make the image feel cold and have contrast. First I adjusted the basics like exposure, highlights and shadows to correct the overall exposure. Then I added an S Curve to add some contrast but raised the blacks to give it a more filmic look. I added blue into the shadows and a little yellow into the highlights. The blue in the shadows really makes the image feel cold. I then desaturated the blues and greens so the blues were not overpowering the image. I added a vignette to add focus to the handle.
I didn’t edit every image the same as some of the photos didn’t work as well with the edit. I made some black and white to show variety and because they looked better in black and white.

