
HOME LANDSCAPE SHOOT-
My film project starts off with a series of landscapes, only a couple seconds long but they serve as the establishing shots, creating the setting of the whole narrative. I had decided after some evaluation of the shots I already had that it would be better if I included some of my house and bedroom as well, to make it more personal, so I just used my tripod and set up in the areas I planned to use.

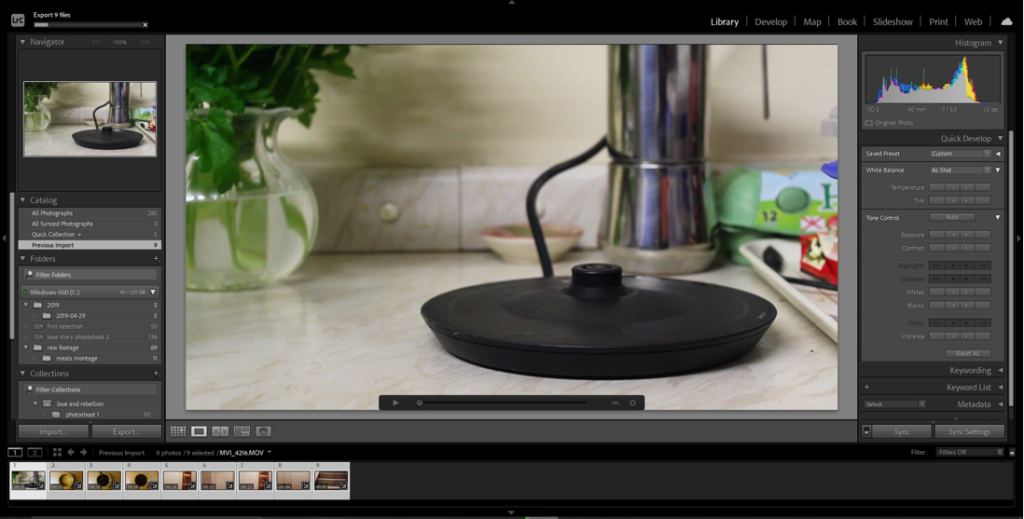
After selecting only the video that were successful (not over or under exposed, everything in frame, not too shaky), I imported them into Lightroom and made some minor edits, mainly focusing on the making the colours similar vibrancies to the rest of the beginning landscapes, and ensuring they were all as bright and clear as each other, to make them all a cohesive set even though they weren’t filmed on the same day.
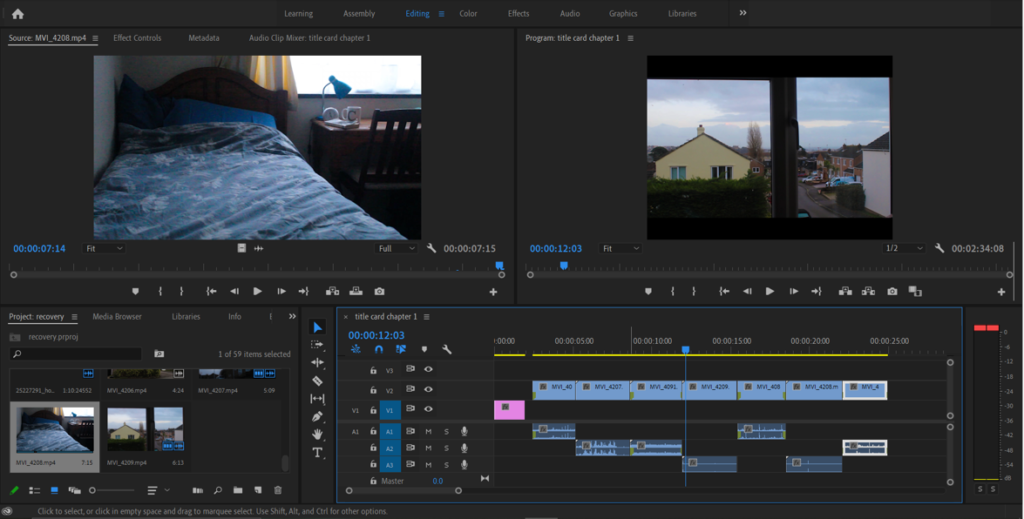
Then I exported them out into Premiere and worked on trimming them to the same length as the other clips and inserting them in-between the natural landscapes, mimicking the way the rest of the film flicks between shots of inside the home and outside in the woods. All in all, I like the way this turned out and I think it has the desired effect.
OTHERS-
Because my plan is detailed enough that I know exactly what shots I need, I’m able to film whatever I’m able to and don’t have to do it all in chronological order while making it up on the spot. Because of the natural lighting fading quite quickly at this time of year, I was only able to film bits inside the house that were more object-focused, or were directly near a light source.
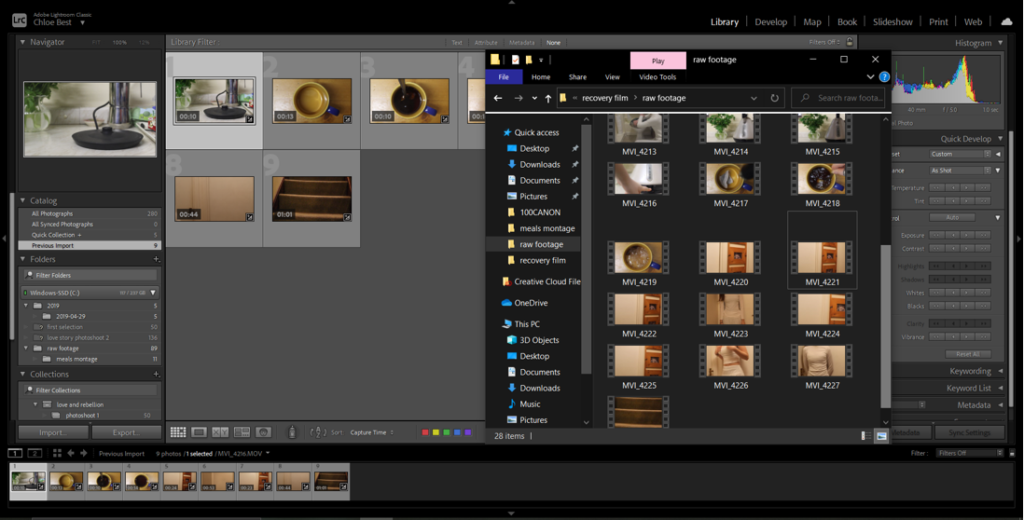
After I was happy with what I saw in my camera, I moved it into Lightroom and cut down any footage that was out of focus in a way I didn’t like, or where the framing was off, or the timing. I made the same sort of minor edits to the final chosen images that I have to the rest of the videos; just small colour corrections and adjustments to brightness.
Next, I carried on with the same routine and exported them into Premiere and trimmed or spliced them into their respective chapters of them film, still just placing them either directly before or after another clip as they were planned to, or just in the general region they would be in the film if the footage for before and after hasn’t been shot yet. This is good as it gives me a better sense of what pieces I am missing and have to prioritise, and a better idea of what the film looks and sounds like as a whole.
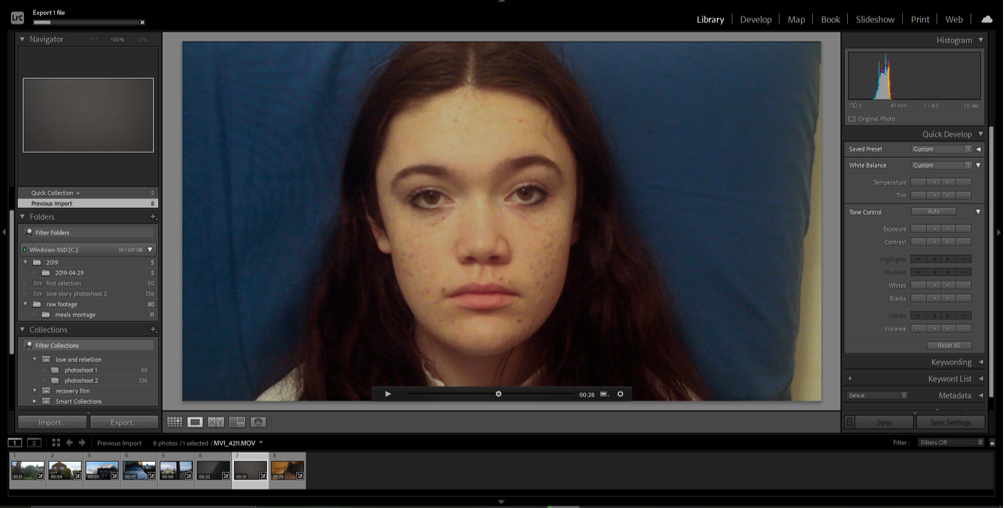
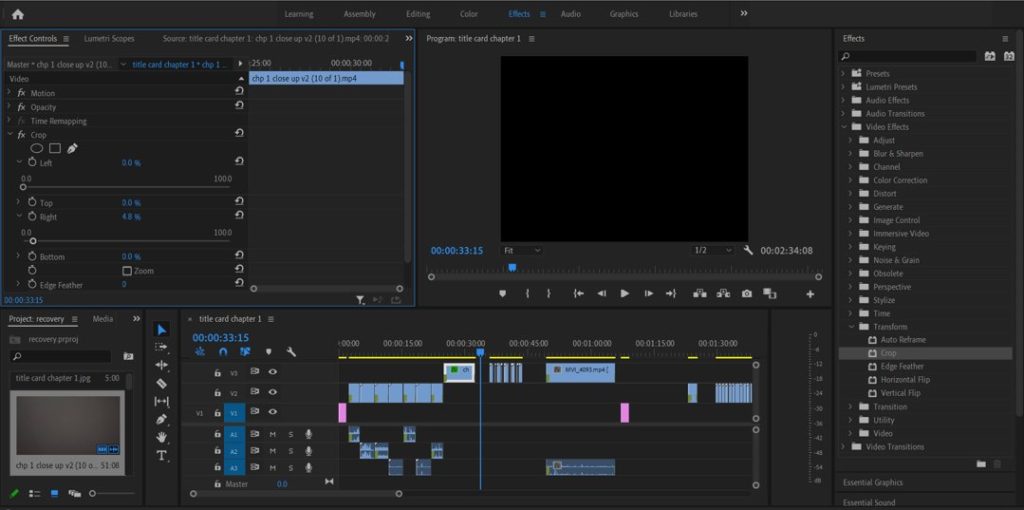
This shot was more challenging to edit as I had to make not only a fair few corrections and adjustments to the light and tint of the image, but it was also framed slightly off so I had to crop the actual video to avoid any weird borders or off-centre clips. I figured out the easiest way for me to do this was, after editing it as much as I could in Lightroom, to export it out into Premiere as is and use the Crop tool in the Effects bar to trim it how I needed, and then (still in the video effects section) to use the Motion tool to re-frame it in the centre of the screen and eliminate any unslightly black border.

Altogether these shoots have gone pretty much the same as all the others, which is good because it maintains the same style throughout the whole film, and I’m looking forward to completing the actual filming process soon.