






Shoot Plan
WHAT: Take some images of his garage where he kept his mini highlighting details and his tools. Also the spare room where there are trophies and stuff he won. I want to capture the details around the house where he lived, and his my Nan who still lives there.
WHERE/WHEN: In my Nan’s house and in her garage. During the day so I can use natural light in the house to take the photos.
EQUIPMENT: I am going to use my Sony A73 with my 35mm lens to get the wider interior shots of the house and of my Nan. For the details I will use either the 50mm or the 70-200mm zoom lens to really isolate the the details I am capturing. I want to use window light for most the interior shots of the house and not use the ceiling lights as they are a different colour and make the photos look really dingy and colour contrast with the cool window light. For areas where more light is needed and definately in the garage I will set up my SL60W light with a softbox. I will put it off to the side of the work bench and point it down onto the desk as this will cause some nice shadows.
Initial Shoot – Test
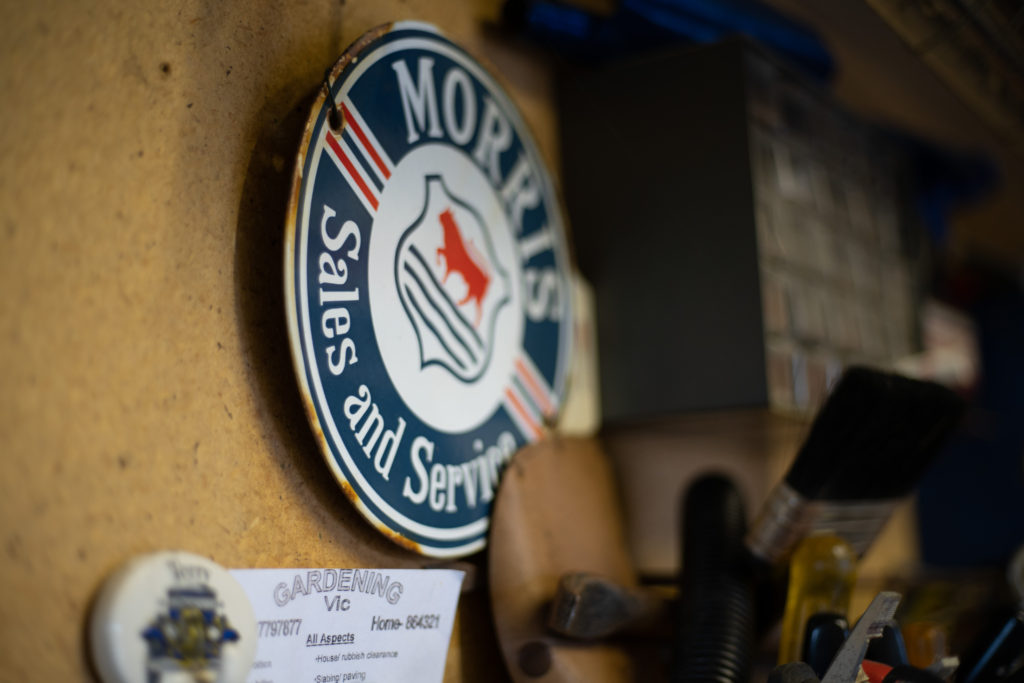
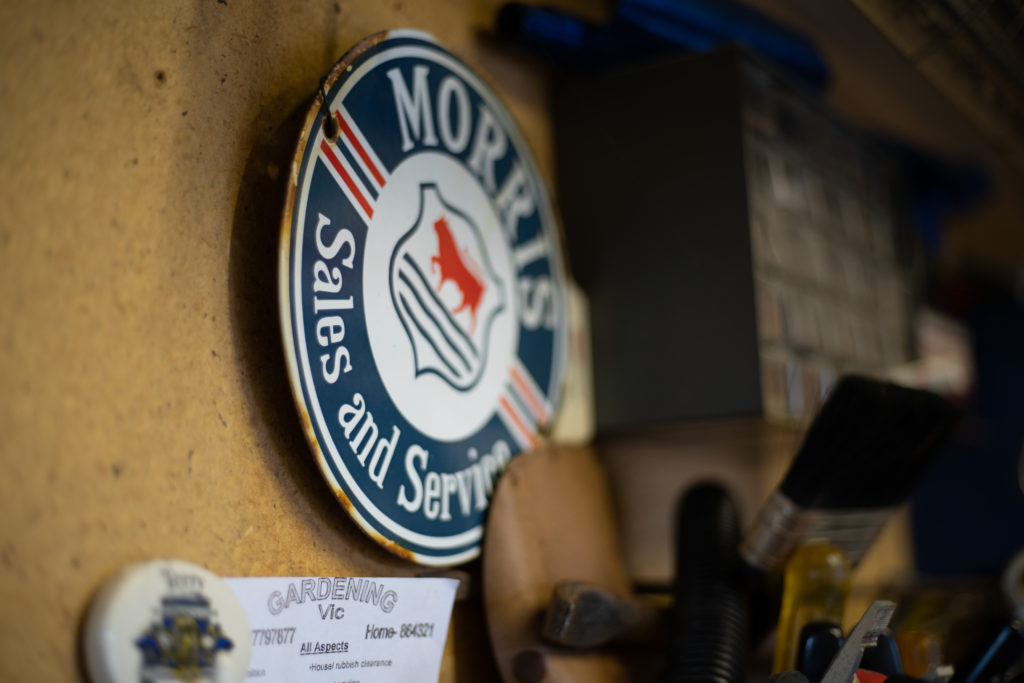

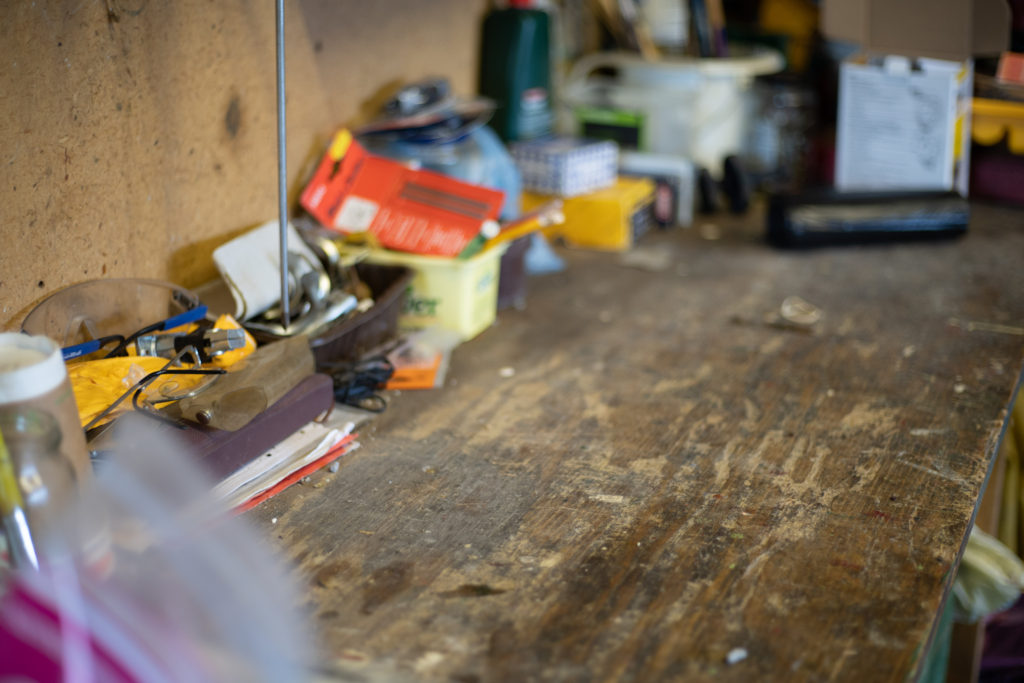
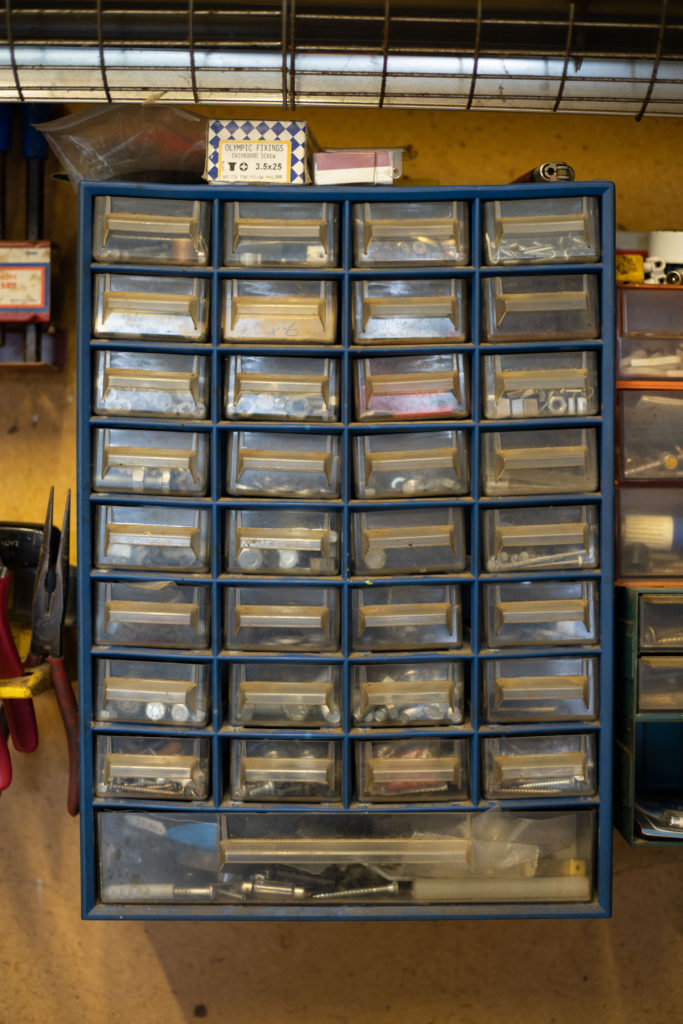
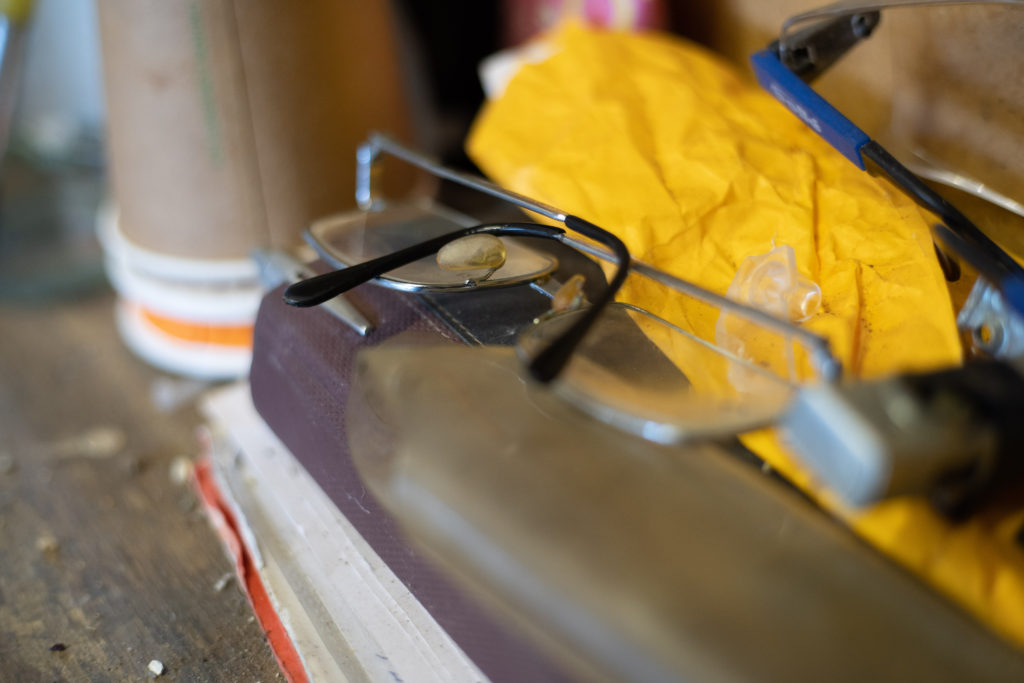


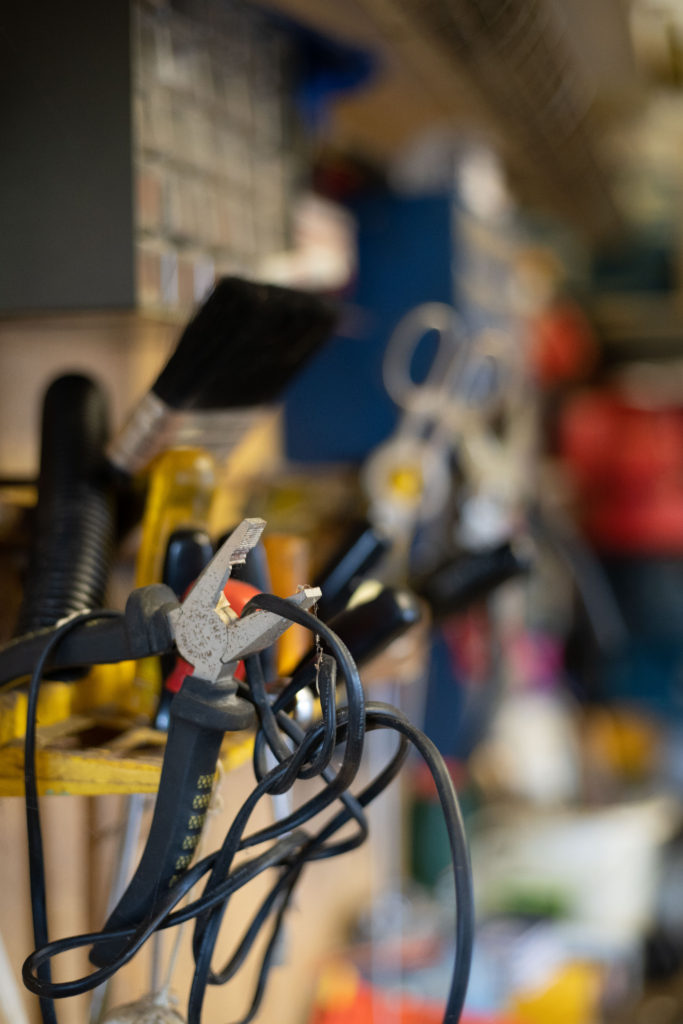
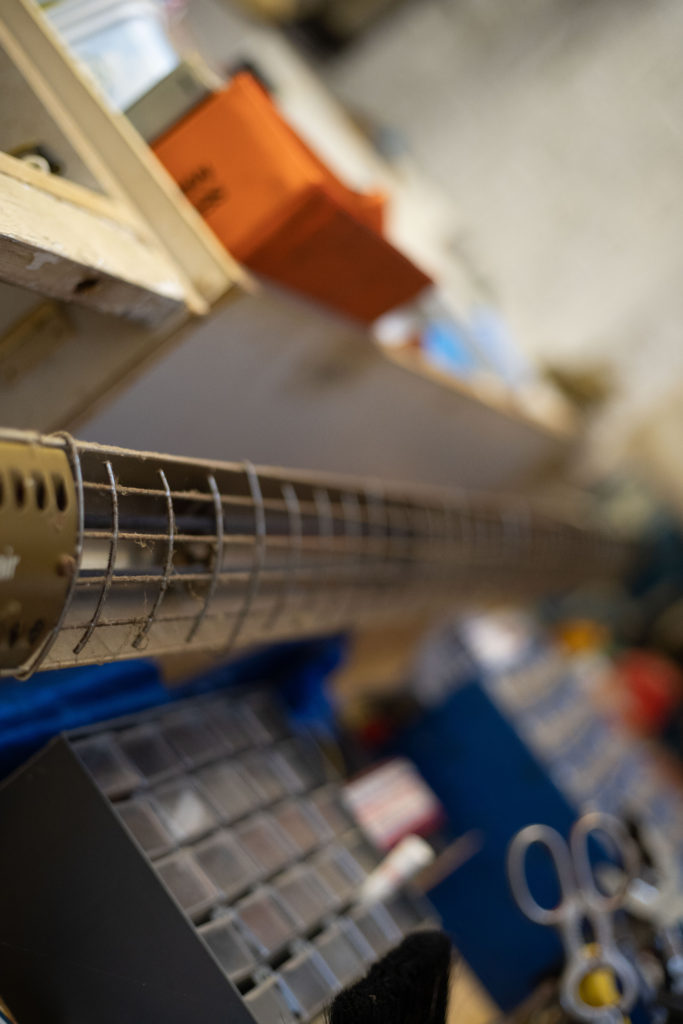
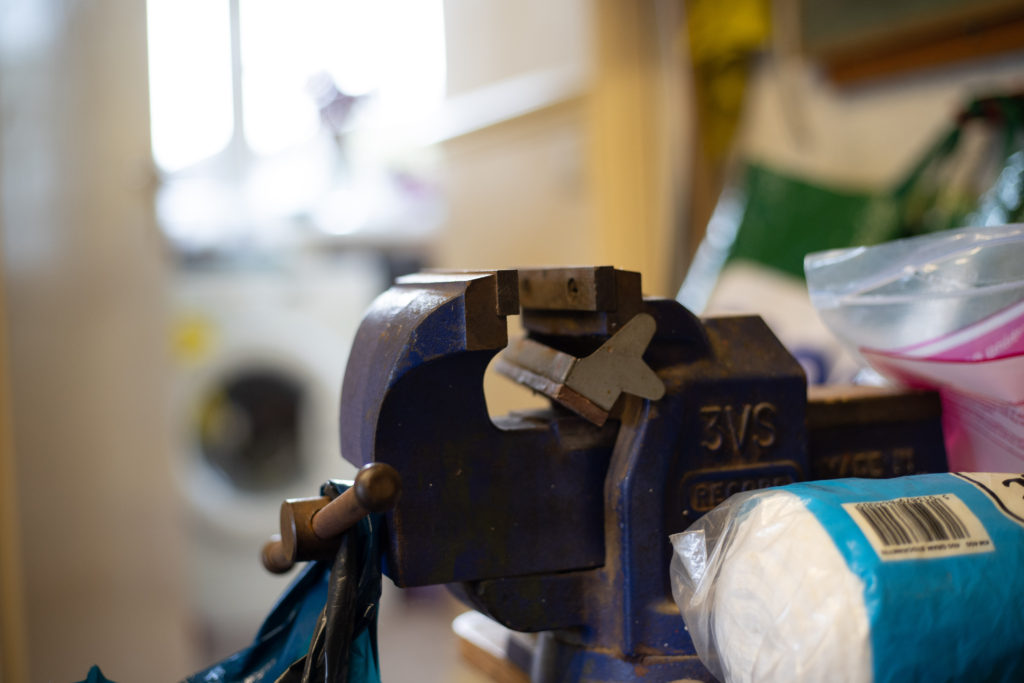
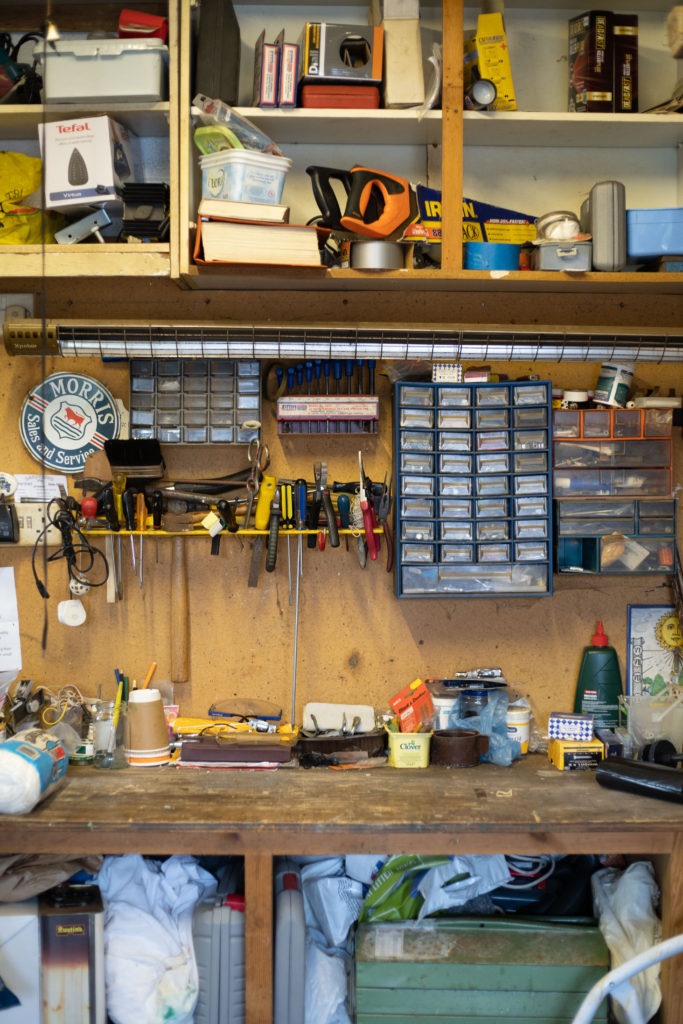
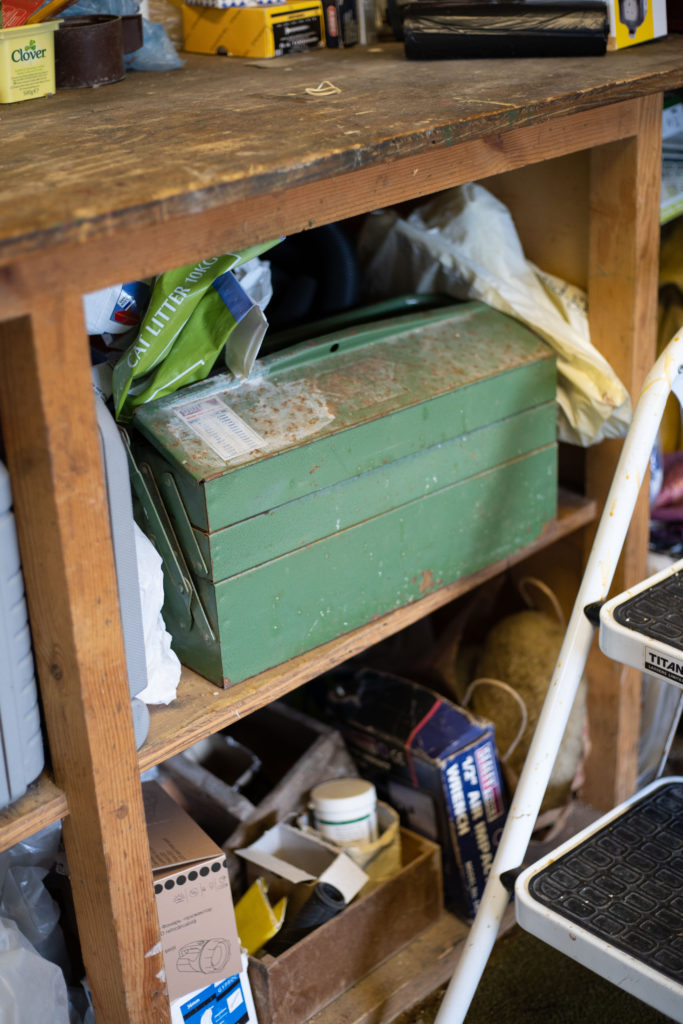
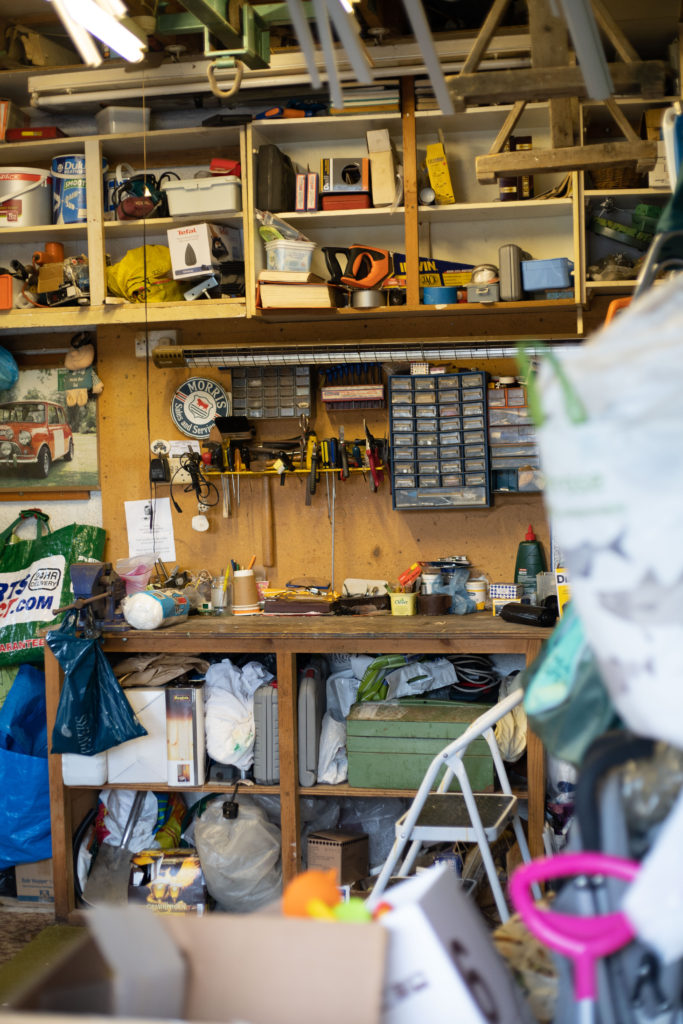
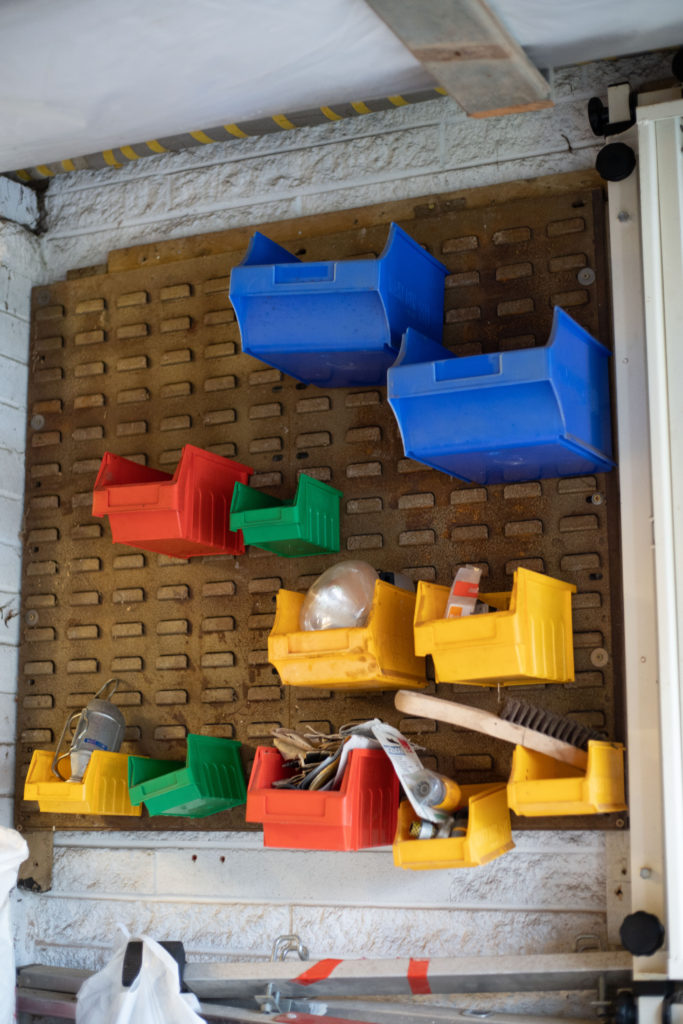
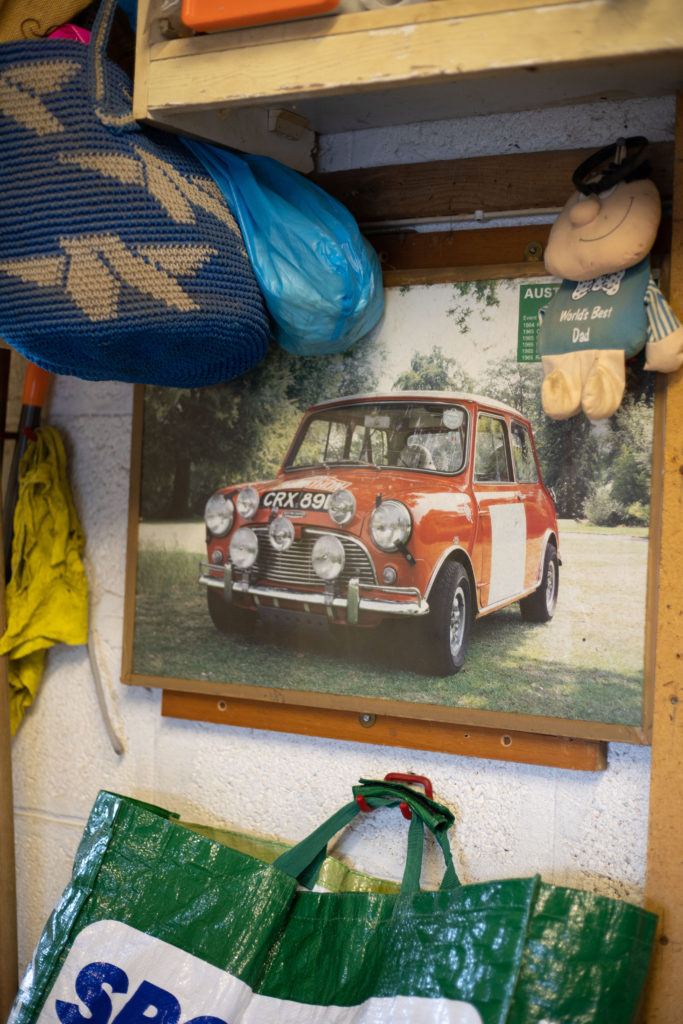
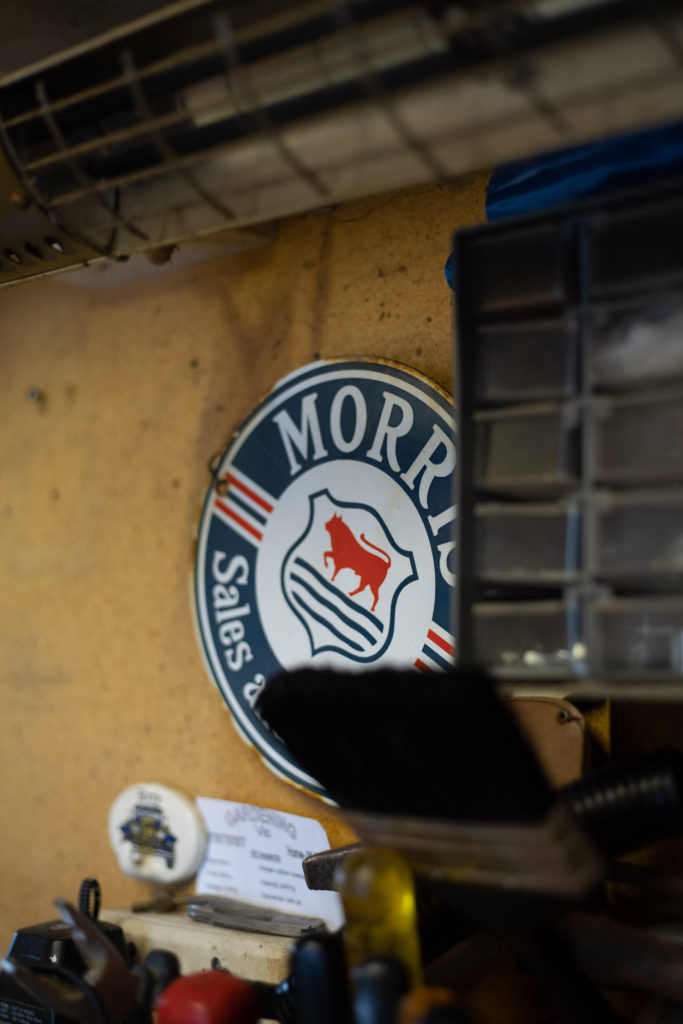
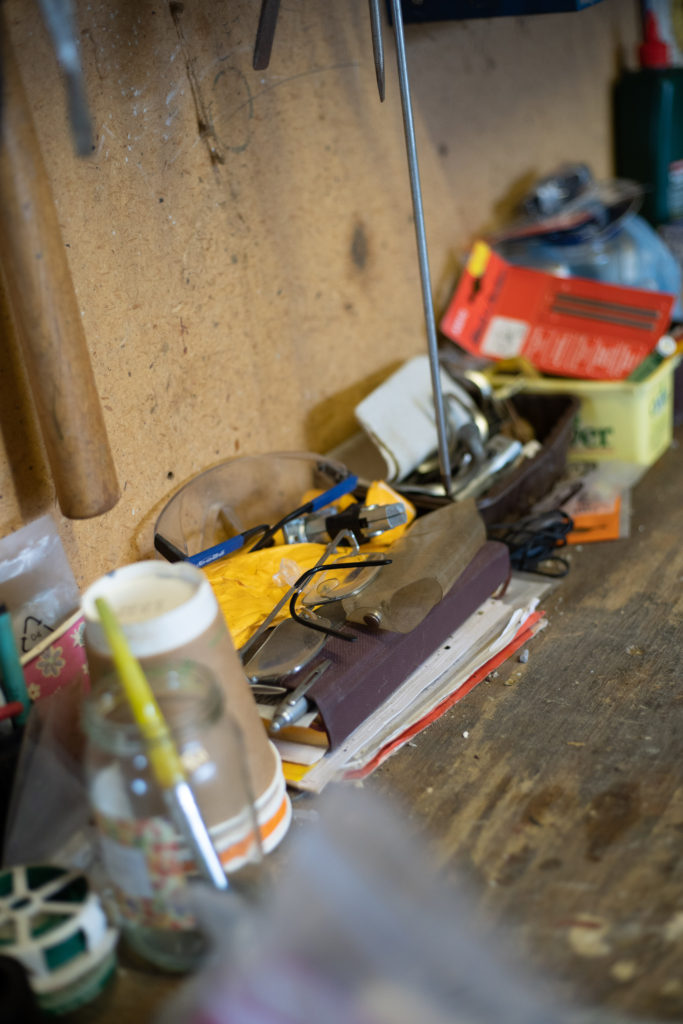
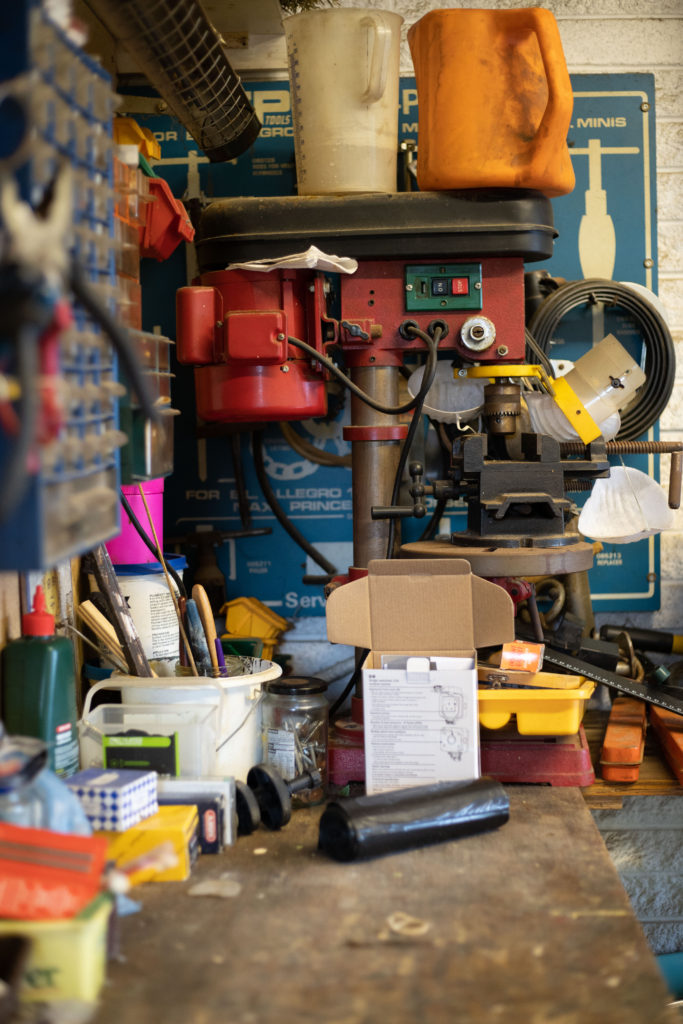
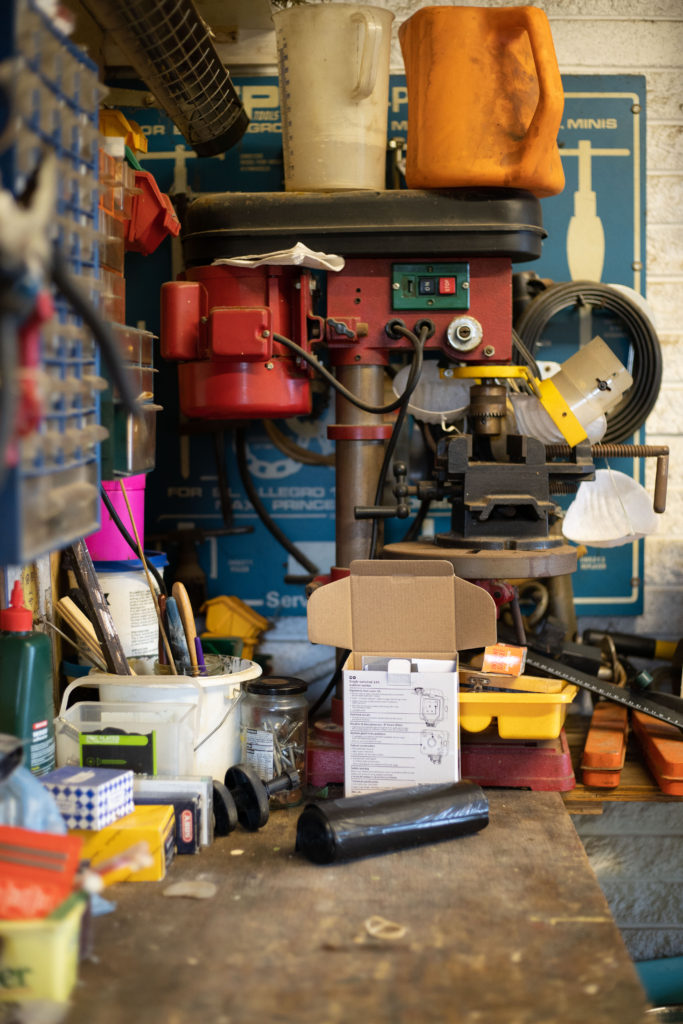
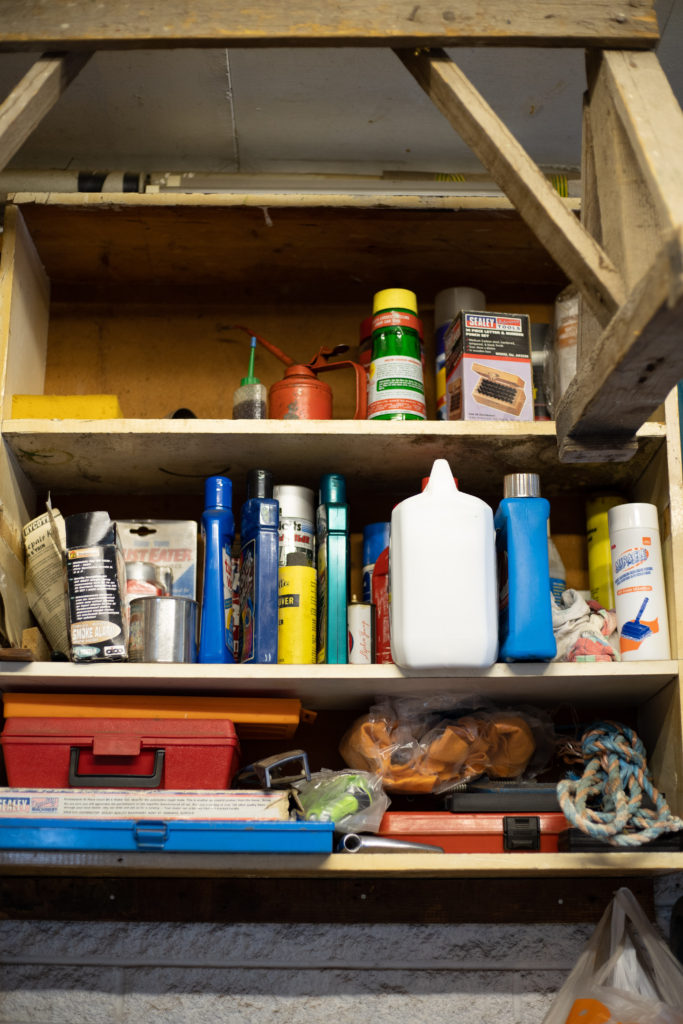
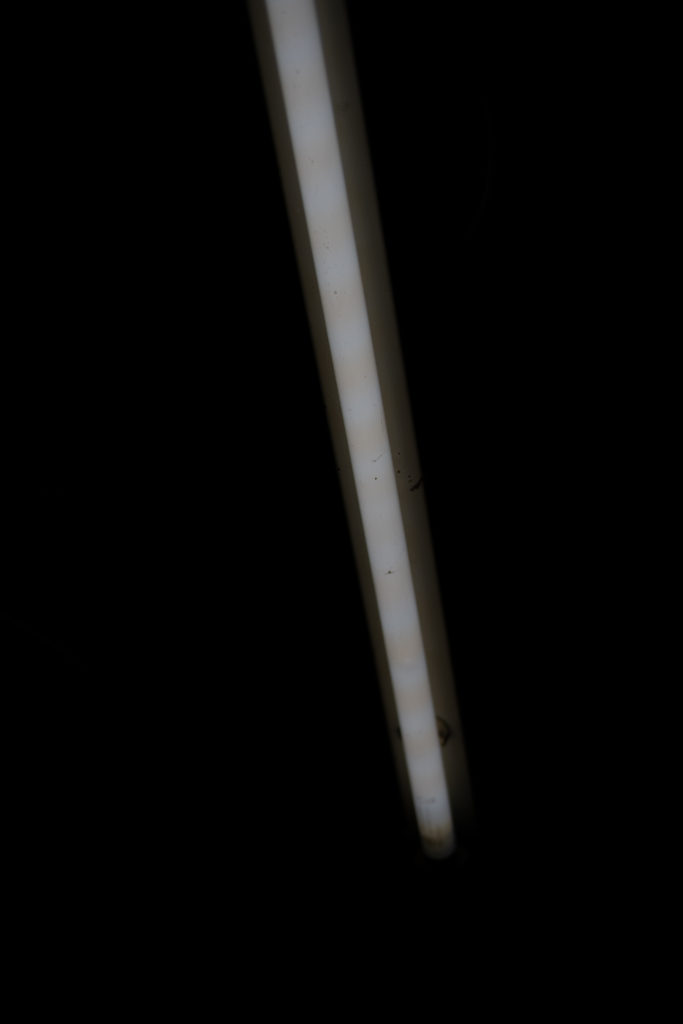
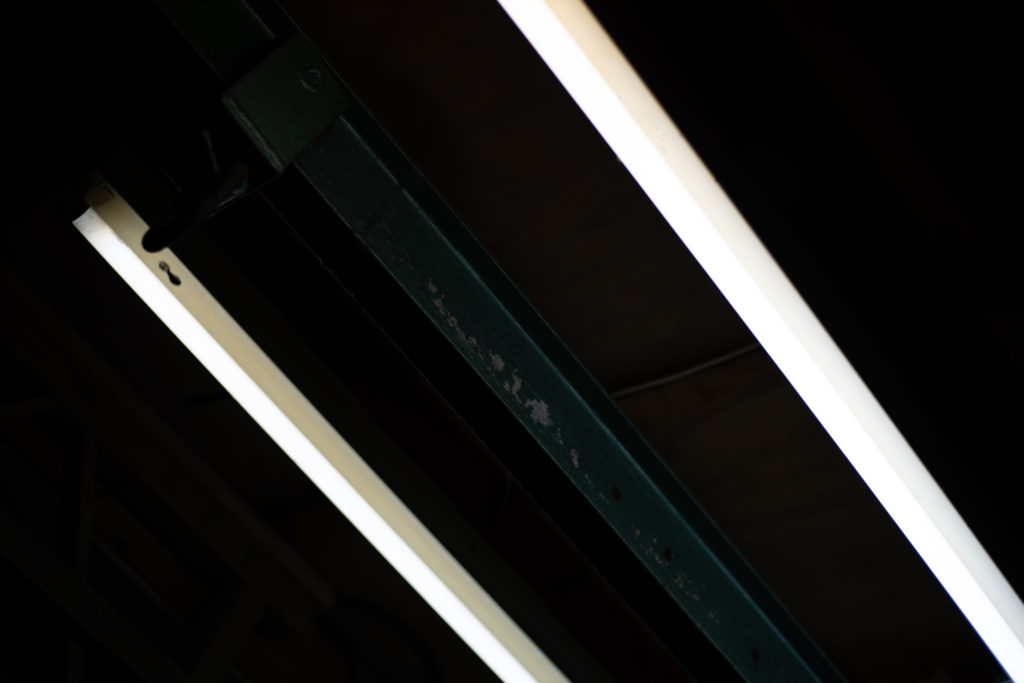
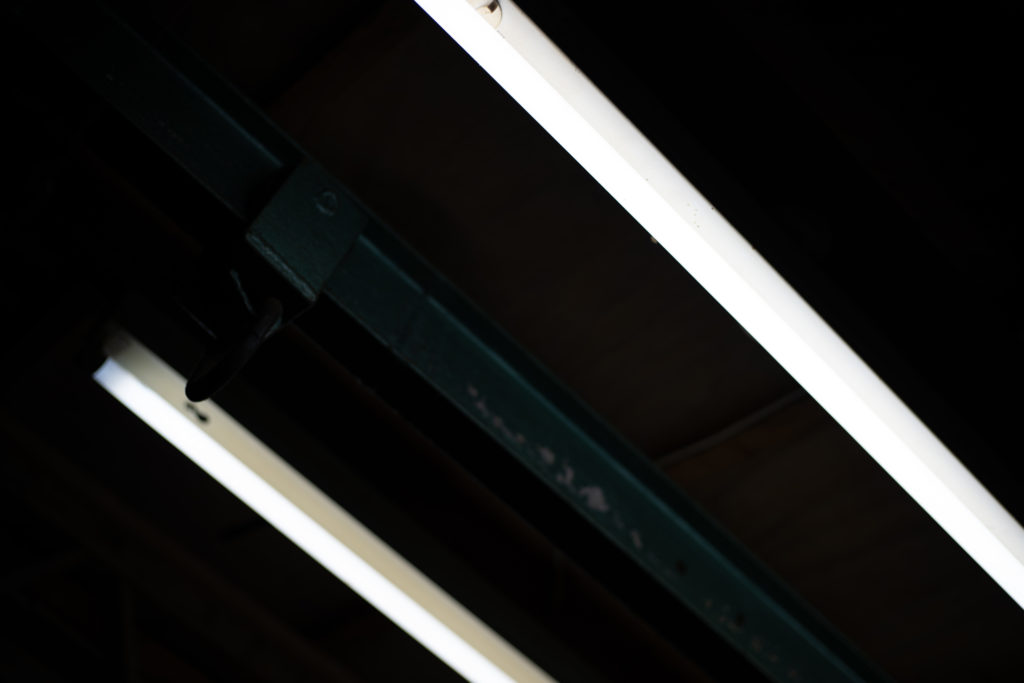
I took these initial images as I was already visiting my Nan’s house. I wanted to see what the lighting is like just from the ceiling lights. I wanted the chance to edit these images first and see whether I need to bring a light when I do the proper shoot. I am happy with these imaged but I think they are lacking contrast which I can get from using an artificial light.
Edited Images


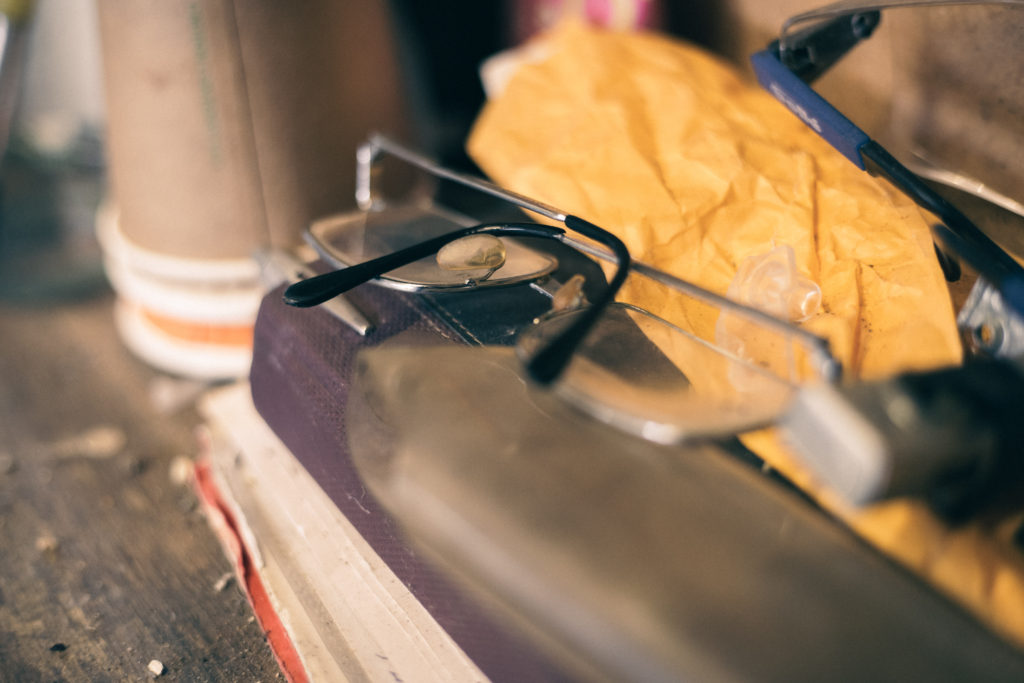
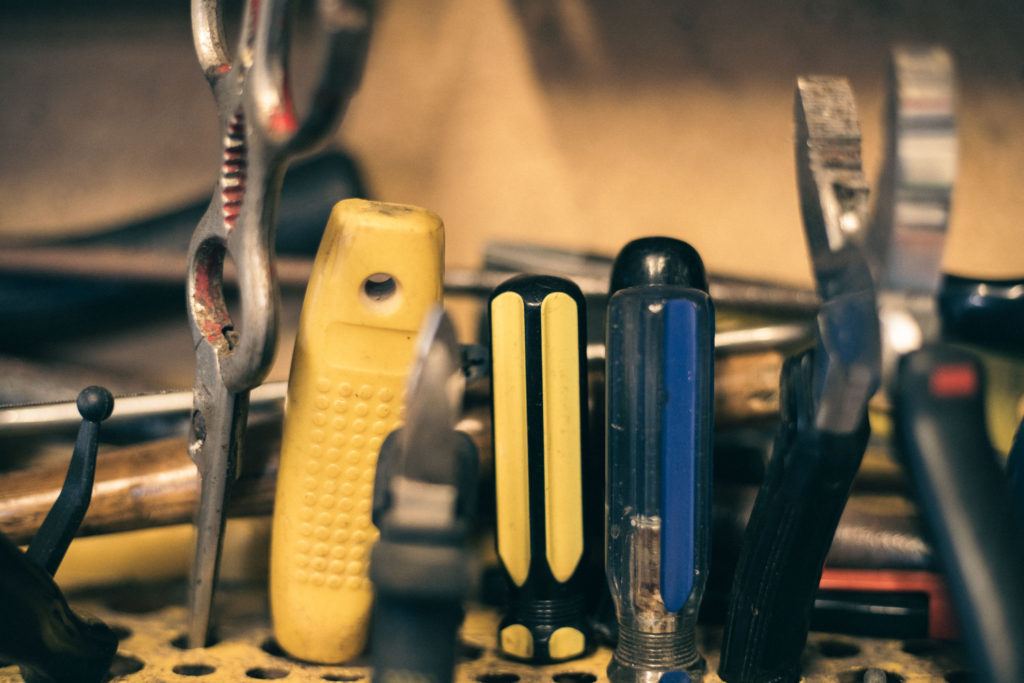
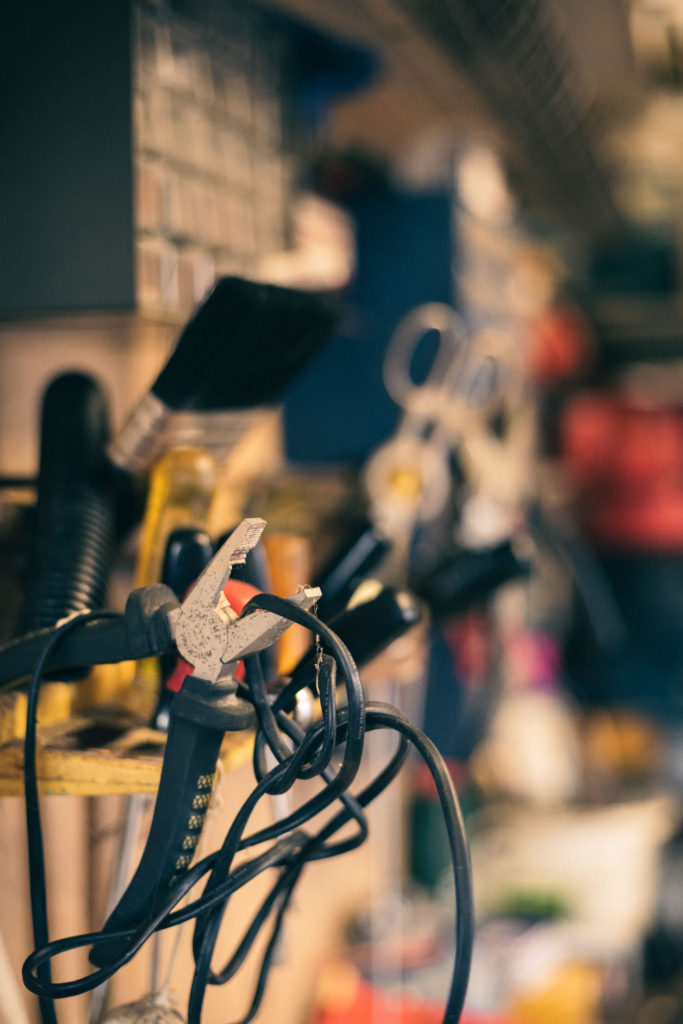


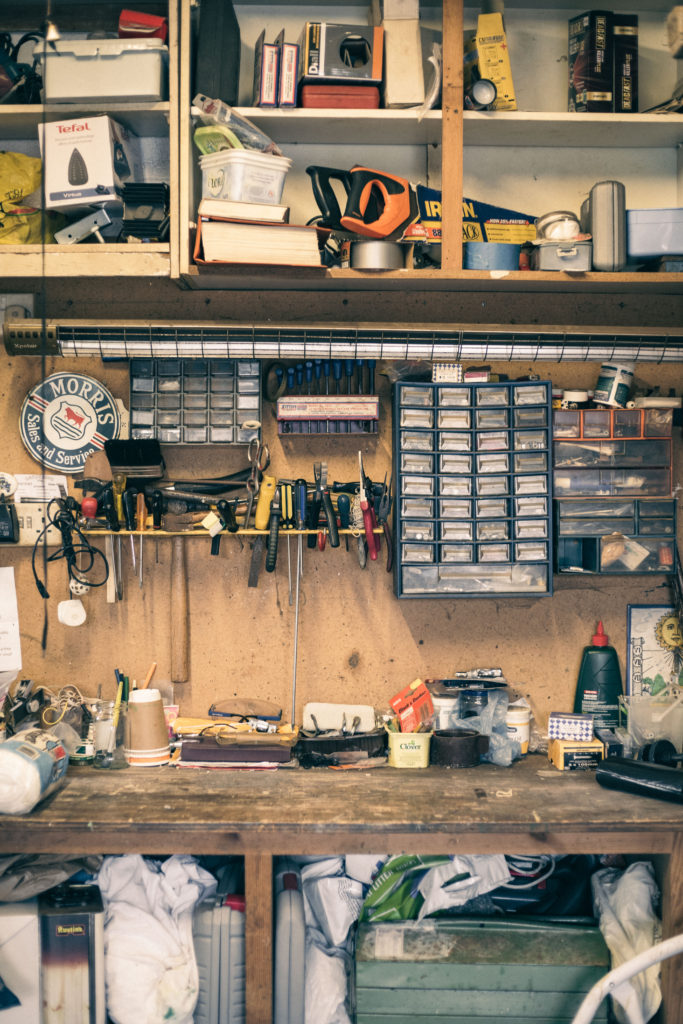
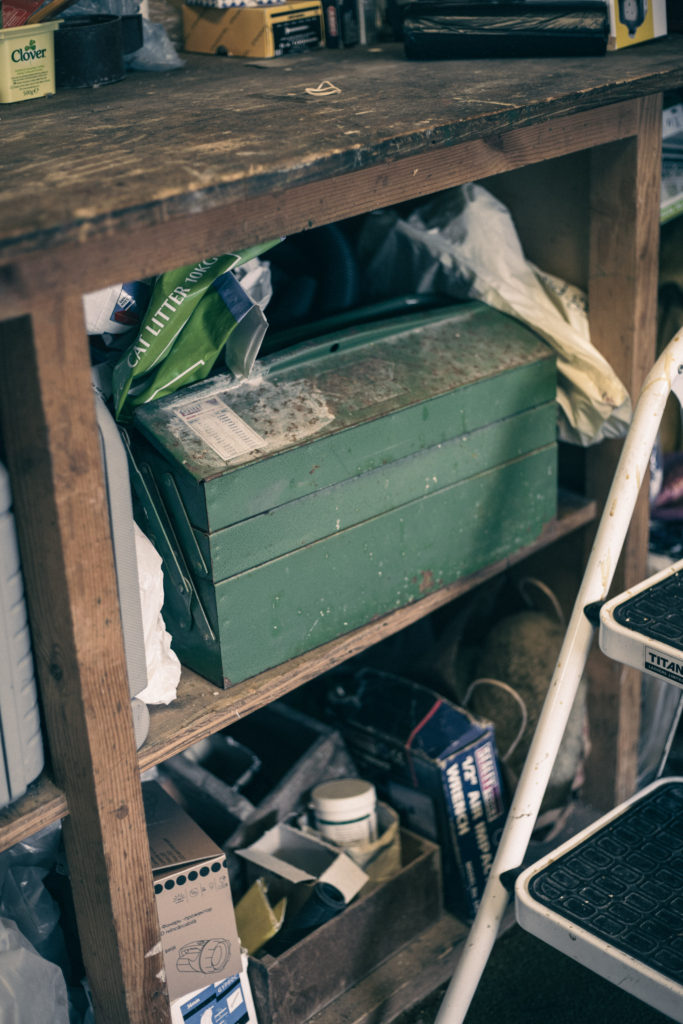


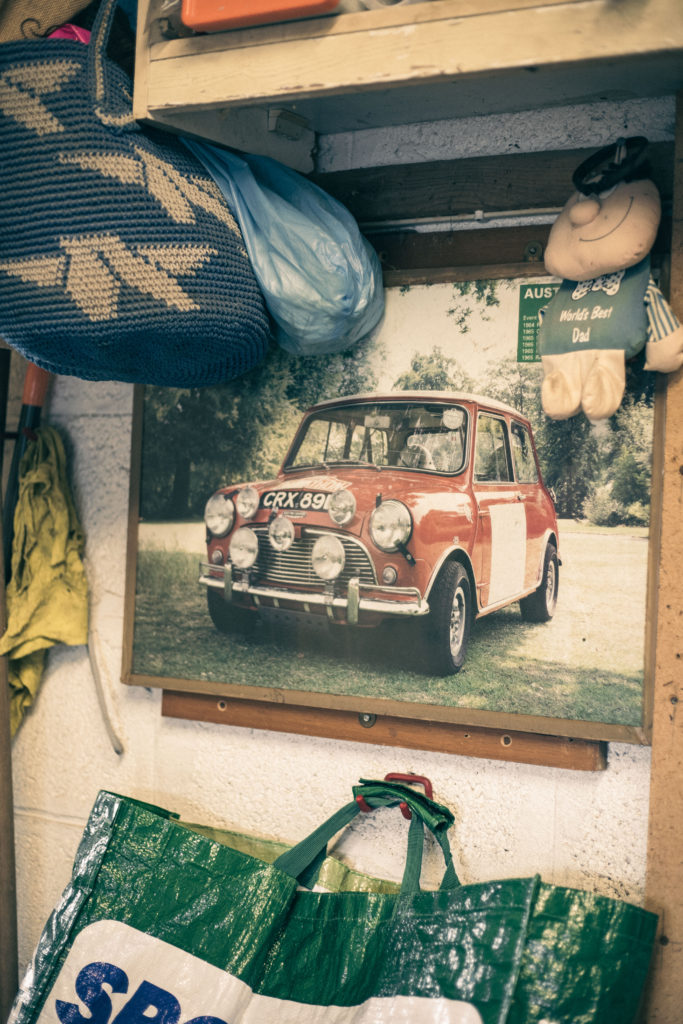



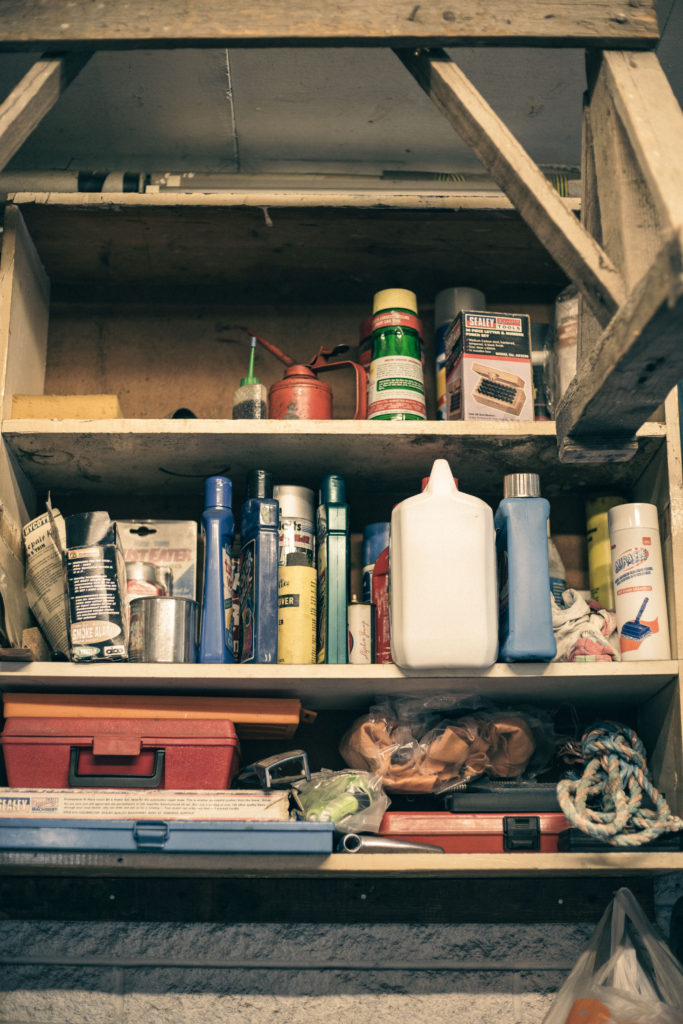

I am happy with the outcomes of these images, I didn’t want to completely change the images but rather enhance the old look and make them look aged.
Edit Process
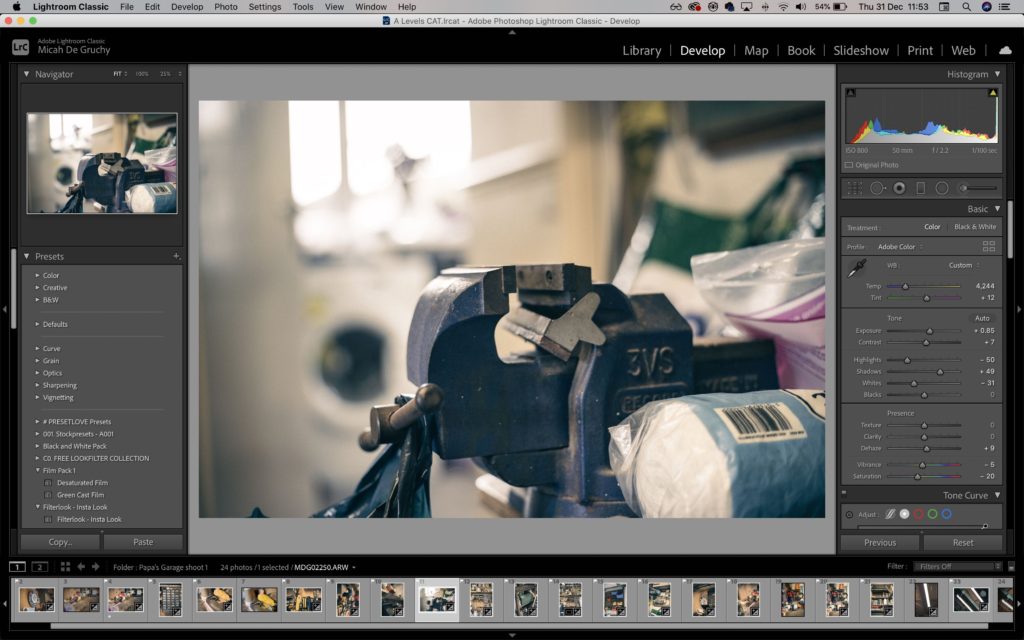
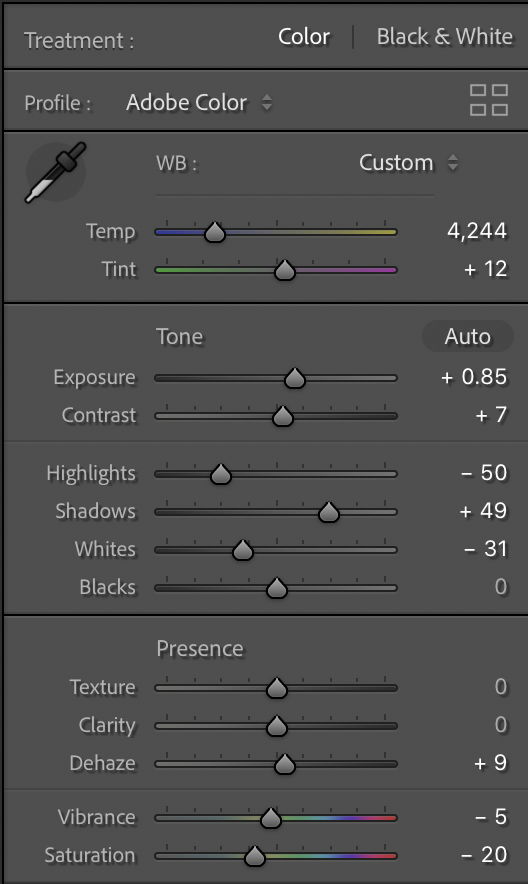
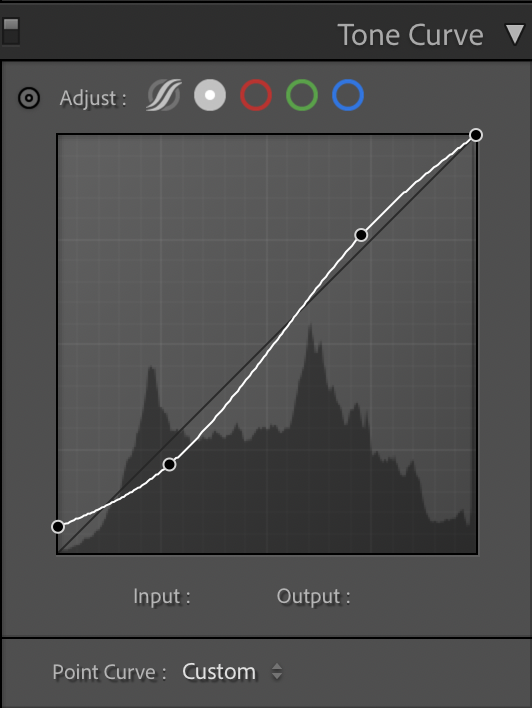
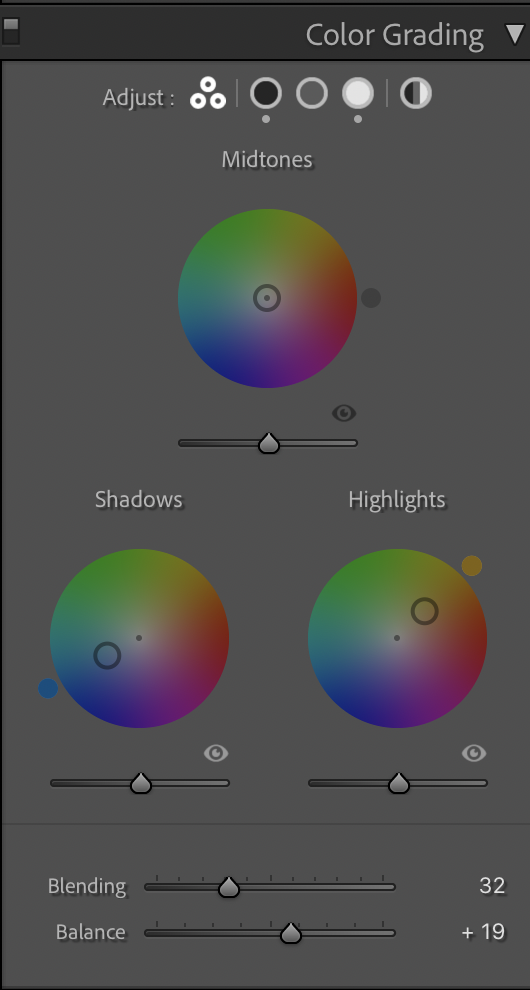
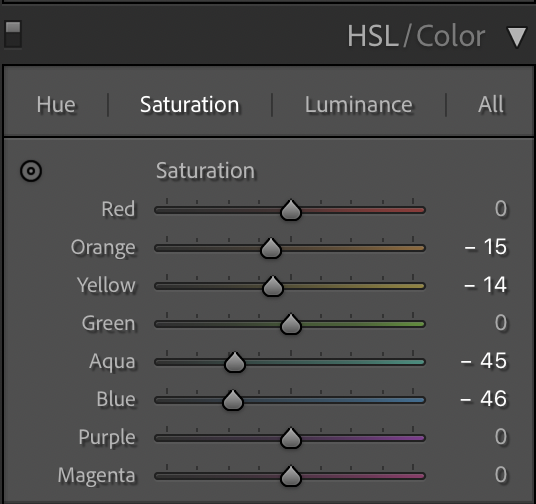
PICTORIALISM
Time period:
Late 19th and early 20th Century (1880’s – 1920’s)
Key characteristics/ conventions:
Trying to make photography a handmade proccess. The idea was to make the photos look like art or painting. ‘Fixing an Image’.
Artists associated:
Peter Henry Emerson, Heinrich Kuhn, Hans Watcek, Hugo Henneberg,(Vienna Camera Club) Joseph Gale.
Key works:


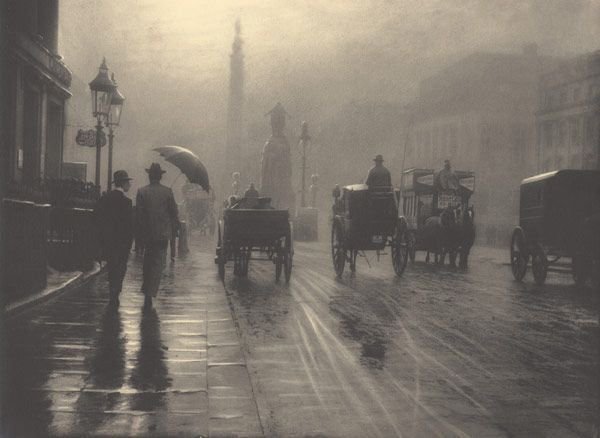

Methods/ techniques/ processes: Vaseline on the lenses to make the image soft so it looks less like a photograph, scratching the negatives to look like brushstrokes.
REALISM / STRAIGHT PHOTOGRAPHY
Time period:
‘1910’s – 1940’s’
Key characteristics/ conventions:
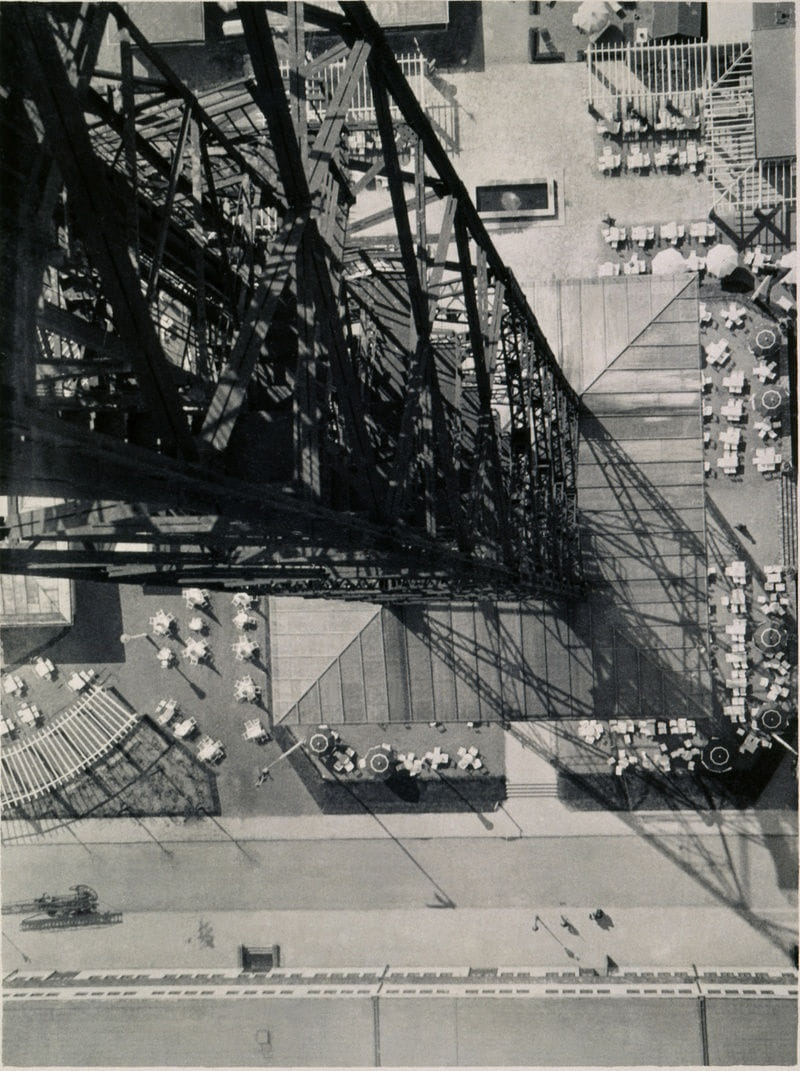
Go back to the qualities of photography as it recreates accurate and sharp images. They wanted to take photos of what they actually saw. They took things the way they were and not manipulated in the darkroom. Trying to emphasise and focus on shape. The art came from the skill of the photographer
Artists associated:
Paul Strand transitioned into and pioneered straight photography. Walker Evans, Ansel Adams. Group f.64 – A group that were interested in capturing the amazing natural landscapes.
Key works:



Methods/ techniques/ processes:
Photographers interested in the genre of straight photography would use a very small aperture to get everything in focus. A group was formed called group f.64. This represents the smallest aperture a large format camera can go to on the lens. This became a trademark and a common feature of photographers like Paul Strand and Ansel Adams
Time period : 1880s-1920s
Key characteristics/ conventions :
New set of aesthetics to re-associate photography with art – Allegory style, dream world and spiritual ideas, with romantic ideals
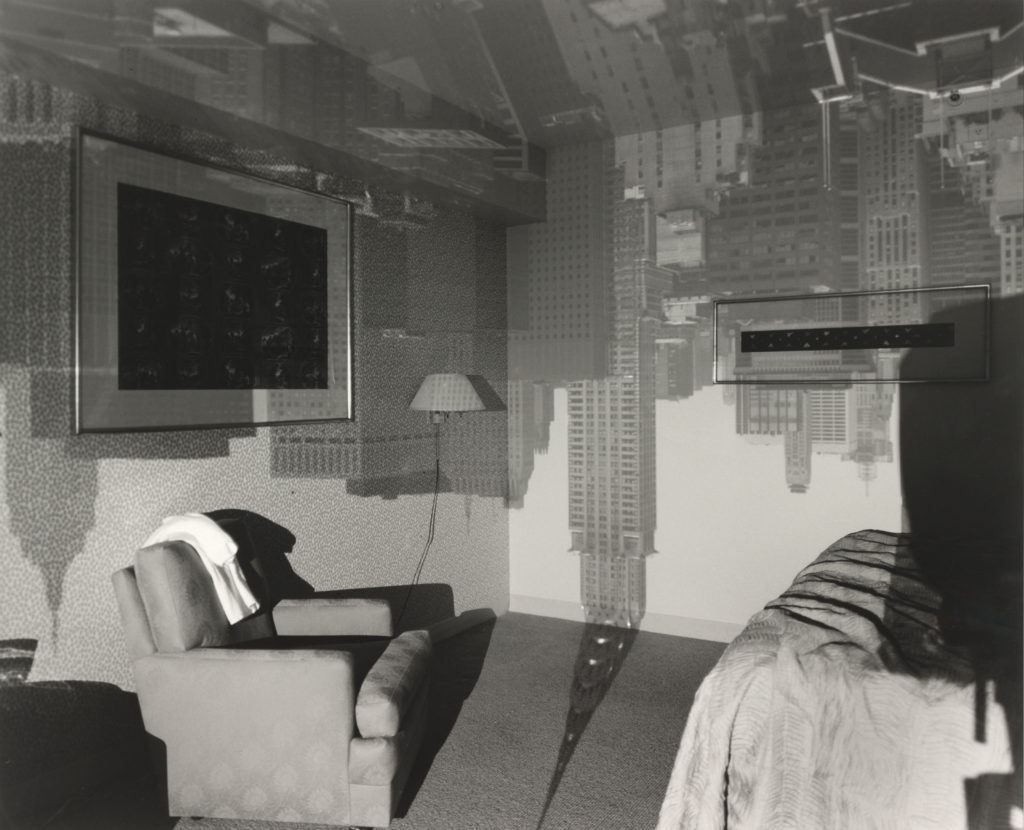
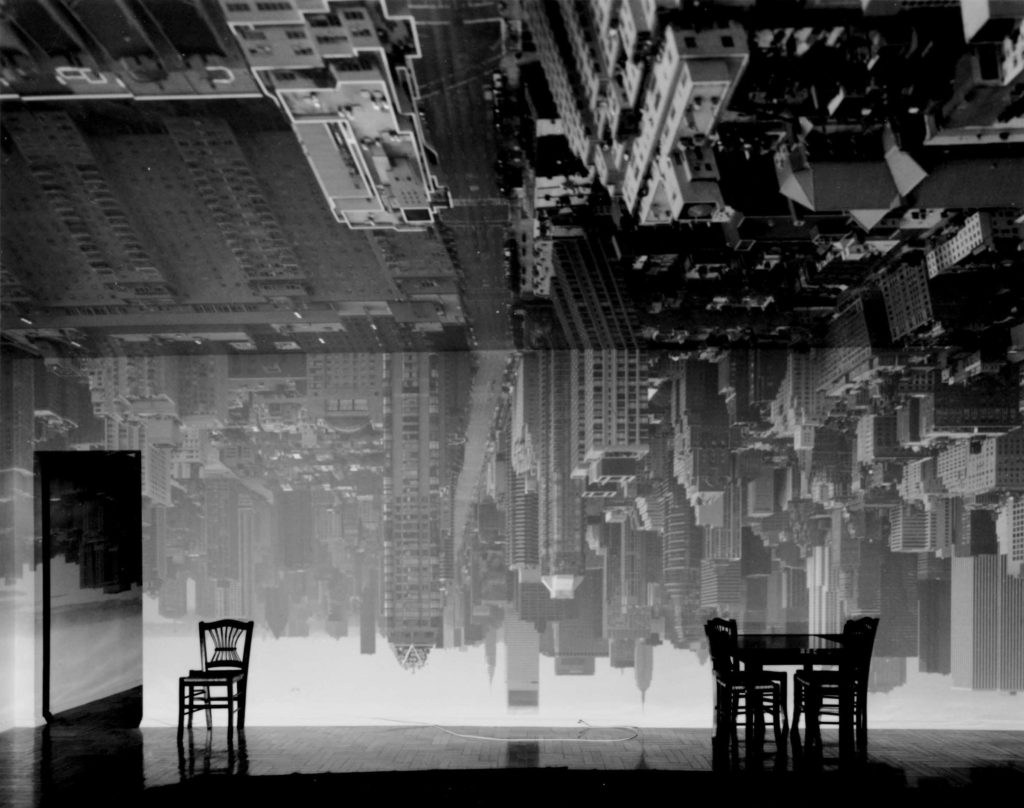
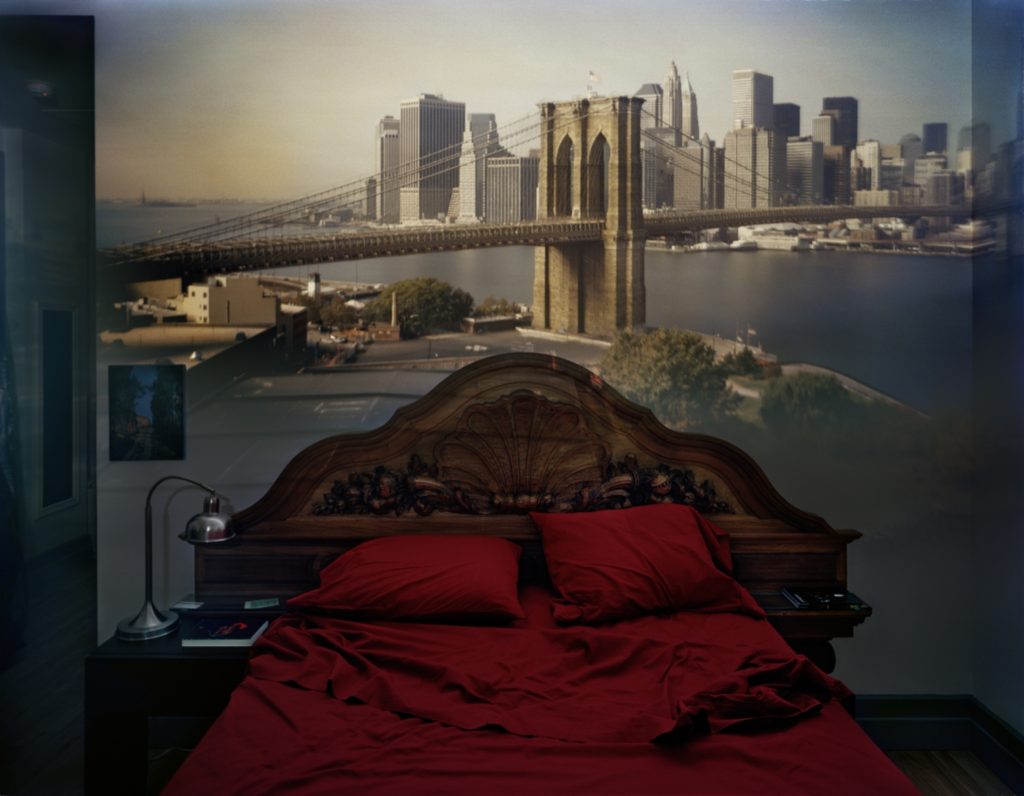
Abelardo Morell – modern contemporary. Uses old keyhole method to project outside scenes into rooms, no other interference so the light projects the image upside down. lengthy process

The Vienna Camera Club (Austria)
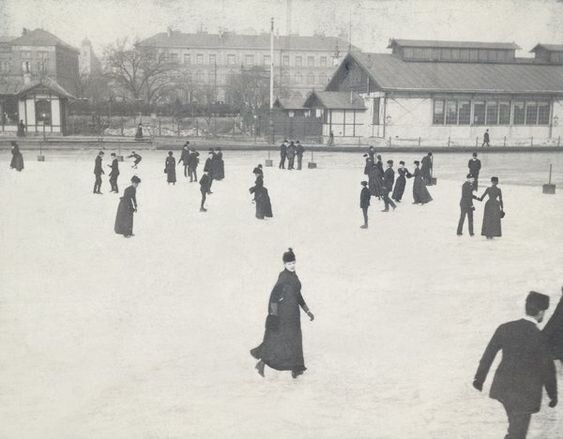
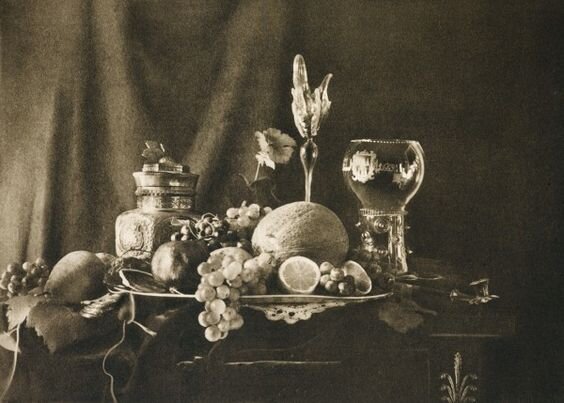
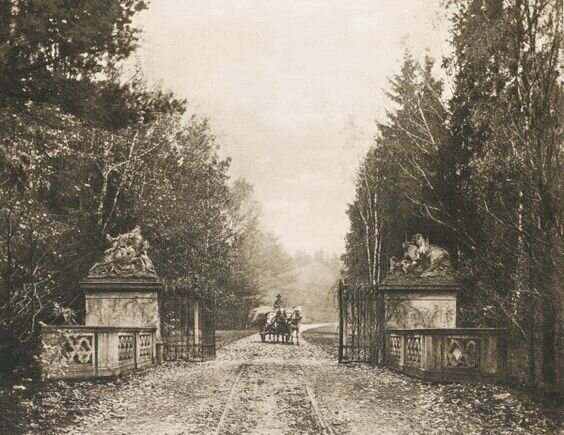
Photo-succession group – founded by Alfred Stieglitz
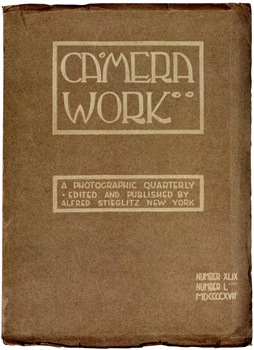

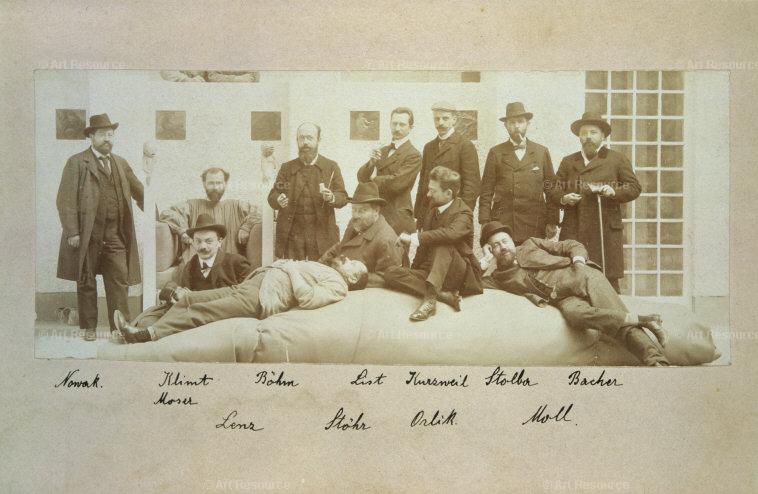
The brotherhood of the linked ring.
Key works:
Alfred Stieglitz – New York in 1890 promoted idea that photography was a medium as capable of artistic expression as painting or sculpture, created photo succession group (important group in solidifying the pictorialist movement) Alfred used compositional choices and use of natural elements like rain, snow, and steam to unify components of a scene into a visually pleasing pictorial whole.
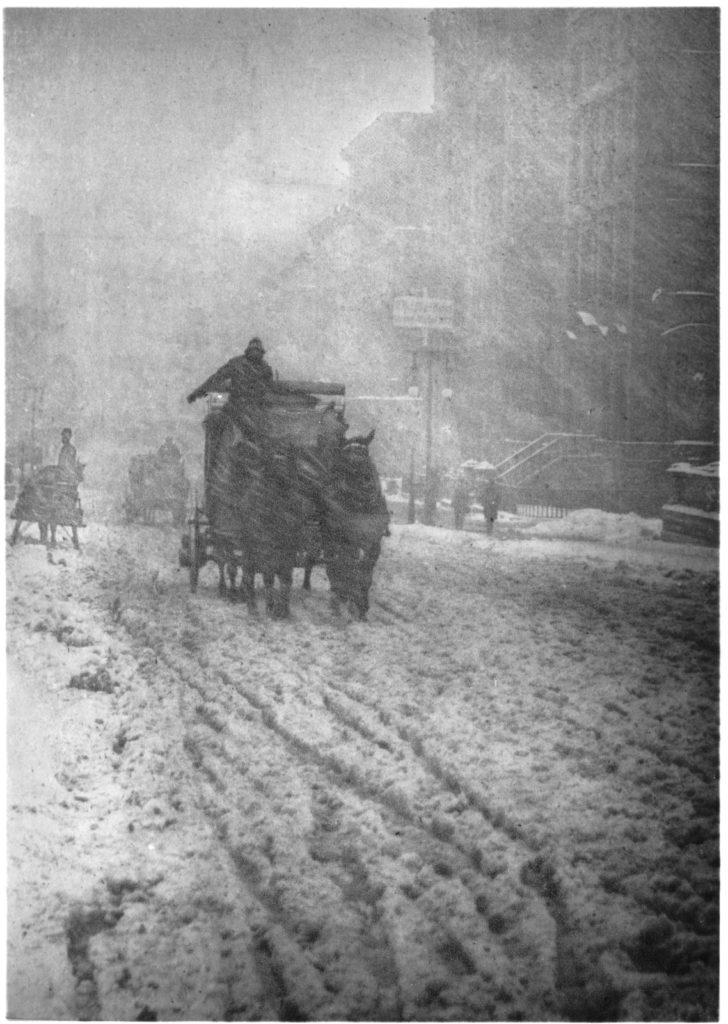
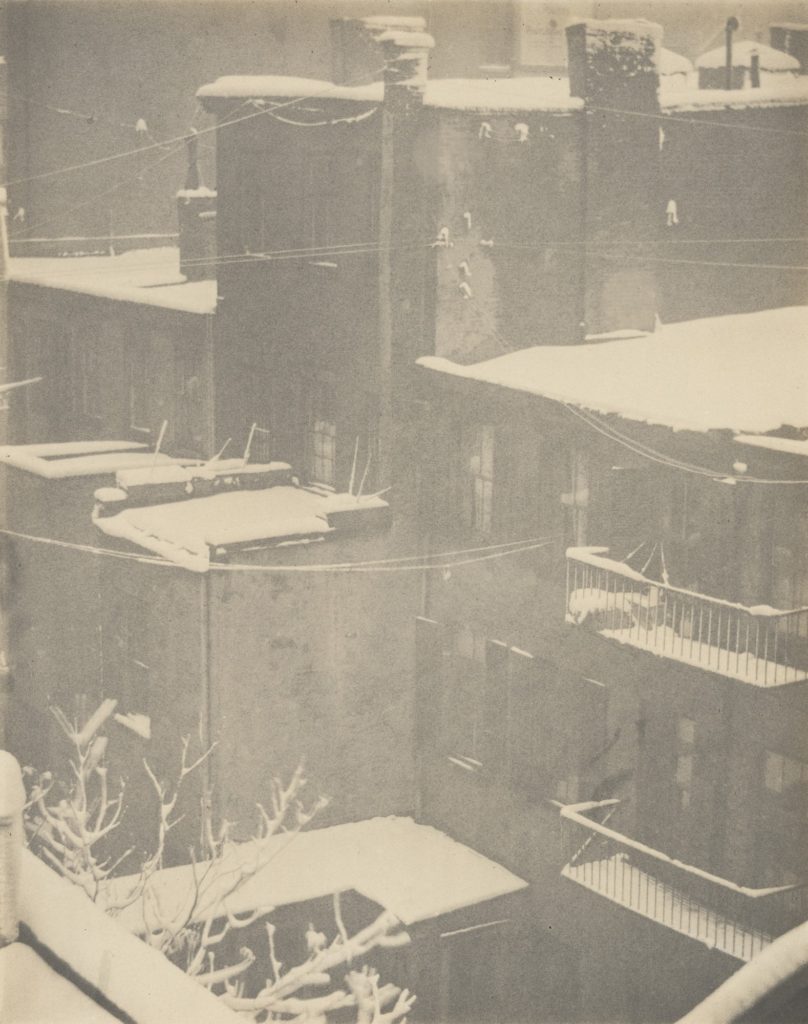

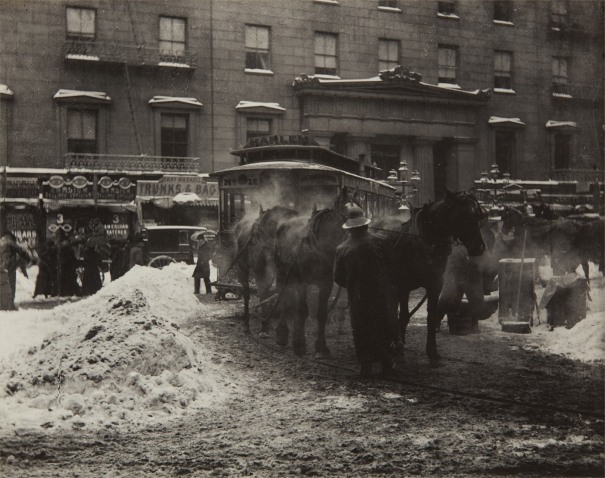
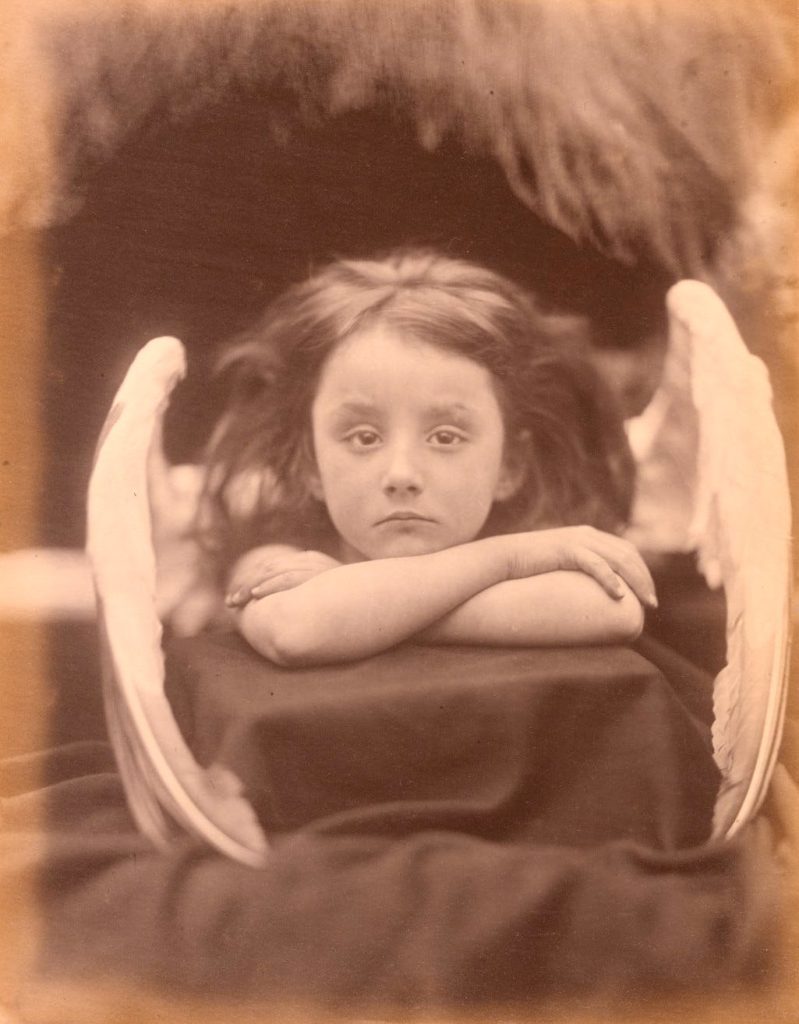
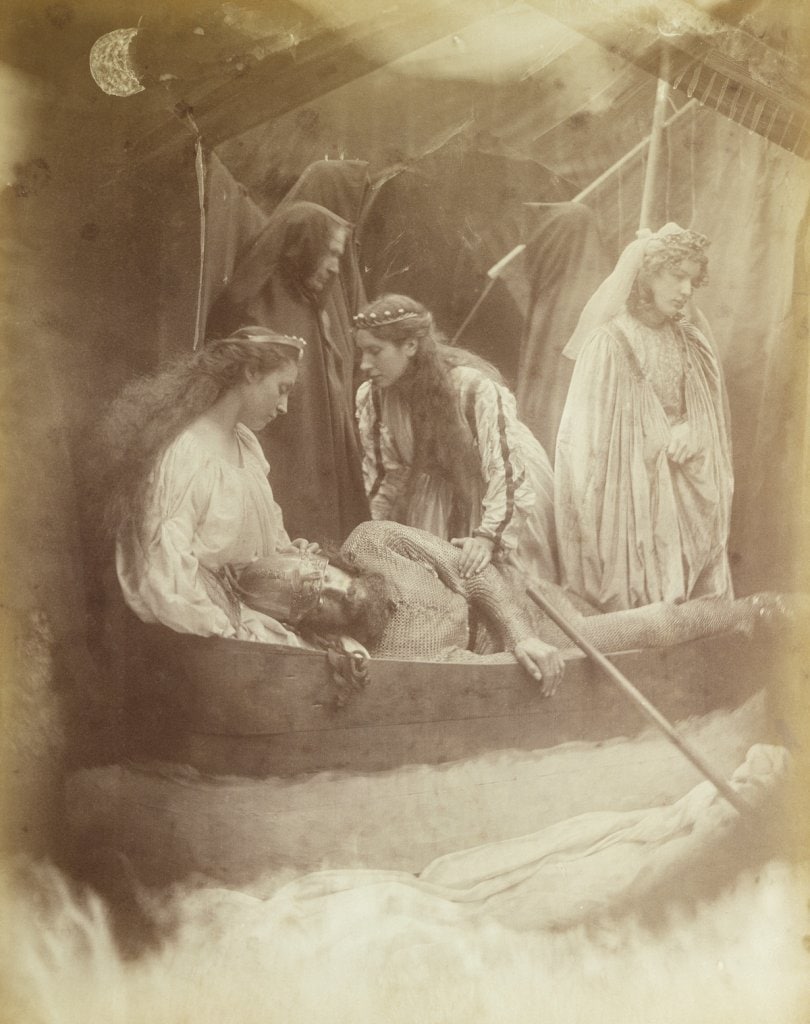
Julia Michael Cameron – pre-Raphaelite style, fairy light, unfocused. Creates angelic scenes with woman, white clothing and soft finish to present innocence.


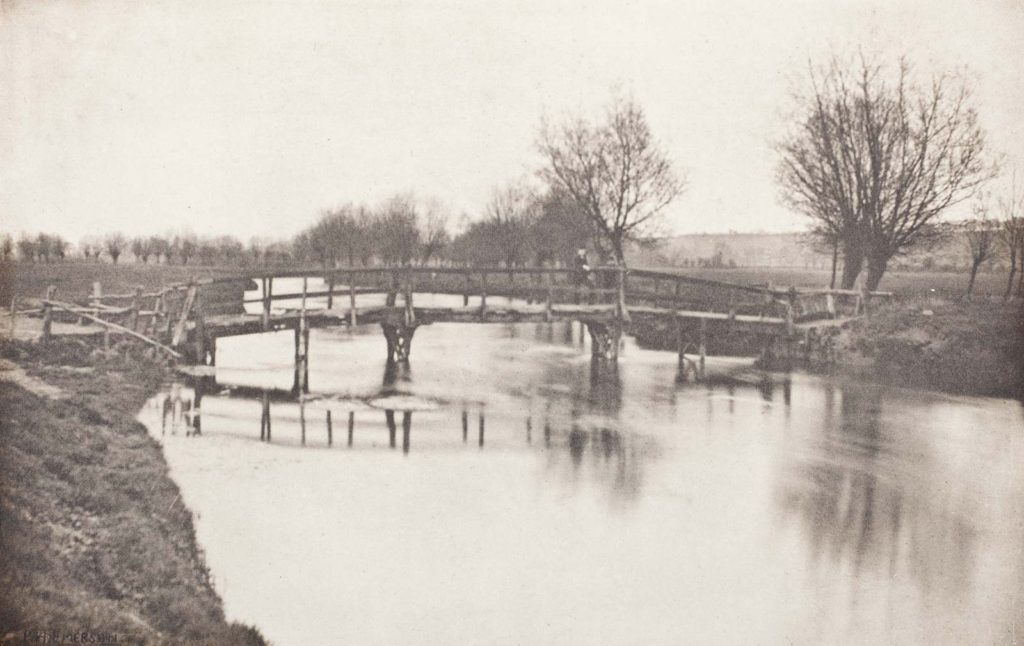
Emerson’s Naturalistic Photography – promoted photography as art rather than science, natural and aesthetic depictions of (famously) wheat workers workers

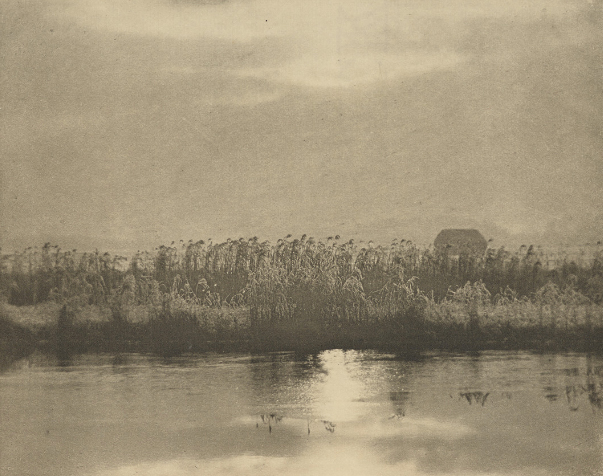

Methods/ techniques/ processes: Vaseline on lenses to have foggy smudged affect, and chemicals or scratches on developing negatives. Made the images look like paintings, with depth and sketchiness through human interaction, not just the mechanical use of the camera .
REALISM / STRAIGHT PHOTOGRAPHY
Time period: 1915
Key characteristics/ conventions : sharp shapes, realistic and clear view of reality, play with shadows. art made in initial framing not in post. Edward Western, Walker Evans.
Artists associated: paul strand creator. Edward Western, Walker Evans – wall street crash 1929 economic depression of workers.
Key works:
Methods/ techniques/ processes:
Pictorialism was strongest between 1885 to 1915. It emerged as a response to the growth of amateur photography and the commercialism of photography due to the rise of Kodak’s more affordable handheld cameras. It criticised the wider use of the “point-and-shoot” method that rose as a result, believing it to undermine the more traditional craftsman-like role of the photographer.
Its main purpose was to classify photography as an art form and separate it from the type of photography used for scientific or documentary purposes. It focused on “the beauty of subject matter and the perfection of composition rather than the documentation of the world as it is.” Often the results are dreamlike, romaticised, idyllic, and make references to classical paintings.
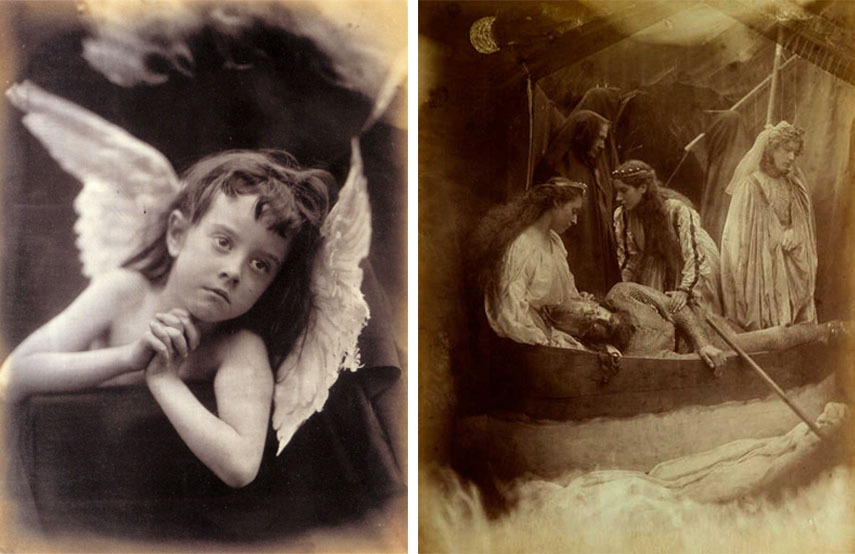

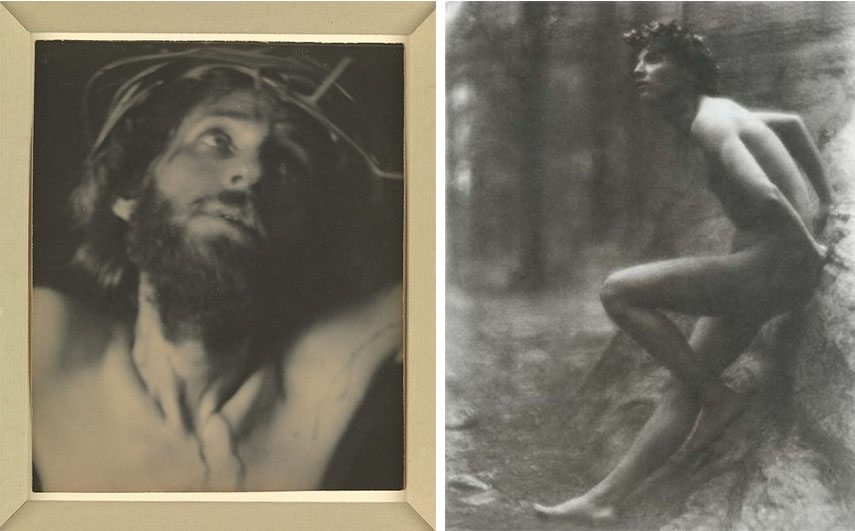
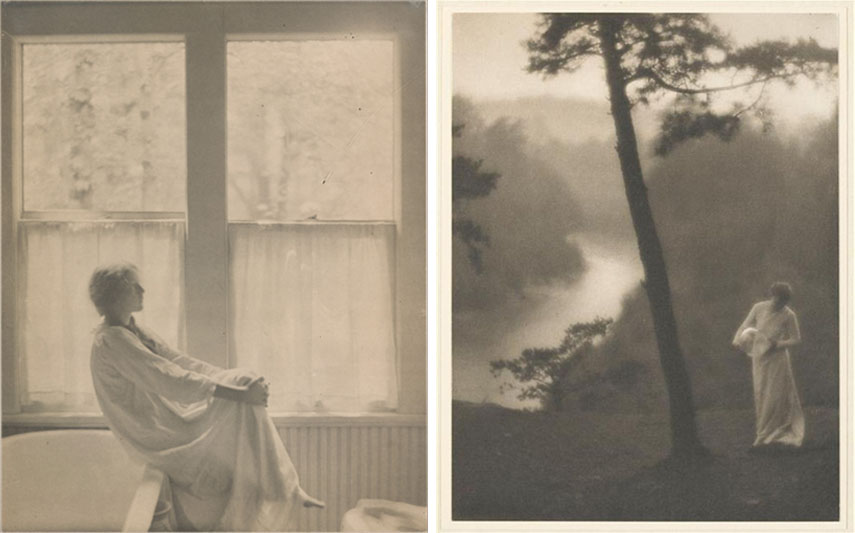
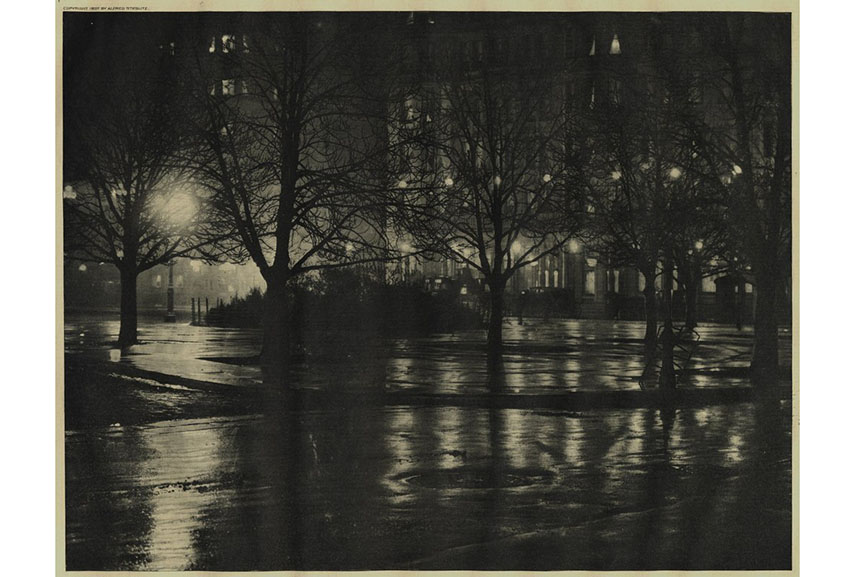
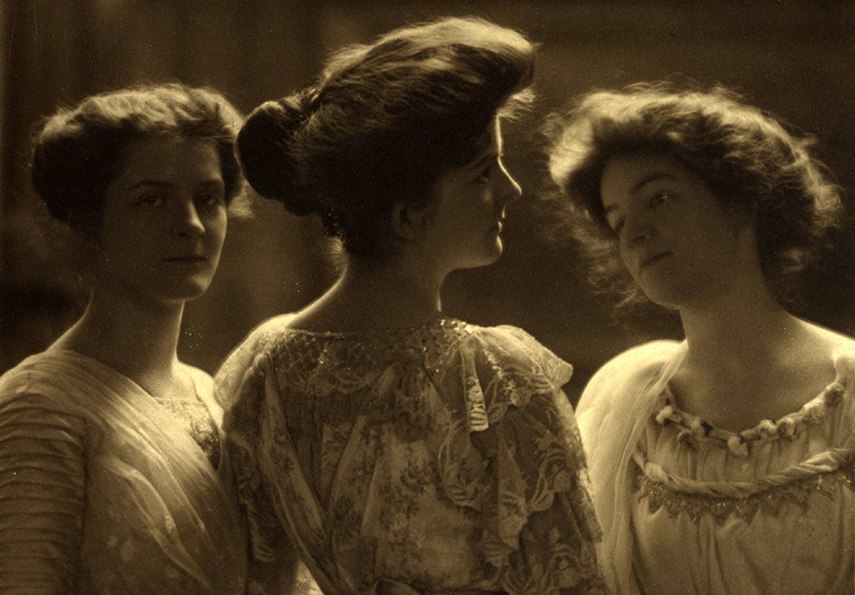


In the dark room development stage the images were often tampered with to imitate other, more accepted work of art, like paintings, using different solutions or pigments to mimic brushstrokes, or leaving them to over-develop or under-develop for a chiaroscuro effect. Pictorialists also often experimented with different paper types and chemical processes to create different effects, a few of which are described below:
http://www.visual-arts-cork.com/photography/pictorialism.htm
https://www.widewalls.ch/magazine/pictorialism-photography-pictorialist-photographers
https://www.theartstory.org/movement/pictorialism/
William Crawford- “The Keepers of Light, A History & Working Guide to Early Photographic Processes” (p85-95)