
To begin with, I took all the images I had already and pasted a screenshot of them all together into PowerPoint, so that I was able to write notes all around them and colour code them in a way that made sense to me. At this point I’m simply trying to see if I can categorise the images into clear groups, as my plan for the sequencing is to have my images group into “stages/chapters”.
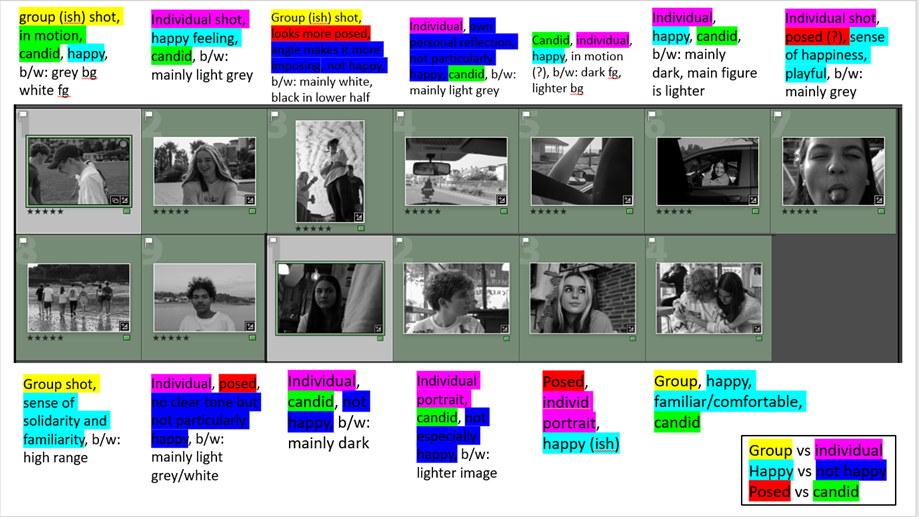
As can clearly be seen, I started by noting down any differences between them; whether they were of a group or an individual, whether the image felt happy or not, etc. , then I labelled where each image was taken. At this point, I was intending to group the images based on whether they portrayed happiness or not, or quite possibly the location where they were taken.
However, after experimenting with some different combinations in Lightroom and using my notes from PowerPoint, I decided that it would work best if I just paired images up with whichever they looked visually best with, based on composition, black and white balance and general shape and form of the image. I am also paying attention to what direction the people in each image are facing, to see if I can use that to my advantage in the zine.
After I made this decision, I went through all the images and, through the process of trial and error, found which images paired well with each other and which would do best as individuals, this didn’t take too long because I already had notes on each photo from before and I could use that to evaluate how successful each pairing was.
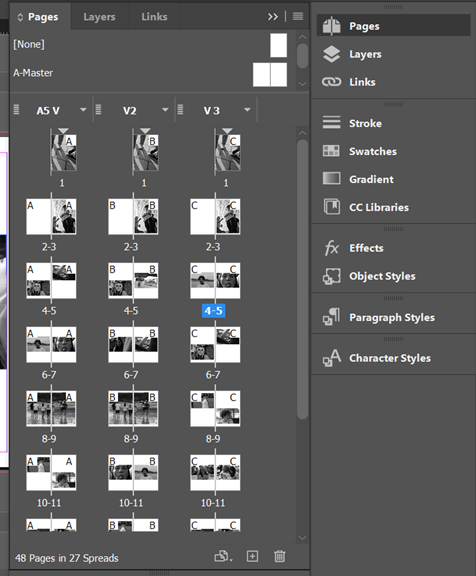
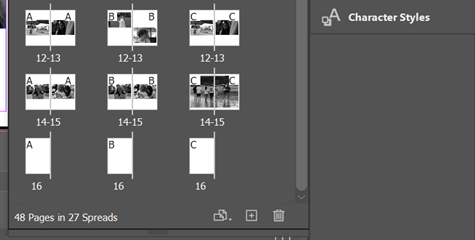
Next, I used the same process of visualising and trial and error to come up with several possible sequences of all the images in InDesign, before deciding on my favourite to focus all my attention on (A5 V).
I’m now able to make any final edits and complete my zine, ready for printing.