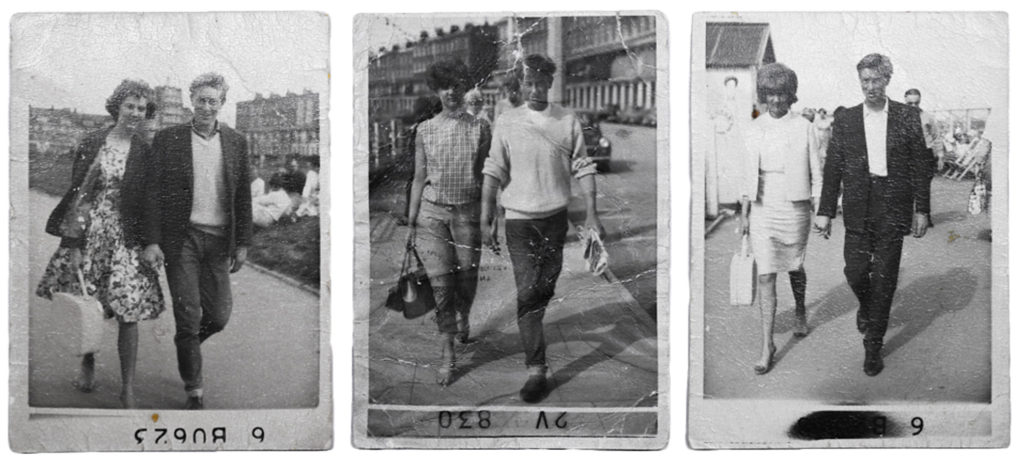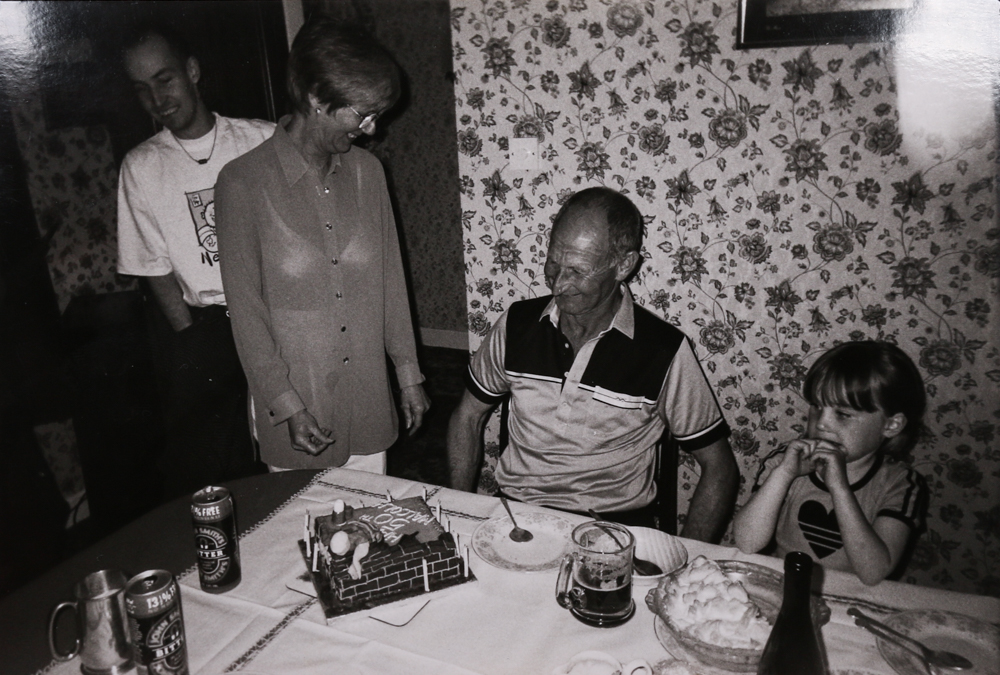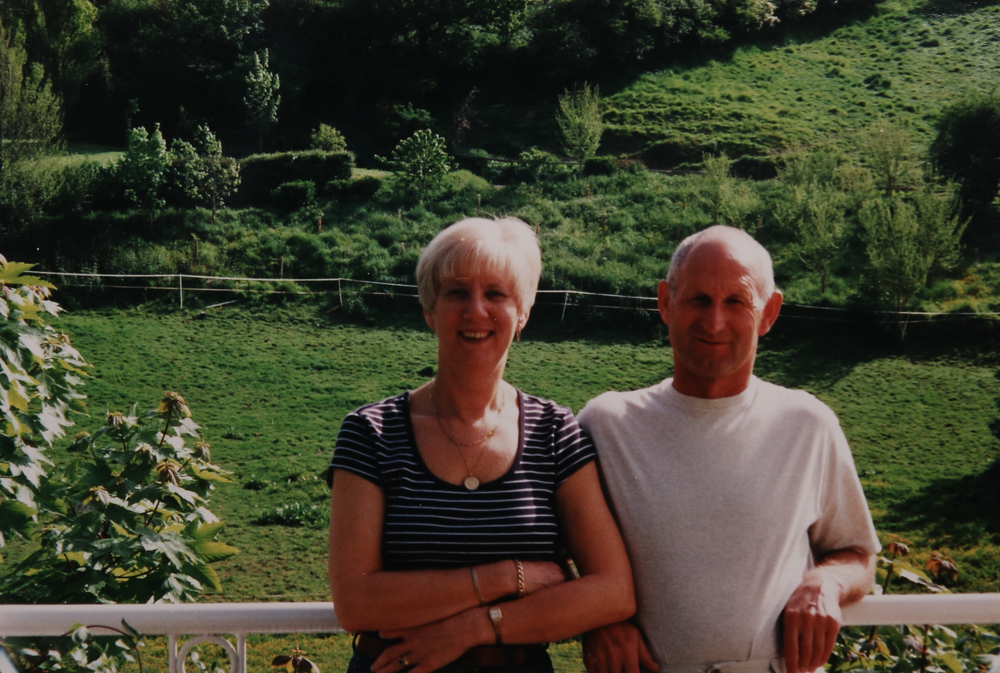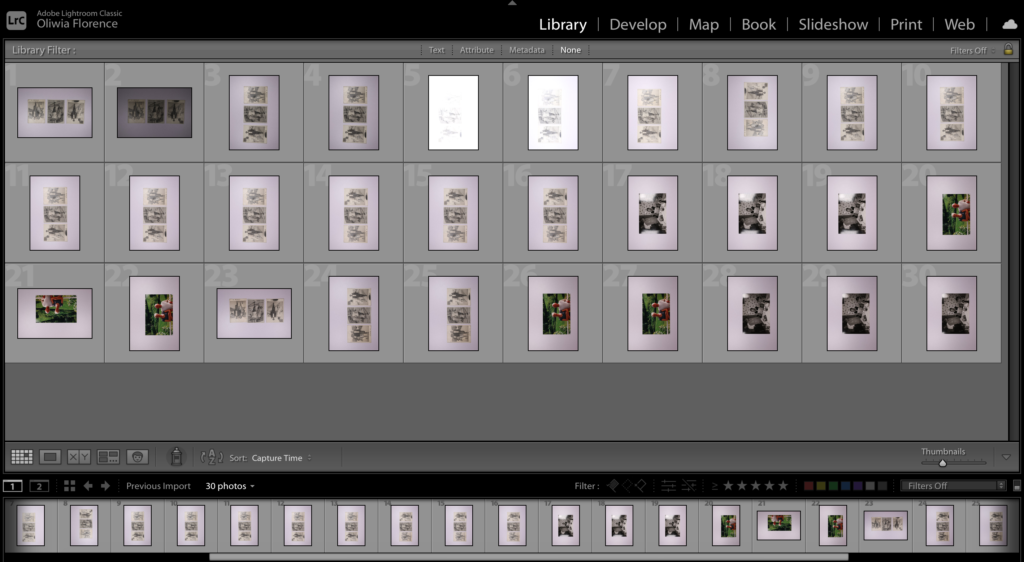

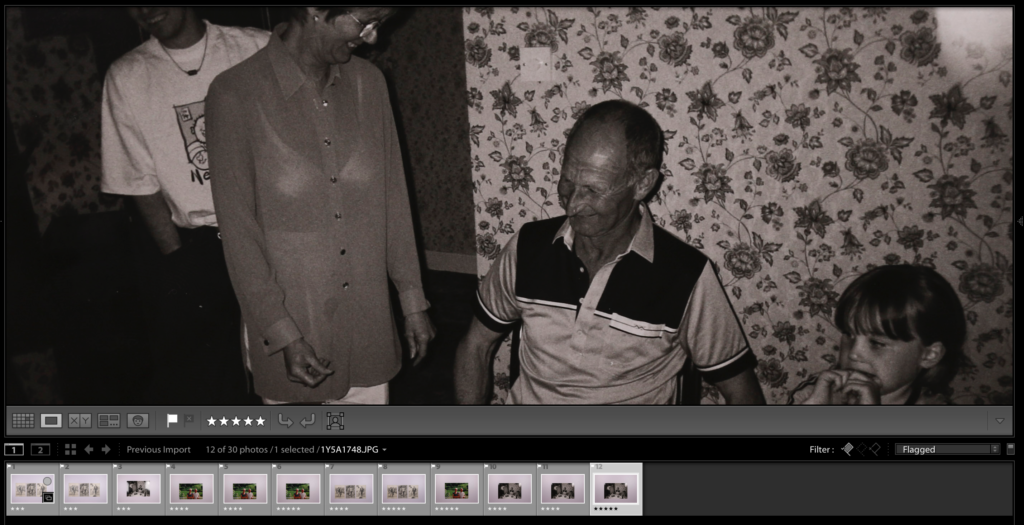
The screen shot above on the left shows the grid view of all my outcomes from a small photoshoot of archives photos of my grandparents I took for my photo-zine. After importing them to Lightroom, I then went though all of my photographs one by one on survey view (shown on the right) and flagged them as ‘picked’ if they where good and flagged them as ‘rejected’ if there where not so good.
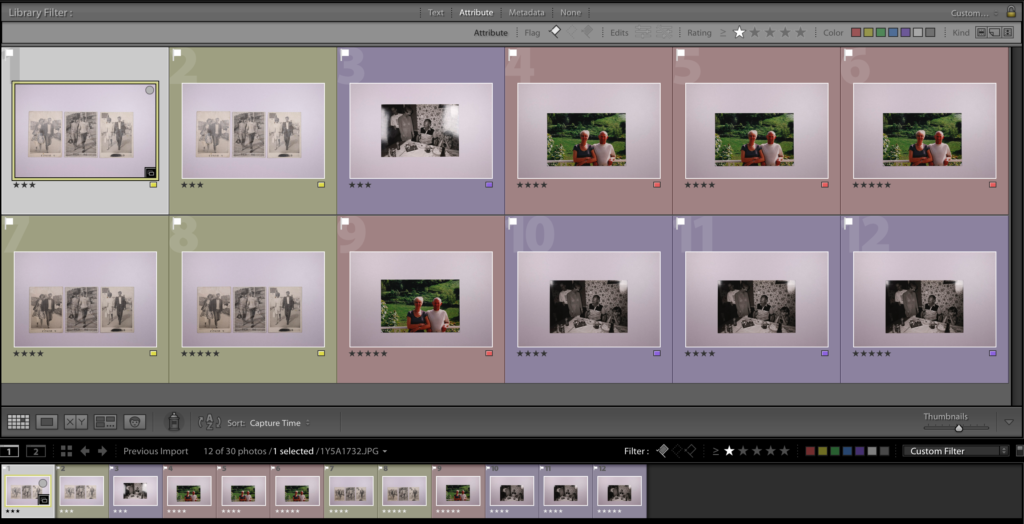
Then by using the filter option on Lightroom to only show the images I flagged as picked, I zoomed in on each of my images to analyse them. Secondly I rated each photo out of 5 stars on its, focus, exposure, etc. This allowed my to view my photos one by one to make sure they where good quality. In the two images below I colour coordinated the images that where the same, and then set the filter to show what images I set as 5 stars (my best photos)
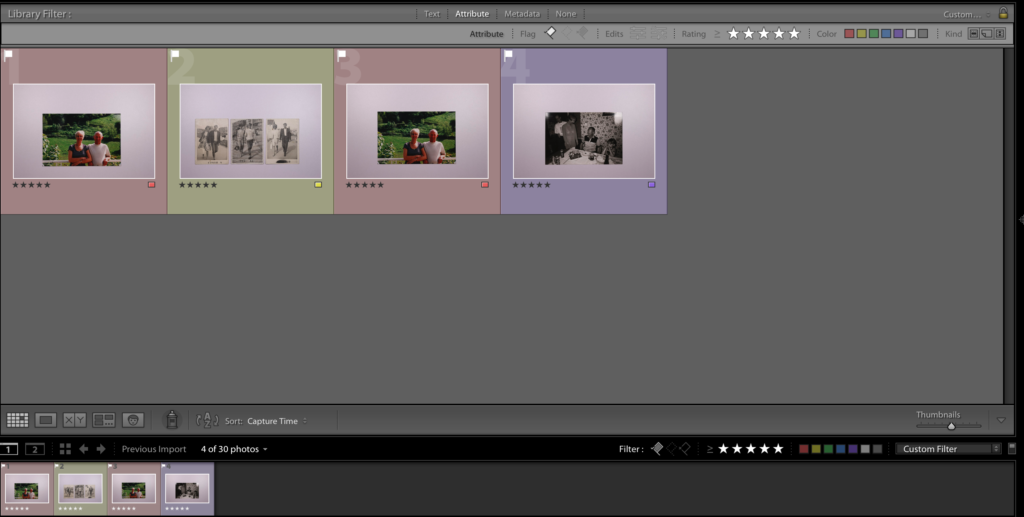
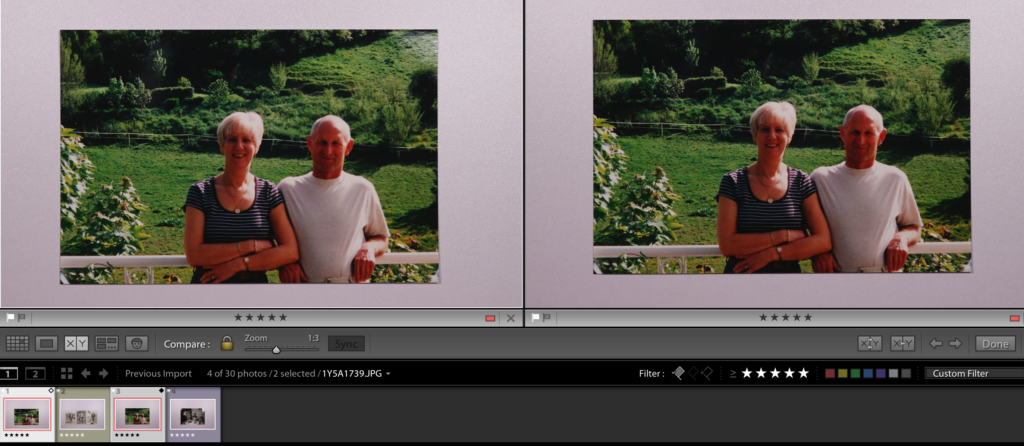
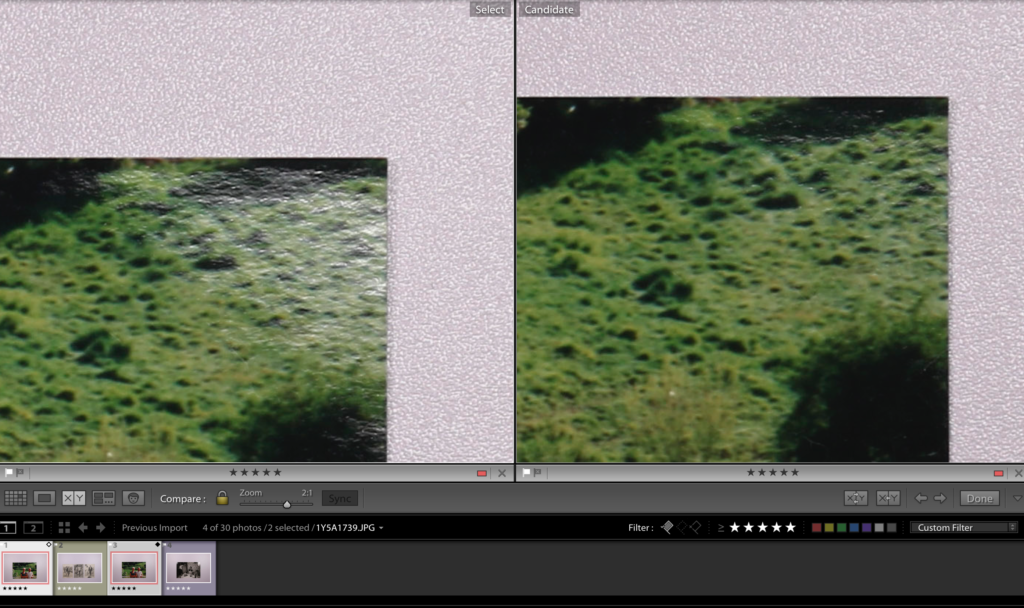
After setting the filter to a 5 star rating, I saw that there where two red coded images left to choose from. I used the compare tool and zoom tool to see the differences between both and spotted that the image on the right has less shine from the lights from the photo stand. This would be my final image. Finally I took the photos from library to develop and edited them to suit what I wanted.