WORKING IN LIGHTROOM

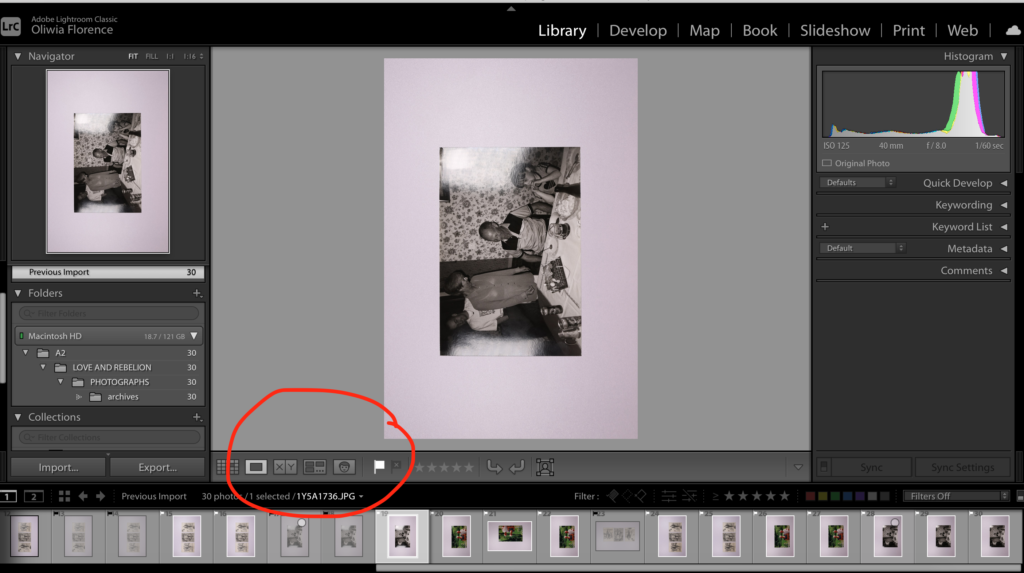
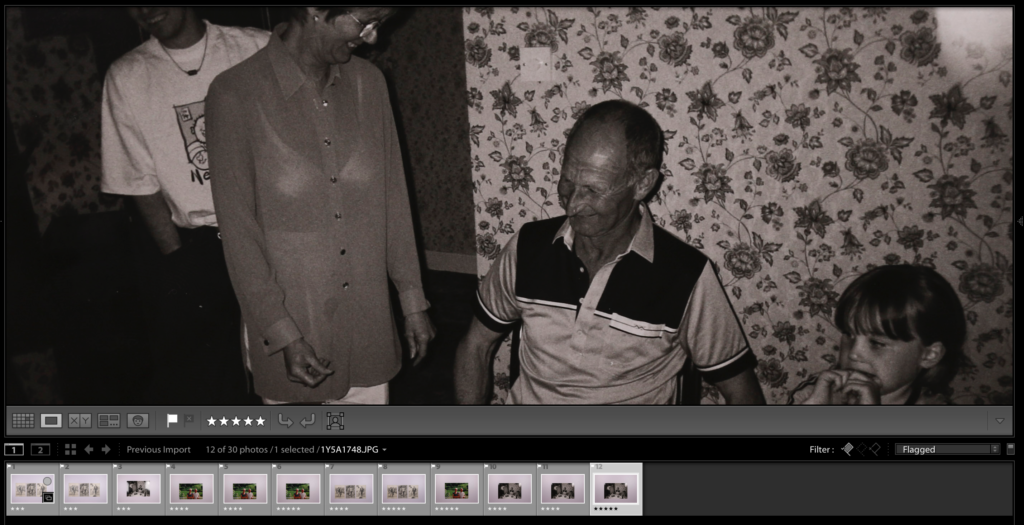
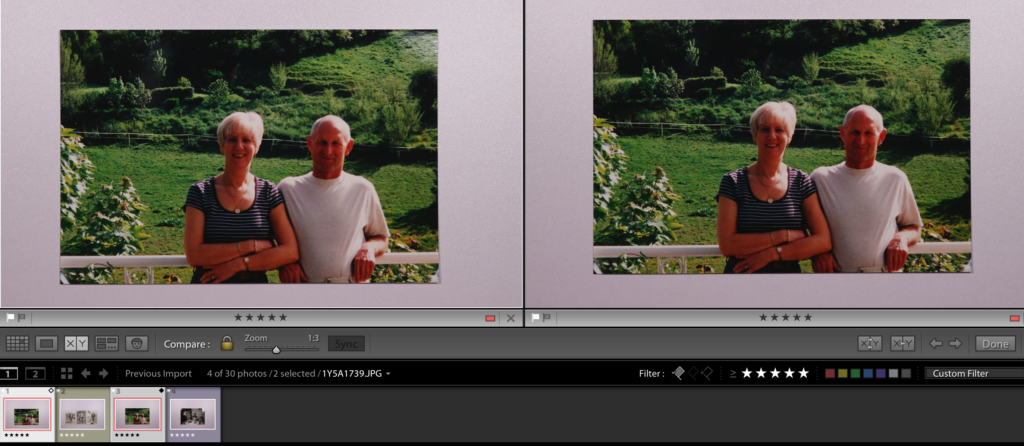
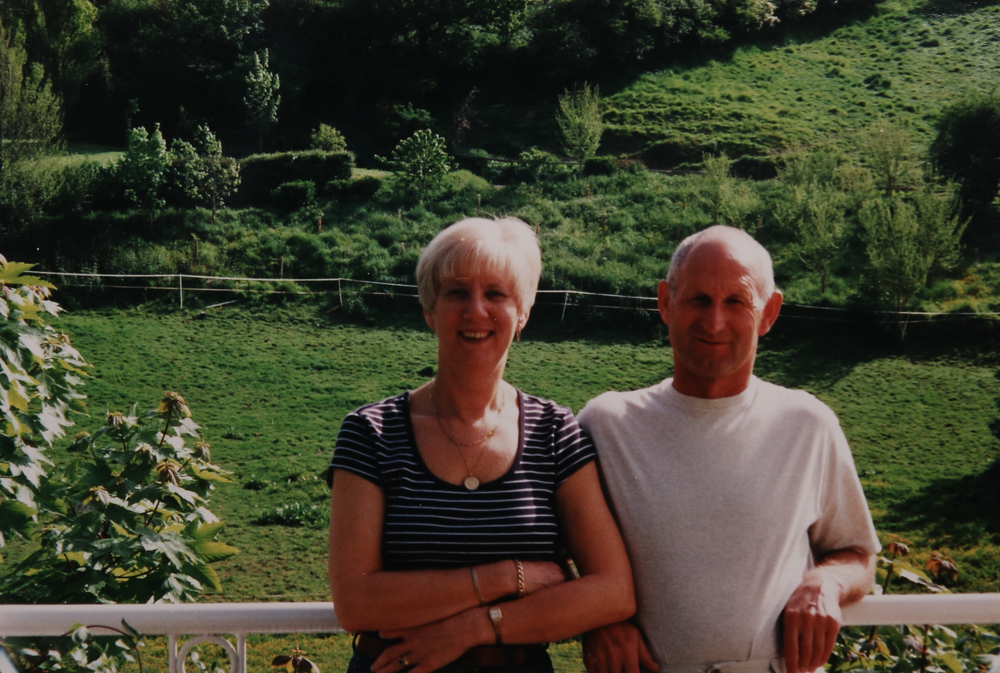
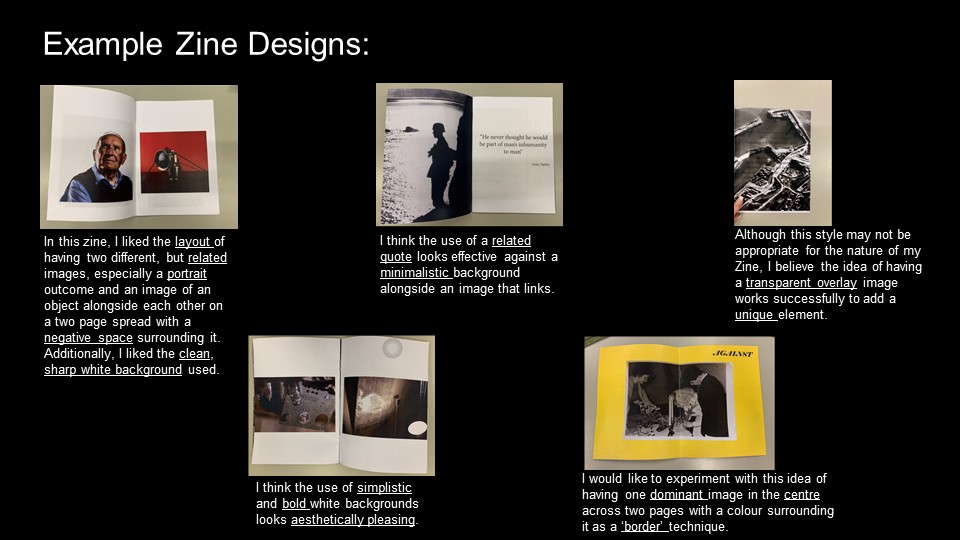
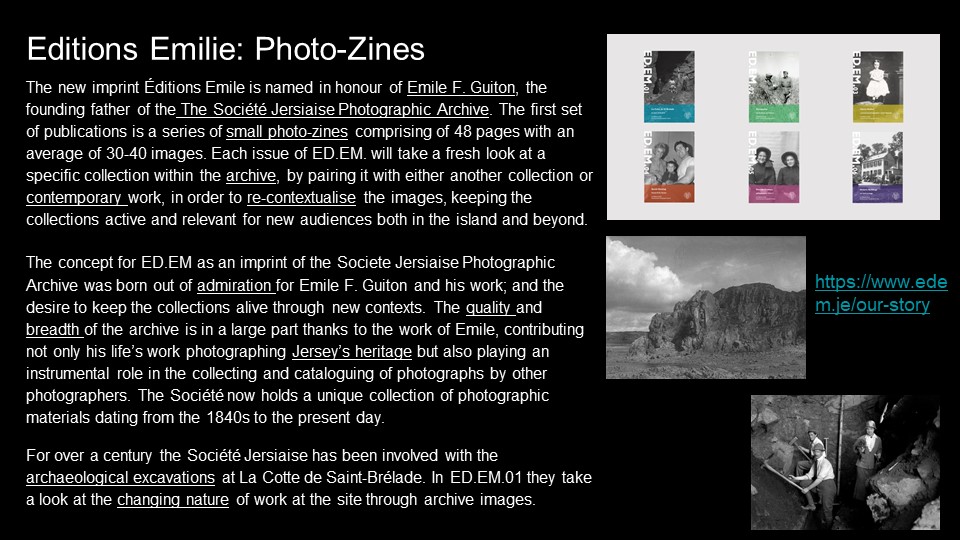
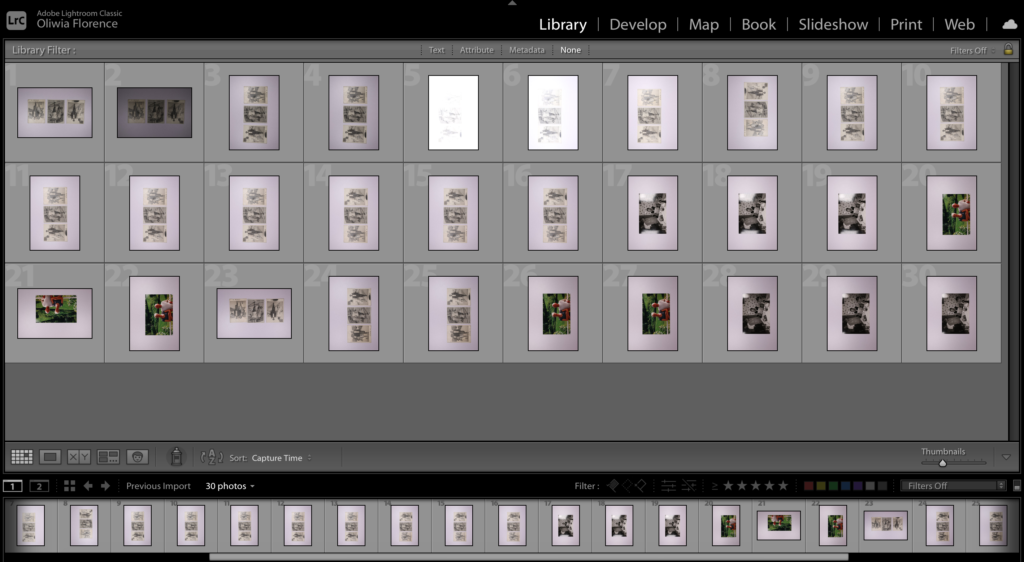
The screen shot above on the left shows the grid view of all my outcomes from a small photoshoot of archives photos of my grandparents I took for my photo-zine. After importing them to Lightroom, I then went though all of my photographs one by one on survey view (shown on the right) and flagged them as ‘picked’ if they where good and flagged them as ‘rejected’ if there where not so good.

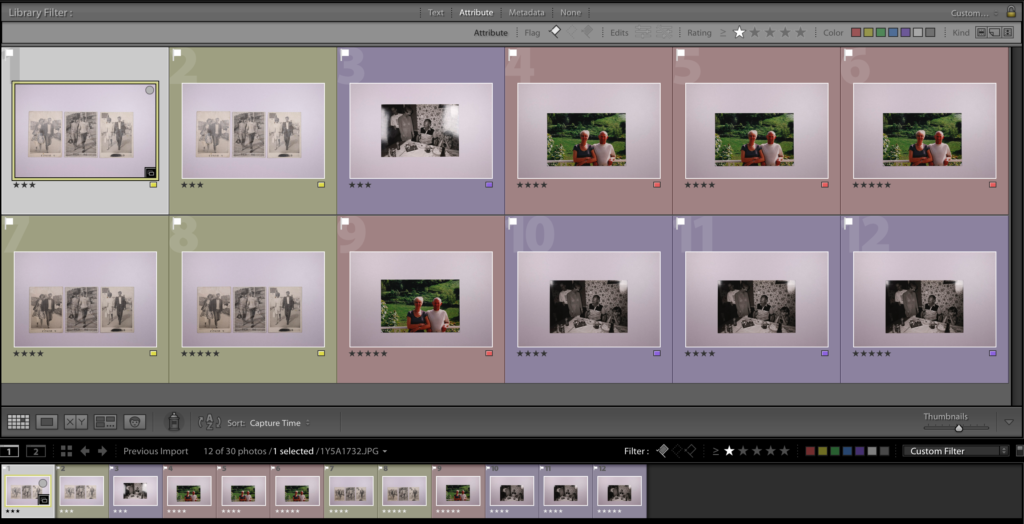
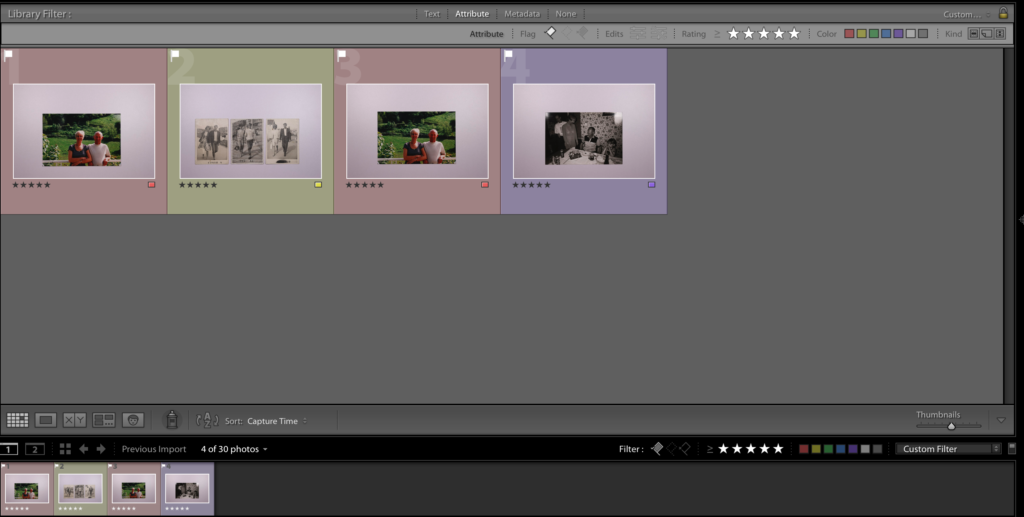
Then by using the filter option on Lightroom to only show the images I flagged as picked, I zoomed in on each of my images to analyse them. Secondly I rated each photo out of 5 stars on its, focus, exposure, etc. This allowed my to view my photos one by one to make sure they where good quality. In the two images below I colour coordinated the images that where the same, and then set the filter to show what images I set as 5 stars (my best photos)

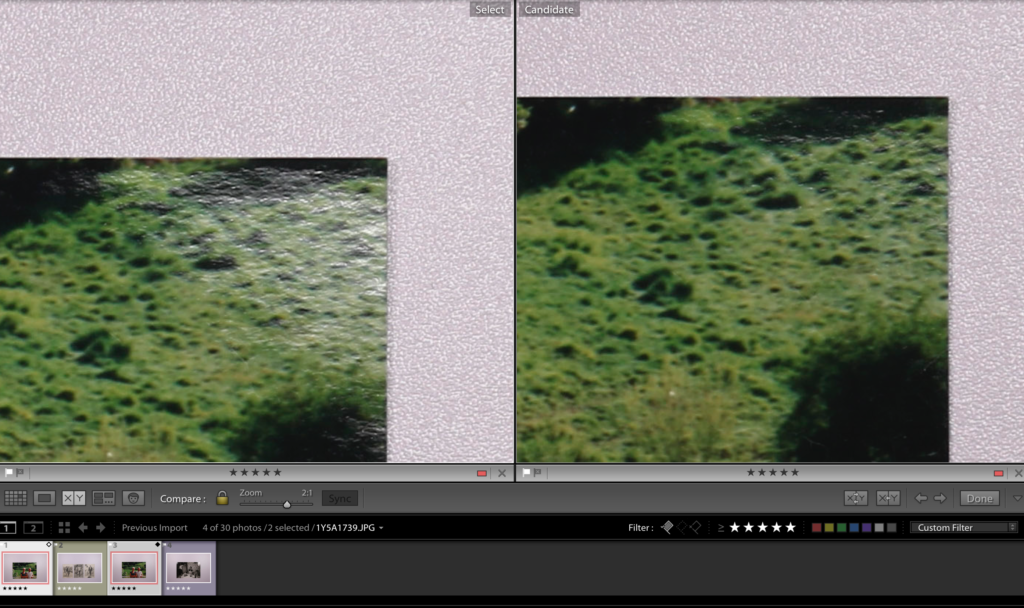
After setting the filter to a 5 star rating, I saw that there where two red coded images left to choose from. I used the compare tool and zoom tool to see the differences between both and spotted that the image on the right has less shine from the lights from the photo stand. This would be my final image. Finally I took the photos from library to develop and edited them to suit what I wanted.

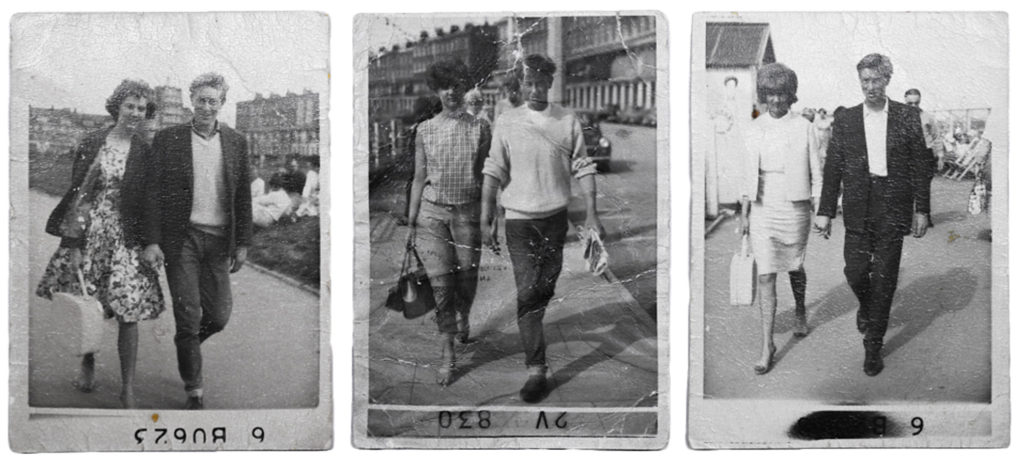
My three final images:

PHOTO SHOOT 2 plan

WHO

Same subject as first photo shoot.

WHERE

Studio to get perfect lighting

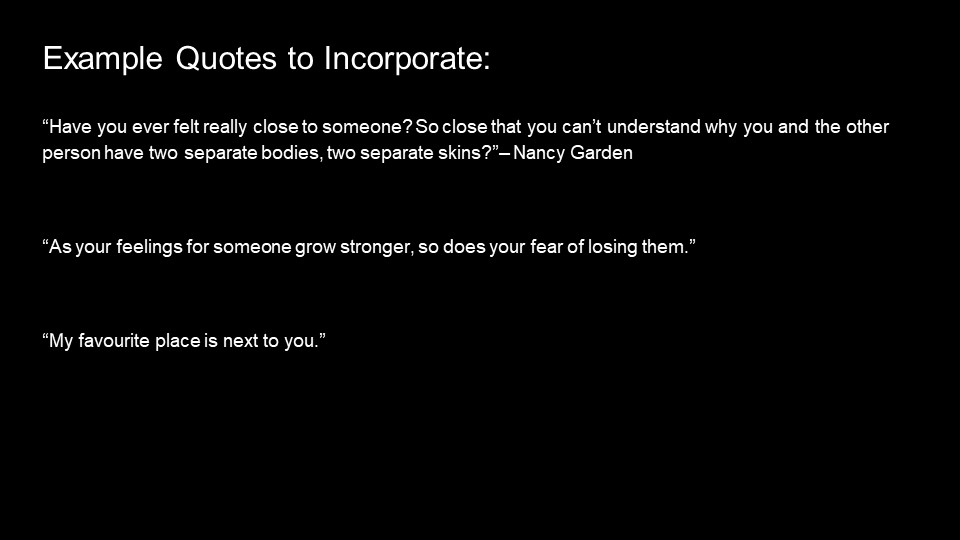
WHAT

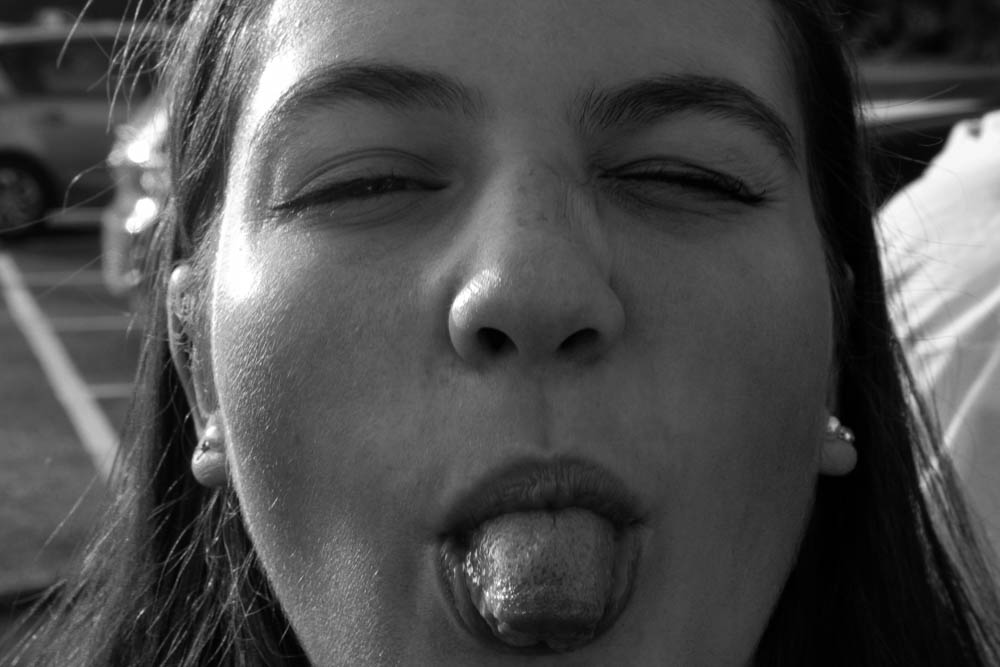
Extreme close ups of facial features or body parts

One point lighting / low lighting

EDITING

Black and white

high contrast

blur

PHOTOSHOOT #2 PLAN-

WHO-

will probably use the same bunch of friends, in order to keep the same main subjects throughout the whole project

WHERE-

i’m planning on doing this shoot in a coffee shop or a similar environment, because it’s a common place for us/people in general to hang out, so it’ll feel natural. again, I’ll be taking mainly candid pictures during actual interactions, but I may also ask my subjects to pose in a couple ones. however my main focus is still keeping a natural sense to all the photos, as if they were taken in the moment.

WHEN-

it will probably be during the afternoon, but because it’s inside there’ll be artificial lighting instead of natural daylight

HOW/EDITING NOTES-

I’ll be keeping with the same editing style in order to retain the same narrative throughout all of my finished images and make a cohesive set of final photos

photoshoot #1 editing-

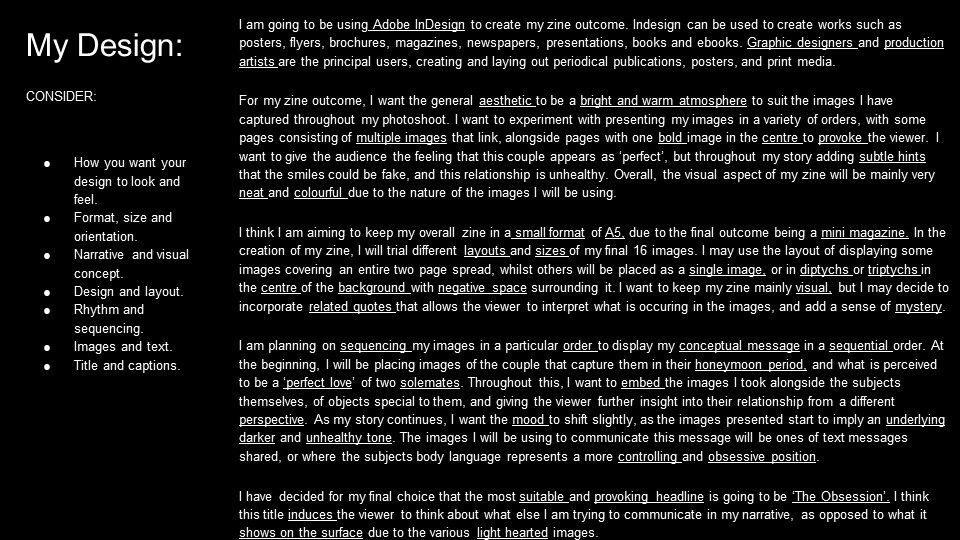
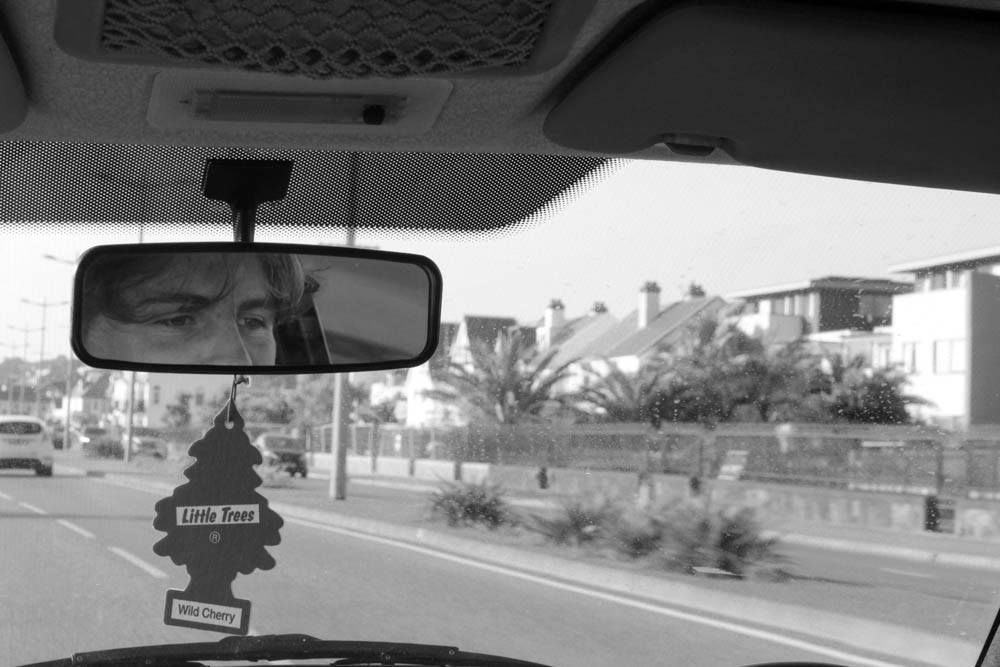
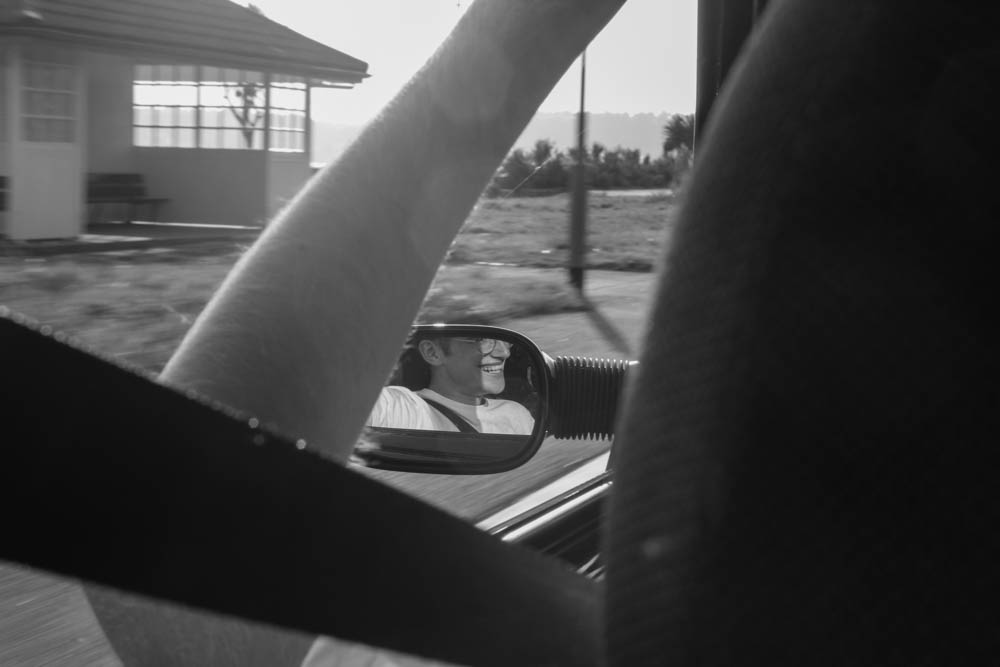
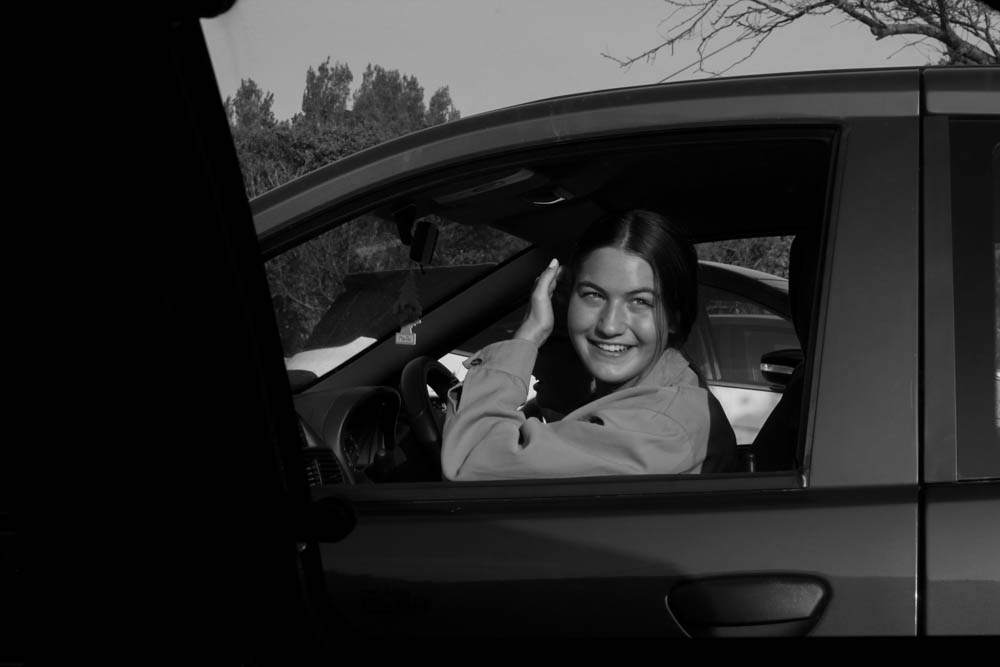
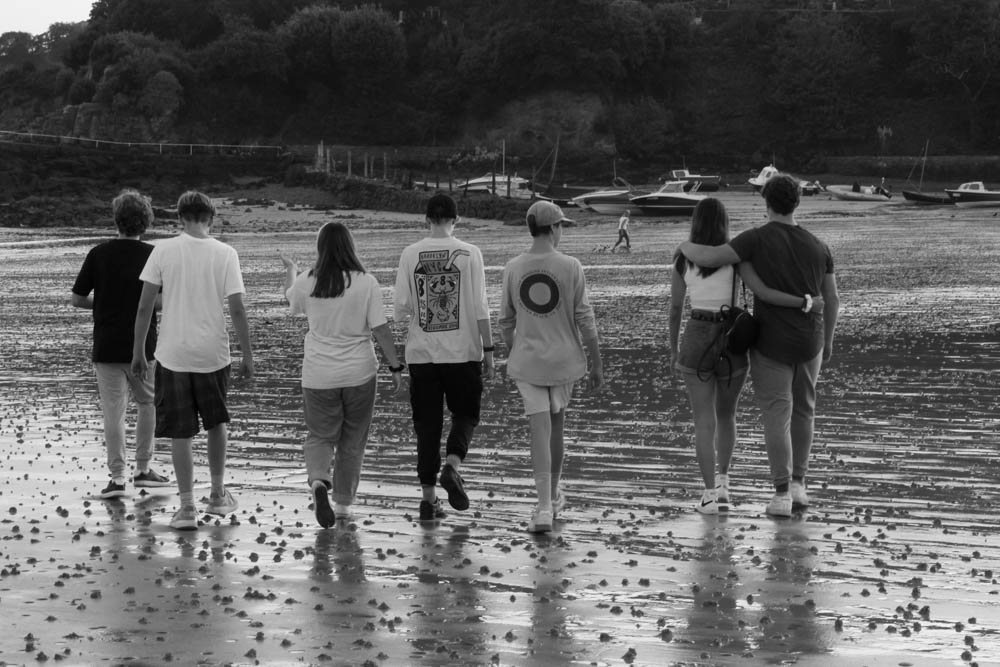
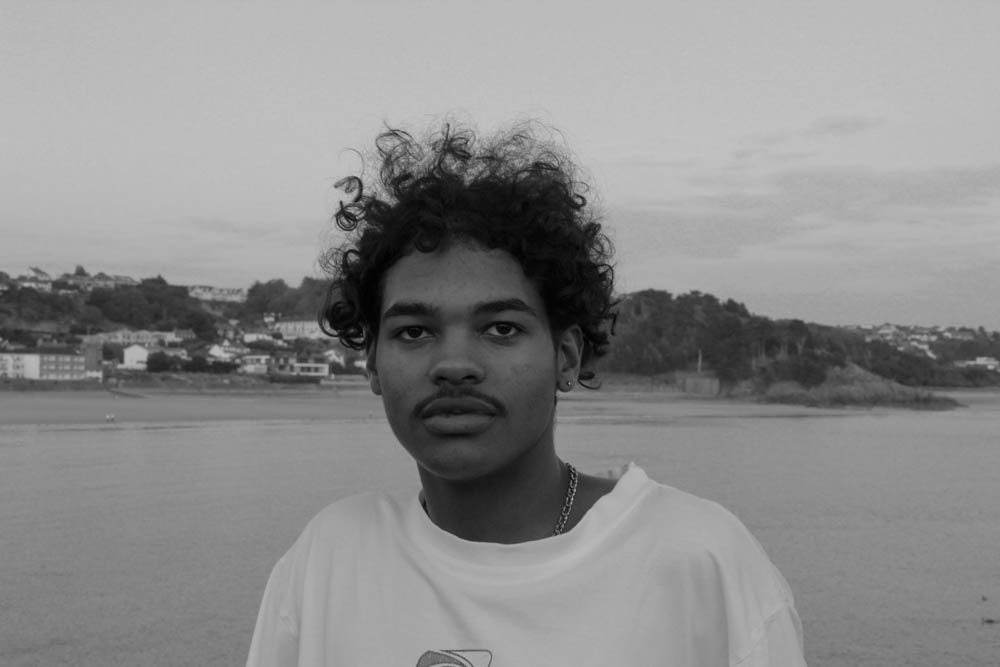
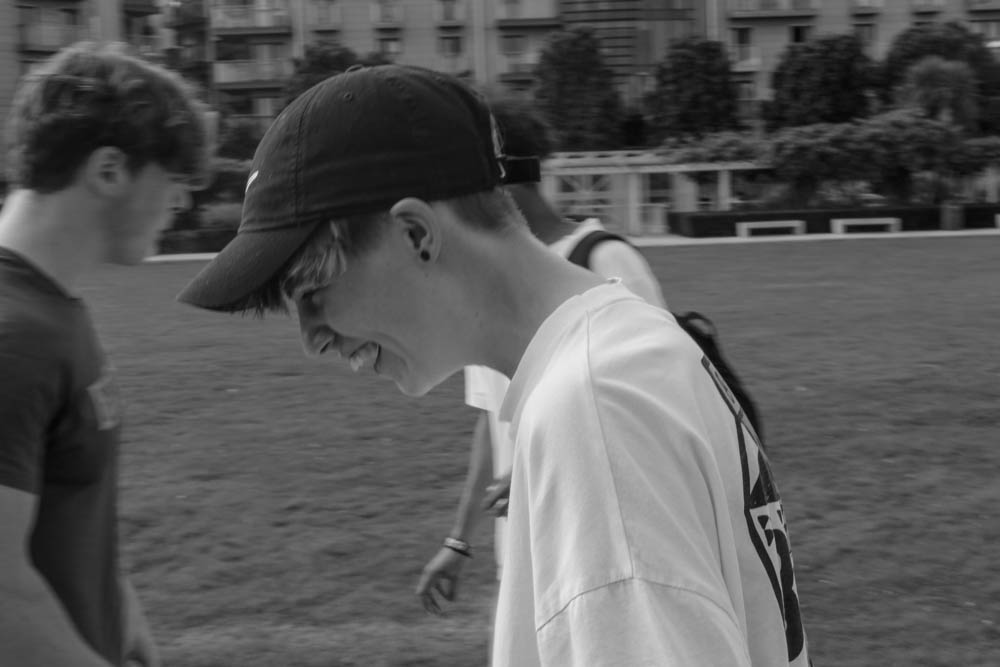
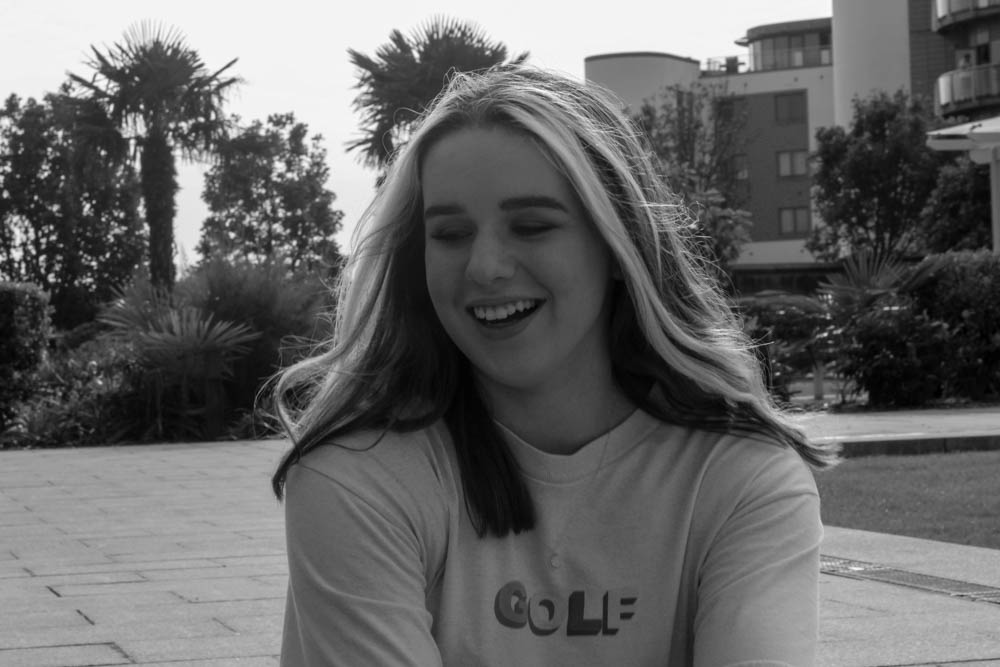
I tested keeping these images in colour, as there was some lovely lighting in a couple of them that I was torn about keeping or not, but eventually I chose to edit them all in black and white, as per my original plan. I used Lightroom’s “Auto” button to see how the program would automatically edit them, but after that I did change a couple things myself, such as the black and white mix of certain individual colours in some images, to make sure that I got a good tonal range and the same effect in black and white as there was when the images were in colour. I had practically the exact same process for every image, because although they were taken in different places and with different types of natural light, they were mostly very similar in terms of light and exposure.

Below is a side-by-side of every one of my final images form this shoot, before and after I edited them. I was attempting to keep the same sort of casual, spur-of-the-moment sense that they had when I first took them, so the changes aren’t wildly drastic.

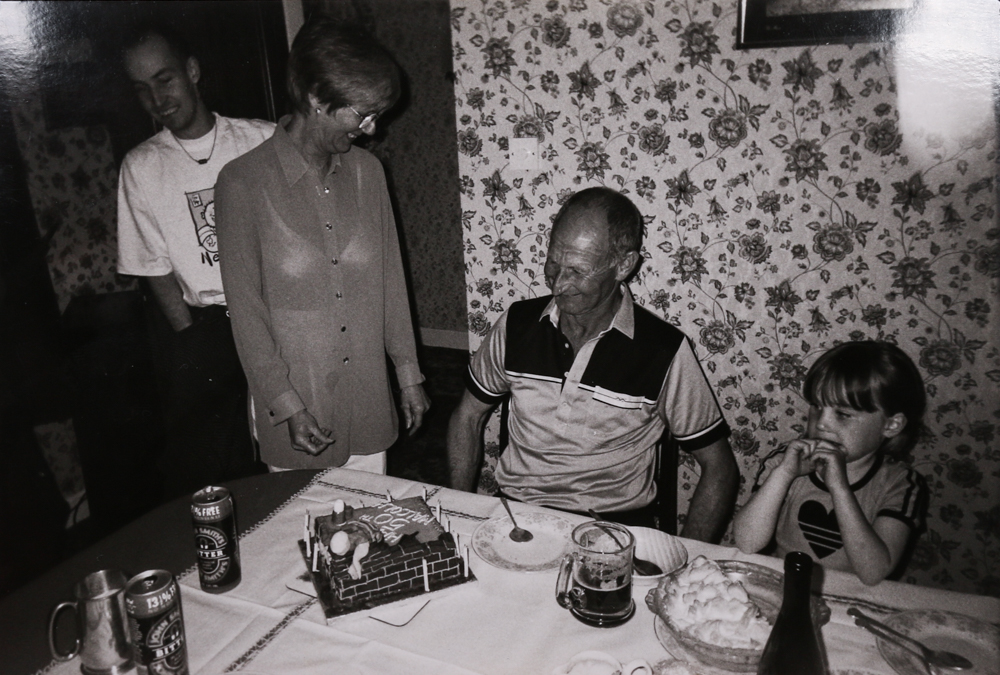
Overall, I am pleased with the way these turned out, and although I am planning on editing them in Photoshop later in a more artistic and creative style, I do like the way they look now and how effective Lightroom was as a piece of editing software. Below are all of the images in their finished state: