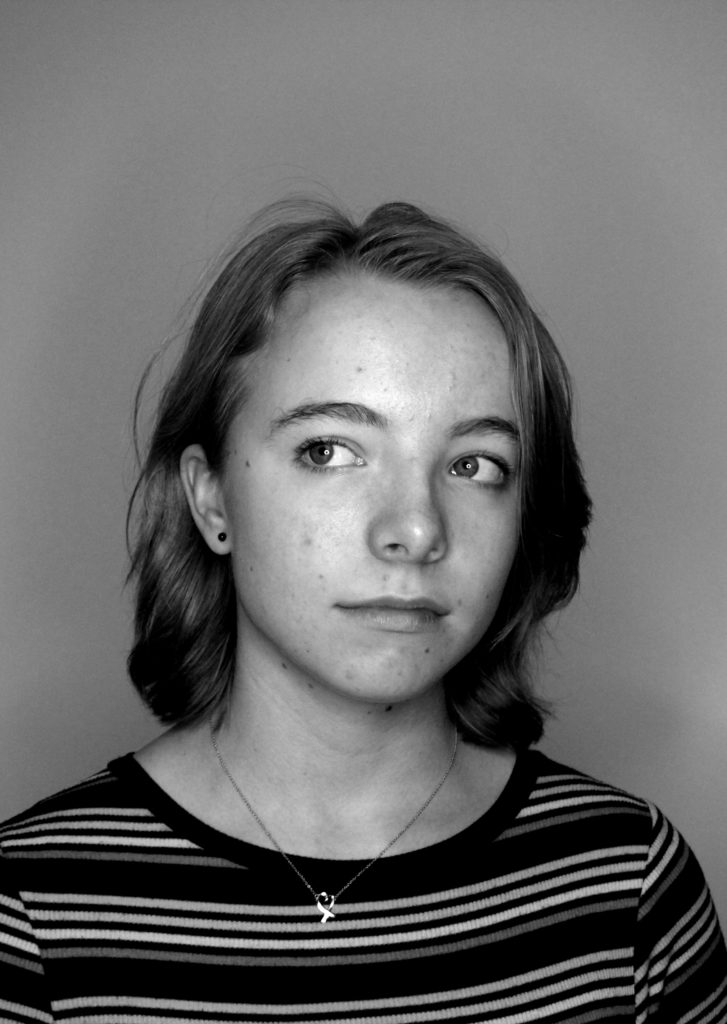
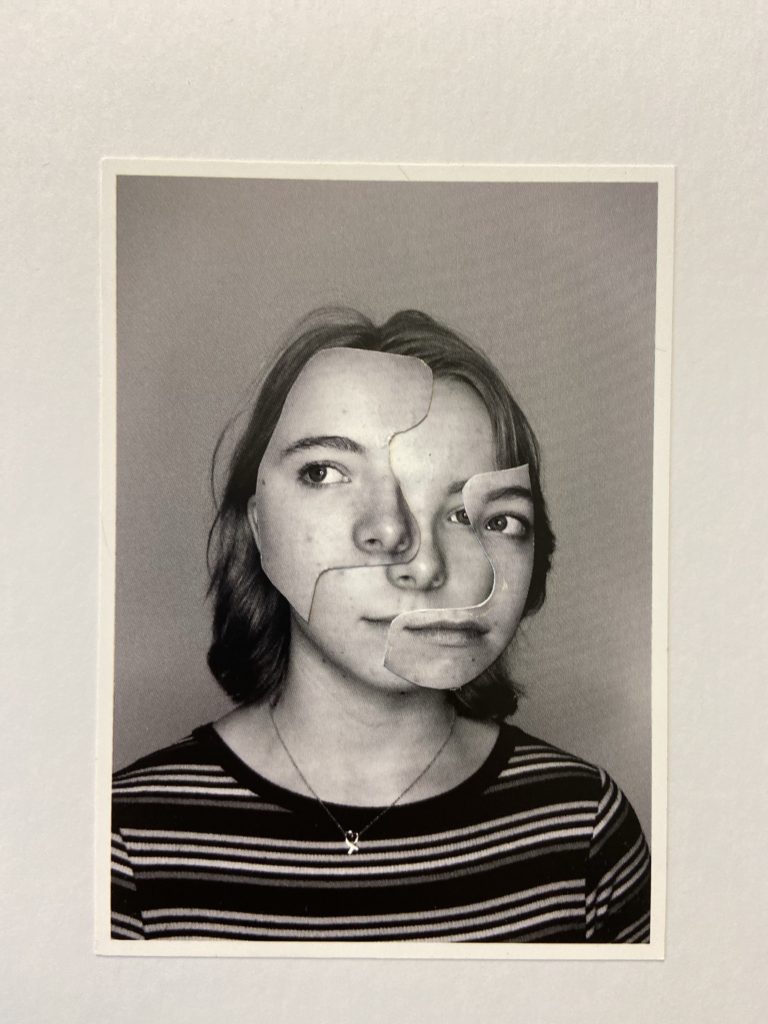
Displaying: Portraits & and Identity

Identity

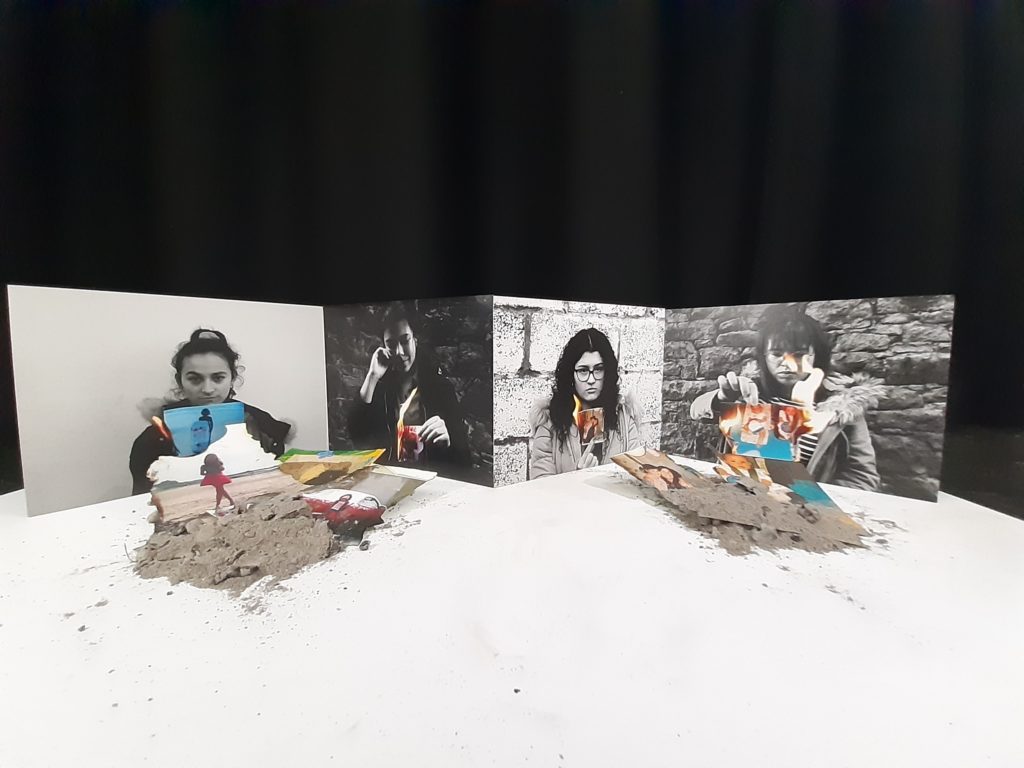
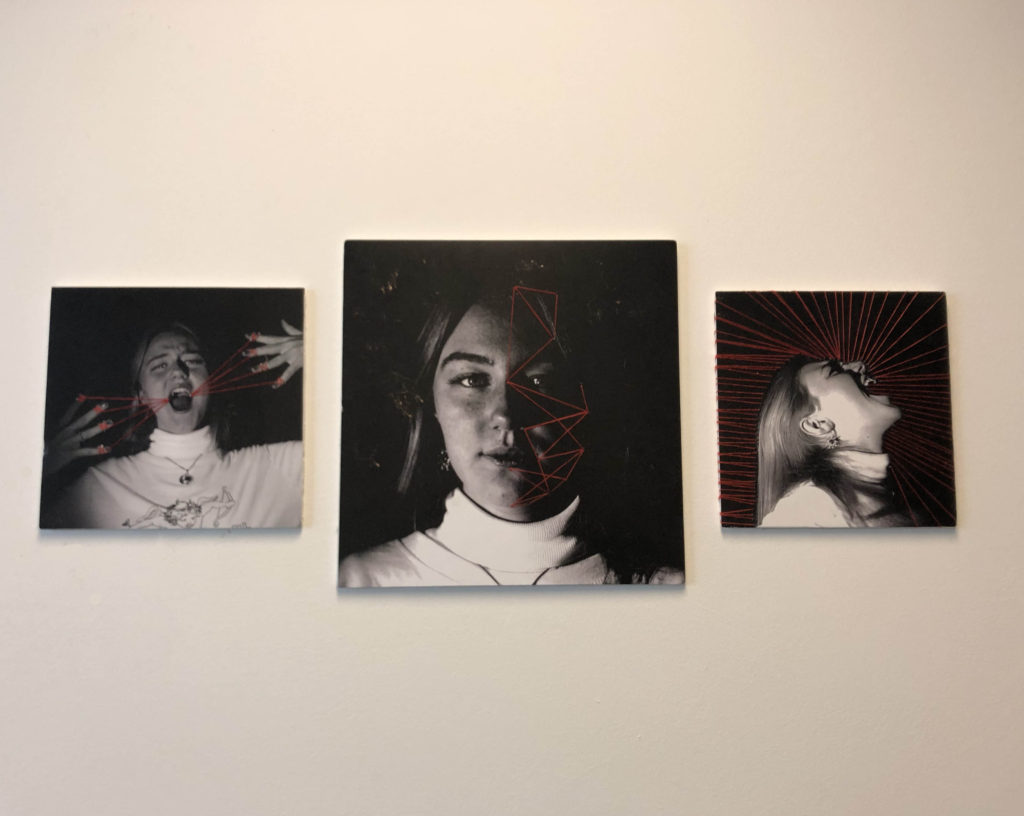
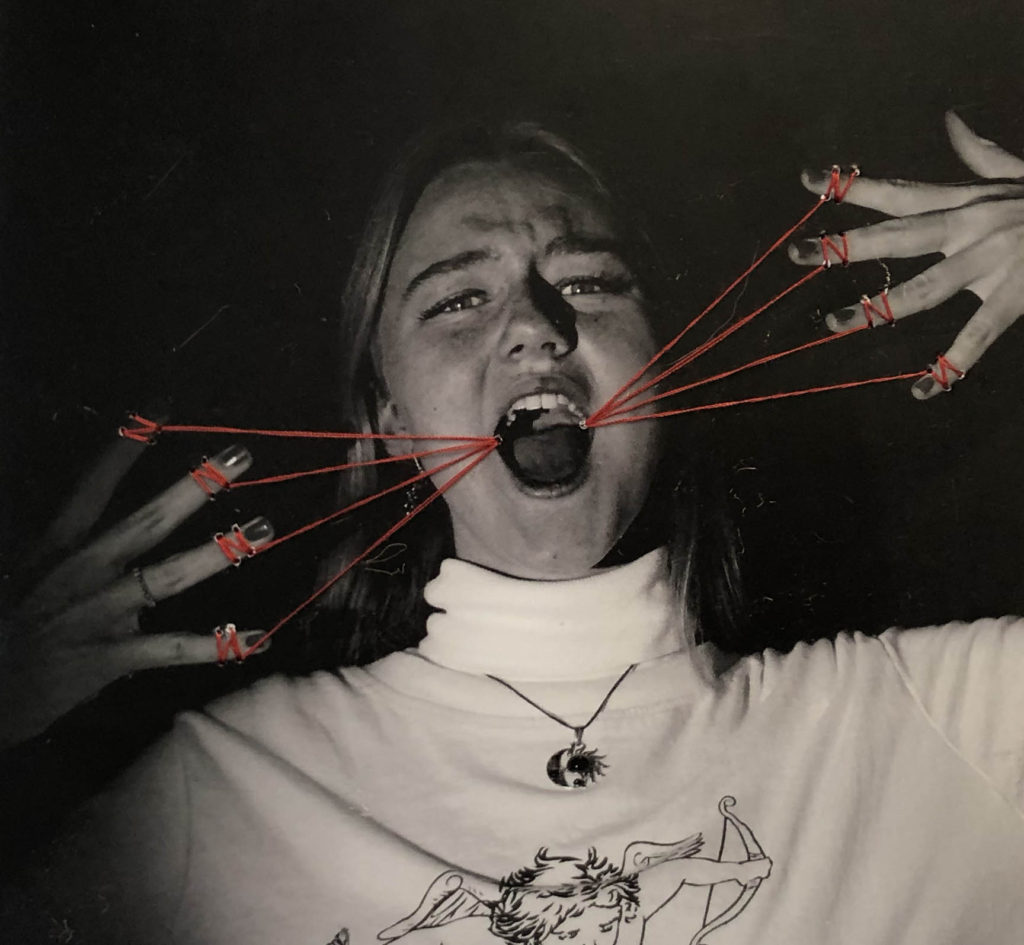
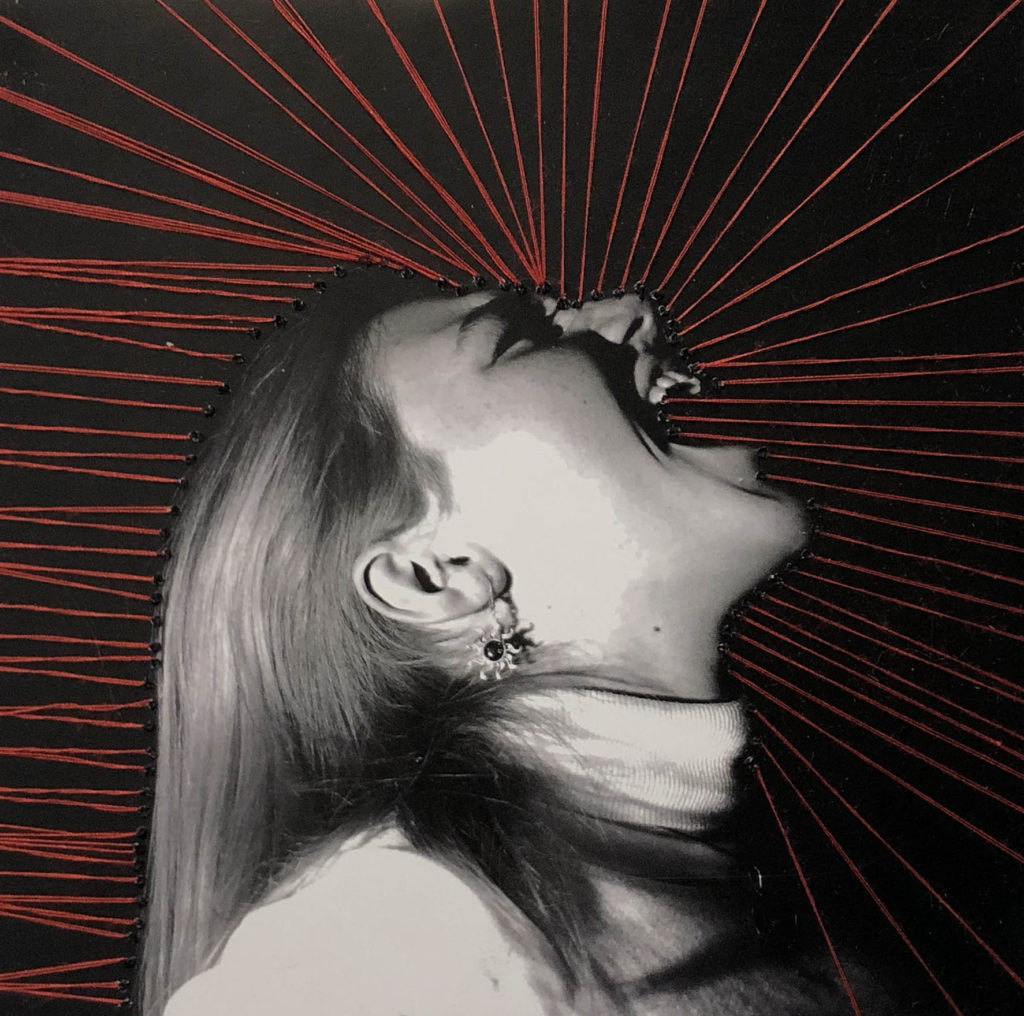
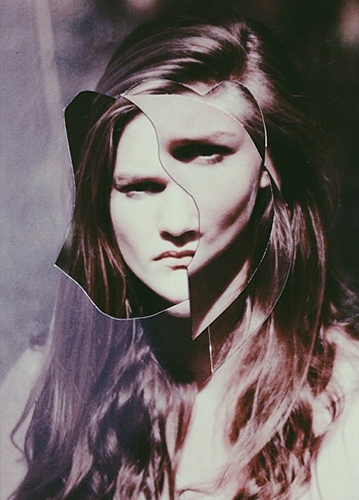
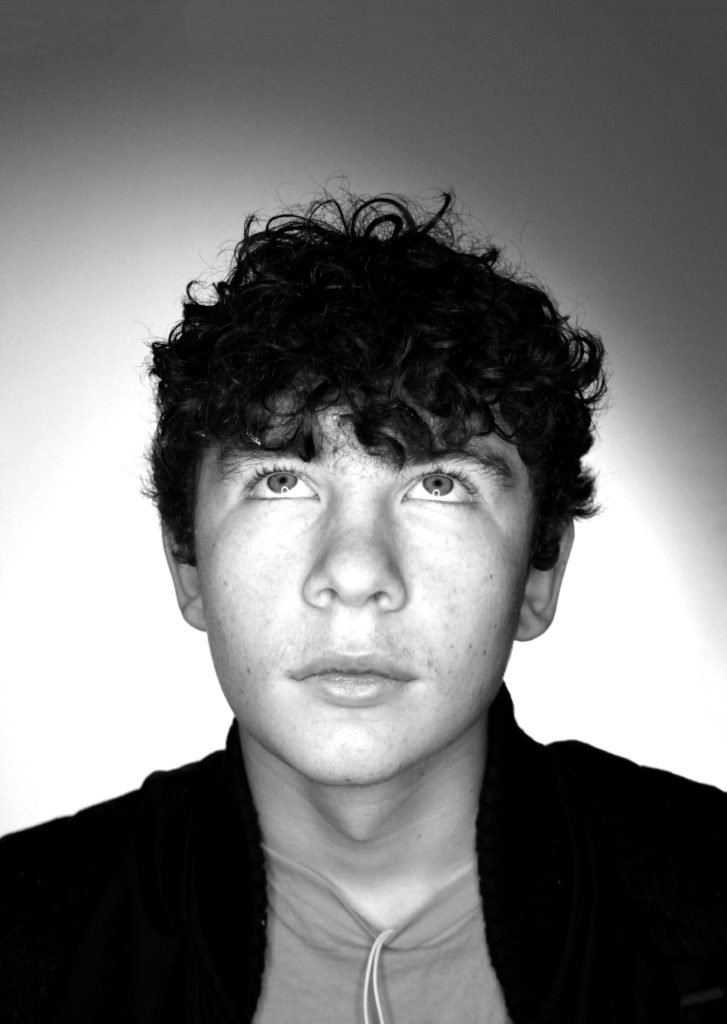
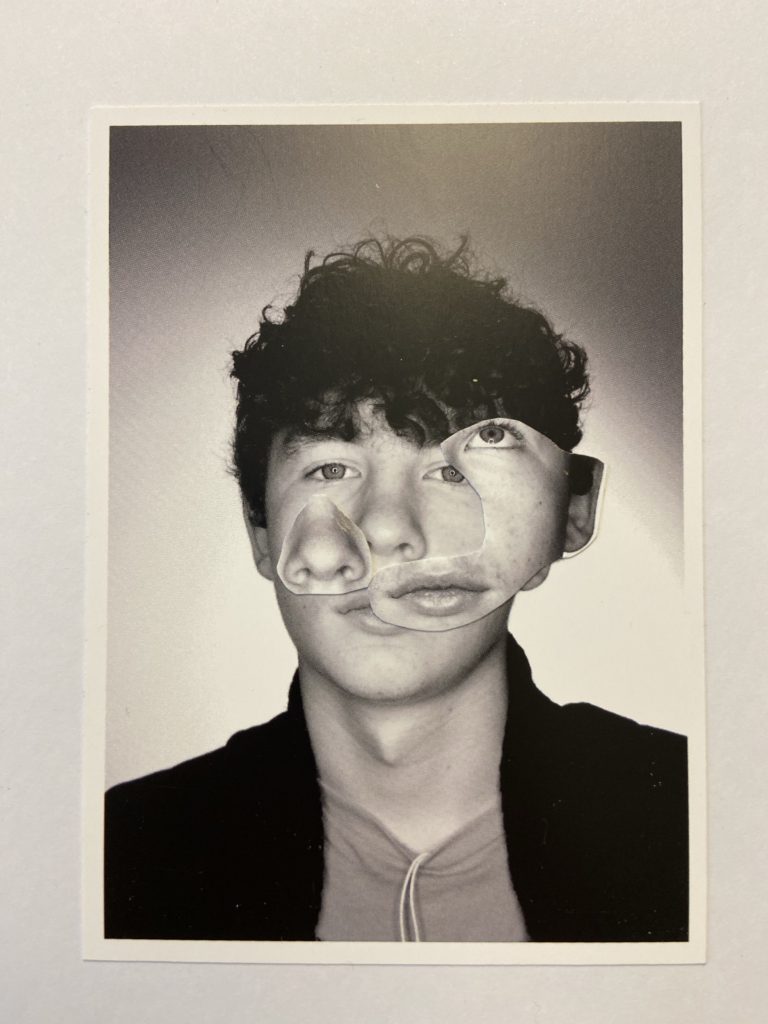
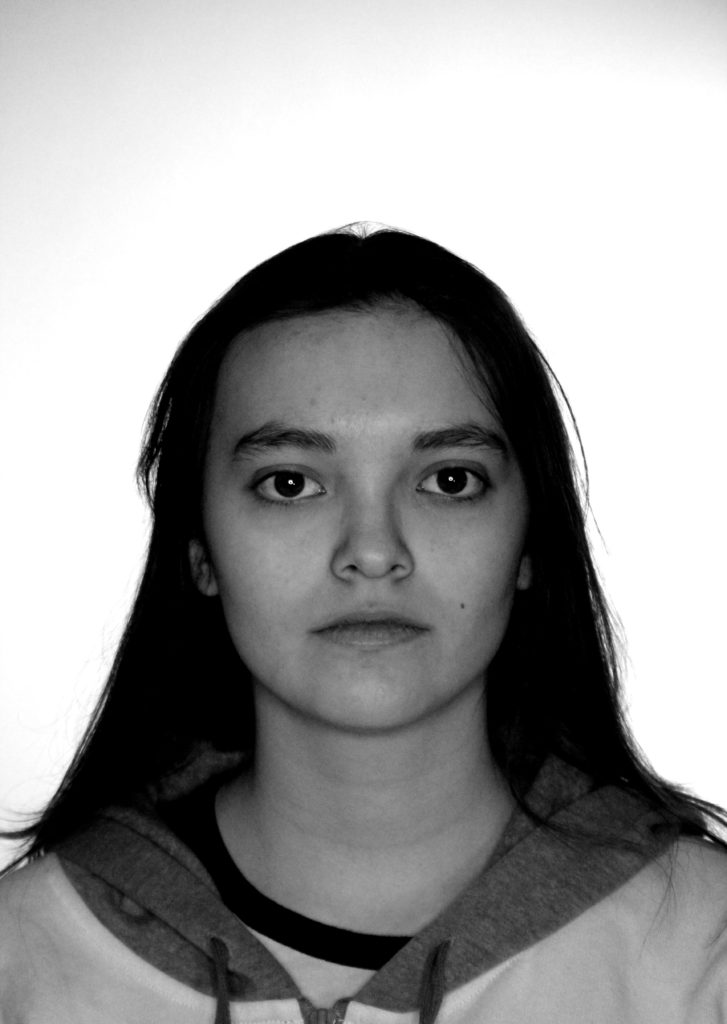
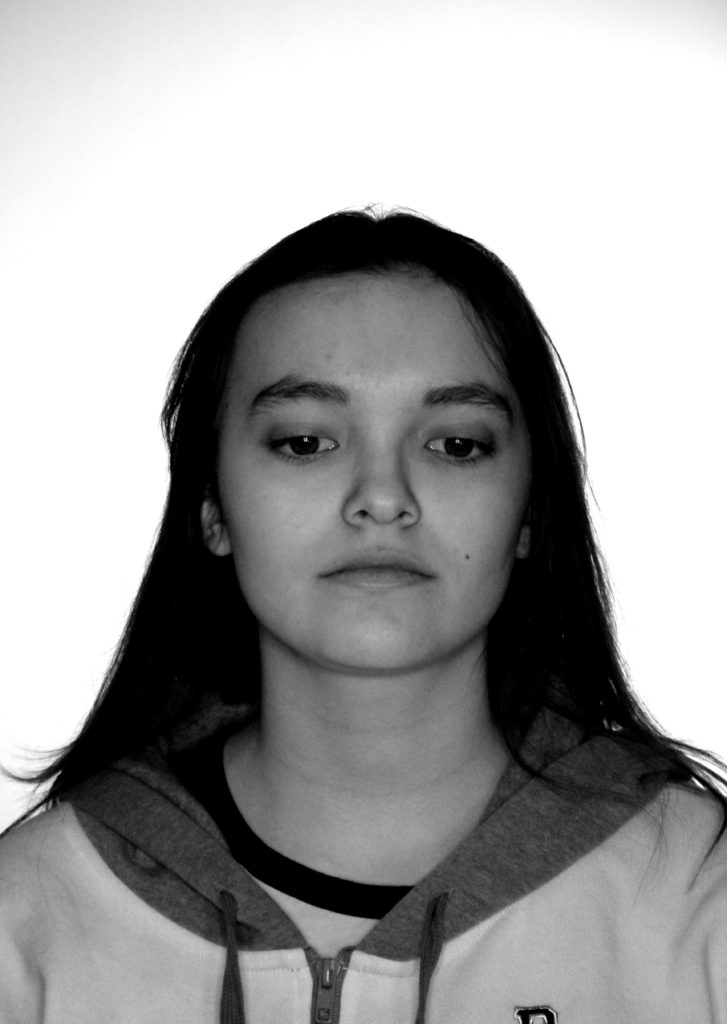
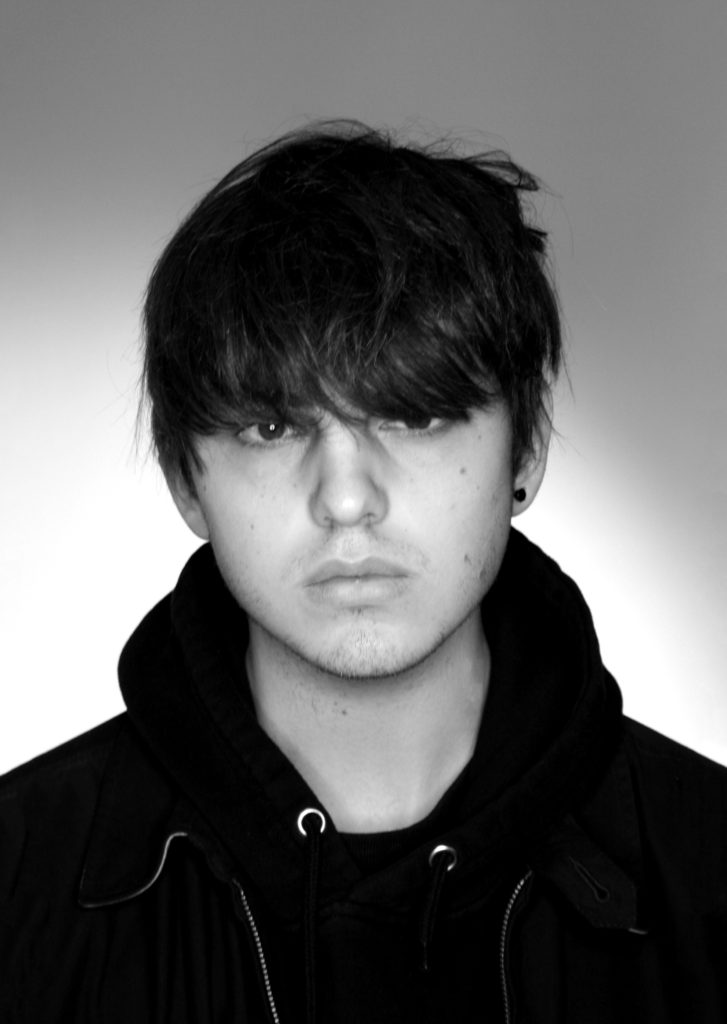
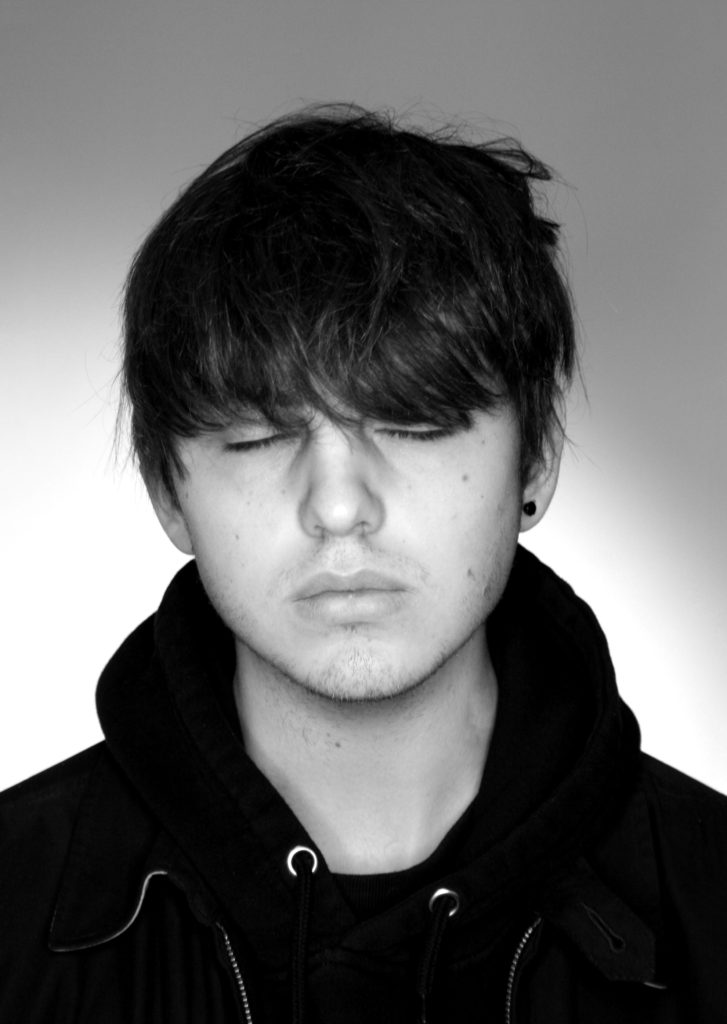
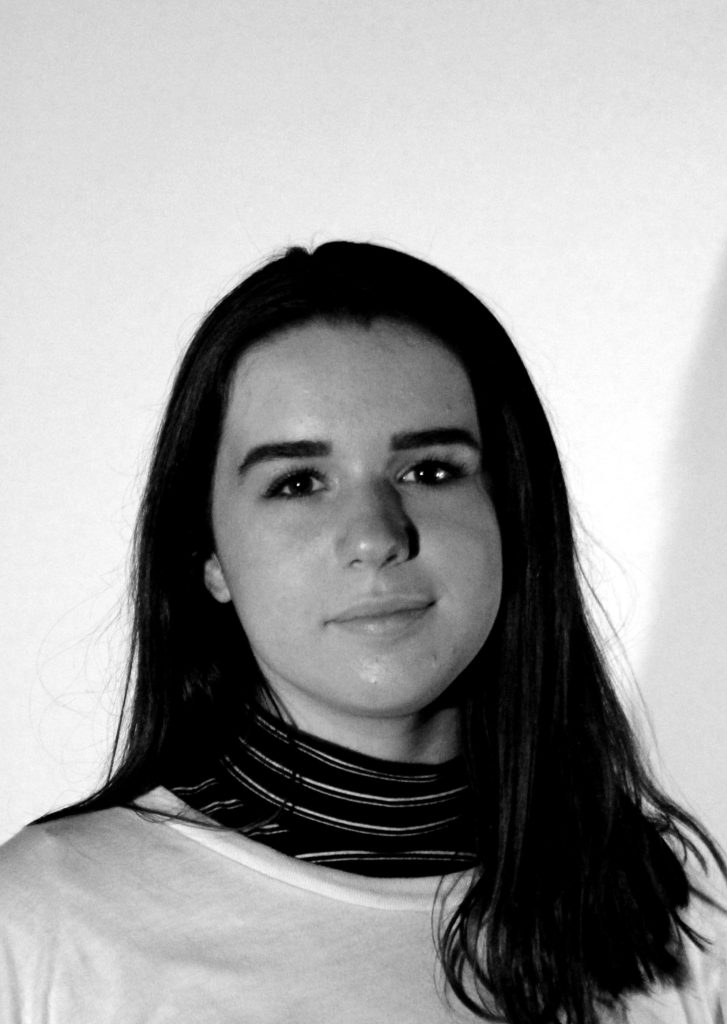
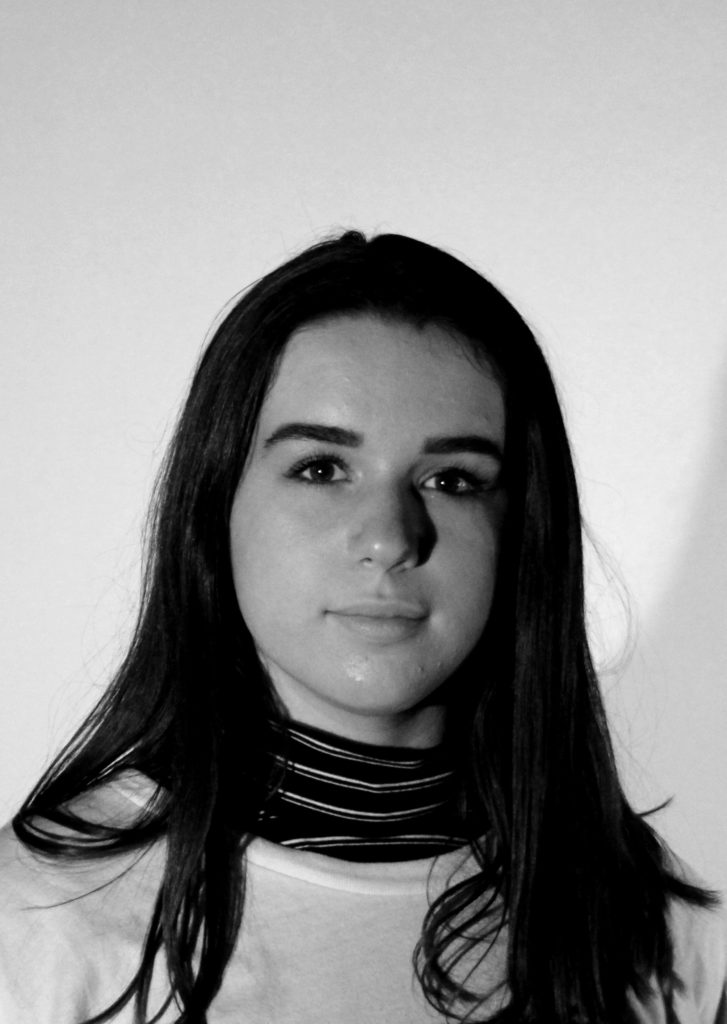
For My identity project I decided to print out these 4 (A4) images shown above. As two had a light and 2 had a dark background i decided to mix these so that I would display them going 1 dark 1 light etc. I decided to stick my images together in order to create a zigzag pattern which I thought would create an interesting pattern. I then wanted to use the images that were burnt and incorporate them back into my display. Here I got some ash from the burnt photos that got completely burnt and made two piles then collected remaining photos that didn’t fully burn and place them into the burnt pile of ashes.

I think that displaying method worked really well as it helped to continue the story of the idea on my identity piece as from the audiences perspective, it looks as though the images are looking down at the burnt remains of their childhood, which helps to symbolise the loss in their memories and the people in their memories. Overall I am really happy with these outcomes as I think they look quite professional and I like the fact that the combinations of my two artists worked well and the conceptual side of my project really shined through.

Studio

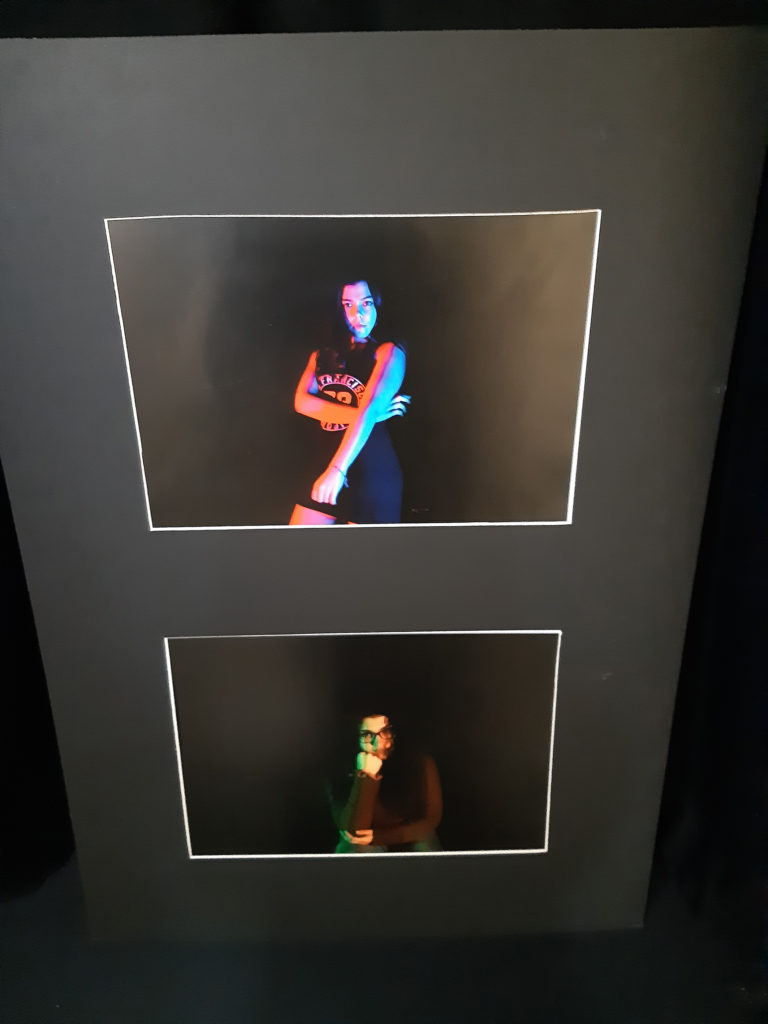
For this project I decided to print off 2 A3 pieces, here I placed them onto a window mount which I thought was the best way to present the images as I didn’t want a crazy way to display it as I wanted the images to be the main focus onto the audiences eyes.
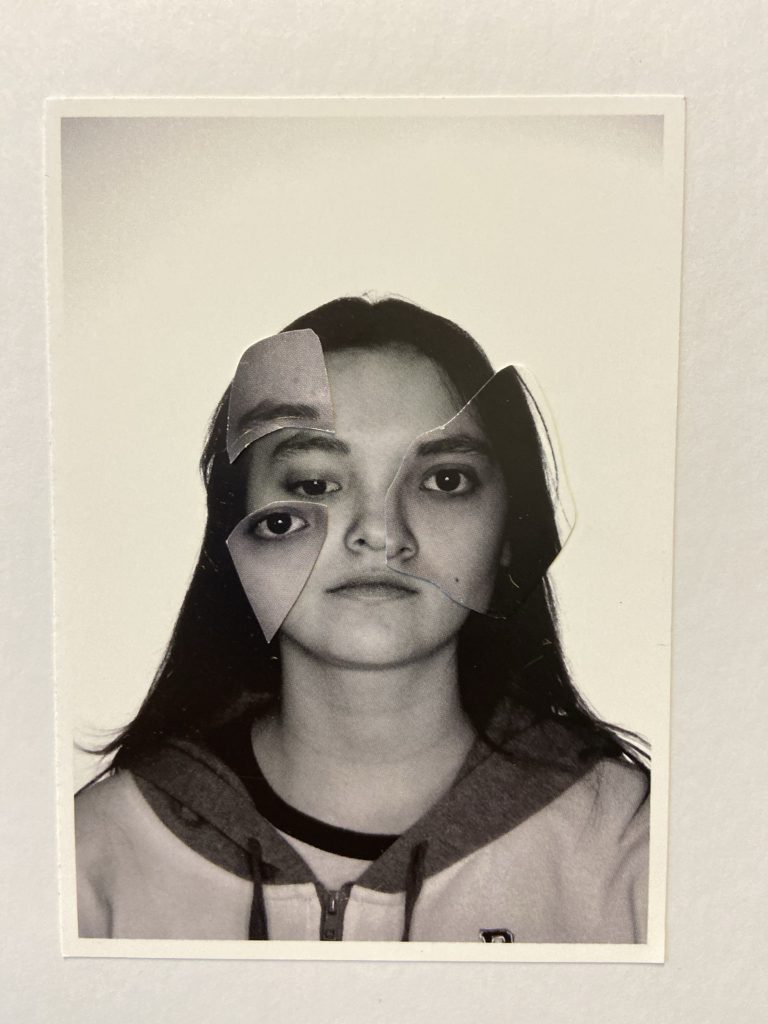
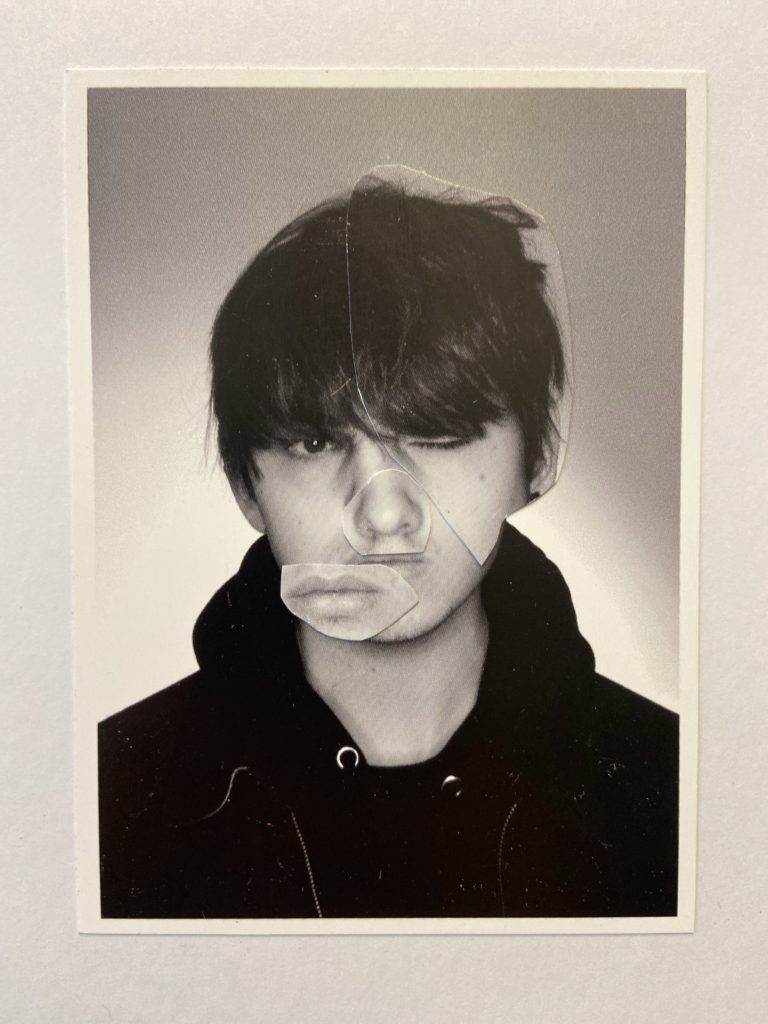
Tableau

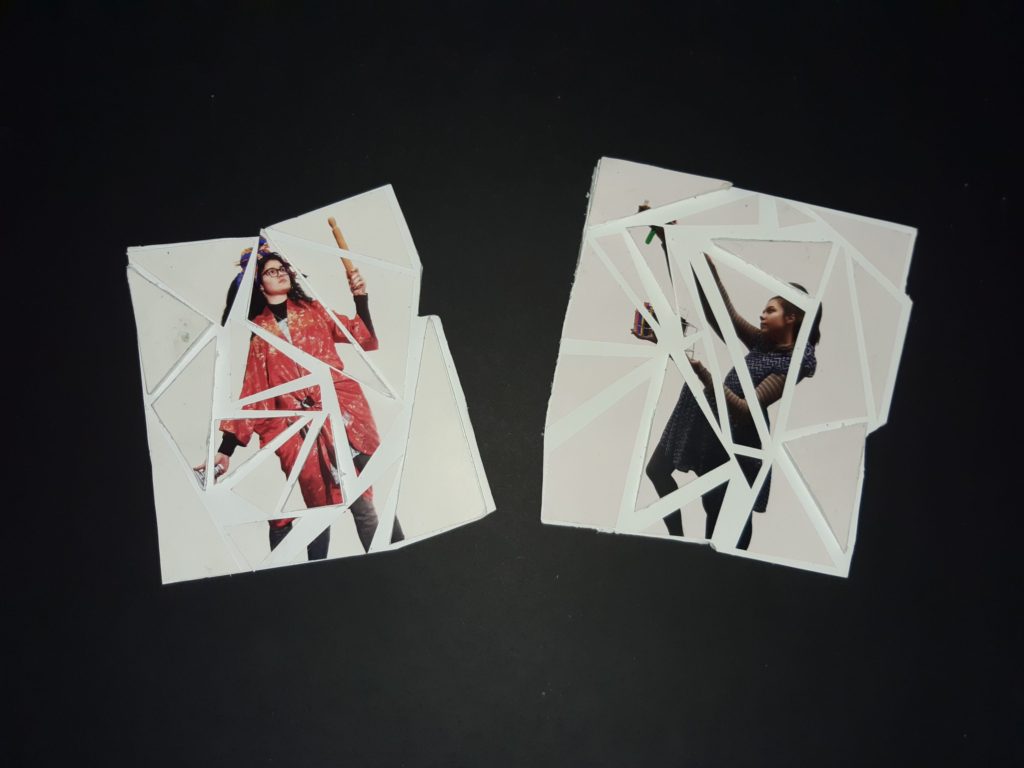
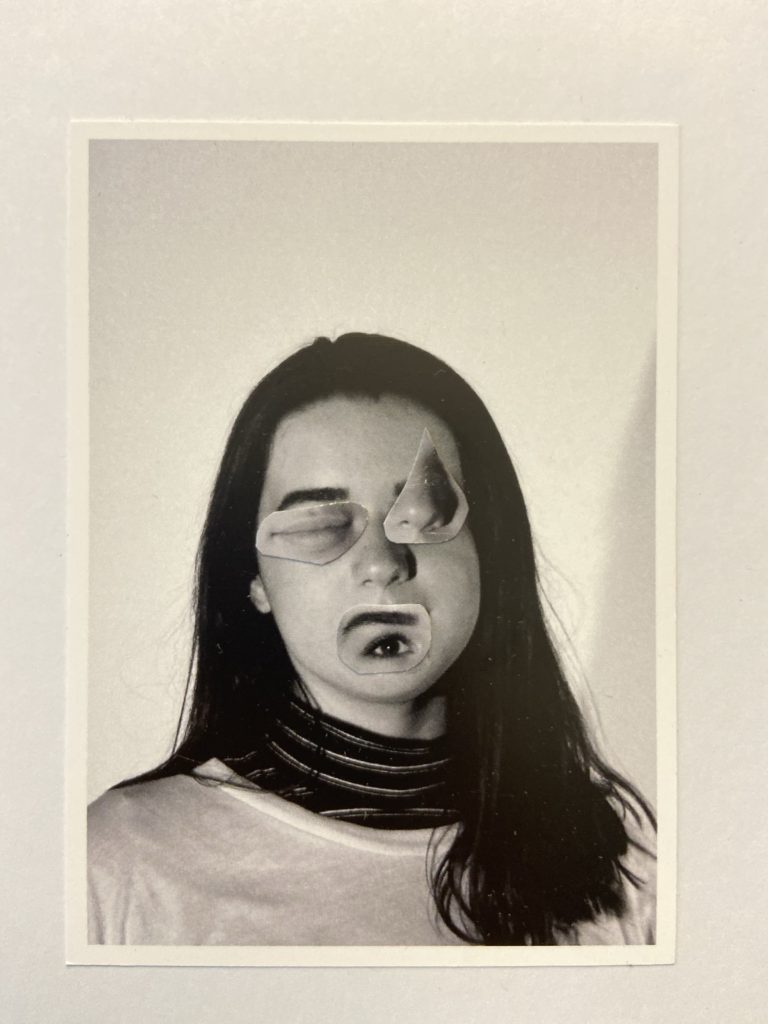
For my Tableau project, I decided to print off 2 A5 sheets here for this project I decided to cut these images into different sized triangles, here I placed them onto a foam board and placed them slightly apart form each other, to add more of a 3D effect I decided to give some of the triangles more height by sticking them to another piece of foam board. Finally I wanted to keep the edges of the images different also therefore instead of just cutting 4 straight lines around my images I followed the triangles shape on the stuck down image and cut around that accordingly which is shown above. I think that this displaying method worked quite well as it gives the idea that the images have been broken with a hammer.

Environmental

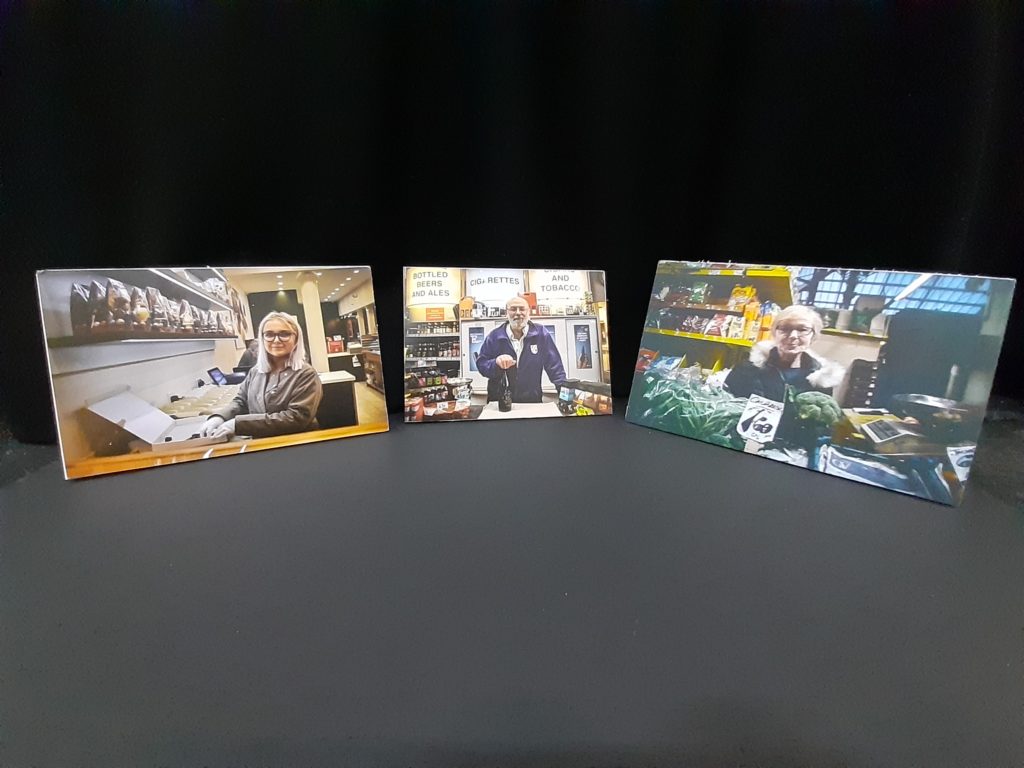
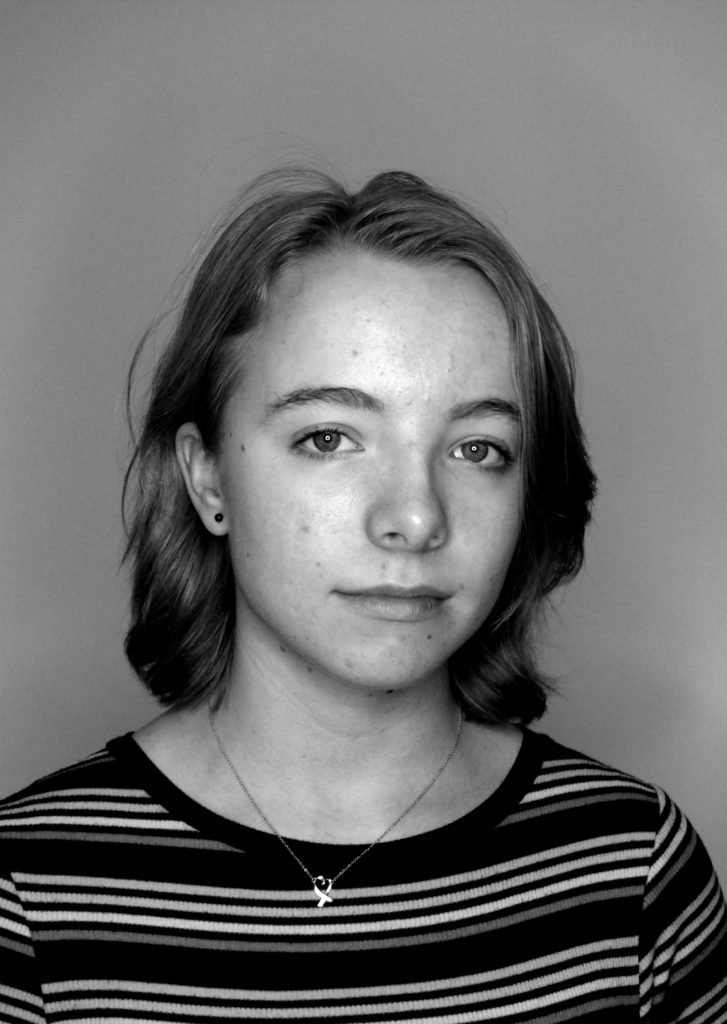
For environmental, I printed off 3 A4 images, and again I wanted to keep my displaying quite simple and make my image “do all the work” as I wanted the audience to engage with the images and again not be overly distracted. Here I simply placed my images on a foam board.

Final oUTCOMES

Linking to the theme of Loss of Identity:

The string that has been sown onto the photograph is meant further illustrate the lack emotions that the model is struggling to show/express them more. As well as this, the string can also be a sign of being trapped and being tied down to your own emotions which links to loss of identity as it represents people not being able to control how they act or how they feel.

Editing:

I edited three of my best images from one of. my photoshoots to look more like Lee Jeffries work. I made the photo black and white and I intensified this by lowering the red and yellow tones do allow more contrast to be seen. These images were the most successful as they were the most in focus, the most intense and you can see minute details such as the freckles on the models face, similarly to some of Jefferies’ models. I also edited the photos to be in black and white because the loss of colour links to the sub theme “loss of identity”. The centre piece links well to this theme as the background tells the observer no further information about what the model is like personality wise or what their life is like as well as what their past/background is like. I cropped the images in order let the observer focus more on the details of the models face, this is similar to what Jefferies does with his own photography.

Final Process:

After mounting my photos onto foam board and sewing on red thread onto my final image, the photos below were my final outcomes. With the photo being in the style of Lee Jefferies work and getting the inspiration to use thread from. the photographer Maurizio Anzeri, these outcomes turned out very much in the way that I wanted. For deciding the composition of my final pieces, I was thinking of having two A4 sizes cut down to be square photographs and placing either side of the larger A3 photograph which was also cut down into a square. I chose these particular photographs to be this specific size as I thought that the photo with the model looking straight into the lens seemed less intense therefore it would make more sense for it be the centre piece, compared to the more intense and dramatic photos where the model looks as if they are in agony due to the string pulling on their face. I decided to do a geometric pattern on the centre photo as some Maurizio Anzeri’s work has simple “swirly” looking patterns on his own work, too add my on twist to it I decided to make it more jagged and I thought that the pattern fit the other photos better this way as it makes the photo more dramatic.

EDITING AND MANIPULATION

EDITING IMAGES:

The high contrast between the black and white I used to edit my photographs was inspired by Ansel Adams. I firstly chose the photo to be black and white on photoshop, then increased the yellow levels on the image, and decreased red. Secondly, I manipulates the levels of the photographs, increasing blacks to 26 and increasing the whites to 205 to create harsher shadows that contrasted the highlights of the models face. This creates depth to the facial features. I continued this process of editing to each image.

The images below are a selection of photographs for my final piece. After editing them, I think that they all show variety when looking at them as a whole. They show a range of background lighting which means that when images are presented together, they will contrast each other well.

While the first image of the model, on the left hand side, displays a neutral and forward glance looking directly into the camera, the second image of each model has a slight variation. The change is small, usually the model looking in a different direction. I printed two of each photograph on the right and not of each on the left. After printing the photographs, I cut facial features out of the right photographs and stuck them on to the neutral photo on the left.

The final image for each model is shown below. They are a direct response to the artwork and photography of Rosanna Jones, herby she manipulates the final image by cutting and sticking edits together.

FINAL IMAGES: