GROUP 12A MONDAY 27 PERIODS 1-5
GROUP 12B TUESDAY 28 PERIODS 1-5
GROUP 12C WEDNESDAY 29 PERIODS 1-5
GROUP 12D THURSDAY 30 PERIODS 1-5
EXTRAS FRIDAY 31 PERIODS 1-5
WHAT YOU NEED TO DO IN THE EXAM
Ensure that the 10 step process is thoroughly complete
Complete final edits of your images
Present a display of your final images
Add an evaluation of your process
Add a critique of your final images
Ensure your high resolution files are labelled and saved in the print folder
PRINT FOLDER CAN BE FOUND HERE…M:\Departments\Photography\Students\Image Transfer\PRINTING
What you need to print…
- Check that you have a range of prints of your best work for each unit of coursework…
- Landscape
- Portrait
- Identity
- Remember to label each high res JPEG in the print folder with your name!
- Choose A3, A4, A5
- Ensure that your final images are a direct response to your chosen photographer (s) and show a clear visual link
- Print size images = 4000 pixels on LONG EDGE
- BLOG SIZE images = 1000 pixels on LONG EDGE
Check and publish all blog posts for identity and portrait
Always ensure you have enough evidence of…
- moodboards (use influential images)
- mindmap of ideas and links
- case studies (artist references-show your knowledge and understanding)
- photo-shoot action plans / specifications (what, why, how, who, when , where)
- photo-shoots + contact sheets (annotated)
- appropriate image selection and editing techniques
- presentation of final ideas and personal responses
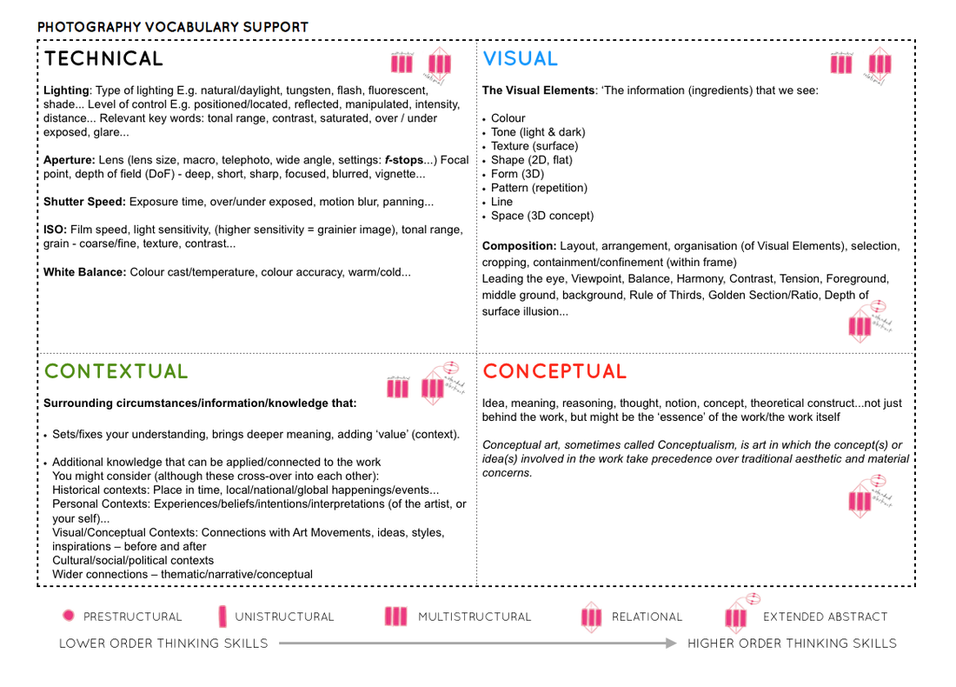
- analysis and evaluation of process—use key words below
- compare and contrast to a key photographer
- critique / review / reflection of your outcomes

