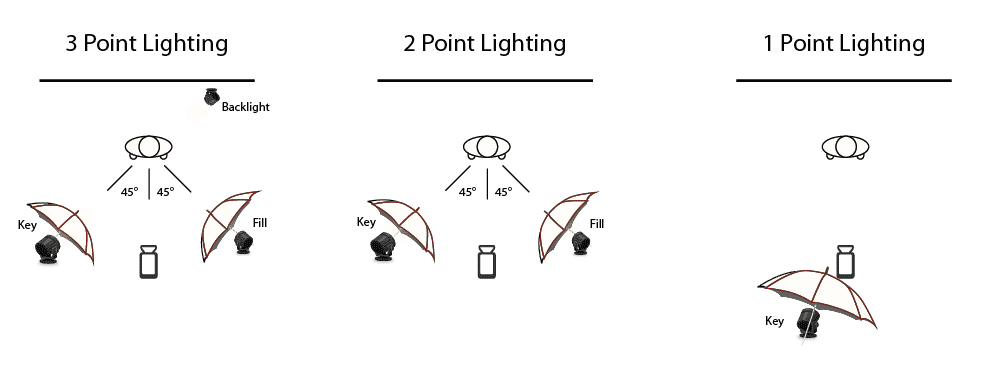
First experimentation with colour lighting
I took these photos in the studio and used the technique Chiaroscuro using one point lighting as well as adding the coloured filter so I can relate the photos to the photographer Mads Perch, as he use various colours in his photography as well as creating dramatic contrasts with shadows. I set the ISO at a lower setting to make the image less grainy to make the photo look as sharp as Mads Perch’s images. In the foreground there is a lot of shaded areas that look under exposed in comparison to the light on the model. The lighting reflects off the models skin which allows there to be some tonal range and the lighting also brightens the back drop behind her. I changed the aperture as wells depth of field in the photos are quite shallow to make the most sharpened part of the image is the model, again like Mads Perch’s photography.
Contact sheets
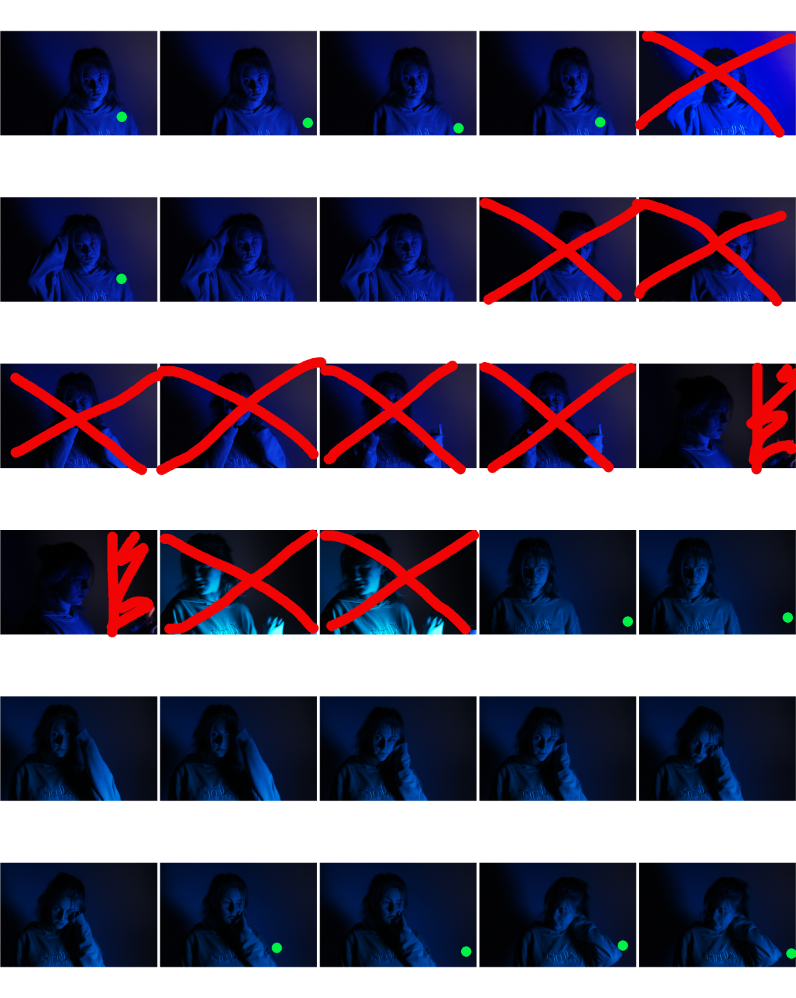

Best Photos
I have chosen my best photos from the contact sheets above. They are the sharpest and most successful out of the photos above although I have cropped some them so they are more symmetrical. I have also chosen these images as the models poses are the most dramatic and most similar to Mads Perch’s work/photography. I haven’t chosen more as I wanted to display quality of quantity.


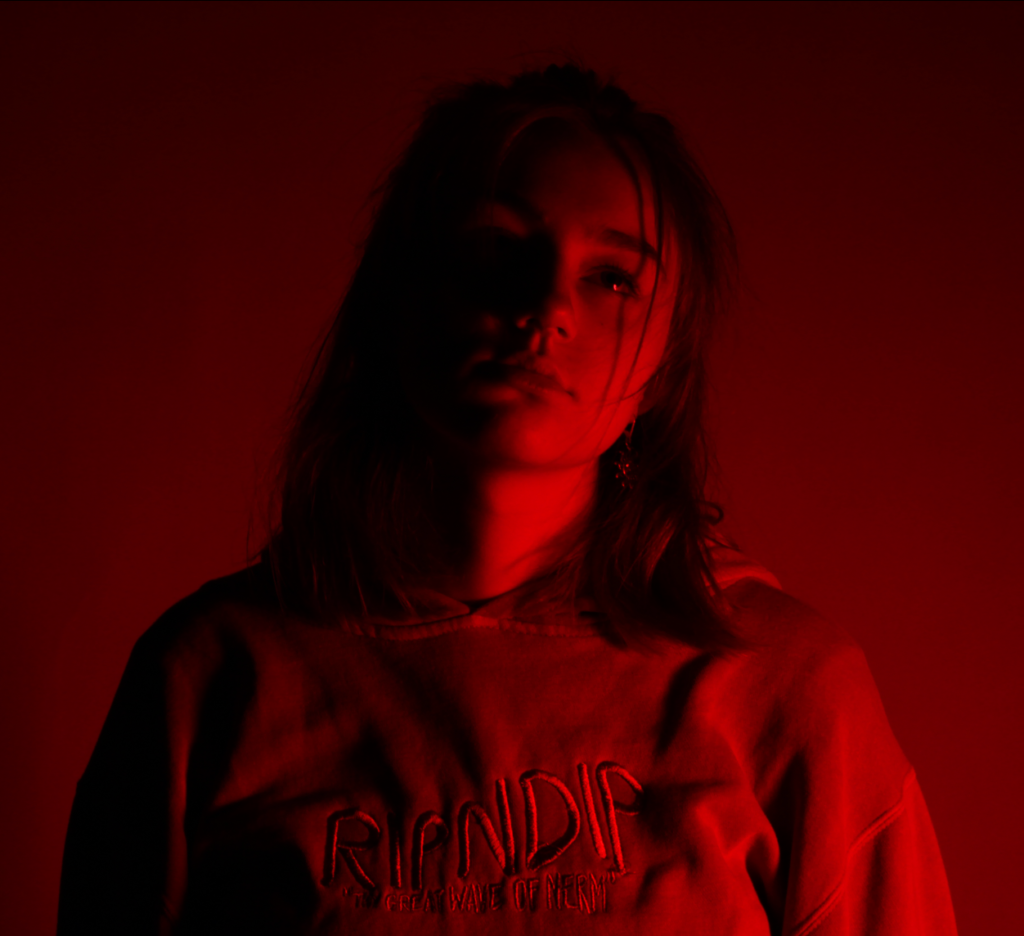
Editing My Best Image
On photoshop I adjusted the brightness to allow you to see the mode more clearly as the image came out quite dark. Although I brightened the photo I still tried to have a good contrast of the the darker and lighter tones to get the final image I wanted. As well as this I changed the intensity of the shadows and highlights to ensure certain points were more exposed to the viewer as well as drawing their attention to it particular parts of the photo. I also cropped this image on photoshop to allow the model to be in the centre of the photo.


Final Outcome