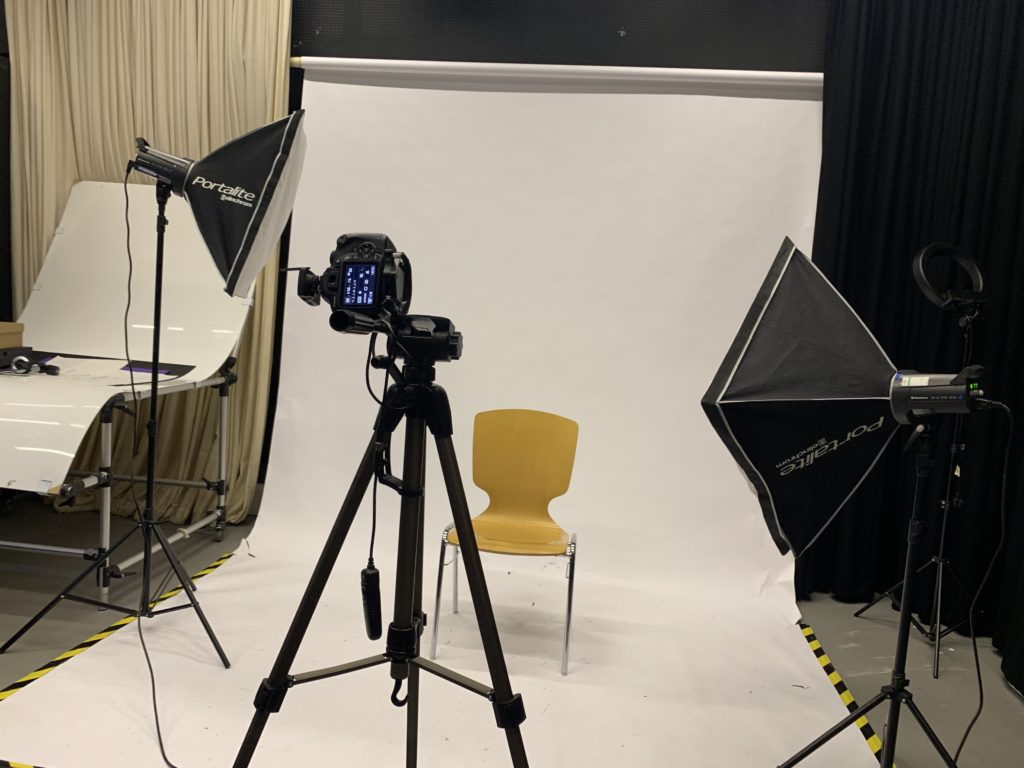
PLAN-
where– studio at school
when– during a free period (1 hour session)
who– one person to be the model and another person to help position the paper and the lights so that I can fully focus on the camera
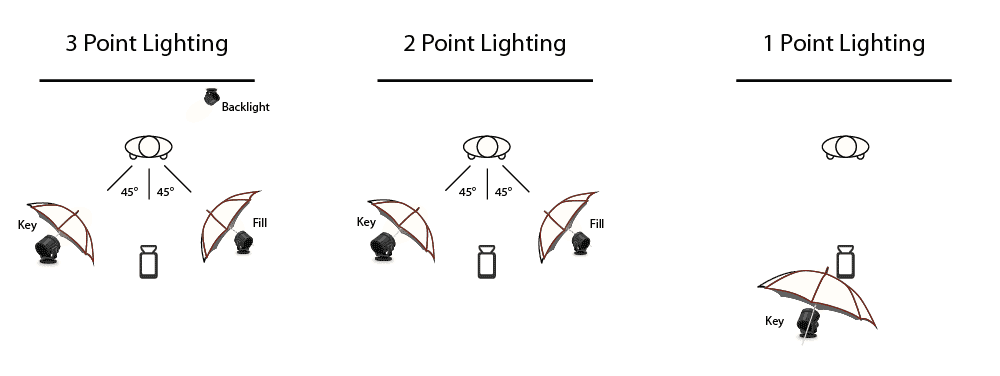
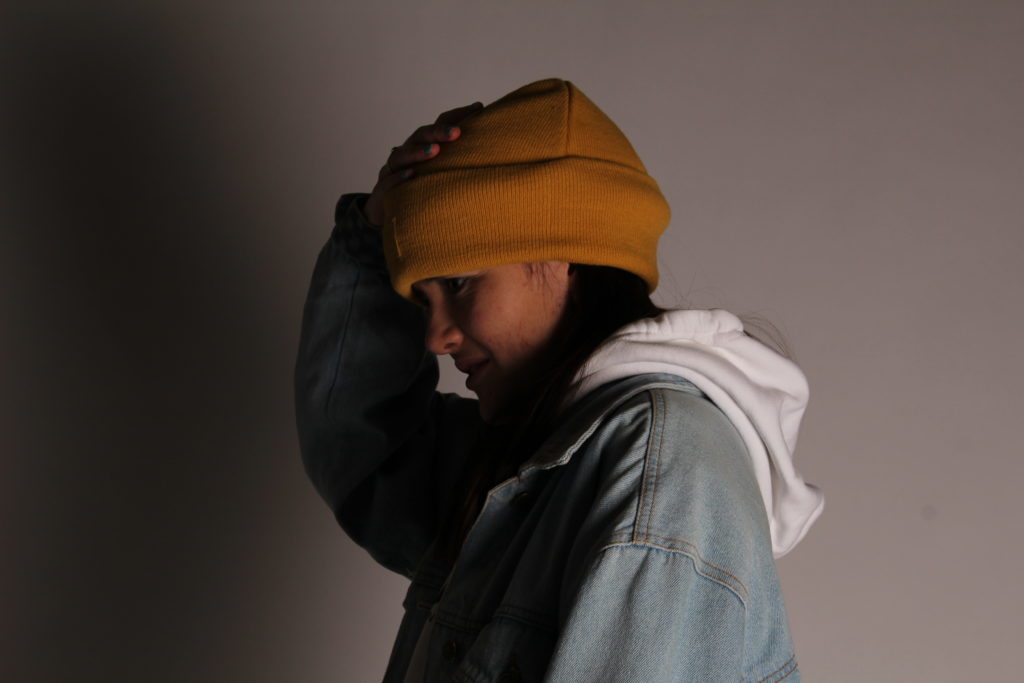
how– use single point lighting for a low key, chiaroscuro effect, work with shadows on the face. use a chair and infinity curve, as well as spotlights
any other notes– use paper with holes and interesting shapes cut out to make a creative shadow on the face, have someone else hold it up to the light so that both the subject’s and my hands are free
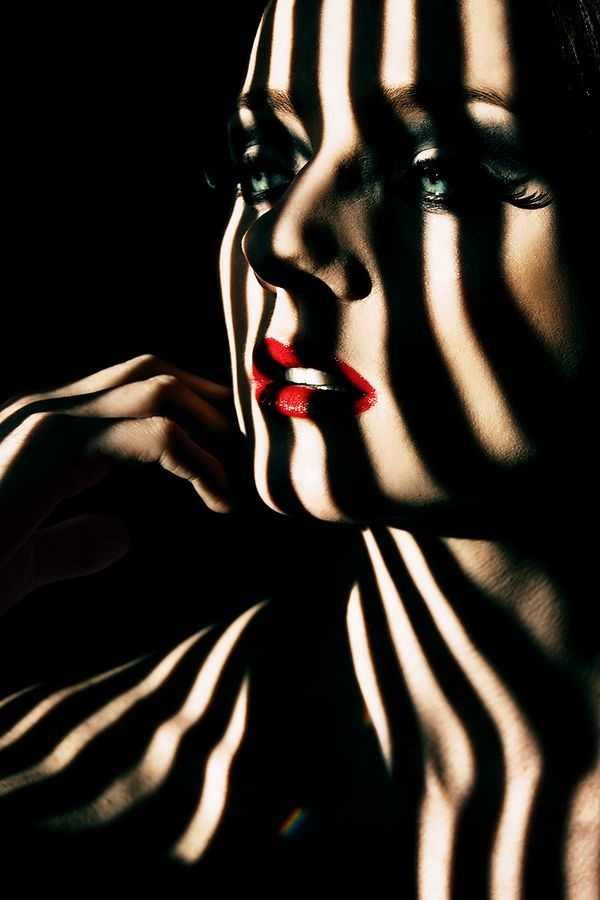
MOODBOARD-
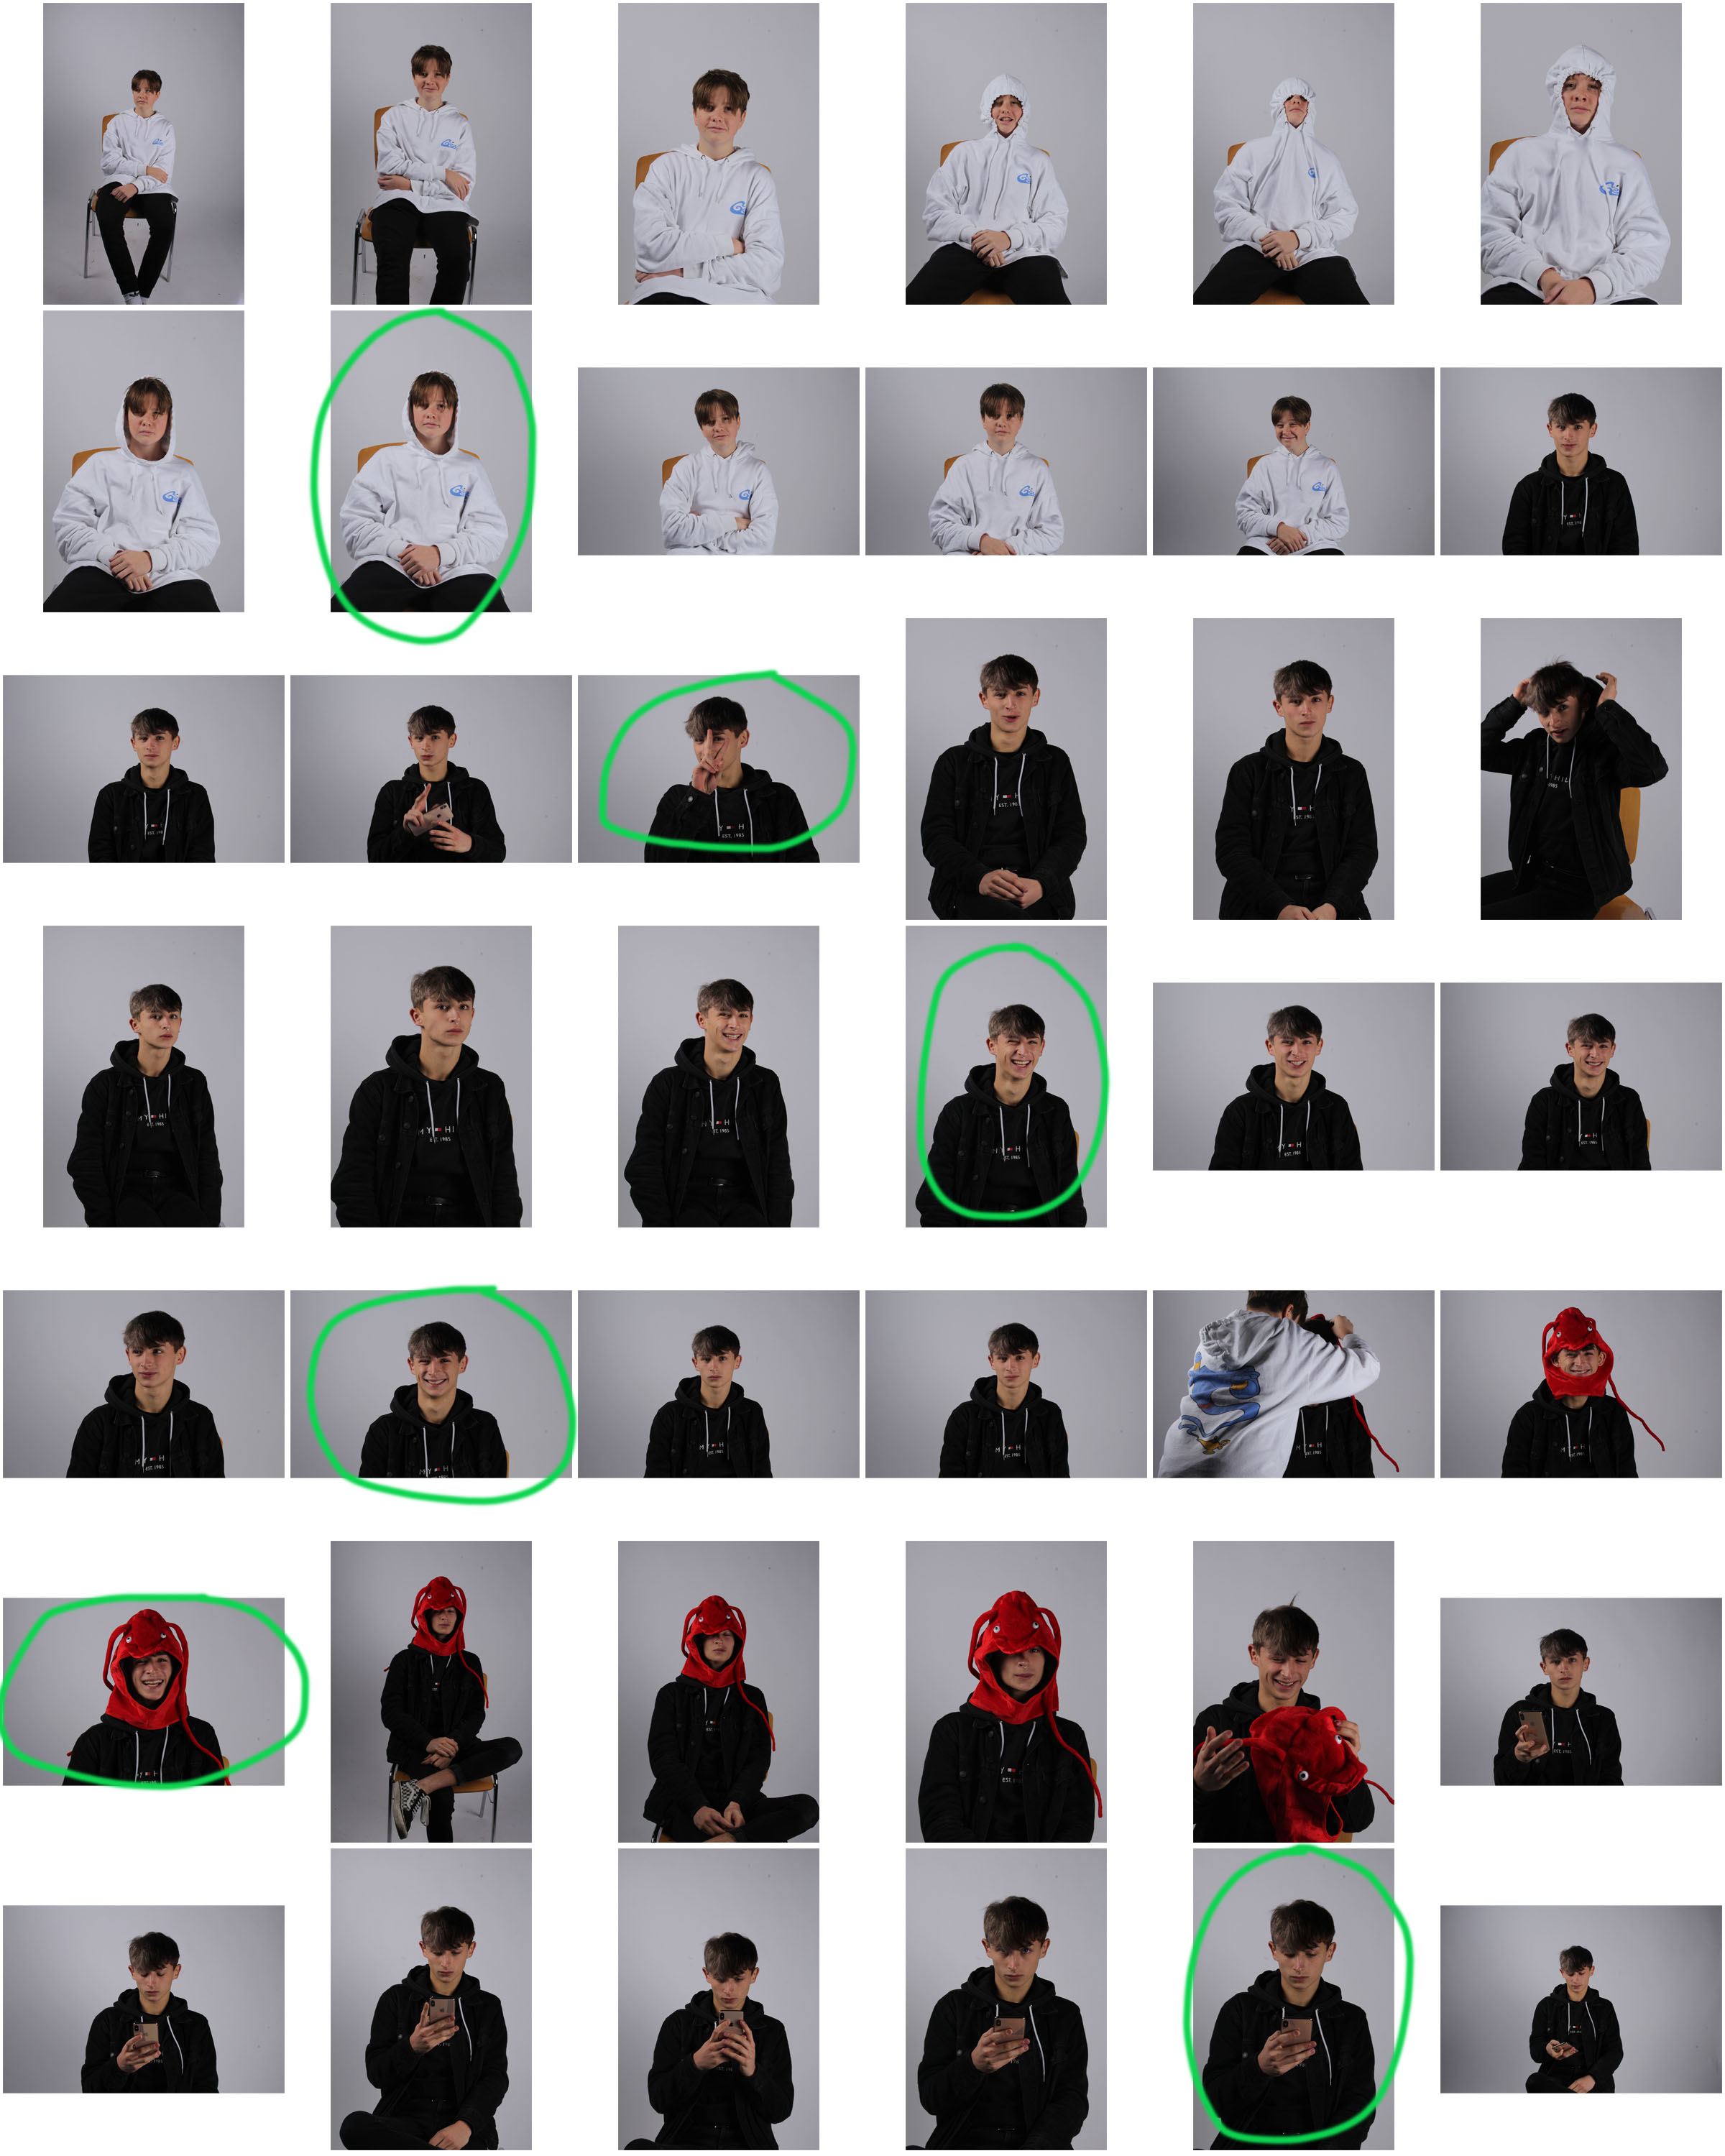
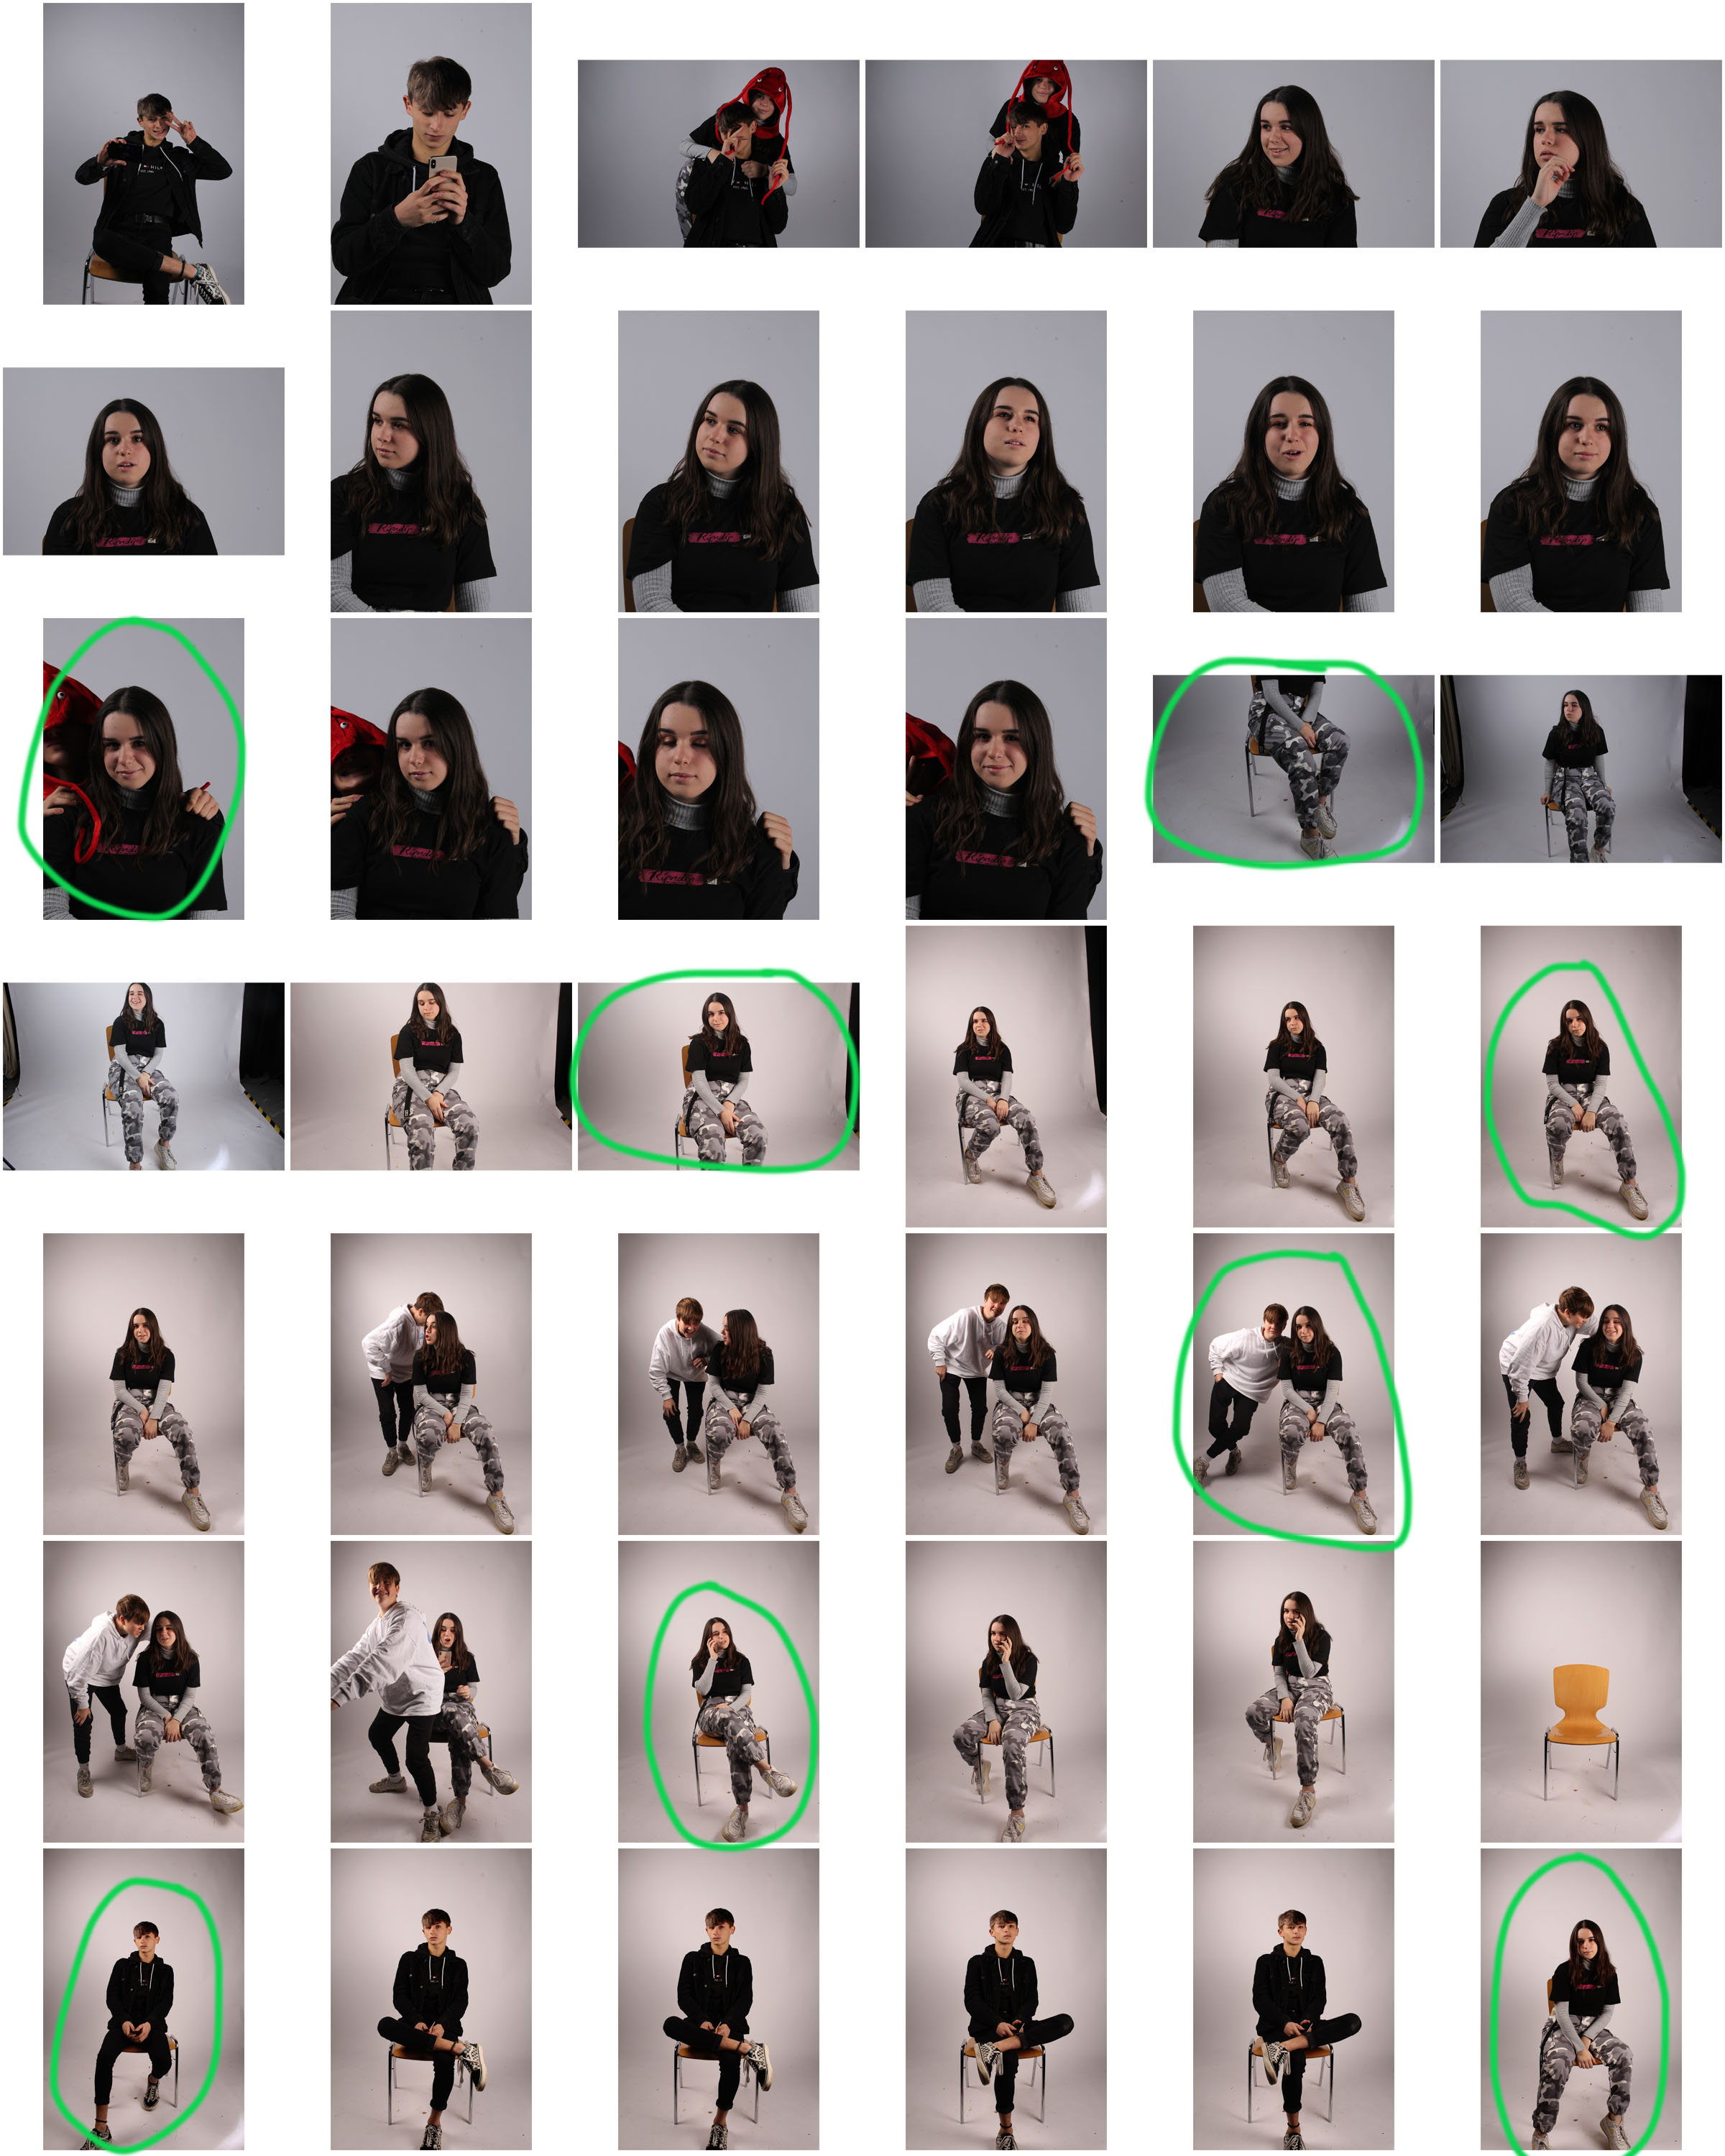
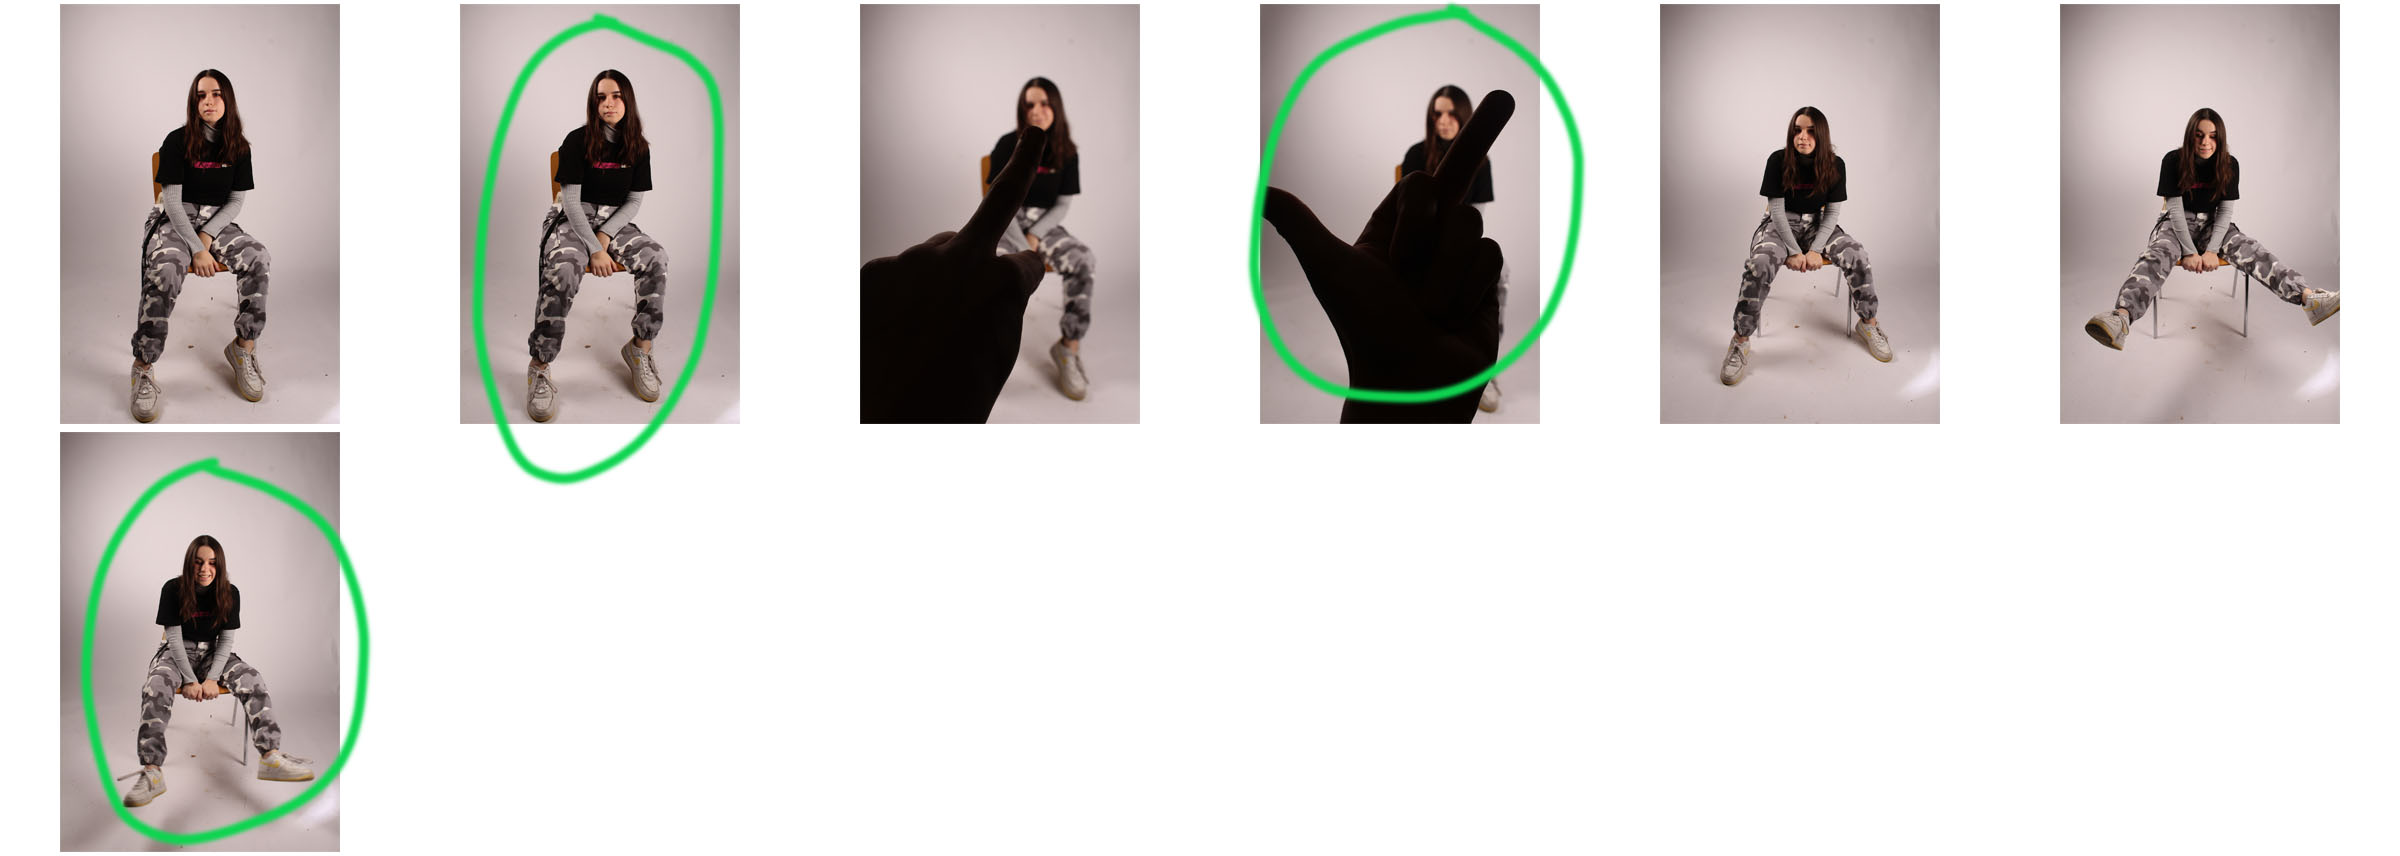
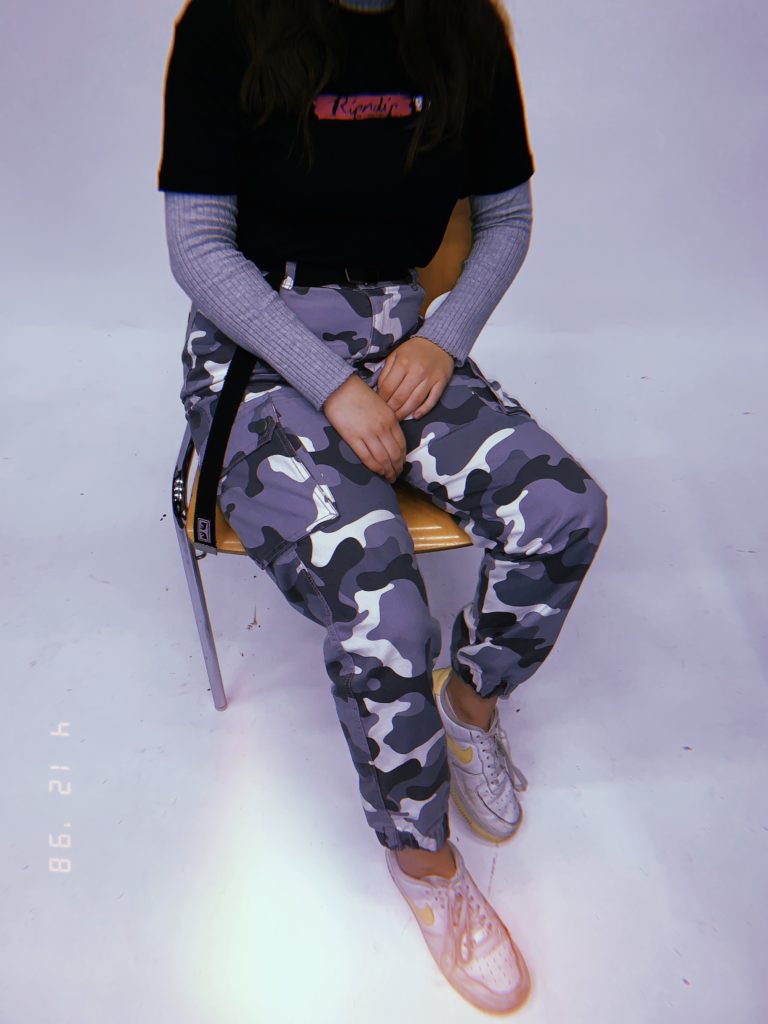
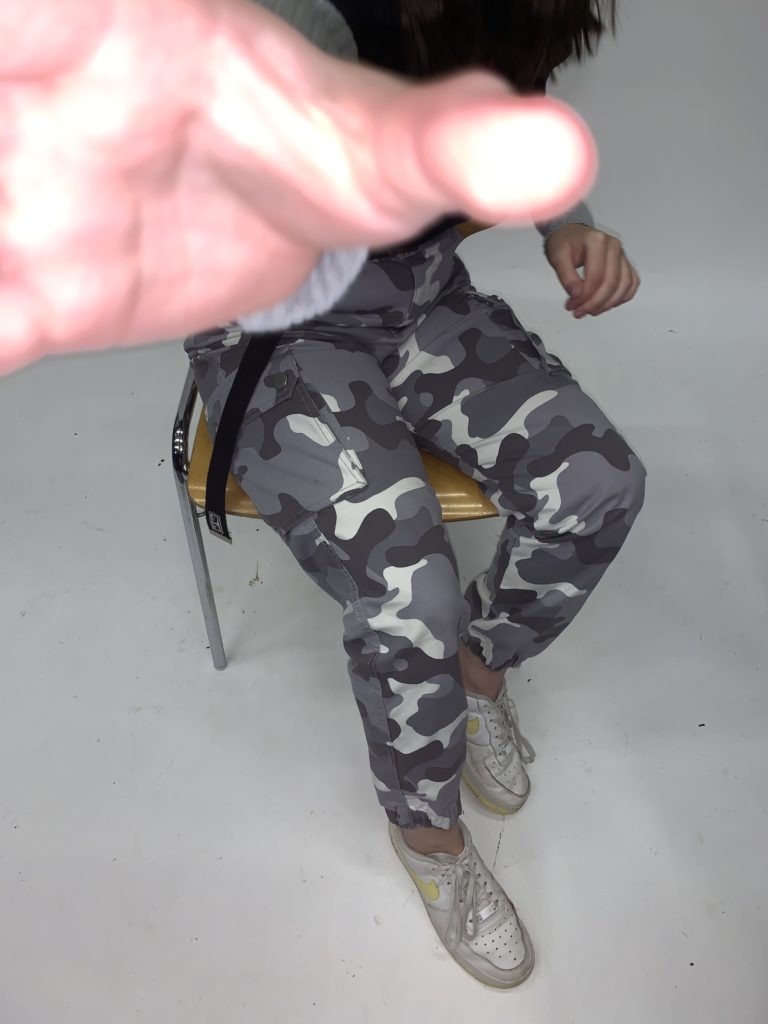
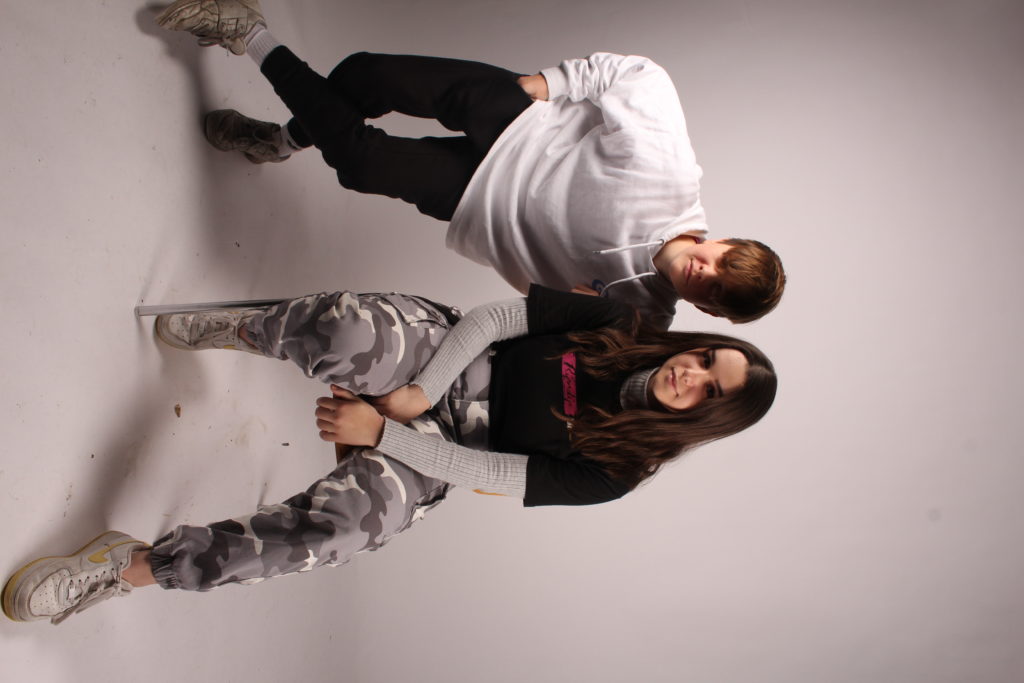
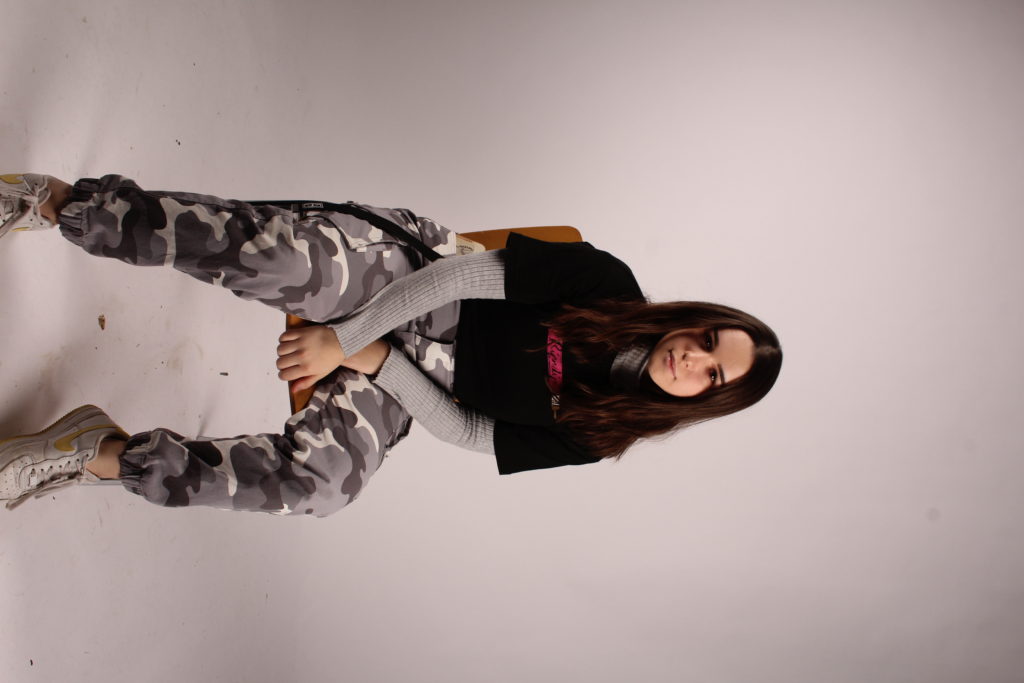
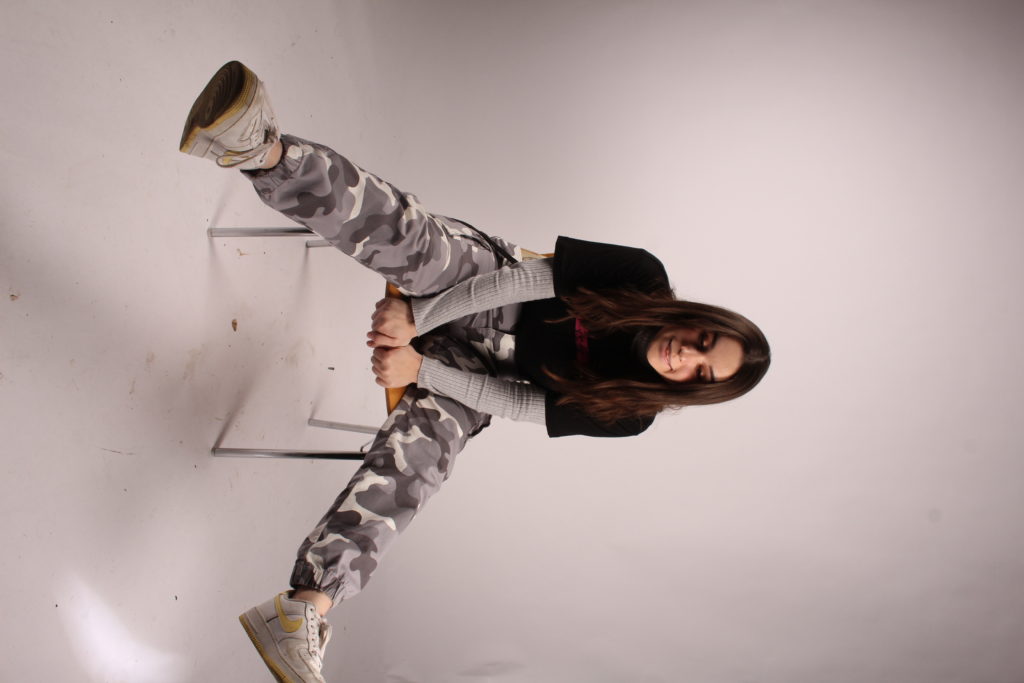
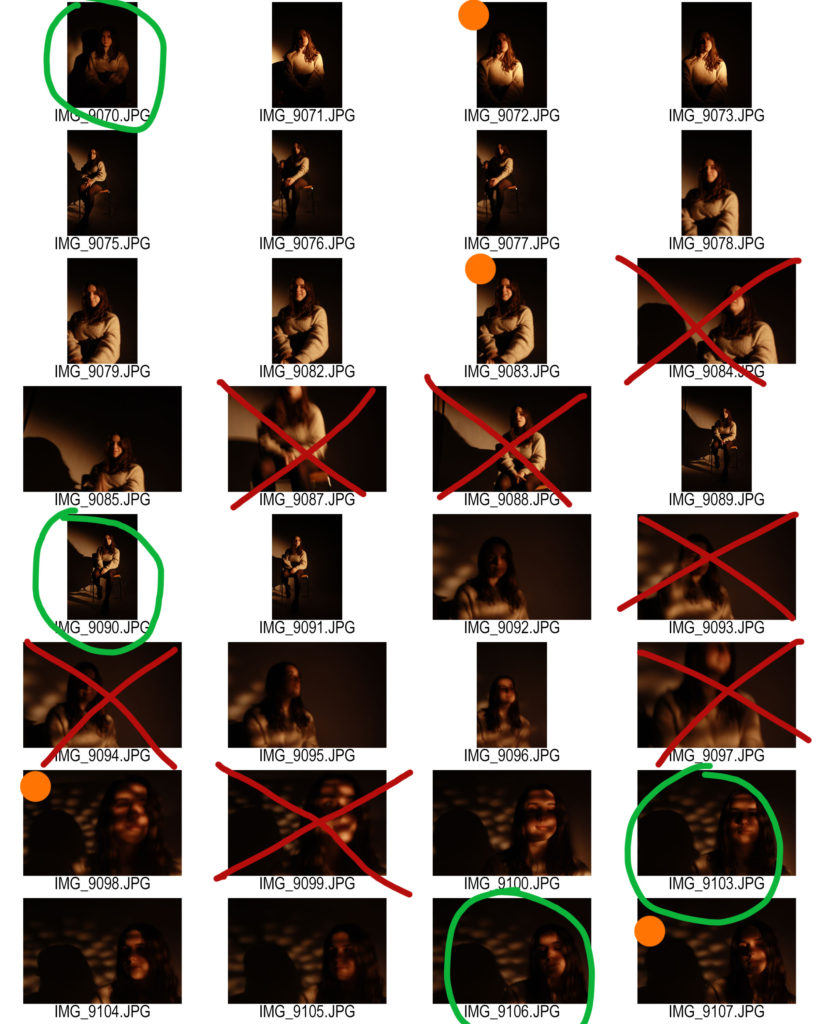
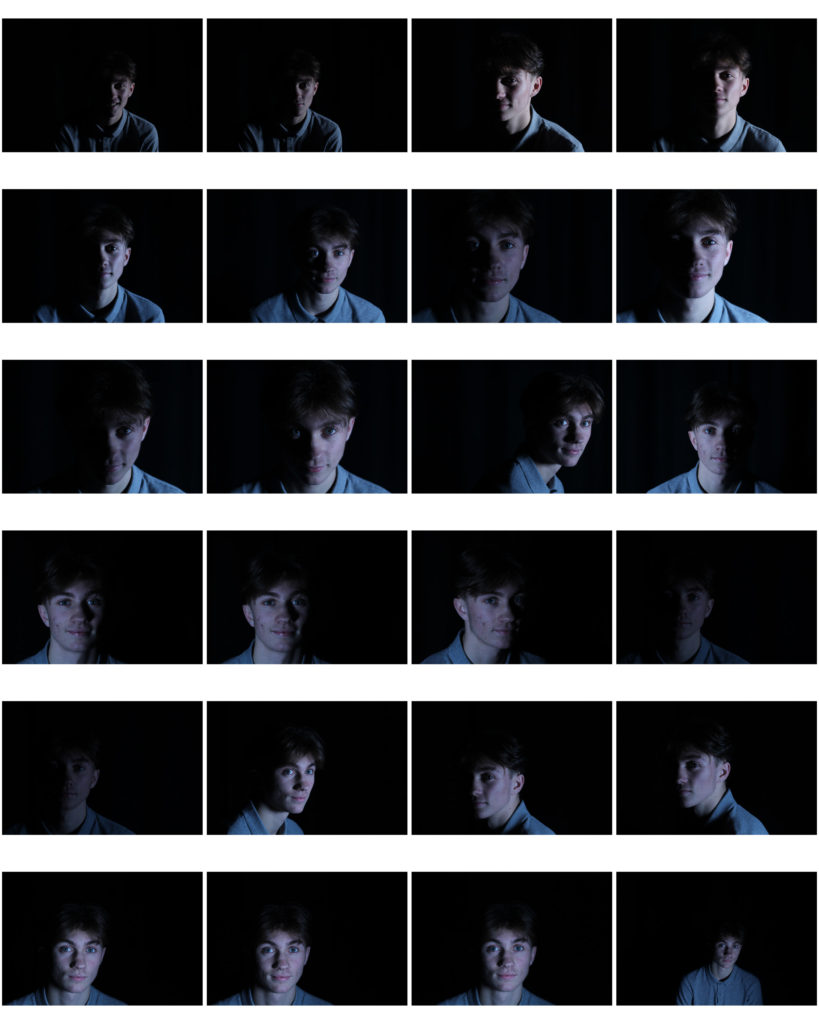
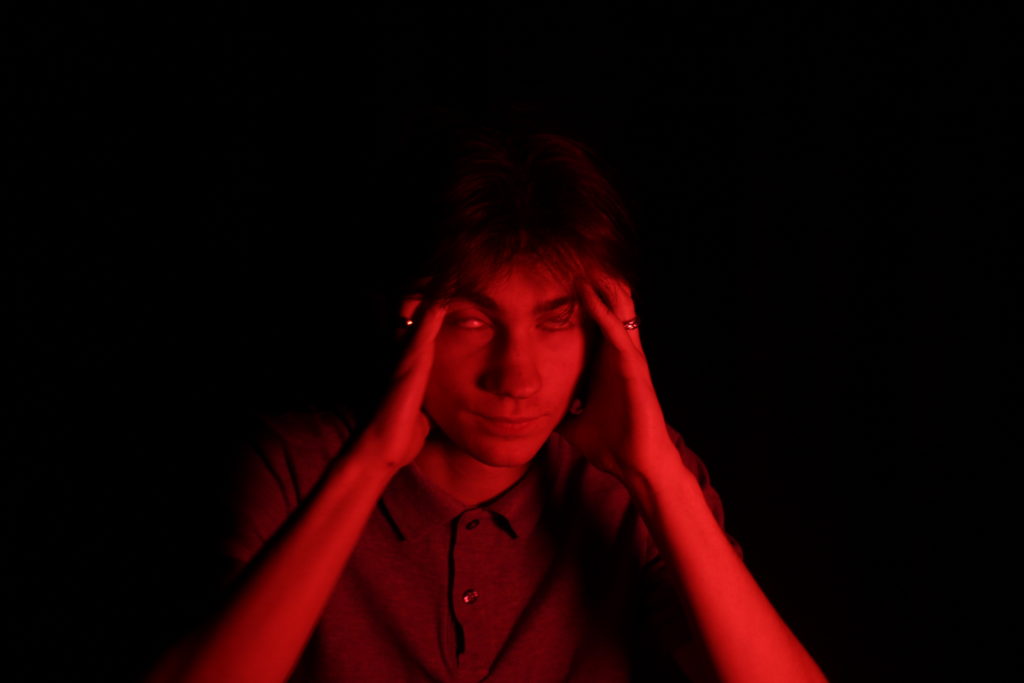
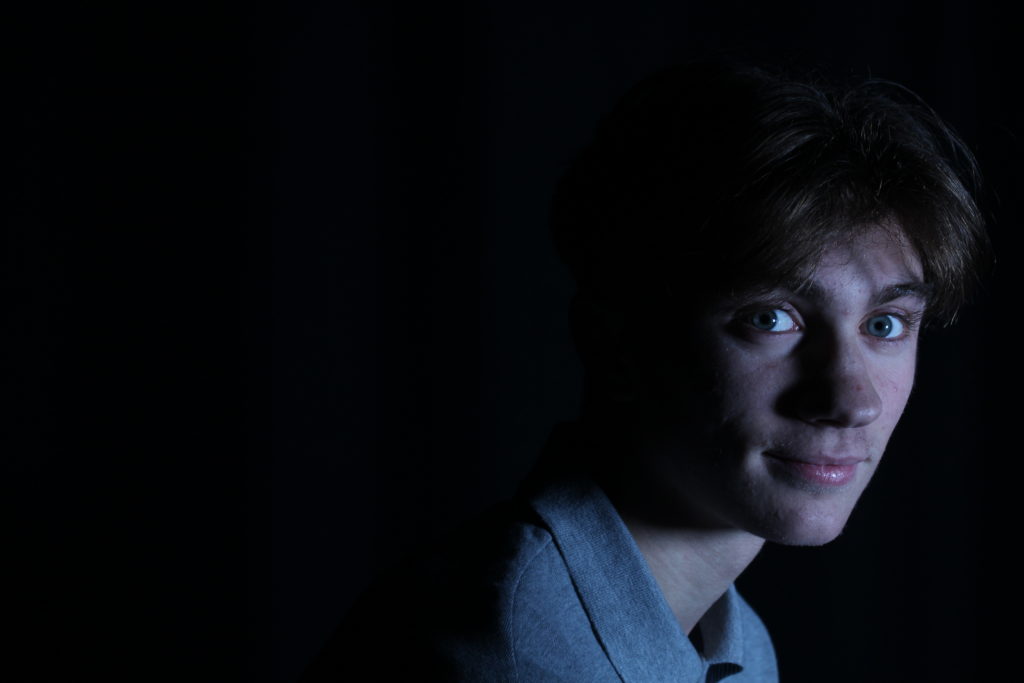
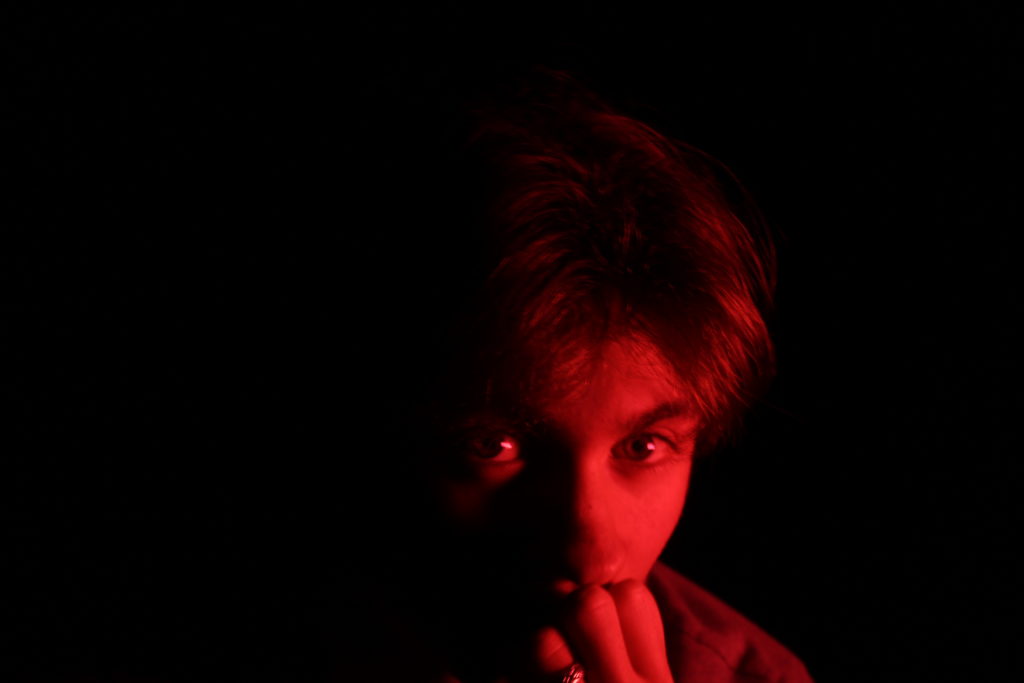
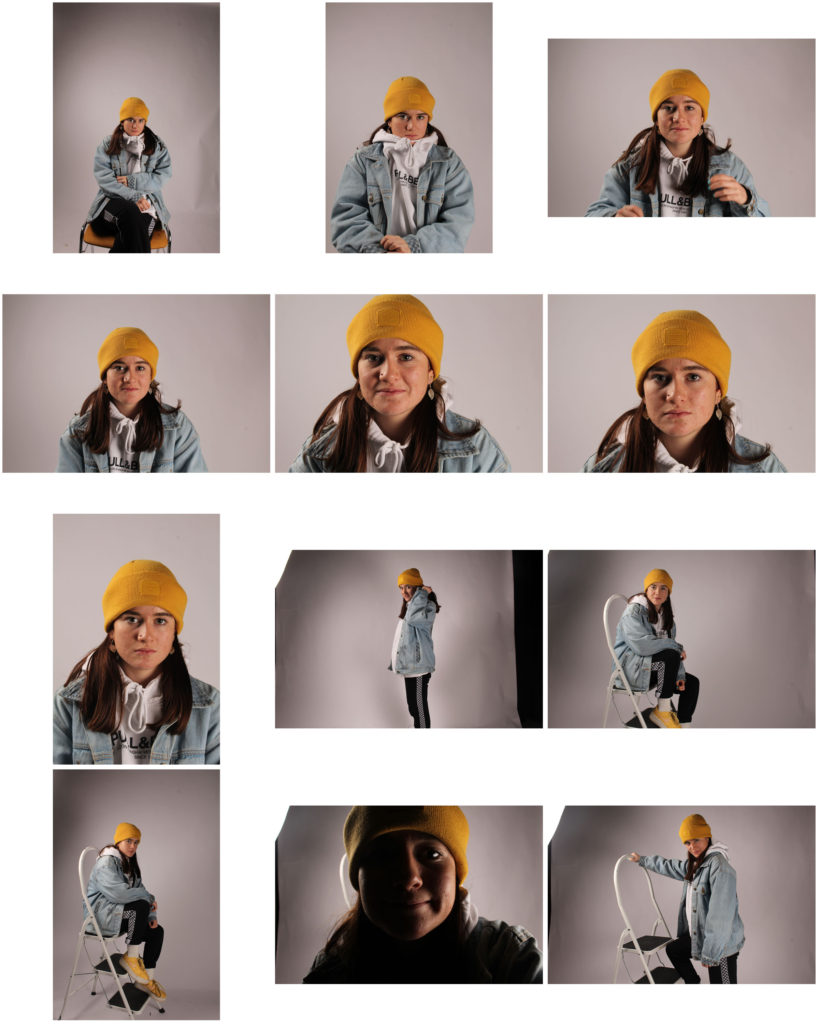
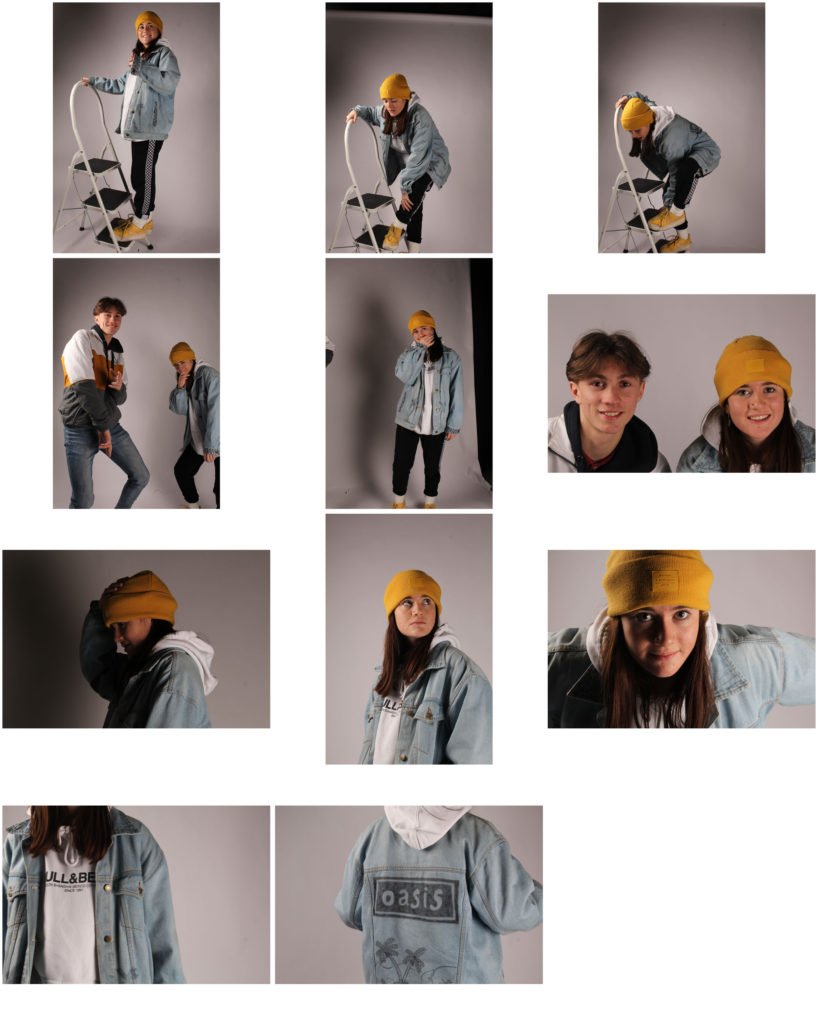
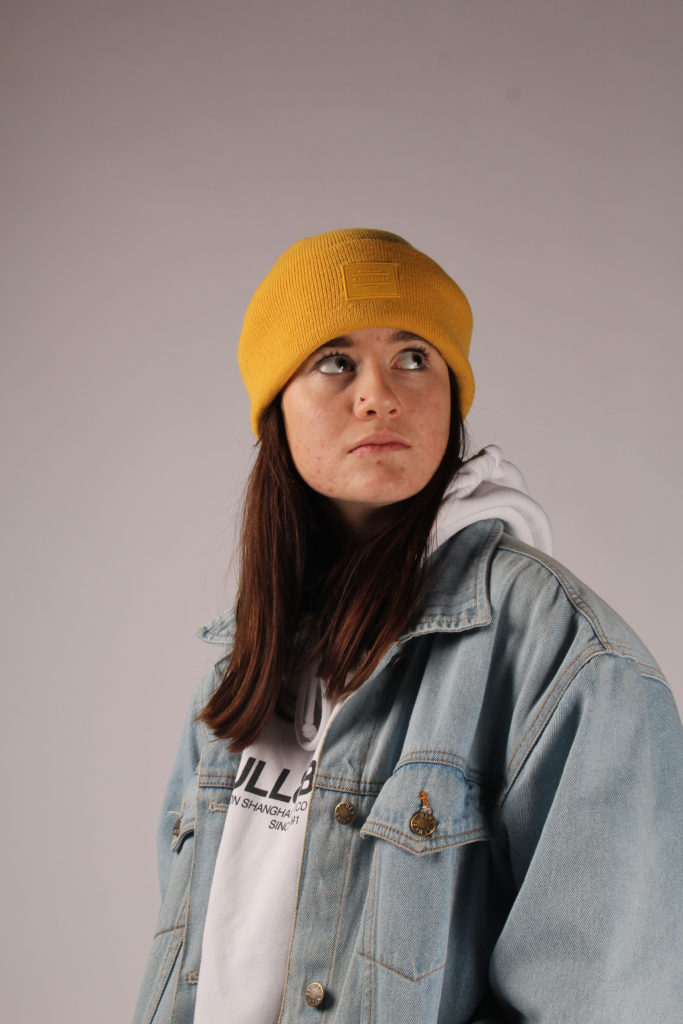
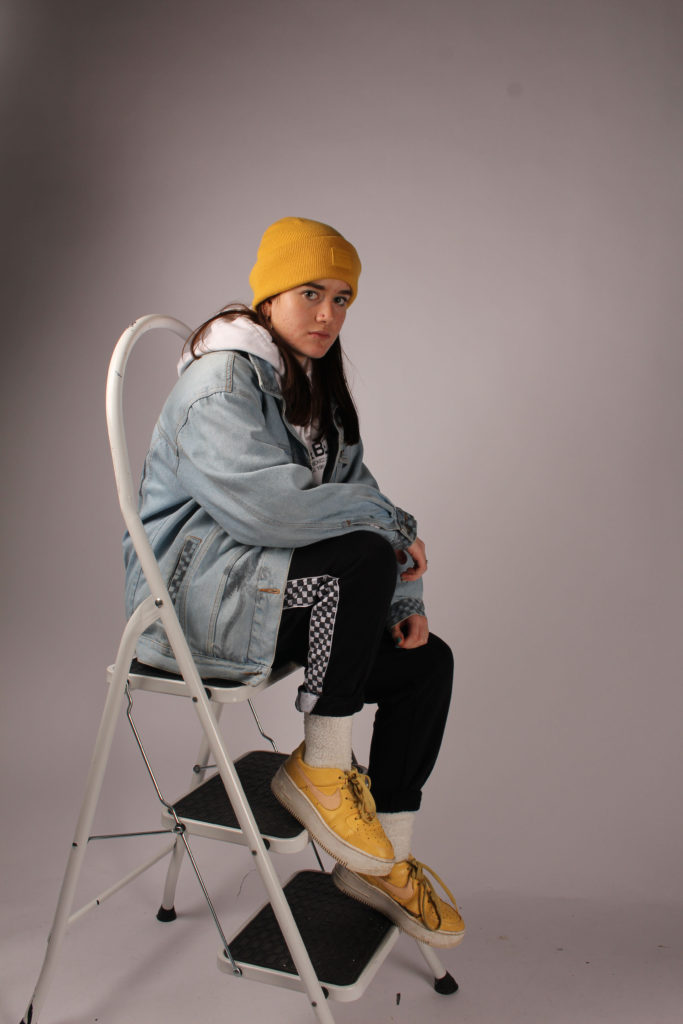
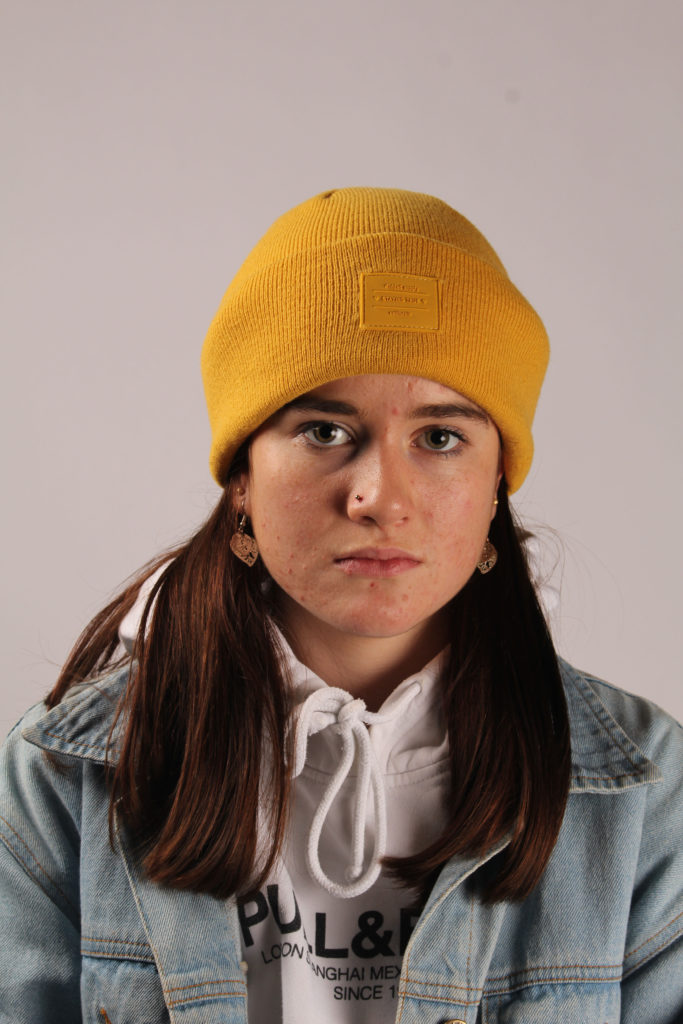
SHOOT OUTCOMES-
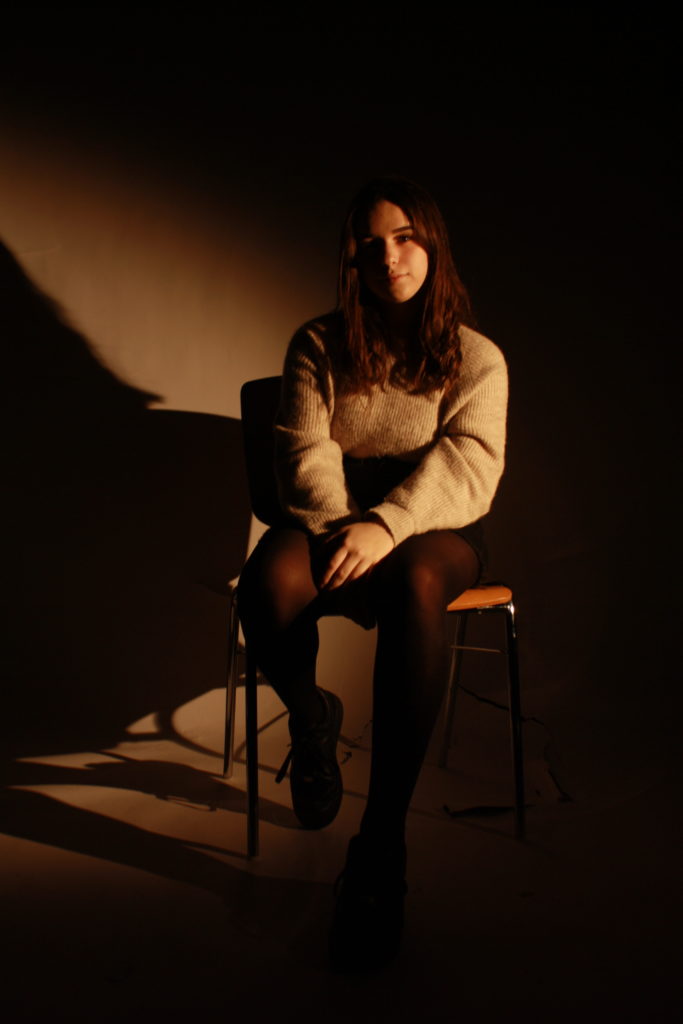
FINAL OUTCOME-
FINAL EDITED OUTCOMES-
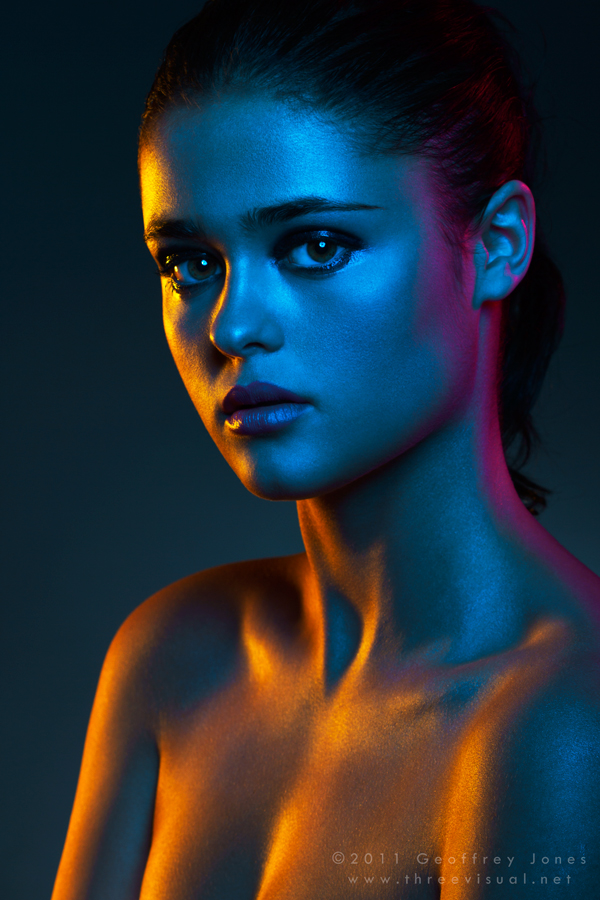
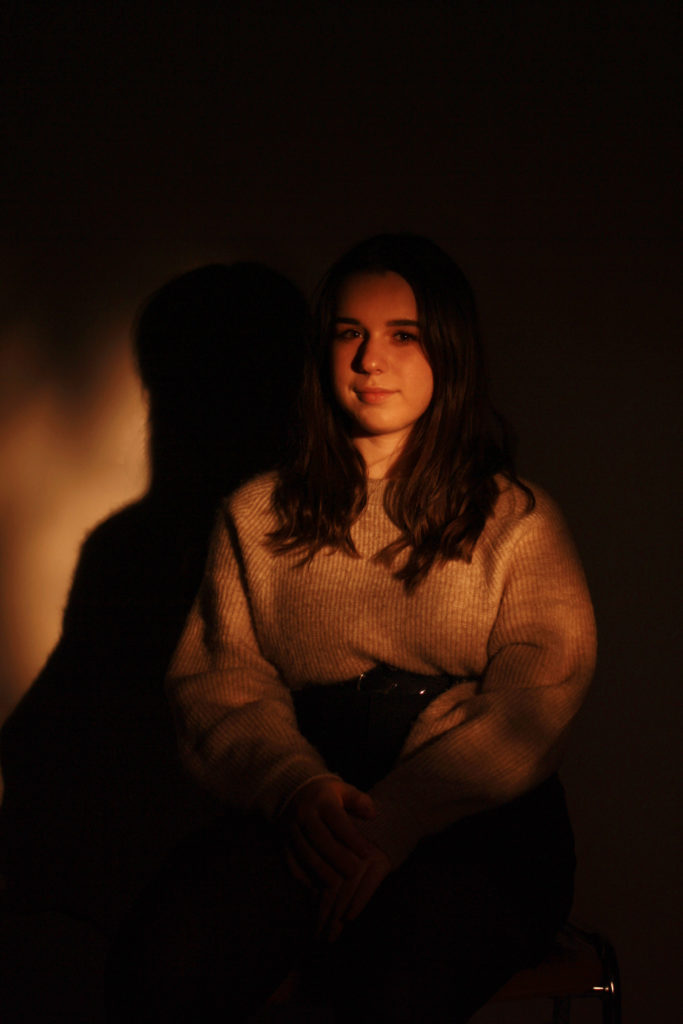
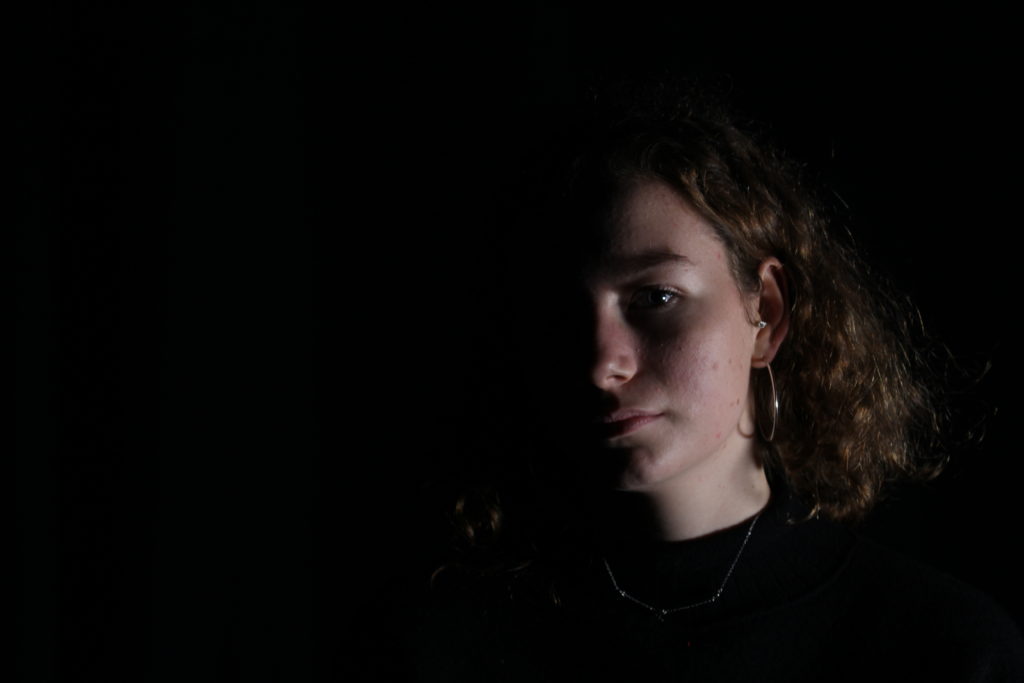
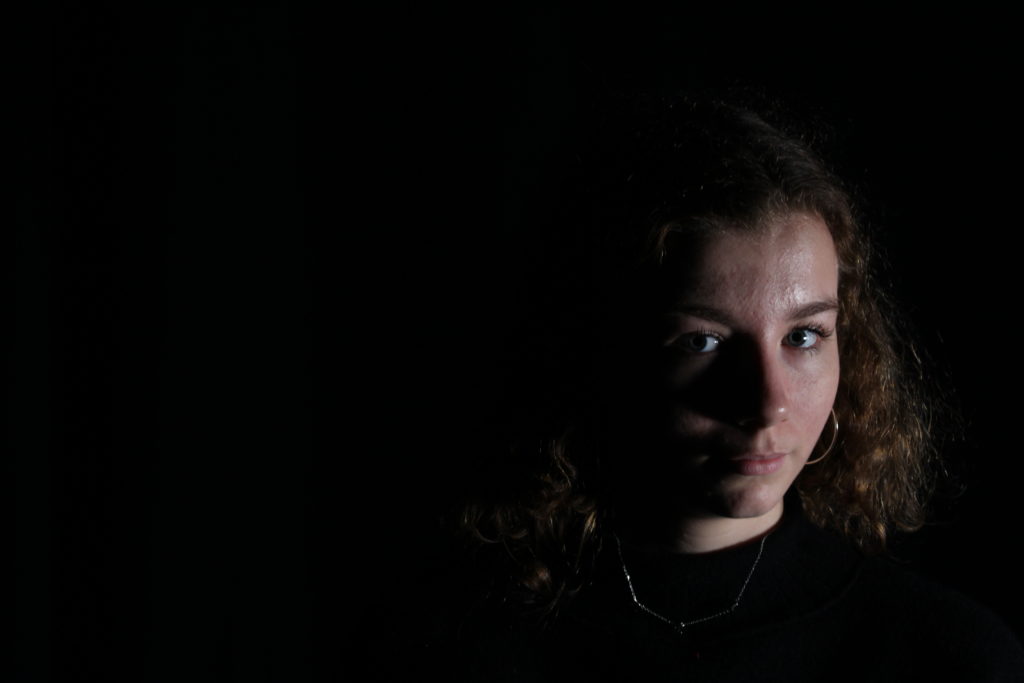
For this image I increased the brightness and saturation in order to maintain the bright spotlight on her face, as well as keep the highlights and the yellow tone of the whole image.
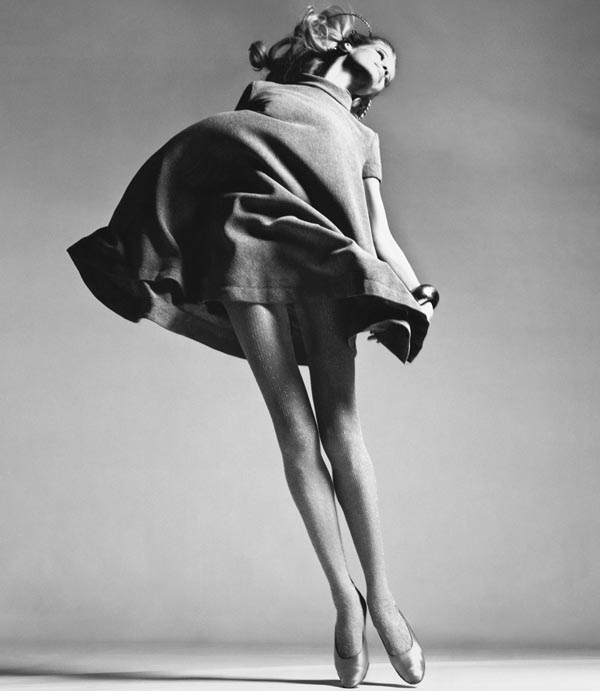
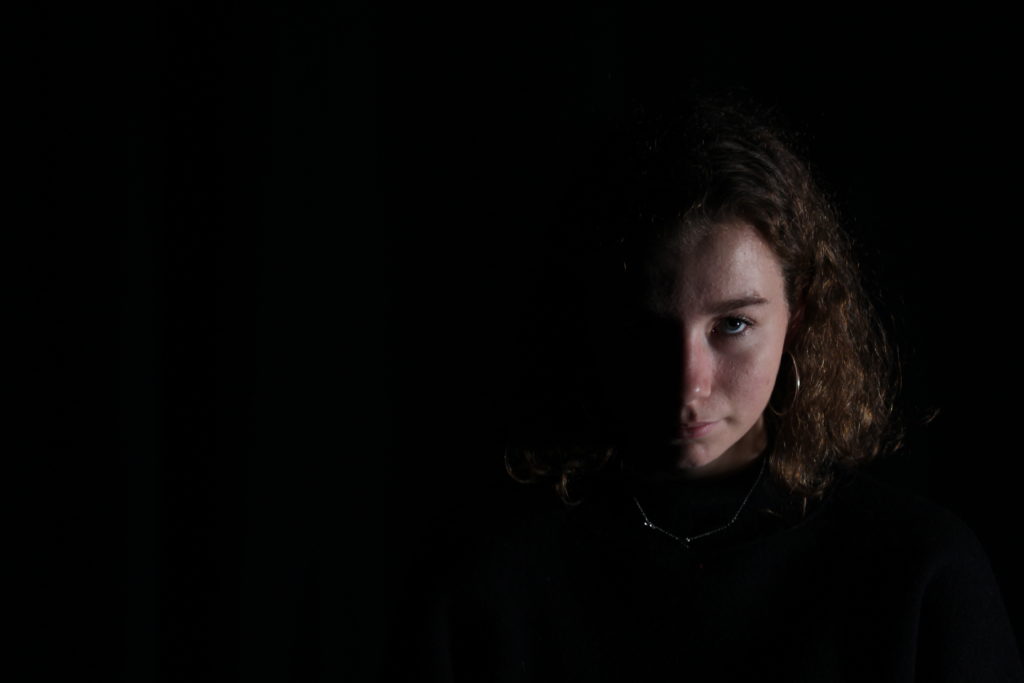
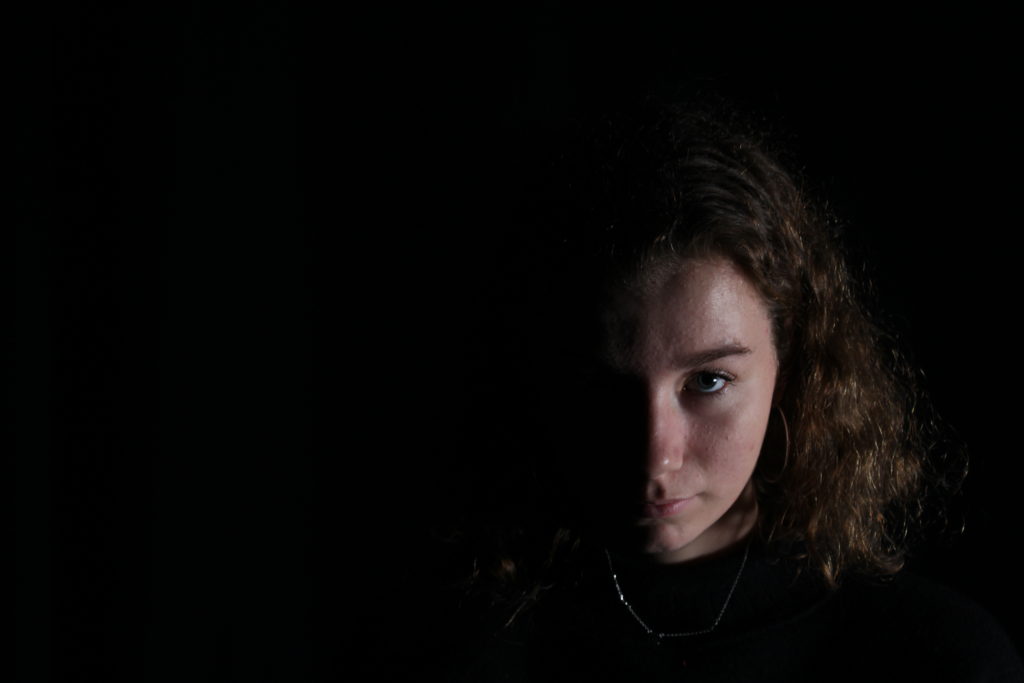
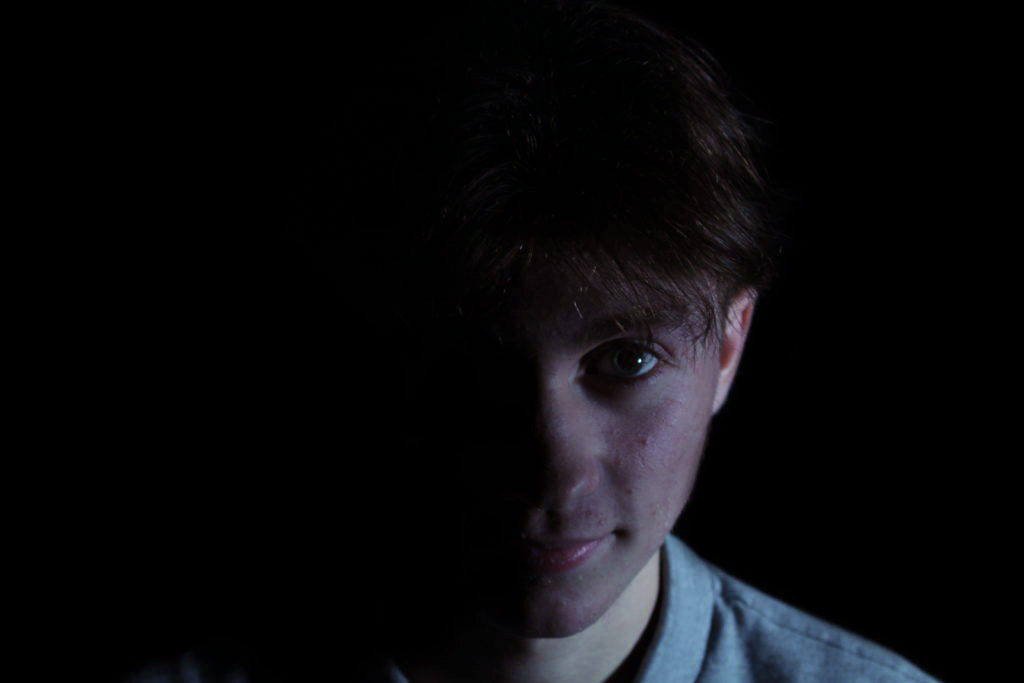
I like this image because of the position the subject is in, the single leg out closer to the camera draws the eye into the image and into the subject’s face, as well as making the image seem less boring. The spotlight had a nice chiaroscuro effect here, as one side of her face is completely obscured in shadow, while the other half is brightly lit by the light.
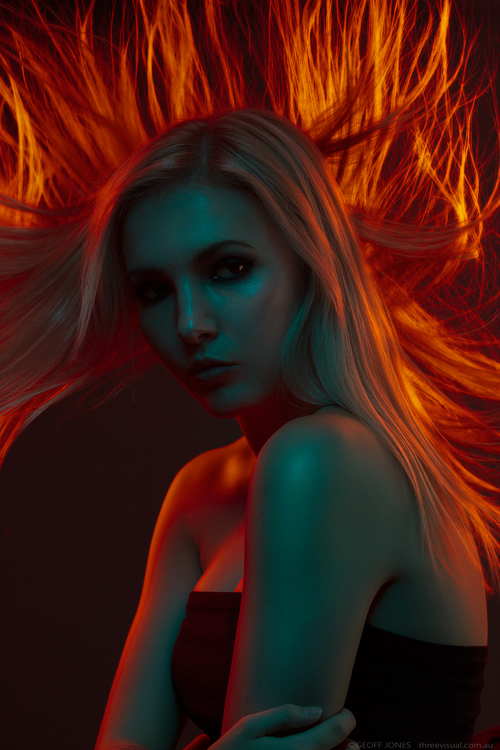
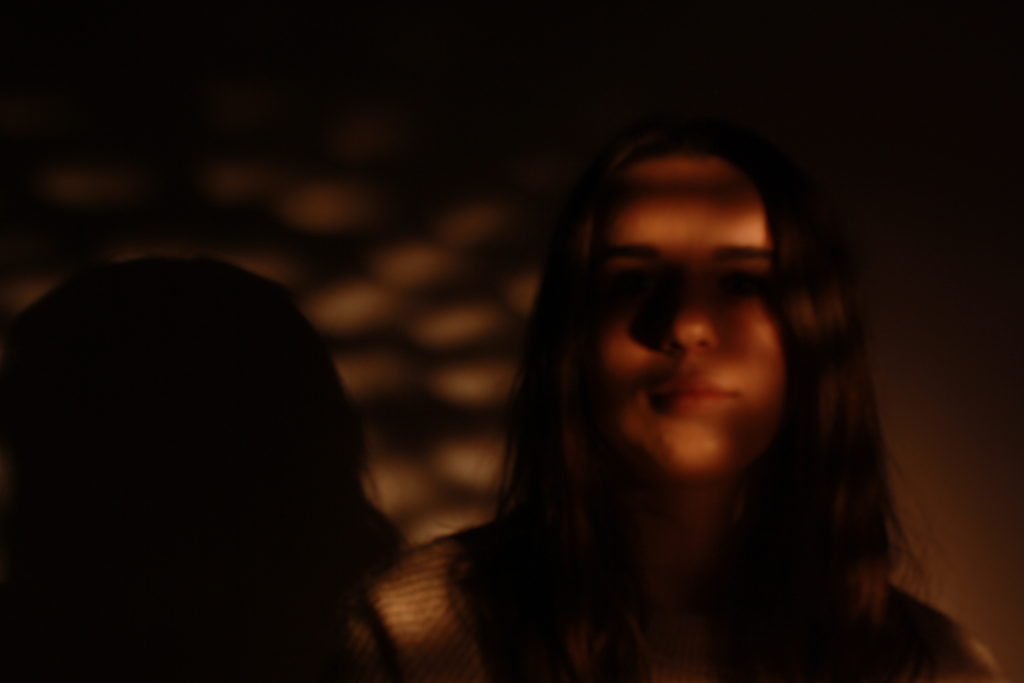
I edited the shadow mainly in this image, as it had a lot of wispy hairs that I felt detracted from the main focus of the image: the subject’s face. As with the rest of the images, I only did minimal editing to maintain the tone and brightness of the spotlight on the face.
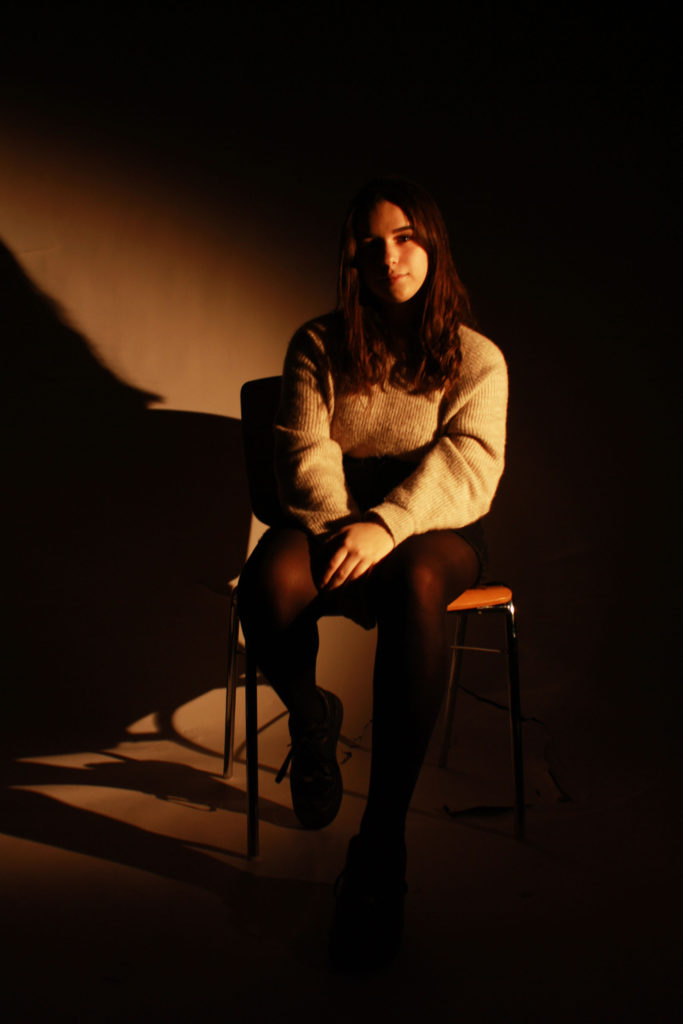
With this image, I reduced the blur and increased the effect of the light on the subject, including brightness vibrancy and saturation and overall just increasing the highlighting effect on her face.
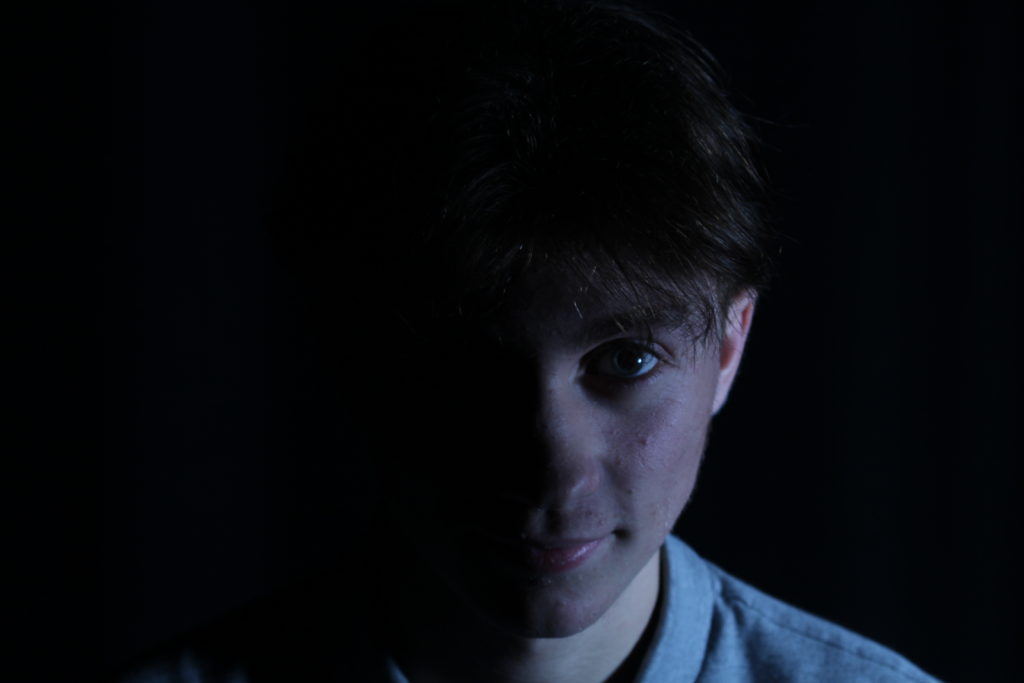
FINAL IMAGE-
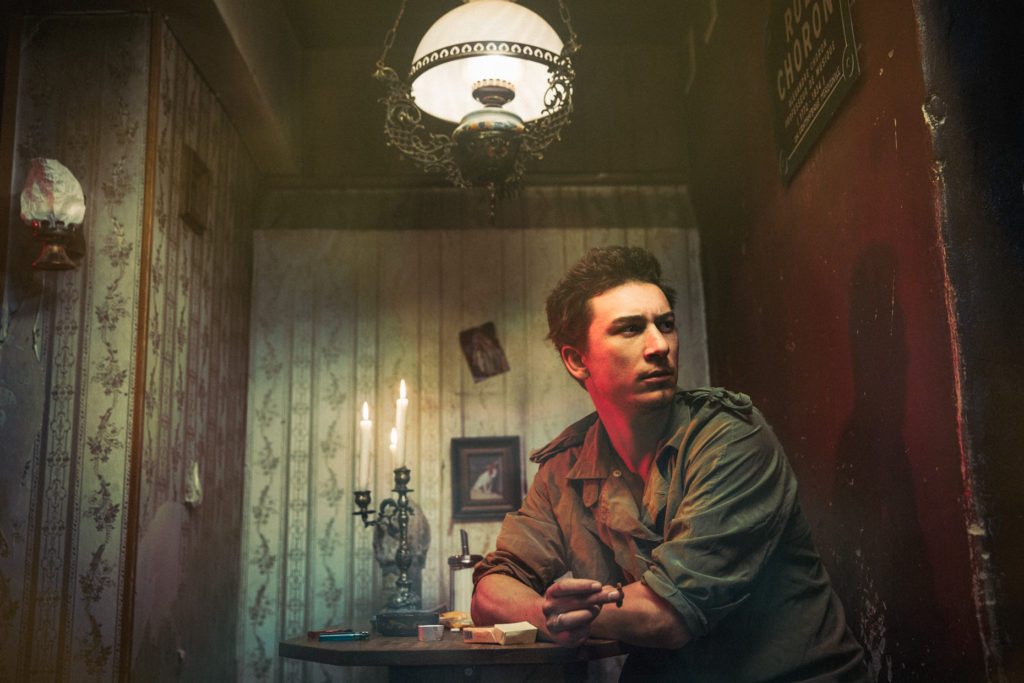
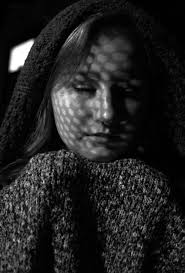
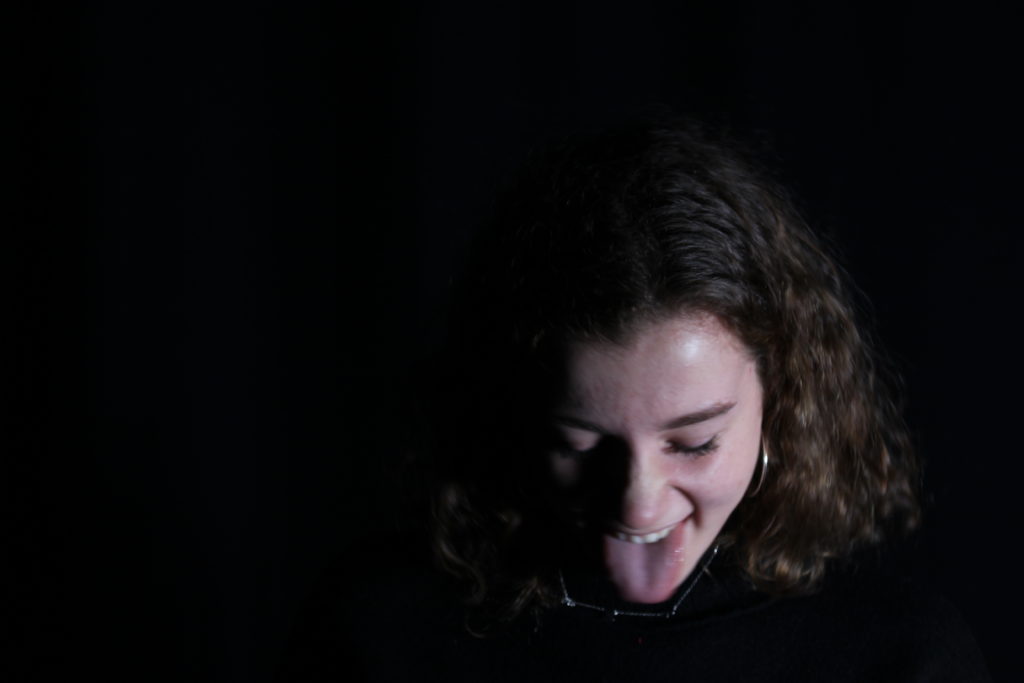
This image was one of the most successful I feel, even though it is slightly blurry due to an issue with the camera I had, because it demonstrates the shadows I was using the most effectively and it is an interesting image. The position the subject’s head is in mimics the position that the Virgin Mary’s head is often in in artwork, and the pattern of the light behind also imitates the artwork and stained glass windows often found in great cathedrals. This adds some background knowledge to the image and represents for other forms of art can influence photography, not just other photographers.
EVALUATION-
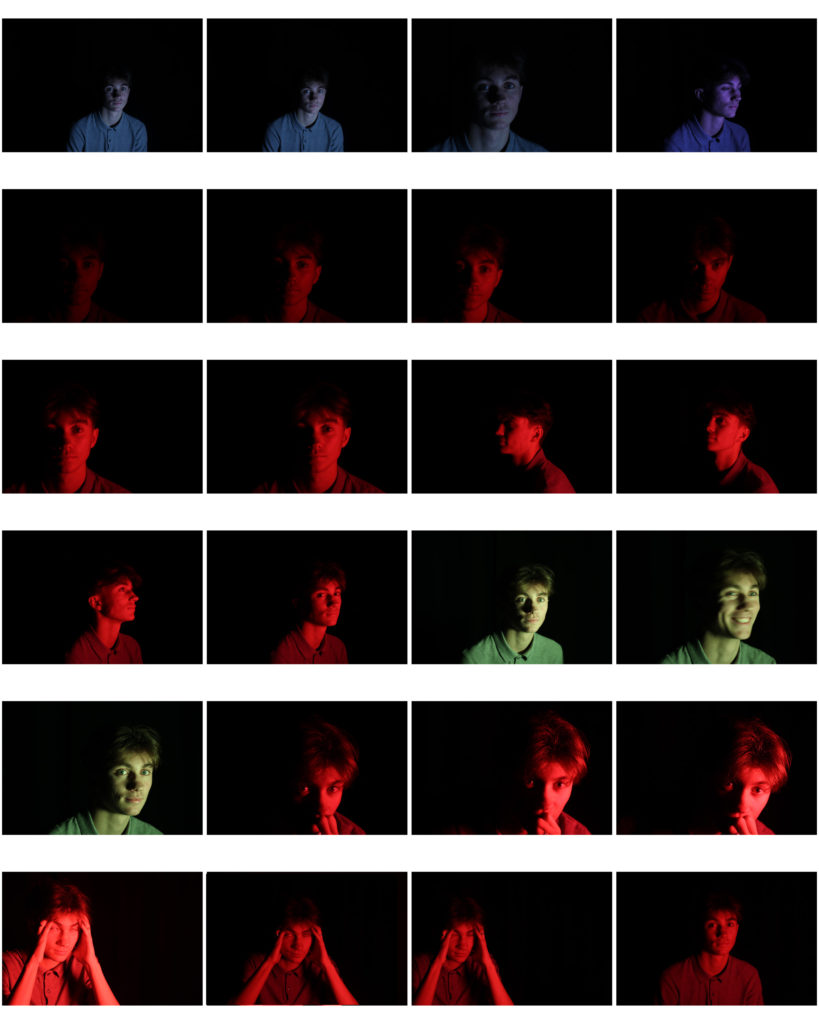
Overall, I feel that this shoot was well-carried out, with attention paid to the details of the props I would need (the paper) as well as the actual pattern of holes I would need to cut out to achieve the best overall result. I researched several different possible results and used them as inspiration for my own, as well as other artwork found in places where this sort of light pattern is normally found (i.e churches and cathedrals). If I were to do this shoot again I would make sure that the issue with the camera’s focus is resolved so that all of my images are sharp and clean, and I might experiment with different colours.