PORTRAIT 3: Studio Options

Resource Packs are stored here…

M:\Departments\Photography\Students\Resources\Portraiture\TO DO

and here : M:\Departments\Photography\Students\Planners Y12 JAC\Unit 2 Portrait Photography

Watch : Rankin on “beautiful portraits”
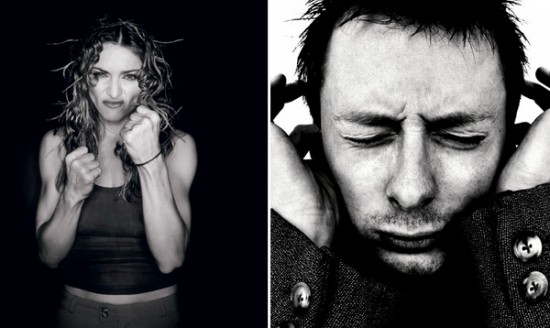
Image result for selection of rankin portraits

Read and respond

Studio Lighting

Exploring Technique

1. Natural Light

Remember >>>Photography is completely dependent on the availability of  light.

In most cases we can make use of natural or available / ambient light…but we must be aware of different kinds of natural light and learn how to exploit it thoughtfully and creatively

  • intensity of the light
  • direction of the light
  • temperature of the light and white balance
  • Using reflectors (silver / gold)

White Balance (WB) and Colour Temperature
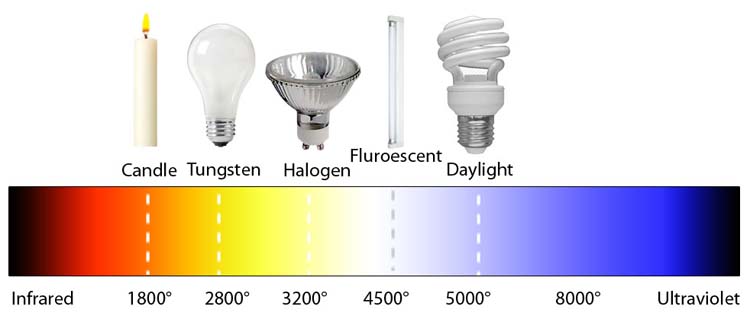
Image result for temperature of photography light
  • Explore using diffusers (tissue paper, coloured gels, tracing paper, gauze etc) to soften the light
  • Front / side / back lighting
  • High Key / low key lighting
  • Shadows / silhouettes

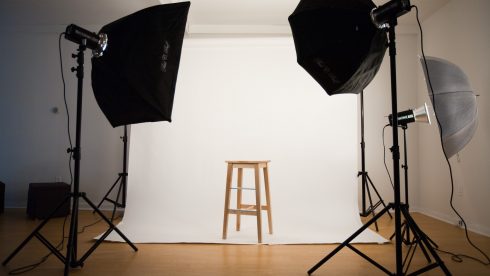
2. Studio Lighting

Using artificial lighting can offer many creative possibilities…so we will explore

  • size and shape of light
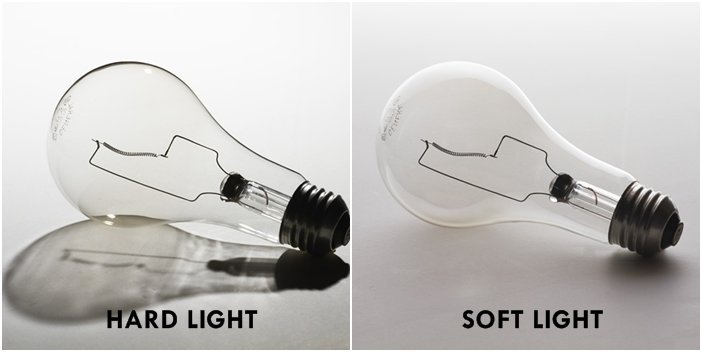
  • distance from subject to create hard / soft light
  • angles and direction…high, low, side lighting
  • filtered light
  • camera settings : WB / ISO / shutter speed etc
  • reflectors and diffusers
  • key lighting, fill lighting, back lighting, 3 point lighting
  • soft-boxes, flash lighting, spot lights and floodlights
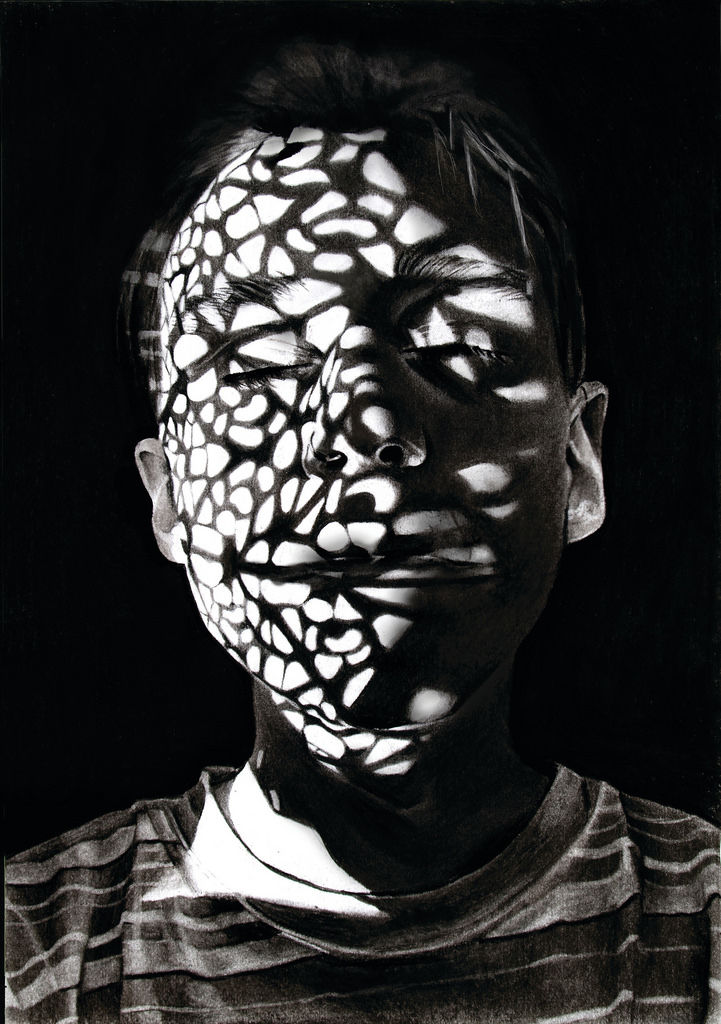
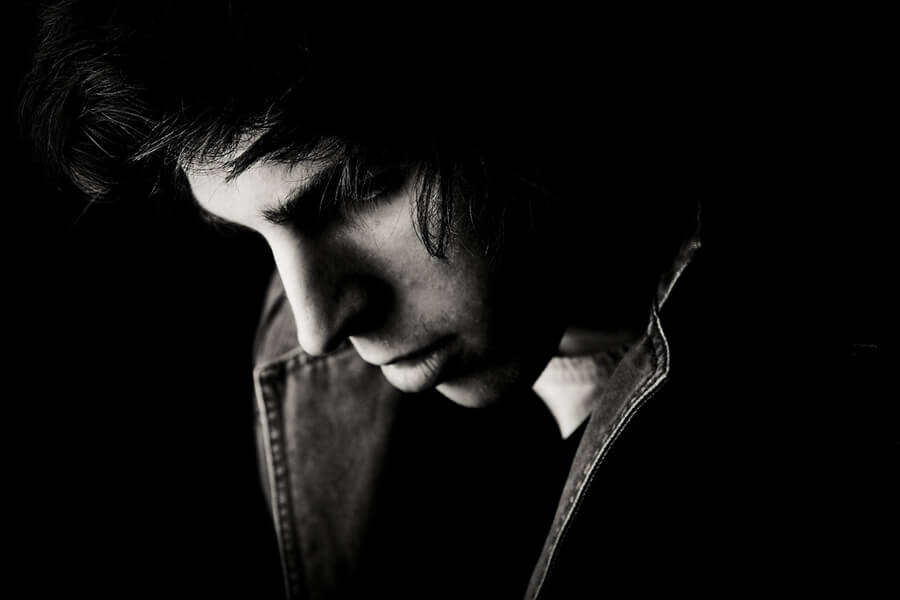
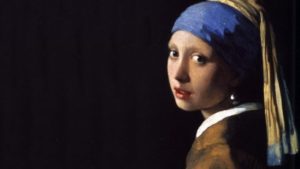
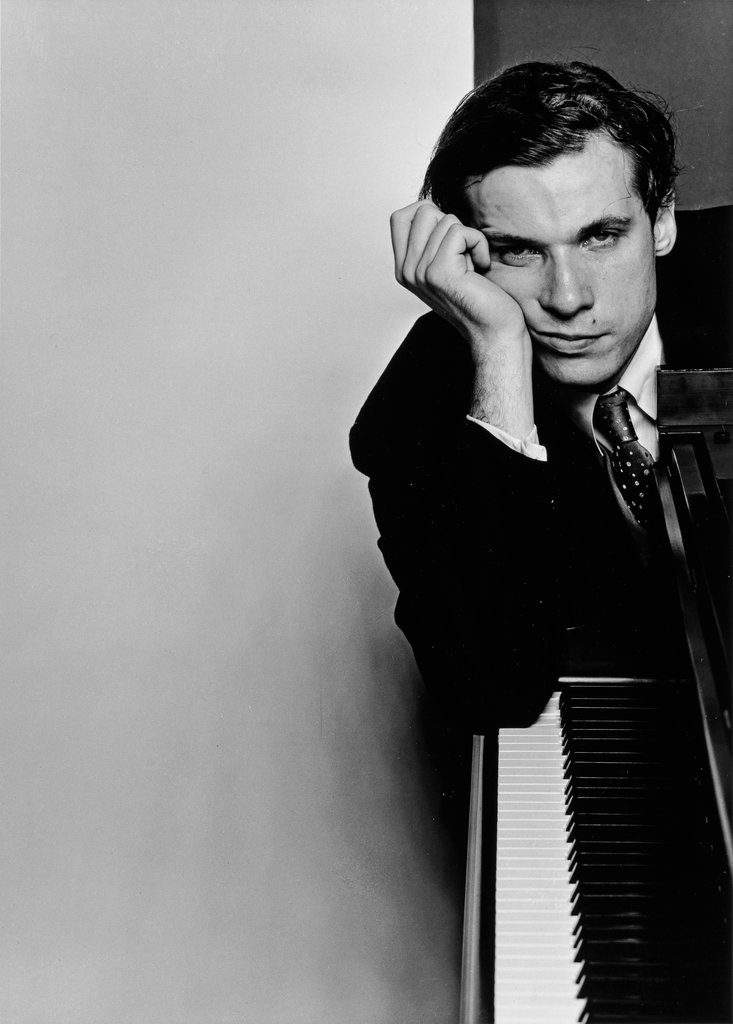
  • chiarascuro and Rembrandt lighting
  • high key and low key lighting techniques
  • backdrops and infinity curves
Image result for chiaroscuro photography
Chiarascuro used to illuminate features
Johannes Vermeer, The Girl with the Pearl Earring, 1665—-chiarusco as employed by the Dutch Masters
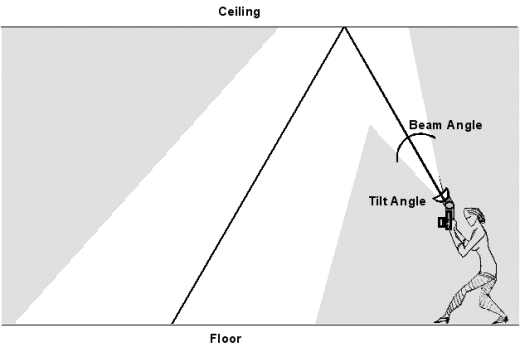
Lighting Diagram
Image result for bouncing the flash

Above : An example of “bouncing” the flash to soften the effects and create a larger “fill” area…try this wherever there are white walls/ ceilings

Using Flash

Flash units offer a range of possibilities in both low and high lighting scenarios…we will explore

  • flash “bouncing”
  • fill-in flash
  • TTL / speedlight flash
  • remote / infra-red flash (studio lighting)
  • fast + slow synch flash
  • light painting c/w slow shutter speeds

Evidence of Your Learning

During this week we would expect all students to complete 2-3 blog posts  detailing how you are experimenting with various lighting techniques eg CHIARASCURO / REMBRANDT LIGHTING
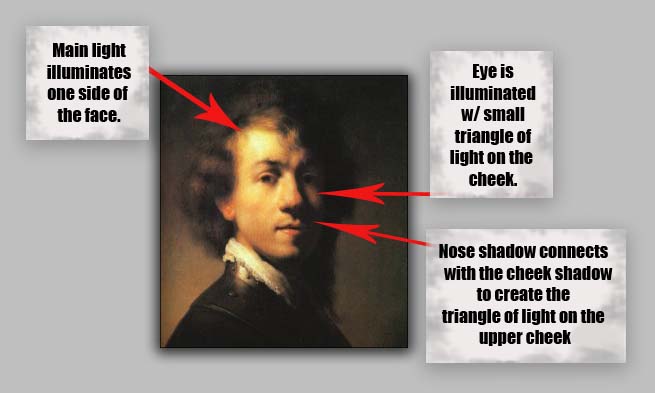
Rembrandt Lighting

Add information / links showing how Chiarascuro has been used since the Renaissance in painting…but also how it used now in photography and film

You must describe and explain your process with each technique…add your images to your blog as you progress, print off your successful images and evaluate your process using technical vocab and analysis skills. Think carefully about the presentation of your ideas and outcomes…compare your work to relevant portrait photographers as you go eg

Annie Leibovitz, Irving Penn, Rankin, Richard Avedon, Yousef Karsh, David Bailey, Mario Testino, Steve McCurry, Jill Greenberg, Nick Knight, Tim Walker, Corrine Day, Jane Bown etc

Expected Final Outcomes by Friday 13th December

  • Case Study and Practical Responses to Rankin or another studio photographer
  • 1 x Final Portrait using natural light + analysis and evaluation
  • 1 x Final Portrait using artificial light (1, 2 + 3 point lighting) + analysis and evaluation
  • 1 x Final Portrait using flash + analysis and evaluation

Think about how you can show evidence of head shots, cropped head shots, half body, three-quarter length and full length portraits.

Show that you can employ interesting angles and viewpoints…

Make sure you ANSWER THESE QUESTIONS IN YOUR BLOG

  • Why do we use studio lighting?
  • What is the difference between 1-2-3 point lighting and what does each technique provide / solve
  • What is fill lighting?
  • What is Chiarascuro ? Show examples + your own experiments
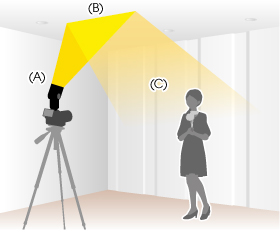
Bouncing the flash to soften its effects

Or use light painting techniques…

  • Slow Shutter speeds (1/30th sec or BULB setting)
  • Illuminate an area / person with a torch , study lamp, glowstick, car headlights etc…

Independent Study

(Refer to your tracking sheet)

  1. You must complete a range of studio lighting experiments and present your strongest ideas on a separate blog post
  2. Remember to select only the most successful images
  3. You should be aiming to produce portraits that show clarity, focus and a clear understanding of a range of lighting techniques
  4. Editing should be minimal at this point…we are looking for your camera skills here
  5. But…be creative and experimental with your approach “in camera”…extremes, uniqueness and possibly thought provoking imagery will improve your ideas and outcomes.
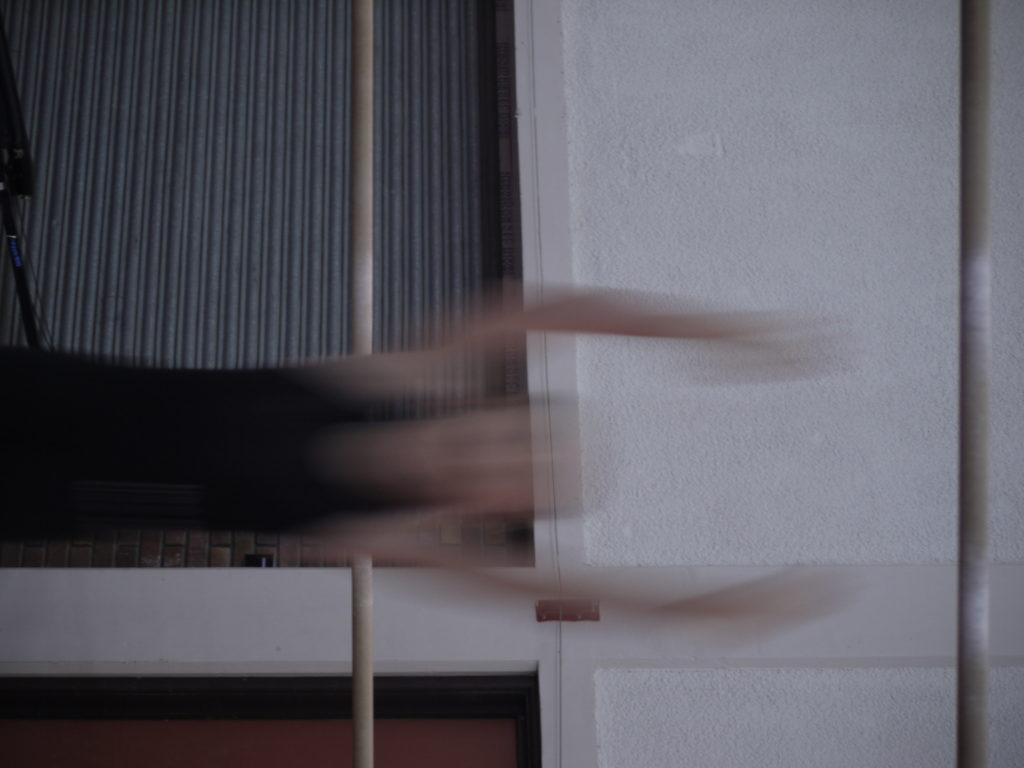
Image result for inventive portraits
Student Example
Image result for contemporary portrait photography
Hendrik Kerstens (in response to Dutch Masters paintings)
Image result for david bailey
David Bailey
Image result for rankin photographer
Rankin
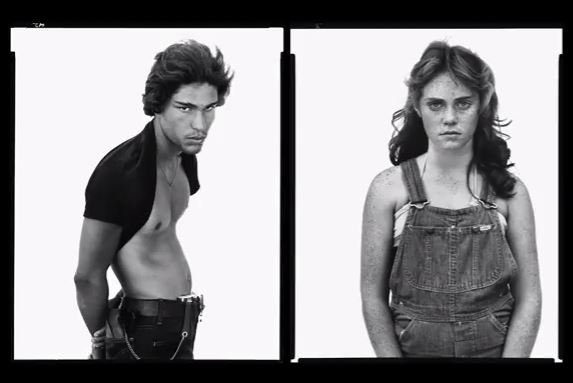
Image result for richard avedon
Richard Avedon
Image result for anton corbijn
Anton Corbijn

https://www.wefolk.com/artists/nadav-kander/information

Always follow this 10 step process to ensure that you are covering all areas of study for this unit…

  1. Mood-board, definition and introduction (AO1)
  2. Mind-map of ideas (AO1)
  3. Artist References / Case Studies (must include image analysis) (AO1) re : environmental and candid portraits
  4. Photo-shoot Action Plan (AO3)
  5. Multiple Photoshoots + contact sheets (AO3)
  6. Image Selection, sub selection (AO2)
  7. Image Editing/ manipulation / experimentation (AO2)
  8. Presentation of final outcomes (AO4)
  9. Compare and contrast your work to your artist reference(AO1) and show analysis of at least 1 of your images
  10. Evaluation of your images, process and Critique of your final outcomes(AO1+AO4)

Always refer to this to help you with image analysis, knowledge and understanding etc
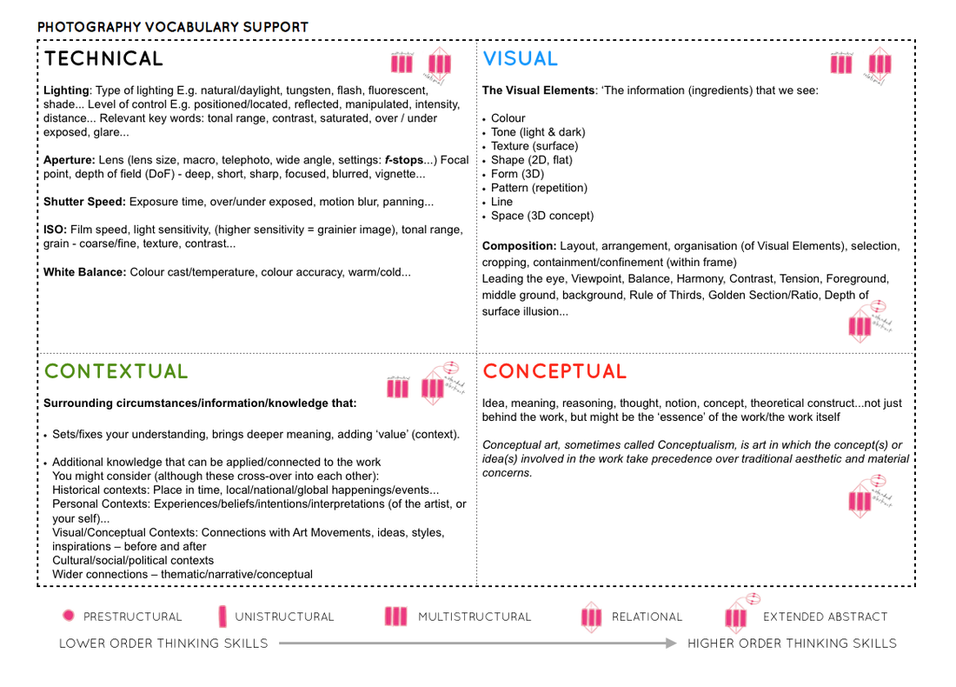
Picture

Candid/Street Case Study: Henri Cartier-Bresson

Henri Cartier-Bresson was a french humanist photographer, considered a pioneer in candid and street photography. Born in 1908, he took up photography in the 1930s and saw the art of photography as a way of capturing a “decisive moment” in time and preserving it forever.

He acquired a 50nm camera, giving him anonymity in a crowd during the intimate moments he wanted to capture and preserve, which was essential as most people act unnaturally when aware they are being photographed.

Cartier-Bresson published his book in 1952, called “Images à la sauvette”, meaning images taken hastily. The English translation was “The Decisive Moment” and it included 126 pictures from his travels over the world. The cover was drawn by Henri Matisse, who met Cartier-Bresson when he escaped a German work camp in 1943.

His dramatic black and white images are among the most iconic of the 20th century. His inentive work aided in defining the creative potential of modern photography, and his ability to capture life in the moment made his work creative evidence of important people and moments throughout history
STREET PHOTOGRAPHY- final outcomes

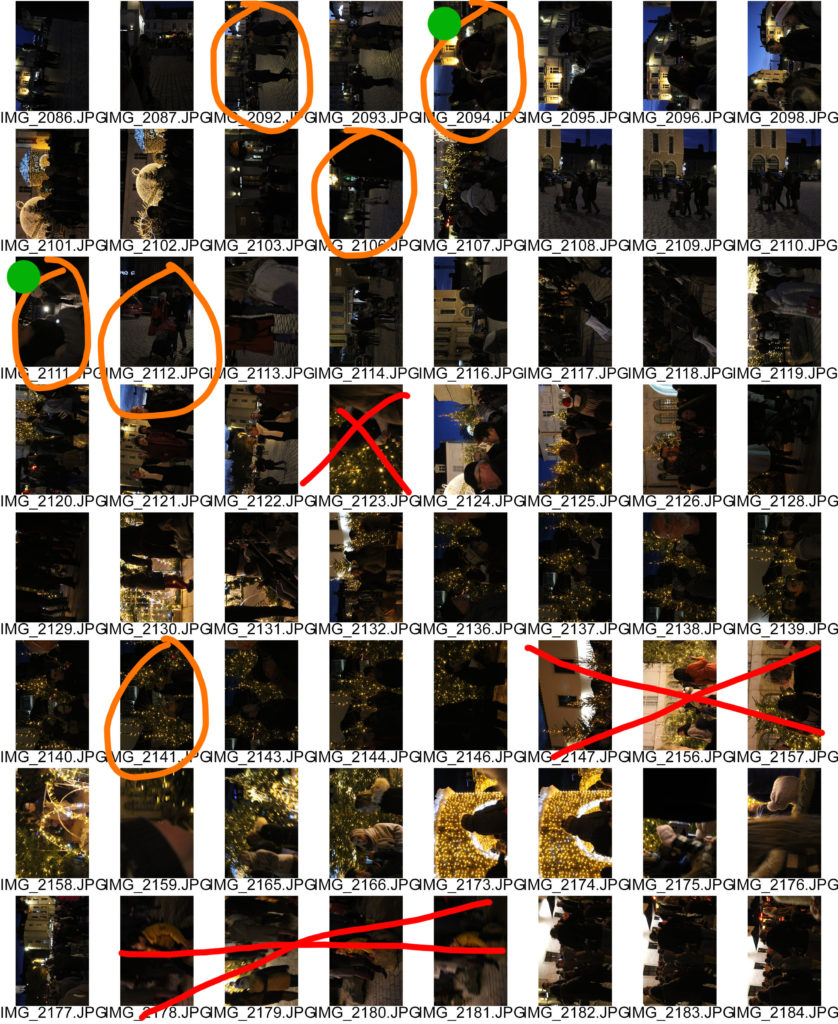
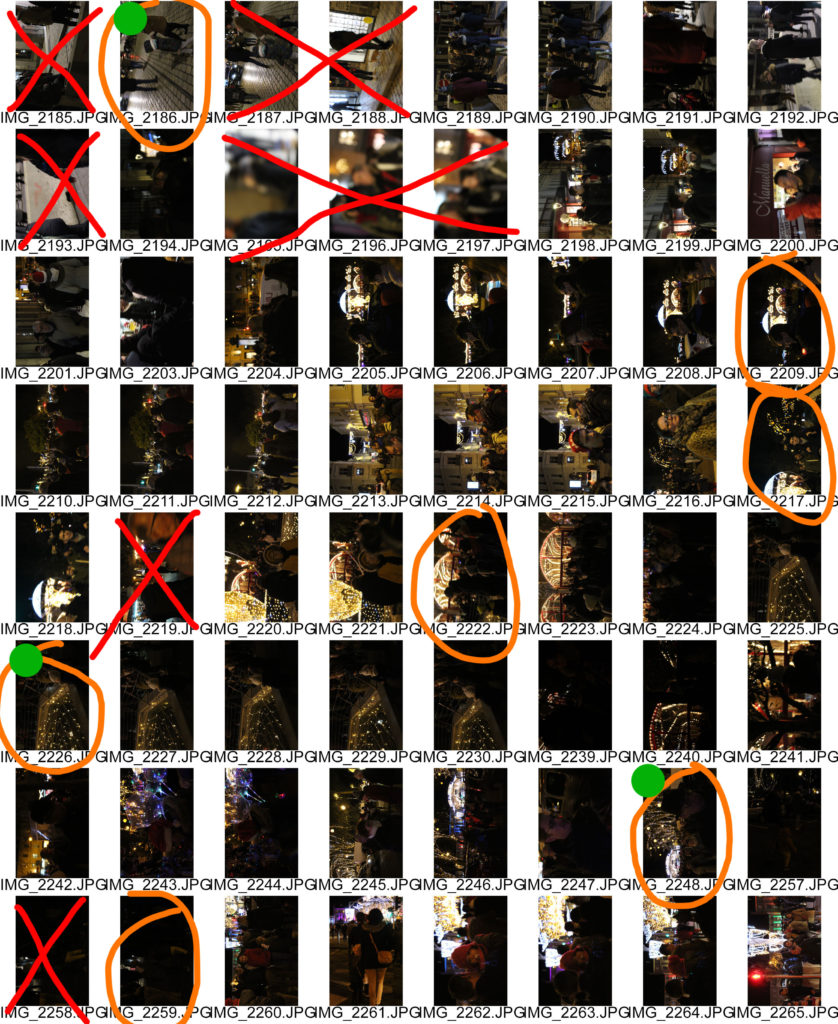
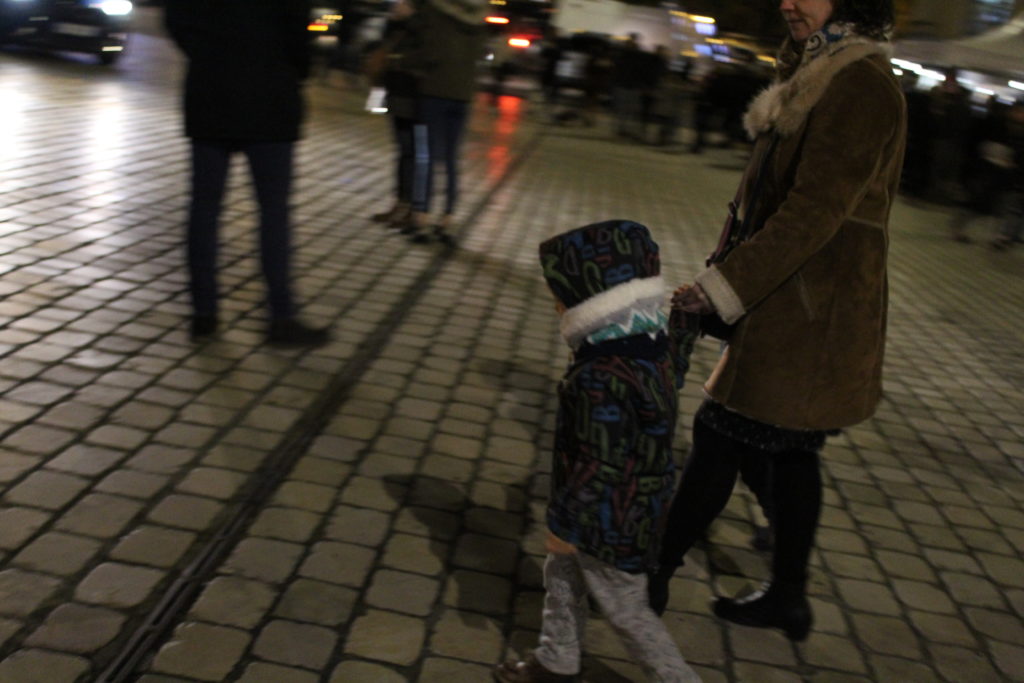
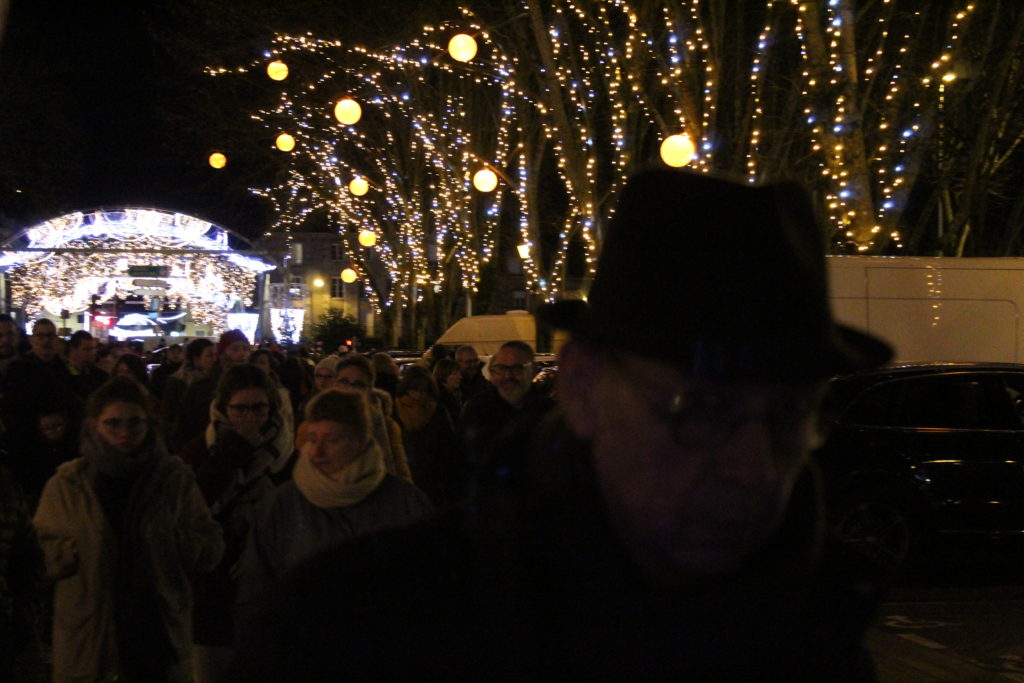
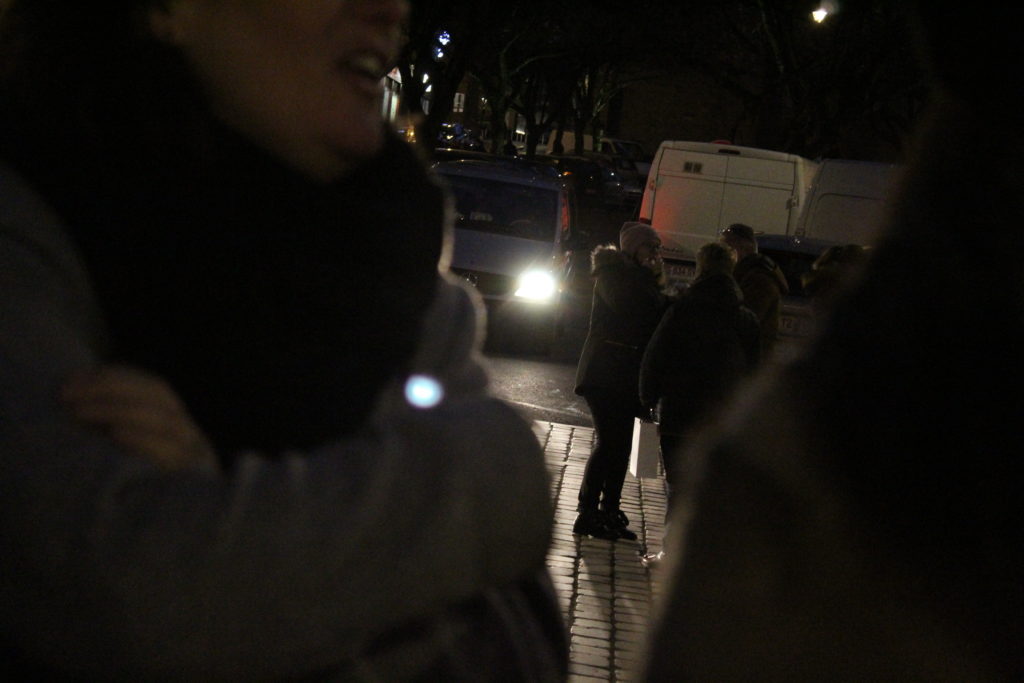
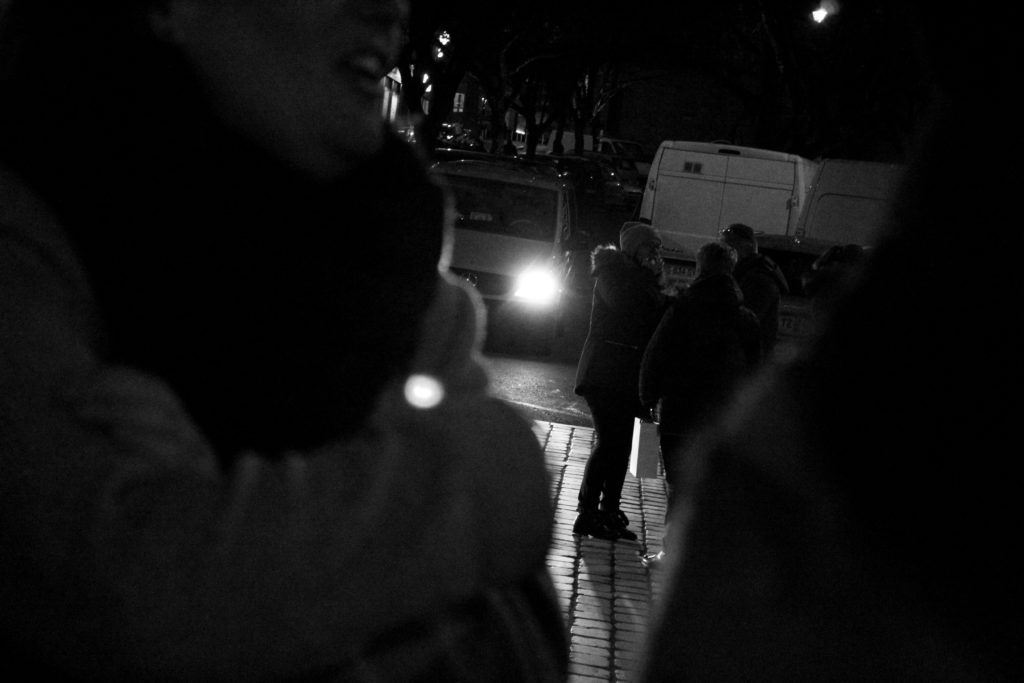
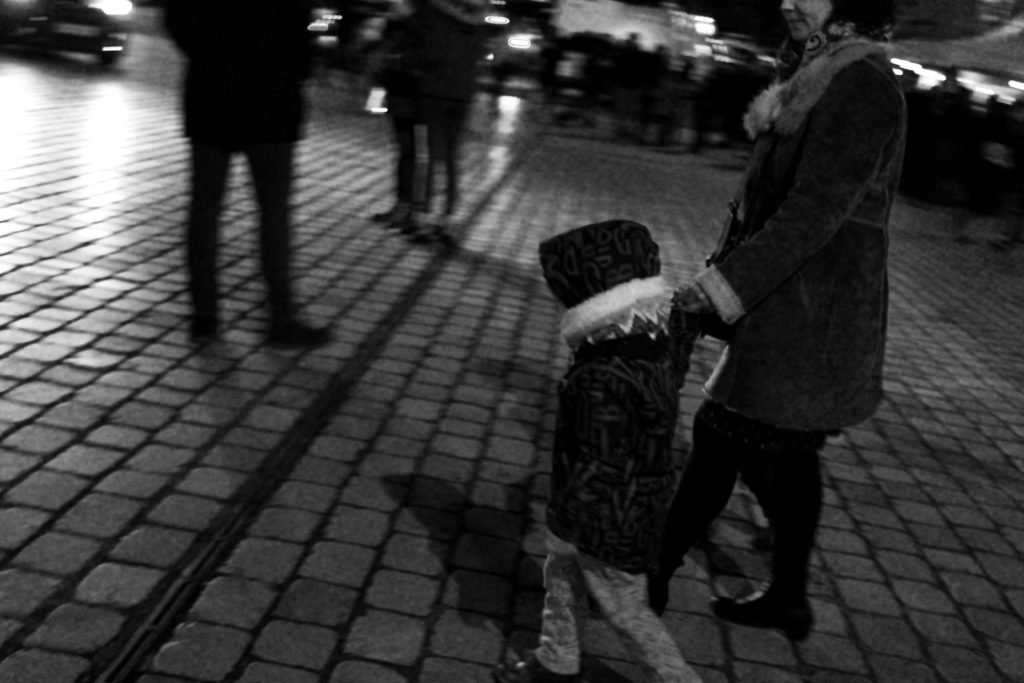
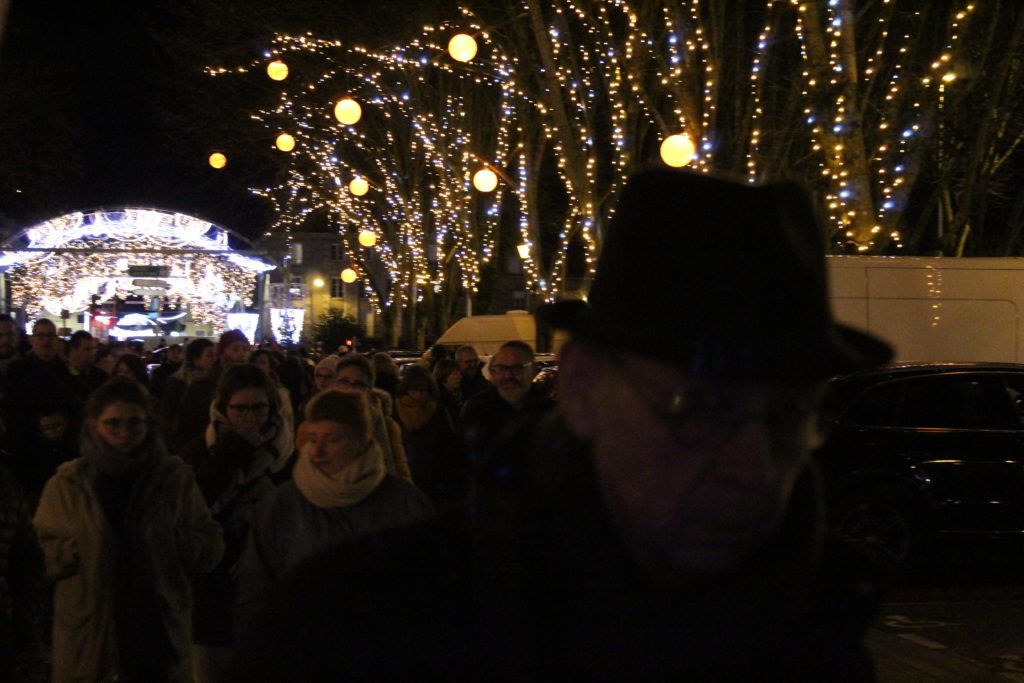
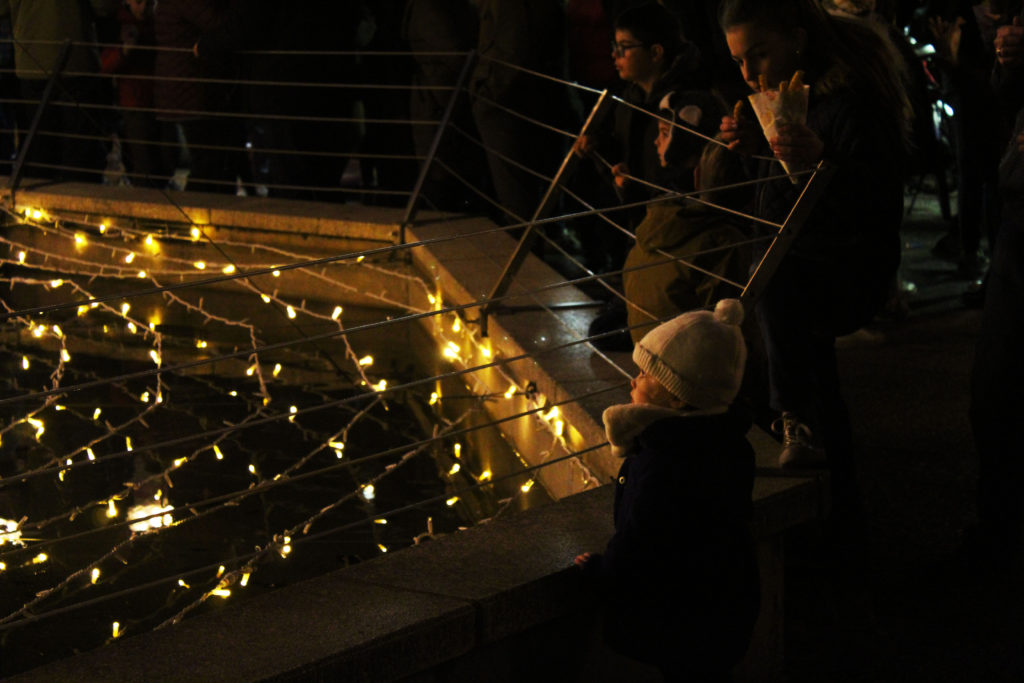
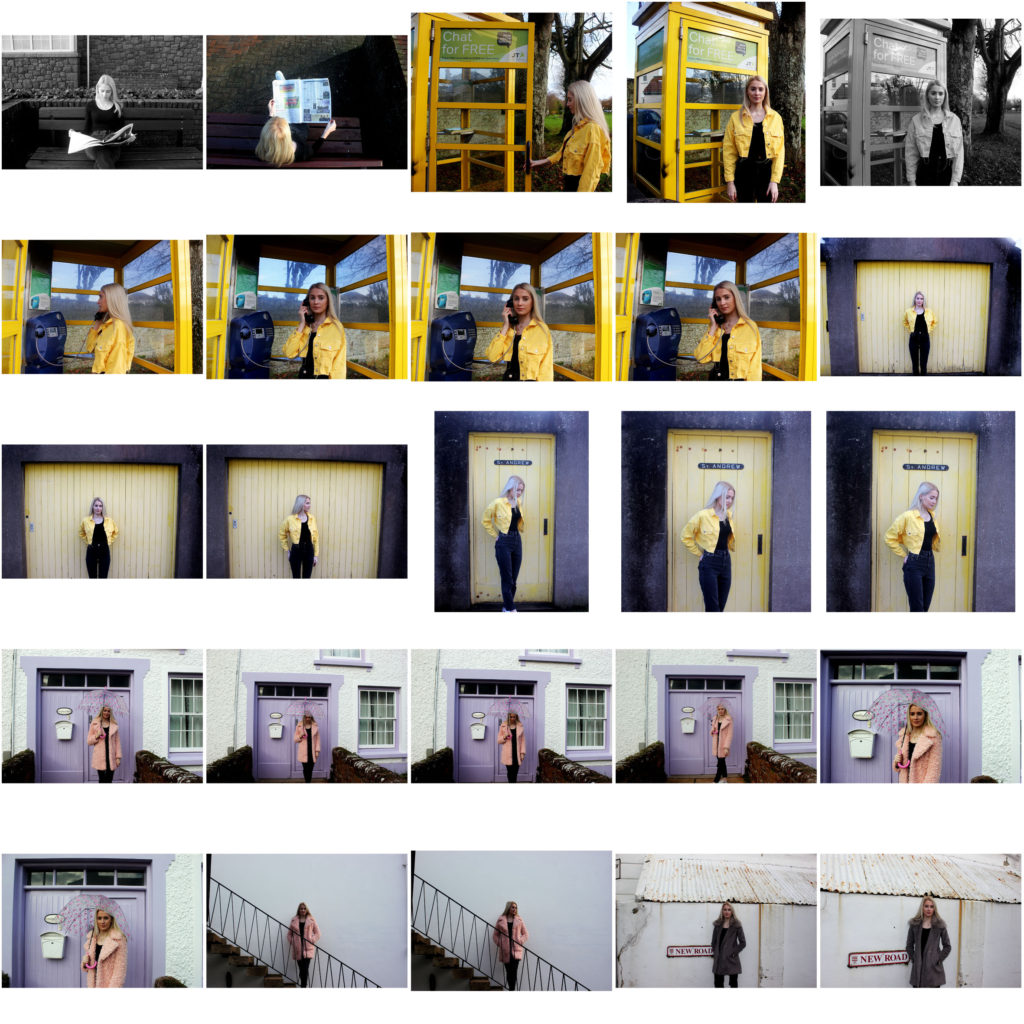
I took these images in Laval, France, during the Christmas period where there were many families and couples out on the town, looking at all the Christmas lights, which are quite well-known in that area.

The red crosses are photos that are blurry or badly-framed, the orange circles are to indicate possibilities for the final selection, and the green dot represents my actual final selection.

FINAL SELECTION-

I chose these images because I feel like they showcase the best technical skills as well as the fact that they are the most visually pleasing.

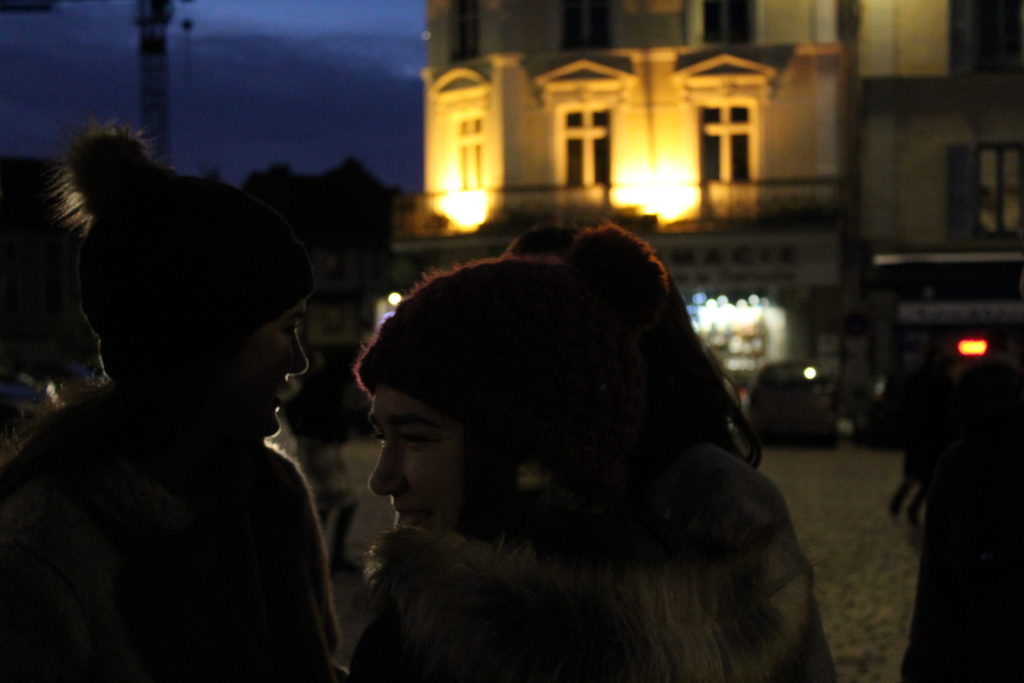
I only edited this image slightly because I already liked it enough as it is, so I just enhanced the vibrancy of the colours in the background, which I like because they (blue and yellow) are contrasting colours. I also really liked the mood of the image, as it seems like it was captured in the middle of a moment of pure joy, and I especially liked how the light from the background comes from behind to illuminate the girl in the foreground, almost like a halo effect.

I made this image black and white to emulate the street photography style of Henri Cartier-Bresson, and because I felt that the colours were so monotone already the image would benefit from more focus on the subjects than the colours. I increased the contrast and brightness in order to make the light from the van’s headlamp shine brighter, and to provide more tonal range to the image.

This is another image I edited into black and white to follow the style of Henri Cartier-Bresson, and I feel that this was the right choice as it lets the eye focus more on the child as the main focal point of the image instead of the distracting colours of the background. I also like how the background of the image is blurred slightly, as it adds a sense of movement and creates a feeling of a single moment captured in time, much like Henri Cartier-Bresson’s attitude.

I really like this image because of the man in the foreground, the way he is slightly blurry but his facial expression is still clear. I feel as though this image carries a feeling that you are invading someone’s personal space, namely the old man, and this tone of invasion of privacy adds intrigue to the image. To edit, I simply made it black and white and changed the contrast and brightness levels in order to make the festive lights stand out more.

This is another of my favourite images as it really portrays the spirit of Christmas, and the lights glowing on the small child’s face help to carry this tone throughout the image. I feel that when doing street photography, children are often best to photograph as they show all of their emotions very freely, and this is why I really like this image, because of the sense of wonder clearly shown on her face. I barely edited this image at all; I felt as though it was good enough as it was, but i did increase the saturation to really emphasise the Christmas lights’ brightness.

Portraits

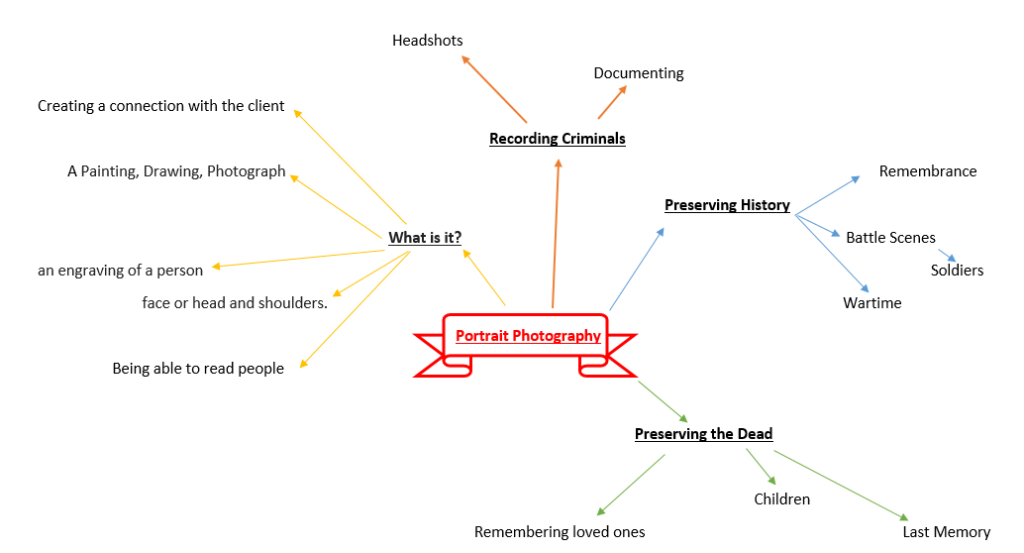
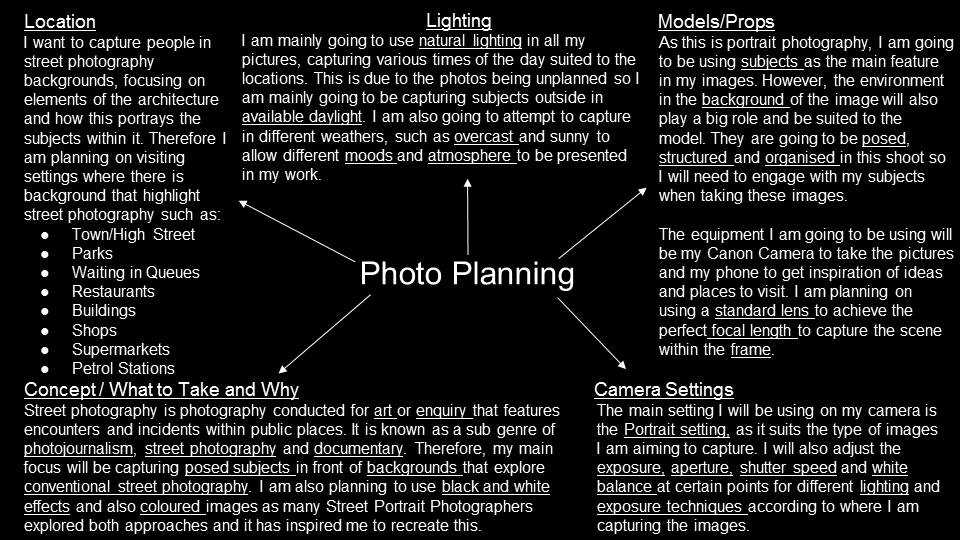
Portrait photography is usually a photo of a person and captures their personality, this can be done with the help of lighting and backdrops.

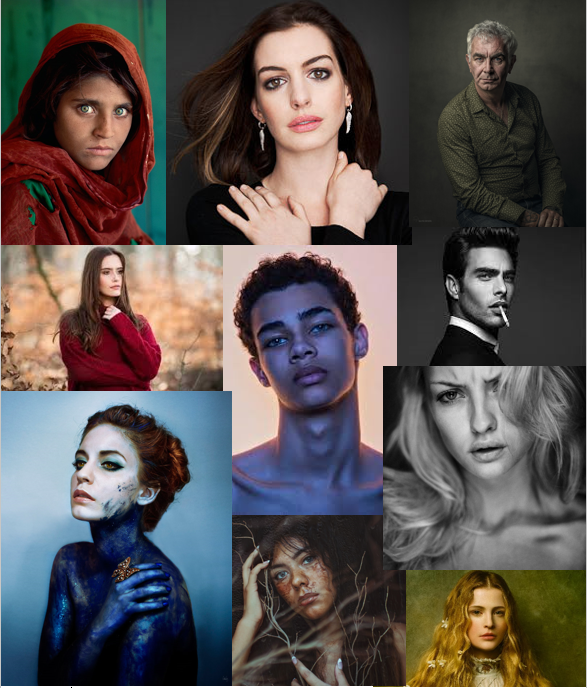
These images were all found from google images.

There are 4 main approaches to portrait photography, Constructionist, Candid, Environmental and a Creative approach.

Constructionist: This is when a the photographer builds an idea behind then image; for example a romantic couple, a happy family and many more. This is usually done in a more professional setting such as a studio. this type of photography is well known for its use in marketing and advertising.

Candid: This photographical technique is when the photographer takes images without the people who are being photographed knowing about it. Paparazzi is an invasive example of candid photography as it generally shows celebrities at their worst. However; when done correctly, candid photography can paint an ideas of what society looks like in that particular region, this can also show many things that happen in the public eye that may be otherwise ignored and “brushed under the carpet”.

Environmental: This is about the environment in which the person being photographed spends their day to day at. This can be a place of work, hobby, family and even leisure. Examples include, singers in a recording studio, student in a study room, a butcher working at a butchers. These also generally show a bit of culture or class in which that person lives in, showing the history behind the image and the person being photographed.

Creative: This is generally done through the manipulation of digital software, this can create an infinity of options and allows the person who is being photographer’s characteristics stand out. This is a more modern approach to portrait photography as it uses the photographers camera skills and also their editing skills in order to create a striking outcome.

Contemporary Portrait Photography

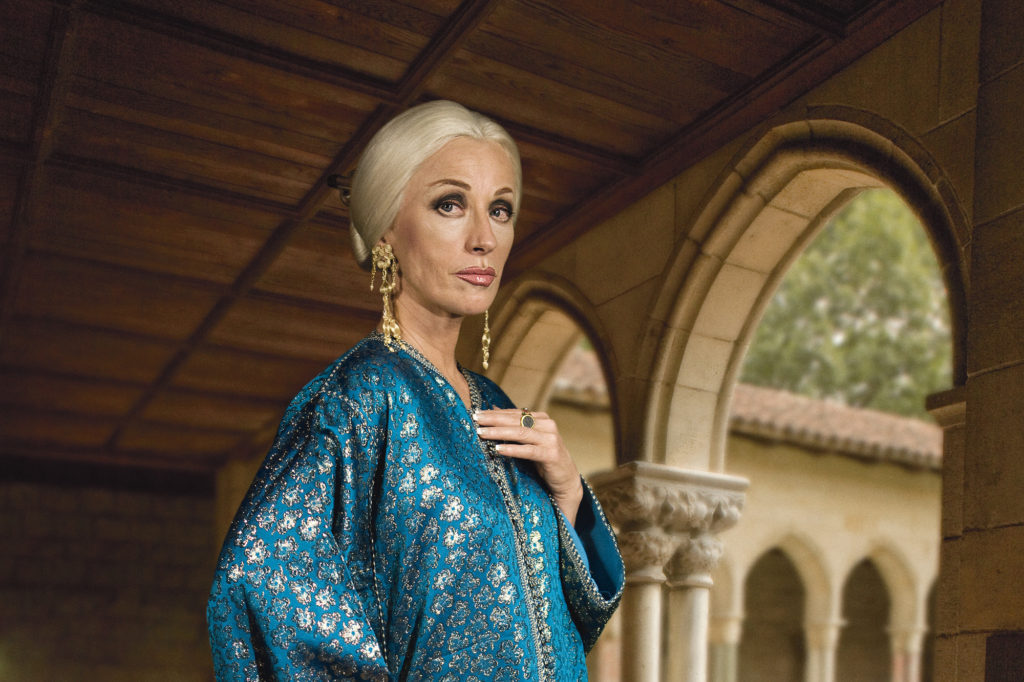
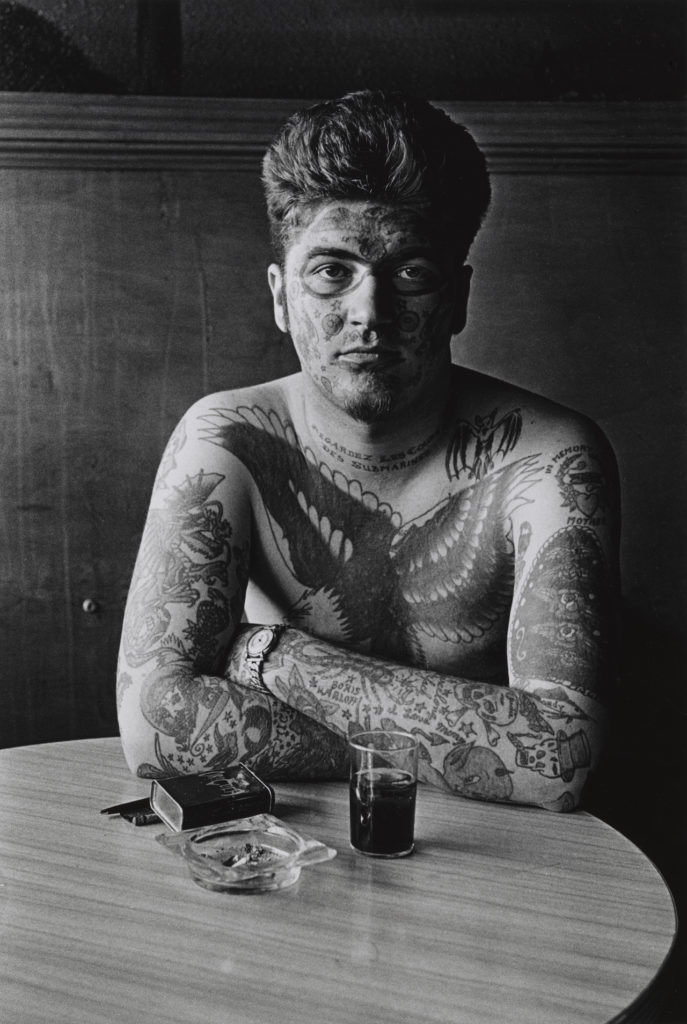
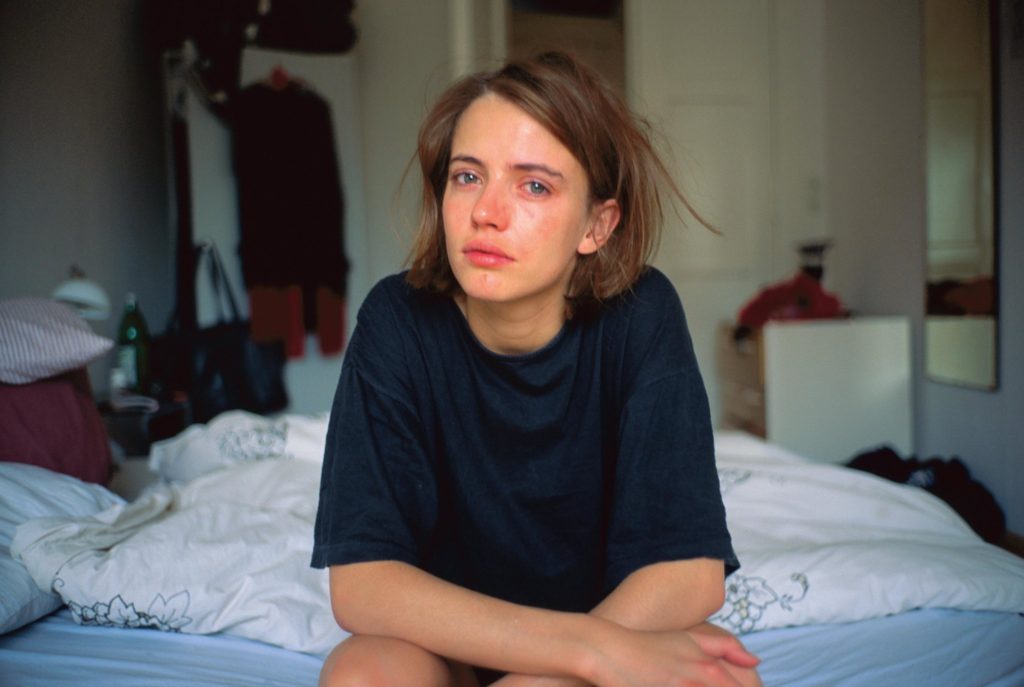
This is a more modern approach to portrait photography, here images often follow a more abstract/ unusual approach.

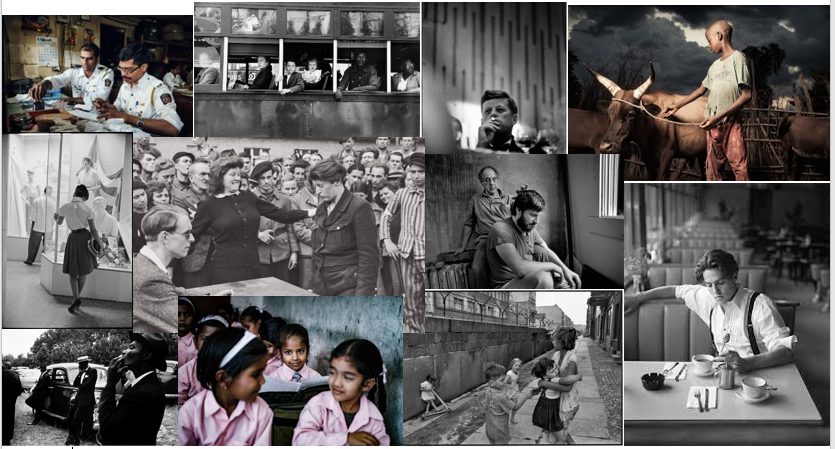
Here are some examples of Contemporary Portrait Photographers:

The Art of Portrait photography / The history of Portrait photography:

Different types of Portrait Photography and their meaning. (Website)

https://expertphotography.com/types-of-portrait-photography/

Enviromental Portraits

Environmental portrait photography: This is about the environment in which the person being photographed spends their day to day at. This can be a place of work, hobby, family and even leisure. Examples include, singers in a recording studio, student in a study room, a butcher working at a butchers. These also generally show a bit of culture or class in which that person lives in, showing the history behind the image and the person being photographed.

Examples of Environmental Portrait Photography:

My Chosen Photographer

Anthony Kurtz

Anthony was born in the USA in 1979, He started off as an artist who had a Masters of fine art in the Academy of Art University in San Francisco. This was when his passion for photography began, His work is often described as “rich, cinematic and painterly”.

Anthony Kurtz has had many achievements over the years and also many opportunities to publish and share his work for example; in Photo Disctrict News, Wall Street Journal, Design Taxi, Common Ground Magazine, Entertainment Weekly, Annual PX3 Book, Annual IPA Book, Travel + Leisure and Conde Nast Traveler.

Anthony has also displayed his images in several galleries in Europe and USA such as, including Galerie Acte 2 in Paris, 111 Minna and Artworks in San Francisco.

Kurtz has similarly won countless international photo awards such as including multiple First and Second Prizes at the International Photo Awards (IPA), Photo District News (PDN) and the Prix de la Photographie de Paris (PX3).

Lastly, he now owns his own website in which he shares his photos so that the public eye can see: http://anthonykurtz.com

Examples of Anthony Kurtz work:

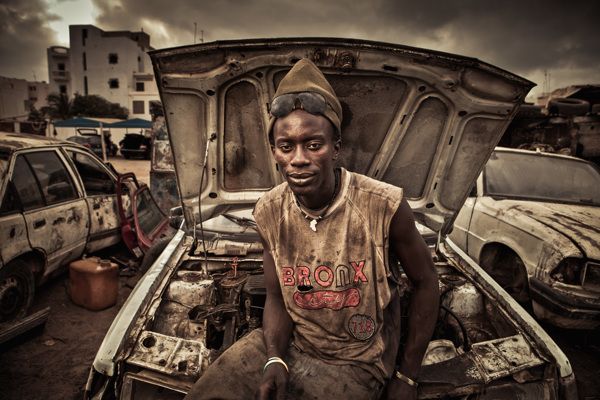
Senegal
India

Analysis of Anthony Kurtz – Enviromental

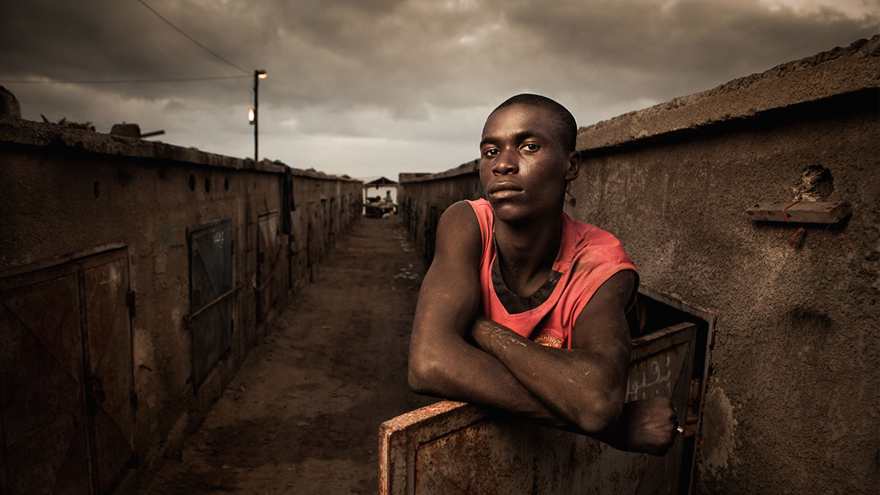
Technical: Here natural lighting has been used as this image has been taken outside, this allows the texture of the clouds not to be lost as everything can be clearly seen. The position of the camera has been placed parallel to the the man in the image. The focal point is clearly on the man as he has the most focused part in the image, however the cars in the background are still shown allowing the audience to see a “bigger image” of what the man works with. The white balance is is just leaning on the cold side which is shown as the warmer tones t=in the images such as his yellow and red shirt is hardly shown, which allows the audience to focus on the dirt and the blue roofs of the buildings. Here the saturation of the image has been somewhat turned down allowing the audience to focus the centre point of the image which is successful as its a environmental portrait.

Visual: The tones in the image is generally dark matching the dirt shown throughout the image, which allows the audience to see the true reality of the working environment in which the man is living in, here he doesn’t try and sugar coat the image but simply presents his environment how it is. Again the element of dirt gives texture to the image, showing that he doesn’t work in a nice mordernised mechanics office that many people in the “first world” are used to. The pattern of the cars is present suggesting that he needs to work through many cars each day in order to make the amount of money that he needs to survive. The shape of the image is 3D due to the different depths in the image with the main cars shown at the foreground and then the buildings shown in the background. Here the Rule of Thirds is used effectively as as they eye is lead to the centre third and onto the man.

Contextual: This image was part of a a selection of images that Anthony Kurtz took in Senegal. Here he joined as a volunteer in a high school-lead trip where he did community work. Here most the images were taken in the village of Dindefelo (south of Senegal). He also went to “Dakar to do more “strobist” style, street photography and worked on different personal projects.” Anthony talks about the connection he created with the people he photographed as many people turned him down however he kept asking people and ” made sure people in Dindefelo received copies of their portraits and I hope they enjoy looking at them” he talks about still being able to keep in touch with the people, showing the bond he grew as he didn’t just take pictures of them and then moved on but he worked with them and spoke to them to made sure they felt comfortable. (Quotes from Anthony Kurtz found on: https://www.behance.net/gallery/11984331/Part-2-Senegal-Street-Portraits-Africa )

Conceptual: I think the overriding theme to this image is the work that Anthony Kurtz has put in to approach and speak to the people he has photographed, here he spends as long period of time with these people, getting to know them as a person and their experiences. I think that this is important as Kurtz didn’t just take pictures of rich celebrities that are already in the public eye, but he wanted to show the true environments in which people live in.

ANALYSIS OF ANTHONY KURTZ – Candid / Informal

Candid: This photo graphical technique is when the photographer takes images without the people who are being photographed knowing about it. Paparazzi is an invasive example of candid photography as it generally shows celebrities at their worst. However; when done correctly, candid photography can paint an ideas of what society looks like in that particular region, this can also show many things that happen in the public eye that may be otherwise ignored and “brushed under the carpet”.

Anthony Kurtz also does Candid photos, here he takes pictures of people as they are going about their lives, this is why I decided to follow his work again as I thought I could show the contrast between his two styles

Technical: Here the lighting is natural which is shown as the source of light is coming from outside the window, here it looks like the the picture was taken in the morning due to the almost white light that the sun is producing. Here the camera is placed at around chest level as about half of his body is shown and you can see some of his tools making his image look more informal. The image has a low ISO showing the detail in the image and everything that is going on in the image. Here Kurtz approached a warm tone approach to this informal image which works well with the different tones of the woods and the red objects in his photograph.

Visual: Here there is clear texture between the the different types of wood shown, I also like the texture added to the workers hands as it brings attention to what he is doing. I think that the photo is well exposed as it creates a dramatic effect onto the image which makes it more striking. Here the mans tools are randomly placed making the photo more realistic and informal. Kurtz decided to maintain the tools in the foreground which I think works well due to the depth that it creates as in this example the main focus/focal point is on the man in the mid ground of the image; furthermore this works as there are tools in the foreground, midground and background, which makes the man stand out visually. This makes for next to none negative space due to the semantic field of the tools.

Contextual / Conceptual: I think there is a very strong family theme to this picture as it reminds me of my own family members that use to use tools similar to these in order to build/fix things. I can also see the passion in this mans face for what he does, as he is so focused and almost in his world, which allows the audience to think as if the photographer took this image by chance making it again seem candid and informal.