Resource Packs are stored here…
M:\Departments\Photography\Students\Resources\Portraiture\TO DO
and here : M:\Departments\Photography\Students\Planners Y12 JAC\Unit 2 Portrait Photography
Watch : Rankin on “beautiful portraits”
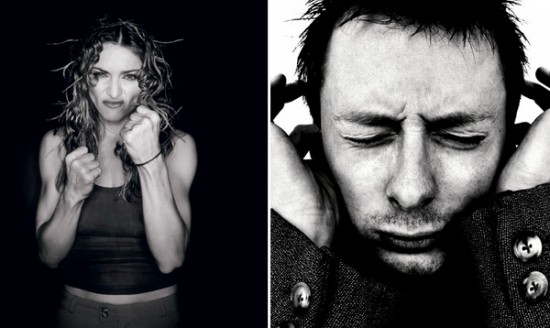
Read and respond
Studio Lighting
Exploring Technique
1. Natural Light
Remember >>>Photography is completely dependent on the availability of light.
In most cases we can make use of natural or available / ambient light…but we must be aware of different kinds of natural light and learn how to exploit it thoughtfully and creatively…
- intensity of the light
- direction of the light
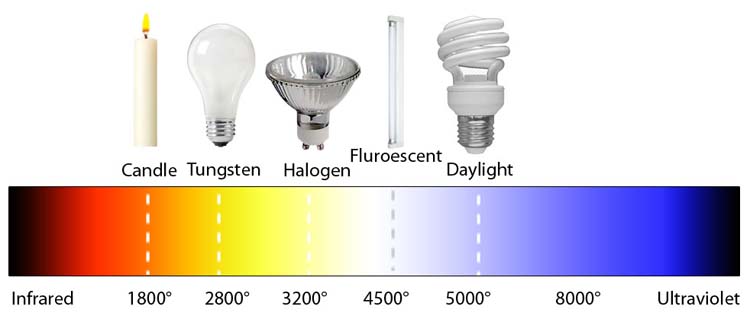
- temperature of the light and white balance
- Using reflectors (silver / gold)
White Balance (WB) and Colour Temperature

- Explore using diffusers (tissue paper, coloured gels, tracing paper, gauze etc) to soften the light
- Front / side / back lighting
- High Key / low key lighting
- Shadows / silhouettes

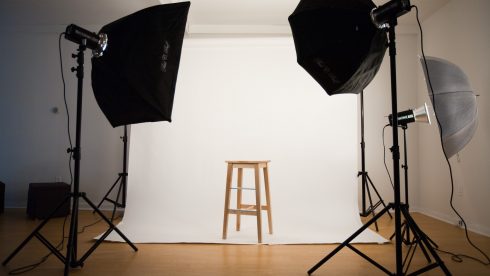
2. Studio Lighting
Using artificial lighting can offer many creative possibilities…so we will explore
- size and shape of light
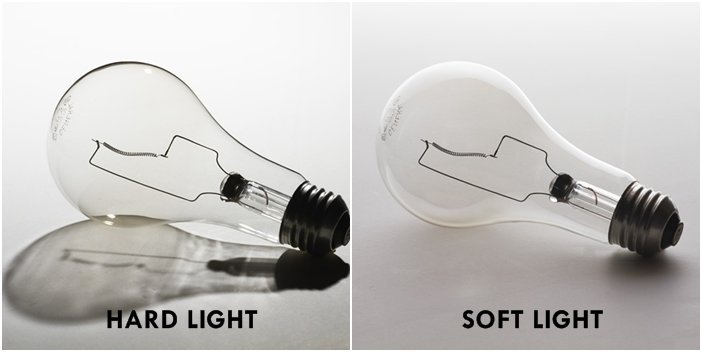
- distance from subject to create hard / soft light
- angles and direction…high, low, side lighting
- filtered light
- camera settings : WB / ISO / shutter speed etc
- reflectors and diffusers
- key lighting, fill lighting, back lighting, 3 point lighting
- soft-boxes, flash lighting, spot lights and floodlights
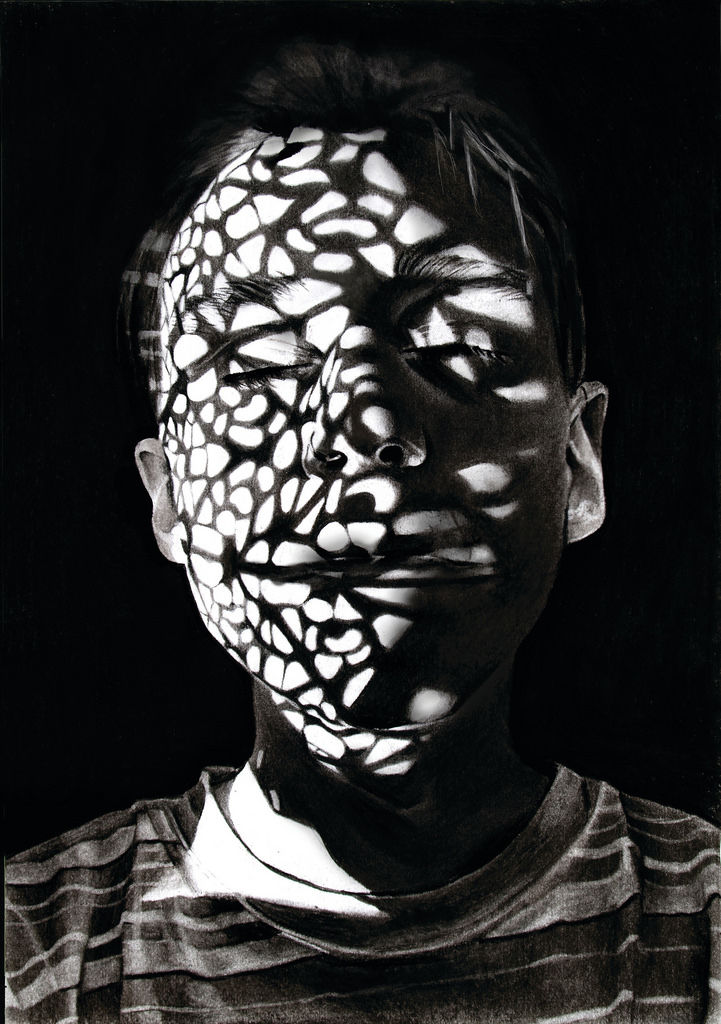
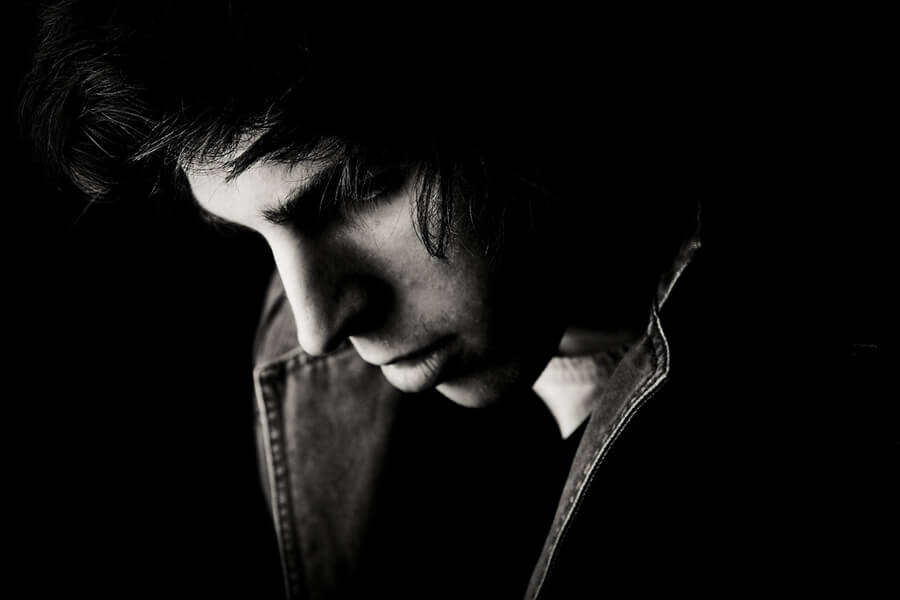
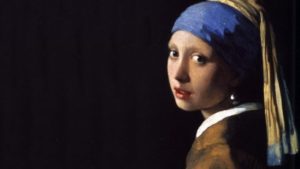
- chiarascuro and Rembrandt lighting
- high key and low key lighting techniques
- backdrops and infinity curves

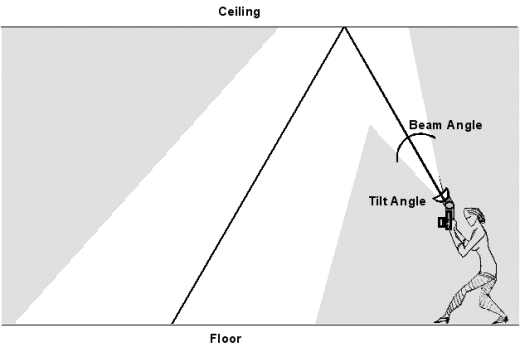
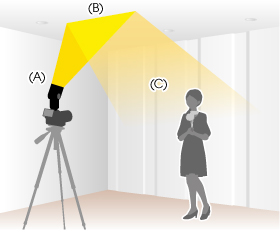
Above : An example of “bouncing” the flash to soften the effects and create a larger “fill” area…try this wherever there are white walls/ ceilings
Using Flash
Flash units offer a range of possibilities in both low and high lighting scenarios…we will explore
- flash “bouncing”
- fill-in flash
- TTL / speedlight flash
- remote / infra-red flash (studio lighting)
- fast + slow synch flash
- light painting c/w slow shutter speeds
Evidence of Your Learning
During this week we would expect all students to complete 2-3 blog posts detailing how you are experimenting with various lighting techniques eg CHIARASCURO / REMBRANDT LIGHTING
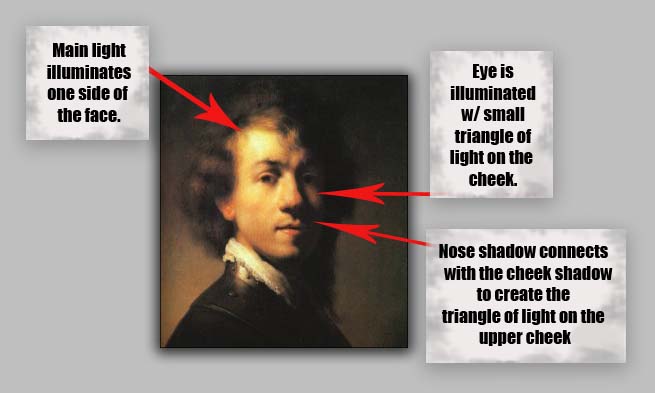
Add information / links showing how Chiarascuro has been used since the Renaissance in painting…but also how it used now in photography and film
You must describe and explain your process with each technique…add your images to your blog as you progress, print off your successful images and evaluate your process using technical vocab and analysis skills. Think carefully about the presentation of your ideas and outcomes…compare your work to relevant portrait photographers as you go eg
Annie Leibovitz, Irving Penn, Rankin, Richard Avedon, Yousef Karsh, David Bailey, Mario Testino, Steve McCurry, Jill Greenberg, Nick Knight, Tim Walker, Corrine Day, Jane Bown etc
Expected Final Outcomes by Friday 13th December
- Case Study and Practical Responses to Rankin or another studio photographer
- 1 x Final Portrait using natural light + analysis and evaluation
- 1 x Final Portrait using artificial light (1, 2 + 3 point lighting) + analysis and evaluation
- 1 x Final Portrait using flash + analysis and evaluation
Think about how you can show evidence of head shots, cropped head shots, half body, three-quarter length and full length portraits.
Show that you can employ interesting angles and viewpoints…
Make sure you ANSWER THESE QUESTIONS IN YOUR BLOG
- Why do we use studio lighting?
- What is the difference between 1-2-3 point lighting and what does each technique provide / solve
- What is fill lighting?
- What is Chiarascuro ? Show examples + your own experiments
Or use light painting techniques…
- Slow Shutter speeds (1/30th sec or BULB setting)
- Illuminate an area / person with a torch , study lamp, glowstick, car headlights etc…
Independent Study
(Refer to your tracking sheet)
- You must complete a range of studio lighting experiments and present your strongest ideas on a separate blog post
- Remember to select only the most successful images
- You should be aiming to produce portraits that show clarity, focus and a clear understanding of a range of lighting techniques
- Editing should be minimal at this point…we are looking for your camera skills here
- But…be creative and experimental with your approach “in camera”…extremes, uniqueness and possibly thought provoking imagery will improve your ideas and outcomes.


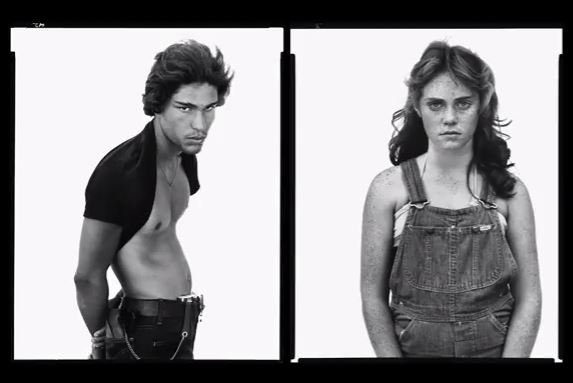

https://www.wefolk.com/artists/nadav-kander/information
Always follow this 10 step process to ensure that you are covering all areas of study for this unit…
- Mood-board, definition and introduction (AO1)
- Mind-map of ideas (AO1)
- Artist References / Case Studies (must include image analysis) (AO1) re : environmental and candid portraits
- Photo-shoot Action Plan (AO3)
- Multiple Photoshoots + contact sheets (AO3)
- Image Selection, sub selection (AO2)
- Image Editing/ manipulation / experimentation (AO2)
- Presentation of final outcomes (AO4)
- Compare and contrast your work to your artist reference(AO1) and show analysis of at least 1 of your images
- Evaluation of your images, process and Critique of your final outcomes(AO1+AO4)
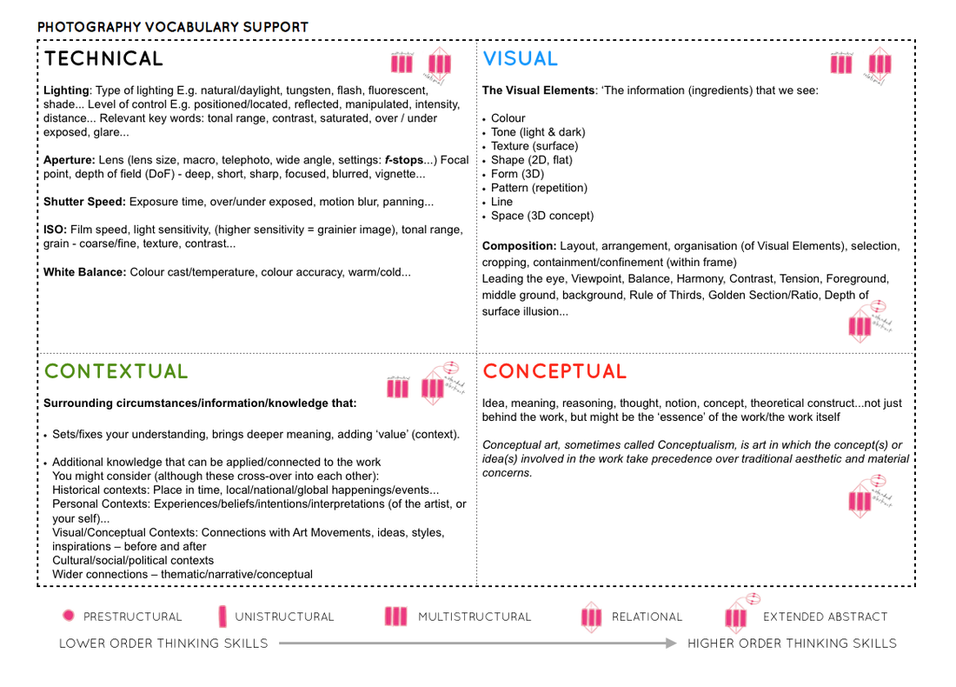
Always refer to this to help you with image analysis, knowledge and understanding etc
