What will I photo graph?
- beach
- sunsets
- trees
- dams
When am I conducting the shoot?
- evenings
- early morning
- sunset
Where am I working?
- green island
- sand dunes
- woods
How am I going to produce The images?
- cannon 600d
- photoshop
What will I photo graph?
When am I conducting the shoot?
Where am I working?
How am I going to produce The images?
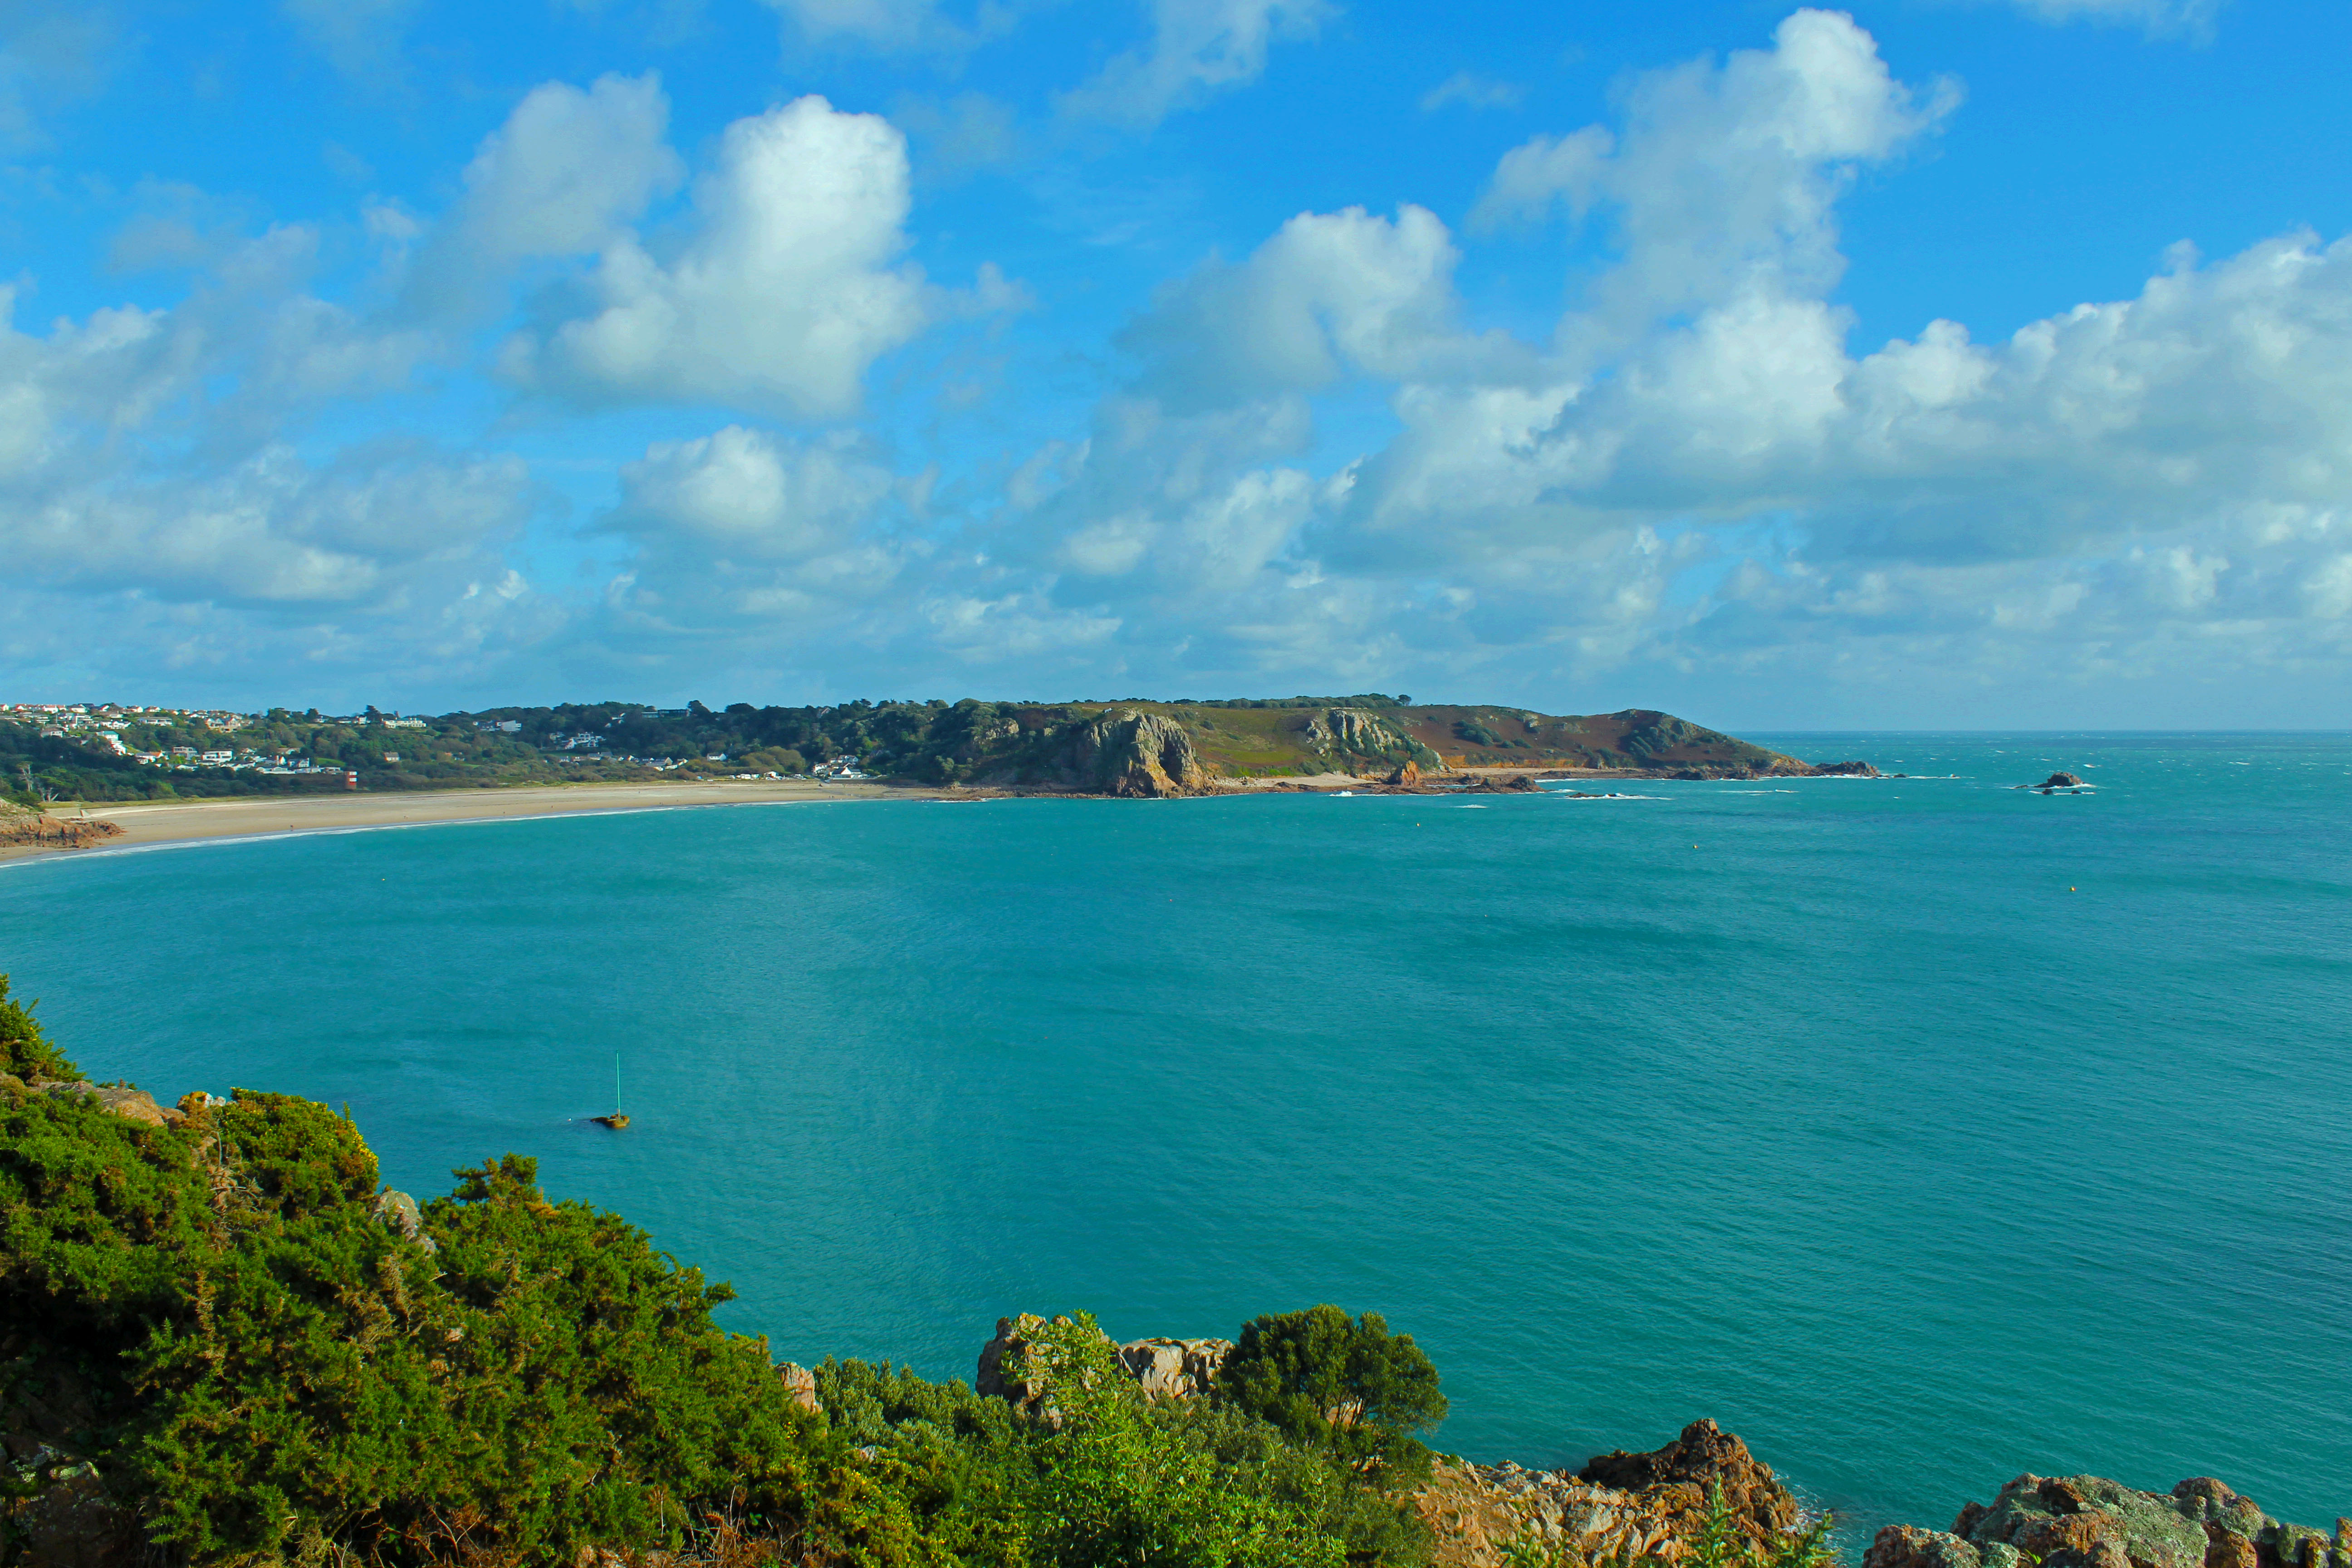
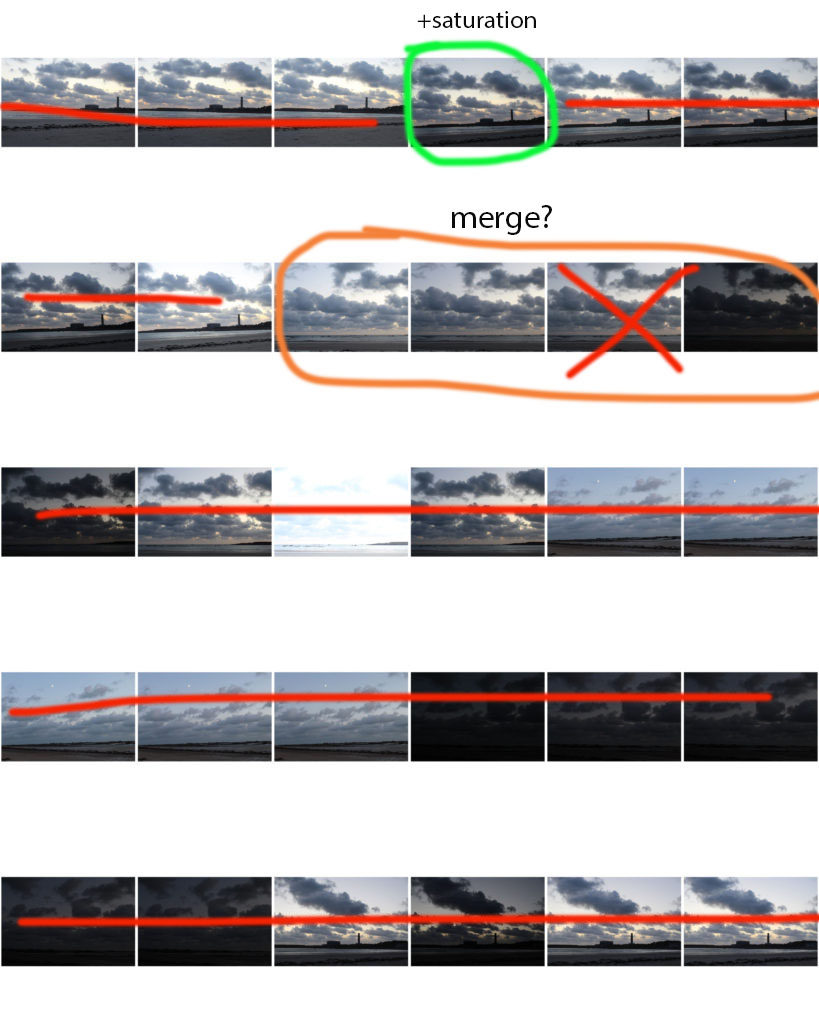
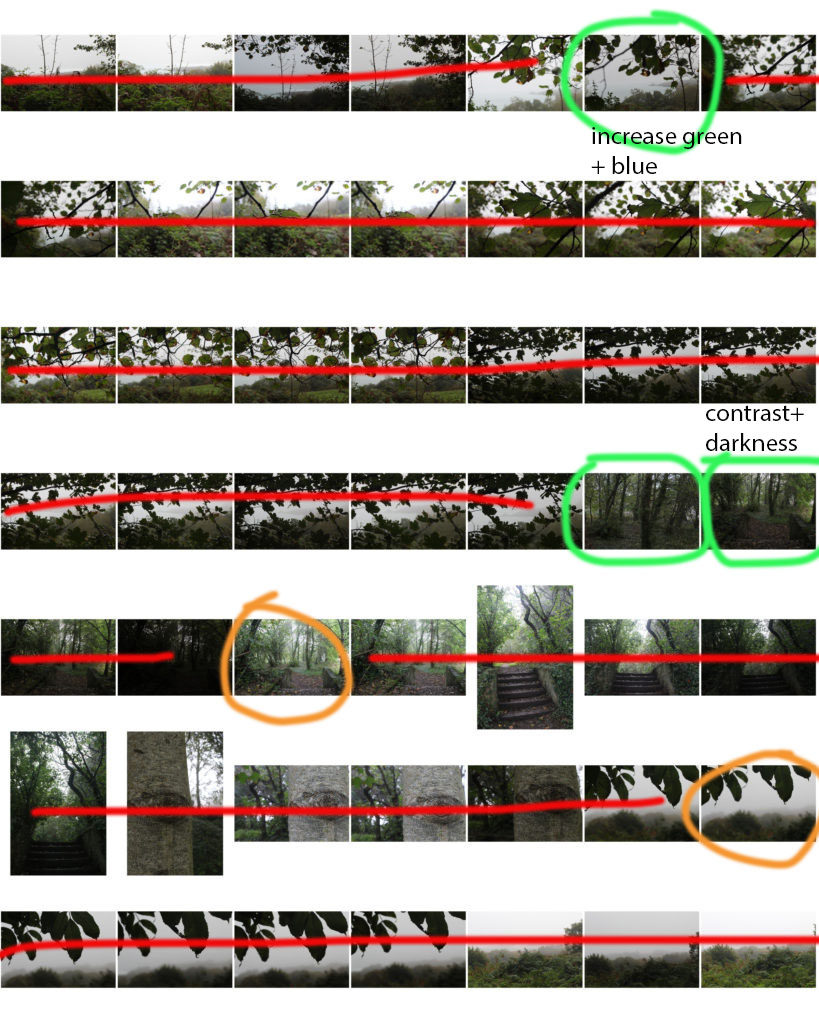
I think that my first shoot was successful, and I managed to capture a couple photos that I will be able to merge to HDR later in editing. However, many photos are out or focus due to strong winds. The photos from my contacts that are crossed out will specifically not be used in further editing stages, and photos circled will be. Any other photographs maybe used to create HDR images in editing later on.
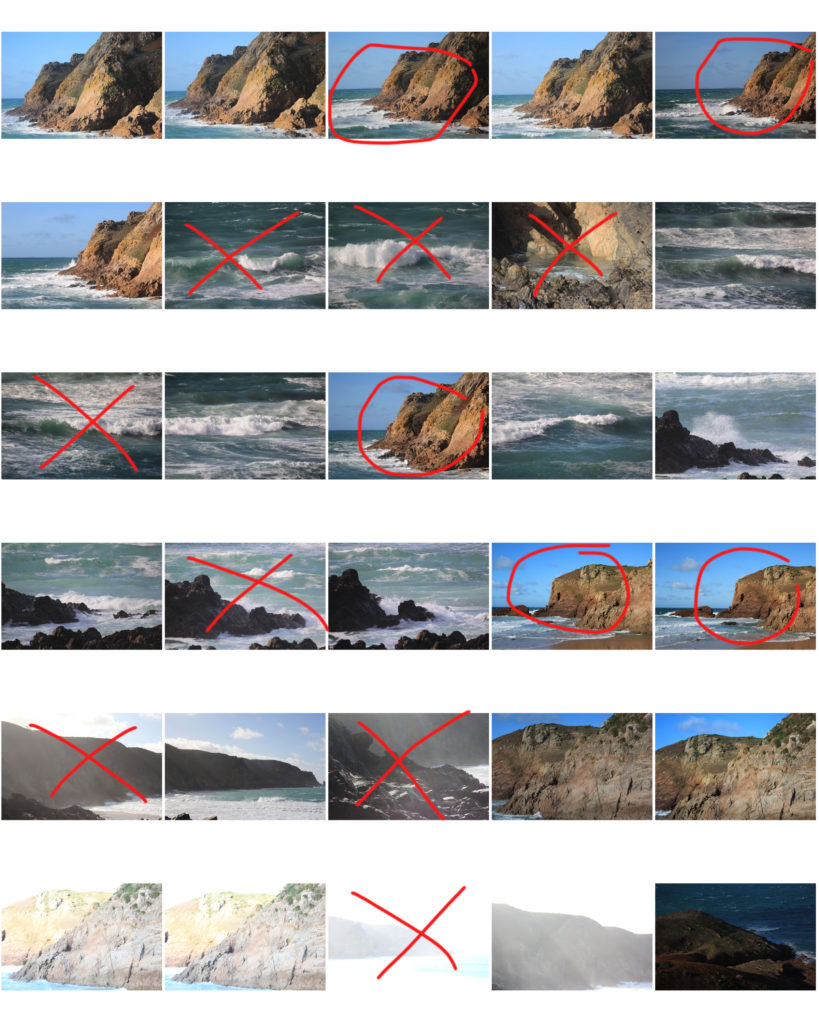
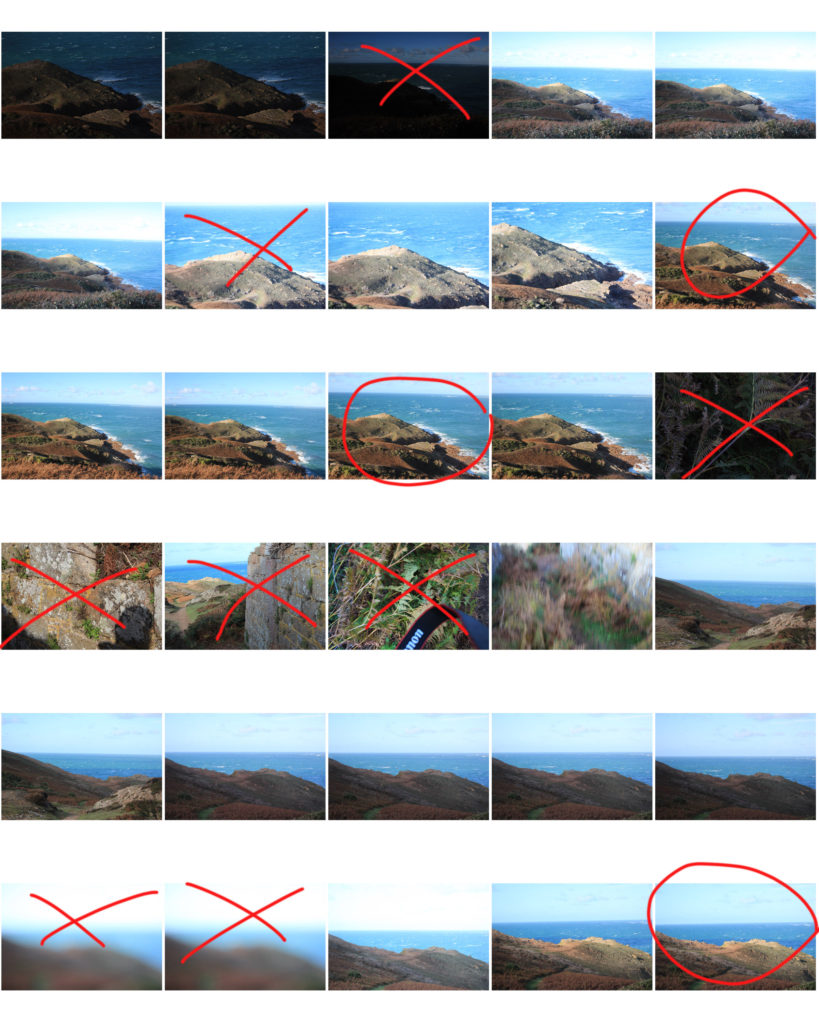
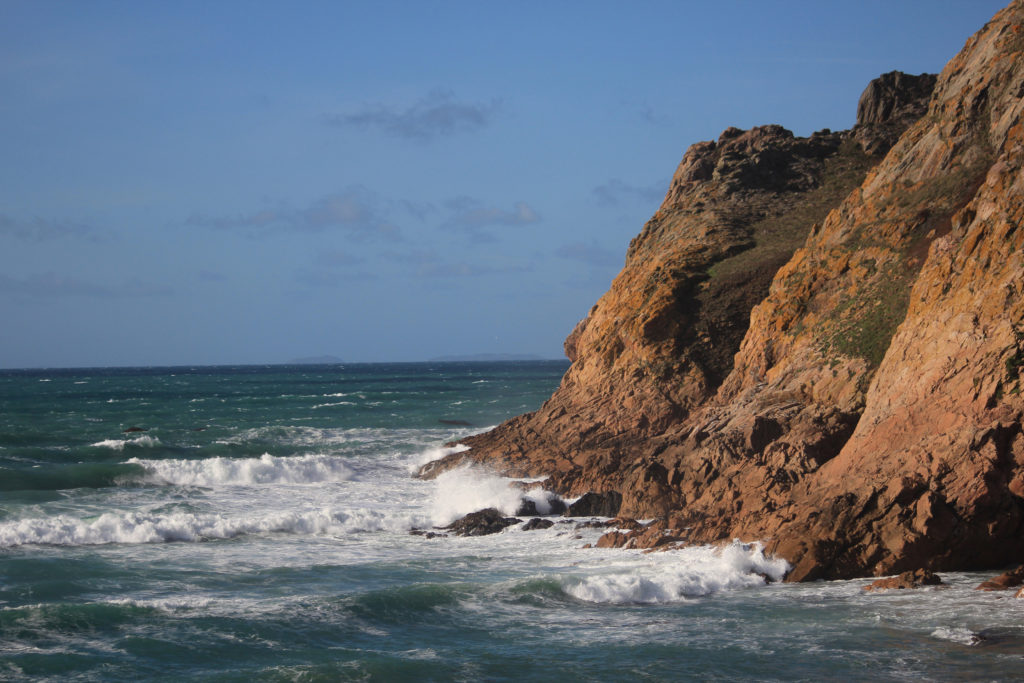
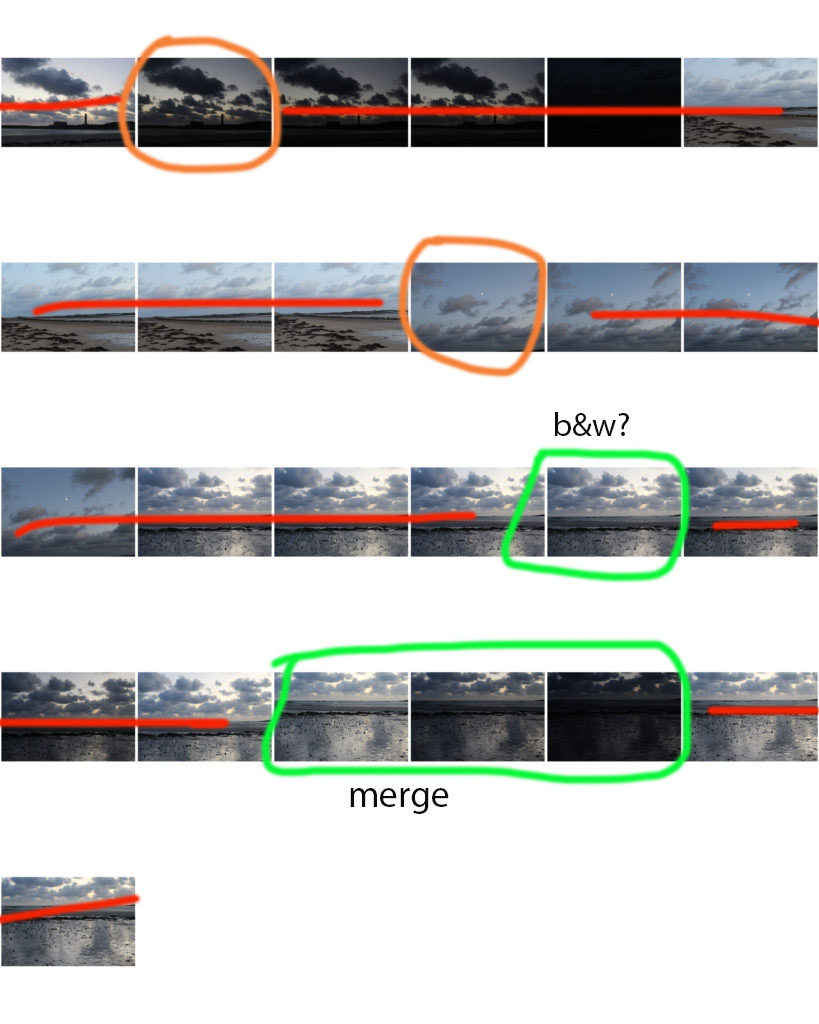
In this page of contacts I changed my plan slightly by stopping off at Le Pulec at the west of the island to take photographs. This was because the waves where rough and the cliffs provided great composition. The first couple of photographs taken are my favourite and I will use them in my edits. The second half on the photographs from this contact sheet do come from Plemont, following my original plan. However many of these photographs where not in focus and did not have a large depth of field.
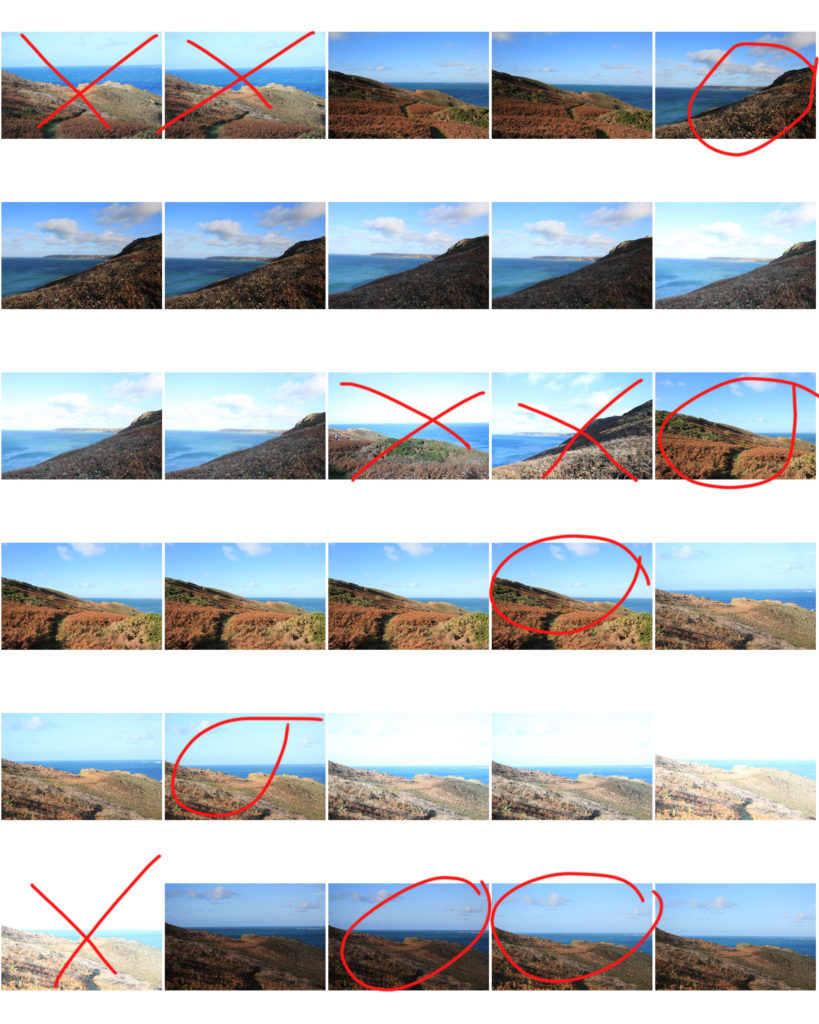
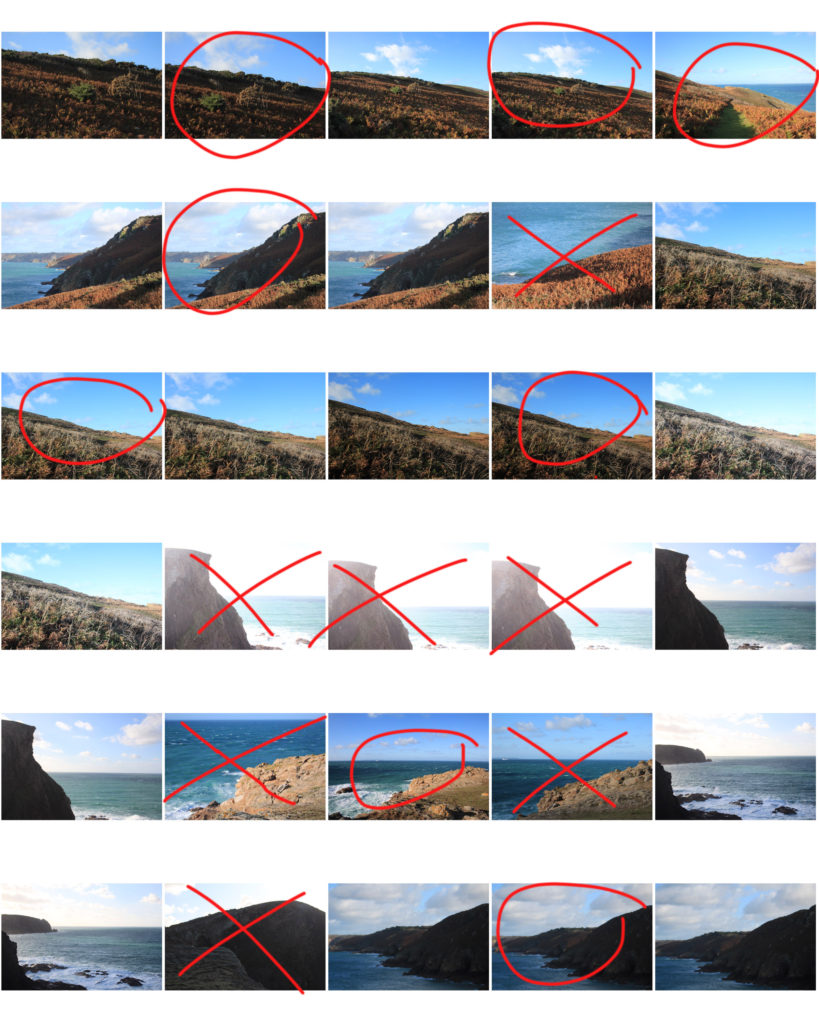
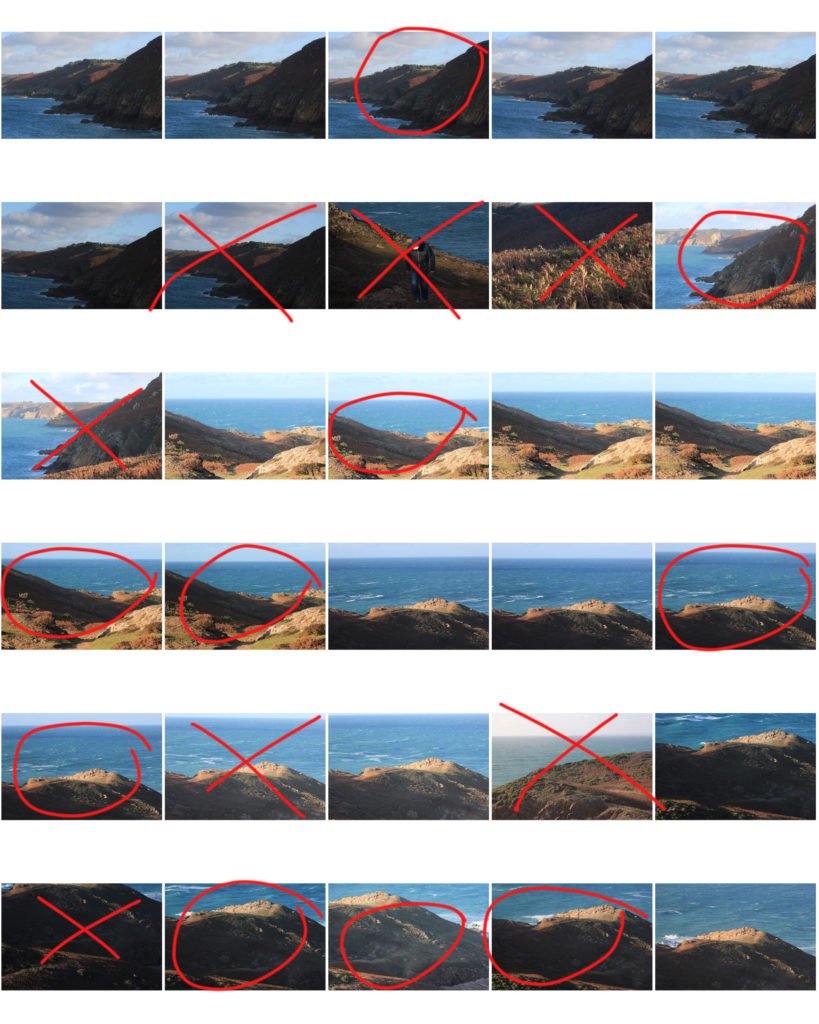
PHOTOSHOOT EVALUATION:
I think that my photoshoot was a success, however many changes could be made, for example the weather conditions where windier than anticipated, so many of the photographs where blurry or out of focus. I enjoyed using the different ISO setting to produce photographs with different exposures however I think that I could have changed the shutter speed to that the photos I took are in better focus and objects such as plants and bushes are not blurry.
Image 1:
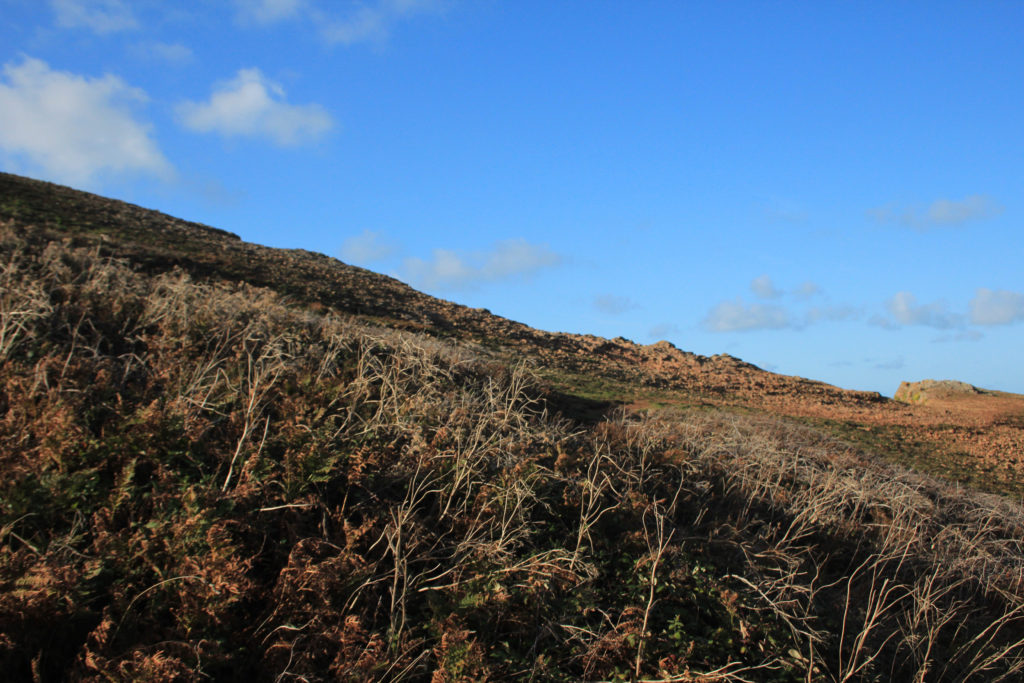
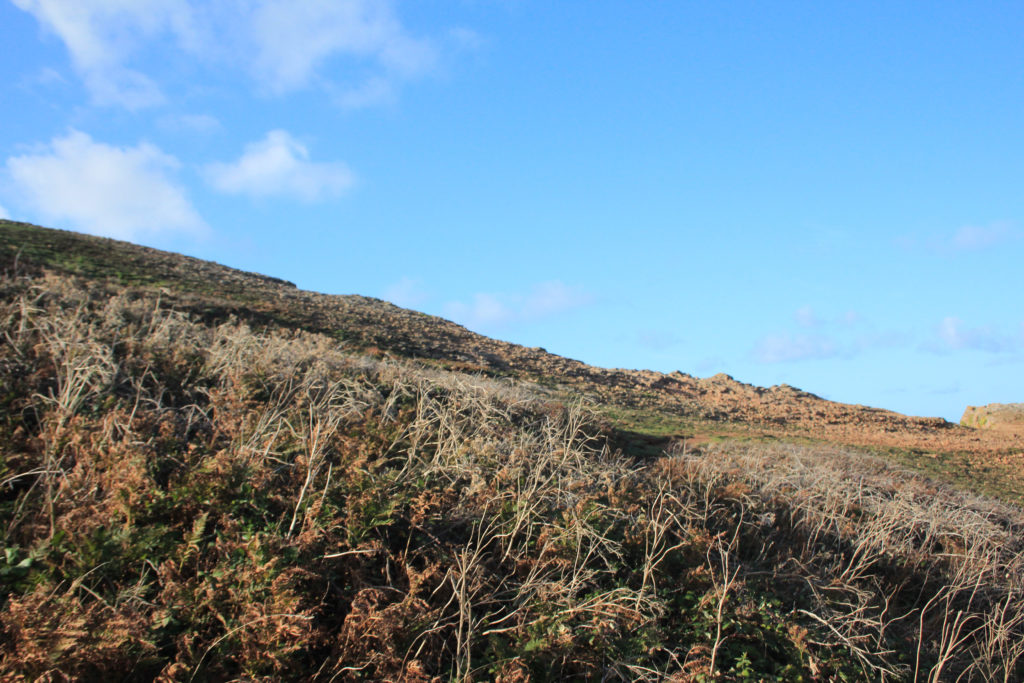
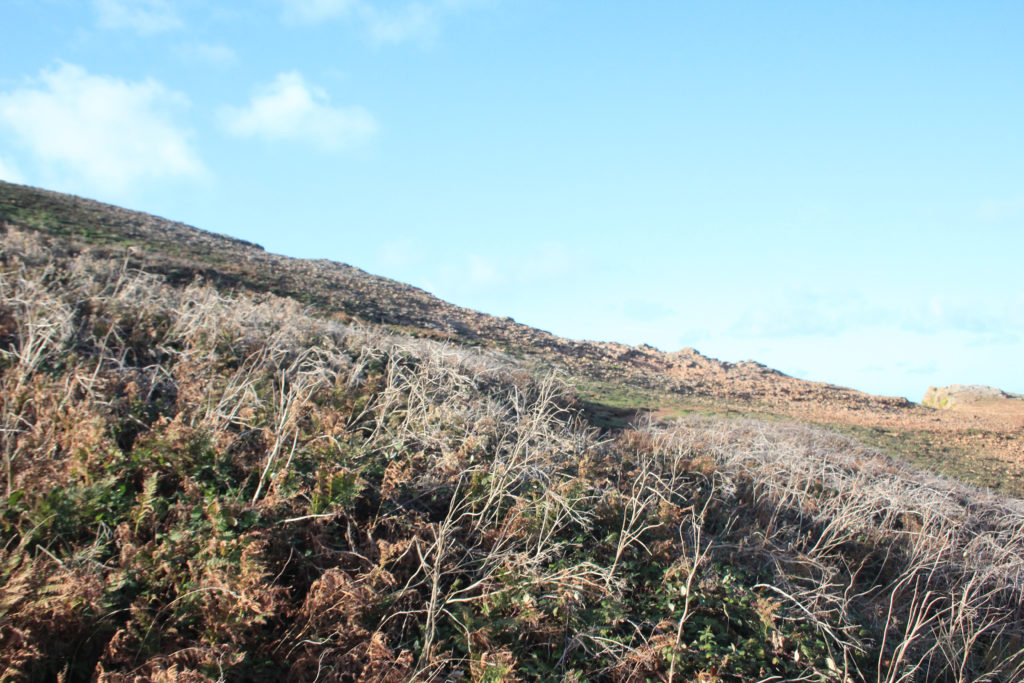
Image 2:
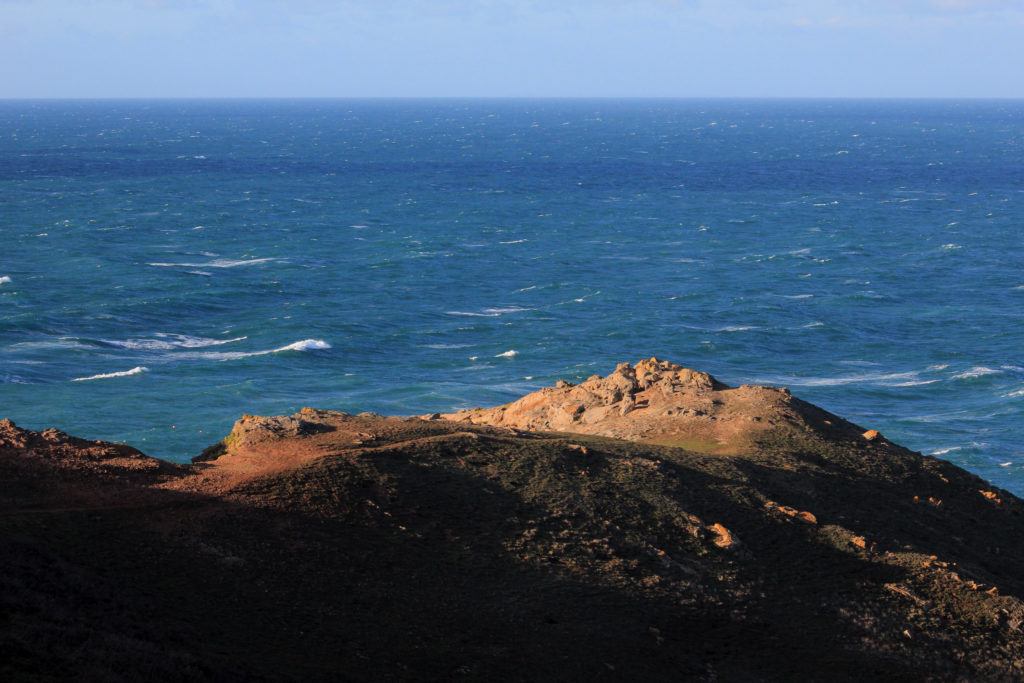
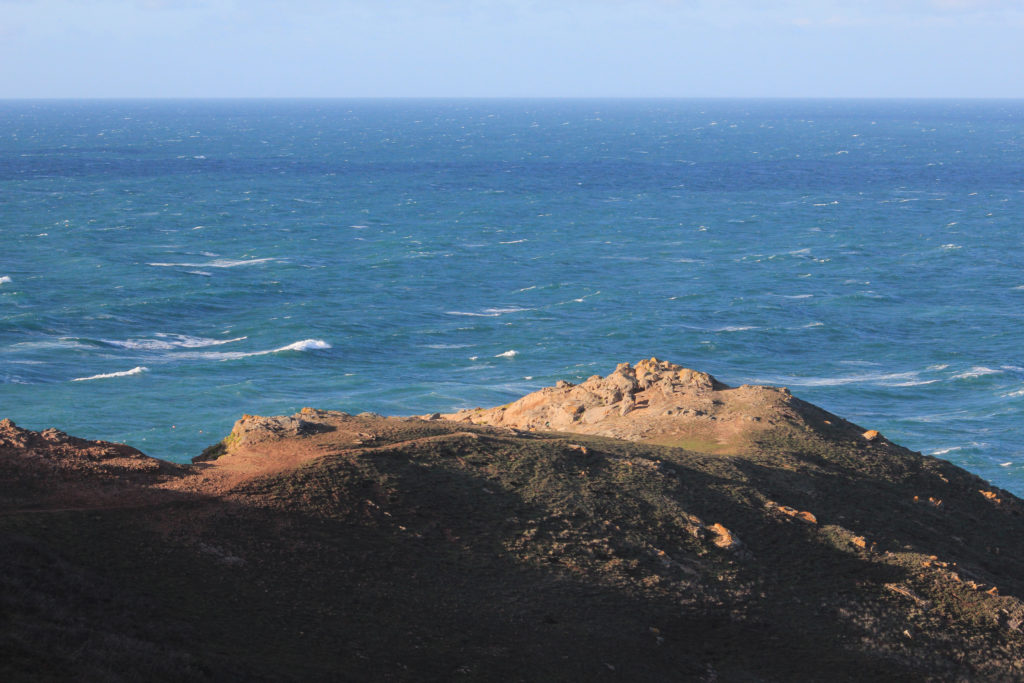
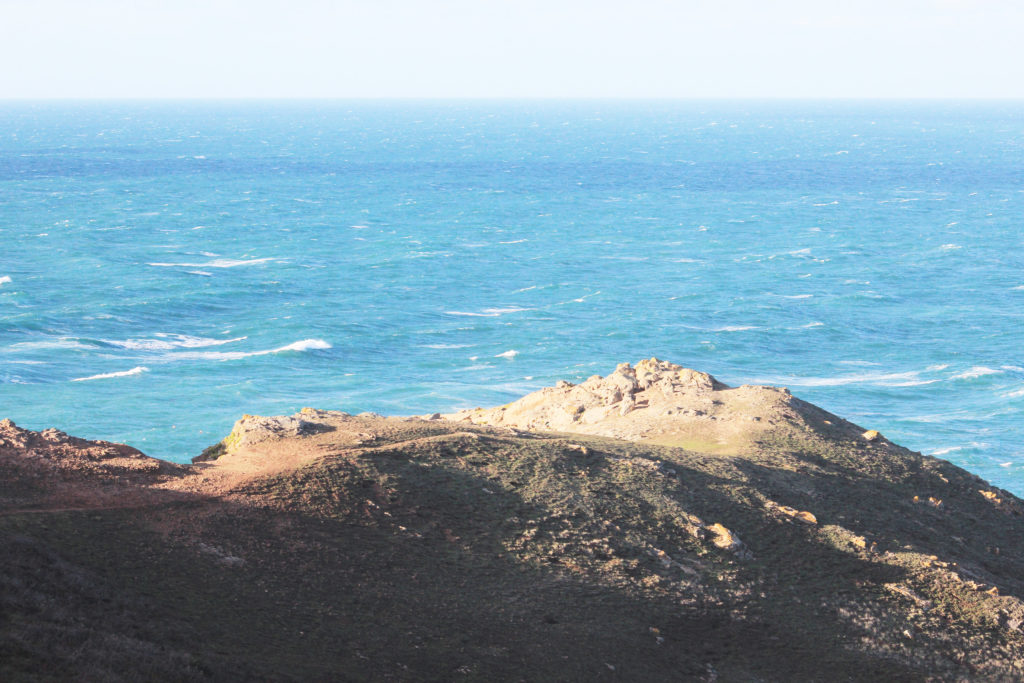
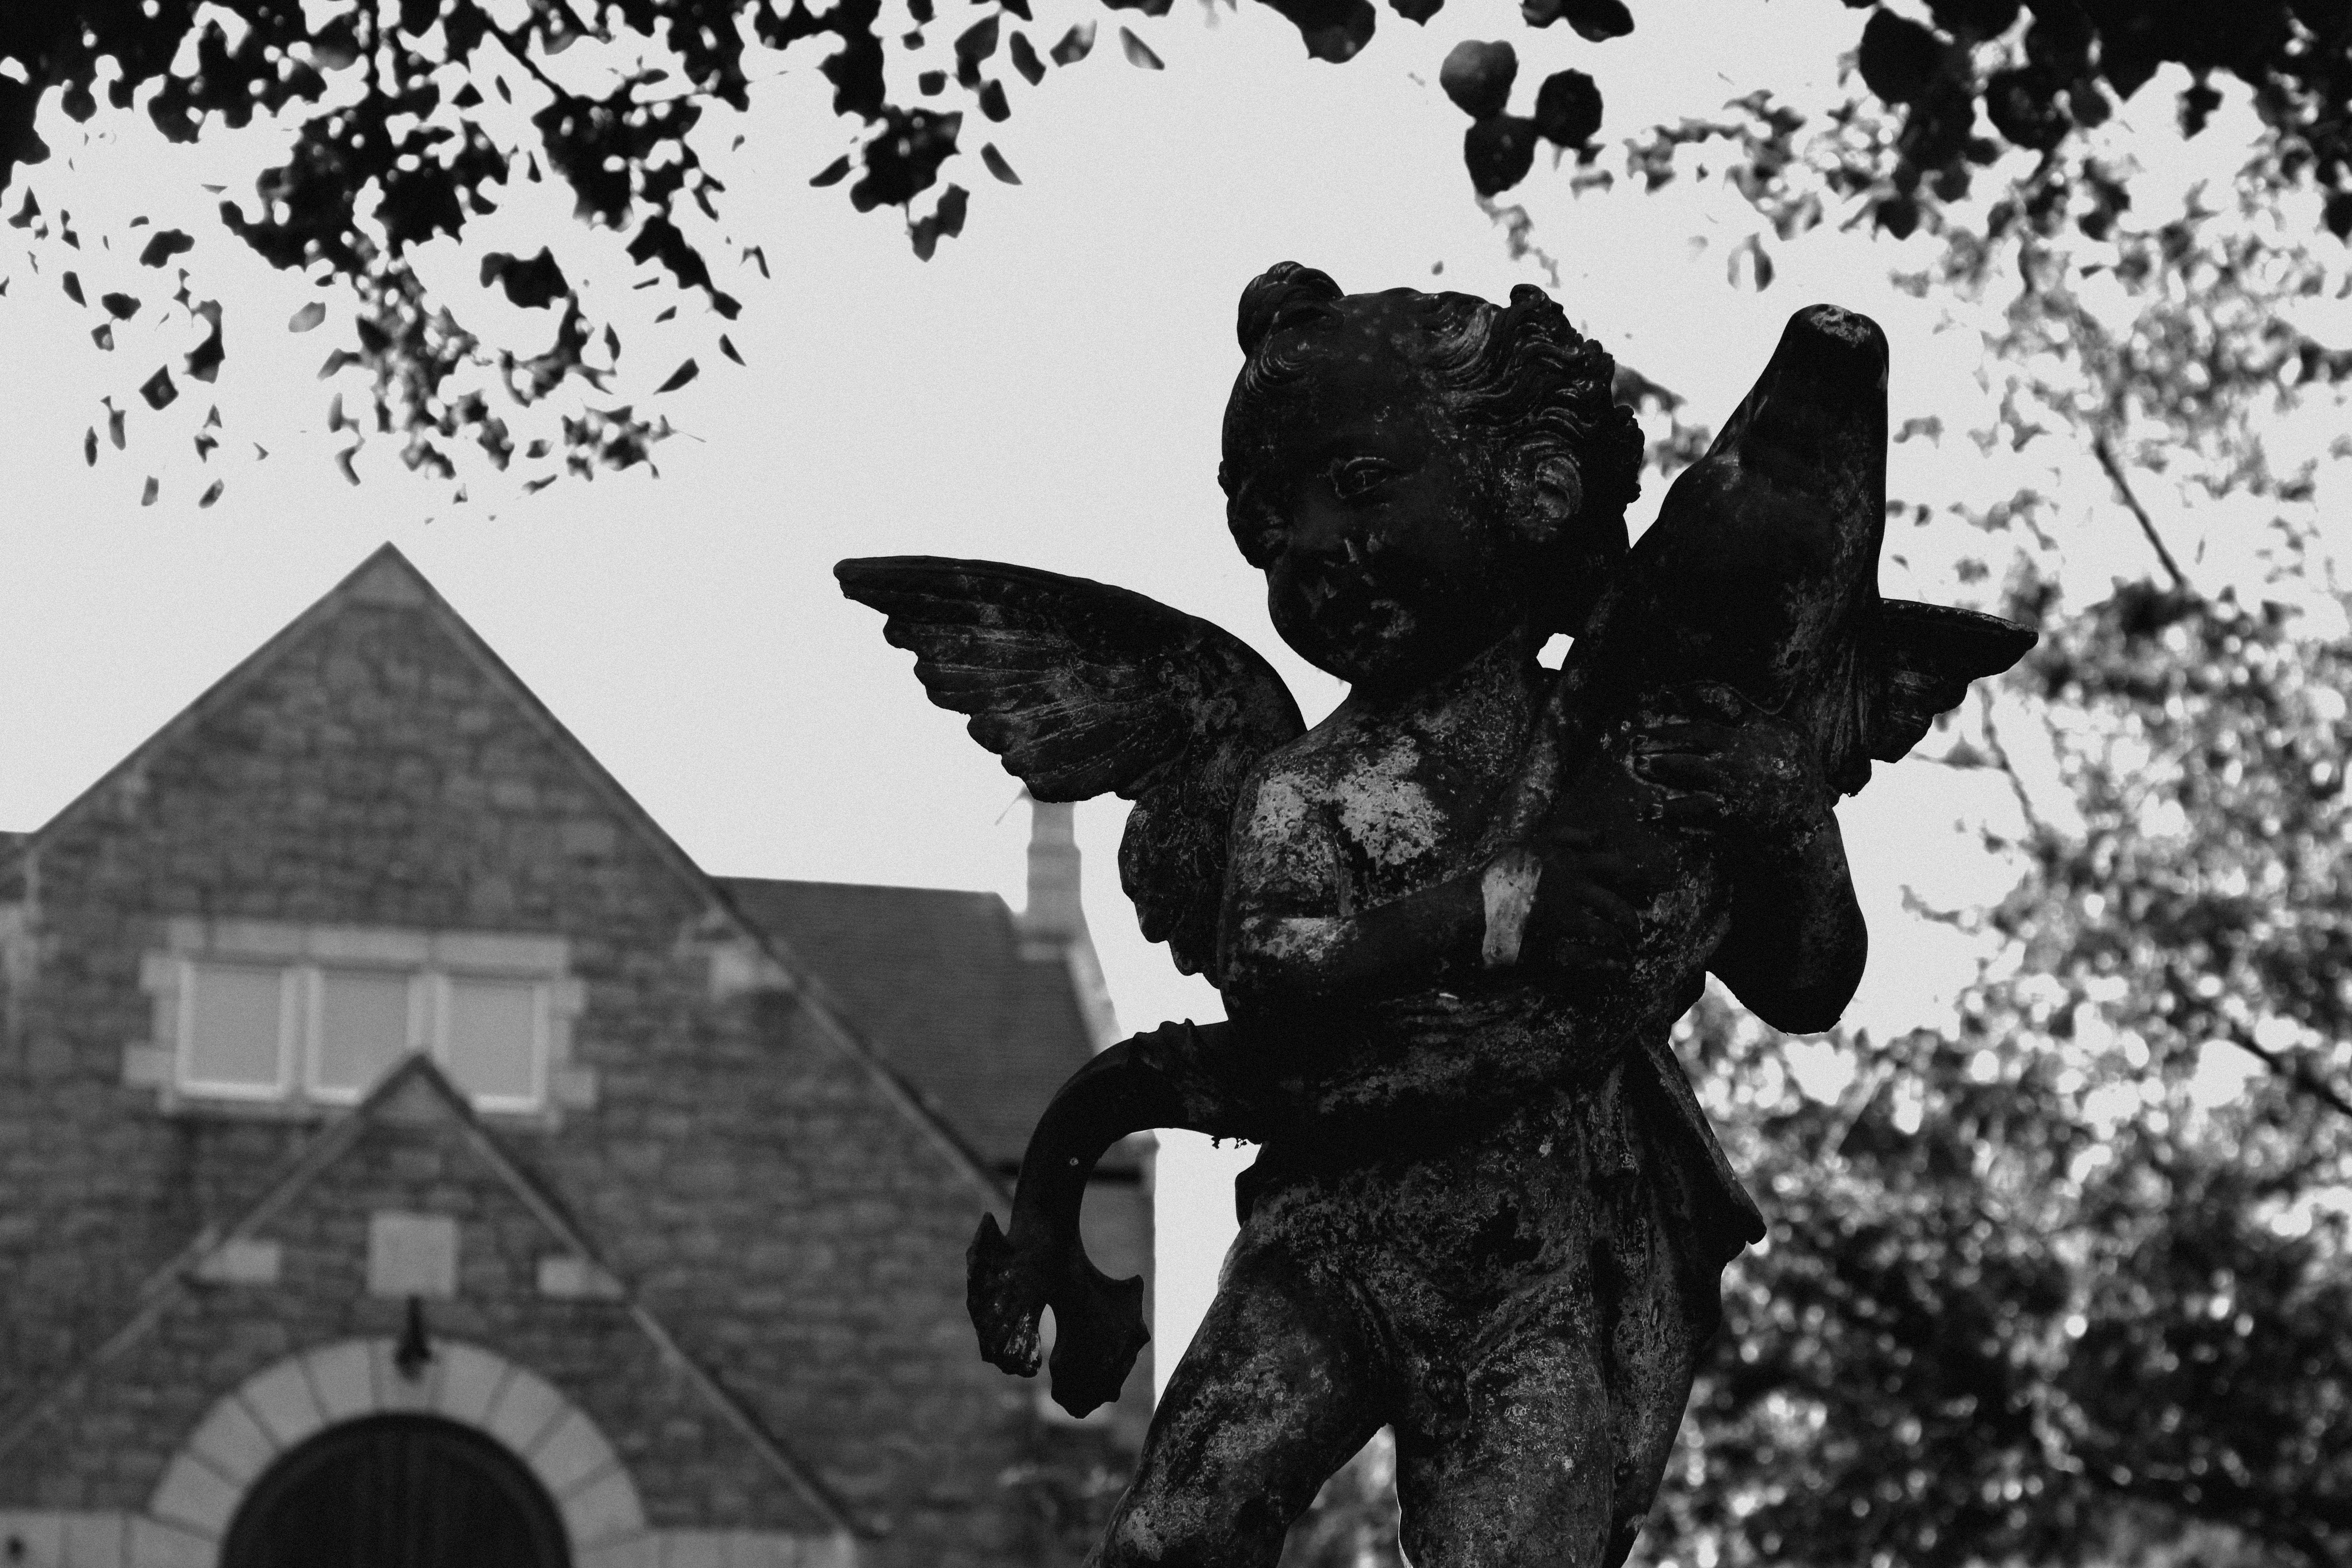
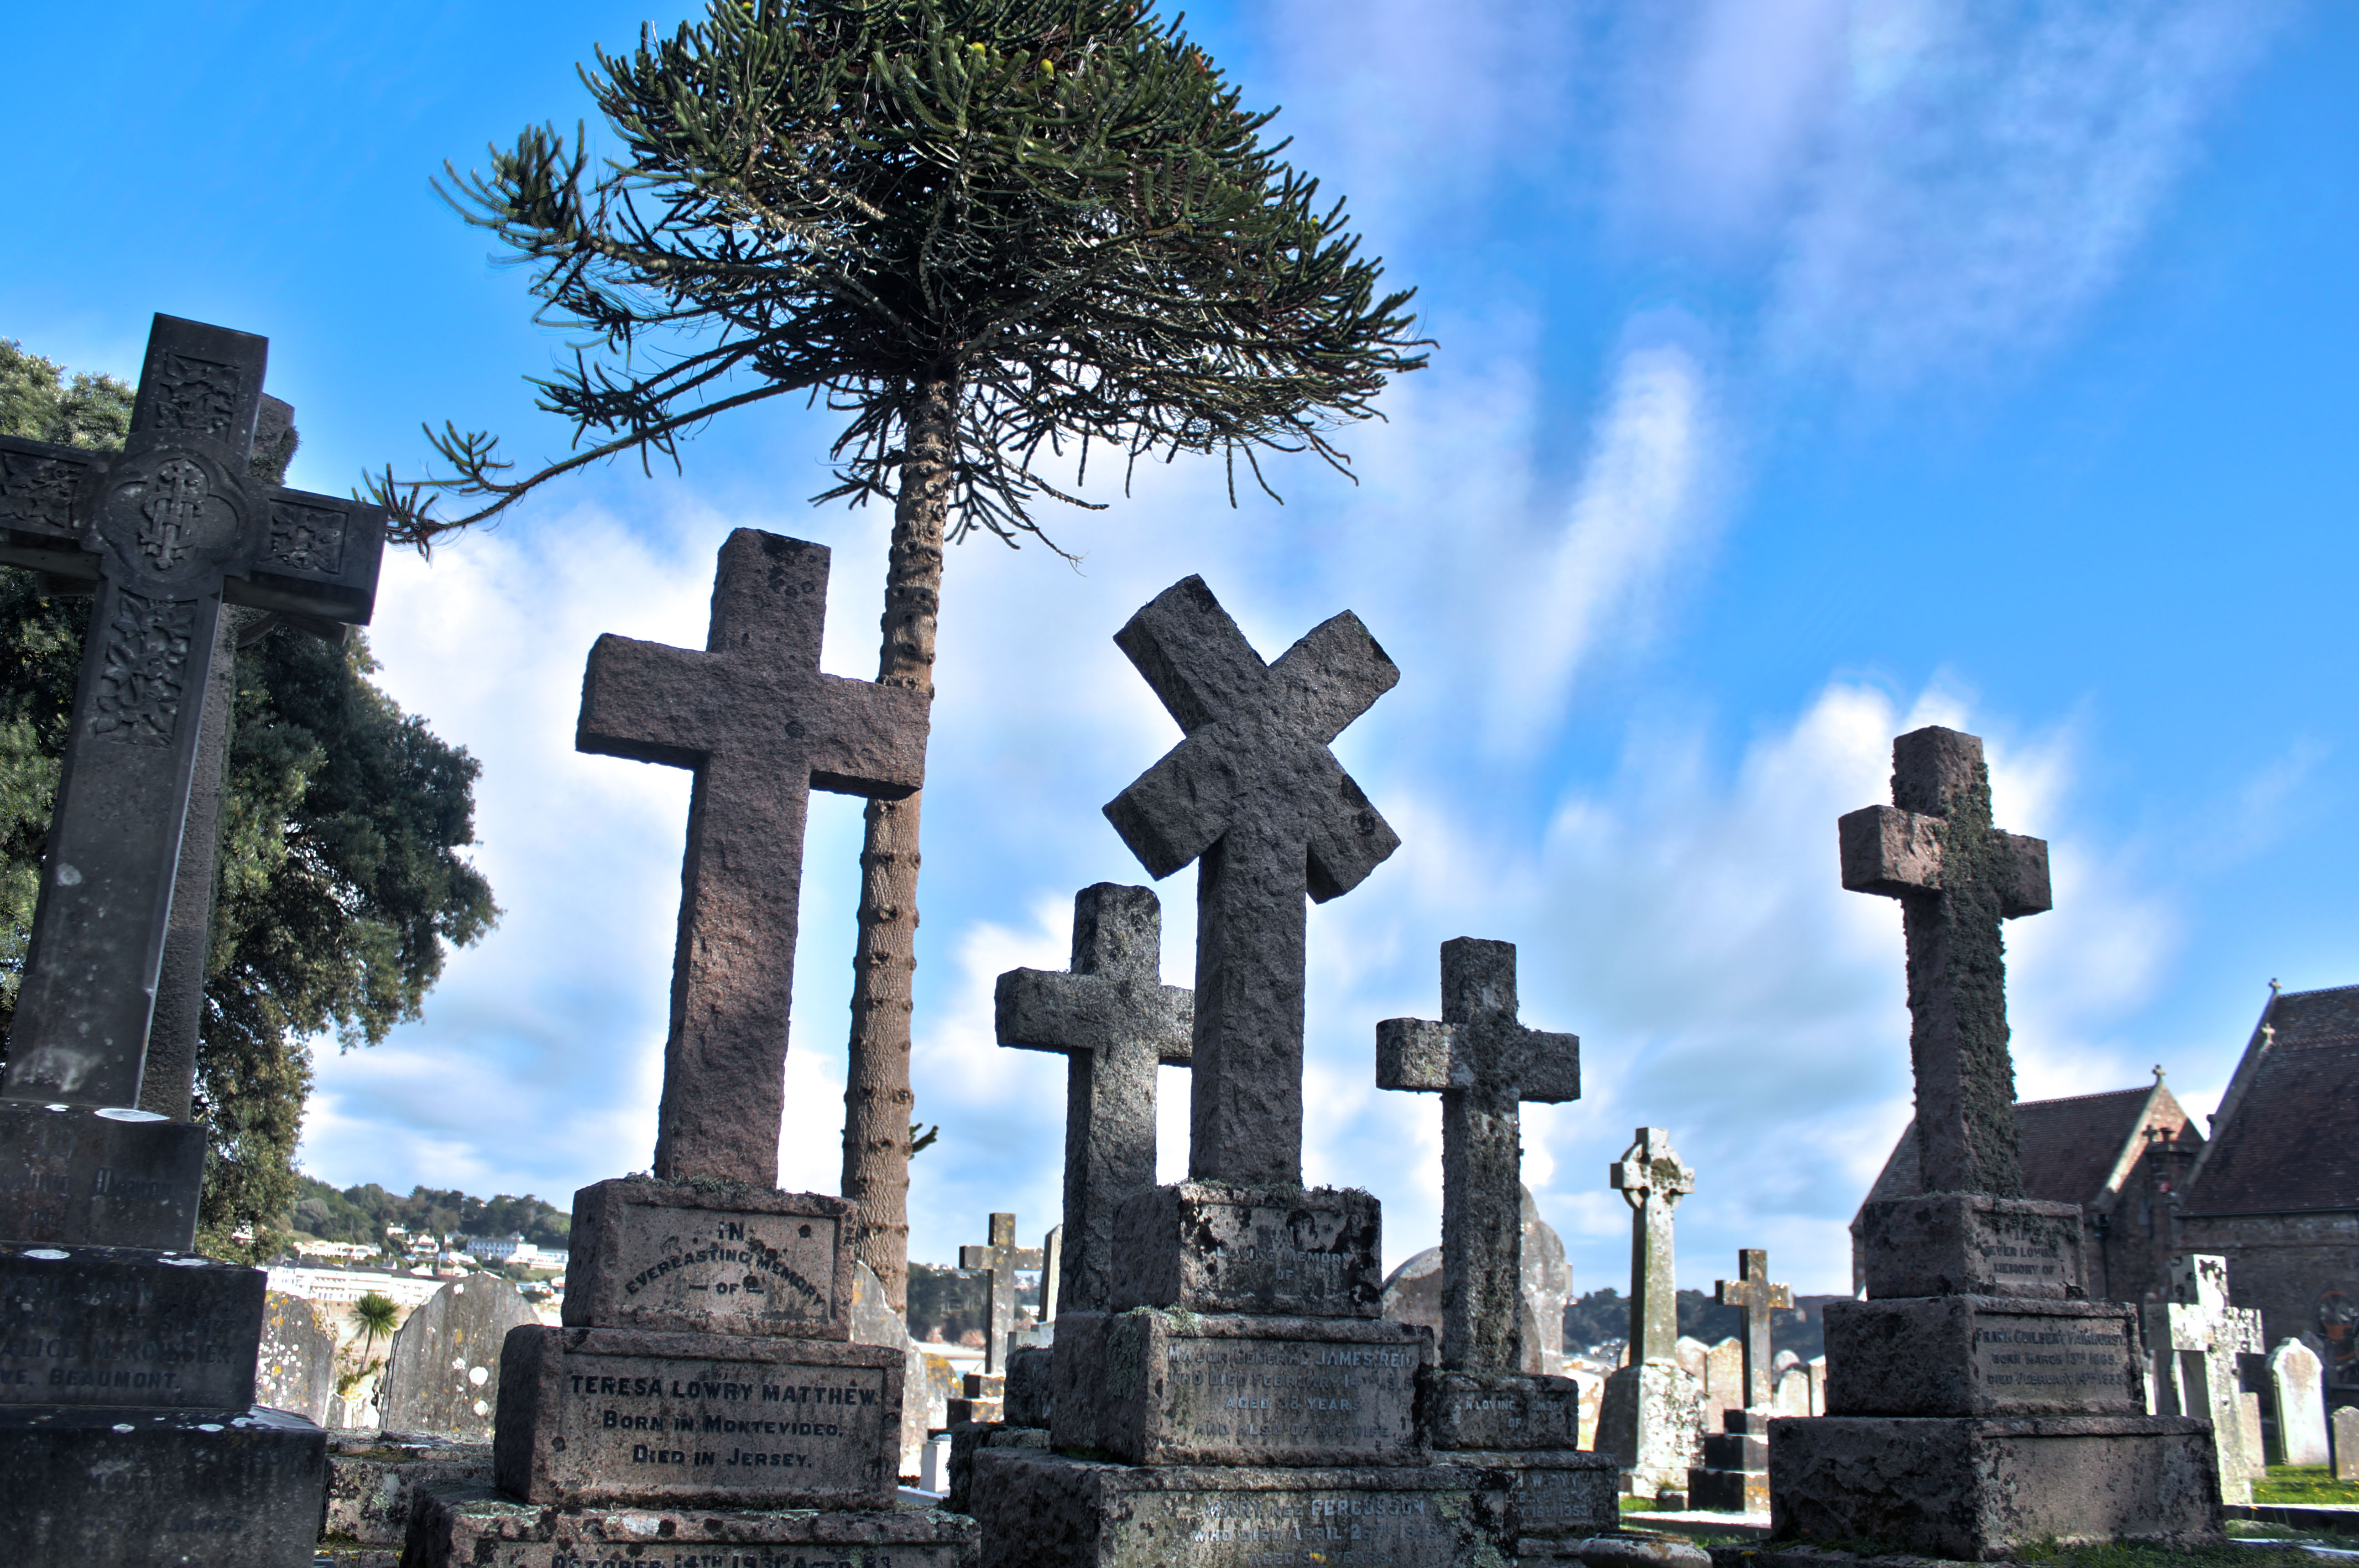
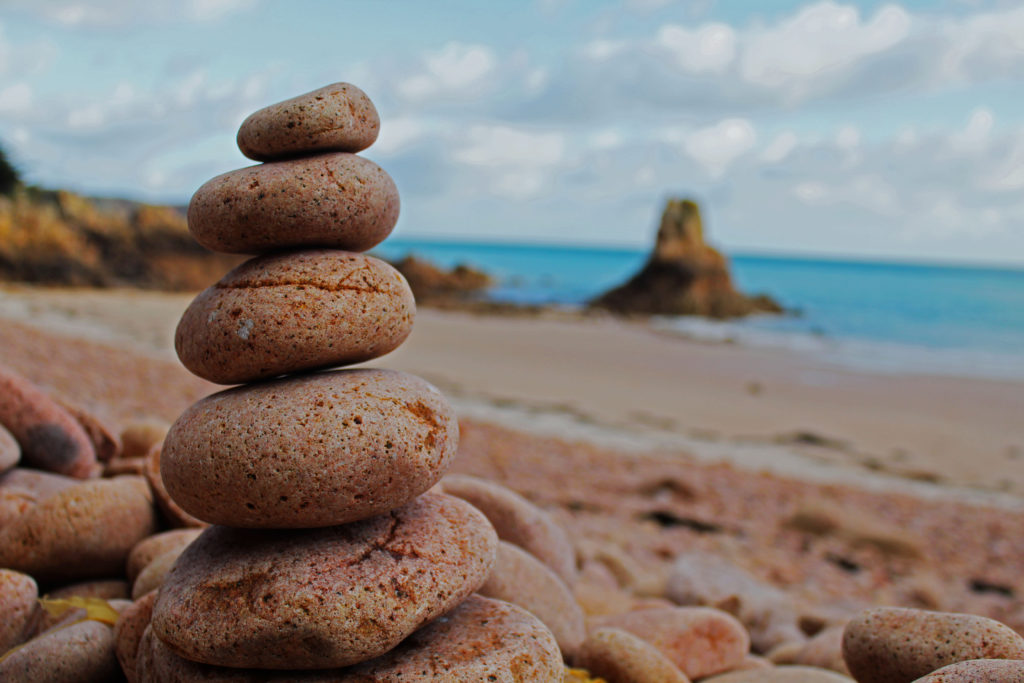
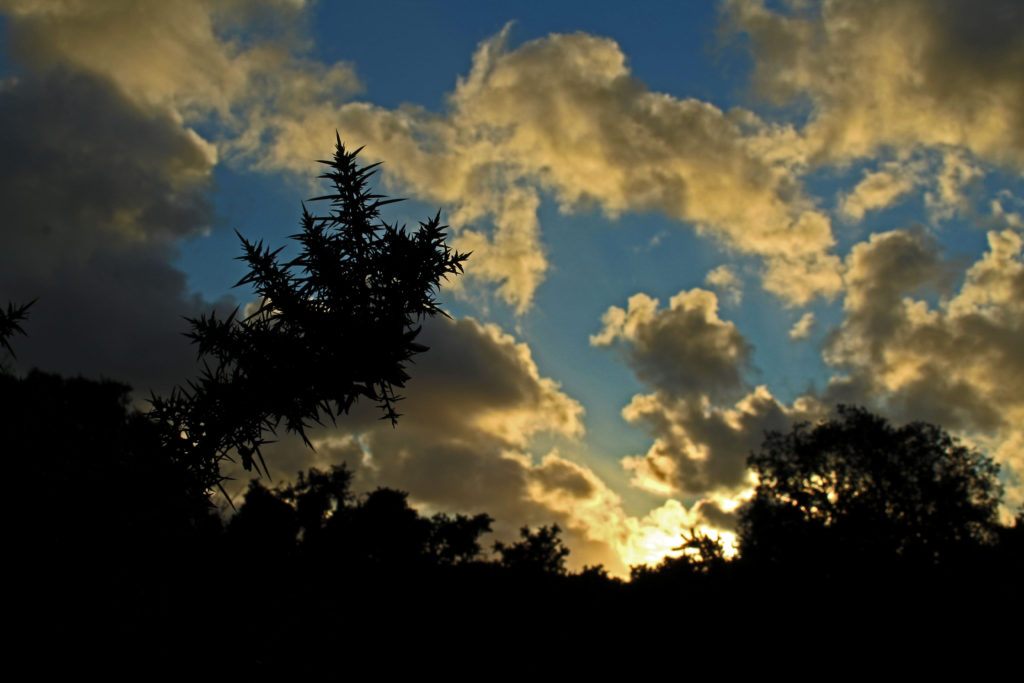
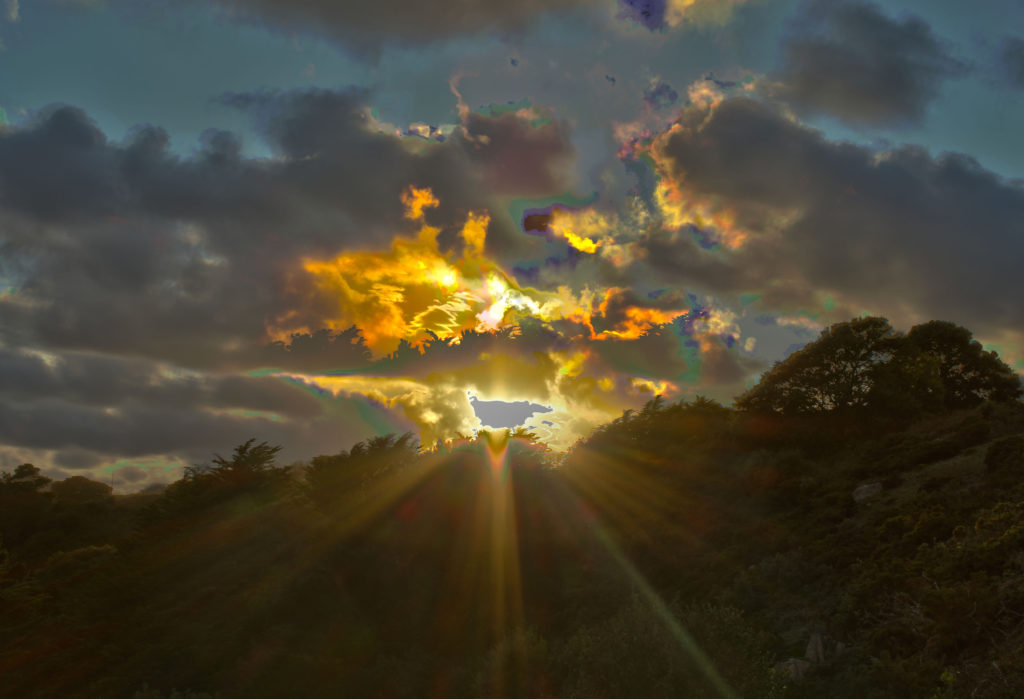
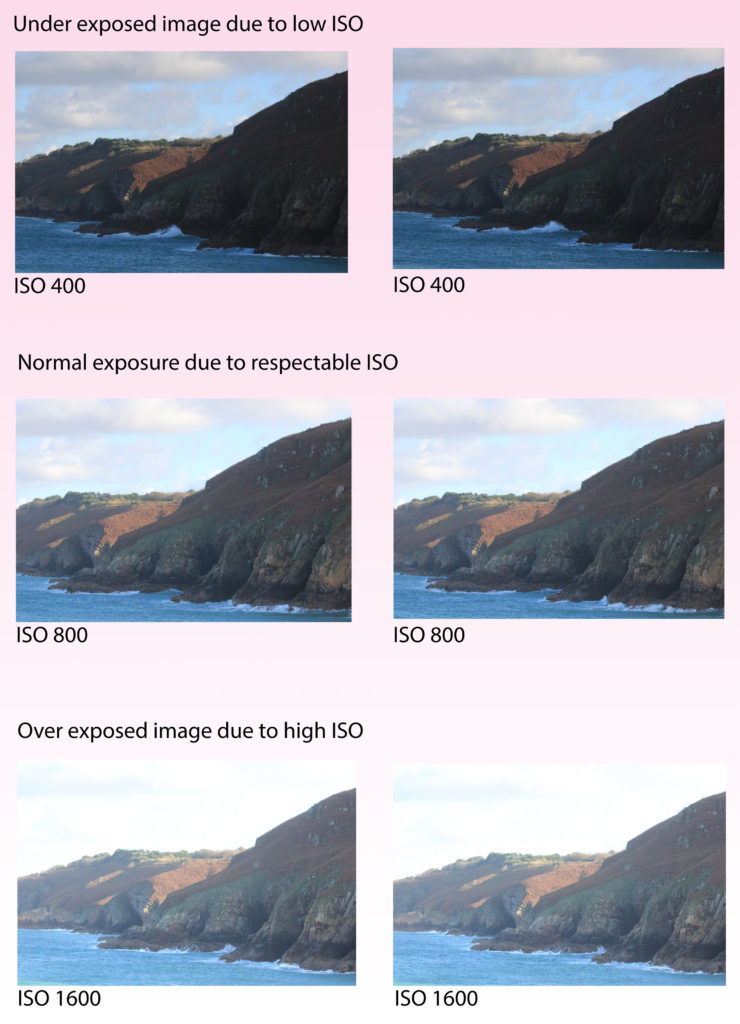
The two images I chose where actually singular photographs with different exposures. Here are an example of using exposure bracketing from under to overexposed, these photos can be used to create a HDR image on photoshop.
Image 3:
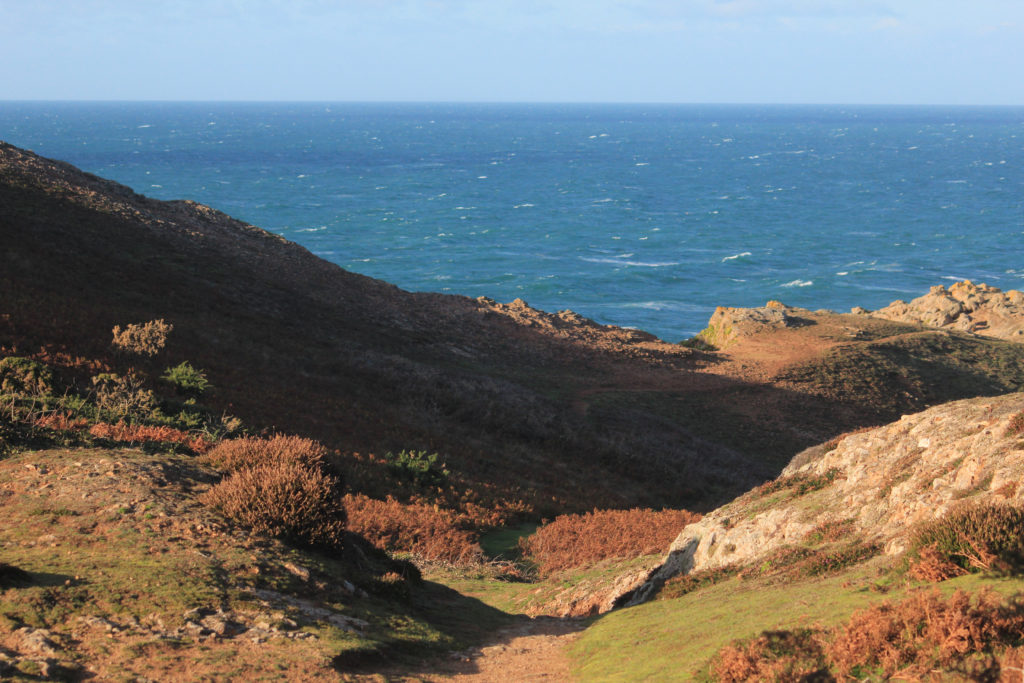
Image 4:
CREATING HDR
During my first photoshoot at Plemont, I experimented with different ISO’s in order to be able to create HDR images in photoshop later on. I used a tripod to keep the camera still while changing the settings (ISO number) between different photos. The ISO’s ranged from 400 to 1600. Later, using photoshop, I automated 3 photos with different exposures; over exposed, under exposed and normal, into a HDR photograph.
The New Topographics
The beginning of the death of “The American Dream”
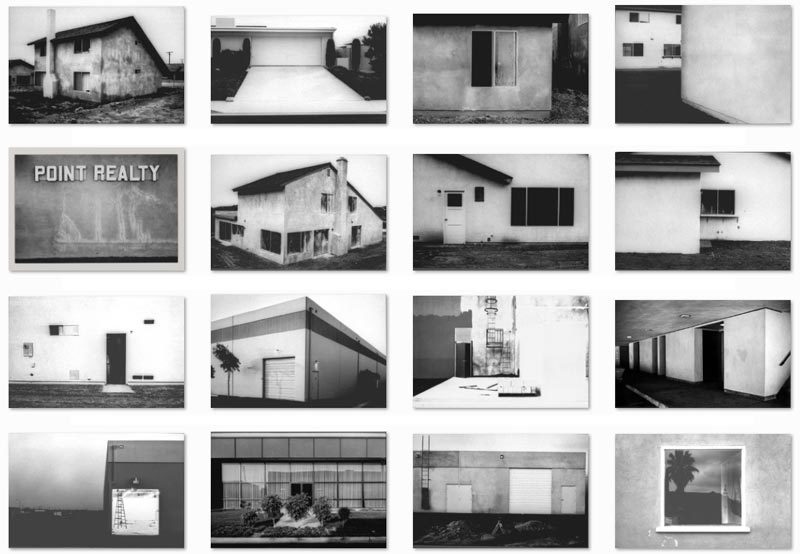
New Topographics inspired by the likes of Albert Renger Patszch and the notion of The New Objectivity
Parking lots, suburban housing and warehouses were all depicted with a beautiful stark austerity, almost in the way early photographers documented the natural landscape. An exhibition at the International Museum of Photography in Rochester, New York featuring these photographers also revealed the growing unease about how the natural landscape was being eroded by industrial development.
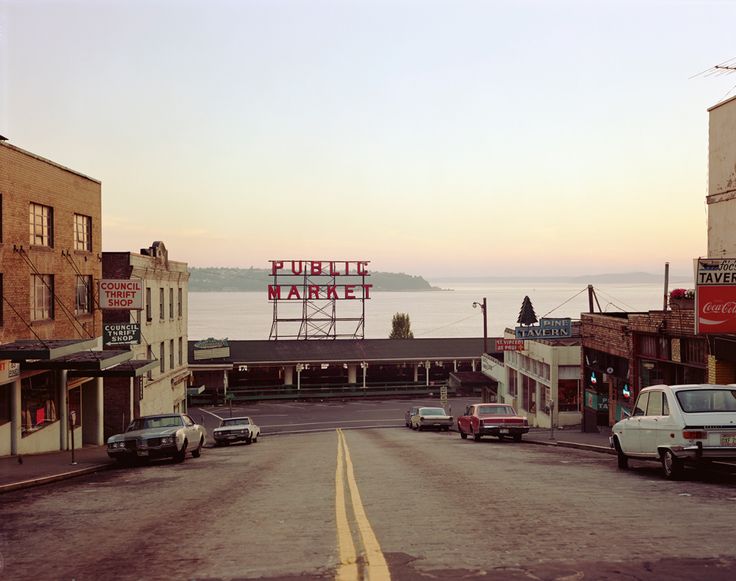
The New Topographics were to have a decisive influence on later photographers including those artists who became known as the Düsseldorf School of Photography.
History and Theory
Practical Responses…
Urban Photoshoot Due Date Wednesday 23rd October
150-200 images that reflect your understanding of The New Topographics ( reference at least 1 x artist)
You may choose to focus on areas that have a direct link to Occupation / Liberation
Look at how the New Topographics approach has inspired landscape photography and the way we document our surroundings / the way we are using and transforming the land.
You should look at photographers such as…

Research a selection of these photographers and respond with…
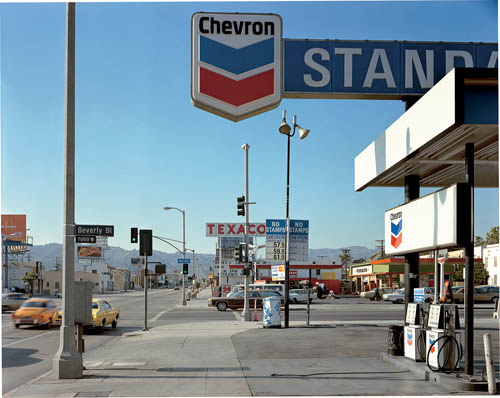
Stephen Shore, Beverly Boulevard and La Brea Avenue, Los Angeles, California, June 21, 1975, 1975, chromogenic color print
Analysis and discussion… starting points and key features of The New Topographics
Remember to use this
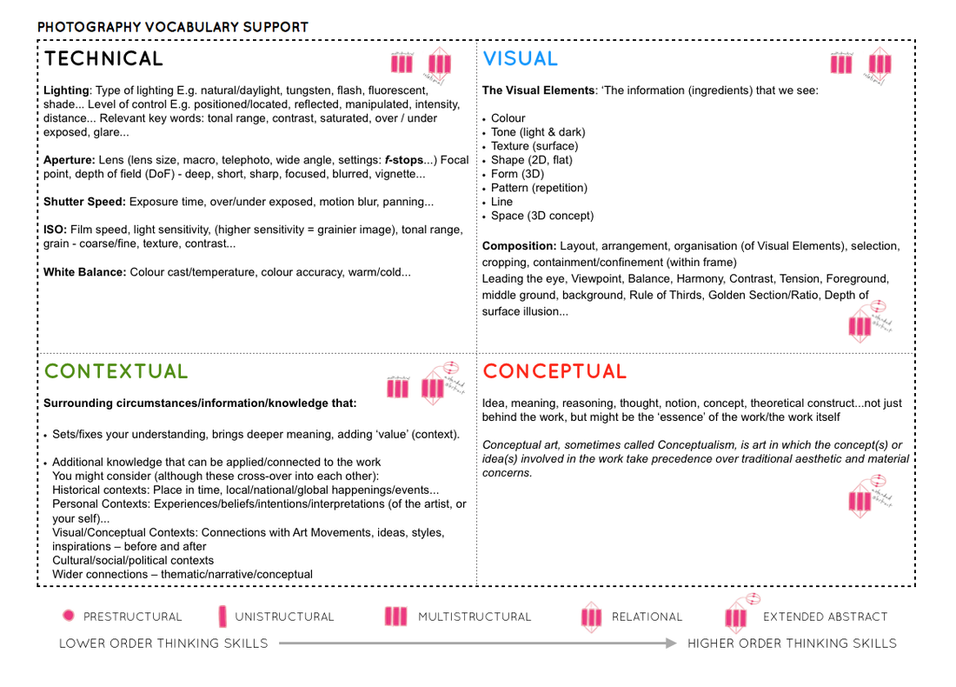
Follow this 10 Step Process and create multiple blog posts for each unit to ensure you tackle all Assessment Objectives thoroughly :
This week we will be looking more closely at the concept of altered landscapes.
You will be developing a set, sequence or group of final images to print and display
You can choose from natural, romanticised, urban and altered landscapes for your final outcomes
You may choose to employ a range of creative techniques (digital and traditional) to create your environments…
You may already have a range of suitable images to start your designs…but will need to conduct a range of photo-shoots to ensure that you have enough high quality images to work from:
Here are some examples to help inspire your ideas…
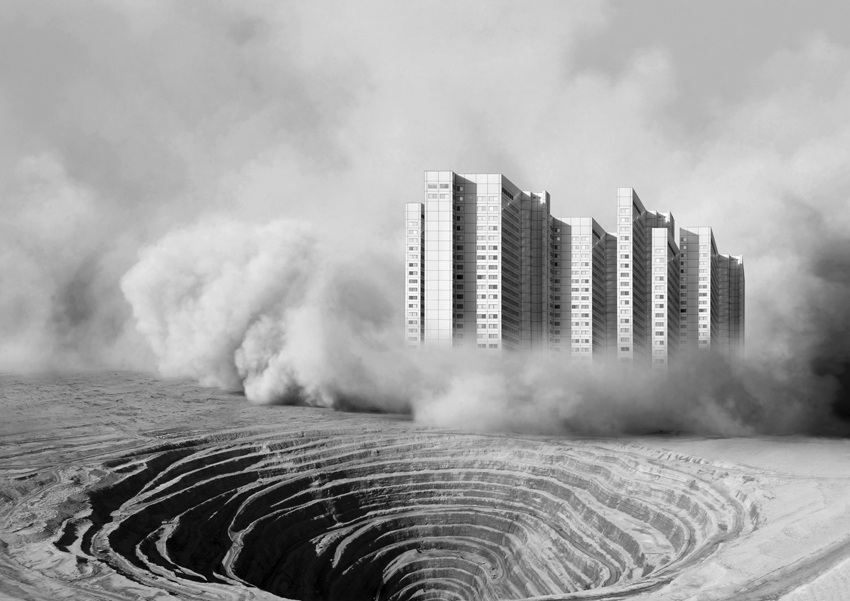
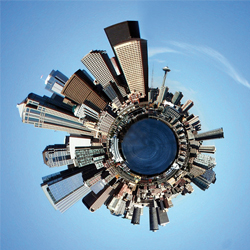


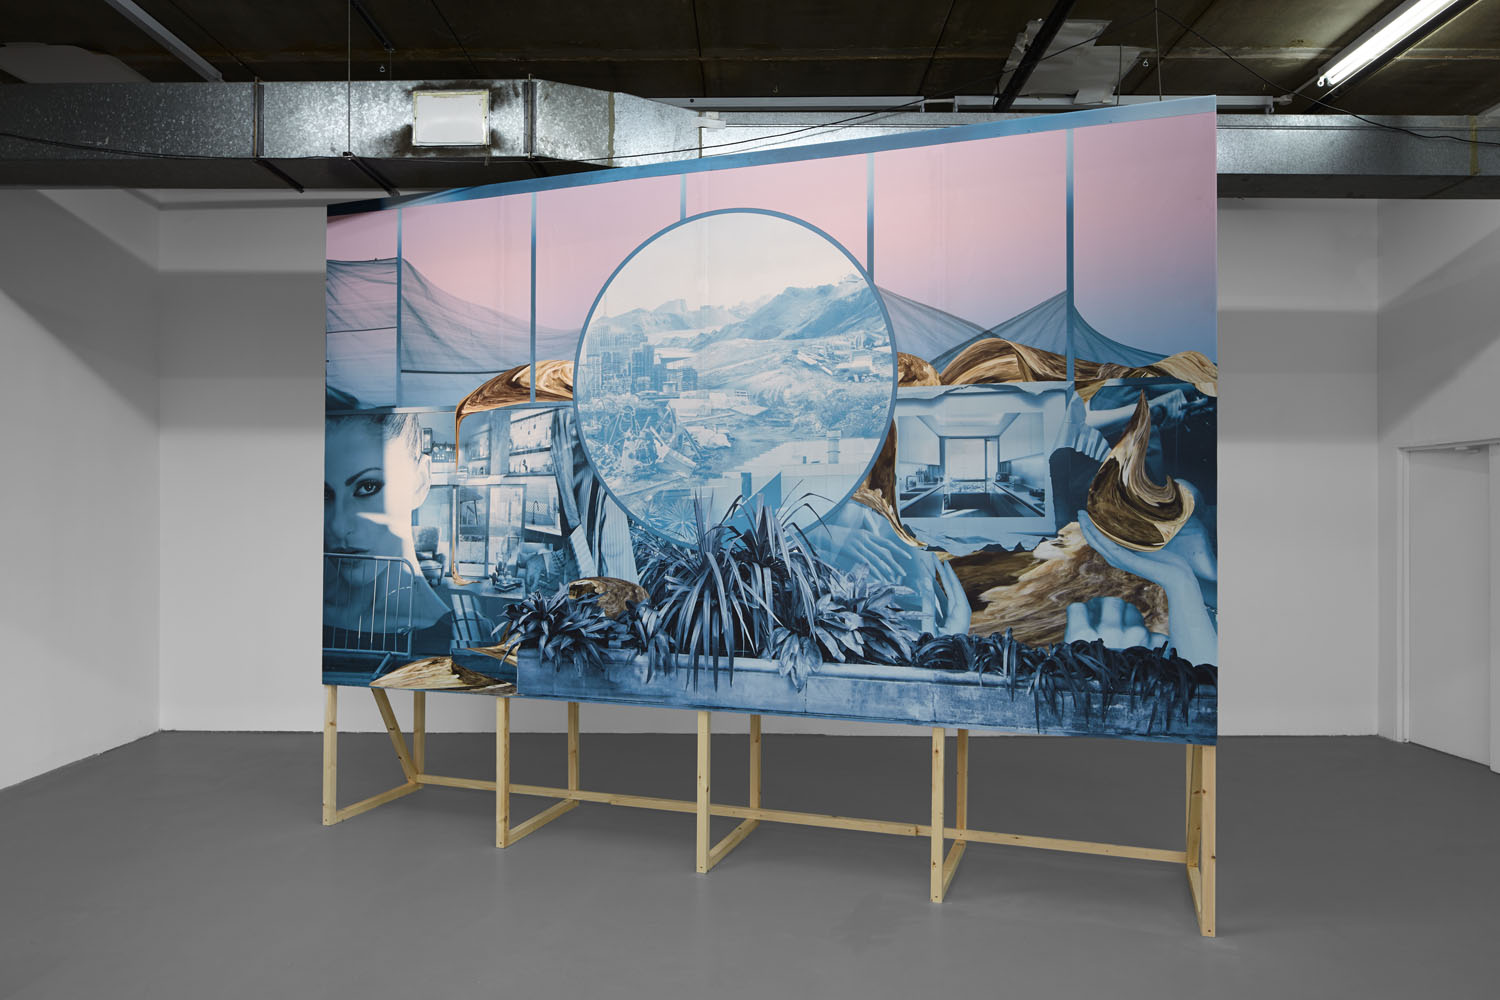


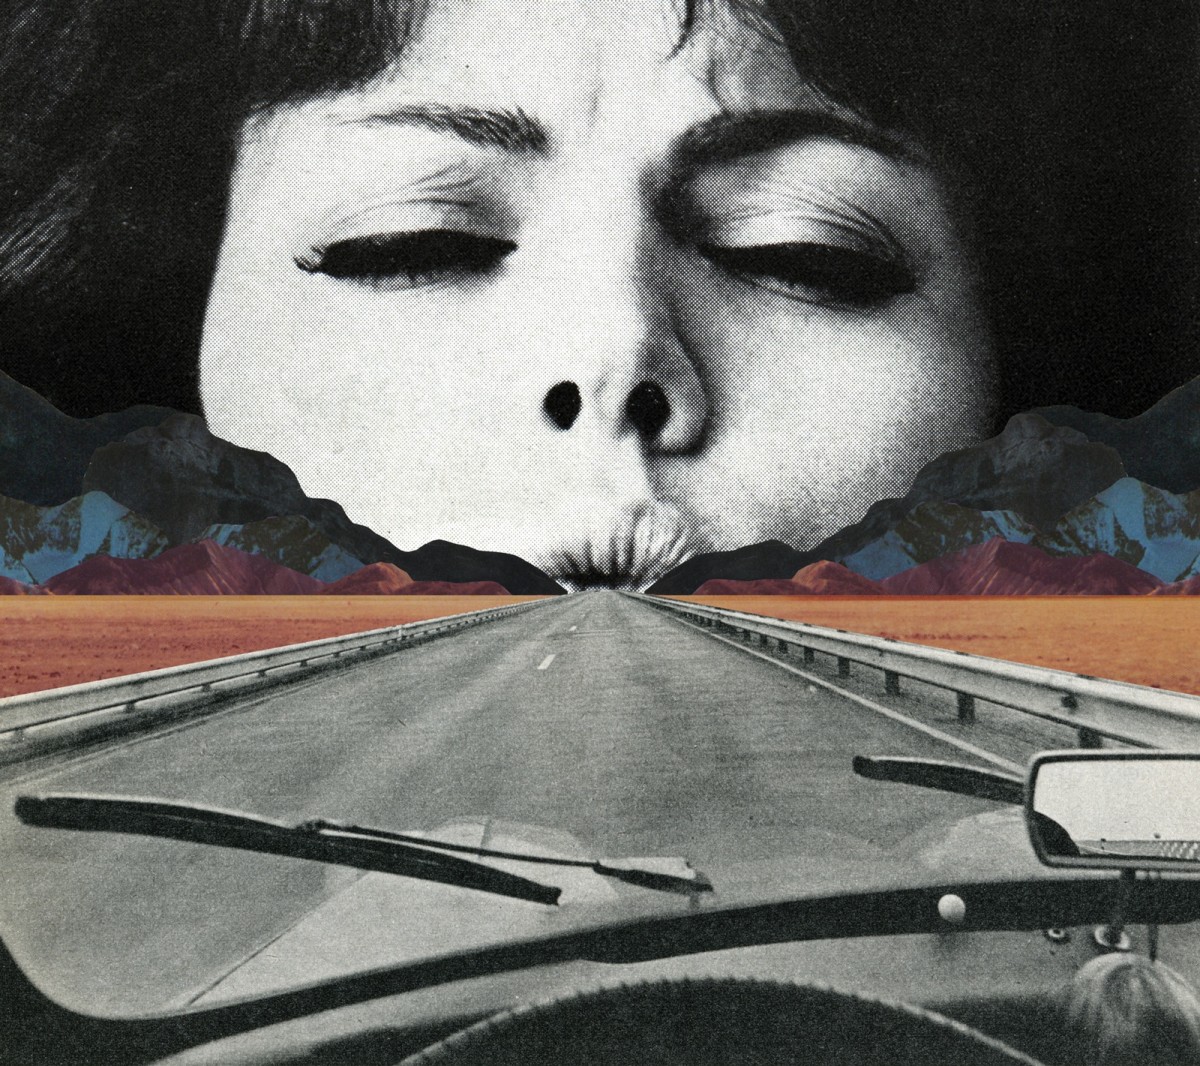


Paint directly onto photographs, as in these works by Gerhard Richter:

Combine paint and photographs digitally, like Fabienne Rivory‘s LaBokoff project:

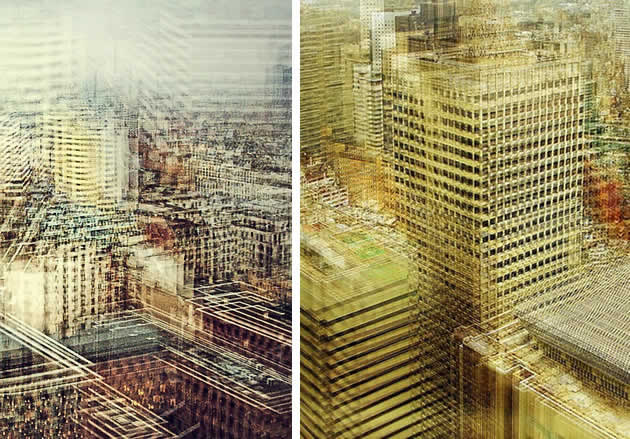
Overlay multiple photos from slightly different angles, like these experimental photographs by Stephanie Jung:
Cut out shapes and insert coloured paper, as in these photographs by Micah Danges:

Make an photography collage using masking tape, like Iosif Kiraly:

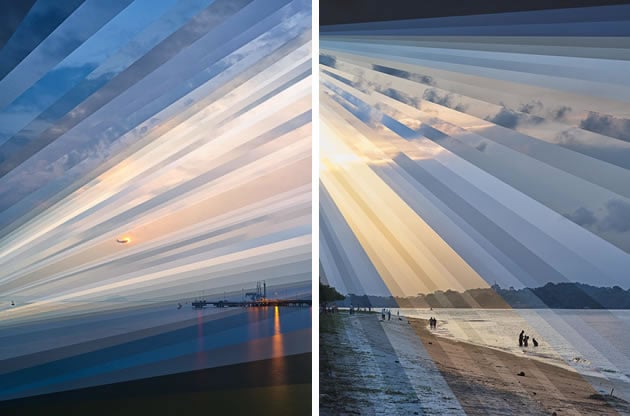
Photograph a single scene over time and join the pieces in sequence, like these composite photographs by Fong Qi Wei:
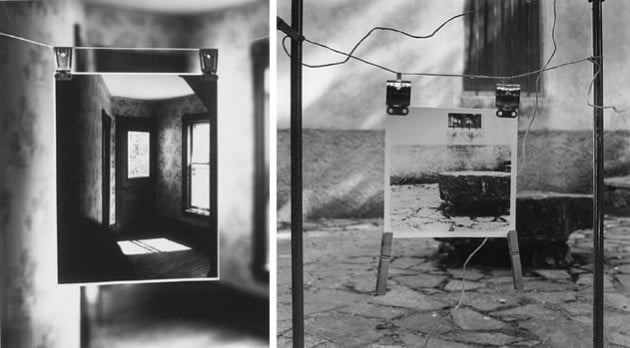
Inset scenes within other scenes, as in these photographs by Richard Koenig:
Take close-up, tightly cropped scenes, creating abstract photography from surfaces and pattern, like these works by Frank Hallam Day:

Experiment with slow shutter speeds at night, blurring lights, as in the abstract ‘Sightseeing Tunnel’ series by Jakob Wagner:

Essential Blog Posts This Week…
Click this link below for more resources…
Remember to follow the 10 Step Process and create multiple blog posts for each unit to ensure you tackle all Assessment Objectives thoroughly :
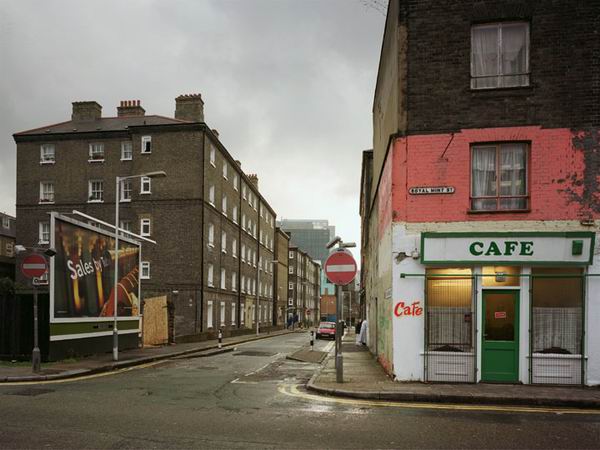
Psycho-geography is a hybrid of photography and geography that emphasizes playfulness and “drifting” around urban environments. It has links to the Situationist International.
Psychogeography was defined in 1955 by Guy Debord as “the study of the precise laws and specific effects of the geographical environment, consciously organized or not, on the emotions and behavior of individuals.”
Another definition is “a whole toy box full of playful, inventive strategies for exploring cities… just about anything that takes pedestrians off their predictable paths and jolts them into a new awareness of the urban landscape
The originator of what became known as unitary urbanism, psychogeography, and the dérive was Ivan Chtcheglov, in his highly influential 1953 essay “Formulaire pour un urbanisme nouveau” (“Formulary for a New Urbanism”).
It has roots in Dadaism and Surrealism.
The idea of urban wandering relates to the older concept of the flâneur, theorized by Charles Baudelaire…and is similar to STREET PHOTOGRAPHY
PETAPIXEL definition of PsychoGeography CLICK HERE
Koyaanisqati : Drawing its title from the Hopi word meaning “life out of balance,” this renowned documentary reveals how humanity has grown apart from nature. Featuring extensive footage of natural landscapes and elemental forces, the film gives way to many scenes of modern civilization and technology.
Superflux : explore over-surveillance and the prospect of intrusion in our everyday lives…has the concept of psycho-geographies evolved into something dystopian-like and Orwellian (1984- “Big brother”)…governments, town planners and the authorities design how we live, where we live and essentially control popluations of towns and cities.
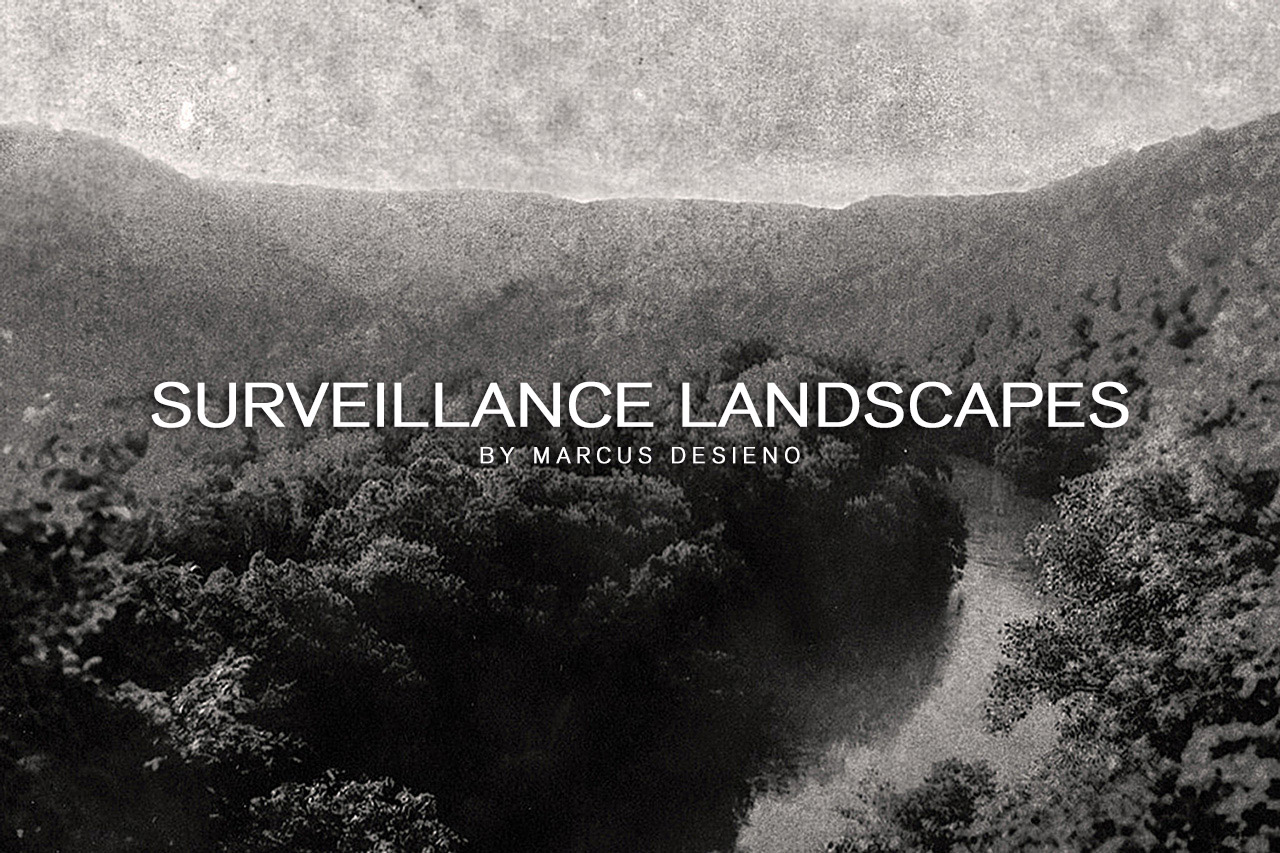
Marcus Desieno creates de-humanised landscape photography by hacking surveillance camera networks…but avoids privacy problems normally associated with urban and residential areas…
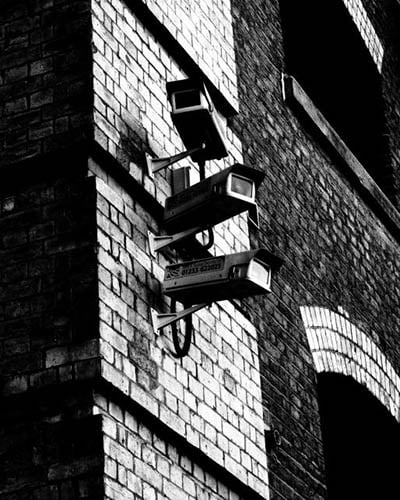

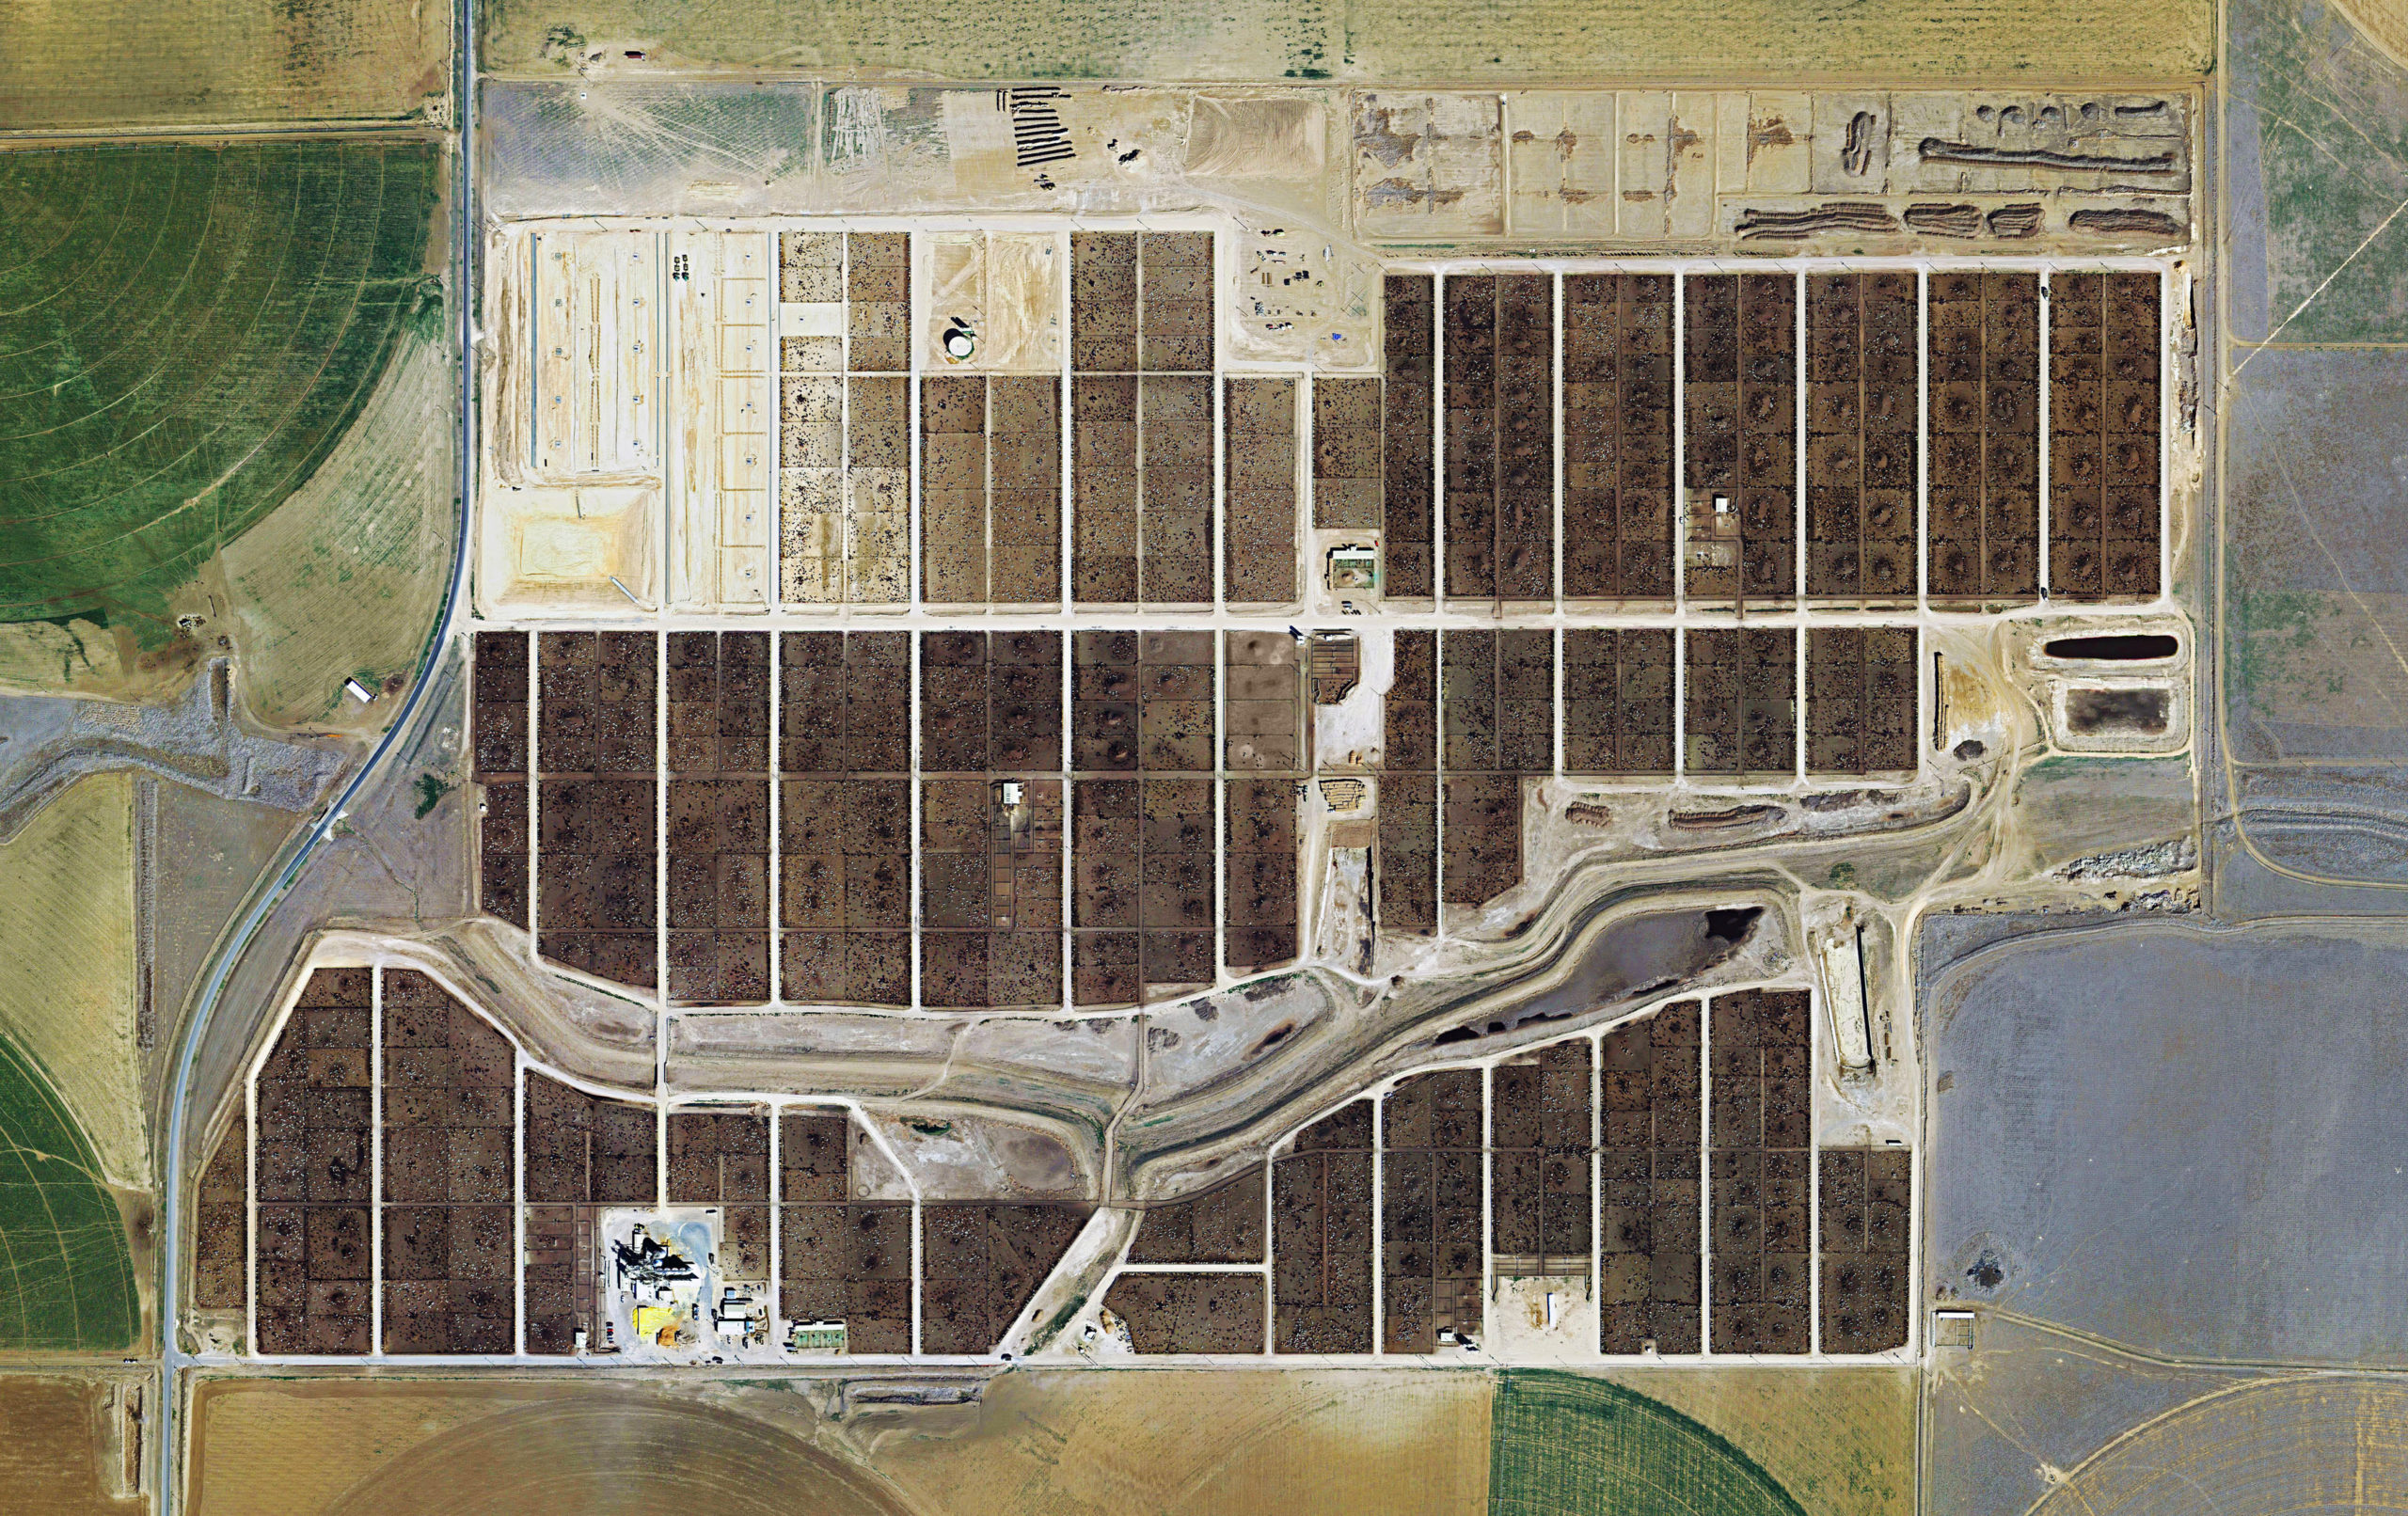
In the course of daily life, individuals and organizations create and keep information about their personal and business activities. Archivists identify and preserve these documents of lasting value.
These records — and the places they are kept — are called “archives.” Archival records take many forms, including correspondence, diaries, financial and legal documents, photographs, and moving image and sound recordings. All state governments as well as many local governments, schools, businesses, libraries, and historical societies, maintain archives.

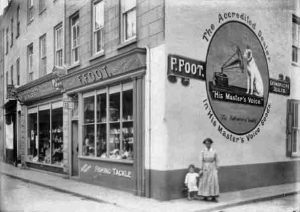
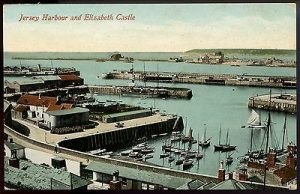
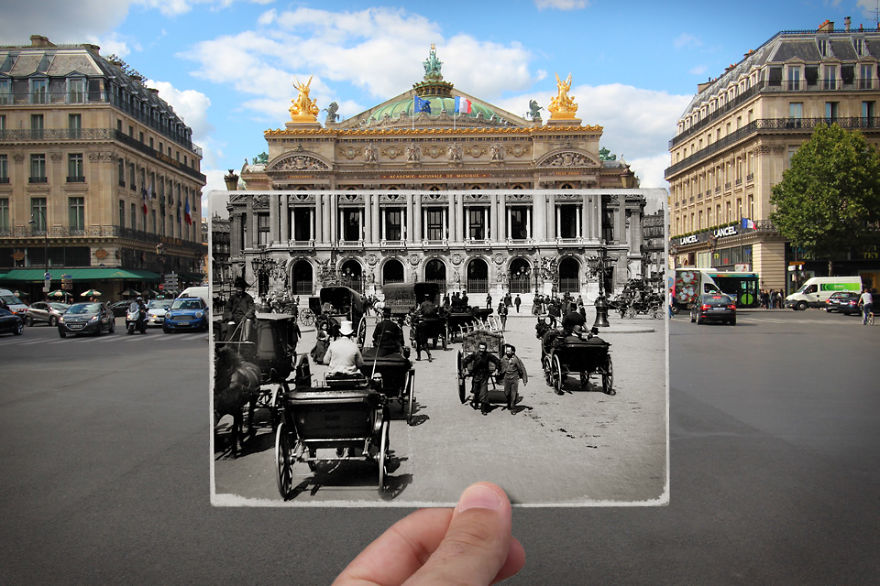
The images above are Archival Images from iconic areas of Jersey…and these areas have changed over time.
Jersey Archives: Since 1993 Jersey Archive has collected over 300,000 archival records and it is the island’s national repository holding archival material from public institutions as well as private businesses and individuals. To visit click here
Jersey Archive can offer guidance, information and documents that relate to all aspects of the Island’s History. It also holds the collections of the Channel Islands Family History Society.
Societe Jersiaise: Photographic archive of 80,000 images dating from the mid-1840s to the present day. 35,000 historical images in the Photographic Archive are searchable online here.
Societe Jersiaise also have an extensive library with access to may publications and records relating to the island’s history, identity and geography. Click here
Archisle: The Jersey Contemporary Photography Programme, hosted by the Société Jersiaise aims to promote contemporary photography through an ongoing programme of exhibitions, education and commissions.
The Jersey Evening Post Archives CLICK HERE
The Archisle project connects photographic archives, contemporary practice and experiences of island cultures and geographies through the development of a space for creative discourse between Jersey and international practitioners.
Link: http://www.archisle.org.je/
APERTURE refers to the opening of a lens’s diaphragm, which allows light to pass through the camera. It is calibrated in f/stops and is generally written as numbers like 1.4, 2, 2.8 etc. The higher the f/stop, the less light is allowed to pass through the camera.

DEPTH OF FIELD refers to the distance between the nearest and the farthest objects that are in acceptably sharp focus in an image. The depth of field can be calculated based on focal length, distance to subject, the acceptable circle of confusion size, and aperture. The more depth of field, the more focused the camera is to the foreground and the more blurred the background is.


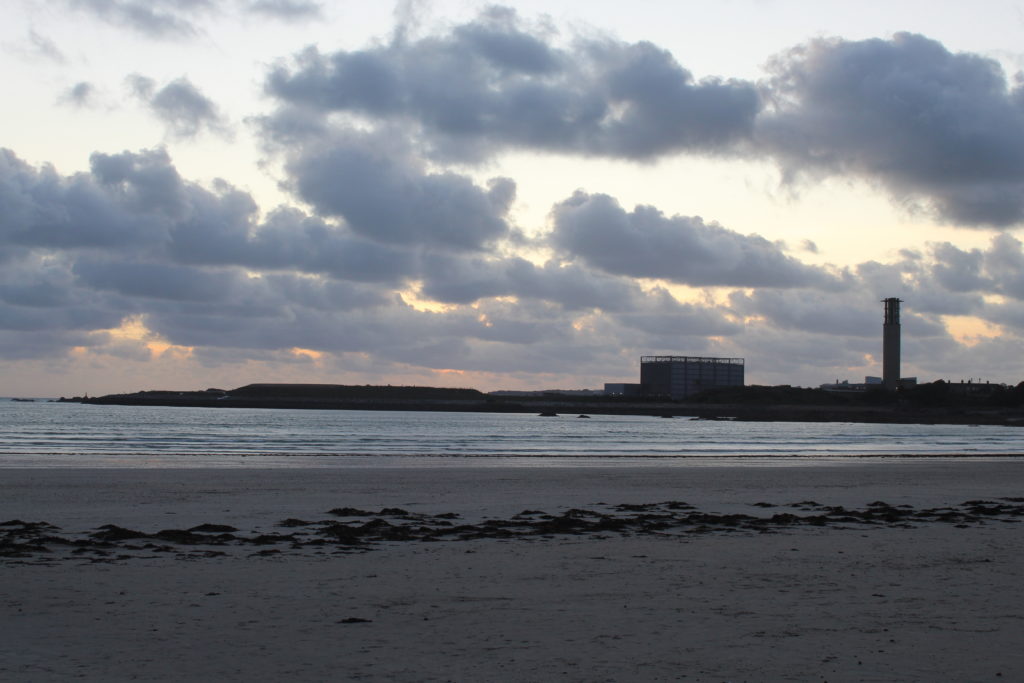

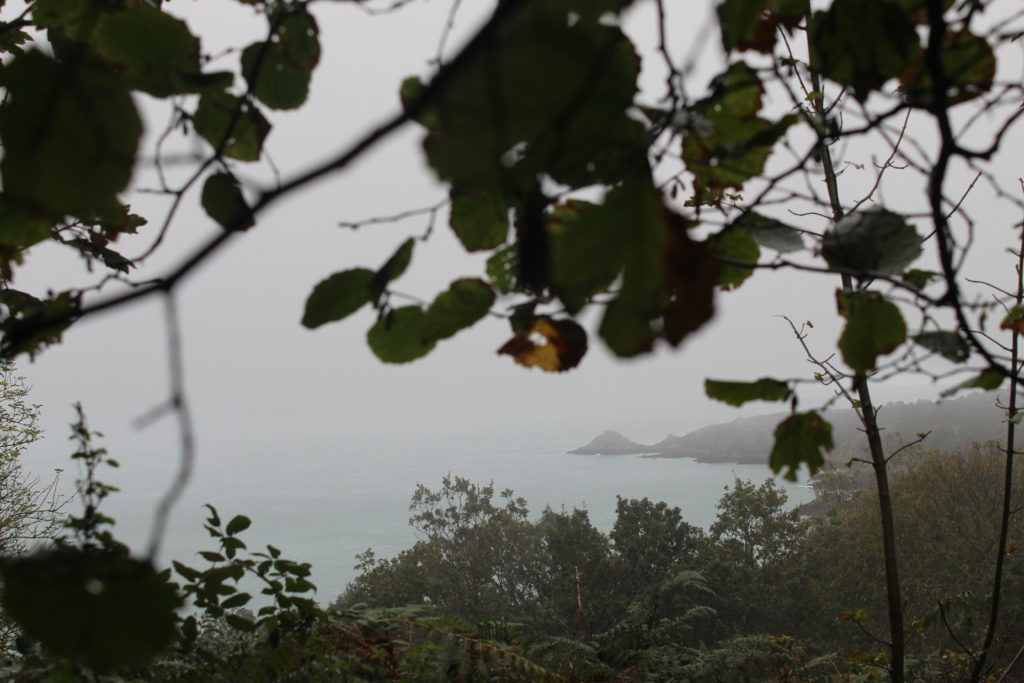
Humans vs Cameras:
Simultaneously, the human eye can detect and process a larger range of light than any camera could at a single exposure. Longer/shorter exposures and the combination of multiple frames can bring cameras, and the images they produce, up to the similar complexity of the human eye and in some cases, can even have an advantage over human eyesight.
Definition:
Bracketing is the process of photographing a group of the same image, changing a single setting (such as exposure) for each shot. This can result in a range of images like the ones below

Why?:
This process can prove to be extremely useful in photography as the range of images provides the option to choose which exposure worked the best in the image or to even combine them together, creating a photograph with ‘high dynamic range’, otherwise known as HDR images that typically have a large tonal range.

How?:
(manually)
Exposure bracketing is typically carried out by adjusting the shutter speed of the camera, which in turn allows more or less light through the lens when taking the image. Manually, exposure bracketing is best achieved with the use of a tripod due to the risk of camera shake when using a slower shutter speed, which can result in blurry images. Tripod also make sure the camera’s view is static, preventing trouble later if you want to combine frames

HDR:
HDR can be done in using various software, such as Lightroom, Photoshop or other third-party software. A benefit of using HDR is that it’s a fast process, allowing for the completion of bulk work at a fast rate. It also involves the technique of ‘tone mapping’, which allows you to control the range of shadows and highlights. Landscape photographers often rely on and benefit from HDR. However, if HDR is done incorrectly it can result in images that look harsh with garish colours. The finished product may also be lower quality than images produced through compositing.

Compositing:
Compositing produces images that are much more realistic, high quality and provides more control over the range of tones within the image. A downside is that it’s extremely time consuming and requires a basic understanding of layers and layer masks.

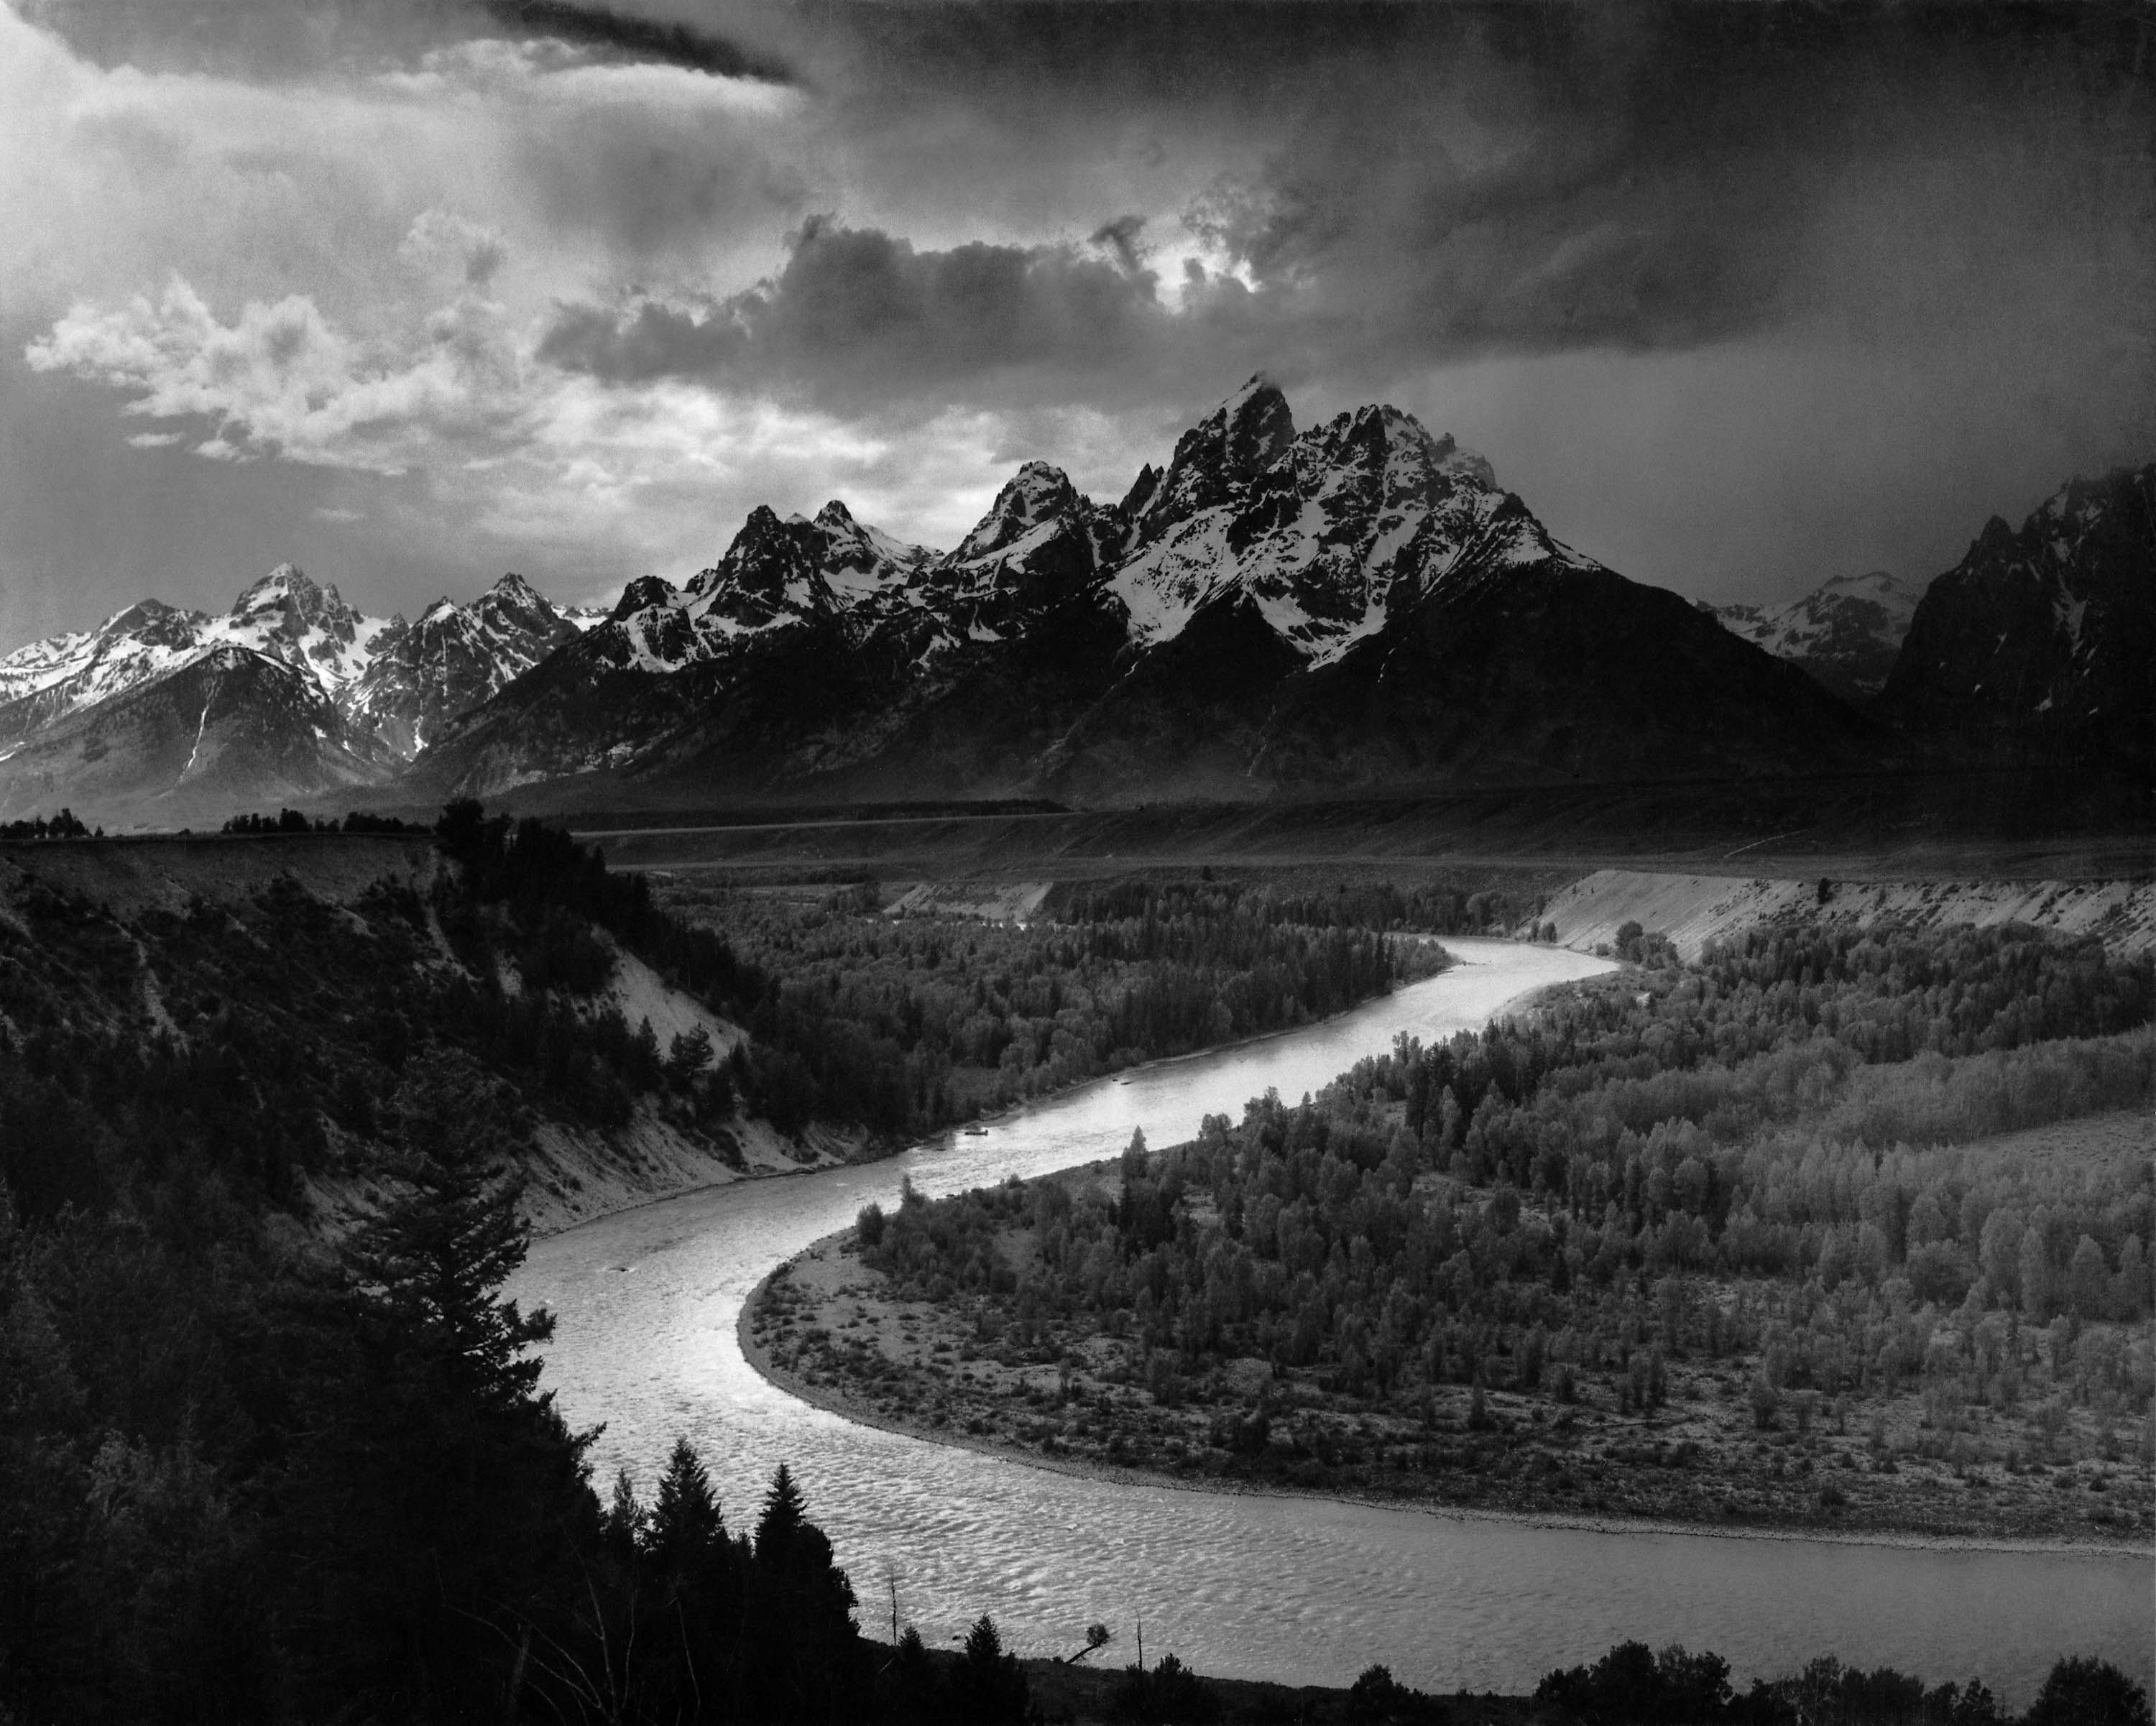
Adams uses grayish colours ranging from deep, dark blacks to more forgiving natural whites as was created with help of his own light grading system in order to implement a grey-scale image. He uses natural lighting extensively, accompanied by a high tonal range to present a highly contrasted image that highlights the darker areas with use of low exposure, however still retaining detail throughout the image, even in the dark shadows as a result of the dull, overcast skies above.
This contrast/tonal range as perceived in the photo helps add an intense, fierce tone, adding to the idea of the mountains seeming rather formidable which in turn gives the landscapes an austere and intimidating perception, helping demonstrate its size and beauty to the observer effectively. The high tonal range additionally causes the sunlight reflecting off the river to stand out due to its bright grayish colour, as well as the abrupt increase the shadows in the dark rock on the mountains and the darker trees in the foreground which create this extraordinary contrast.
To achieve this, he has most likely used a tripod to help keep his photos stable in order to avoid blur and loss of focus in his images, which we can see has worked wonders. As well as this, he probably used a slow shutter speed in order to capture the significant detail and to be able to focus the entire image with both the foreground and background being of high resolution, creating the high tonal range that can be distinguished here.
This image has a plethora of different textures as can be observed from the bright, glimmering water in the river to the dark, rugged, hard rock mountain range in the background as well as the trees and scrub-land which subtly break up the contrast. Furthermore, the overcast skies made up of grey clouds, just like the trees, create a balance of colour and shades throughout the image and is a perfect example of the theme of nature and its beauty which is what Adams as well as many other romanticist photographers strove to photograph.
The ideals of Romanticism in art and photography are that nature is powerful, beautiful and unpredictable. This is highlighted by the sky with occasional breaks where sunlight pierces through as well as the angelic light coming from behind the mountain, which imposes over the whole scene and creates a sense of superiority, emphasizing it’s bold and striking appearance.
In context, Adams himself spent a large portion of his life taking photographs in the West of America, especially in Yosemite and other parts of the Sierra Nevada mountain range. This was the core to what inspired him to excel in his photography, representing the untouched landscapes and the power of nature found in these places through his unique photography and his desire to show others, as best he could, the true essence and awe he felt when in such areas by capturing what he saw through his very own eyes.
Adams was also the co-founder of Group f/64 for which he invented the Zone System, (a technique of translating light into specific densities onto negatives and paper), giving photographers better control over their finished photographs. Adams is also known for promoting the idea of ‘visualization’, in which the photographer ‘sees’ in their mind’s eye the final photo before it is taken. This helped the photographer to achieve all of their desired aesthetic and mechanical effects in his photography as outlined previously.
