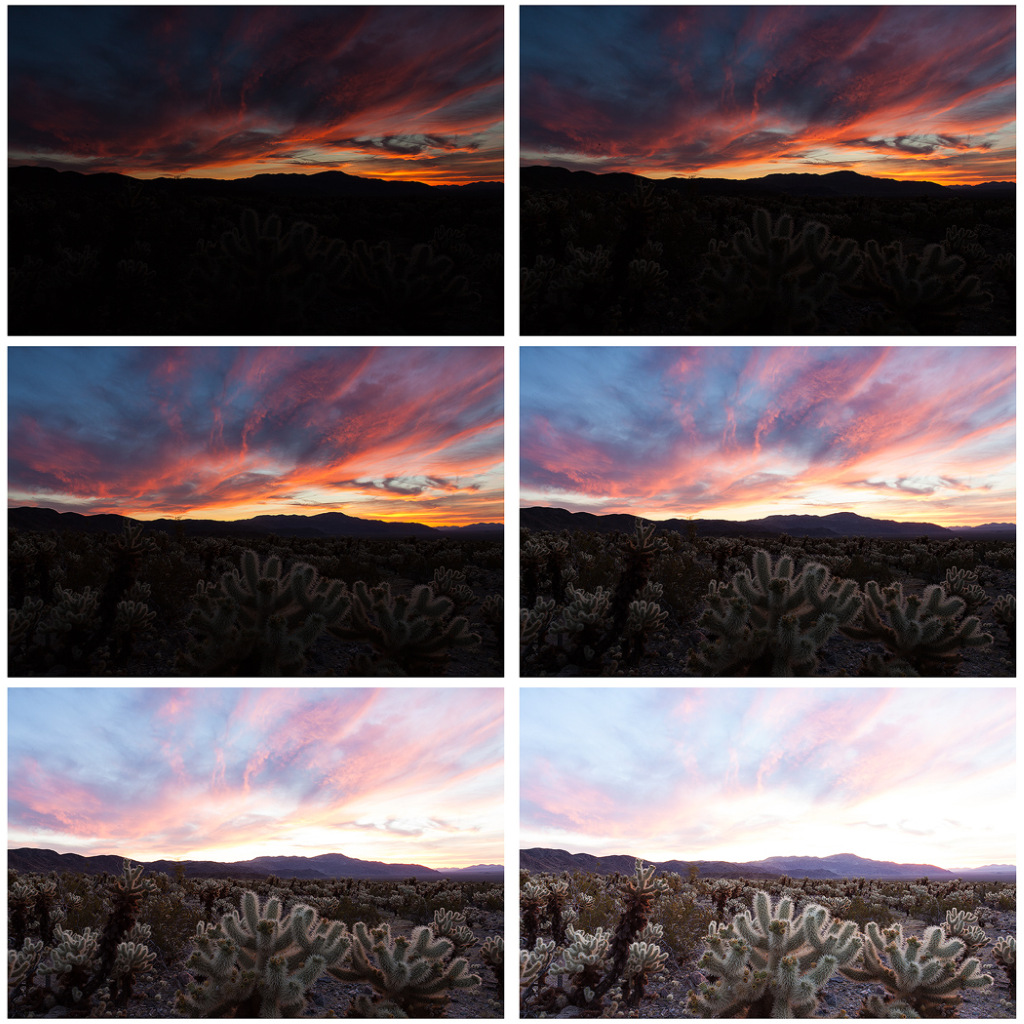
Bracketing is the process of photographing a group of the same image however changing a single setting such as the exposure or ISO for each picture taken.
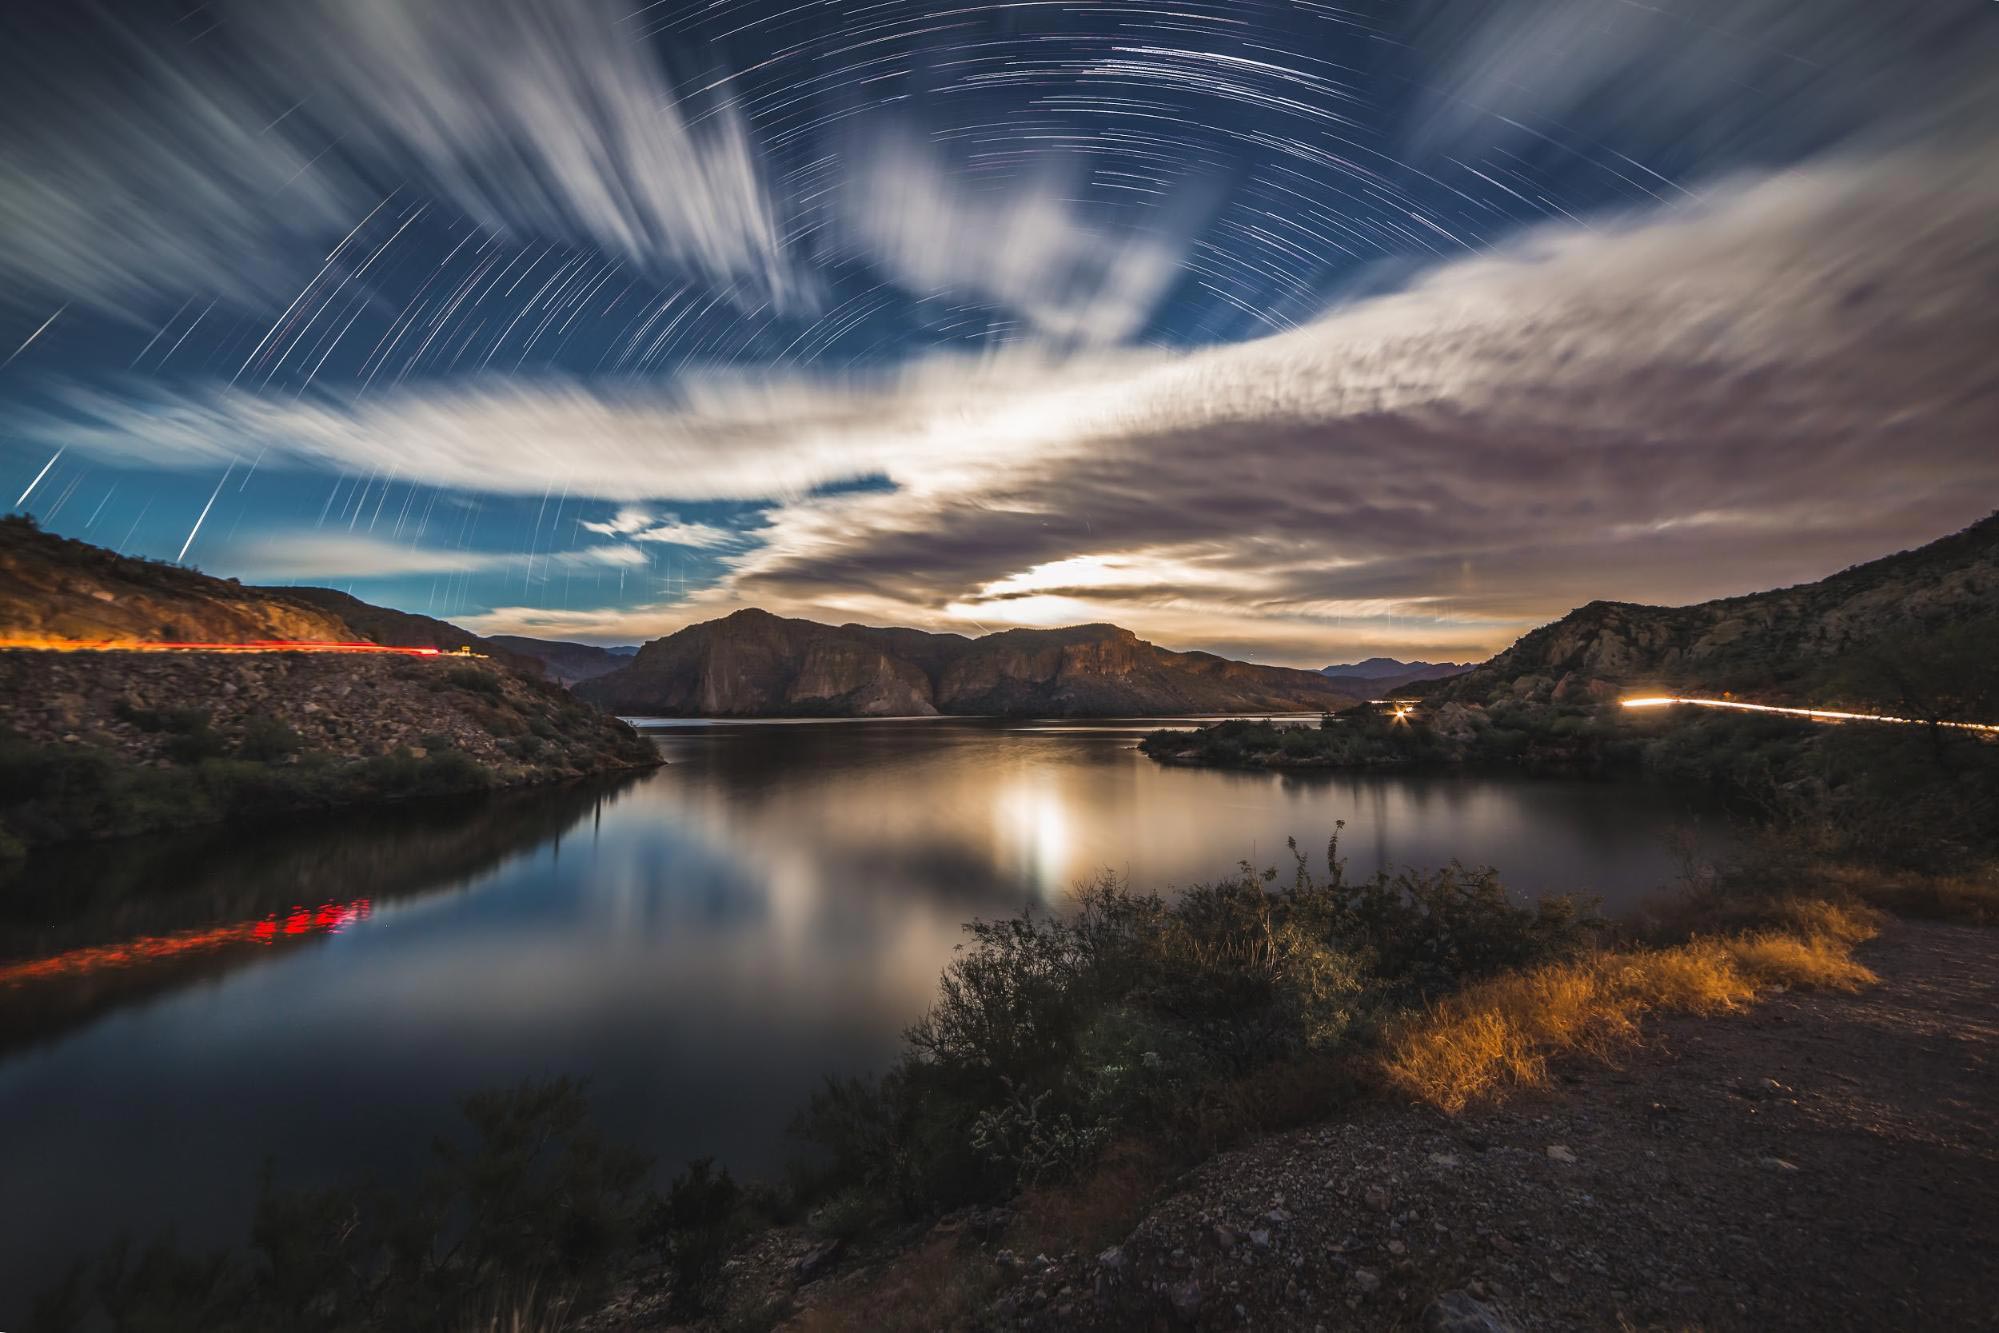
The human eye can detect and process a larger range of light than any camera could at a single exposure. This means that Longer/shorter exposures alongside the combination of multiple frames can bring cameras, and the images they produce, up to the similar complexity of the human eye and in some cases, can even have an advantage over human eyesight.

This technique is essential in photography as the all the different exposures from all the separate shots highlight colours and detail in certain areas of each, but when combined together, can create unrivalled contrast with a large range of depth in tones throughout the image by blending in all the correct exposures from different shots which gives the image ‘high dynamic range’ or HDR.

MANUAL EXPOSURE BRACKETING
Exposure bracketing is most commonly carried out by adjusting either the ISO or the shutter speed of the camera, which is what regulates the amount of light that enters the sensor of the camera, by timing how long the shutter is open for, creating different exposures.

Additionally, exposure bracketing is best achieved with the use of a tripod due to the risk of camera shake when using a slower shutter speed, which can result in blurry images that do not compliment each other when blending or merging when exposure bracketing. This is because blurry images aren’t useful to edit or pleasing to look at, as well as the problem that subtle differences in the images’ focus, or field of view may alter the images too much to undertake the exposure bracketing successfully in the first place. Tripods thus make sure the camera’s view is stable, preventing trouble later if you want to combine frames.

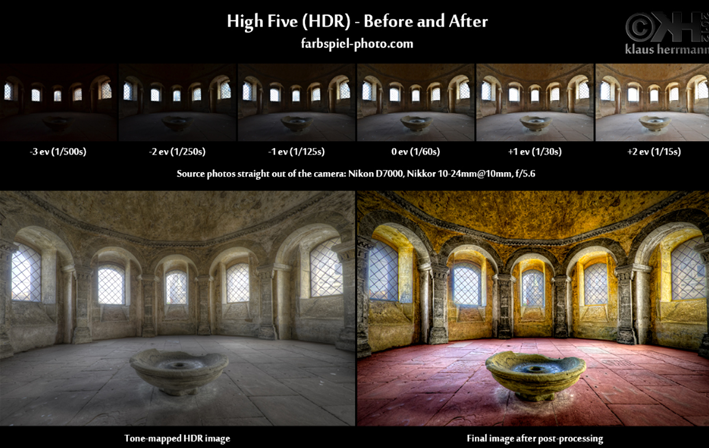
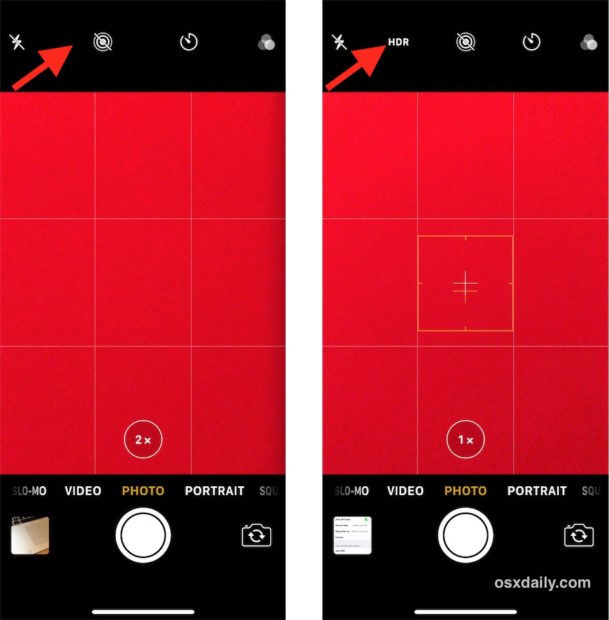
Most modern phones and cameras can achieve HDR images instantaneously by automatically gathering many different exposures of the same picture simultaneously, minimising photographic skill required both in photo shooting and editing as the exposure bracketing has been achieved with little-to-no effort.

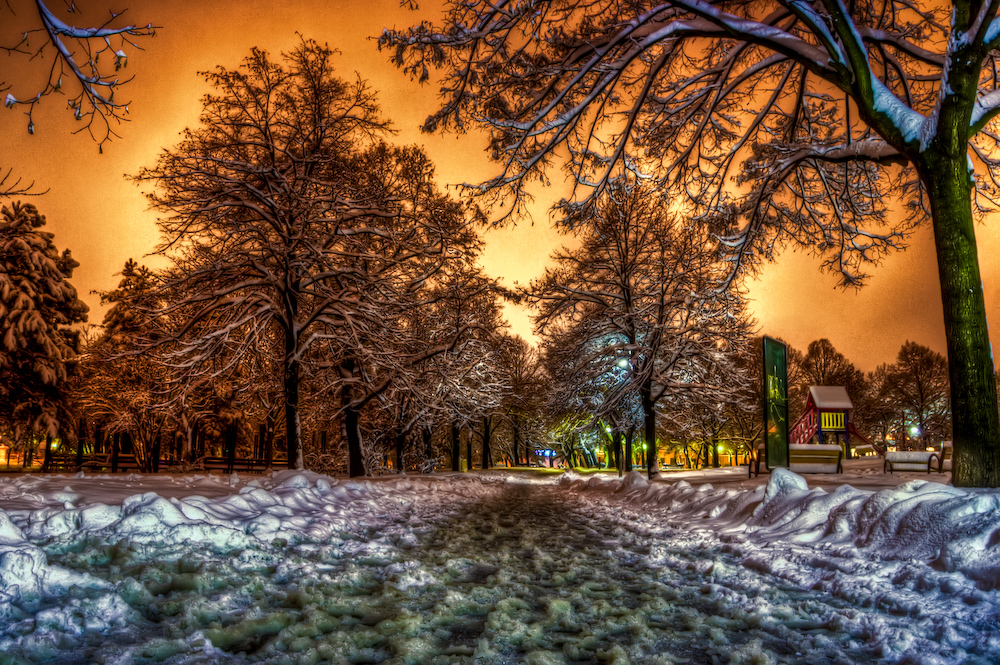
HDR can be achieved by using various software, such as Lightroom, Photoshop or other third-party software. A benefit of using HDR is that it’s a fast process, allowing for the completion of bulk work at a fast rate. It also involves the technique of ‘tone mapping’, which allows you to control the range of shadows and highlights. Landscape photographers often rely on and benefit from HDR. However, if HDR is done incorrectly it can result in images that look ugly, with harsh, high contrast colours and tones. Additionally, the finished product may also be lower quality than images produced through compositing.
COMPOSITING
Compositing produces images that are much more realistic, high quality and provides more control over the range of tones within the image. A downside is that it’s extremely time consuming and requires a basic understanding of layers and layer masks.