LANDSCAPE PHOTOSHOOT 1 PLAN:

PHOTOSHOOT PLAN:

WHO

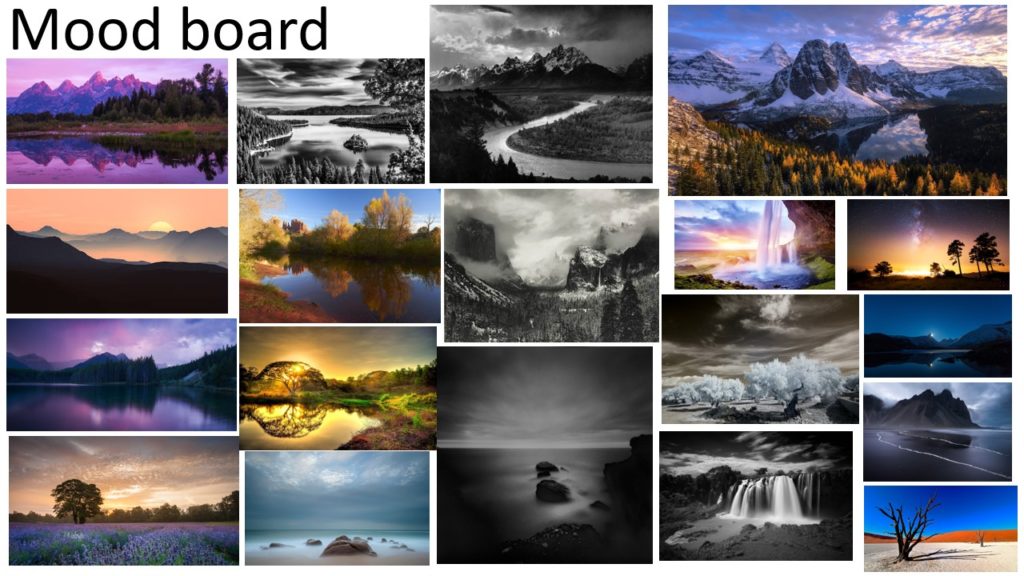
I will be taking the photos, however with no human focal point, or any human make infrastructures, since landscape photography uses primarily nature only. As this is my approach to Romanticism, I will try to create focus on nature and exaggerate its beauty.

WHAT

I will be taking photos of the headlands of Plemont, including the waves of the coastline as they will be rough and strong, as well as the rocks and harsh cliff faces of the headland. This will also uncle some shrubbery and other plants surviving along the coast.

WHERE

My photoshoot will take place at plemont beach in St Ouen, primarily the cliffs to the right of the headland. I will also walk to the end of the headland in order to gain perspective of as many angles of the cliffs as possible.

WHEN

The photoshoot will take place on Sunday October 6th, from 4pm until around 6pm. The weather forecast is due to be sunny with some clouds, which should help exaggerate the colours of the landscape and give emotion and drama to the images.

WHY

I have chosen this time and place as the cliffs can be very powerful and I believe represent a very natural, beautiful landscape. Due to the weather conditions and time of day, the golden hour lighting and clouds will provide a good variety of natural lighting.

HOW

It may be windy so I will take a tripod in order to stabilise the camera when taking photos. I will further use a quick shutter speed, around 1/500 to make sure objects such as waves are not blurry. (this may mea I will need a lighter iso to brighten the image.) I may take photos with different ISO levels, so keeping the camera still will create a smooth combination of different photos to a HDR photo.

WHAT IS HDR AND HOW I WILL USE IT IN MY PHOTOSHOOT:

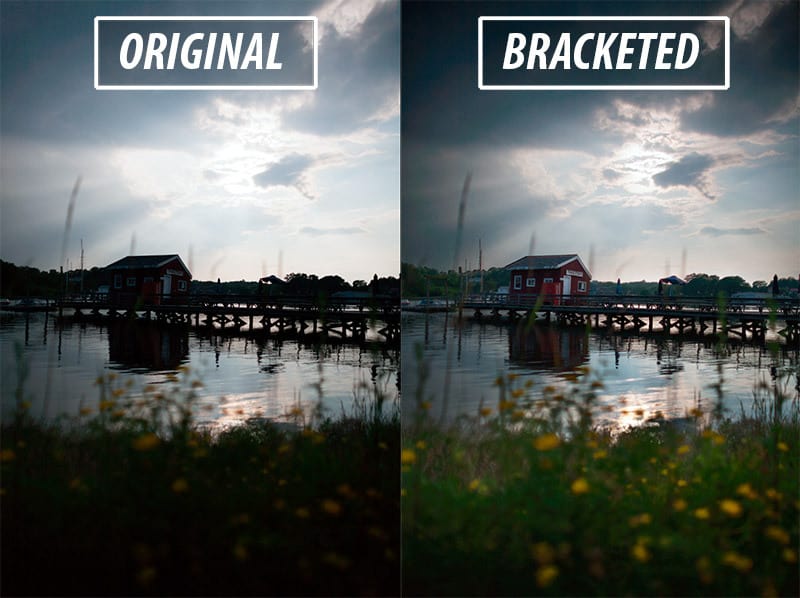
Image result for exposure bracketing photography

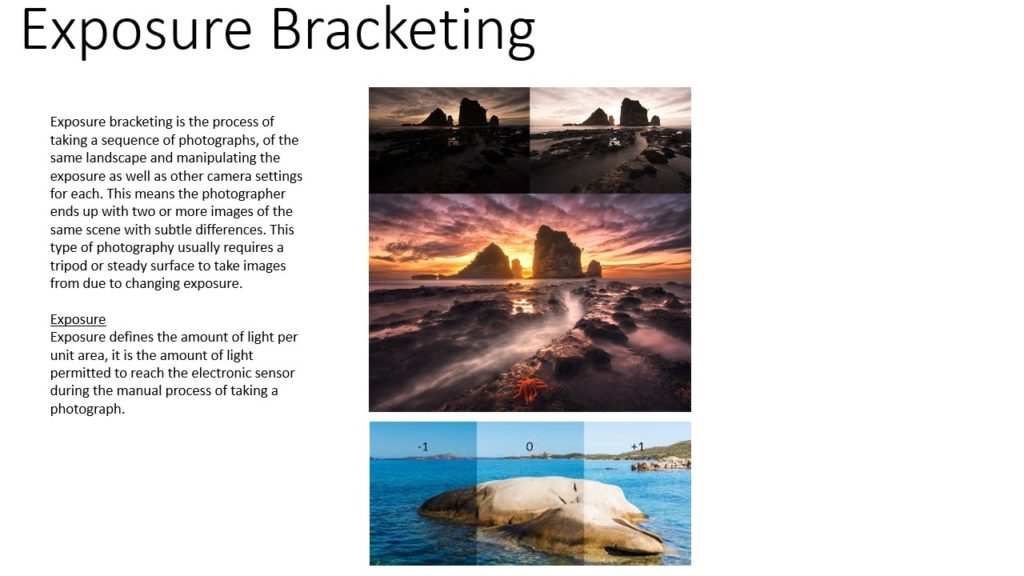
Bracketing refers to the changes in exposure between multiple image captures. This means taking frames at different light levels.

This can be done by changing the ISO on the camera settings. By changing the ISO number you can modify the brightness of the photo. By increasing the ISO, the image will become brighter, and by decreasing the ISO the image will become darker.

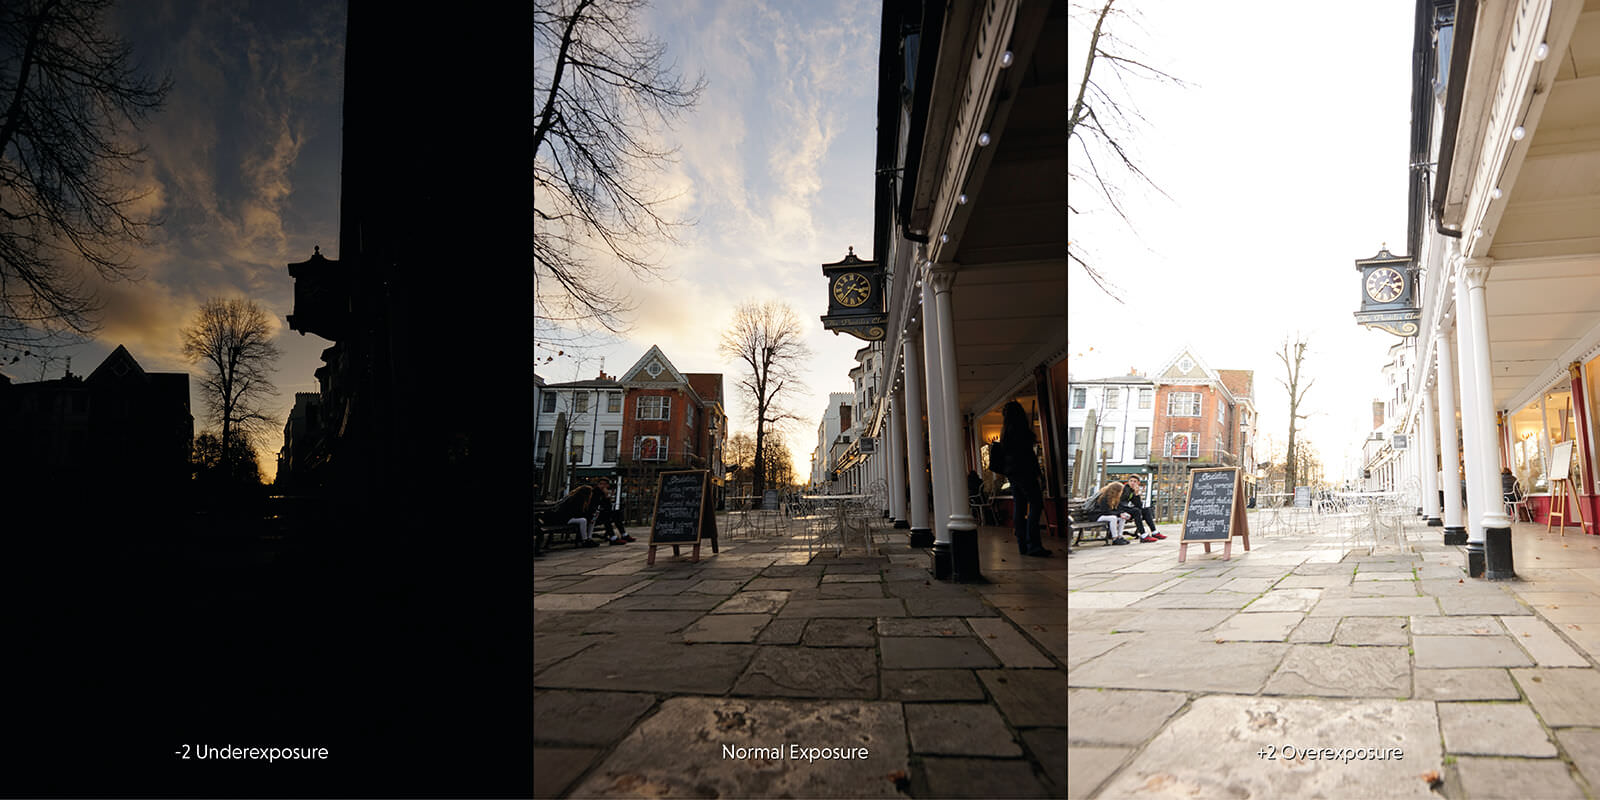
In the image to the left, a range of identical photographs are taken, however some are over exposed and some are under exposed, due to a change in ISO.

Image result for what is iso photography
An ISO of 100 would create a darker image compared to an ISO of 1600.

By taking photos at different exposures, a method called HDR can be used to increase the dynamic range in photographs, hence the name High Dynamic Range. Many applications such as Photoshop can be used to automate photos to HDR. When layering identical photos taken at different ISO’s it alters the ratio of light to dark, exaggerating highlights and shadows. This allows the viewer to experience a wider range or tones and colours when looking at a photo.

EDITING: Exposure Bracketing

The term “exposure bracketing” means to merge variations of the same image together, which have been under-exposed and over-exposed, to create an image that has been perfectly exposed.

To successfully carry out exposure bracketing, the photographer needs a tripod to keep the exact same image angle throughout, or the final image will become blurred.

Image result for exposure bracketing
An example of the images used to exposure bracketing, pre-merge. The image on the far left has been under-exposed, whilst the image on the far right has been over-exposed.

To begin with, the photographer would frame their image how they like and adjust the exposure to a normal level for the setting, usually 1/60. Then they would take the exact same image (hence the need for a tripod) but the exposure would be decreased by half, so 1/30. If the photographer feels that it is necessary they can go a step further and take the same image again with half the exposure, in this case 1/15. Afterwards, the photographer would take another picture with double the exposure, so 1/120, or the nearest equivalent on their camera. Again, if necessary, they can go again with an exposure of 1/240, or the nearest equivalent.

Once the photographer is assured that they have captured all the images they need, they would then merge the 3 (or more) images in Photoshop, or another similar program.

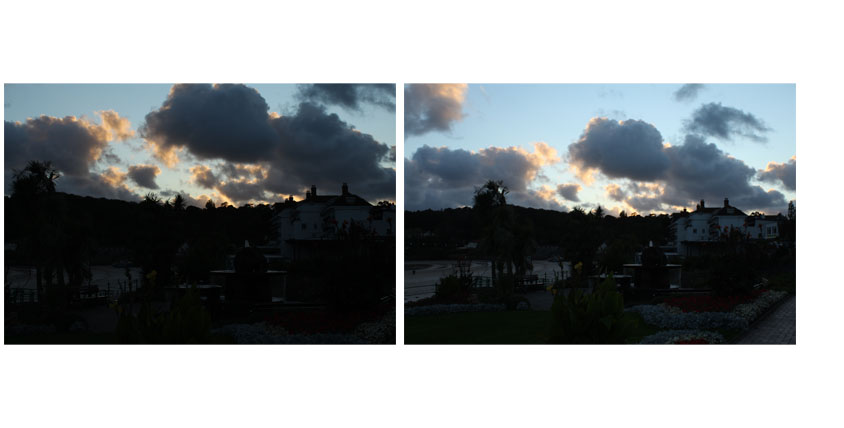
Image result for examples of exposed bracketed pictures

This technique ensures that the both the foreground and the background are visible to the image and that there is a good tonal range, as both dark and light aspects of the image will have been captured by the photographer.

apeture/ depth of field

Apeture – One of the three pillars of photography, the others being the ISO and Shutter Speed, apeture is the opening of the lens through which light passes through in order to reflect/ enter the camera. This concept can be linked to how our eyes work, as your surrounding ight changes from datk to light, the iris in your eye either shrinks or dialates – controlling the size of your pupil. However, in photography the ‘pupil’ of your lens is apeture. The apeture of a photo can durastically change the overall exposure or, brightness of the image; if an image is over – exposed the lens is letting in too much light/ apeture too high.

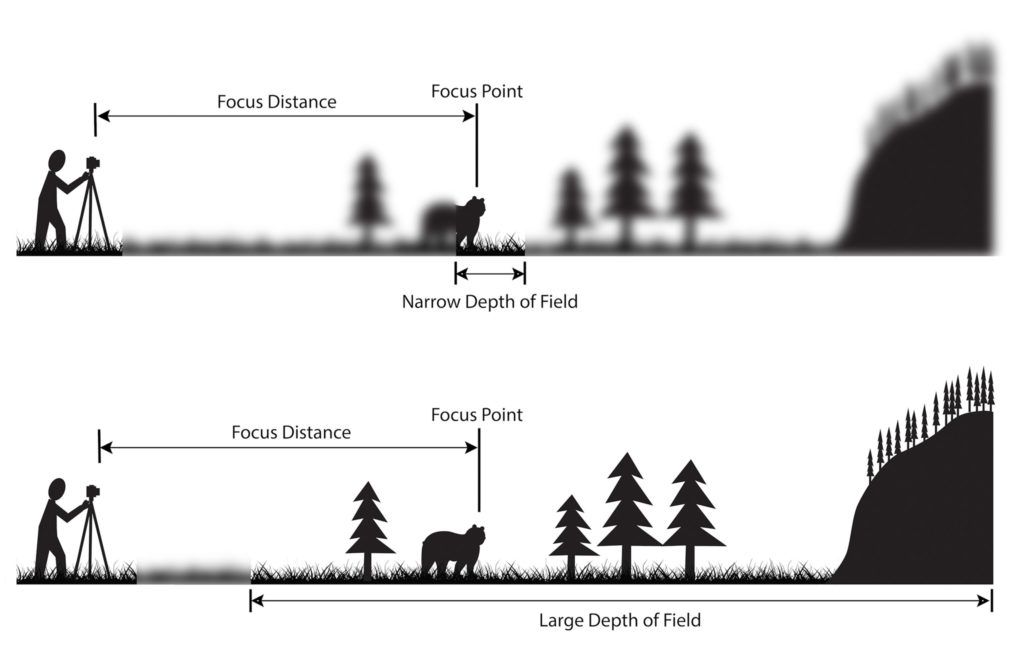
Depth Of Field – The distance between the closest and furthest object in a photo that appears clear. For example, in a photo with a ‘narrow’ depth of field, only a small section of the image will be in focus/ clearly visible. Therefore, reversley, a photo with a large depth of field, will allow the overall image to be a lot clearer and sharper.

APERTURE And Depth of field

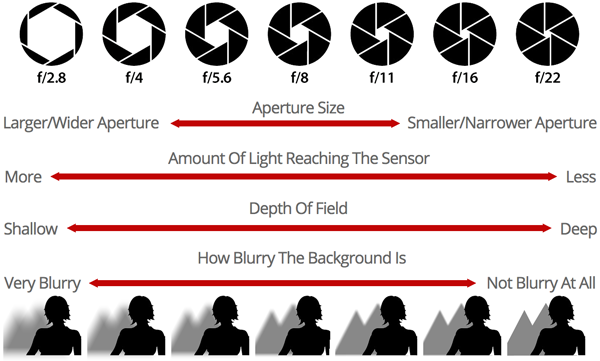
Aperture: Refers to the opening of a lens’s diaphragm through which light passes. It is calibrated in f/stops and it generally written as numbers such as 1.2, 2,8, 4, 5.6, 8, 11.

Depth of Field: The distance between the closest and farthest objects in a photo that appears acceptably sharp. Now your camera can only focus sharply at one point. But the transition from sharp to unsharp is gradual.
The depth of field can be calculated based on focal length, distance to subject, the acceptable circle of confusion size, and aperture.

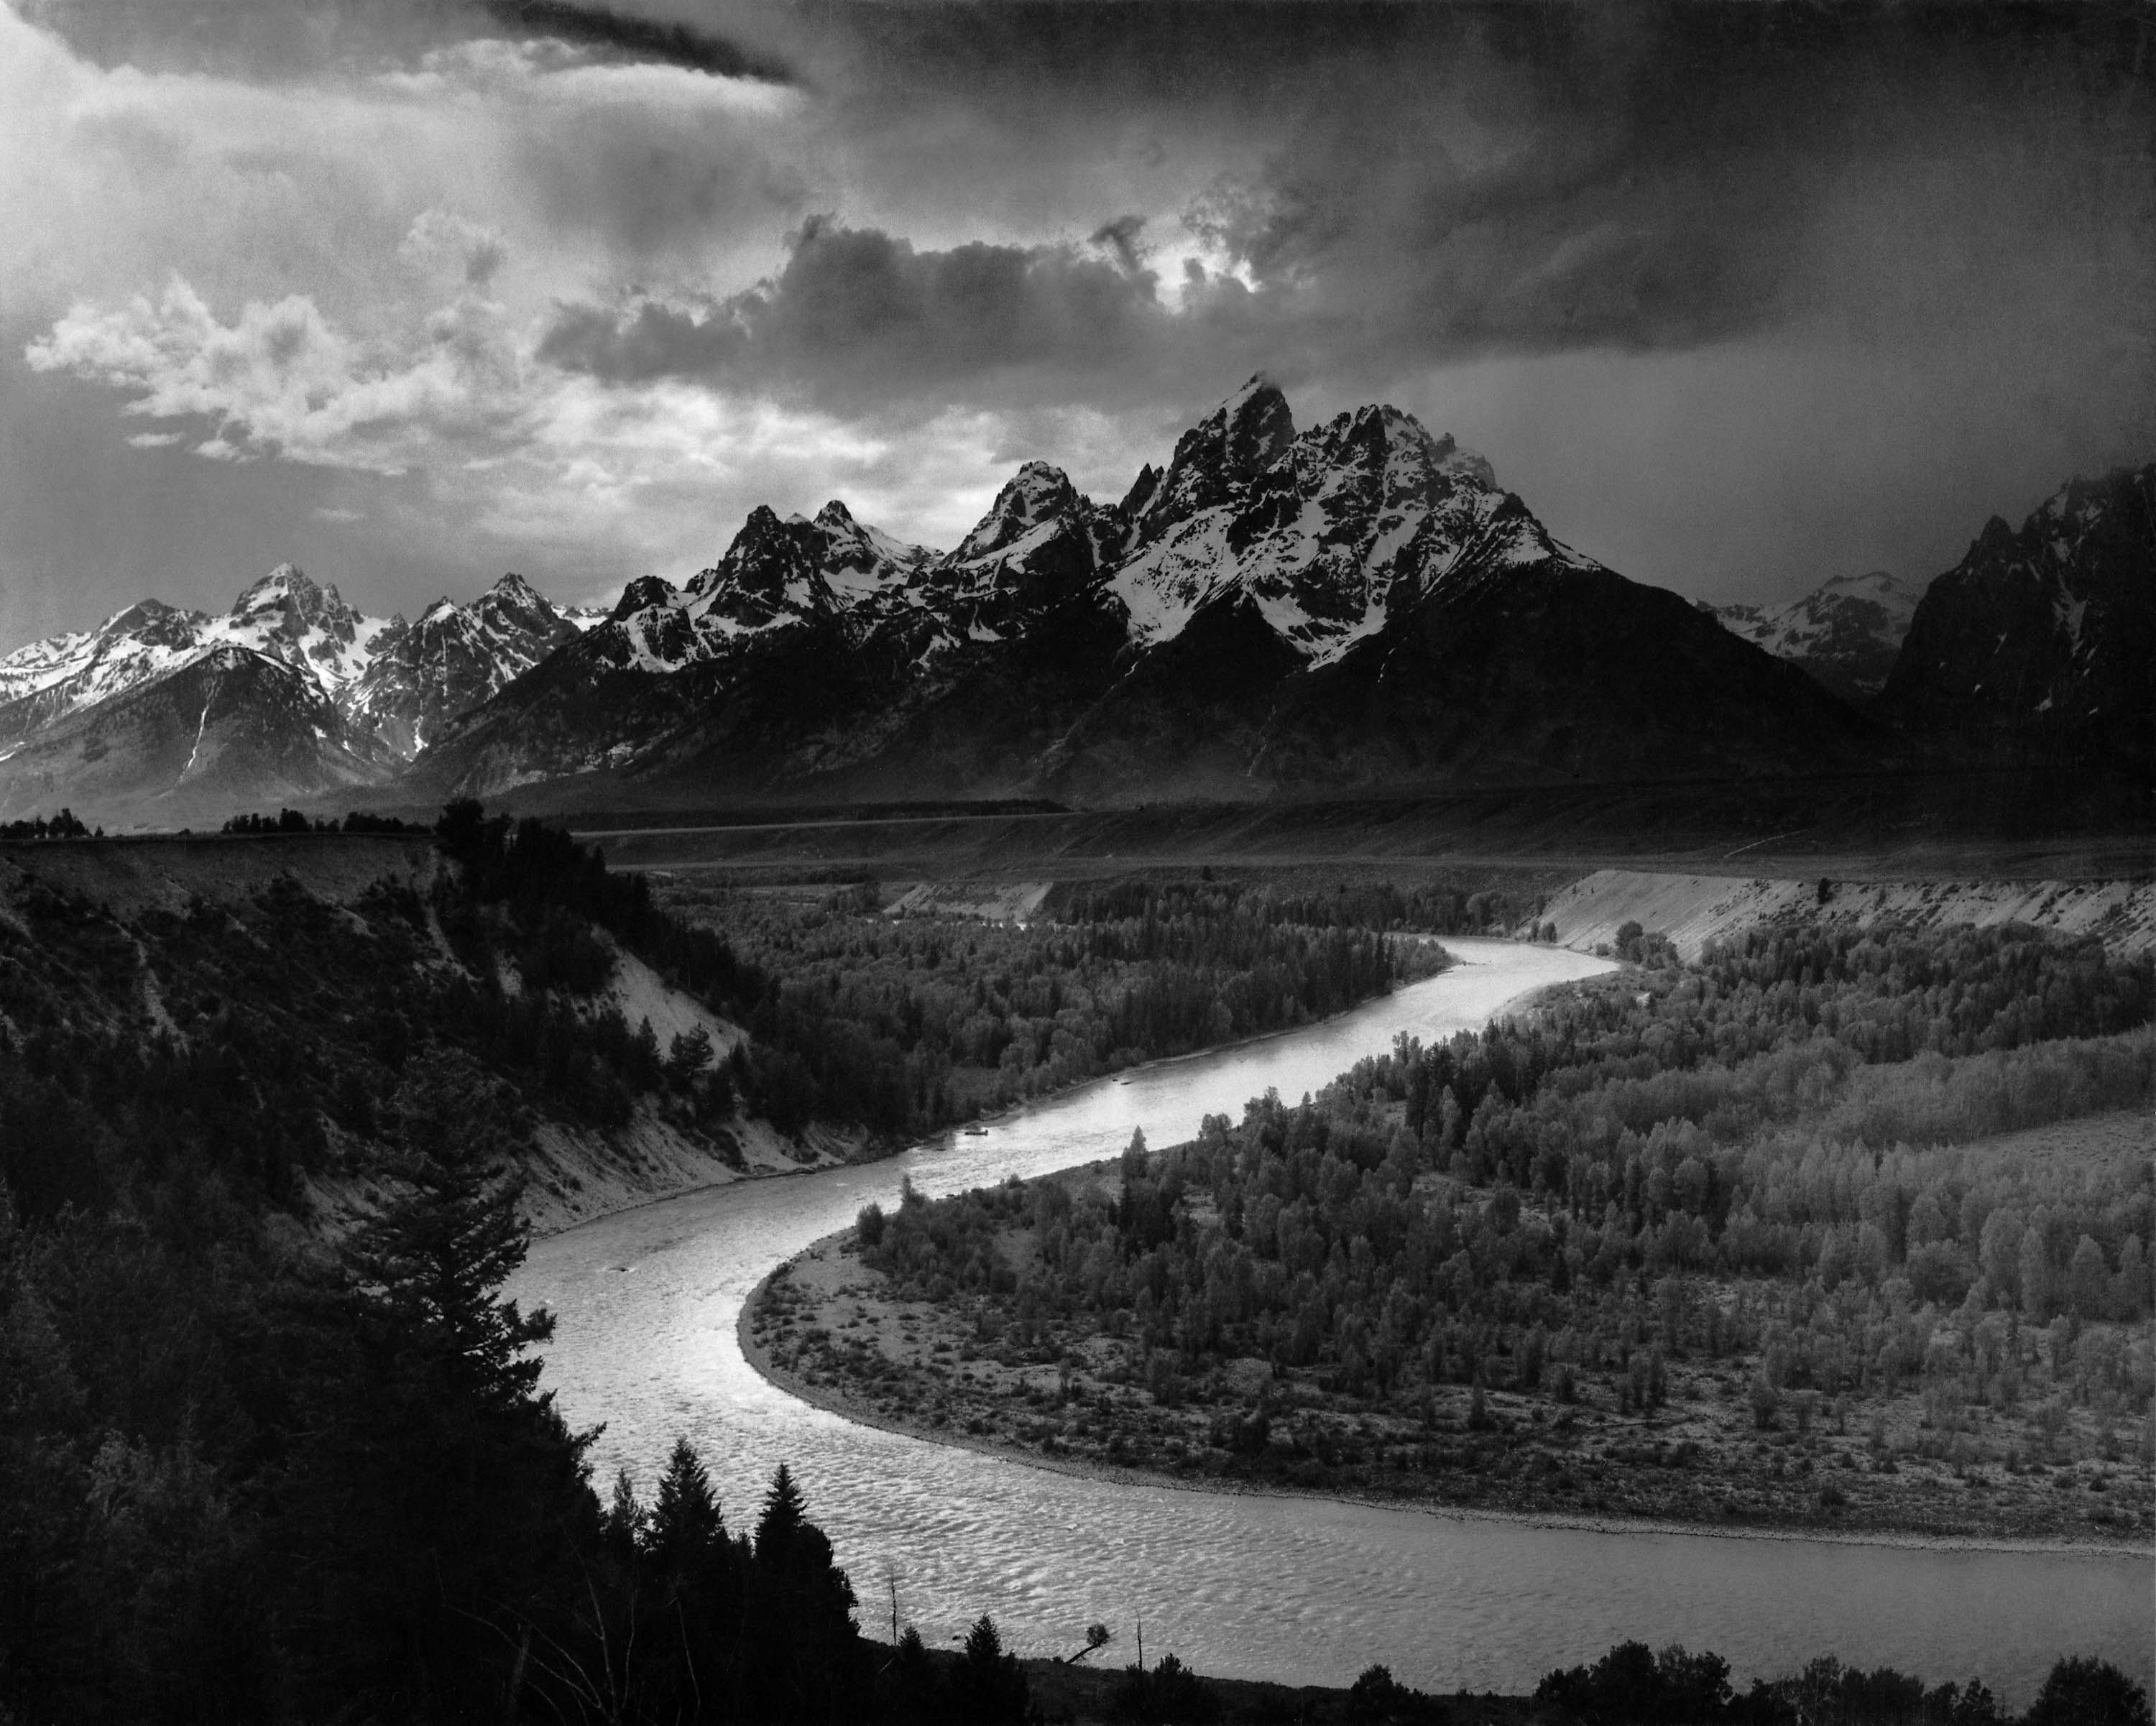
Ansel Adams – Landscape Artist reference


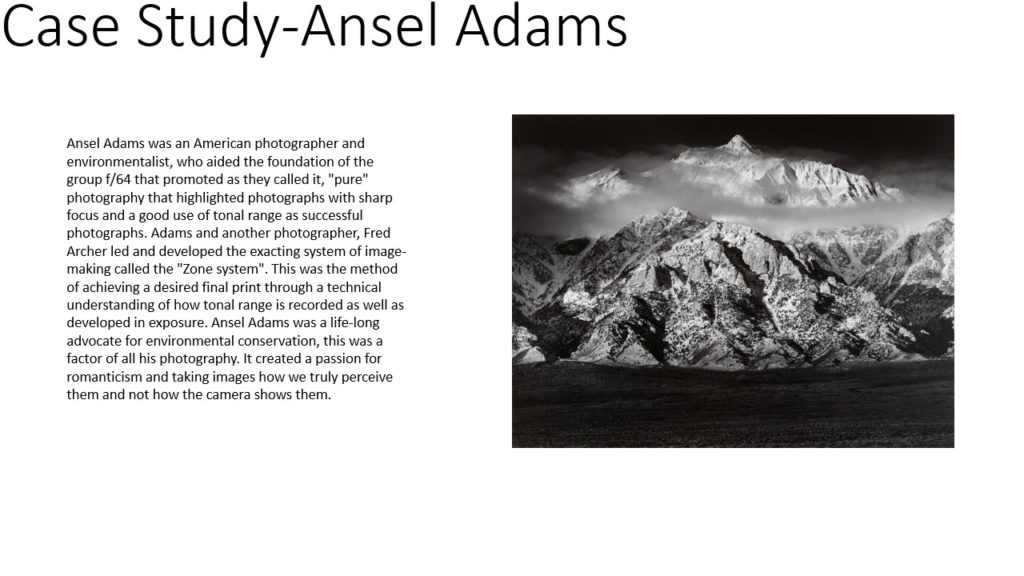
In 1916 Ansel Adams started experimenting with photography after he went to Yosemite National Park. He learned darkroom techniques and started read photography magazines, attended camera club meetings, and went to photography and art exhibits. He developed and sold his early photographs at Best’s Studio in Yosemite Valley.

Image result for Ansel Adams

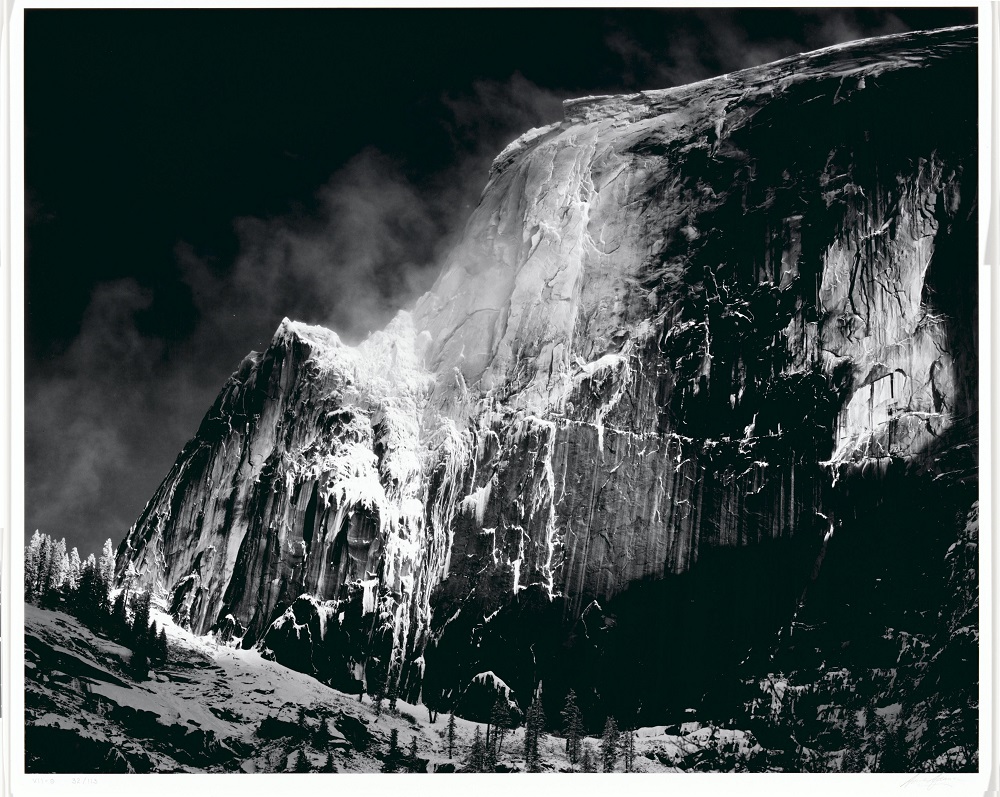
Adams professional photography breakthrough occurred due to his first portfolio Parmelian Prints of the High Sierras, which included his famous image “Monolith, the Face of Half Dome” from this he became very successful through commercial assignments. Between 1929 and 1942, Adams’ work and reputation developed and he started working in New Mexico with other photographers such as: Alfred Stieglitz, Georgia O’Keeffe and Paul Strand.

Image result for Ansel Adams

Technical

  • Lighting -the lighting in this image looks very dark and shaded with some natural daylight hitting certain points of the mountain and landscape. This allows the the photo to have more contrast and looks more manipulated to add more depth and intensity as well as there being over exposed areas, such as the snow on the mountain and there is also under exposed areas, such as the shadows and the trees near the bottom of the mountain.
  • Aperture – The photo has been sharpened immensely to allow you to see the textures of the mountain and the slight details of the trees, such as their branches.
  • ISO – The sensitivity in this image seems to be lower as it looks very clean and sharp. As for the contrast, it is very high and the very light white against the dark black make each other stand out more.

Visual

  • The tones range in this photo from very light to very dark and this makes the textures of the mountain stand out even more. The shadows on the mountain look very 2D compared to the rest of the mountain as it’s mostly one block colour but the majority of the photo looks 3D and formed e.g. the majority of the mountain.
  • Composition – Not all of the mountain seems to be in frame in this photo but the layout is made to make the mountain standout with a background with not much going on and the the foreground compliments the main focus of the photo. The white in the photo also leads the eye towards mountain as the snow is highlighting it.

Contextual

  • This photo is meant to remind you of the beauty of nature with nothing man made in site. The romanticism in this photo also dramatizes the image to really amaze us. The trees in comparison the the mountain also exaggerates how humongous the mountain really is and compared to us also because those trees are most likely to tower over us and shows us how much more powerful nature can be compared to ourselves.

Conceptual

  • I think the overall message behind this photo is to show hoe beautiful and drastic nature can be although you can’t see the image in real life and it’s in black in white, therefore dulling out the image but it still looking incredible.

Romanticism – ContACT sheets

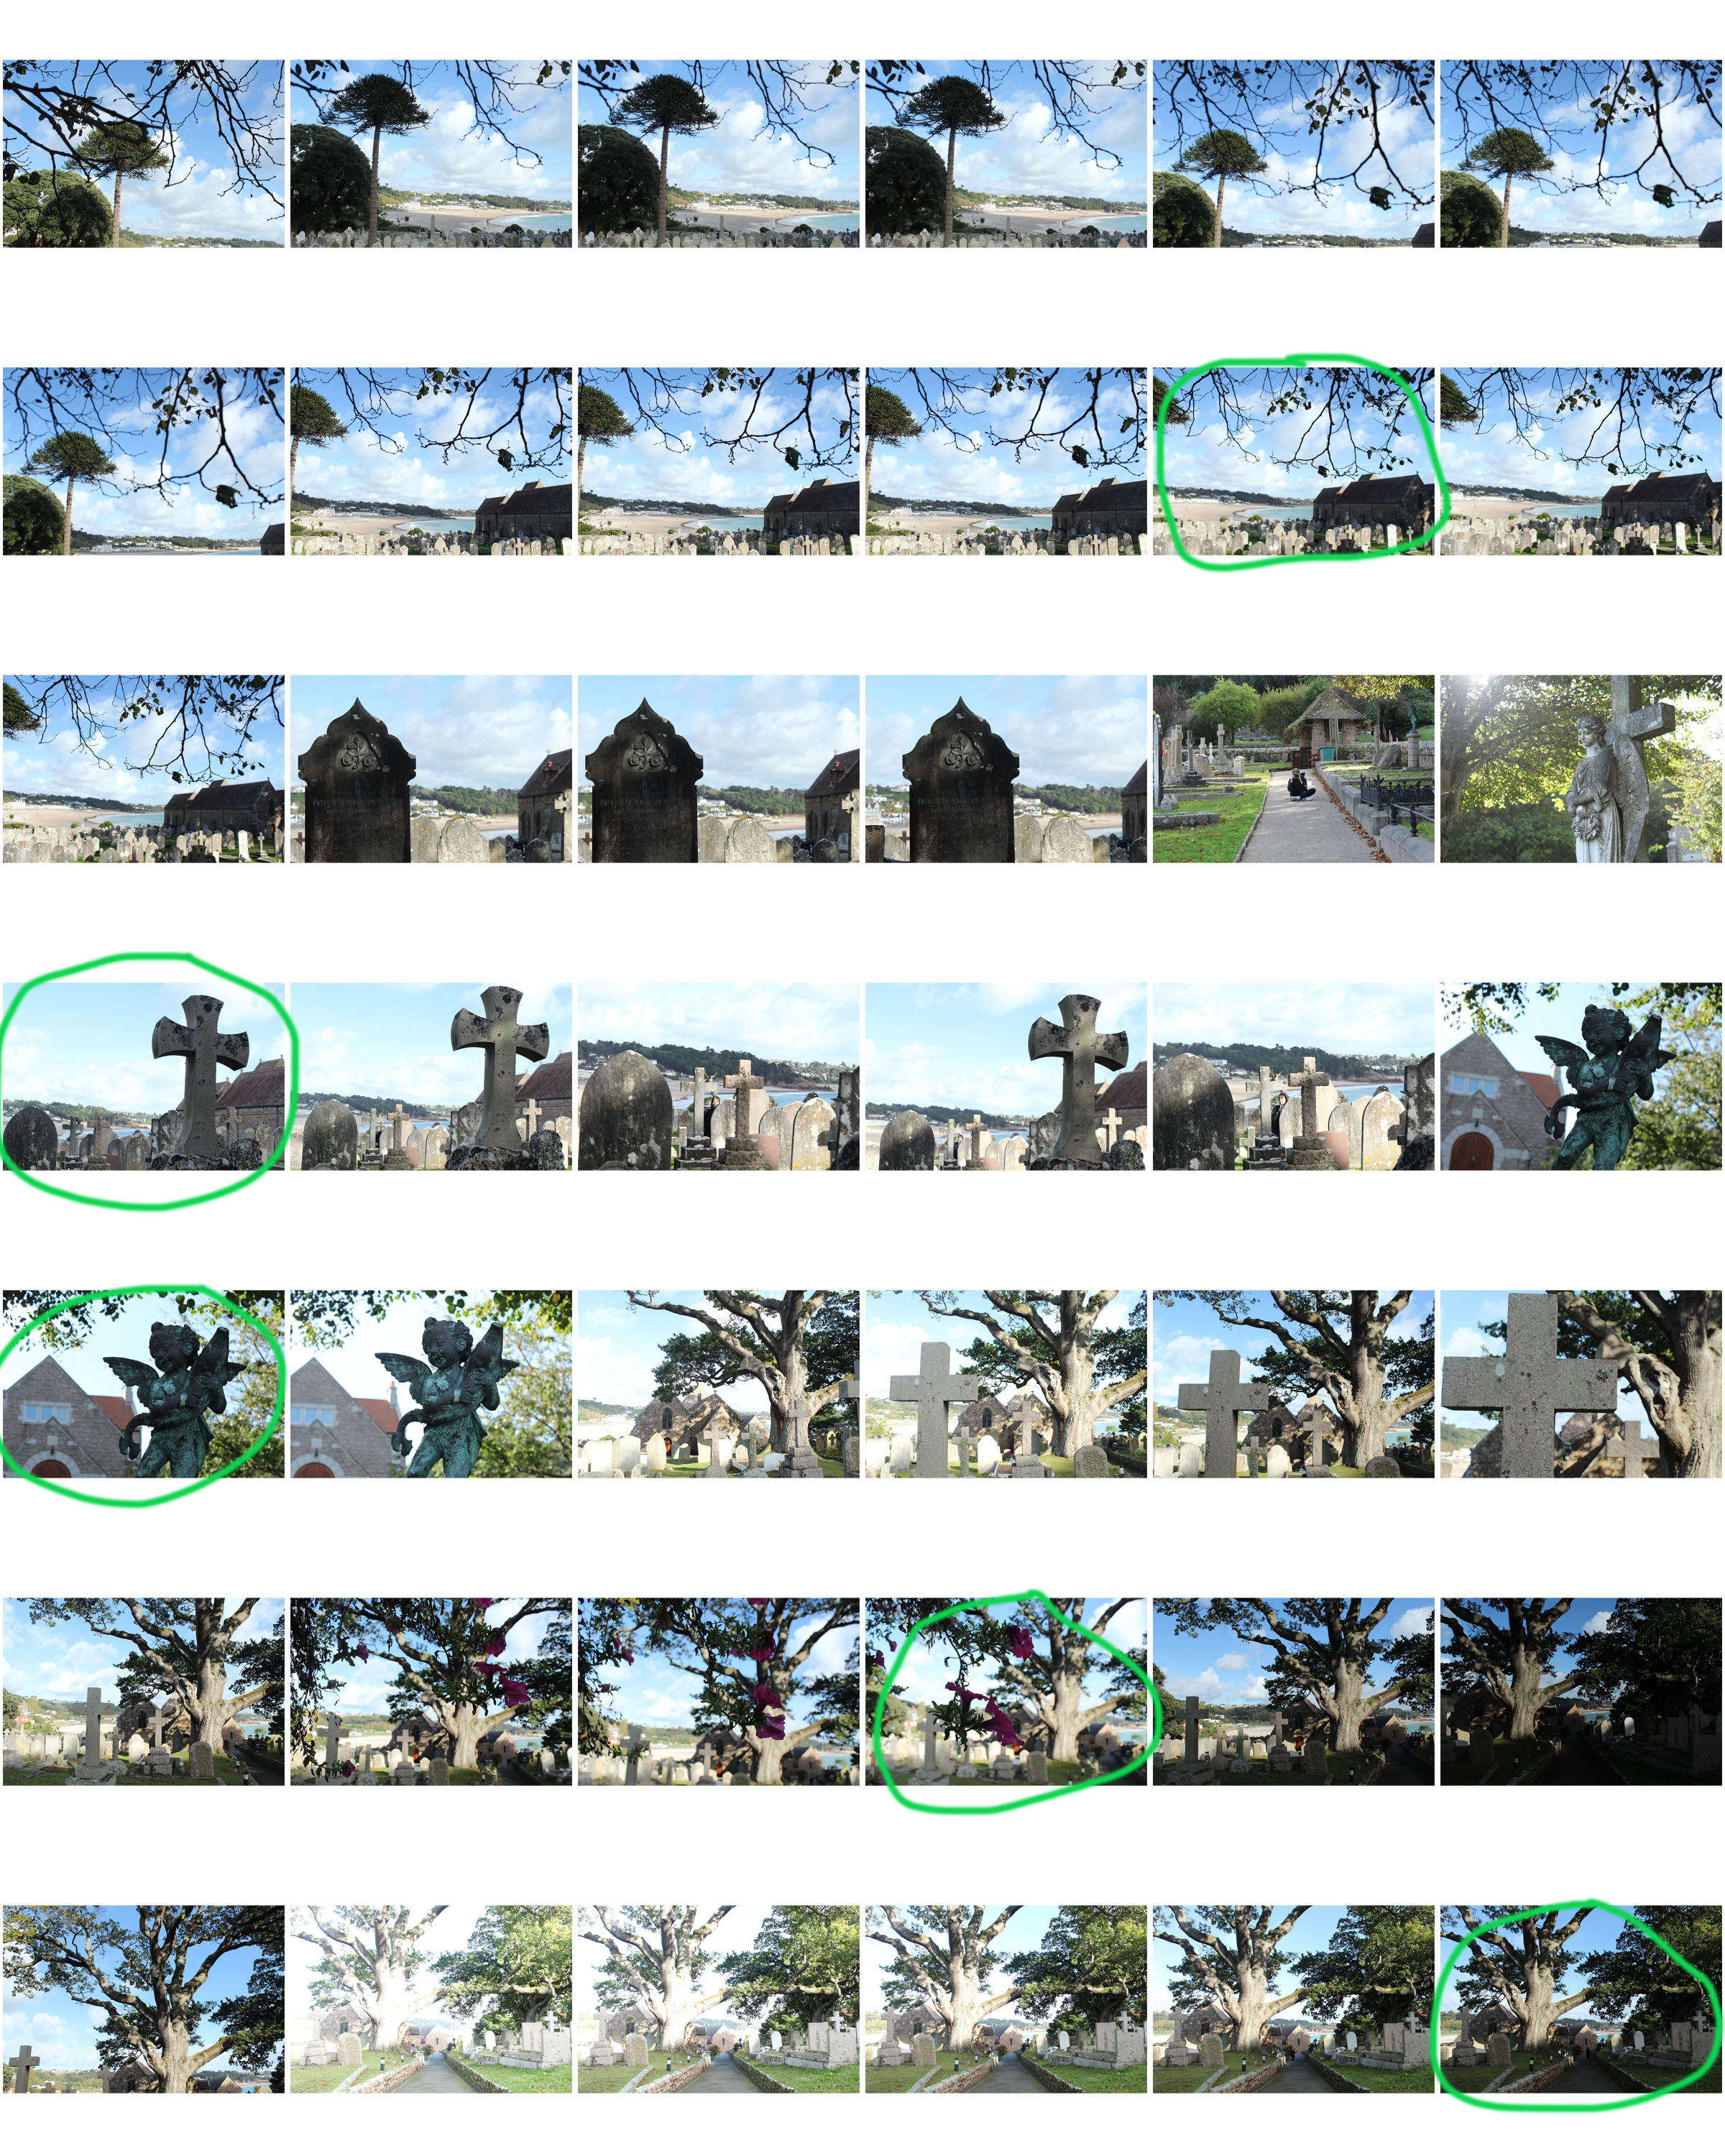
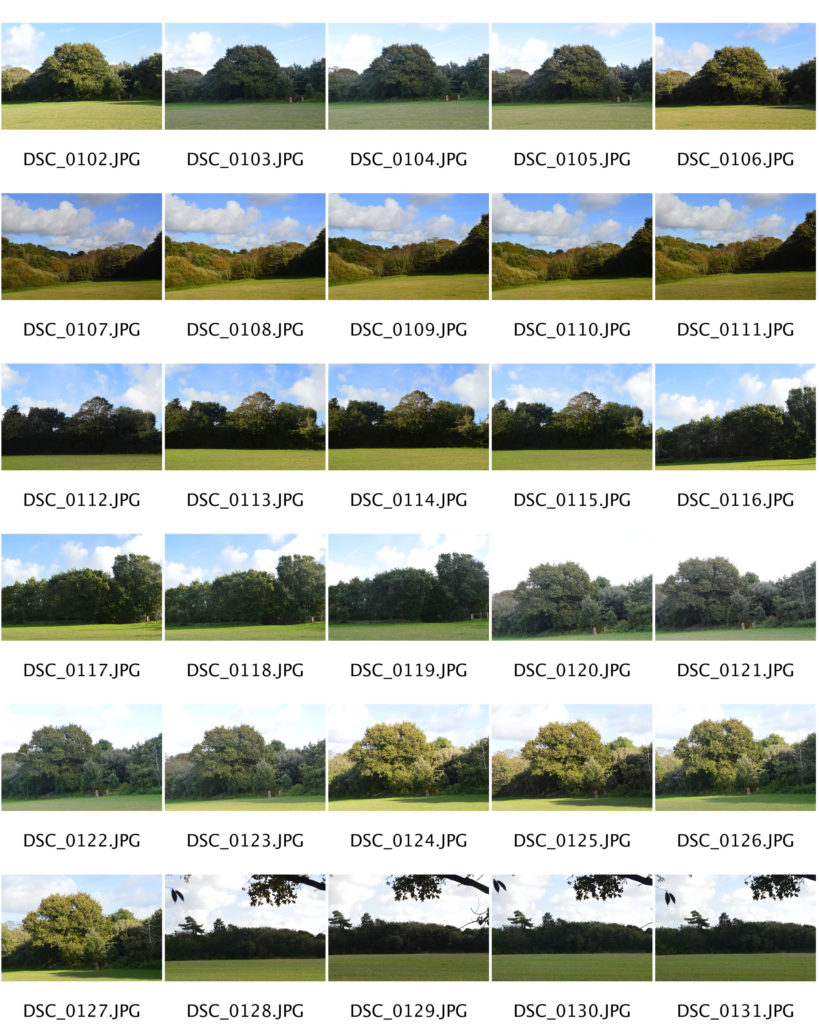
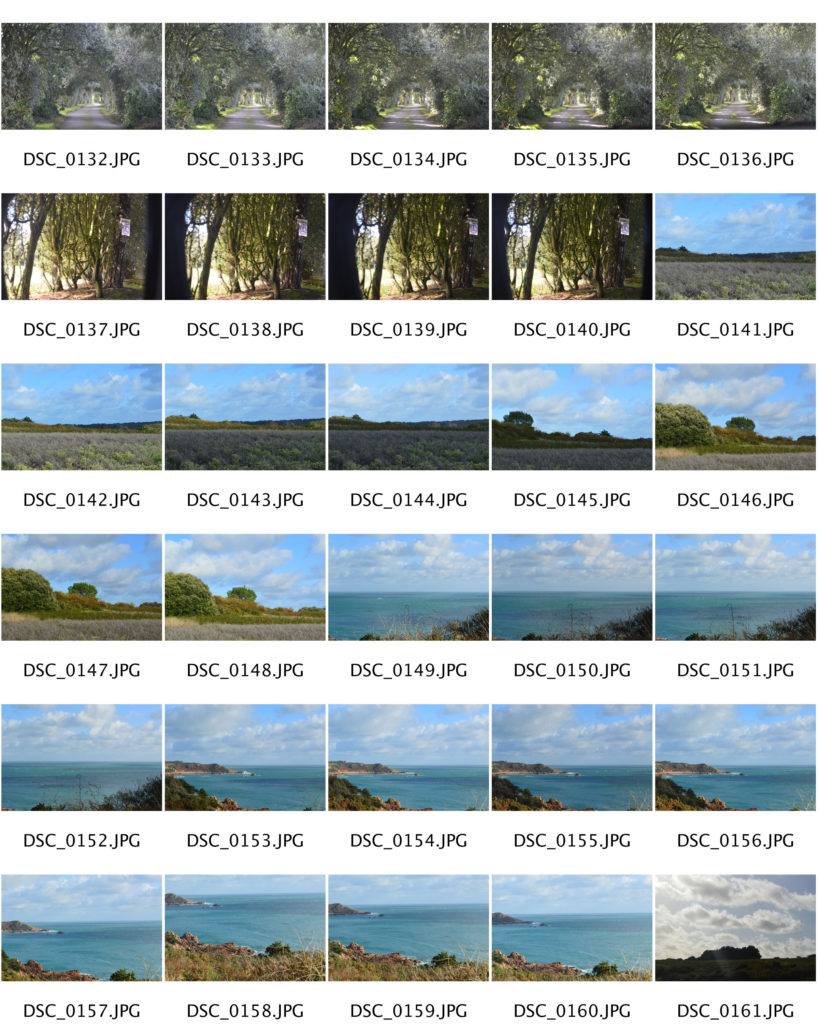
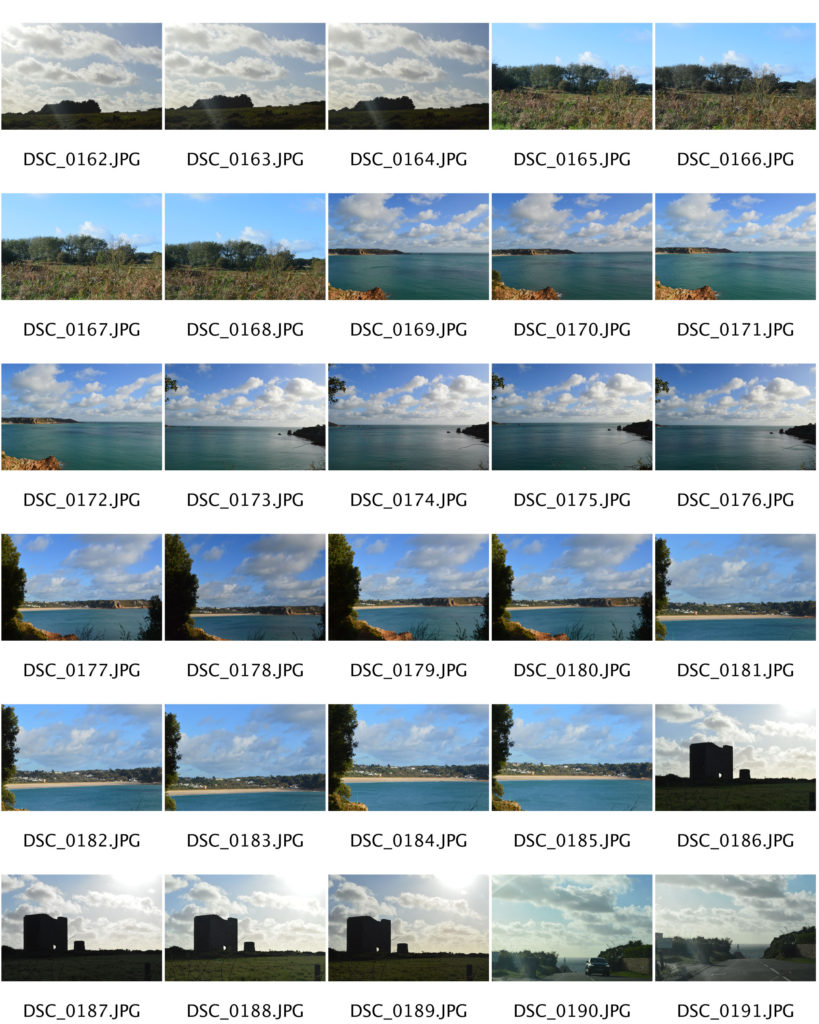
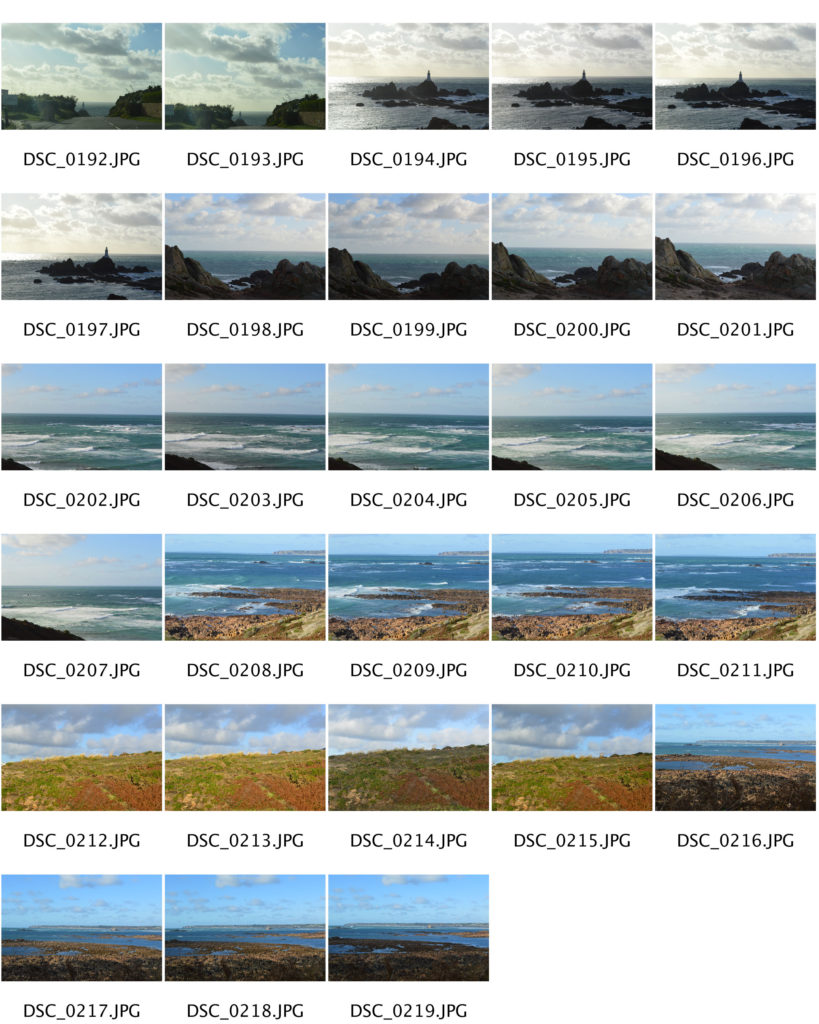
For the first section of this midday photoshoot, I decided to take some photographs of the landscape near La Moye. This landscape is one that is familiar to me as I grew up around this particular area. This developed my interest in capturing the true view of this setting that I know so well, as well as attempting to project a positive view of this natural landscape.

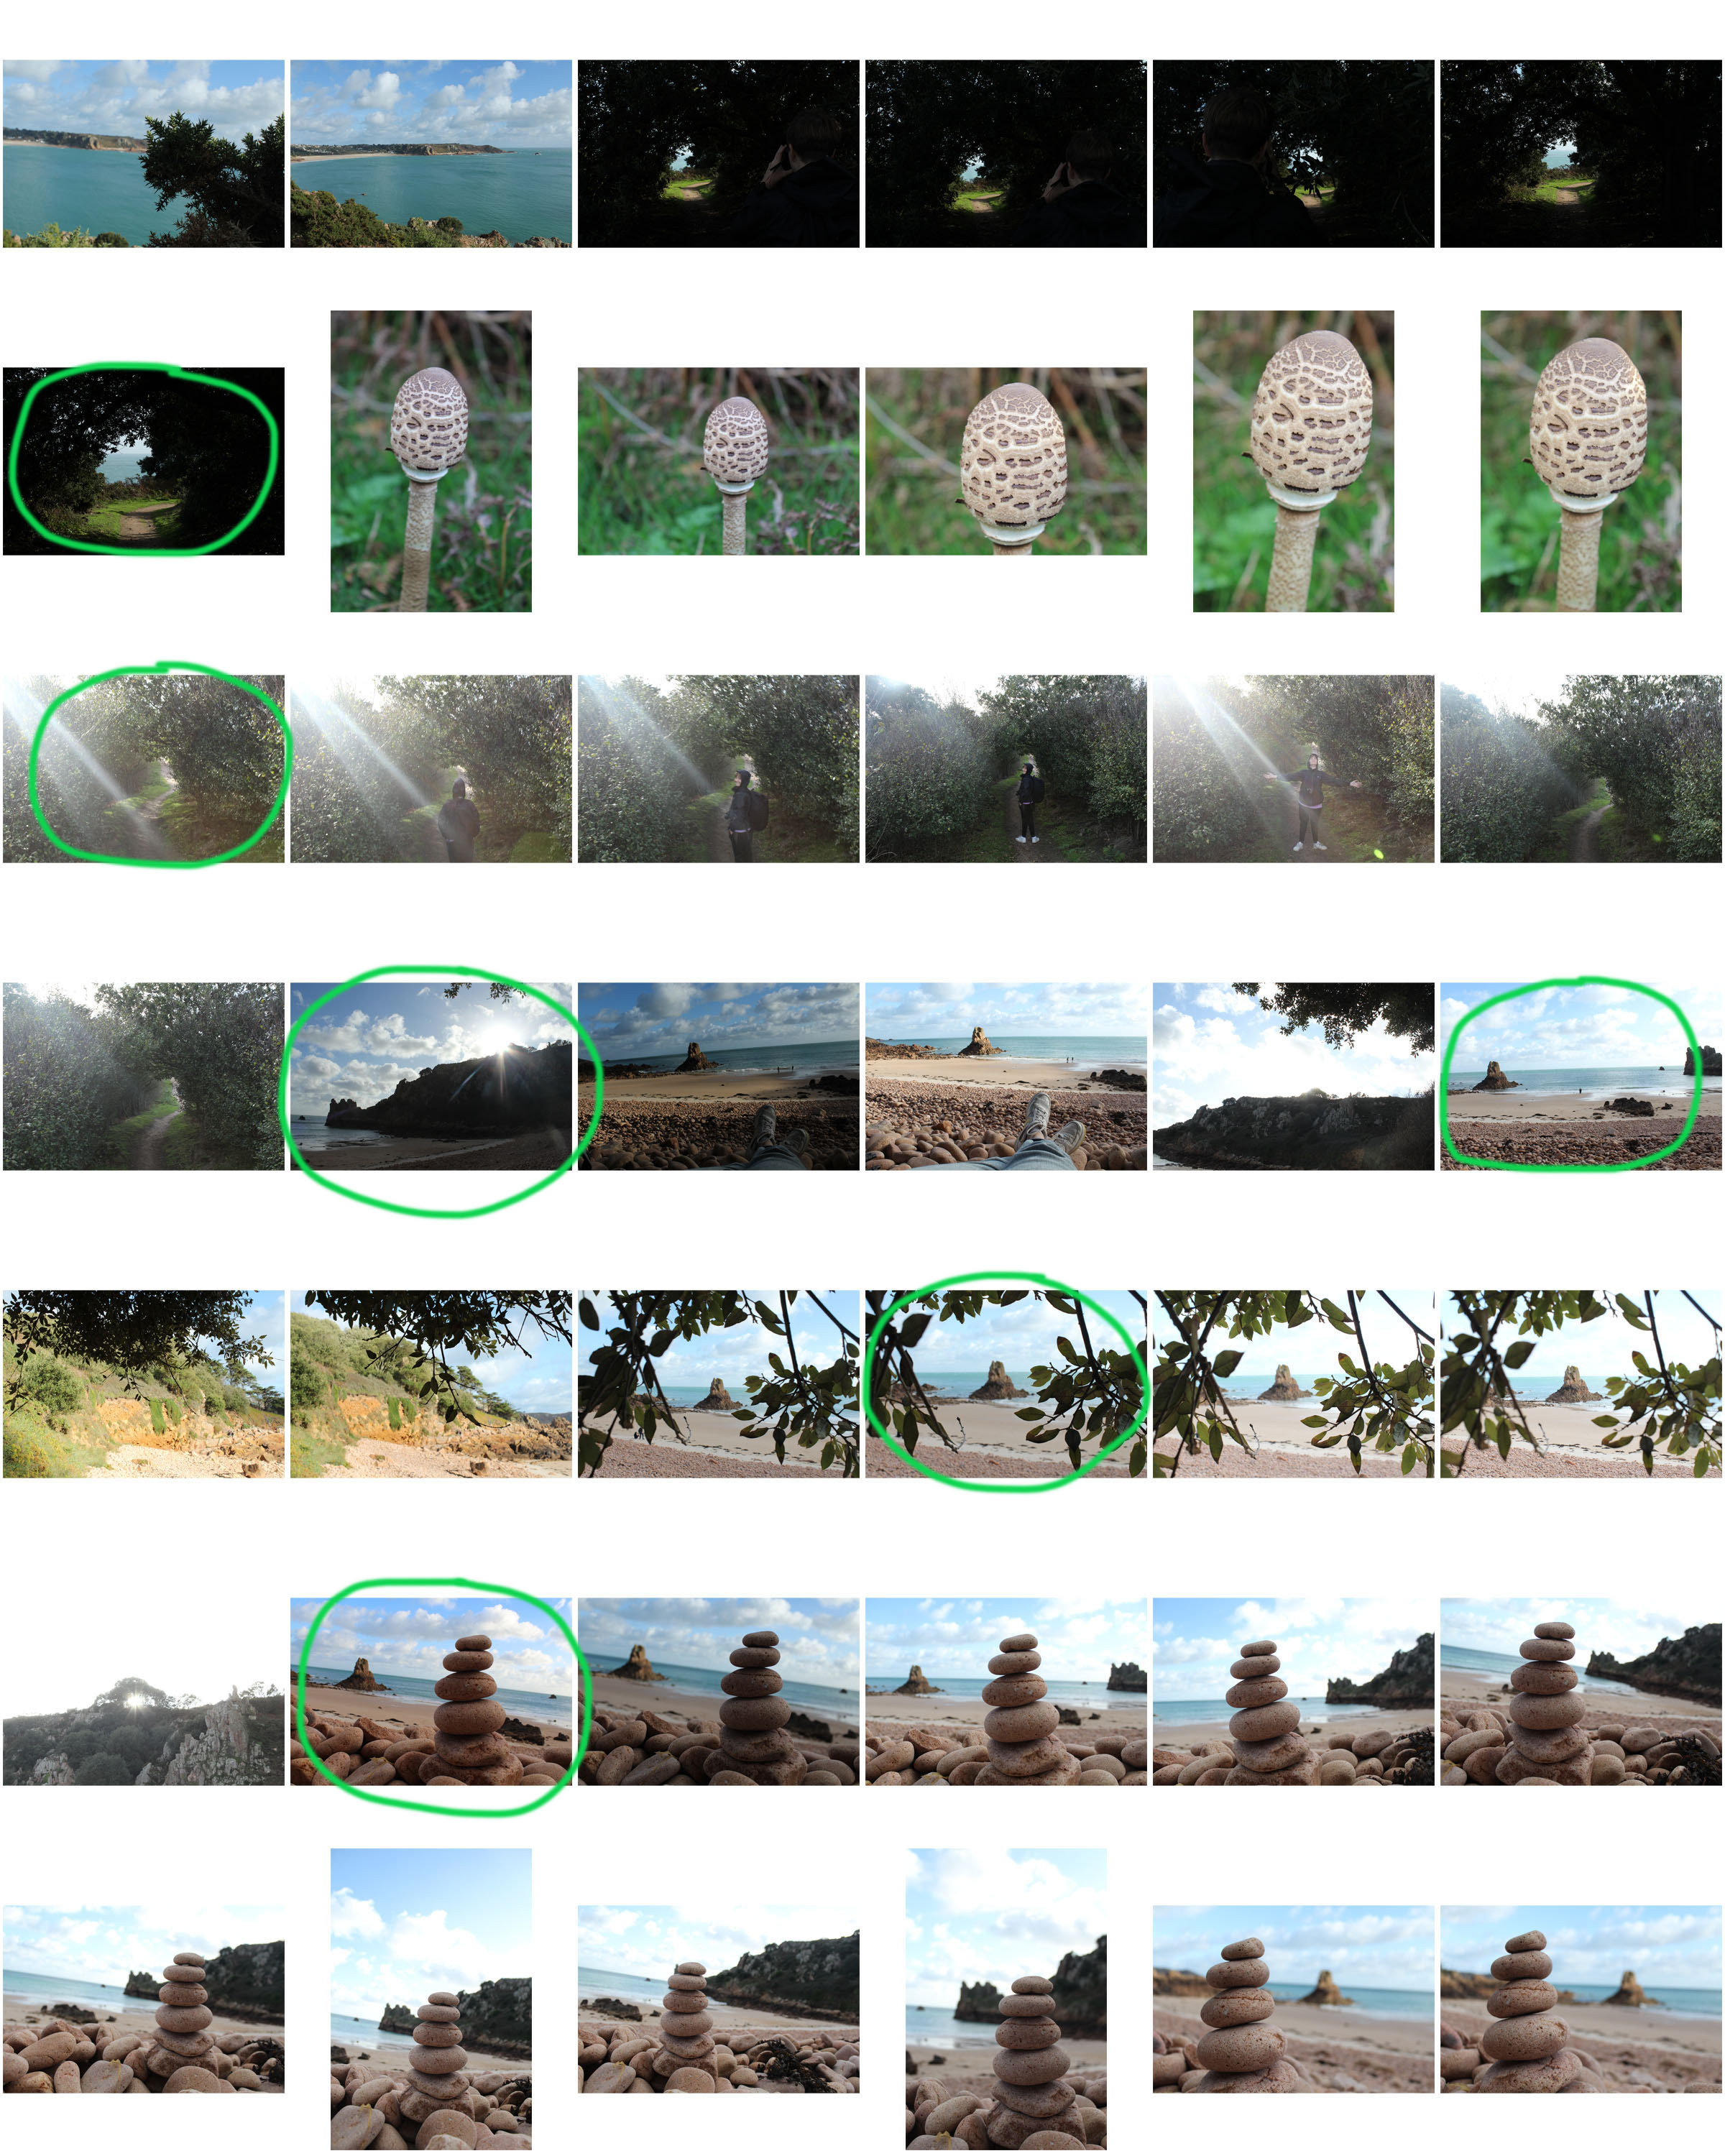
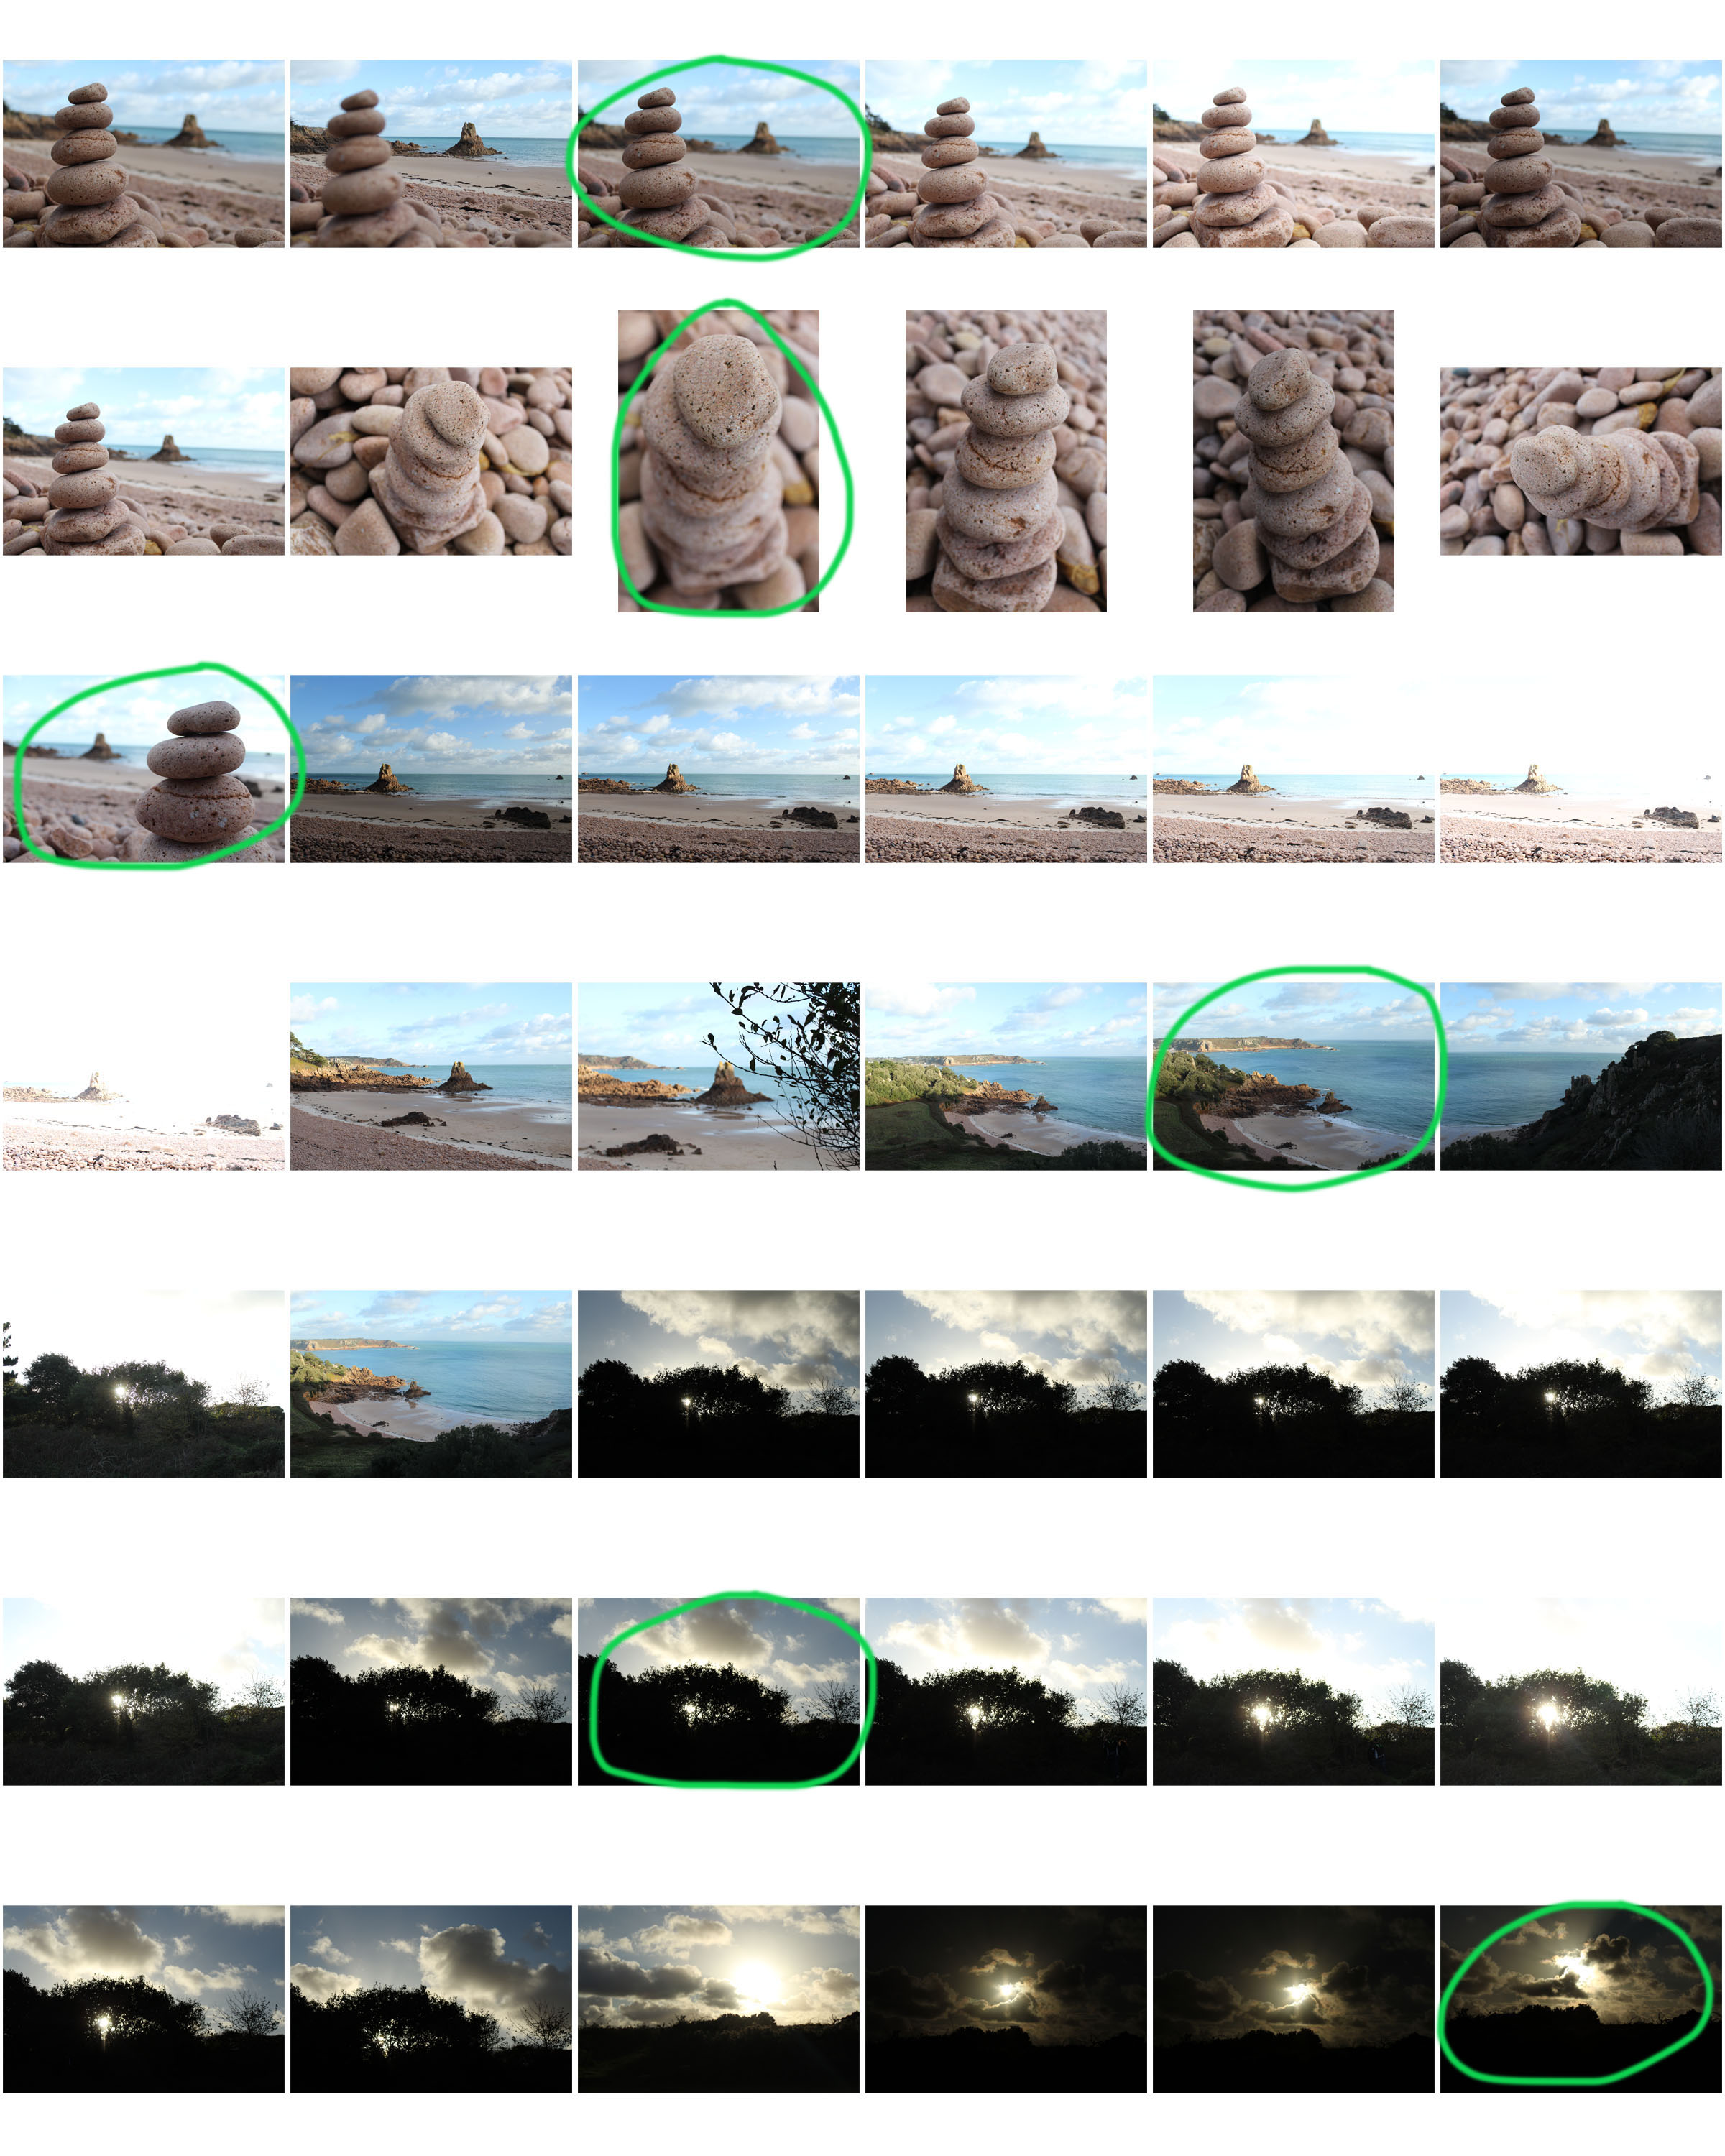
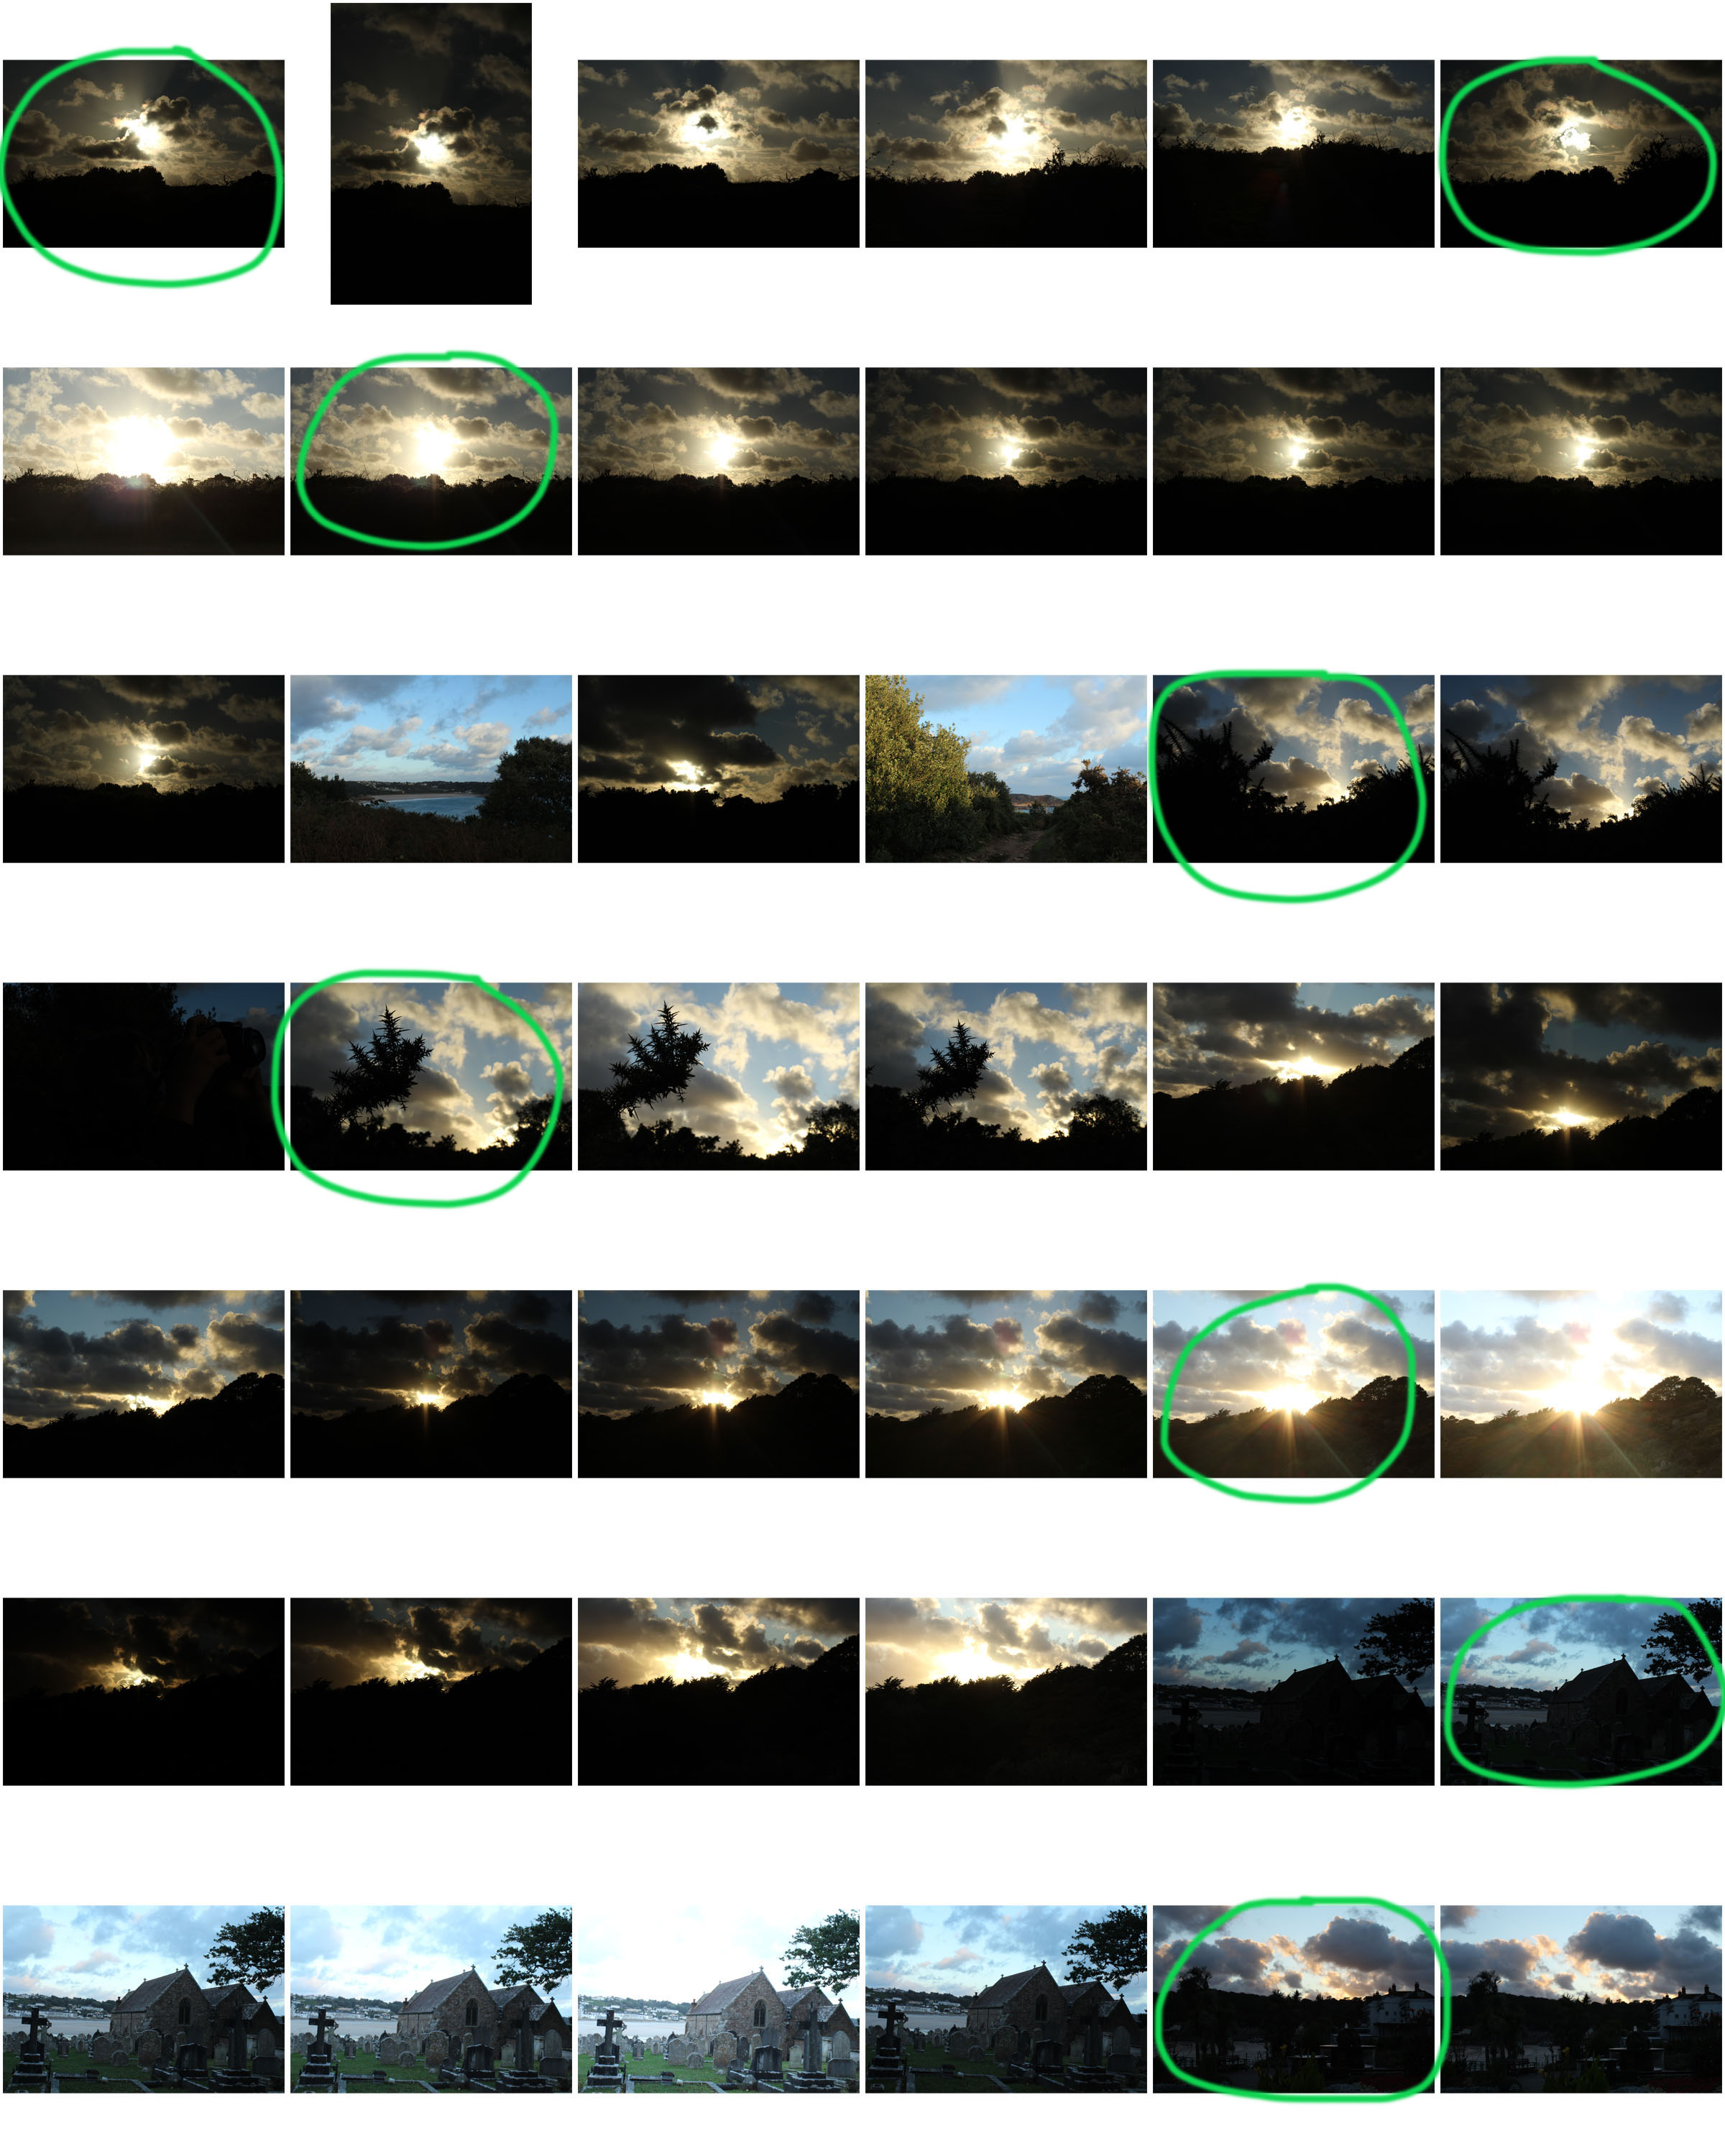
In the second section of this photoshoot, I decided to get some seascapes, in order to create a catalogue entailing a variety of locations as well as lighting and so, to achieve this I went to the different location (Corbiere) at a later time. Here you can see that towards the end of the shoot, the lights was slightly darker. This also helped include a selection of atmospheres throughout the shoot and, a range of focal points by focusing on multiple settings.

ANSEL ADAMS

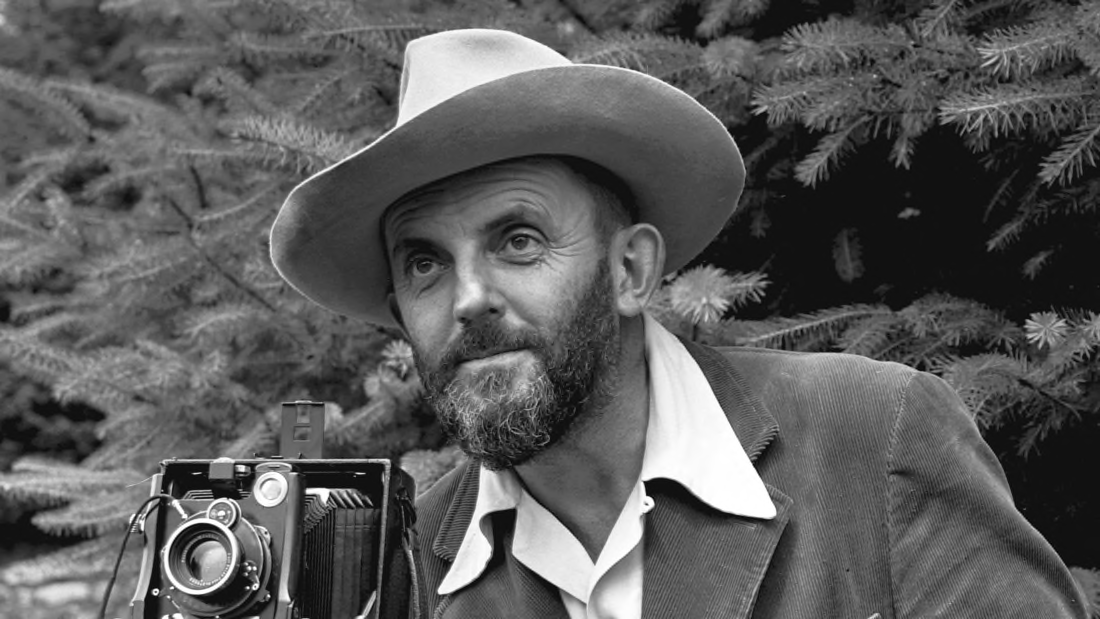
Ansel Adams was born in San Francisco, California in February 20, 1902. Initially, he was first drawn to landscape photography when going out to national parks where he decided that he wanted to capture the way he saw the beautiful landscapes and wanted others to be able to envision what he saw first hand .

At the time of which Adams was taking these images, there wasn’t the technology to allow for any sort of compact form and so he had to hike up mountains while carrying a multitude of heavy, bulky equipment just to capture his ideal/perfect image hence why Adams’ work is very famous to the present day as his work separates him from other photographers of the era due to his incredible attention to detail as well as the perseverance to capture them throughout his images.

Adams also created his own light grading system which provides much more depth in his images by creating different light levels in the photograph resulting in contrasts within the image as your eyes react to the different lights.