ANSEL ADAMS LANDSCAPE PHOTOGRAPHER

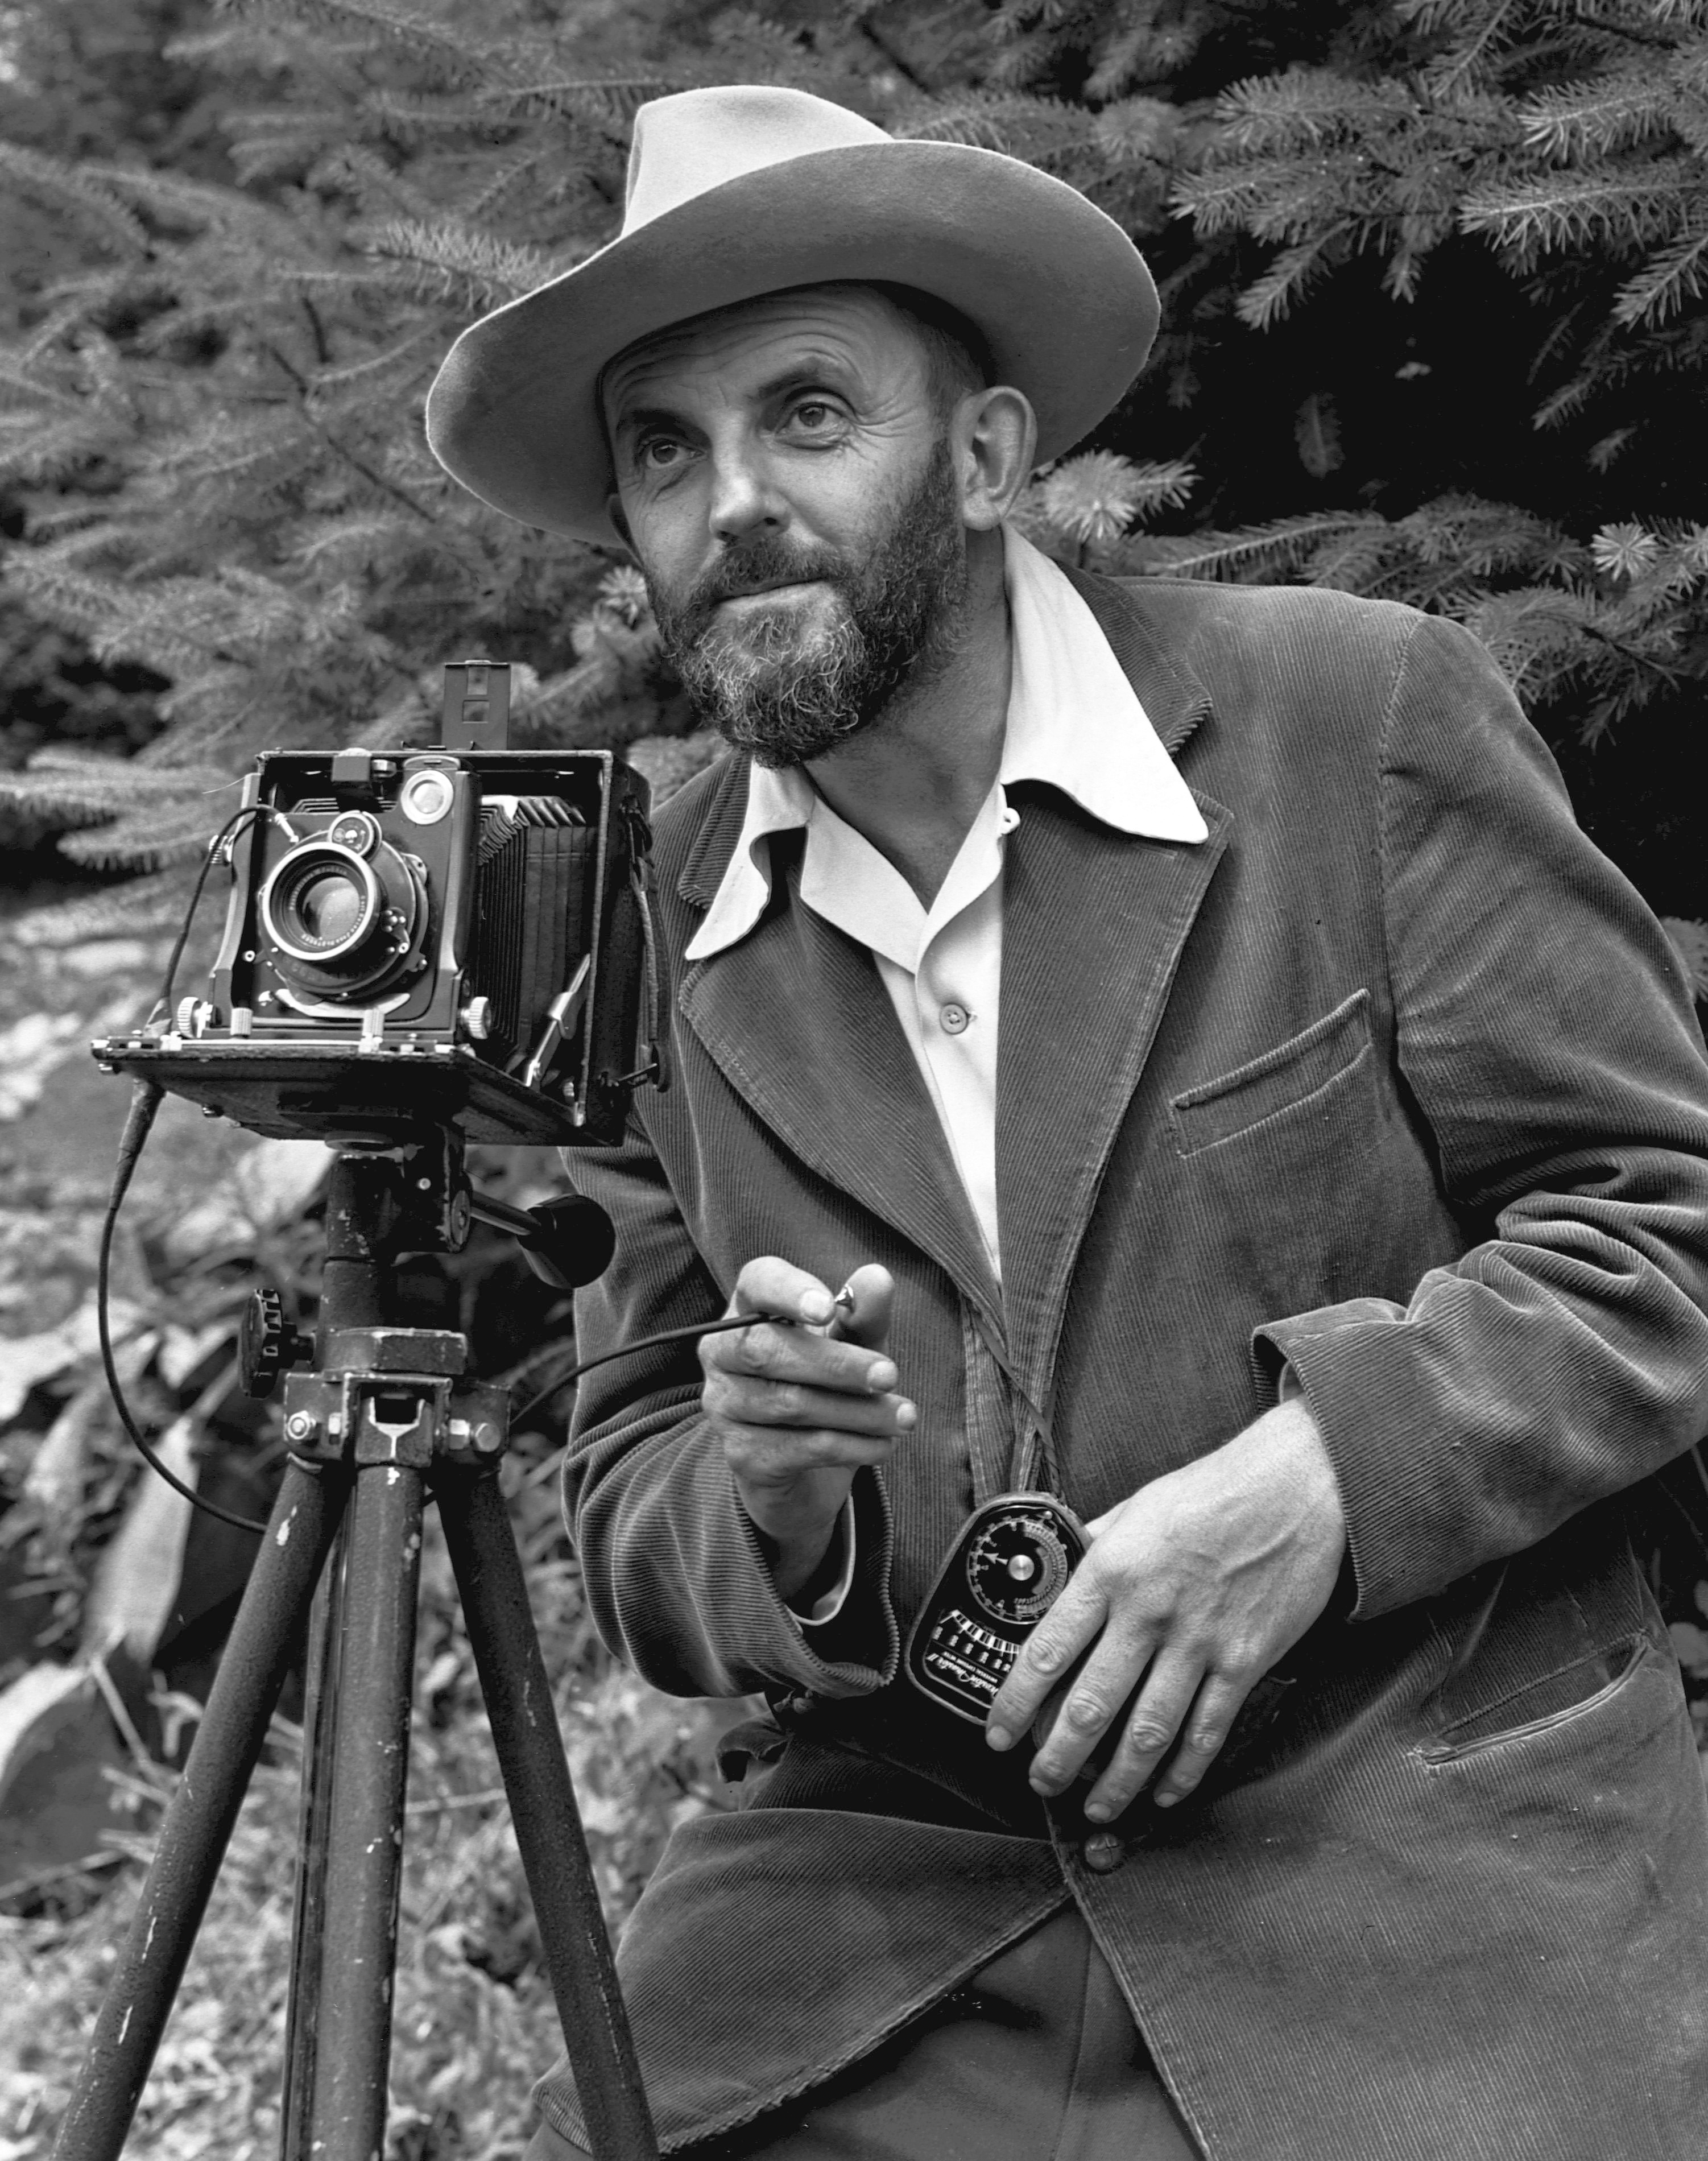
Image result for Ansel adams

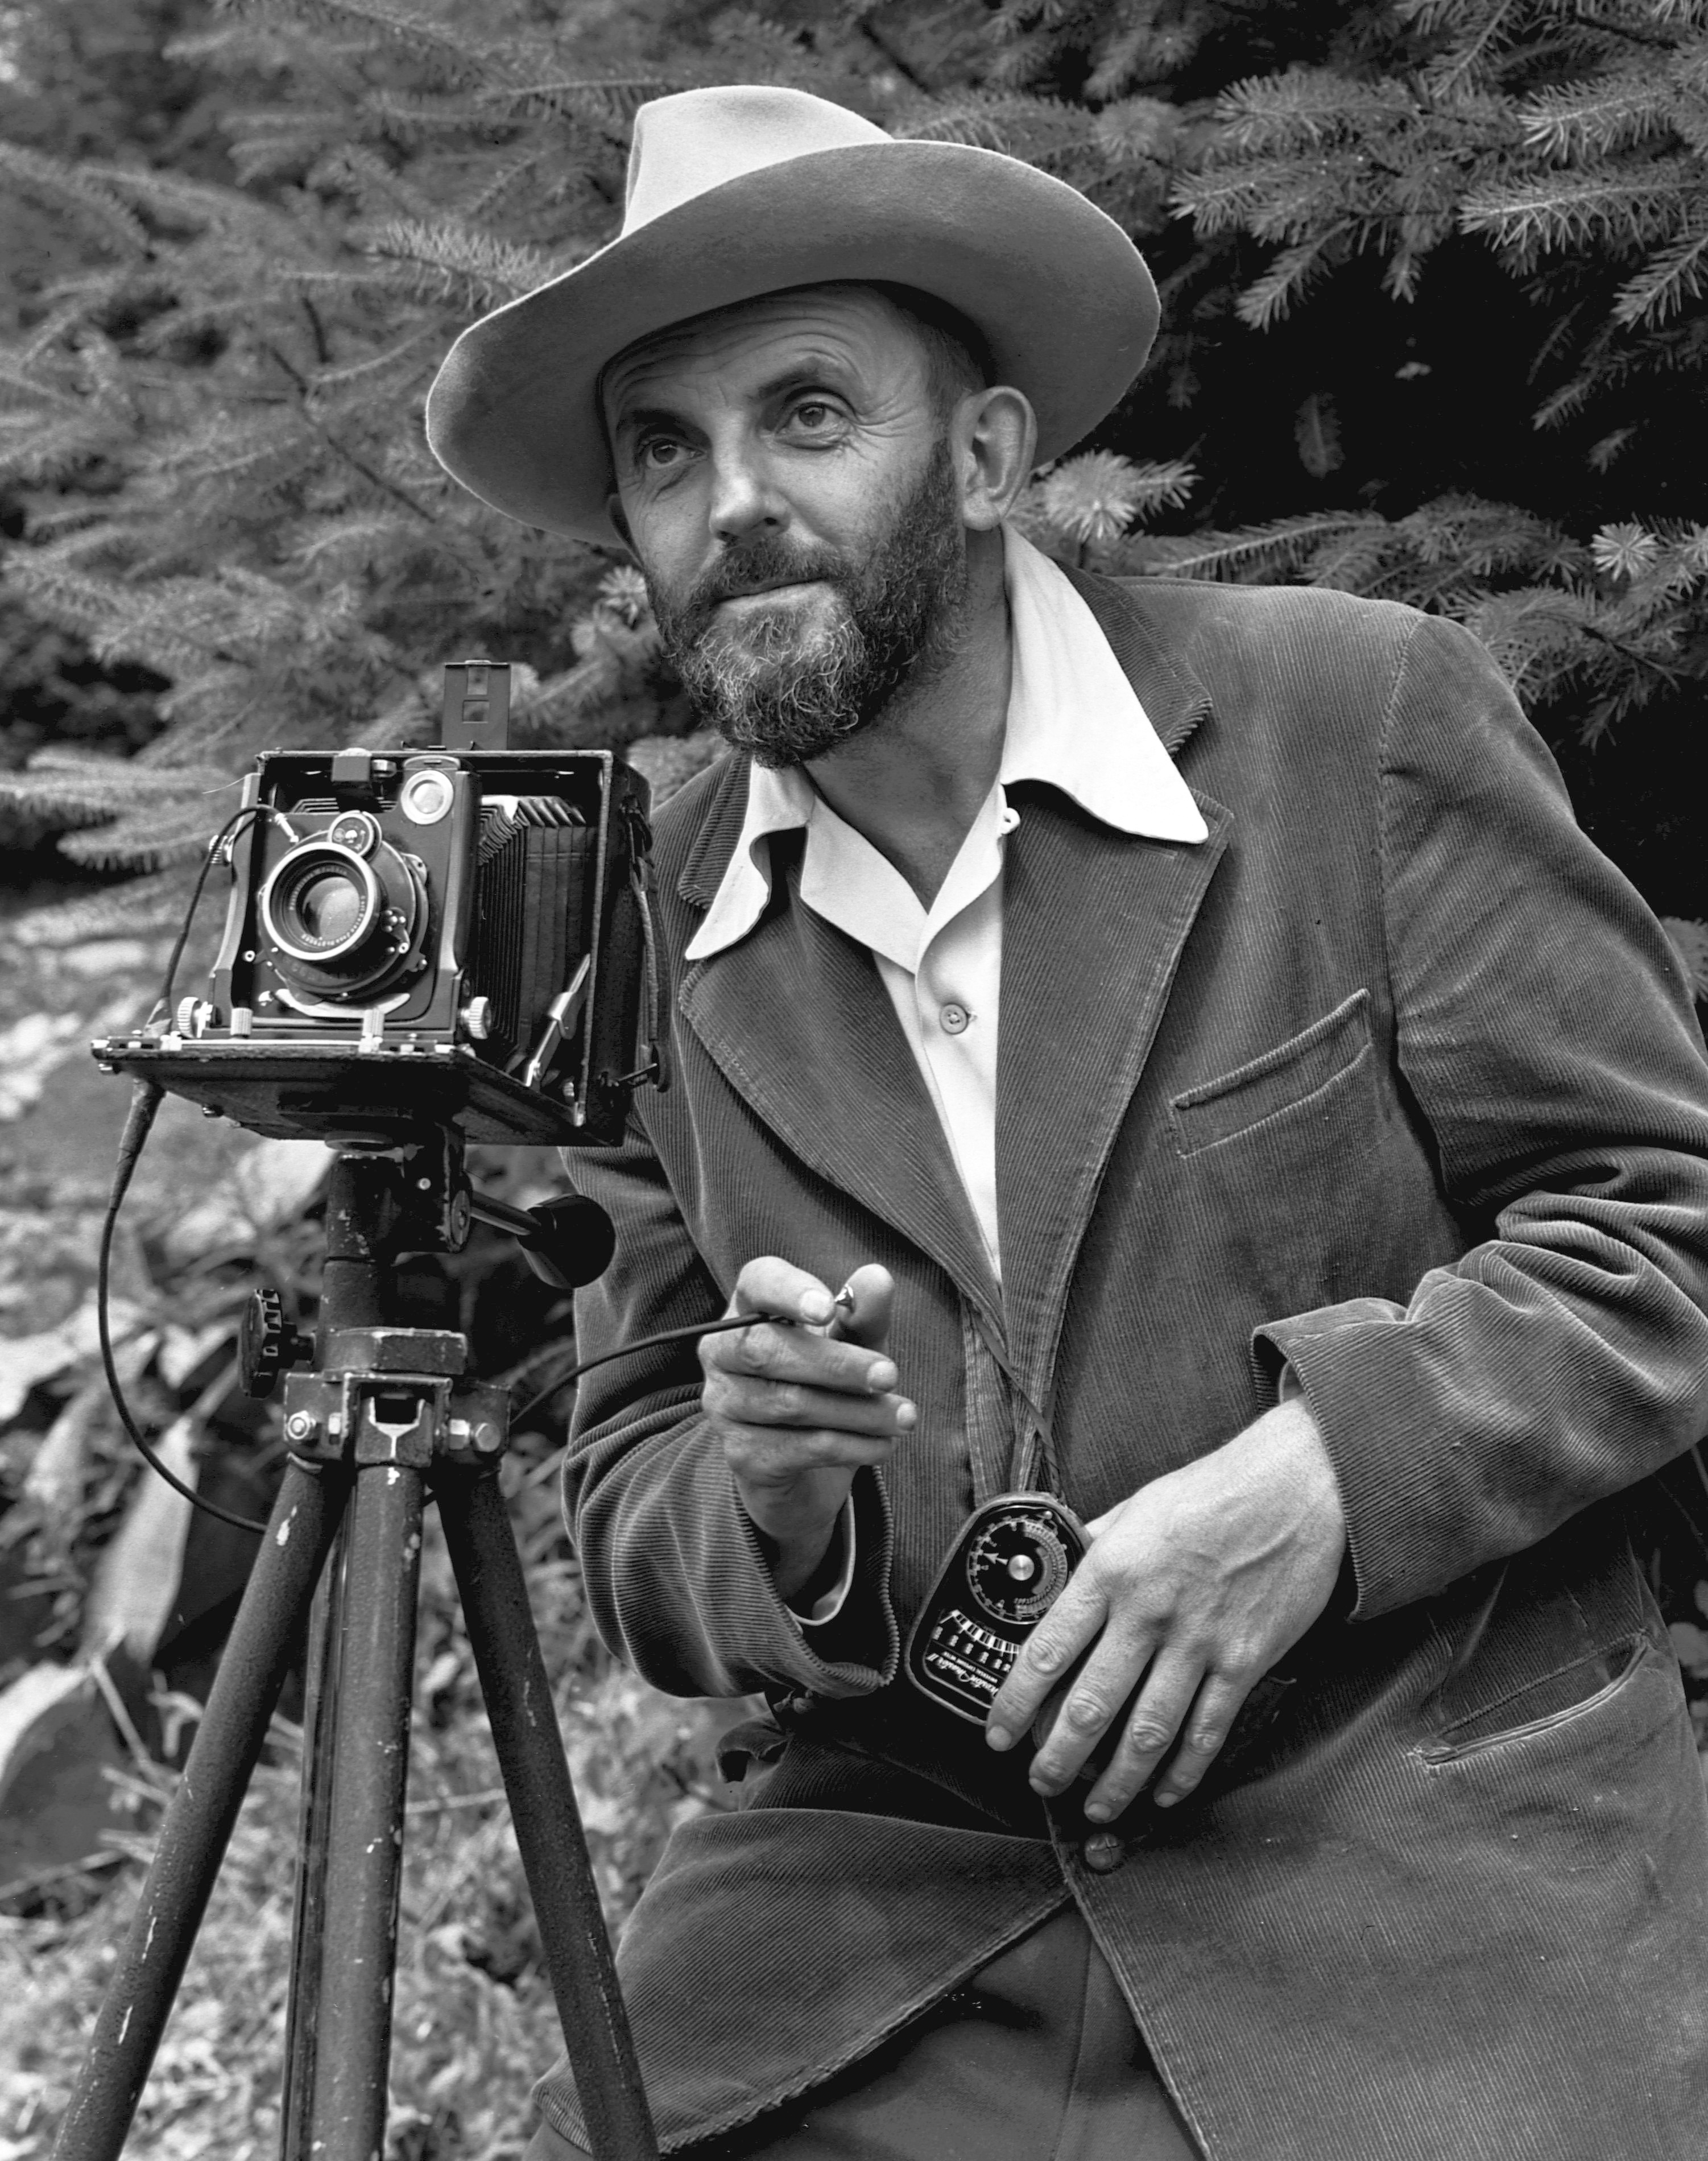
Ansel Adams was born on the 20th or February, 1902 in San Fransisco, California. He is one of the most important landscape photographers in the 20th century, creating iconic black and white photographs that established photography as a fine art. Adams particularly photographed the American west, focusing on Yosemite national park. As well as being a photographer, he was an environmental activist, and used his work to promote the conservation of wilderness areas.

Spending much of his time in the dark room, Adams pioneered in the zone system, where he would paint onto enlarger the areas on the photo he thought where lighter or darker. We refer to this as burning and dodging.
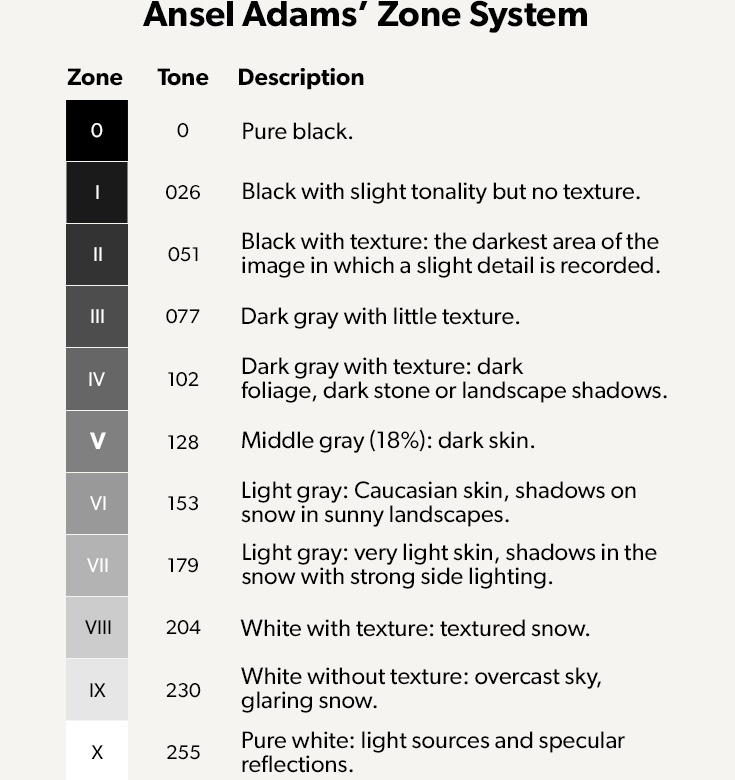
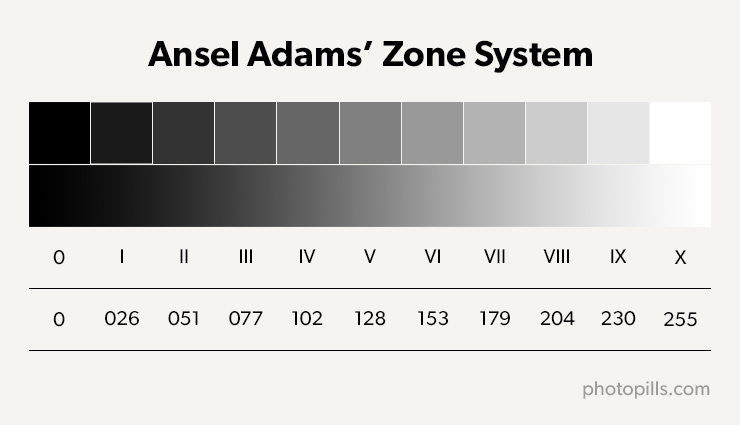
In the 1930s, Ansel Adams and Fred Archer created the Zone system, which is a standardised way of working that ensures a correct exposure in every situation.

It creates an extreme difference between light and shadow areas of a scene. Zones are split into 10, with a 1 stop difference between each one.

This helps you to construct a precise evaluation of your scene’s tones and dynamic range, even before taking a photograph. It also determines how exactly how far apart to take exposure bracketed shots.
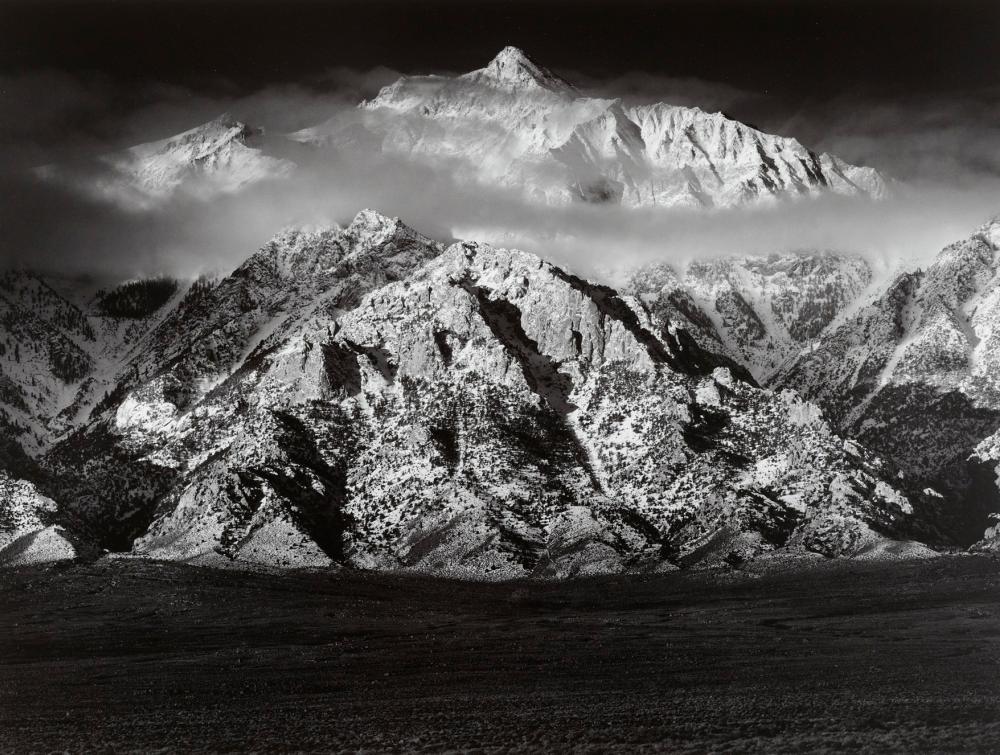
Image result for ansel adams
ANALYSIS OF HIS IMAGE:

TECHNICAL:

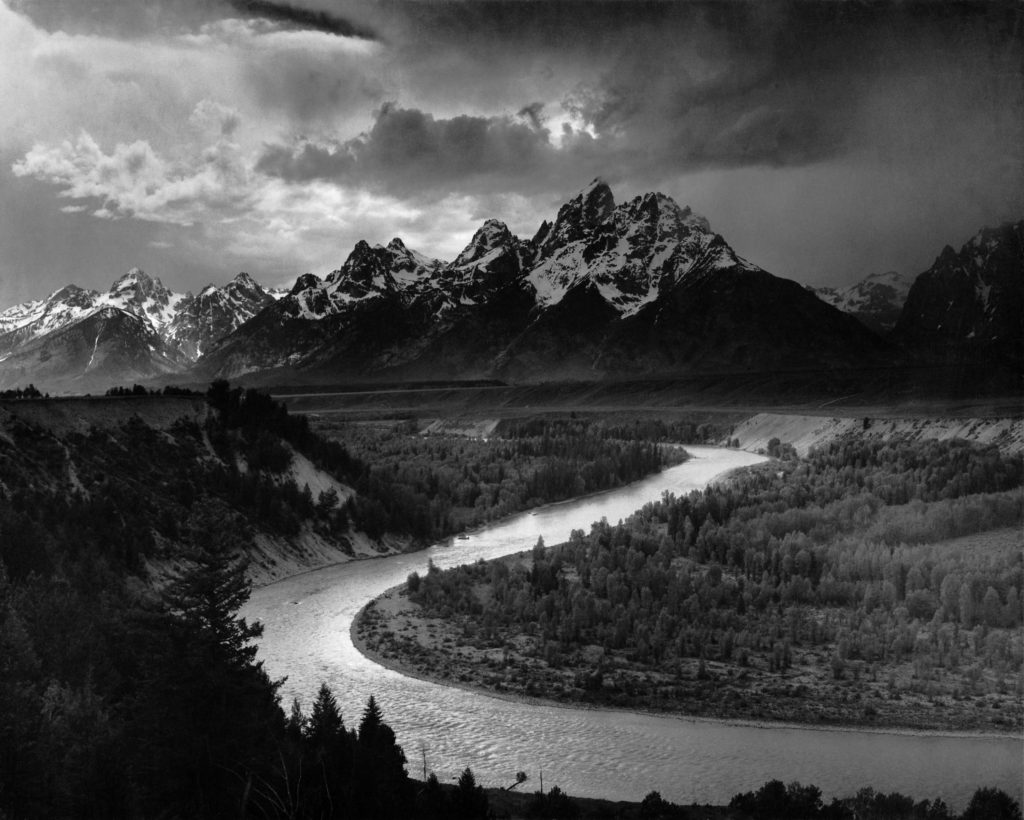
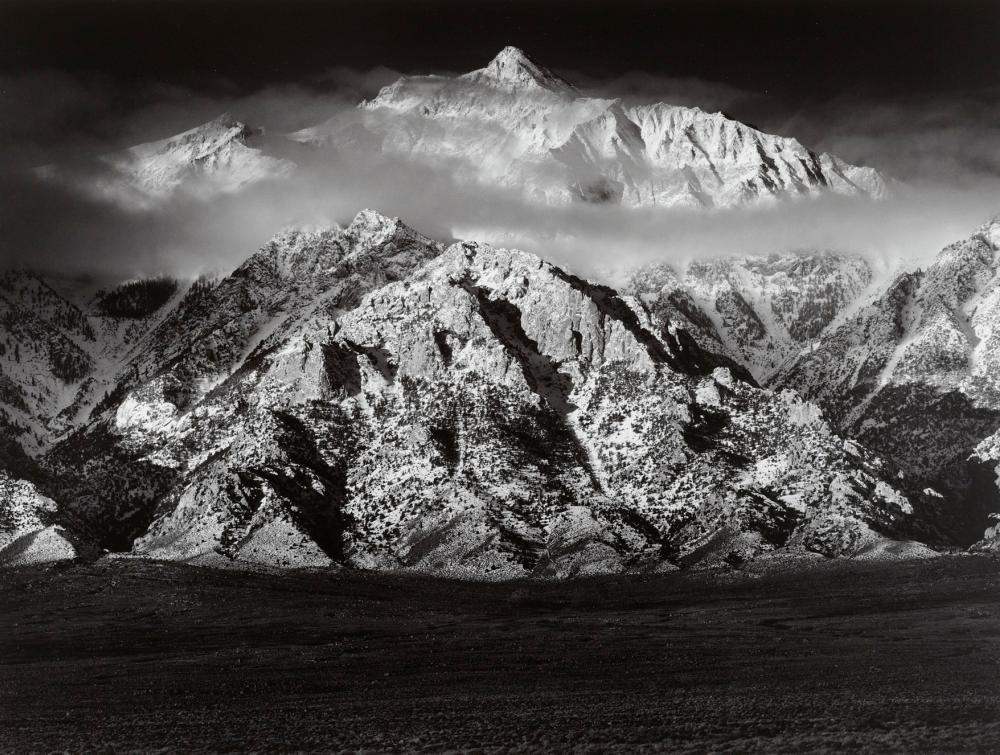
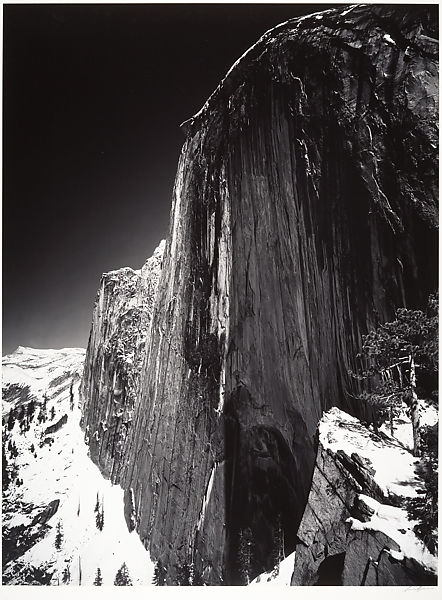
The lighting of this image is generally quite dark, with highlights of the mountain illuminated by obvious daylight. You can see this lighting is natural, reflecting the focus of the photograph. The image looks generally underexposed, with a high contrast between the shadows in the crevices of the mountain and the highlights scattered along the jagged mountains.

The aperture of the photograph looks as if is around f/16 as there is a deeper depth of field. The shutter speed seems to be quite short, maybe 1/320 as the image seems to be underexposed and quite focused and sharp. However you can see that this image is slightly grainy, which indicates a high iso. This could mean that the iso was high, maybe ISO1600.

VISUAL:

The colour of the image is black and white, which is very common in Ansel Adams work, however through this black and white image, there is a lot of tone, with very bright highlights and dark shadows (Zone System). There is a lot of texture coming from the mountains in the photo due to a range of lights and darks scattered across them, clearly indicating that they are the focal point.

There is very clear line in the image, between the dark rolling hills and the mountains, however the horizon line is very high up on the image, this could be to exaggerate the height and power of the mountain landscape. There is a very clear rule of thirds being applied in the image, with the segments going horizontal (lightest focal point being the mountains in the second third.)

CONTEXTAL/CONSEPTUAL:

The purpose of the image is to exaggerate the beauty of nature and the dramatise the landscapes in the image through the use of technique. This image truly reflects Ansel Adams ideas toward nature by bringing a Romantic approach to is photographs in order to promote the conservation of wilderness areas.

Ansel Adams Case Study

Ansel Adams, was born on February 20, 1902. He had always enjoyed nature, and spent lots time exploring and collecting insects as a kid. Adams was homeschooled for two years by private tutors, his father, and his Aunt Mary.

Ansel Adams 1950

He was influenced by Ralph Waldo Emerson, living modestly and morally, and later, the philosophy of Edward Carpenter inspired Adams to pursue beauty and display it to the world.

His interest was first securely brought on by visit to Yosemite National Park in 1916 with his first camera, a Kodak Brownie box. He continued to visit Yosemite every year for the rest of his life.

He worked on commercial projects for companies such as Kodak, AT;T, and Fortune magazine, and preferred the high resolution of large-format cameras, and as a result his black-and-white photographs of nature became his trademark.

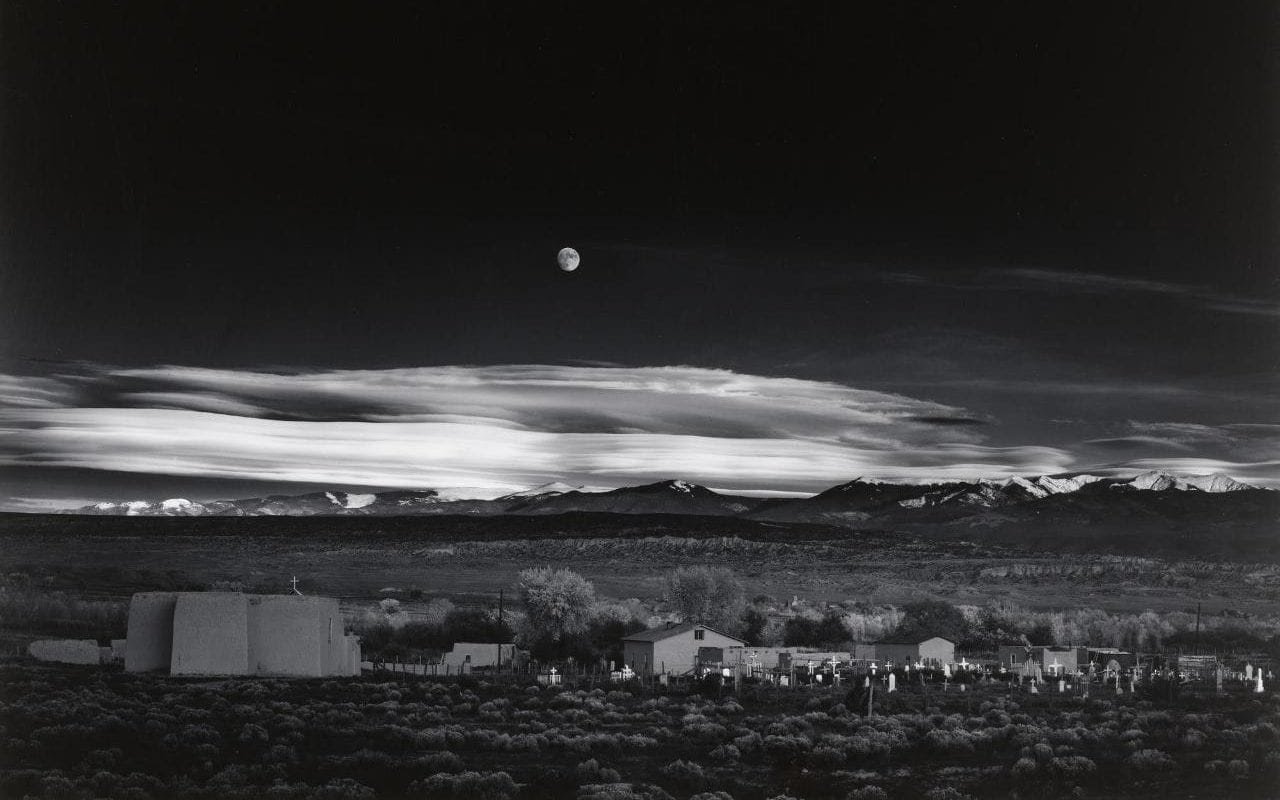
Moonrise, Hernandez, New Mexico, 1941 by Ansel Adams
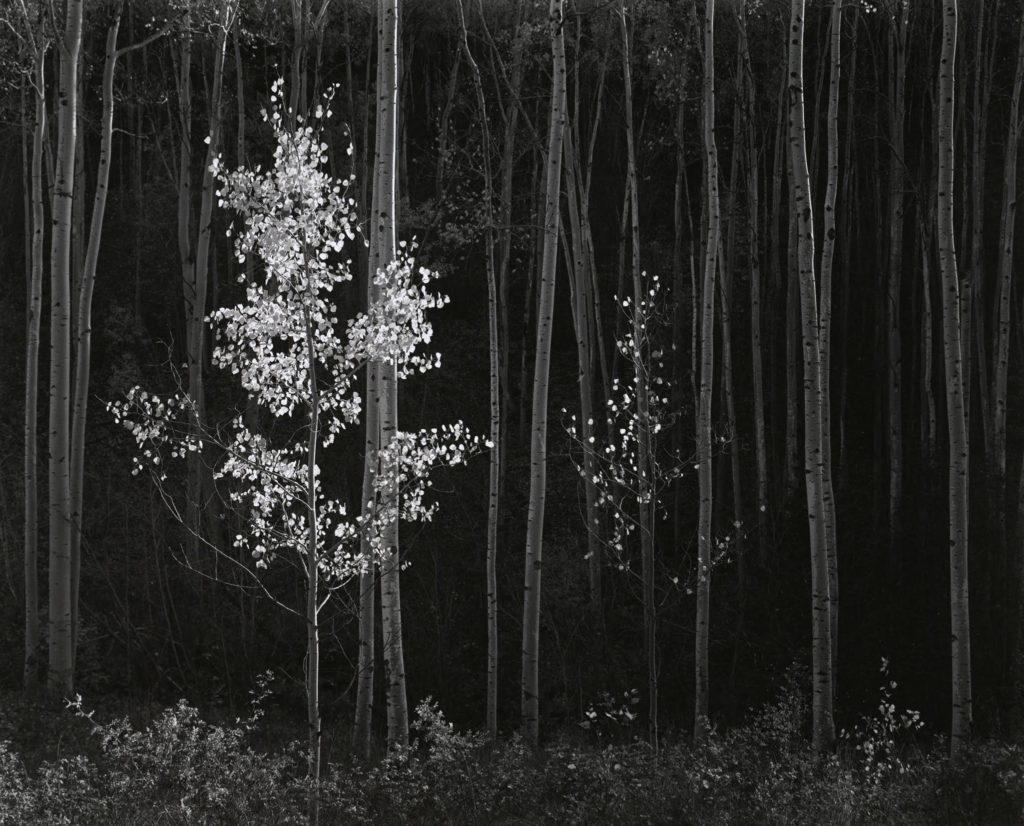
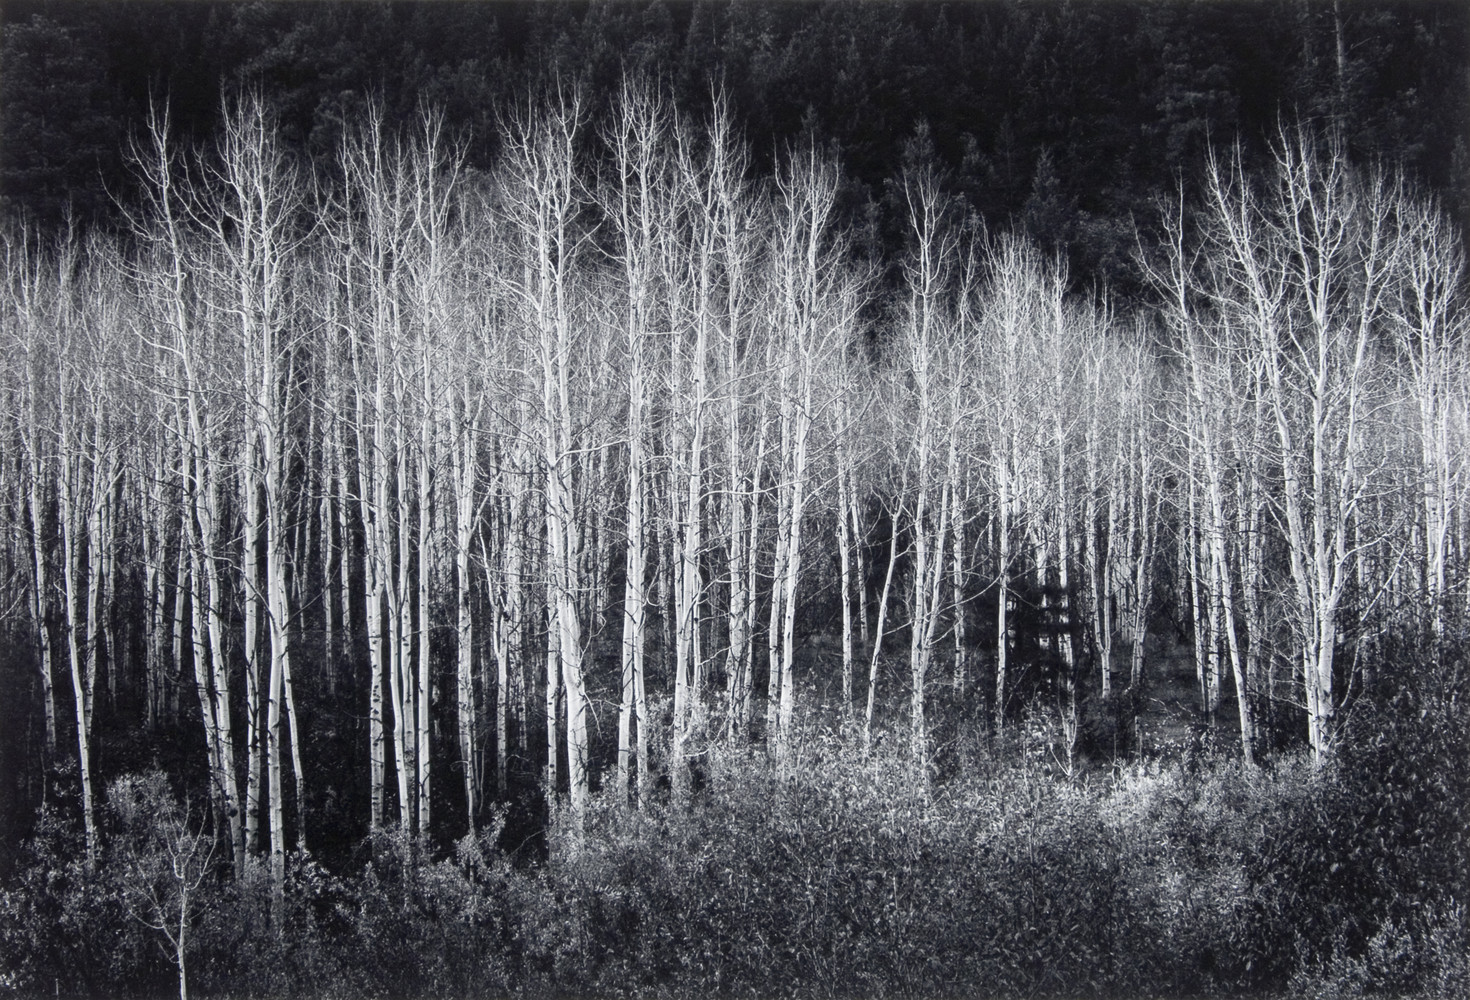
Aspens, New Mexico, 1958
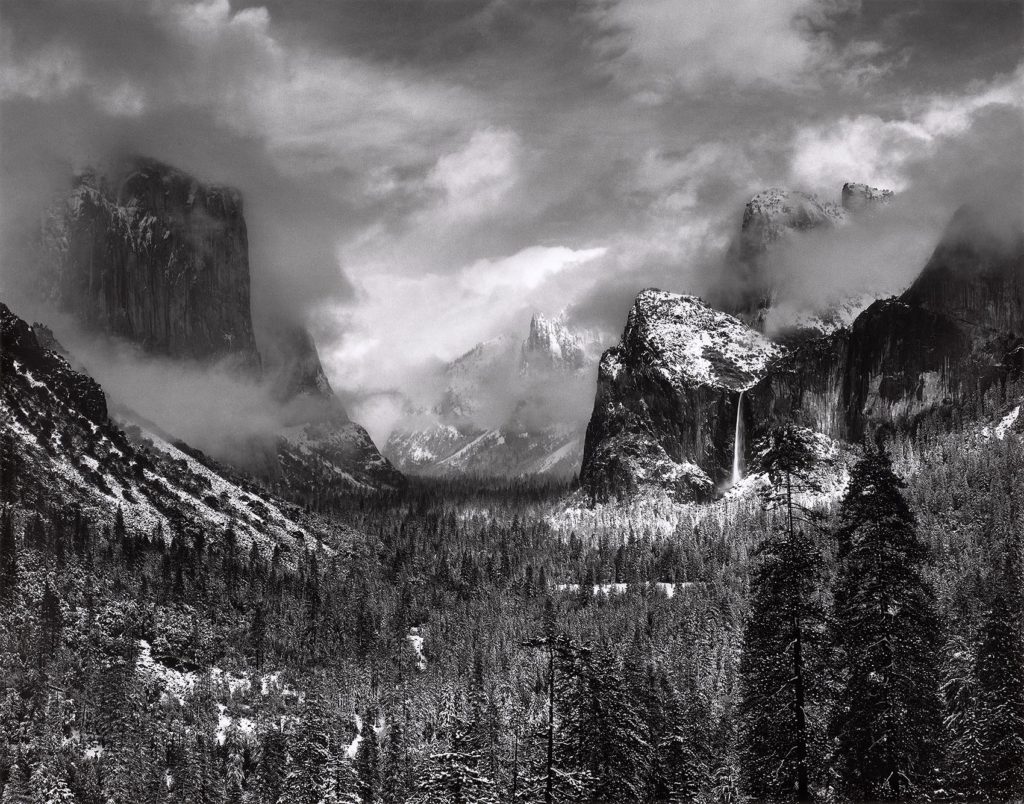
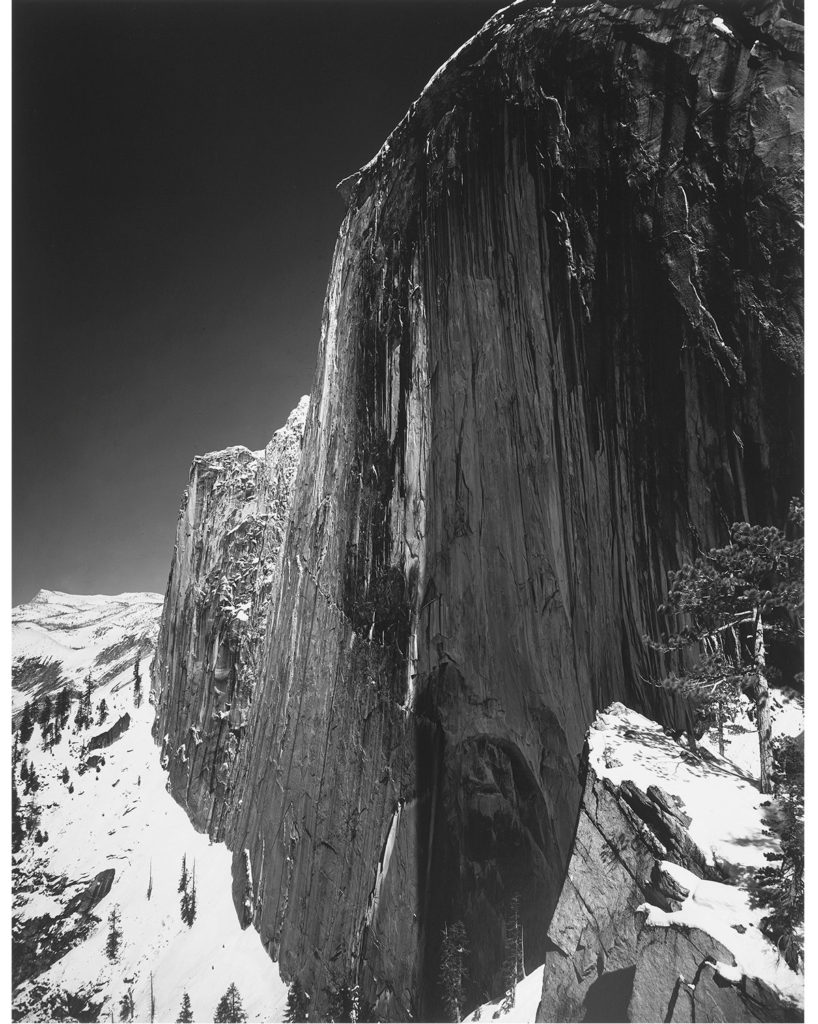
Monolith, The Face of Half Dome, Yosemite National Park, 1927

Some of Adams’ most popular works include, Monolith, The Face of Half Dome, Moonrise and Aspens

Adams developed a photography technique named the Zone System, split into 10 sections, was a highly technical guide to controlling the light and dark in landscapes in the most valuable way

Ansel Adams died aged 82 from a heart attack in hospital, in Monterey, California. He worked hard to preserve the wilderness and was a strong environmentalist. Through his life he wrote hundreds of letters to newspapers and politicians, but the legacy of his photographs continue to make an impact.

TECHNICAL:

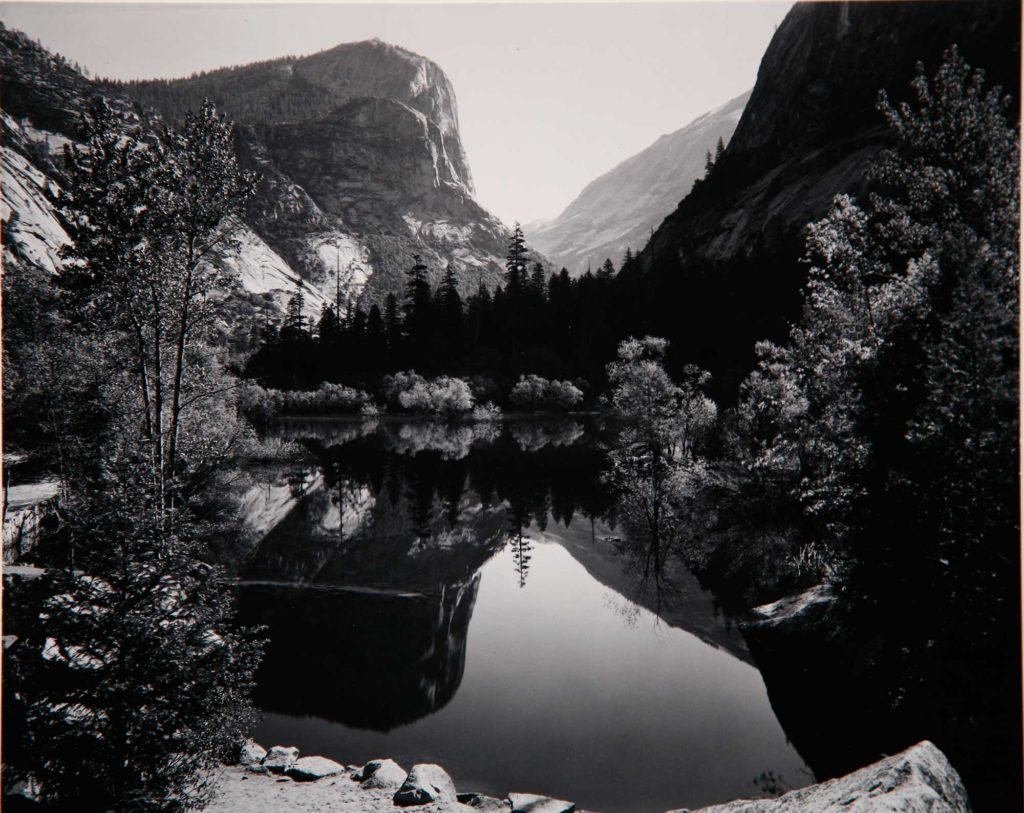
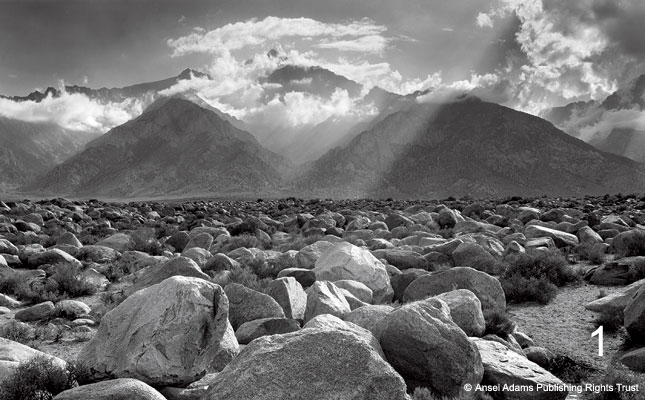
Adams uses natural lighting and a moderate tonal range in this image, creating an overall gray effect, with occasional darker rocks to add contrast. The tonal range highlights the sun rays poking out of the clouds, reflecting off the rocks in the foreground and adding lighter tones. He has most likely used a tripod and a slow shutter speed to capture all the detail and light rays in the image.

VISUAL: 

This image has a range of different textures, from the softness in the clouds to the hard lines of the rocks and the sculpture of the mountains. The brightness of the clouds and light rays  create a balance throughout the image and fits with the theme of the harmony of nature, definied is Romantasicm.
CONCEPTUAL: 

The ideas of Romanticism in art and photography is that nature is beautiful, serene and unpredictable. This is represented in the soft, heavenly light that shines from behind the mountain, which covers over the foreground of the image createing a sense of peace.

CONTEXTUAL: 

Adams himself spent a lot of his life in the American West and was inspired by the untouched landscapes and the power of nature among the mountain landscapes. This is represented through the use of his photography, often from his own view, but also going to different heights to capture the best views of the whole landscape.


LANDSCAPE PHOTO SHOOT PLANNING

what will i photograph?
  • beaches
  • trees
  • rock faces
  • skies
  • sunsets
  • streams
when am i going to take the photographs?
  • early mornings eg. dusk
  • early evening eg. sunset
where will i take the photographs?
  • greve d’lecq
  • greve d’lecq woods
  • st peters valley
  • st ouens beach
  • mourier valley
  • queens valley
why am i designing the photo shoot this way?

I have decided to take photos in these places, as this is what MINOR WHITE tends to take photos of, and I feel really inspired to take photos like WHITE. I have decided to take photos at those times, as they have the best lighting and will allow me achieve the best photos, which will be similar to MINOR WHITES.

how am i going produce the images?

I am going to use;

  • panosonic g1 camera with 45-200 lens
  • canon eos 1200d with 18-55 lens
  • a mirror
  • a tripod
  • a wooden picture frame

APERTURE/DEPTH OF FIELD PHOTOSHOOT

what is aperture?

Aperture is defined as the opening in a lens through which light passes to enter the camera, measured in f-stops. You can shrink or enlarge the opening to let more or less light into the camera. Increasing the aperture, increases the overall exposure.

what is depth of field?

Depth of field is the distance between the closest and farthest objects in a photo that appears acceptably sharp. You can change the depth of field by changing the aperture.

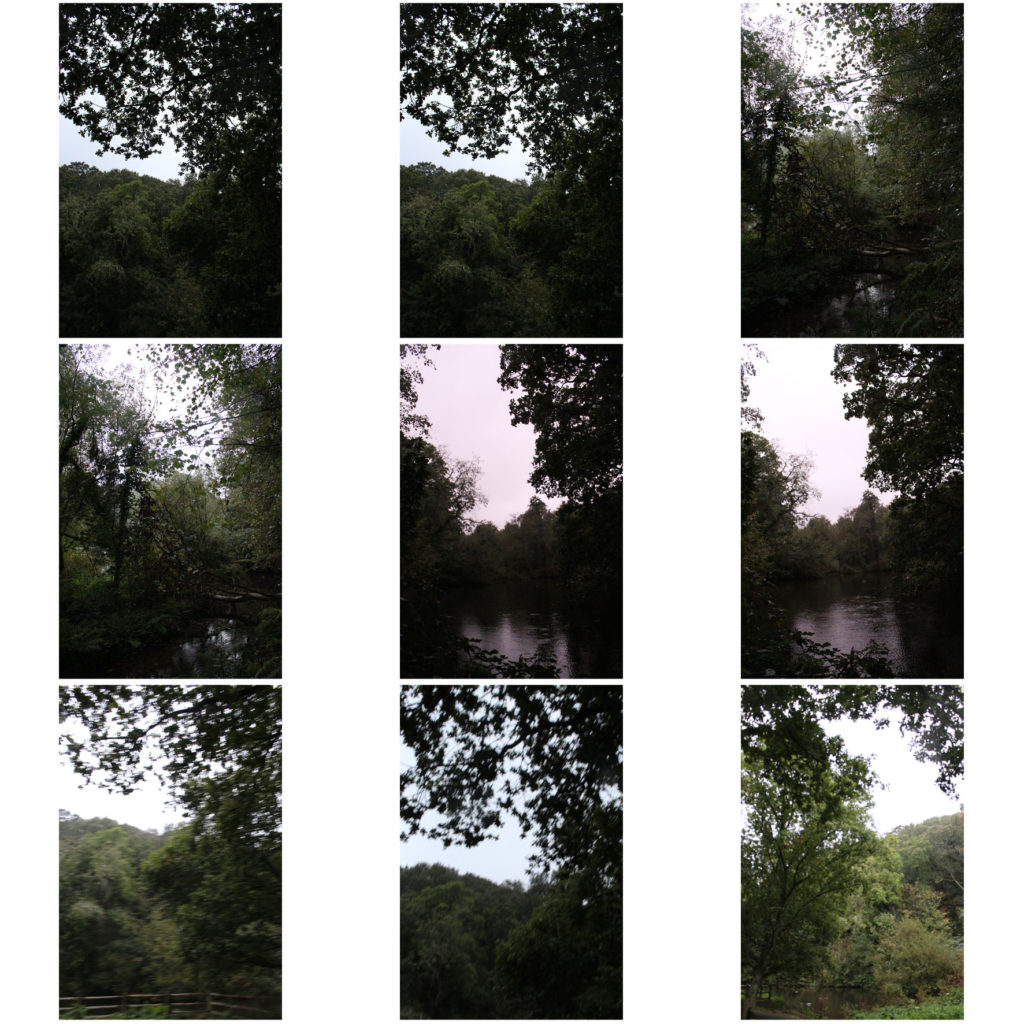
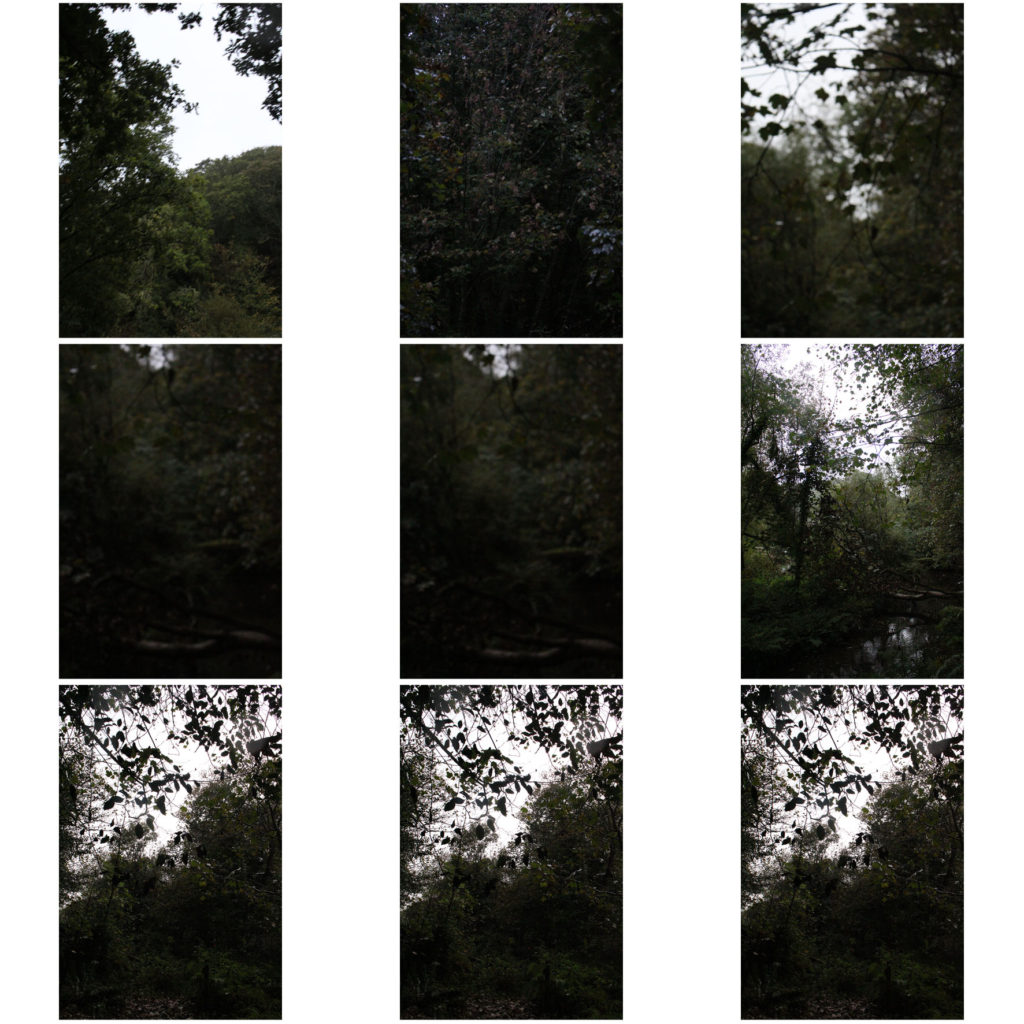
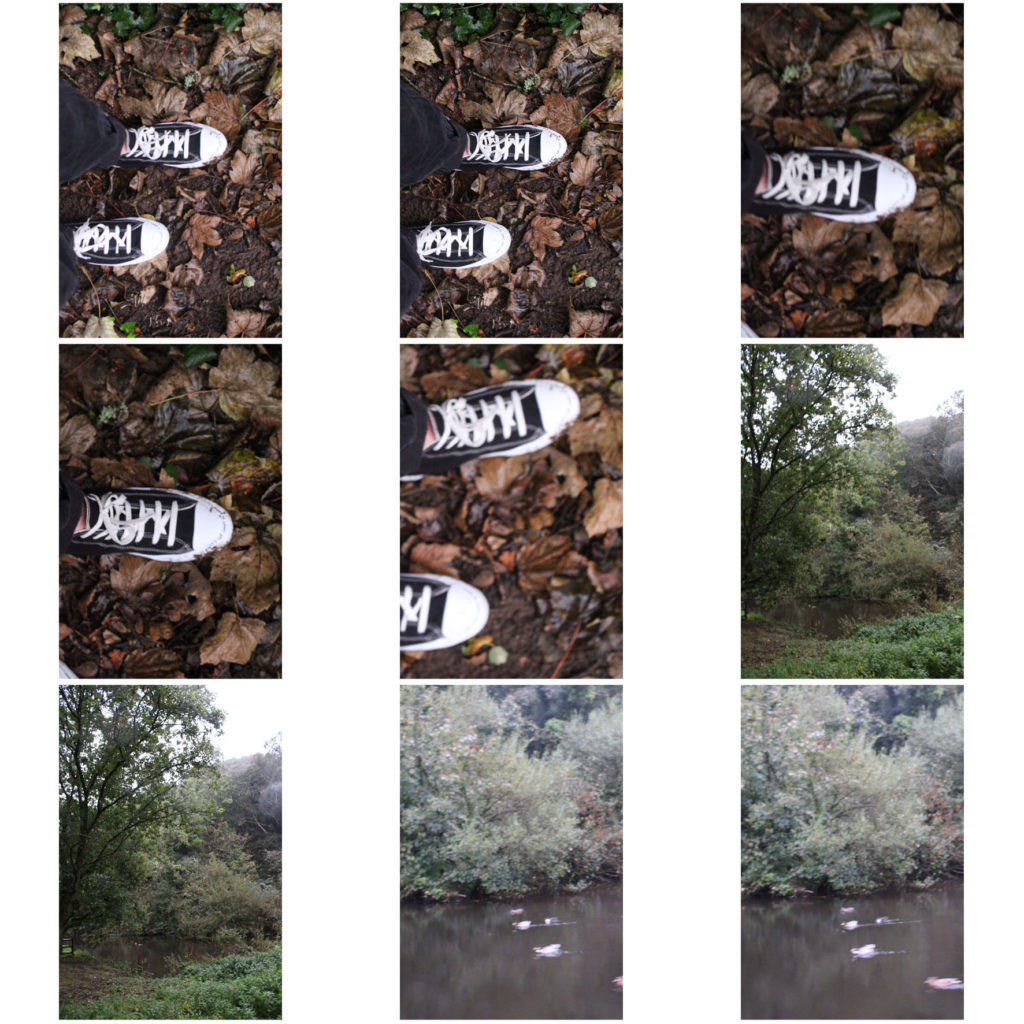
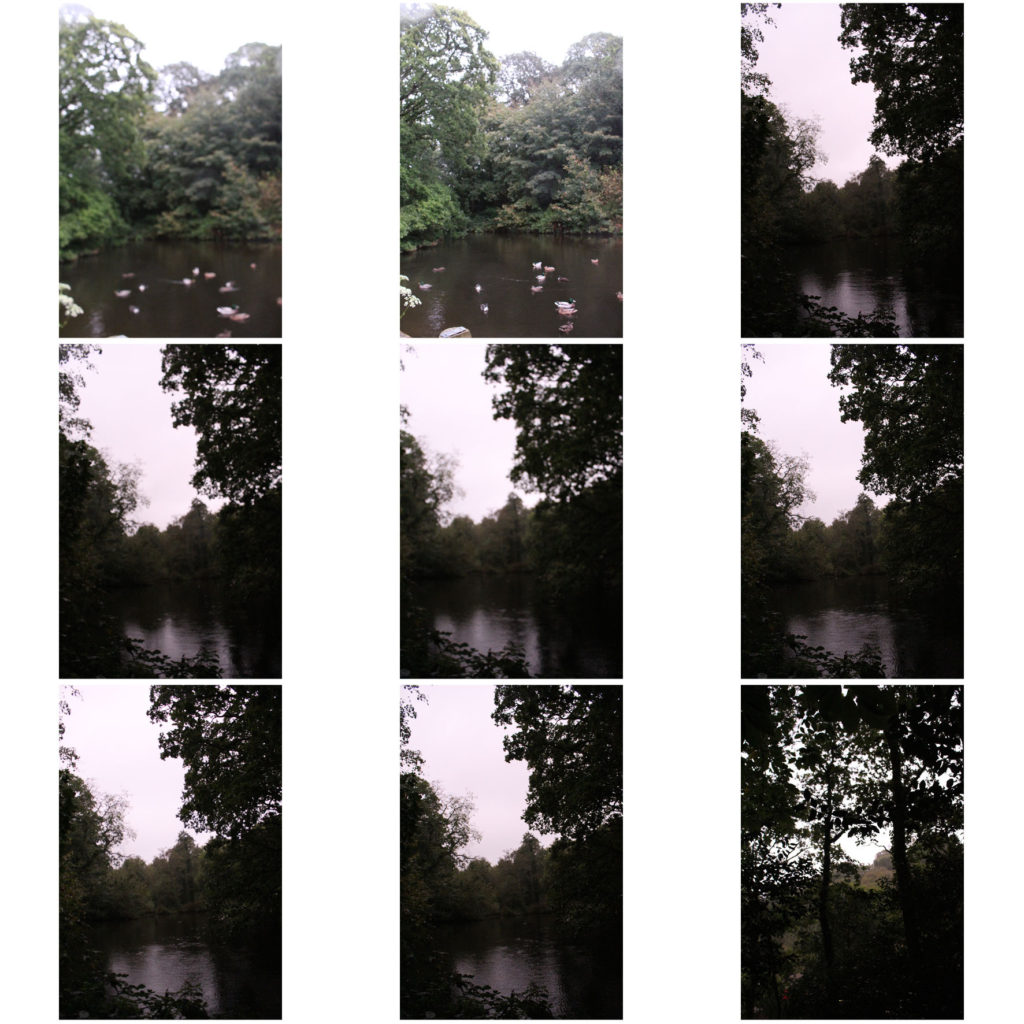
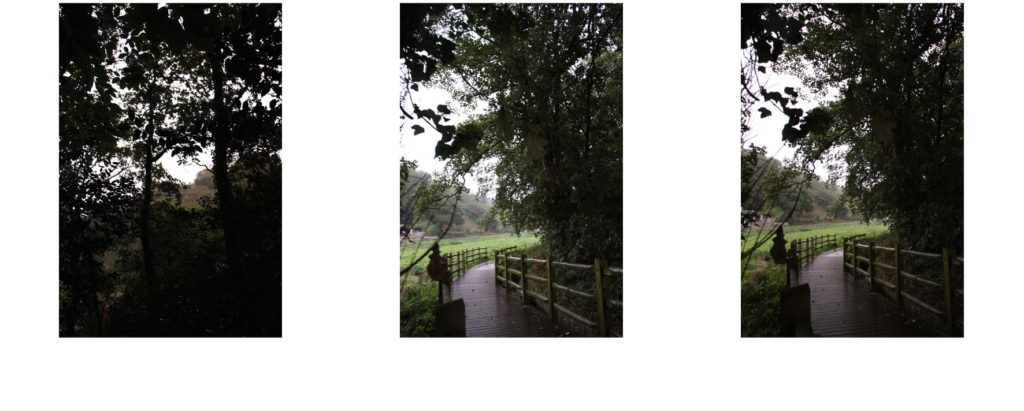
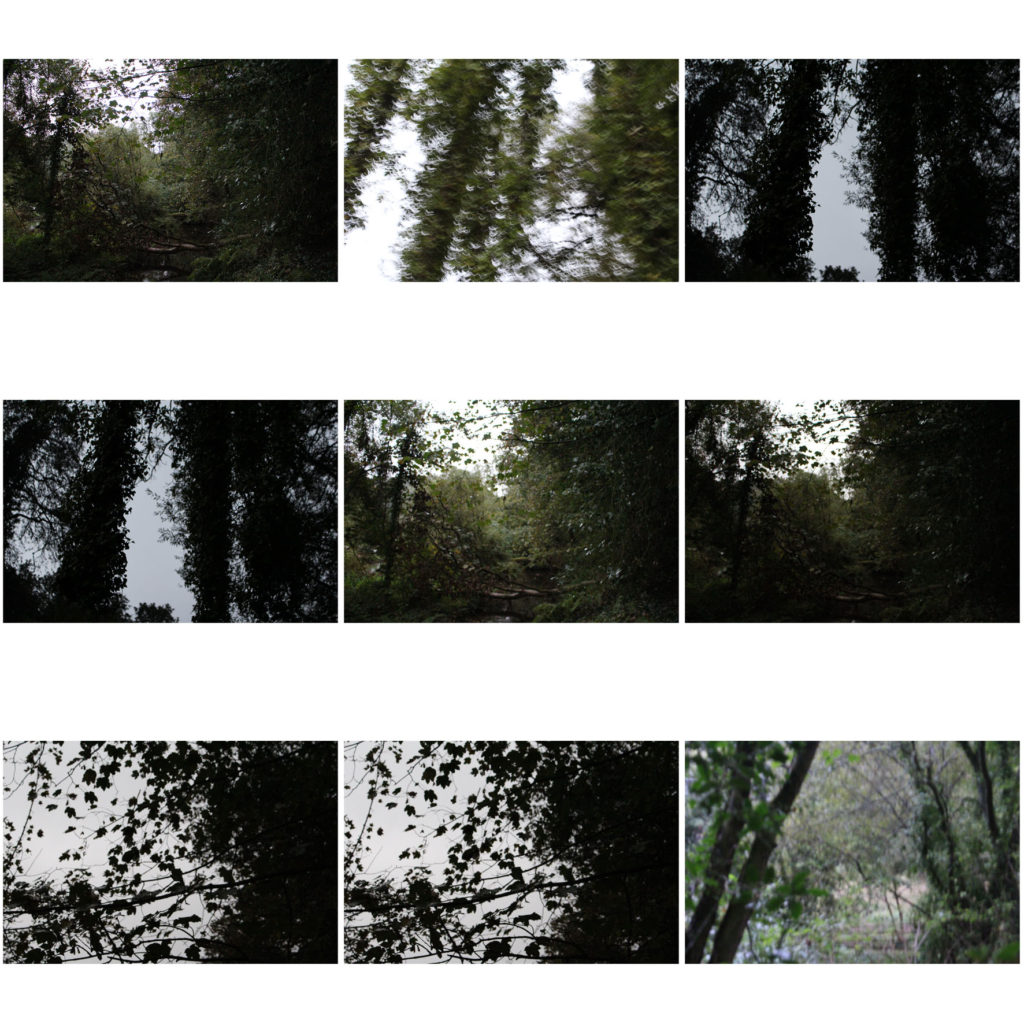
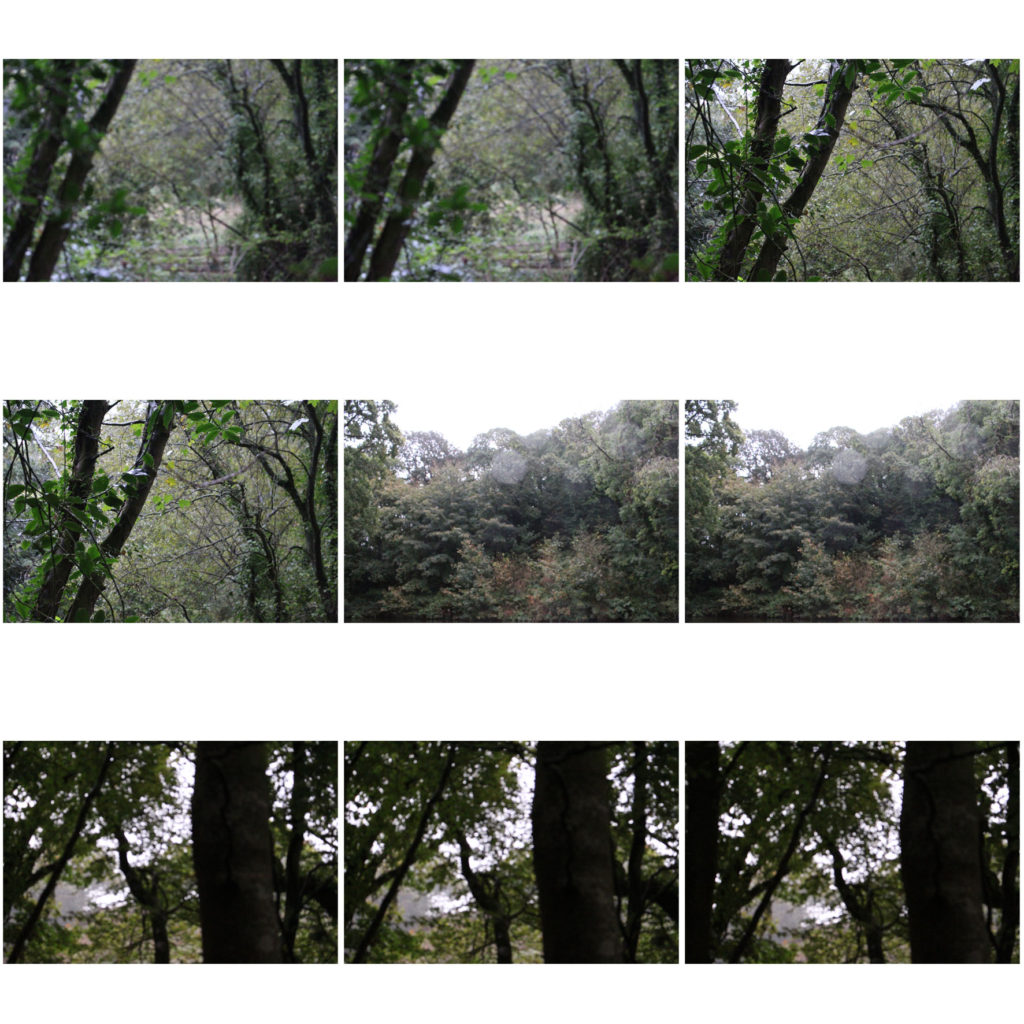
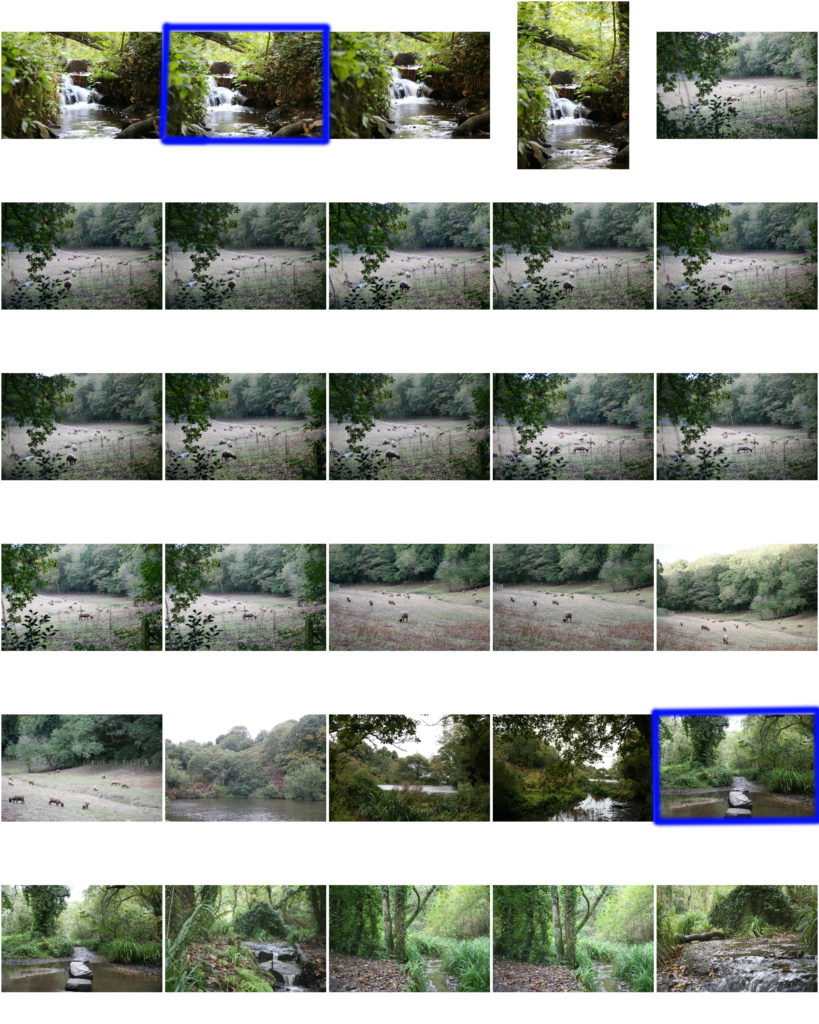
contact sheet from shoot

Aperture and Depth of field

What is aperture? Aperture is the opening gap in the lens which allows different amounts of lighting into the photograph being taken. As you move between bright and dark environments, the iris in your eyes either expands or shrinks, controlling the size of your pupil. However in photography terms the “pupil” of your lens is called aperture. You can shrink or enlarge the size of the aperture to allow more or less light to reach your camera sensor. Aperture can be seen on the camera by looking at the f/stops and is generally written as numbers such as 1.4, 2, 2.8, 4, 5.6, 8, 11 and 16.

What is Depth of field? Depth of field is an important aspect in the taking of photographs. Depth of field is the distance between the closest and farthest objects in a photo that appears acceptably sharp. Now your camera can only focus sharply at one point. But the transition from sharp to unsharp is gradual. Depth of fields in photographs can be seen in foreground, middle ground and background.

Aperture/ Depth of Field

Image result for aperture

Aperture relates to the size of the whole/ diaphragm in the lens, this is measure in units called f stops.. The lower the number the wider the aperture (for example f1.8) therefore allowing lots of light in through the lens compared to a small aperture of f22 which restricts the amount of light being let in. When taking photos or videos, the aperture also determines the depth of field, for example: a wide aperture of f2.8 creates a shallow depth of field, isolating the subject making the background look blurred. Conversely a small aperture of f22 for example has a deeper depth of field making the whole image in focus.

F22 makes everything in focus.
Image result for f1.4
F1.4 35mm lens creates a blurred background.

Kit Lens Aperture test:

50mm 1.8 Aperture test:

Aperture/Depth of field

Aperture refers to the opening of a lens’s diaphragm through which light passes. It is calibrated in f/stops and is generally written as numbers such as 1.4, 2, 2.8, 4, 5.6, 8, 11 and 16. Depth of field is the distance between the closest and farthest objects in a photo that appears acceptably sharp. Now your camera can only focus sharply at one point. But the transition from sharp to unsharp is gradual, and the term ‘acceptably sharp’ is a loose one!

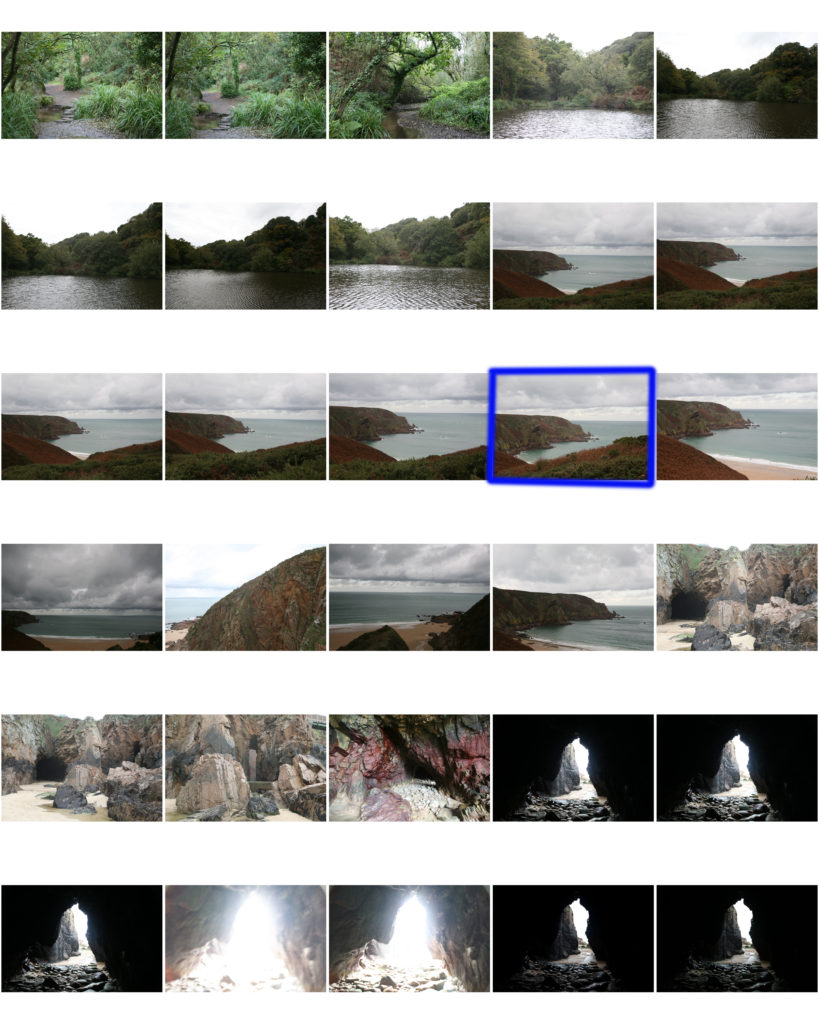
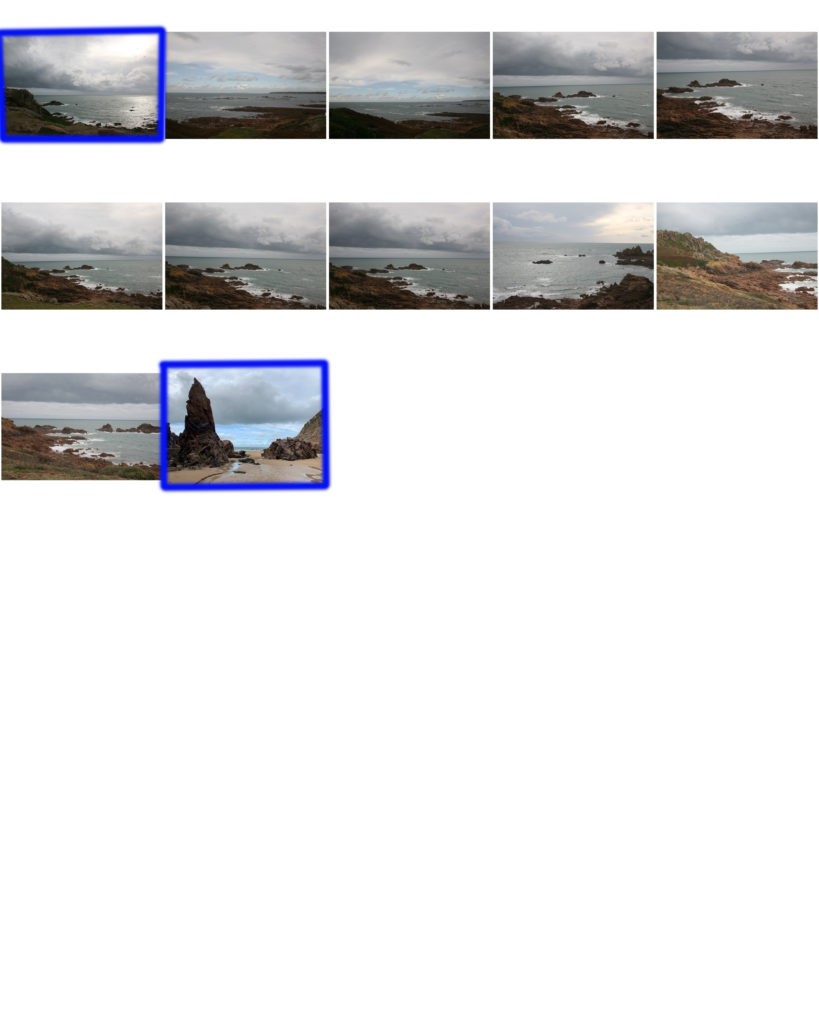
landscape photoshoot

Shoot 1,2,3 and 4

Best images:

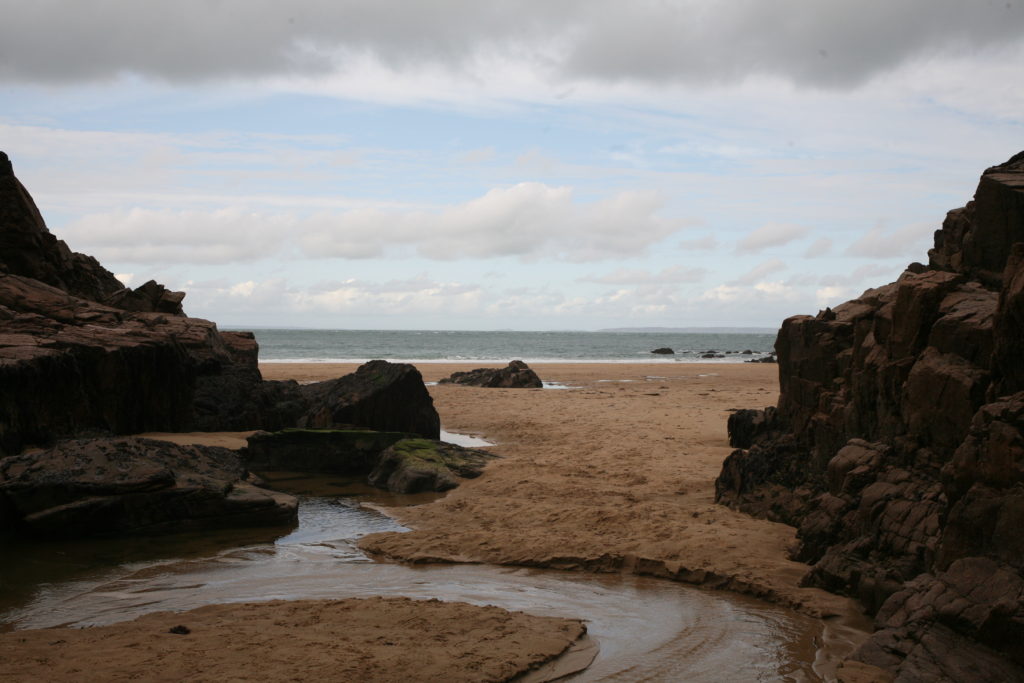
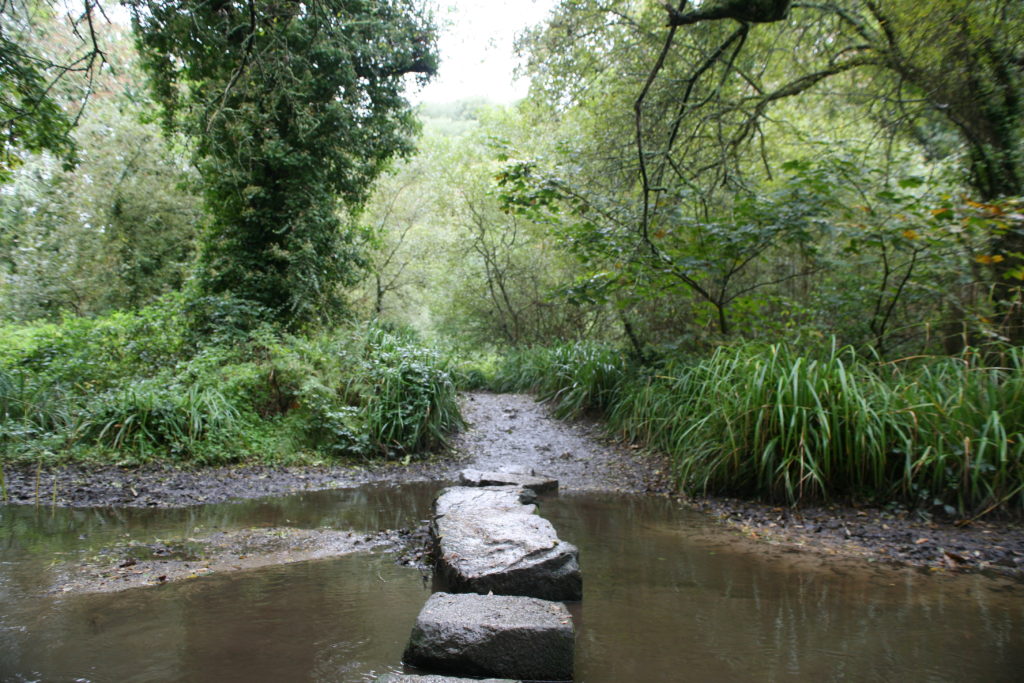
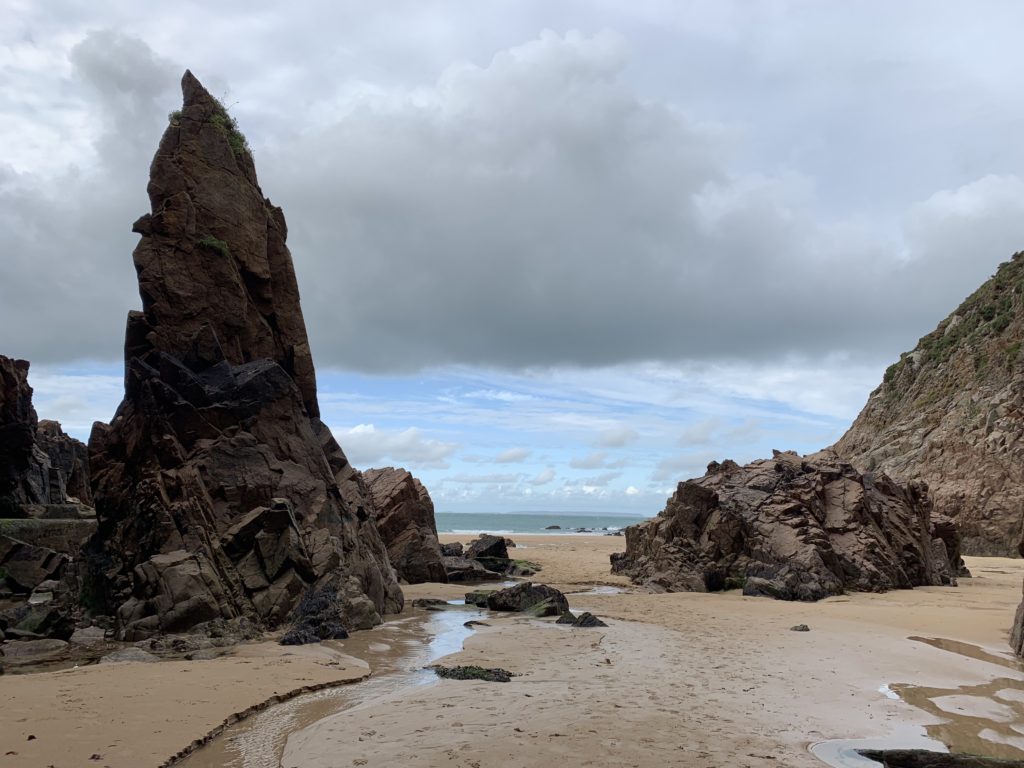
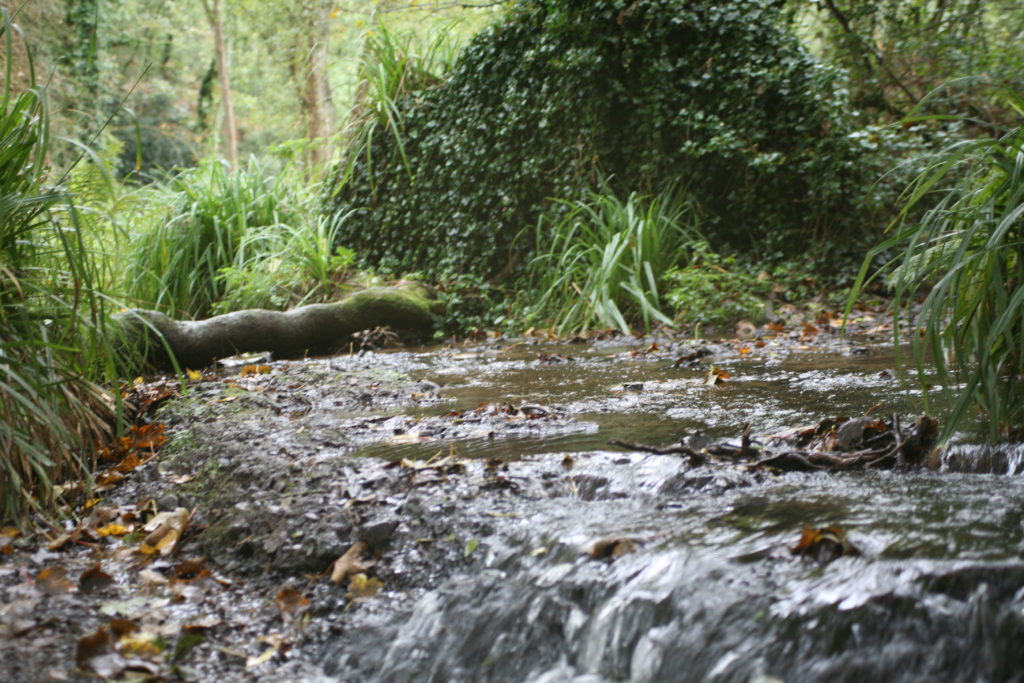
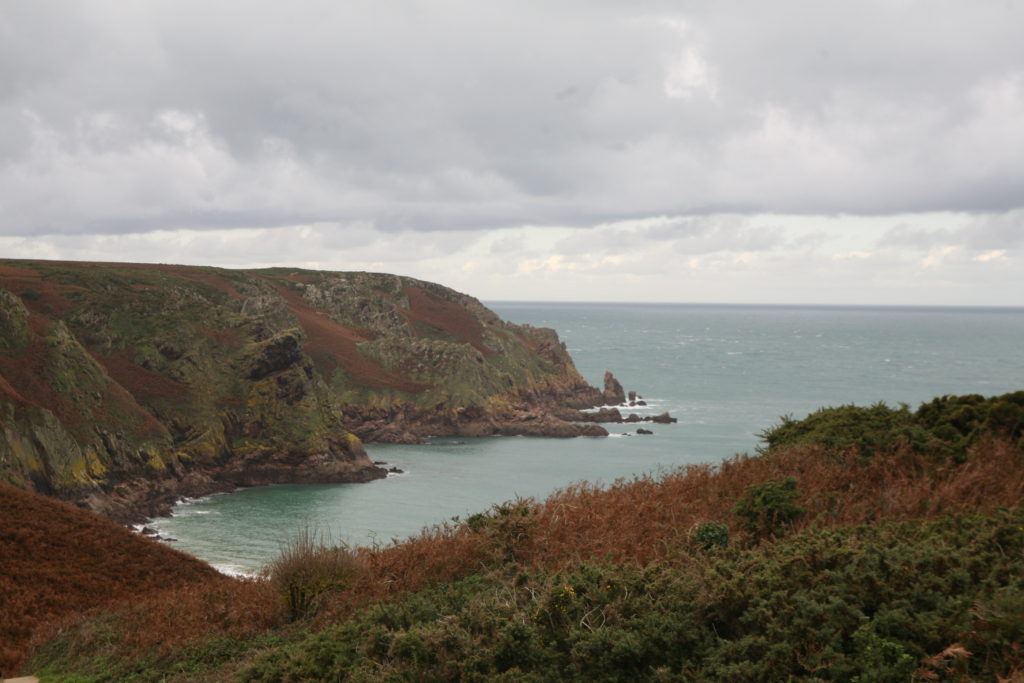
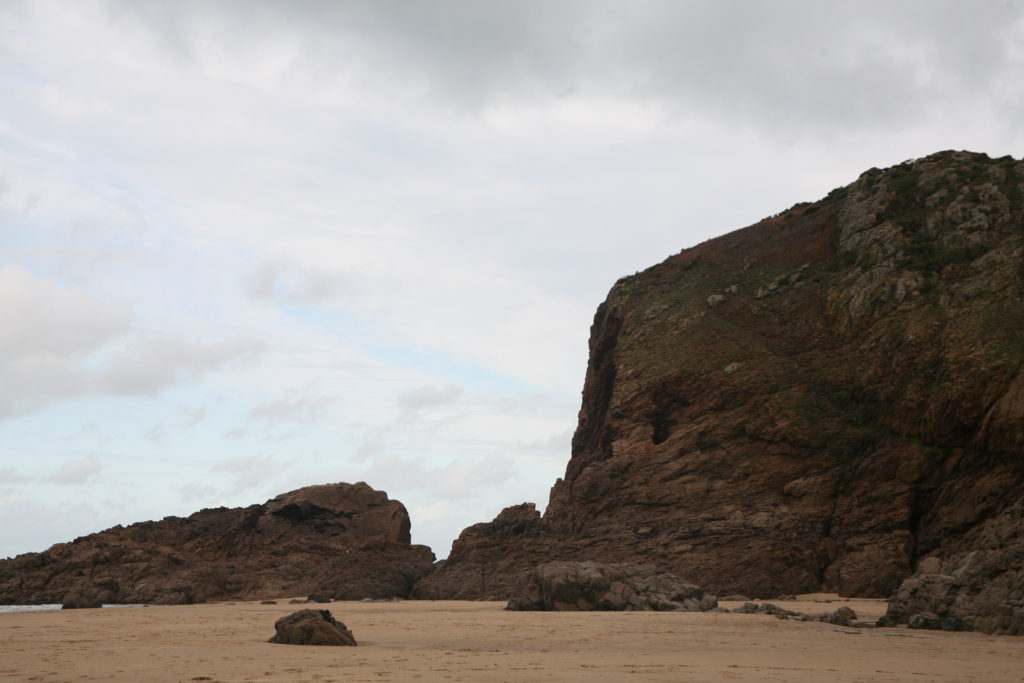
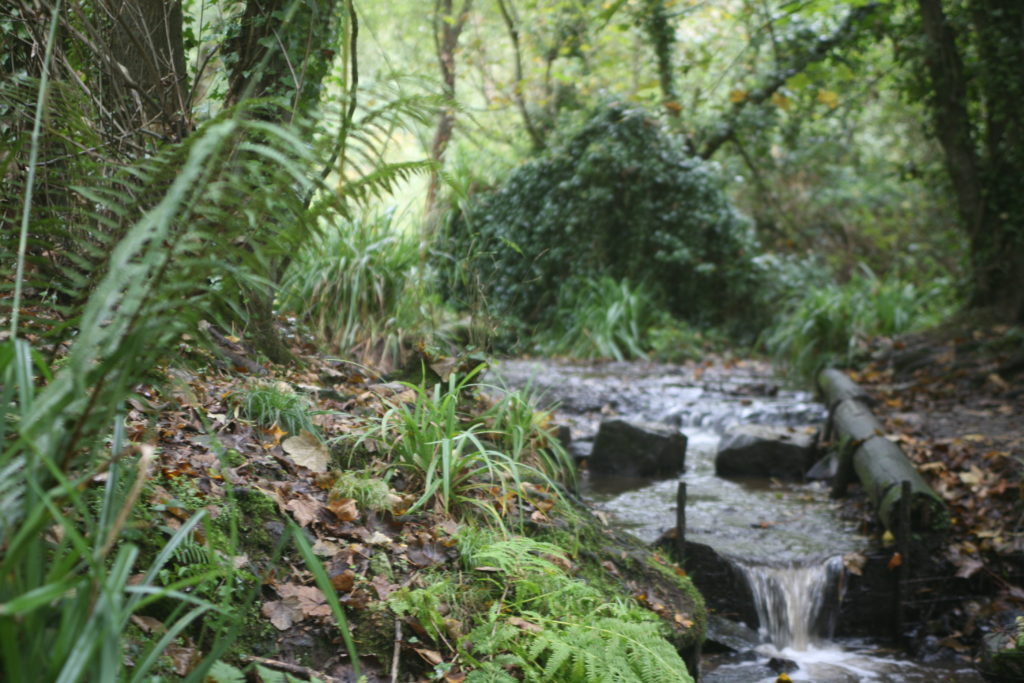
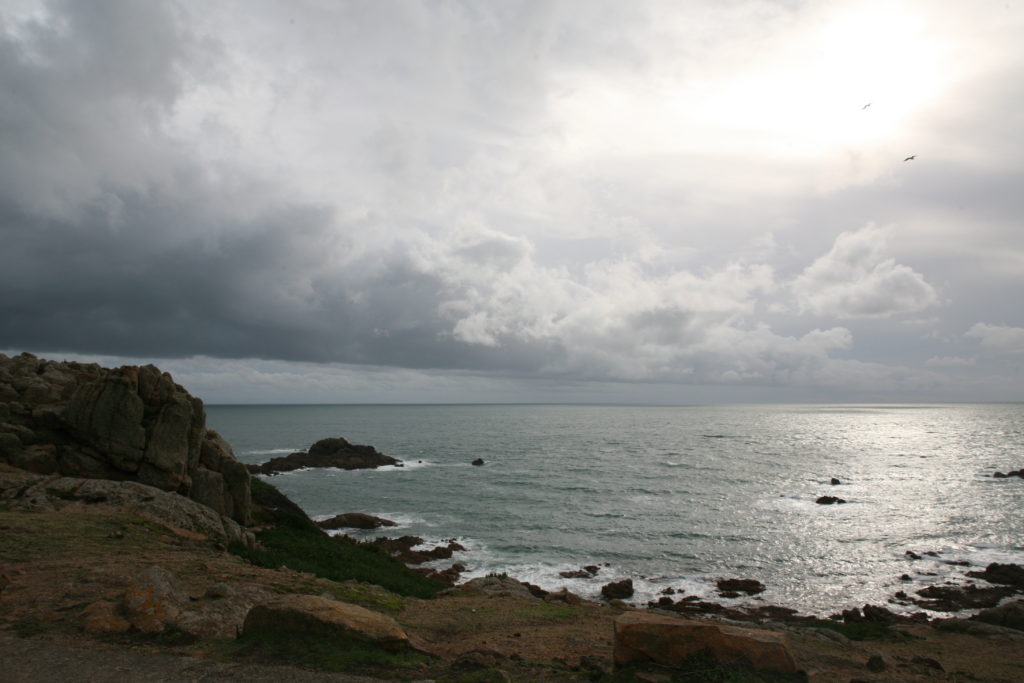
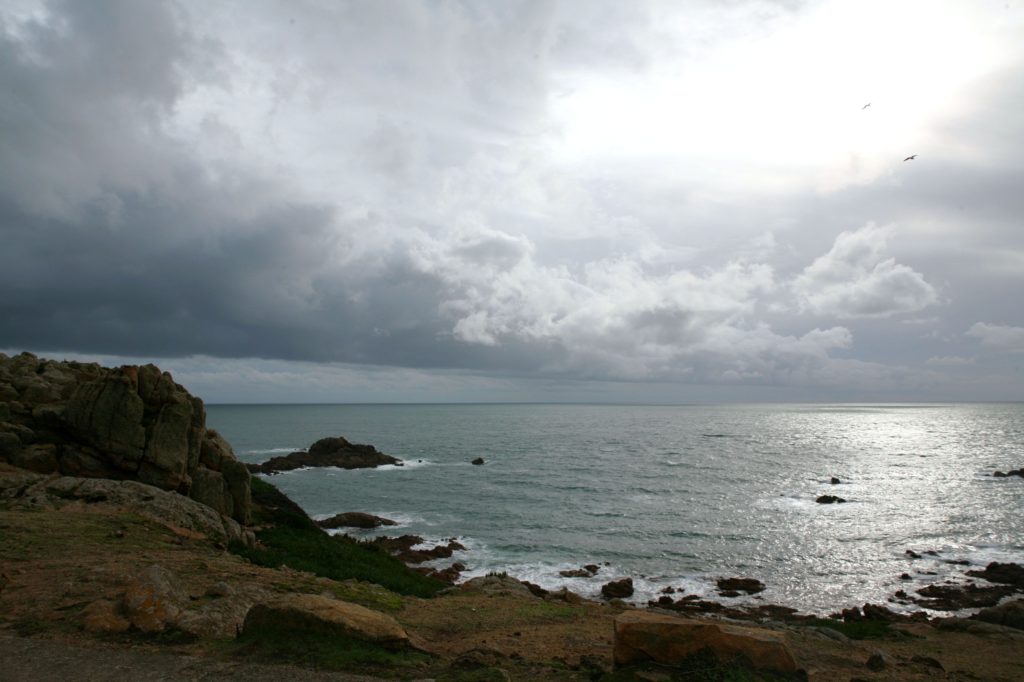
These images proved to be the most successful out of the 4 shoots, as they were clearly taken (no evidence of camera shake compared to the other photographs taken), the majority also show large structures associated with romanticism in landscape photography.

Editing process:

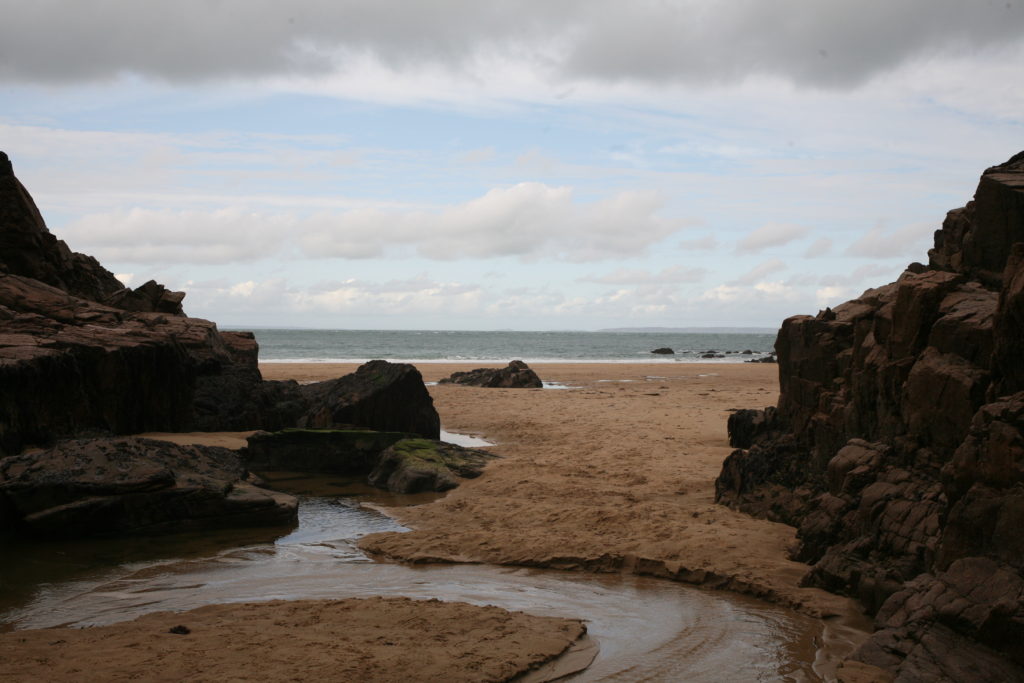
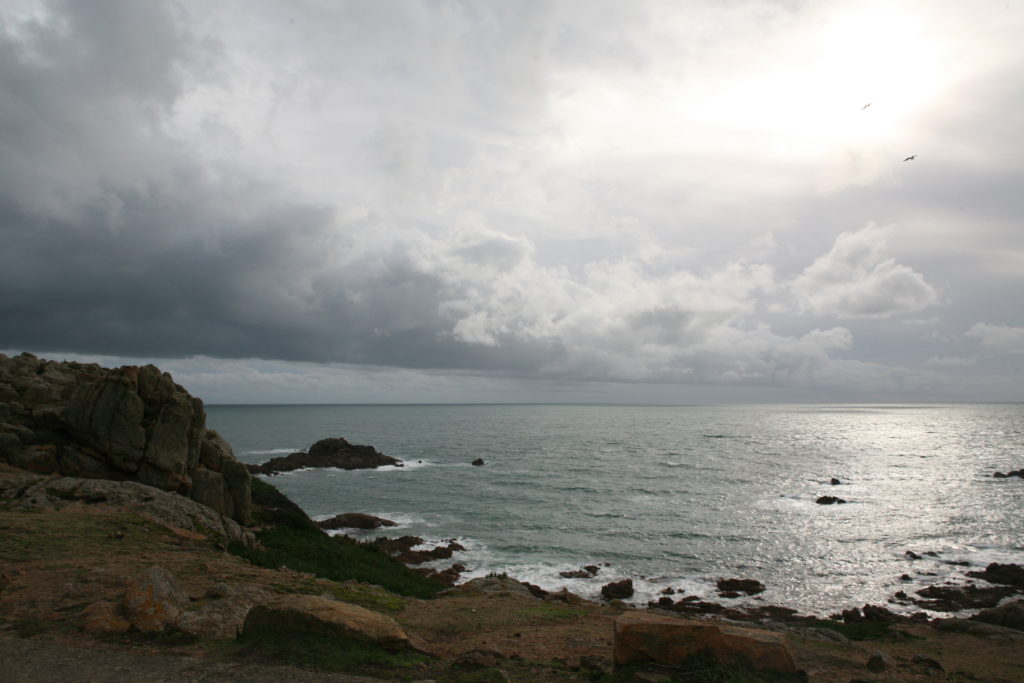
For the image above, I increased the temperature, highlights and contrast to accentuate the detail on the rocks and to make the water in the foreground of the image stand out. These adjustments also helped to outline the shape of the clouds in the top third.

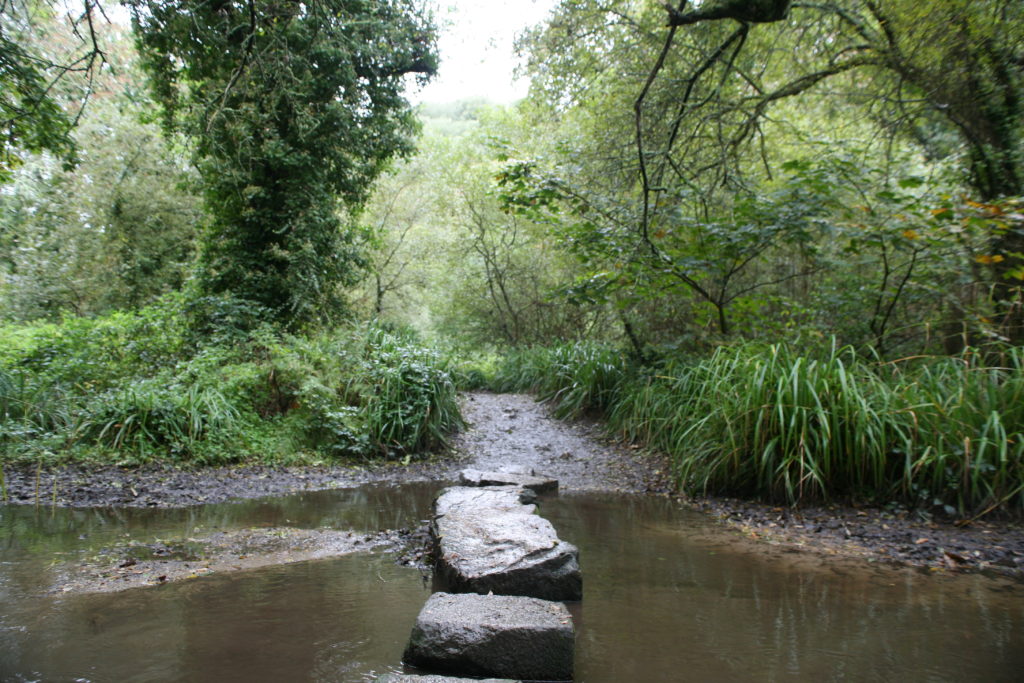
For this image, I wanted to focus on the green aspects of the landscape. Decreasing the brightness and increasing the saturation of the image brought out a range of green tones, which helped add atmospheric depth to the image. The increase in contrast and sharpness of the photo during the editing process helped to focus on the stones in the foreground and bring attention to the brown hue of the river beneath it. The deep colour of water breaks up the photo, drawing the viewer’s eyes away from the green of the leaves and foliage, making them look over different parts of the image.

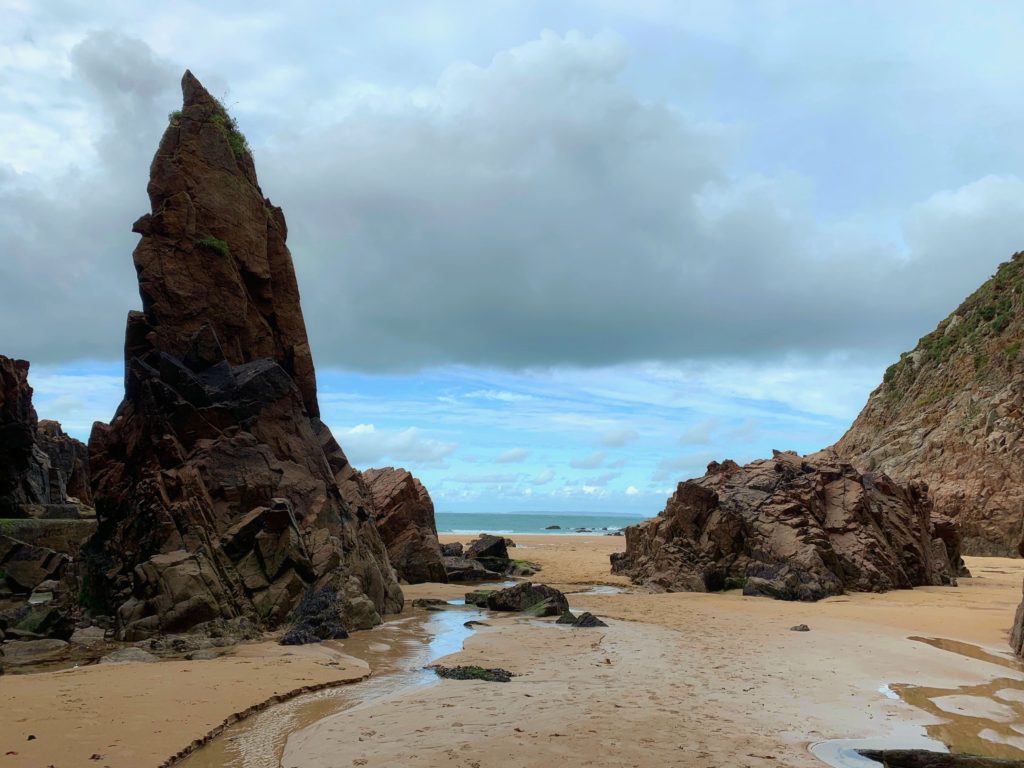
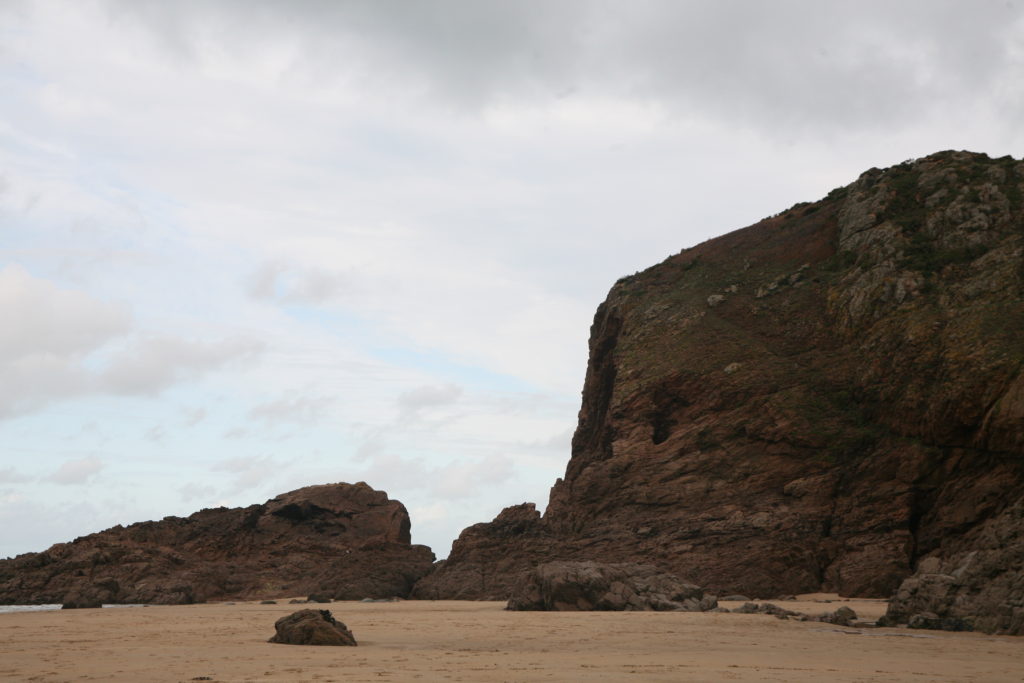
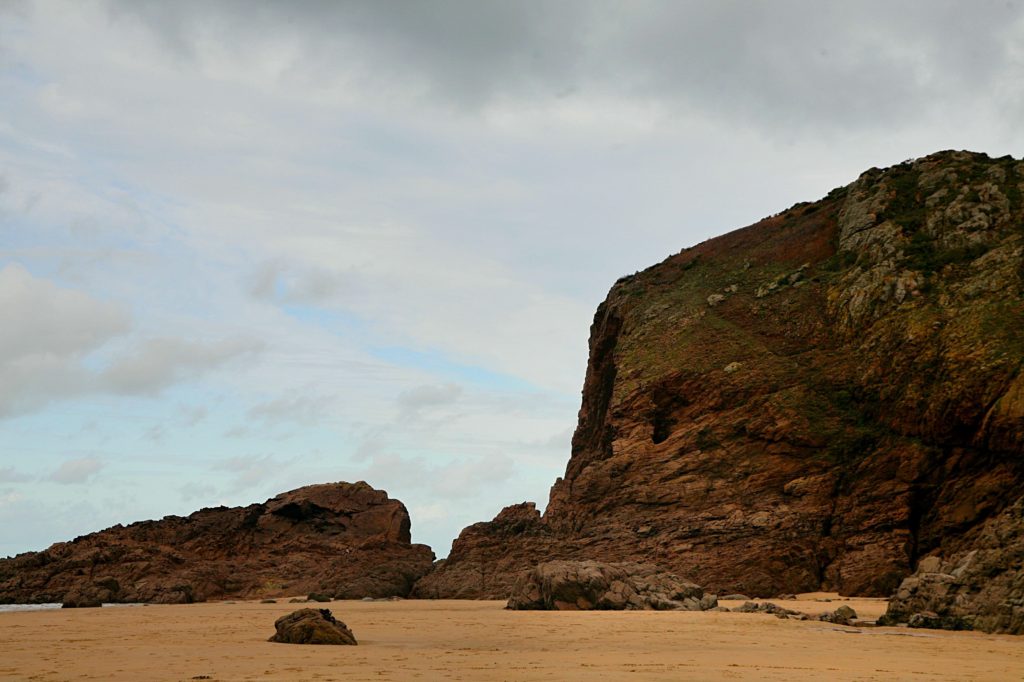
This image pictured above already had features I was satisfied with. I felt as though the photo would benefit from an increase in colour in the sand. To achieve this I increased the saturation, made the temperature of the image warmer and increased the contrast and shadows slightly to bring out the oranges and beiges in the rockfaces and sand.

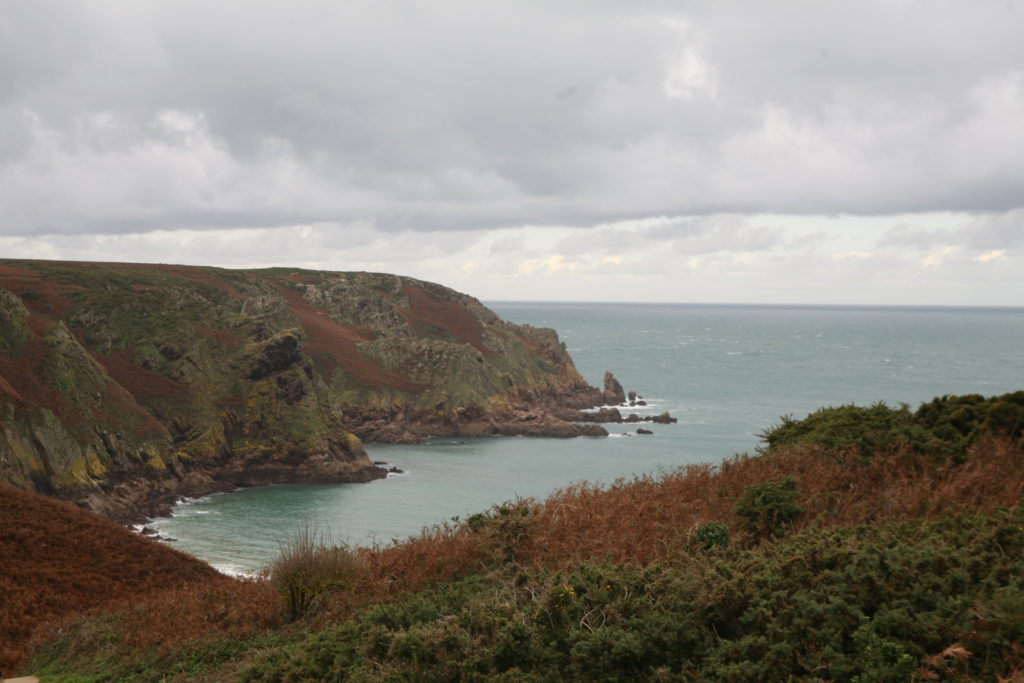
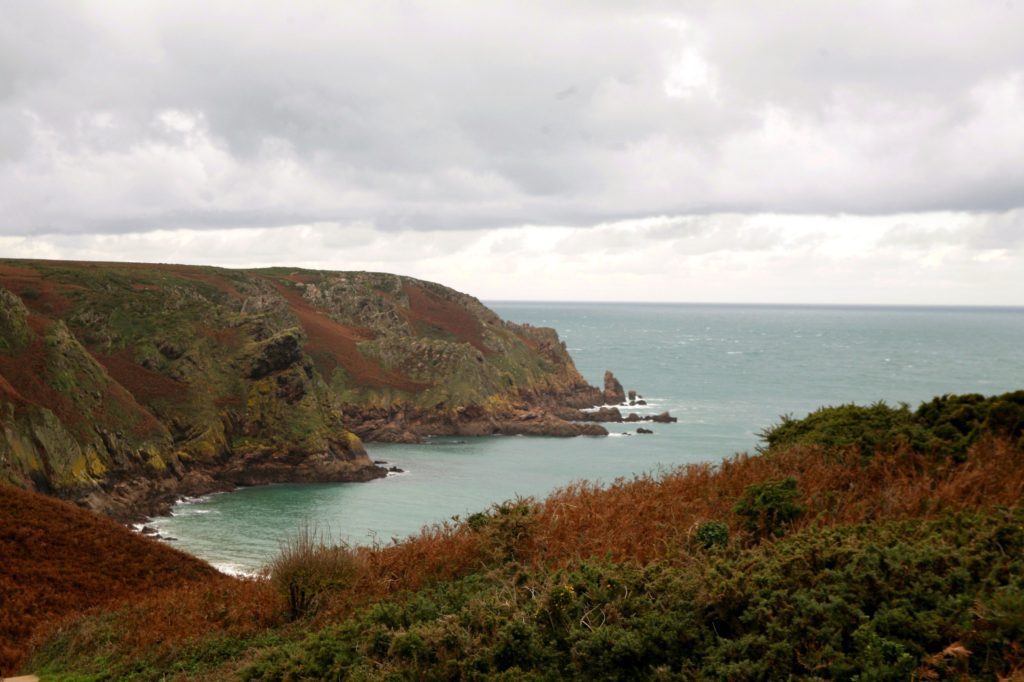
In this image, I wanted to bring out the oranges and dark amber colours of the cliffs. I increased the exposure to brighten the sky and seafoam where the water has broken on the rocks. Increasing the saturation and temperature of the image allowed the creation of a warmer image, in turn emphasizing the greens, yellows and the orange tones in the image.

Increasing exposure, contrast, saturation, the temperature and shadows allowed for a more dynamic image to be produced. The final alterations of the photo make the cliff structure the main feature and detract the focus from the background, which had been the most prominent in the original image.

First steps in editing the image (not final levels)

Decreasing the temperature, increasing contrast and saturation, and increasing the highlights within this image allowed me to achieve the sublime effect I was aiming for.

Project Evaluation:

Looking into natural landscapes has allowed me explore the idea of romanticism in photography. It’s resulted in me thinking about what type of landscapes and what aspects of nature provide the most powerful effect on an individual. Stone structures such as cliffs and rocky areas stood out to me as a photographer due to their robustness and permanence, a characteristic that humans lack. These landscapes proved to be entirely humbling due to the power of the sublime.

Having grown up in Jersey, many of these places I visited had a nostalgic and sentimental value to me which made it a challenge to photograph purely through how the image looks through the viewfinder.

The photo-shoots also proved to be difficult due to the mass amount of interference caused by man-made structures and objects. Completely ignoring these structures limited the angles at which I wanted to take photos at. Using the manual settings on the camera was a new experience and faults in my produced images, such as camera shake and over-exposure, are prominent throughout my shoots due to lack of experience.

An uncontrollable factor that limited the days I could complete shoots was the weather. However, its mercurial nature also meant that I could photograph and capture different cloud formations within my images and the sky had also provided dark greys and blues which helped to dissect many images.

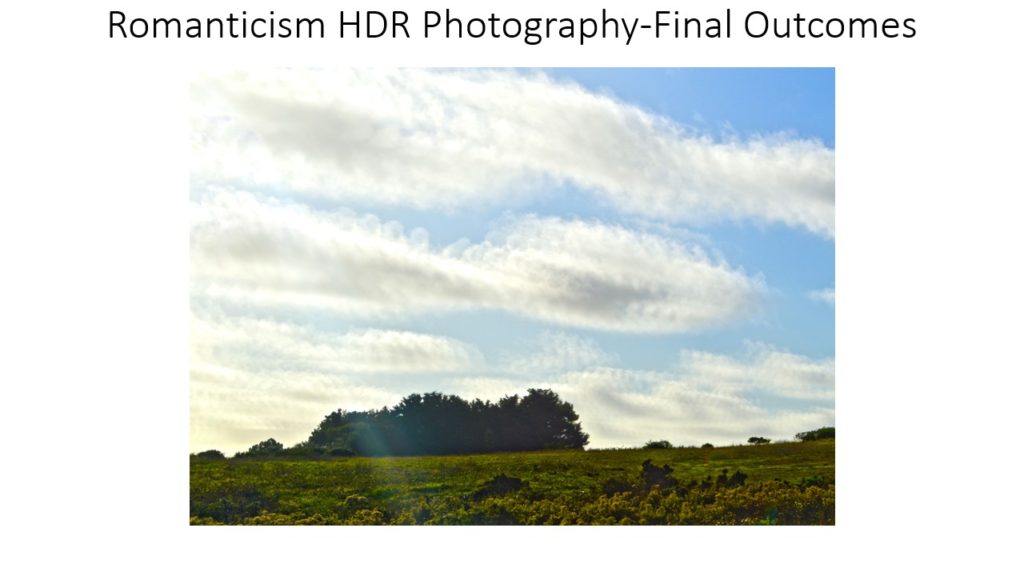
Final image:

Editing in the style of Ansel Adams:

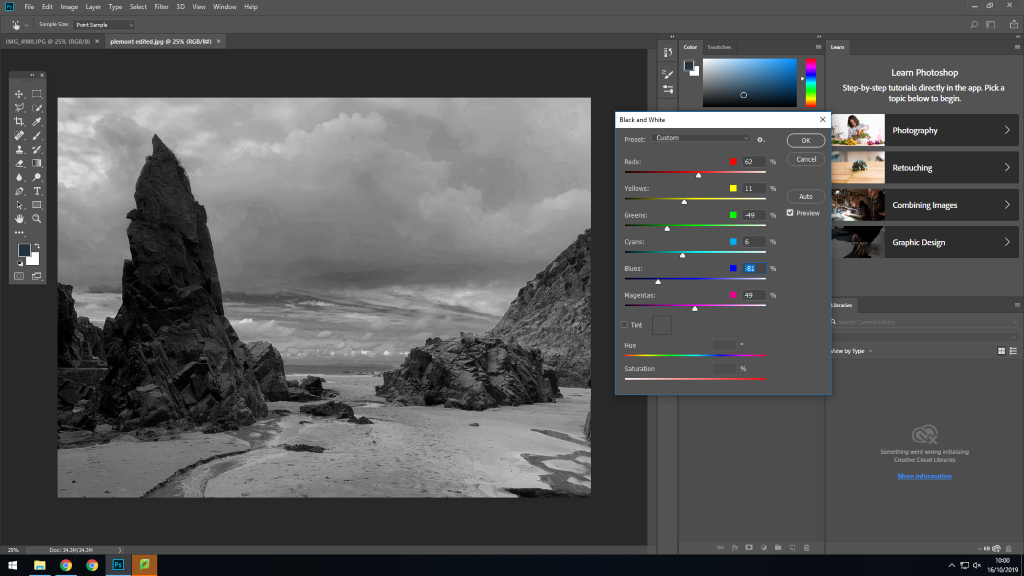
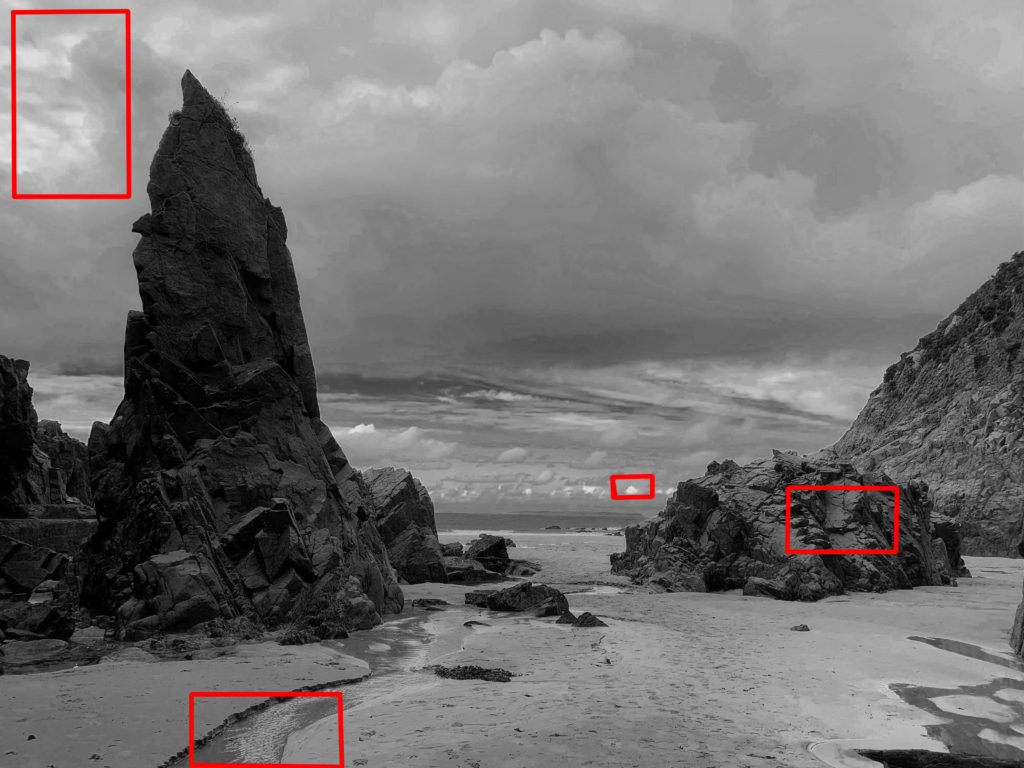
Editing the image in photoshop allowed me to control which colours within the image were darker and vice versa. This allowed me to make a highly contrasted image, similar to one of those produced by Ansel Adams. Following Adams zone system helped during the editing process.

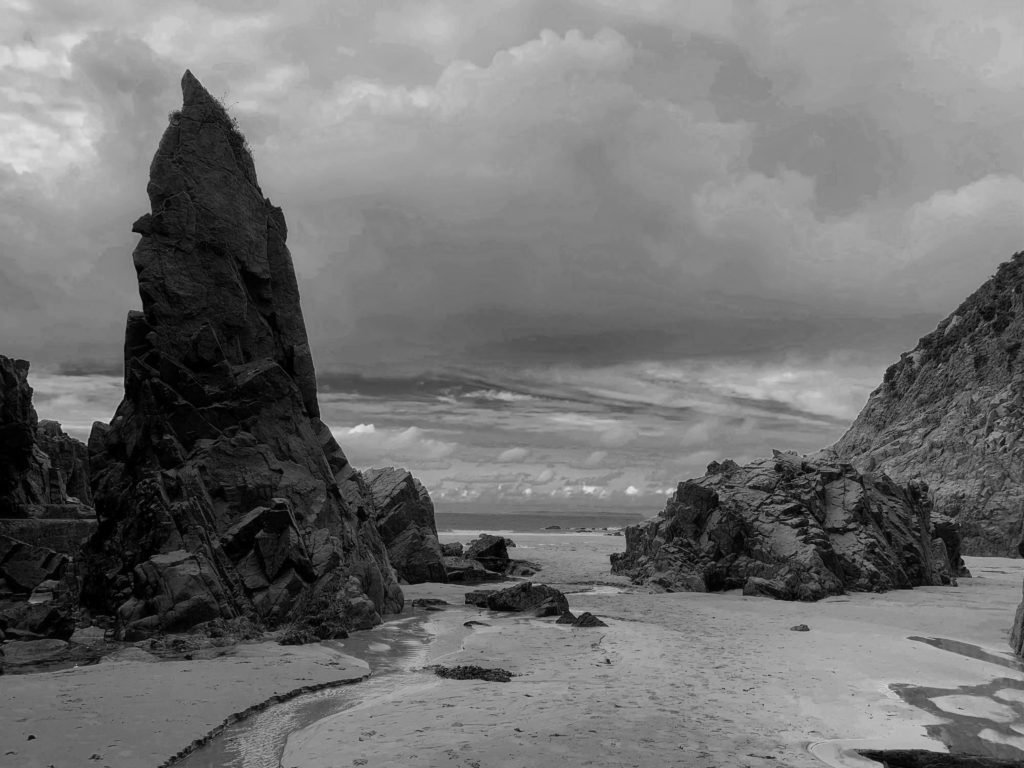
Lighter tones are present in the small clouds in the background and elements of the sky. The ripple effect in the water is also highlighted by these light tones. The rocky formations help to dissect the image, making the photo more engaging to the viewer. The darker tones of these structures allow them to become a main focus of the image. I purposely wanted these to stand out when I took the photo as it’s a primary feature of romanticism to make the individual (or viewer) feel inferior to nature.

The sand within the image provides a texture that differs from the rough surface of the rocks. The stream of water creates a sort of leading line, directing the viewer though the smoothness of the sand to the uneven and irregular surface to the rock formations, sustaining the contrast within the image.