EDITING

FINAL PHOTOMONTAGE 1
EDITING
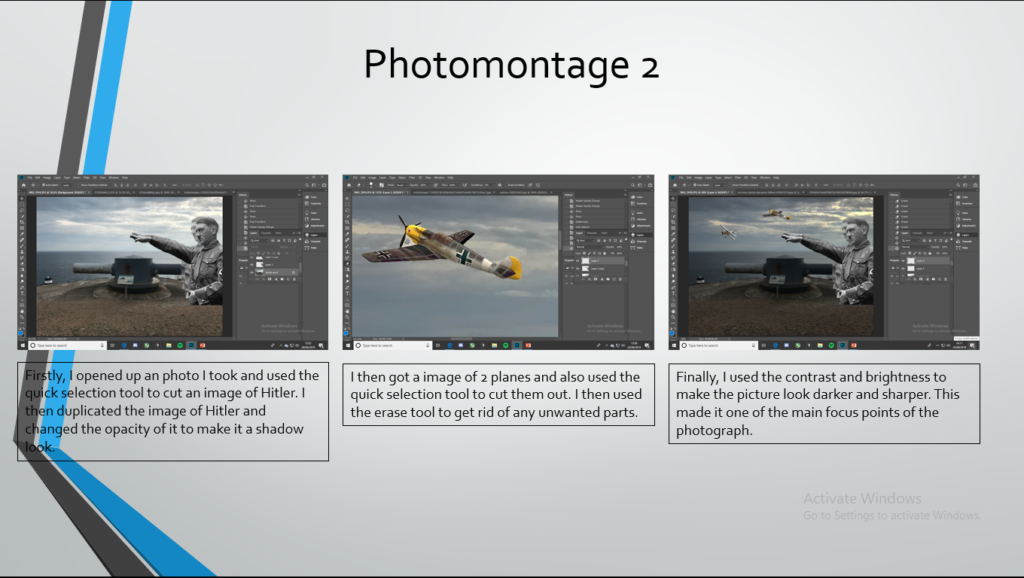
FINAL PHOTOMONTAGE 2
EDITING
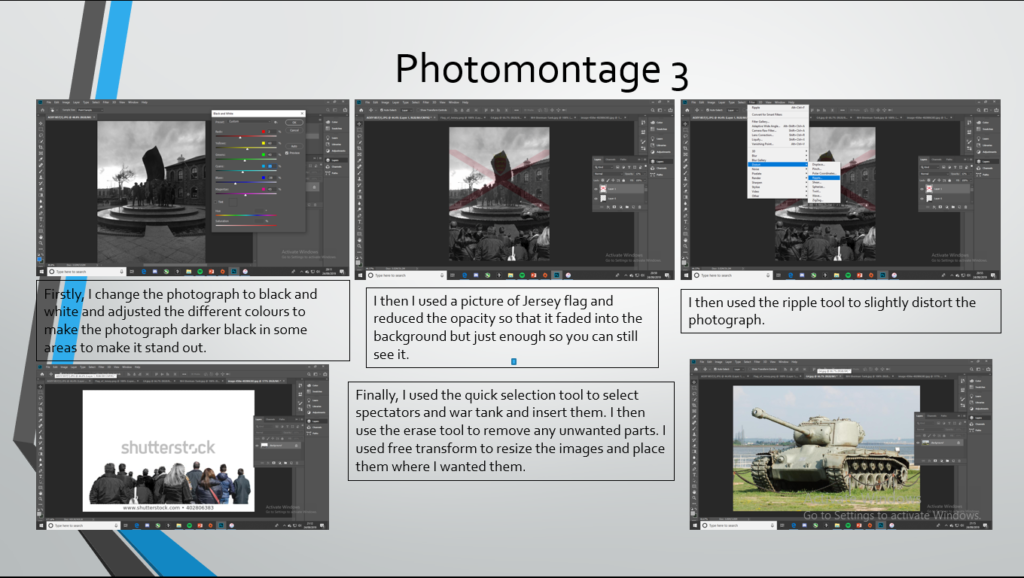
FINAL PHOTOMONTAGE 3

EDITING
FINAL PHOTOMONTAGE 1

EDITING
FINAL PHOTOMONTAGE 2

EDITING
FINAL PHOTOMONTAGE 3


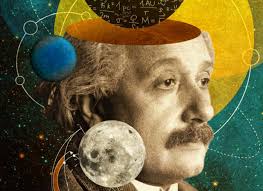
Montage 1


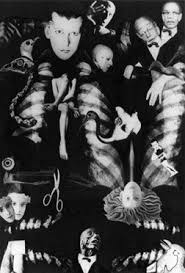
Montage 2


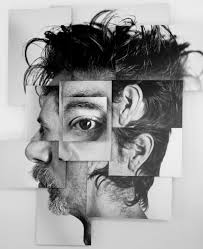
Montage 3


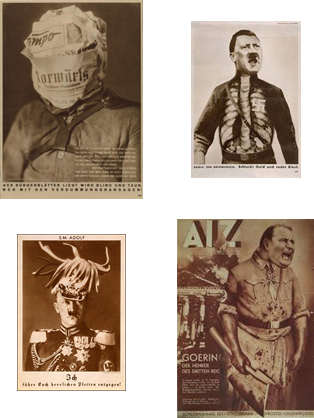
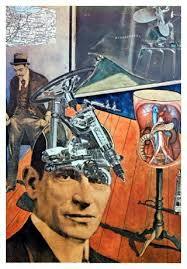
Modern looking photo montages, such as Derek Gores work have a different look and feel compared to older looking photo montages, such as John Heartfield.
Derek Gores’ work consists of colour pop (mostly black and white images with certain areas/objects/people highlighted with colour) and darker contrasting. His work may be seen on the cover of a fashion magazine which is a very modern day thing.
On the other hand, John Heartfield’s work has a much older feel to it due to older photos being used in montage being faded, less sharp and having murky brown tones.


There are no limitations to what you can create in one photo montage:

Some photo montages may be a combination between photos and videos e.g. Peter Kennard’s work. It also allows you to be creative and create things you wouldn’t be able to make in a normal unedited photo.
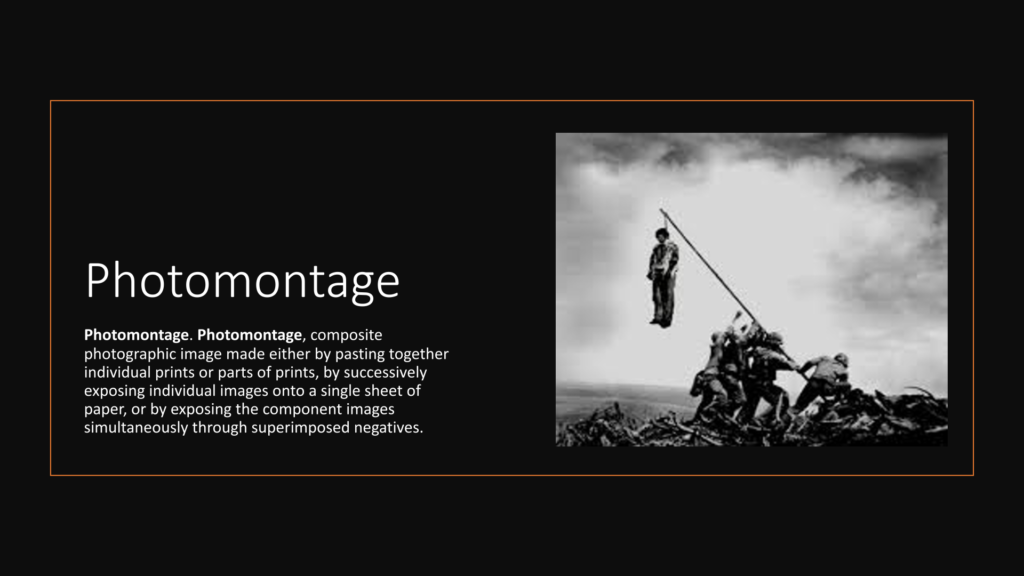
Photo montages are multiple photos all put together to create a new image by glueing, sticking, cutting, layering/overlapping and rearranging images either through photoshop of physically creating a new image.
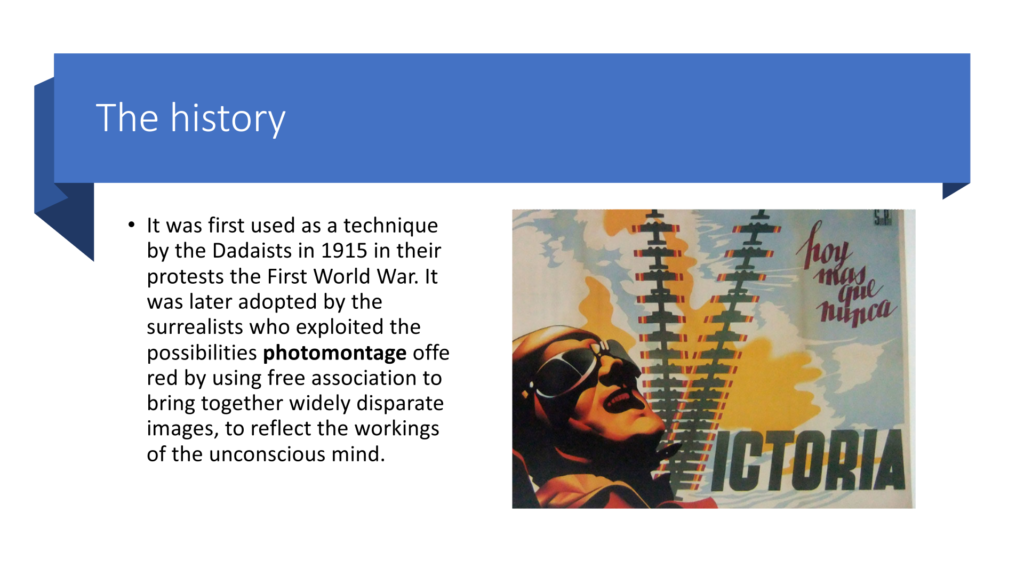
The first show of photo montage was in Germany in 1931 and the term photo montage became known are the end of the first World War but the first montage was made in 1857 and was called “The Two Ways of Life” which was famously created by Oscar Gustave Rejlander in the mid Victorian ages. As well as Rejlander, Henry Preach Robinson followed behind him with his work such as “Fading Away” created in 1858.


William Notman (Montreal) used photo montage to create huge social events that couldn’t be captured whilst creating a film in that generation. Notman had a studio where Montrealers could dress up and appear as if they’re taming the elements whilst staying indoors.
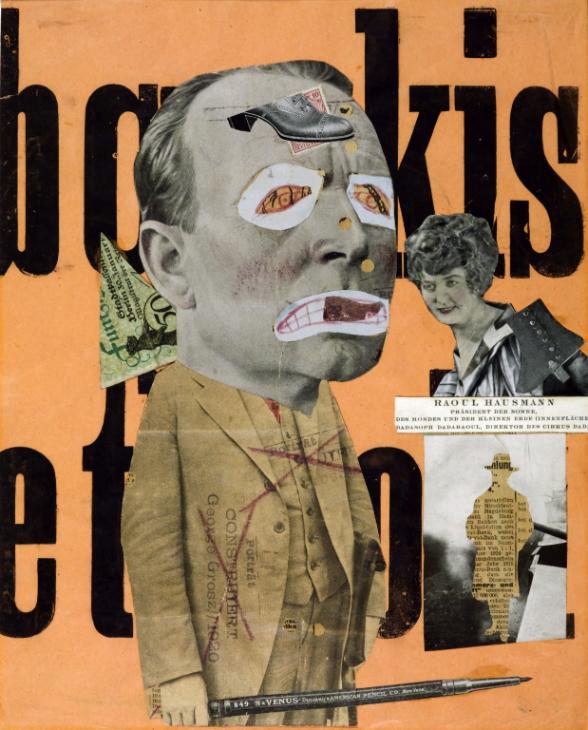
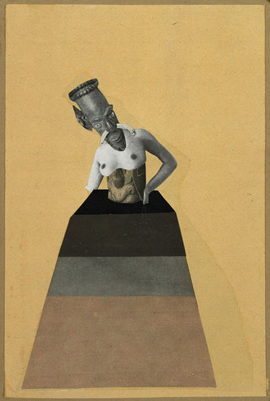
Another Photographer who is more recent, Hannah Hoch, is known for her political photo montages and collages. She became associated with the Berlin Dada group ( mostly male artists) and she exhibited in their exhibitions such as the First International Dada Fair in Berlin in 1920.
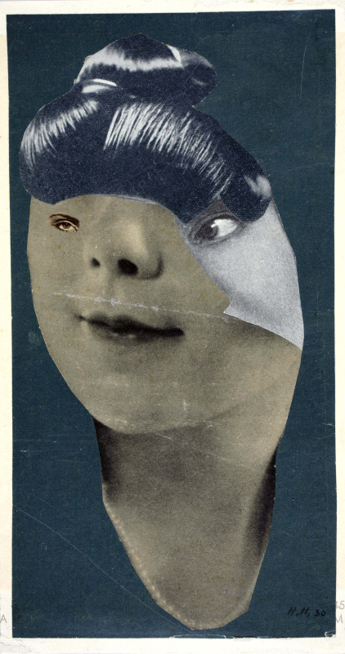
She explored gender and identity in her work and criticized the concept of the “New Woman” in a humorous way in Weimar Germany. In Indian Dancer: From an Ethnographic Museum she combined images such as Cameroonian
Mask and the face of silent star Maria Falconetti. Hoch’s mixture of a traditional African mask and an iconic female celebrity as well astools that reference the style of the 1920s avant-grante theatre and fashion and offers an evocative commentary on feminist symbols of that time period.
Unfortunately, Hoch’s work was banned from exhibiting during the Nazi regime because her work didn’t meet the Nazi’s standards of what art should look like. In 1945, after the war, she began exhibiting again.


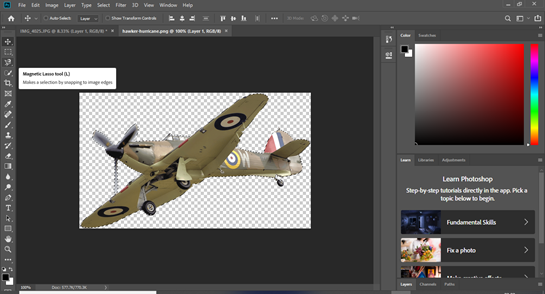
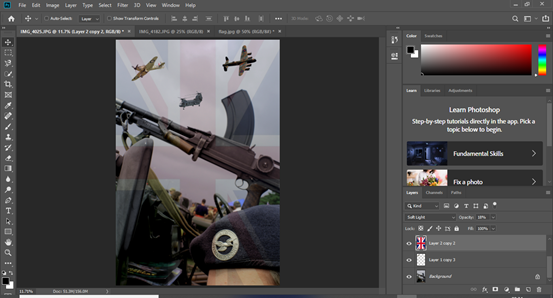
For this experiment, I used the magnetic lasso tool to select the planes and smoke. I then changed the saturation and vibrancy, as I was attempting to create a realistic feel. I don not think it worked that well so I tried to do it again later on.
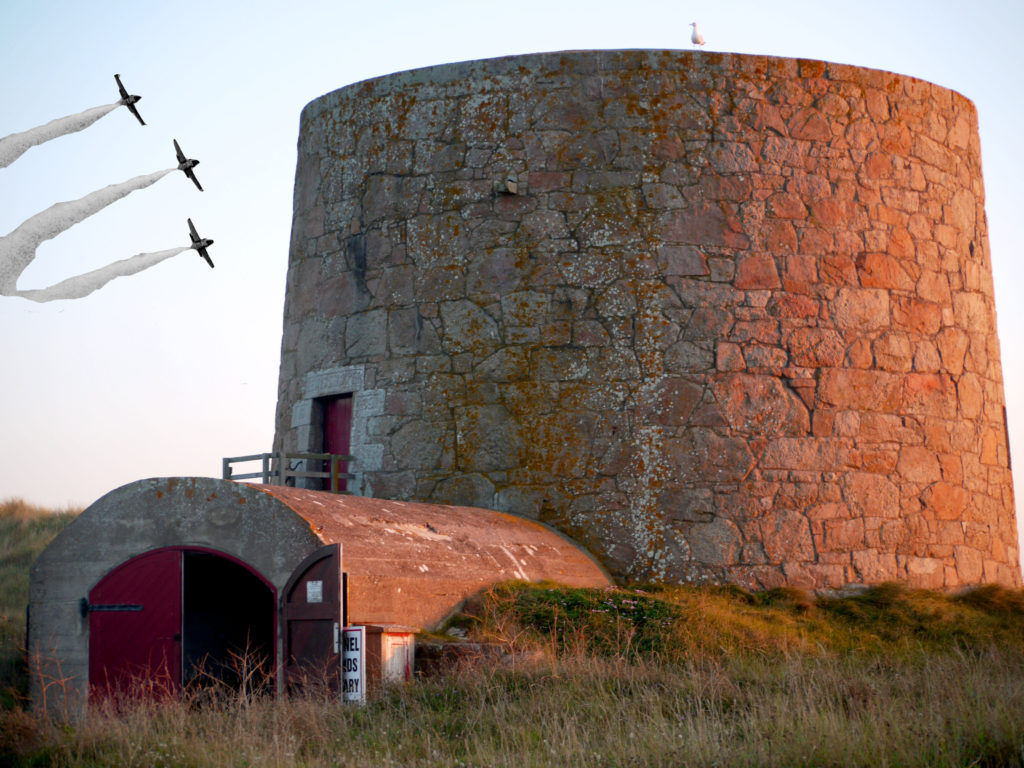
For this experiment, I also the magnetic lasso tool to select the planes and smoke. However this time I change the planes in to black and white, to mix colours and create a vintage edge. I feel this went better than the 1st, but next time I would make the planes smaller, as it looks a little edited and unrealistic.
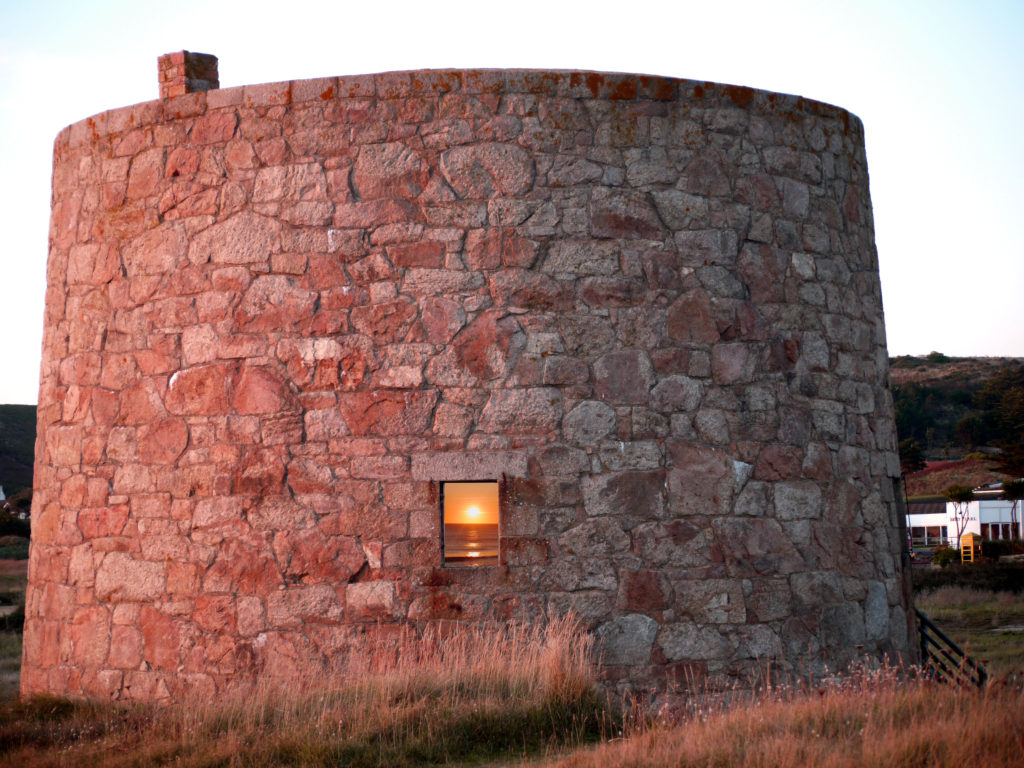
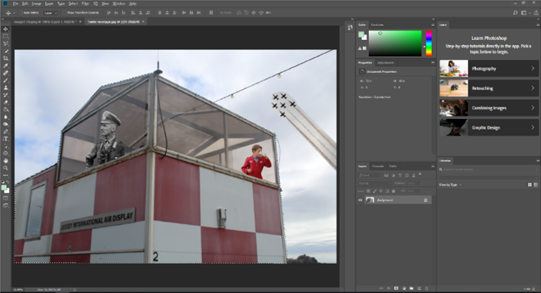
For this experiment, I used the marque tool to select the part of the original photo I wanted and placed it in the window. I decided to do this photo montage as I wanted to experiment with perspective and view. If I was to do this photo montage again, I would find a tower, with either a bigger window or a door, as this would allow the sunset is bigger and easier to view.

For this experiment, I also used the marque tool to select the door of the tower, and placed it on the sun. This photo montage was yet again to experiment with perspective and view too. I really like this photo montage, as it came out how I wanted.

For this experiment, I used the photo montage from the previous experiment, and dropped it into the window. This came out the way I wanted them to.

For this experiment, I wanted to better the first photo montage I did. I felt this was experiment is much better, as I looks more realistic and life-like. I wanted to make the planes smoke to have the same colours as the sunset and reflect too. I did this by copying the layer of the planes and changing the layer style to ‘luminosity’, by doing this is reflected the sunsets colours. I then just erased the excess picture, so it blended into the background.

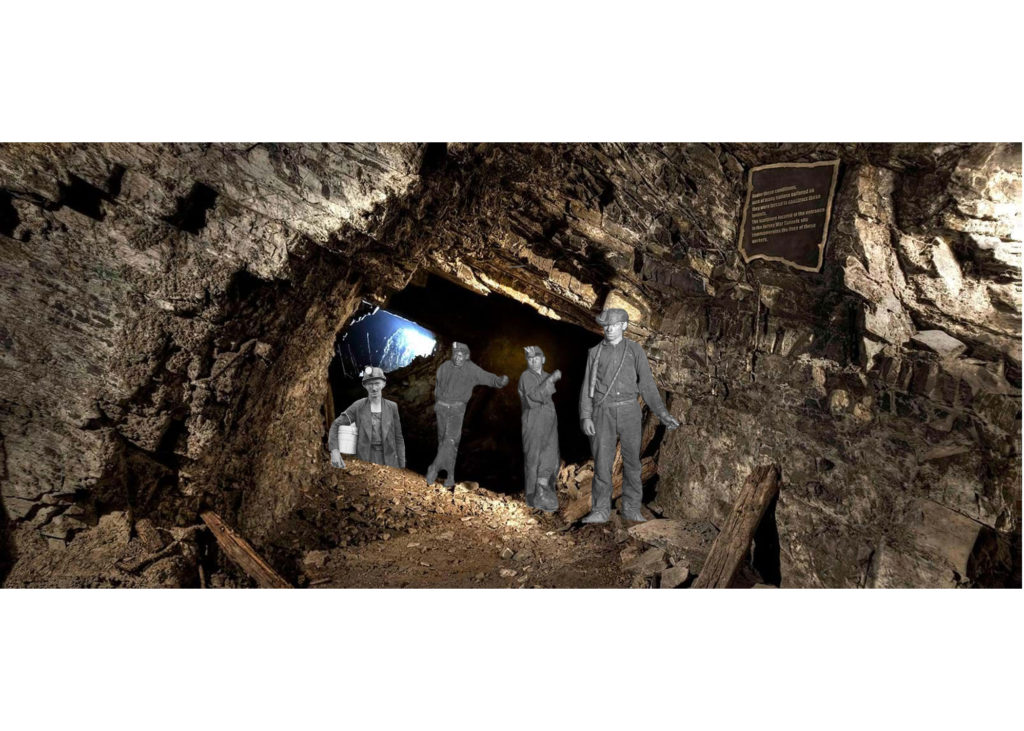
For this experiment, by hand, I cut and arranged the photos, in a way that represented liberation and occupation. I placed a picture of the sea in the background, to represent the liberation, as nature is free. Then all of the war figures relate to occupation, as they are in the army.