
- Lowering brightness and increasing contrast
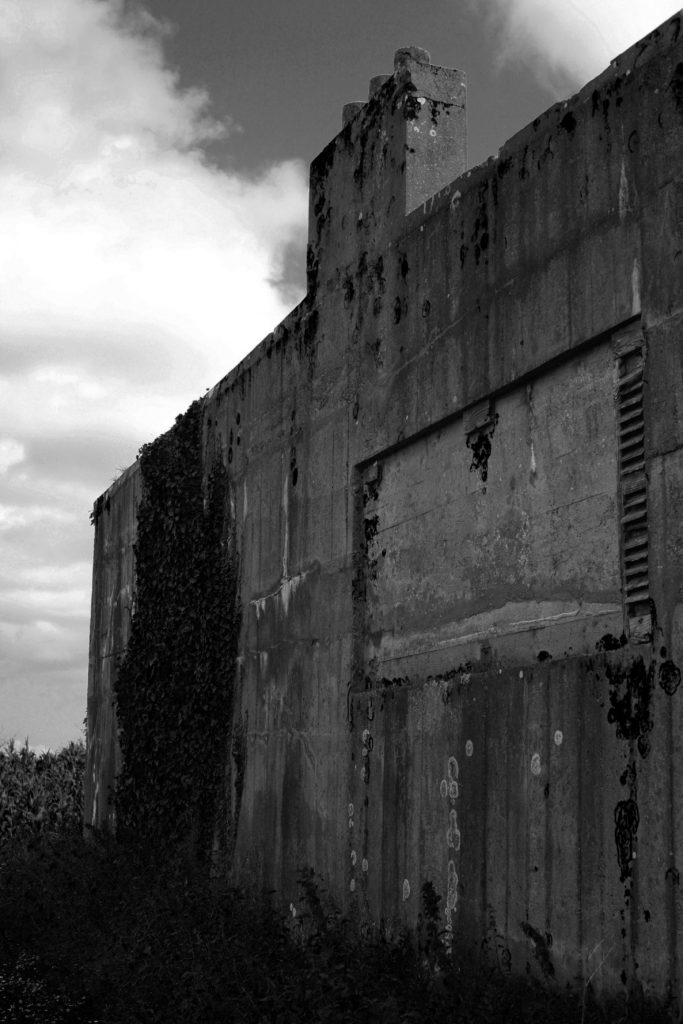
- Edited to be a monochrome image
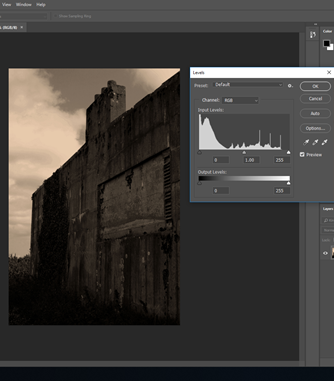
- Use of levels to create a more defined image.

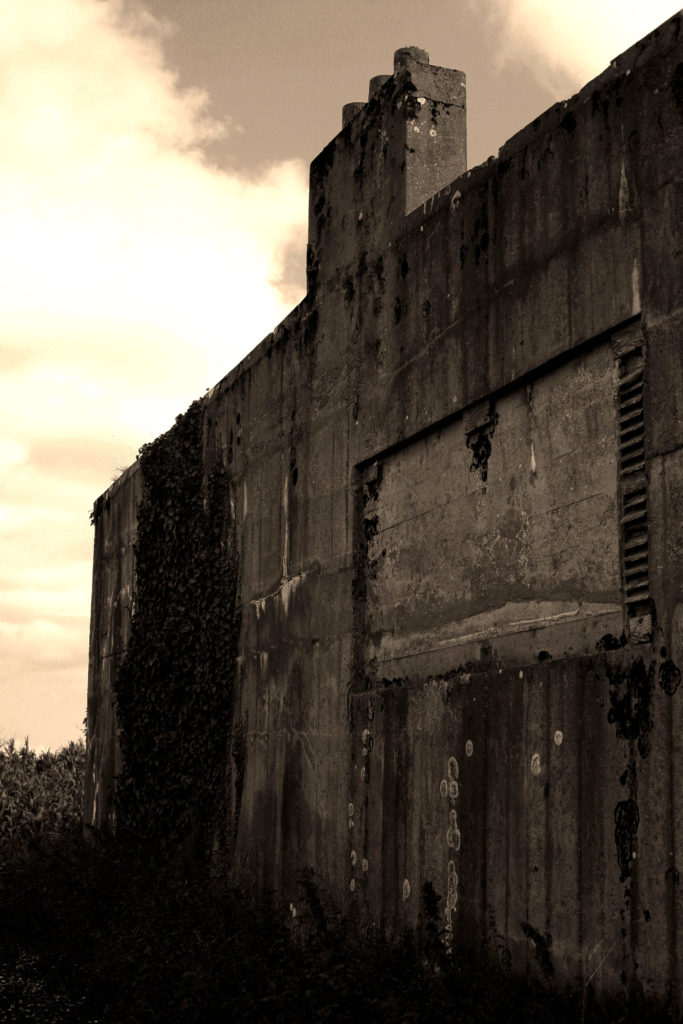
- An added colour filter (orange) to create an antique feel.
- Increased exposure brings out the highlights of the image, however, I feel it takes the focus away from the bunker. It could prove useful for future editing.
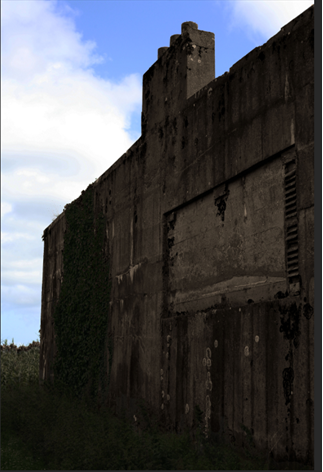
- Experimenting with layers and opacity. I cut out the image of the bunker I’d edited to look old and applying it to the original image.
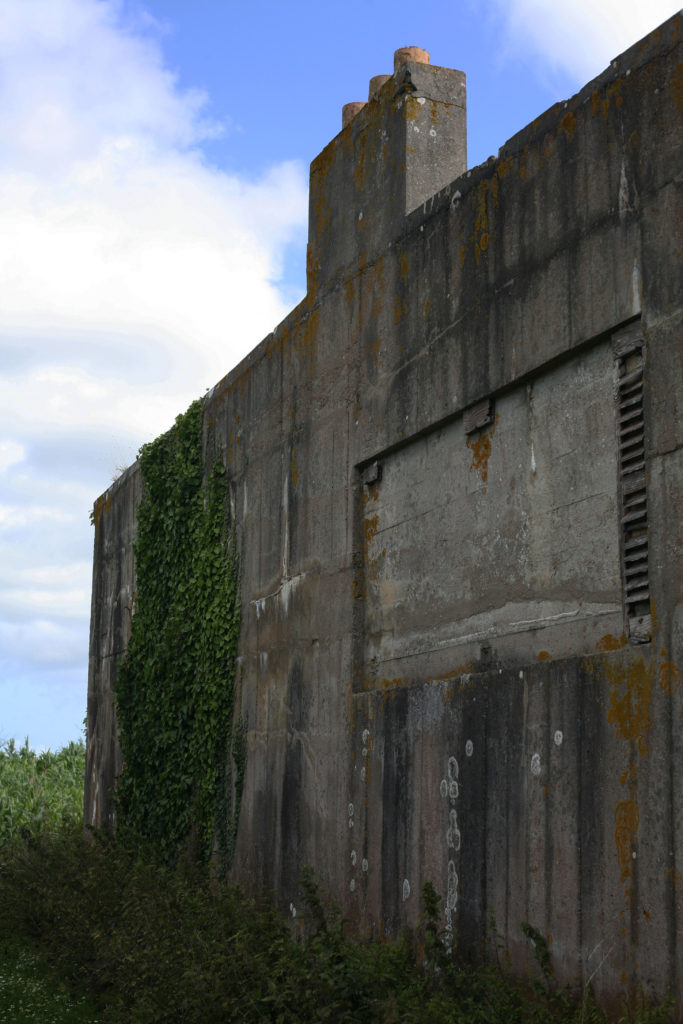
- Also began to reintegrate the original greens of the ivy into the image to separate ‘old’ from ‘new’
Layering, Opacity control, Free transform, and blending these images to create a photomontage.
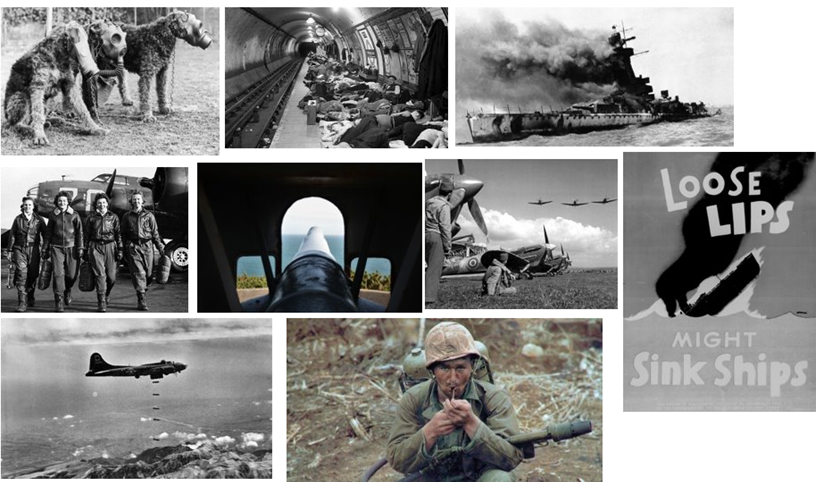
Method

I started by cutting the gun and metal rods out and placing them on a separate layer. I added each image beneath this layer but on top of the background and changed the size using free transform (CTRL+T). I lowered the opacity of each image and erased parts of the photos, where an image from a top layer was present. I chose black and white images and edited the ones that weren’t in order to help with the blending.