OCCUPATION & LIBERATION

EDITING

Processed with VSCO with 3 preset

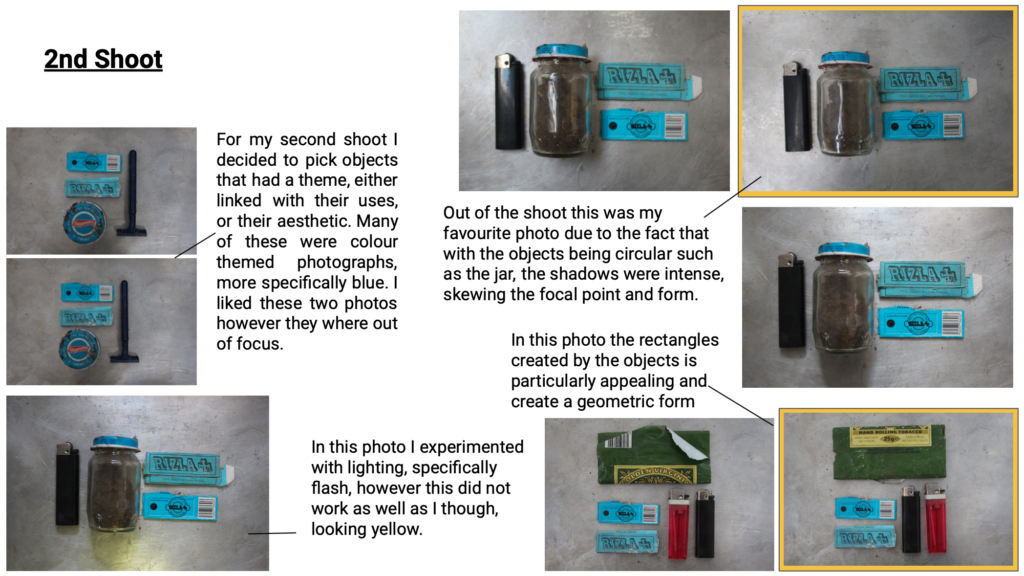
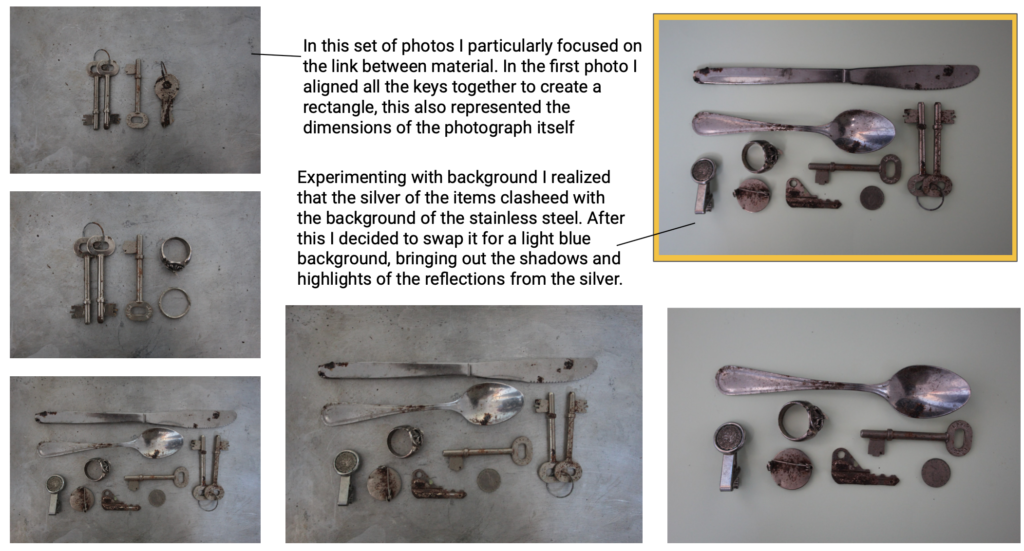
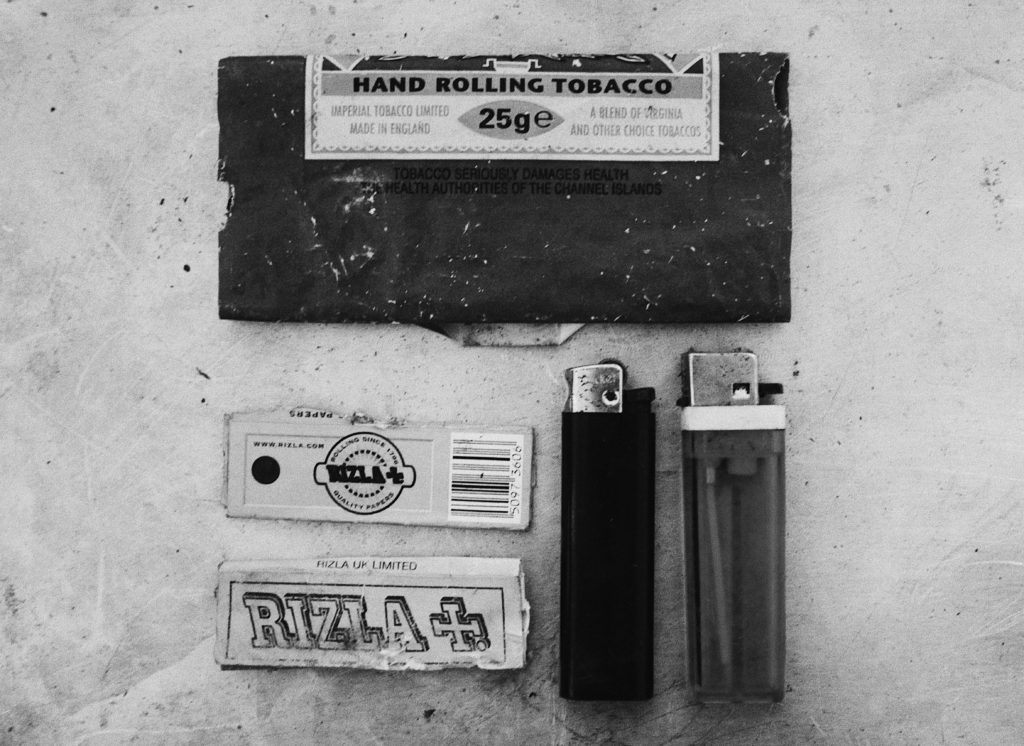
Deciding on the photos with the correct focal points, and the least shadows to make the image look more in proportion, I proceeded to edit them, in the photo below (taken from my second shoot) I made sure that the contrast had been increased and exposure lowered. This edit is inspired by the ‘authentic’ approach to old photos, with no colour, I accomplished this with the use of a filter aswell.

  • Increase of exposure, shadows and tone
  • Adjustments in cropping and straightening
  • Increase in colours particularly pinks and reds to bring out colours of the items selected for this shoot
  • also adding a filter

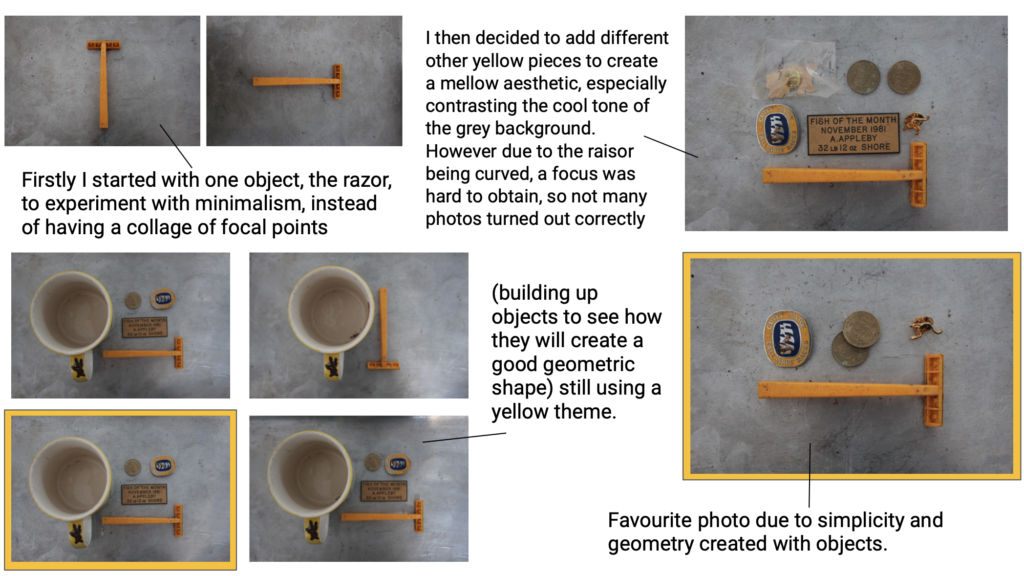
Due to the mass of yellow as the focal point of the photo, I slightly increased the yellow to make to foreground even stronger. By also increasing the contrast and shadows it evened out any odd shadows that were breaking the form in the background. As well as the I made sure that the items were in the correct place using grid lines. This along with cropping the image made sure for a evenly centres focal point.

To edit I have used VSCO, a simple photo editing app. In this photo I have enhanced the contrast and exposure to lighten yet keep the objects definition. As well as this i simple cropped and straightened the photo in order to align the sides with the form of the items in focus.

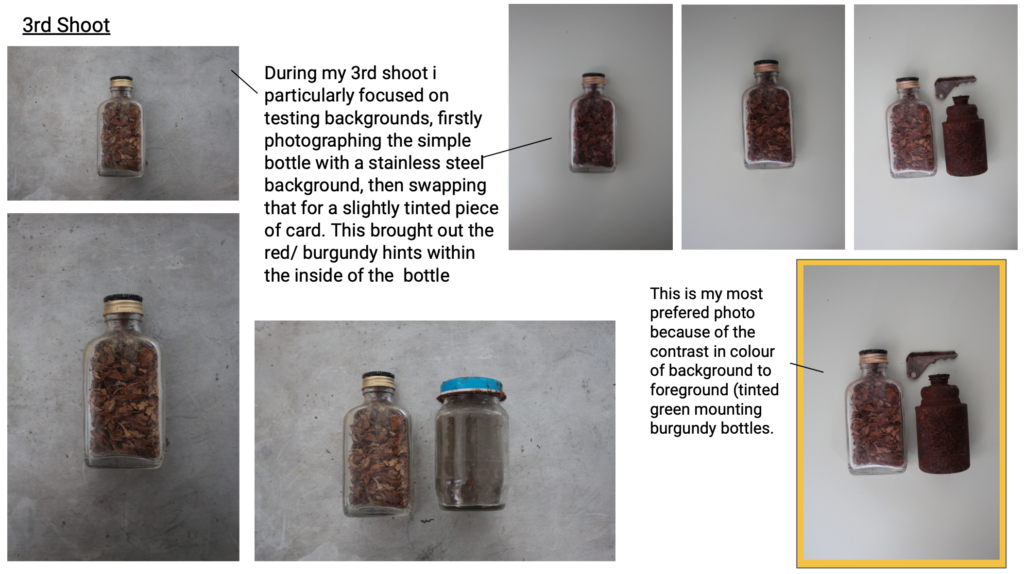
In this photo I also straightened and cropped the image, however due to the two metals (background and foreground) I increased highlights and shadows, making it more clear to view. I furthermore softened the tones of the colours, cooling the image to create a blue/ silver theme.

FINAL PHOTOGRAPH

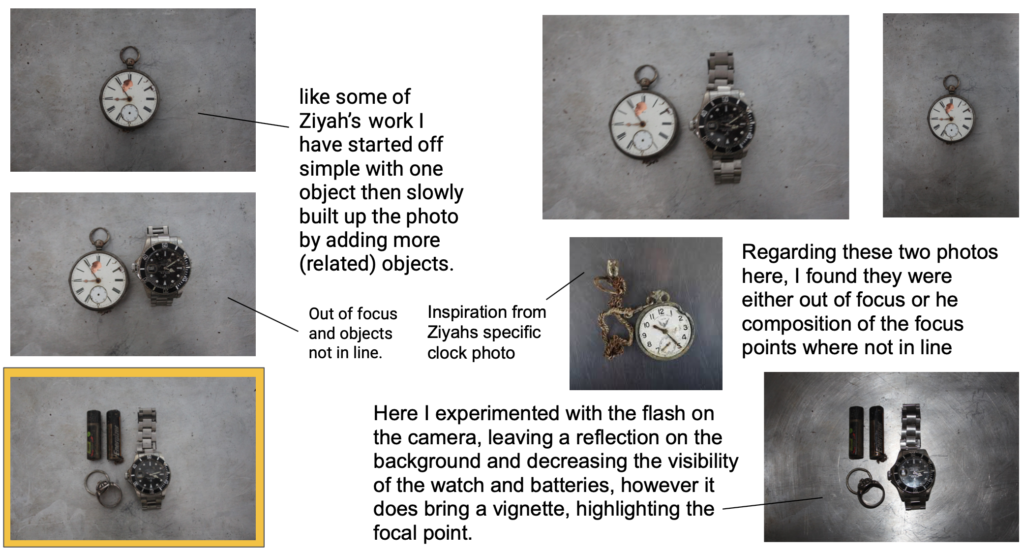
This is my chosen photo from my 3 shoots, due to the fact that it firstly represents the object’s that would be in personal use, much like the ones in the photos taken by Ziyah Gafic. This is personally my favourite due to the link between each item, being silver. This means that every item reflected in a similar way. Furthermore, even though  most of the objects are rounded, I like the way they create a rectangular form. I also think that the editing of B&W improves the contrast the the background, making the focal points more visible.

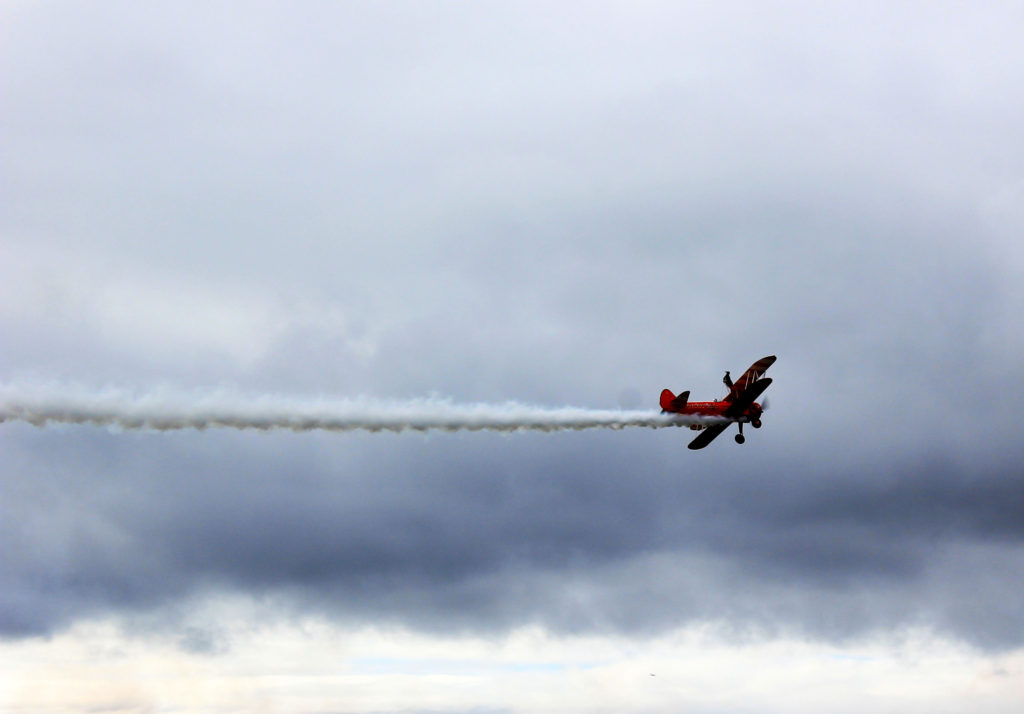
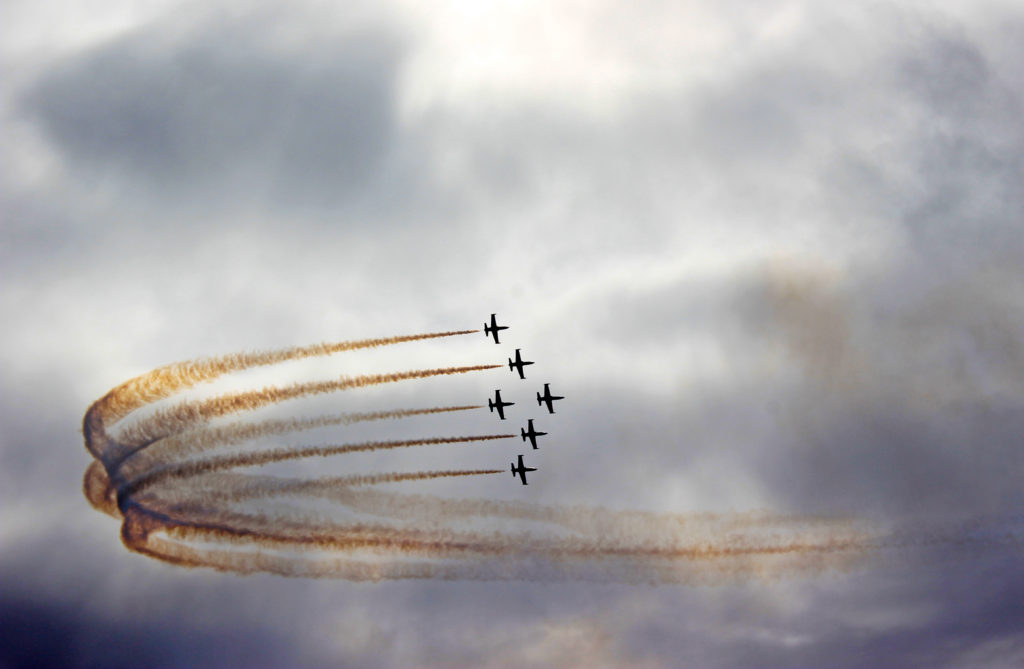
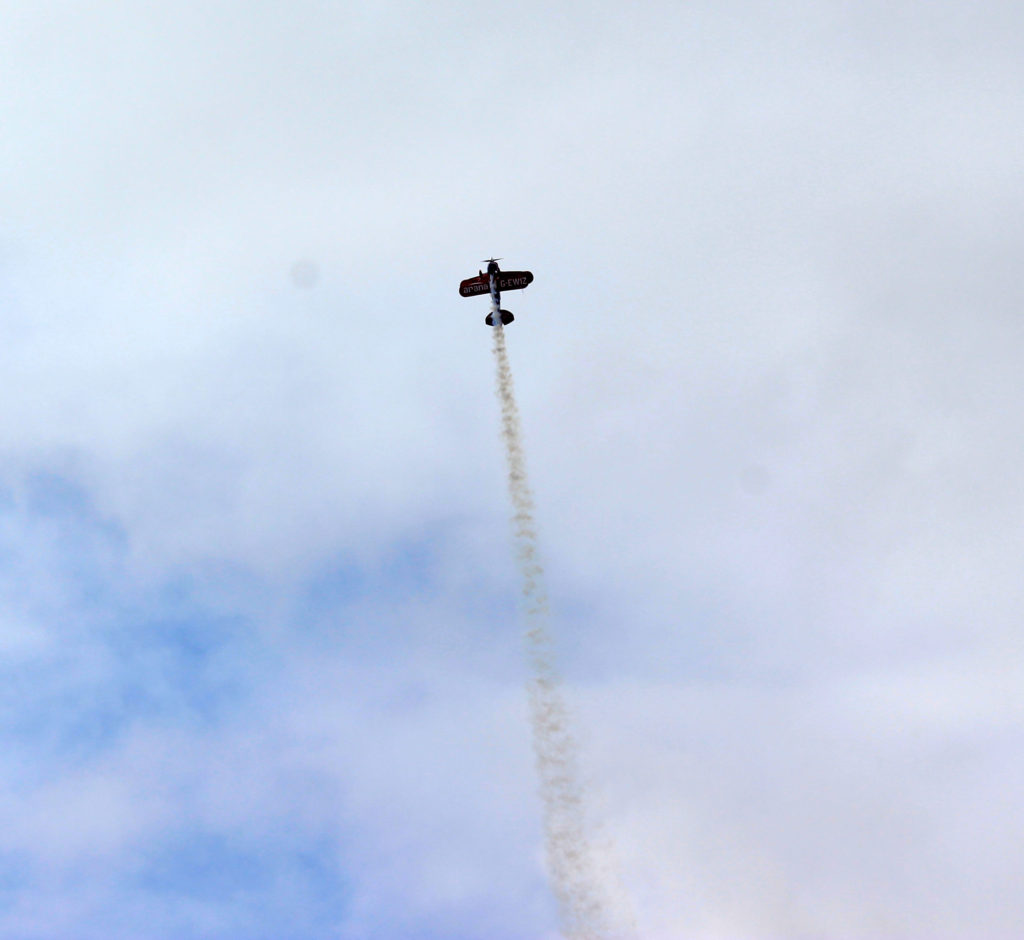
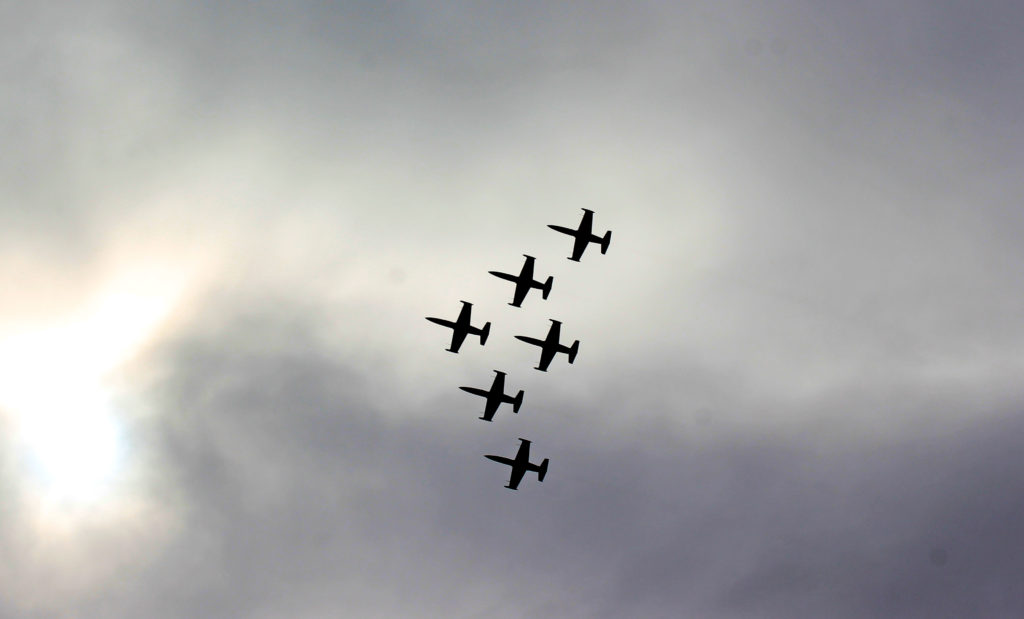
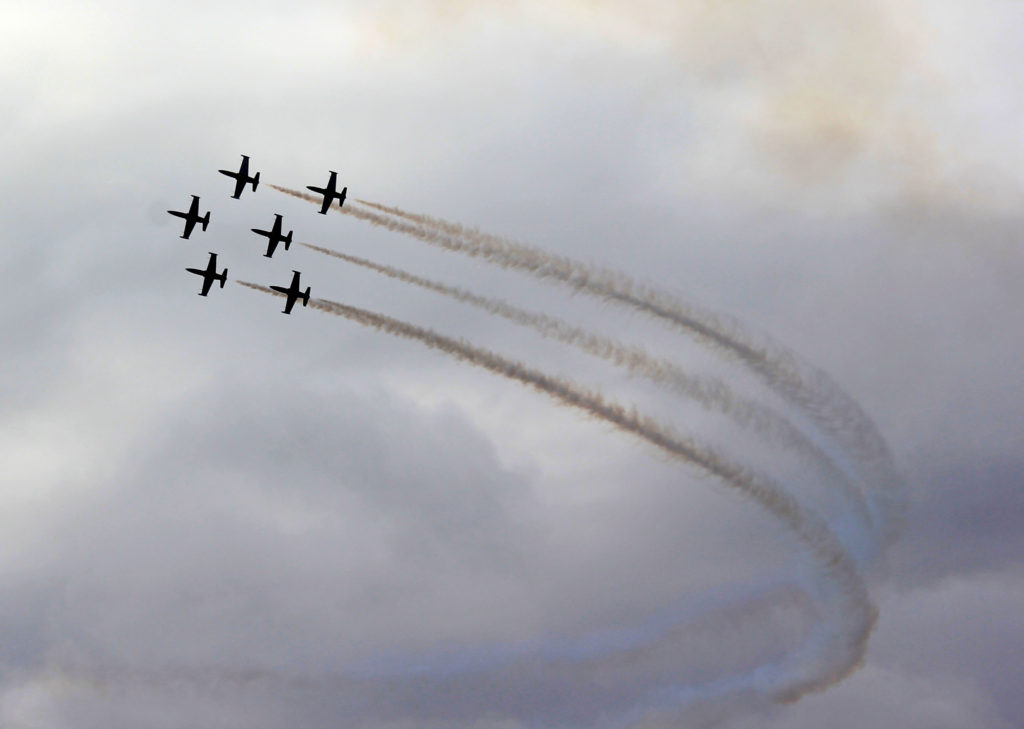
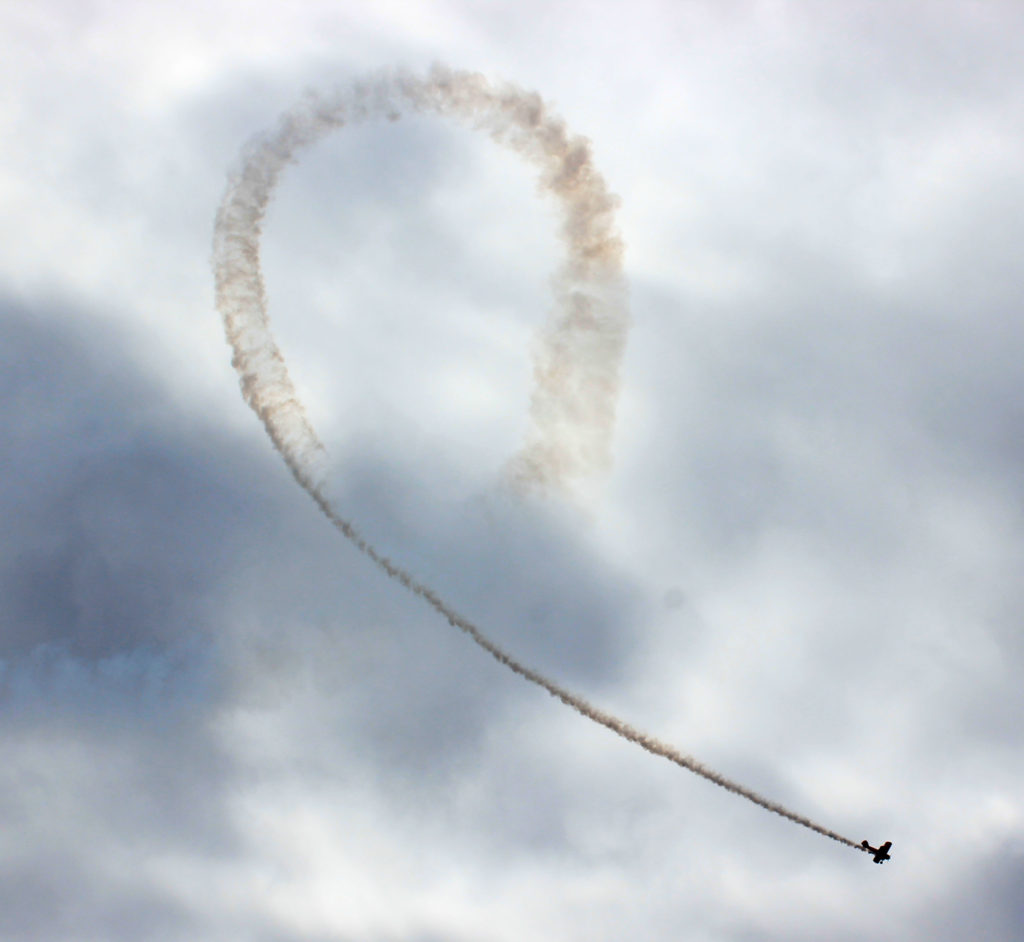
AIR DISPLAY IMAGES AND EDITS

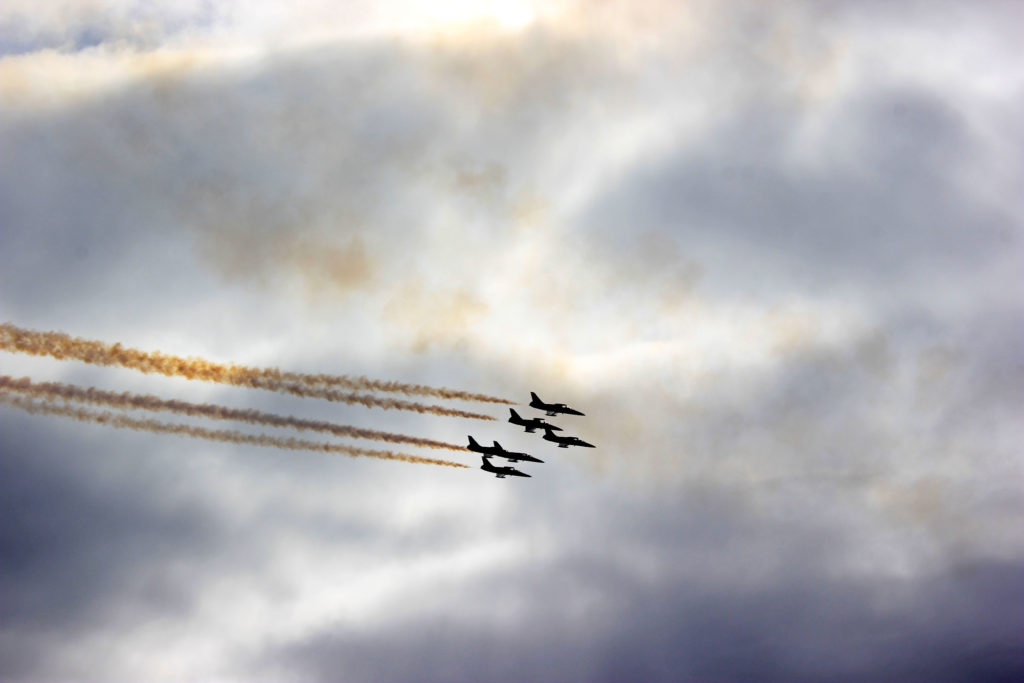
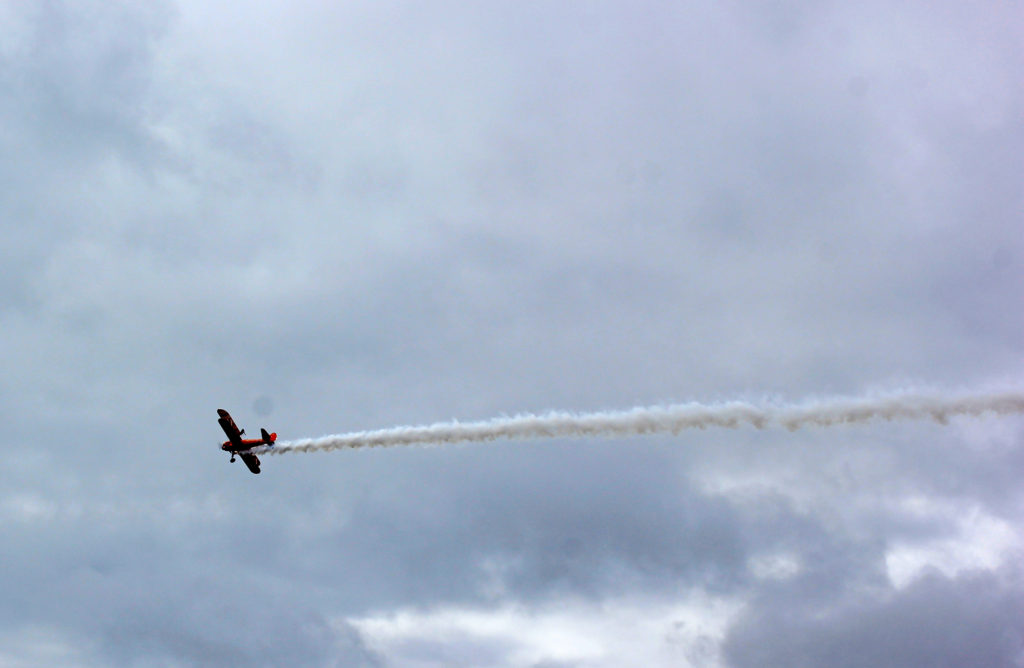
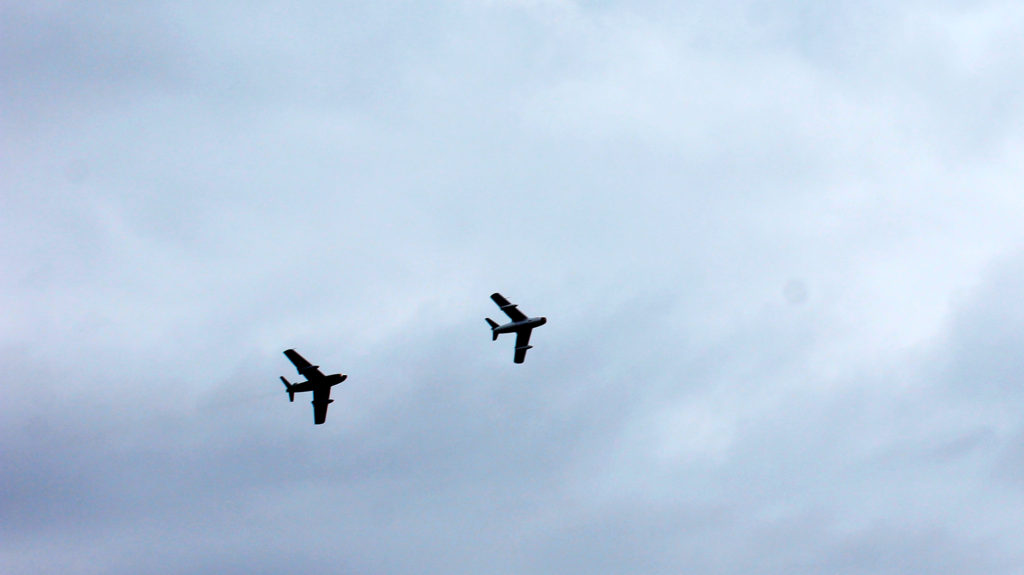
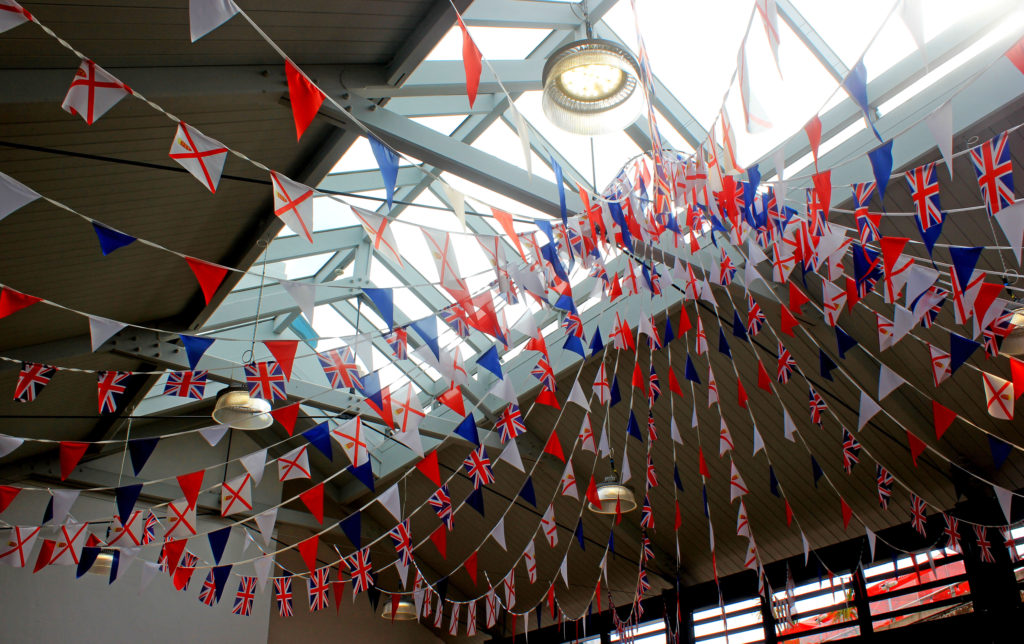
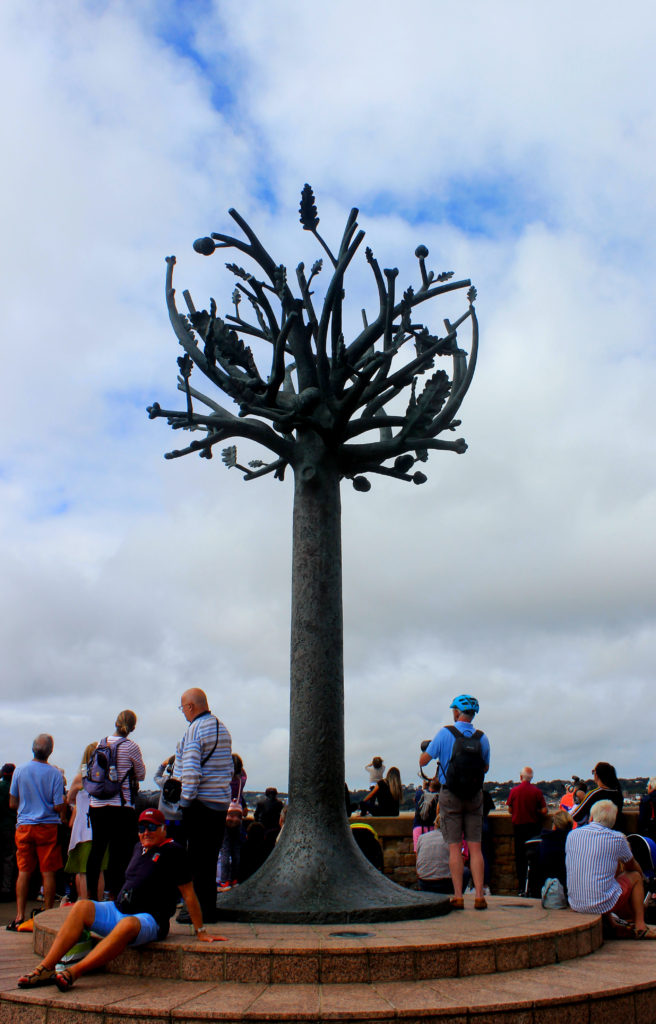
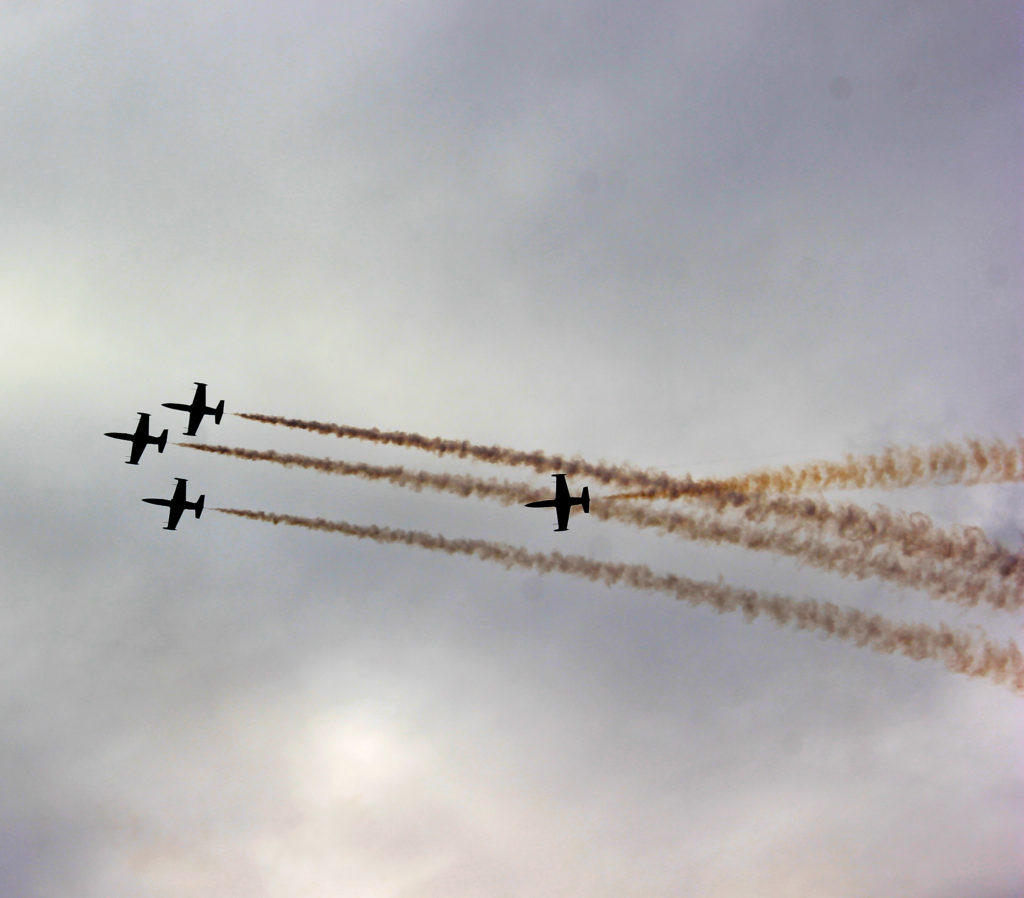
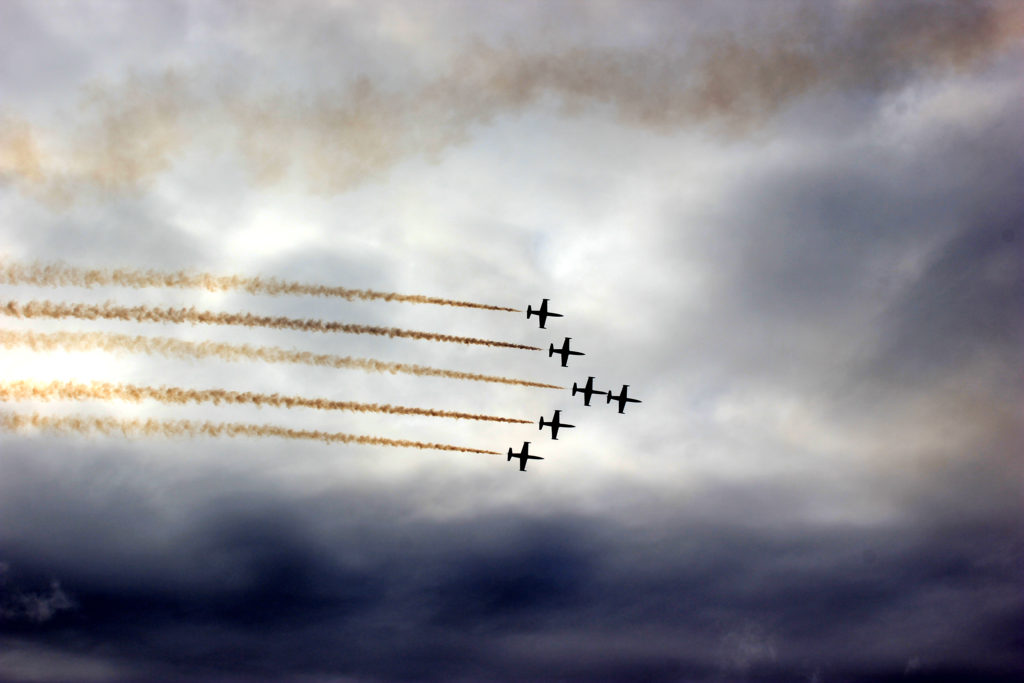
I used Adobe Photoshop to edit a selection of my air display images to achieve a professional style. The tools I mainly used were the cropping, levelling, brightness and contrast, shadows and highlights and saturation tools. Using a combination of these enhanced the colour and lighting of my images to ensure they are presented to the highest quality.
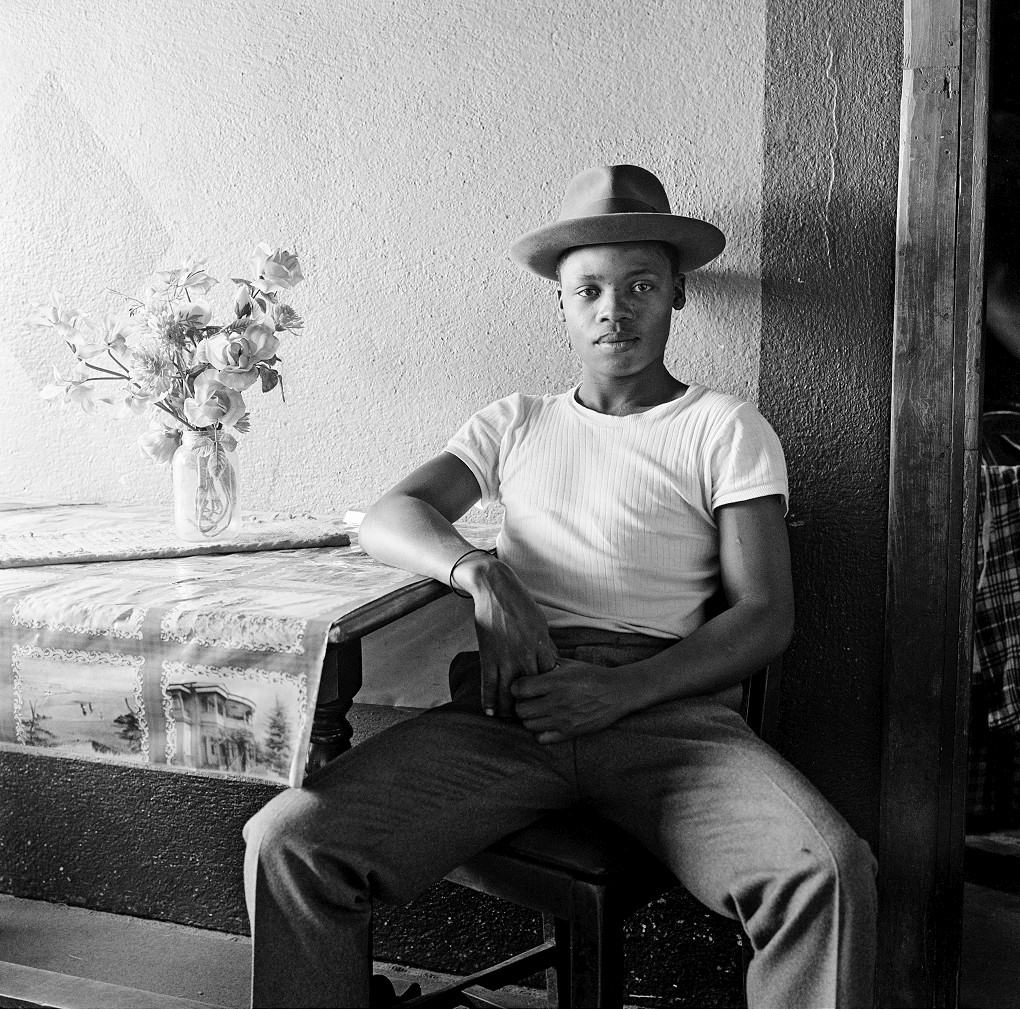
Image Analysis Exercise

An environmental portrait is a portrait executed in the subject’s usual environment, such as in their home or workplace, and typically illuminates the subject’s life and surroundings.  

Group Activity | Image Analysis

Image result for arnold newman alfred krupp
Arnold Newman | Portrait of Alfred Krupp | 1963
  • Emotional Response (how it makes you feel / initial reactions):
  • Technical Aspects:
  • Visual Aspects:
  • Conceptual Aspects:
  • Contextual Aspects :

You have 5 minutes to research this image and present your findings as a group…

Blog Post 1 :

  • define, describe and explain what an environmental portrait is

Select one key image and apply Technical | Visual | Contextual | Conceptual analysis

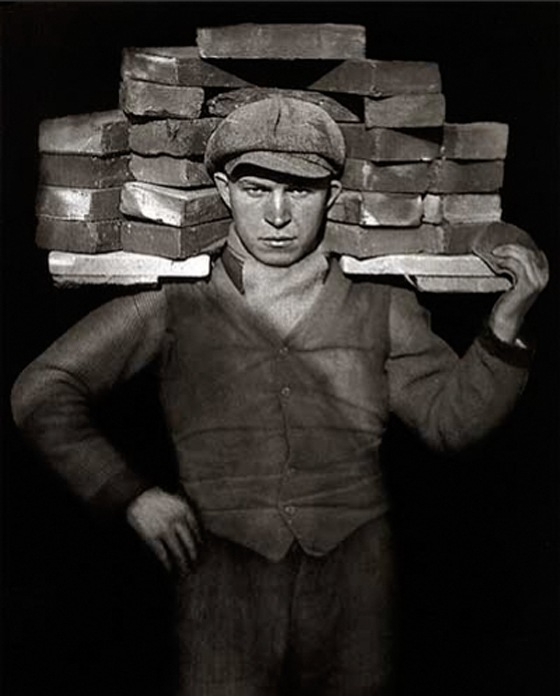
Image result for august sander typologies
August Sander The Face of Our Time 1926
Image result for august sander typologies
August Sander The Face of Our Time 1926
Image result for august sander typologies
August Sander The Face of Our Time 1926
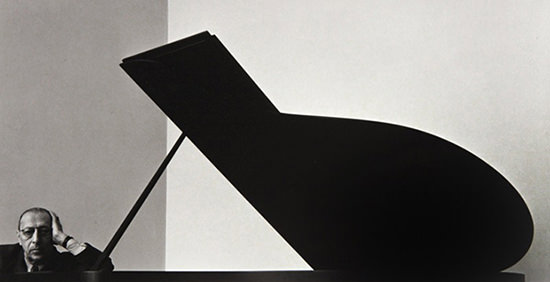
Arnold Newman Igor Stravinsky (composer) 1946

Other environmental portraits to consider

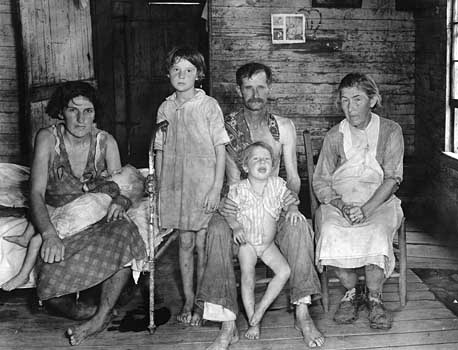
Walker Evans Sharecropper Family 1936
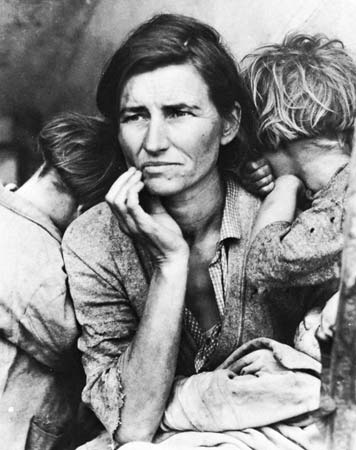
Dorothea Lange Migrant Mother 1936
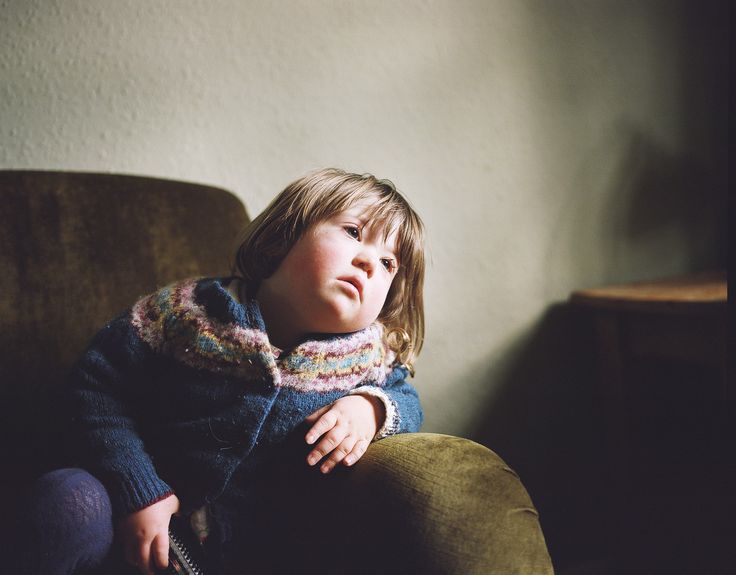
Sian Davey “Looking for Alice” 2012
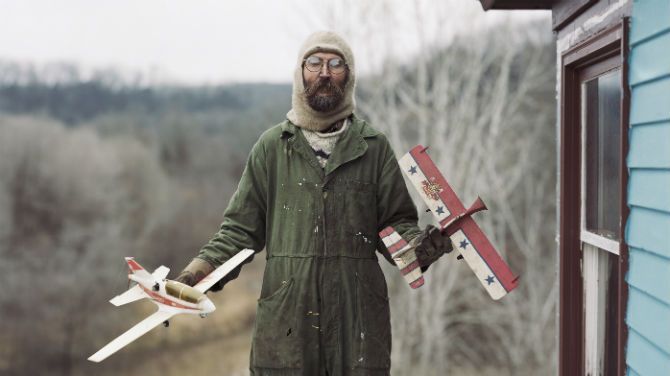
Alec Soth Sleeping by the Mississippi 2004
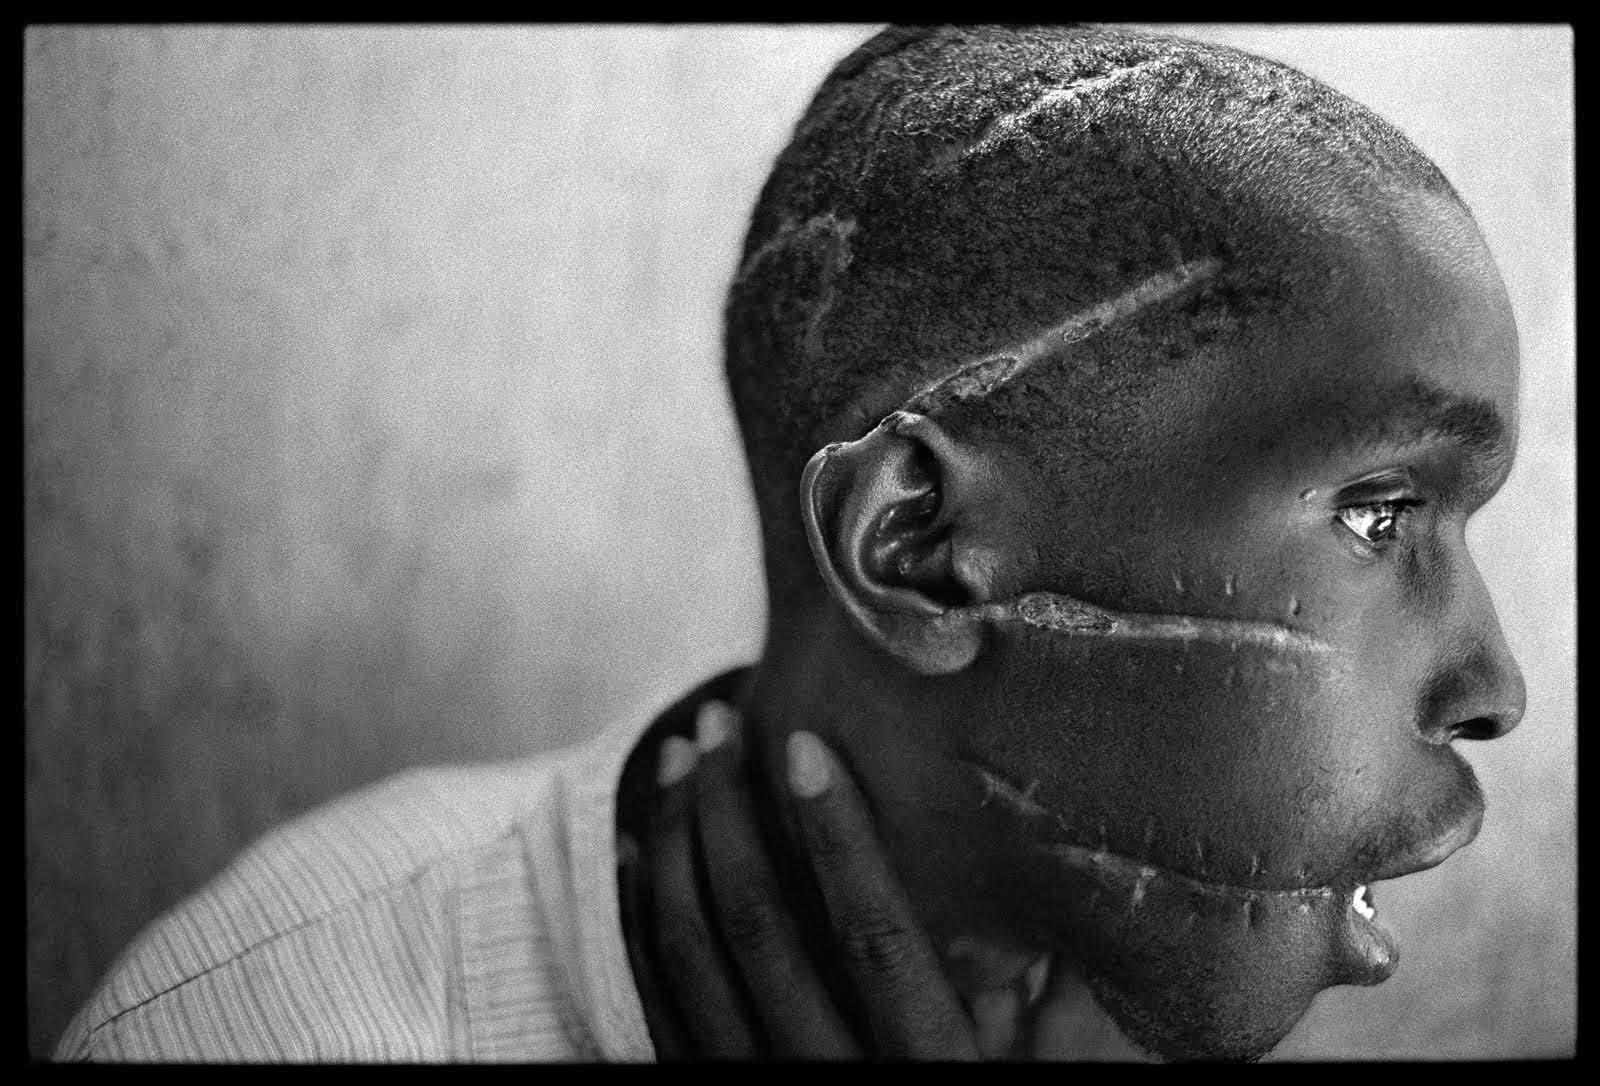
James Nachtwey Rwanda 1995
Michelle Sank
David GoldBlatt
Anthony Kurtz No Man’s Job series 2010

Resources to help you analyse and interpret the images…

Picture
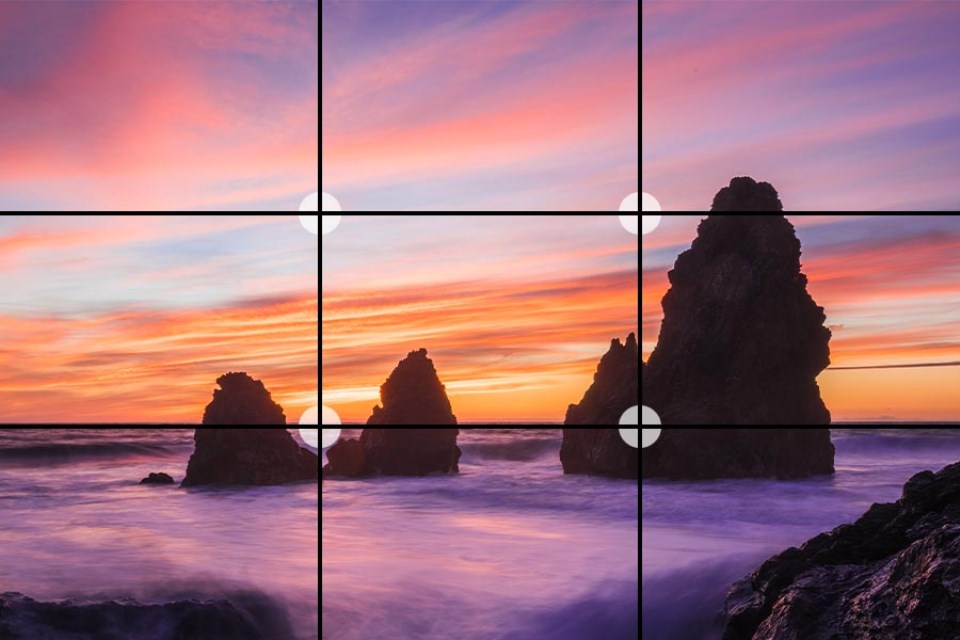
Image result for rule of thirds
Rule of thirds grid…useful for balance, symmetry and strong compositions
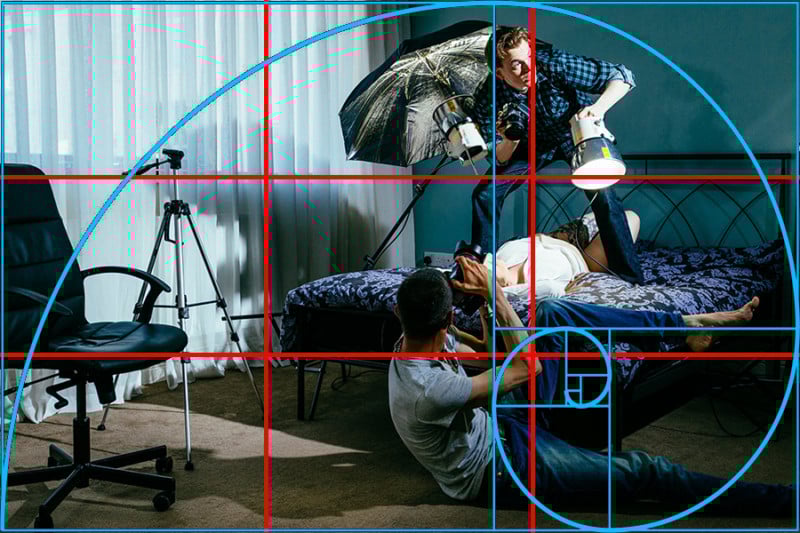
Image result for golden ratio photography
Apply the Golden ratio, Fibonacci Sequence to an image (overlay / blend a template)
00YobA-364389584.jpg
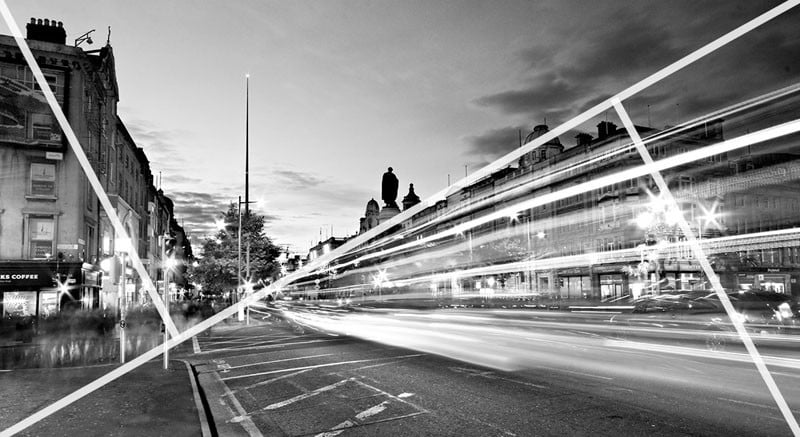
Henri Cartier-Bresson and the use of “The Golden Triangle”

Try some environmental portraits yourself…

Remember to show your Photo-Shoot Planning and clearly explain :

  • who you are photographing
  • what you are photographing
  • when you are conducting the shoot
  • where you are working/ location
  • why you are designing the shoot in this way
  • how you are going to produce the images (lighting / equipment etc)

Please use a planning sheet for each photoshoot…

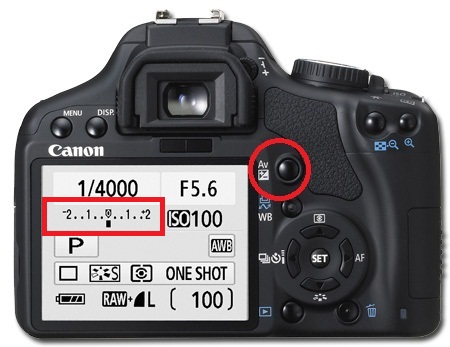
Camera Handling Skills

ADOBE PHOTOSHOP TUTORIALS…

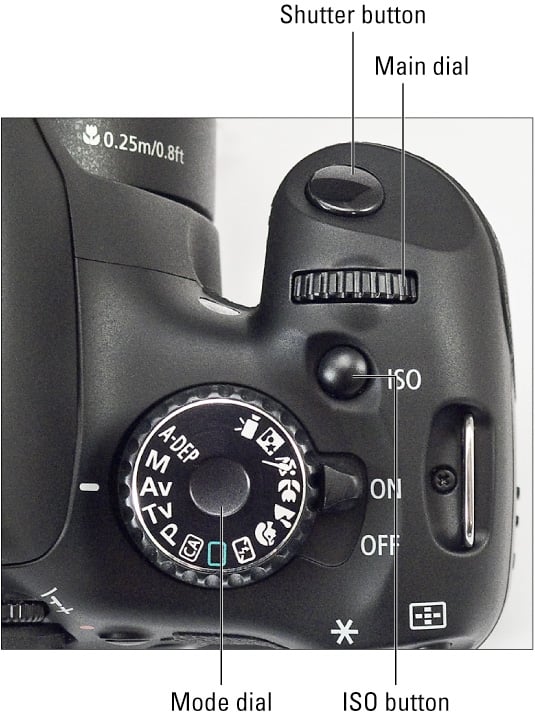
Please refer to this resource to help you navigate your camera’s function and settings. You will learn how to apply these skills learning to various photo-shoots over the next few months…and you should aim to provide evidence of these skills throughout your coursework.

Remember to practice and experiment. Use your eyes and look. The more you look, the more you will see. How you see the world will determine what kind of photographer you will become.
A camera is only a tool, and it is down to you to get the best out of your equipment by becoming confident and comfortable

https://canon.ca/CanonOutsideOfAuto/learn

Camera Skills

You must experiment with each of these skill areas as we move through our sequence of photo-shoots. Remember to include / produce a blog post on each that includes evidence of your experiments and successes…

Remember to use What / How / Why / When when describing and explaining what you are experiencing and achieving with each of these…

  1. Using Auto-Focus
  2. Using Manual Focus
  3. White Balance
  4. ISO
  5. Aperture
  6. Focal Length : wide, standard and telephoto lenses
  7. Depth of Field
  8. Show / fast Shutter Speed
  9. Exposure and exposure compensation
  10. Exposure bracketing
Ansel Adams and the visualisation of an image
Exposure Triangle : ISO – Shutter Speed- Aperture
Depth of Field
Image result for canon camera control dial
Camera function layout
canon
Camera function layout
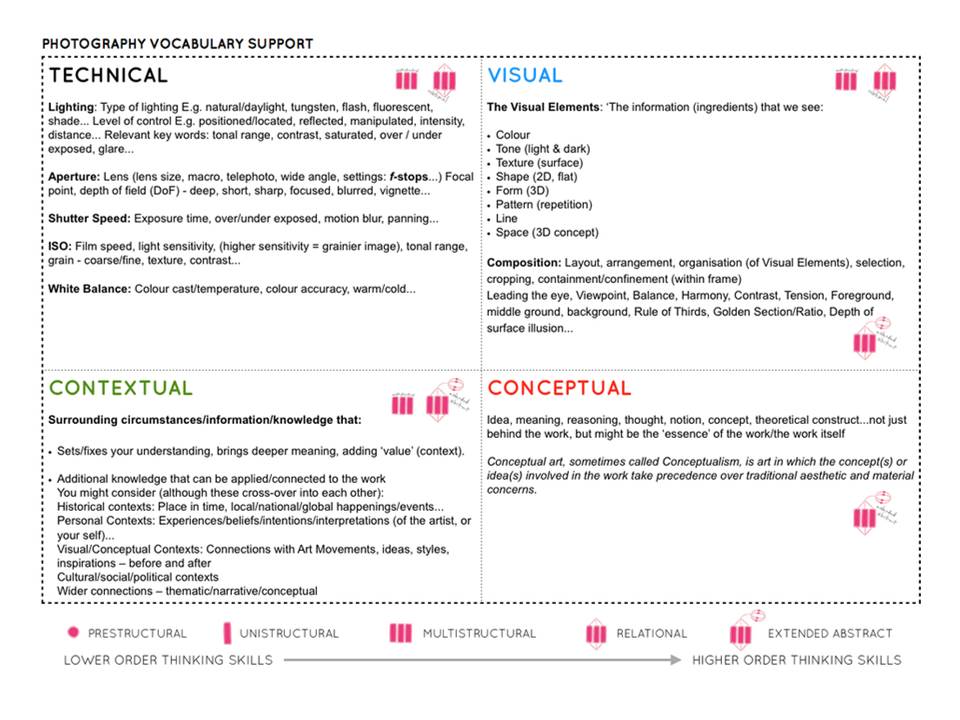
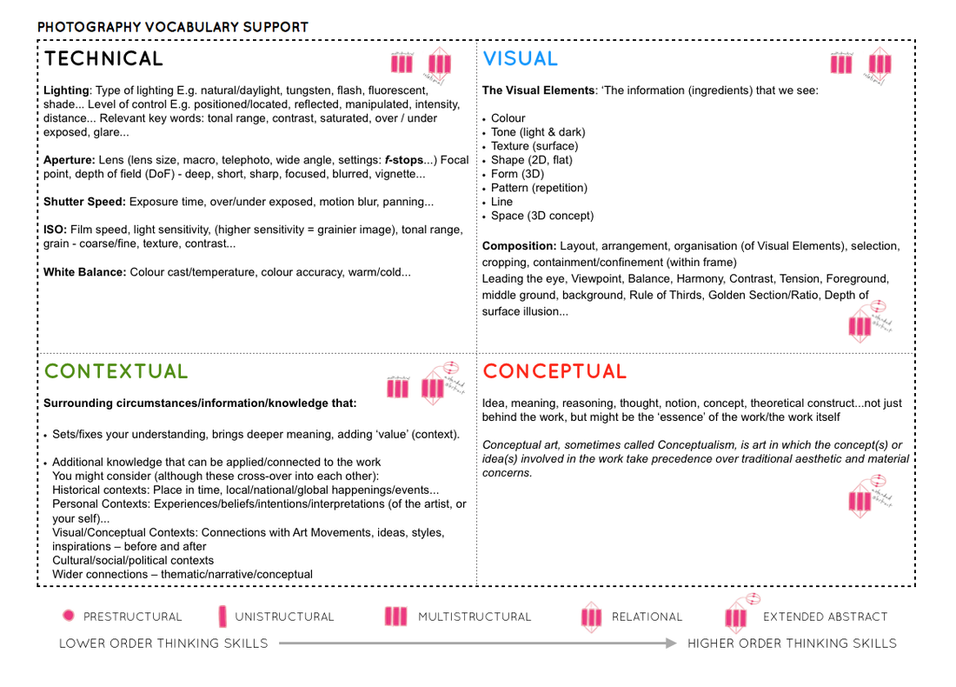
Ensure you are using technical vocab too…use the helpsheet to guide your literacy

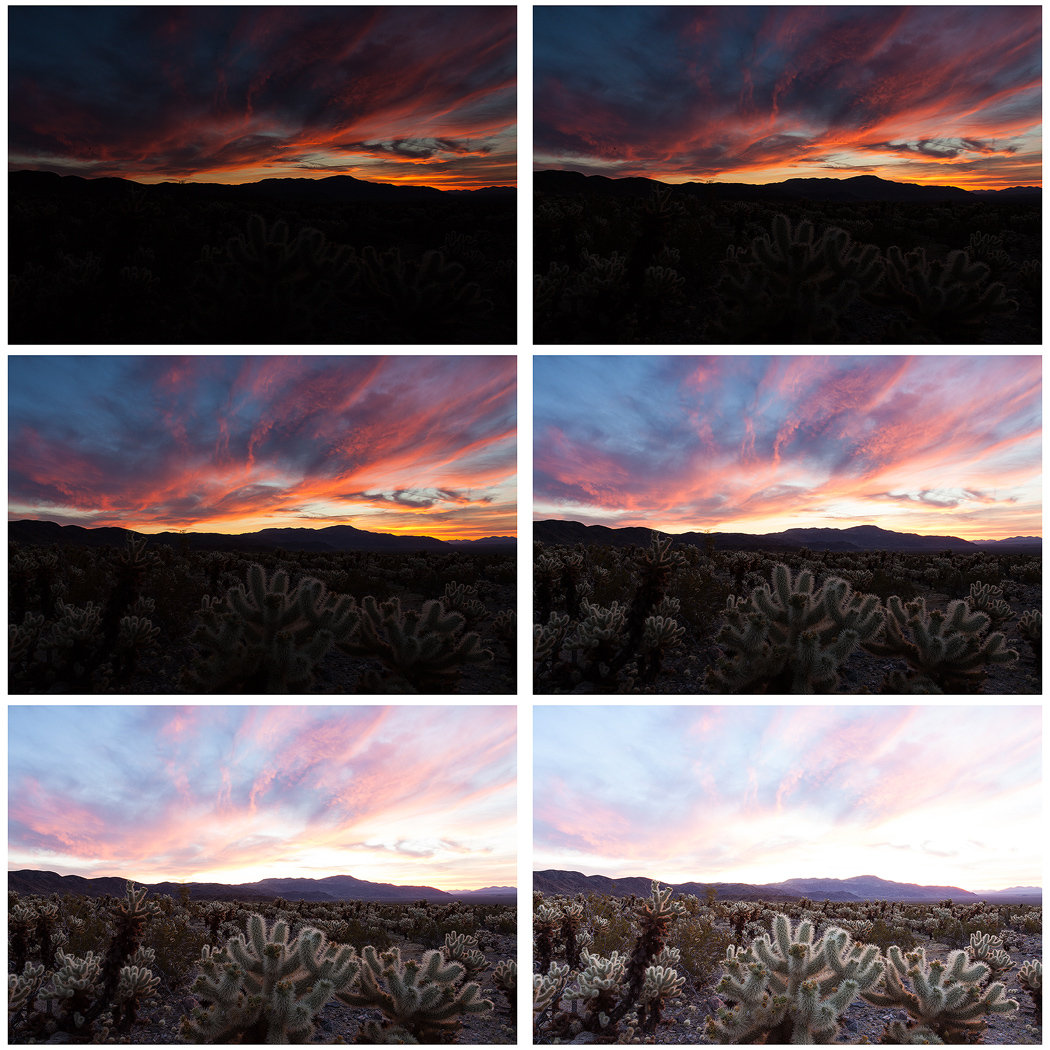
Exposure Bracketing

work-1

Many digital cameras include an Auto Exposure Bracketing (AEB) option. When AEB is selected, the camera automatically takes three or more shots, each at a different exposure. Auto Exposure Bracketing is very useful for capturing high contrast scenes for HDR like this…

…by taking the same photograph with a range of different exposure settings

bracketed-exposures

You can use Exposure Compensation to quickly adjust how light or how dark your exposure will be using these controls…

canon

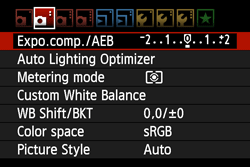
Or set the amount of “bracketing” like this…

g0101331

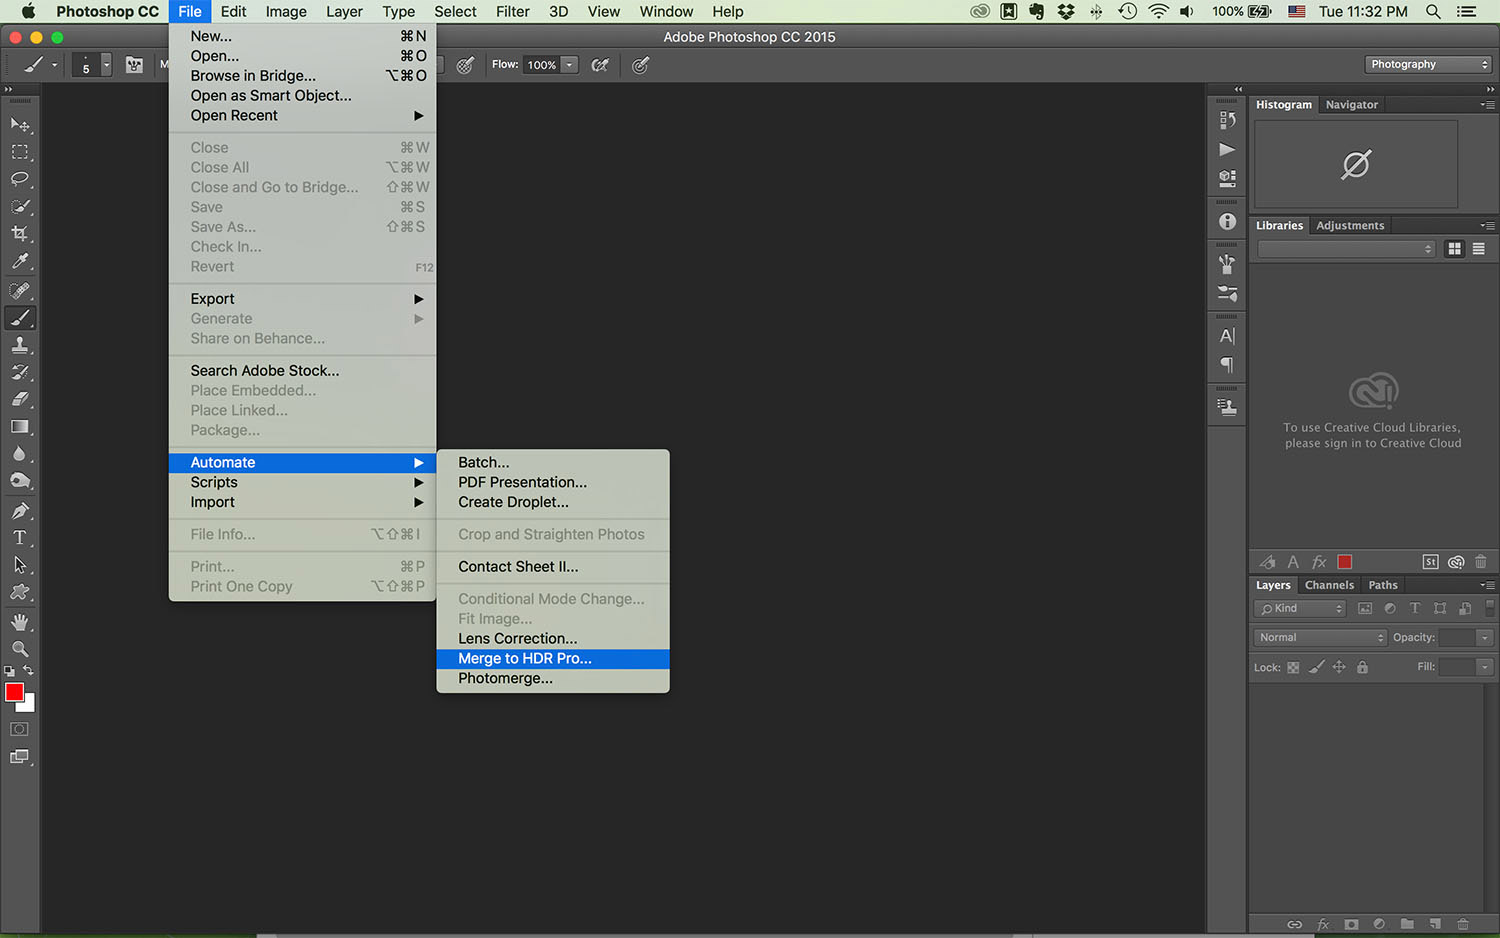
Then you can create your High Dynamic Range images by using this process in Adobe Photoshop…

photoshop_1

Understanding Composition

  1. The Rule of Thirds
  2. One of the fundamentals of painting and photography, the Rule of Thirds is a technique designed to help artists and photographers build drama and interest in a piece. The rule states that a piece should be divided into nine squares of equal size, with two horizontal lines intersecting two vertical lines.
Image result for rule of thirds photography

2. Fibonacci Curve

Image result for fibonacci spiral photography

3. Triangles / angles / Golden Section

Image result for triangles and angles in photography

Cropping / framing

Image result for cropping photography
Create drama / impact with cropping
https://petapixel.com/2016/09/14/20-composition-techniques-will-improve-photos/

Understanding Lenses and Focal Length

Image result for understanding lenses and focal length

Perspective and Depth

Image result for linear perspective in photography
Linear Perspective (some examples may include a vanishing point)
Image result for atmospheric perspective in photography
Atmospheric Perspective