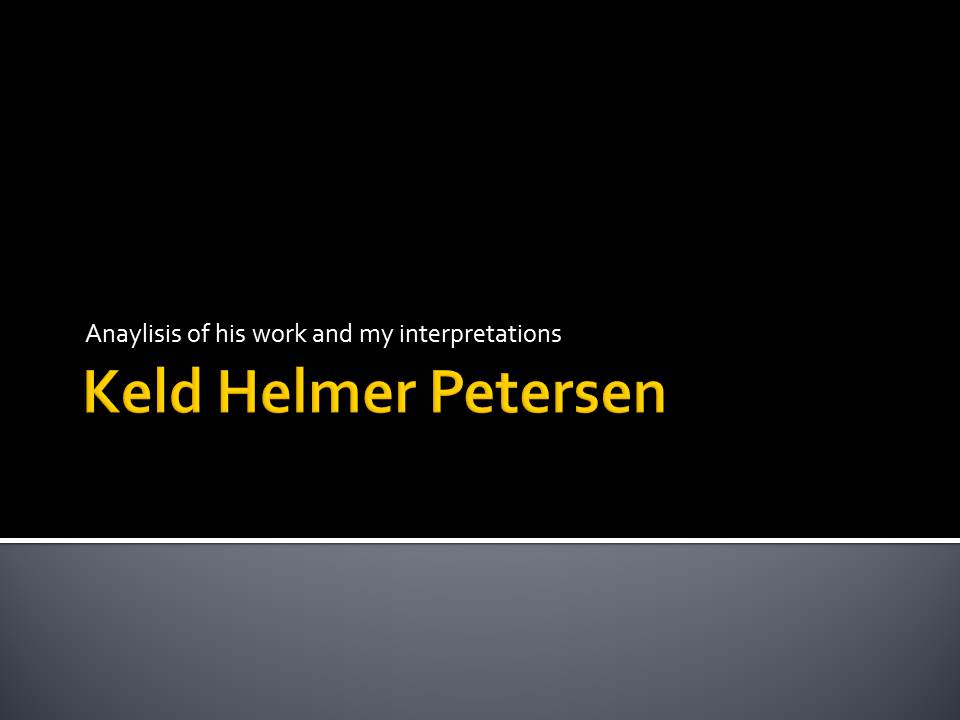
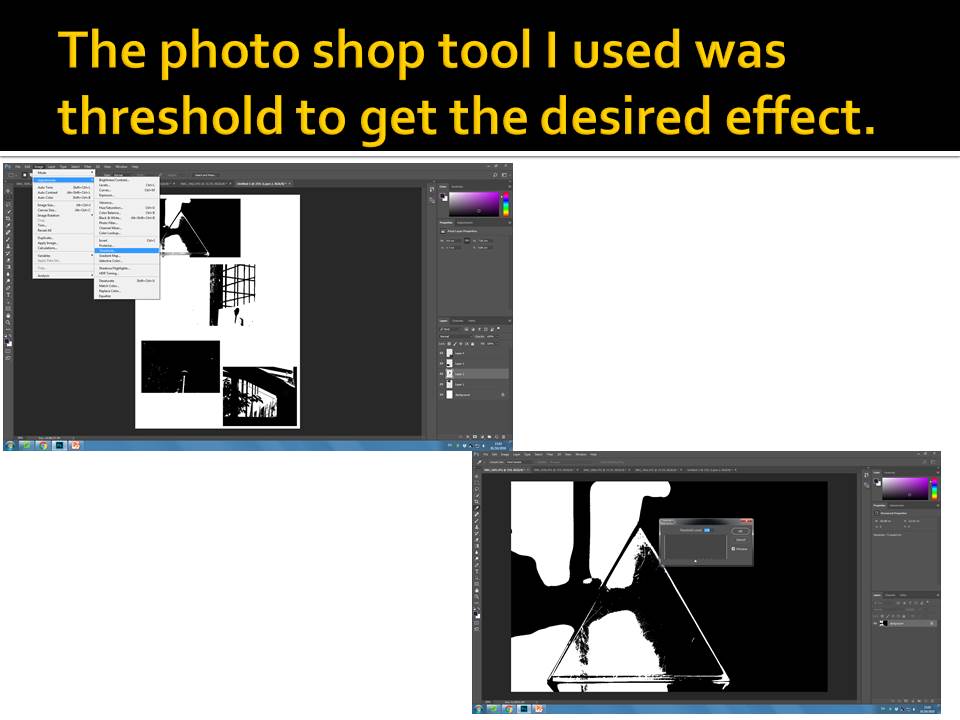
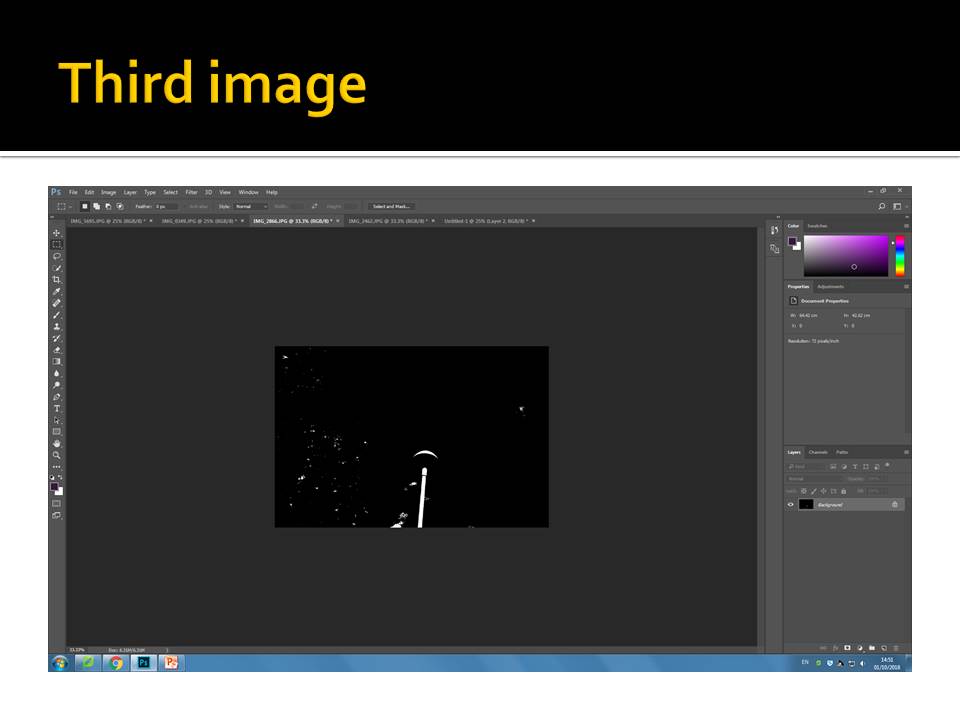
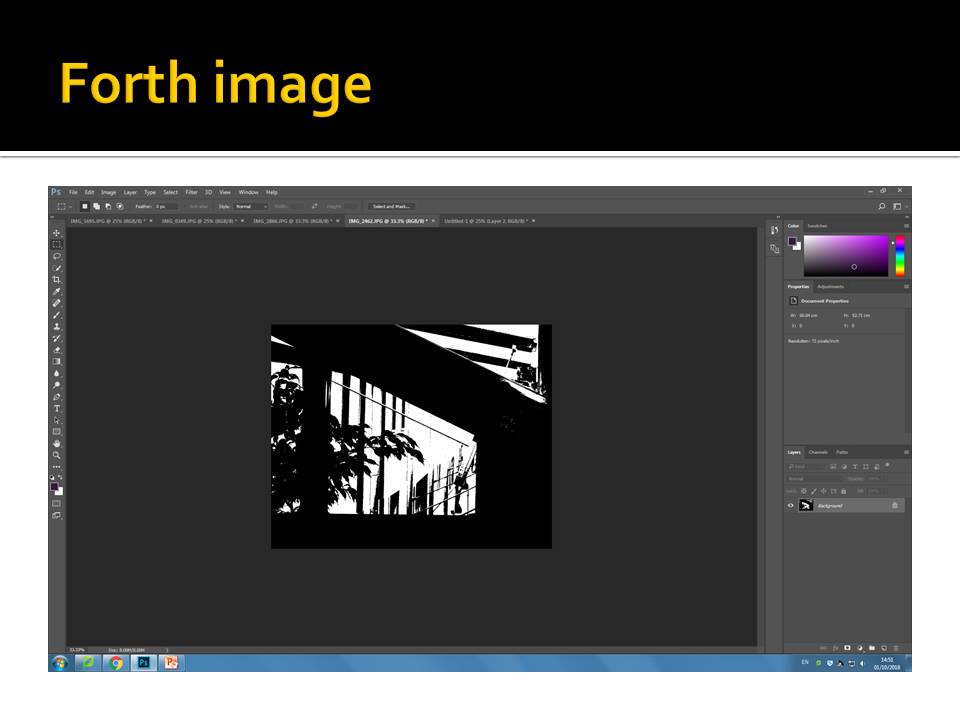
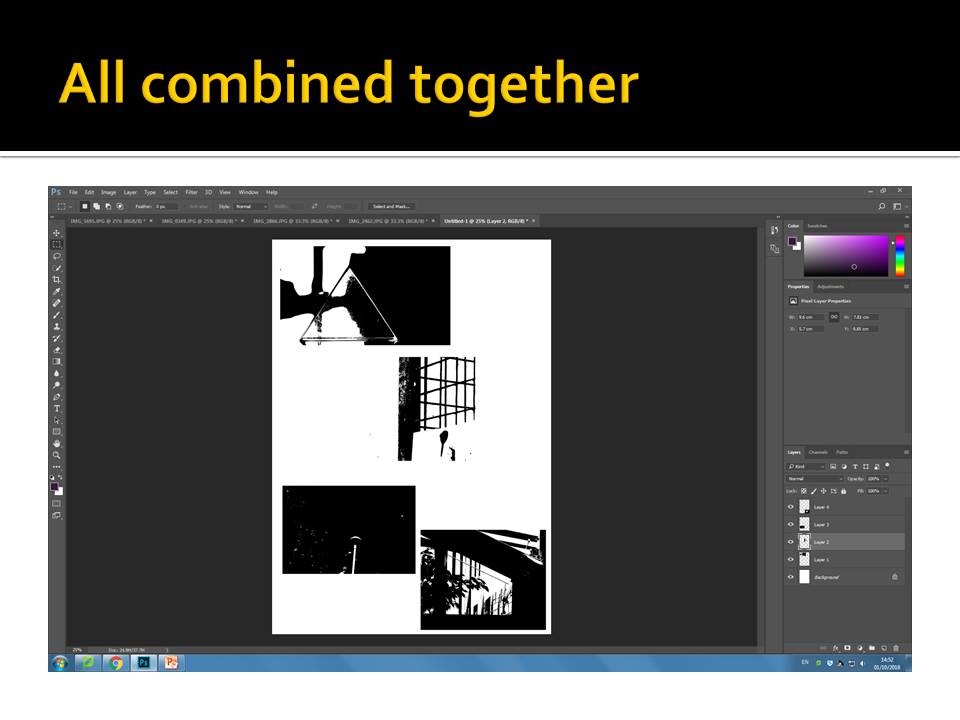
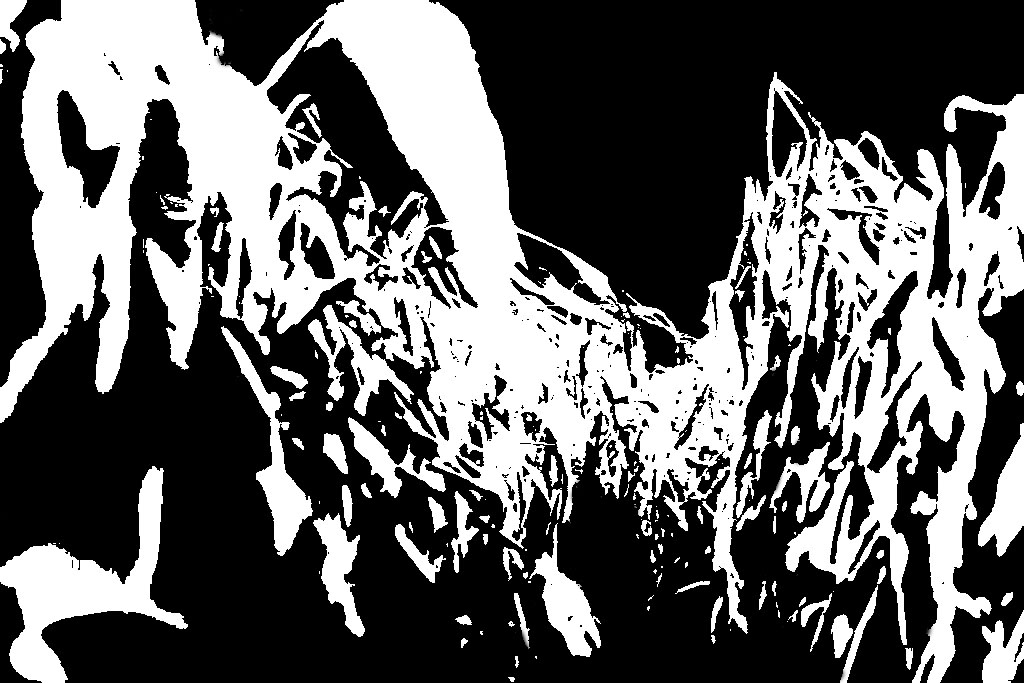
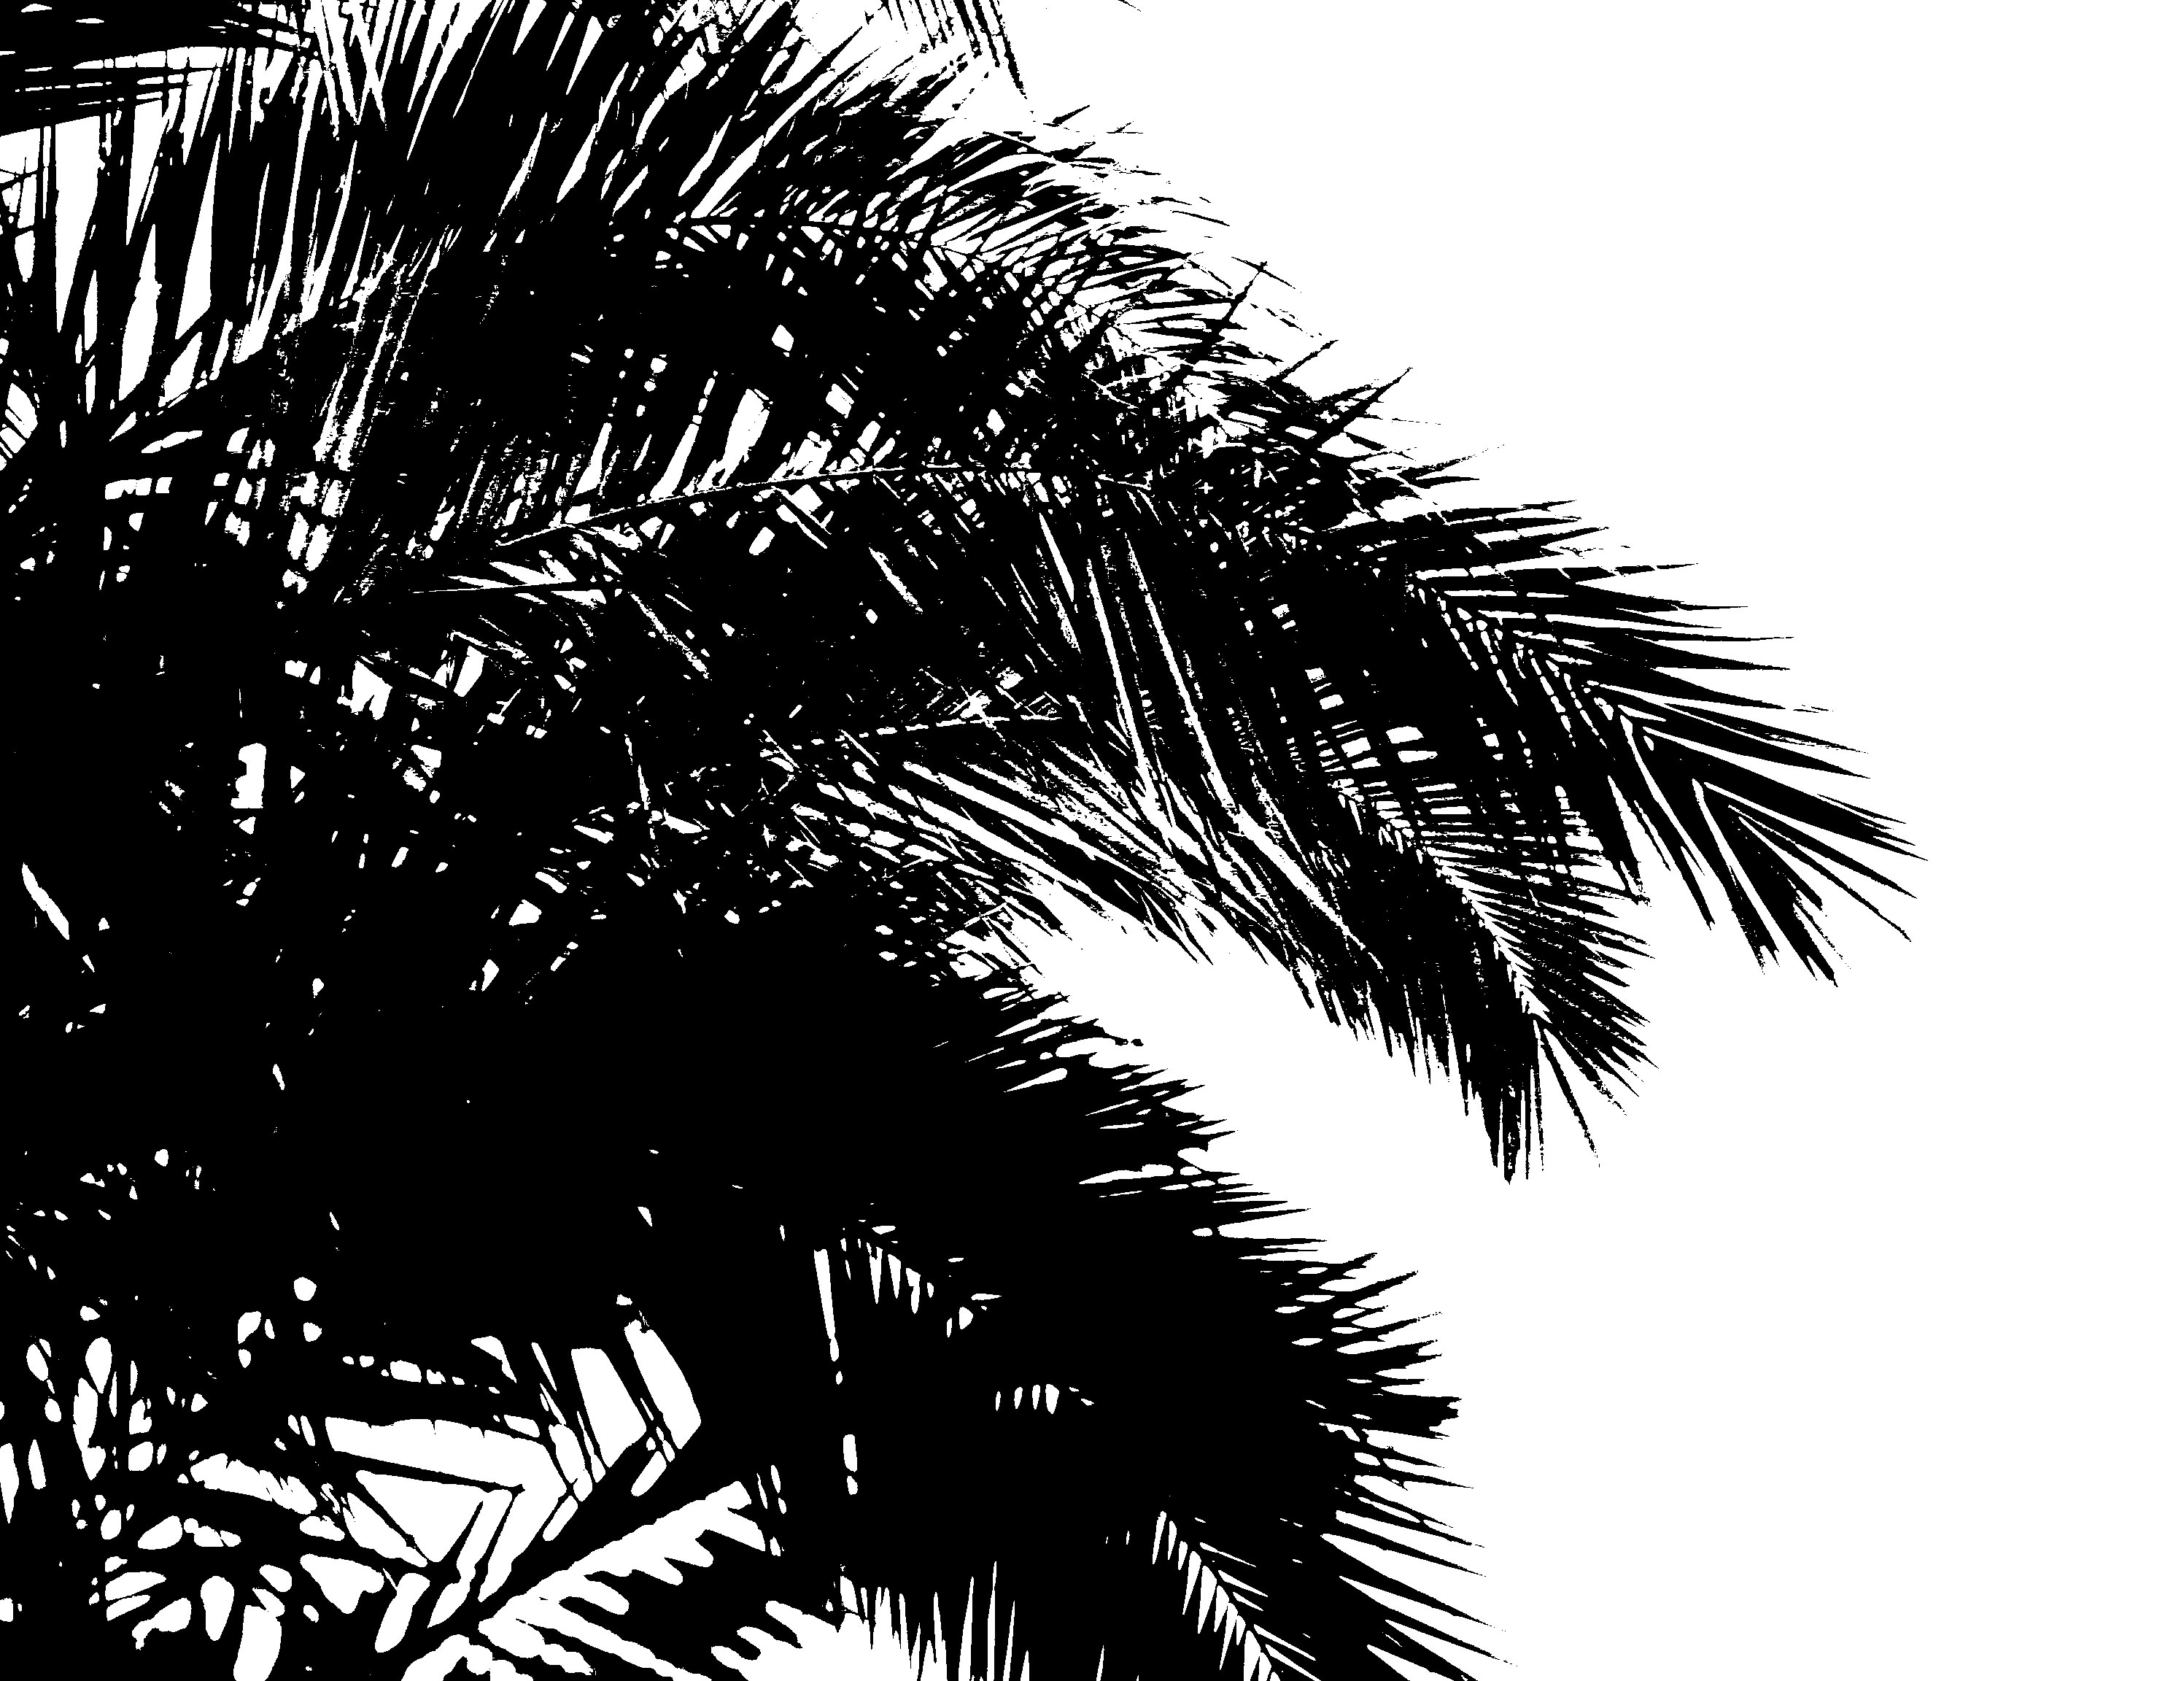
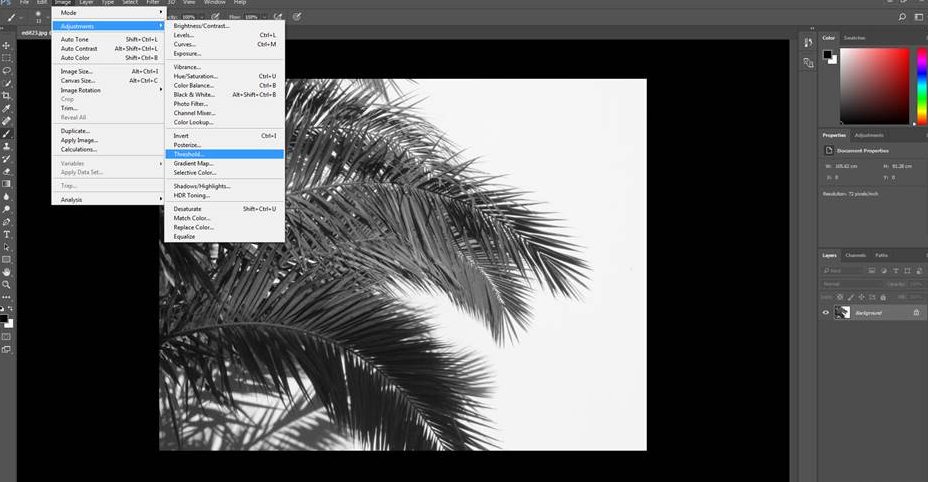
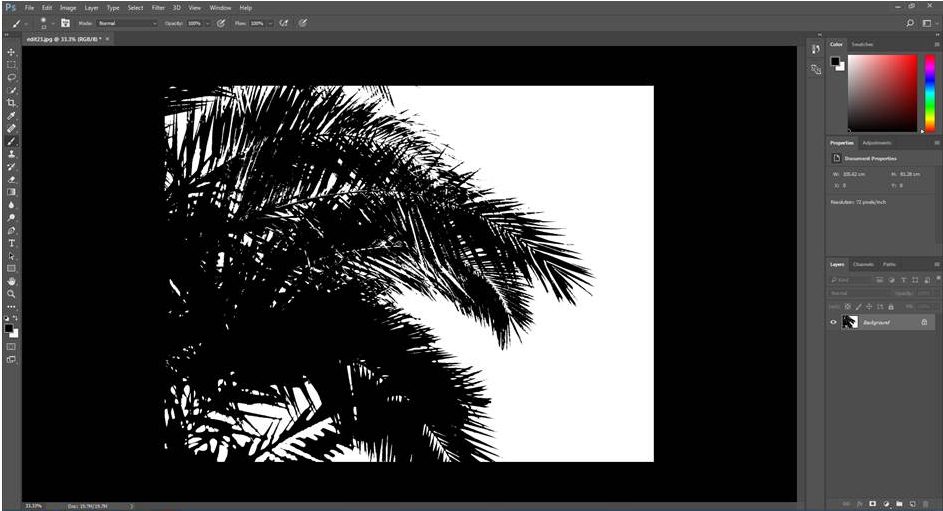
I found while using the threshold tool on Photoshop, that the photos with the most number of hard lines would translate most effectively when using the threshold tool. This gave the images a very abstract feel.
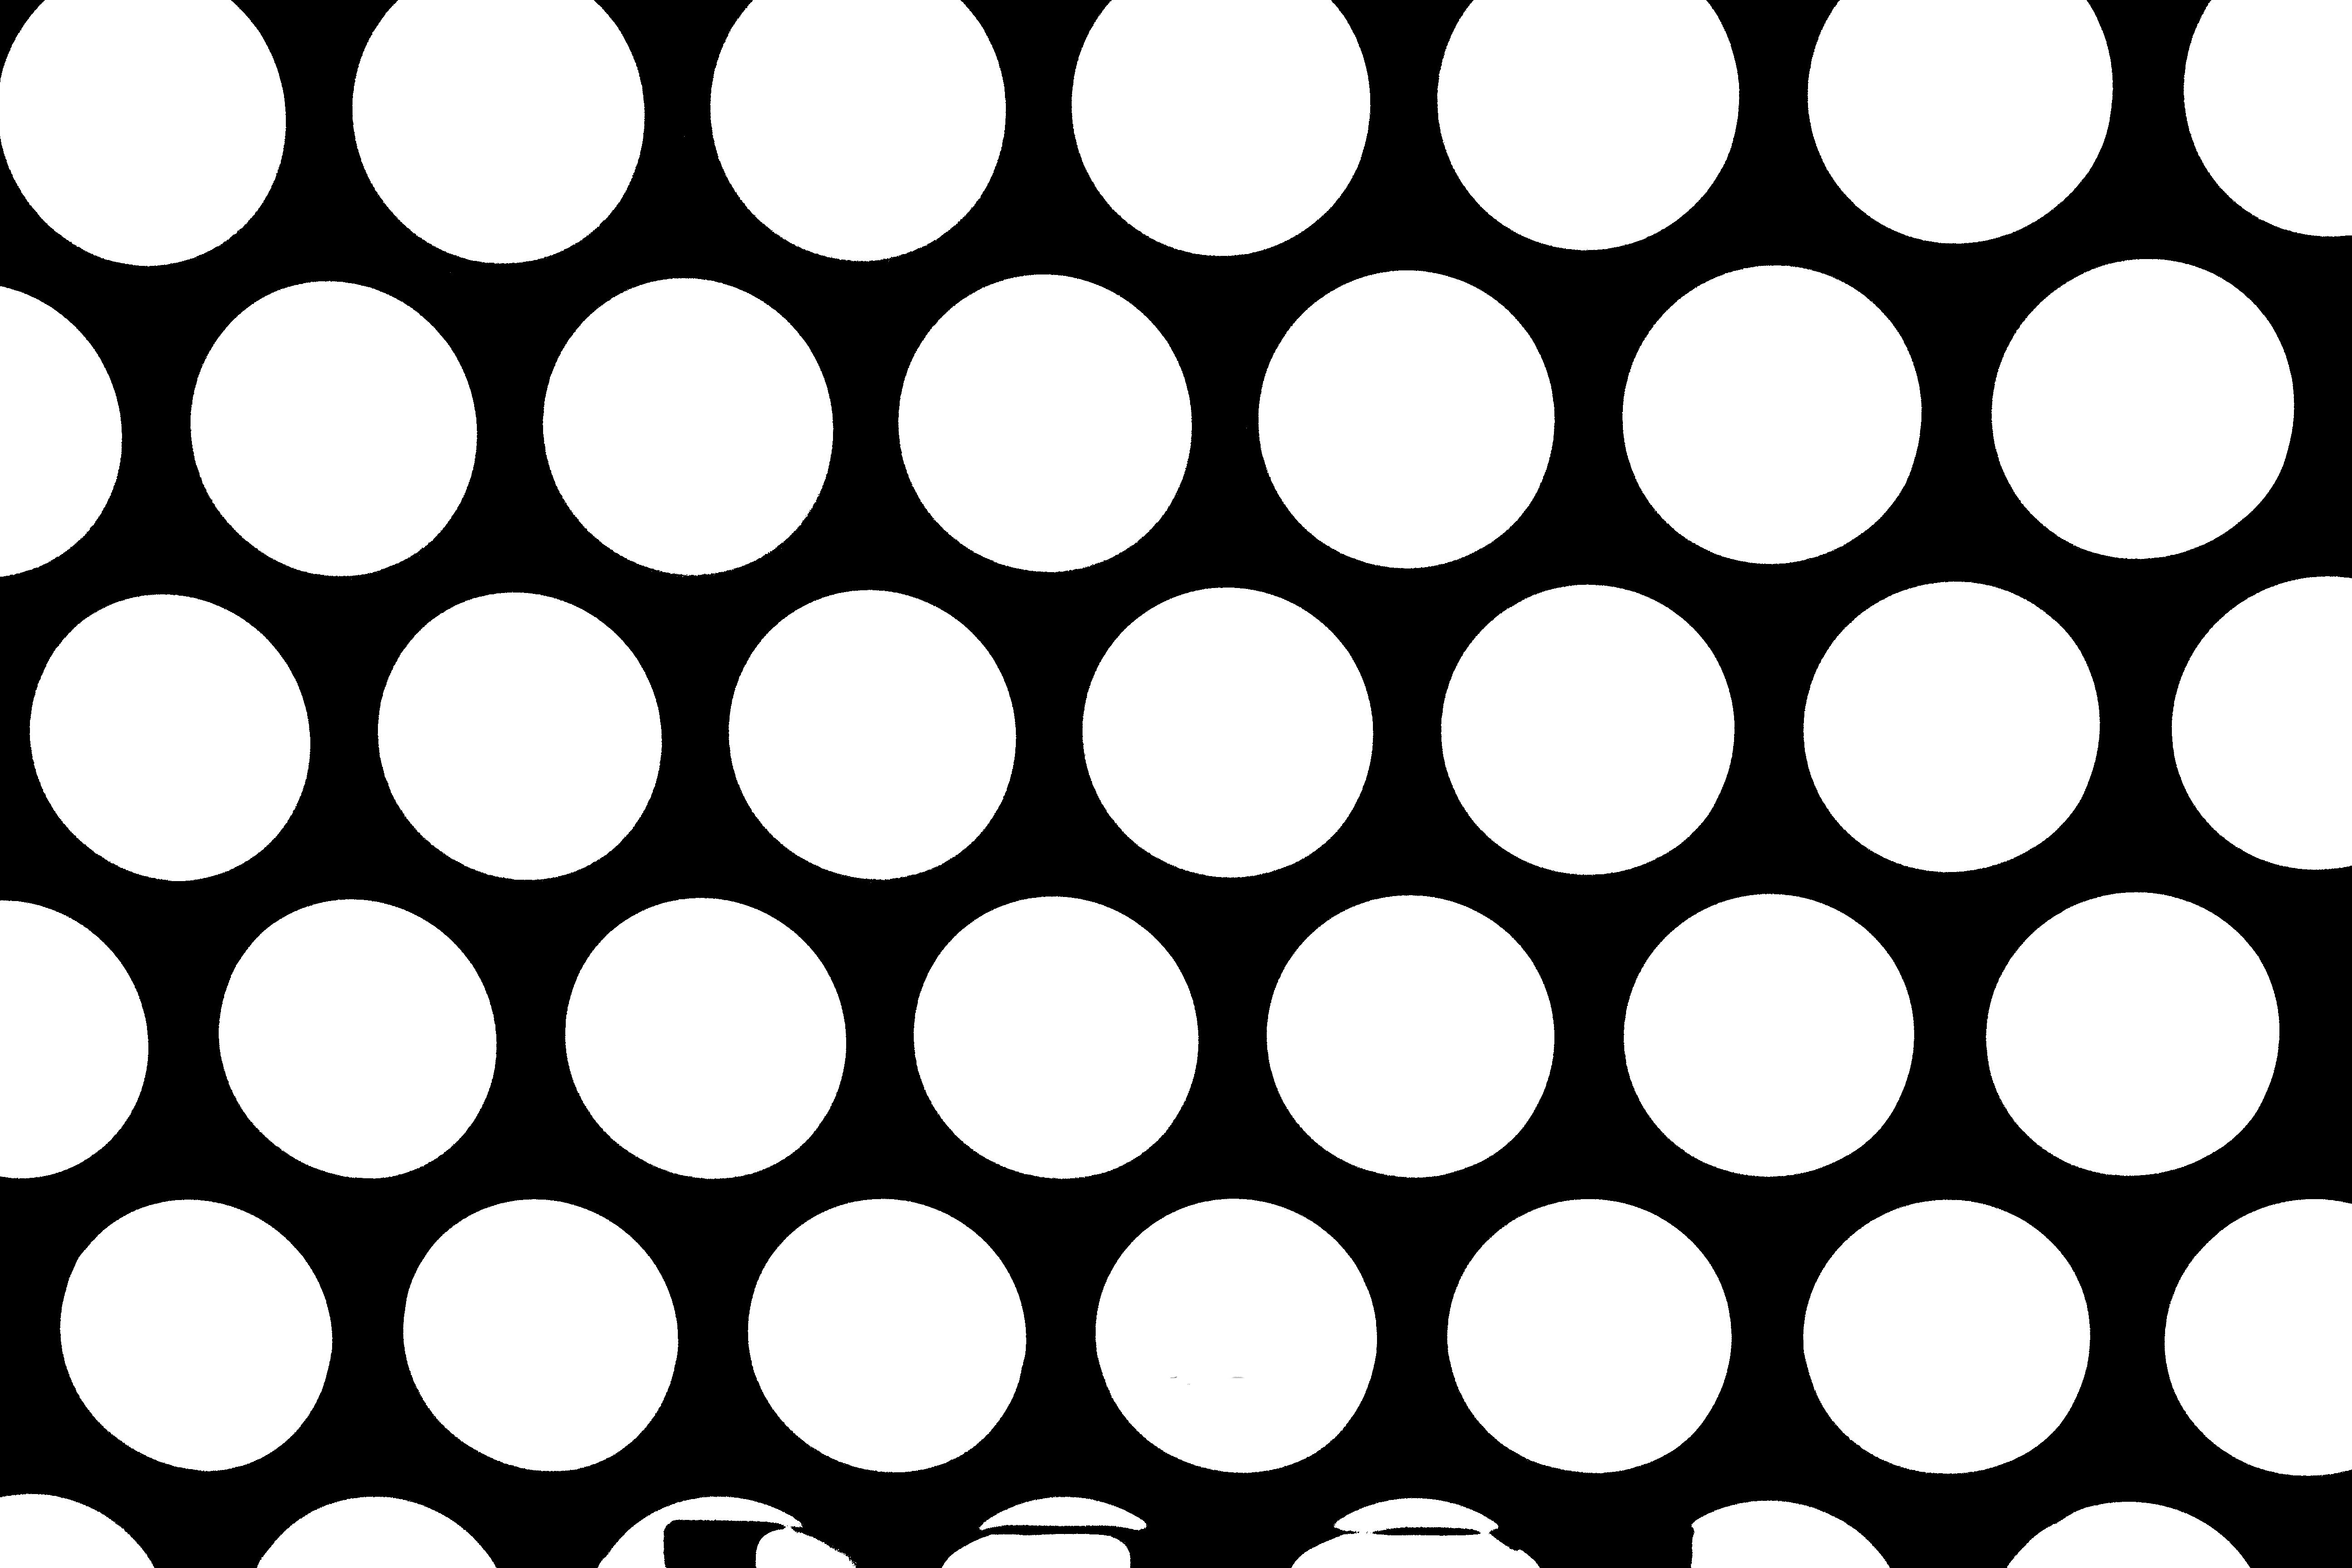
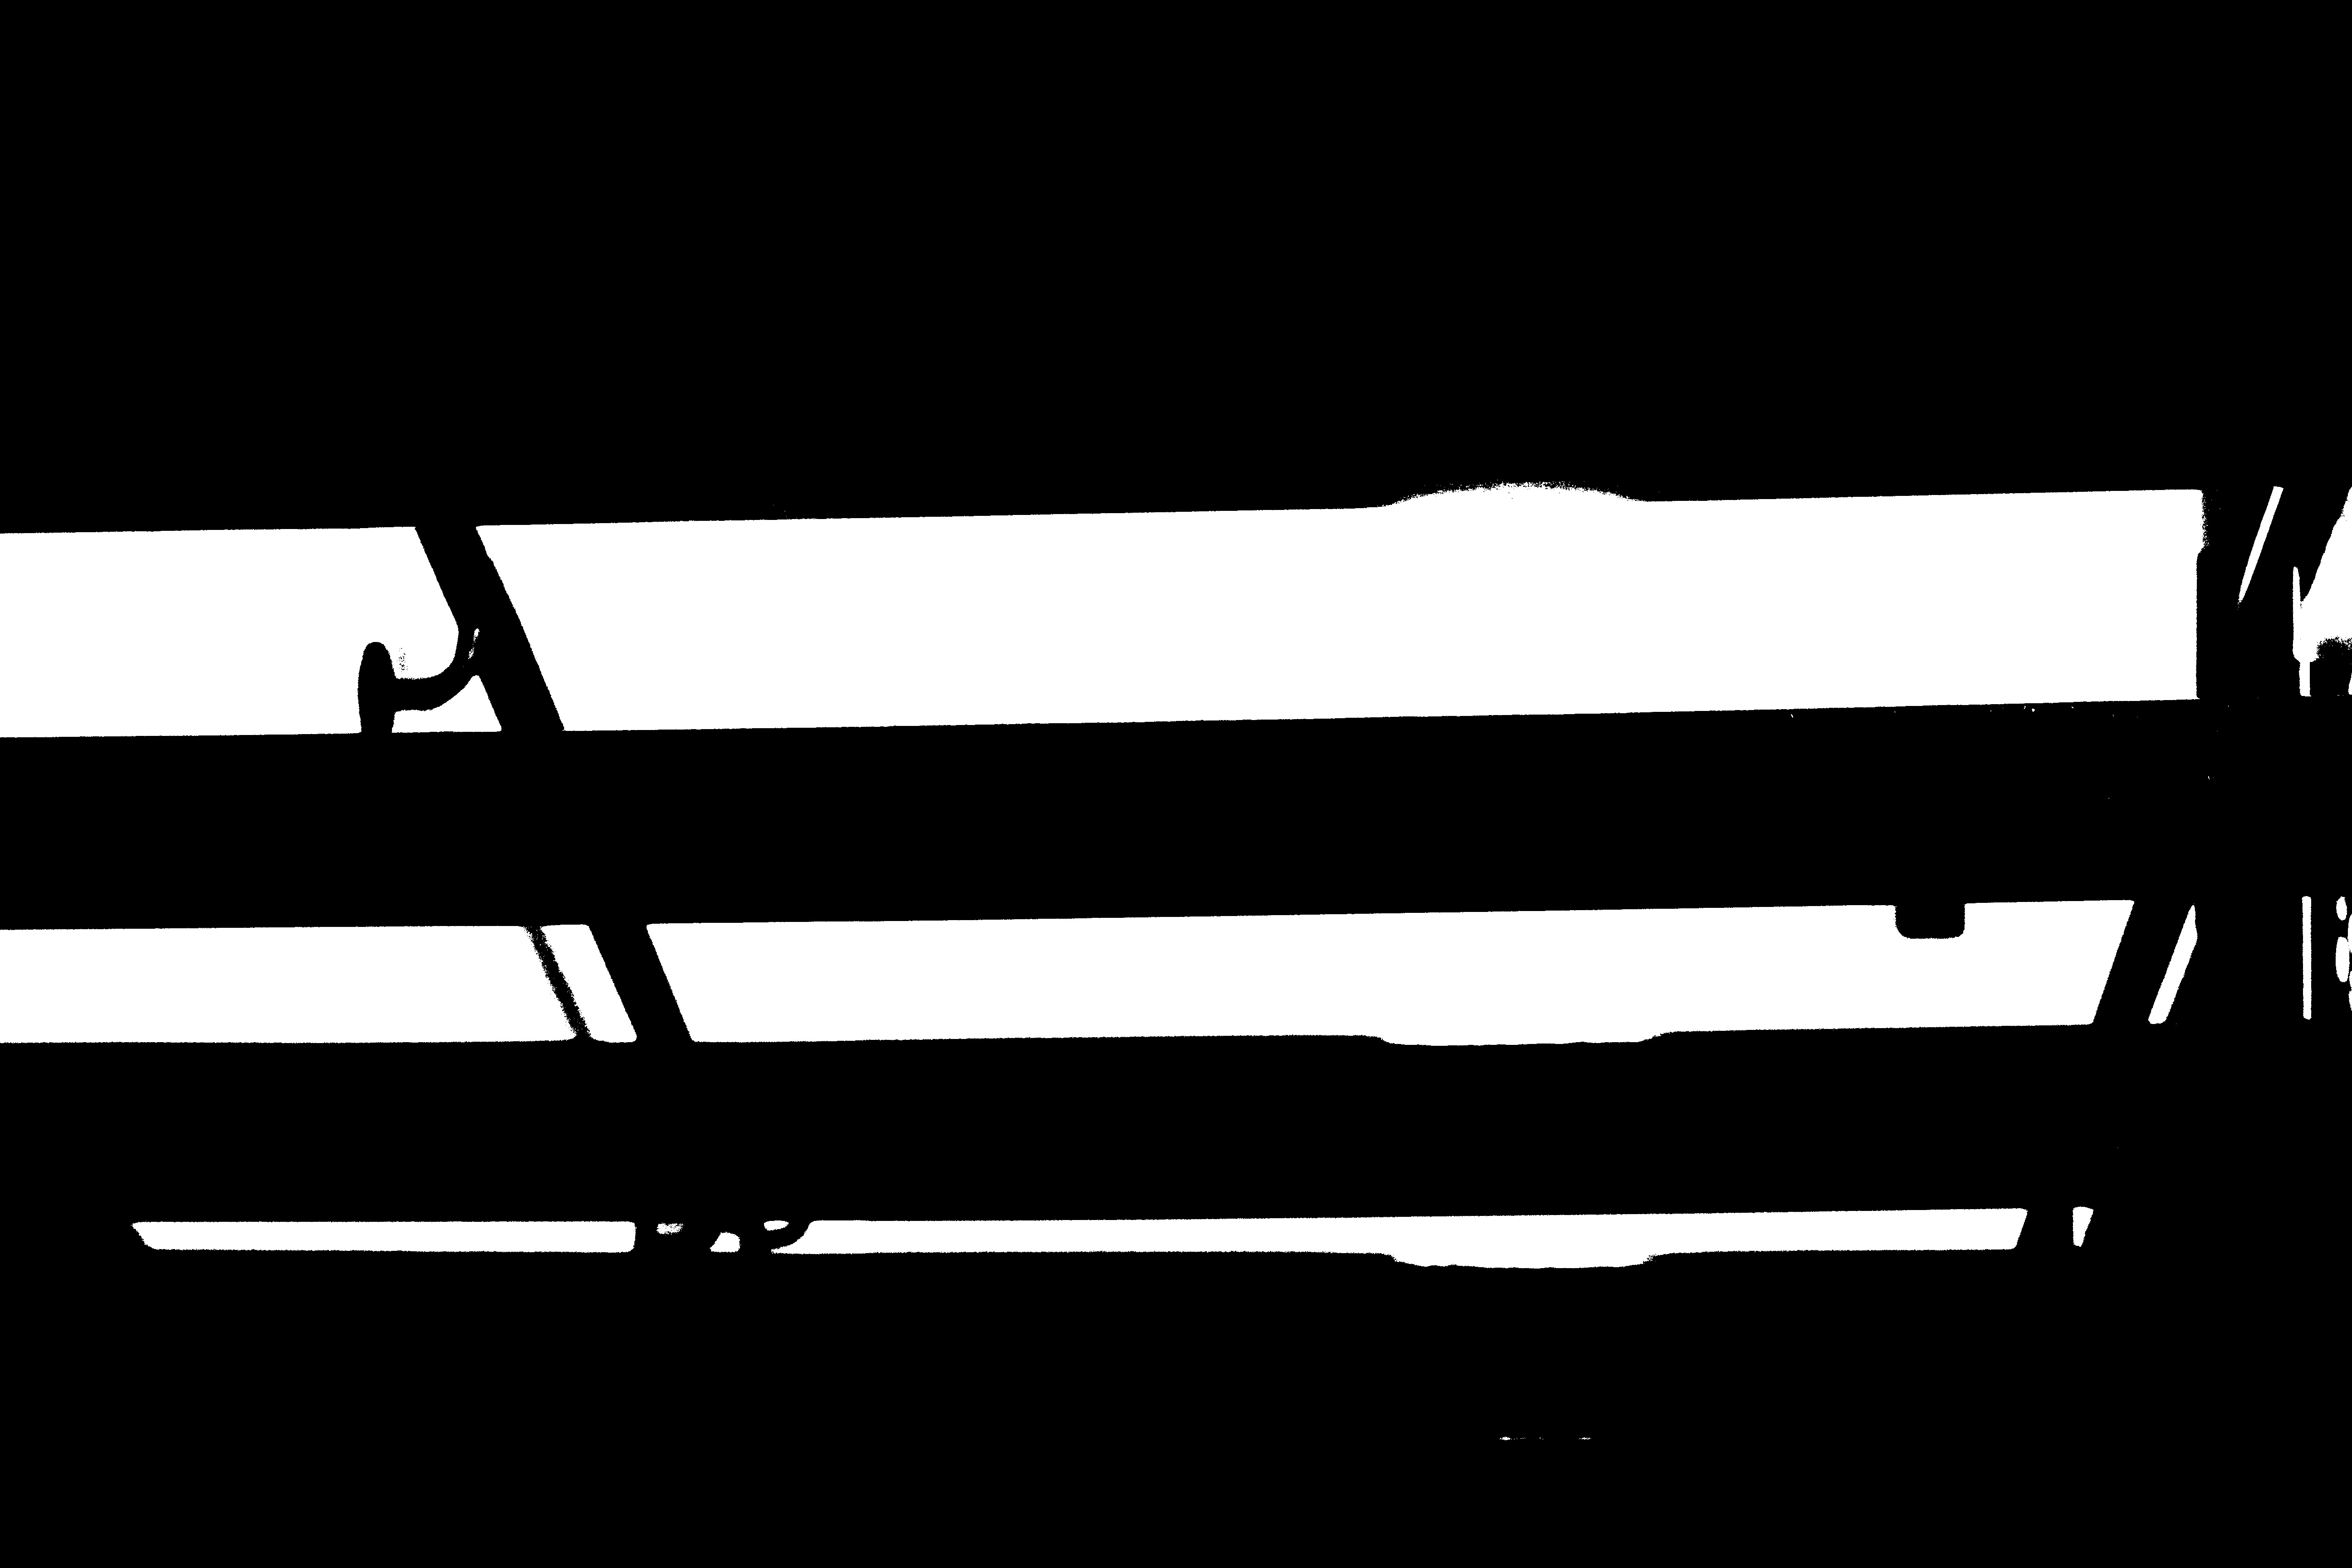
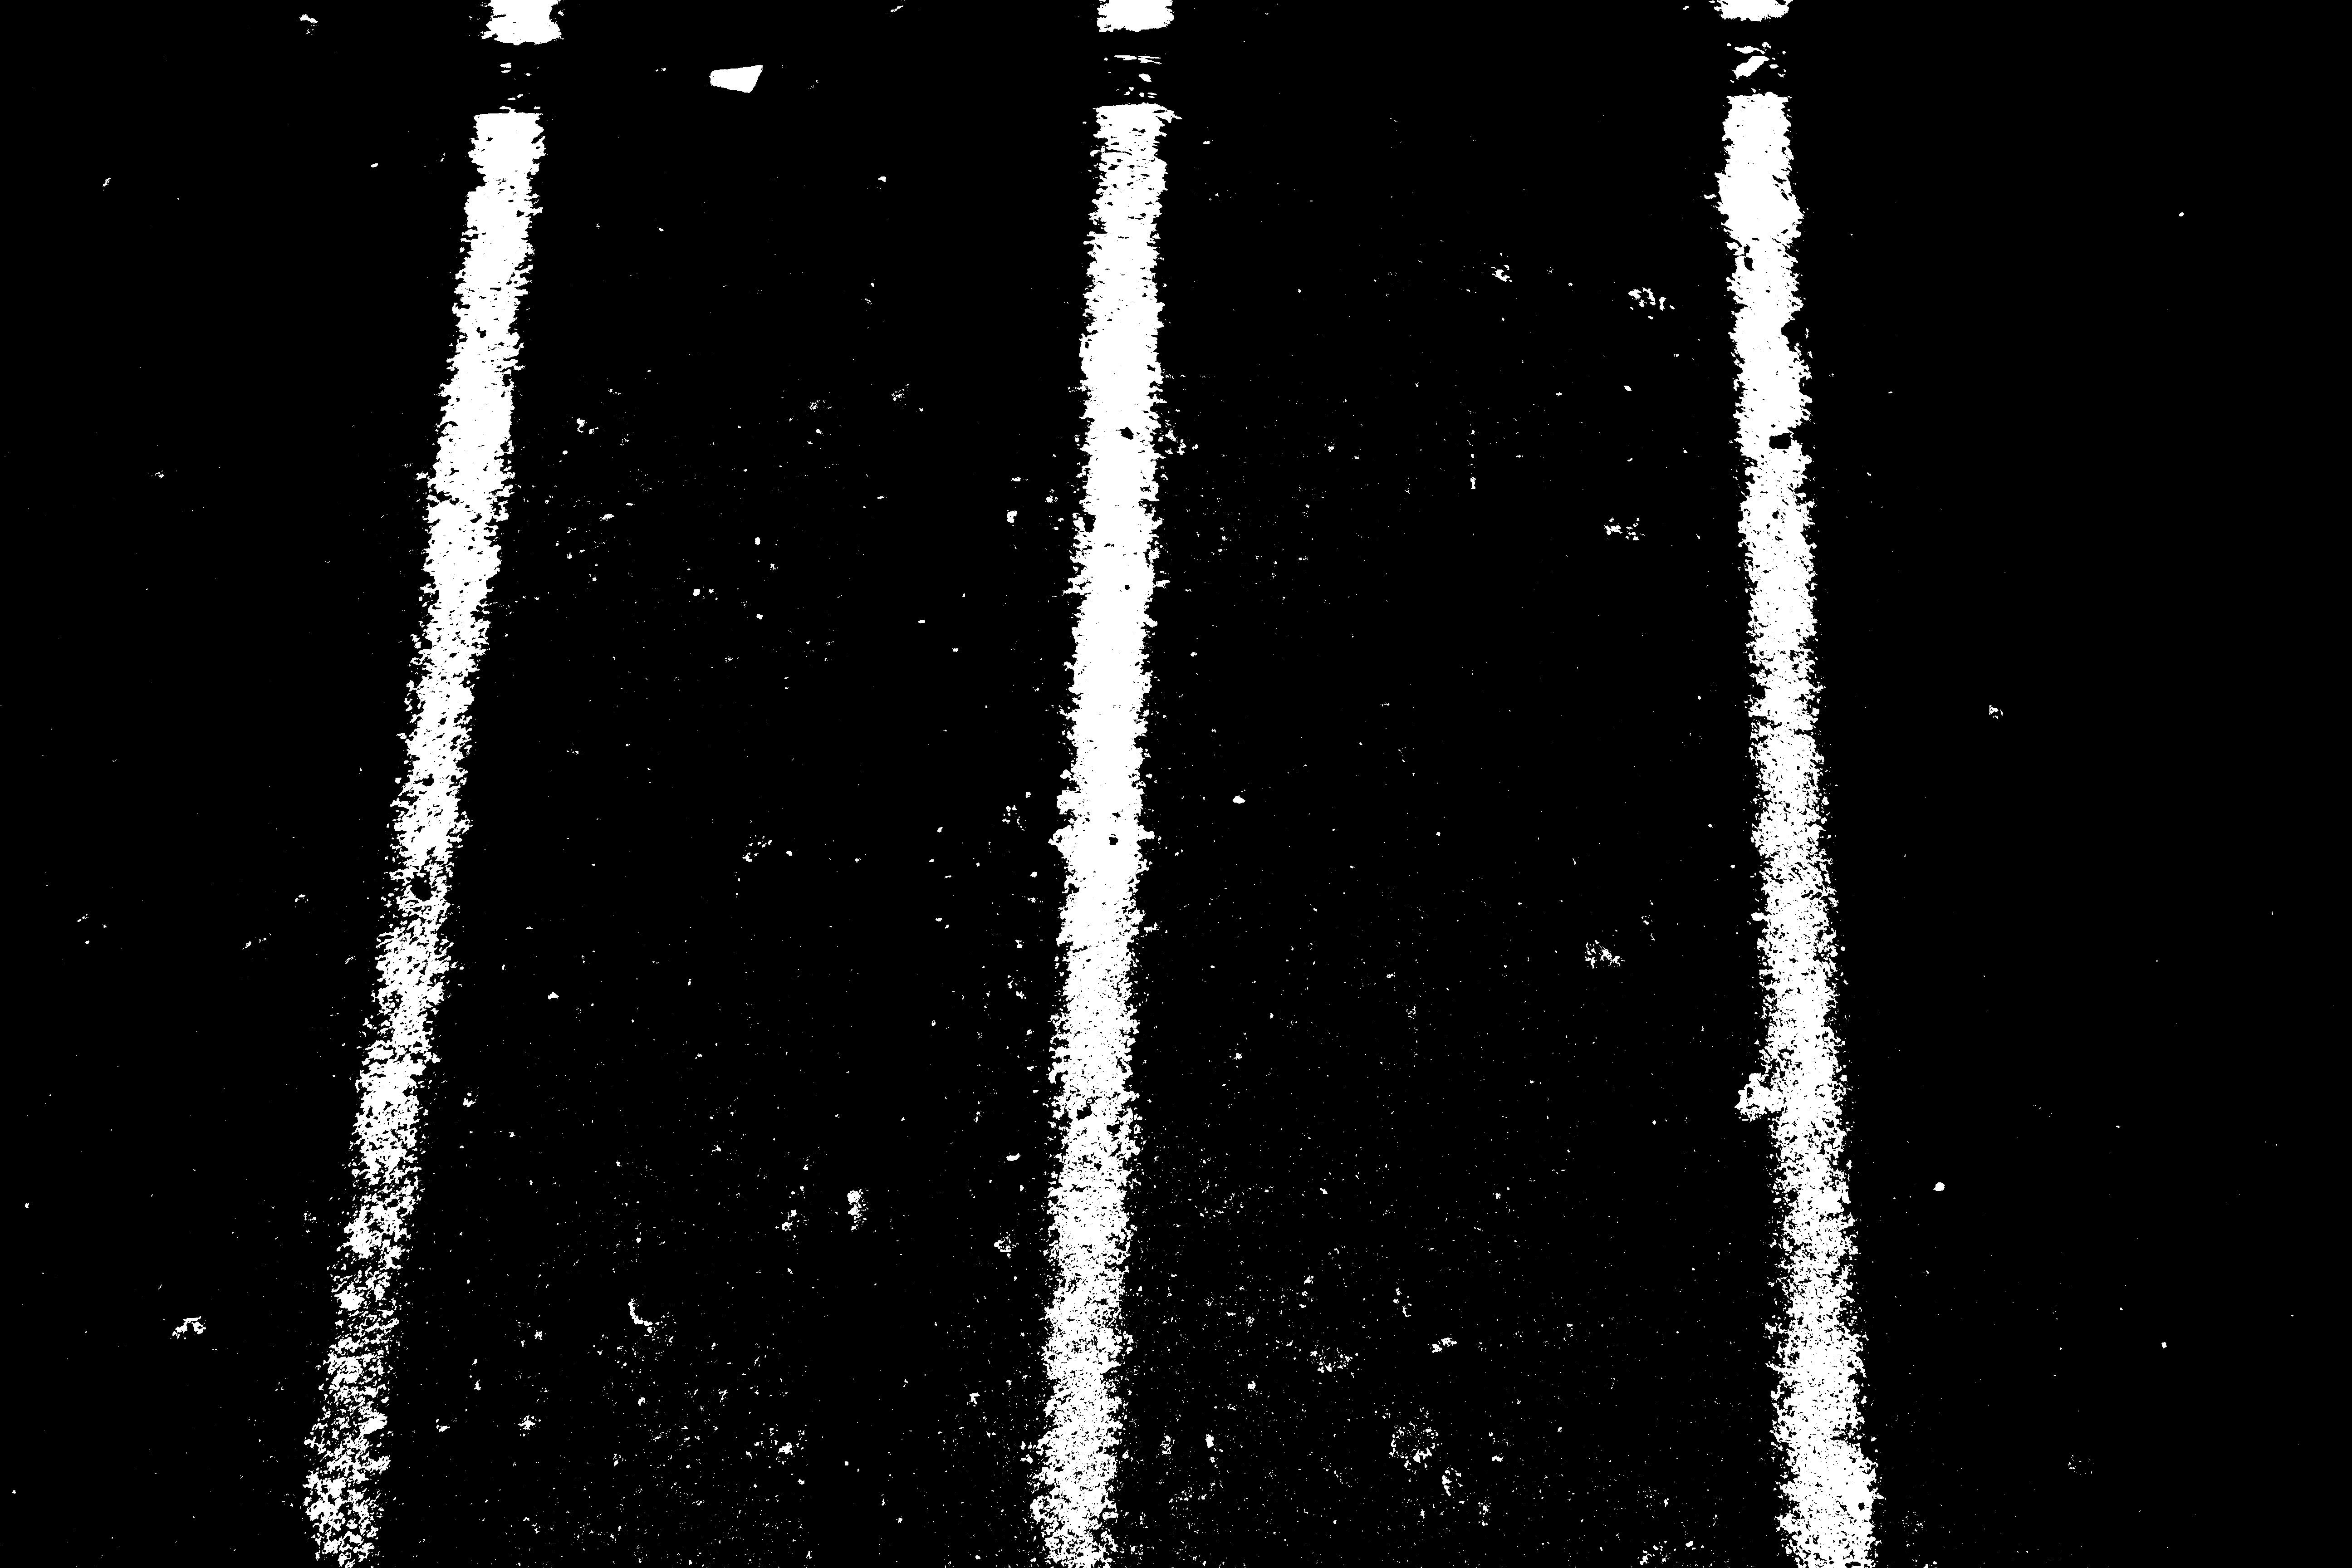
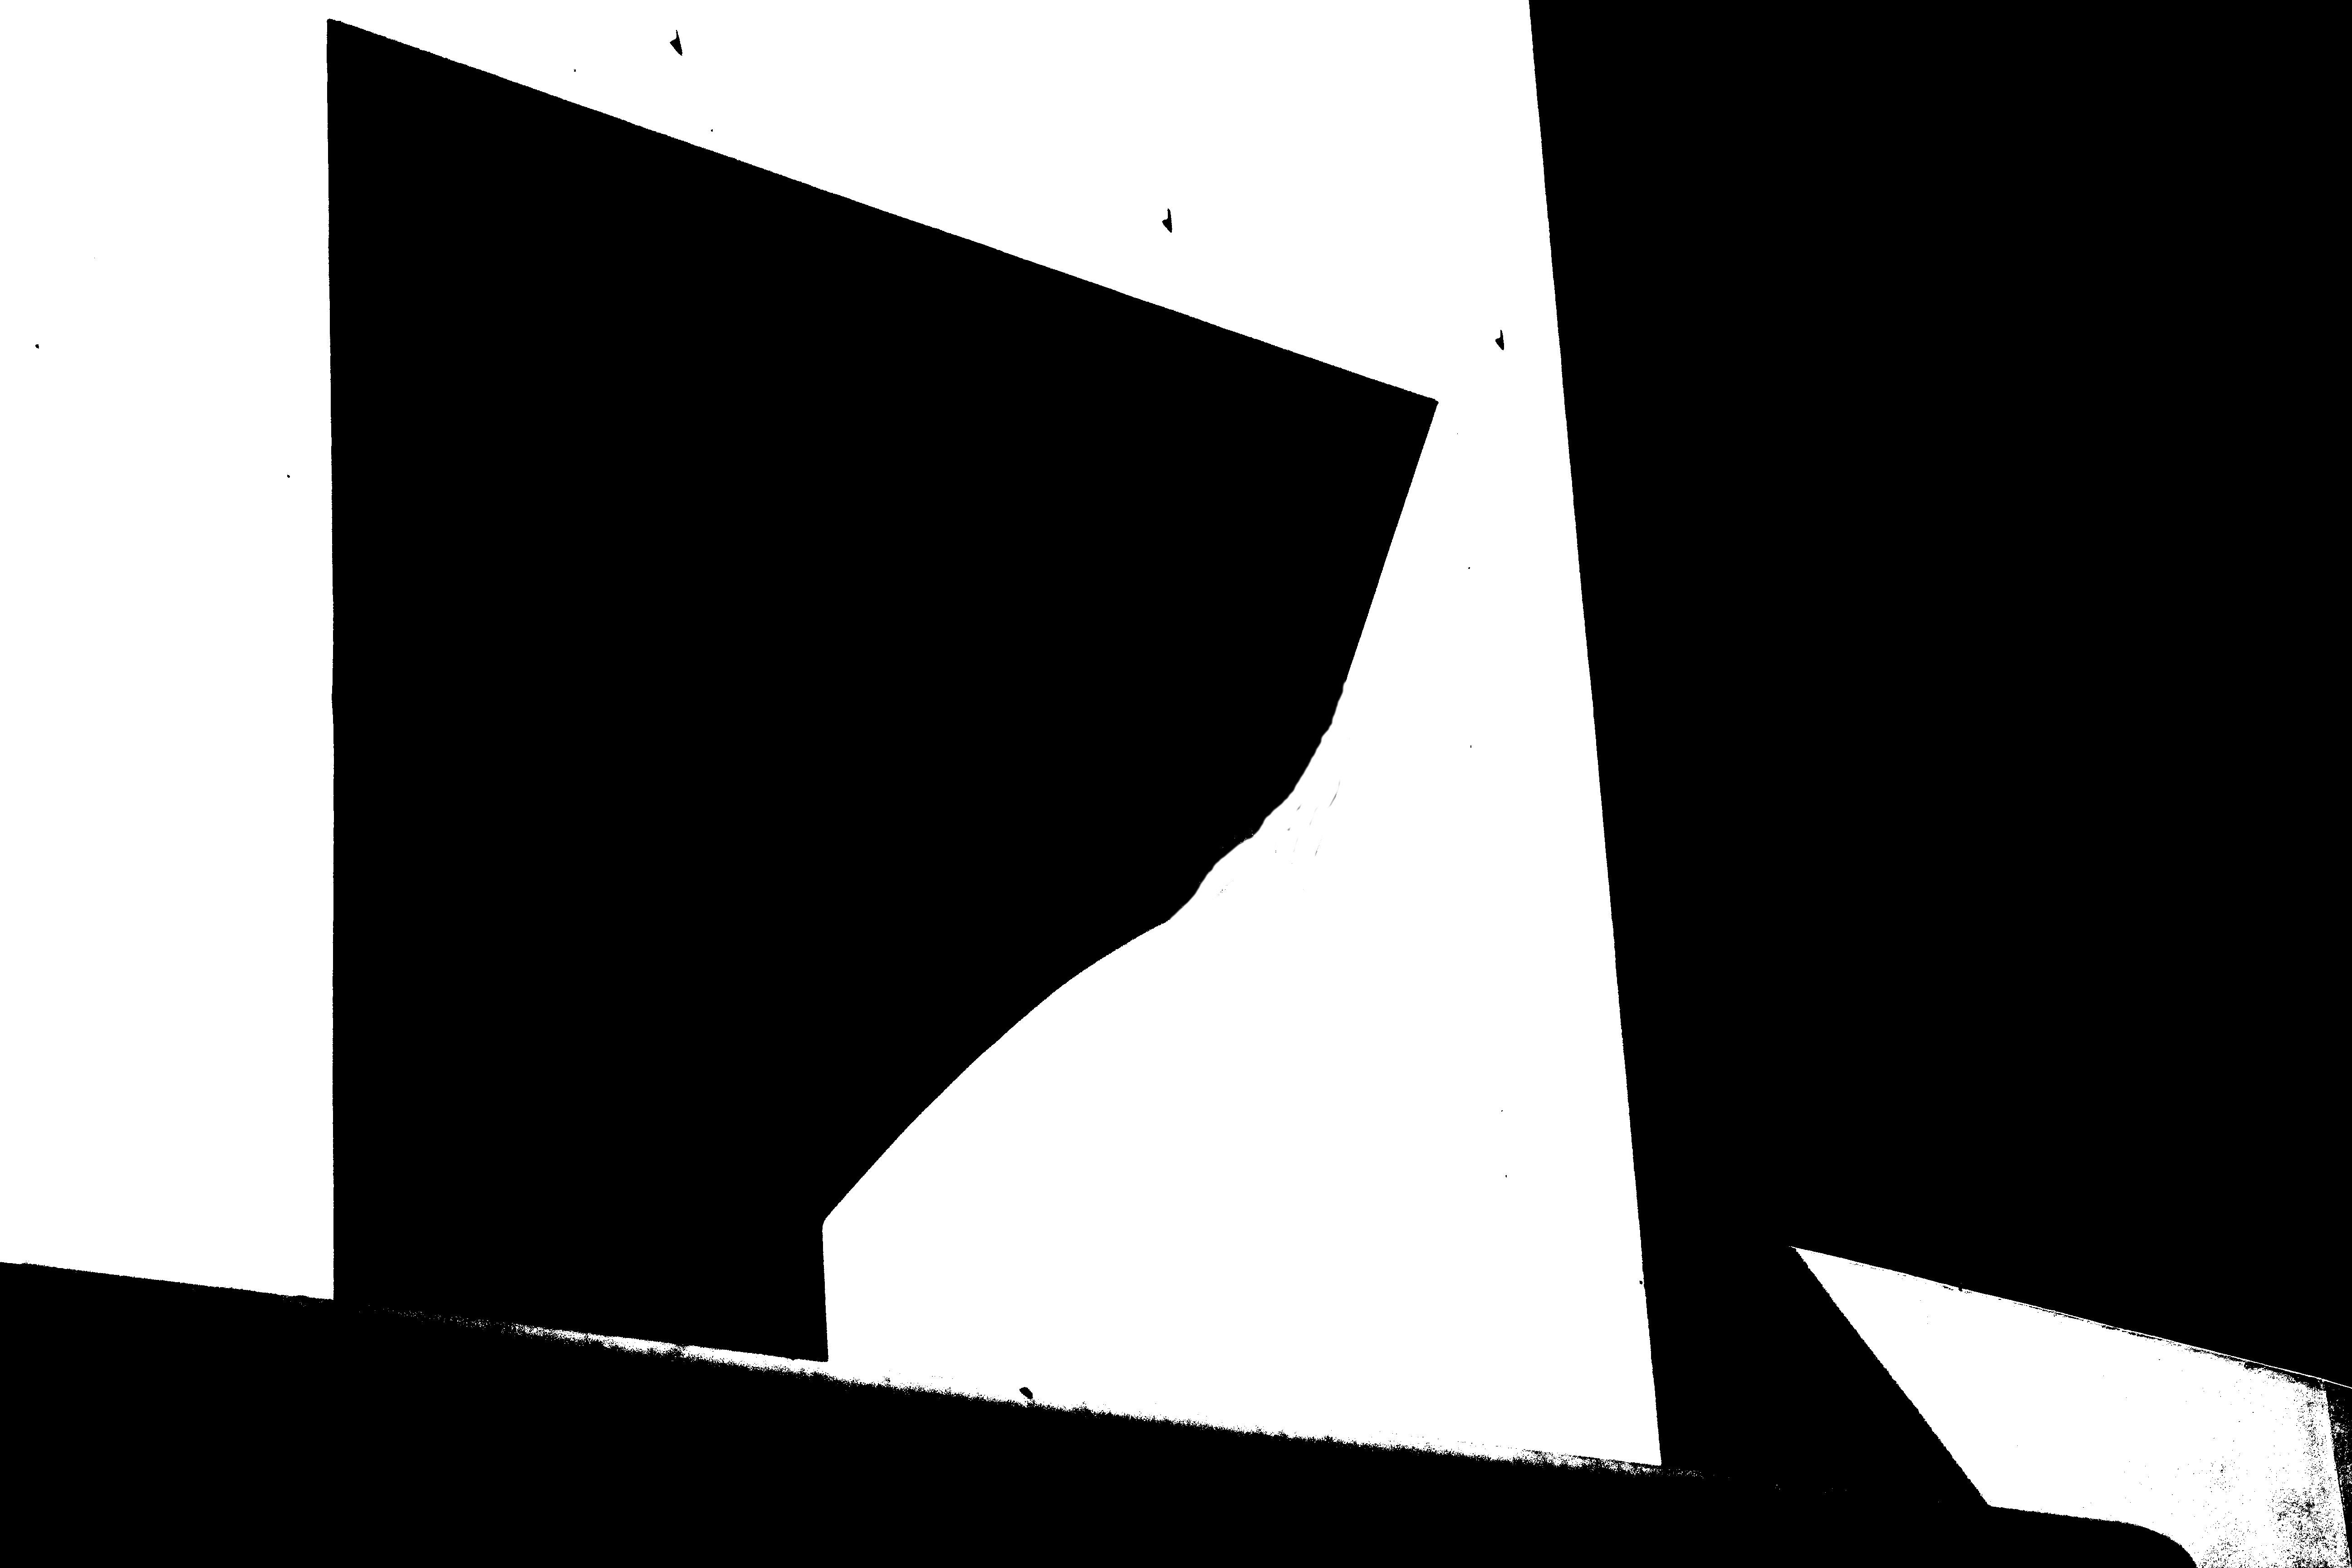
I found while using the threshold tool on Photoshop, that the photos with the most number of hard lines would translate most effectively when using the threshold tool. This gave the images a very abstract feel.


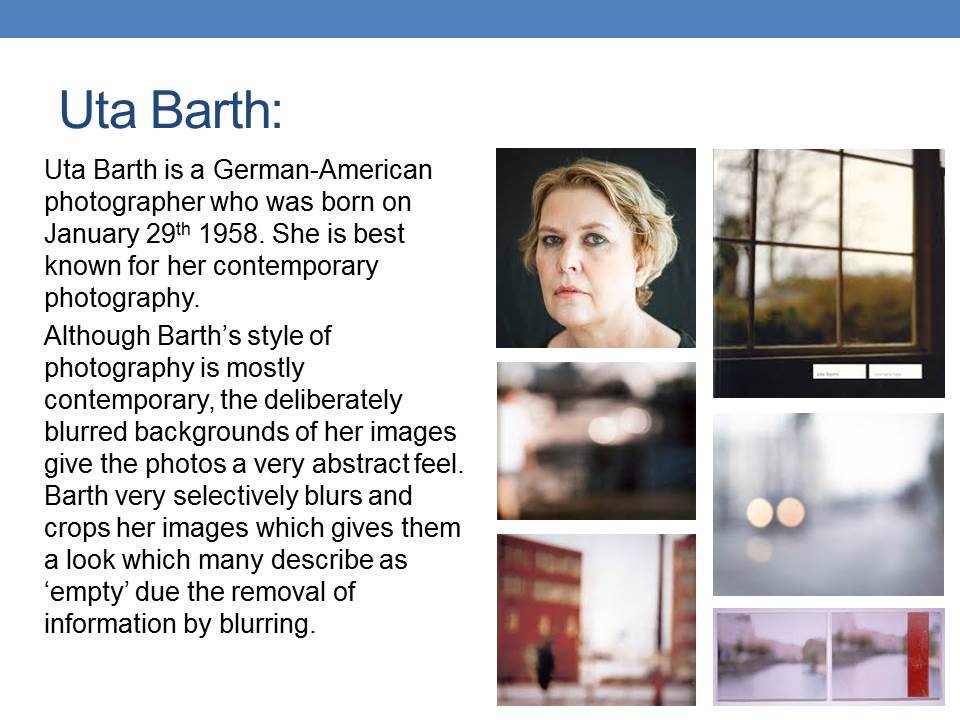
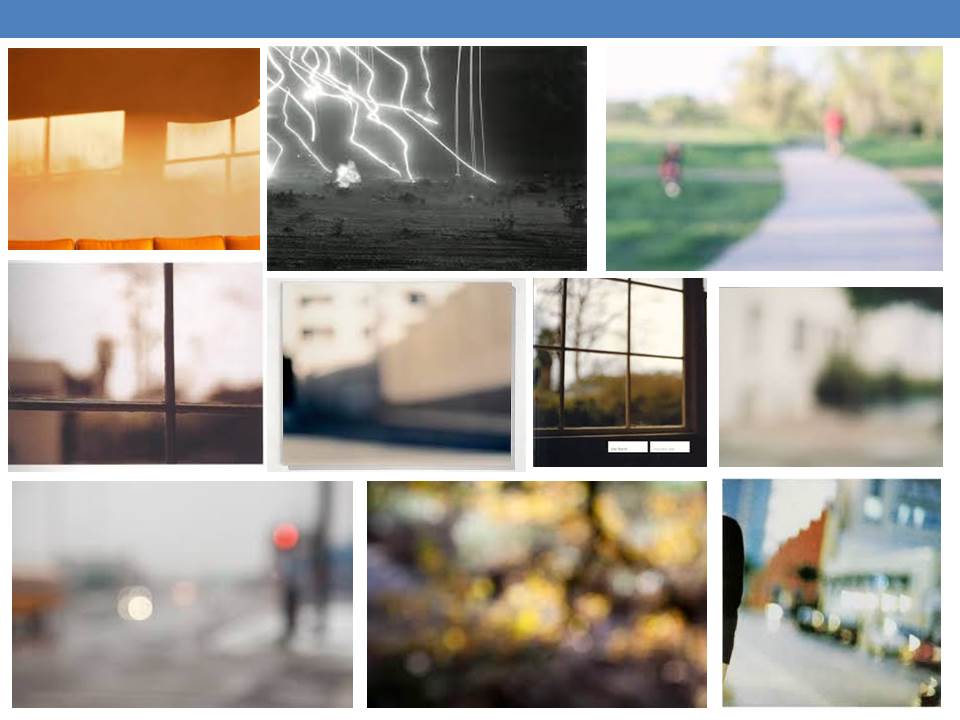

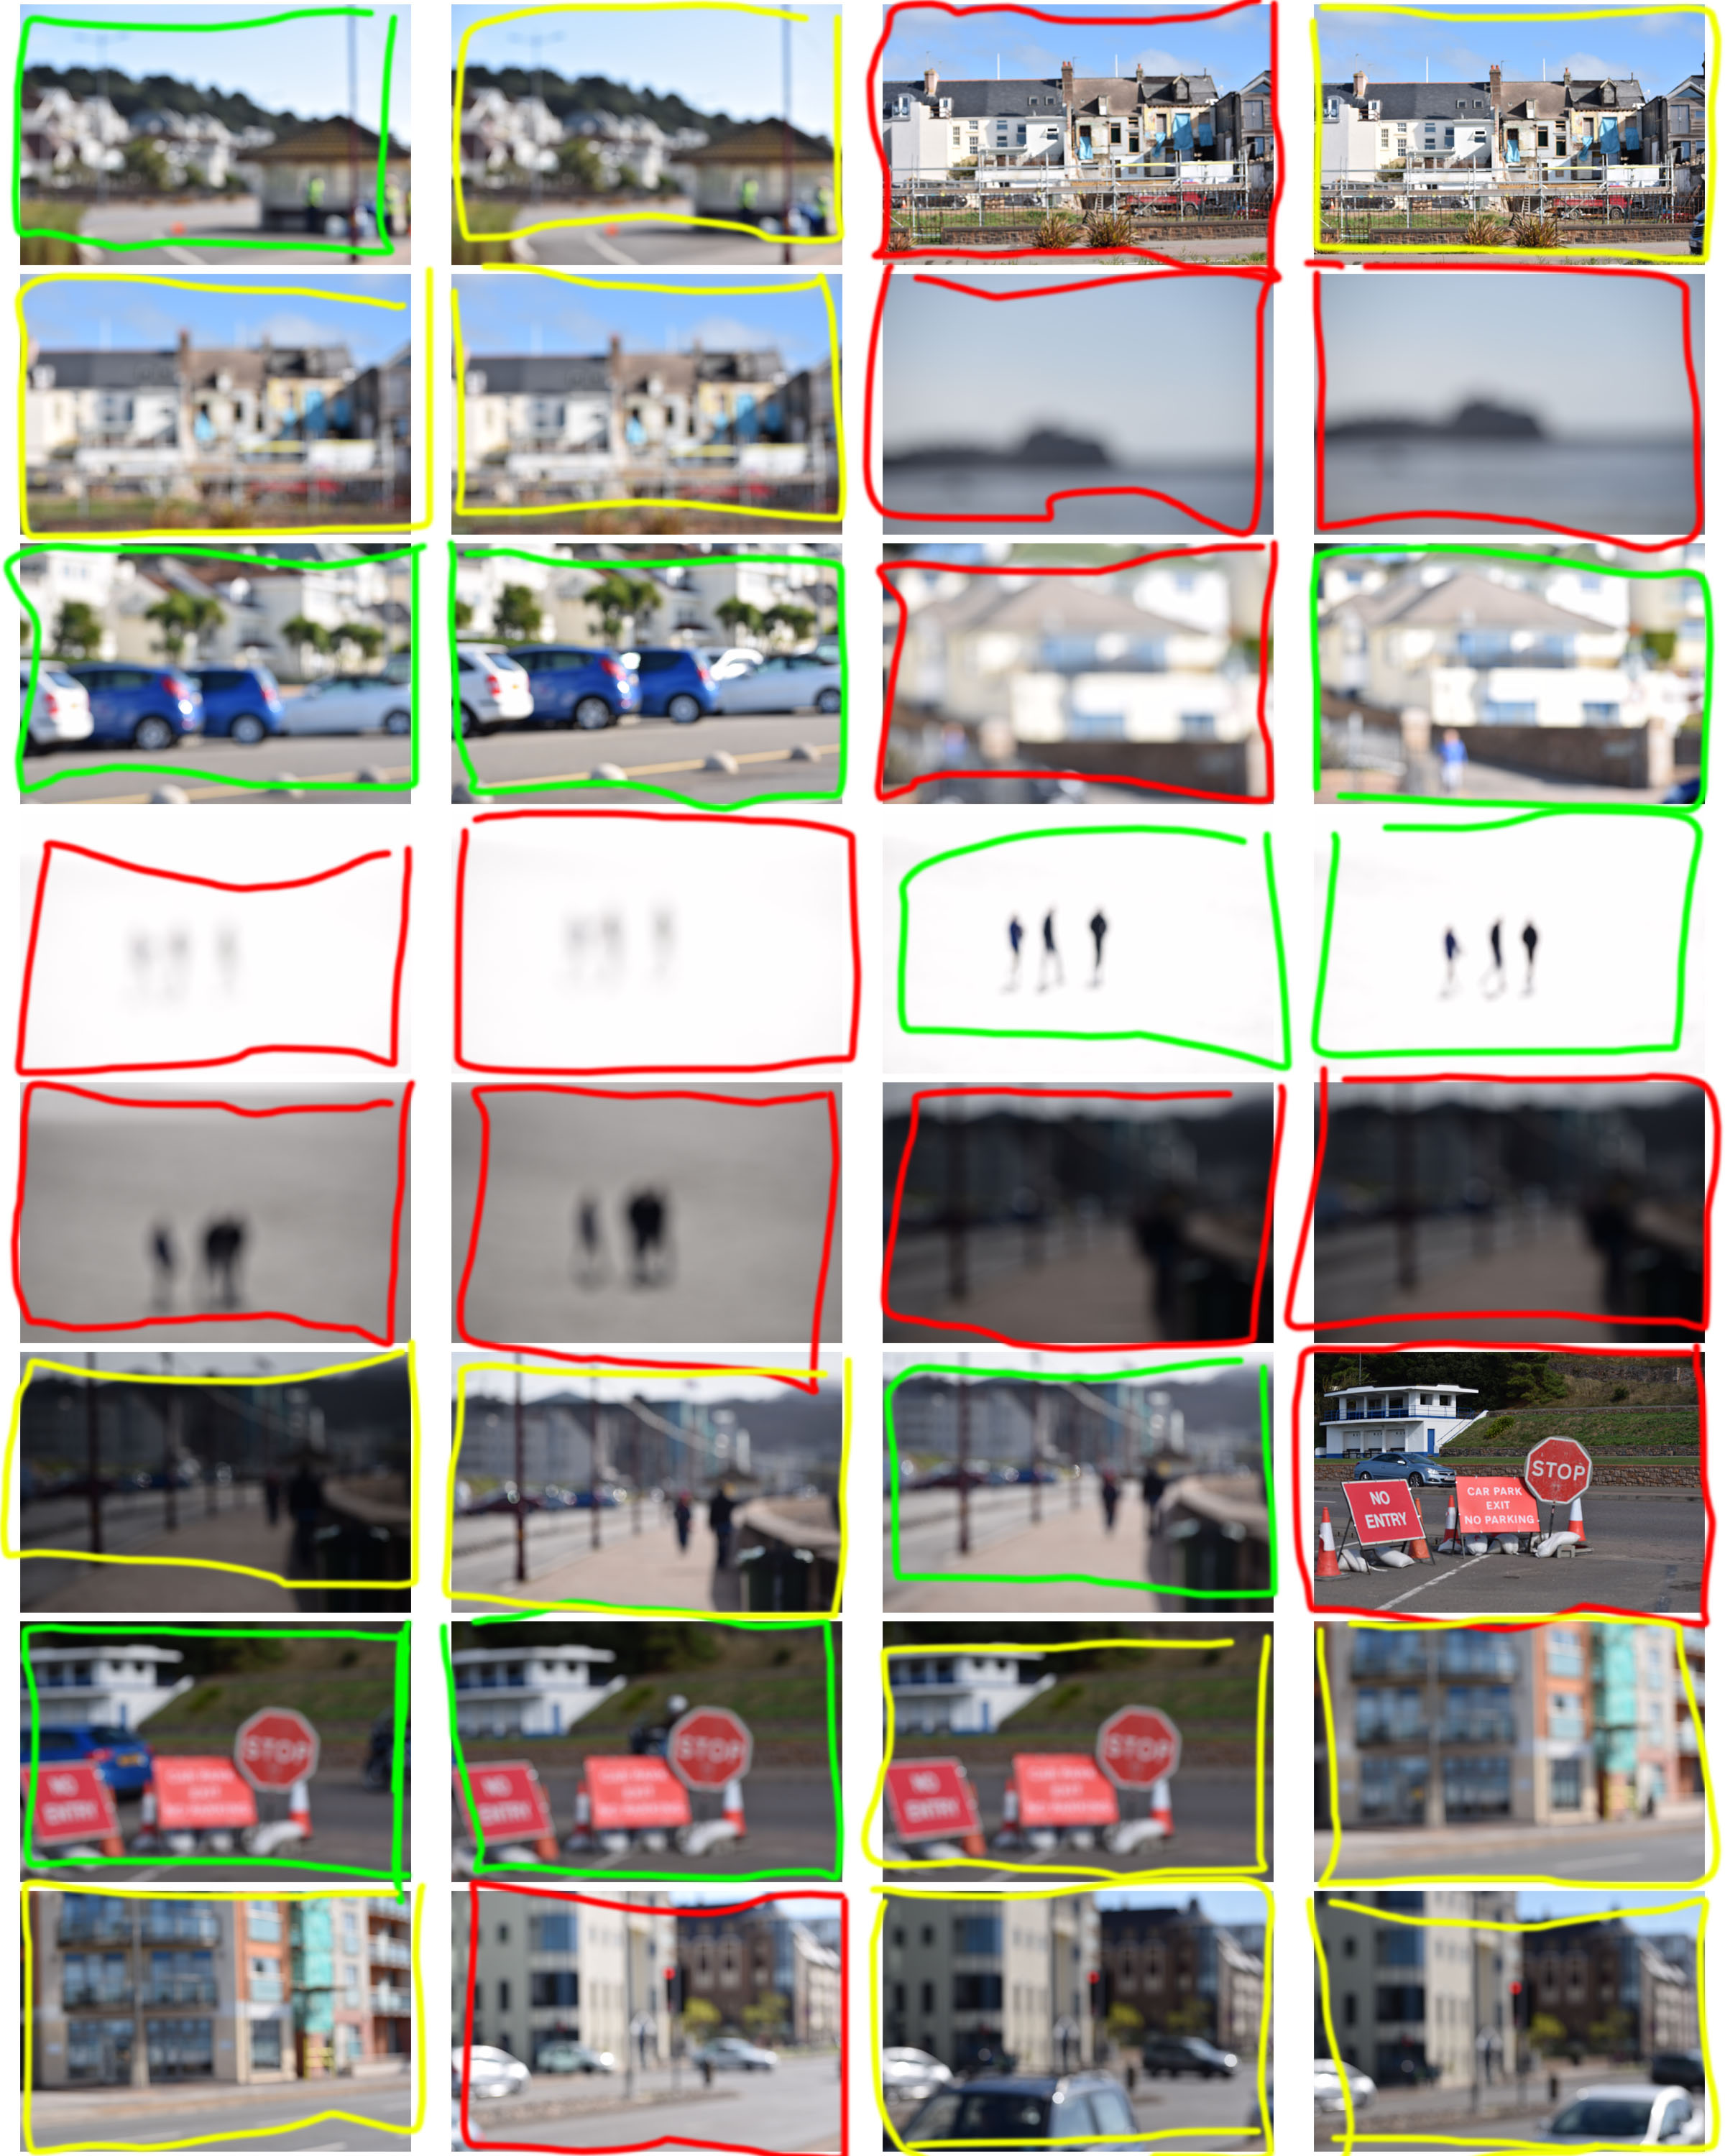
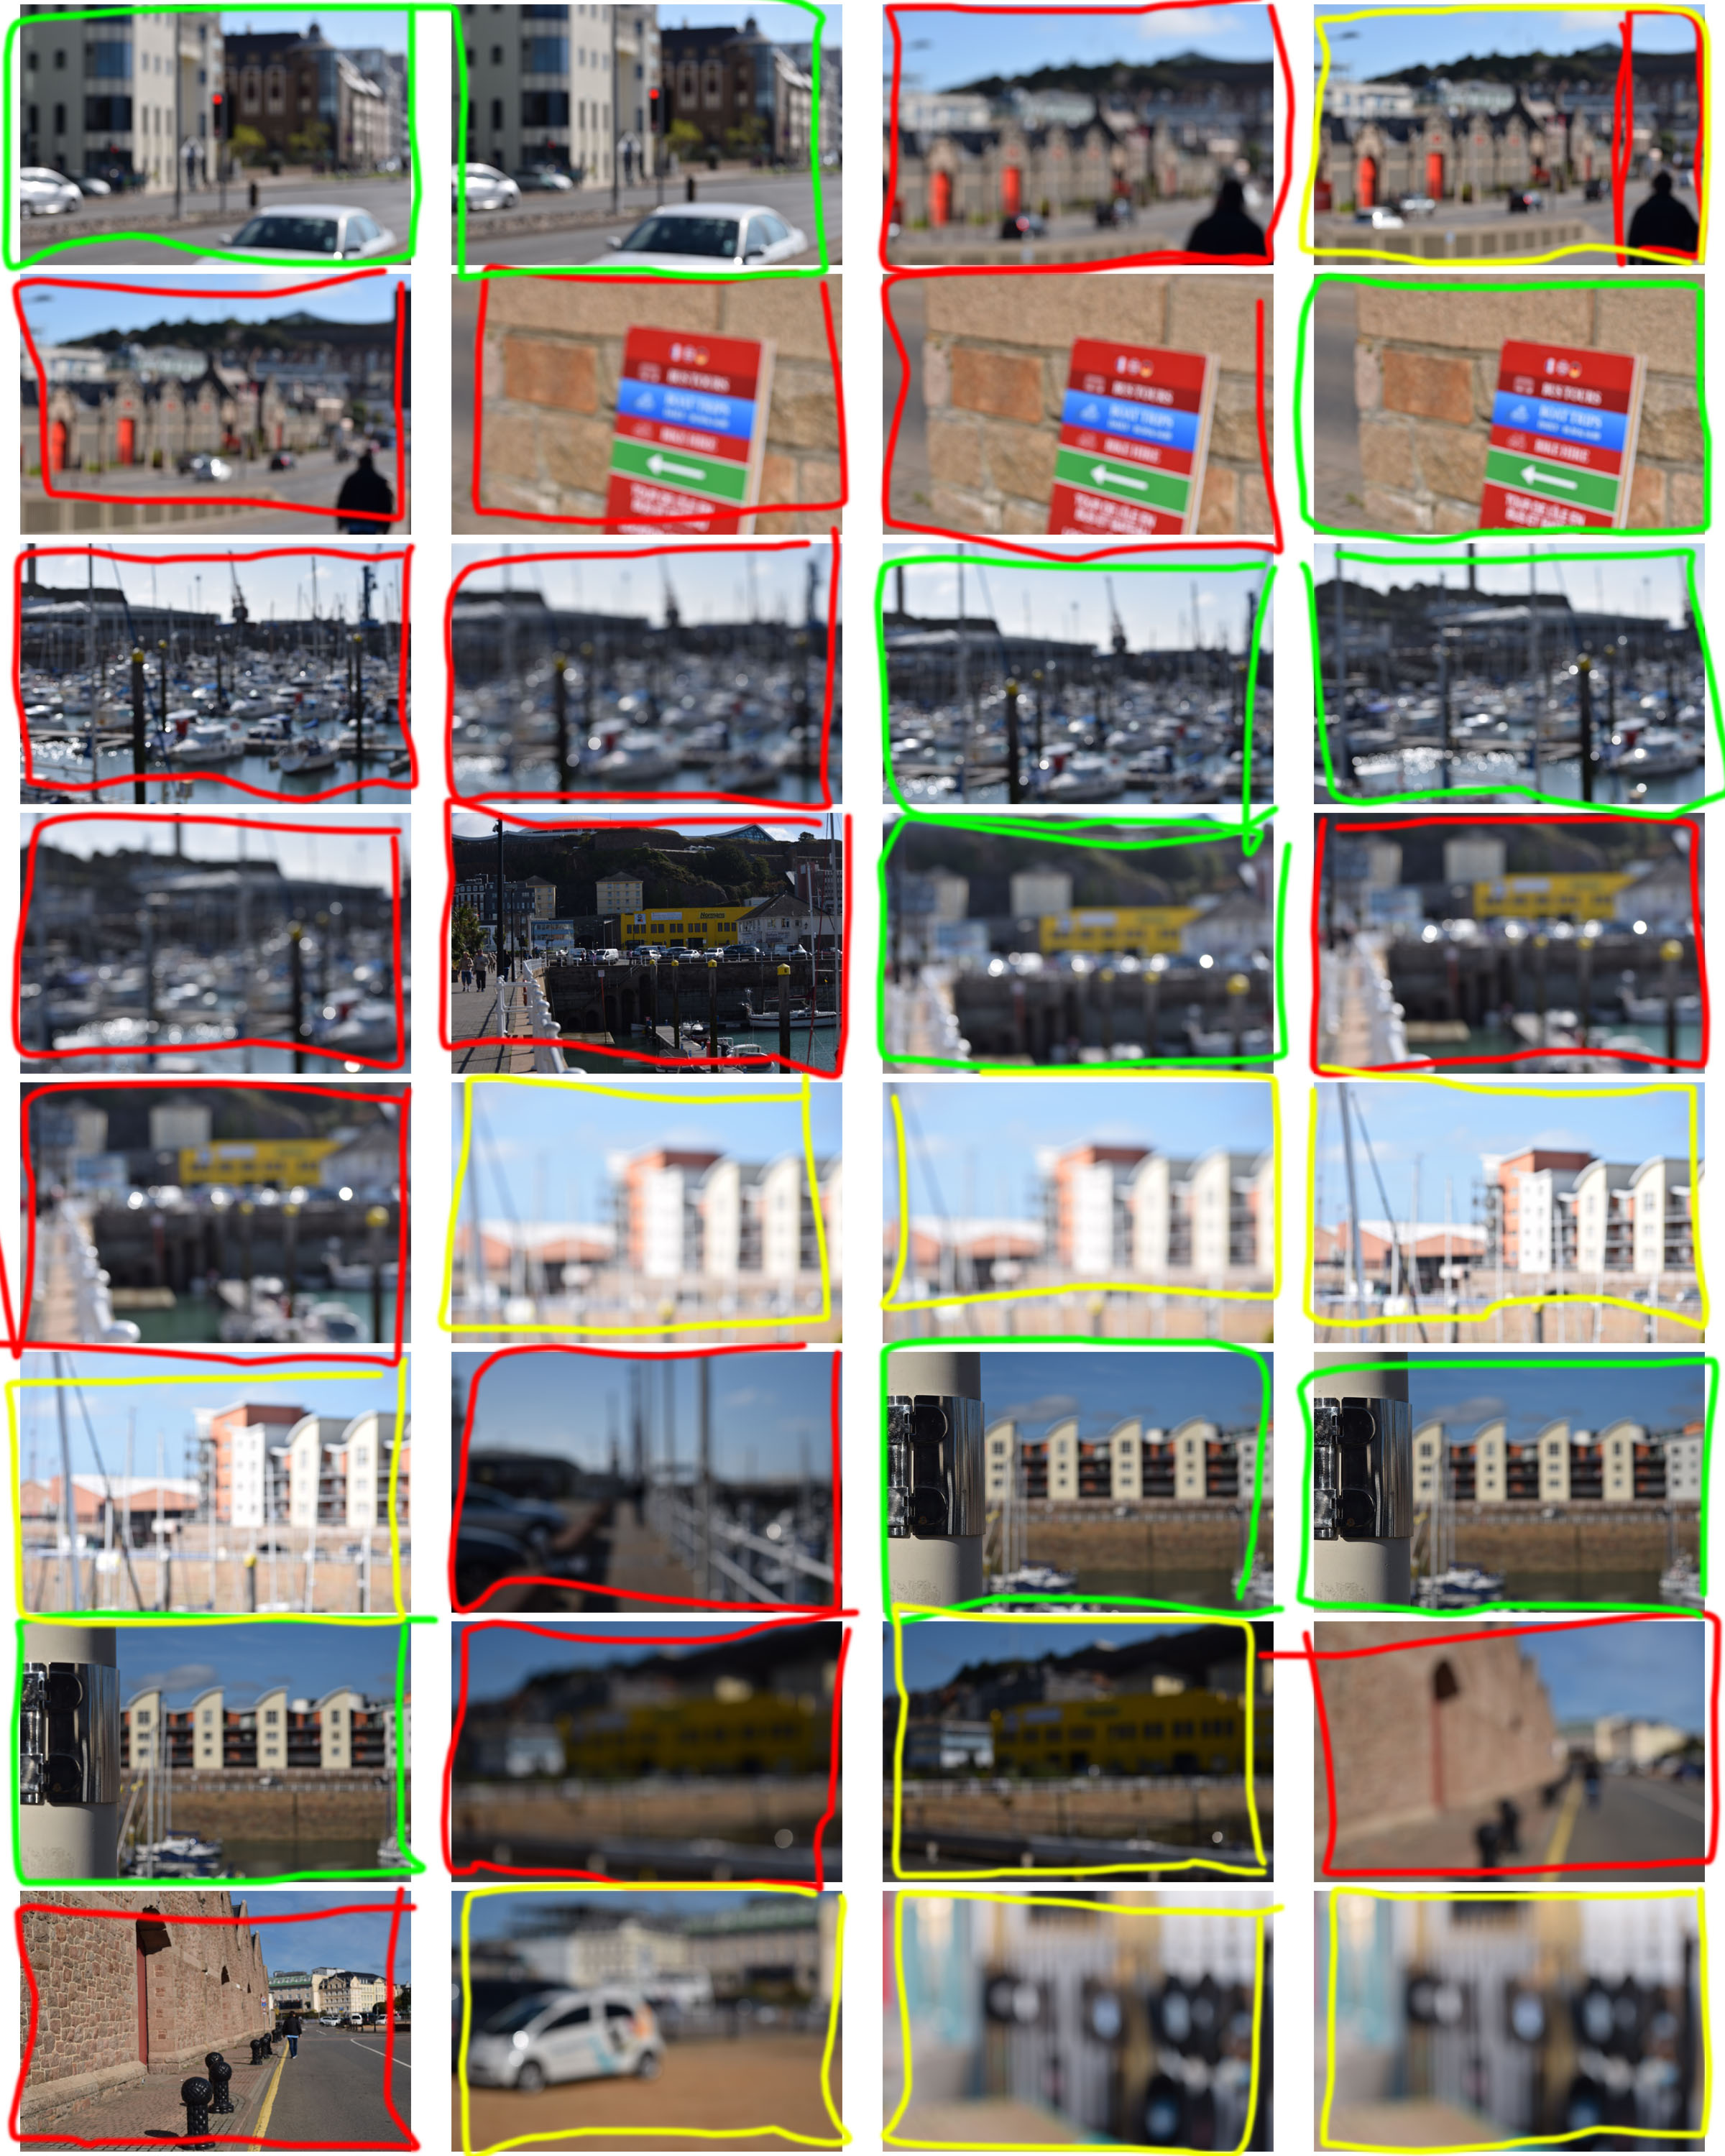

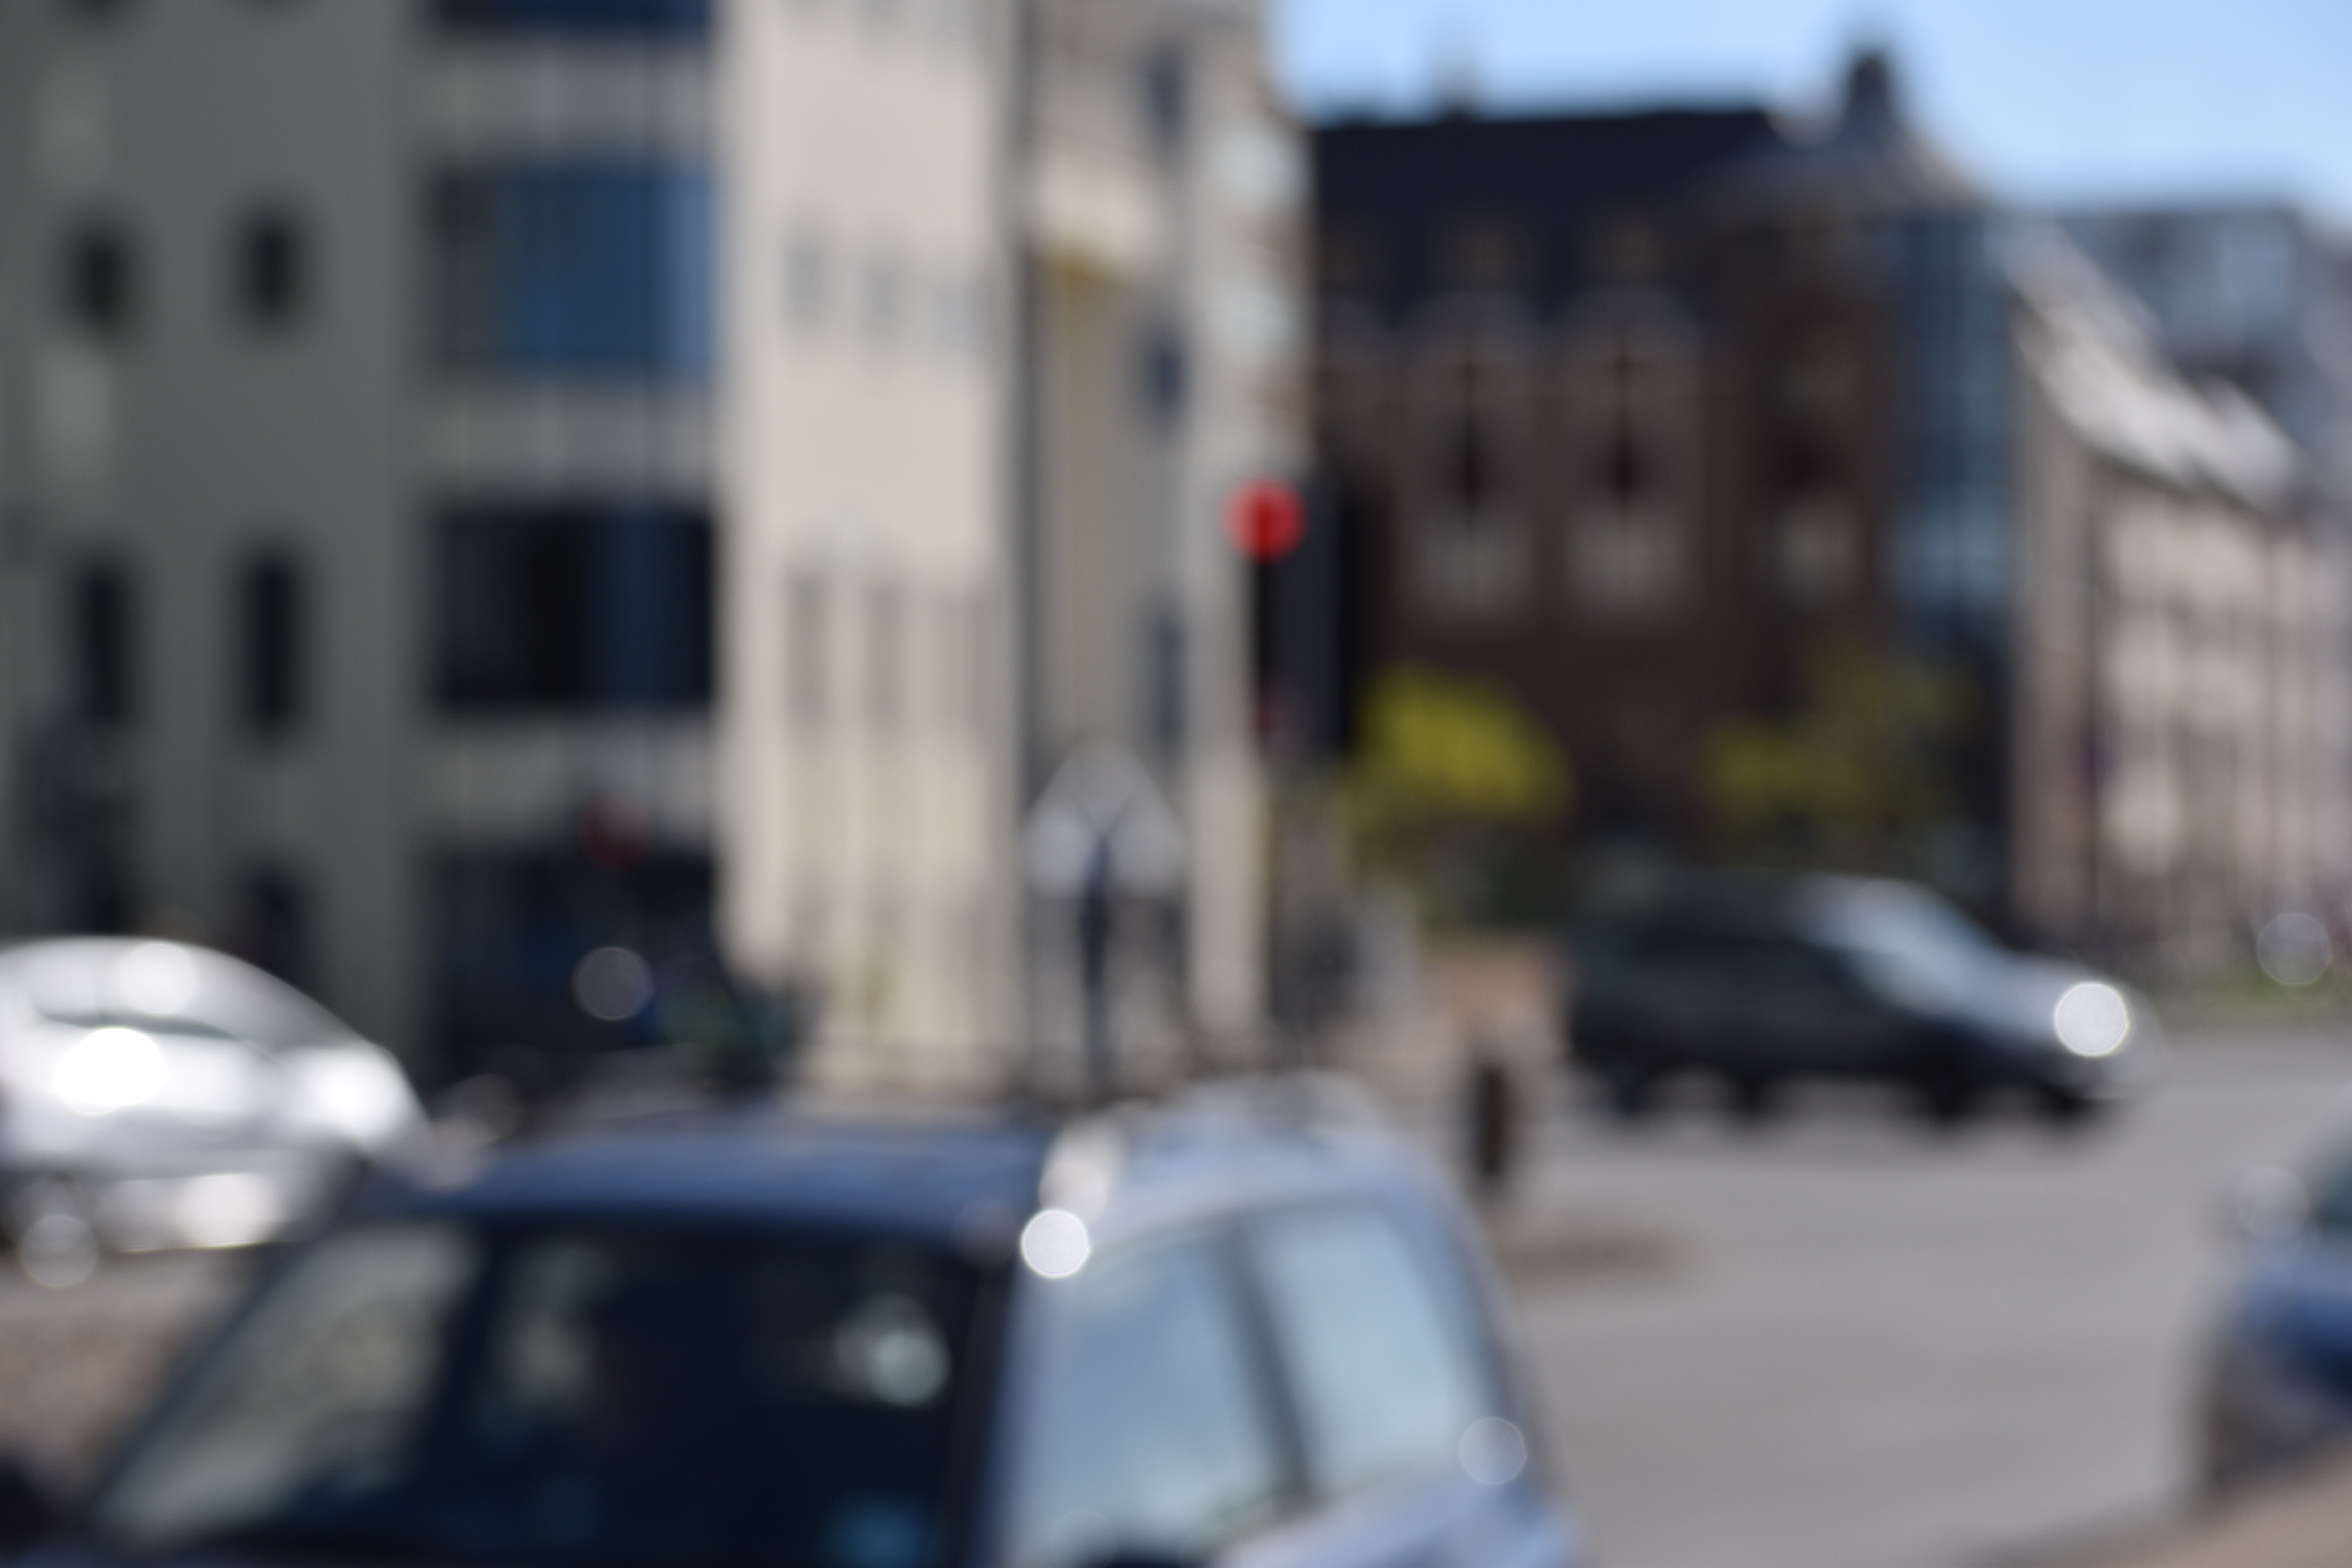
Image Analysis of my interpretations of keld helmer petersen
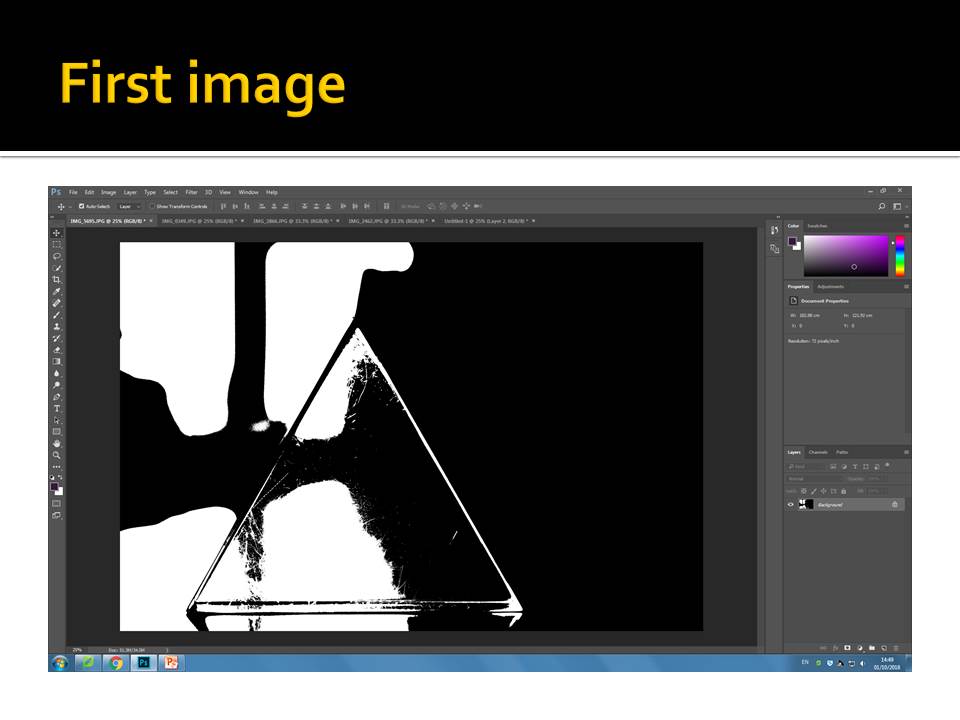
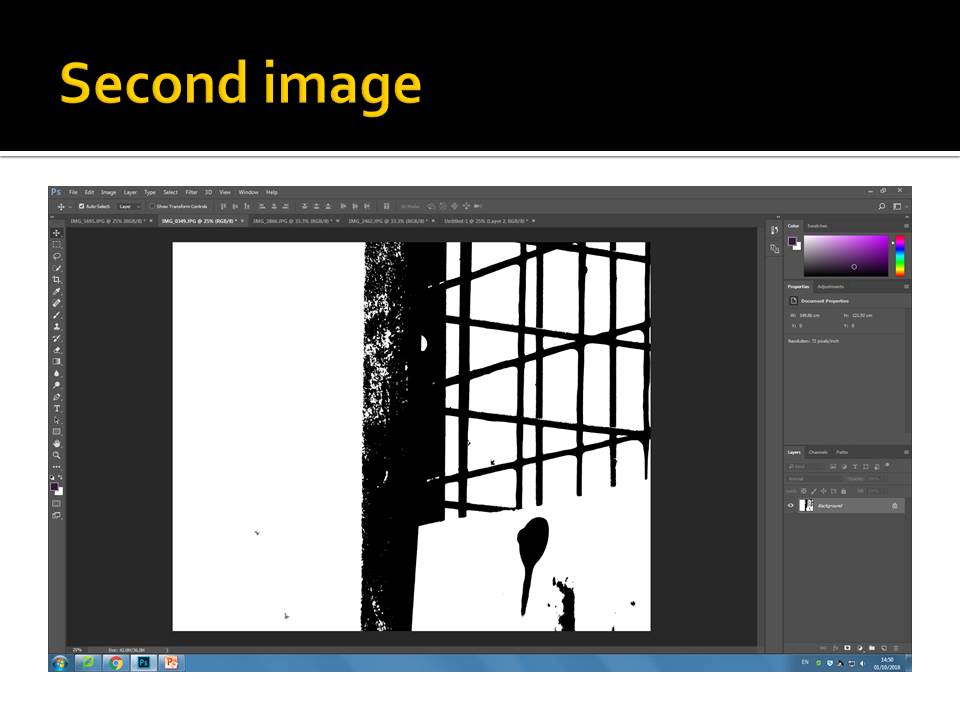
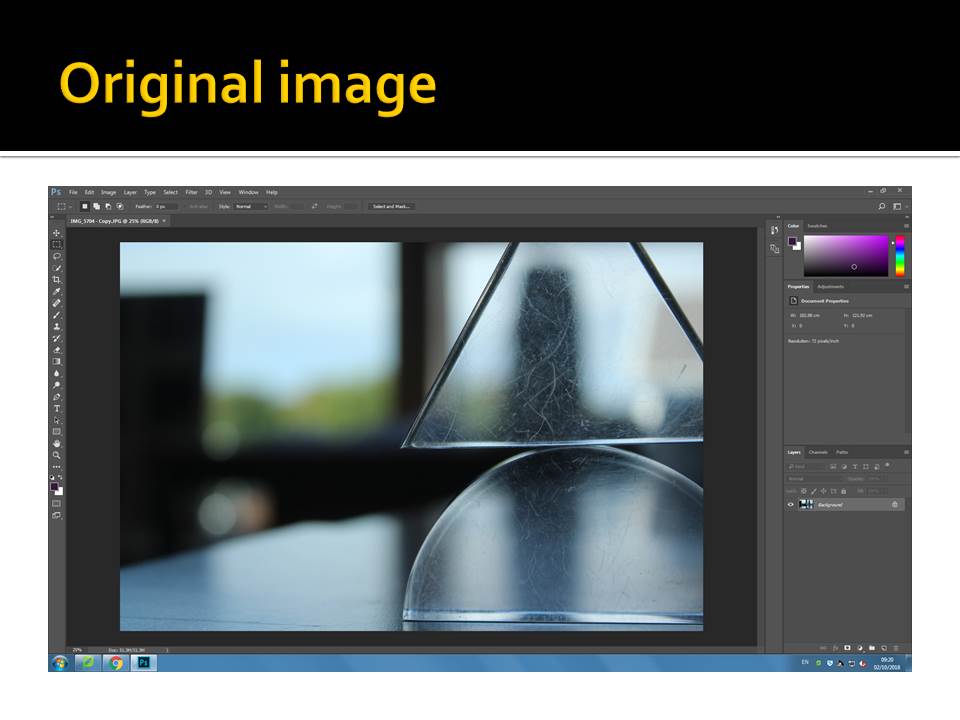
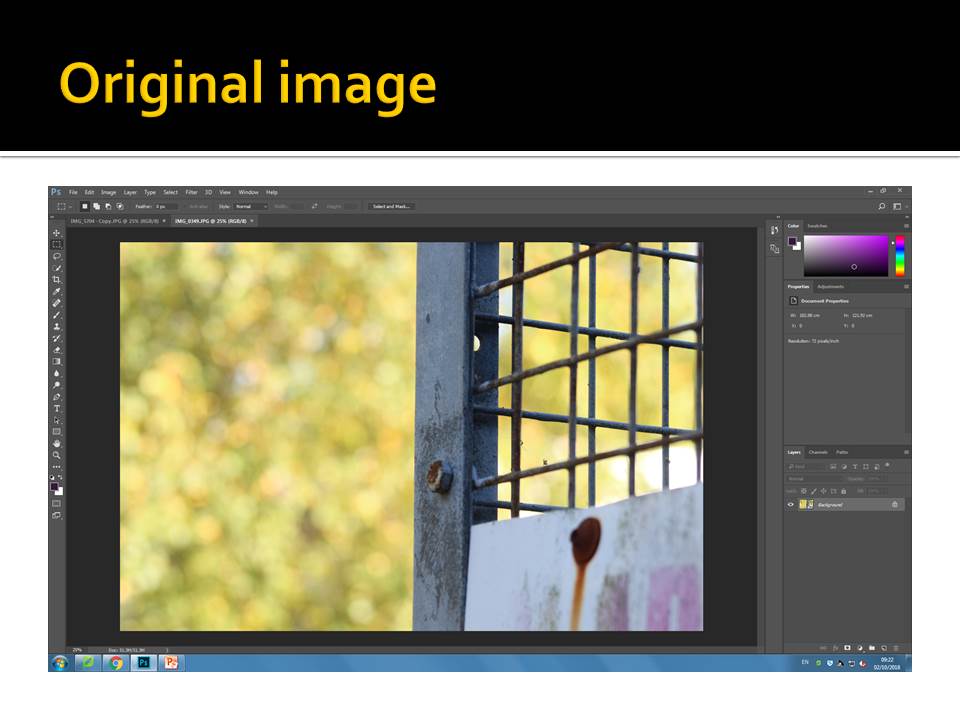
These are my two favorite images from my edits because i feel the the back ground being light creates a focal point on the main dark section of the of the image and the object. The negative space being white created contrast much like in Helmers work because that was his main intentions to create images with negative space that is white, so your main attention if drawn to the the object that is portrayed in dark/black. Using the threshold on Photoshop i managed to discard all of the mid tones within my images creating a contrast on depth and light, dark. The image with the triangle, i really like how the refection is portrayed as a section with a triangle and therefore shows the little scratches and details on the triangle which to me makes the triangle look more in focus and the background blur our much like the camera technique of depth of field. This was unintentional but i feel like it brings more depth and technical value the the image. In the second image, the background being light contrasts the metal cage and it stands out and all most pop out from the back ground much like a 3D IMAGE. The light and dark detailing of the rust on the cage adds the aspects of photograph technique and getting an images correctly in focus and creating a focal point that the audience is instantly drawn to.


Introduction to Albert Renger-Patzsch:
Albert Renger-Patzsch was a German photographer who took a liking to the New Objectivity ways of photographing, and helped to develop the movement with his own work. New objectivity focused a lot on taking photographs in a bold, documentary like manner, showing the subjects in a simple yet striking form. Renger took a forward approach to photography, using his camera almost like an eye, simply photographing what was seen in the way that an individual would see it. Albert’s photography matched the movement of New Objectivity well, and through the use of black and white tone contrast, his work drew attention to the new way of photographing subjects the way that they were seen in everyday life. Albert focused on subjects that could be found in everyday life, making his photographs more relatable to the viewer. He often focused on nature, taking close up photographs of plants and flowers, showing the details of nature in a simple yet eye catching manner. A lot of his photographs take advantage of natural shadows and patterns, exaggerating them by editing the colour to grey-scale.
Introduction to New Objectivity:
Renger-Patzsch focused a lot of his work around the “New Objectivity” expression of photography, which gained popularity during the 1920’s as a reaction against expressionism. New Objectivity focused on depicting subjects of photographs in a more scientific, documentary style manner. Photographs taken during the surge of New Objectivity often maintained sharp focus on an obvious and well framed subject, and depicted the subject how it was seen with the human eye, rather than distorting or abstracting it. As a whole, New Objectivity presented photographs as precise, literal, and scientific in appearance, which greatly contrasted it’s predecessor, Expressionism.
Exploration of the formal elements:
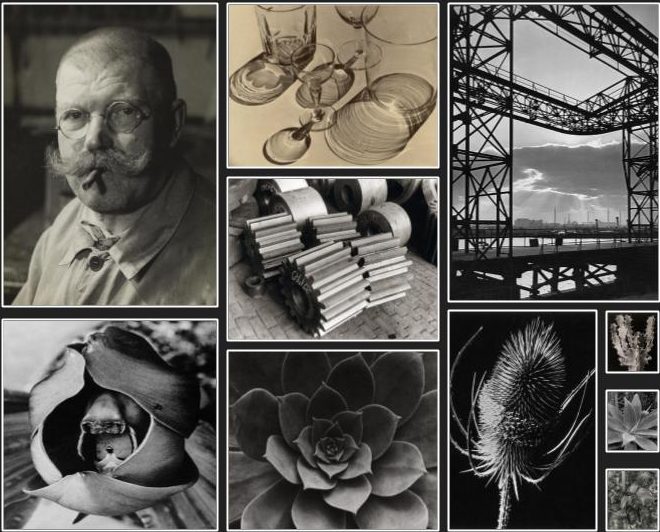
Albert Renger-Patzsch experimented a lot with lighting, shadows, form, lines and texture. His photographs often take advantage of the contrasting tones in gray scale; using the contrasting colours to emphasize the details of the images. Renger also experimented a lot with texture, using close ups to emphasize the texture of the subjects he used, while positioning his lighting to highlight the contrasting textures that can be found on a single image. The final images that Albert produced were sharp and bold, and the dark and light colours that he edited into the images helped to emphasize this bold photography. The position and settings of Albert’s camera were also important in creating his photographs. Albert made use of the zoom feature of his camera, taking close ups of plant life and everyday objects to show their details. A lot of Albert’s subjects include more harsh objects, such as thorn covered plants or telephone wires, and the way he positioned his camera helped to frame the image in a bold way, drawing the viewer’s attention directly to the center of the photograph. This technique helped to add to the harshness of the photographs he took, along with the use of harsh subject matters. The combination of gray scale, closeups and bold subjects helped Albert create an overall eye catching and striking style that matched the wave of New Objectivity.
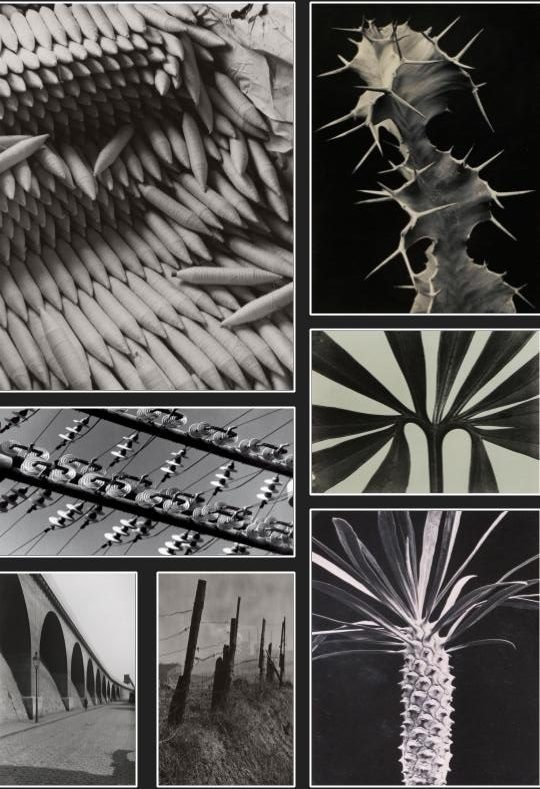
Further Analysis:
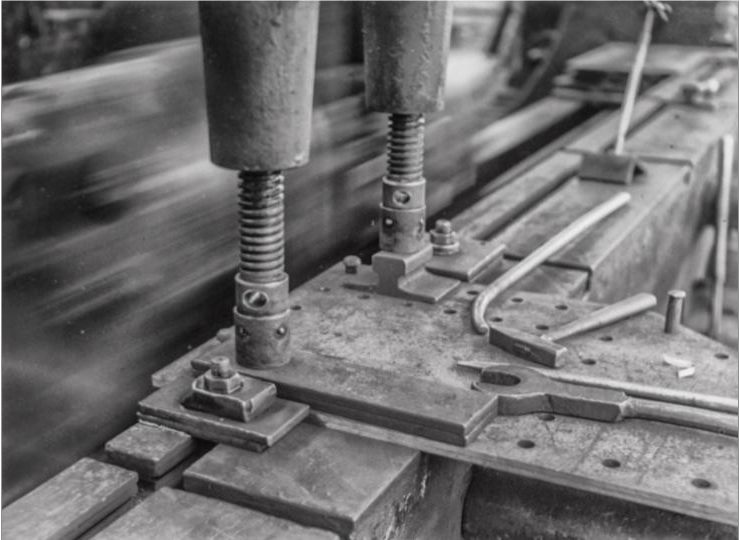
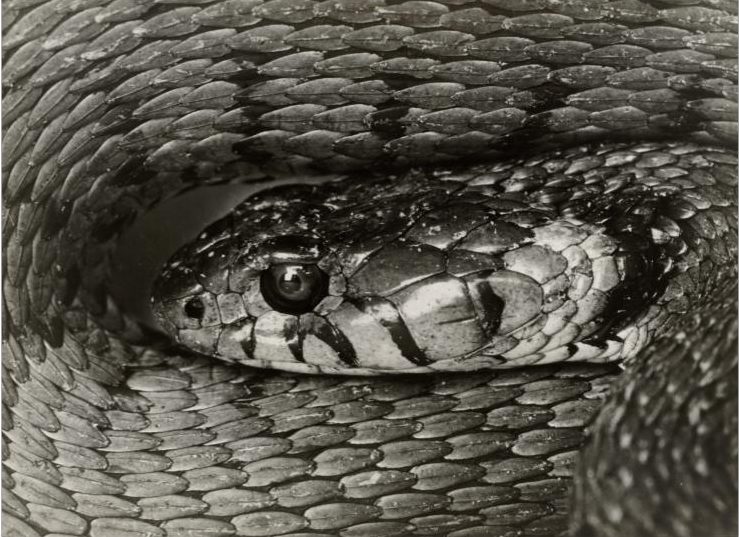
Renger-Patzsch looks for the details in his subject, zooming into the more complex areas and drawing attention to the complexities of everyday objects. Albert focuses a lot on industrial hardware, including cranes, machines and factory spaces, and draws attention to the detail found there. This often helps to add to the objectivity of Renger-Patzsch’s work, as it allows for the viewer to see these machines as they would usually see them with their own eyes, but allows them to concentrate more on the details that they would normally miss. Examples of where Renger-Patzsch has payed extra attention to the detail present in the frame of his photographs can be seen below.

My Response:
After analyzing his work, I have taken inspiration from Albert Renger-Patzsch, and will be using his style of photography to create a photo shoot of my own, keeping in mind his use of camera settings, subjects, and his frame of mind in reference to New Objectivity. Below are the contact sheets I have produced after taking photographs inspires by Renger-Patzsch:
Response Analysis:
As can be seen in the above photo-shoot, I have focused on aligning my photography with the New Objectivity movement that influenced Renger-Patzsch with his own work. I have focused on using subjects including both nature and machinery, where I have been able to mimic the style of Renger-Patzsch. I feel that, by taking very front facing photographs of subjects, that are not altered or abstracted, I have been able to capture the style of the New Objectivity movement in my images.
———-individual (x3)———
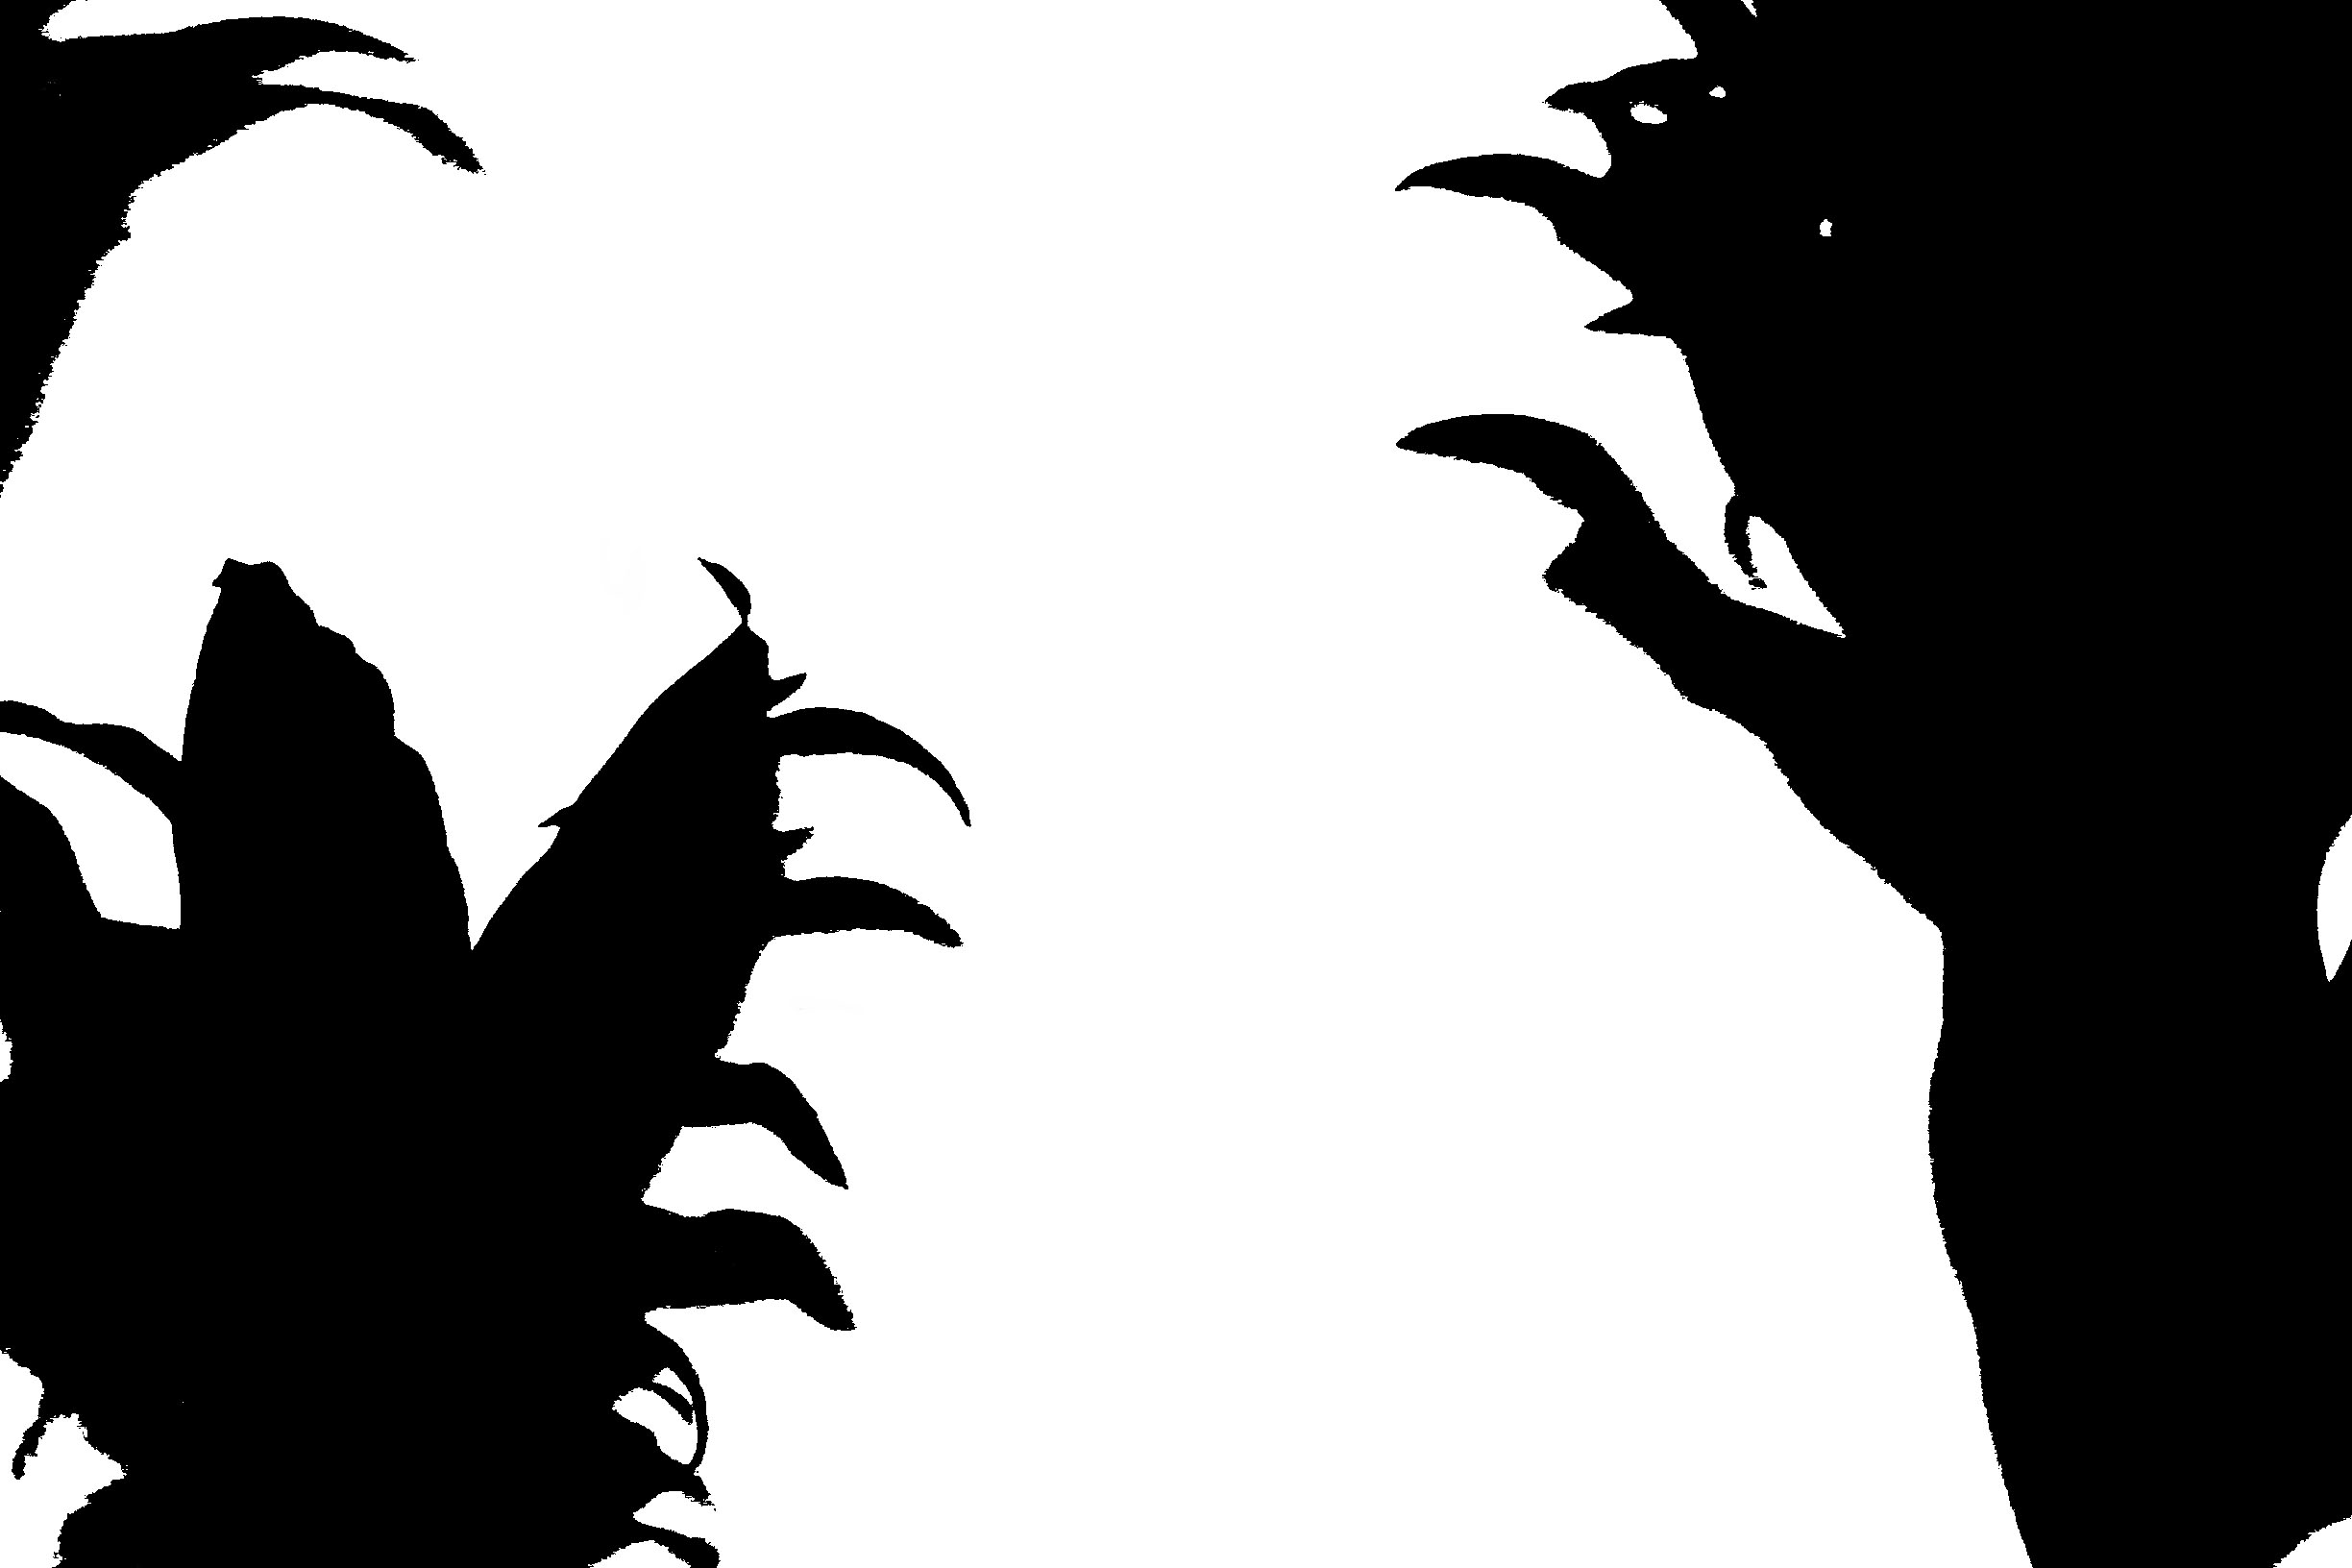
In order to allow my photo- shoot the appear to have taken inspiration from Renger-Patzsch, I decided that editing the images would be the best way to emphasis the shape and contrast of the images. Renger-Patzsch often used grey-scale when editing his images, in order to draw attention to the subject of the image, rather than the color, and to present the subjects in an even more scientific, almost clinical way. In order to mimic this effect, I have selected the images that I feel are the most relevant, and have edited them to mimic the colour pallet of Renger-Patzsch’s work. The products can be seen below:
Editing Process
It was a simple process of utilizing the threshold tool, then adjusting the threshold level to increase/decrease the opacity of the wanted silhouette in the frame.
Experimenting with the idea of threshold adjustment to create pieces with extreme contrast and maximal blacks and whites. I decided to focus on the idea of cameras for my original inspiration for the photos due to their complex looks and various opportunities for black and white adjustments.
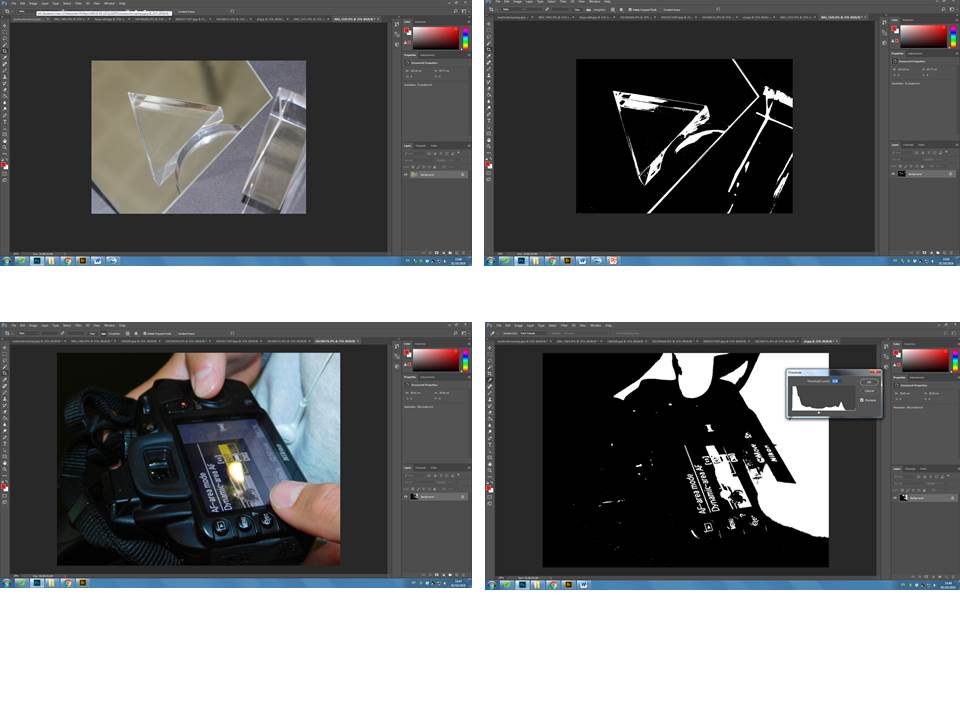
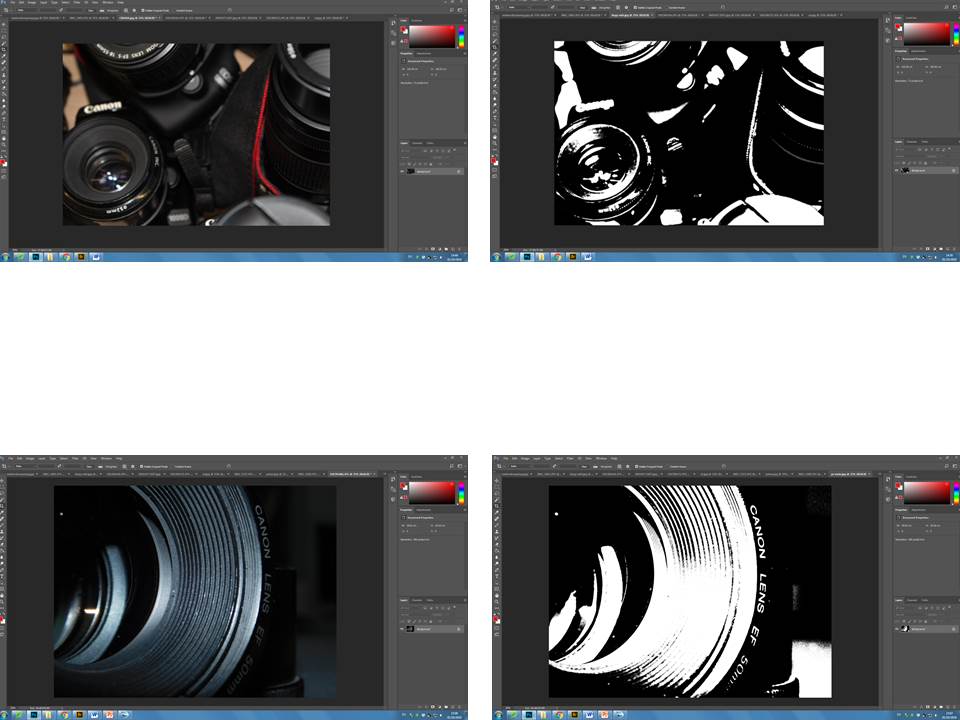
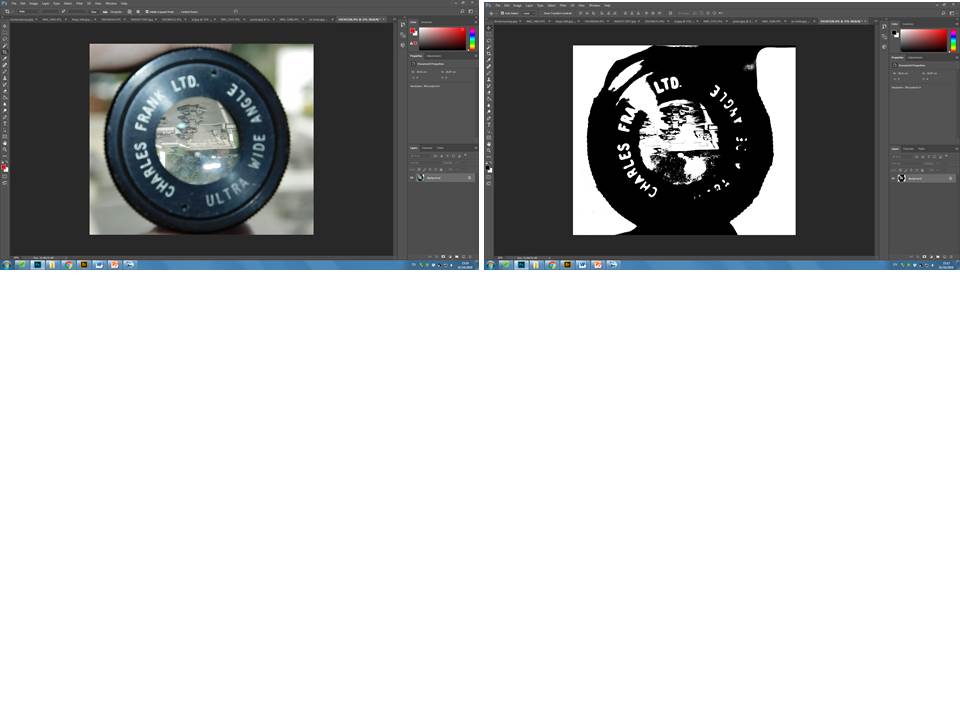
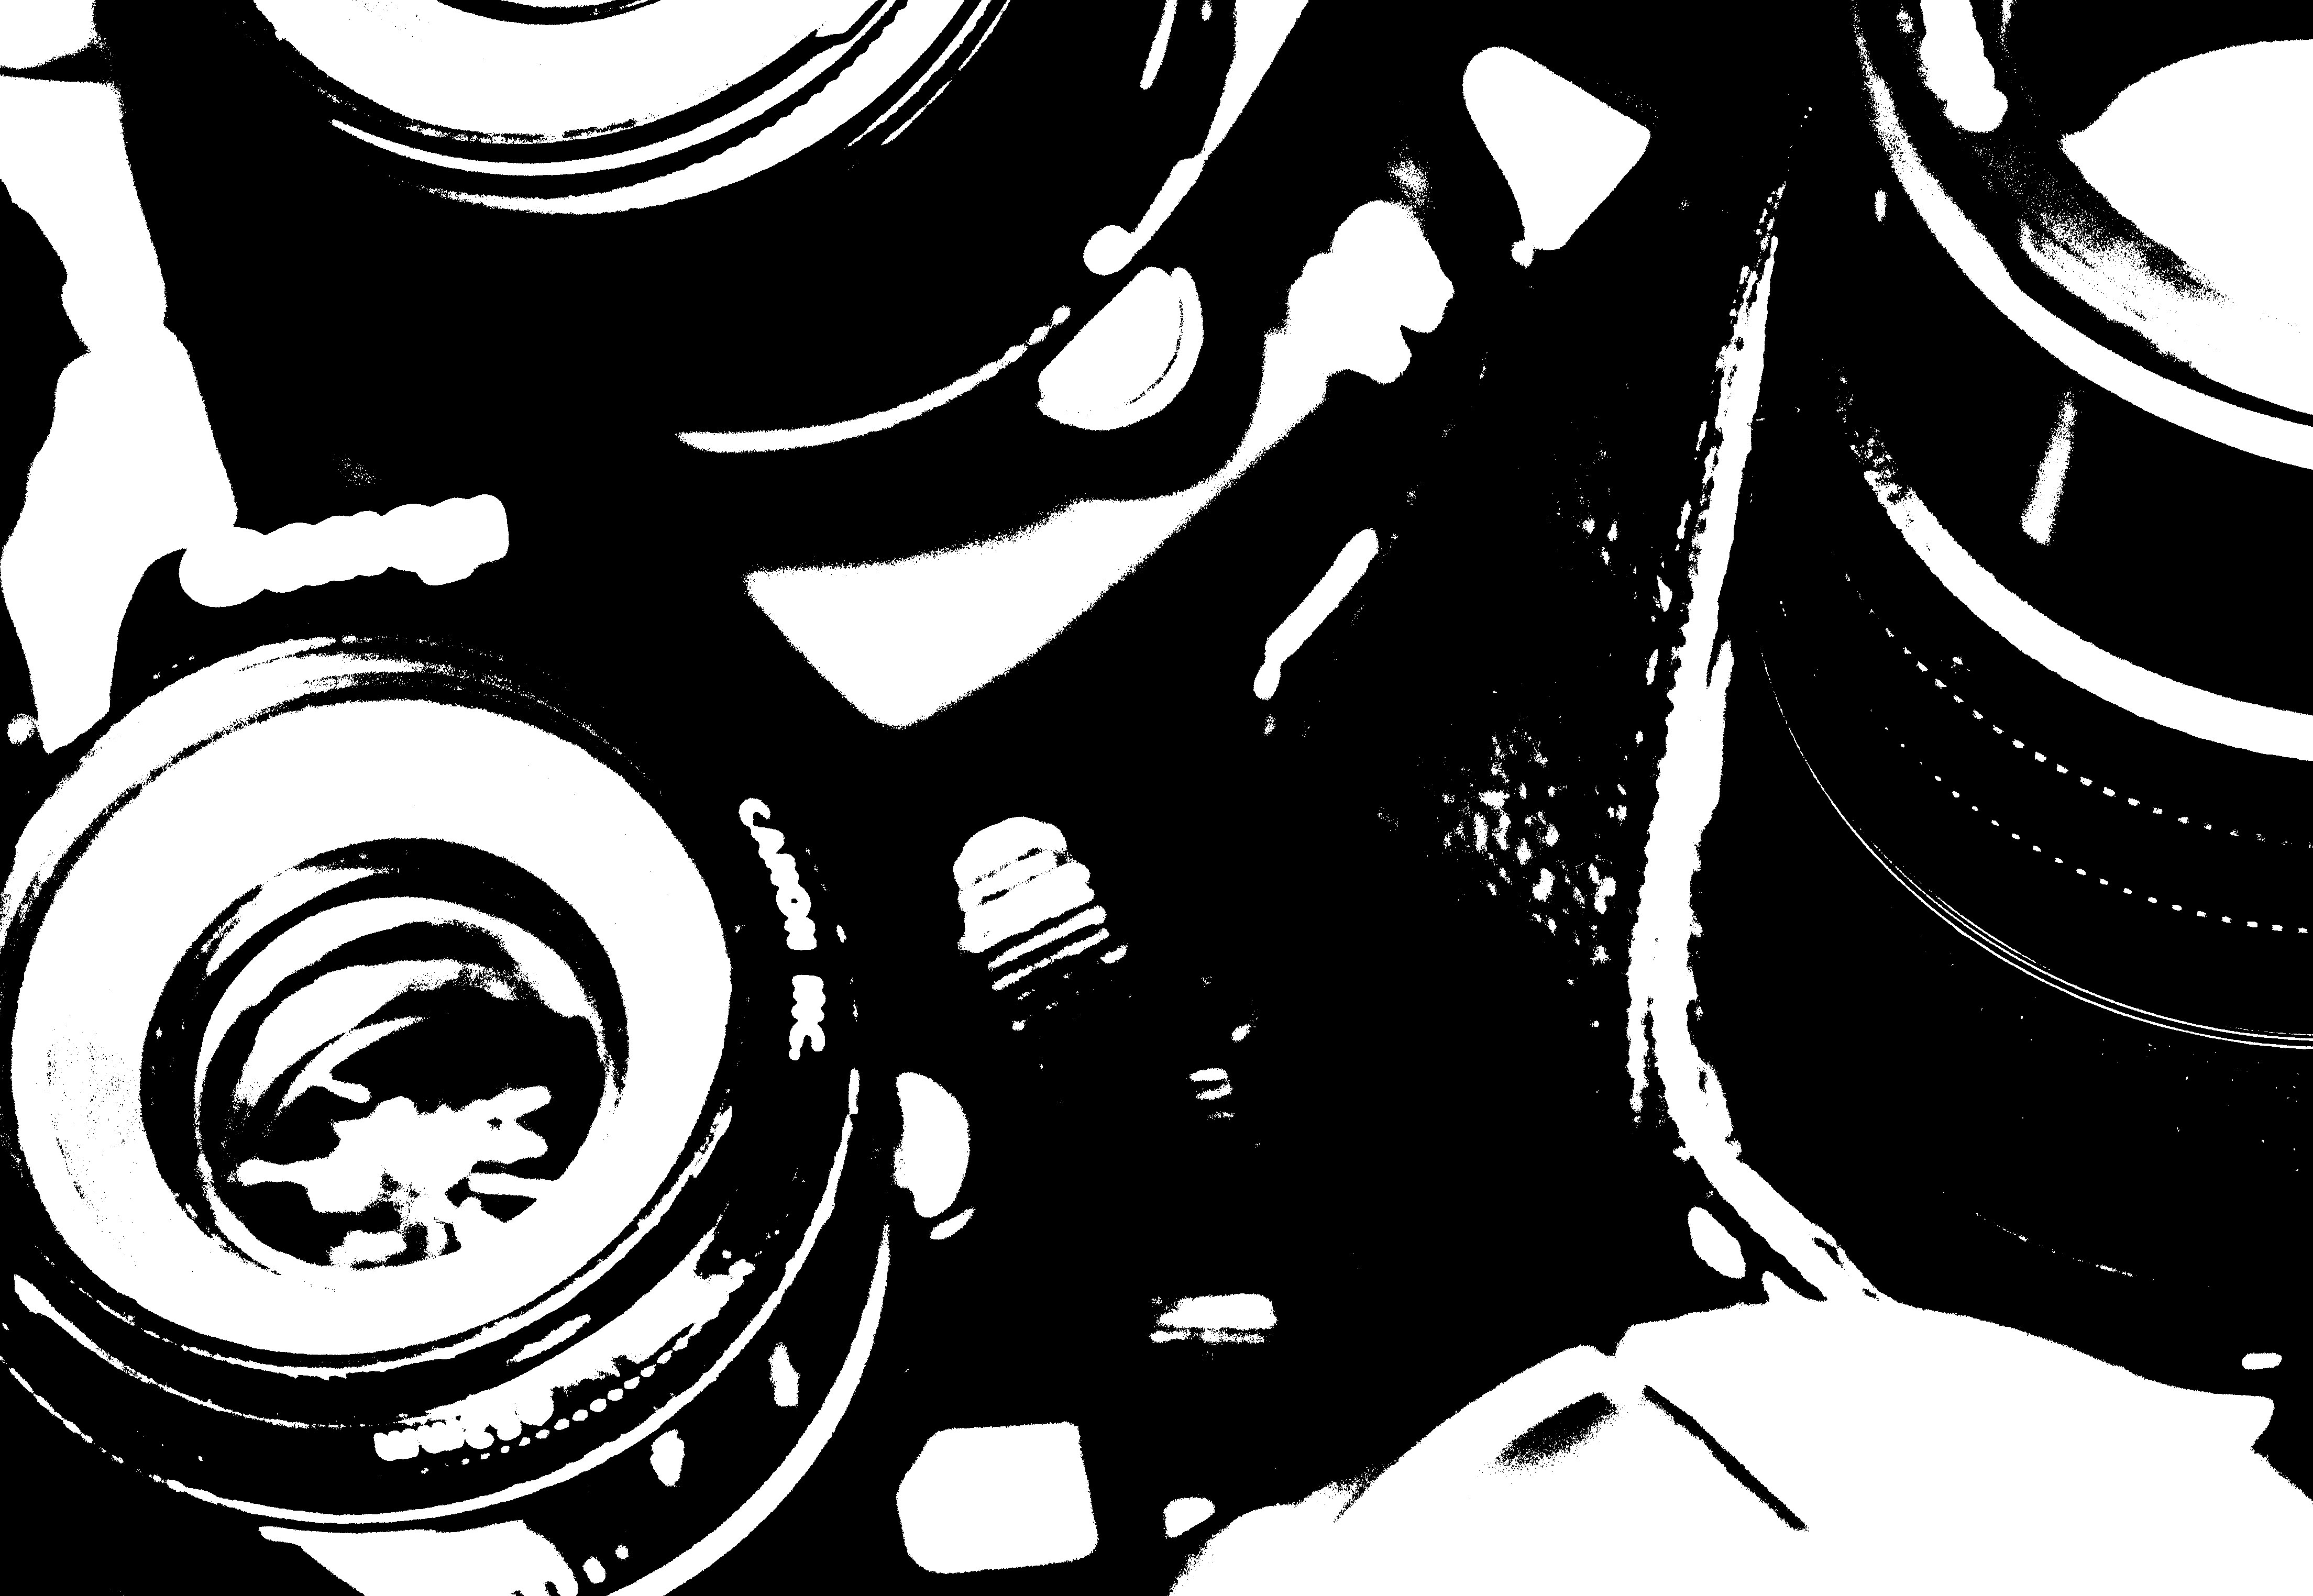
I really like the almost cartoonish effect I have achieved with each photo having its own unique characteristics.

I took a photo through a lens of an outdoor environment and really liked the idea of the lens flipping the image.
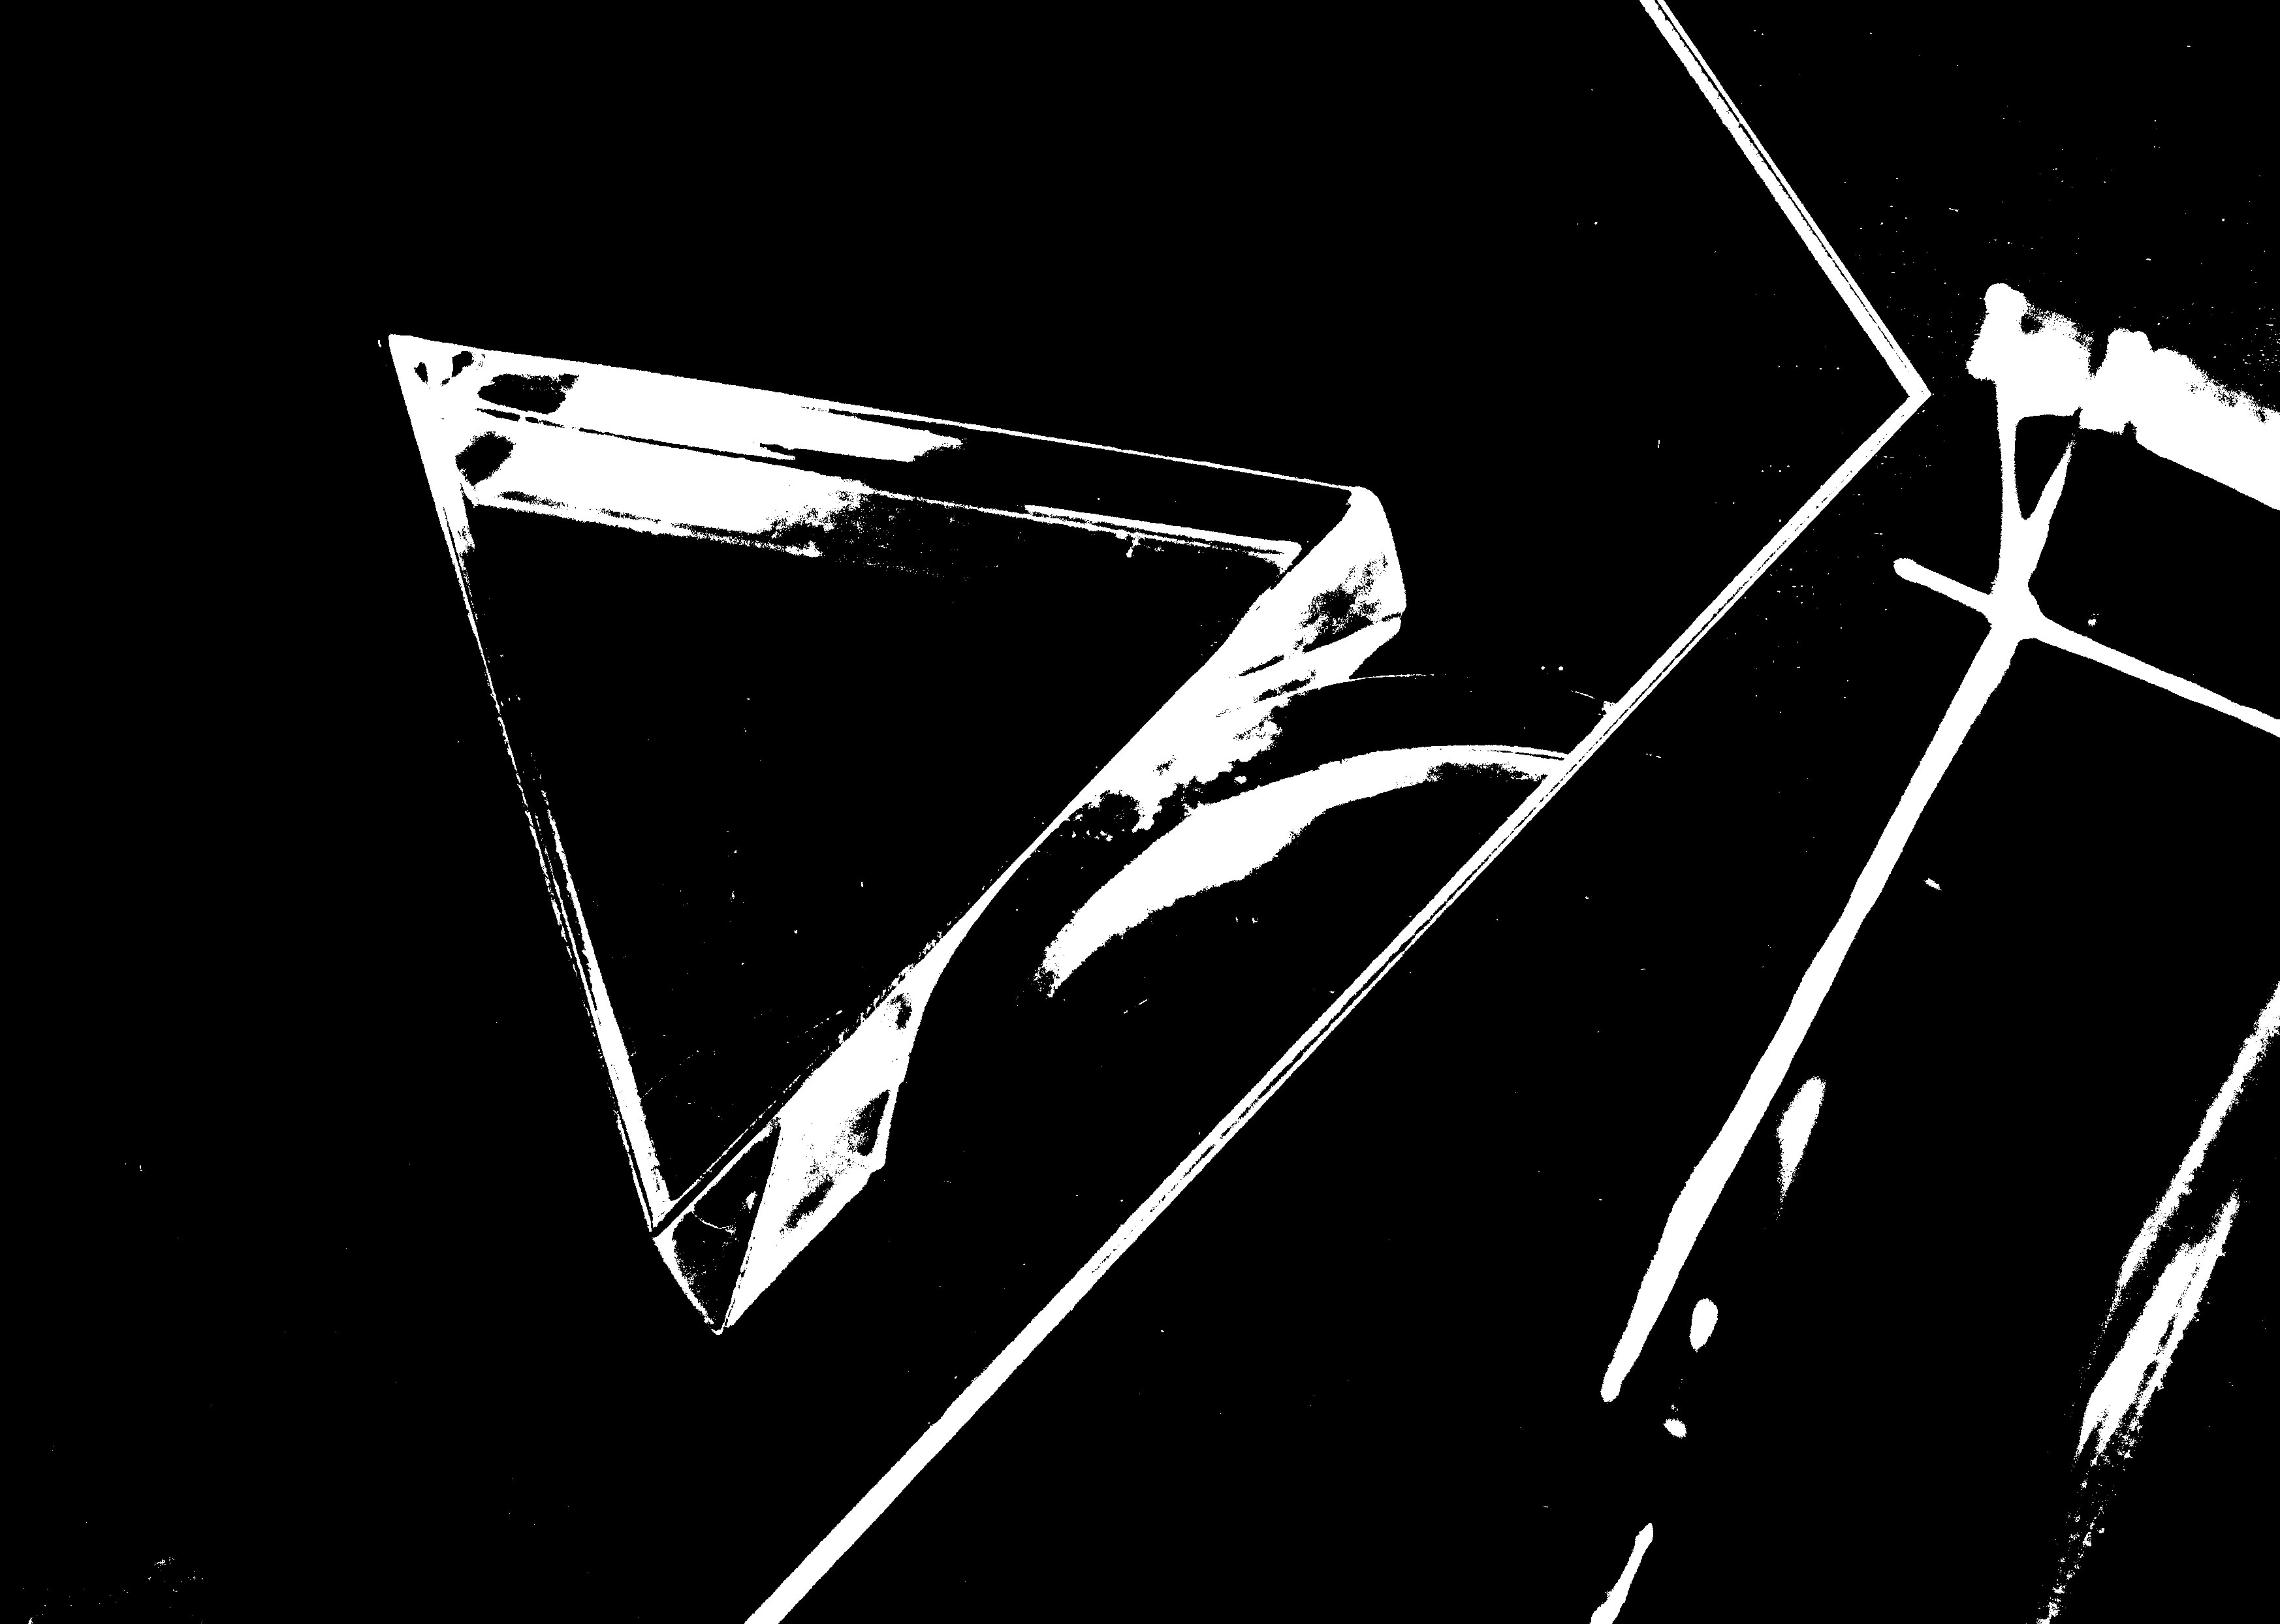
Here is a glass triangular prism resting on top of a semi circular prism in a mirror. I chose to adjust the threshold to a point so that it only realistically gives an outline of the shapes.
Up close of a camera lens, using depth of field and threshold adjustment to create a defined effect.
I have produced a photoshoot using some of the camera a skills that I have developed on during the first few weeks. After taking time to learn and practice skills such as depth of field, exposure and focus, I have incorporated these skills into my shoot, and have take inspiration from my chosen artist, Uta Barth, in order to produce a photoshoot that uses abstraction, as well as the other camera skills.
Uta Barth
Uta Barth is a contemporary photographer living and working in America, who focuses her photography on separating the subjects used in the photograph, from the photograph itself by using a mixture of blurred images, and bright light in her photographs, allowing the colours of her image to blend into one another, further distorting the image and creating an abstract effect. Barth often takes a minimalist approach to her work, using subjects such as walls, windows and bland natural scenes, in order to draw more attention to the light and colours used in her work. Barths work incorporates a mixture of minimalism and abstraction, and she combines this with a bright but simple colour theme to draw attention to the fact that her work goes against what many people consider to be good art.
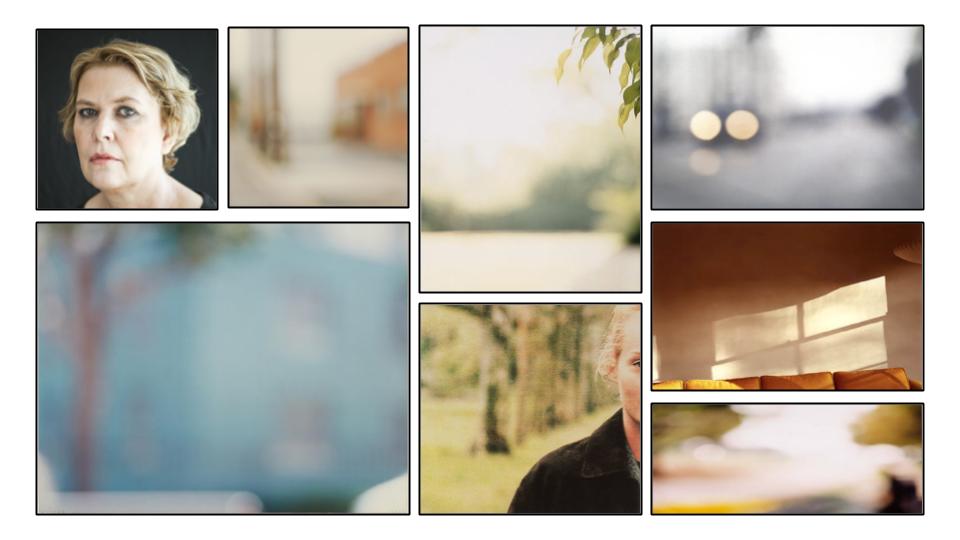
I have chosen Barth to be my inspiration, as I believe that her work makes good use of colour, light and interesting subject matters, while also taking a minimalist approach to a lot of her photos, making them more unique, and allowing them to stand out.
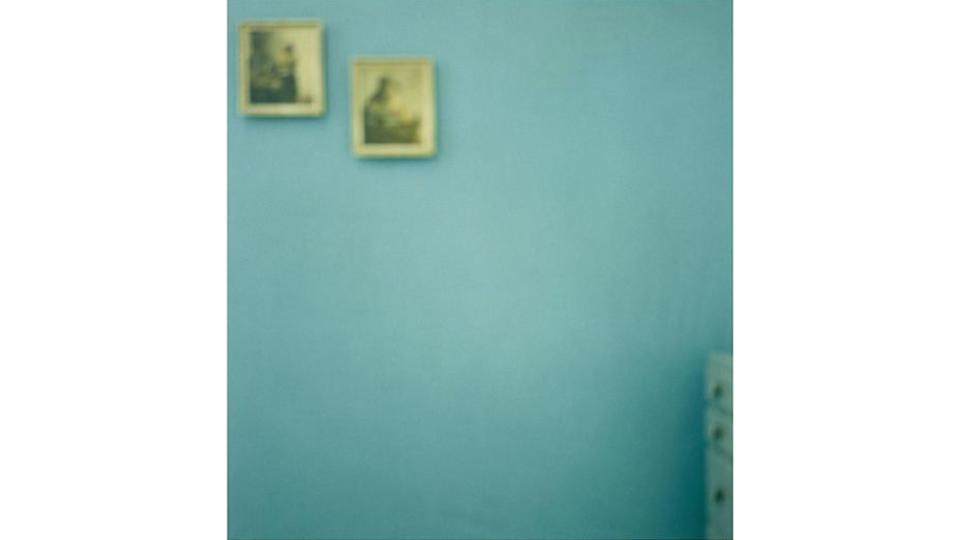
My Response:
For my photoshoot, I took inspiration from Barth when it came to the type of subjects I used, and the lighting I used. For my camera settings, I made use of the manual focus, making sure that the image I was taking was out of focus to create the same effect as Barth. As well as this, I experimented with the exposure of my photos, in order to mimic the bright light used in Uta Barths work.
The following is a contact sheet containing images from my photoshoot:


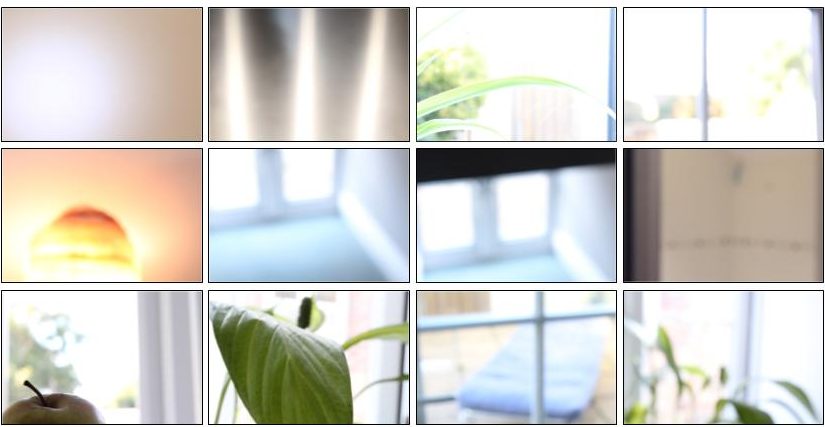
These are the photos that I was able to take after taking inspiration from Barth, and using the same techniques and processes as her. I made sure to focus on making sure the lighting resembled Uta’s work, and changed my camera settings to do so.
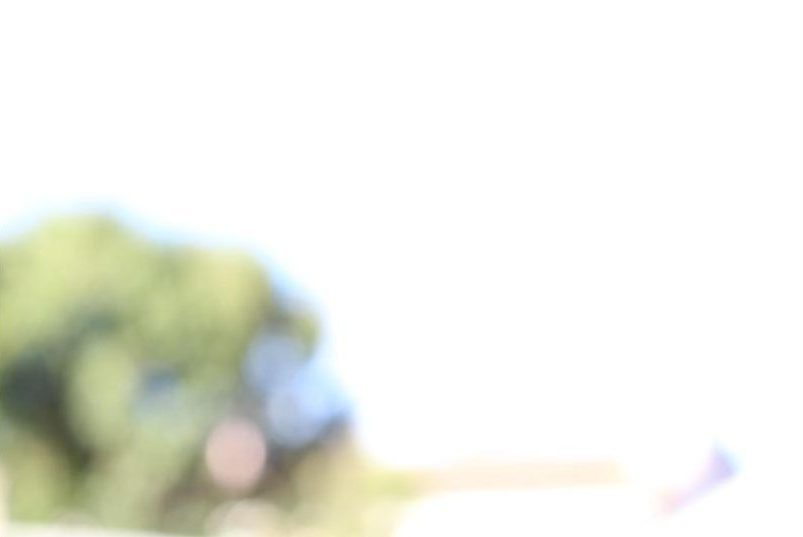
The above image is a good example of the different camera settings and techniques I used. For this image, I adjusted the manual focus of my camera so that the background was completely out of focus. I then adjusted the ISO setting to a high number (1600). By doing this, I was able to maximize the amount of light that the camera allowed, and because of this the image I took was extremely bright and light, which mimics the work of Uta Barth. By using this combination of out of focus images, with a high ISO setting, I was able to create images similar to that of Barth.
The following images are those that I have decided are the best from my photo shoot:


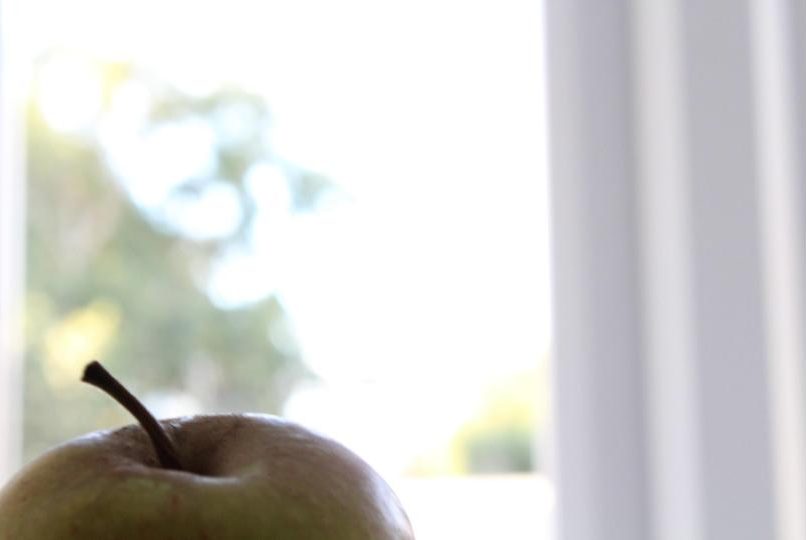
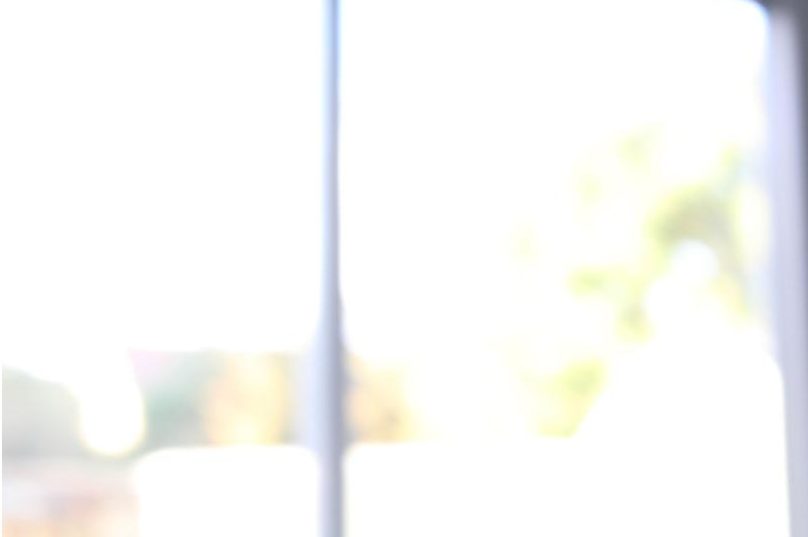

All of these images use the skills I developed after analysing the work of Uta Barth, including manually putting the camera out of focus, and adjusting the ISO setting to a higher number so that the images included the most light possible. All of these images used an ISO ranging from 3200 to 6400, and I manually adjusted the focus so that the subjects were as out of focus as possible.
I tried to take most images of naturally lighter spaces, as well of adjusting the ISO, these places included outside, and out of windows, to mimic the very light effect that Barth’s images give.

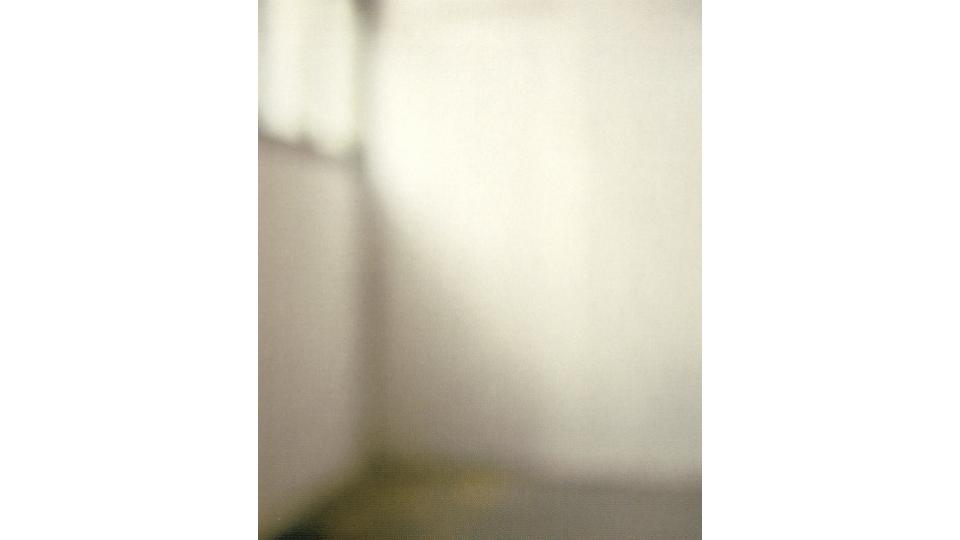
The subject of the above image is the corner of a window, and I zoomed the camera in so that I was only framing the top corner, abstracting the window. A lot of Barths work centres around using subjects such as windows that produce natural light, to maximise the amount of light in the image.

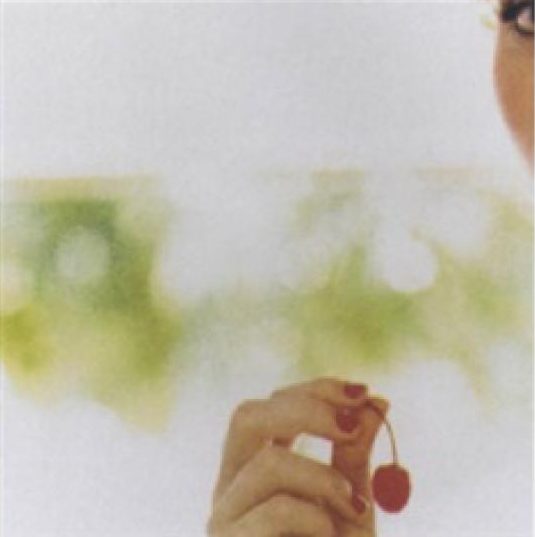
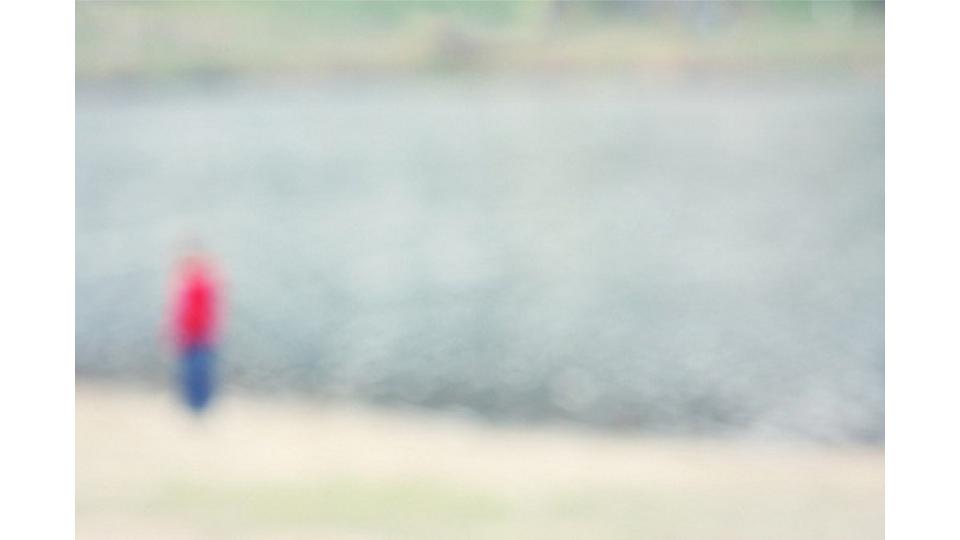
Barth sometimes uses subjects in her work that remain in focus, while throwing the background out of focus to draw maximum attention to the abstracted subject. The first image is my own, while the second is Barth’s, from which I took inspiration. This technique makes the image interesting, as it provides the viewer with a point to focus on, while also allowing them to remain curious about what is in the background.

Contact Sheet:
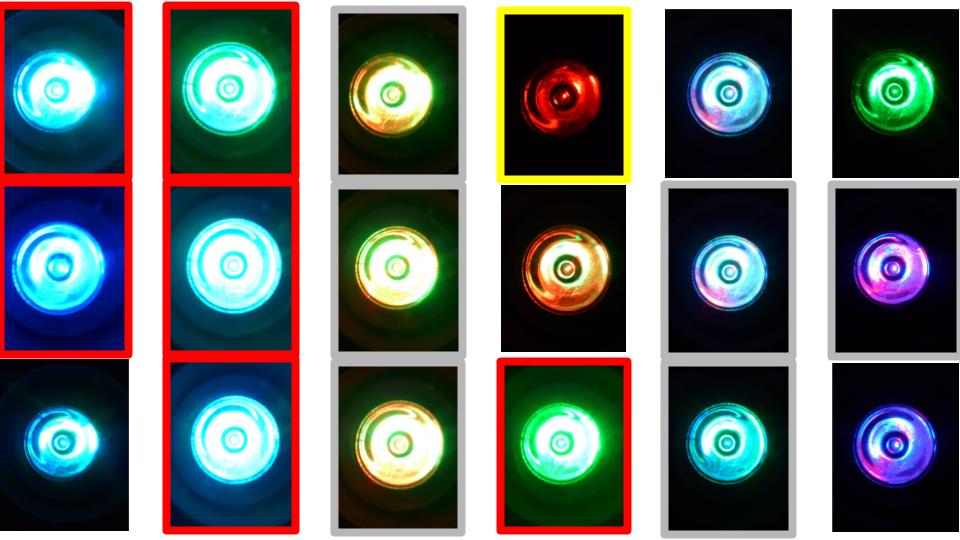
(Unfortunately due to the fact I increased the size of the contact sheet for this experiment the quality of each photo has decreased slightly making many frames look fuzzy and out of focus)
(I have attached two images below of what the photos looked like before being formatted in a contact sheet.)
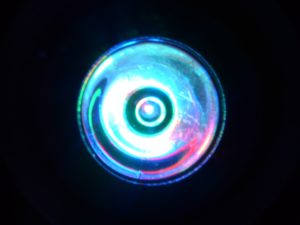


I did this coloured light experiment to see how well my camera could capture different colours of light. Finding that some colours appeared under or over exposed simply due to the colour of light they appeared to be.
Yellow: indicates a frame that is underexposed.
Red: indicates a frame that is overexposed.
Grey: indicates a composition that is out of focus
