Double Exposure

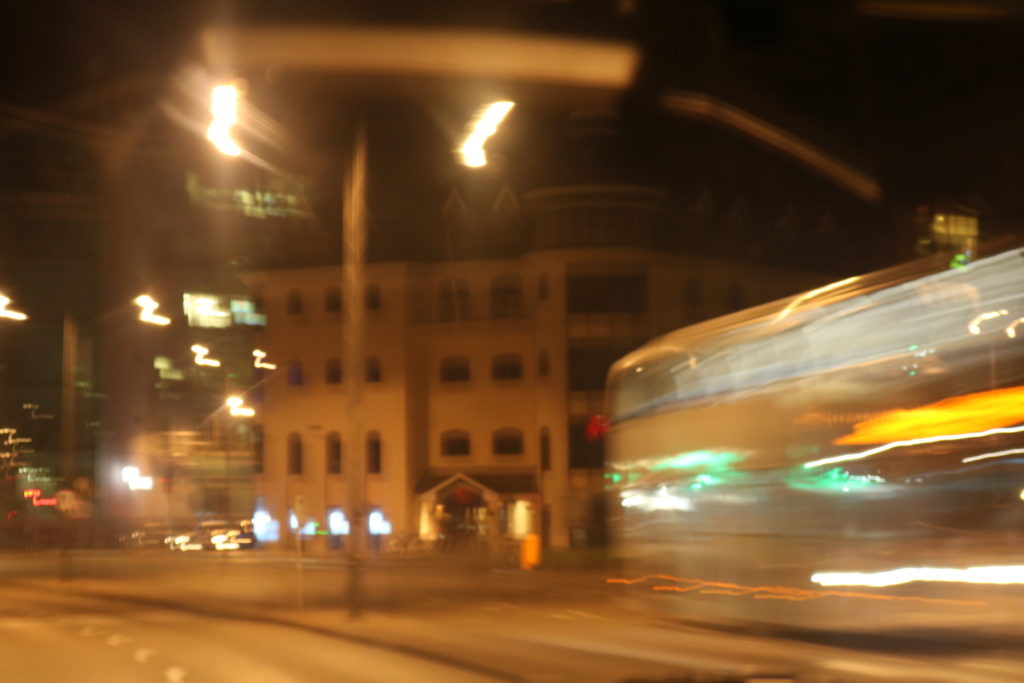
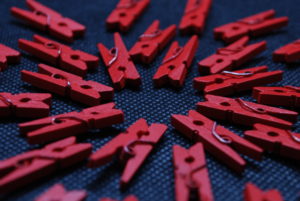
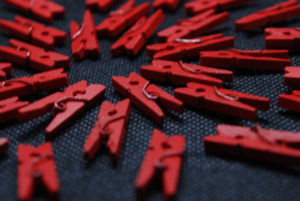
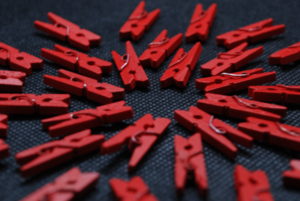
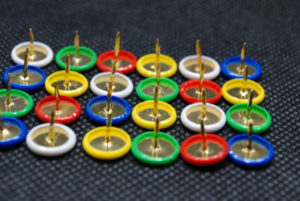
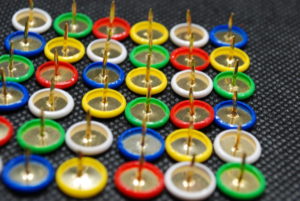
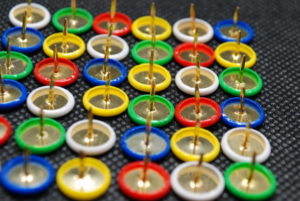
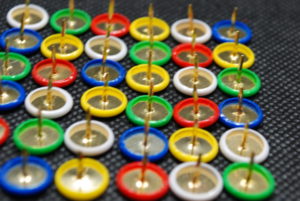
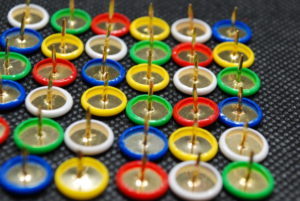
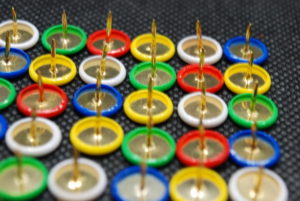
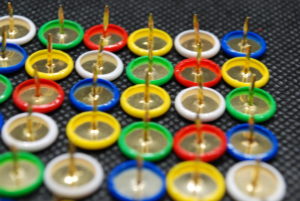
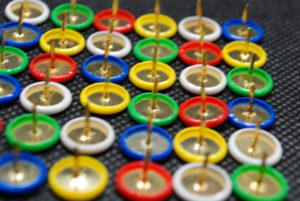
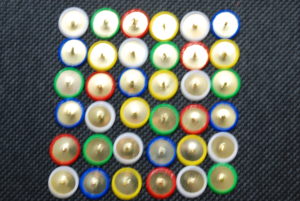
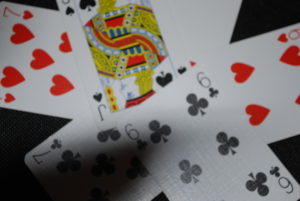
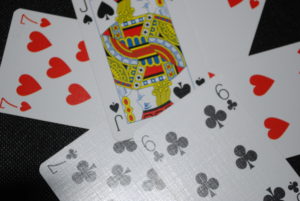
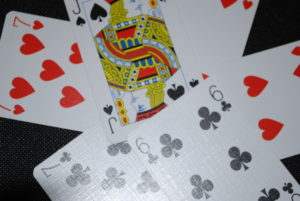
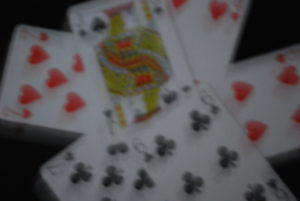
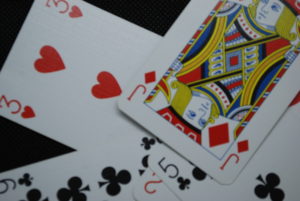
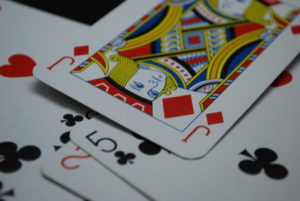
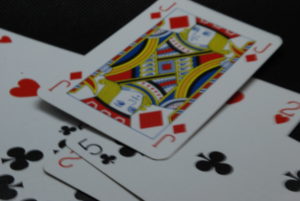
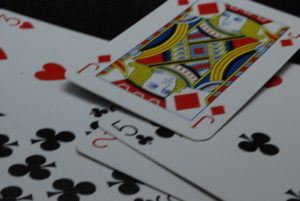
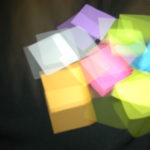
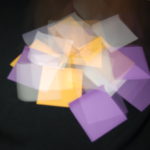
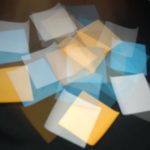
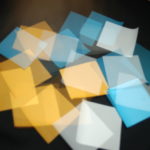
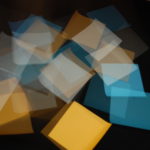
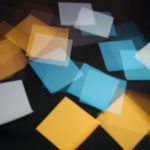
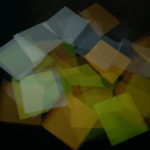
Double Exposure involves the overlay of an image over the top of an existing one, while being able to see both the overlay and original.

In order to achieve this you can use two techniques:
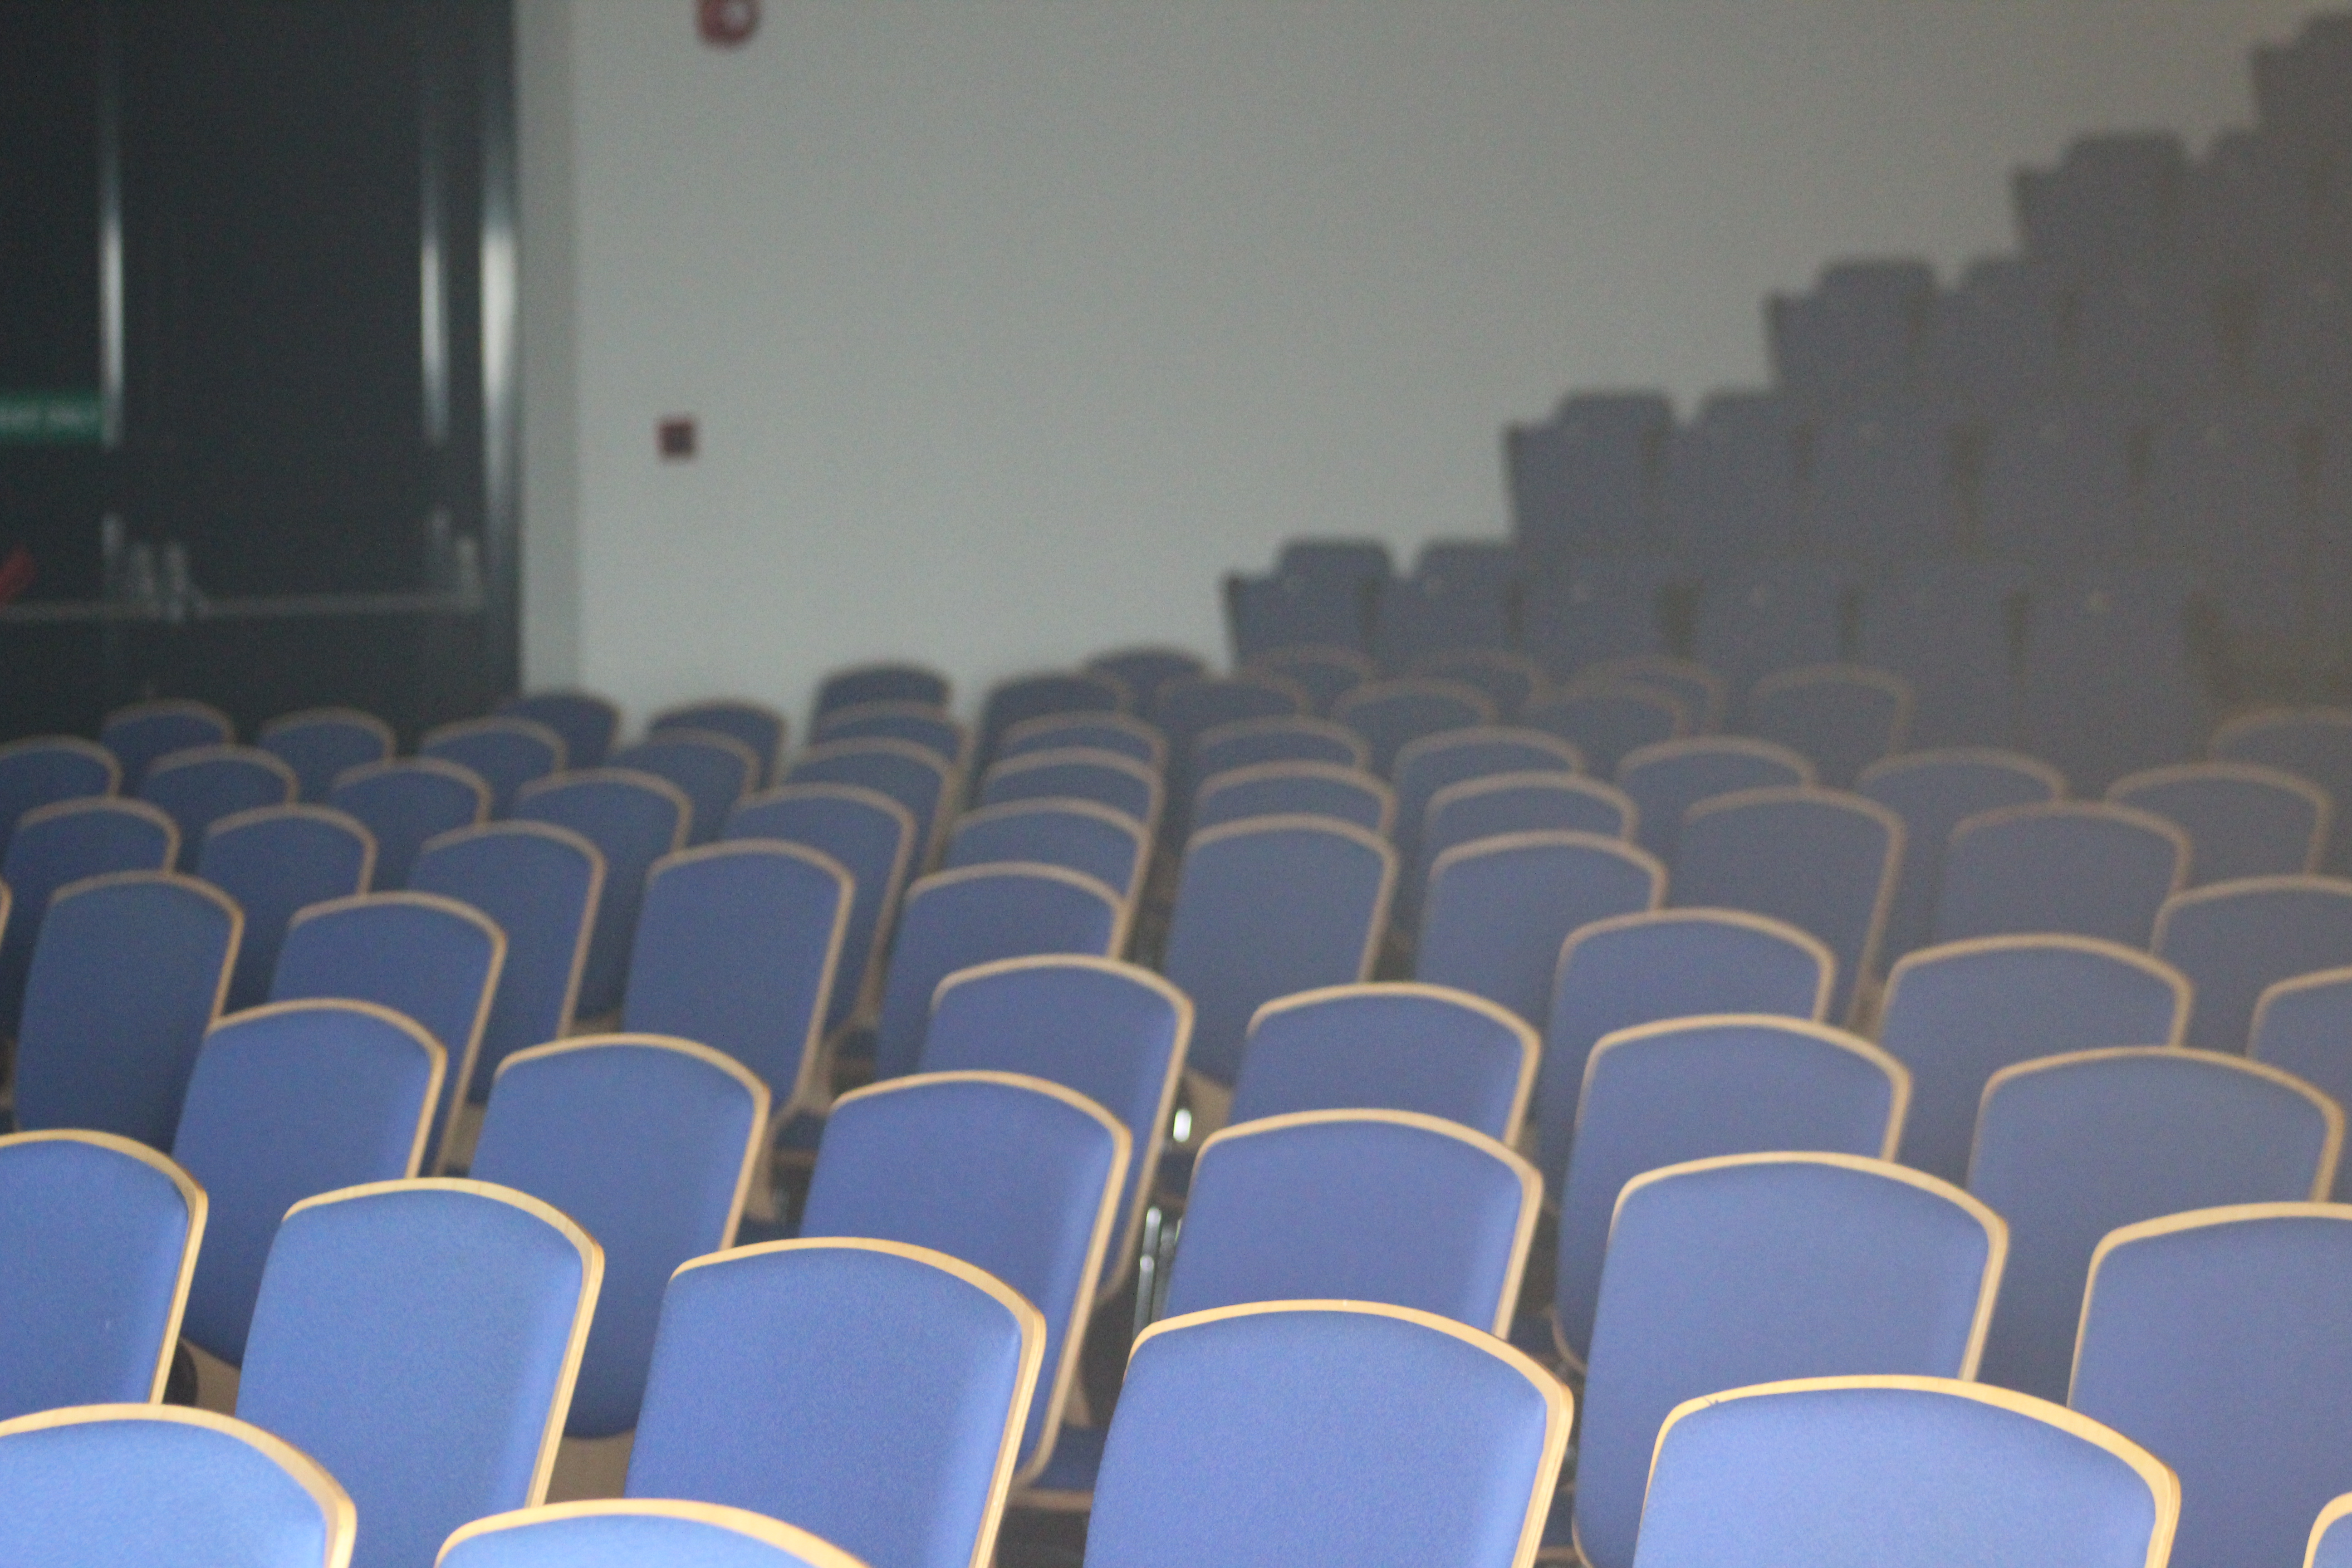
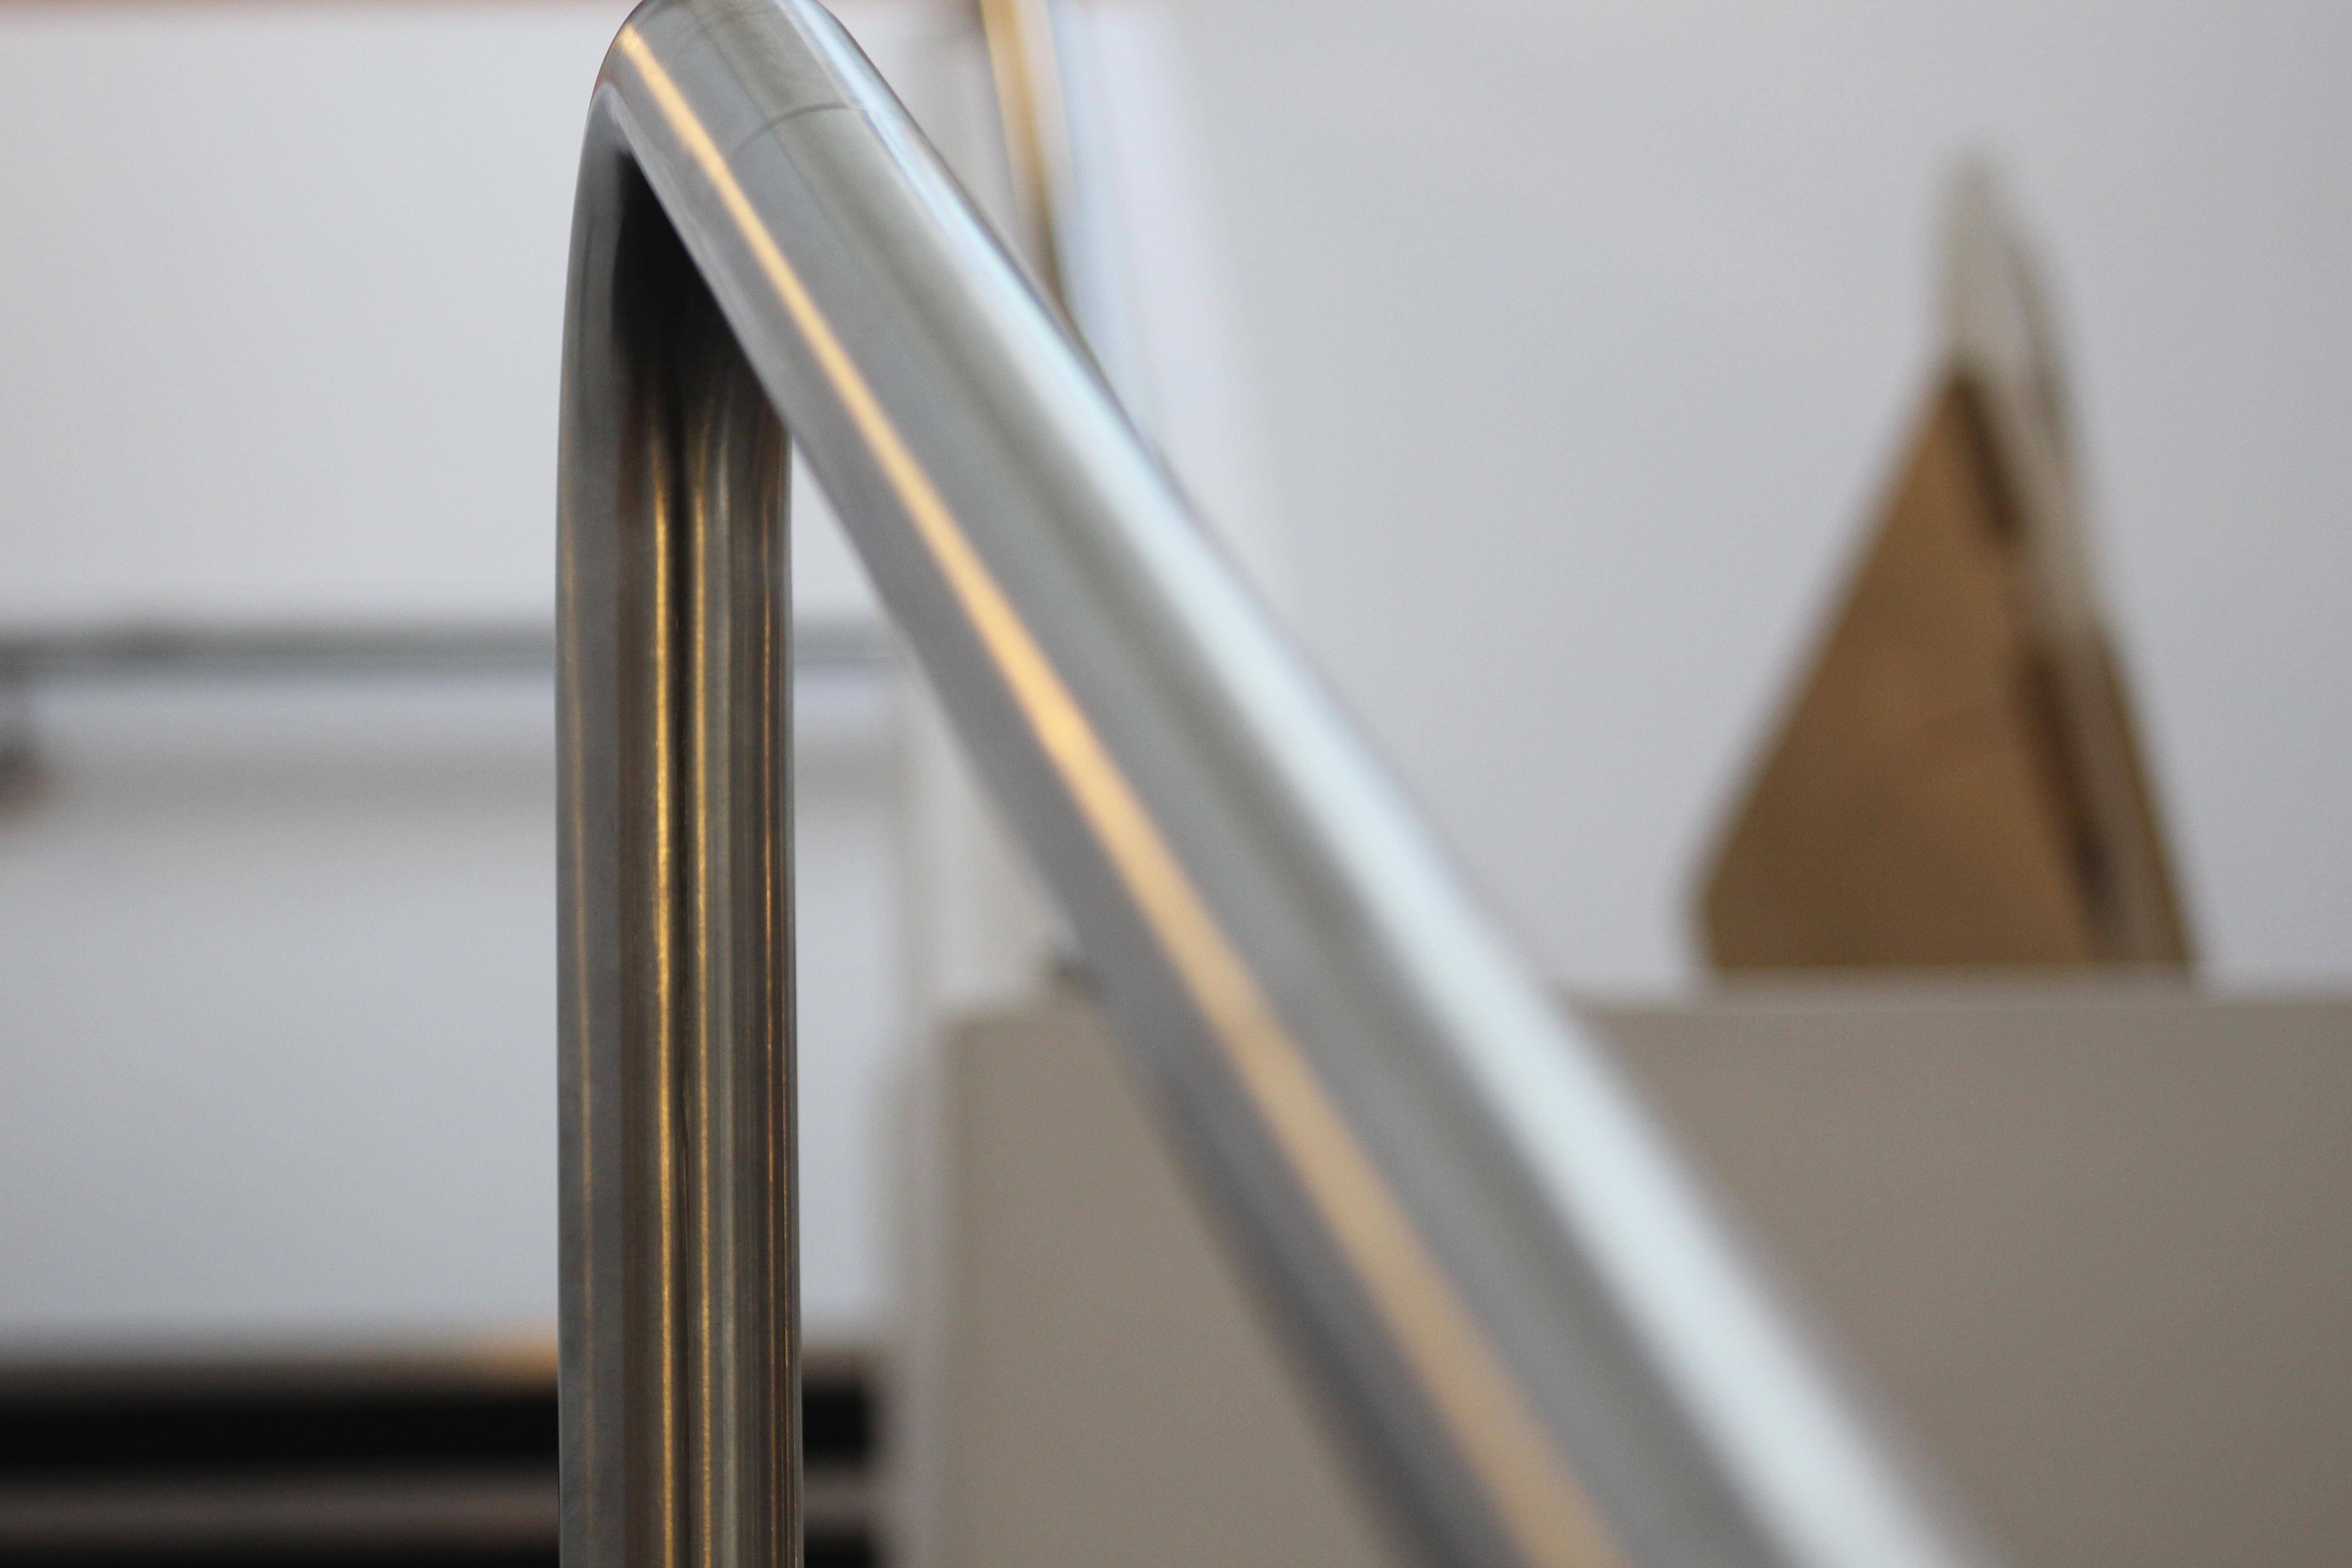
Camera:

Most cameras come with a double exposure mode, allowing for two or more photos to be taken over the top of each other within the camera itself.
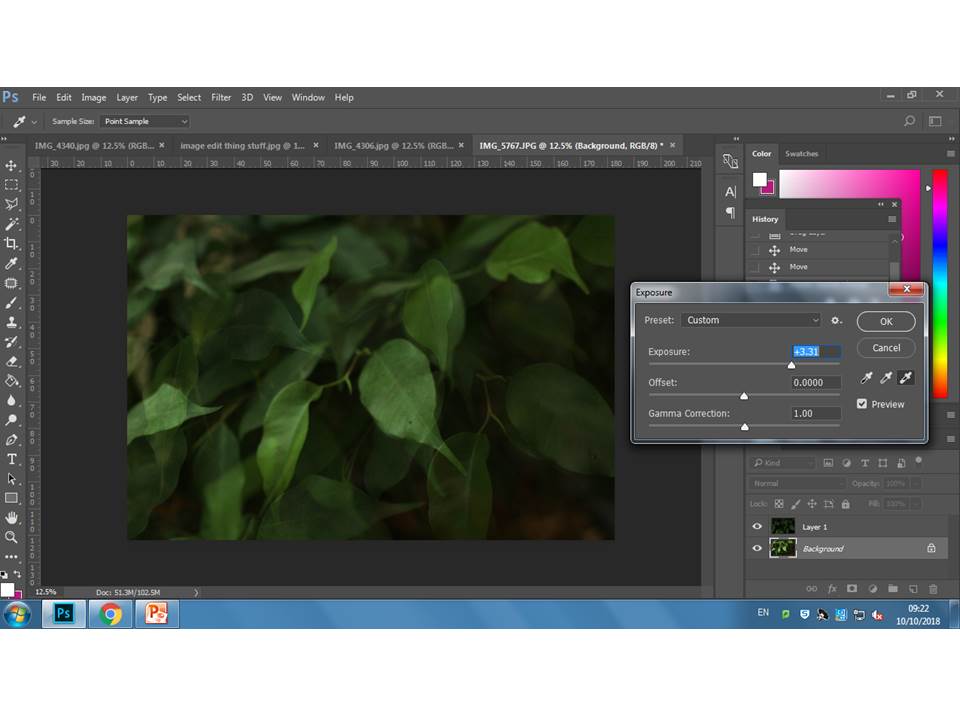
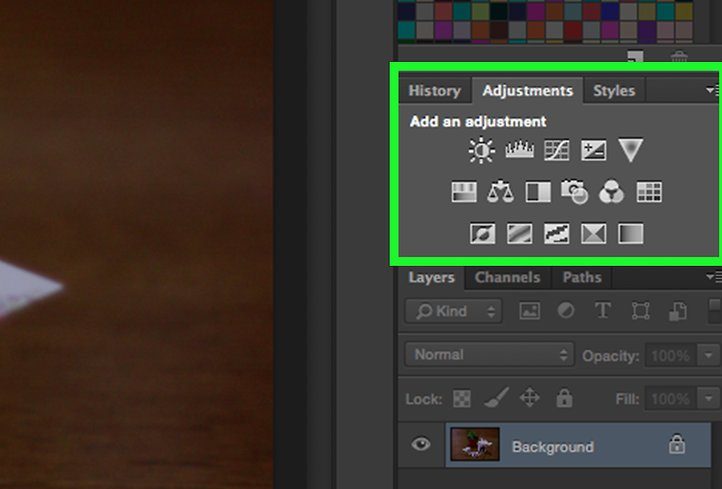
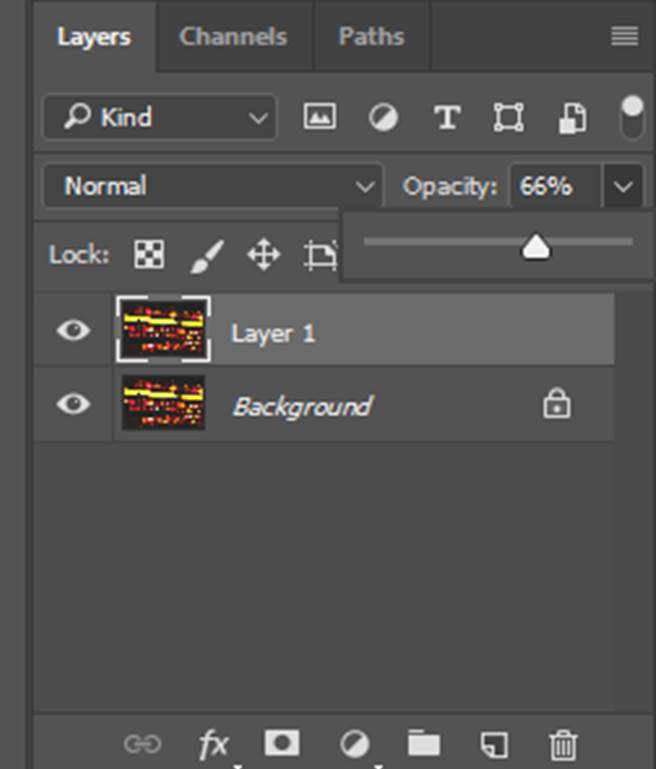
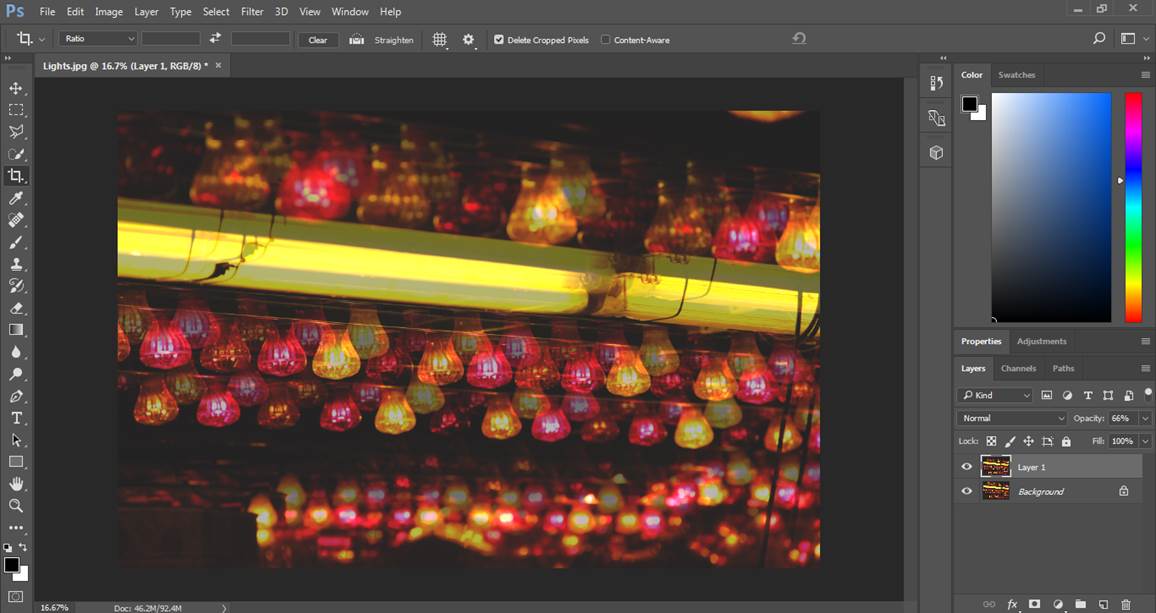
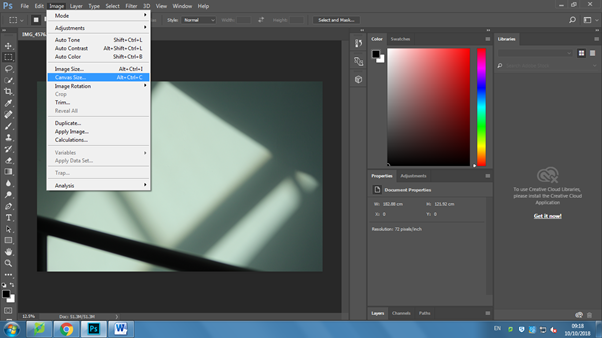
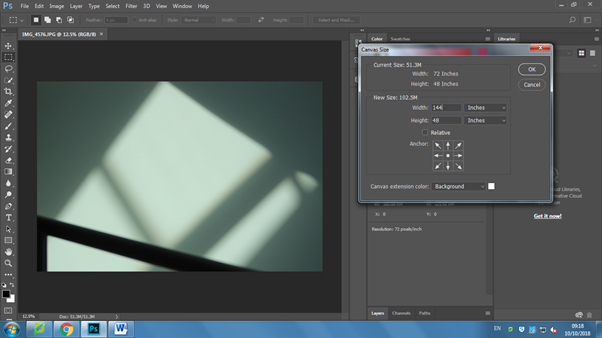
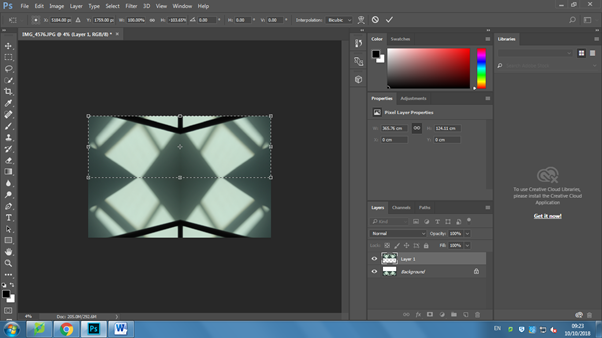
Photoshop:

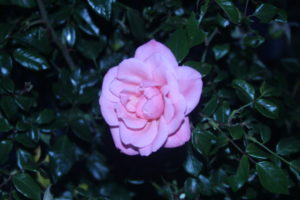
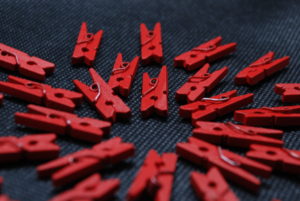
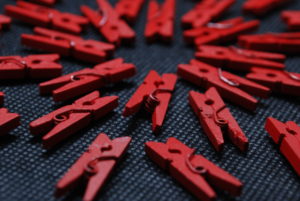
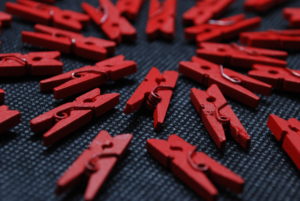
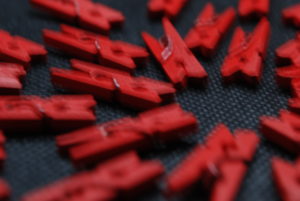
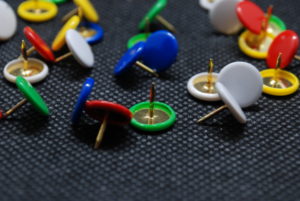
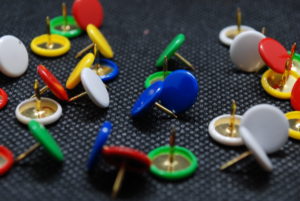
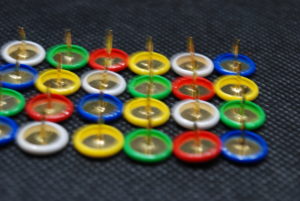
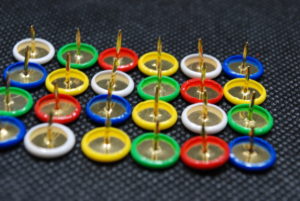
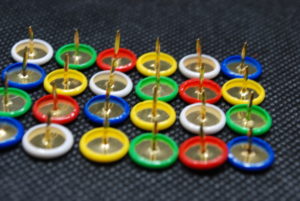
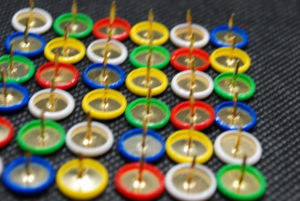
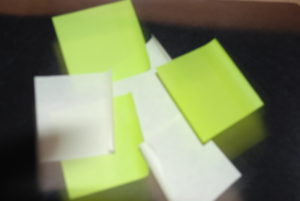
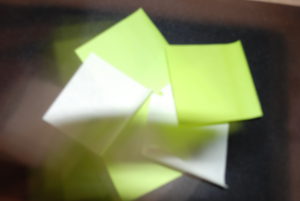
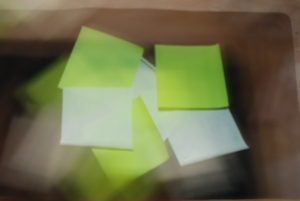
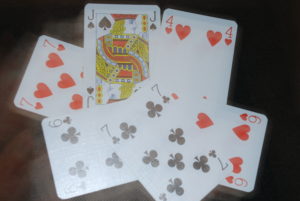
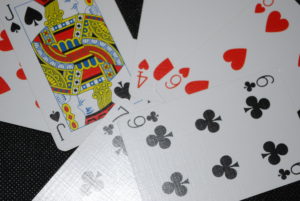
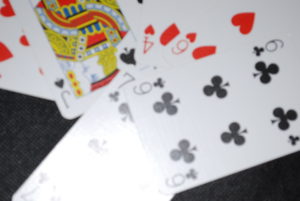
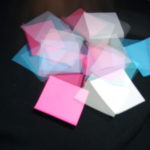
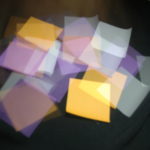
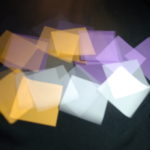
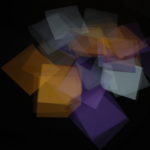
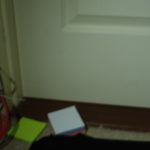
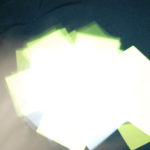
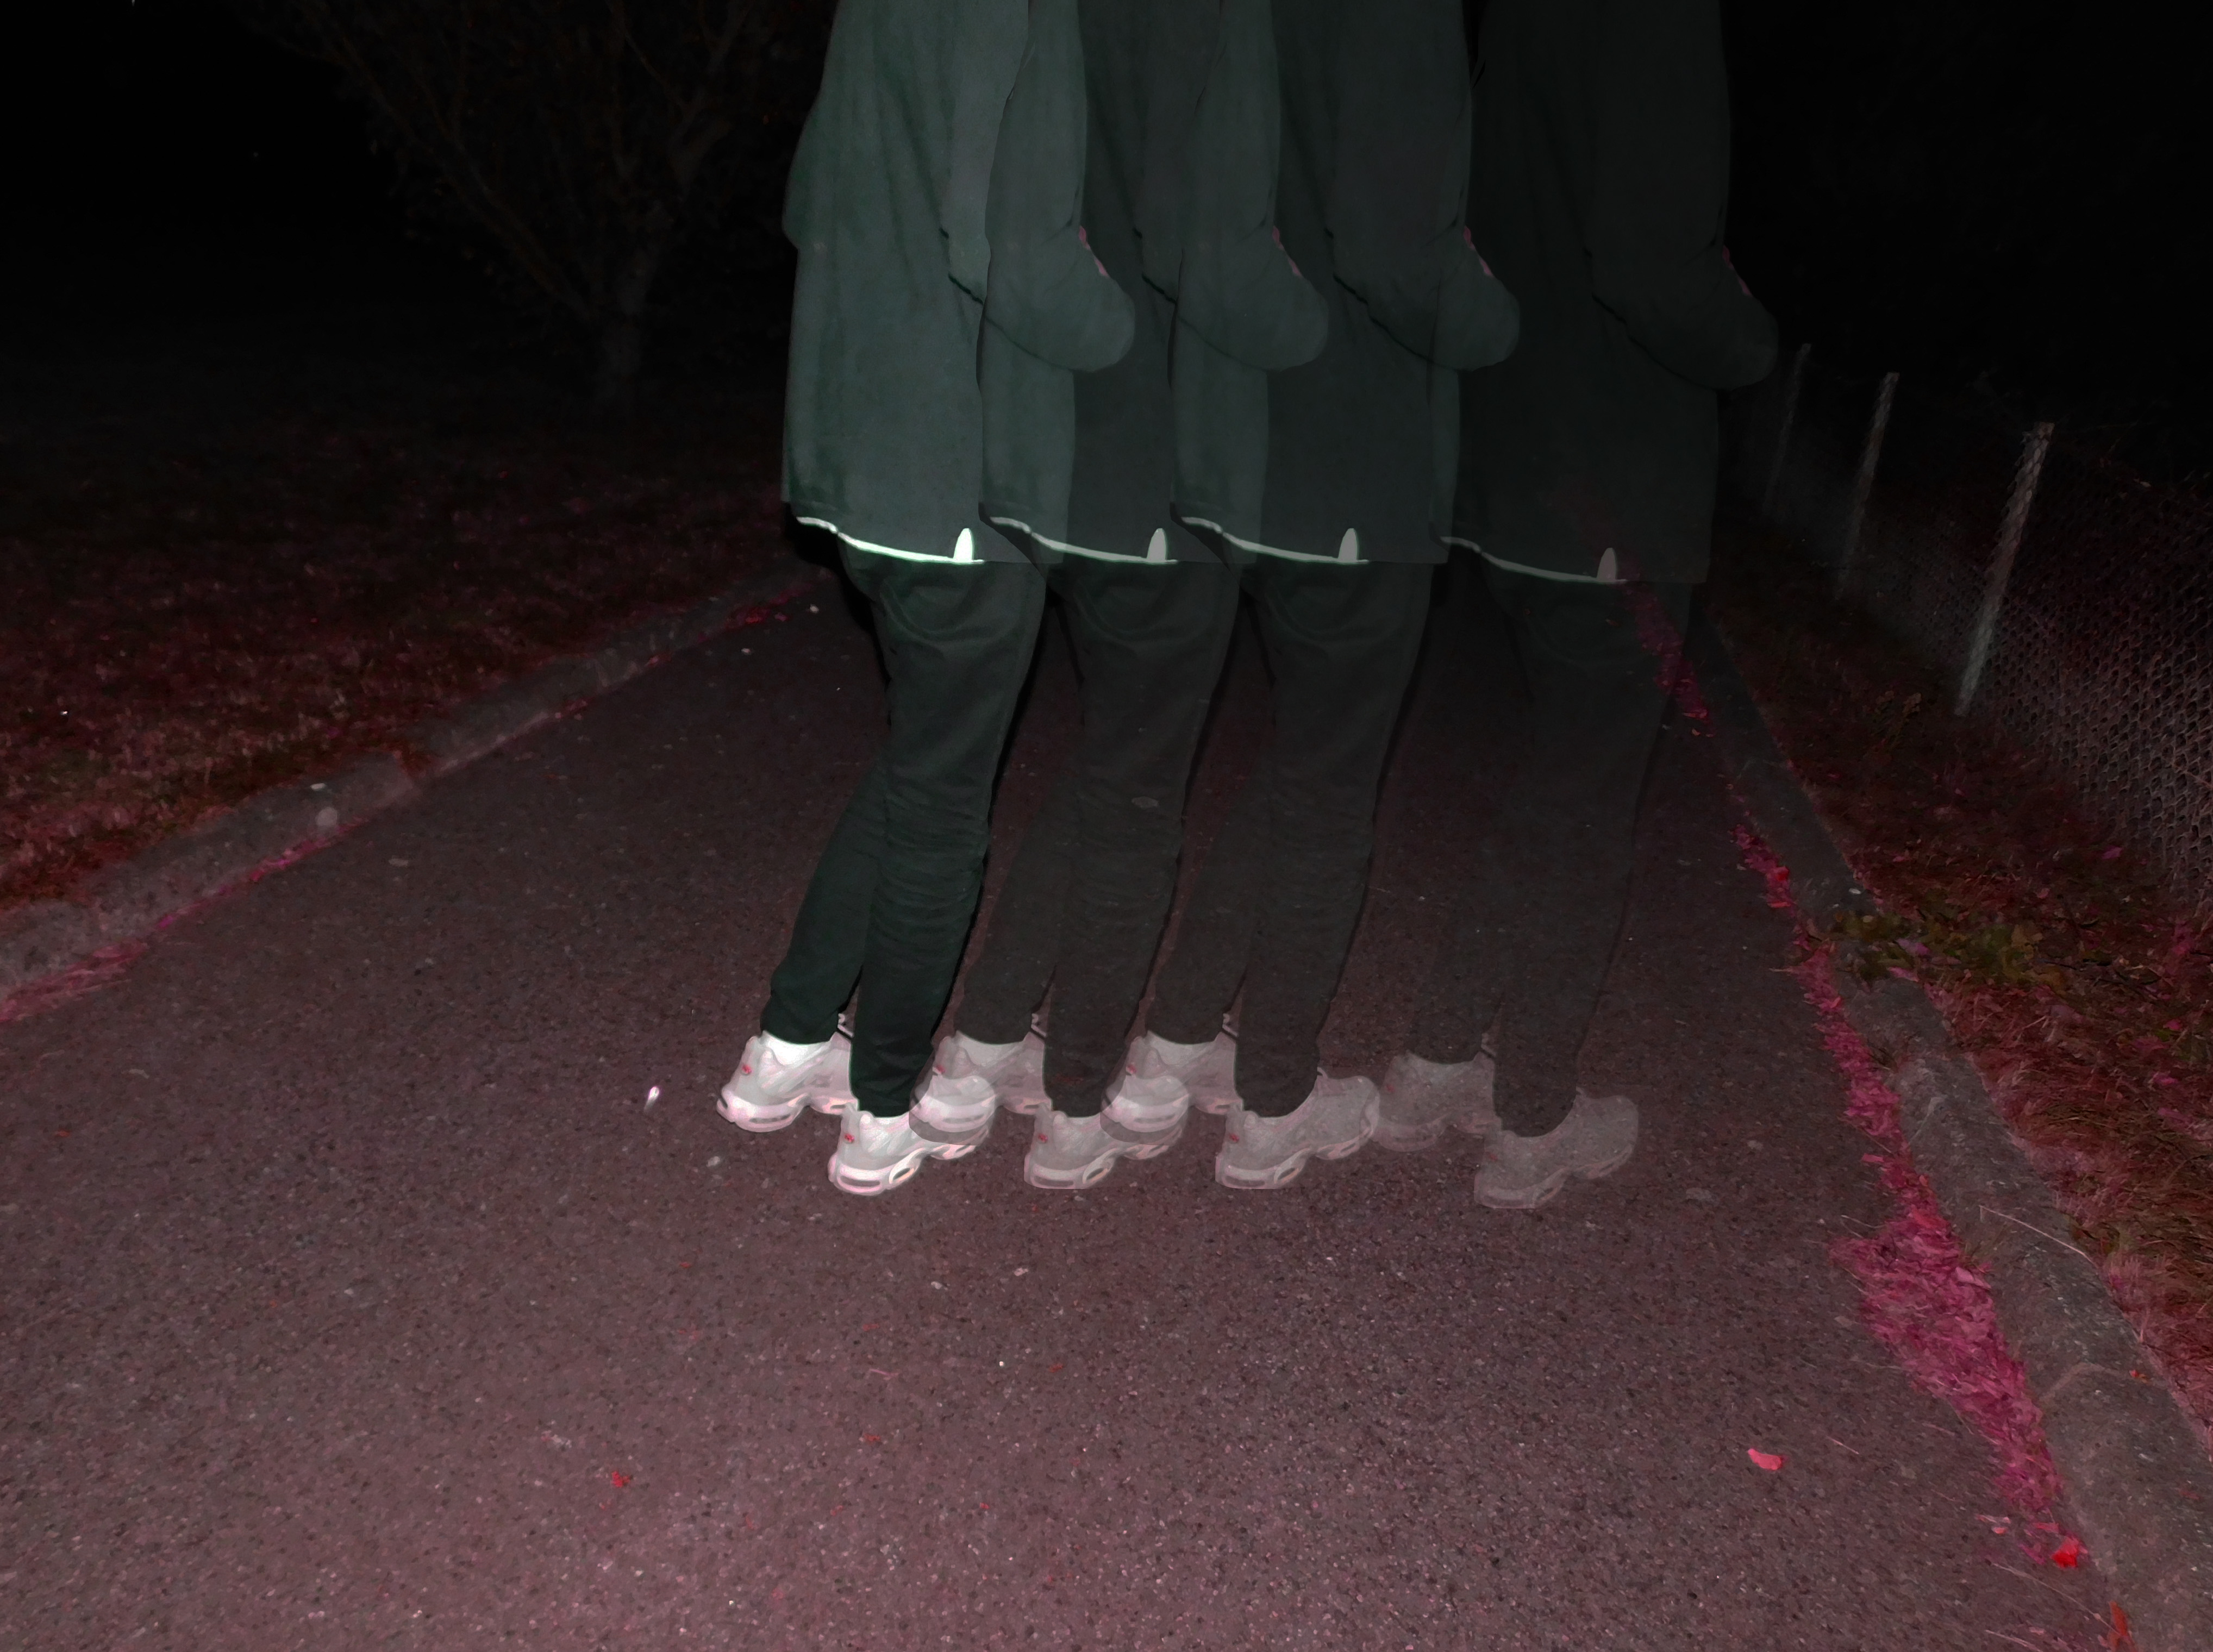
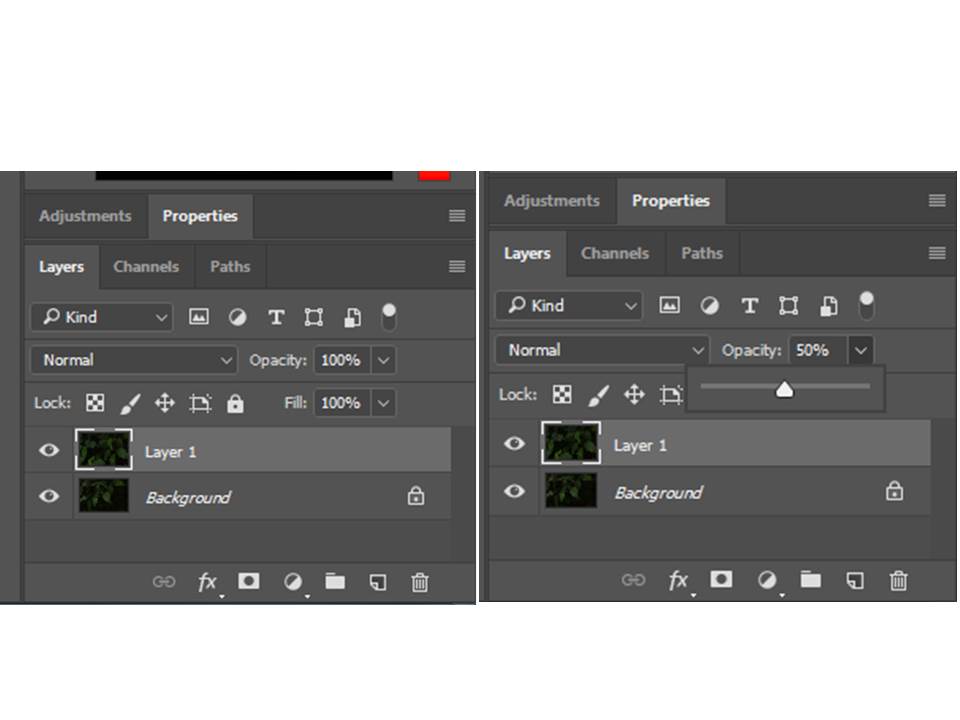
By duplicating or adding in another layer over the top of the existing image and altering the opacity then moving the image to create the effects demonstrated below.

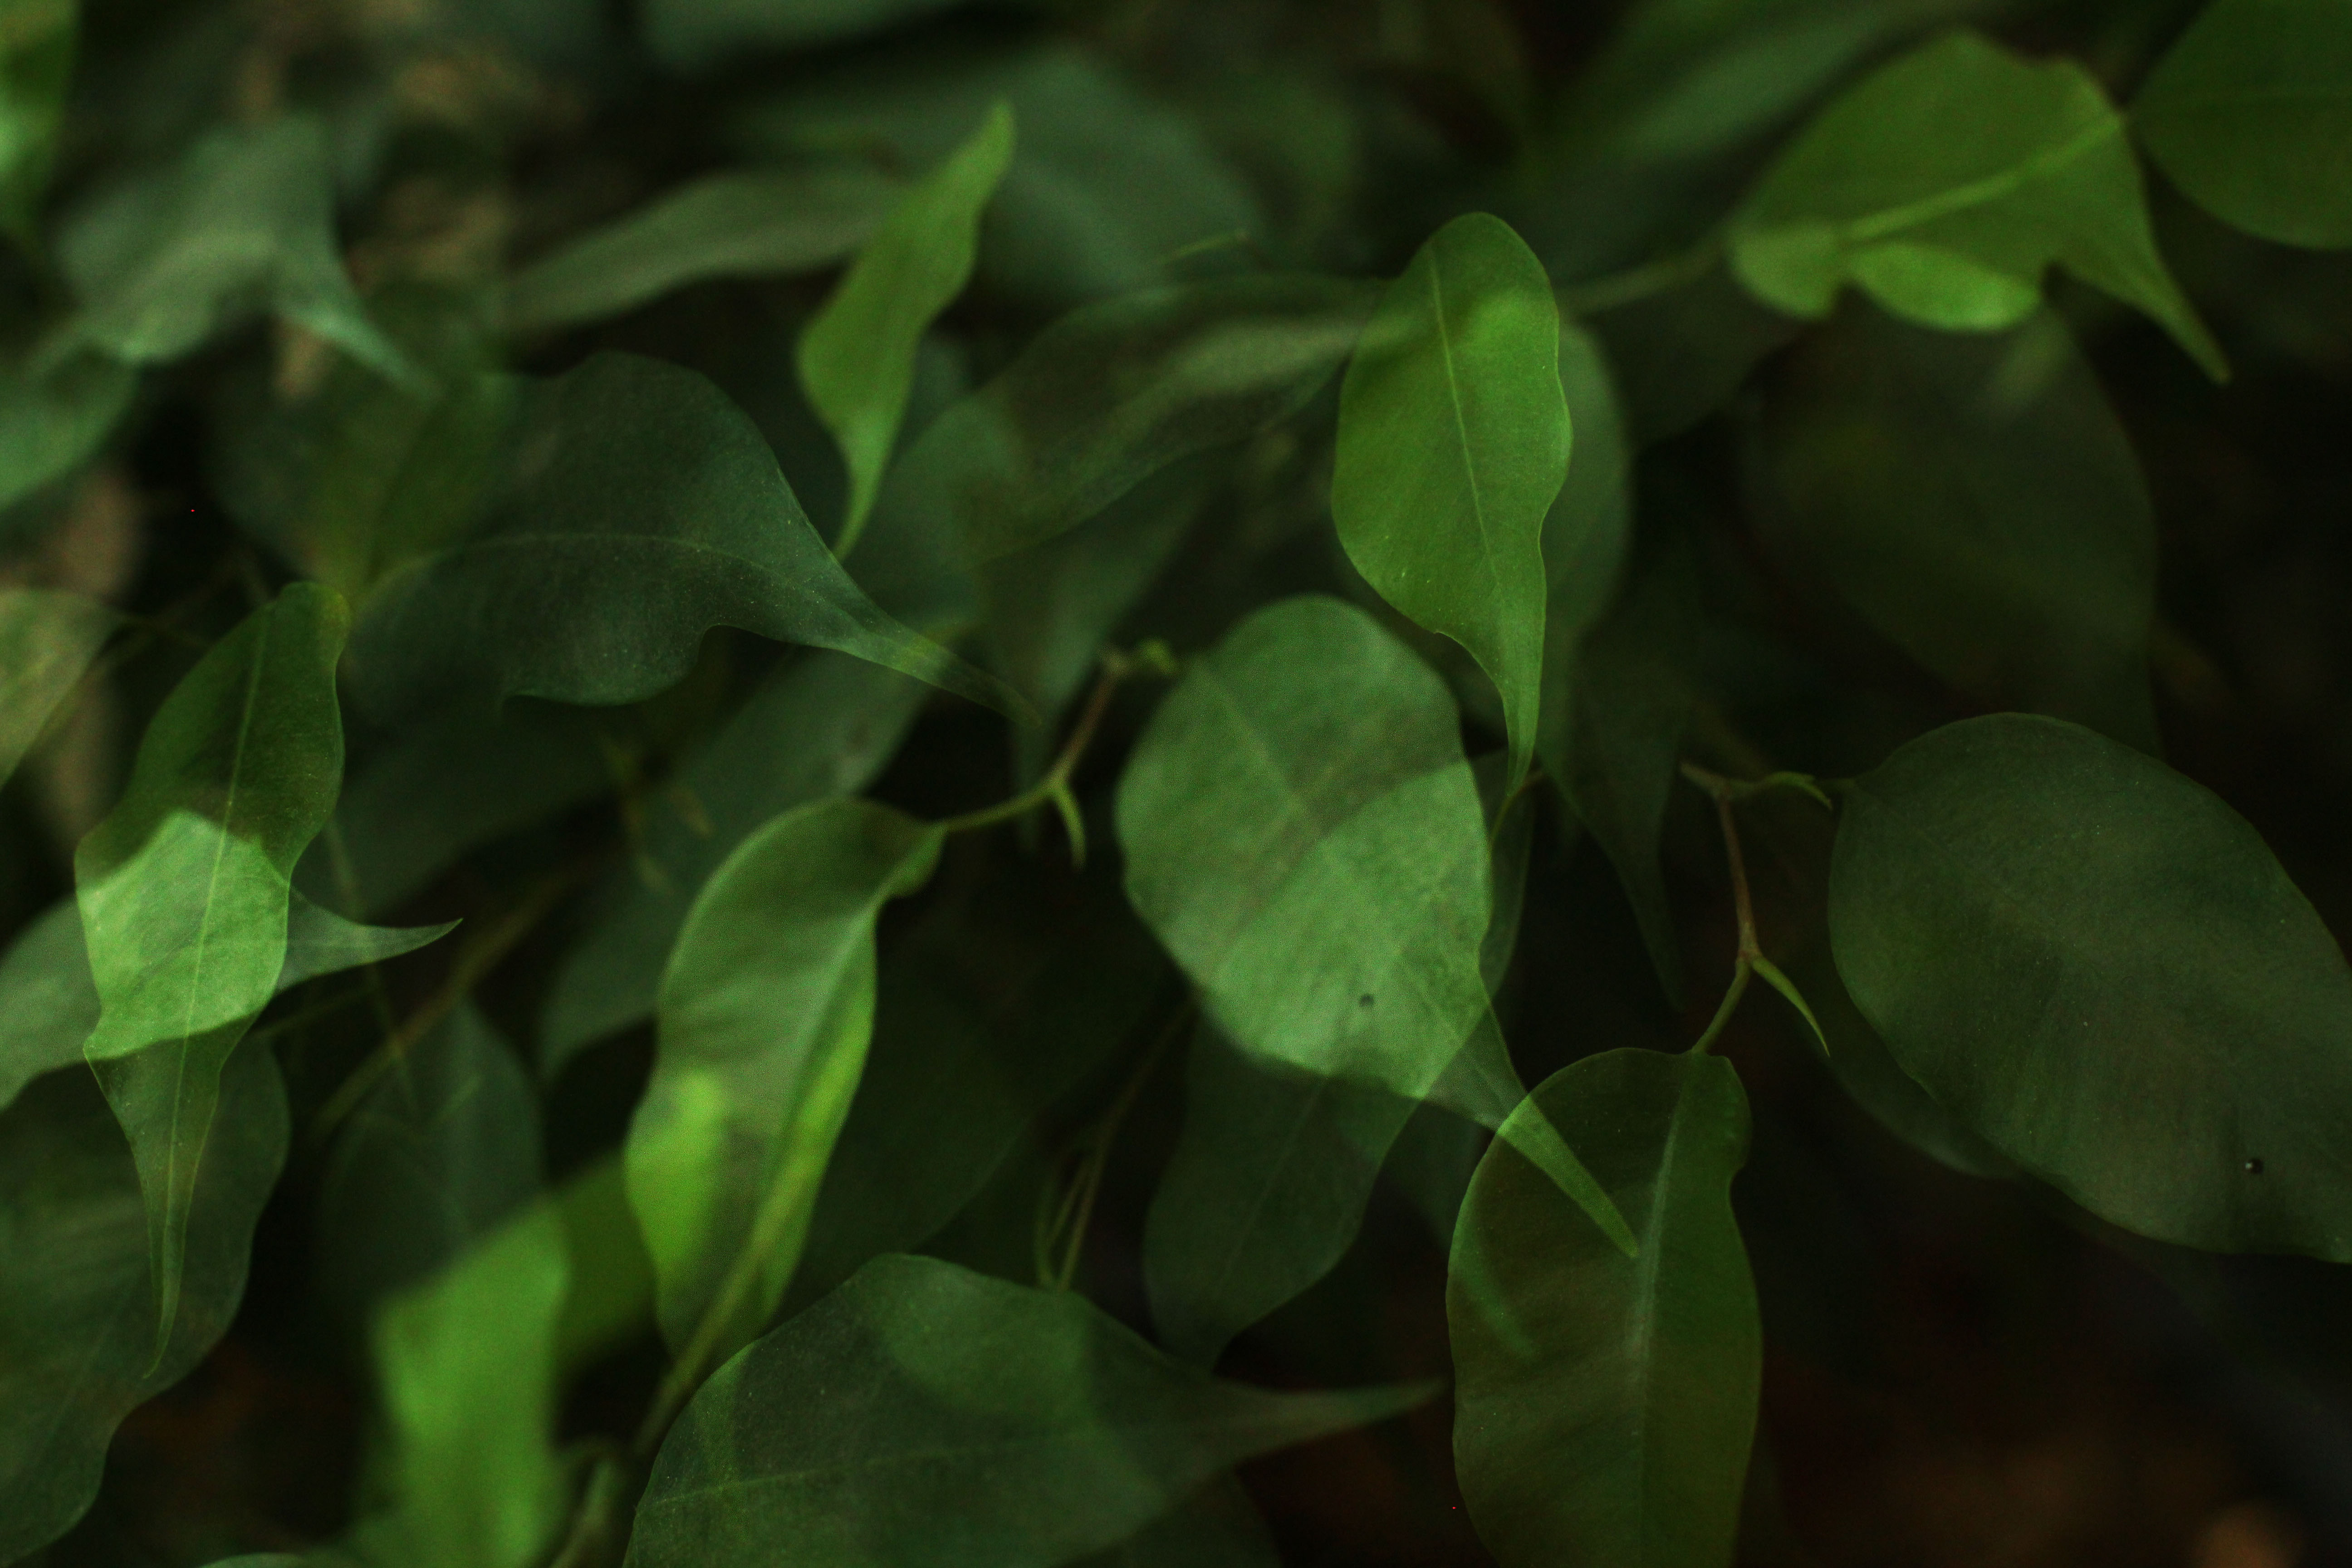
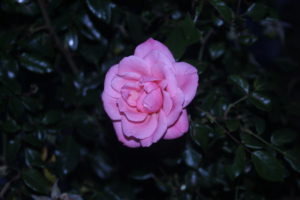
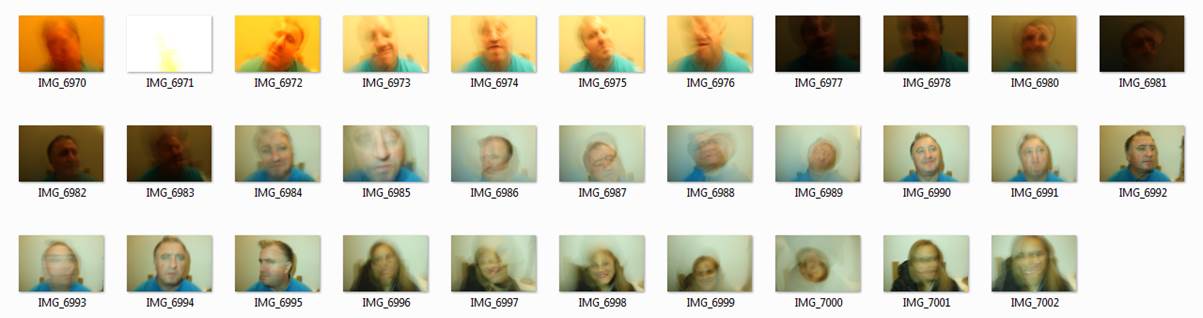
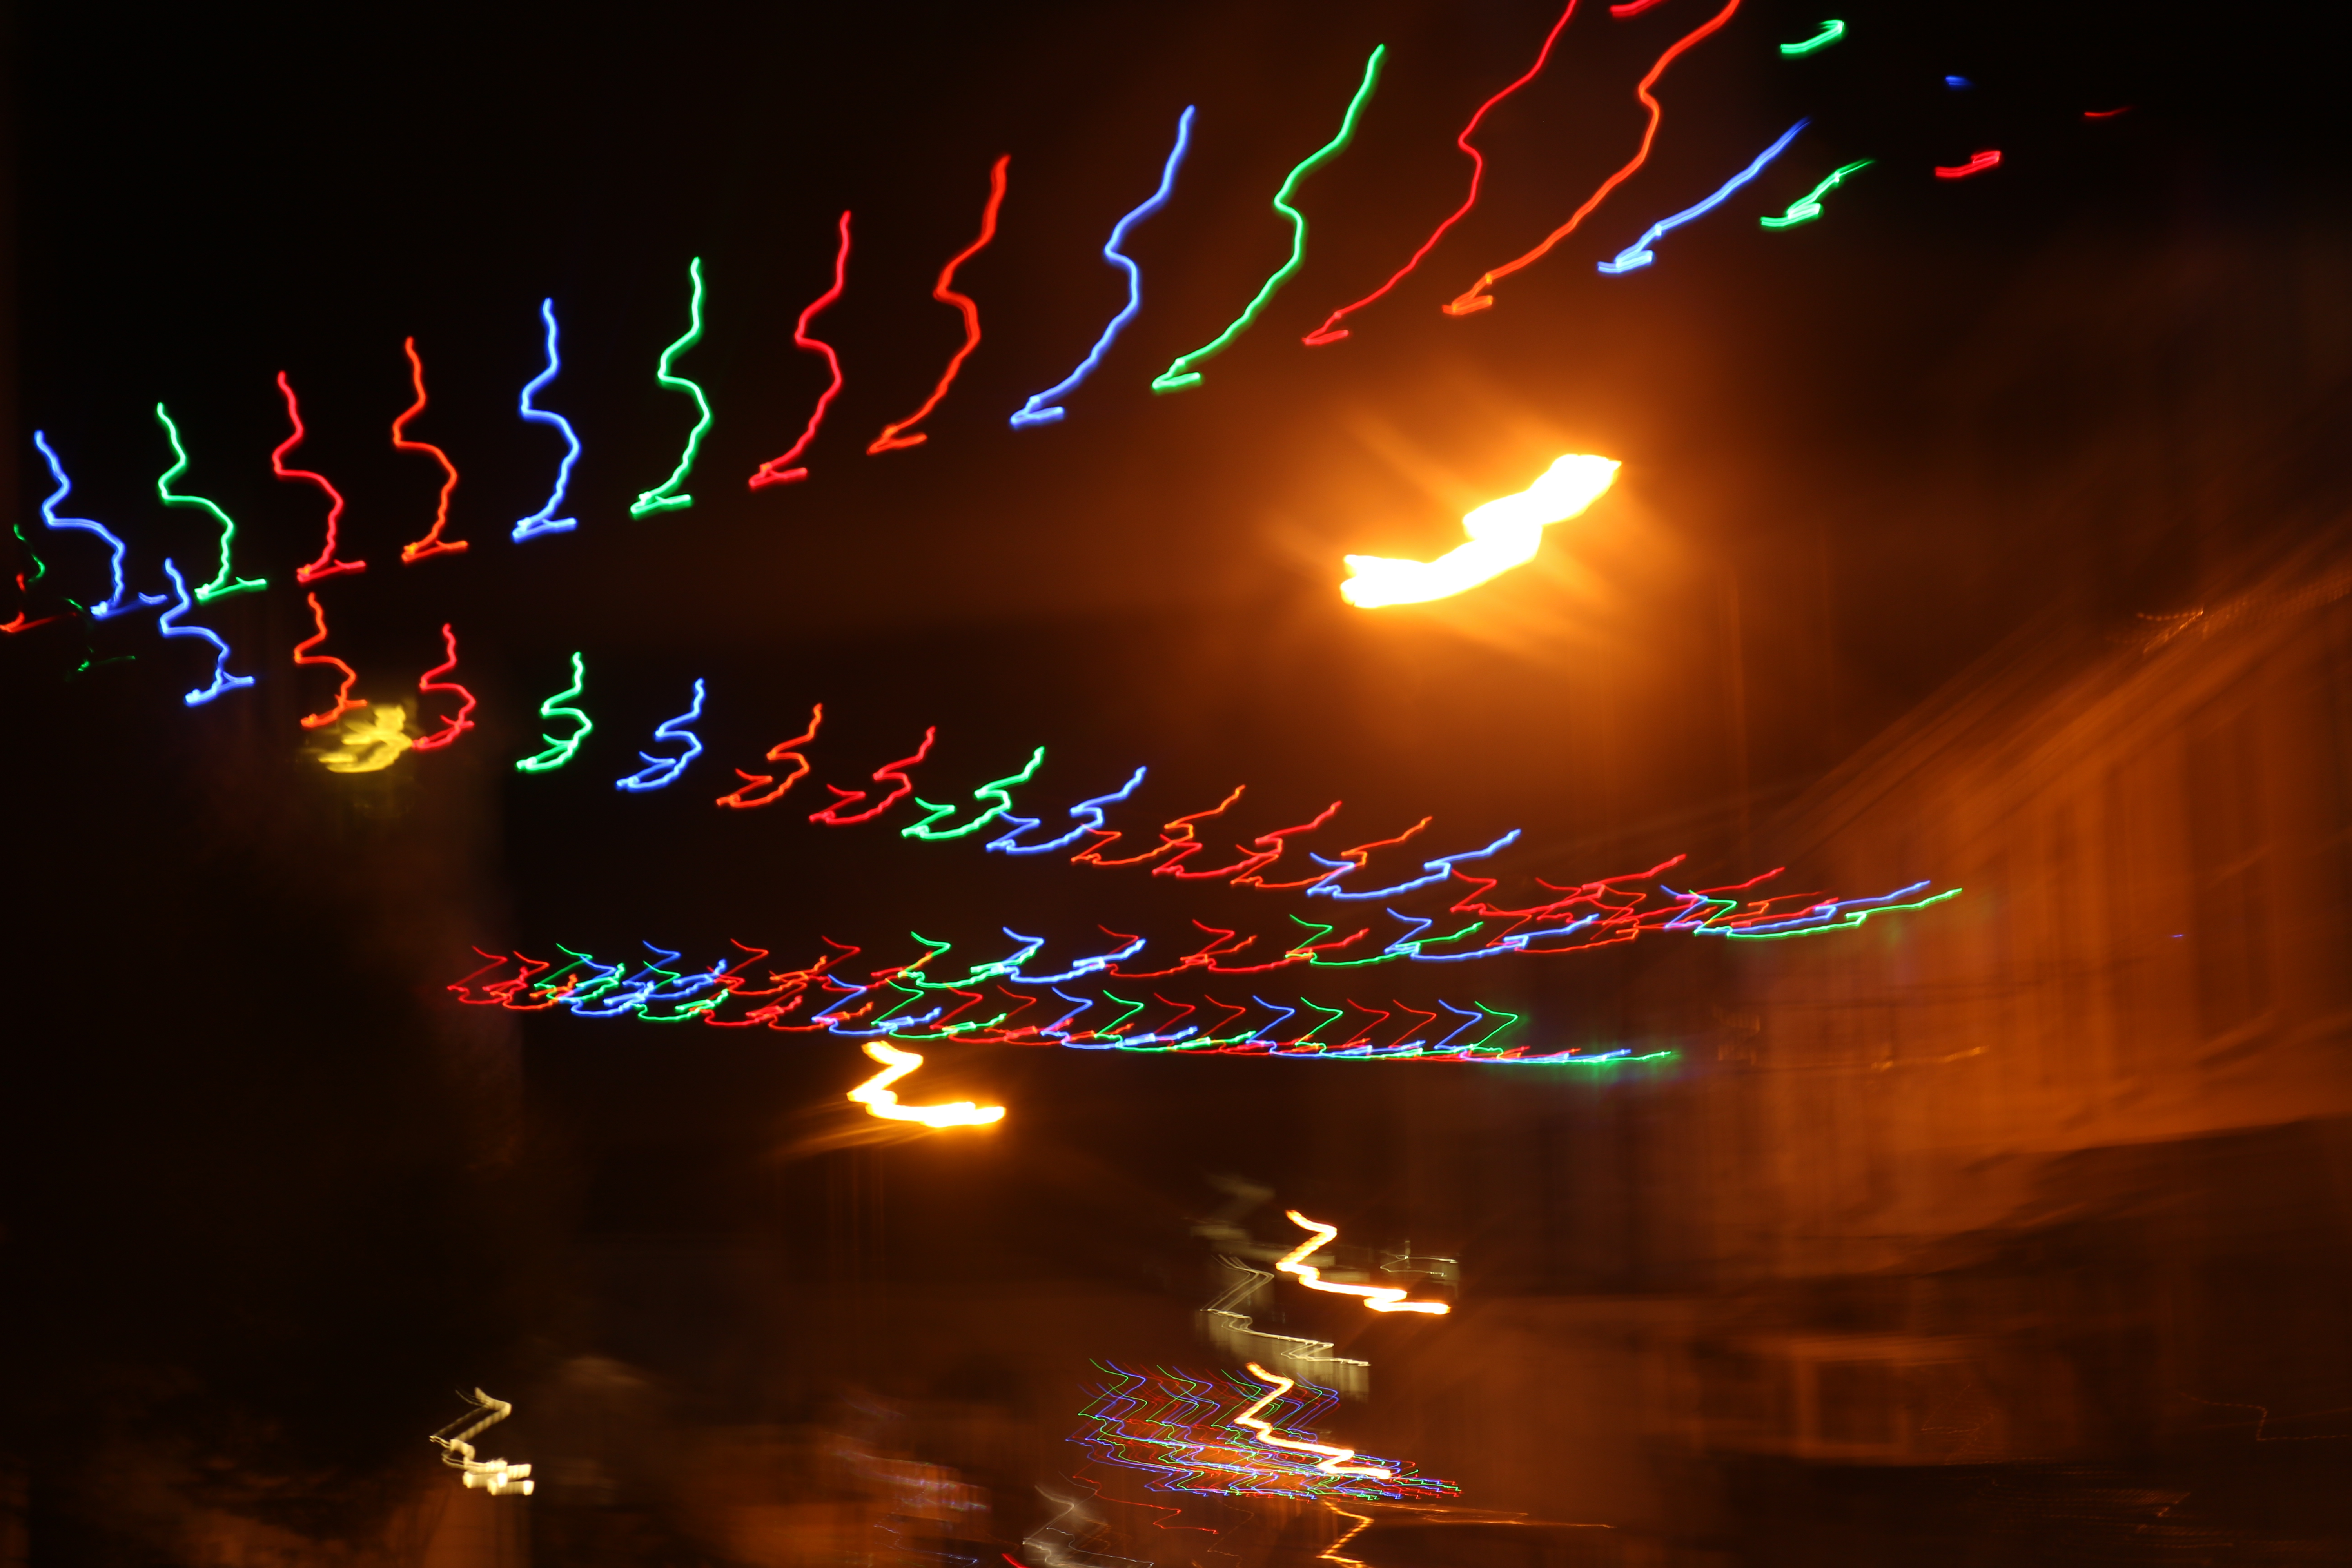
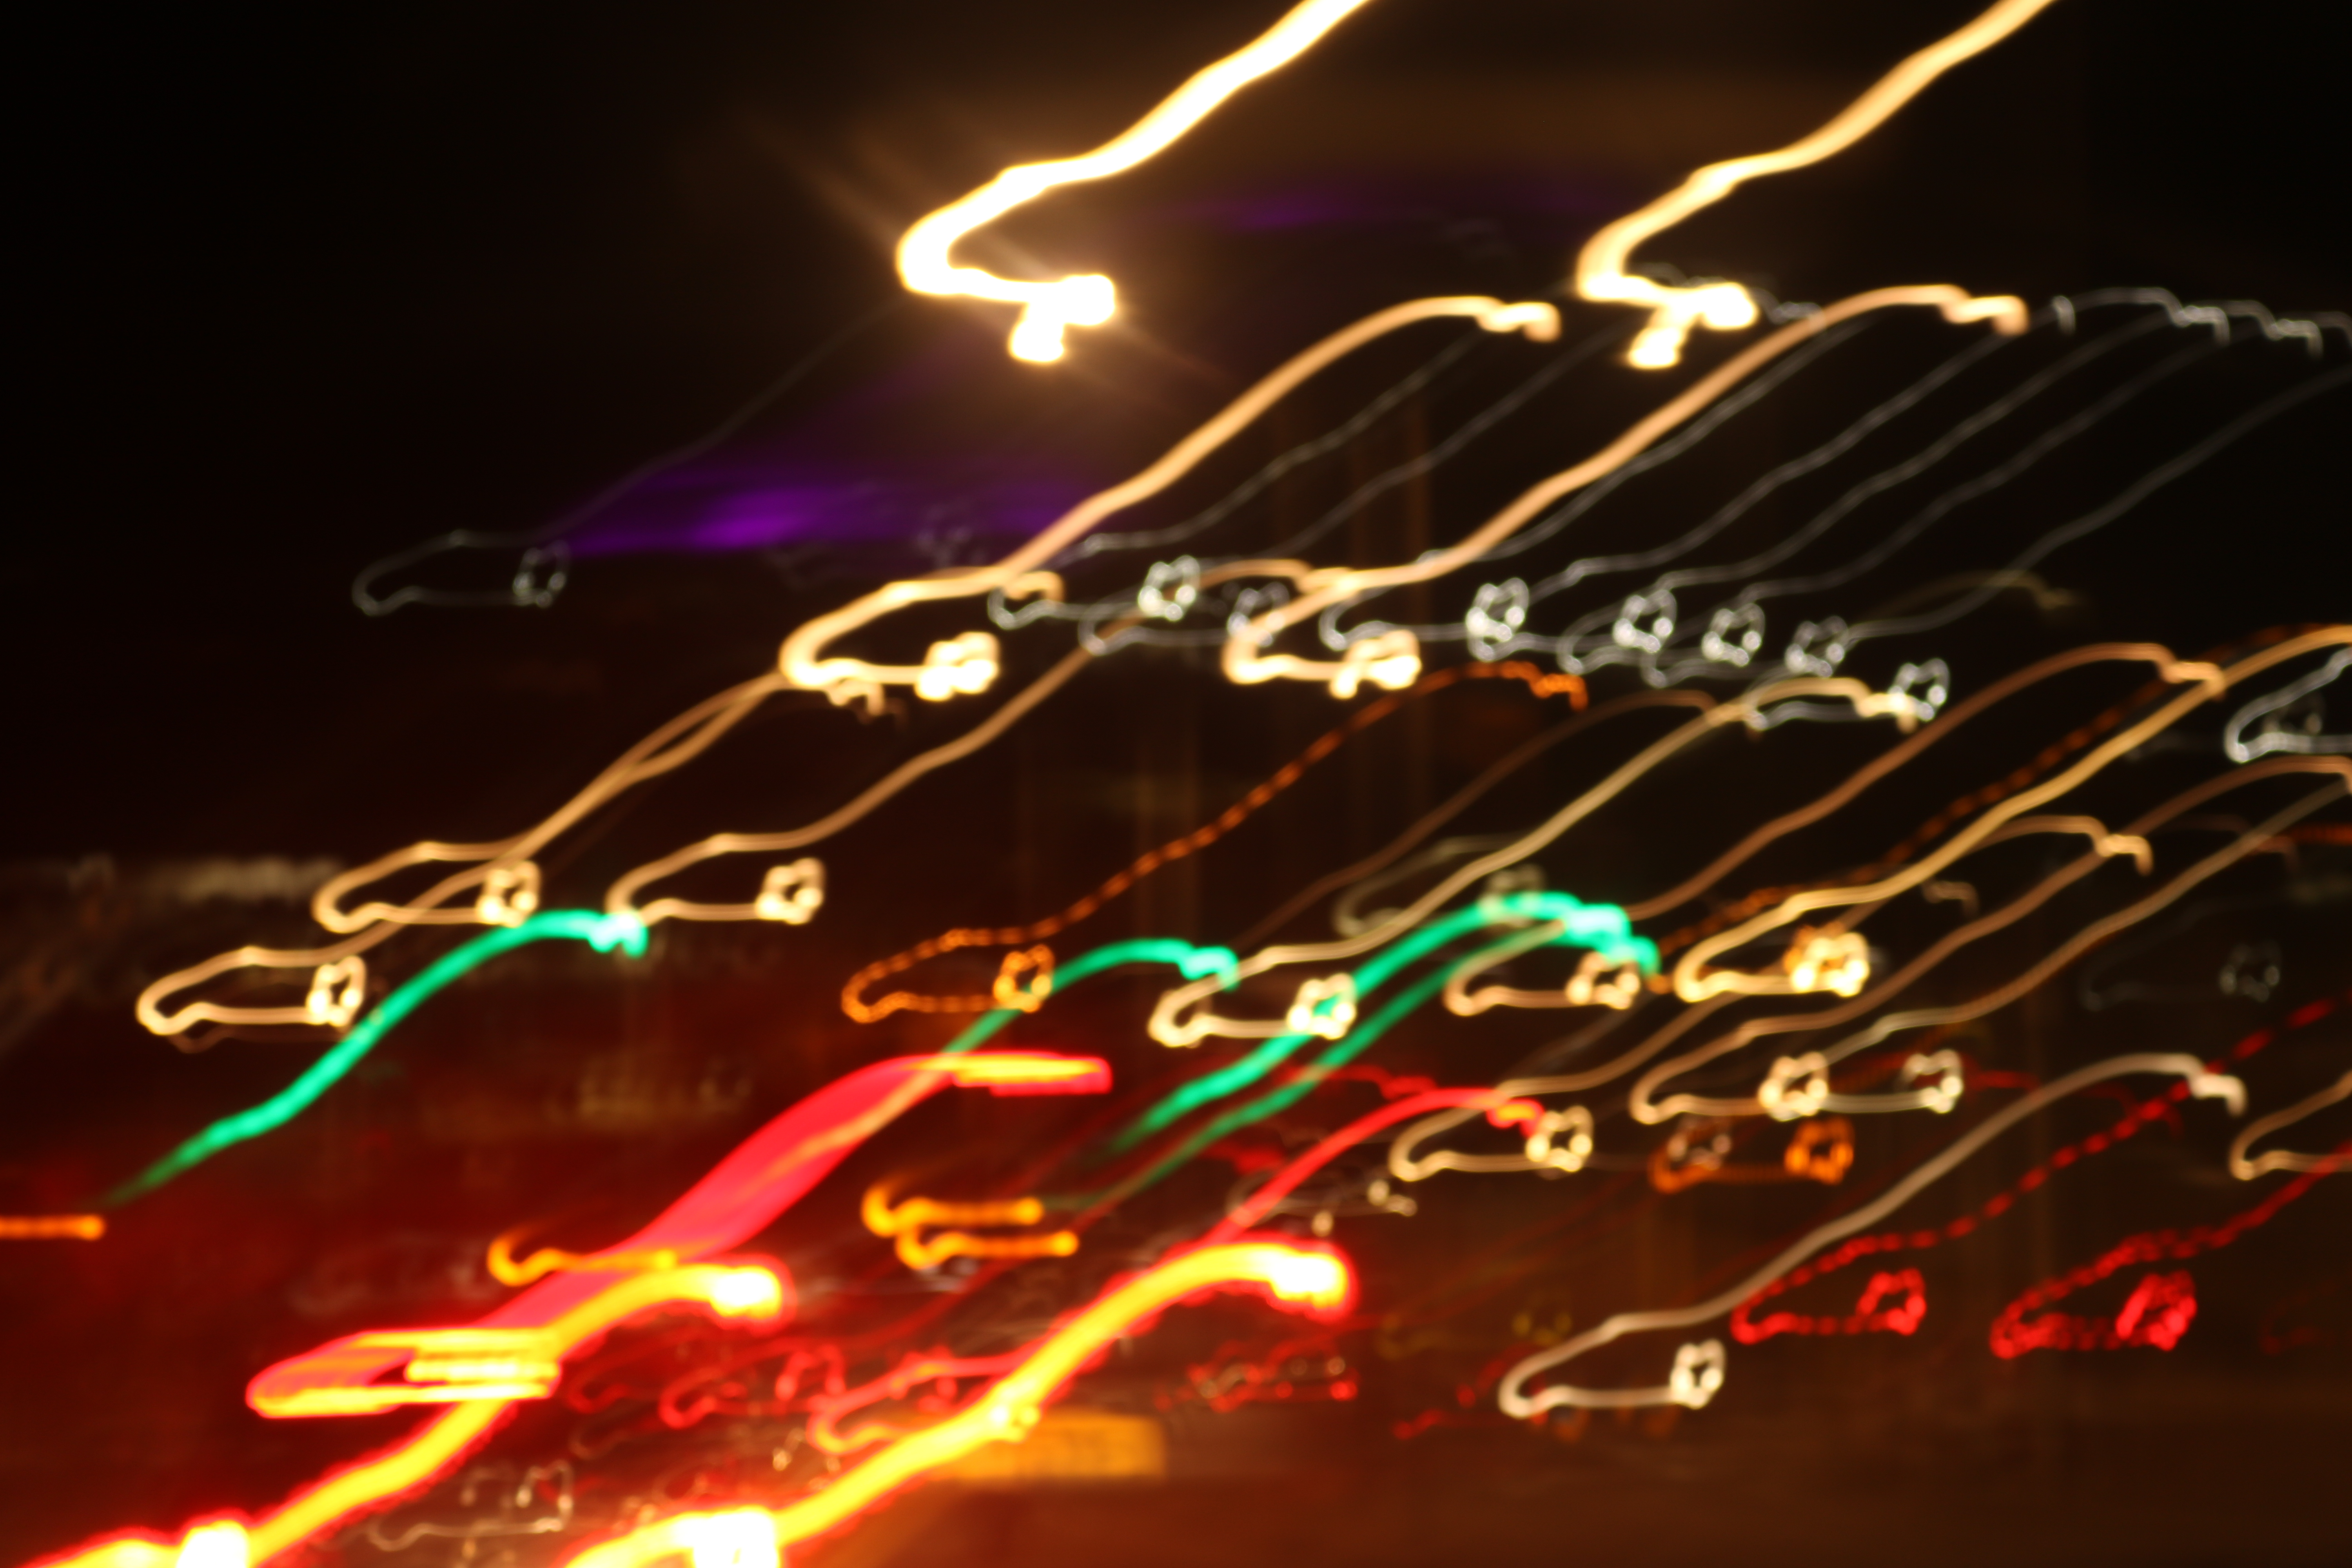
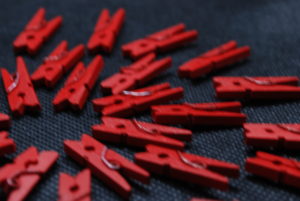
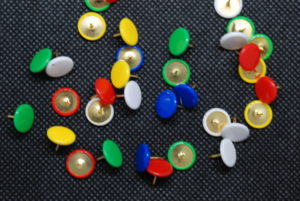
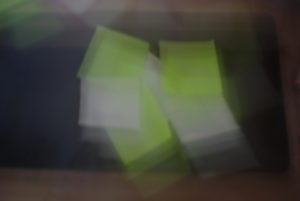
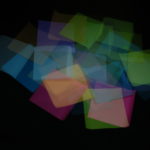
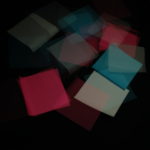
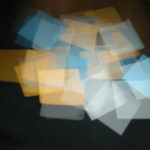
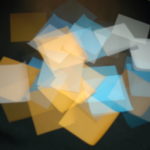
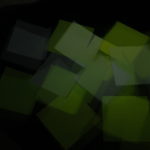
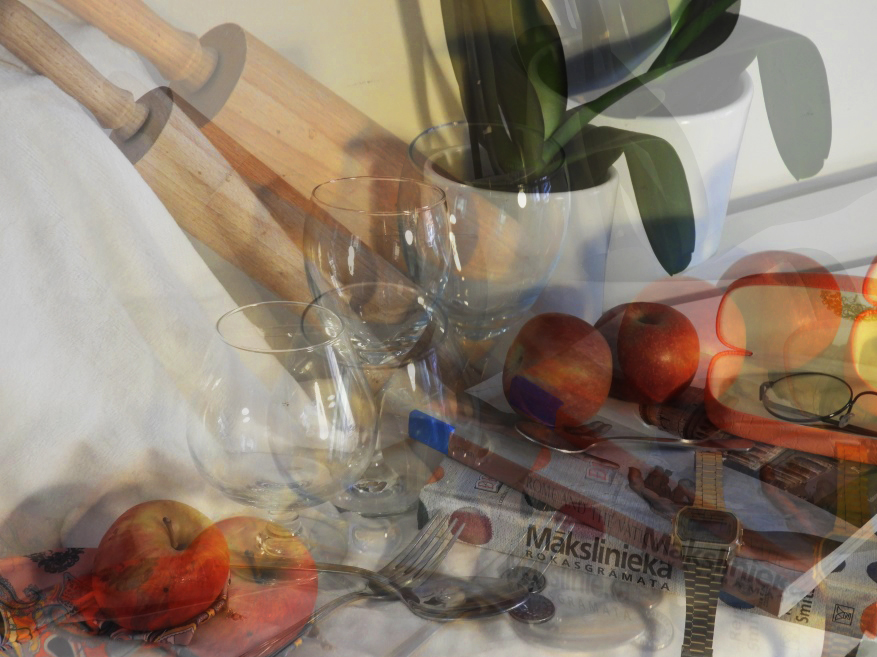
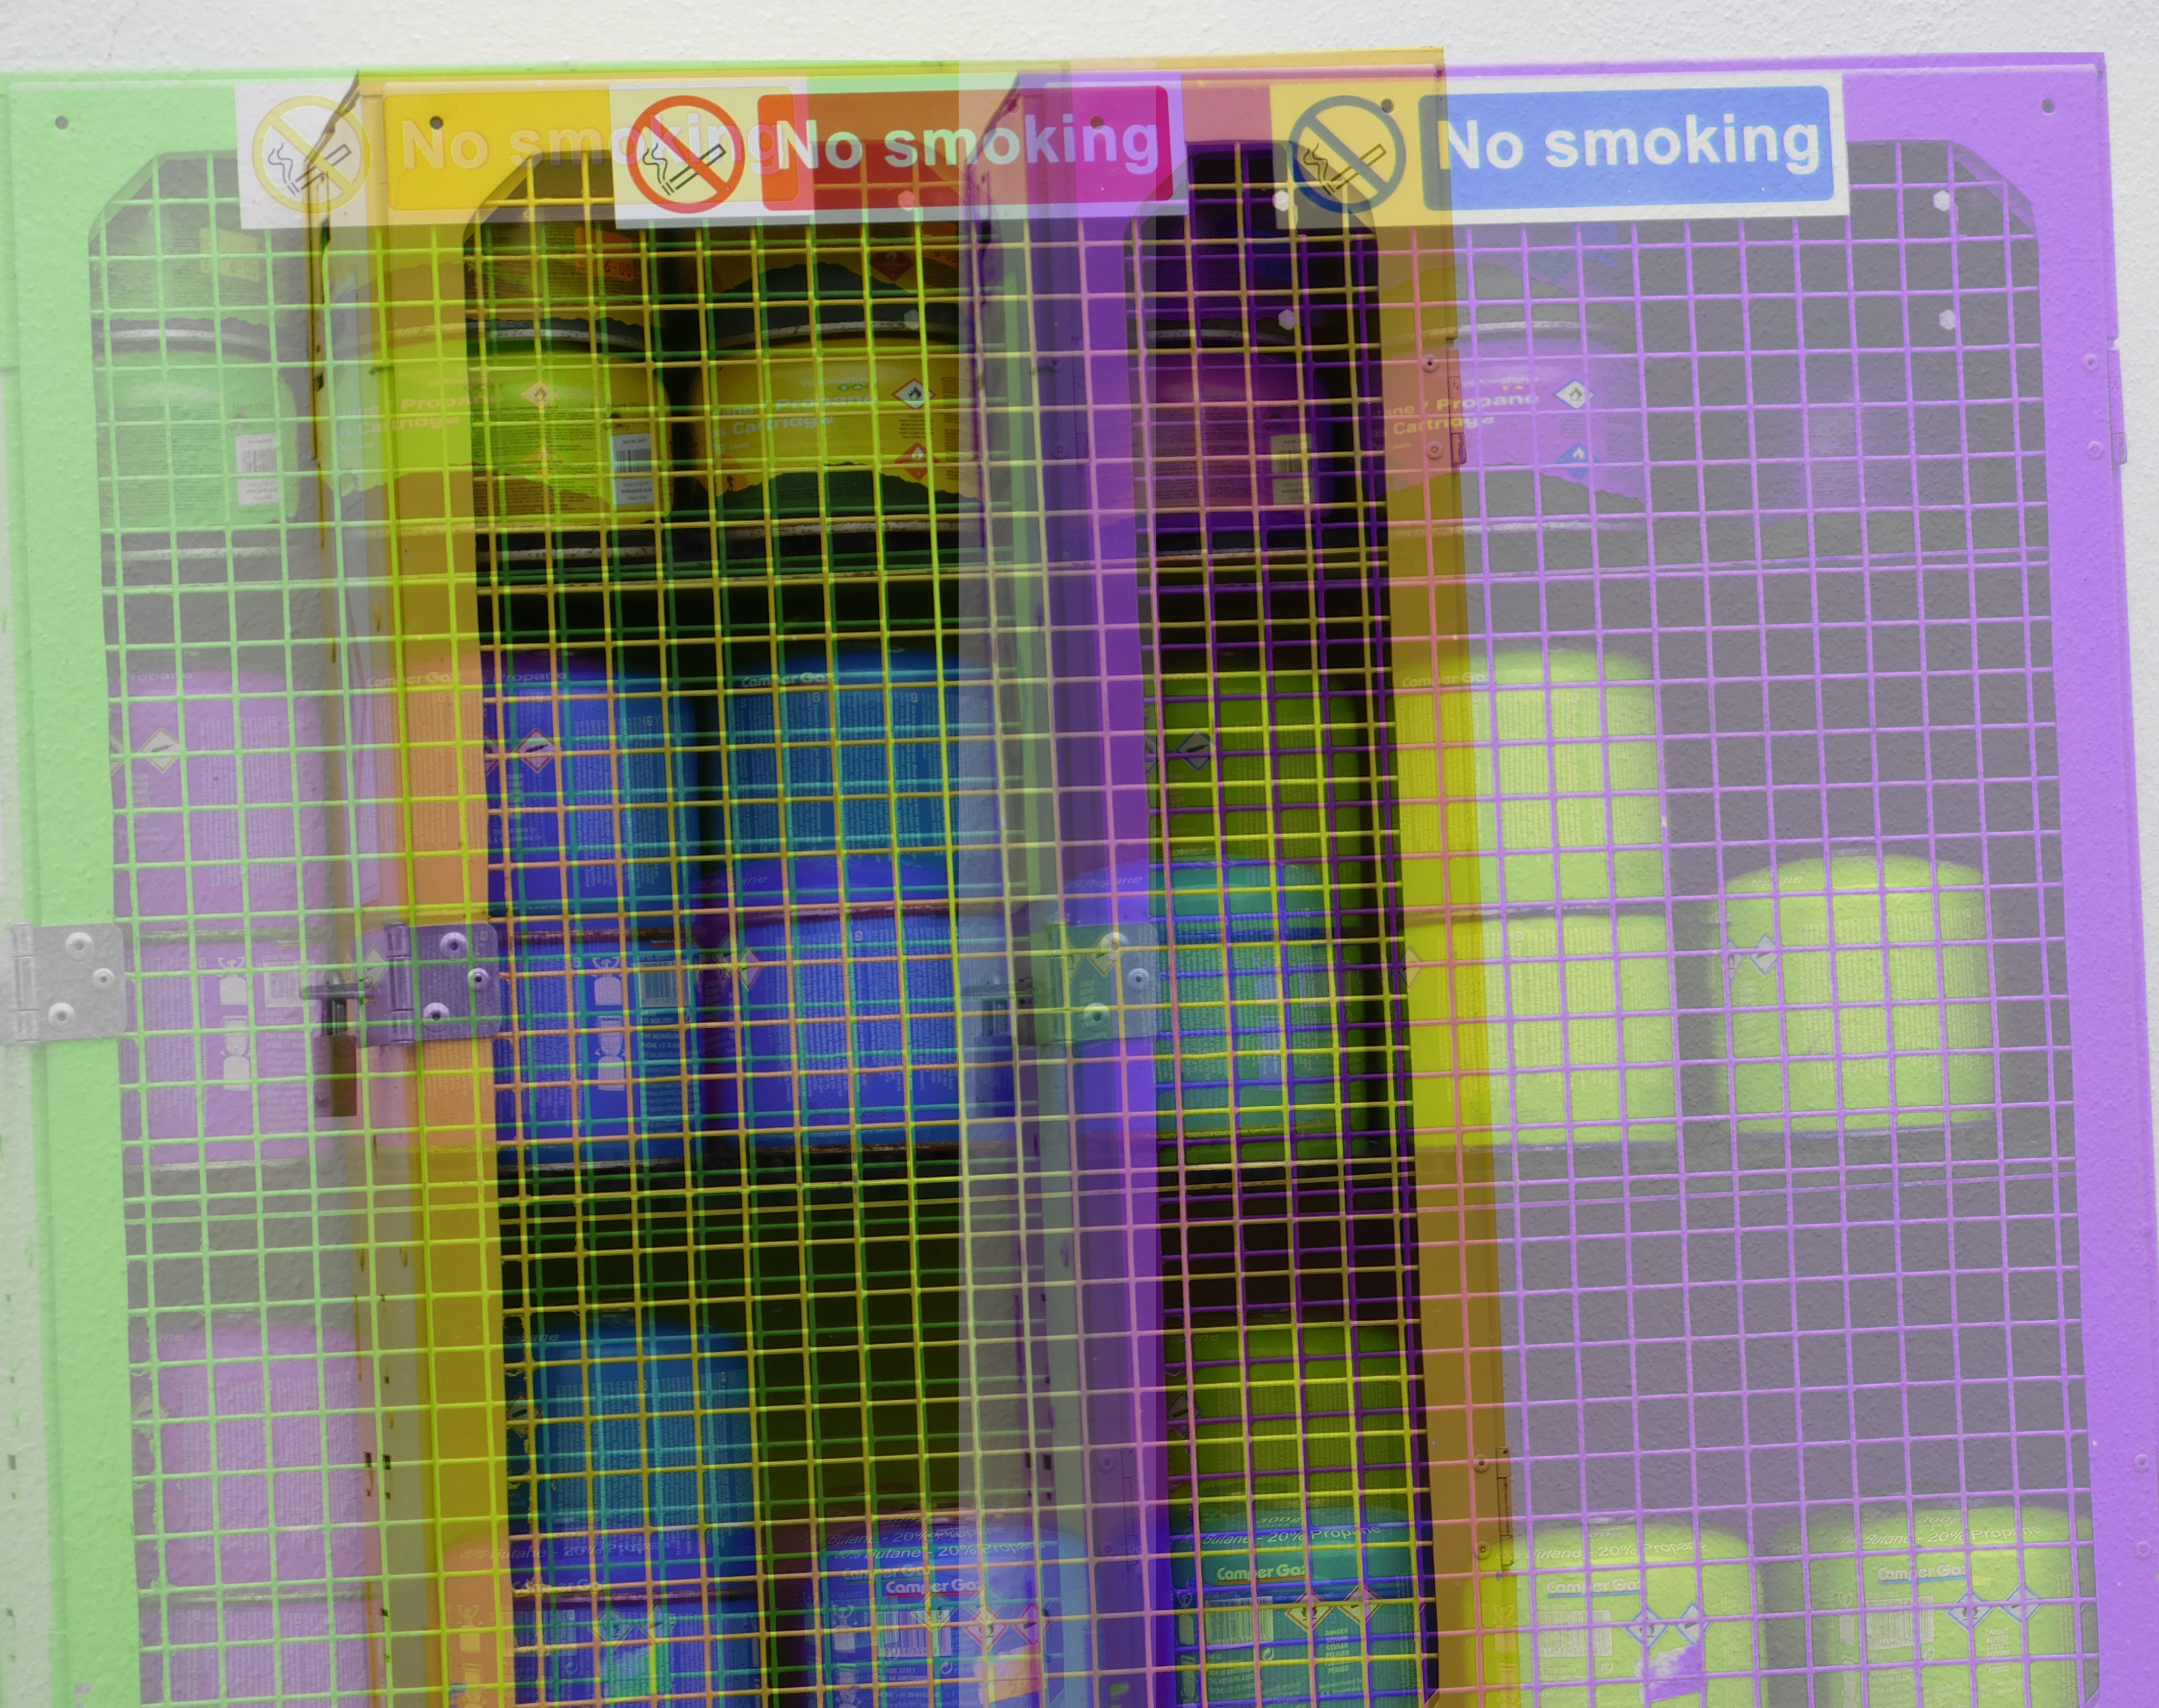
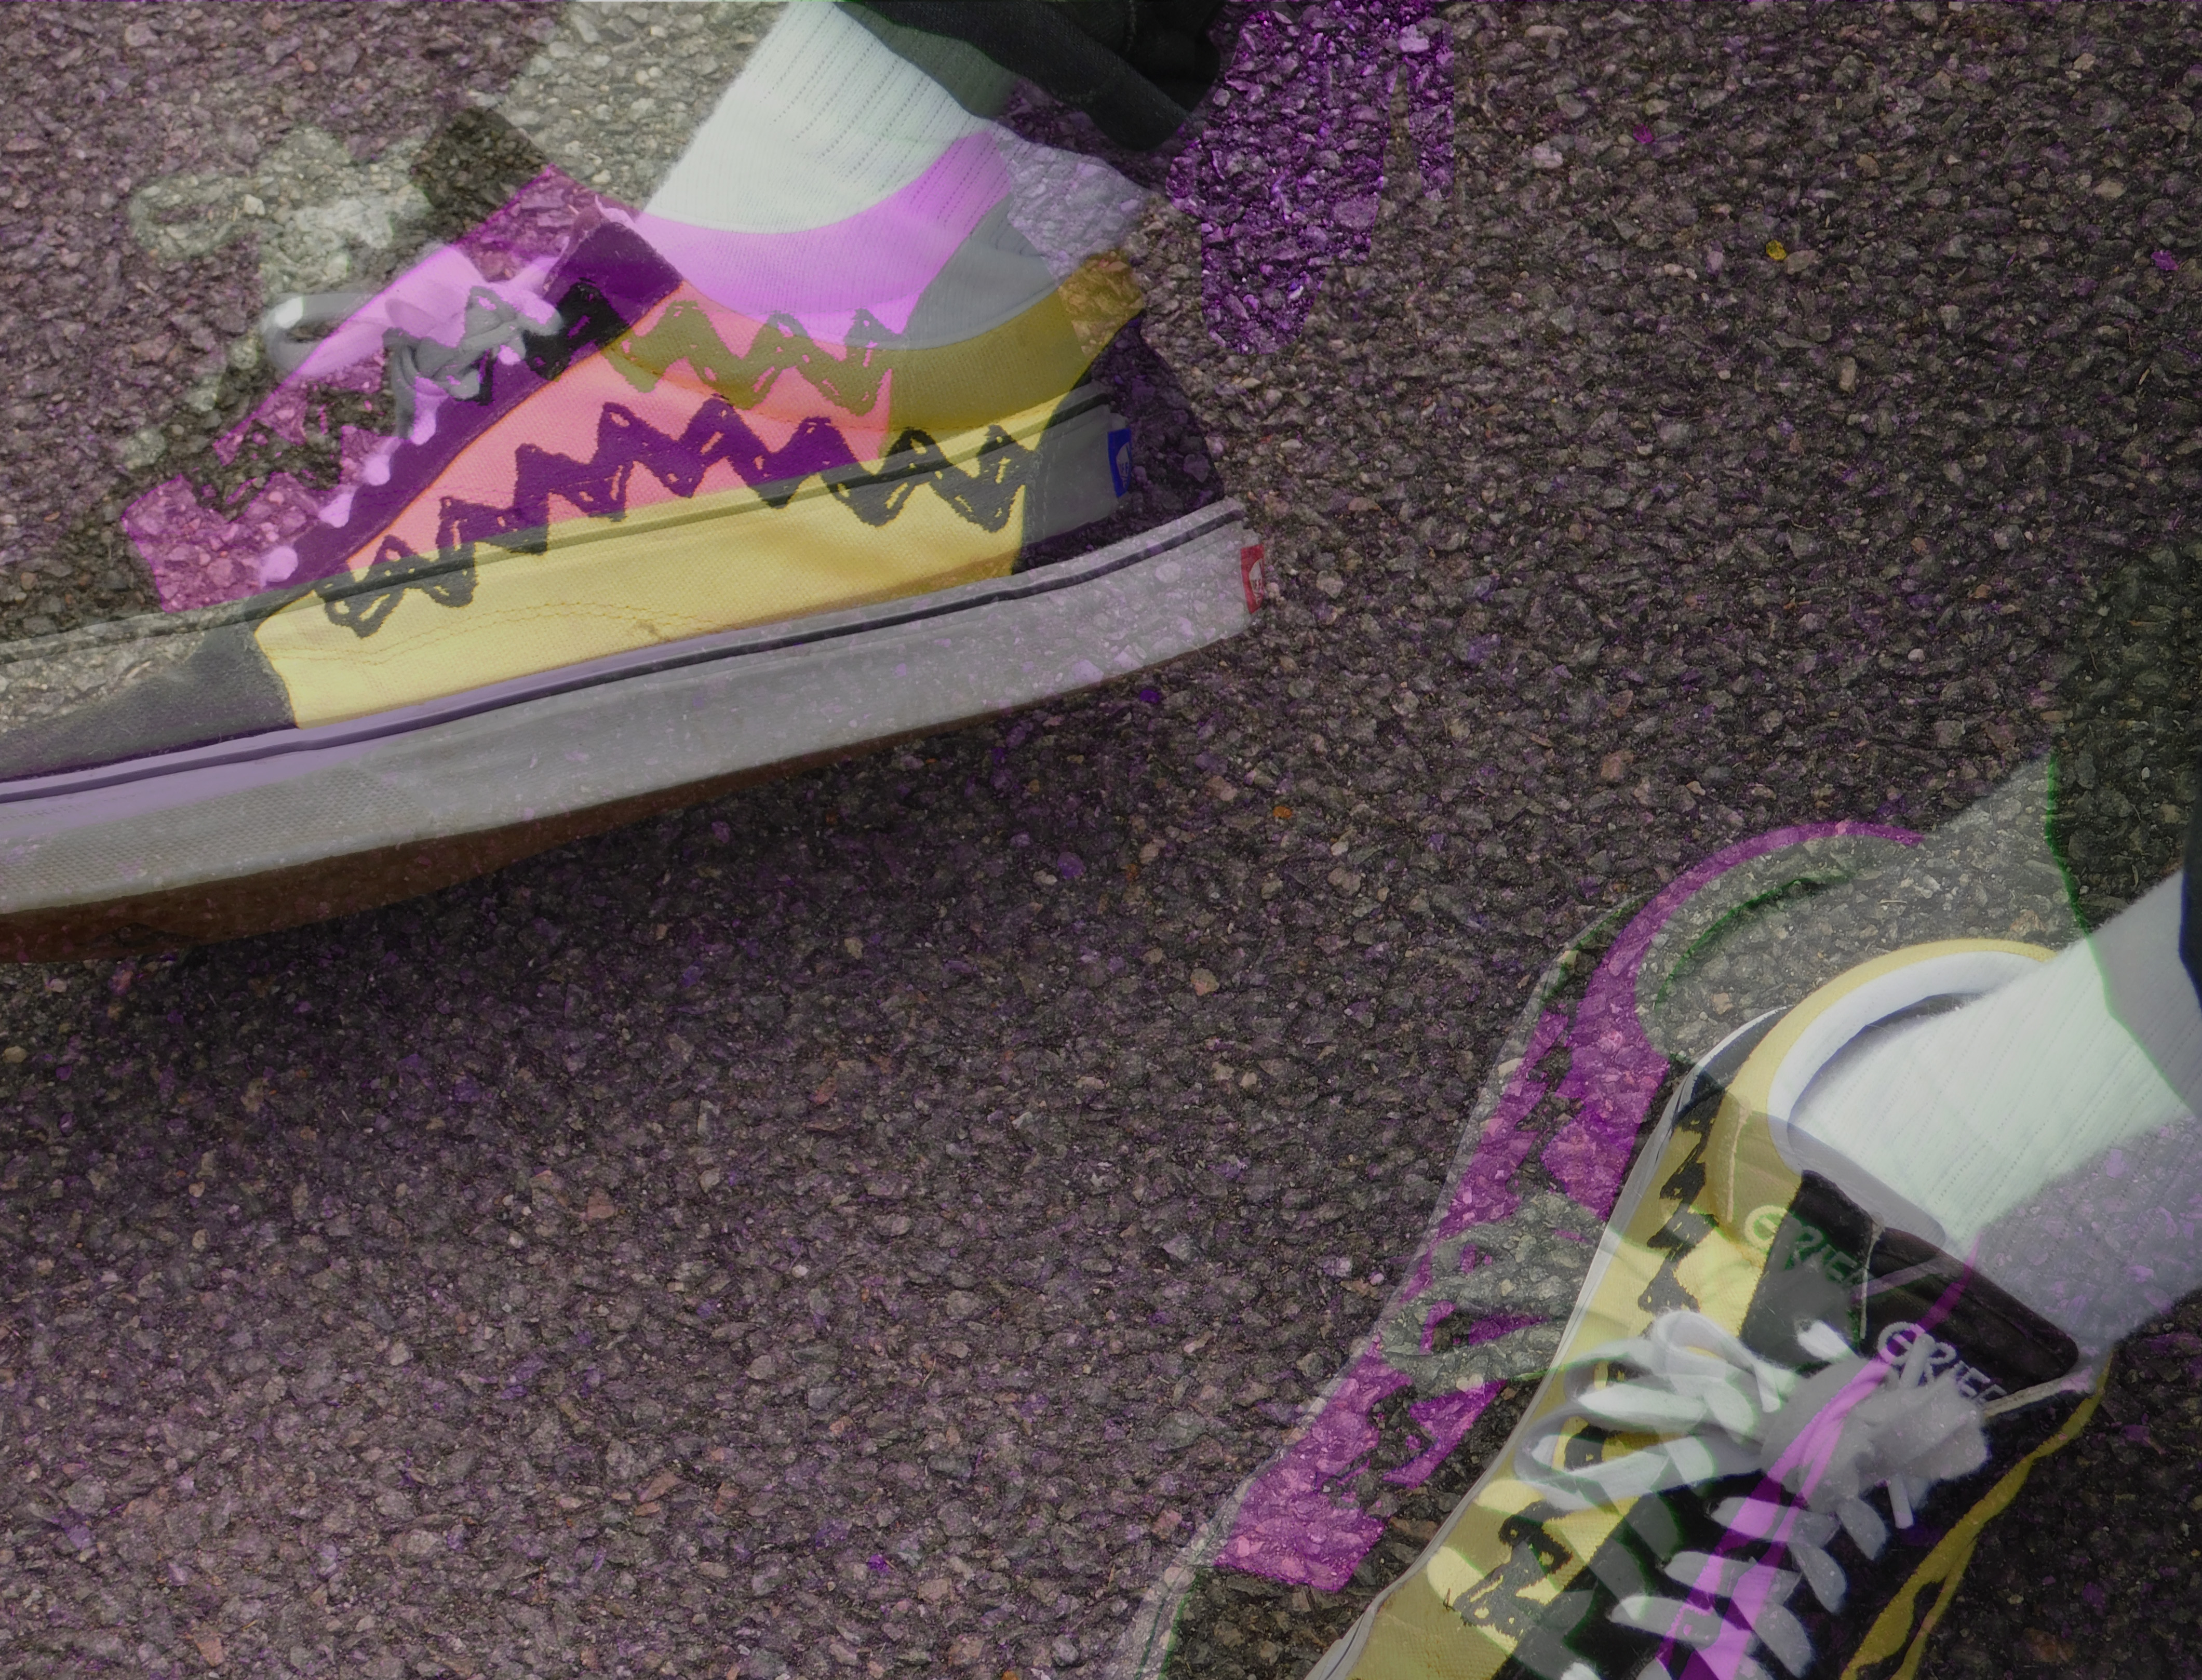
For this experiment, I decided to alter the hue of separate layers in some instances to give off a trippy effect
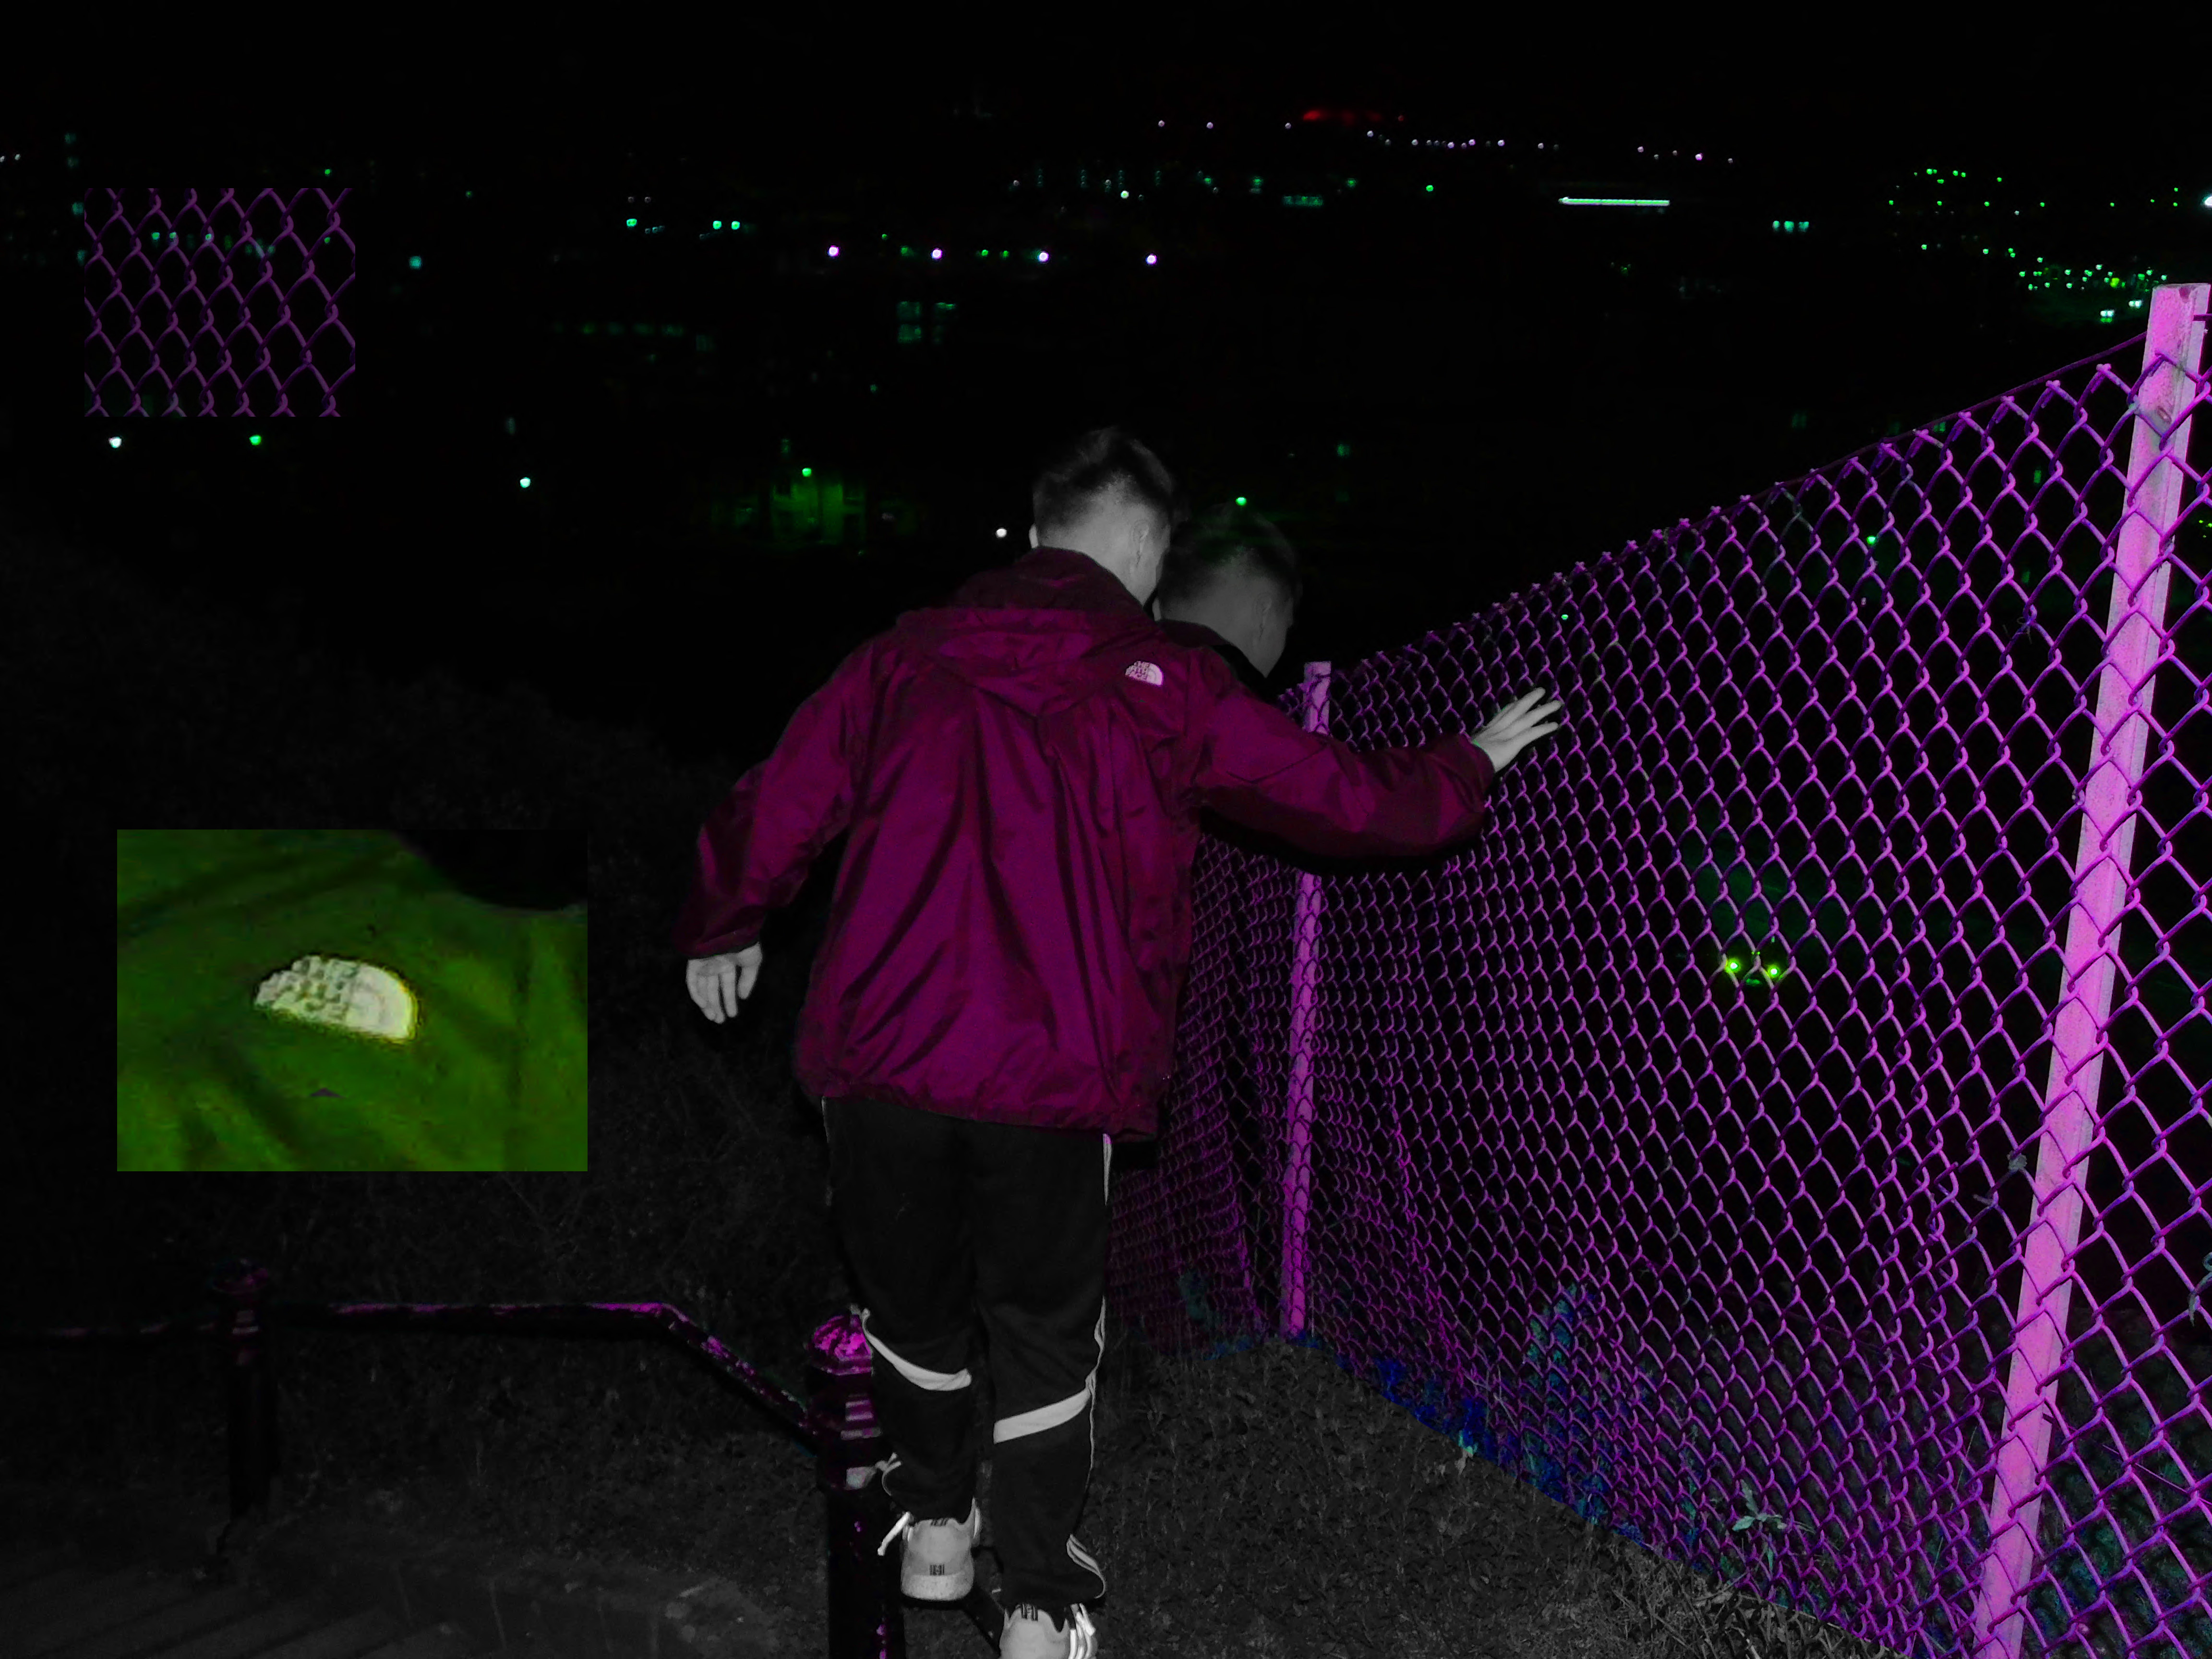
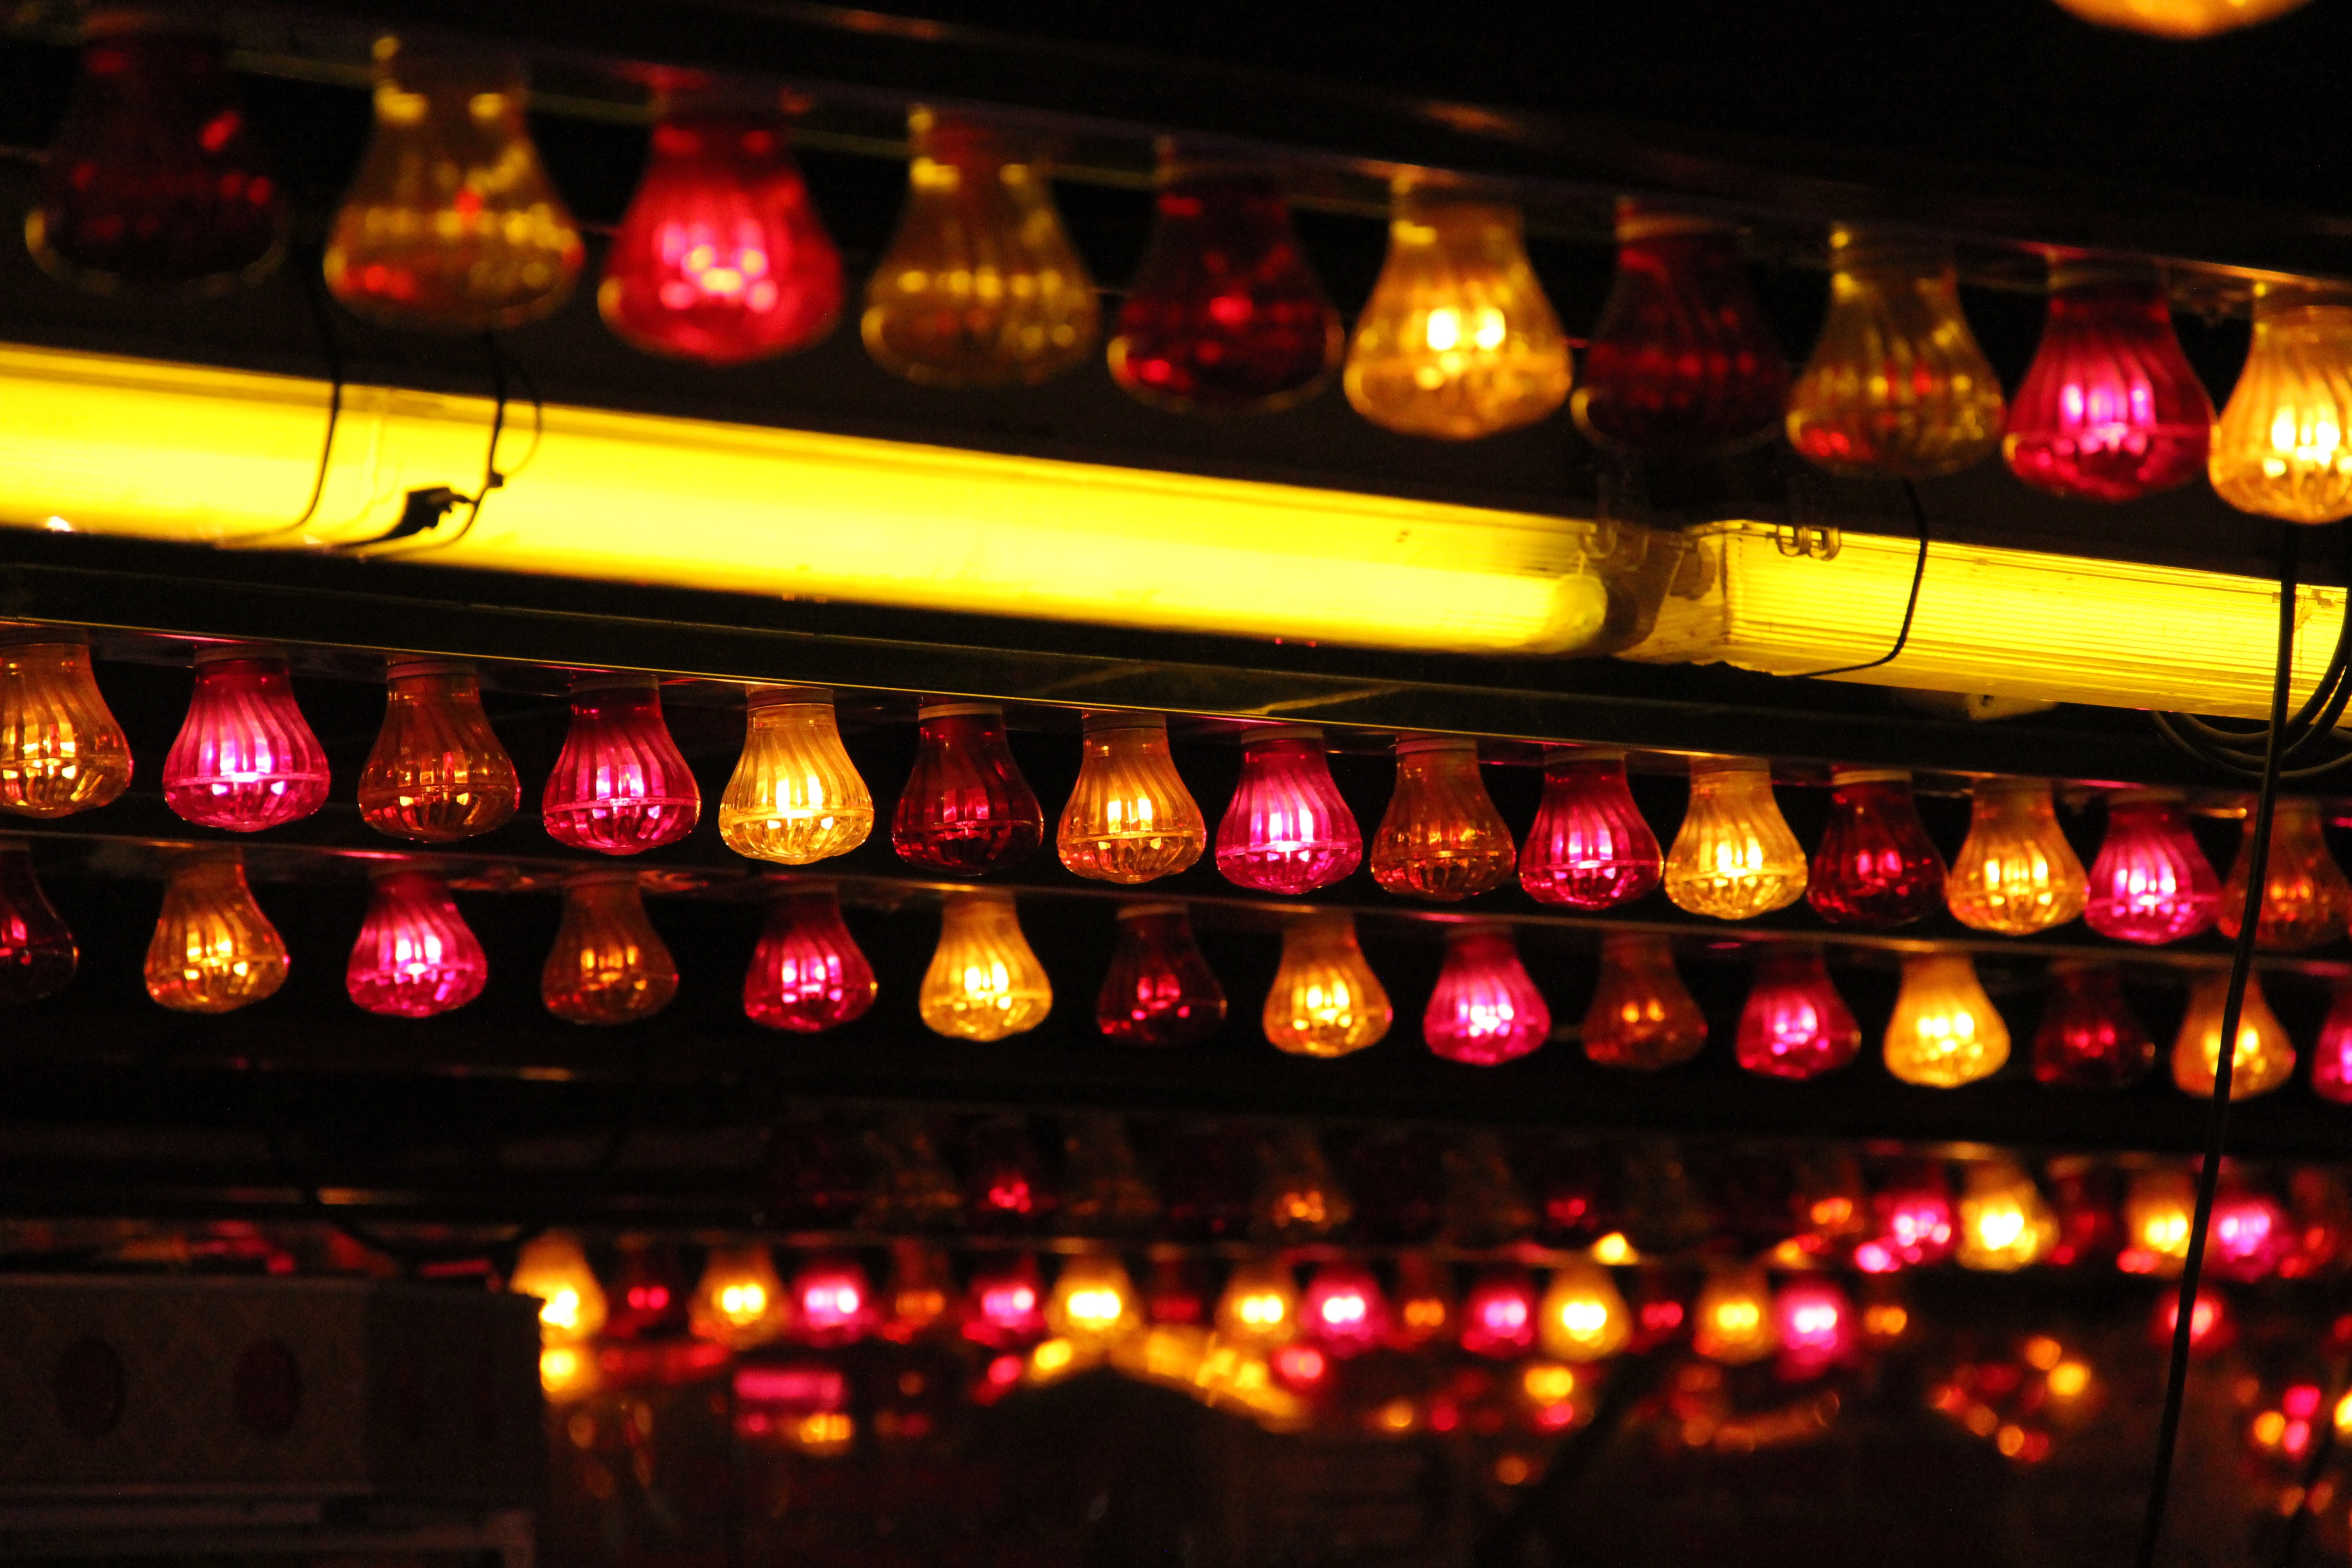
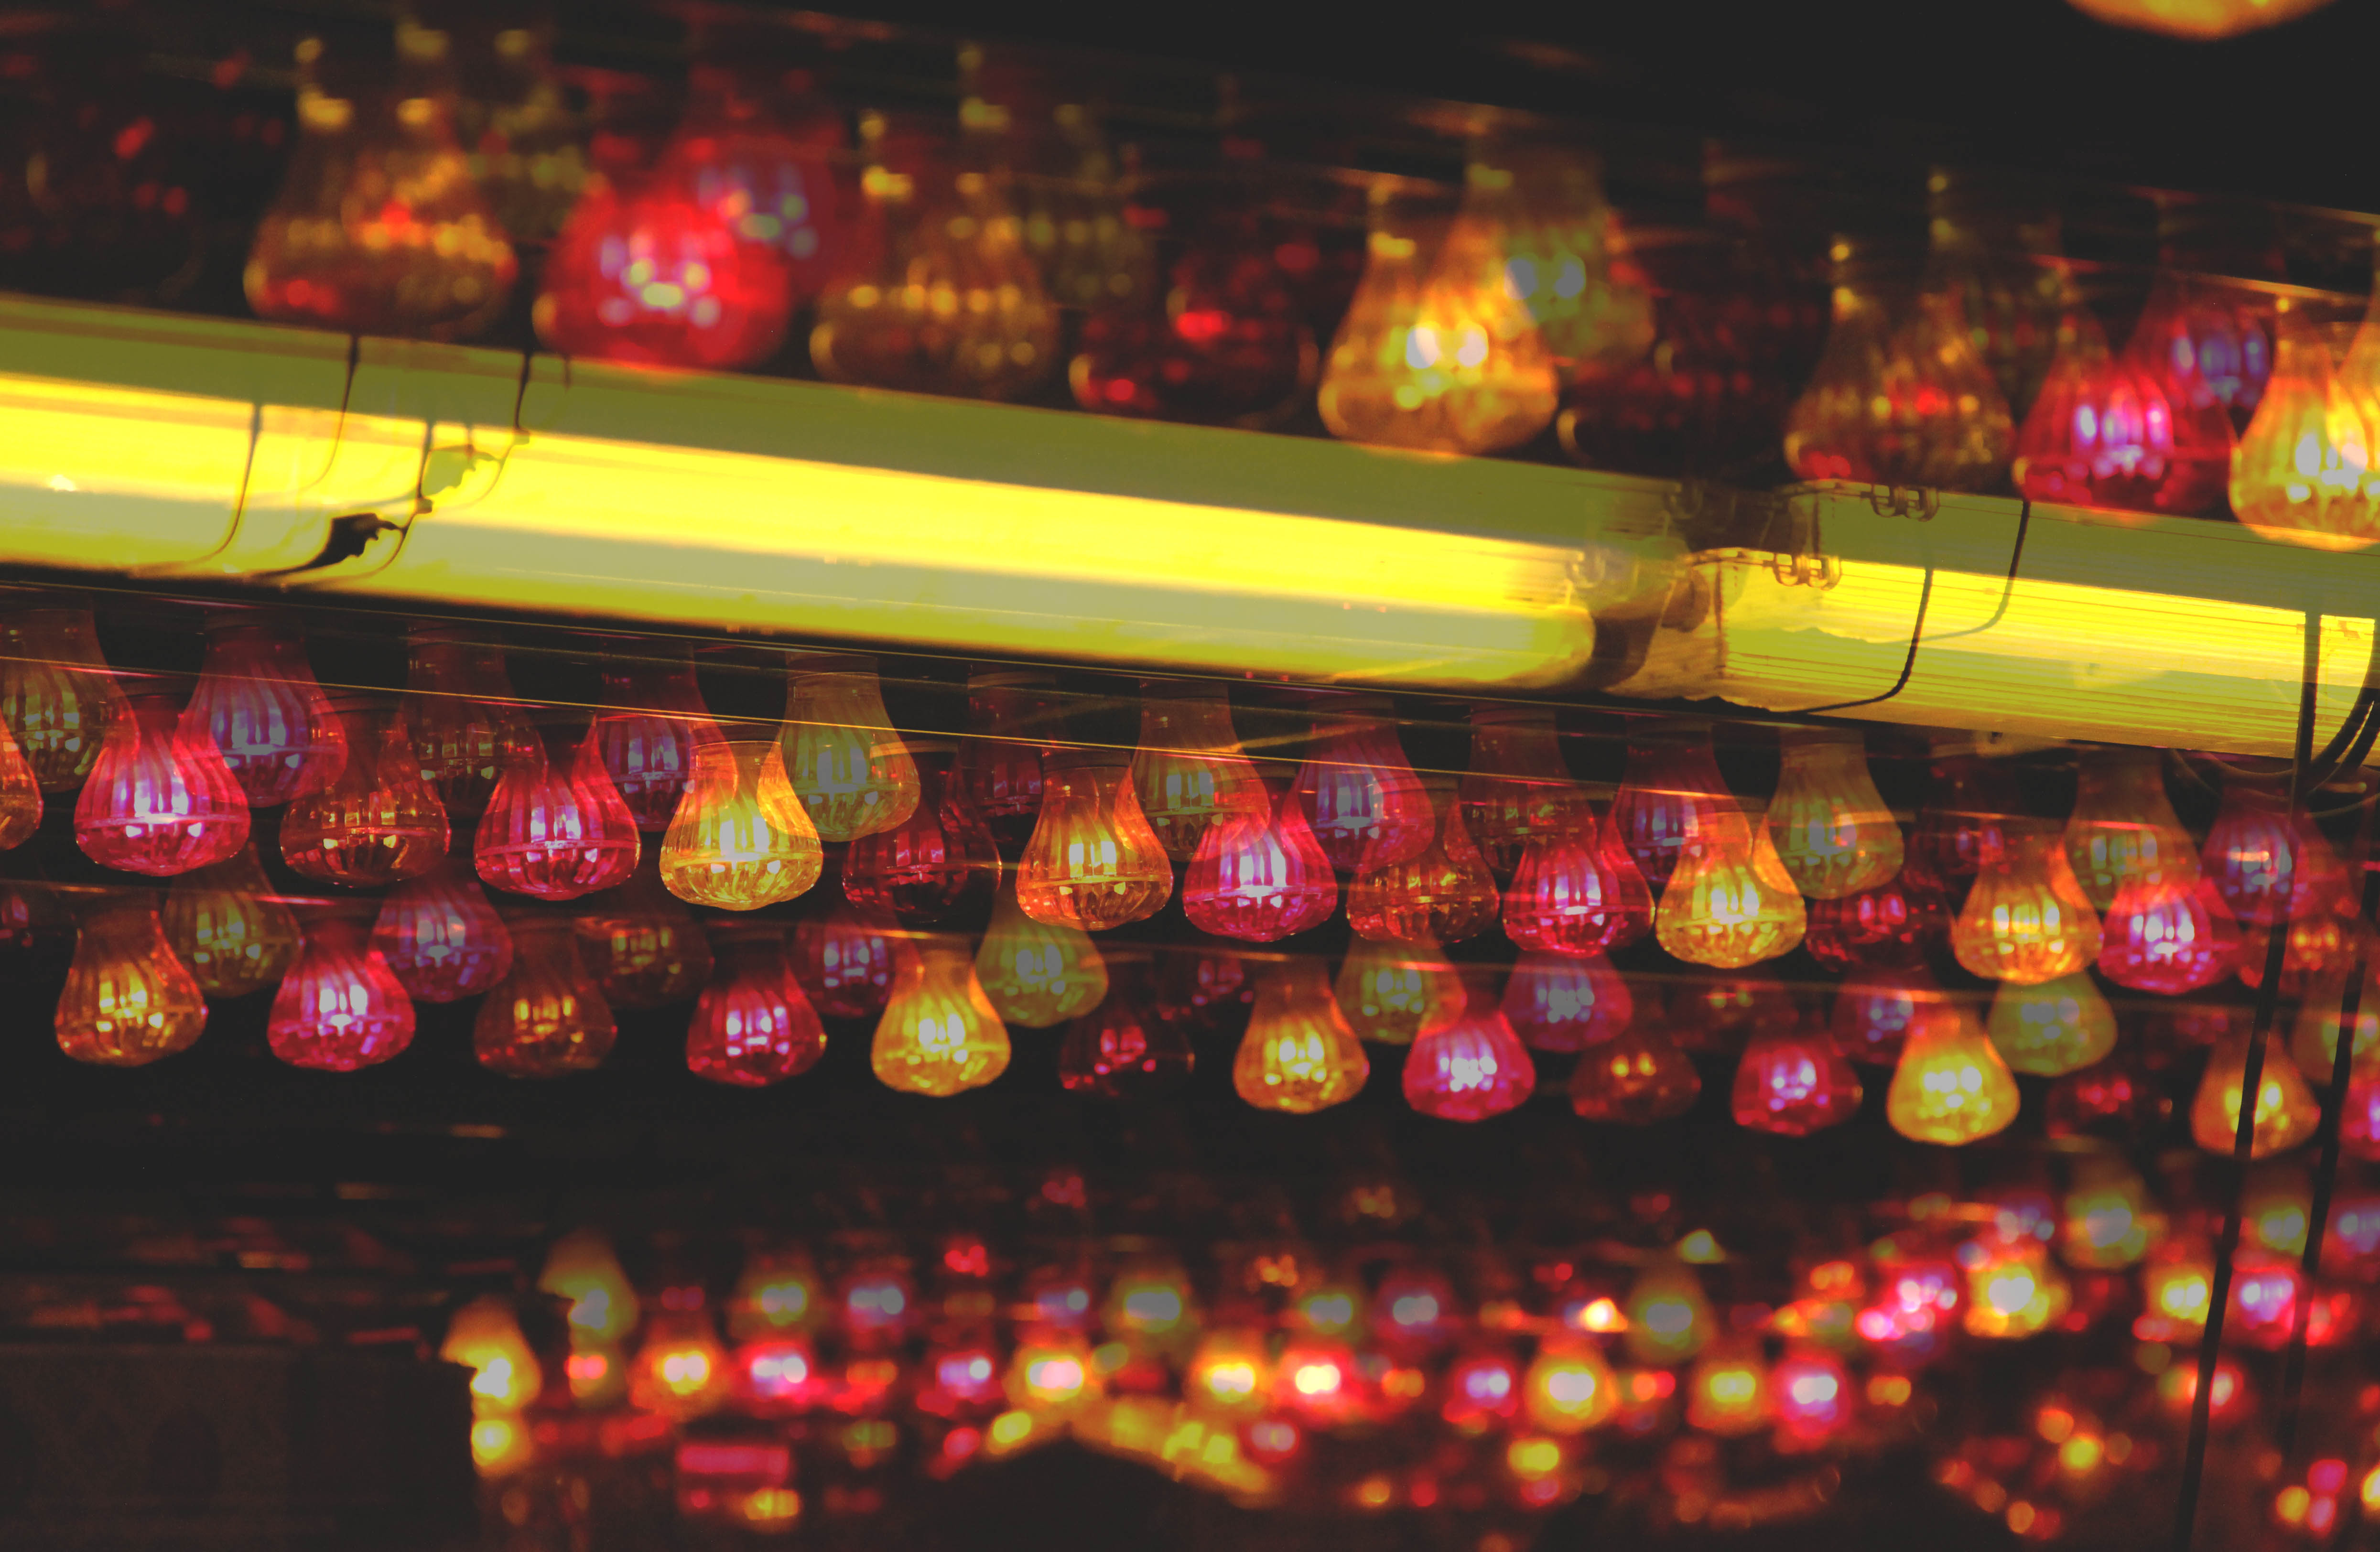
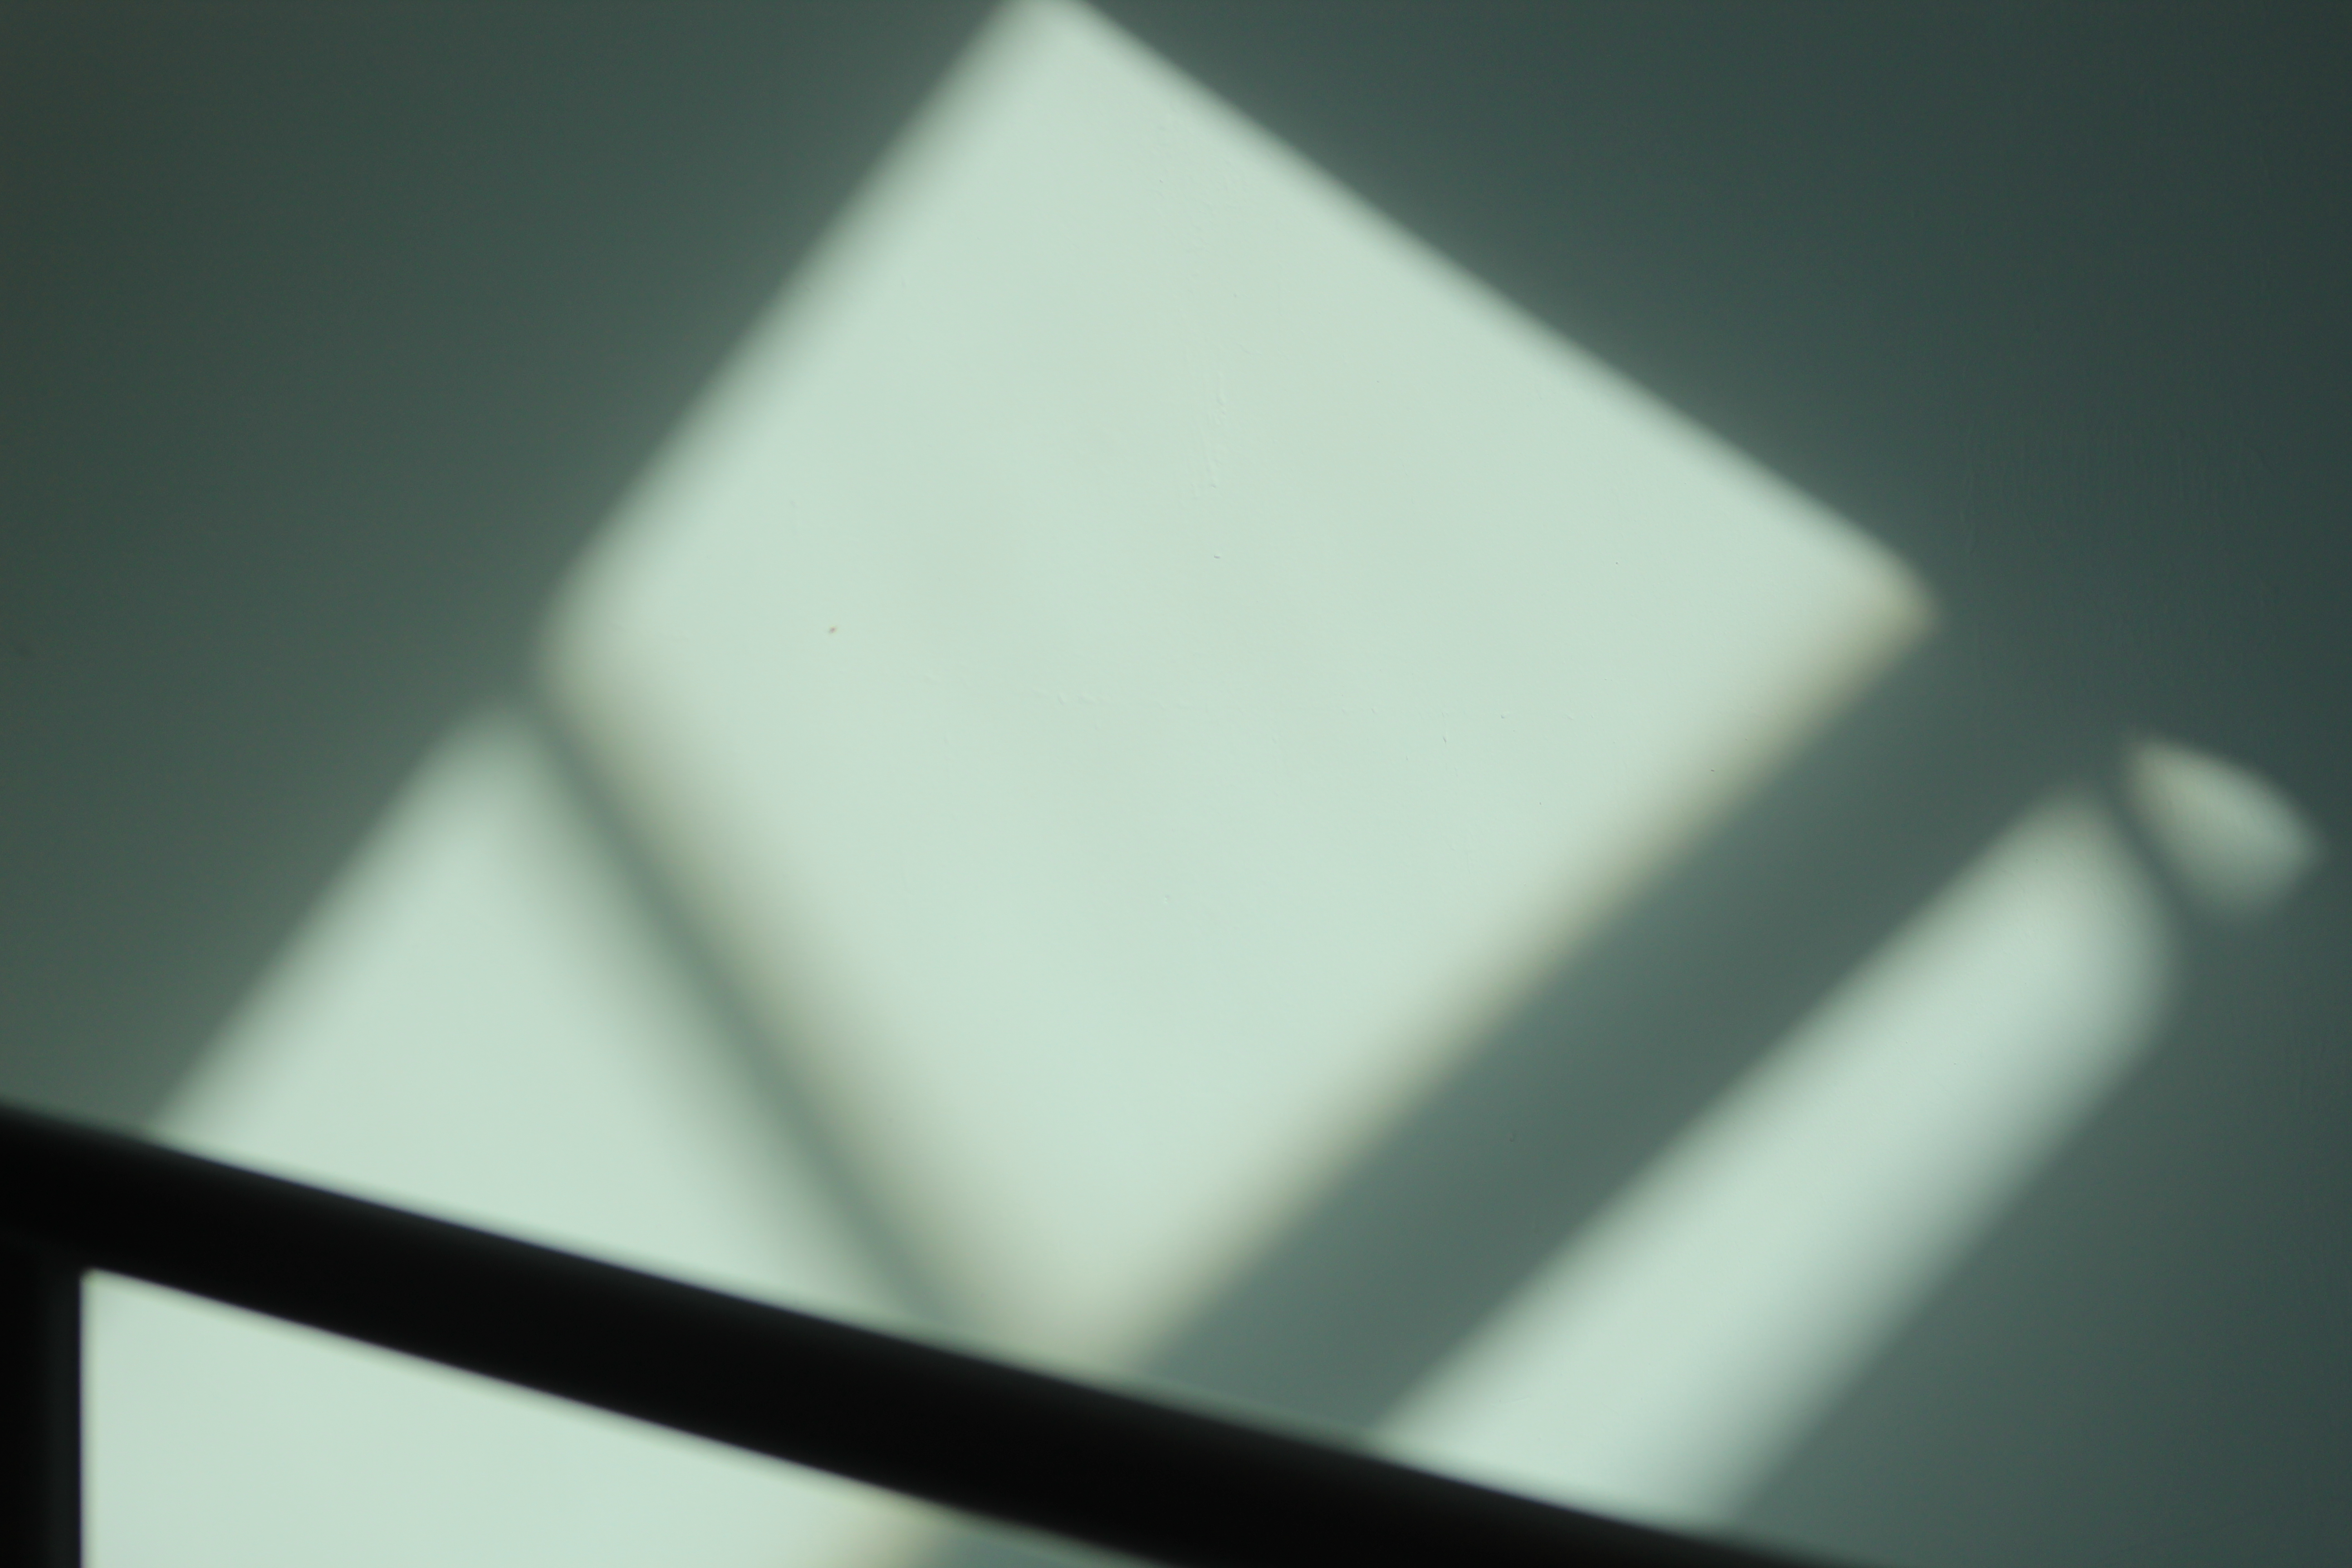
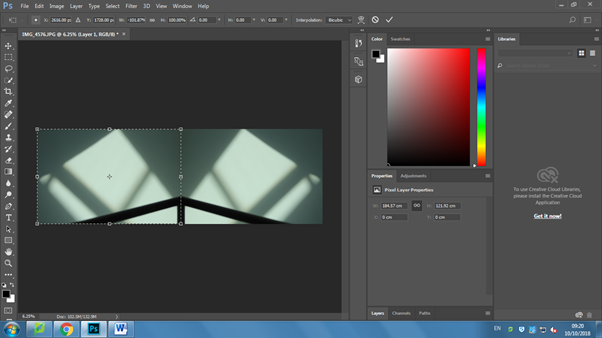
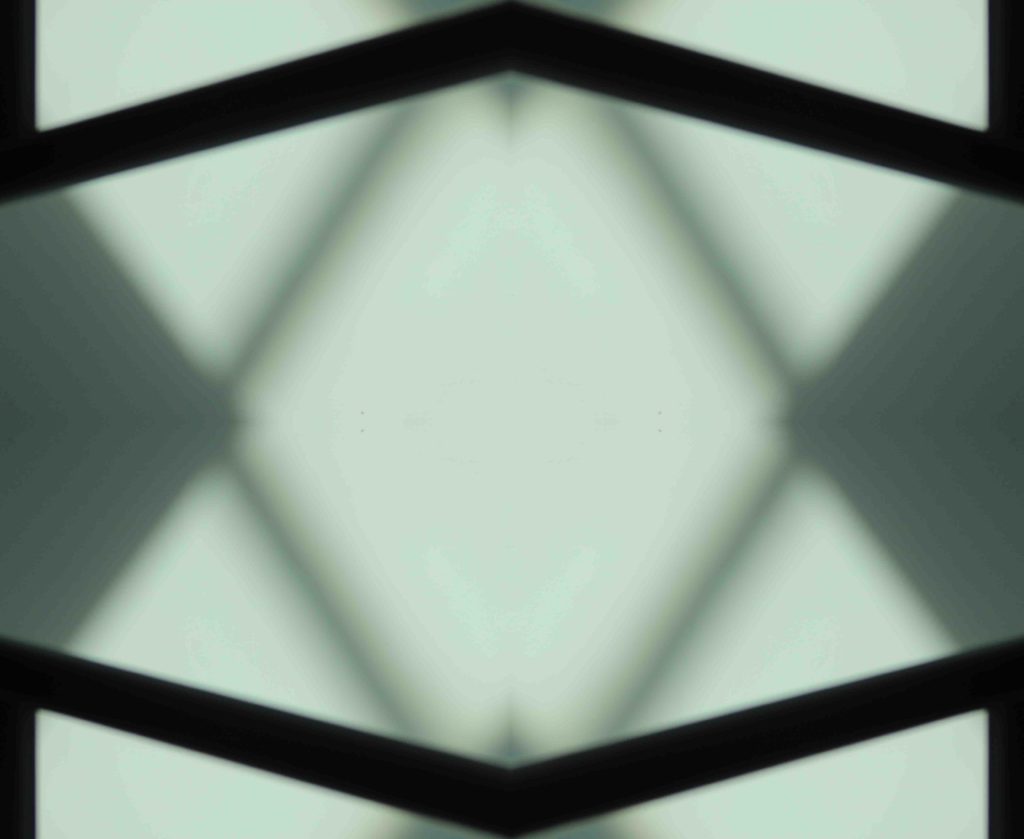
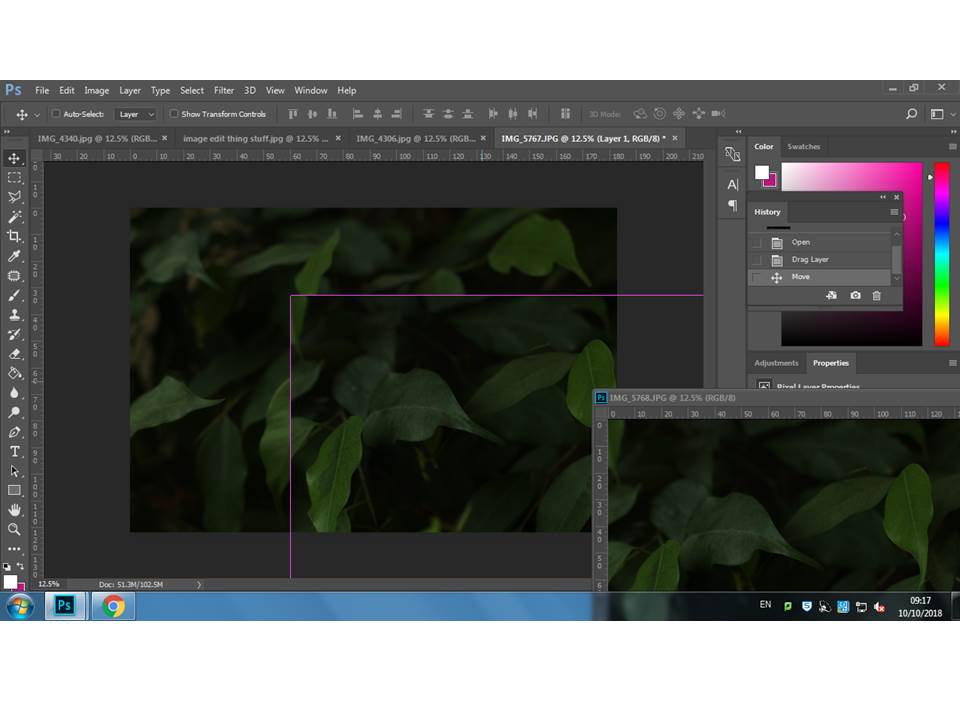
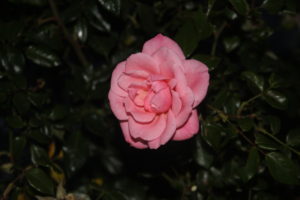
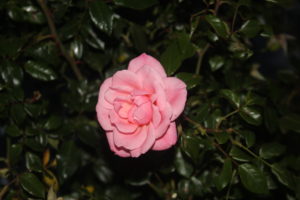
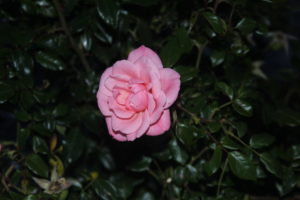
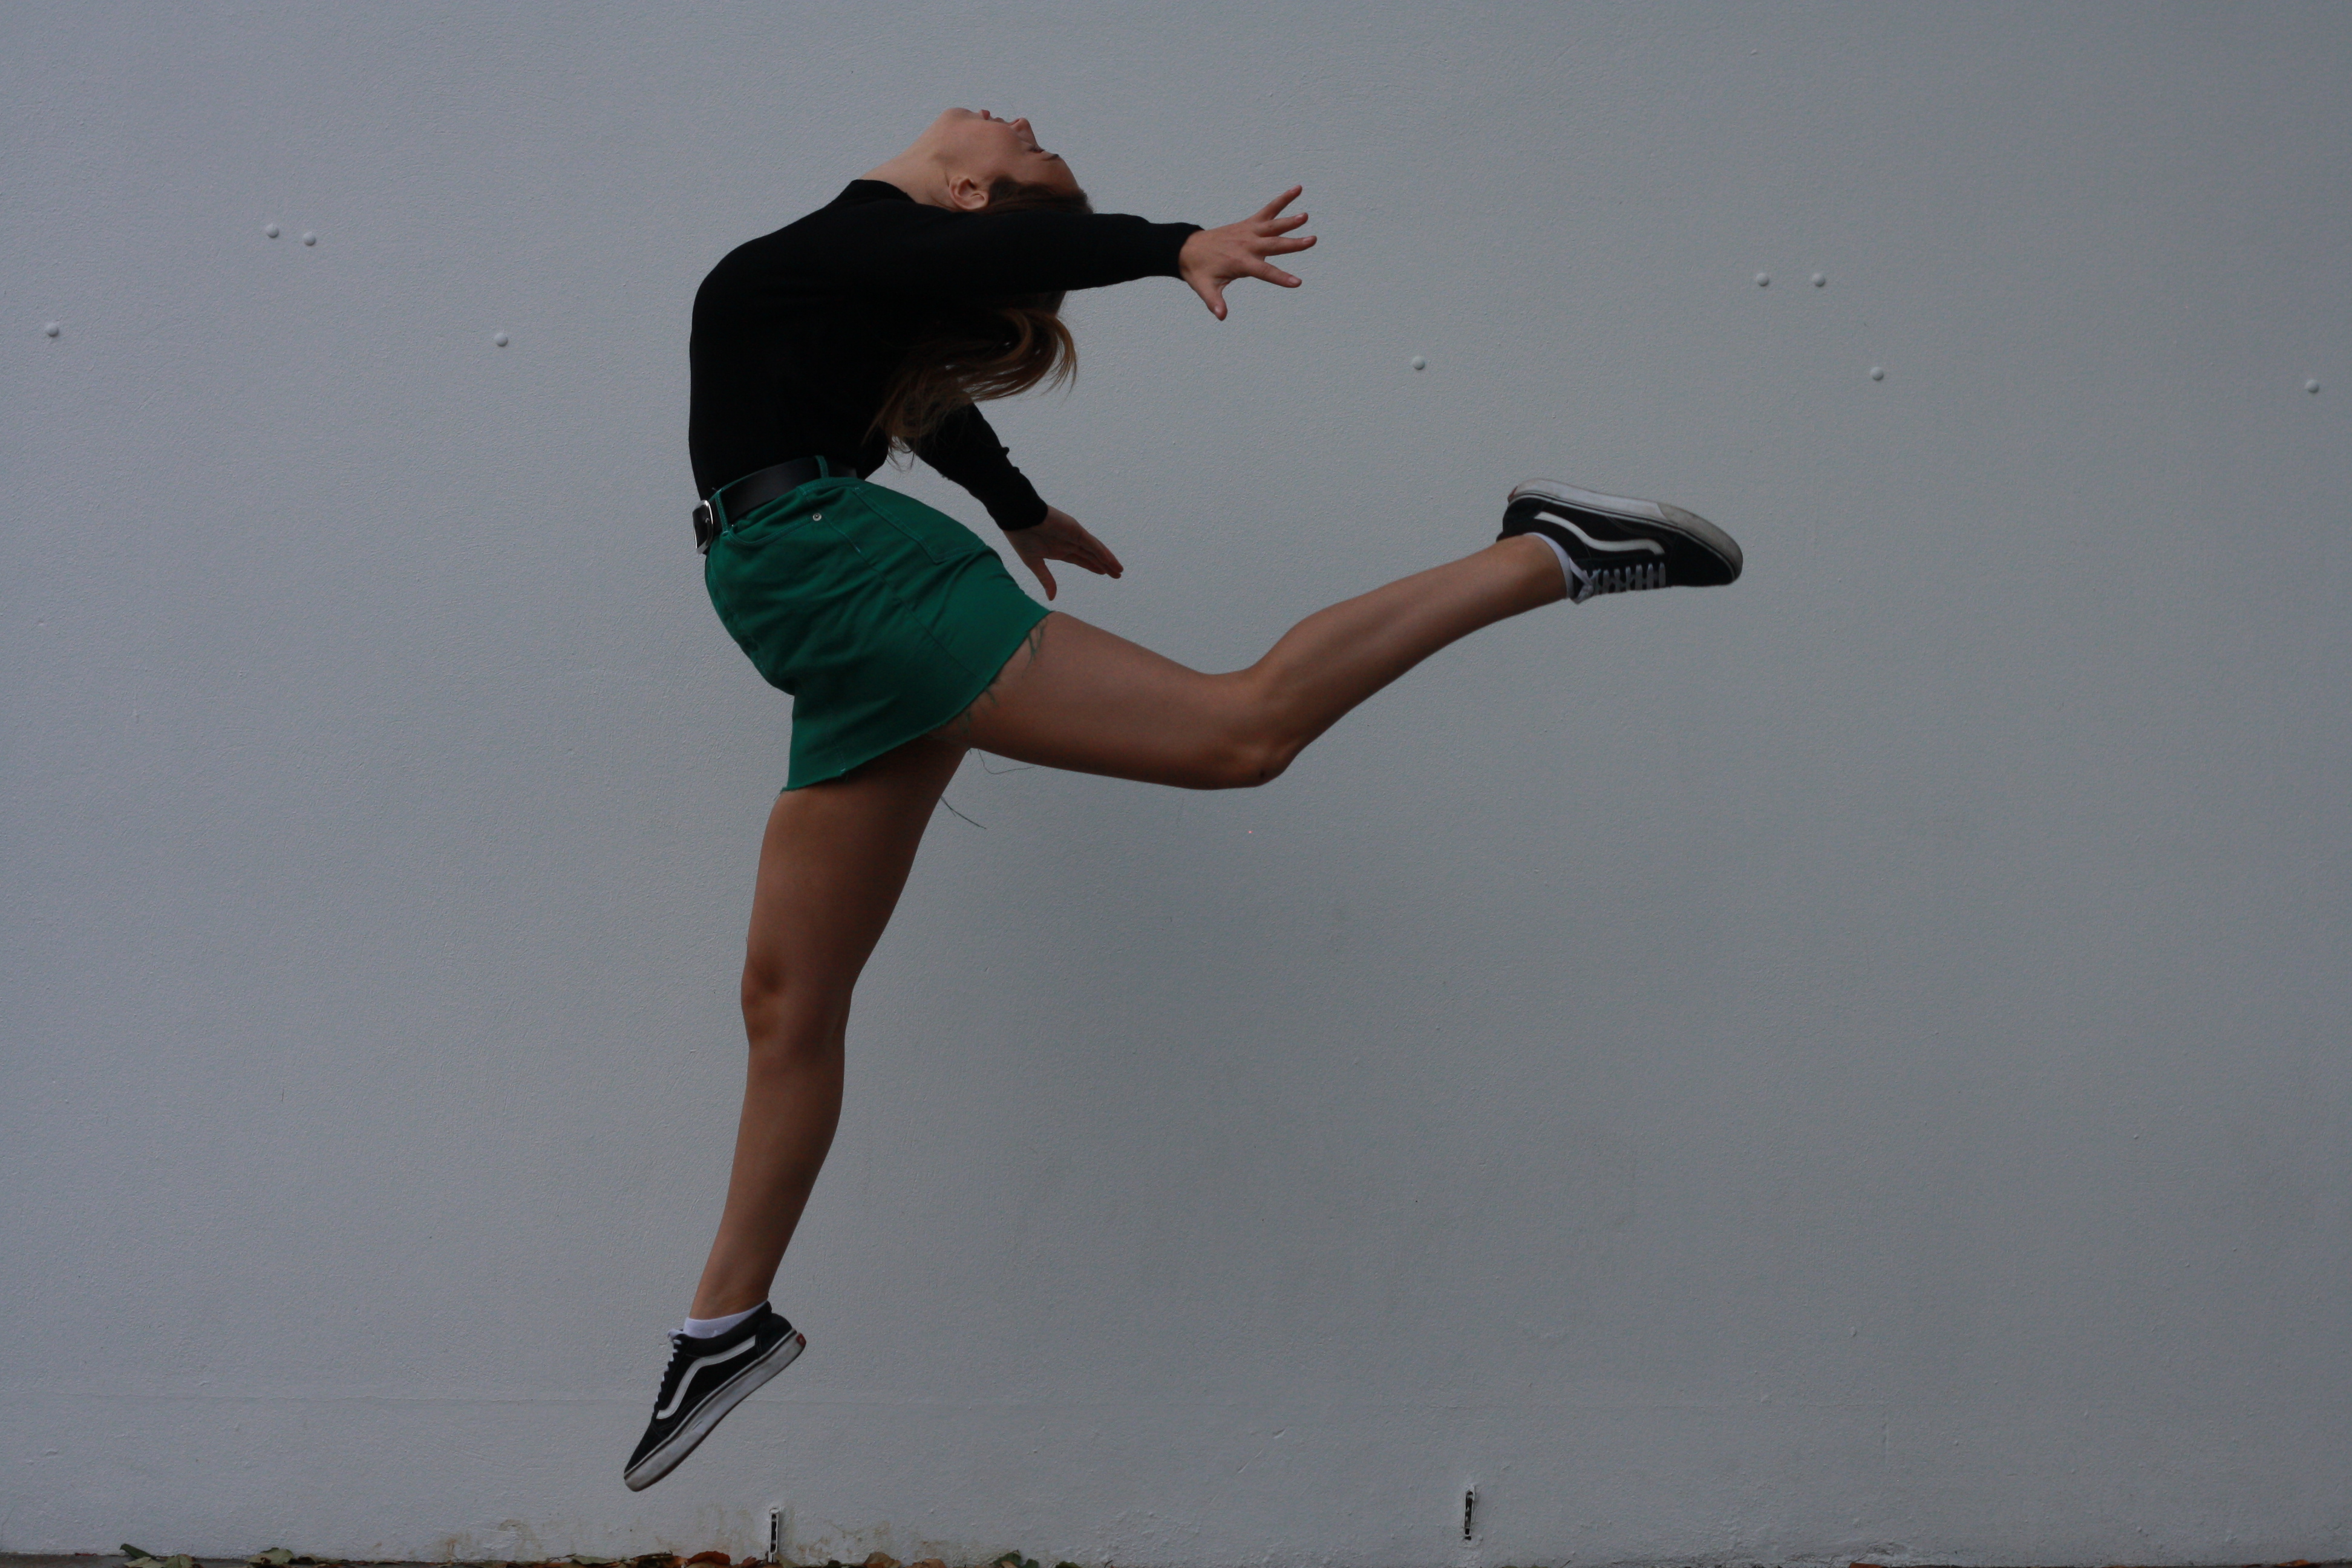
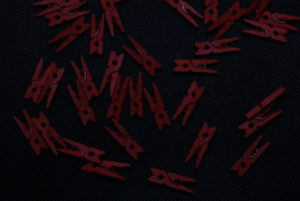
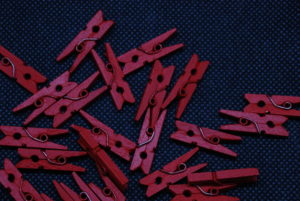
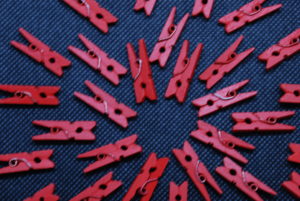
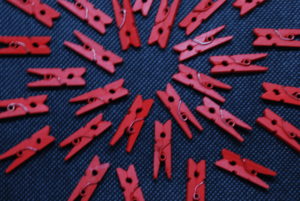
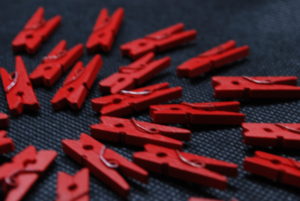
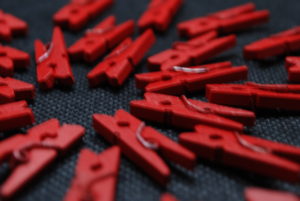
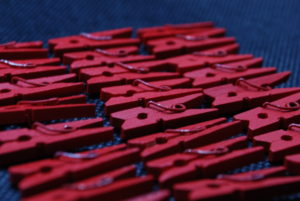
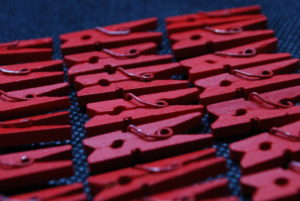
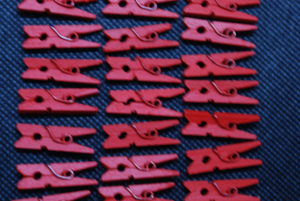
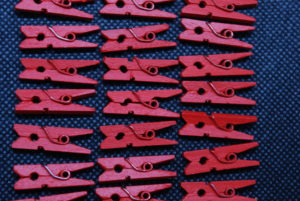
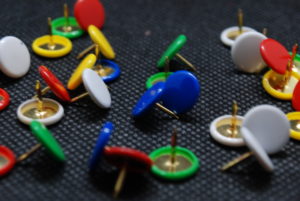
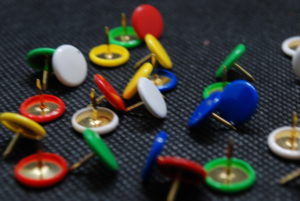
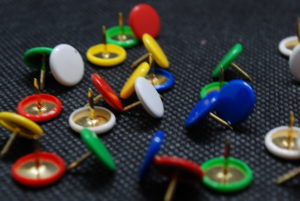
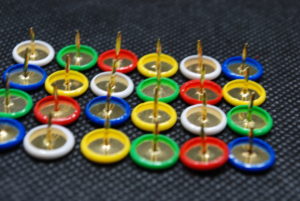
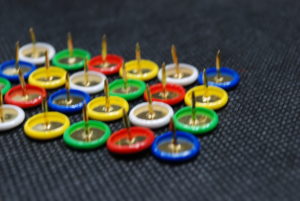
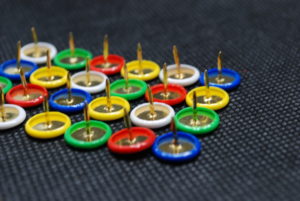
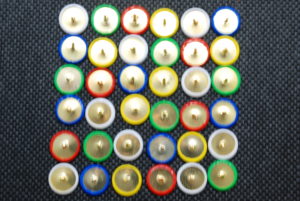
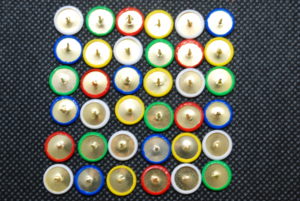
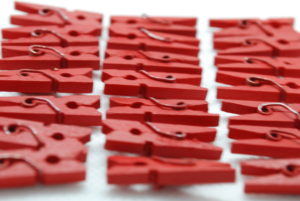
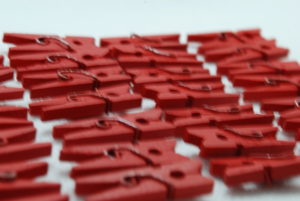
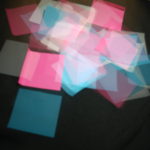
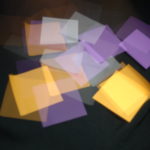
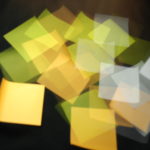
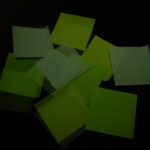
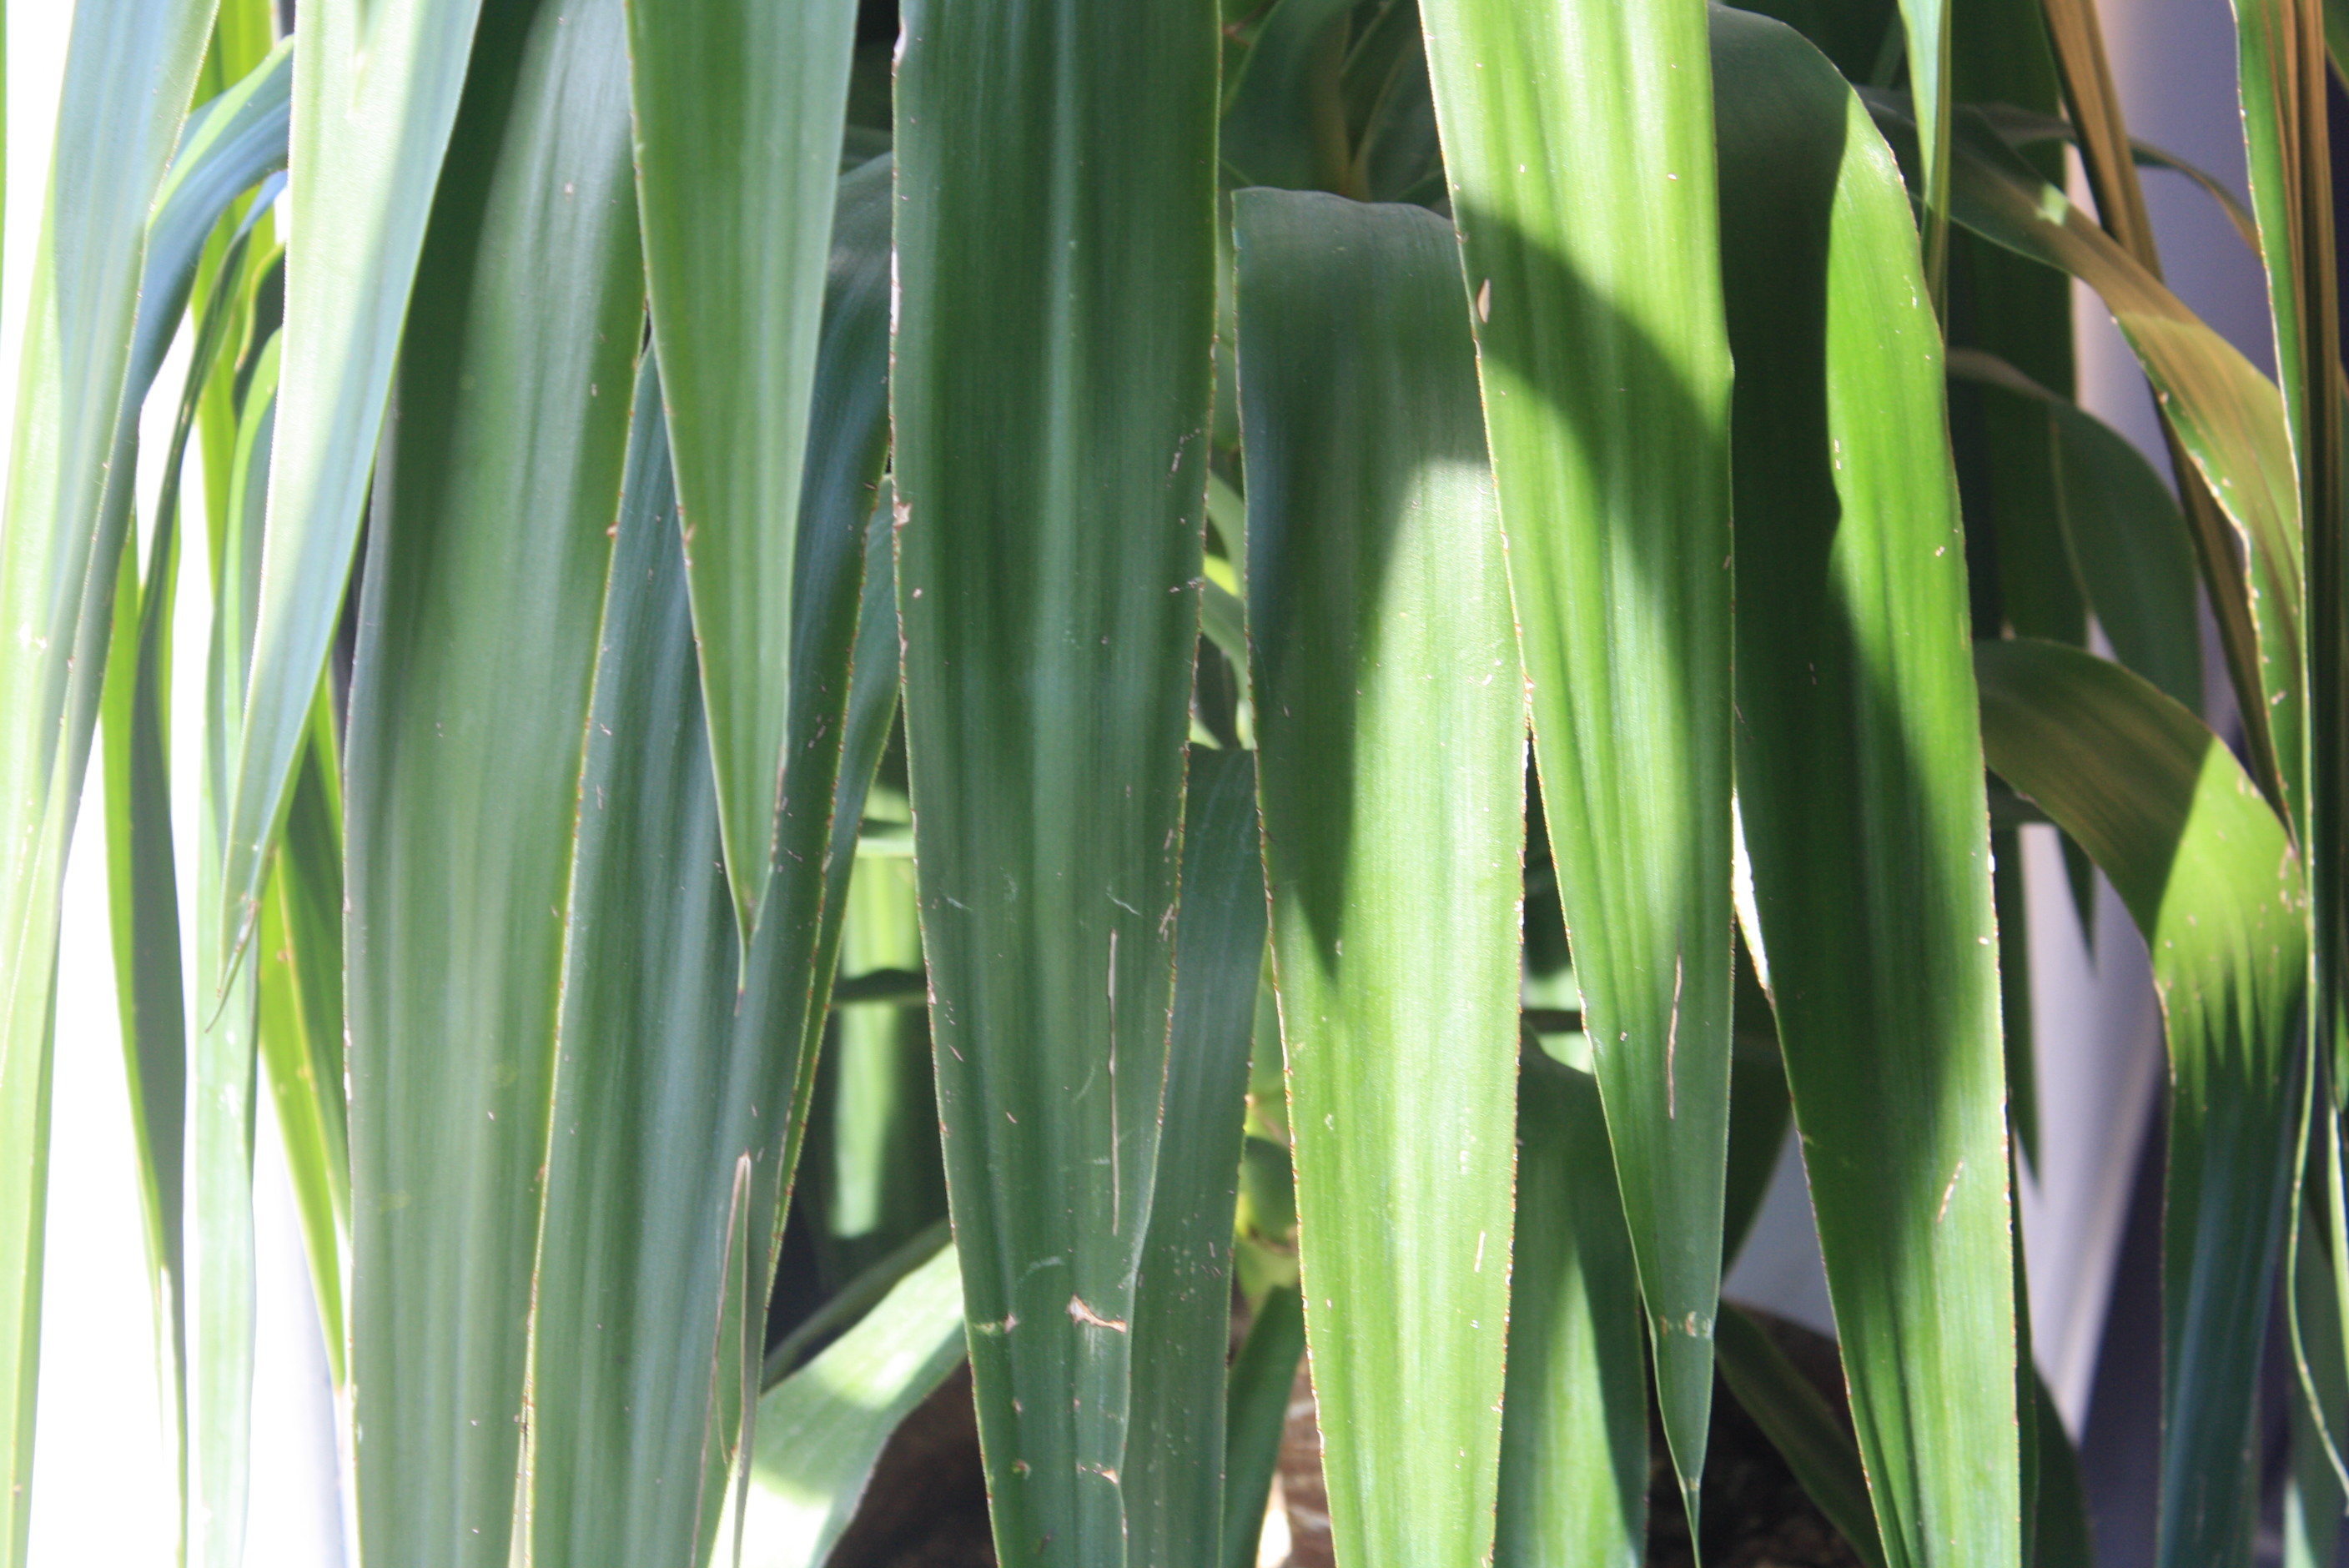

Double Exposure

Original image after a small amount of editing on lightroom (adjust contrast and exposure to make lights stand out more).

I then duplicated the image layer so that I could change the opacity settings.

Following this, I adjusted the opacity to 66% so that both layers are visible once layer 1 is moved.

Lastly, I moved the top layer around until i was happy with the final results.

Final Image

Photoshop – Mirror

I’ve chosen this image for my mirror effect piece because it includes multiple lines which I can use to create an interesting abstract piece.

To start, I went and doubled the canvas size to make space for the mirror image. I went to image, and then to canvas size. I then went and changed it from centimeters to inches, and then doubled the size of one of the lengths.

I then went and pressed control + j, which copies the image and pastes it as another layer. I then used the select tool to select the top layer, and then pressed control + t, which selects the image and allows you to adjust the size and orientation. I picked the point on the far side to the right, and pulled it across to the left, creating the mirror image.

I could have stopped there, but I decided to develop it further and mirror the image the other way. I repeated the process but did it so it was being flipped upwards instead, and this is one of my finished results.


white balance

On the camera there are 6 different lighting settings which include: daylight, shade, cloudy, tungsten light, white fluorescent light, and flashlight. They can be changed through the WB button.

Below are some pictures of a rose taken at the same position of the same view but different light settings at dawn.


In this photo it was taken with a flash on sunlight settings which is about 5200k

This is the same photograph but this time it was taken with shade white balance settings which is about 7000k

this time the photograph was taken using the settings of the white balance set on cloudy which is approximately 6000k

in this photography he white balance settings was set on tungsten light which is around 3200k

this photograph is a bit similar to the tungsten light one but this one was set on white fluorescent light which is similar but a bit higher at 4000k

last but not least this photo was taken with the white balance set on flash which is the most appropriate because the flash was being used and it was dark.


so we conclude that even though your taking the same photographs they will still differ depending on the white balance your on. and if you what the camera to do the work for you just put it on automatic white balance.

Experimenting with shutter speed

Shutter speed is the amount of time a sensor in a camera is exposed to light.

If the shutter speed is very slow, then the image will have a high exposure which means it will most likely be bright. This is an ideal setting to use if you are taking images in a badly lit place place as it will make the image less dark. This would not be ideal to use in a bright setting, as the image would most probably be more overexposed which means it would come out too white. A slow shutter speed is also idea if you want to purposely capture images where things are moving, to create a unique effect. This setting is used to capture light painting or a smooth water effect.

On the other hand, if the shutter speed is fast then the image would have a very low exposure this means it could cause the image to turn out underexposed, which would make the image come out darker than intended. This would be an appropriate setting to use in a properly lit scene as the sensor wouldn’t need to be exposed to light for as long in order for the image to come out with a regular exposure. Fast shutter speed is used to capture things that are moving very quickly, as the image will be taken a lot quicker

This diagram helps explain what shutter speeds are fast, and which ones are slow. 1/500 would be an example of a very quick shutter speed as the moving image is sharp and in focus, whereas 1/2 is a very slow shutter speed as the moving image is blurred.


This diagram is also useful in highlighting the differences in fast and slow shutter speeds. The image on the left was taken using a fast shutter speed. That is why the sparks in the image look like they have been frozen, and why the image is not over nor underexposed. However the image on the right was taken with a very slow shutter speed, which is why the sparks look like they are continuous lines.


Experimenting with a Quick shutter speed

1st attempt


2nd attempt 


My most successful outcomes


Experimenting with slow shutter speed

My most successful outcomes

Double Exposure

Double Exposure is a photographic technique that combines two different images into a single image. The technique has been practised for several years, and recently people are frequently using this technique because of the fact that graphic editing programs like Photoshop can help to create the identical effect. With the double exposure technique you can create certain effects like ghost image, mirror image or simply merging something bright with dark. The final outcome of my double exposure edit came out well as the two images are subtly merging into each other like a watercolour painting. The vibrant colours of the sunset capture’ the viewers attention and shines through the shadows casted by the prism.

Decreasing the opacity
Changing the blending option to difference
Final outcome


Double Exposure

THE PROCESS: 

This was my take on the method of double exposure, which creates a blurry, fuzzy, duplication of the original image. This was a fairly simple photograph to create, first starting by slightly editing the original images to saturate the colours as the image tends to be quite dull without it in the finishing stages. I also increased the contrast in the image as I found that in the final piece, the glass disappeared due to its transparent appearance. I chose 3 images with the same composition but with slightly different angles.

I layered the 3 images on top of each other and by using the opacity tool, I changed how each images opacity was. The higher the opacity the stronger the image appears. When creating these images it is essential that the opacity of each image is similar to the opacity of the other two in order to create the sort of motion blur affect seen below. To finish of, I flatttened the image to merge the 3 together.

Adjustments made on the original image to adjust the saturation and contrast
Adjusting opacity to create the double exposure effect
FINAL PIECE