Studio Photography Lighting (Singular)

STUDIO PHOTOGRAPHY ONE POINT LIGHTING

This post is focussed on our studio lighting photoshoot using a single light to capture images.

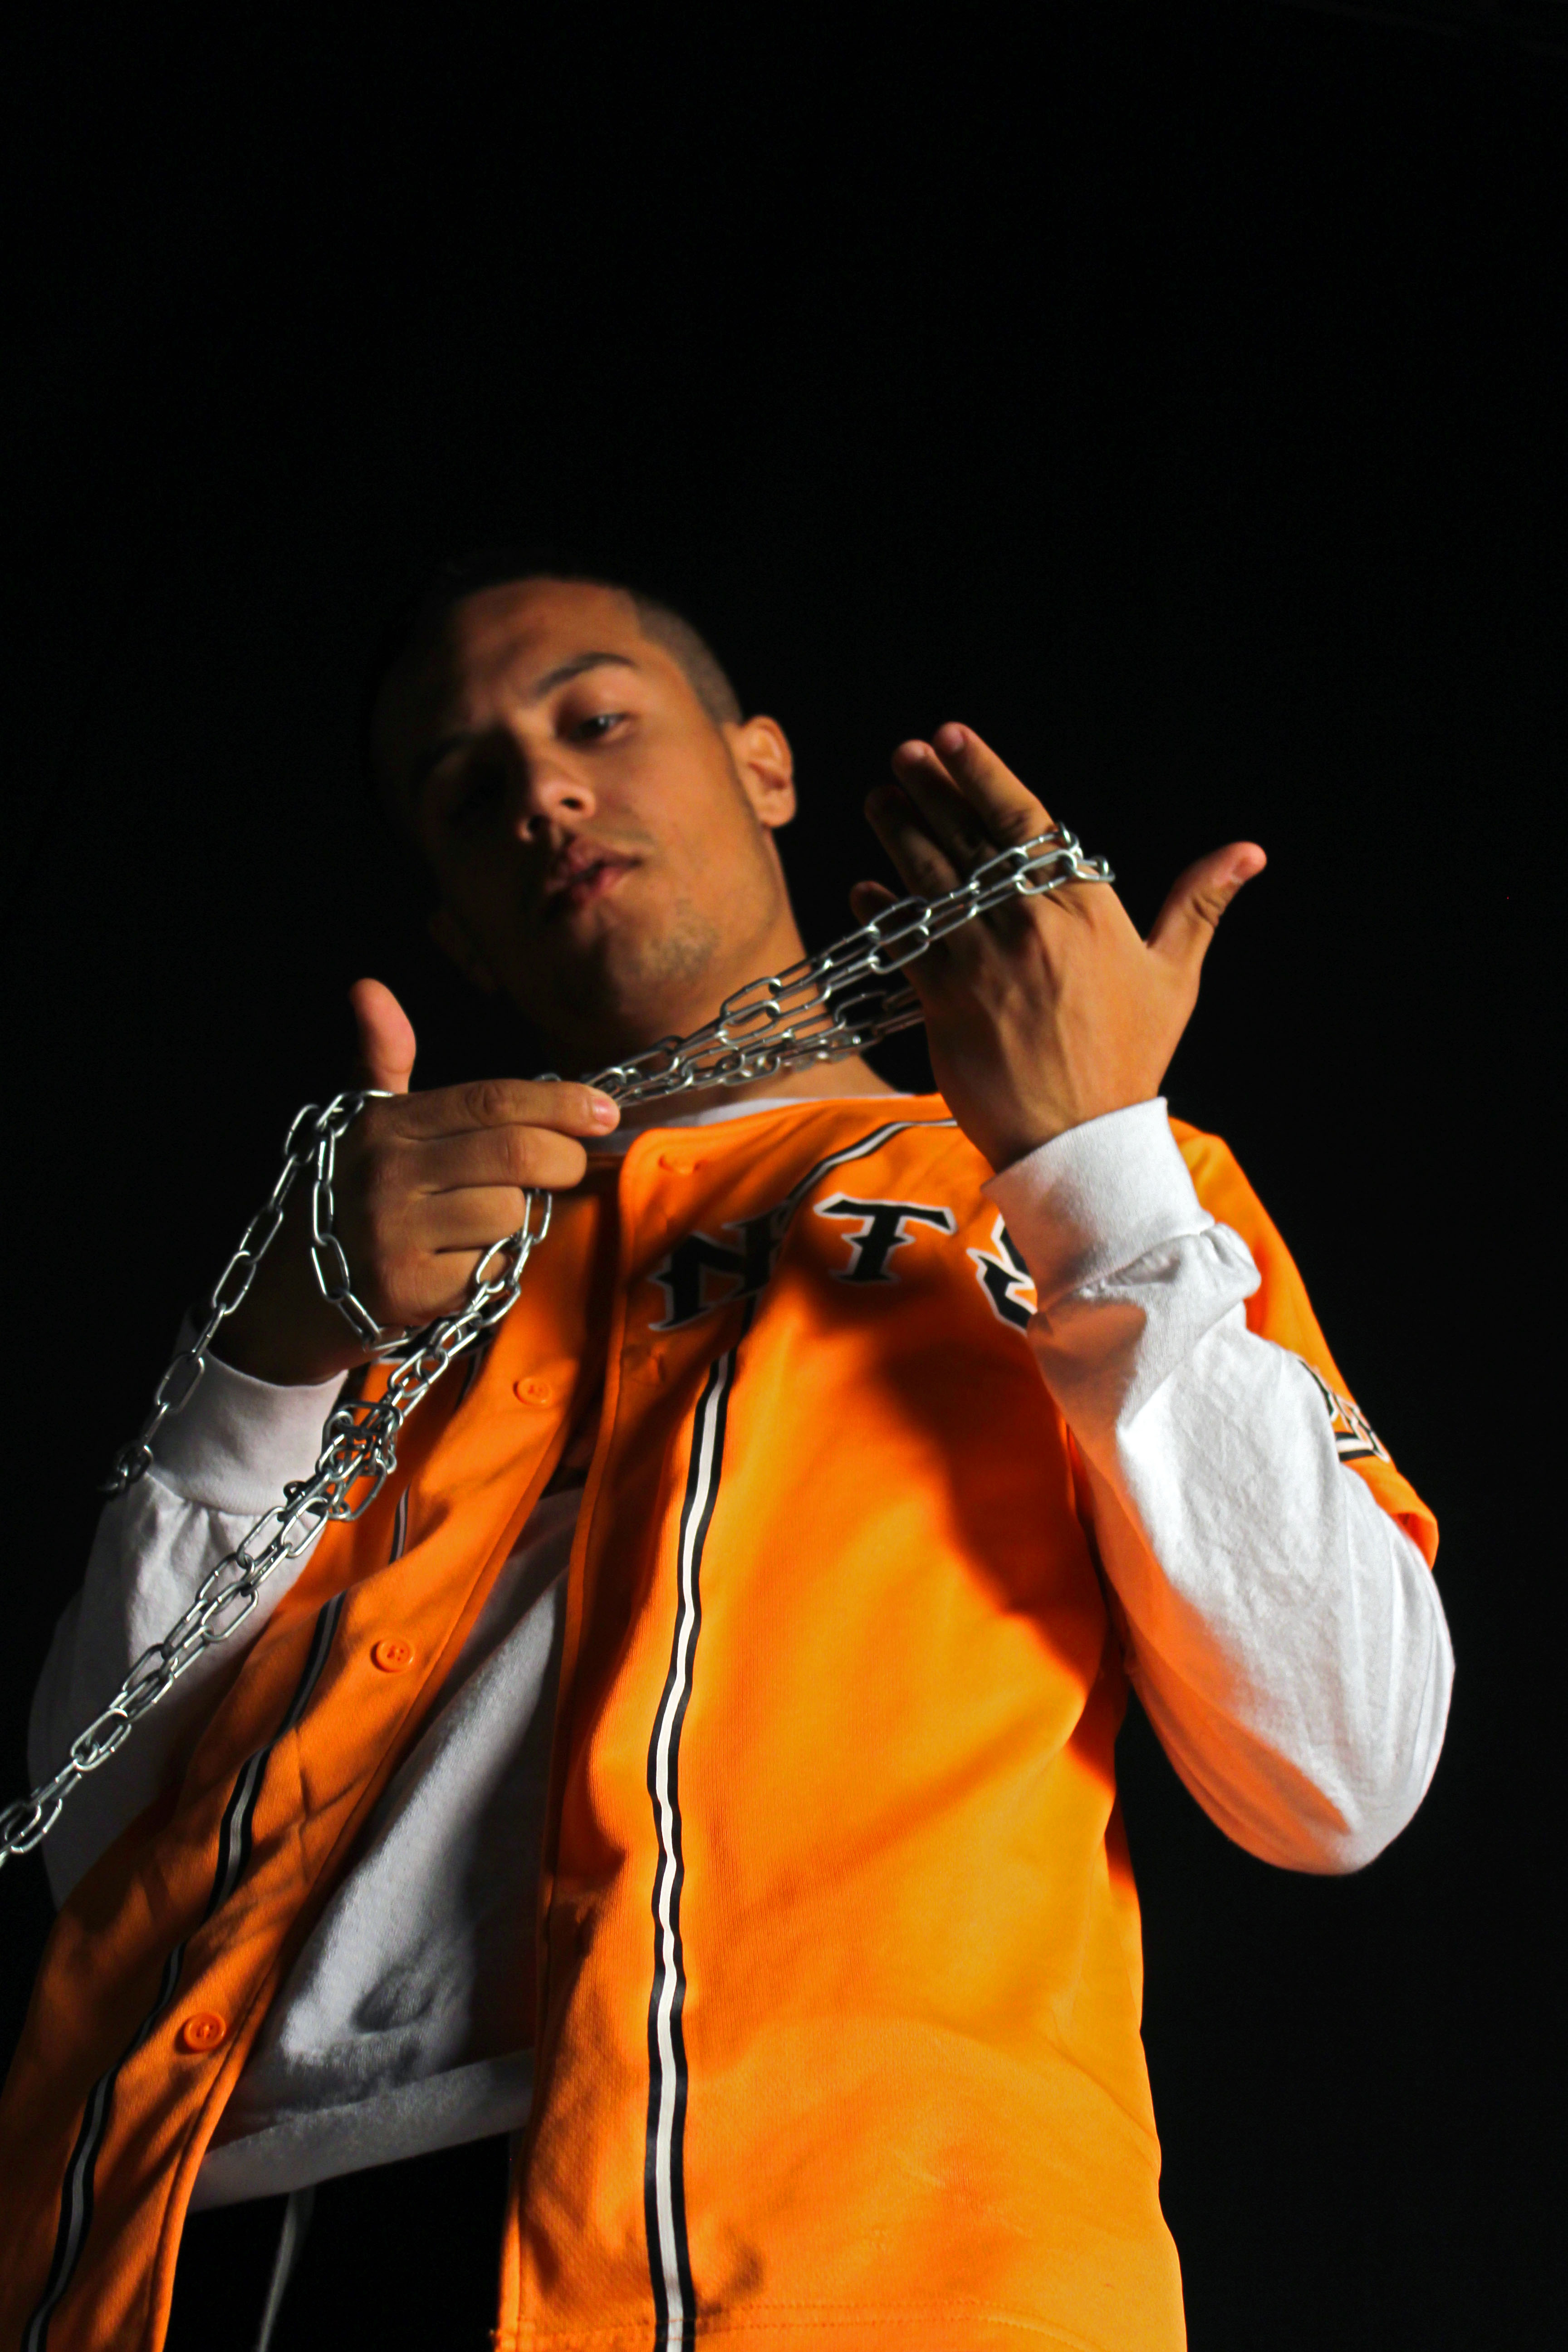
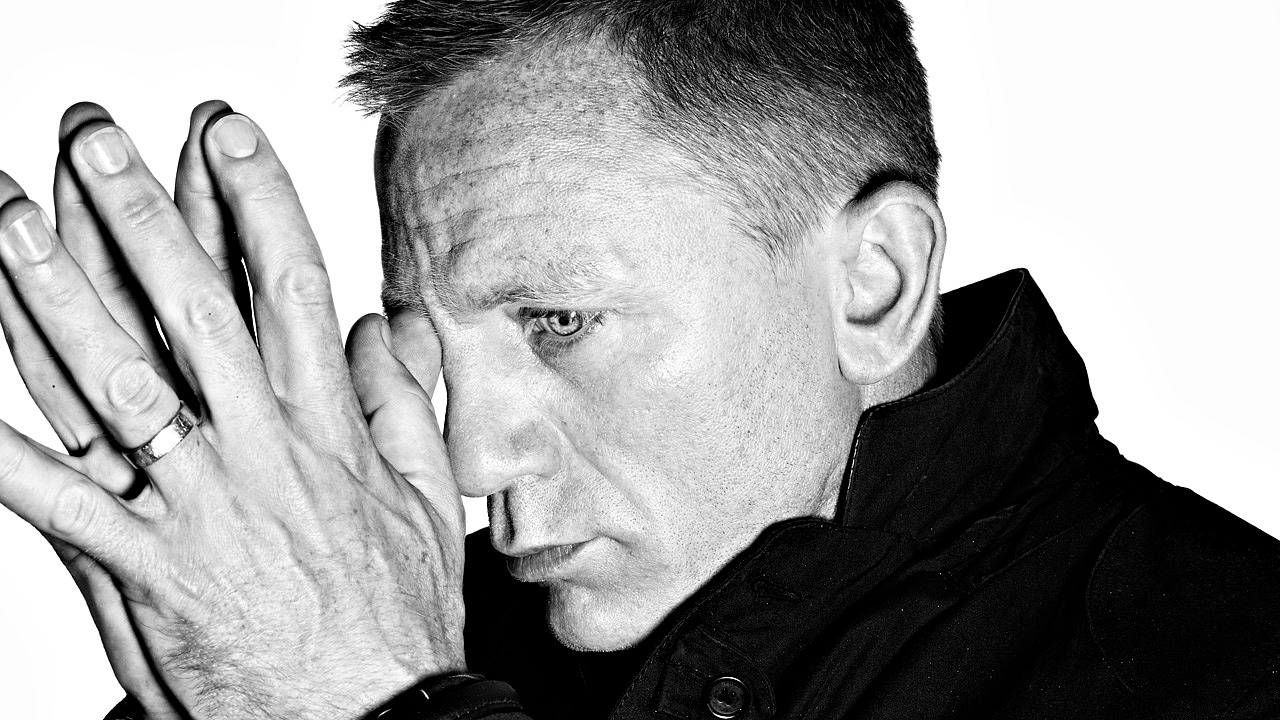
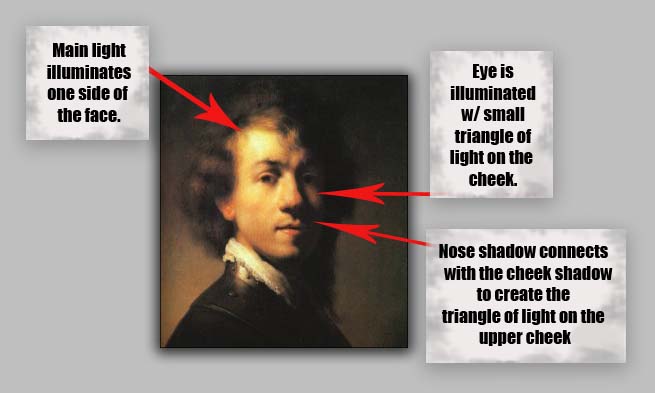
Single point lighting or “one point lighting”, is the technique of carrying out a photoshoot within a studio with only a single source of light, for example large lamps, spotlights or torches.

It enables reflective lighting techniques, and it sometimes, can be used to focus a viewers attention to a particular aspect of a photograph or subject in the photograph, or it can be used to create shadows when used correctly that add additional depth of field and conceptual features to an image.

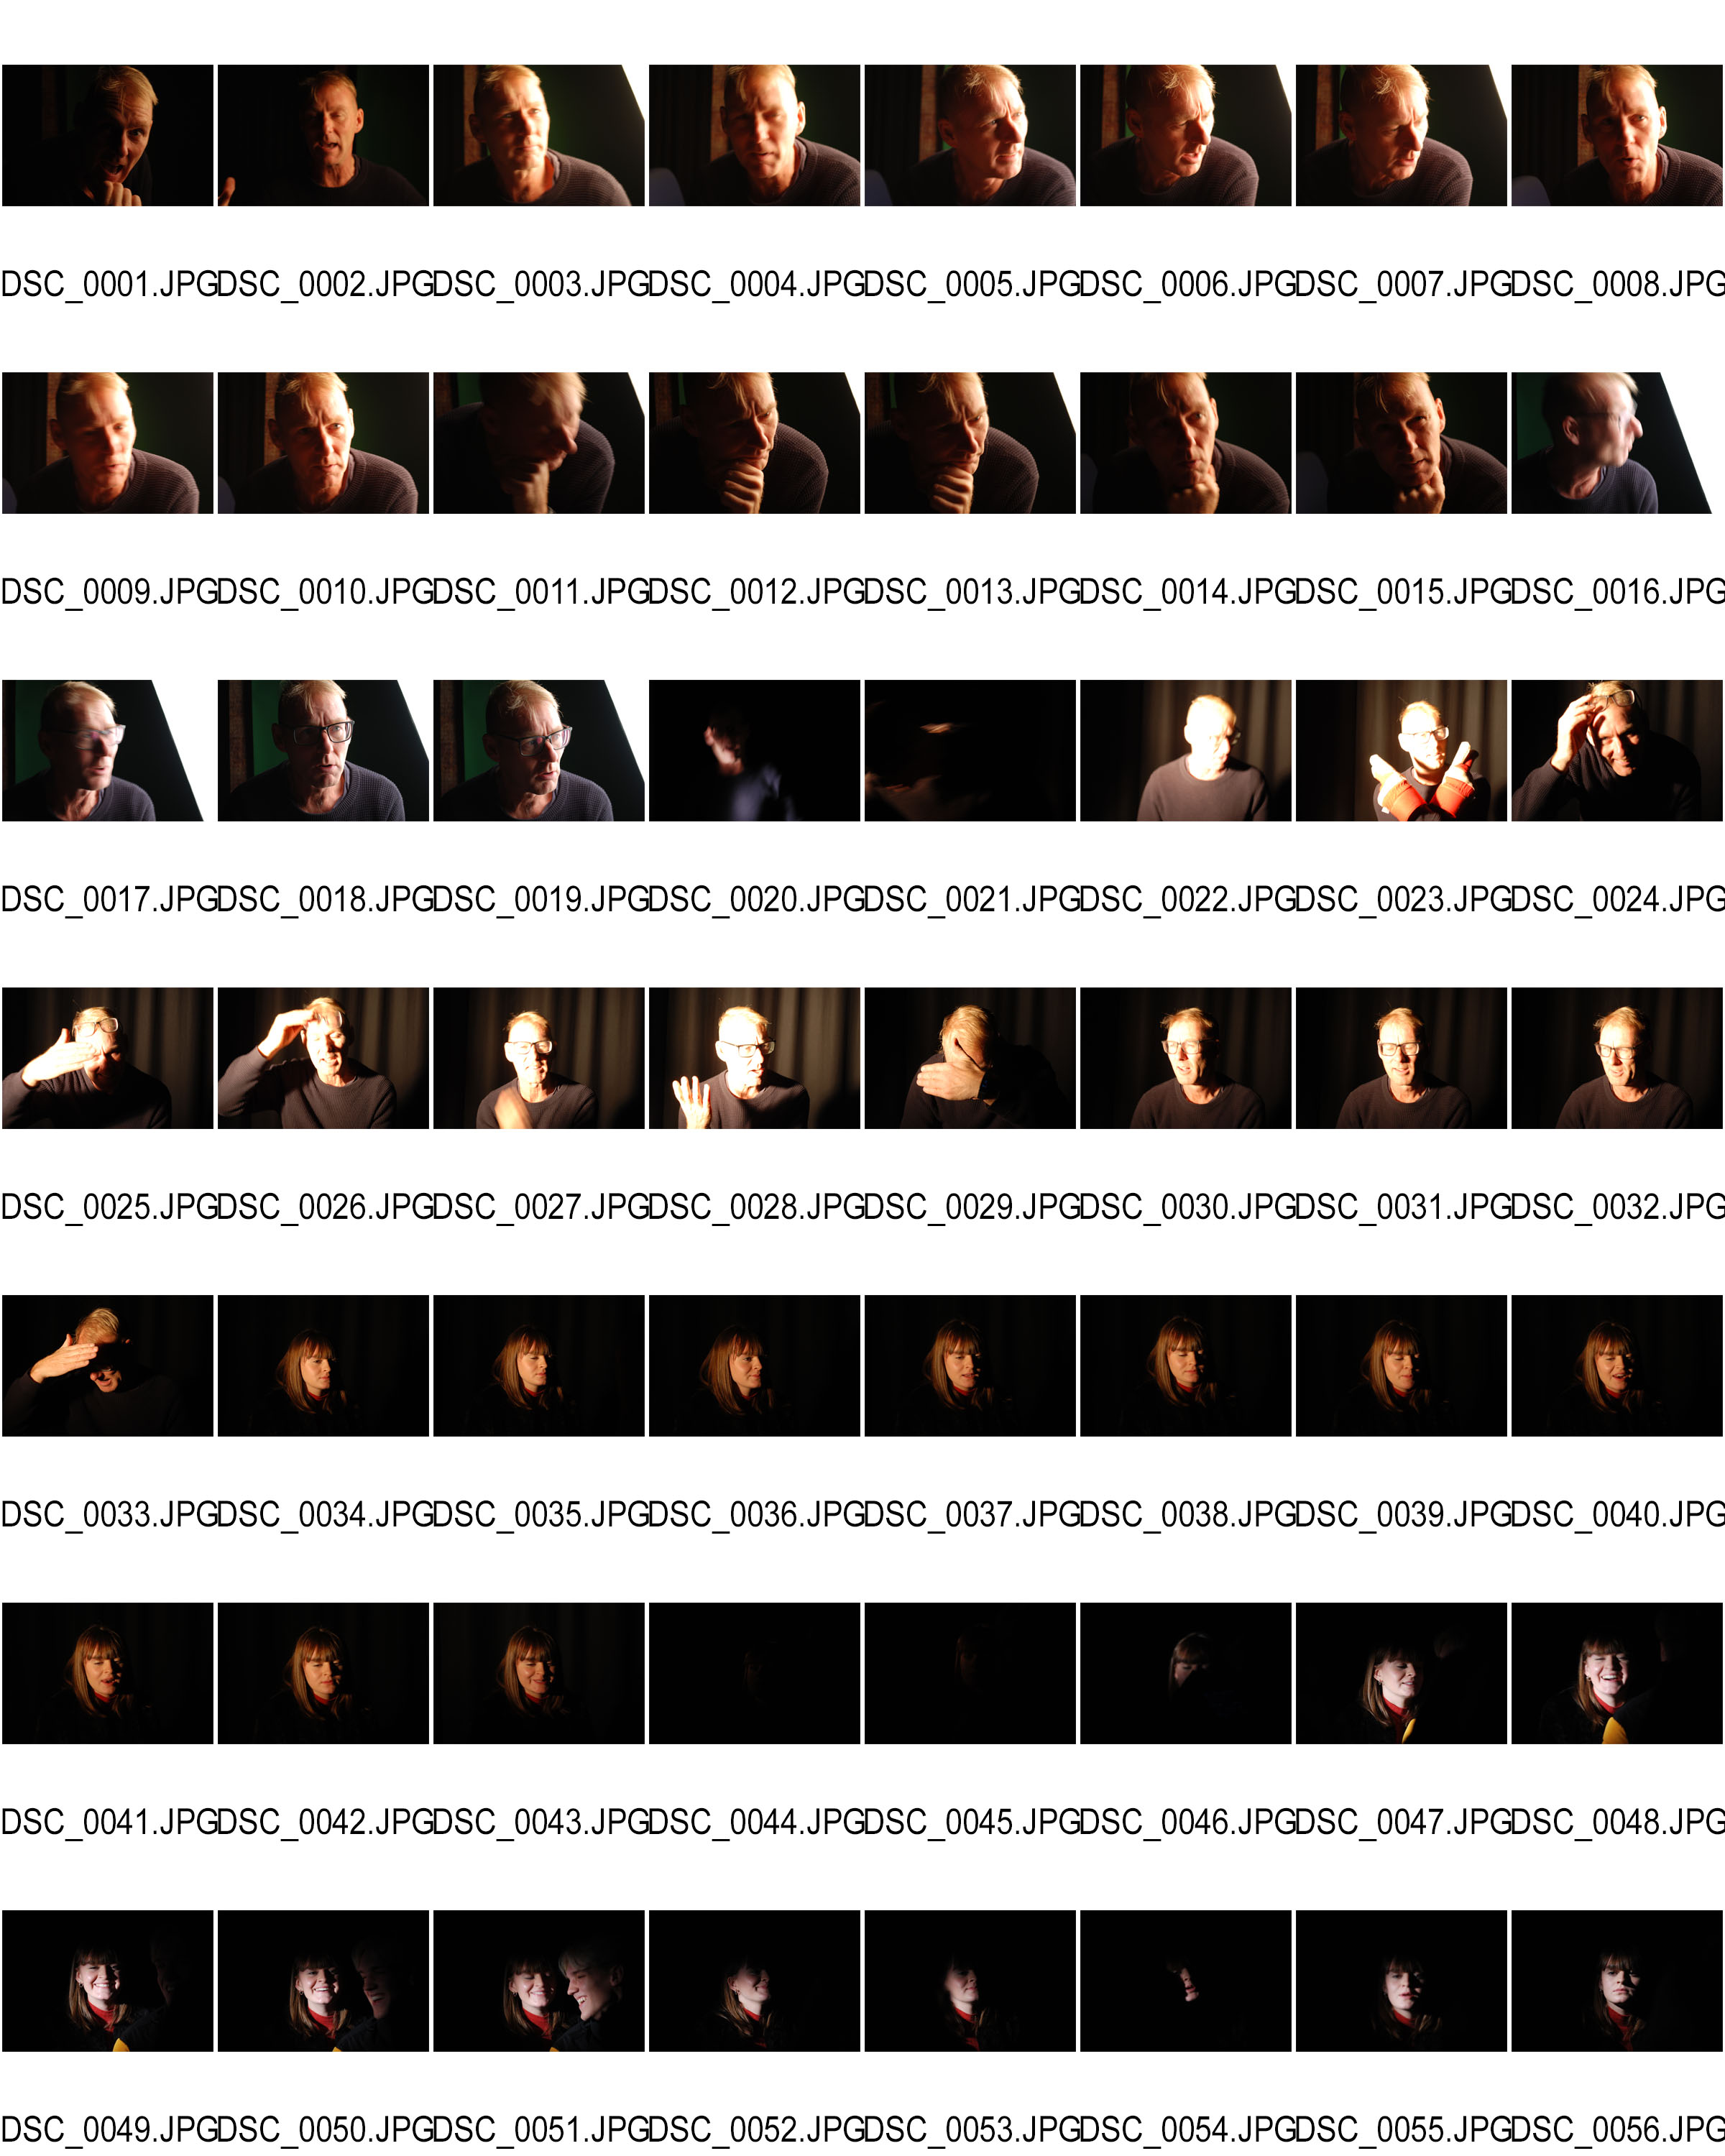
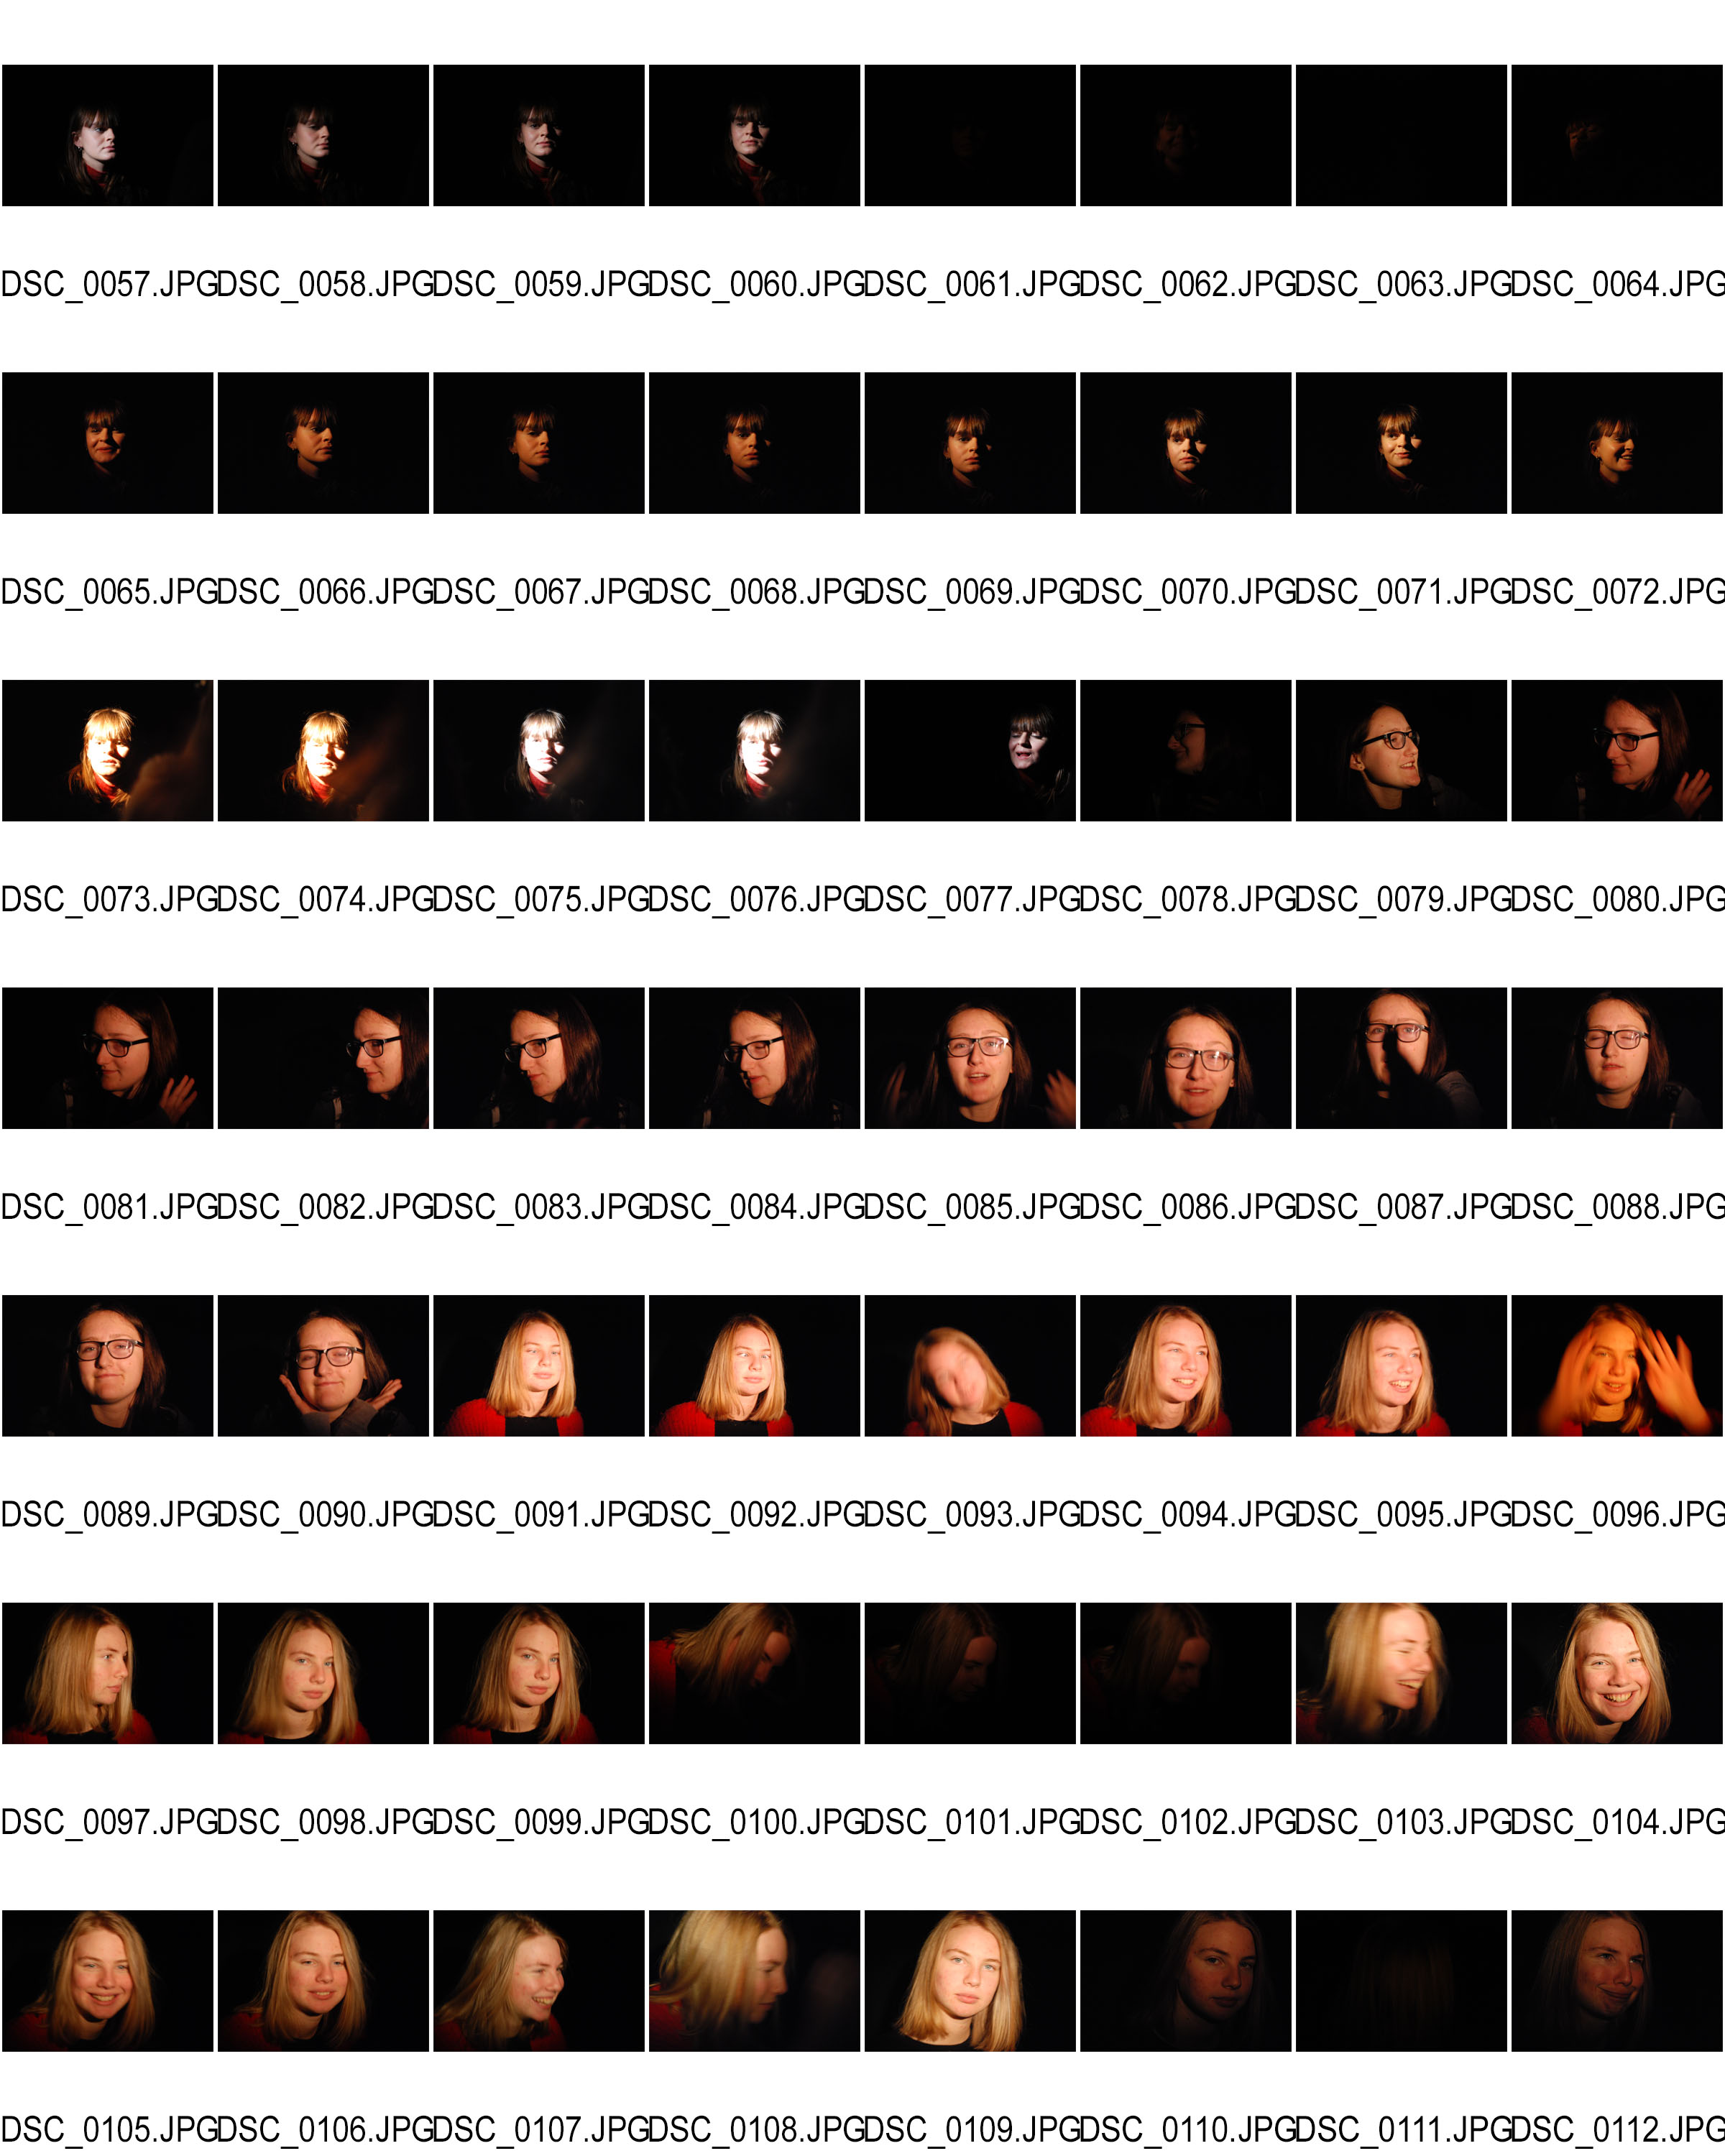
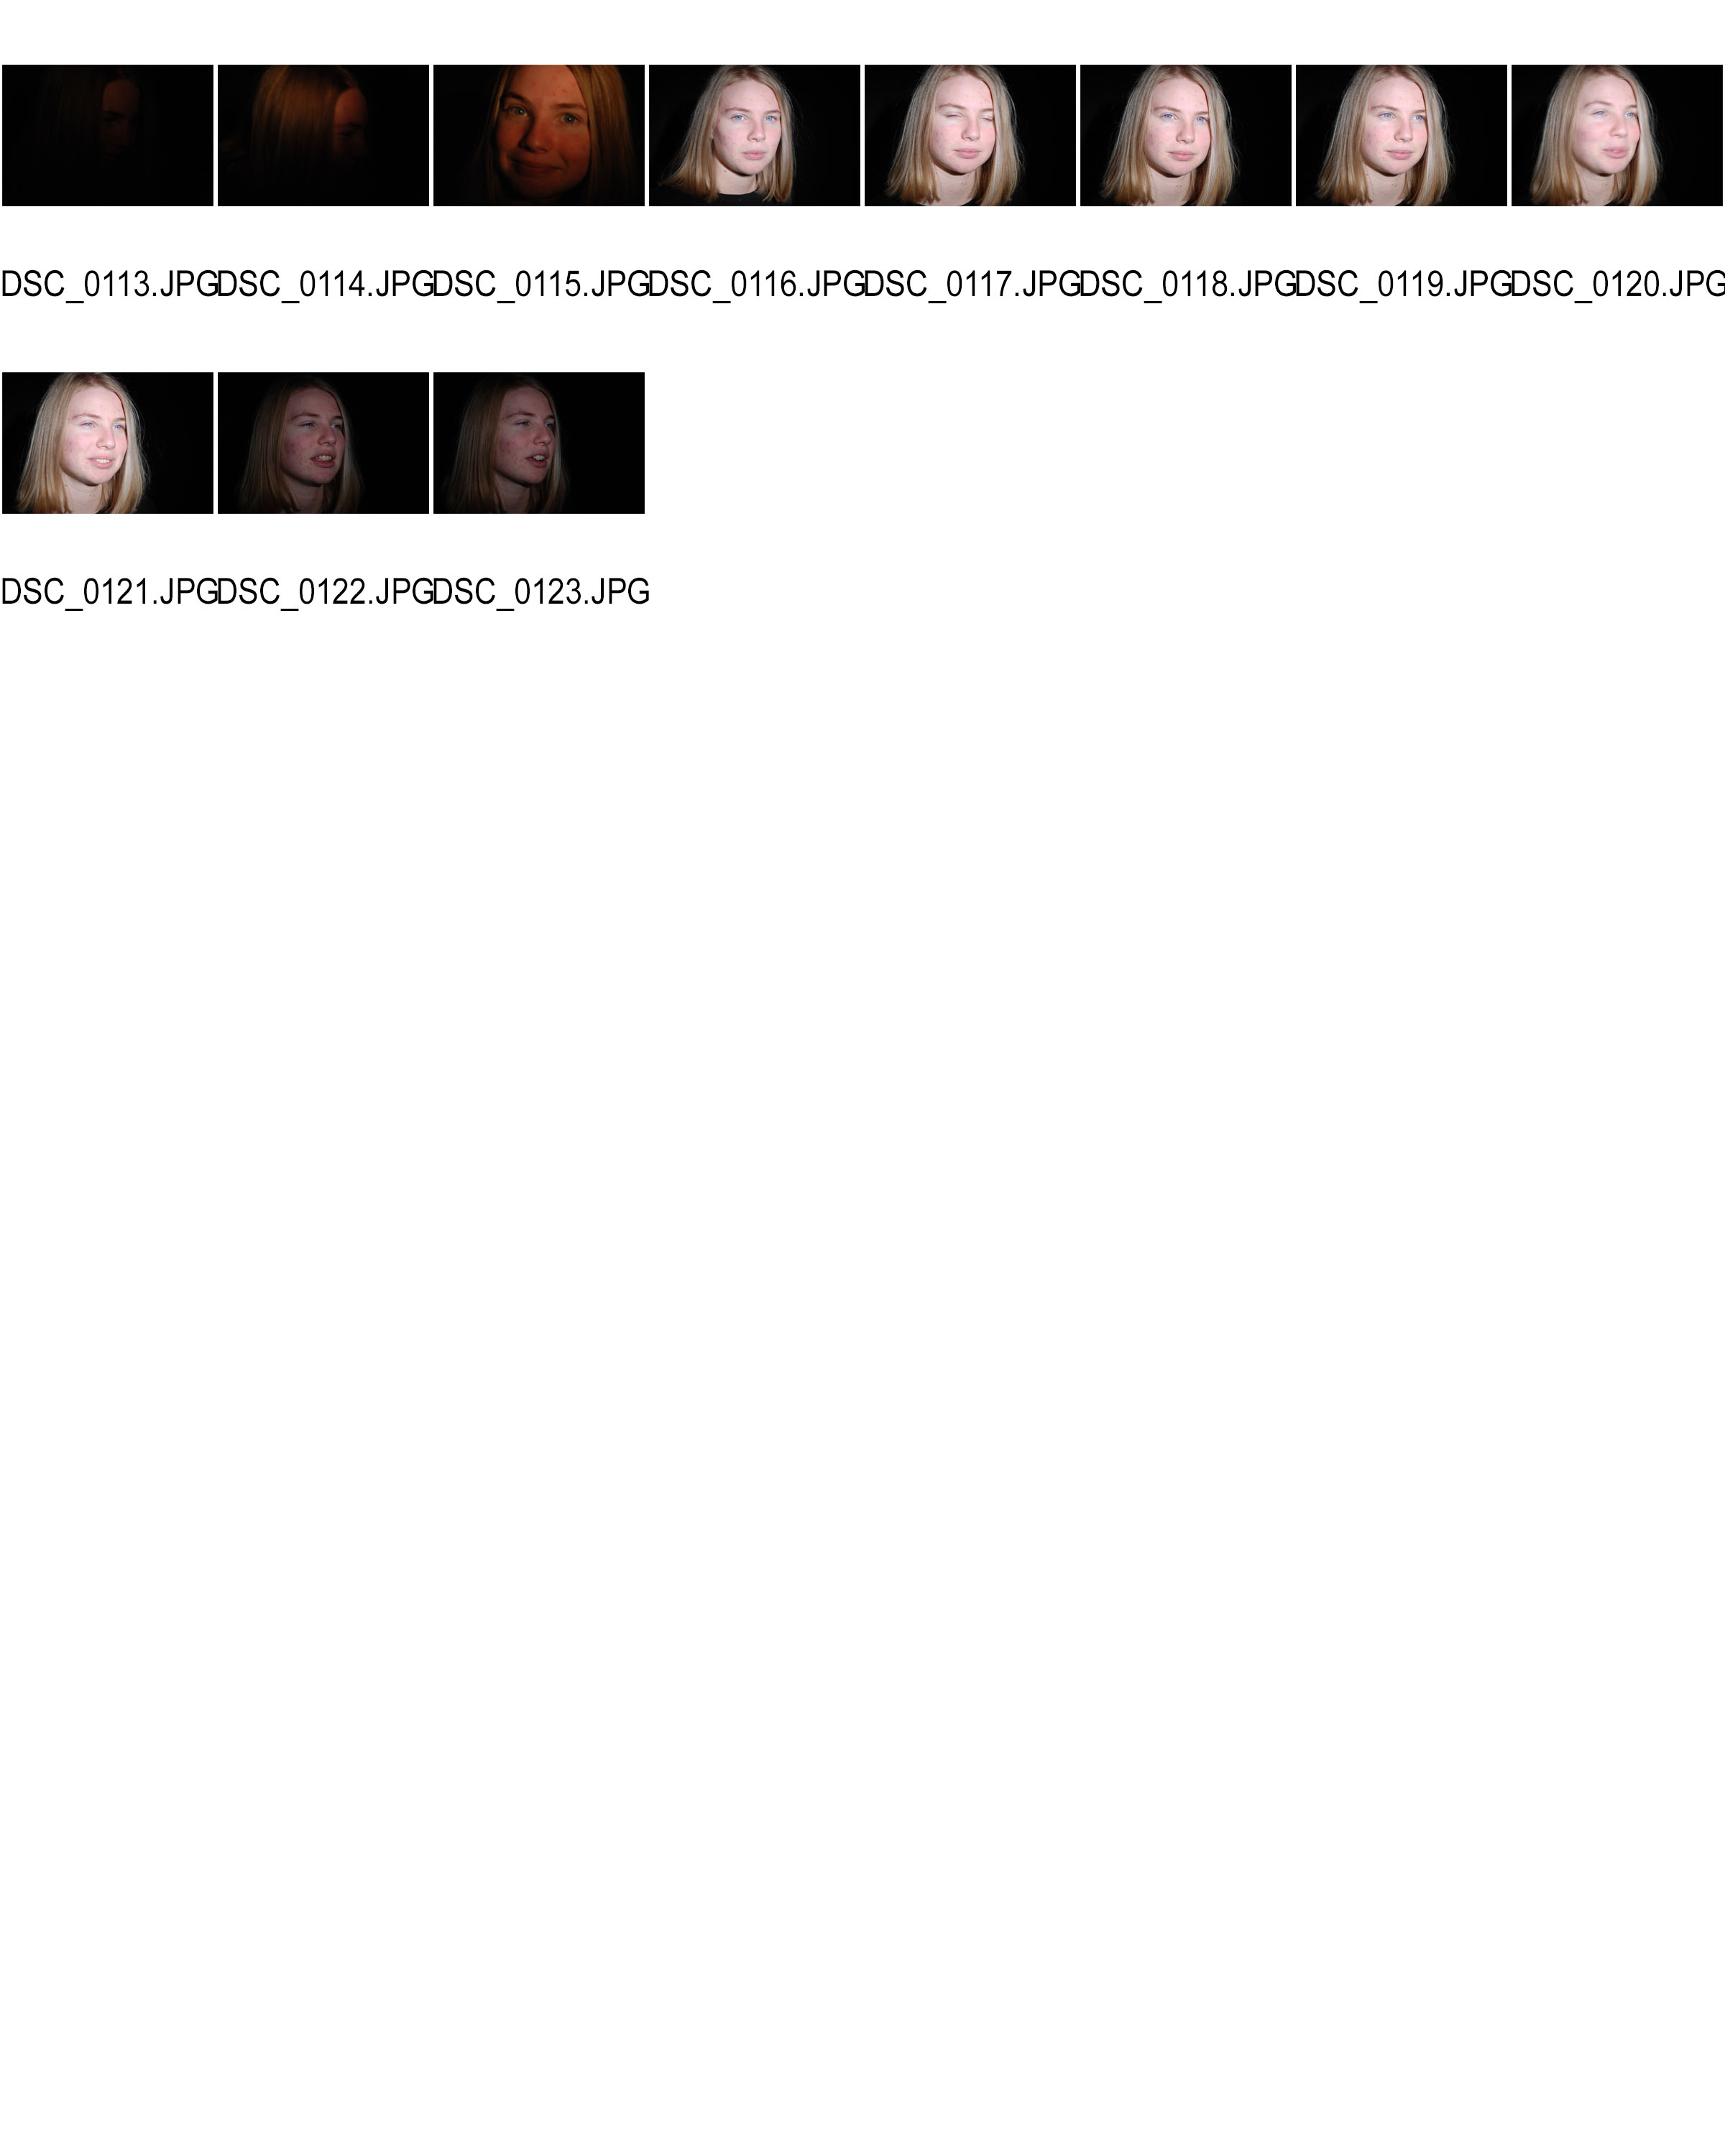
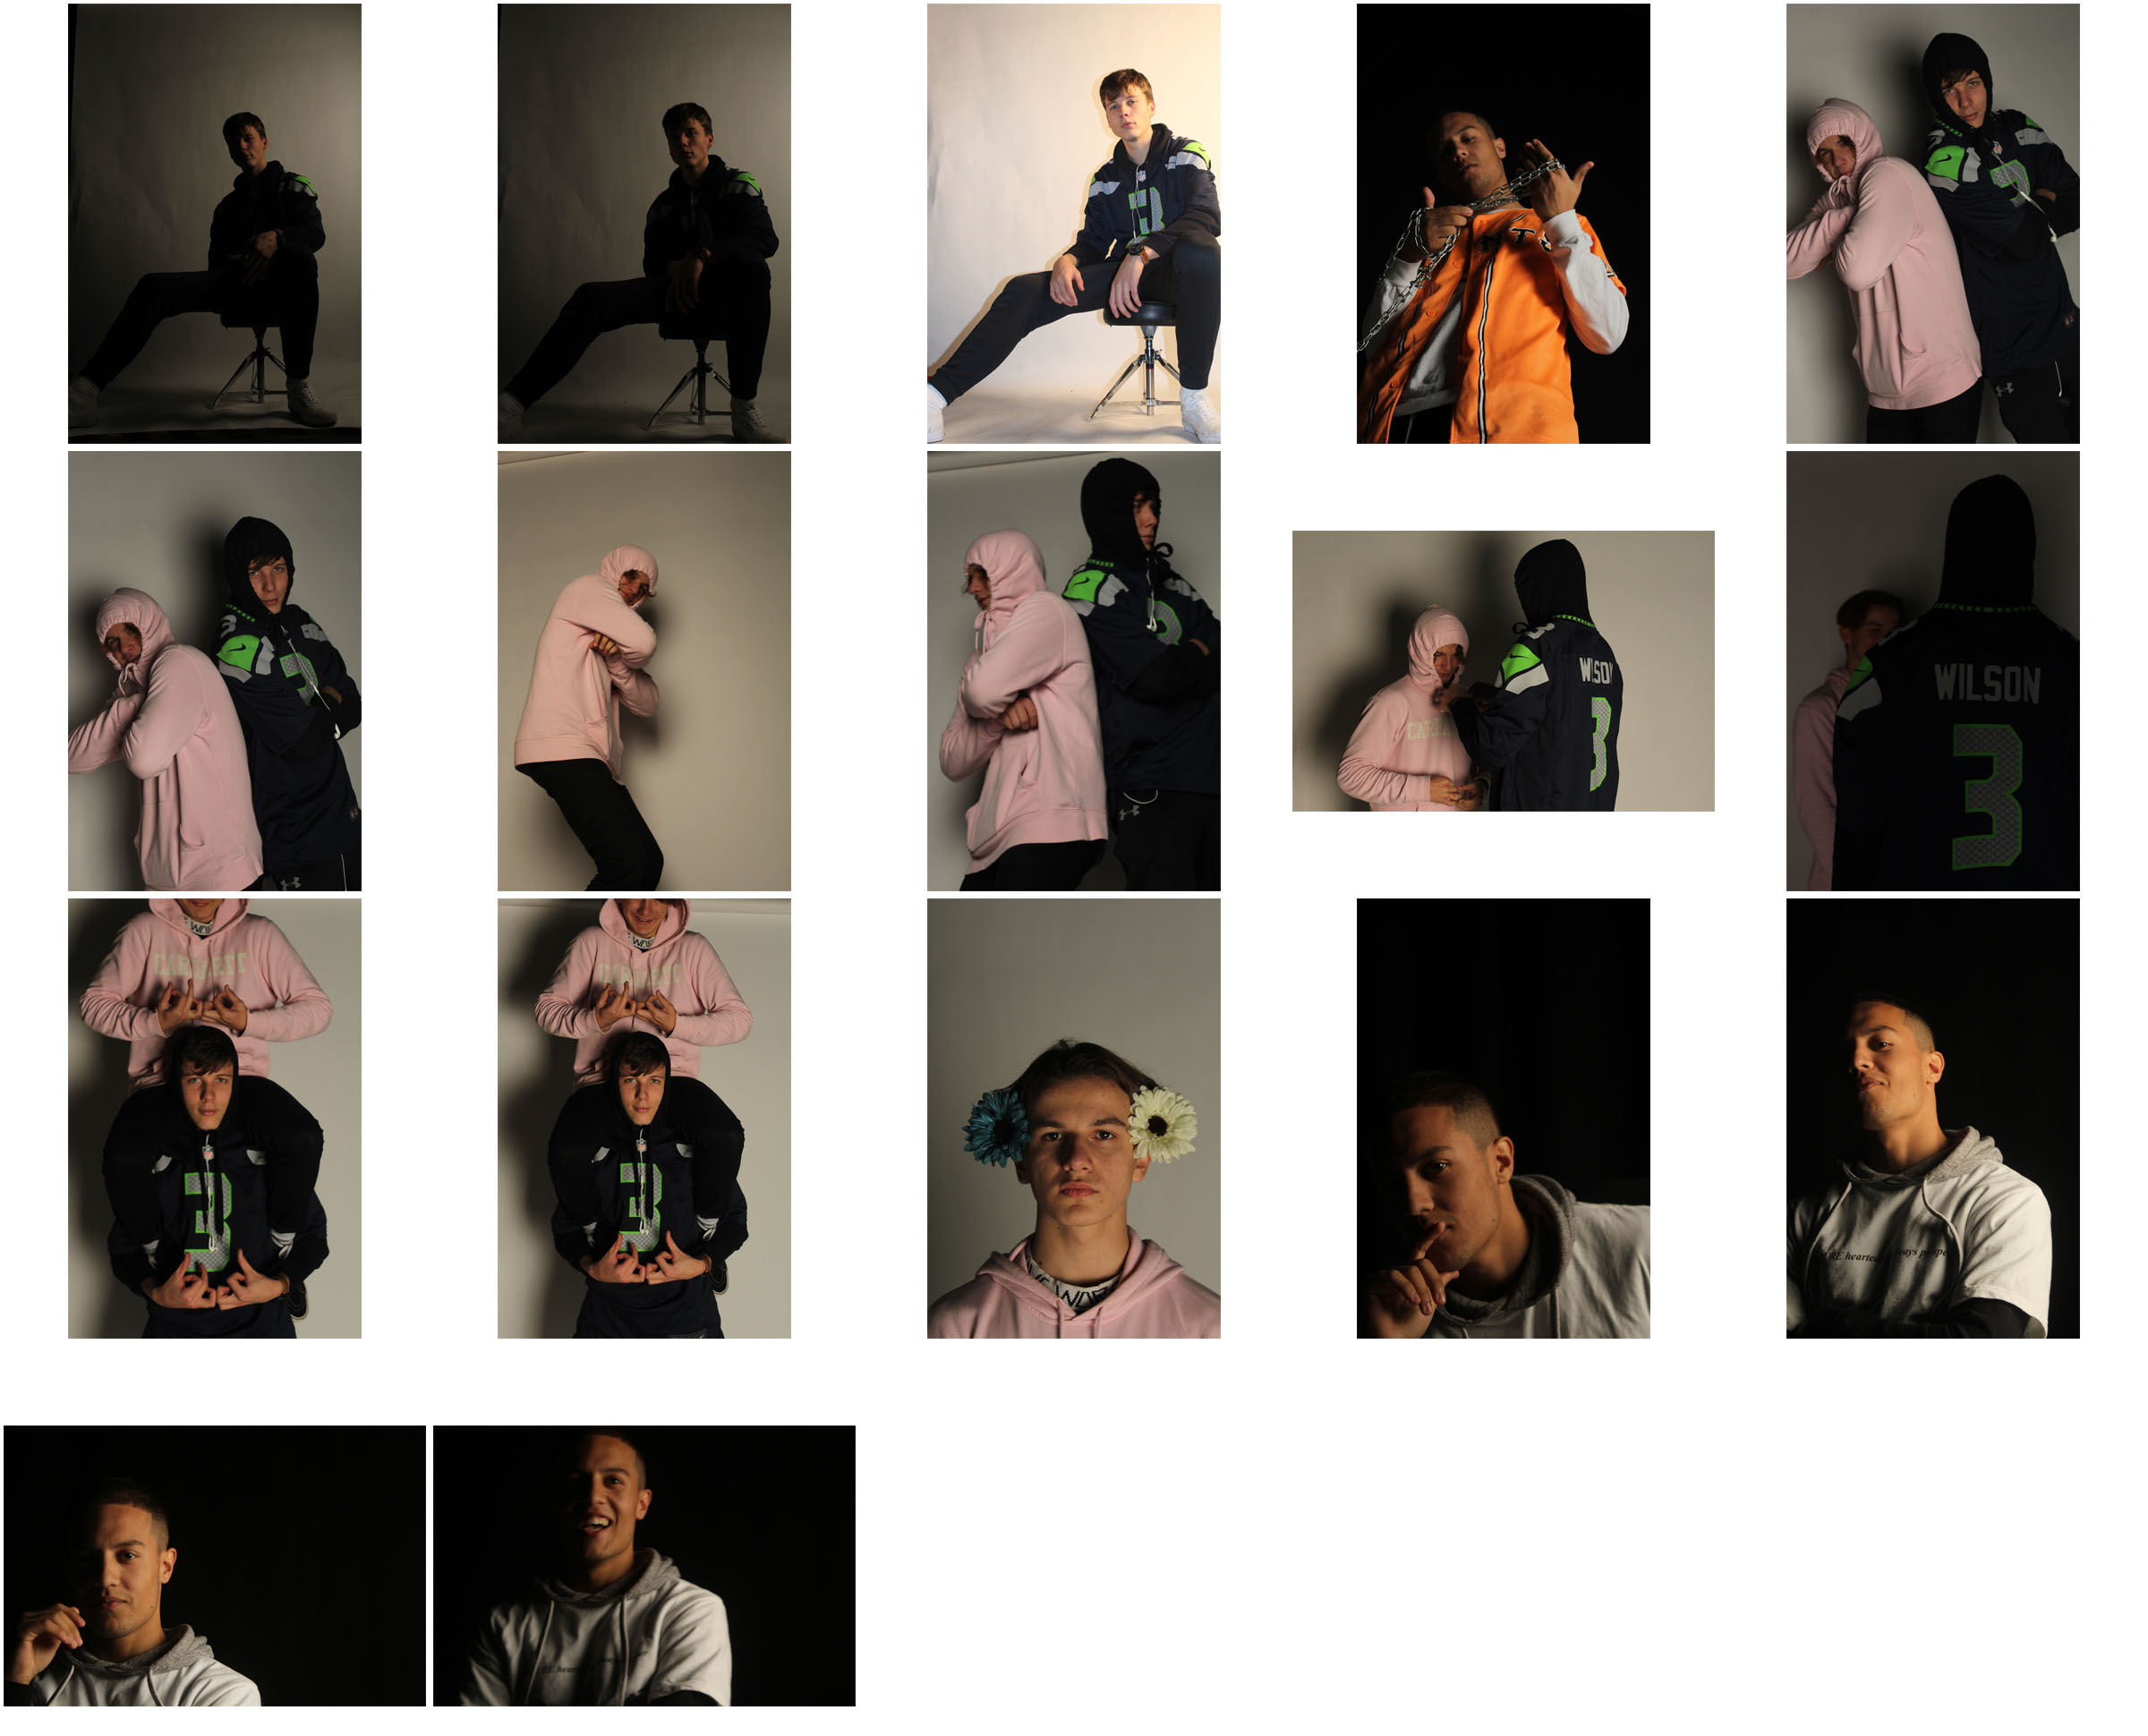
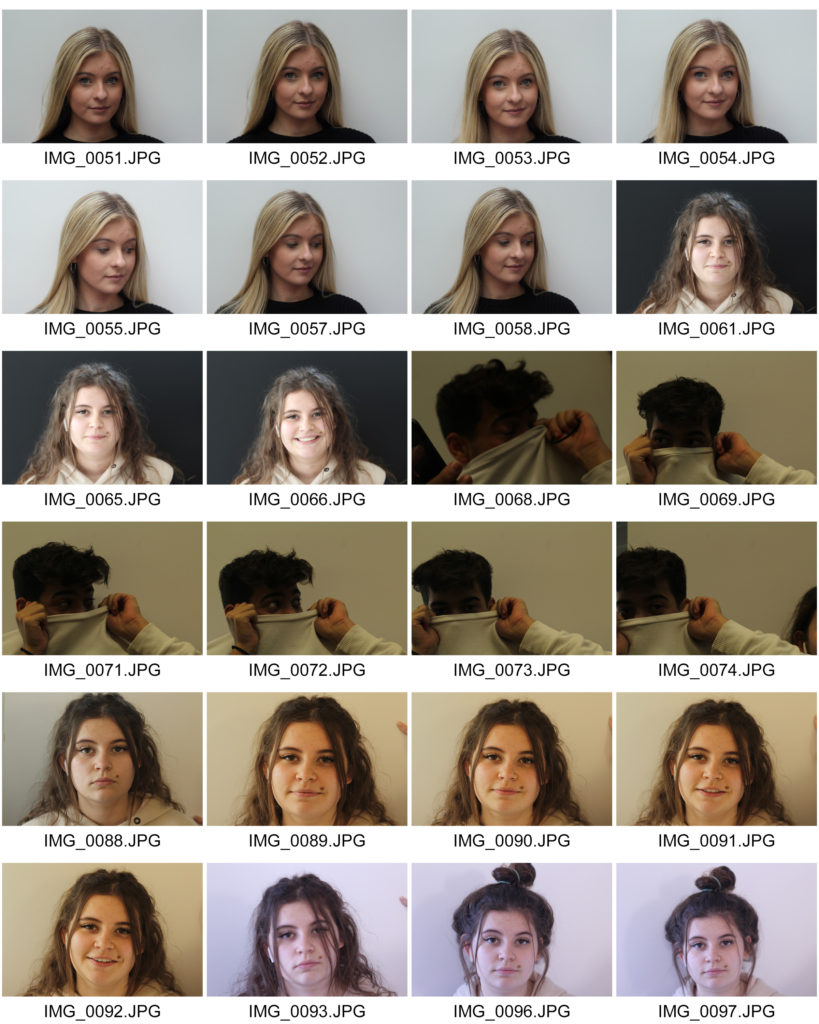
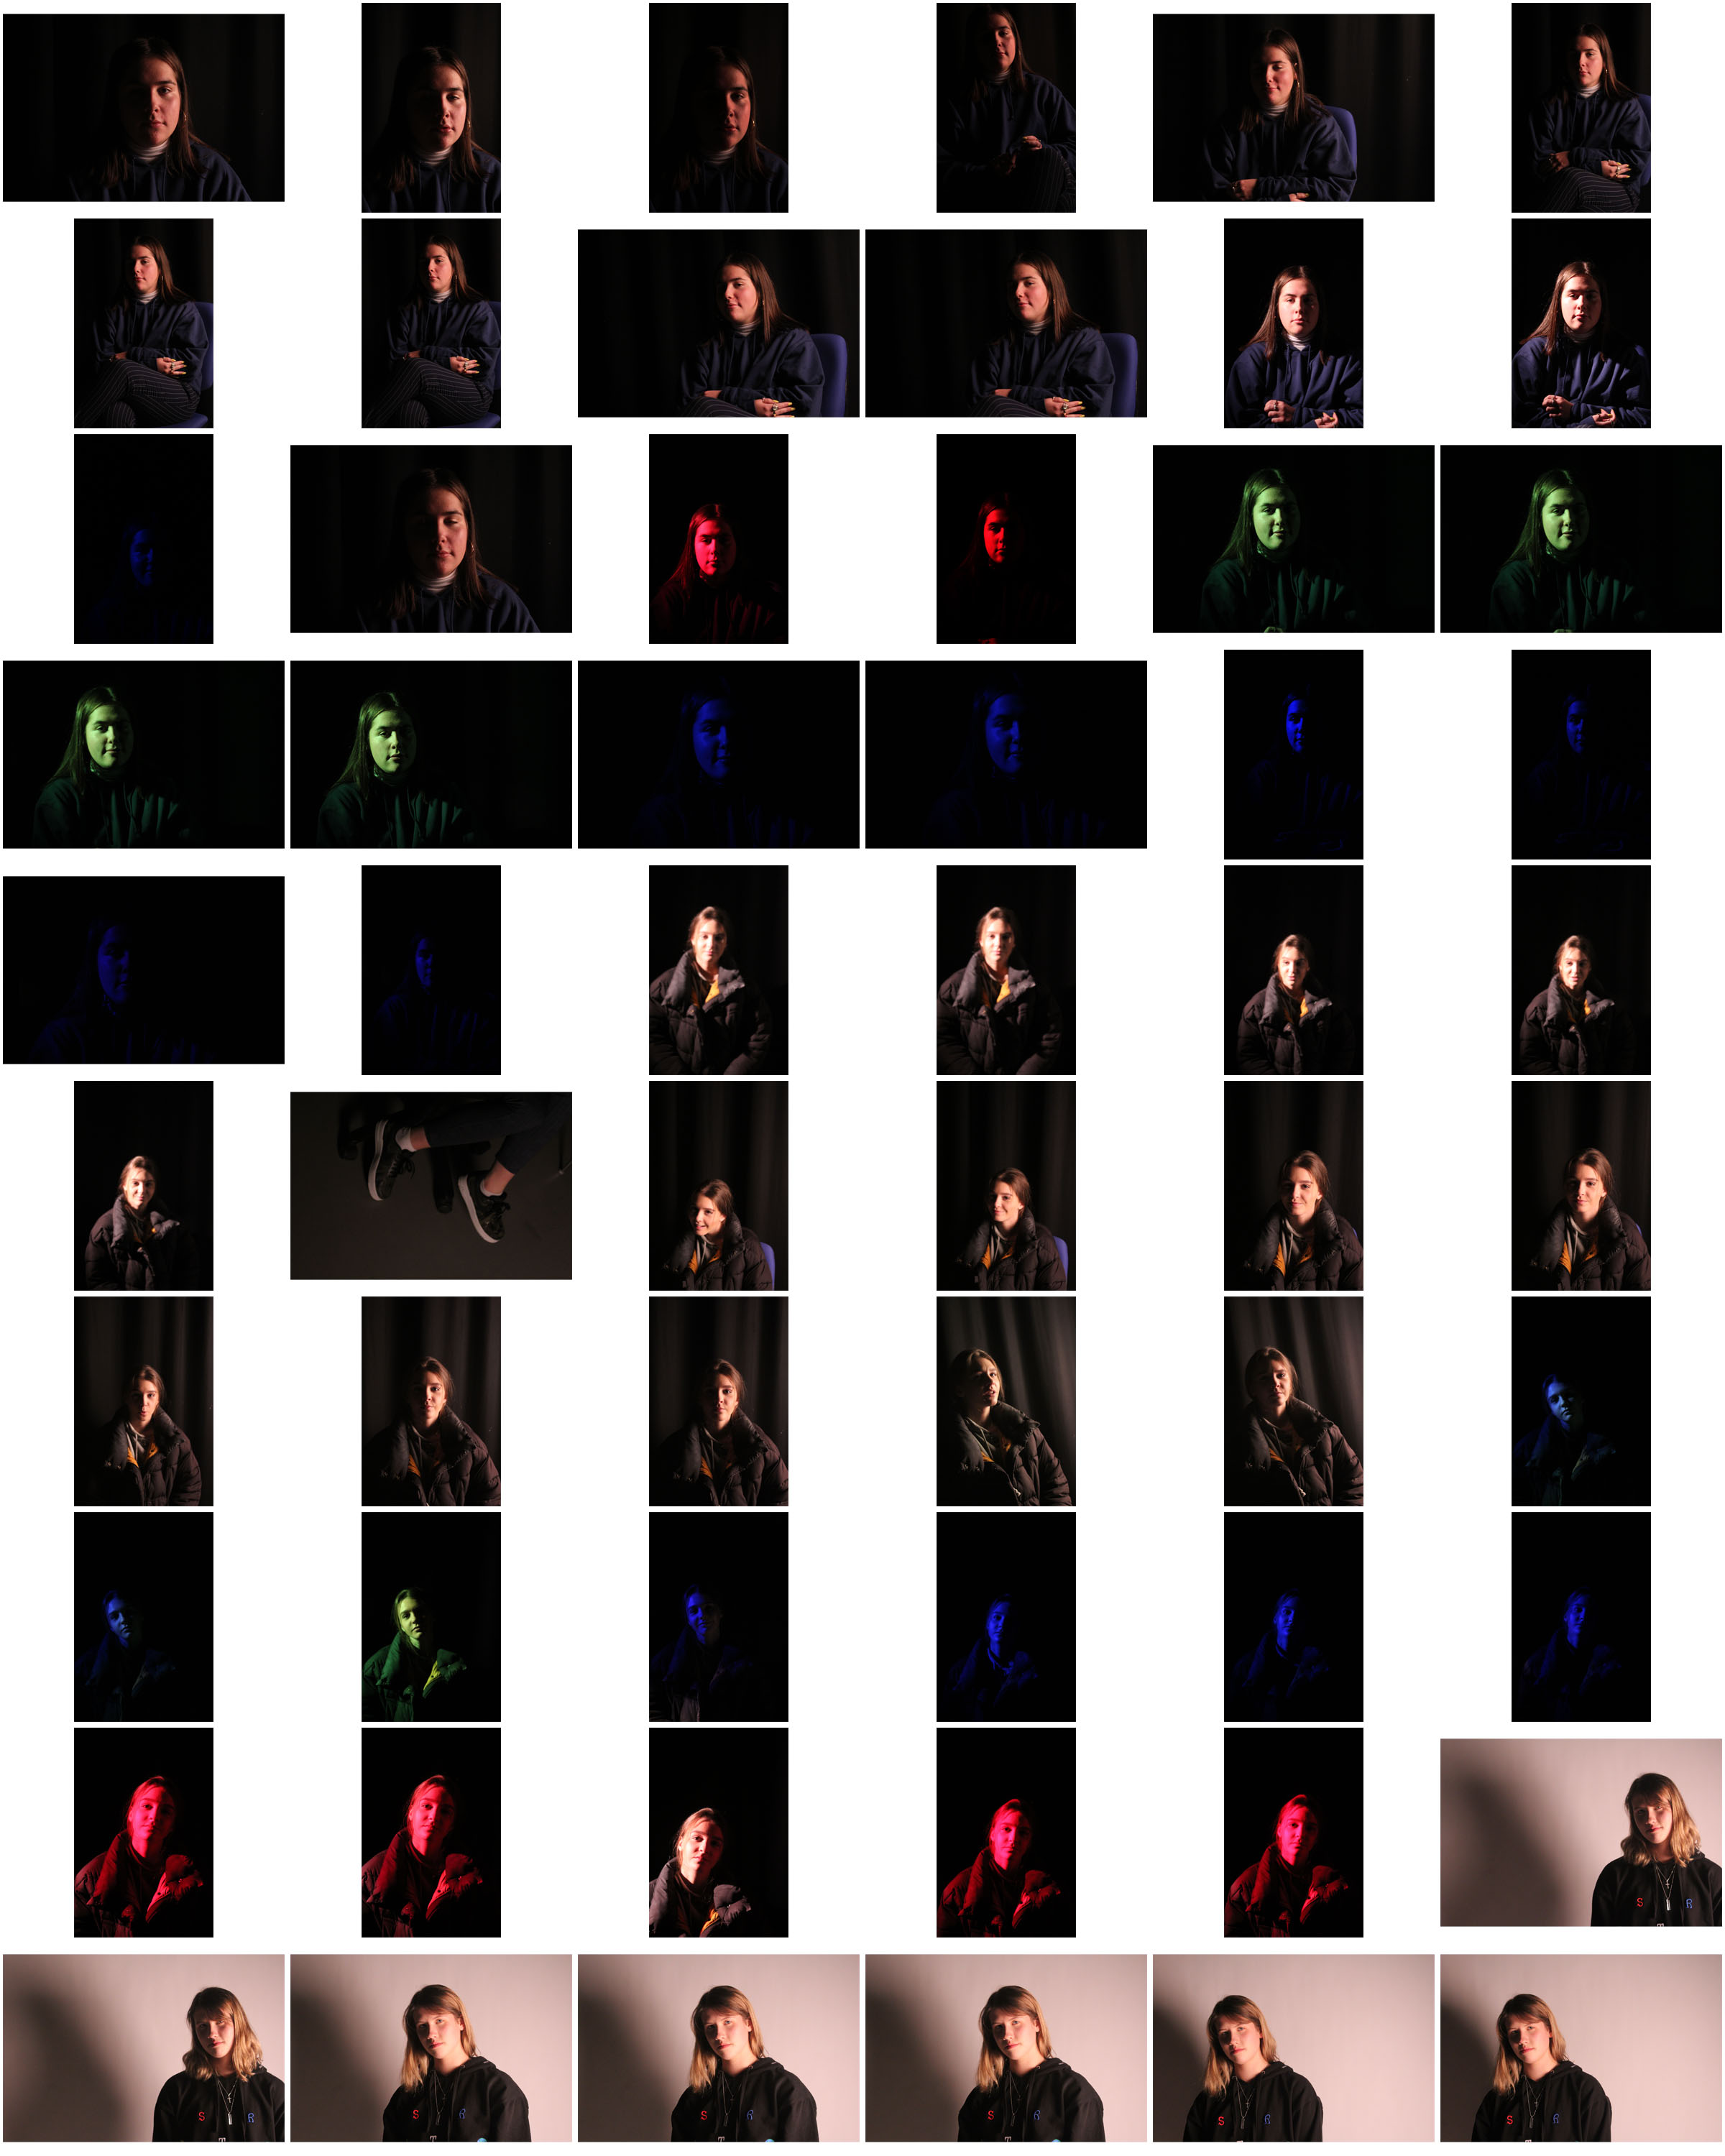
Contact sheet of images:


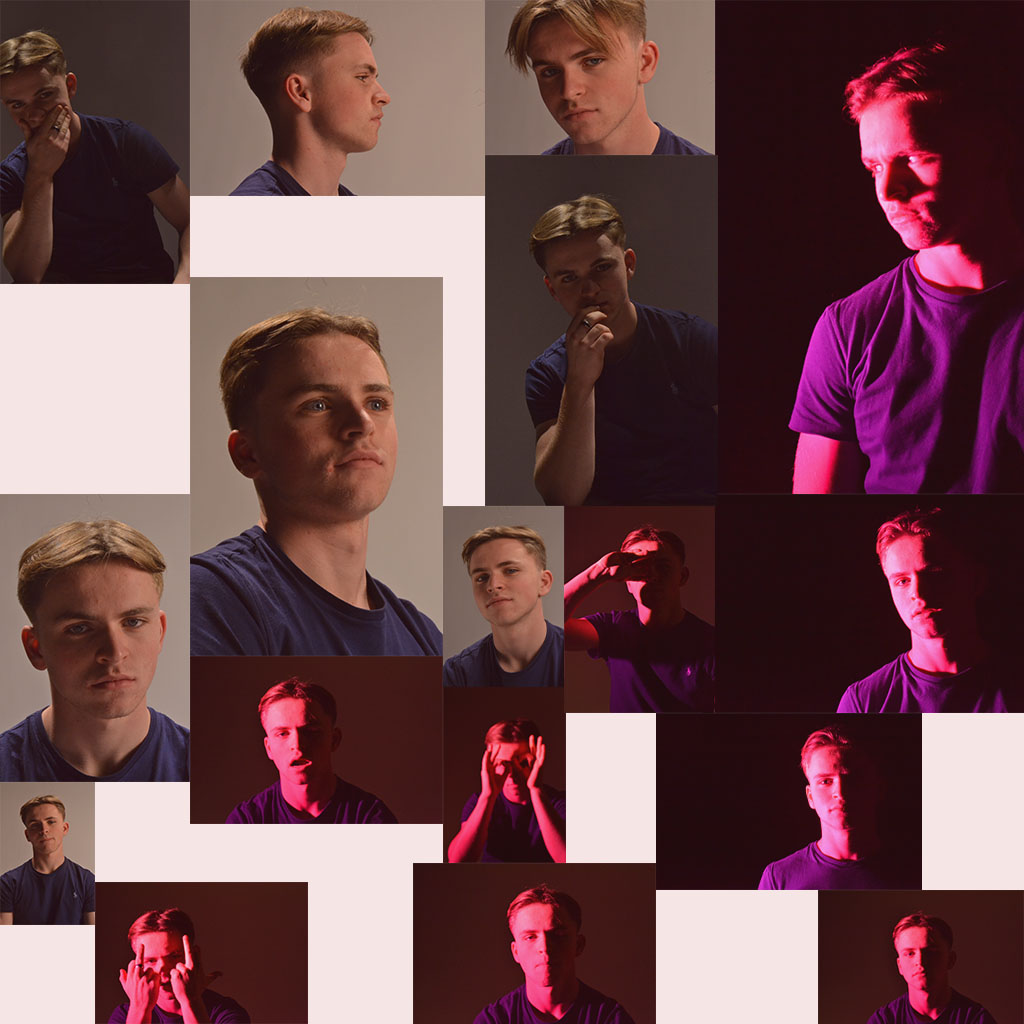
From this contact sheet I picked out my favourite two images from the shoot and edited them in Adobe Photoshop.

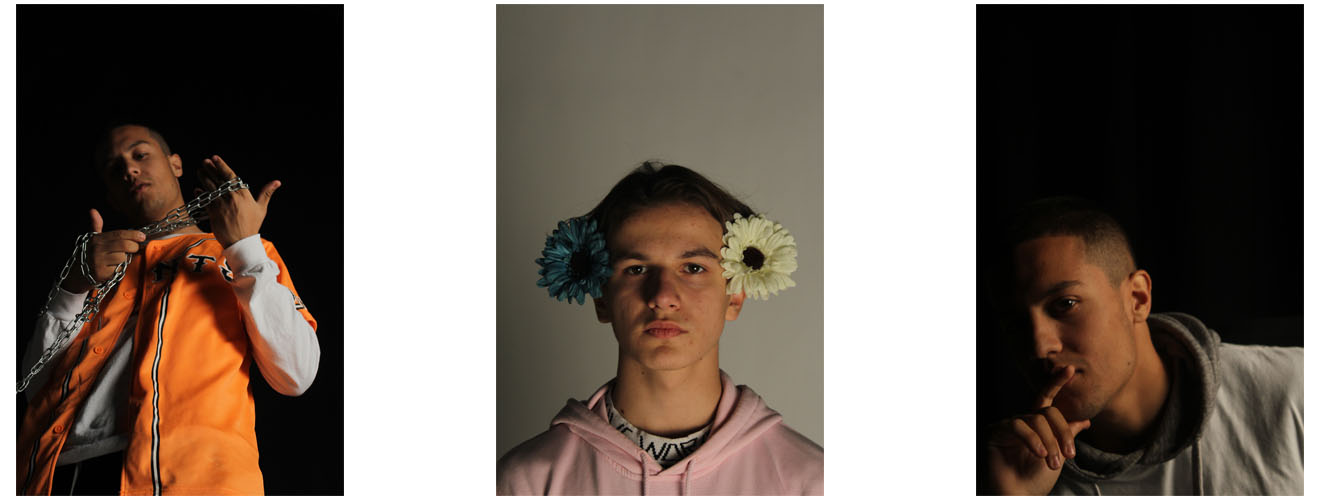
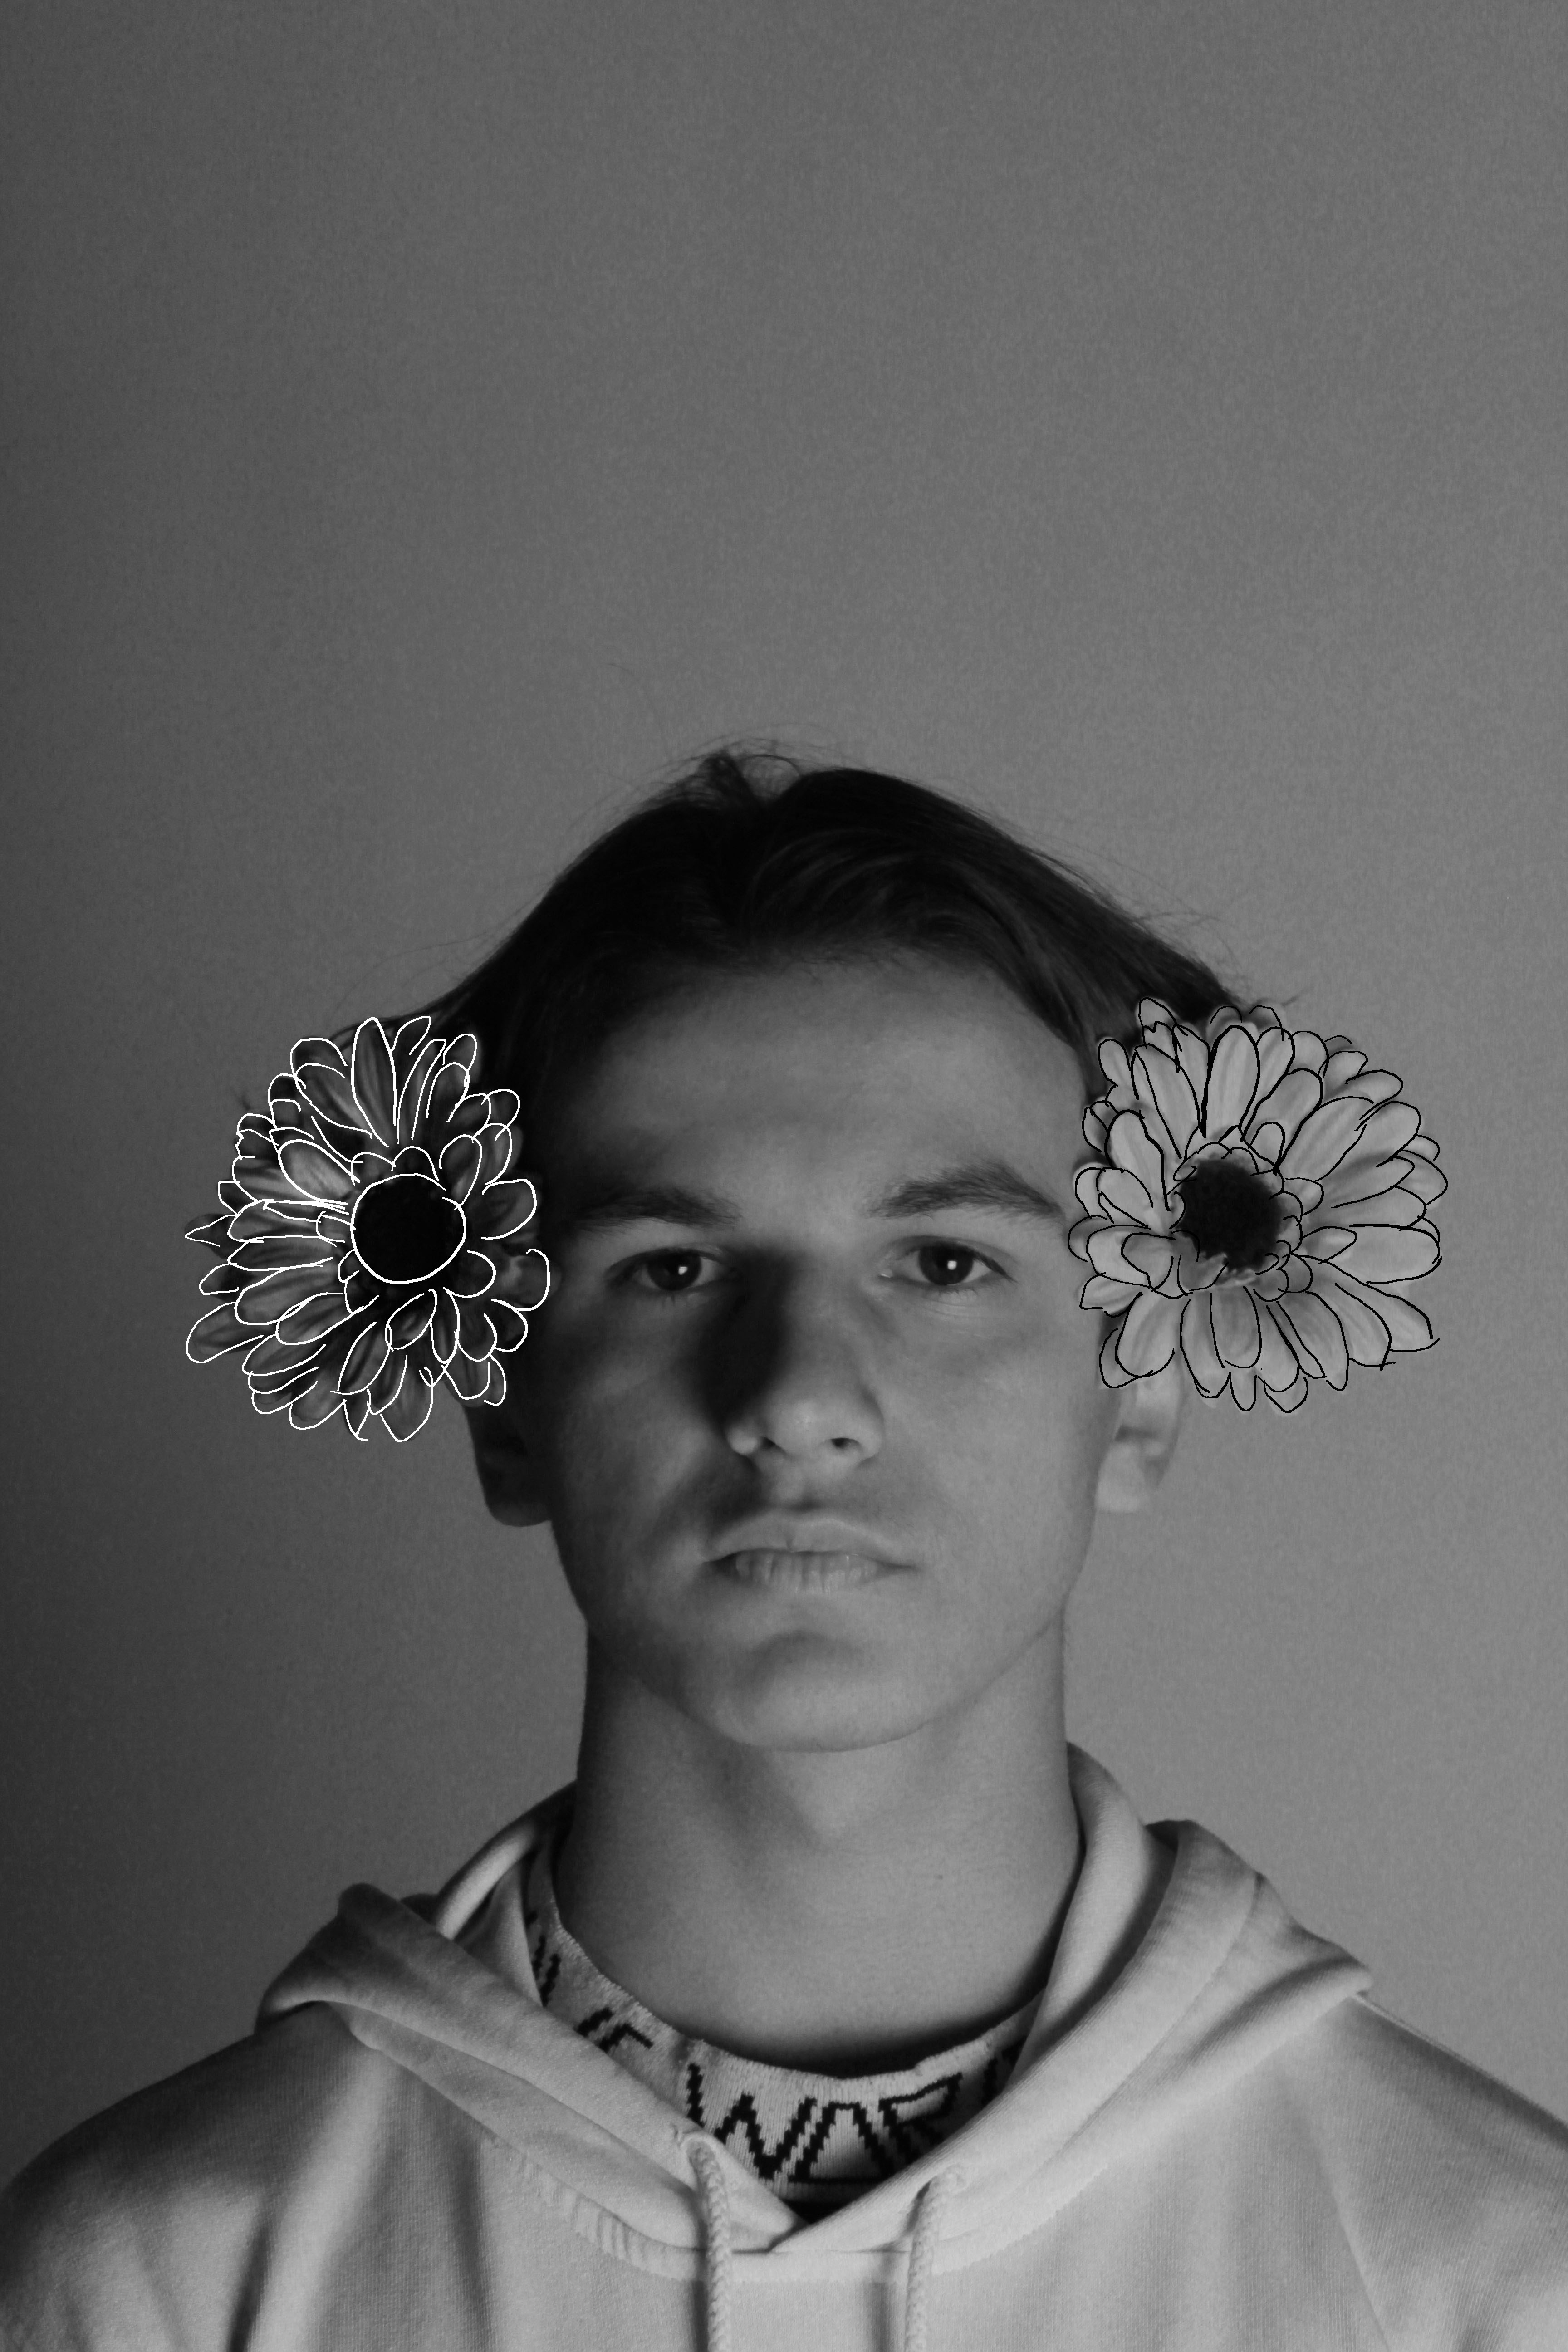
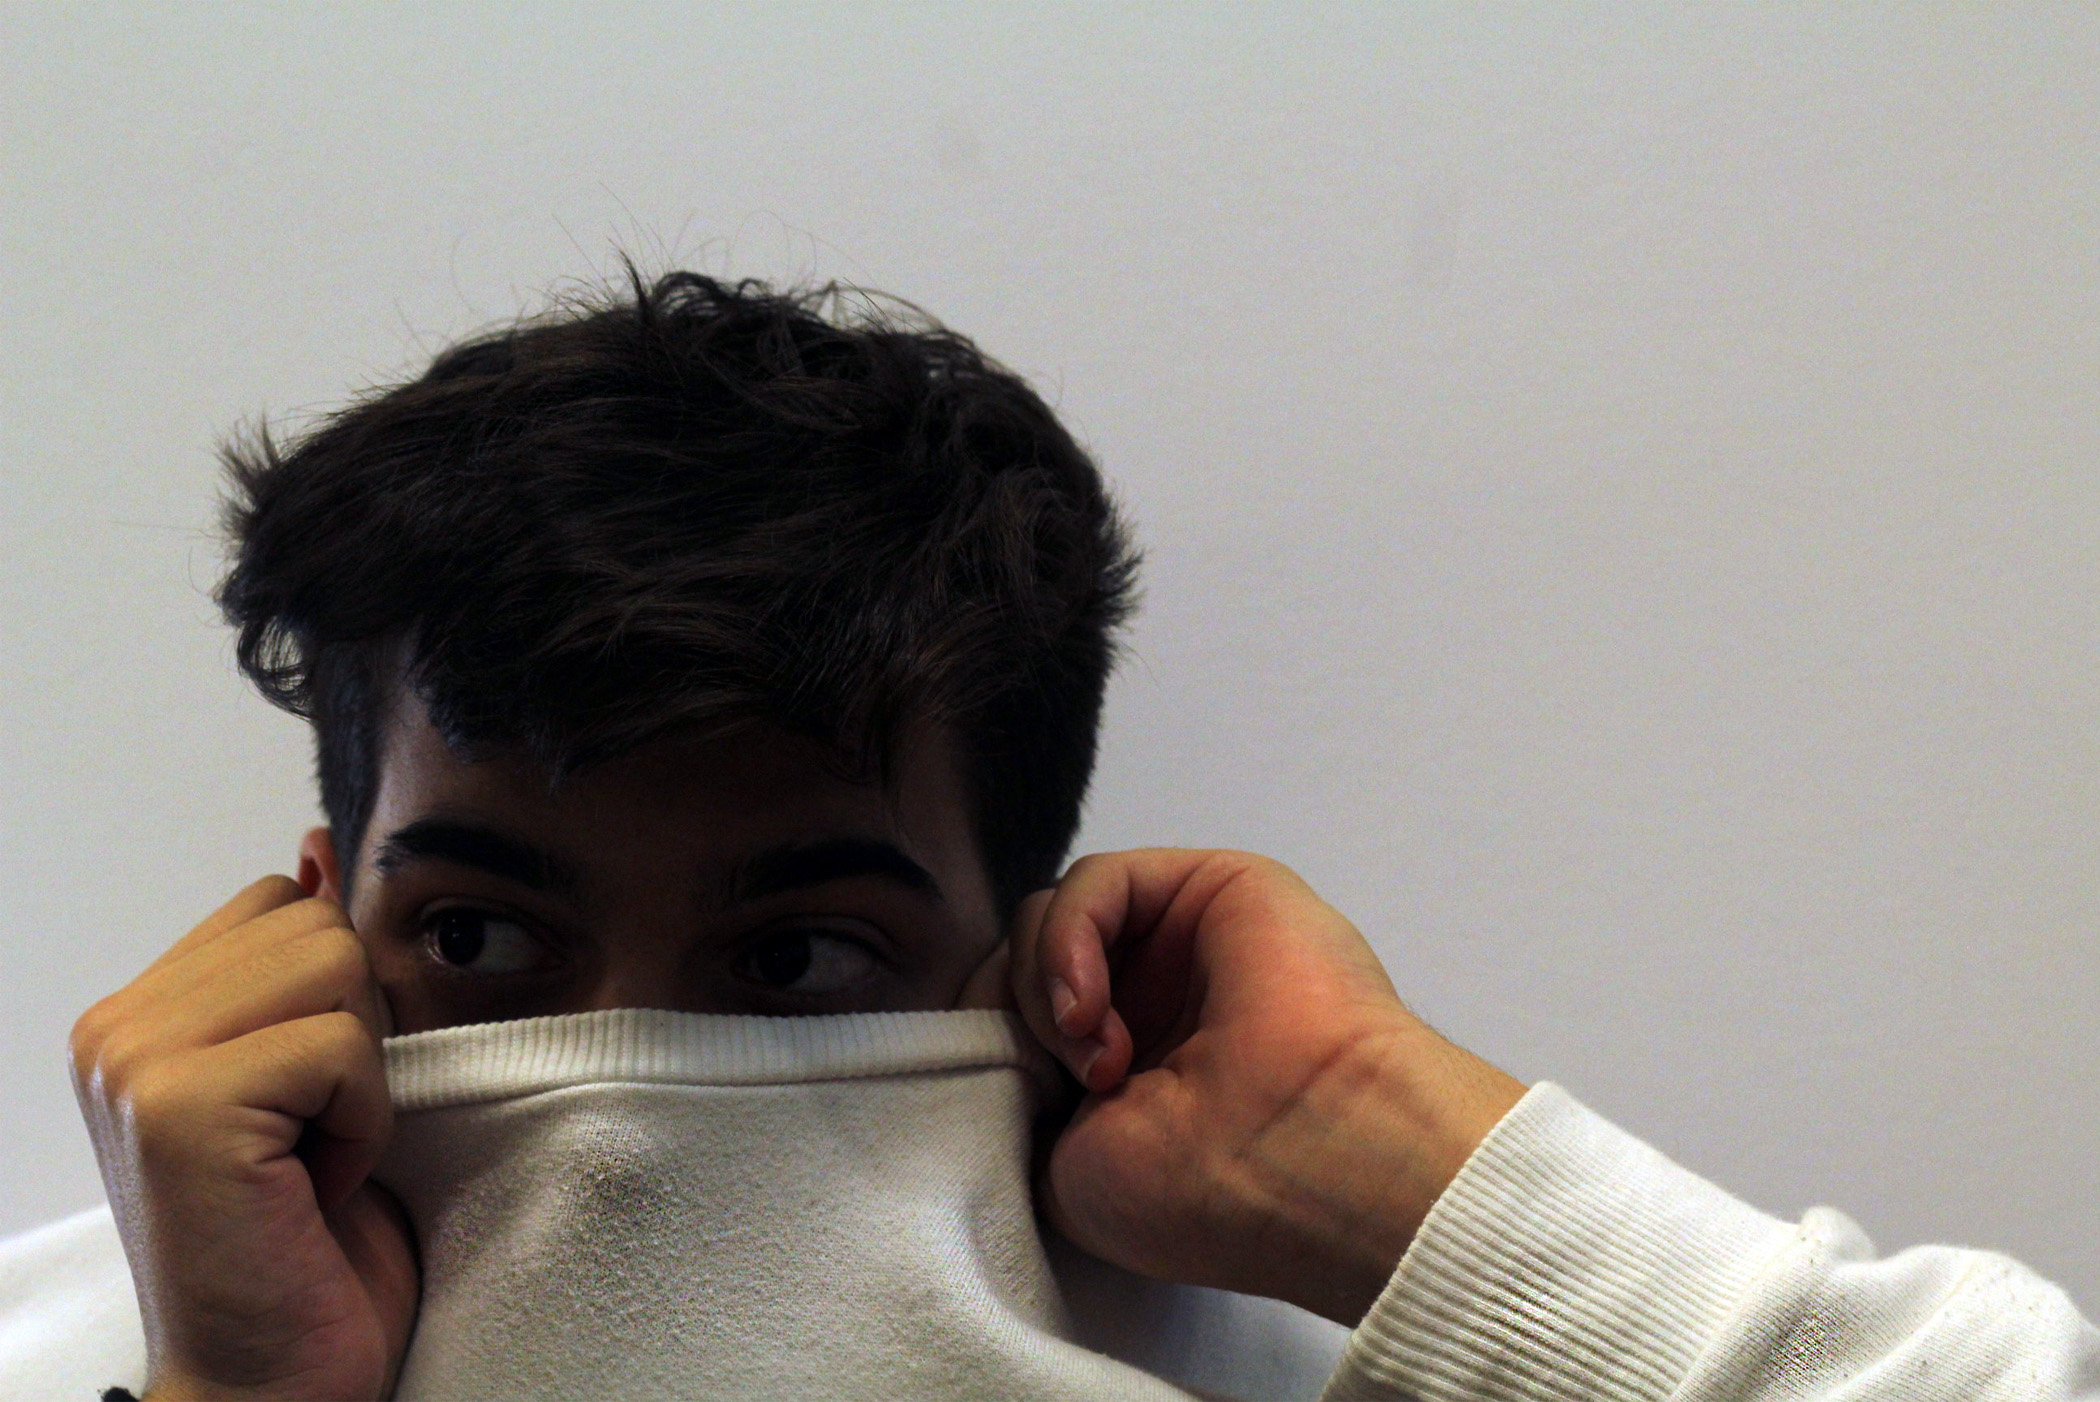
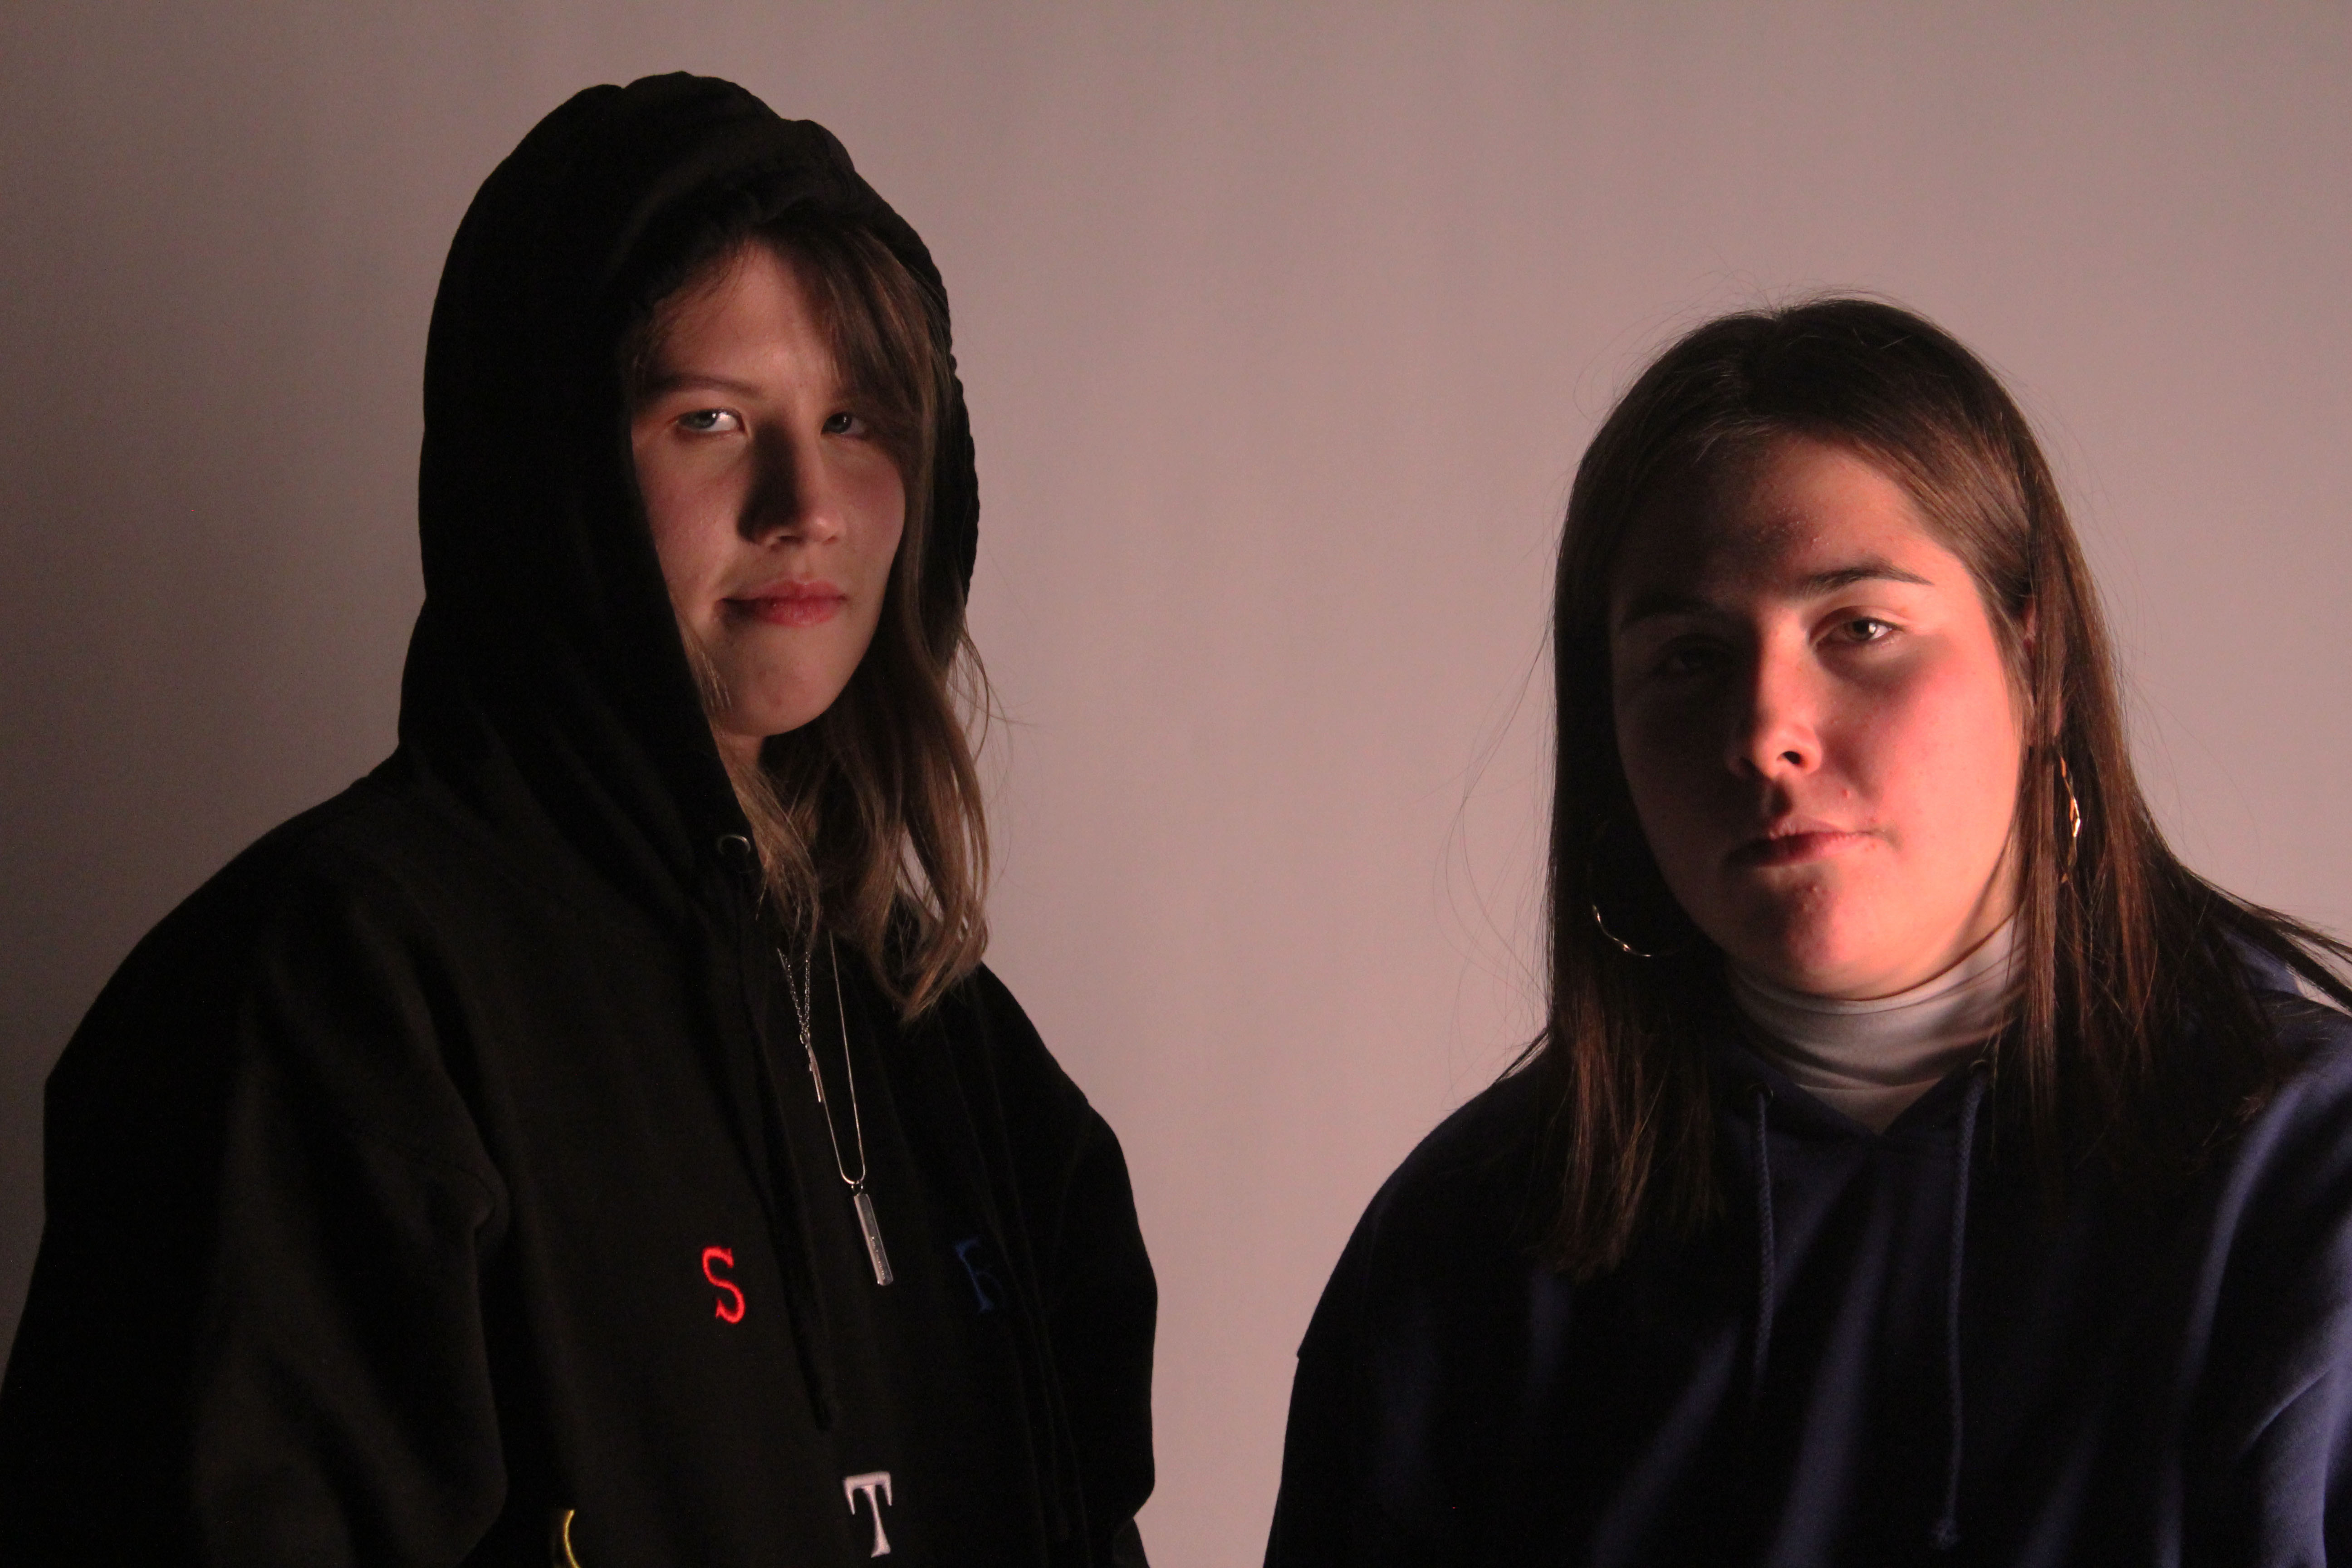
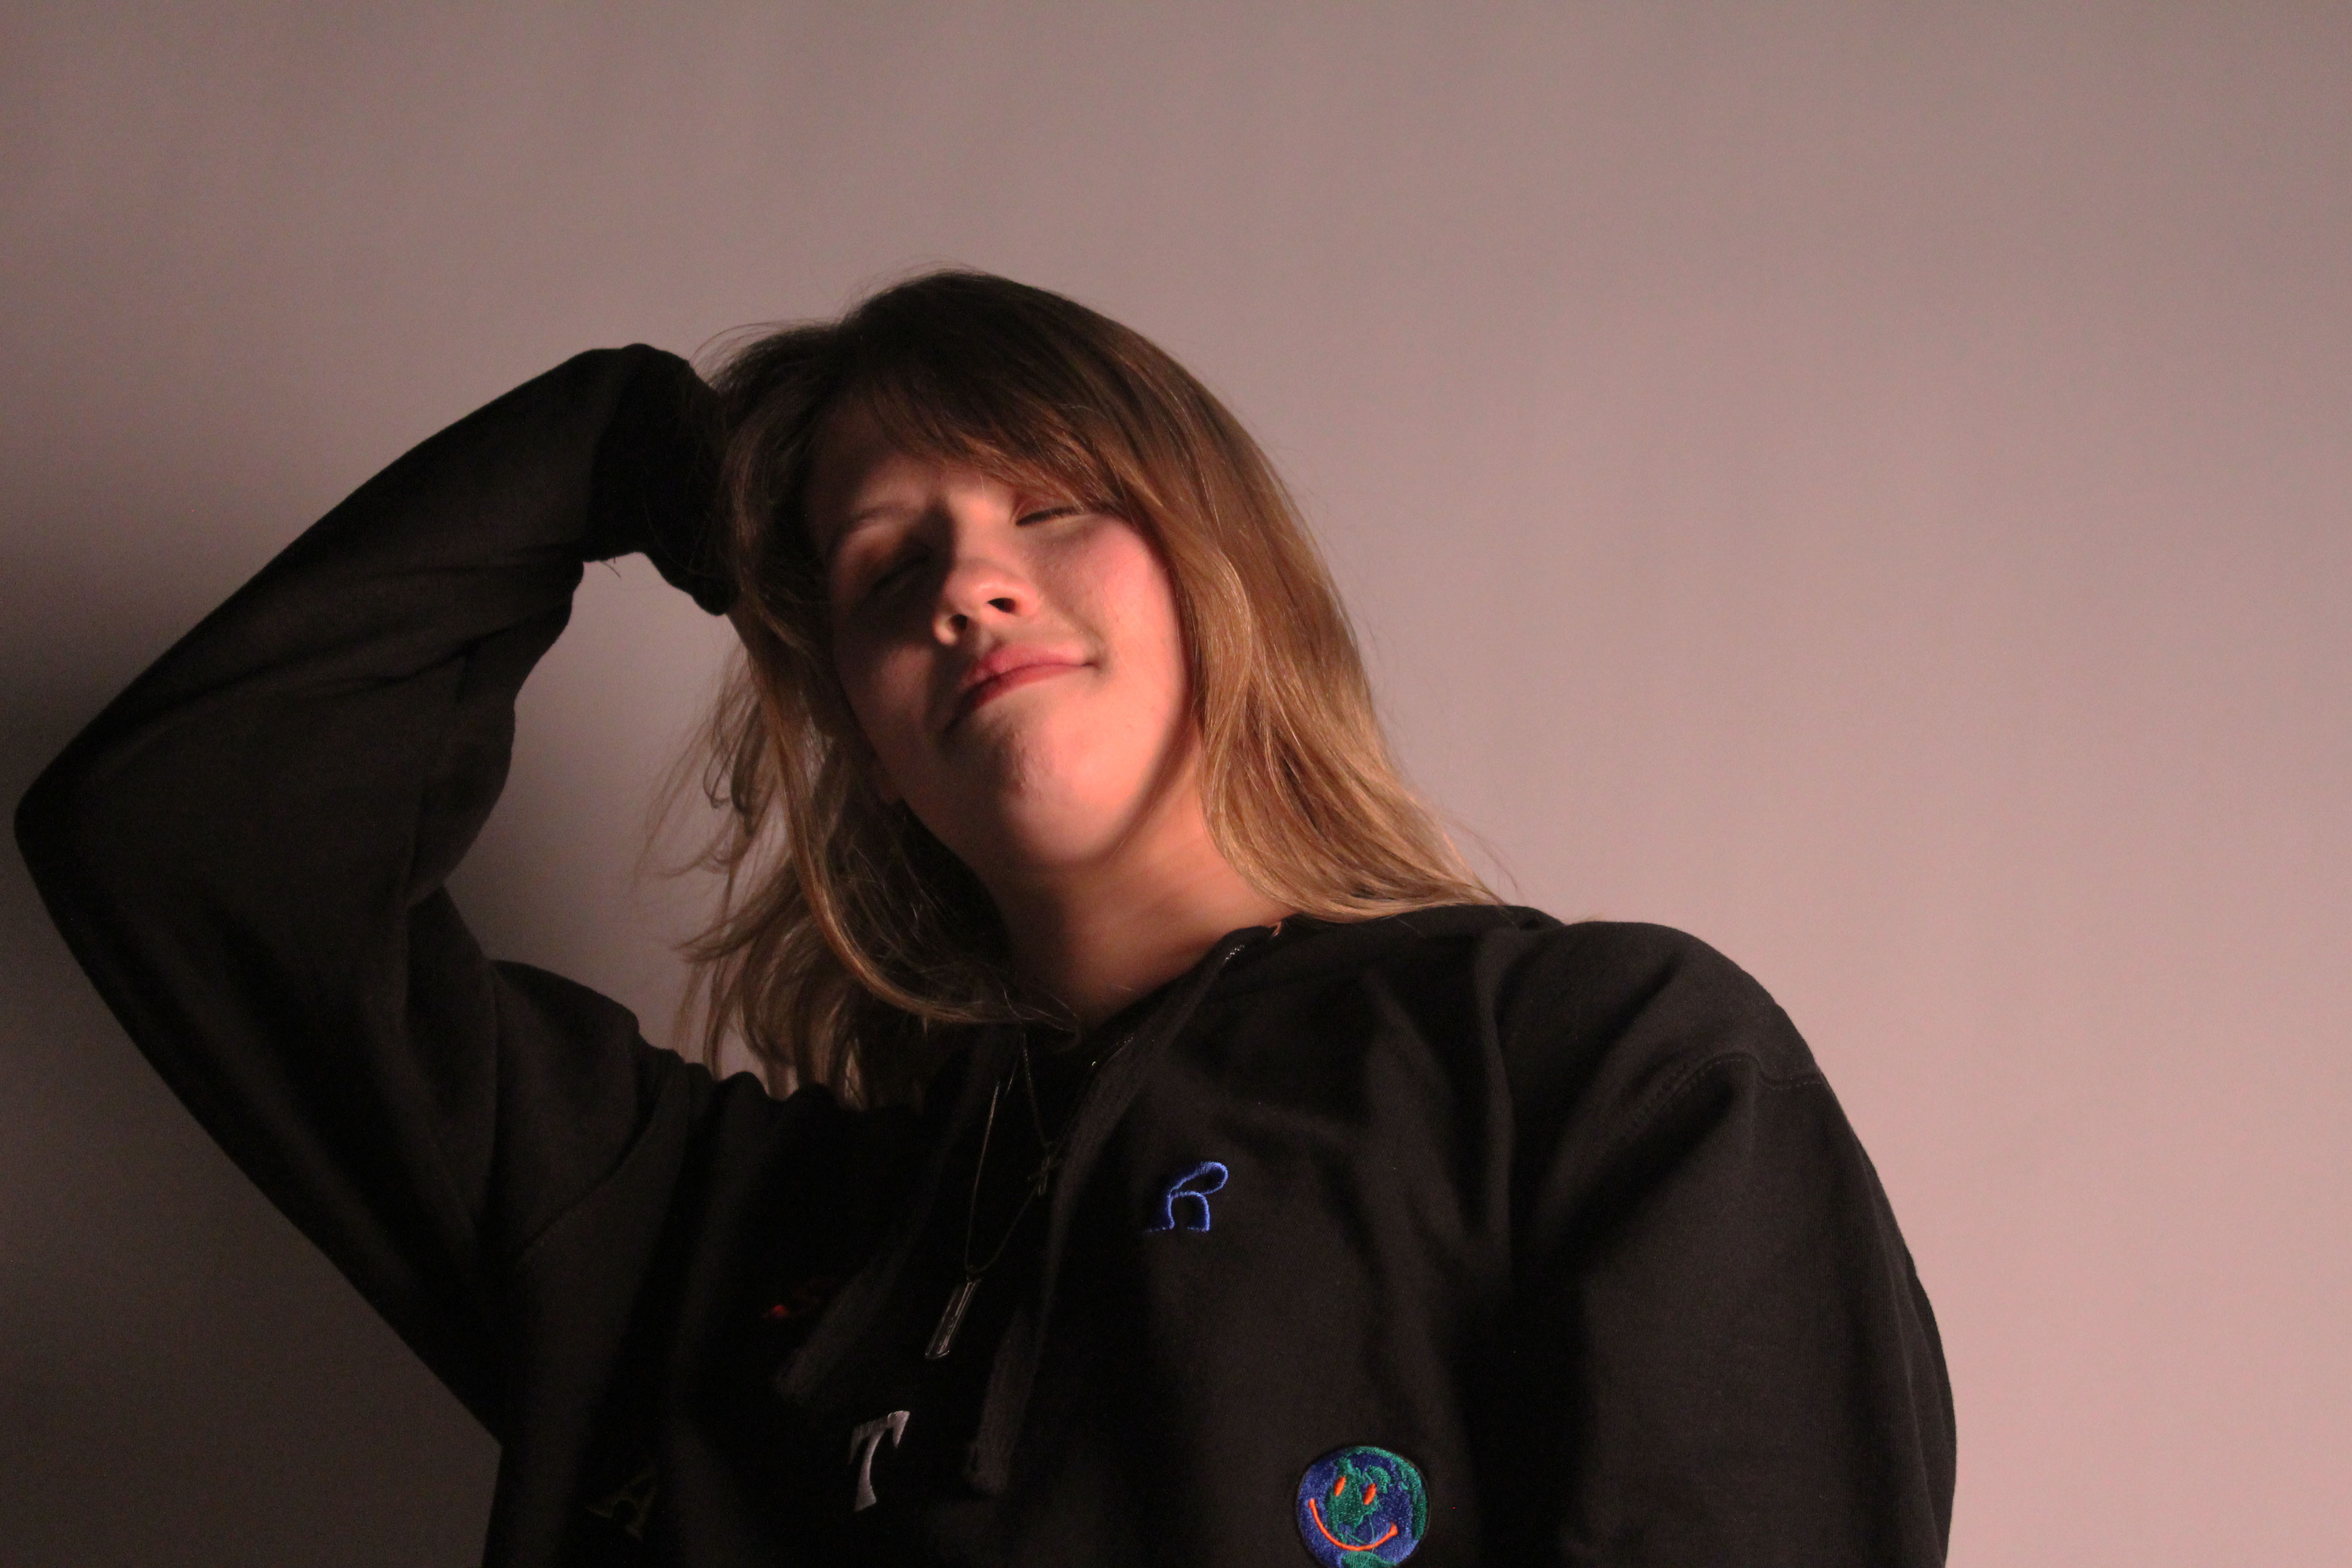
My final edited images from the single point lighting shoot:

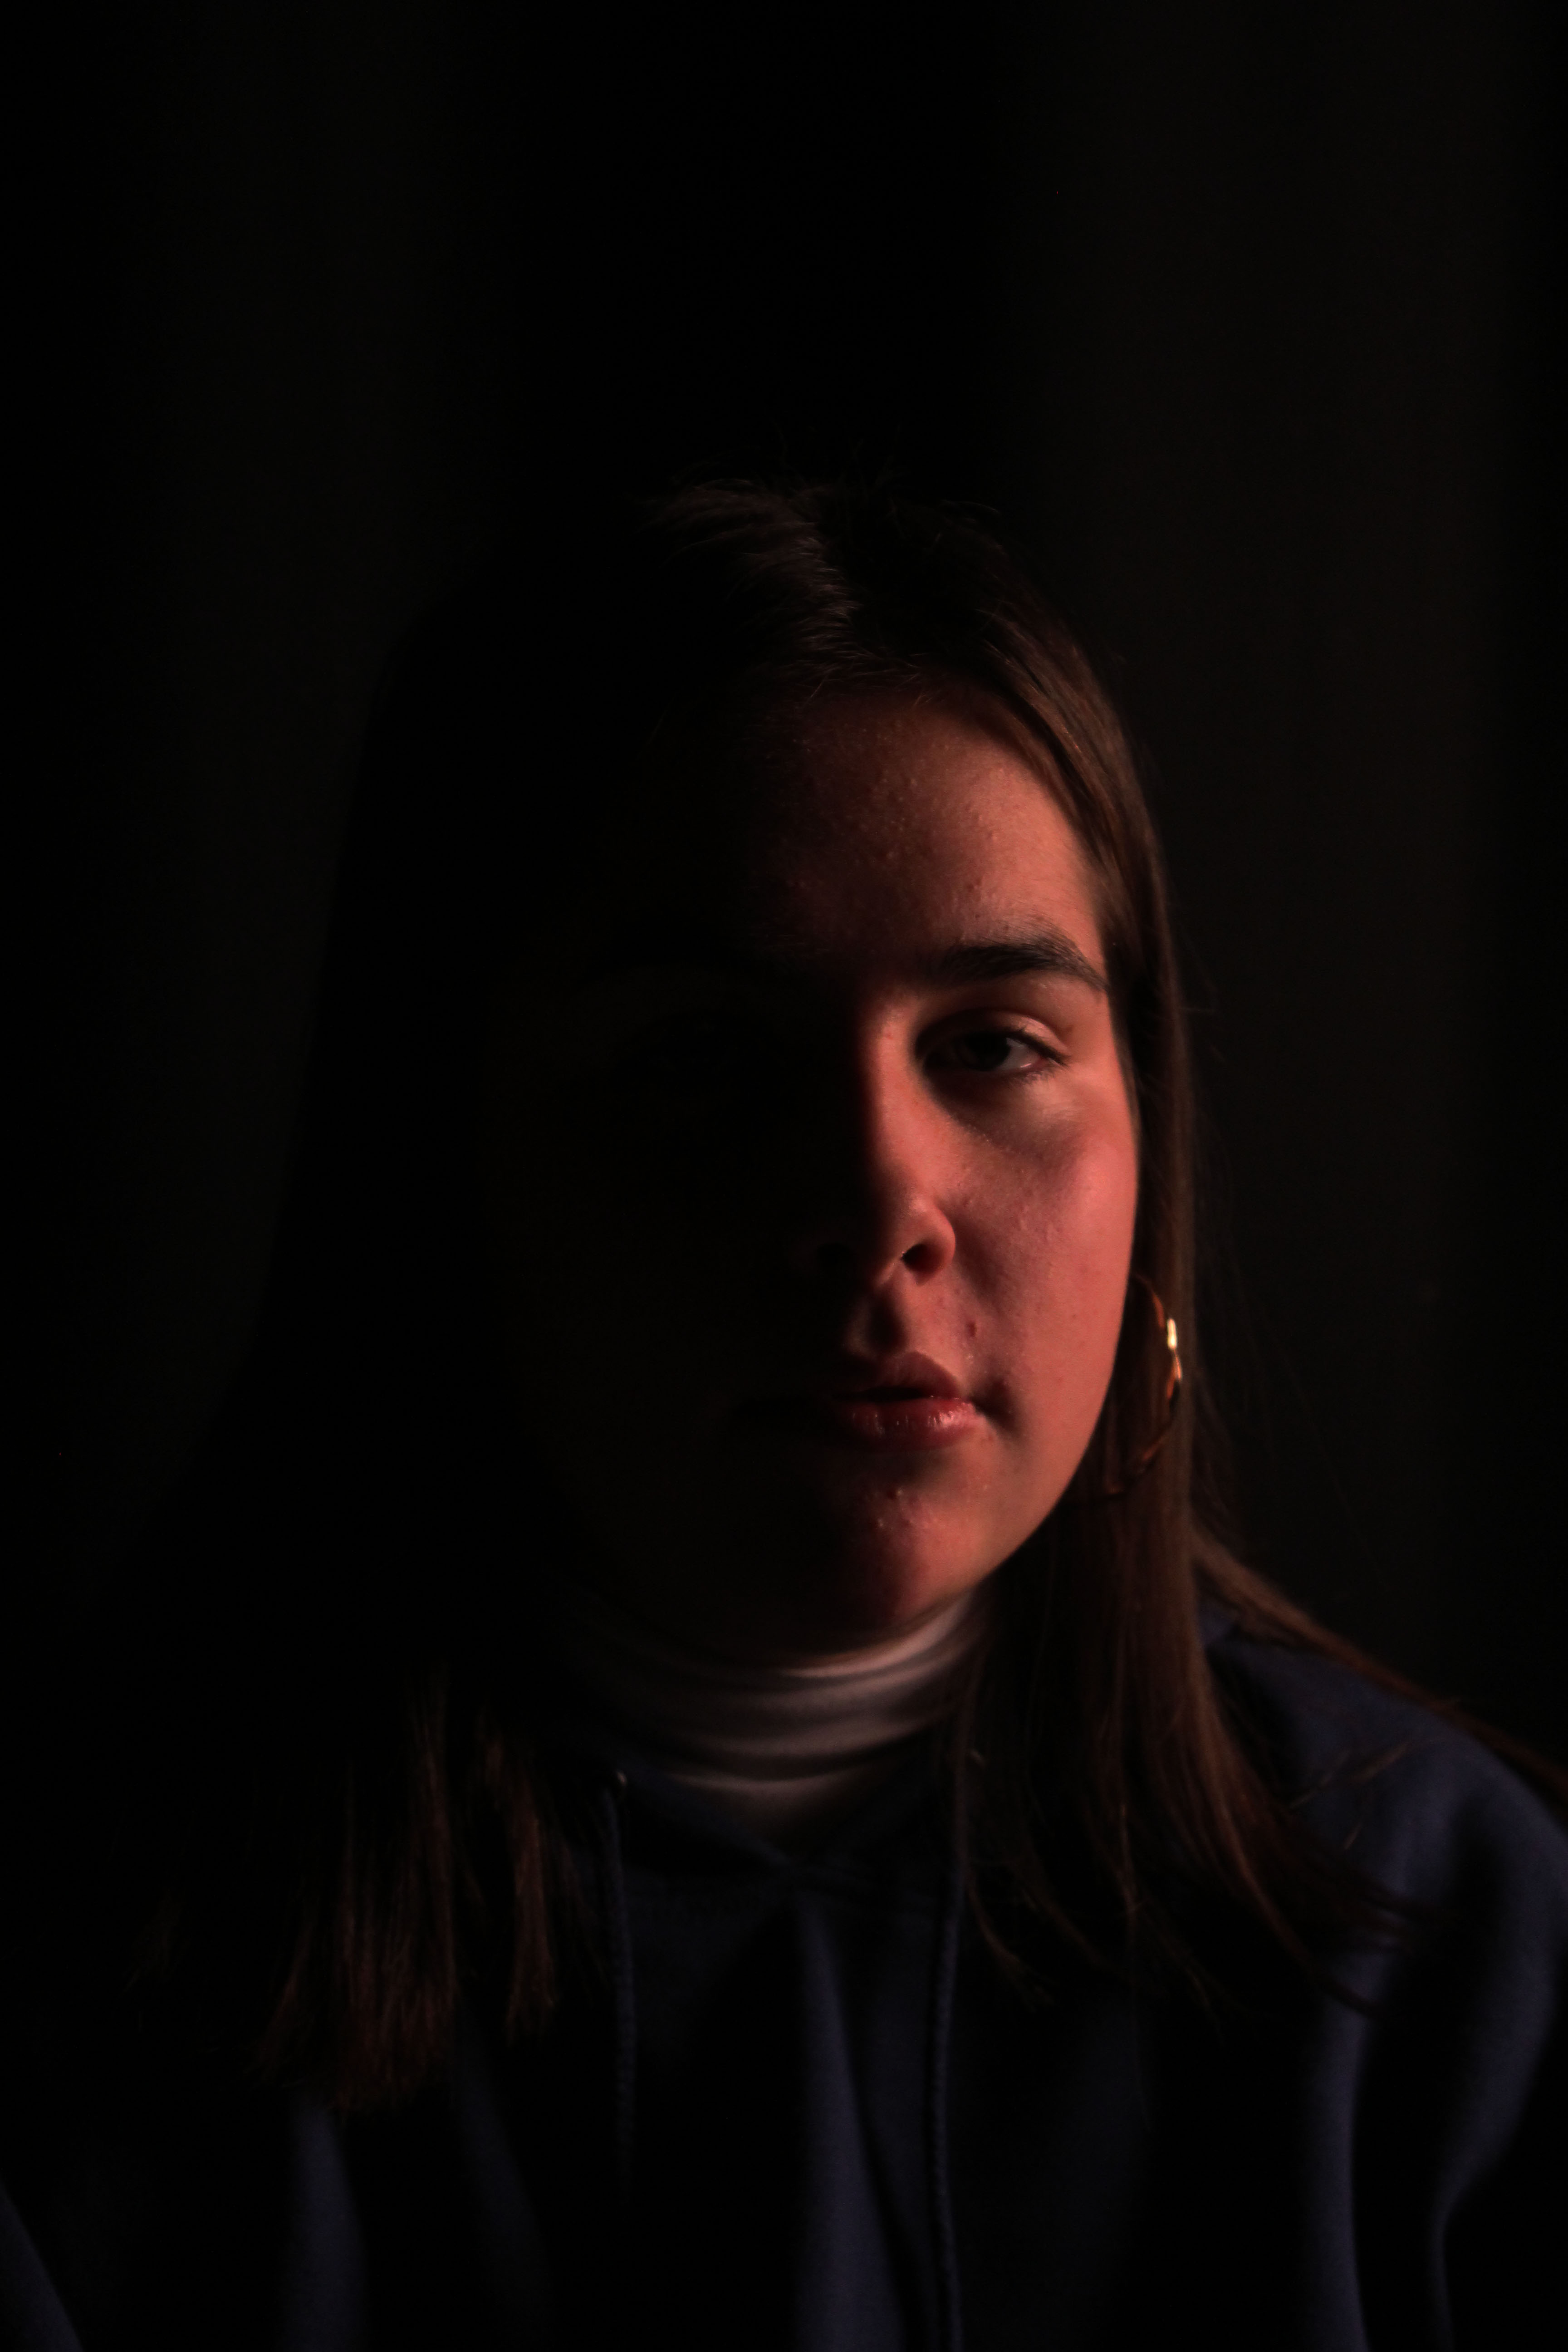
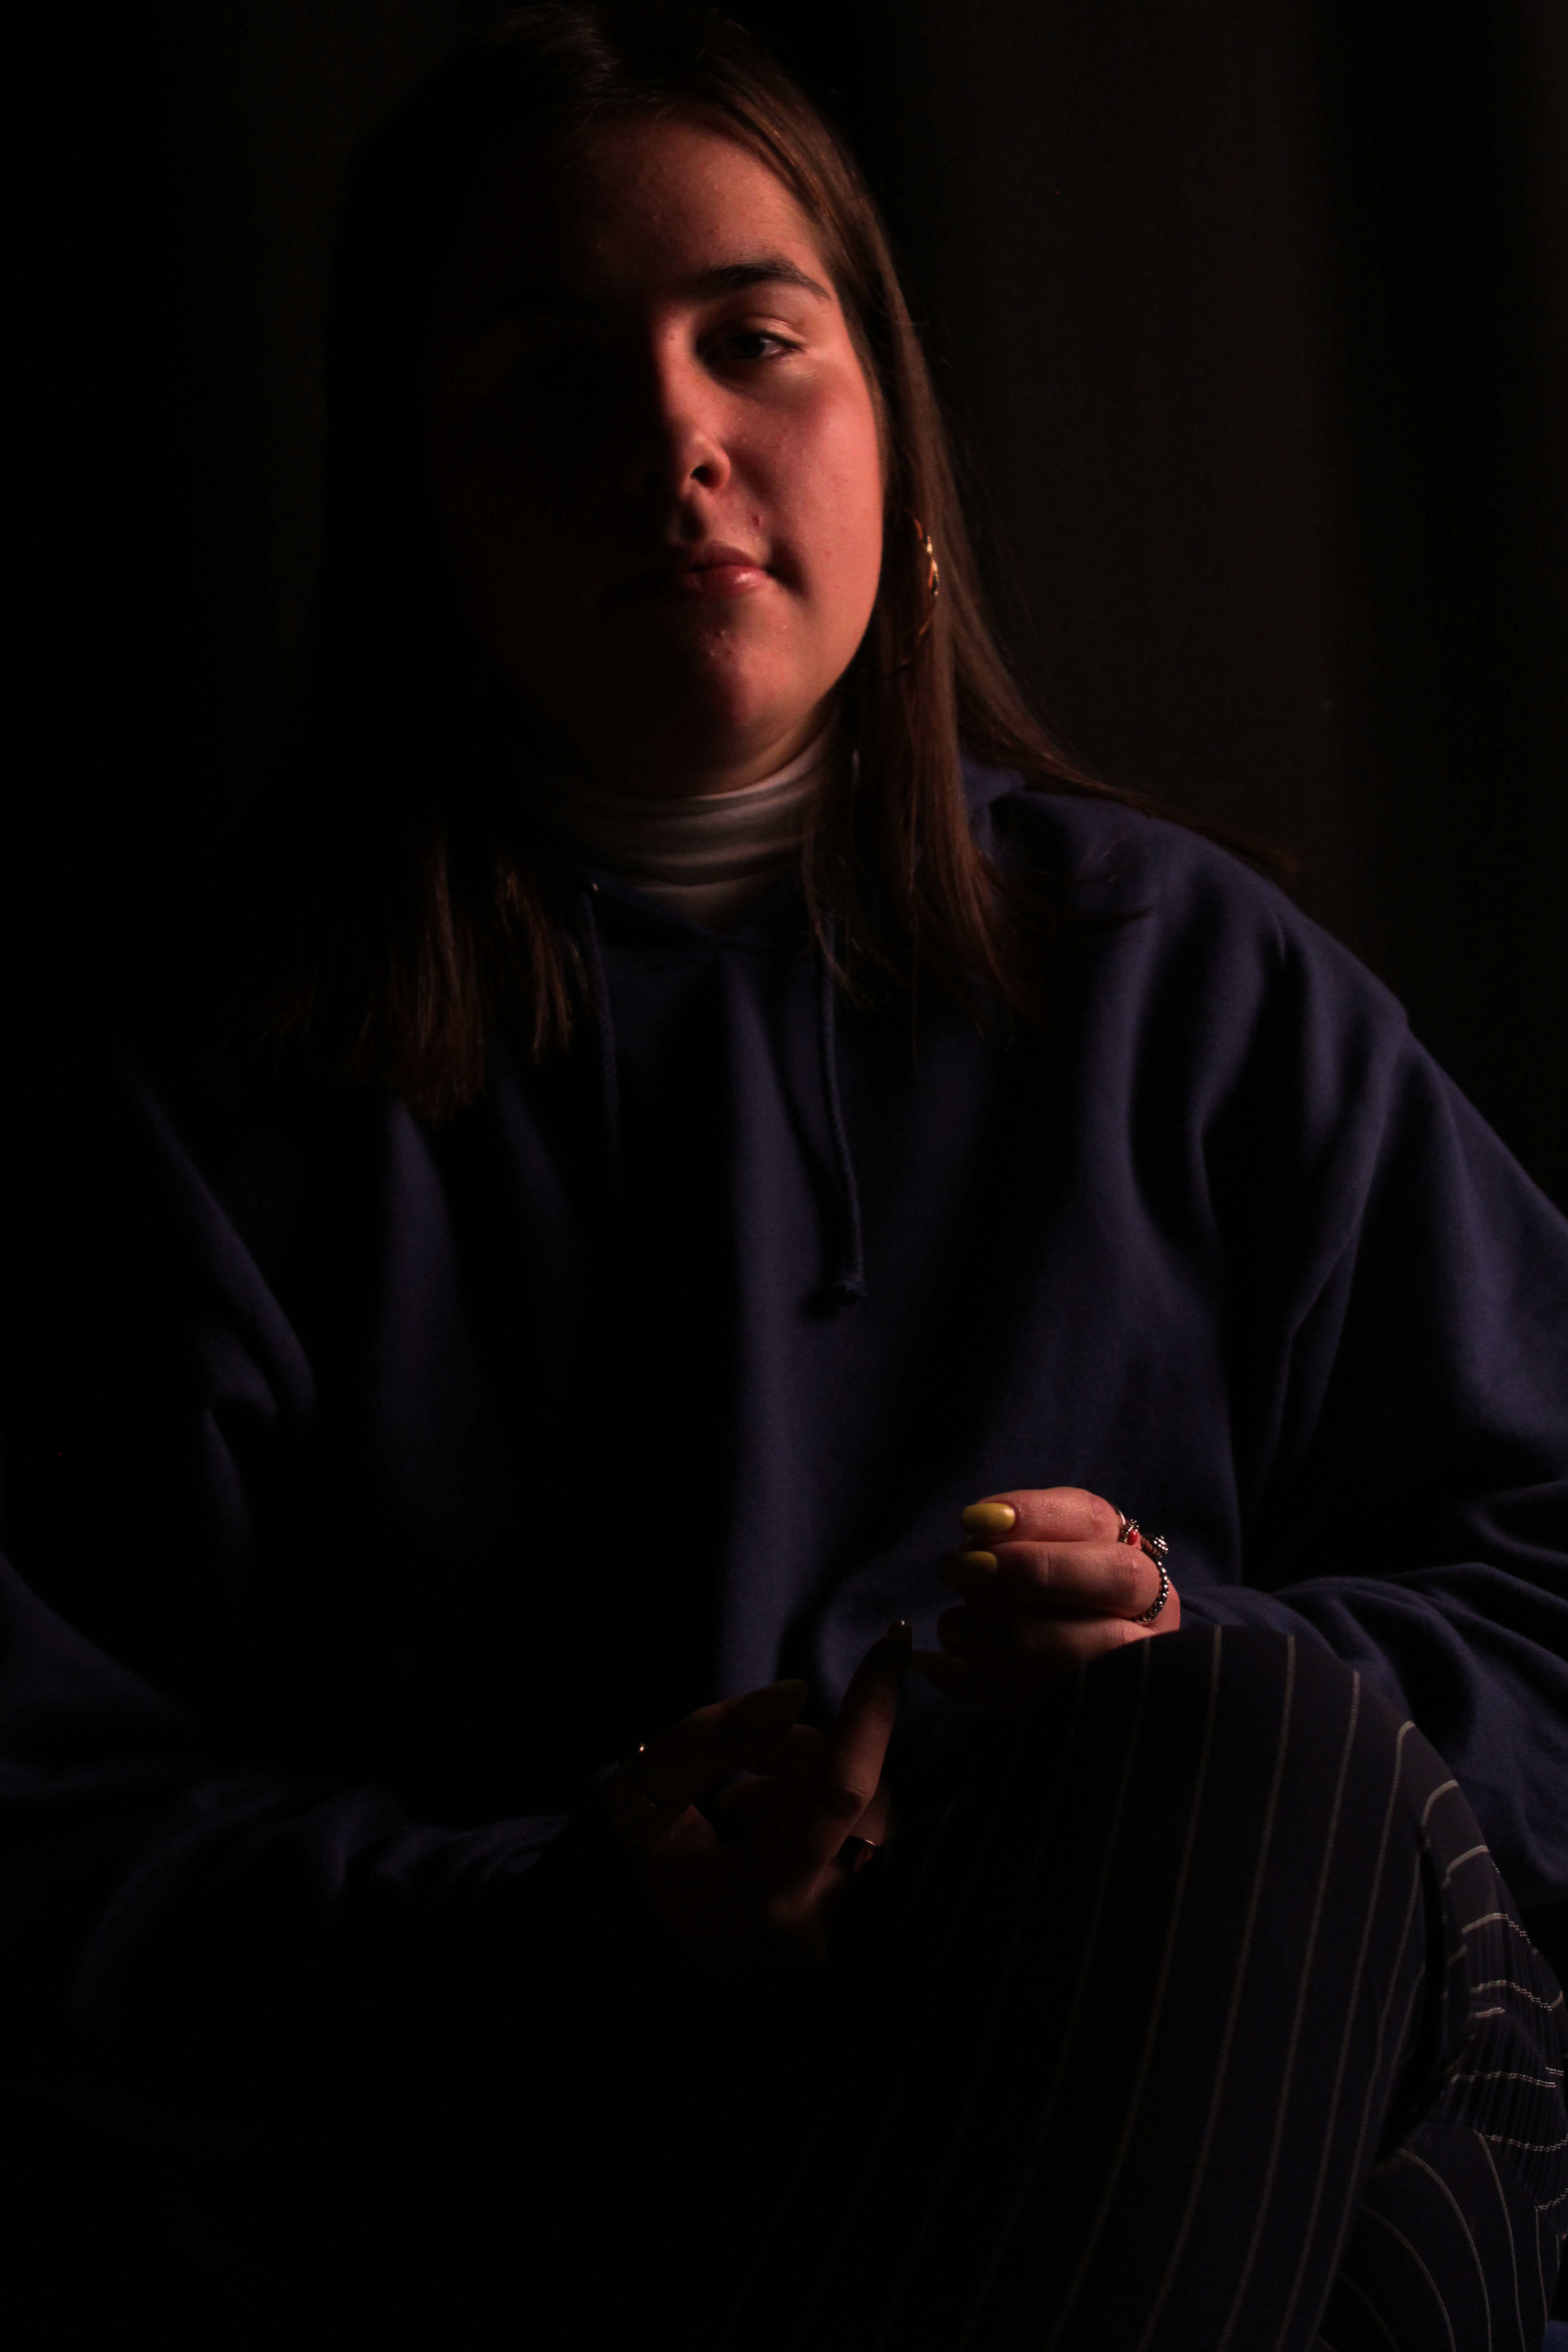
I chose to edit both of these images because of the sharpness, diversity in model actions, contrast differences, brightness differences and the similarity in the position of the single light and the shadows on the models’ face.

The camera was using a high ISO of around 800 and an above average aperture on the first photo, and using a lower ISO of around 600 and a smaller aperture on the second.

The shutter speed for the first photo was slightly faster than the second creating the darkened effect with only the single light from the side creating the shiny parts that give the image its ‘definition’.

The depth of field in both images is shown through the shadows created by the side-lighting however, this only shows depth of field on the model themselves.

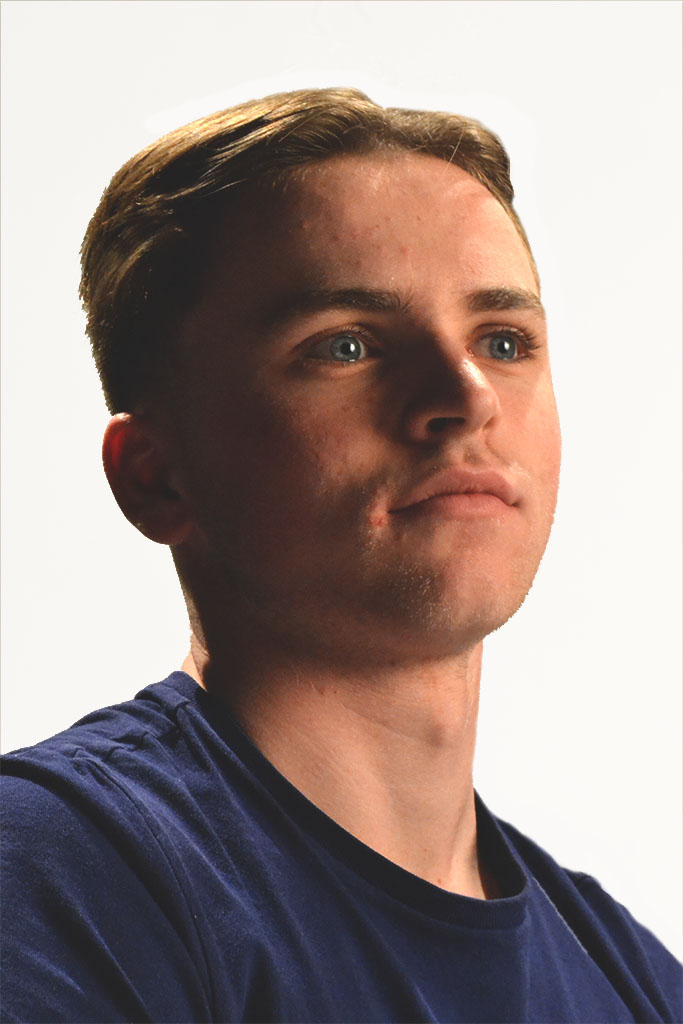
Alex looking “into the light”
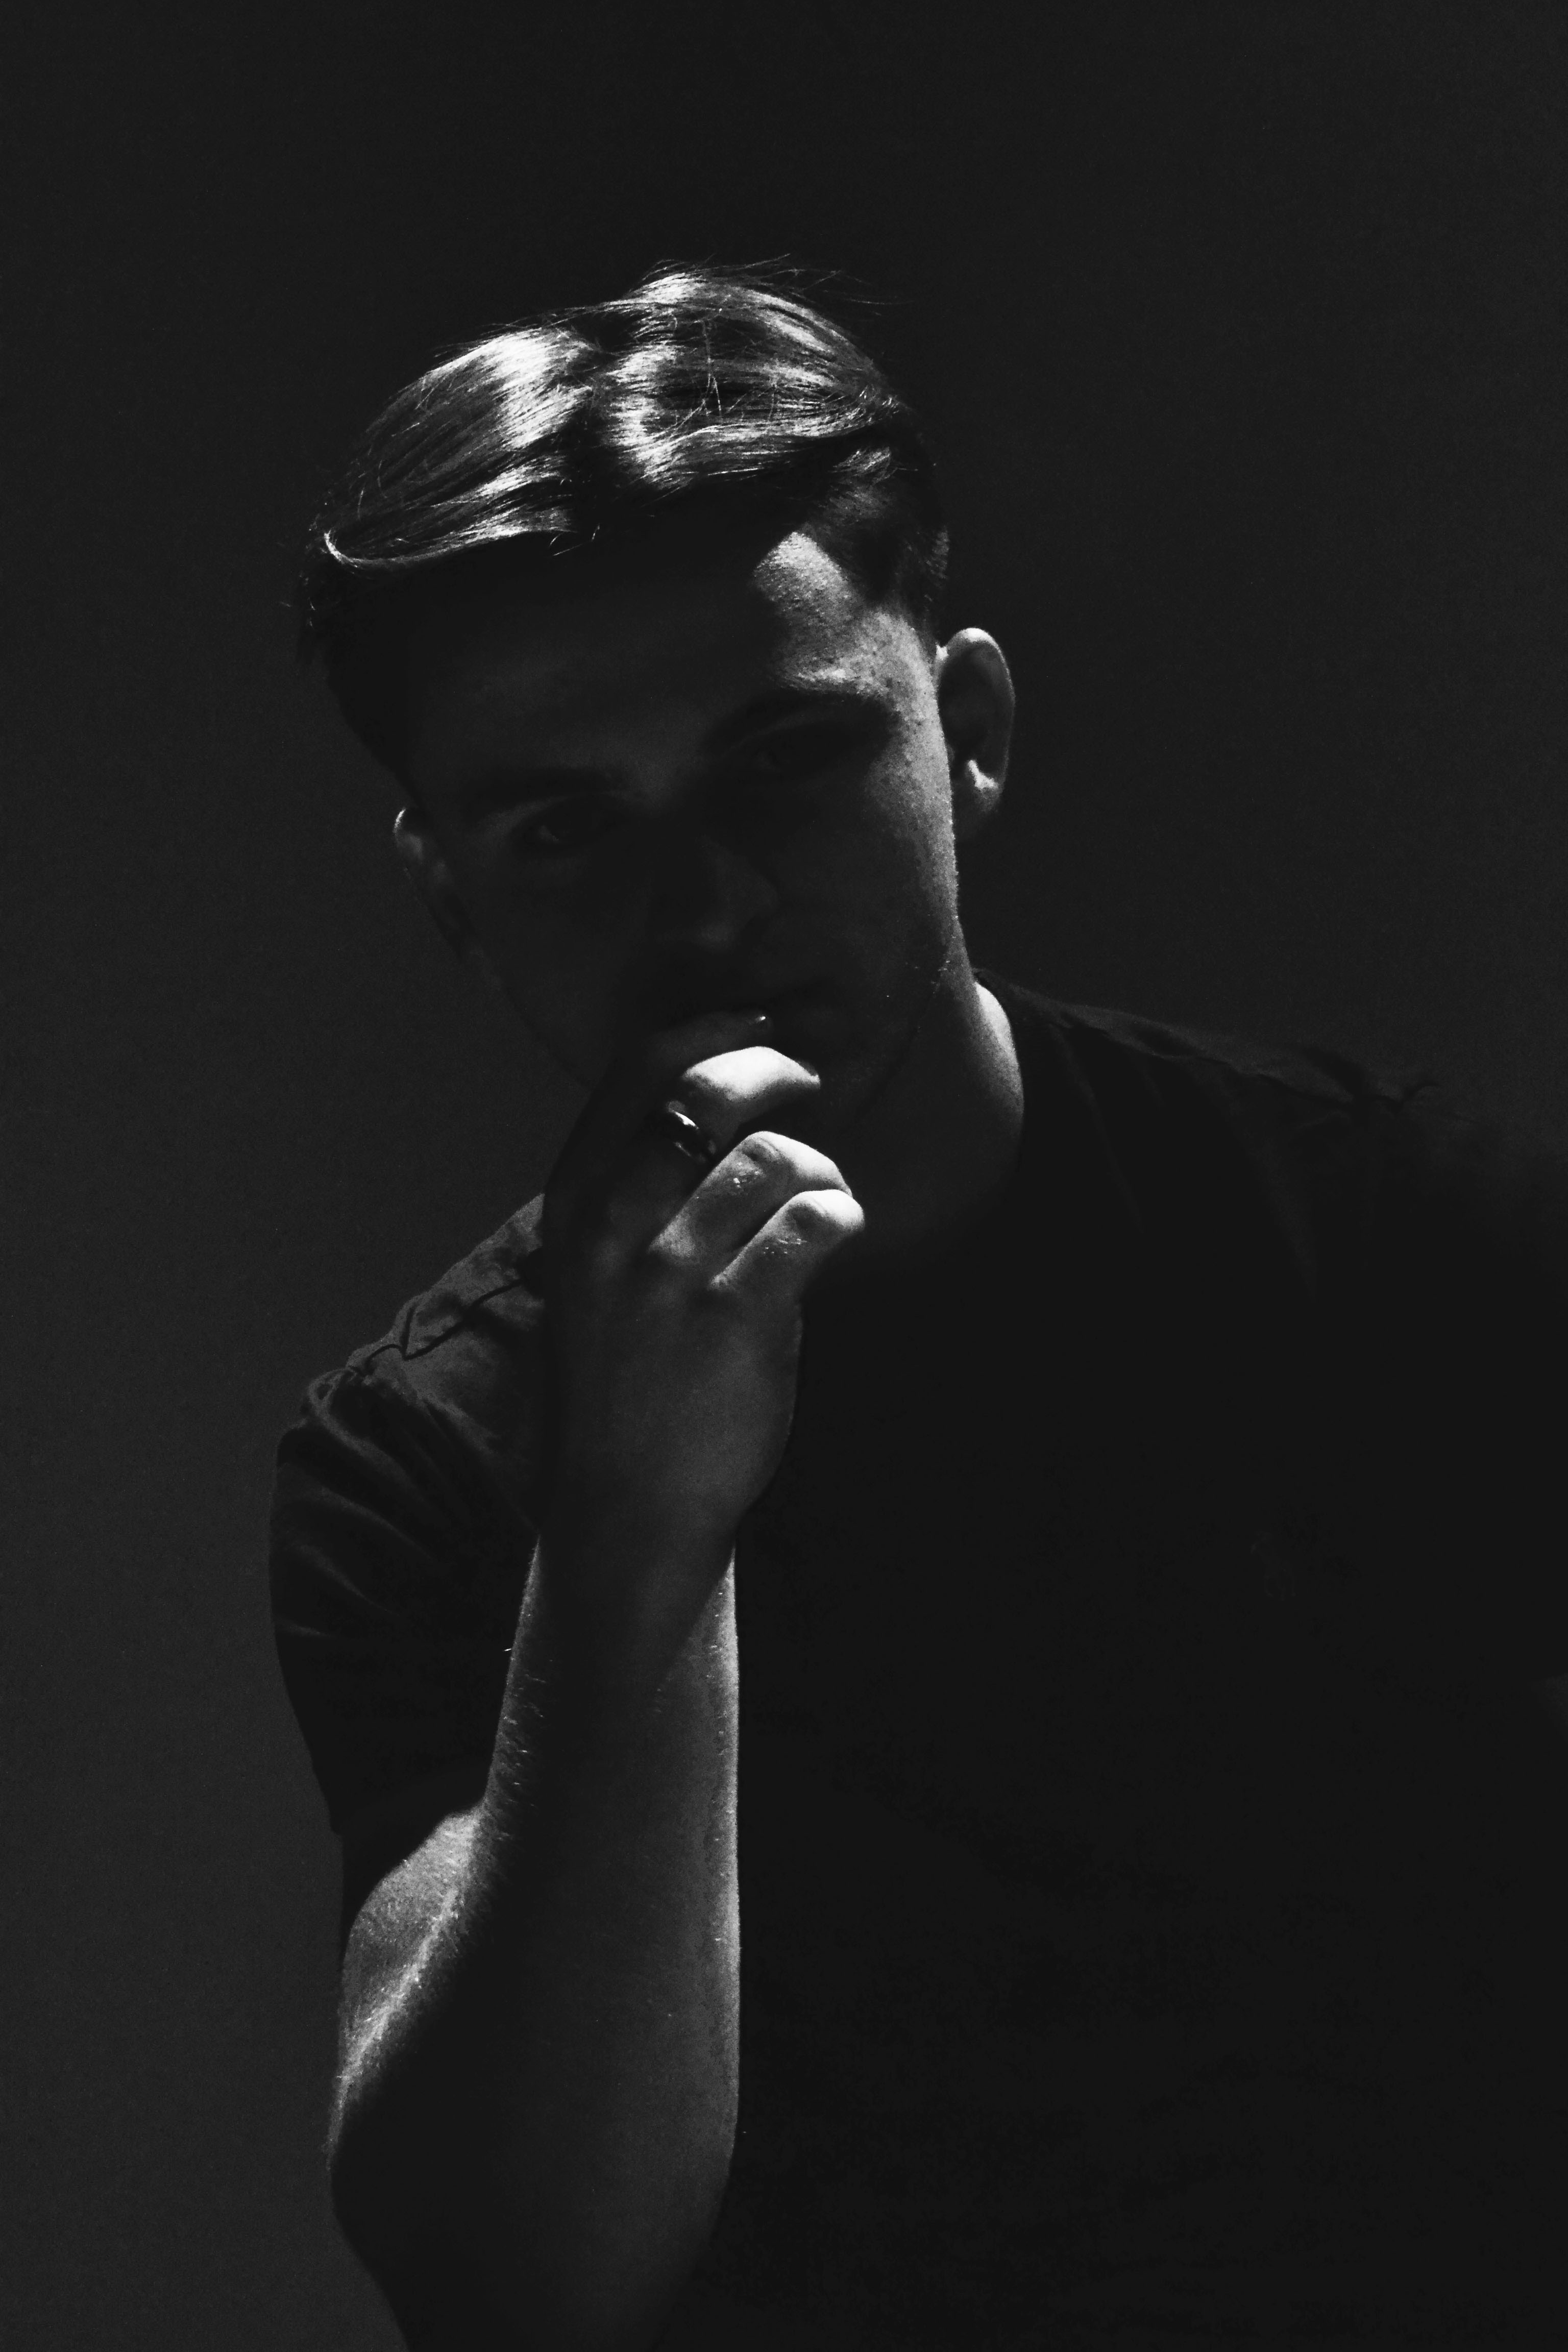
“Seriously Serious”

Studio Photography

Now we have moved into portraiture in photography we have started to use the studio, this is brilliant and fun in the moment on creating better portrait  photos, this is because we can take photos in an controlled environment with no factors of extraneous variables.

In the studio we are able to dim and brighten lights, have lights shining in specific areas to light up part of a face, or we can use a color filter to give the photo a different feeling, like a warm or cold feeling, by using a warm or cold color to affect the light.

In my very first studio photo shoot I asked the person visible to act in whatever manor she liked, this way the movements and facial features would seem more natural and relaxed. I like this way as it doesn’t make the photo seemed forced in anyway, but also this way I can capture the real facial features and emotions of a relaxed person.

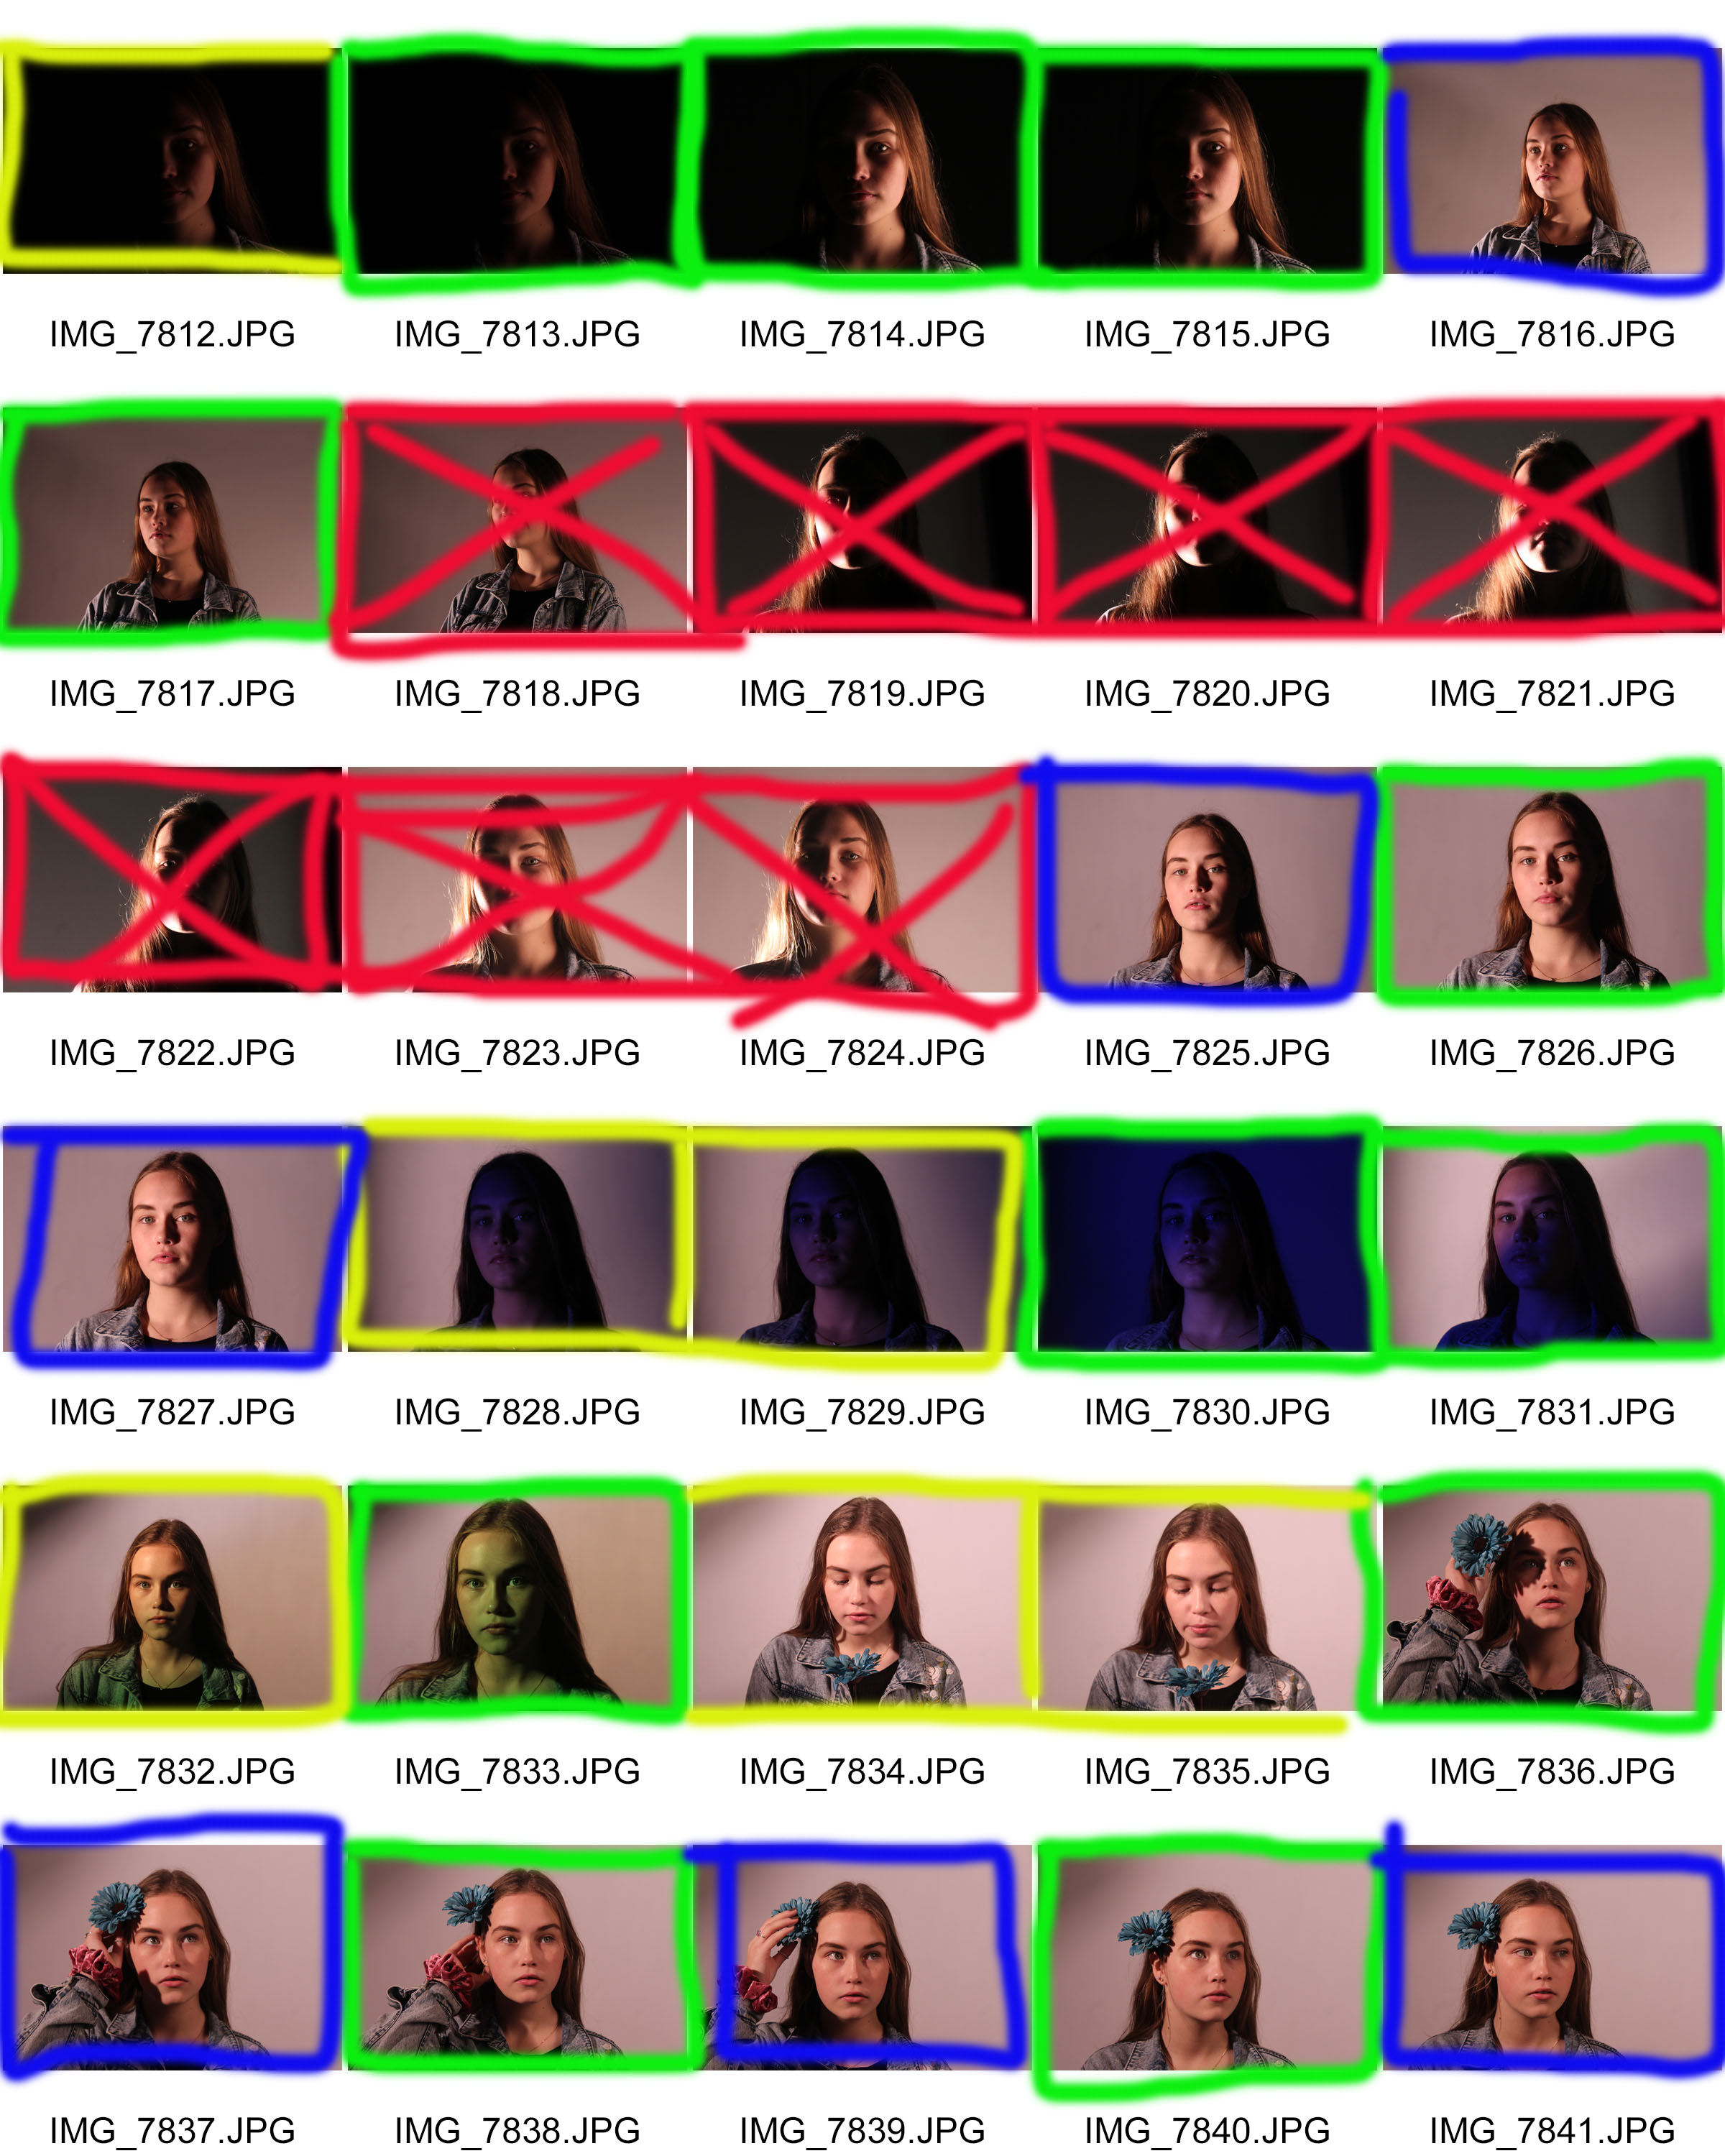
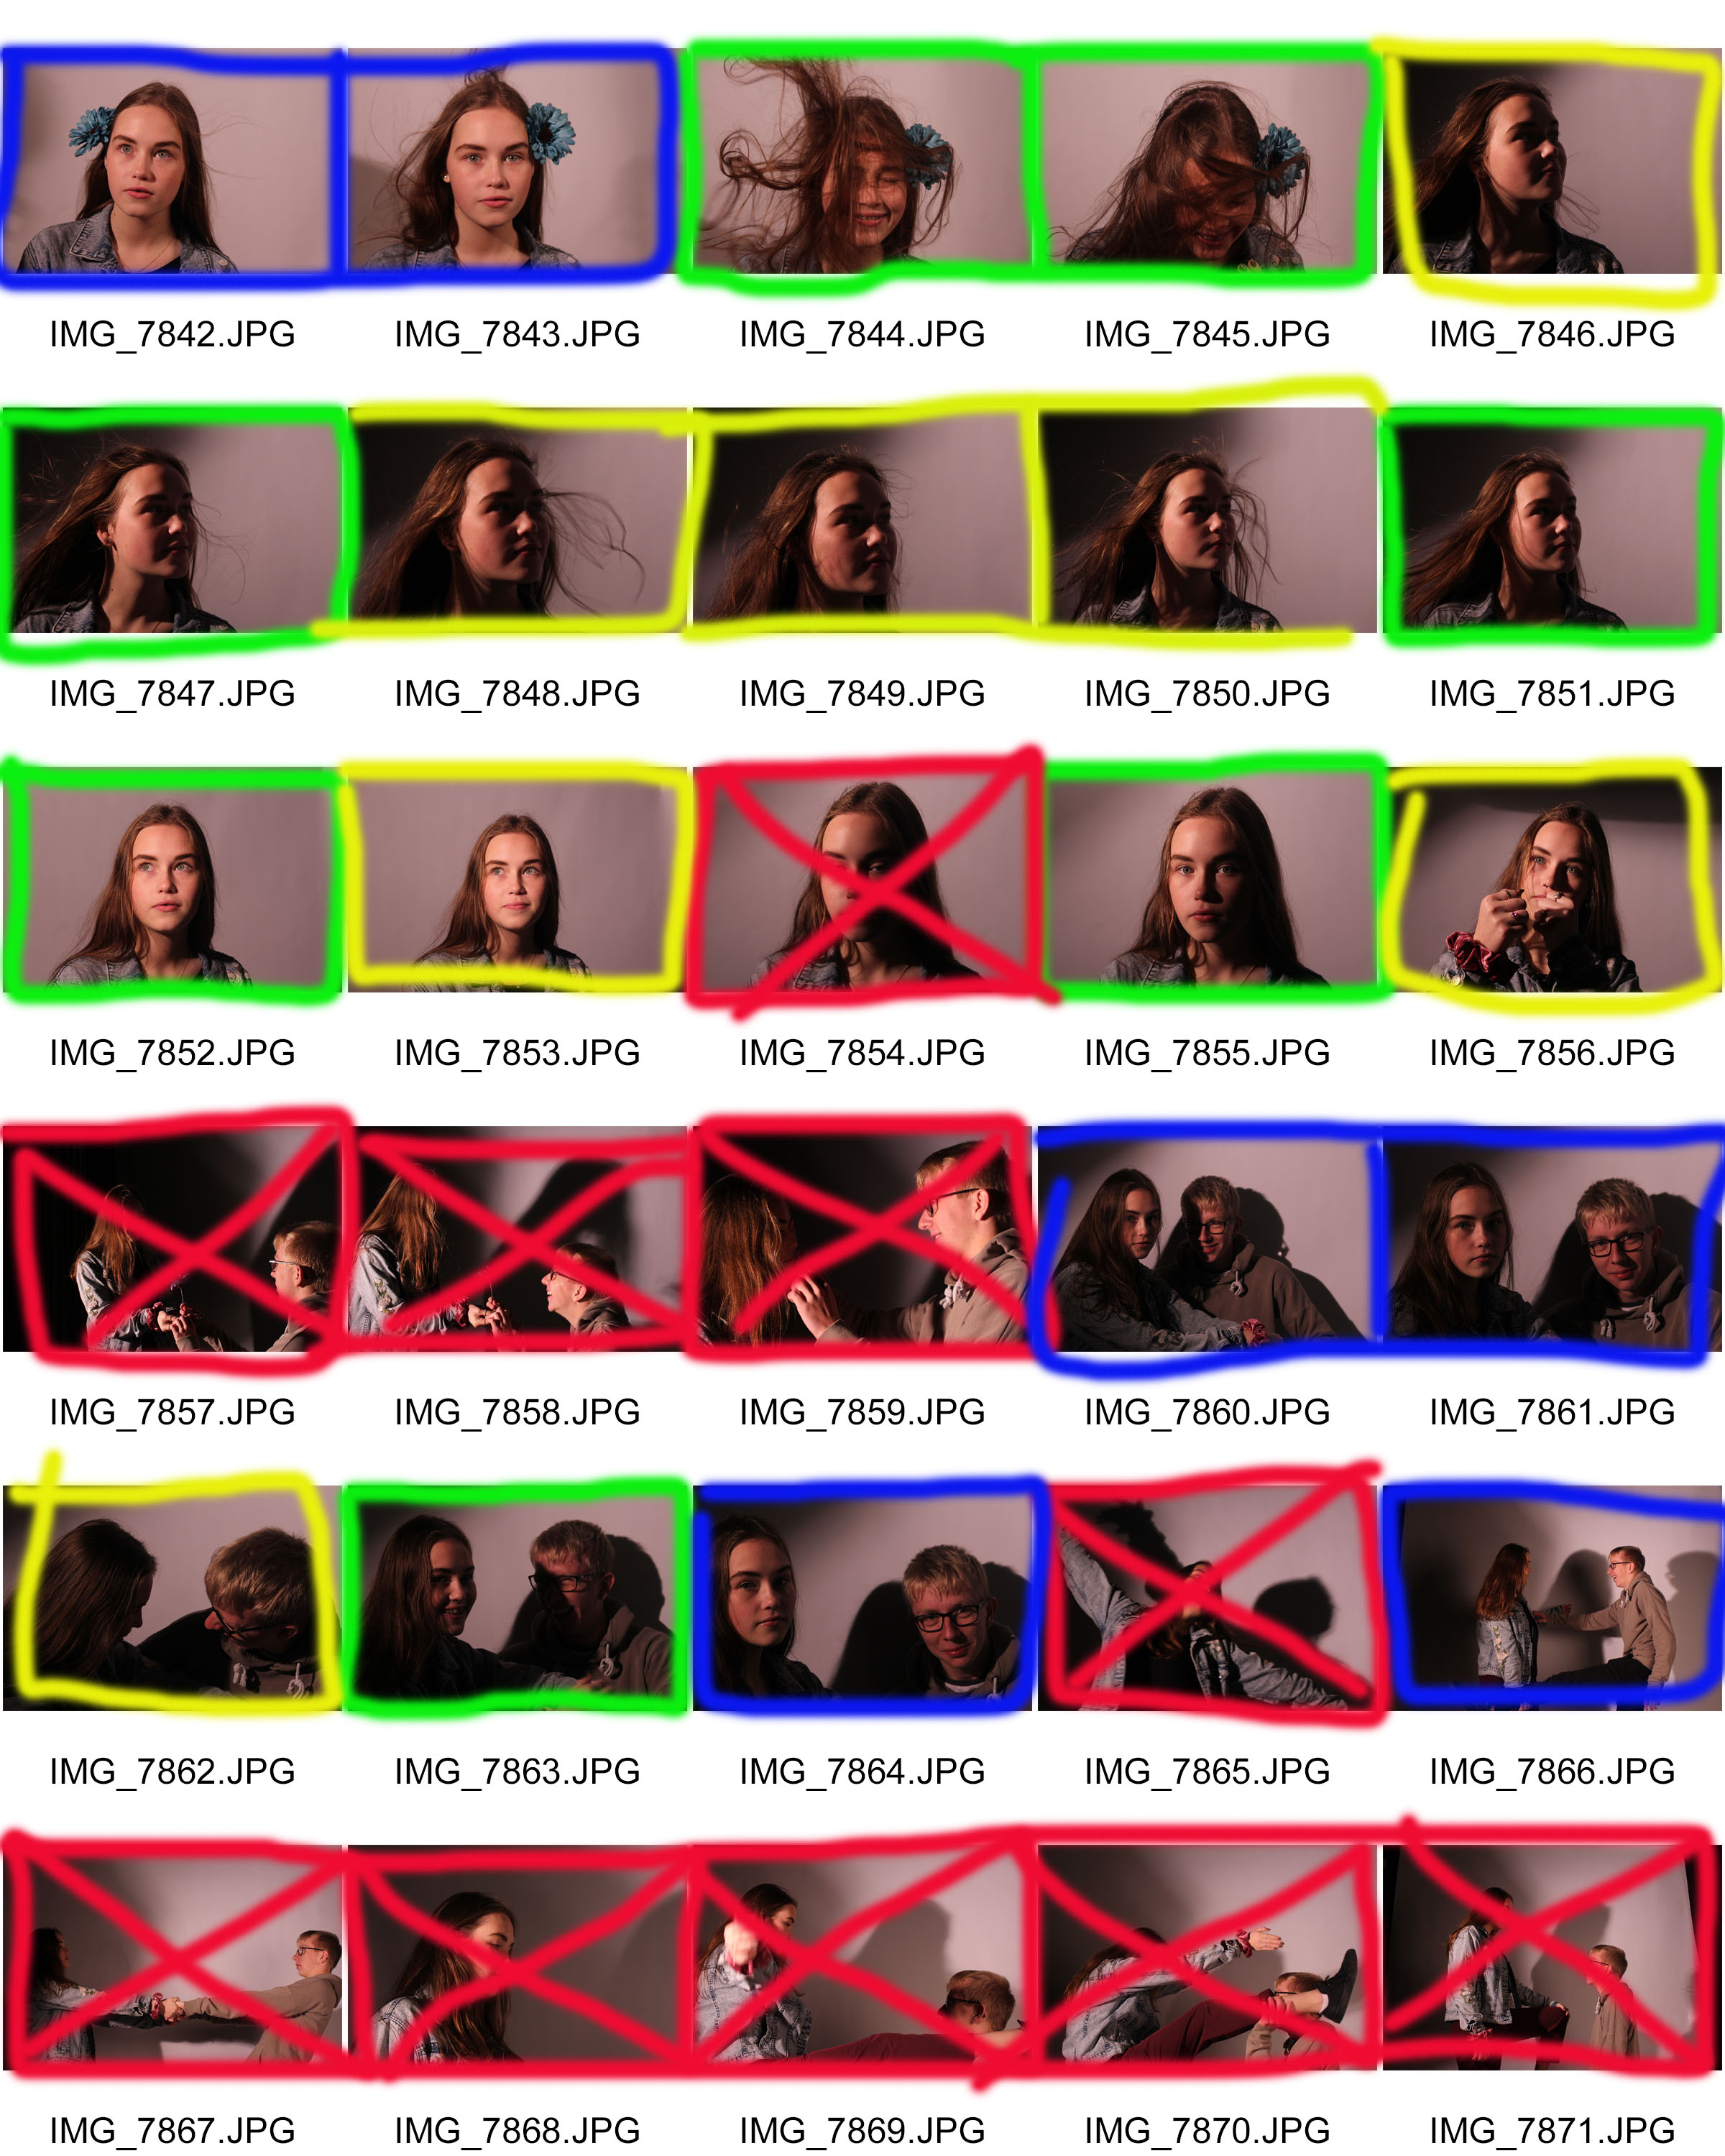
In the contact sheet you will notice I have used the same key as I always do.

One thing which is visible is that I have loads of photos which I am unhappy with, this is due to the fact that it was my first time using the studio therefore I was getting used to the different settings with ISO and aperture to make it really work with my models face.

Most of the crossed out pictures are because I had made the photos either under or over exposed making it too light or too dark, others which may seemed great did work with the light, but I had realized that my models face looked bored or just uninterested, but there are others where my model is showing emotions such as laughing which really helps me capture the human persona and features.

Studio Lighting – Post 1 (Rankin)

Rankin:

John Rankin Waddell (born 1966), also known under his working name Rankin, is a British portrait and fashion photographer and director.

Best known as the founder of Dazed and Confused magazine (along with Jefferson Hack), and for his photography of models including Kate Moss and Heidi Klum, celebrities such as Madonna and David Bowie and his portrait of Elizabeth II. His work has appeared in magazines such as GQ, Vogue and Marie Claire. In 2011 Rankin started the biannual fashion, culture and lifestyle magazine, Hunger and launched Rankin Film to produce and direct his own commercial and editorial film work.

Mood Board:


Studio portraits

After going into the studio once to test and see what we could do and learn how to do it,  I got about 100 images and then I have taken it down to this group of 17 as possible final images for this shoot

After looking through I selected the images that I thought had the most potential.

Once I had chosen these images I then went into photoshop to edit them.

The centre photo I did in the style of Rankin and drew over the top of it after editing it.

The photo on the right I felt that it needed to be cropped and that it would look good in black and white.

And the left photo I felt that it was composted fine and that i only needed to touch it up and make the colours pop more.

Here are the results:


Window Light – Post 1

Window Light:

Window light is an excellent, free light source. It can have the same effects as bigger, more expensive lighting equipment. A large window is pretty much just a huge soft box. It will diffuse light into the room and around the subject you place in front of it. The earliest photography studios didn’t use fancy electric lighting. They just used big windows. It can also create interesting shadows as well as the window itself being a part of the composition itself which can not be achieved with any amount of light.

Mood Board:

My Response:

Best Images:

Case Study Street Photography – Bruce Gilden

Bruce Gilden

Who and what:

Bruce Gilden (born 1946) is an American street photographer. He is best known for his candid close-up photographs of people on the streets of New York City, using a flashgun. He has had various books of his work published, has received the European Publishers Award for Photography and is a Guggenheim Fellow. Gilden has been a member of Magnum Photos since 1998. He was born in Brooklyn, New York.

About his style and technique:

Photographer Title Theme – Candid Black and White Photographer

Bruce’s style is defined by the dynamic accent of his pictures, his special graphic qualities, and his original and direct manner of shooting the faces of passers-by with a flash. Gilden is also very prone to shooting in extremely close proximity to his “models”, so close in in-fact that a lot of the people he photographs think he’s photographing someone being them which makes them feel more part of the image and gives them a more natural and interesting facial and bodily expression. Gilden’s powerful images in black and white and now in colour have brought the Magnum photographer worldwide fame. Bruce has been known to walk on certain sides of streets and locate himself in certain places he believes give the most diverse and interesting range of people and actions to capture in his portraits.

Bruces inspiration stems from a large fascination of his to do with capturing the energy, the stress and the anxiety of busy city life. He uses flash in a large proportion of his photos and is very selective on the characters he shoots. In one video he quotes, “I look for characters, things that make an impression on me. Someone who’s not the average looking person.”

One of his famous quotes is “If you can smell the street by looking at the photo, its a street photograph”. This quote captures his ethos of trying to take photos that fully represent the non pictorial qualities like emotions and moods of people in the city and those that come with city life.

Video Links:


Images:

NN11384034.jpg


NYC142483.jpg


NYC156855.jpg


Favourite image and analysis:


NYC155381.jpg

This is my favourite image because of the anger it carries through the texture of the photography.

Technical features of this photo include;

  • An artificial flash gun light along with dull daylight.
  • A macro lens used to distinguish the smallest of facial features.
  • A greater exposure and shutter speed to capture the minute changes in colour and the variety and true form of the main colours.
  • A higher saturation to give the photo some more warmth and colour.

Visual features of this photo include;

  • A very intricate texture with little noise in the photo but a lot of texture.
  • An extremely high sharpness and high levels of colour saturaion
  • A kind of 2D shape, made 3D by the small patched shadow areas and of out of focus scenery behind the model
  • There is also a high contrast to other colours in the photo and shadows are very prominant  to enhance the facial features.

Contextual and Conceptual features of this photograph;

  • This photograph is part of a project carried out by Bruce Gilden called ‘Portraits’ which aimed to capture very different and diverse looking people who captured Bruce’s attention. There may be a personal context that Bruce applies with these photos as-well due to his rough up bringing he maybe feels like these people are those he was destined to end up among if he hadn’t have found photography.
  • The conceptual essence behind these portraits and portraits in general is to capture the whole environmental feeling from the place the photo was taken. For example emotions like anger and stress can come across from this photo due to unknown reasons. Or street photography portraits can capture the chaos that occurs in a city.


Why Bruce Gilden?

Out of all of the case studies I have completed so far on photographers, Bruce has come across to me as the most genuine, realistic and diverse photographers around. I love his confident style in shooting up close with a flash gun and not caring what other people think of him or his work for example he once quoted “nobody can tell me a picture isn’t good if  think its good  “. I also love his approach to finding who he’s going to shoot by looking for people who are “different” and not fitting into society because it makes them interesting. I also finally like the way he tries to capture emotions and feelings of city life in his portraits because I personally think street photography is all about not capturing an image necessarily but capturing a mood, emotion or vibe from a person or place.

Studio portrait lighting

The use of lighting is a studio is important because it is an environment that the photographer can control,  this means that the photographer can get the desired effect.

Image result for broad lighting for studio

This is broad lighting and is when the photographer wants to illuminate only one side of the subjects face and sometimes they will use a reflector panel to give some light to the other side but the main focus is on the side with the most light hitting it.

Here is an example:

Image result for broad lighting portraits

In this photo the photographer has placed the light source to the left of the subject and then has no reflector to his right.

My Response:

I put my subject into the centre of the frame and then put a light with a diffuser to my right and then had no reflector.

Studio Photography and Rankin

John Rankin Waddell (born 1966), also known under his working name Rankin, is a British portrait and fashion photographer and director.  Rankin is best known as the founder of Dazed and Confused magazine (along with Jefferson Hack), and for his photography of models including Kate Moss and Heidi Klum, celebrities such as Madonna and David Bowie and his portrait of Elizabeth II.  His work has appeared in magazines such as GQ, Vogue and Marie Claire.

Rankin visited South Africa in 2010 with BBC to make a documentary  titled, South Africa in Pictures. In the same year, Nike and Bono’s R.E.D commissioned Rankin to shoot for Nike’s global campaign to fight and spread awareness against HIV/AIDS. The campaign was called, Lace Up Save Lives.

In 2011 Rankin started the biannual fashion, culture and lifestyle magazine, Hunger and launched Rankin Film to produce and direct his own commercial and editorial film work.

Rankin |

Practical Responses to Rankin

Contact Sheet of Shoot

One Point Lighting:

Studio Lighting | 7772
Studio Lighting | 7759

These photographs are examples of 1-point lighting as one soft light was used to light the subject.  I feel these work well as studio lighting examples. due to the lighting and the positions the subjects are in.

Use of Flash:

Use of Flash

Chiaroscuro / Rembrandt Lighting

Chiaroscuro:

Chiaroscuro, in art, is the use of strong contrasts between light and dark, usually bold contrasts affecting a whole composition.  It is also a technical term used by artists and art historians for the use of contrasts of light to achieve a sense of volume in modelling three-dimensional objects and figures.

The term chiaroscuro originated during the Renaissance as drawing on coloured paper, where the artist worked from the paper’s base tone toward light using white gouache, and toward dark using ink, bodycolour or watercolour.

Below is an example of chiaroscuro being used in early renaissance paintings.

“The Adoration of the Child” by Gerard van Honthorst

Chiaroscuro also is used in cinematography to indicate extreme low key and high-contrast lighting to create distinct areas of light and darkness in films, especially in black and white films. Classic examples are The Cabient Of Dr Caligari (1920), Nosferatu (1922), and  Metropolis (1927).

For example, in Metropolis, chiaroscuro lighting is used to create contrast between light and dark mise-en-scene and figures. The effect of this is primarily to highlight the differences between the capitalist elite and the workers.

In photography, chiaroscuro can be achieved with the use of “Rembrandt Lighting”.  In more highly developed photographic processes, this technique also may be termed “ambient/natural lighting”, although when done so for the effect, the look is artificial and not generally documentary in nature.

Rembrandt Lighting:

Rembrandt lighting is a lighting technique that is used in studio portrait photography.  It can be achieved using one light and a reflector, or two lights, and is popular because it is capable of producing images which appear both natural and compelling with a minimum of equipment.  Rembrandt lighting is characterized by an illuminated triangle under the eye of the subject on the less illuminated side of the face.


Below are two examples of our own experiments with Rembrandt lighting and chiaroscuro.  Together we worked in a team to create these images, one taking the photographs and focusing the camera, one modelling for the portrait and the other changing the lights and altering them to get the effect wanted and needed.

We started with the lights in front  facing at an angle to the left of the model however found that this caused too much light to fall upon the right side of the face, to alter this we moved the light right the way around her body to the back almost behind her and this enabled us to be able to keep the right side of her face in the shadows creating tones and contrasts that come with rembrandt lighting.

I feel these photographs work well for this style of lighting as they have the dark and light contrasts needed for this style of portraits and I feel the shadows and the light areas work well together and don’t clash or fight each other.

Rembrandt Lighting | 7698
Rembrandt Lighting | 7699
Experiments with Colour
Rembrandt Lighting | 7717
Rembrandt Lighting | 7710