What Is Studio Lighting?
Control over lighting offers the photographer control over the final image.
Often photographers work with available light — the sun, ambient light, firelight or available artificial lights. Our knowledge of varied exposure tactics offer us many options for making use of available lighting, but, there are, admittedly, times when we want to control illumination as well as subject as well as the camera and exposure settings.
Studio lighting — strobes, reflectors, diffusers and so forth — offers us that control. https://www.harding.edu/gclayton/photography/topics/010_studio_lighting.html
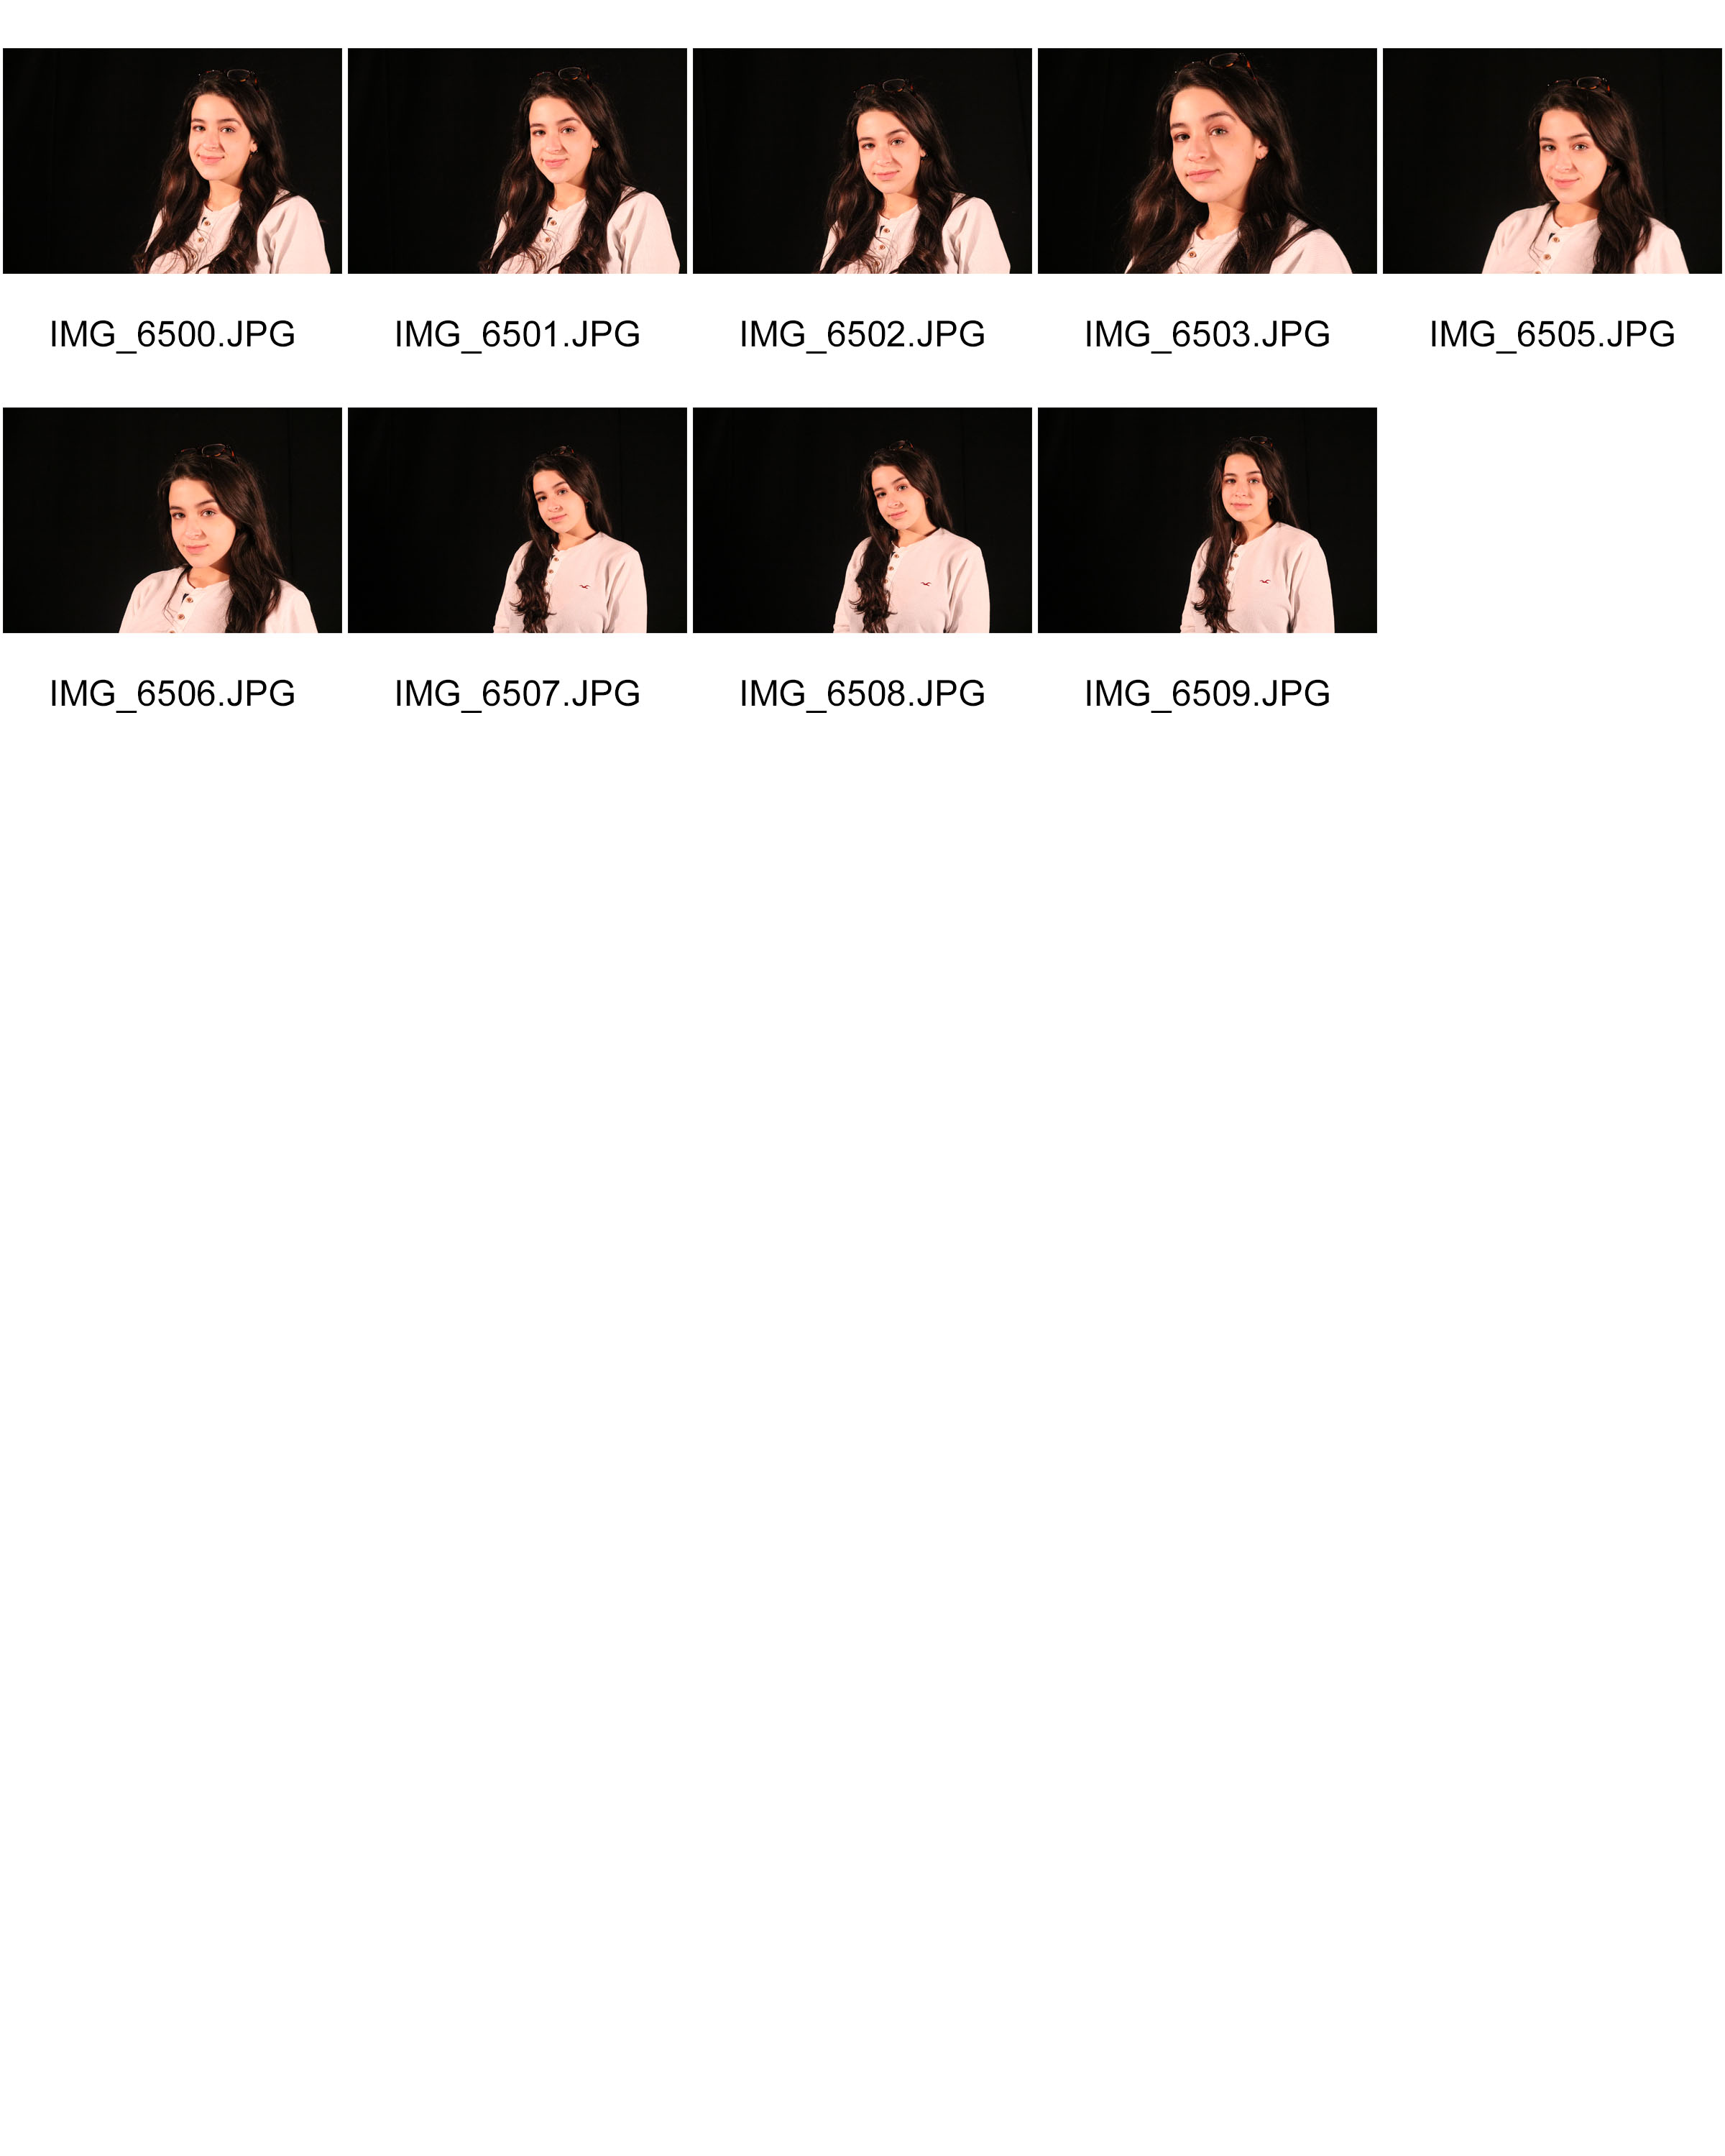
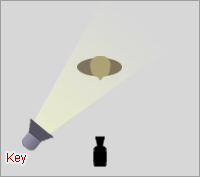
Three Point Lighting
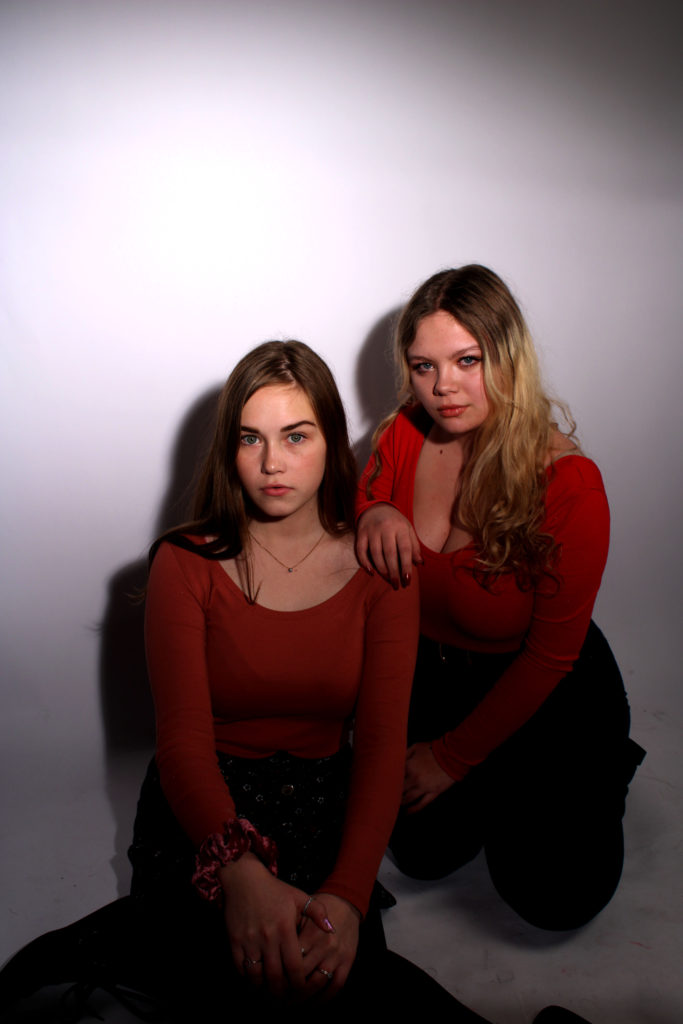
A common general lighting setup involves a key light, a fill light and a backlight.
The key light provides the main illumination of the subject.
The fill light offers illumination to surfaces turned away from the keylight, providing a better ratio of light and dark tones.
The back light either illuminates the background (or backdrop), or is used on the back of the subject (hair light or rim light) — often aiming to creating rim lighting.

The Three Point Lighting Technique is a standard method used in visual media such as video, film, still photography and computer-generated imagery. It is a simple but versatile system which forms the basis of most lighting.
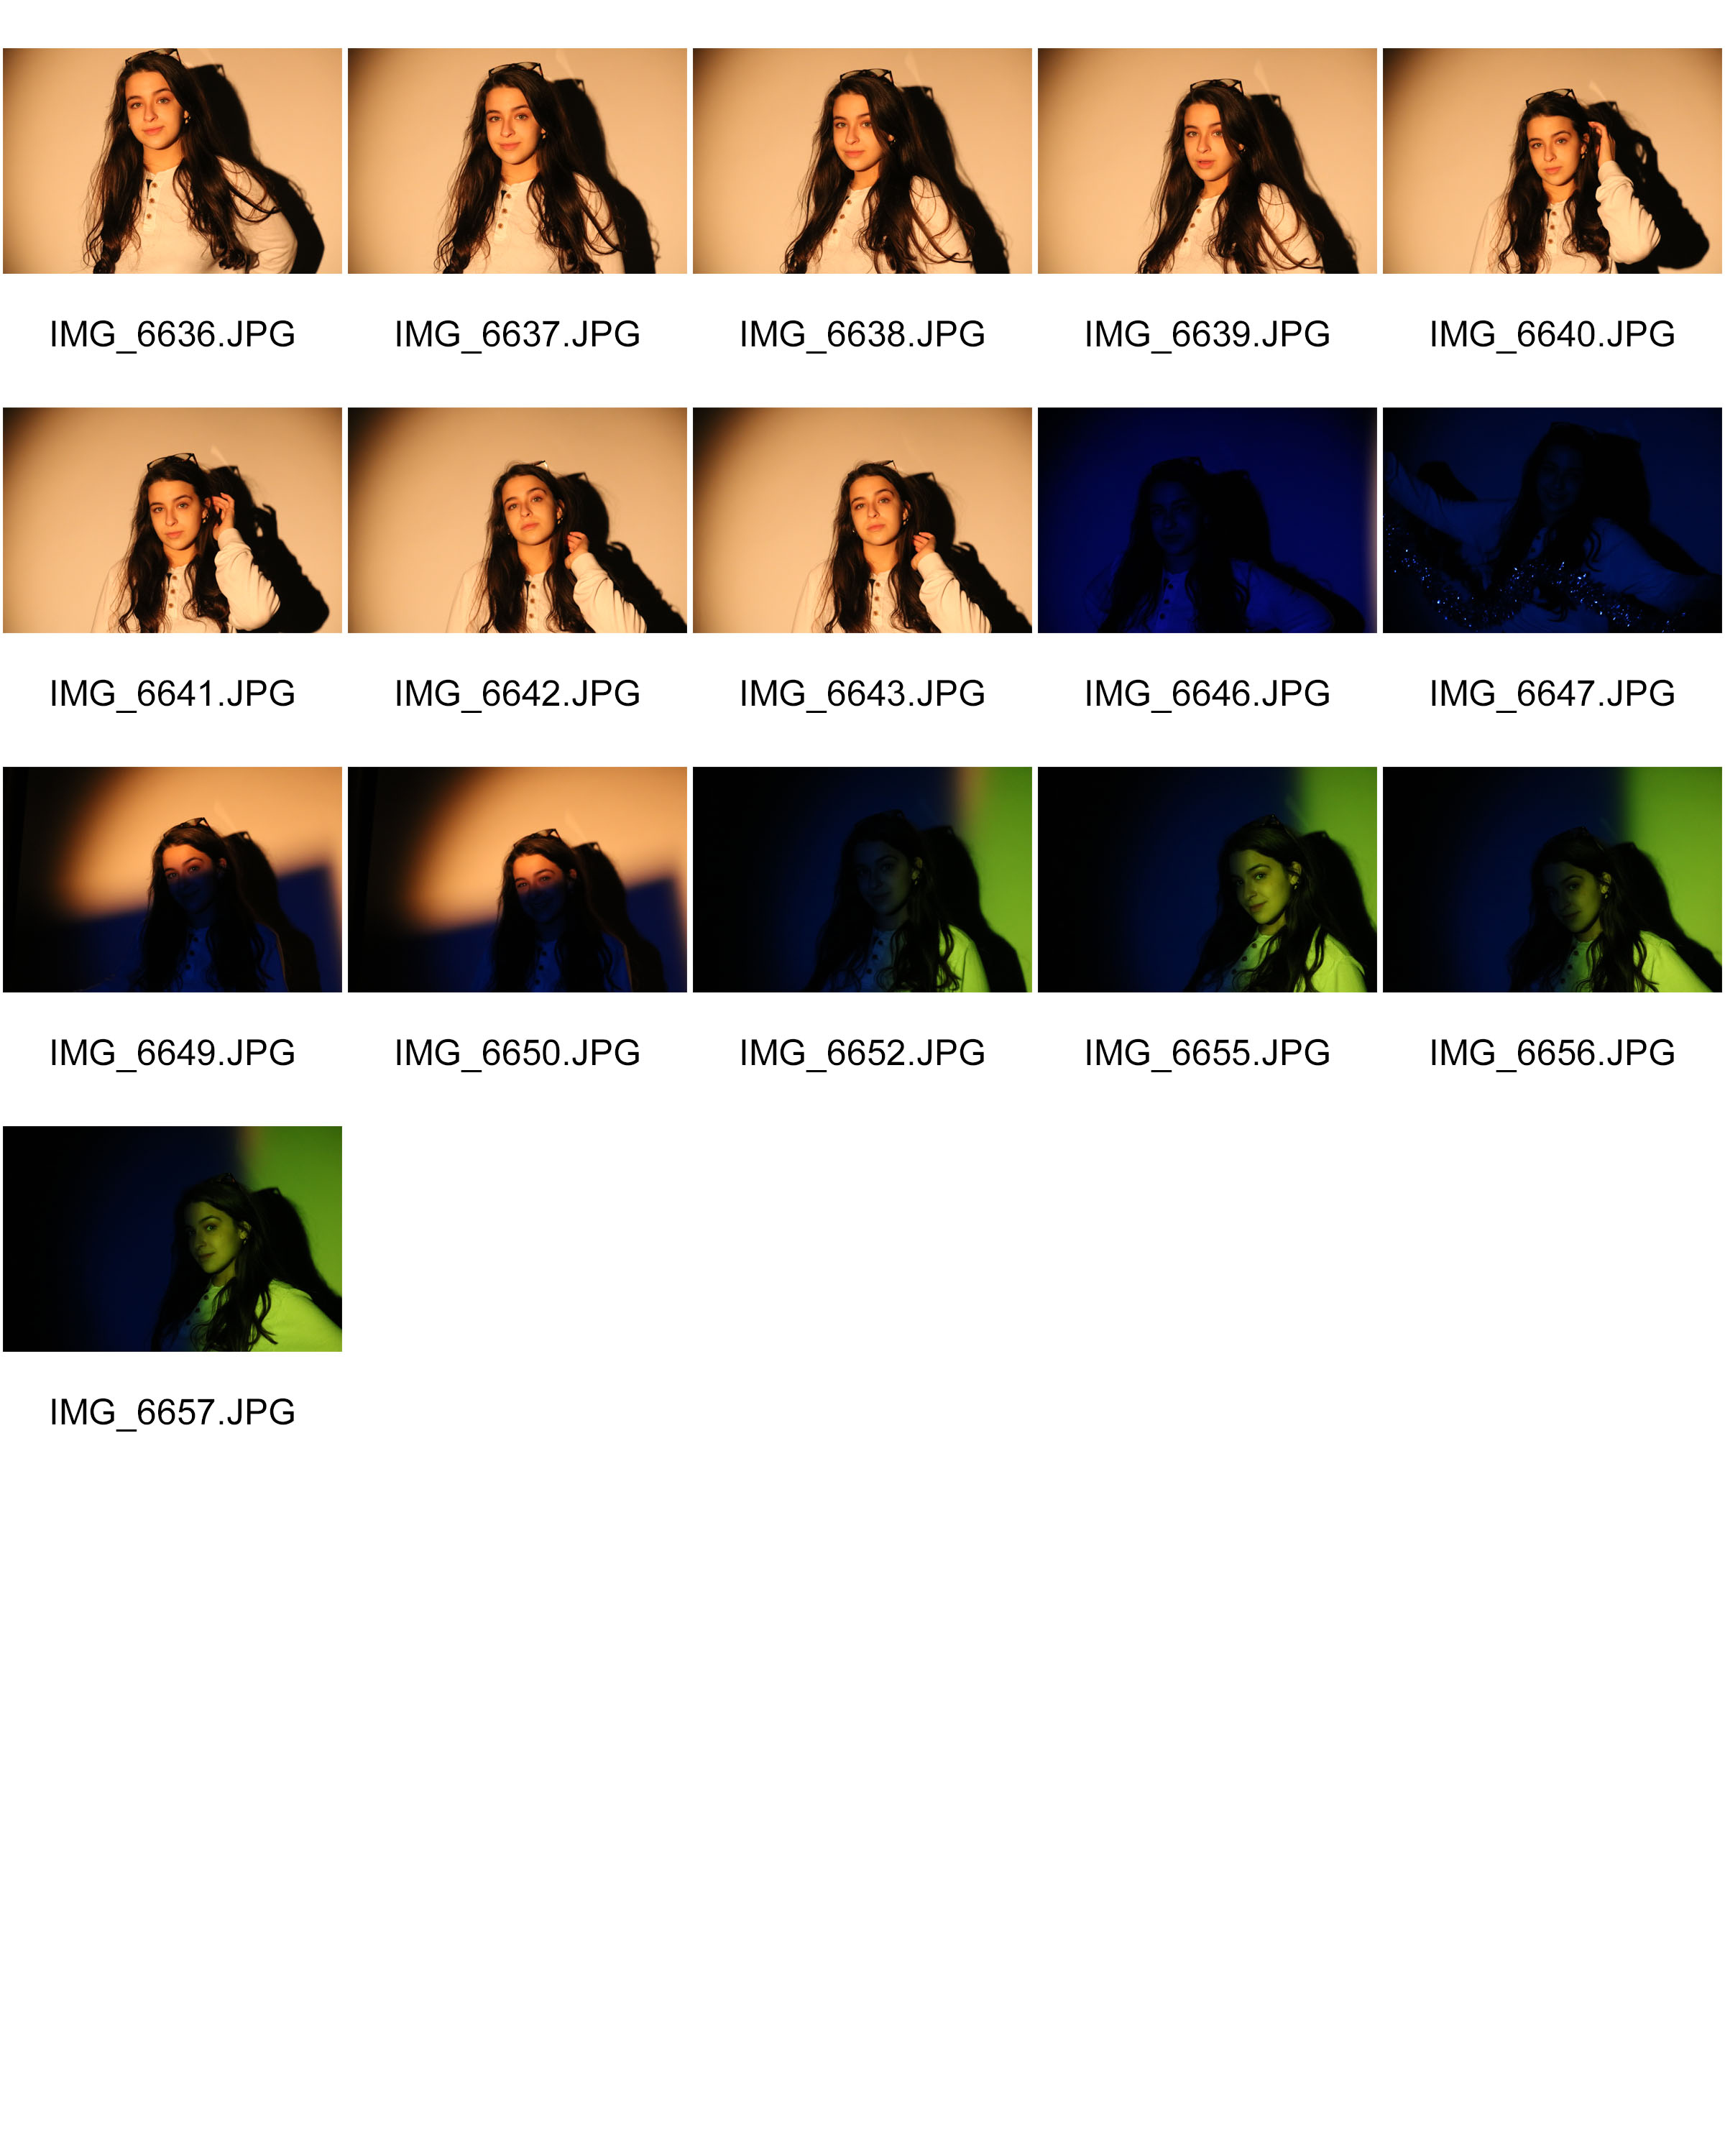
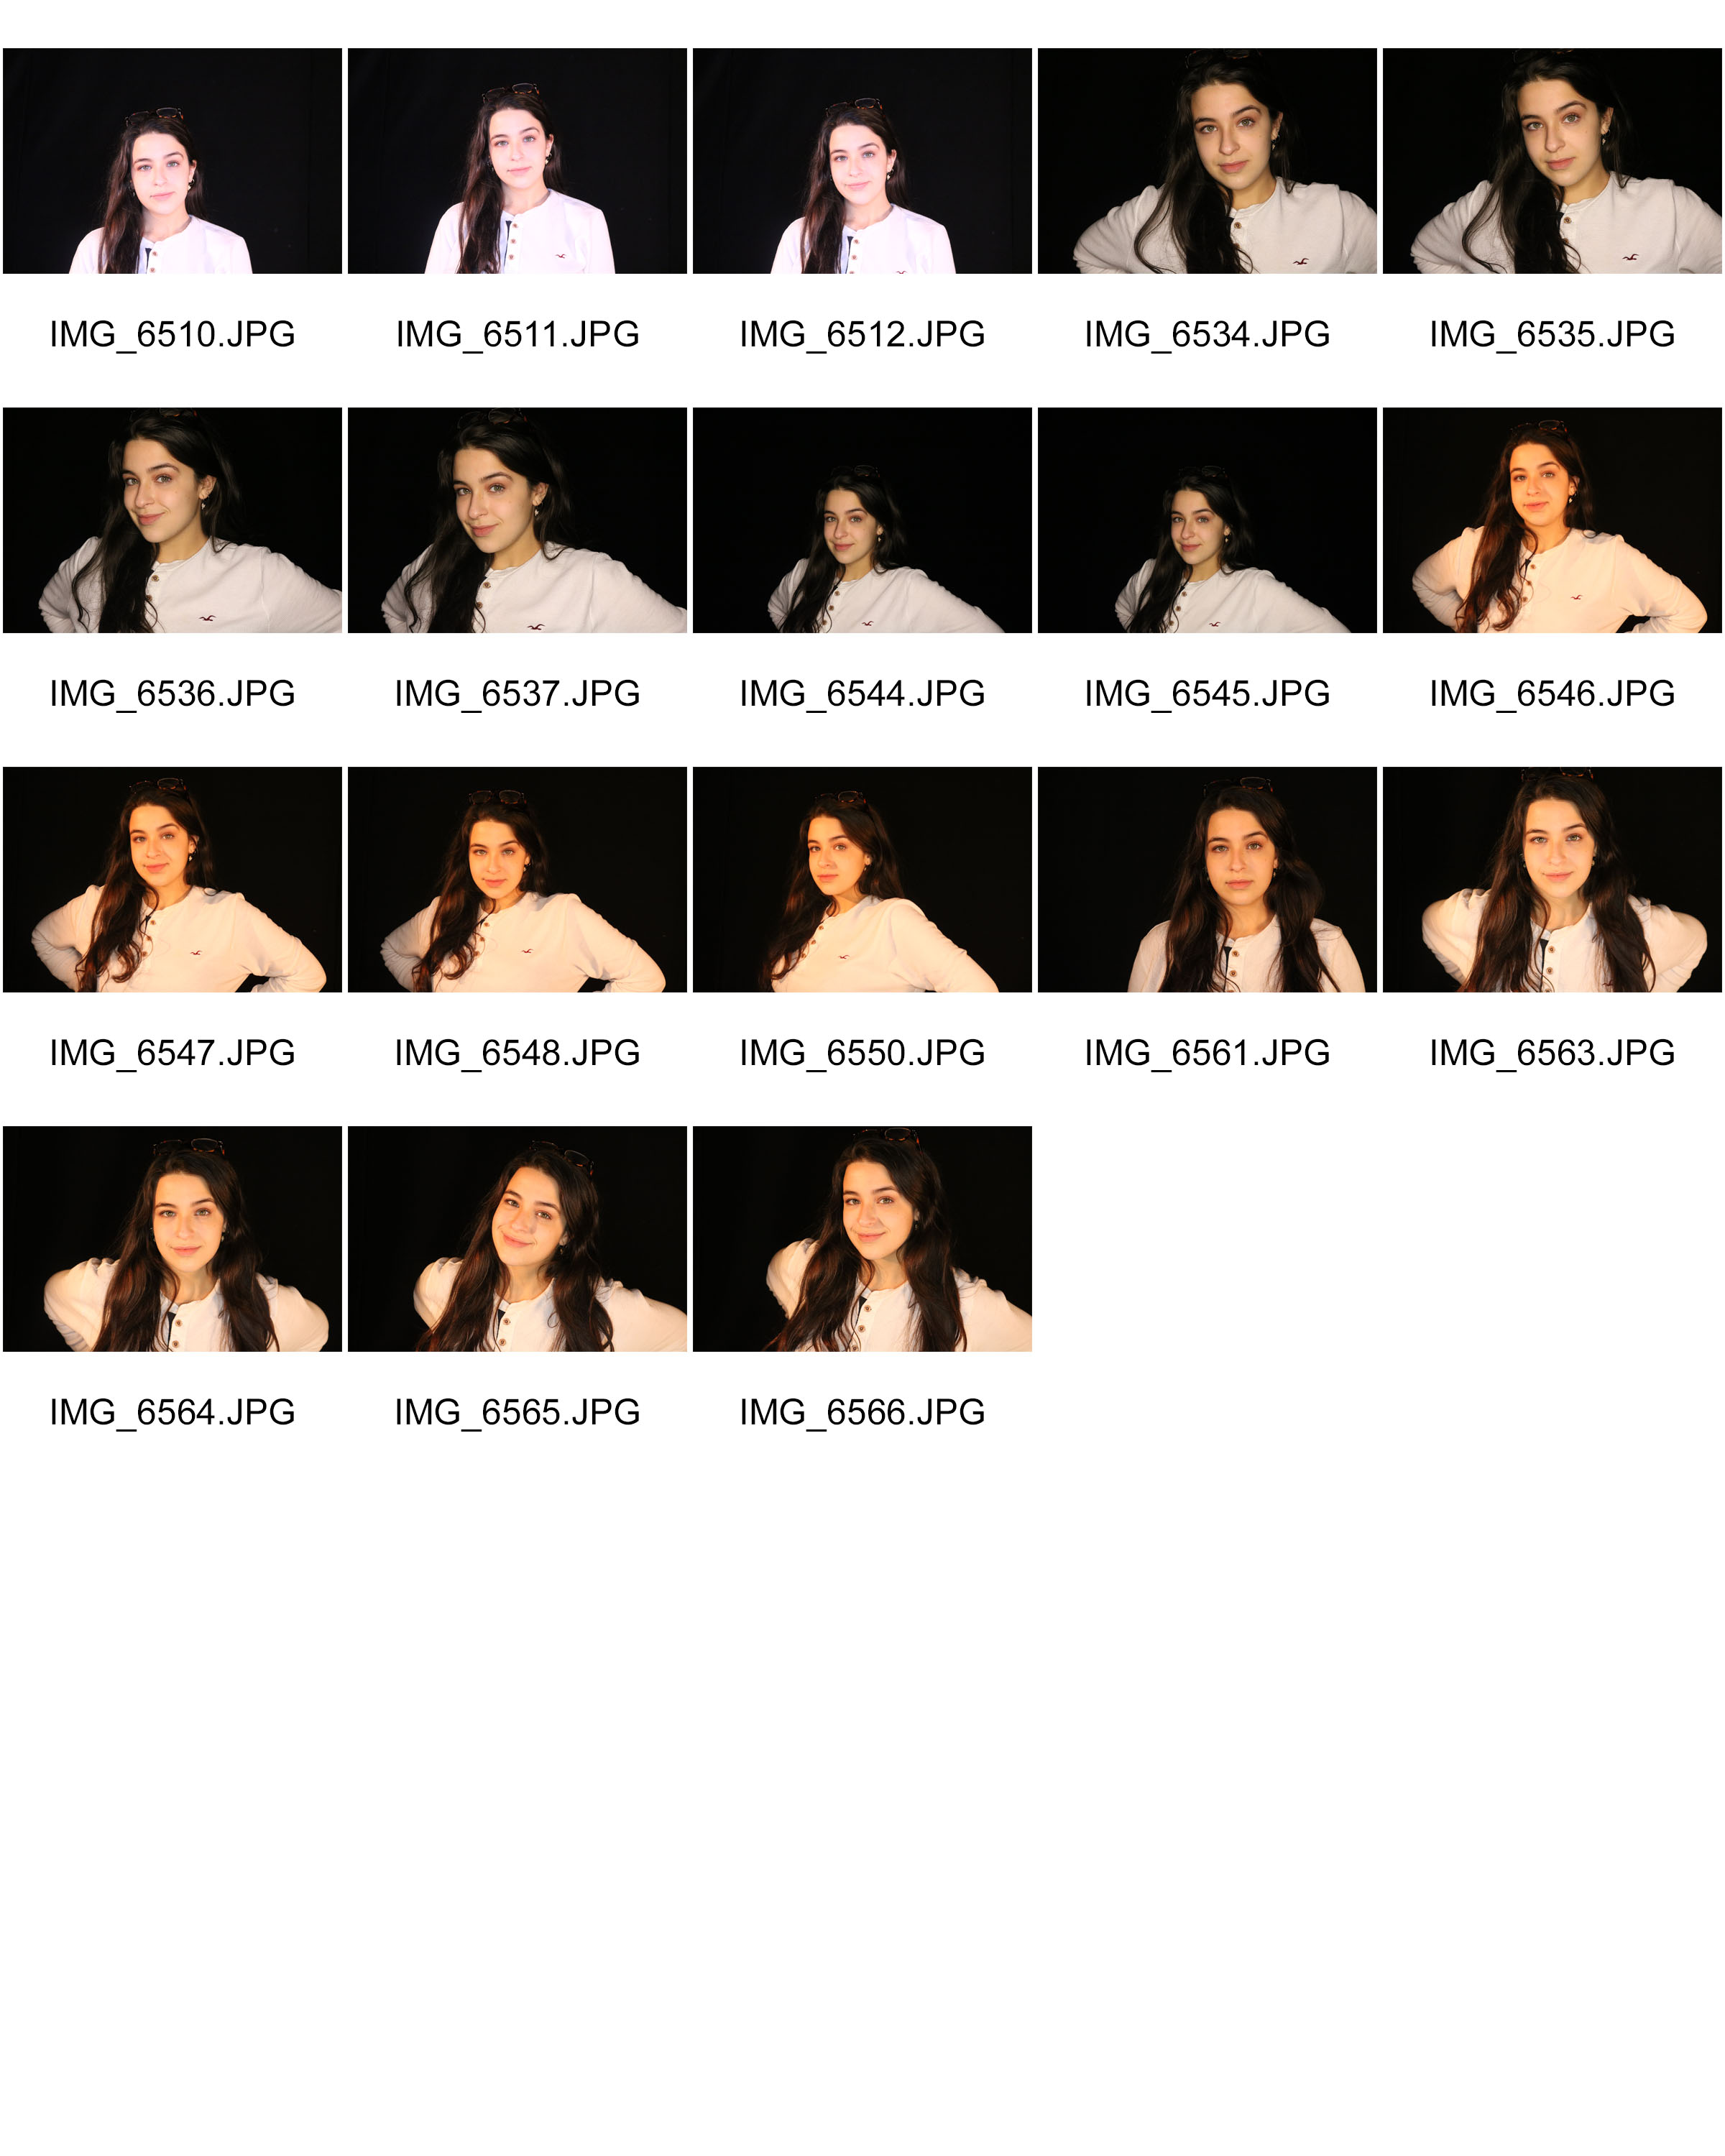
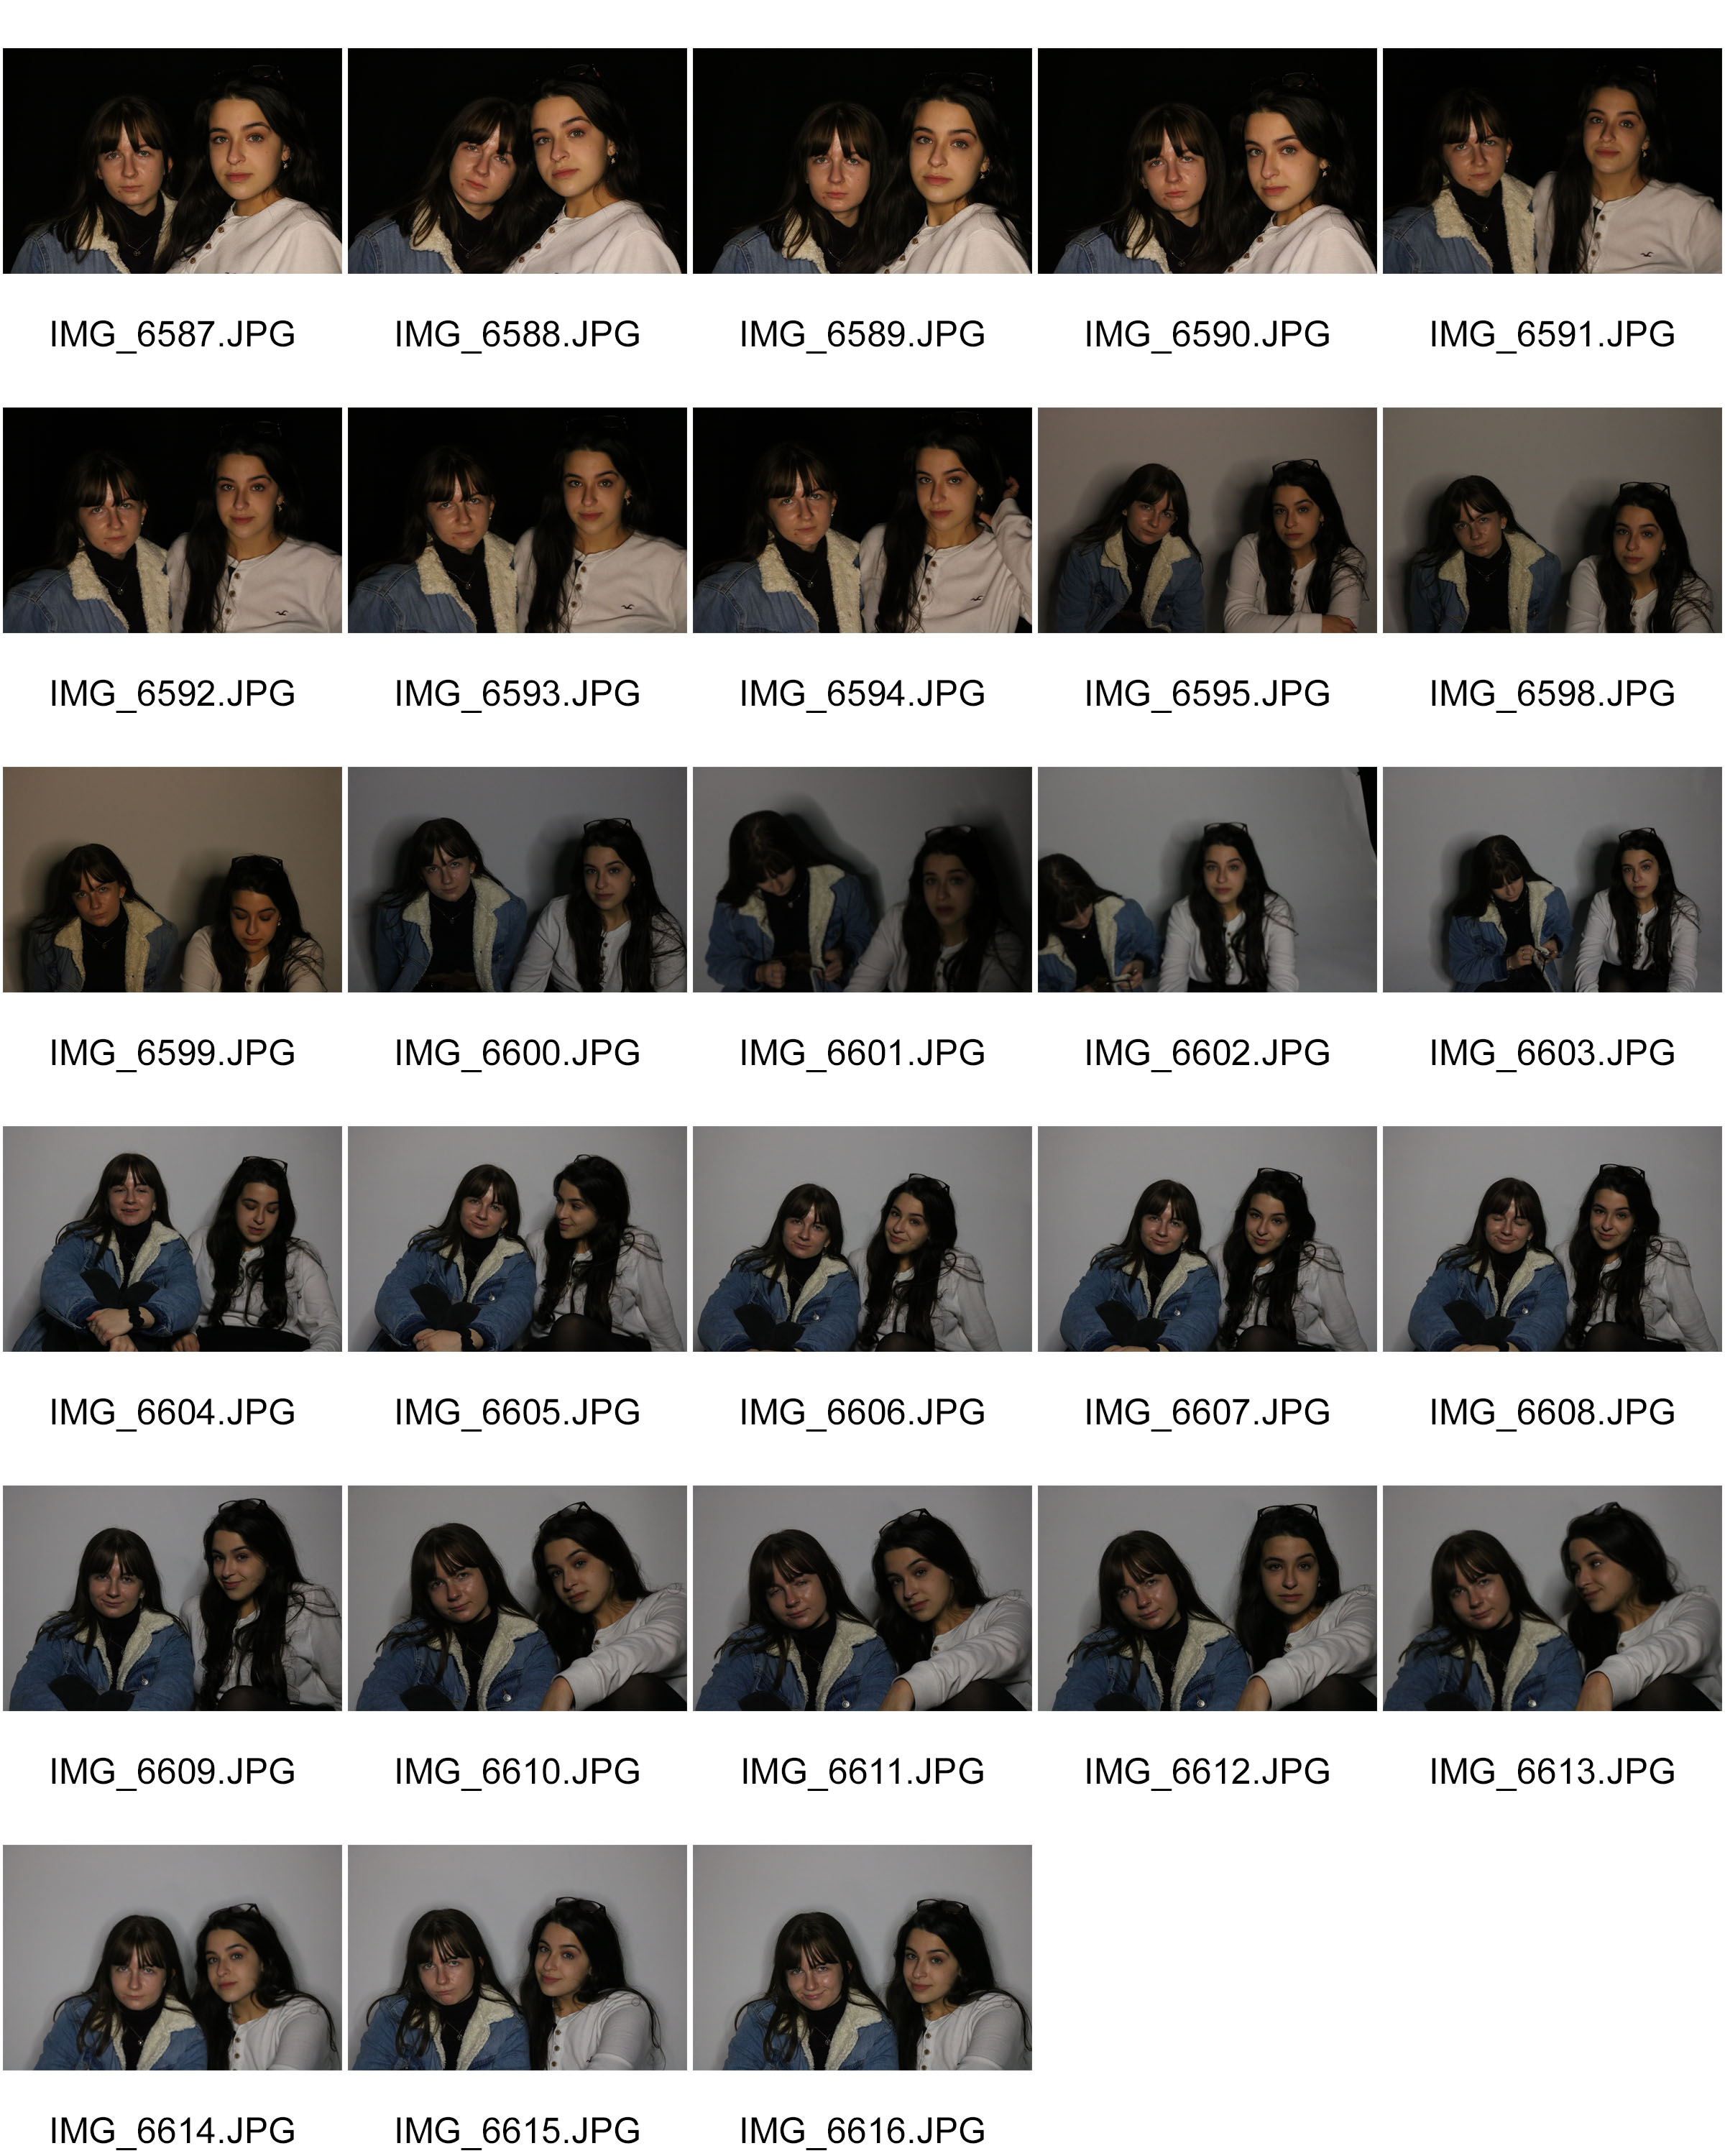
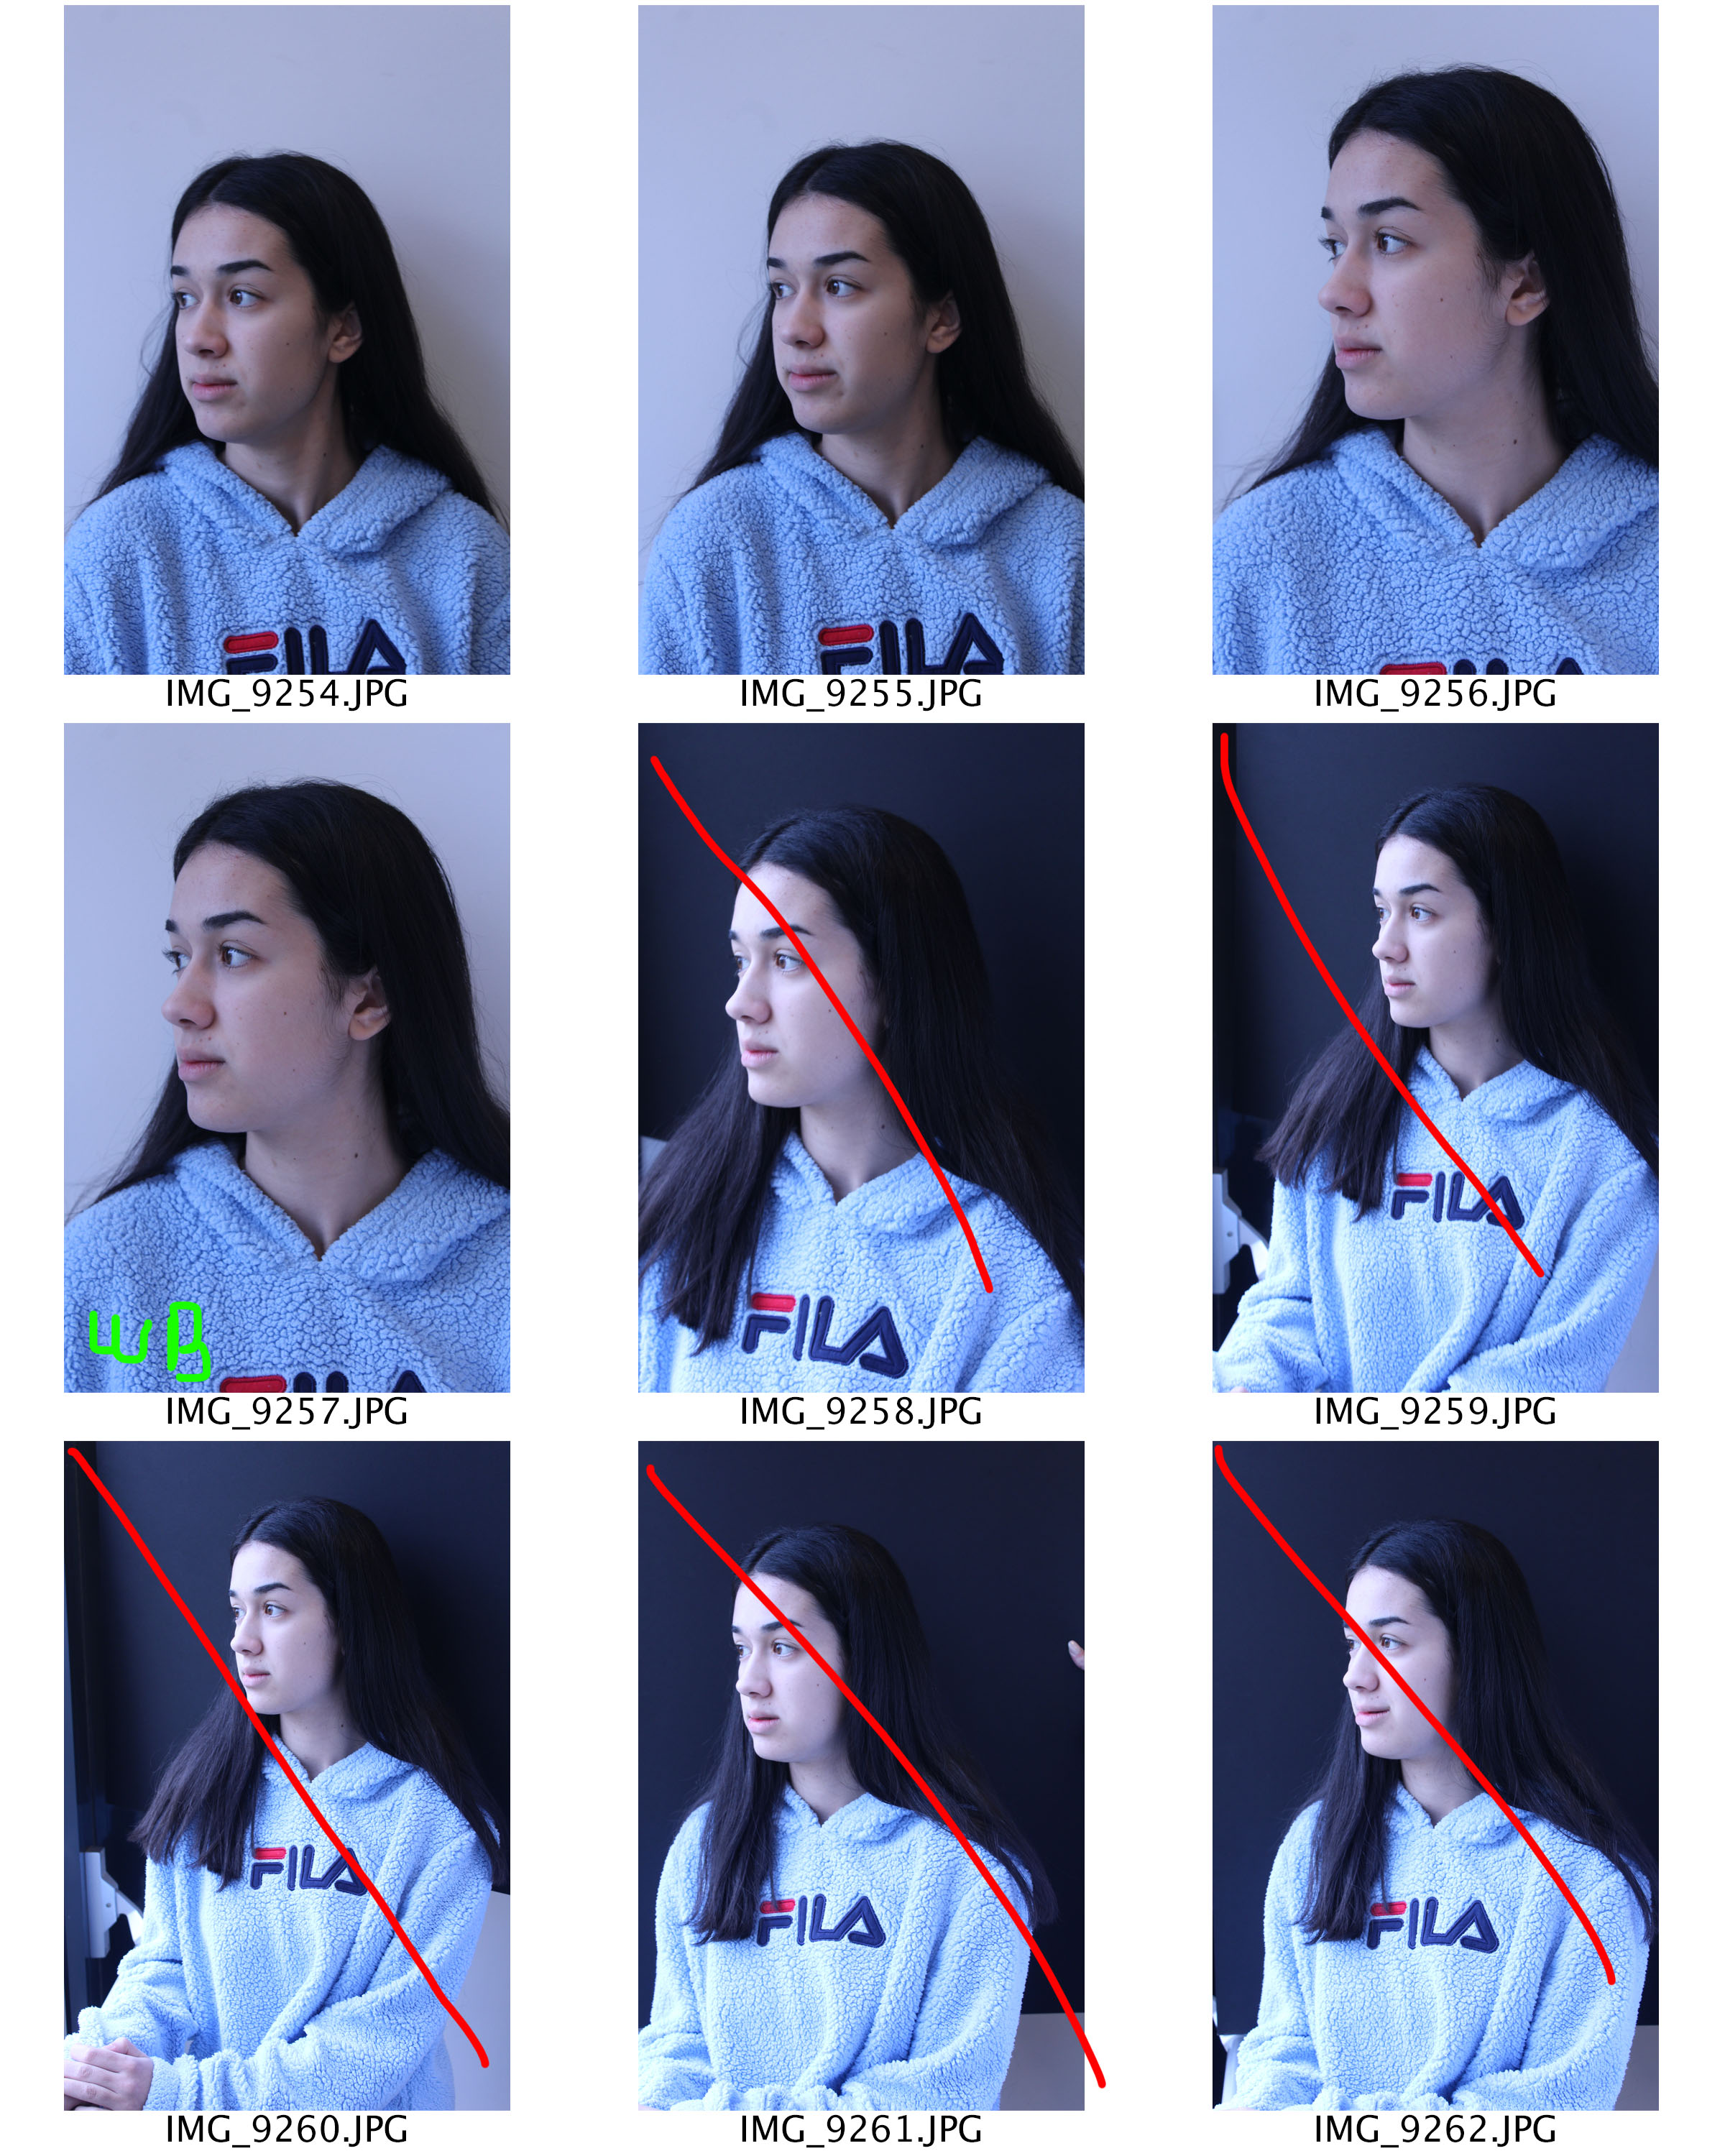
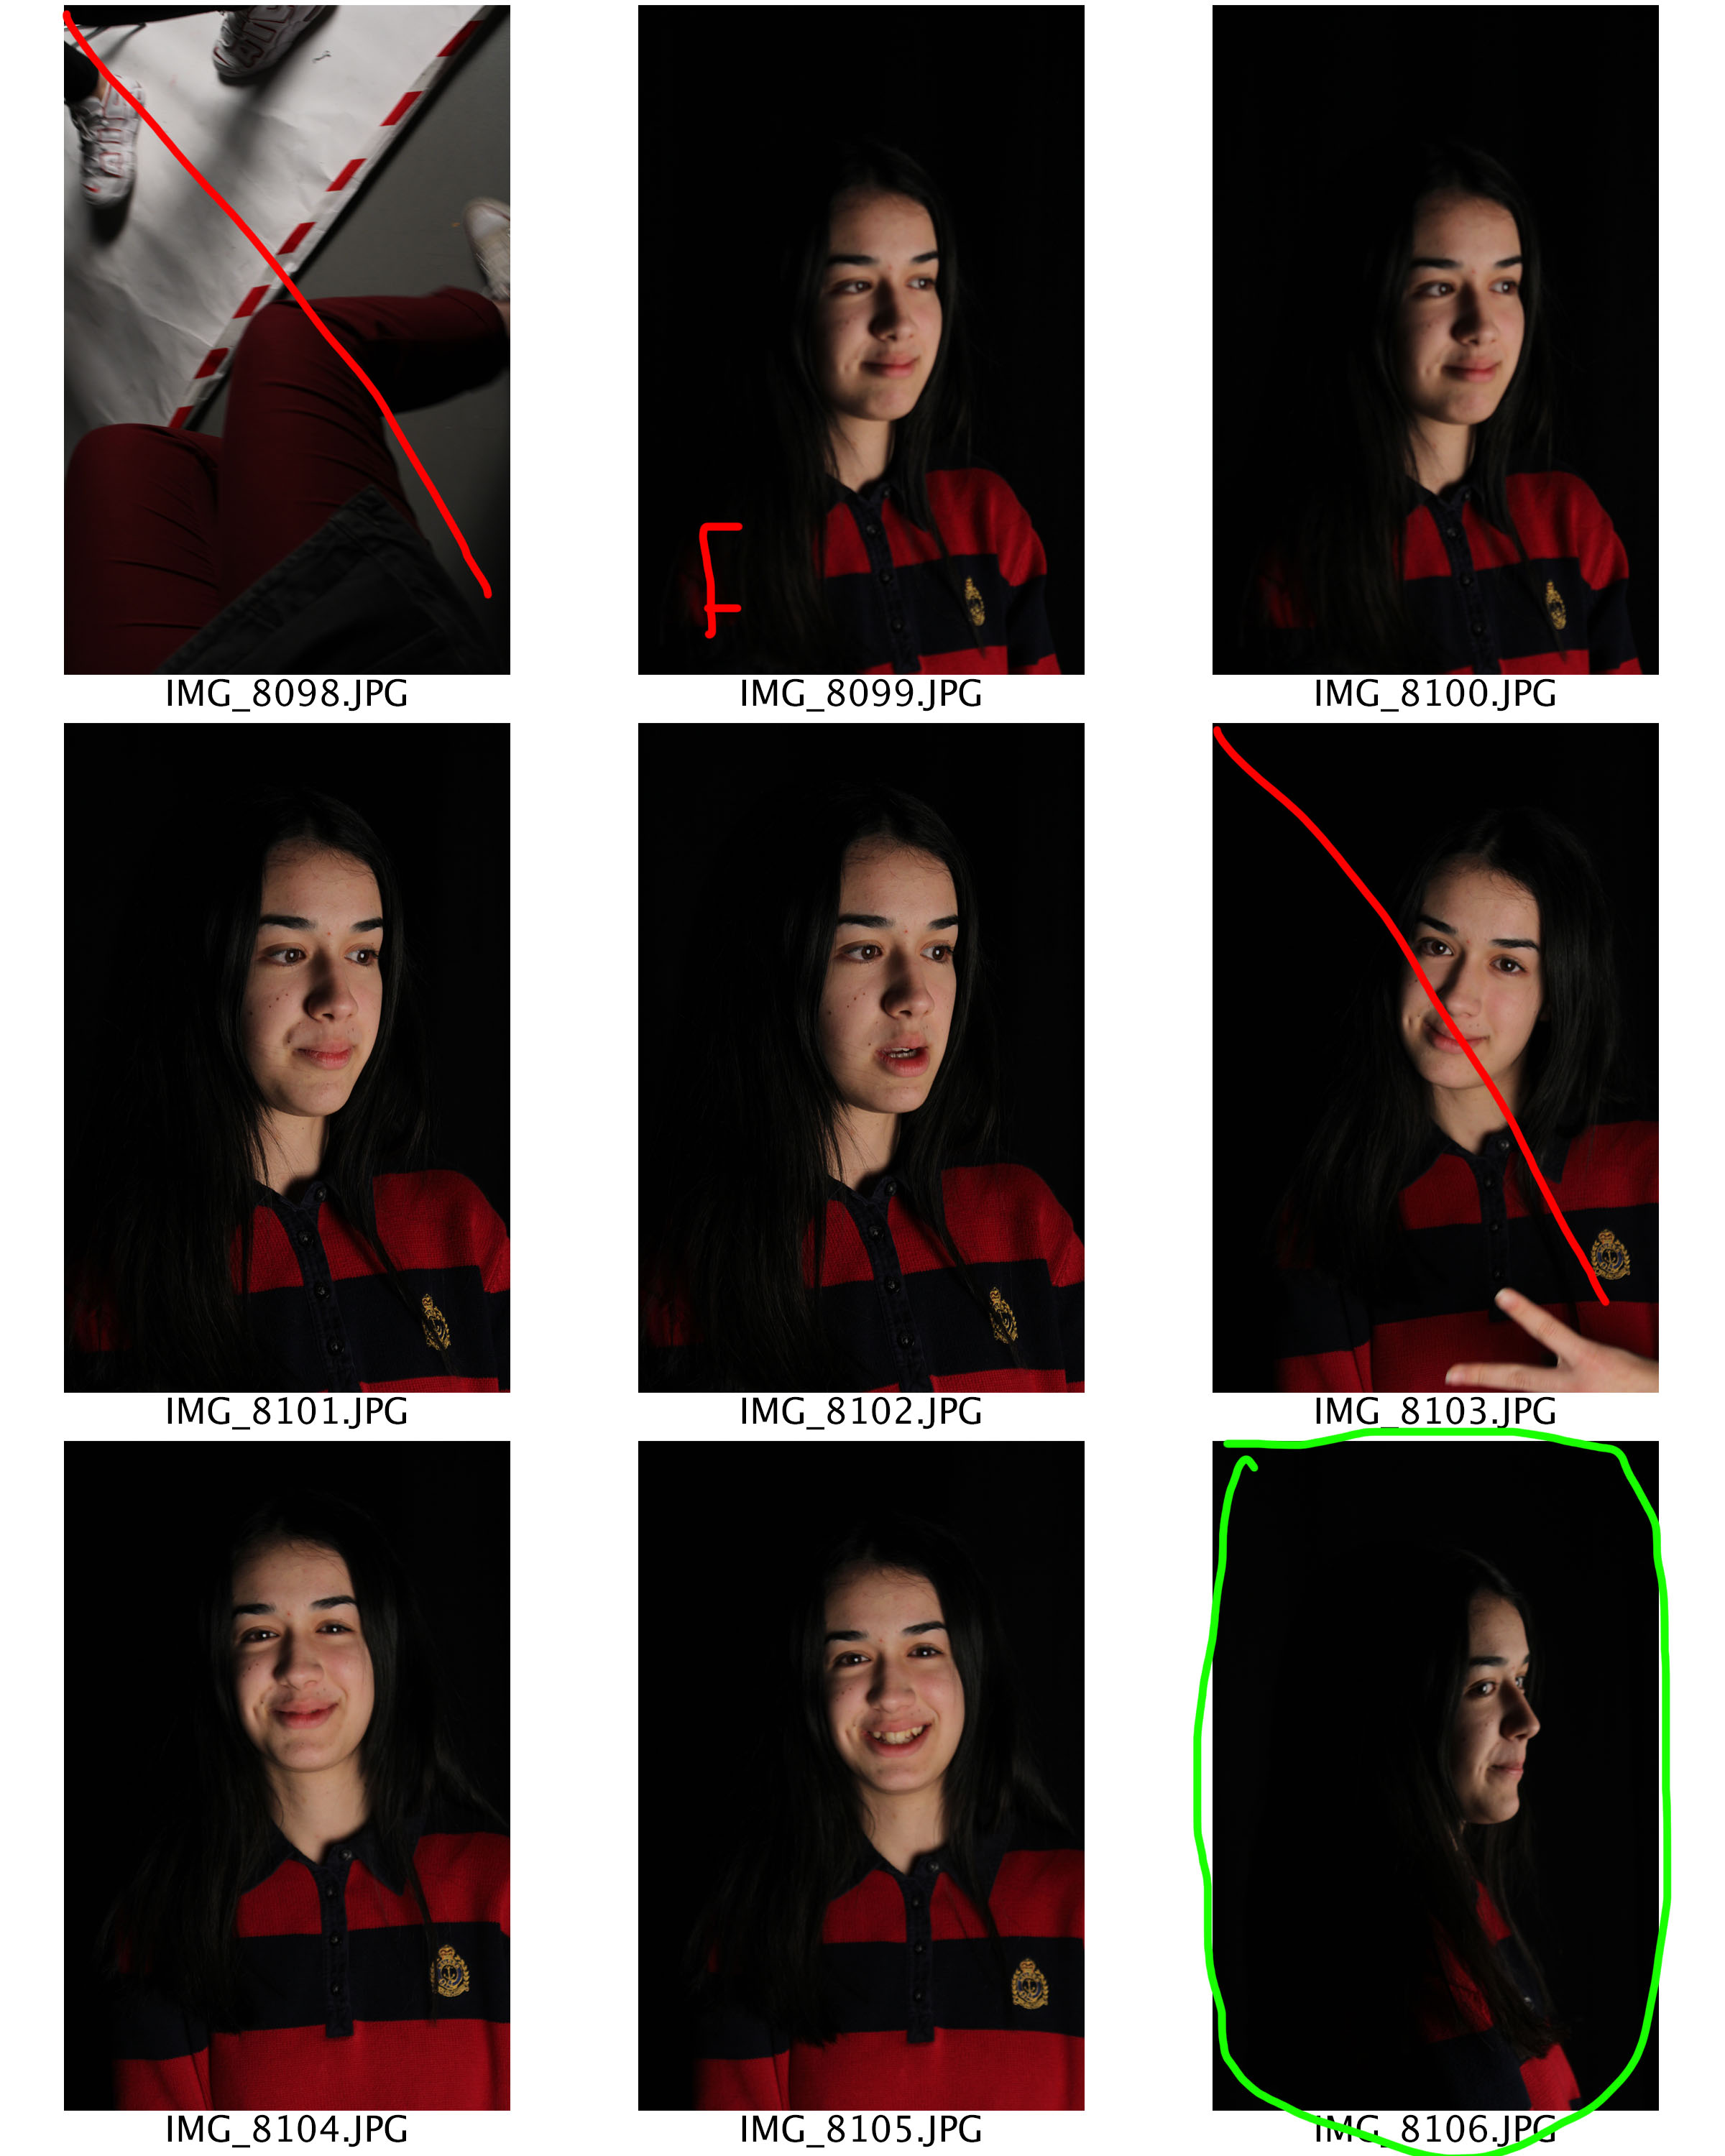
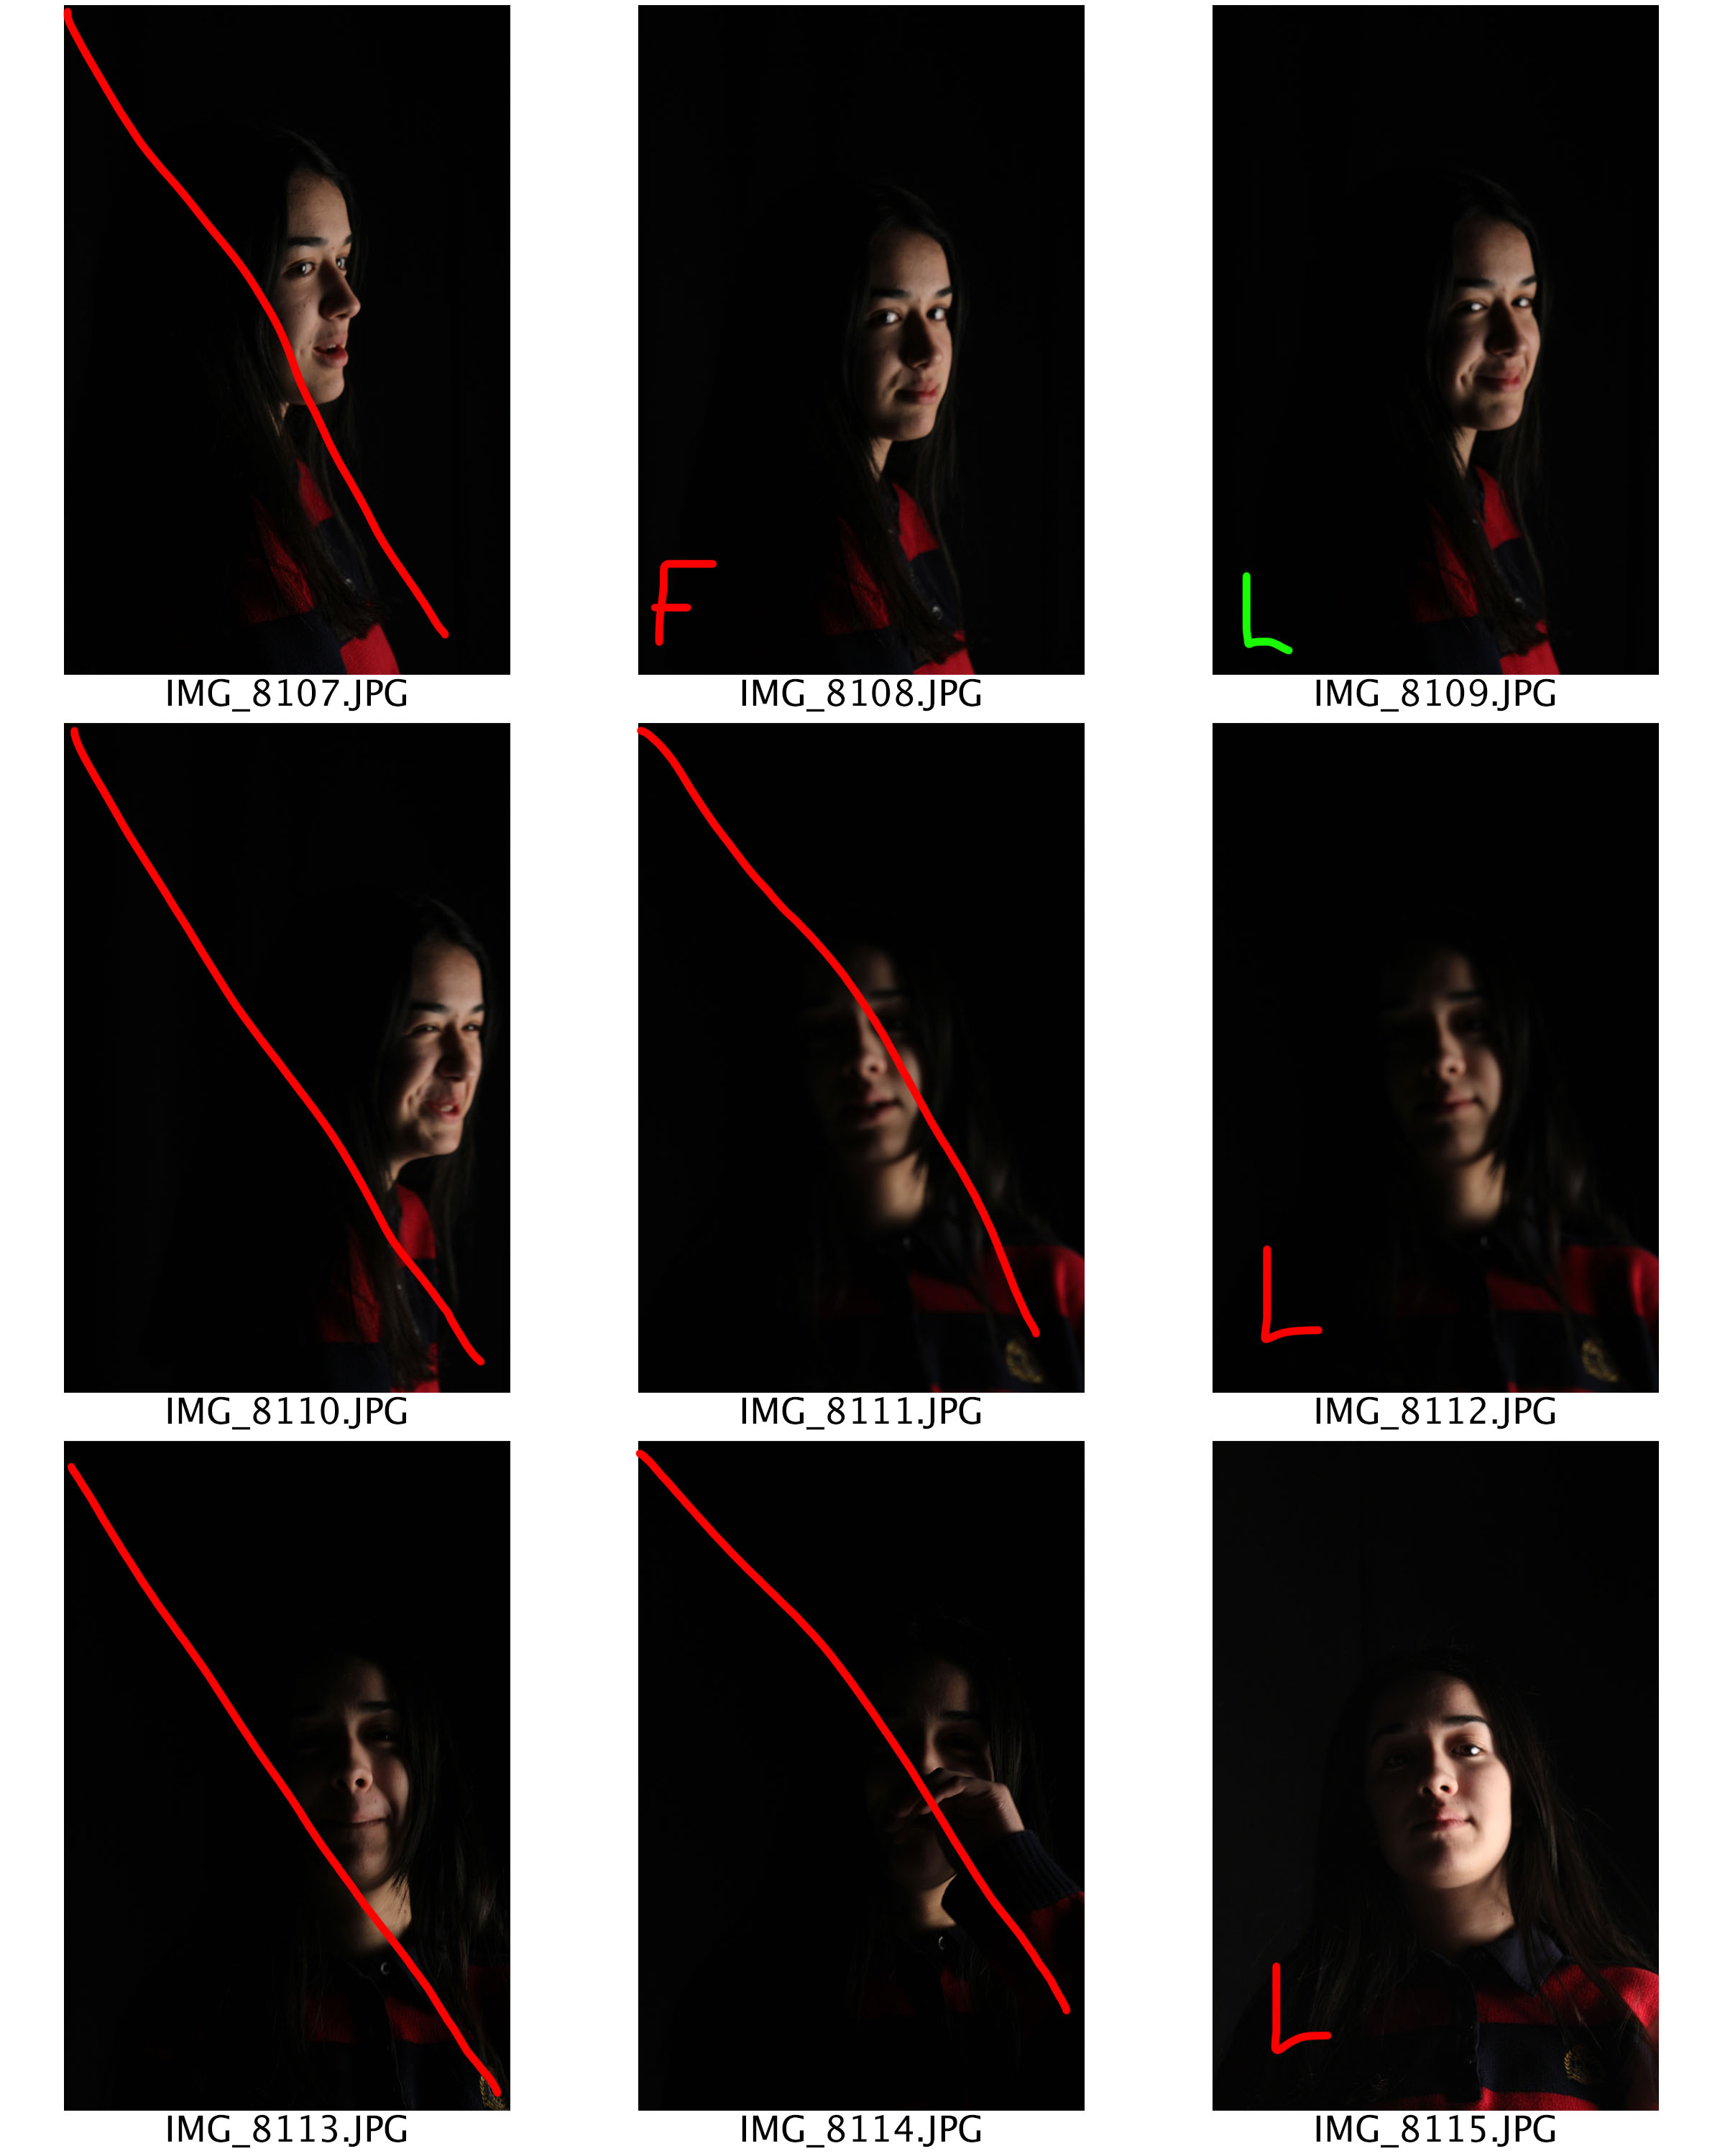
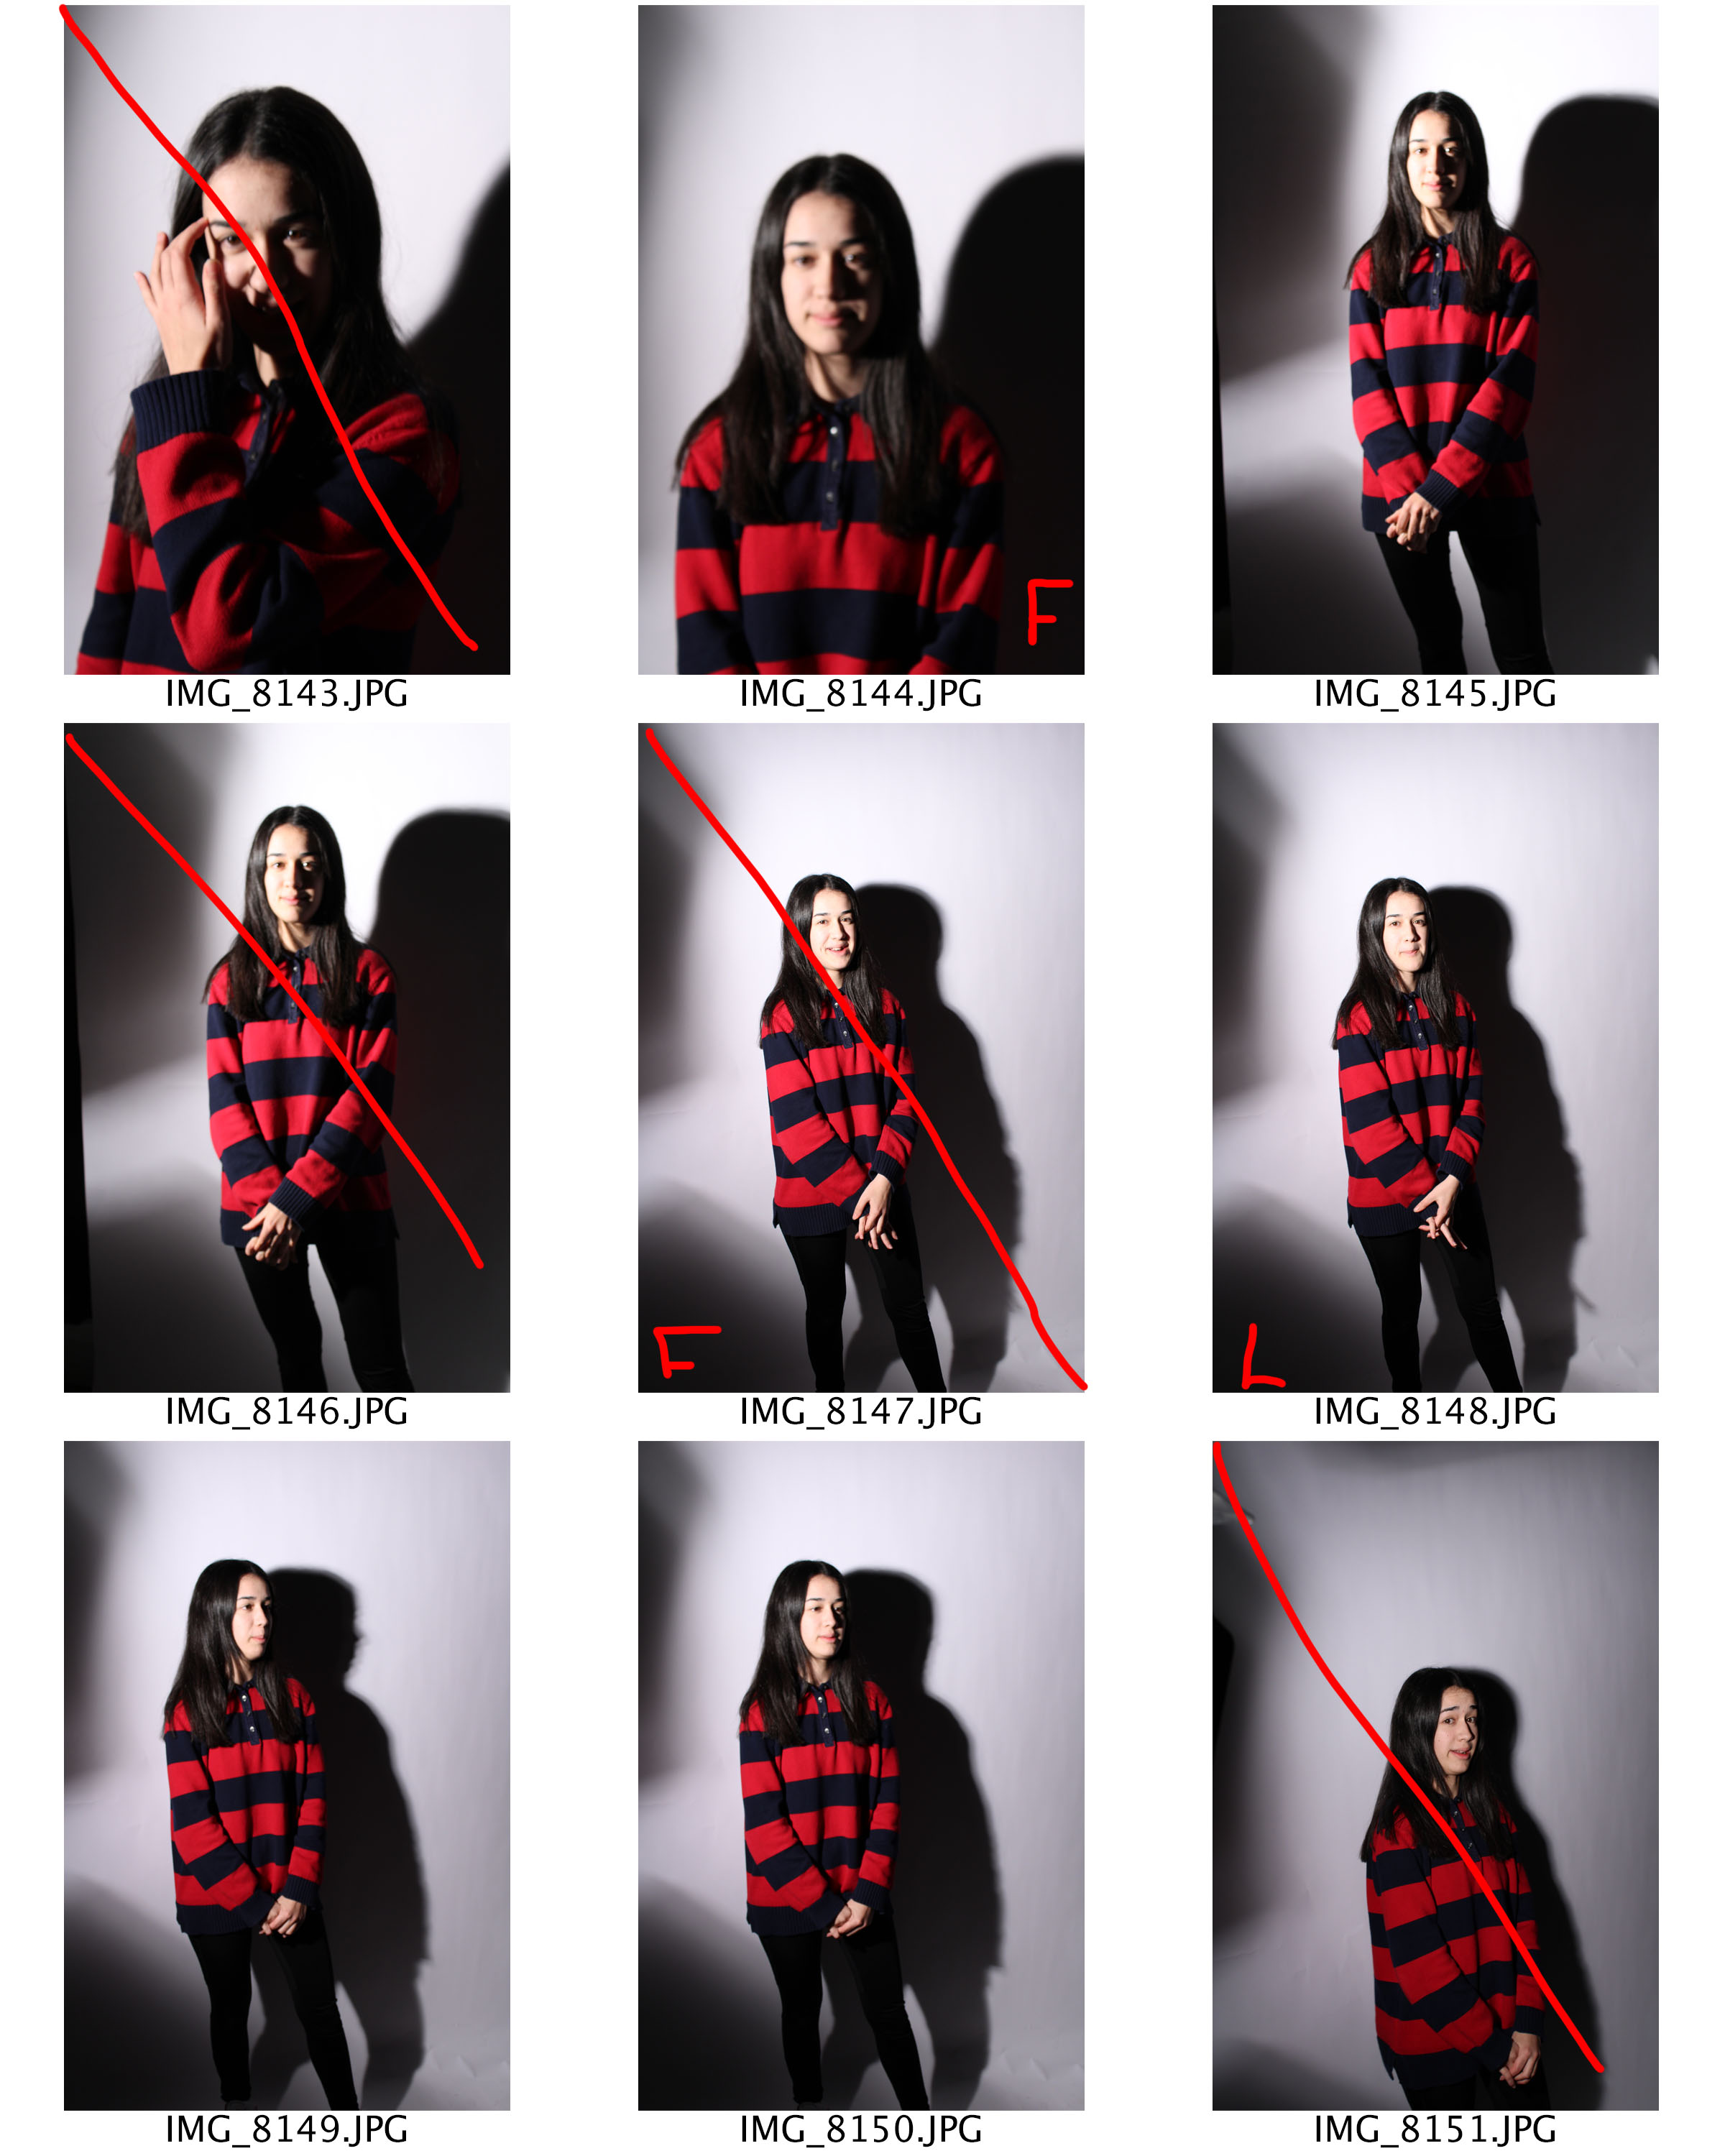
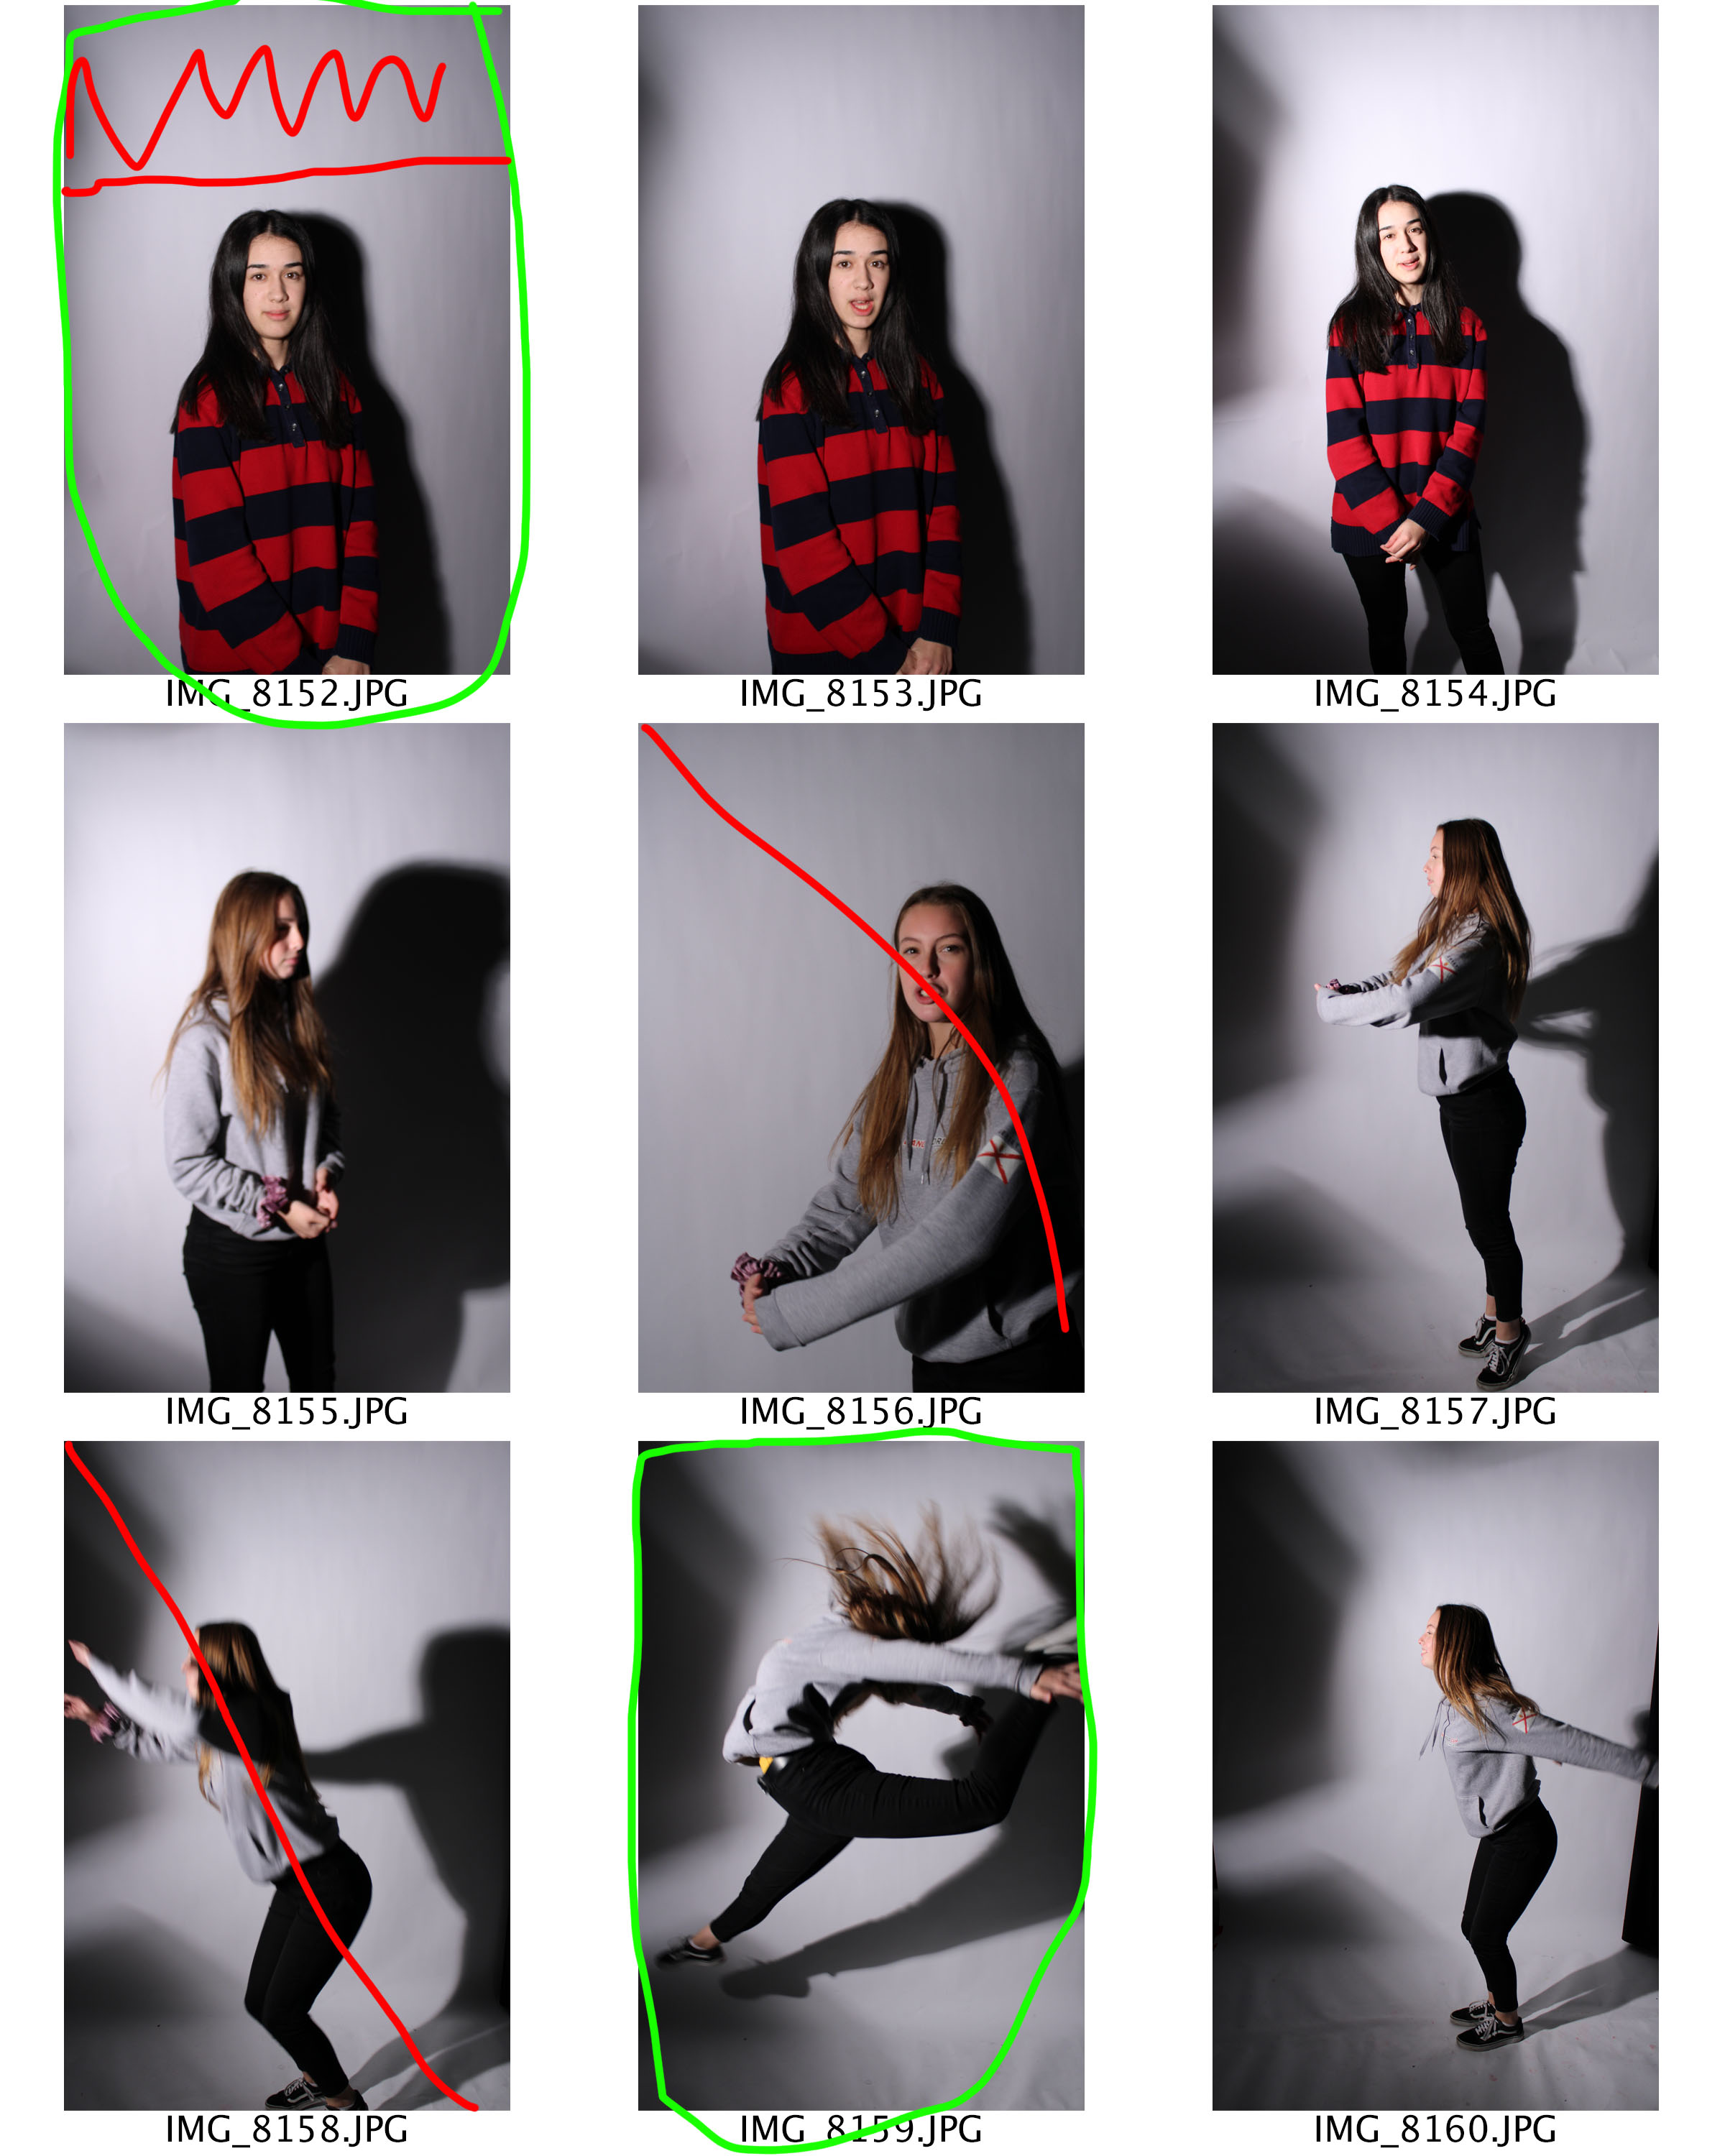
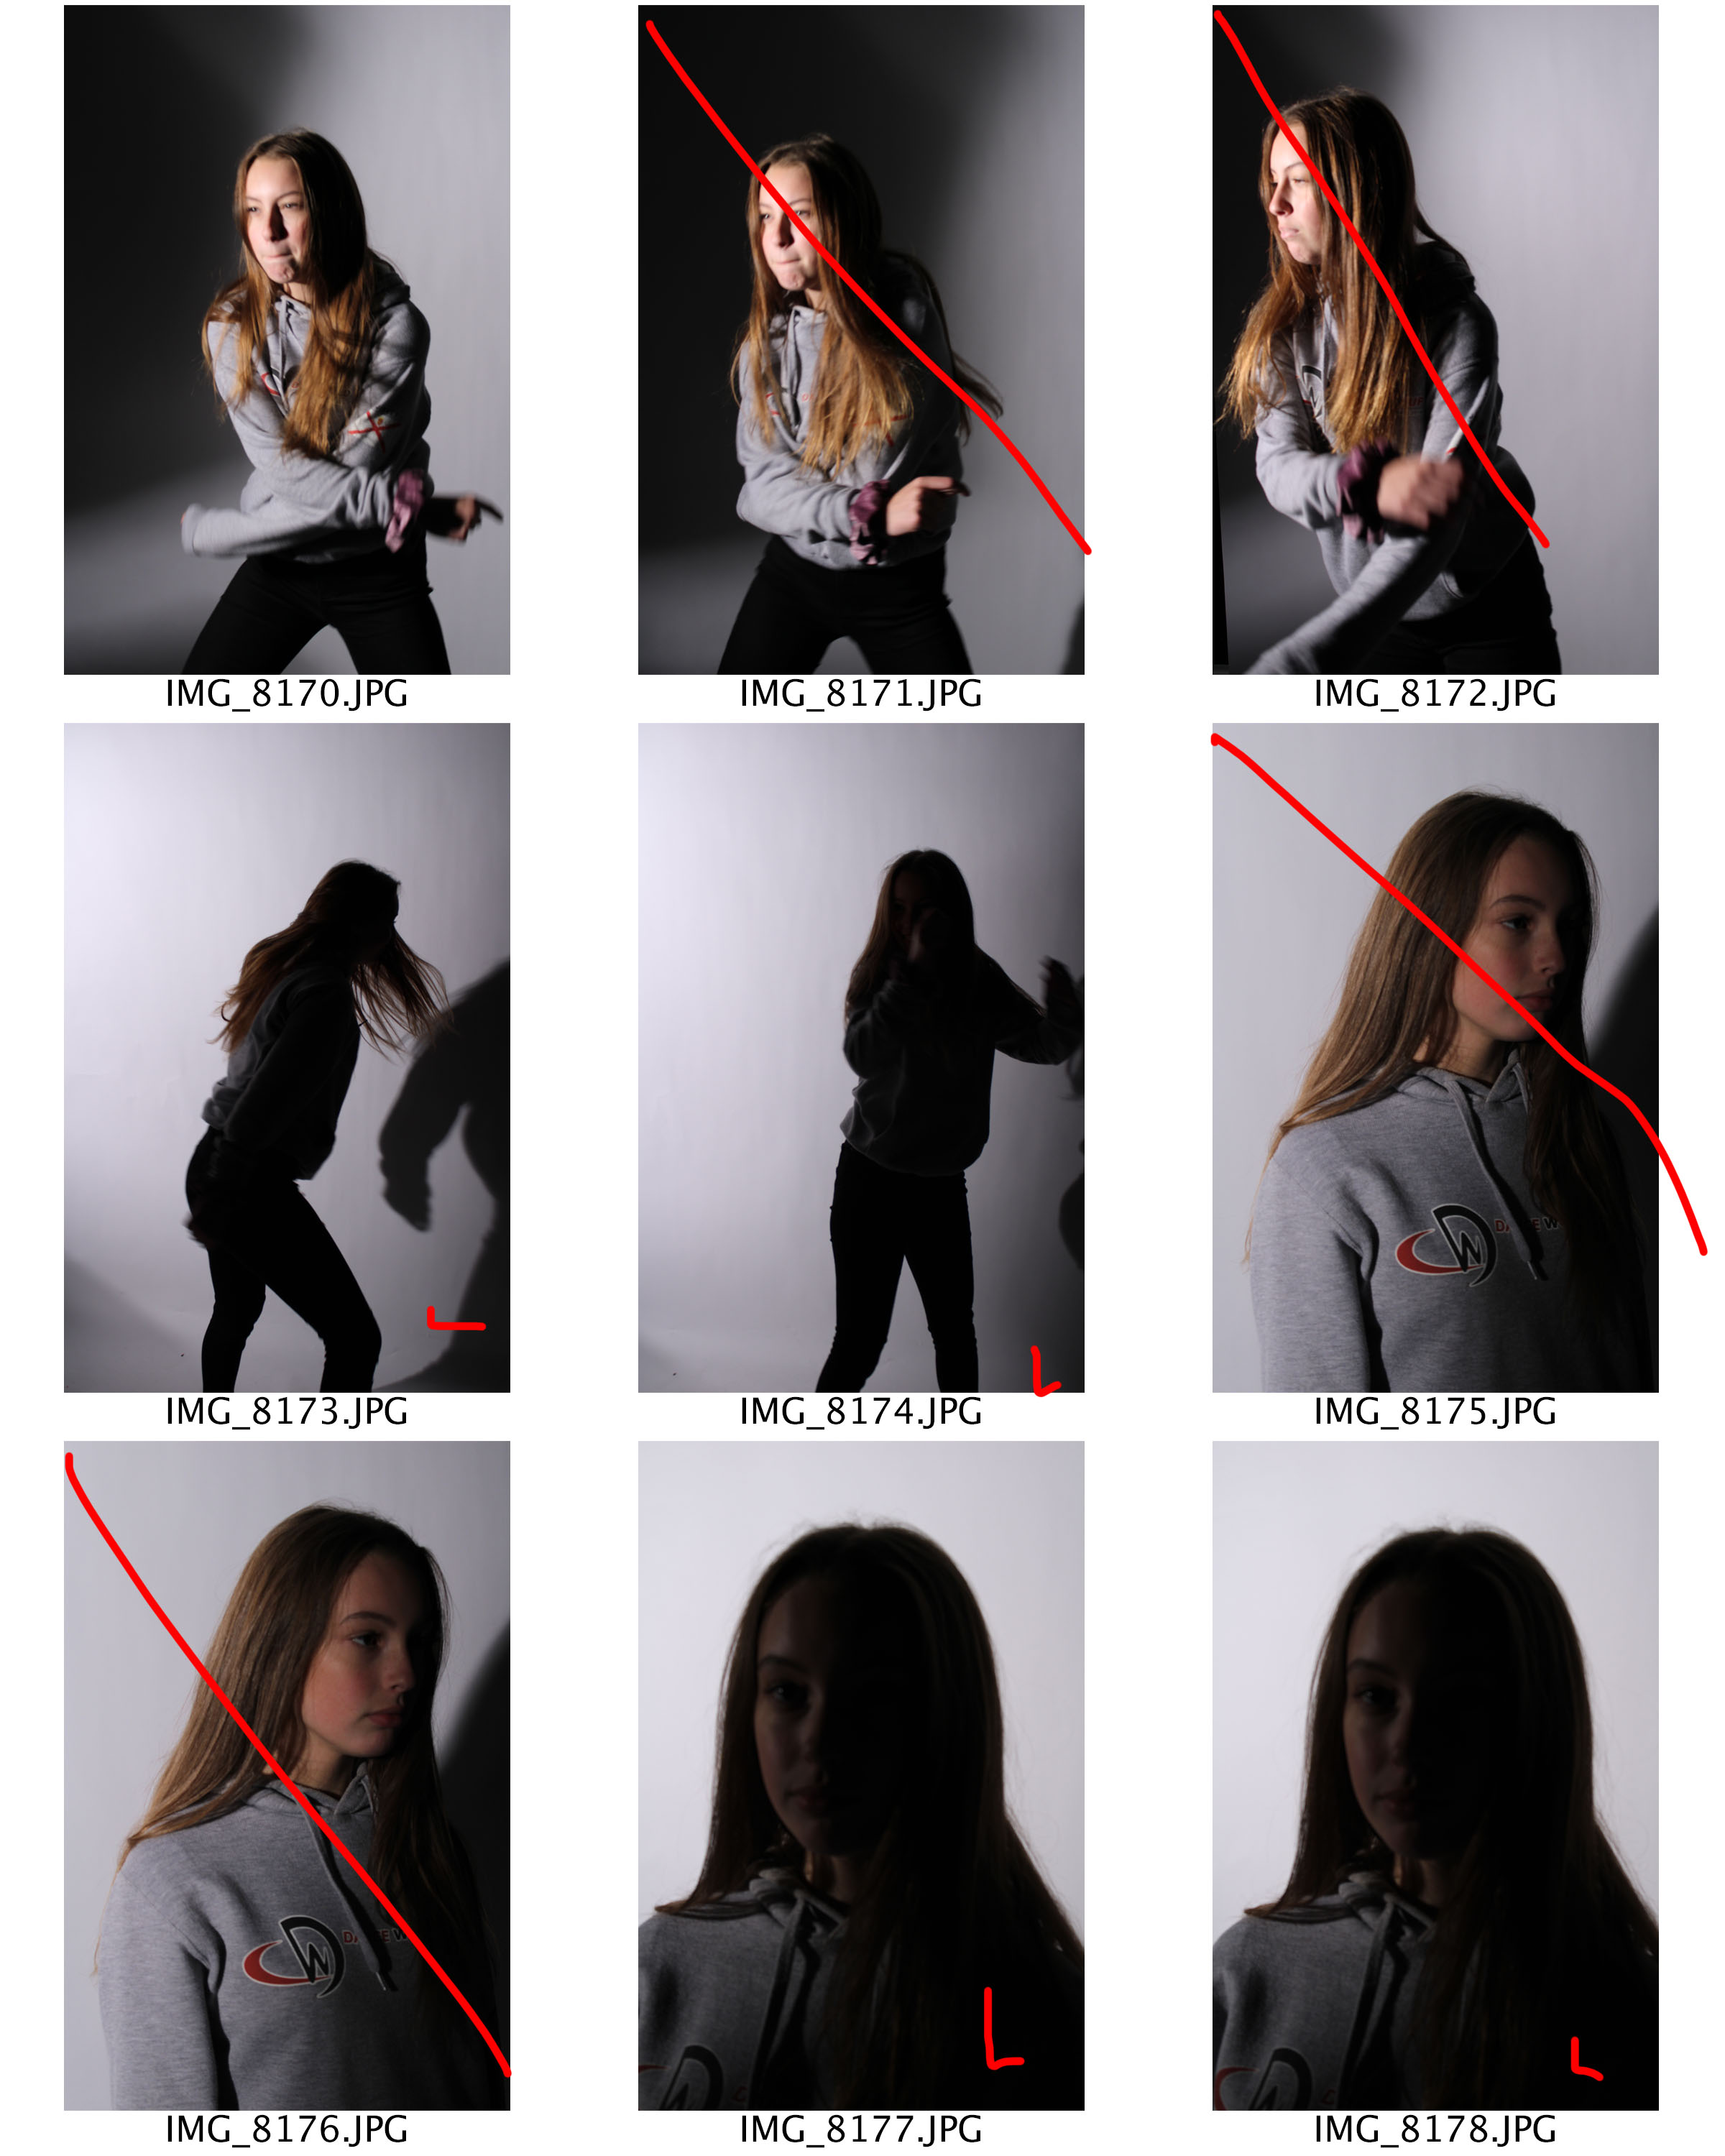
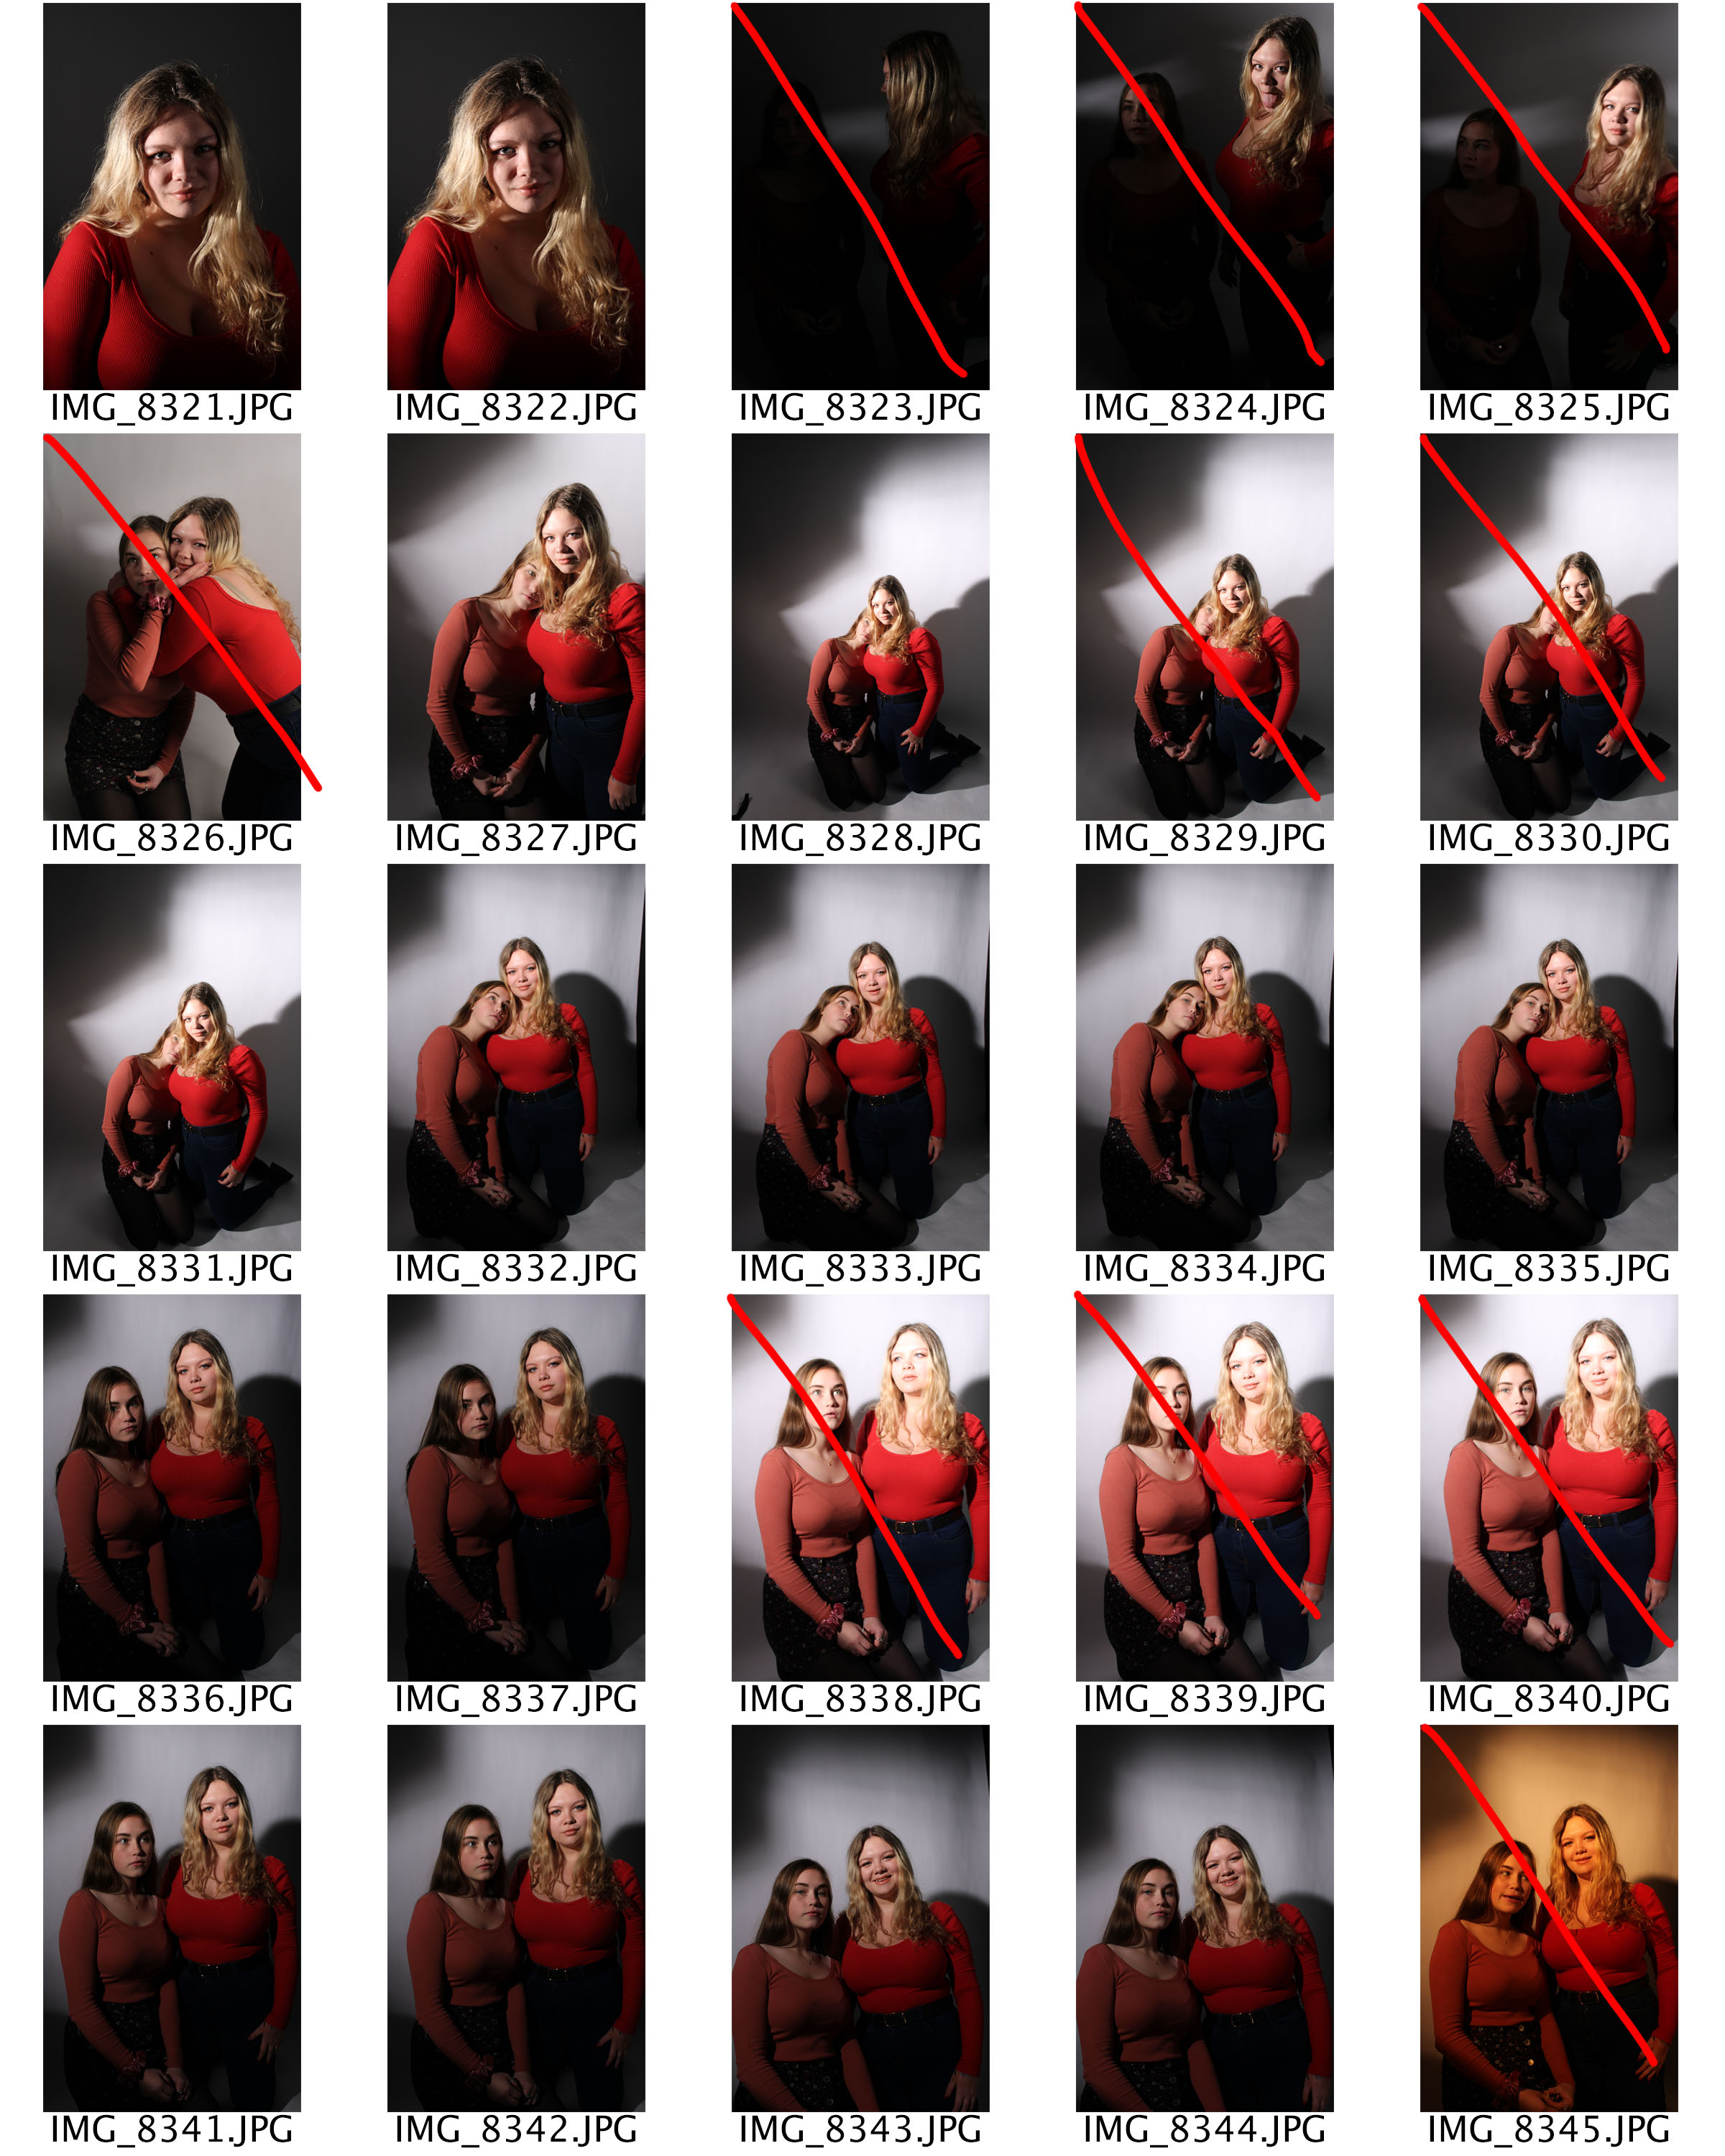
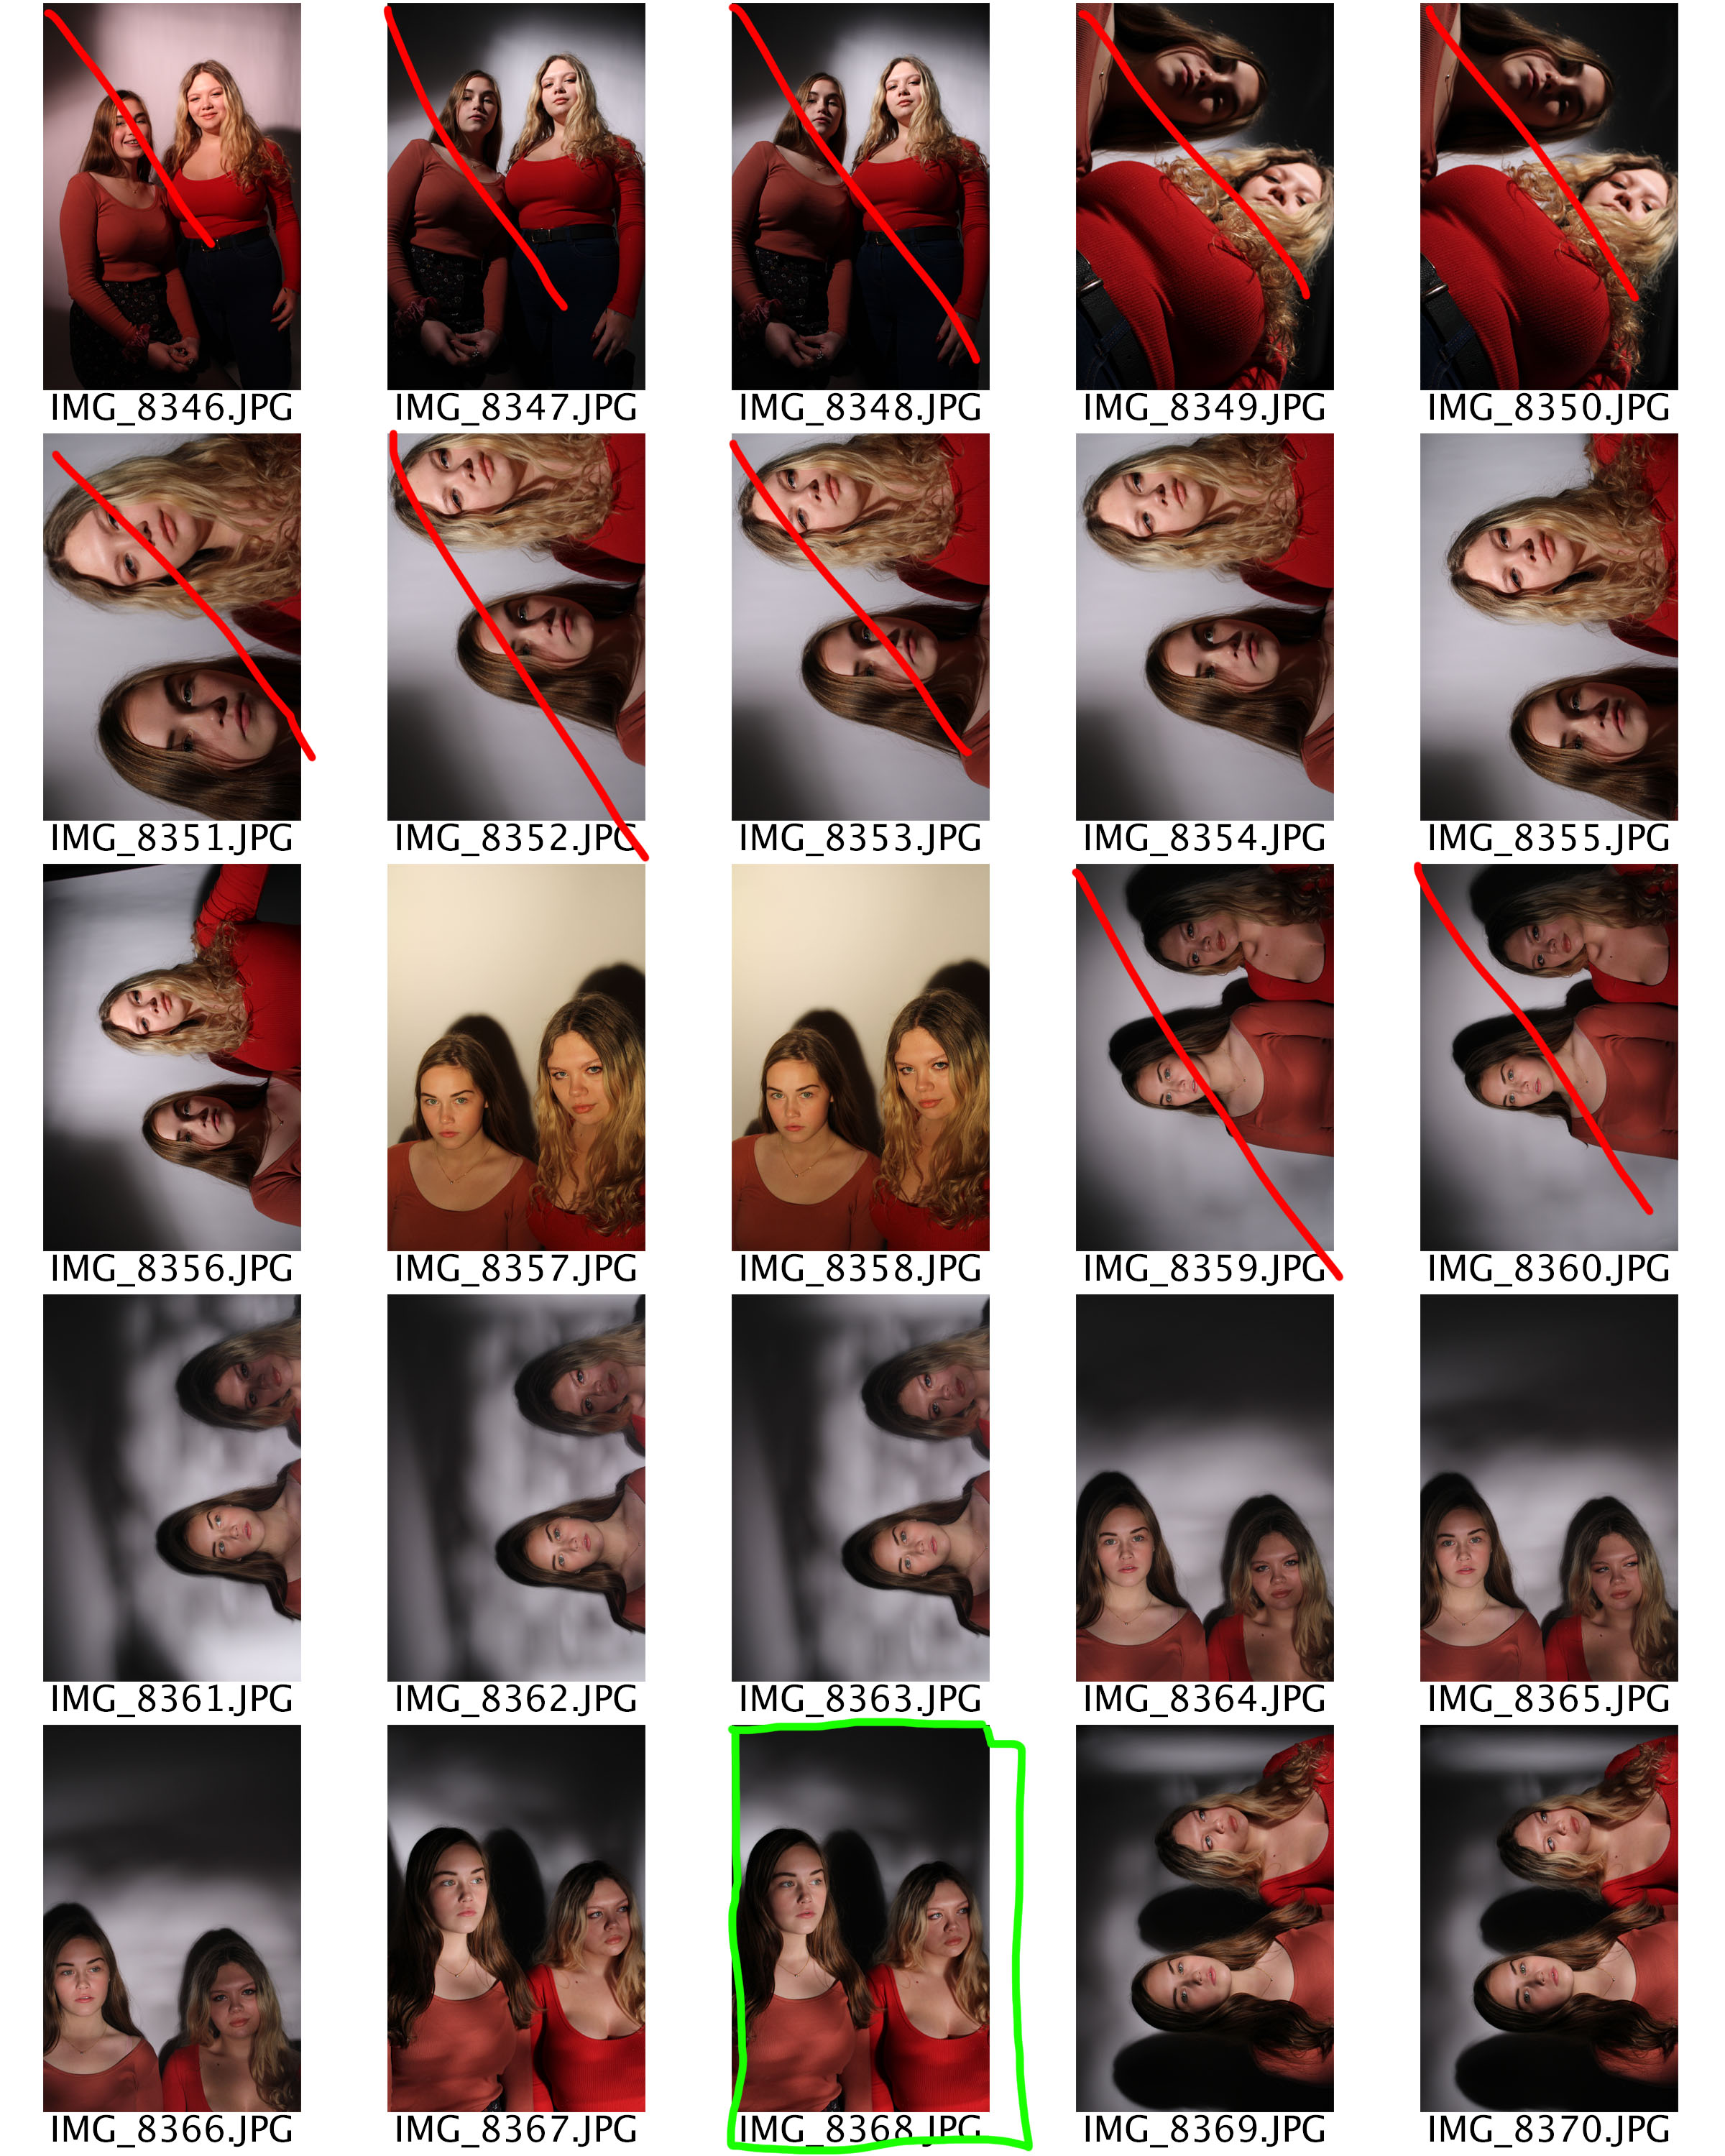
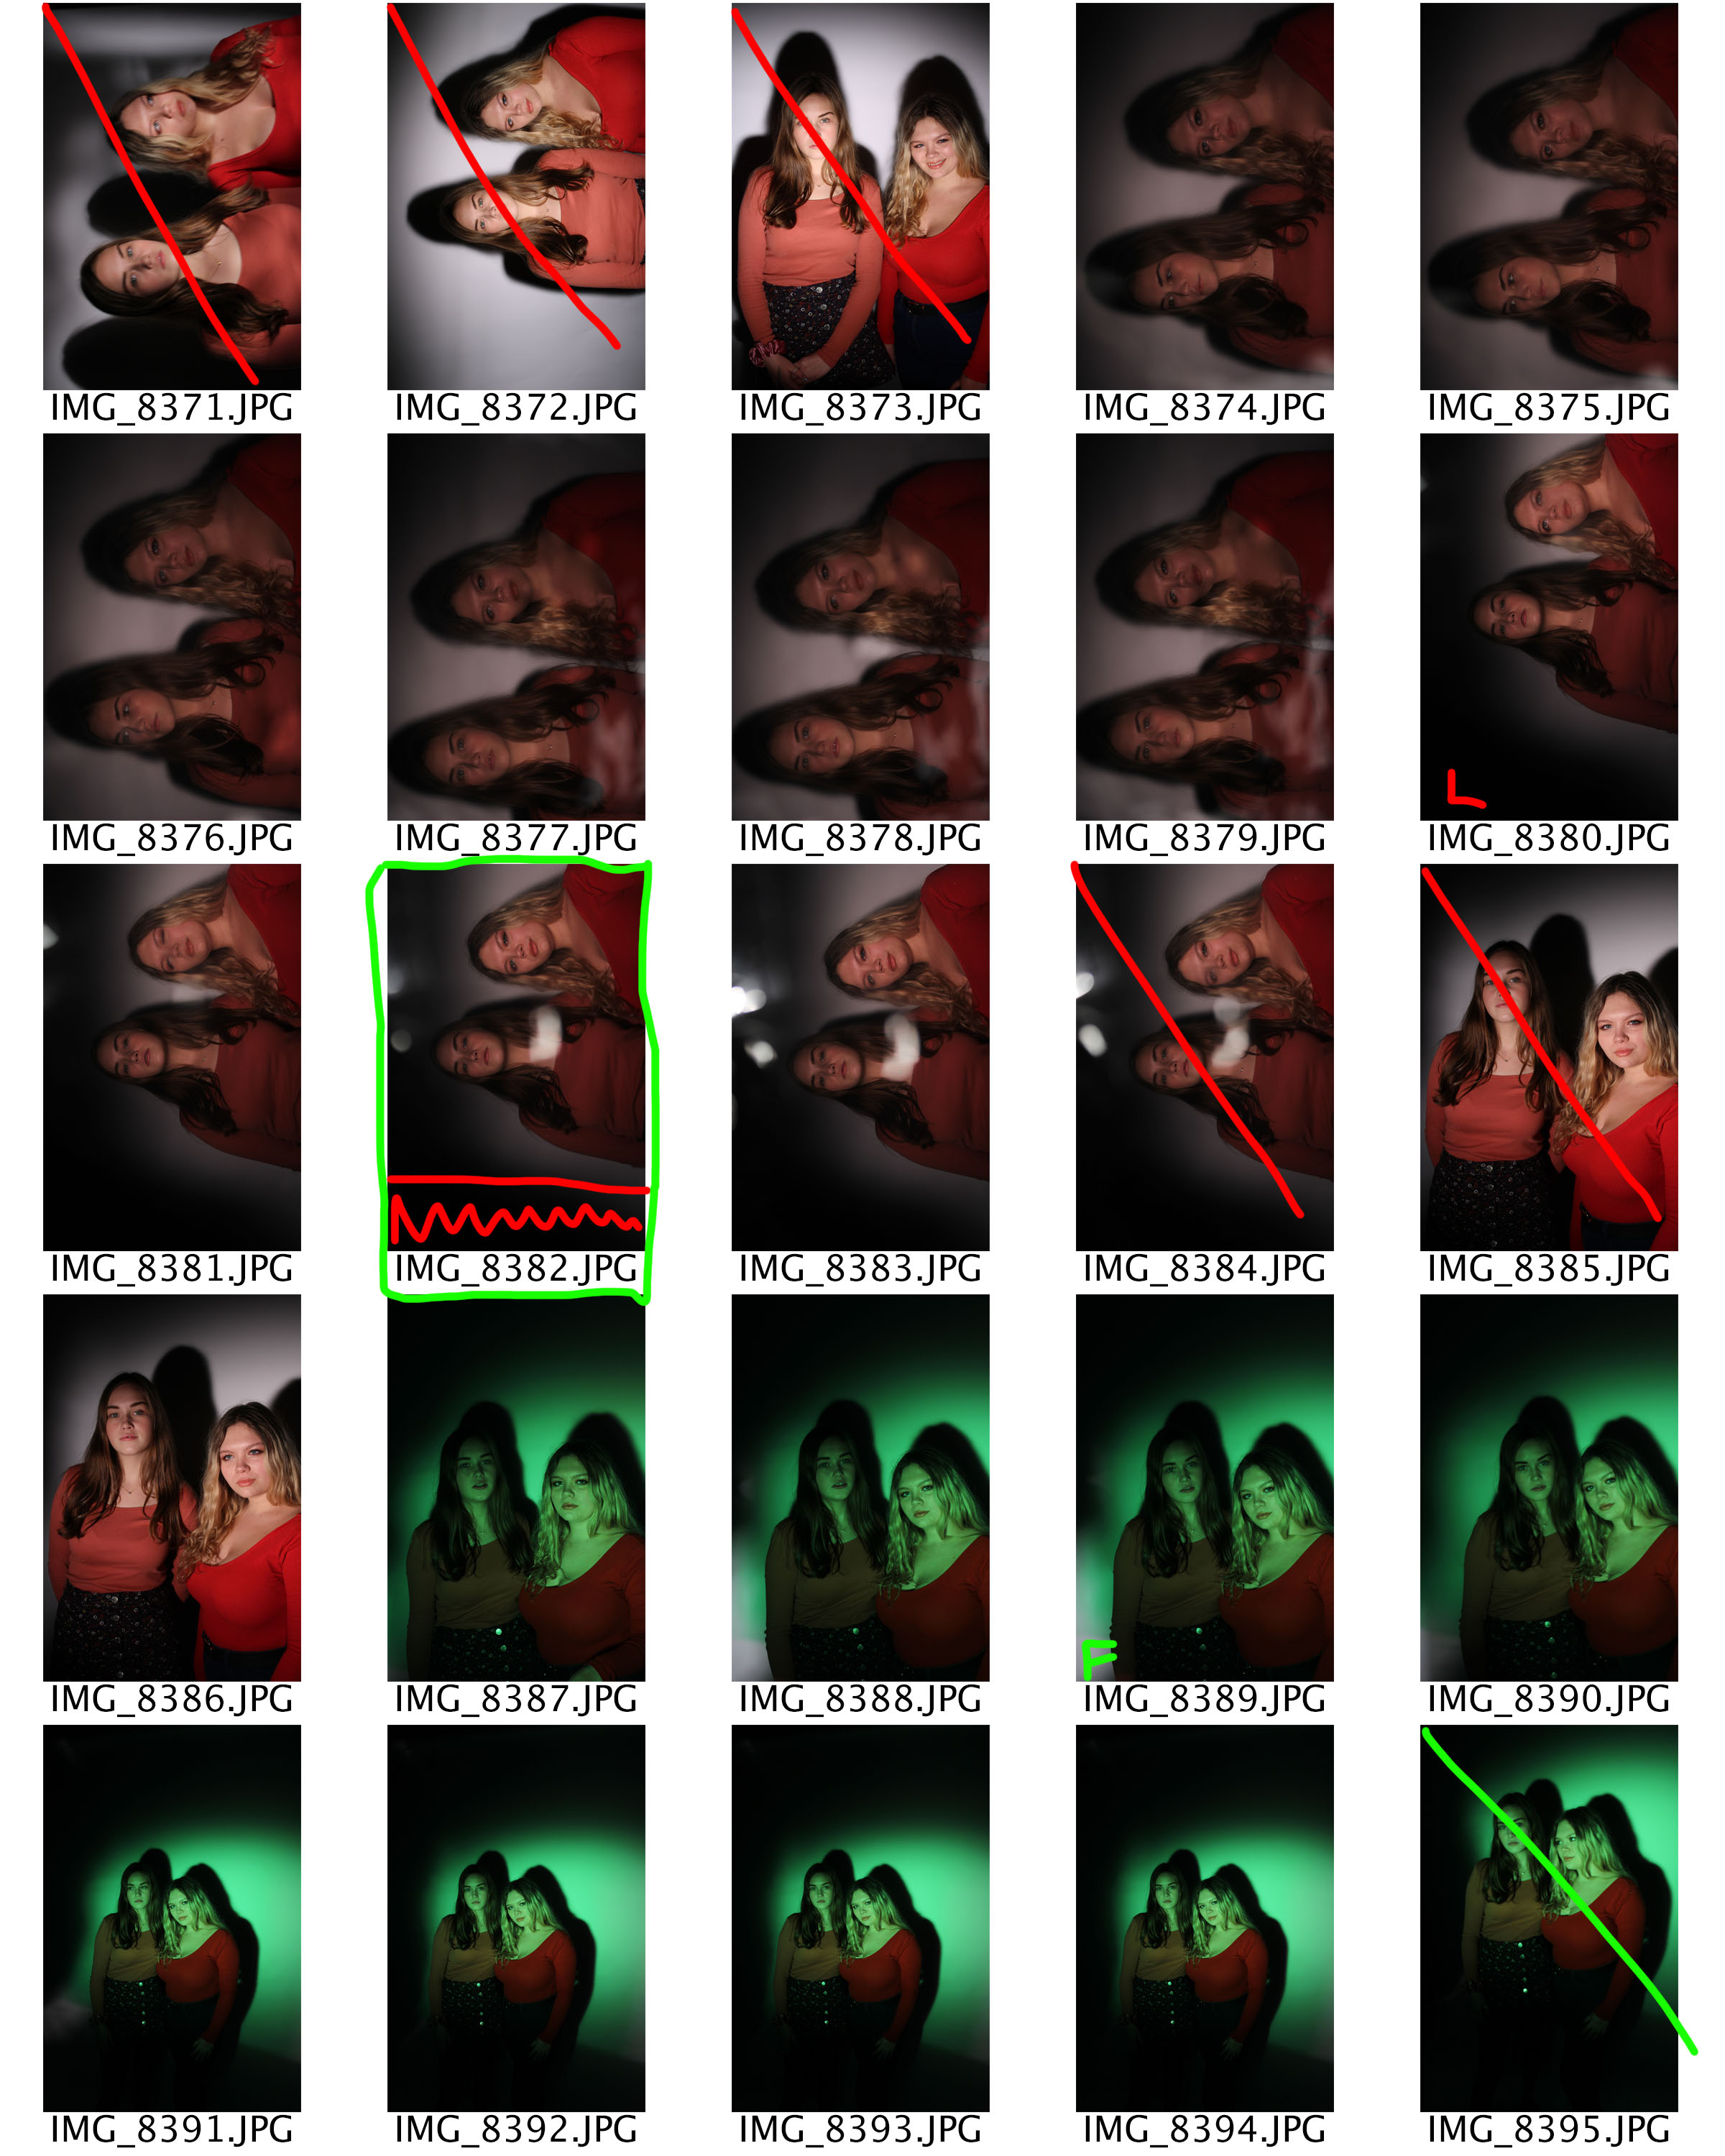
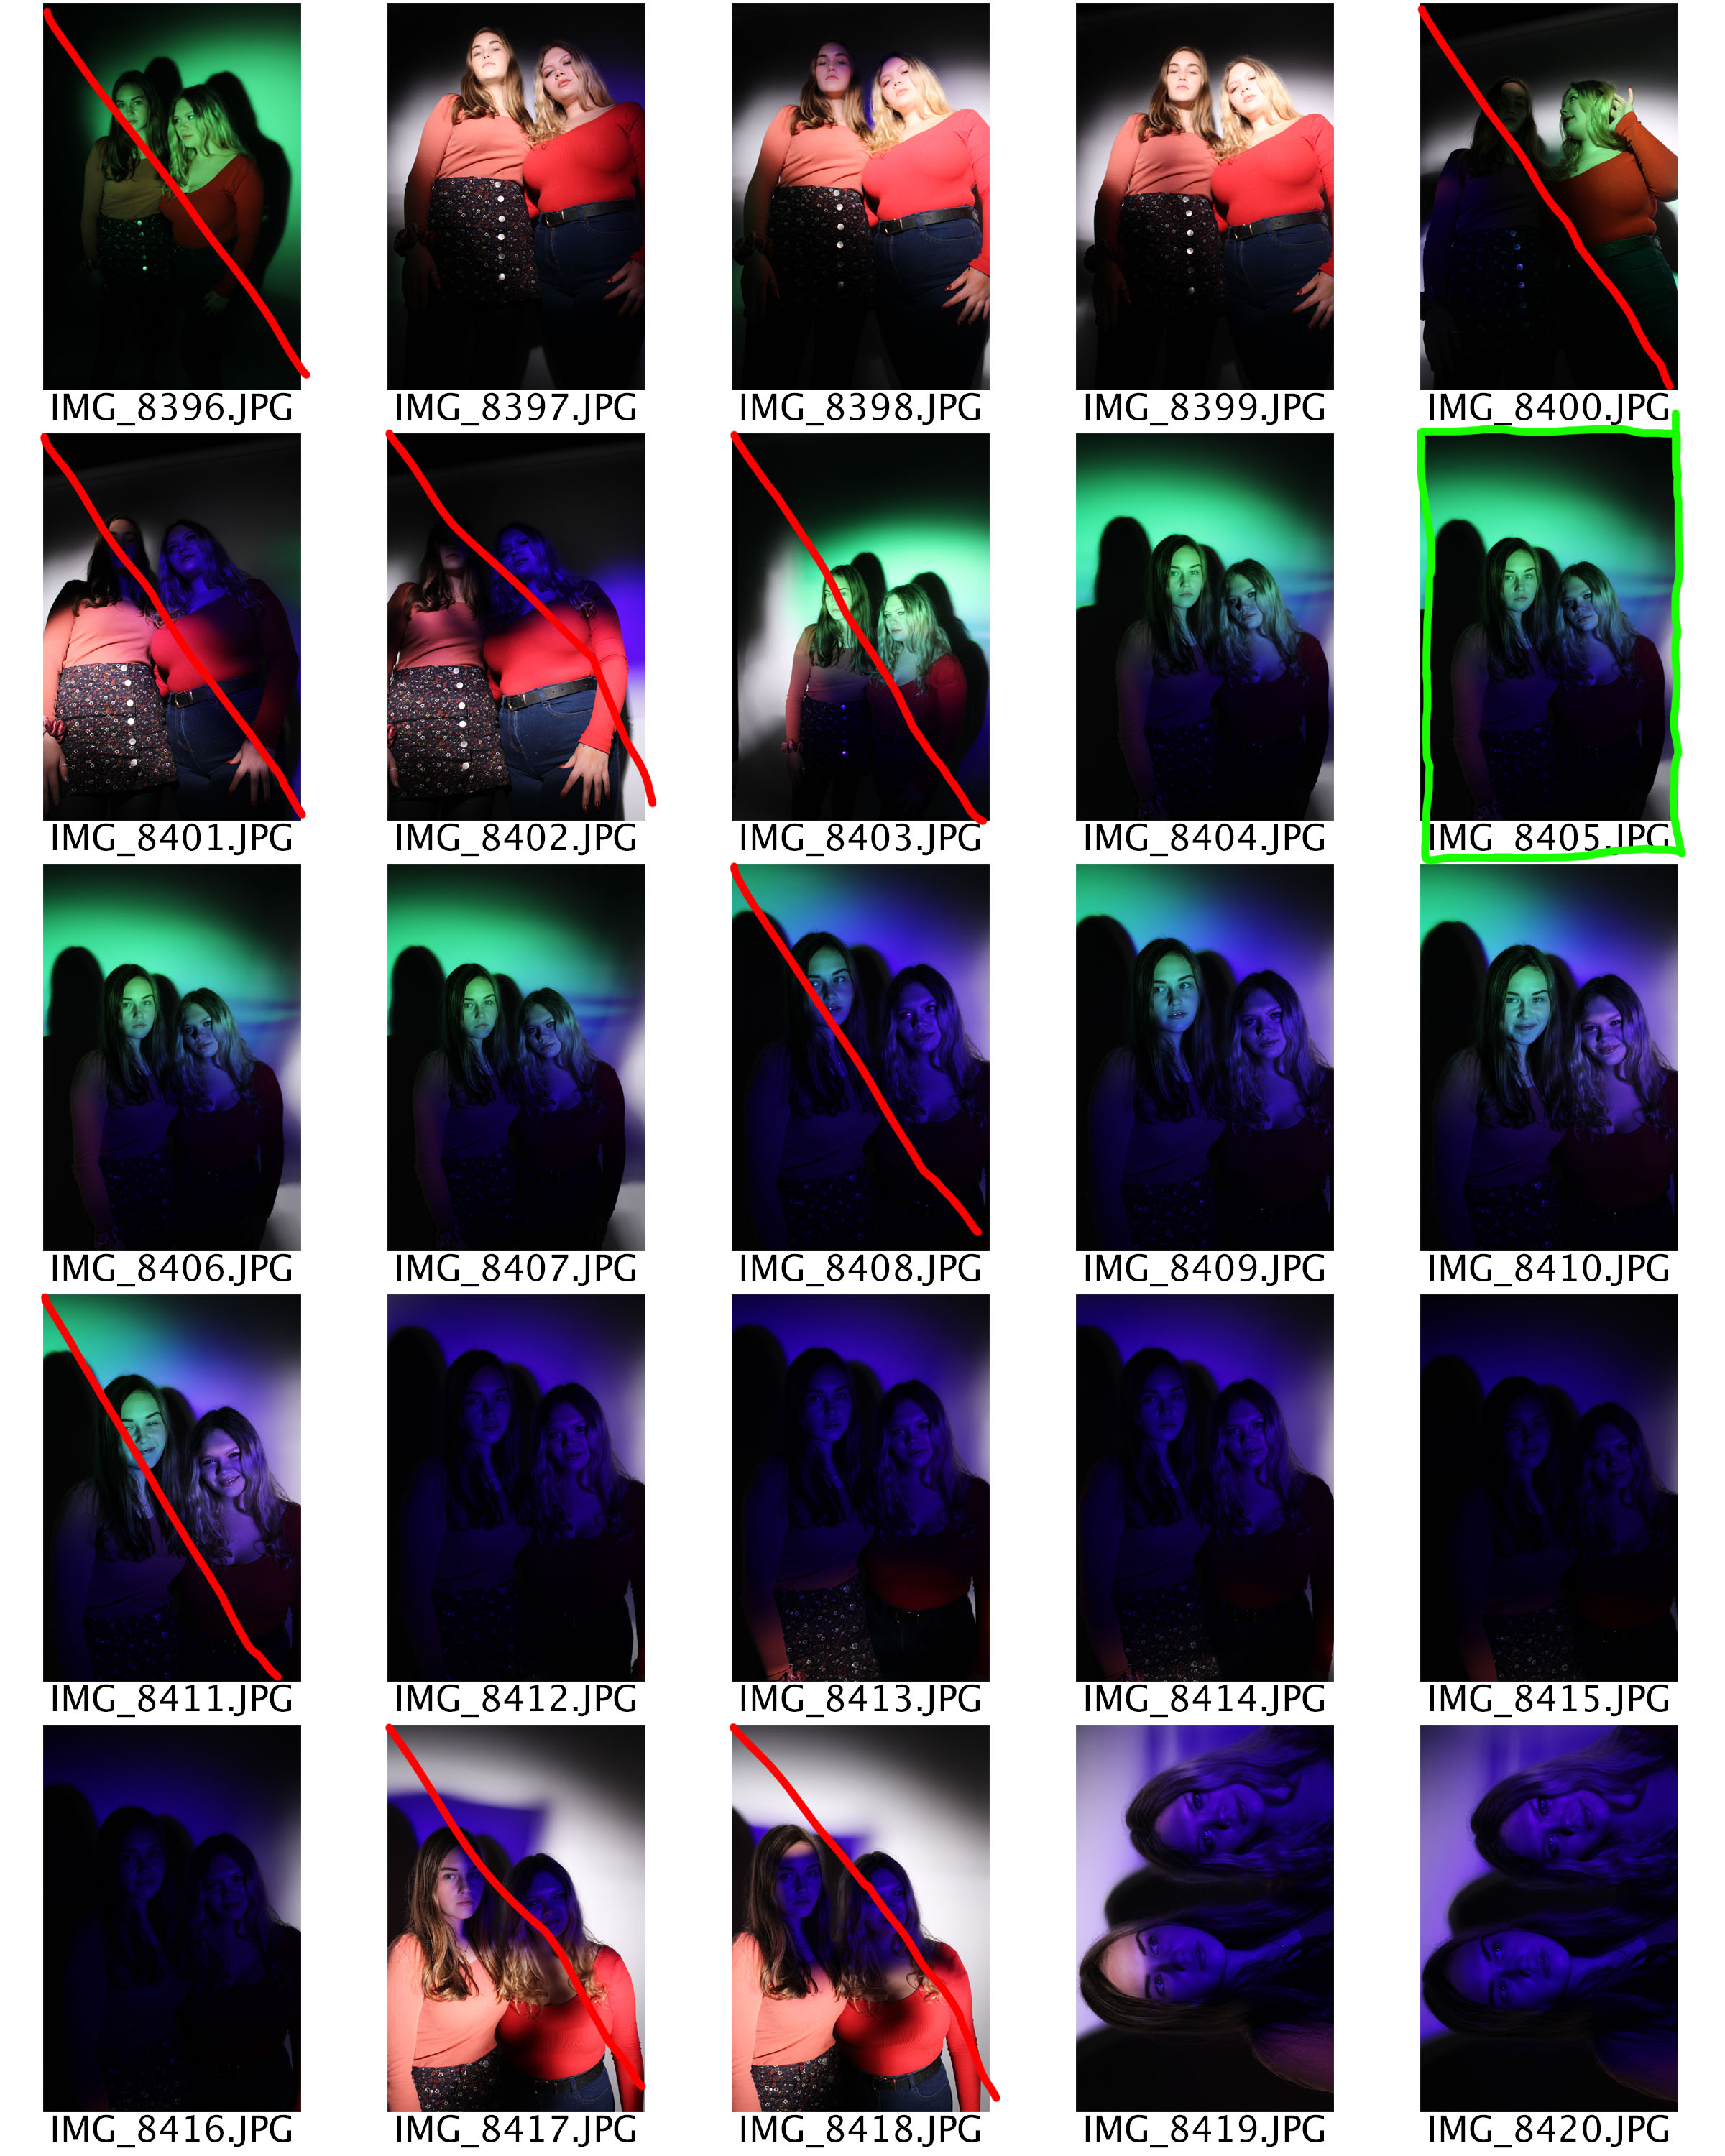
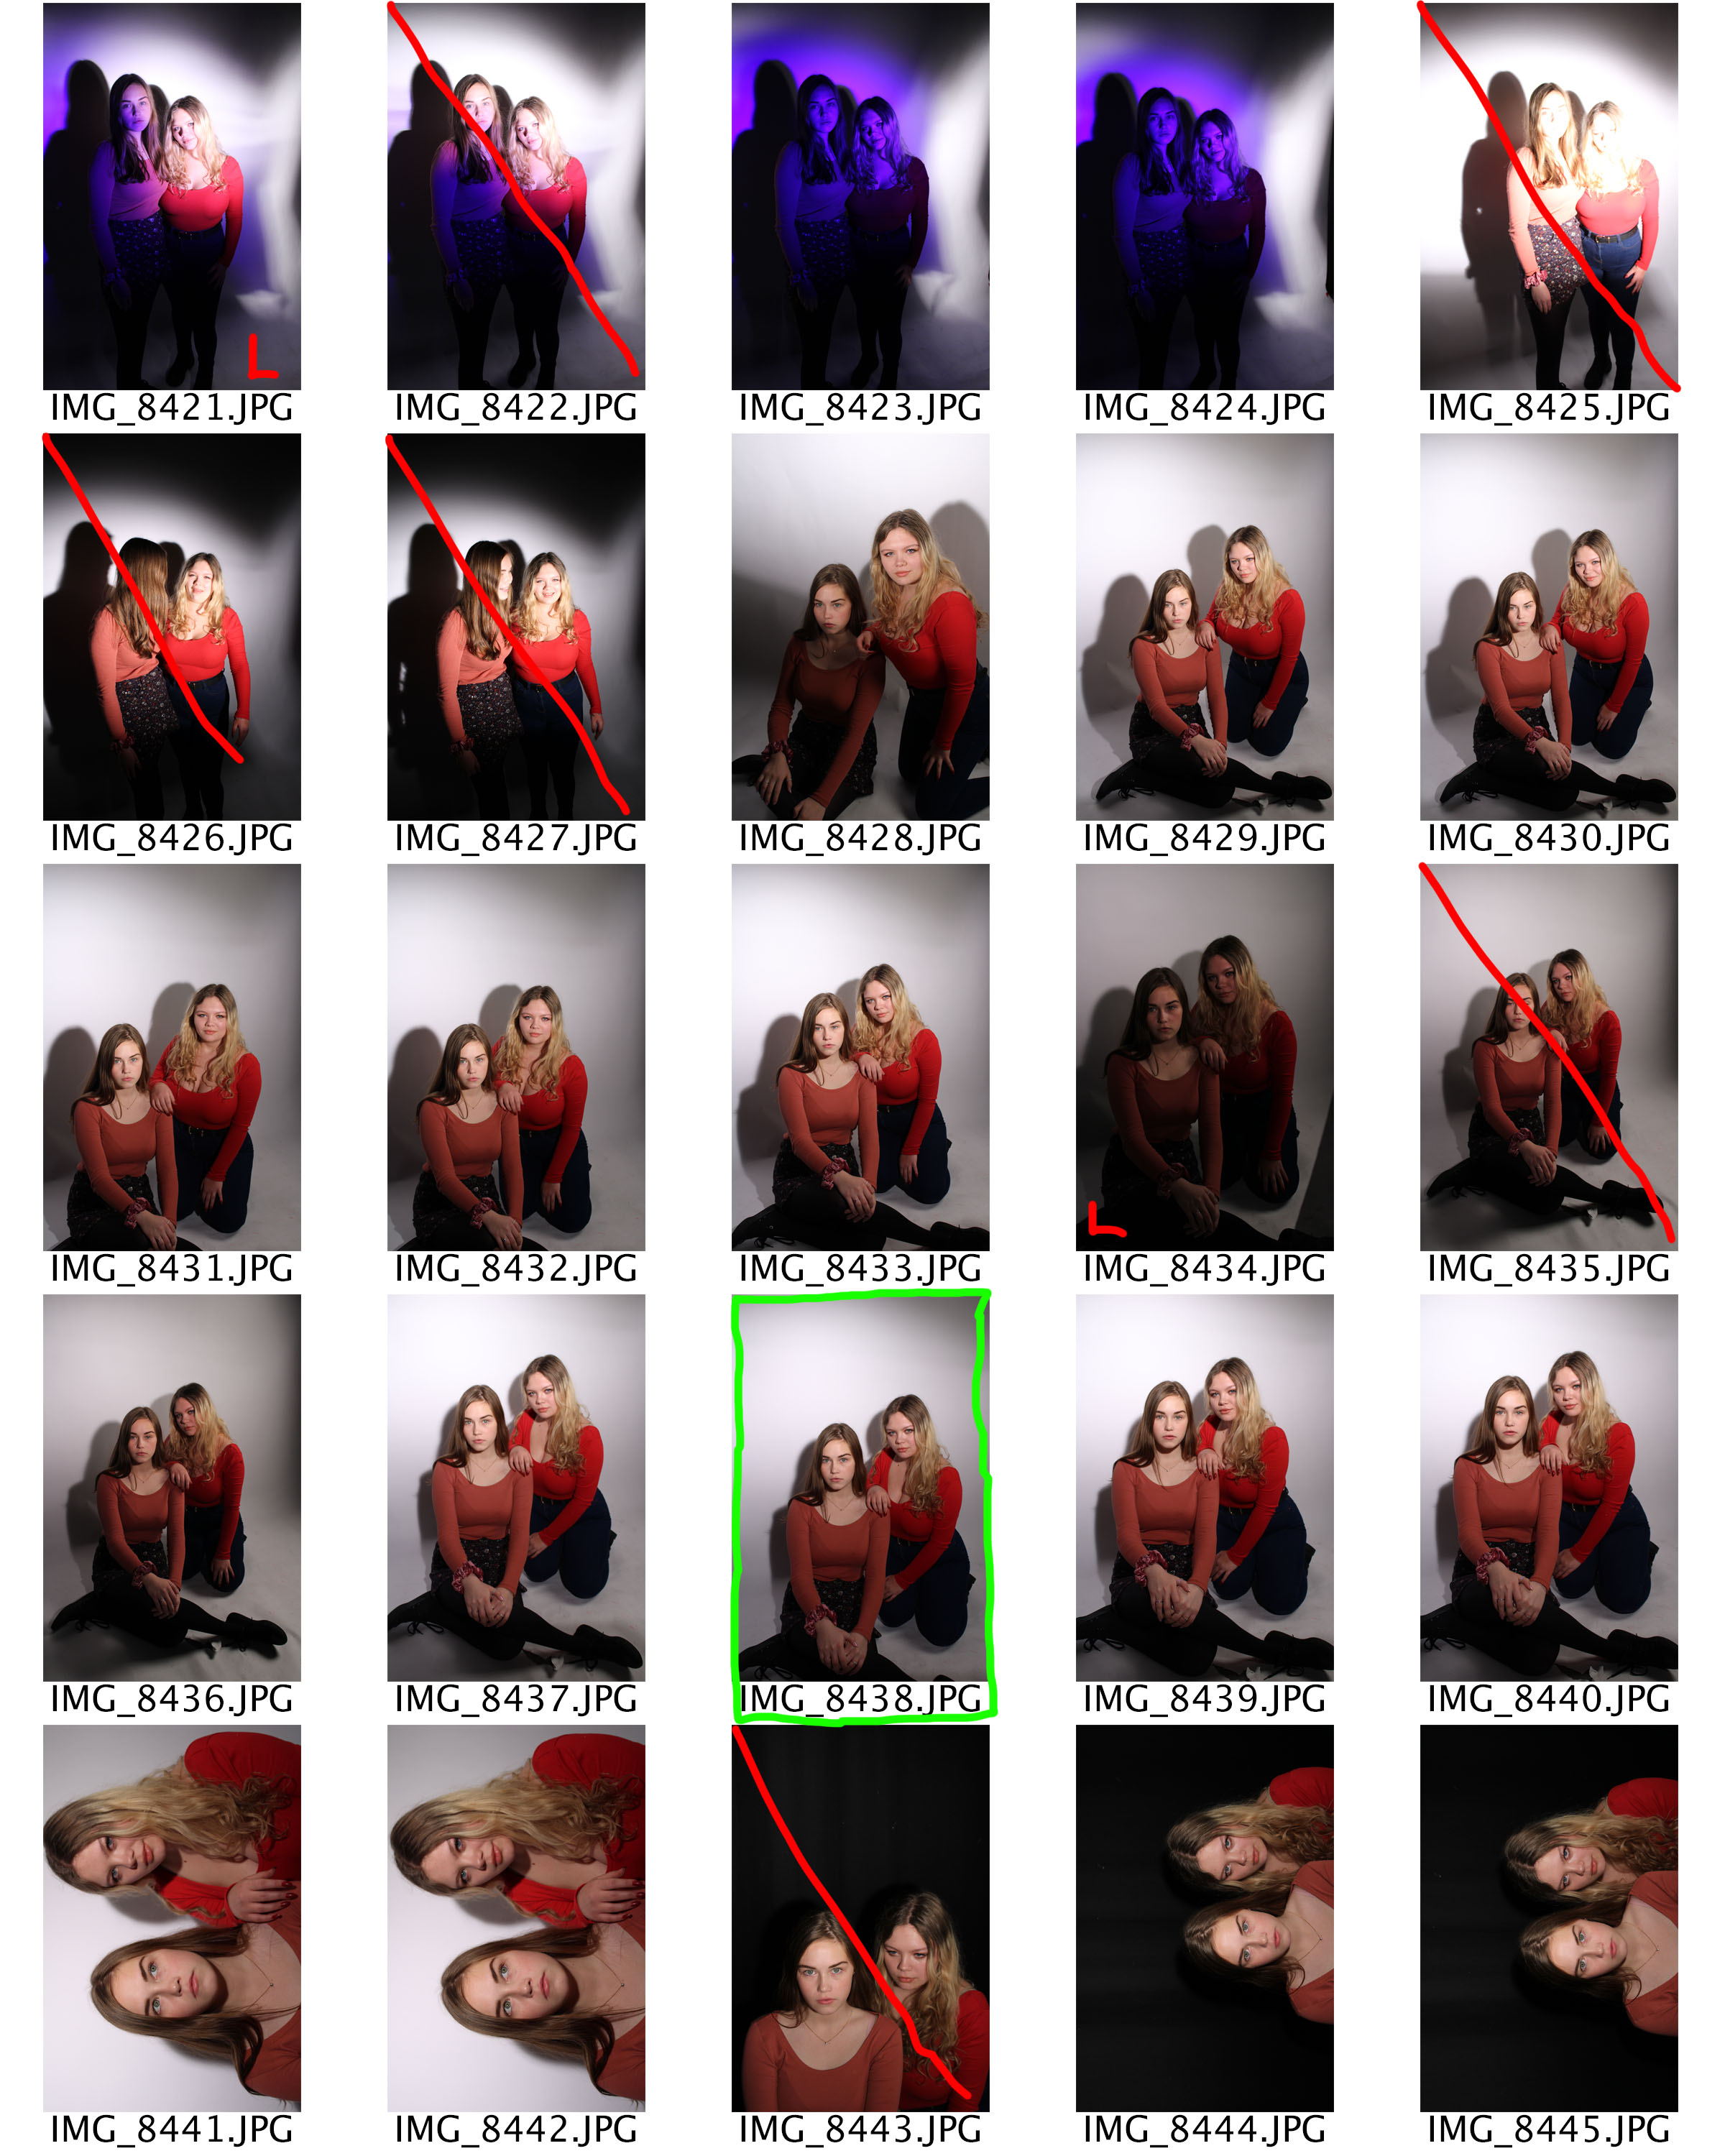
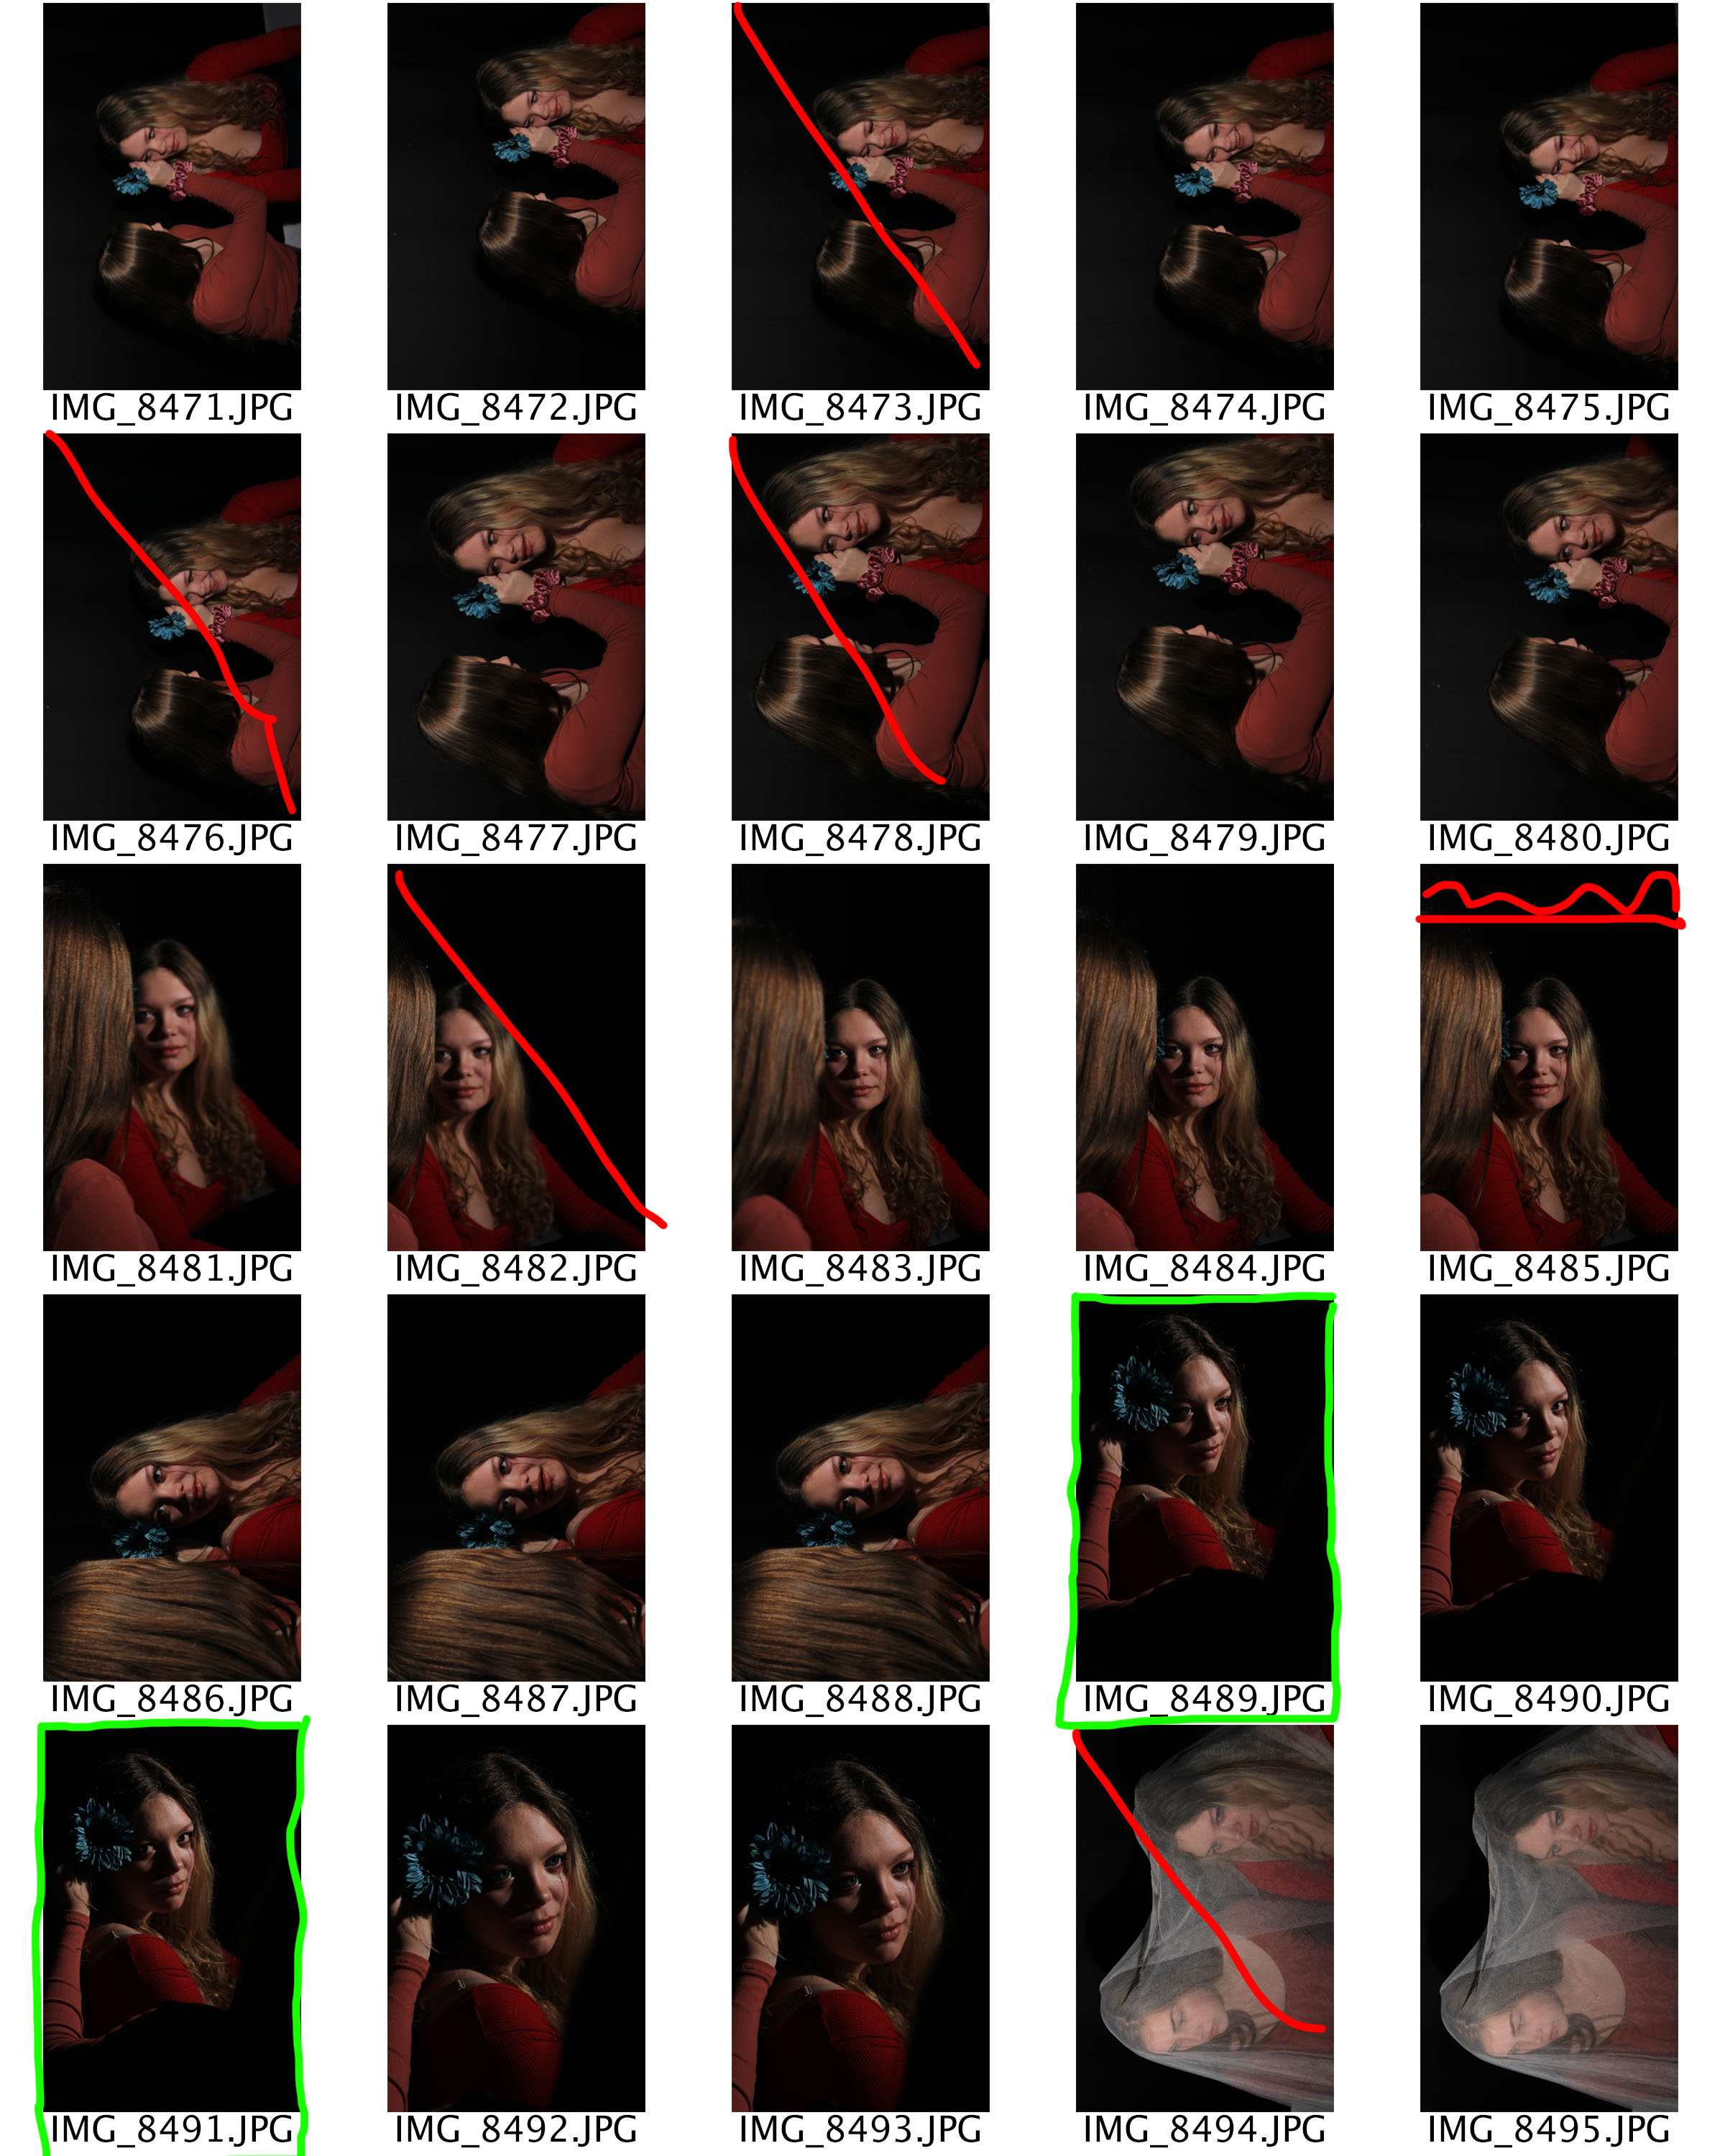
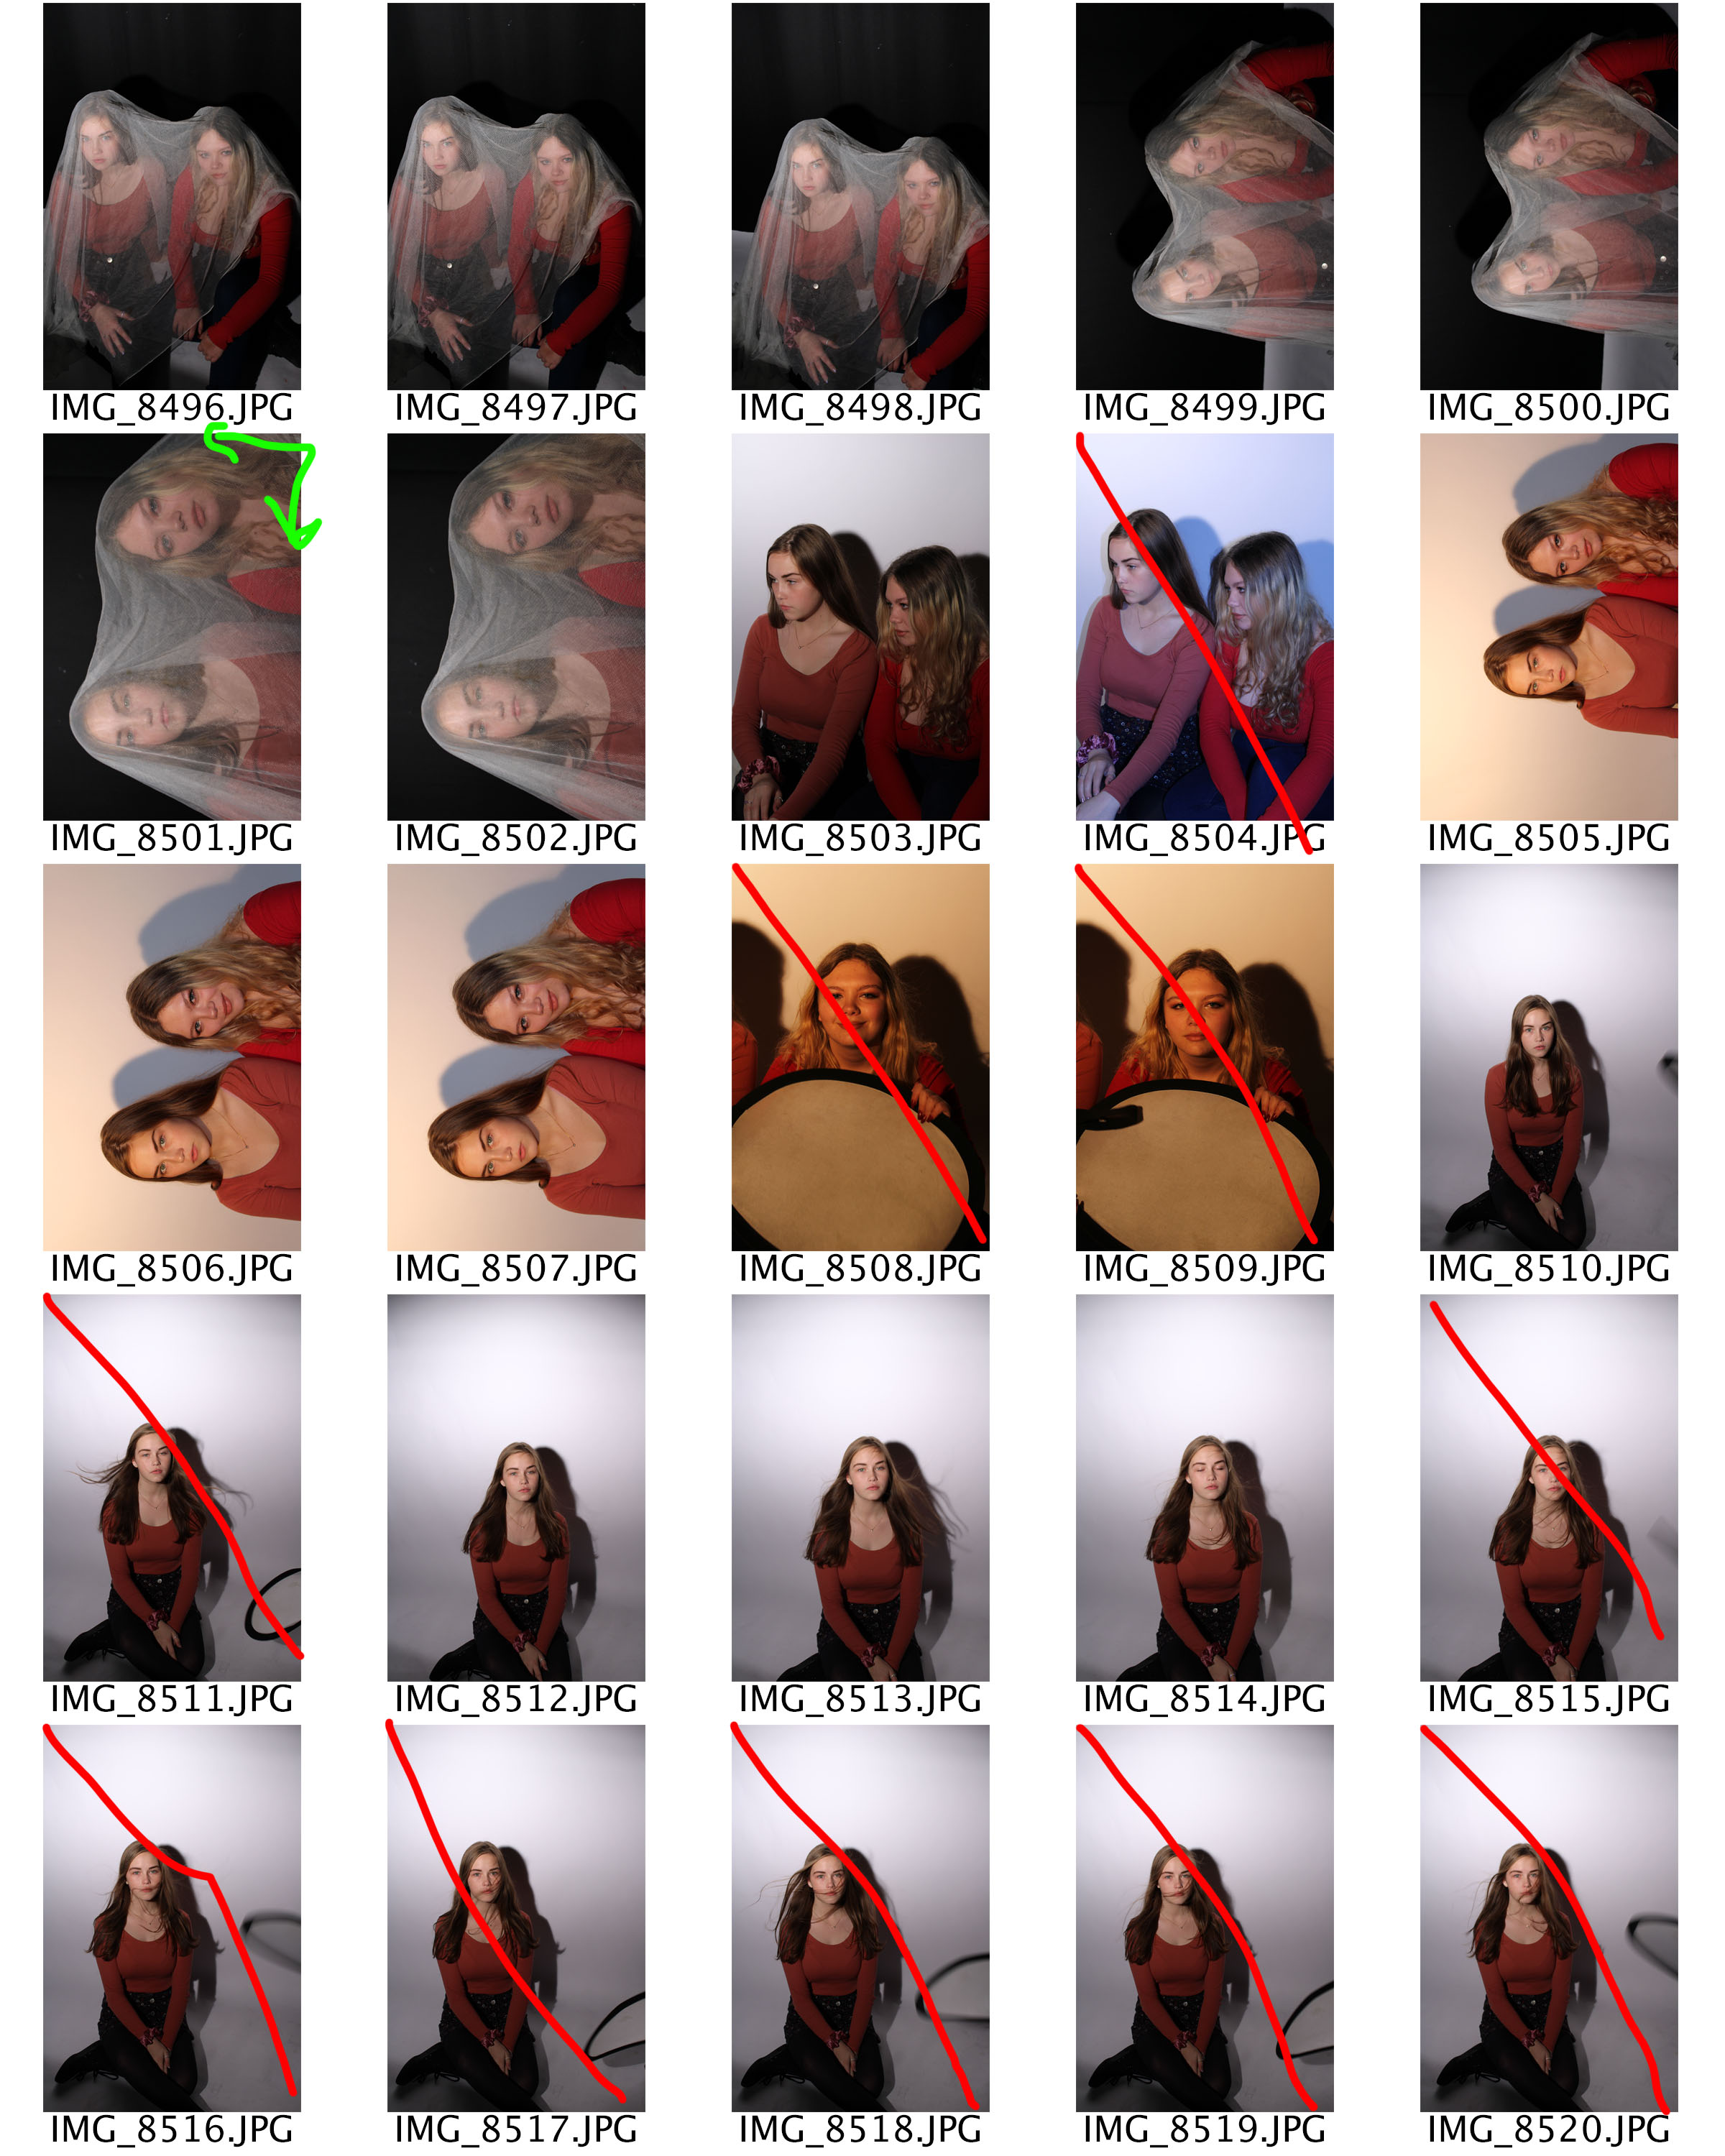
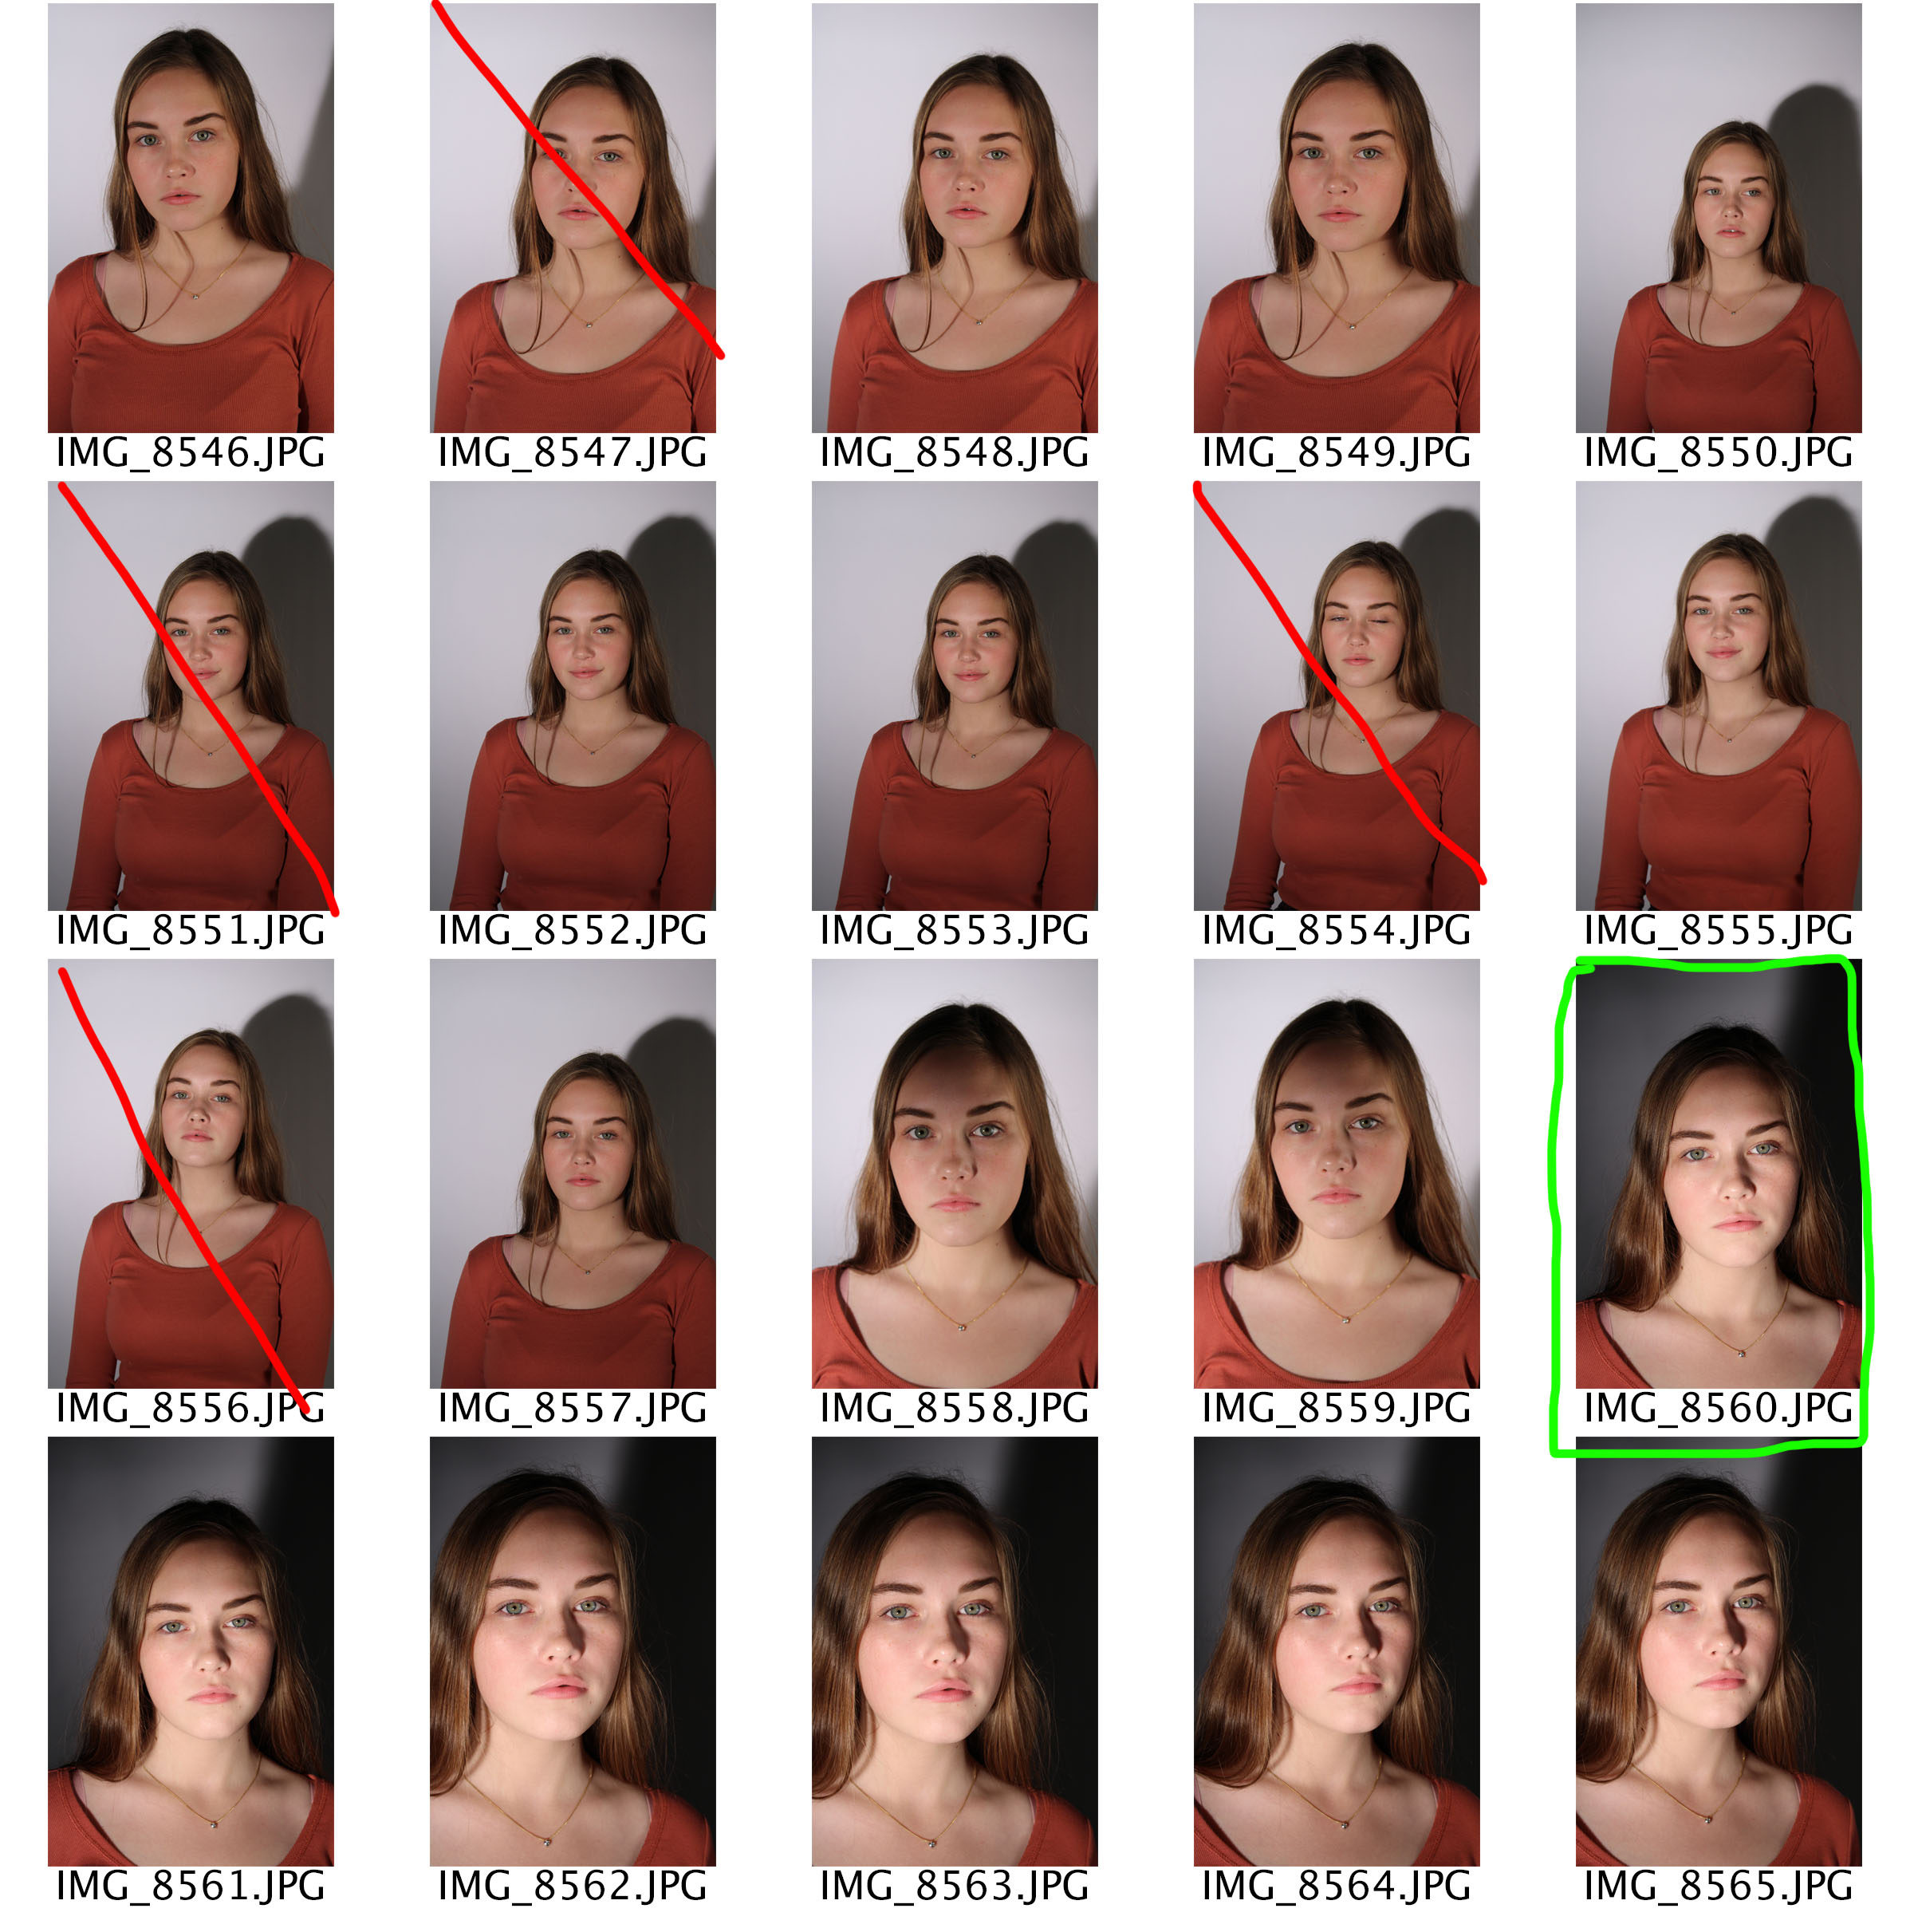
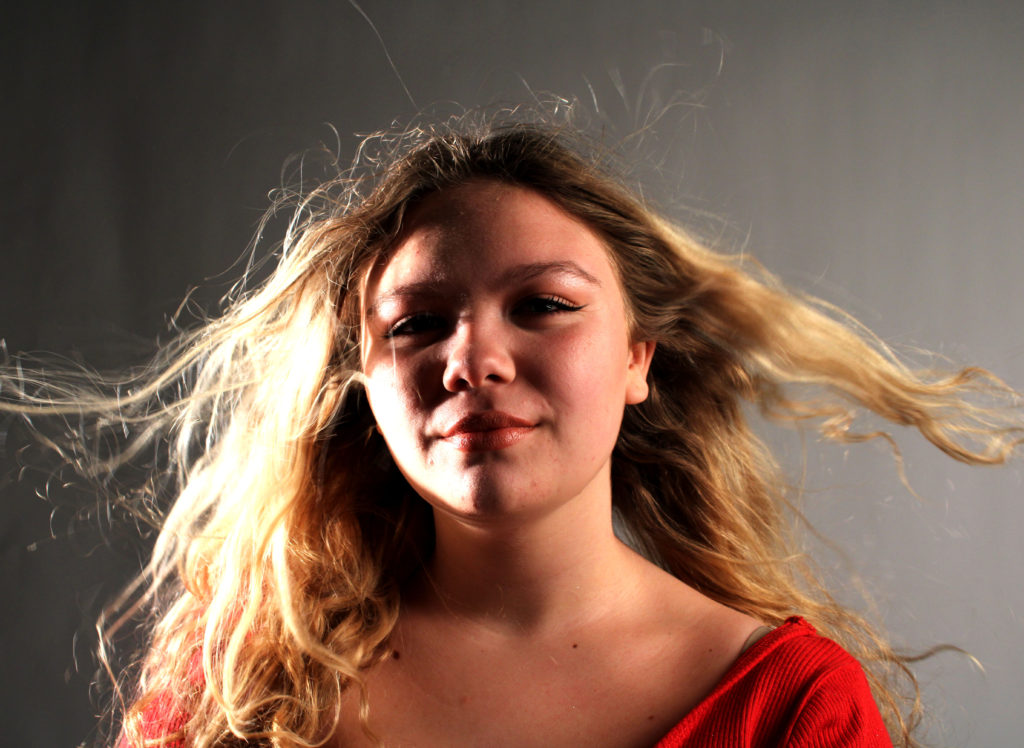
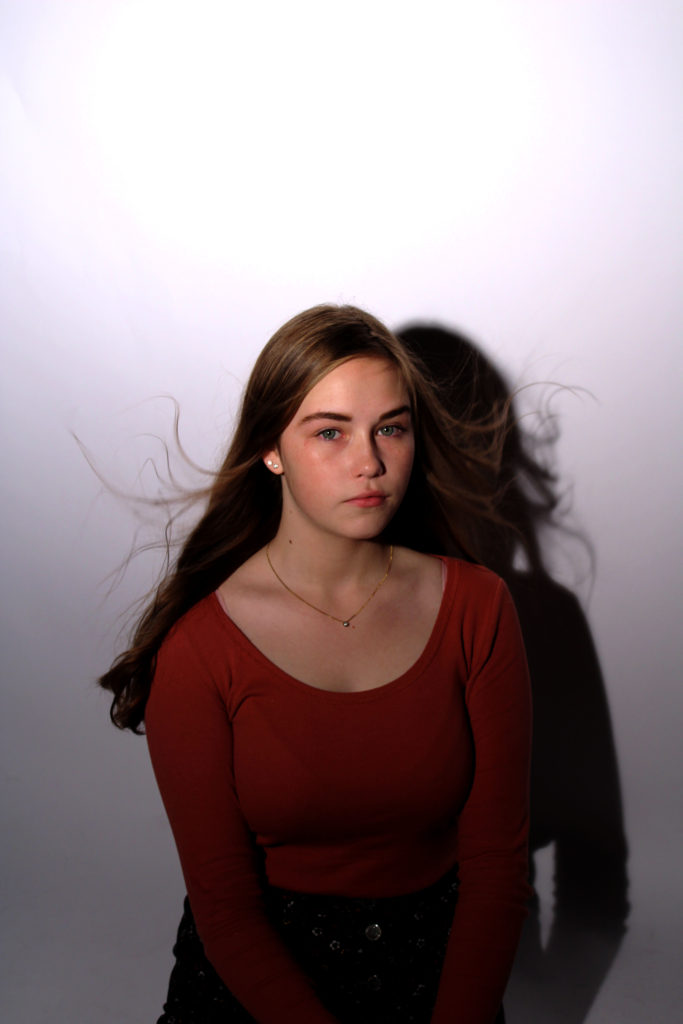
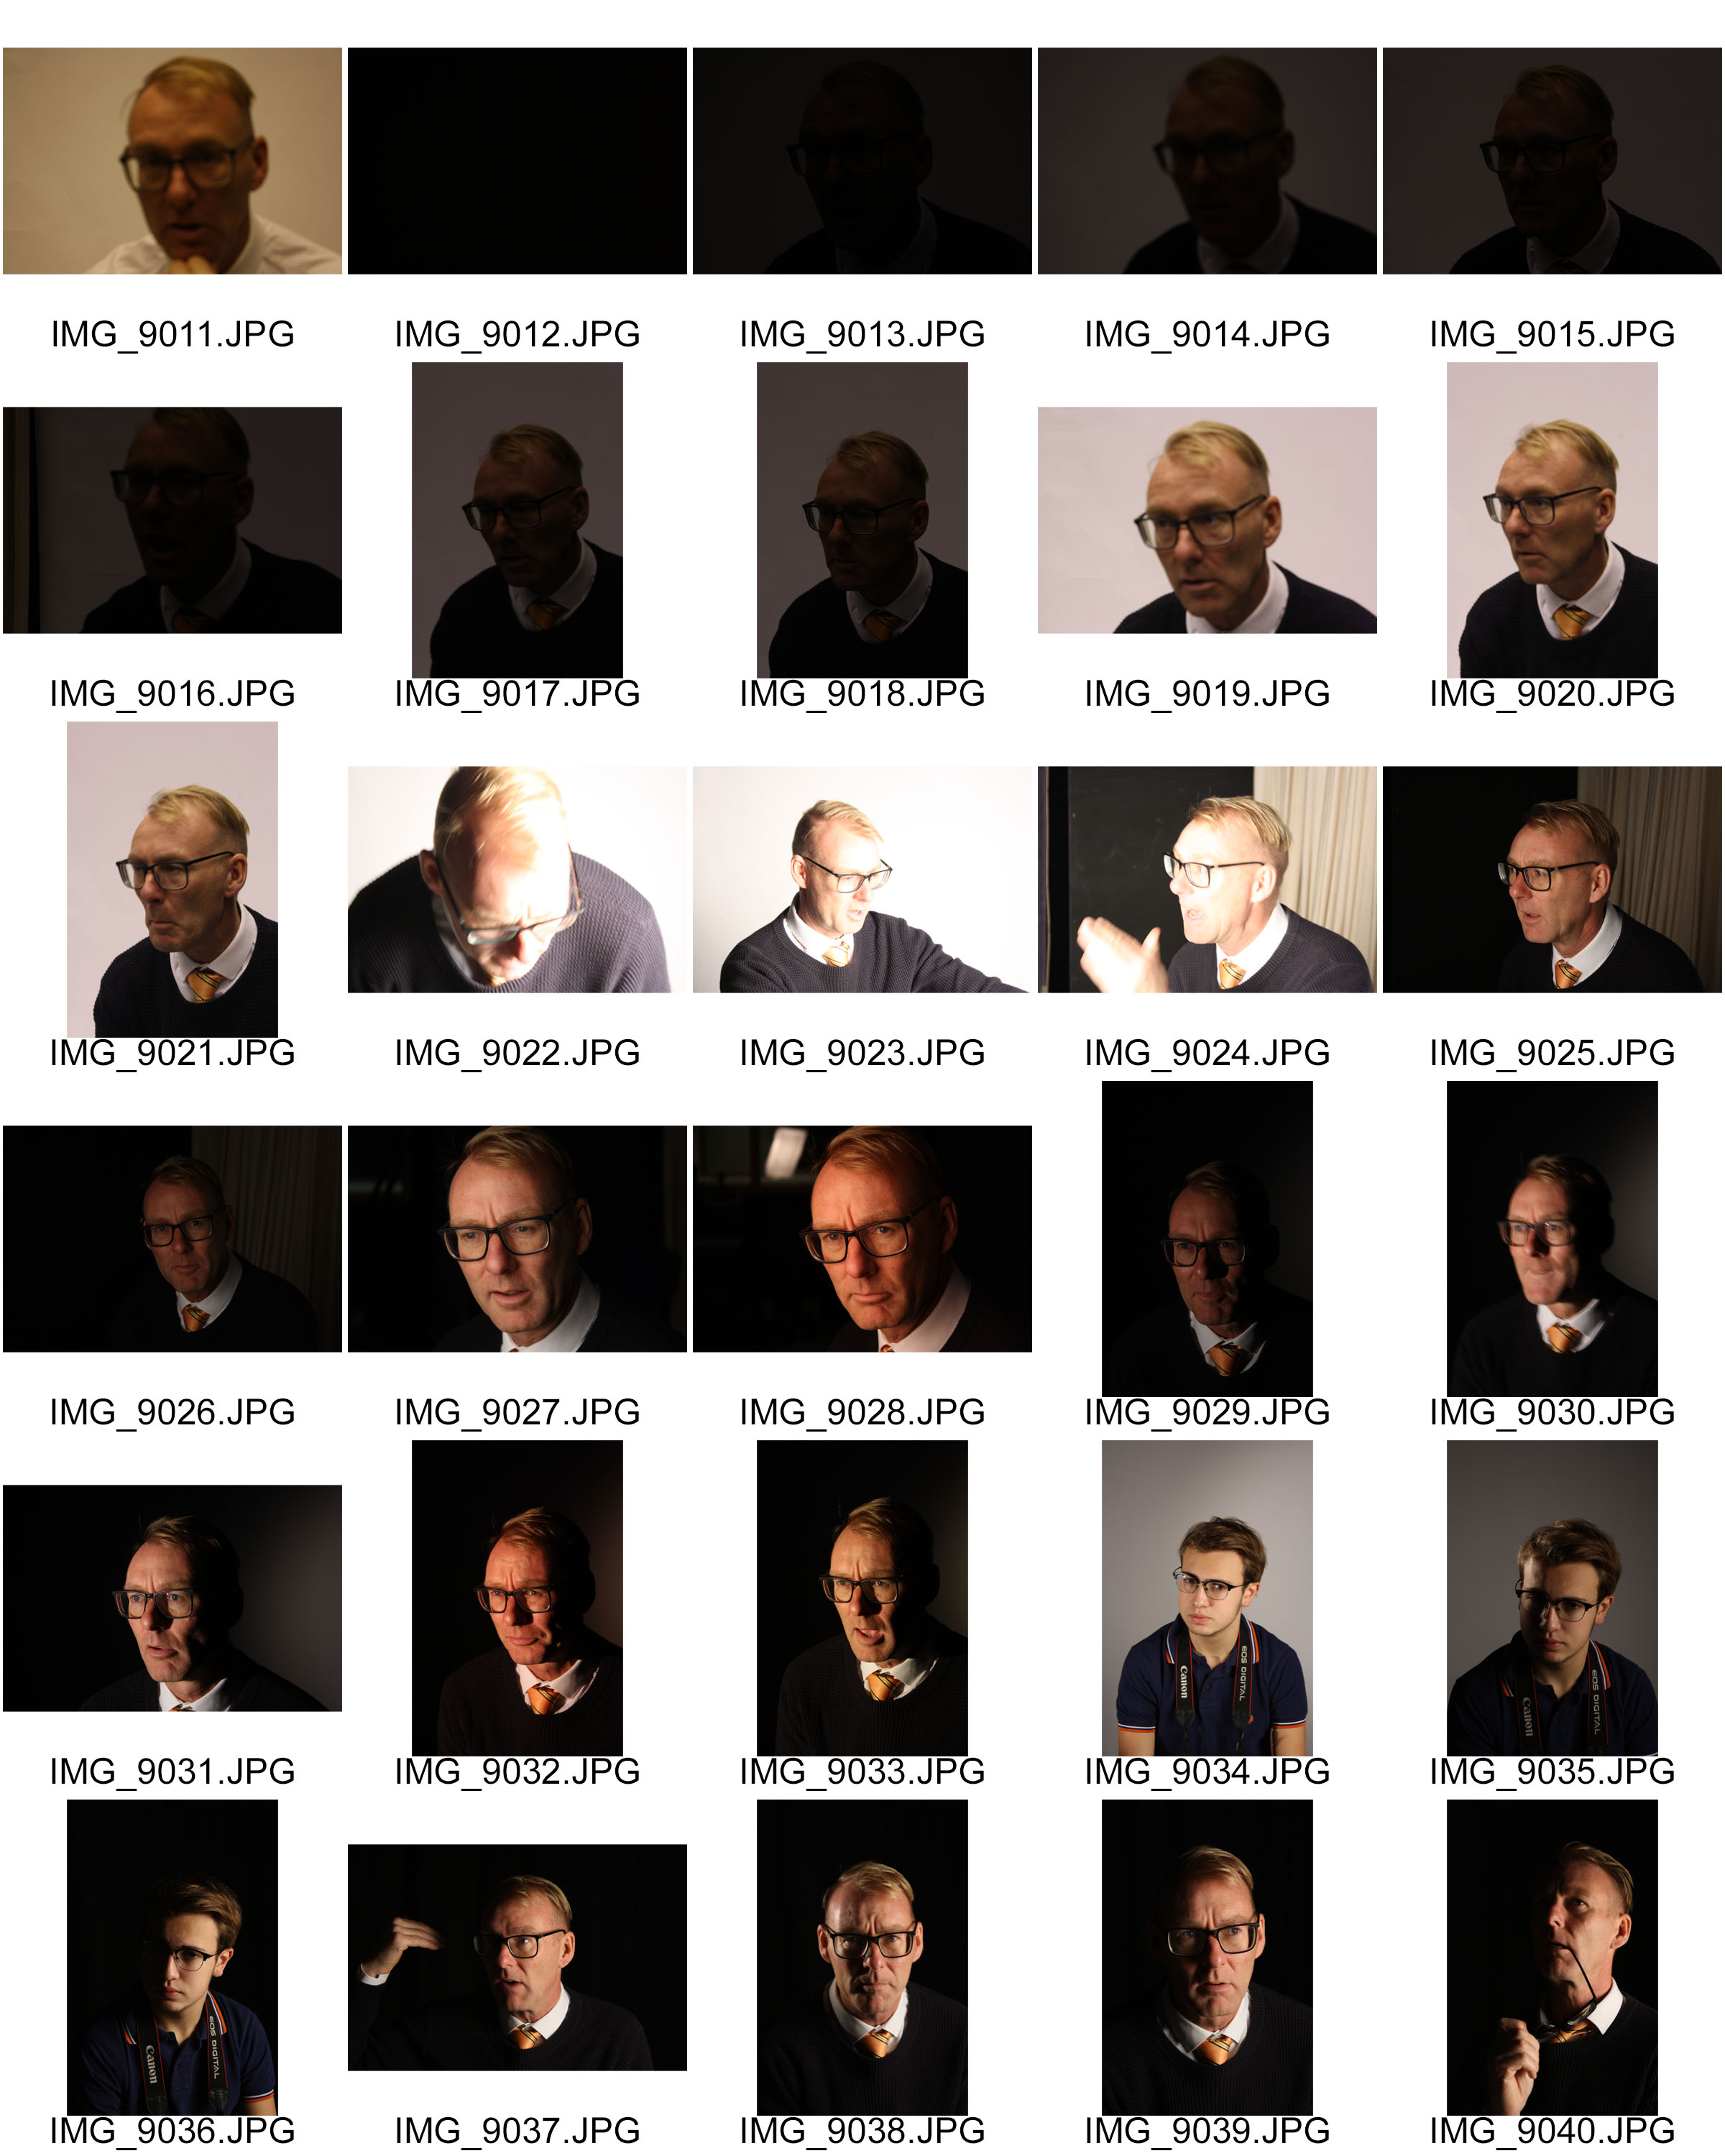
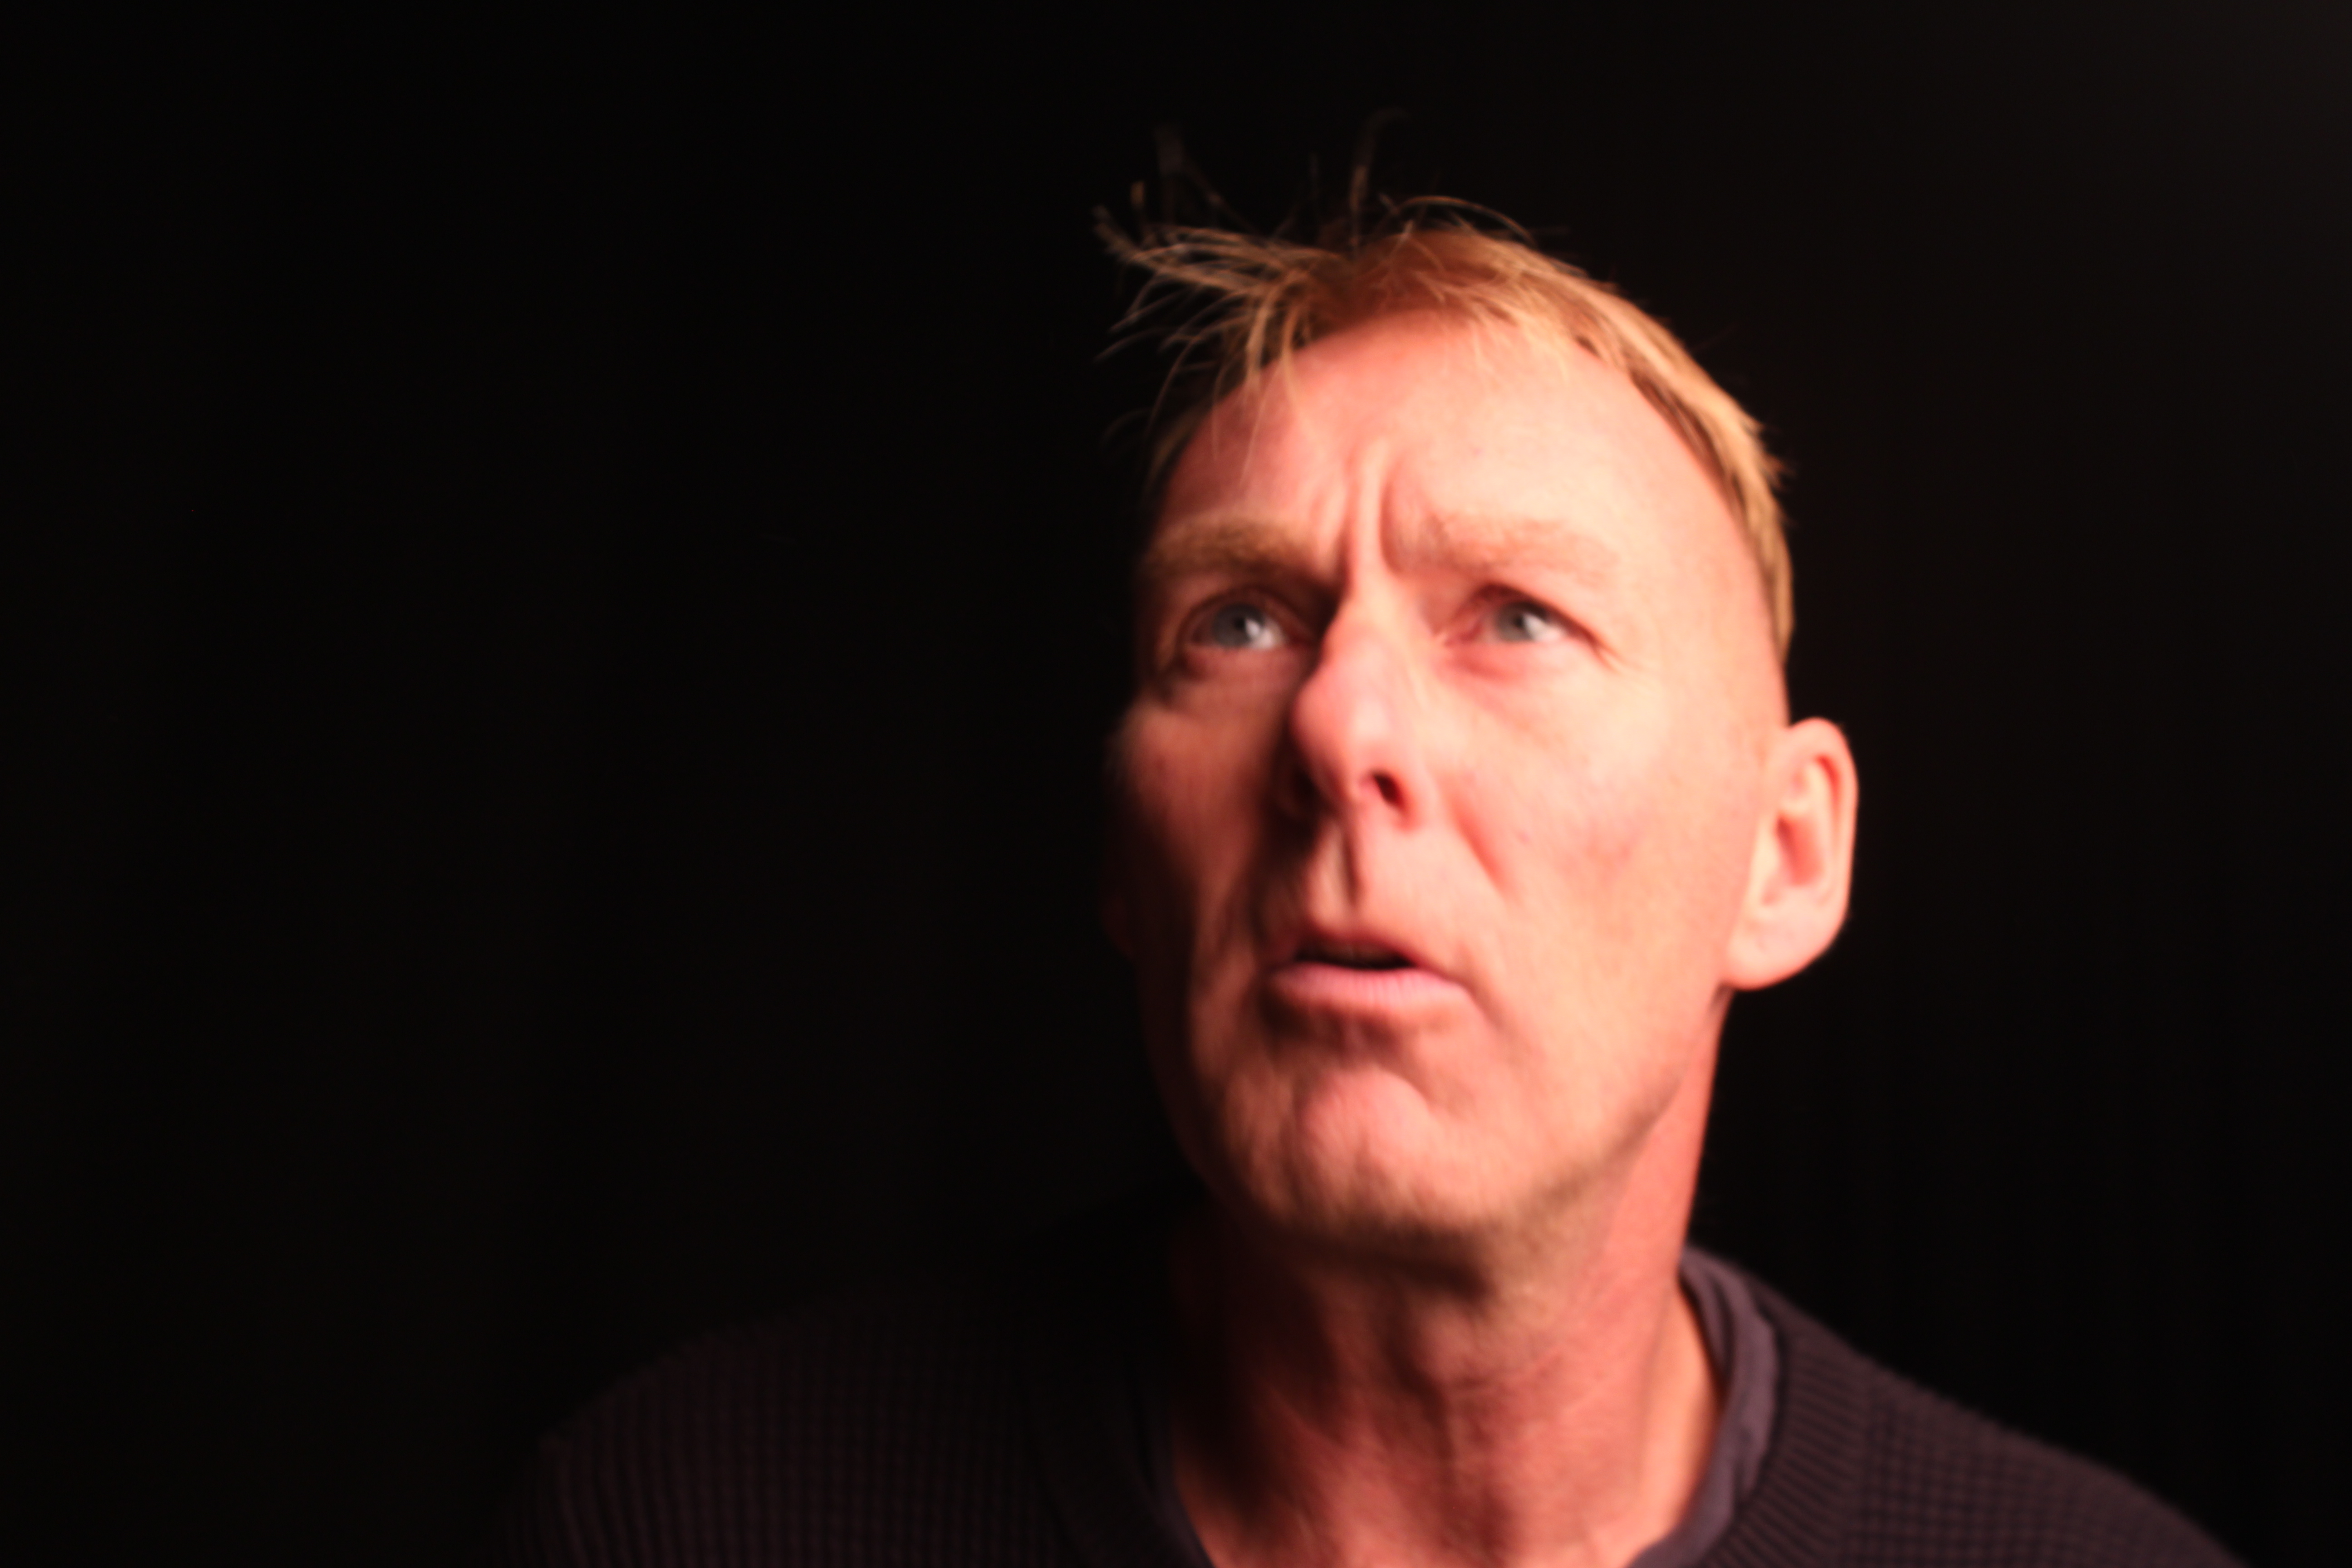
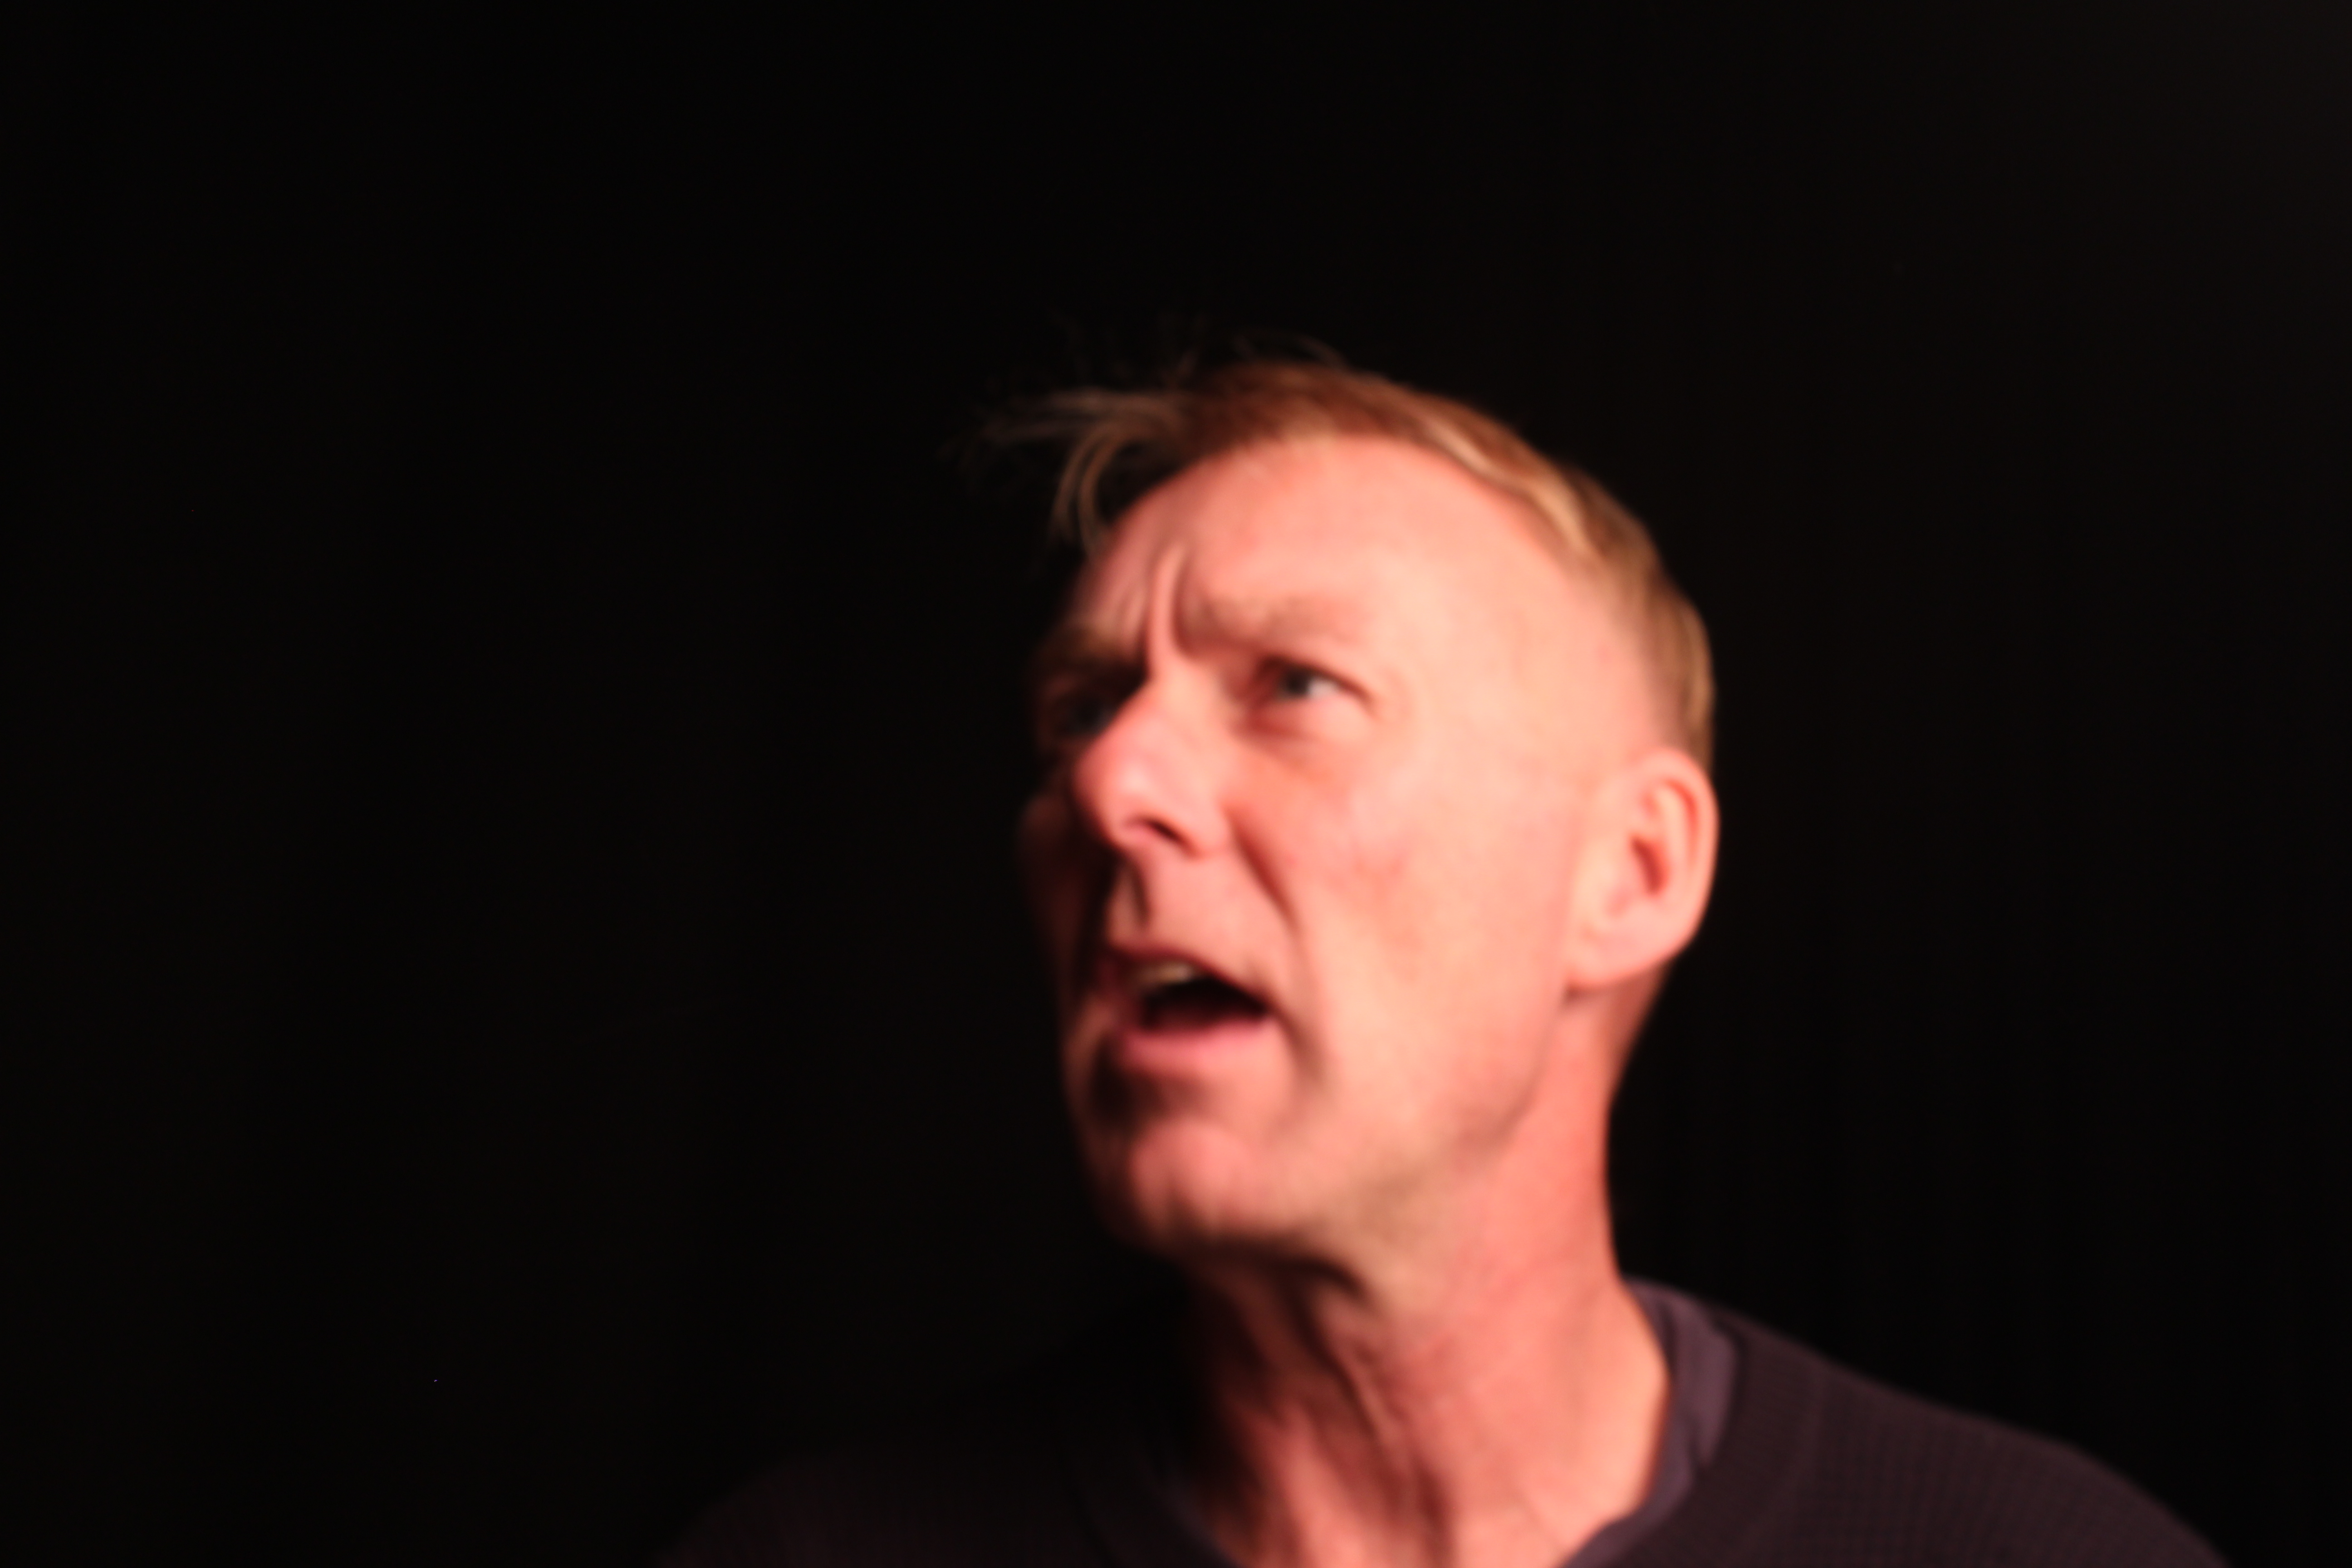
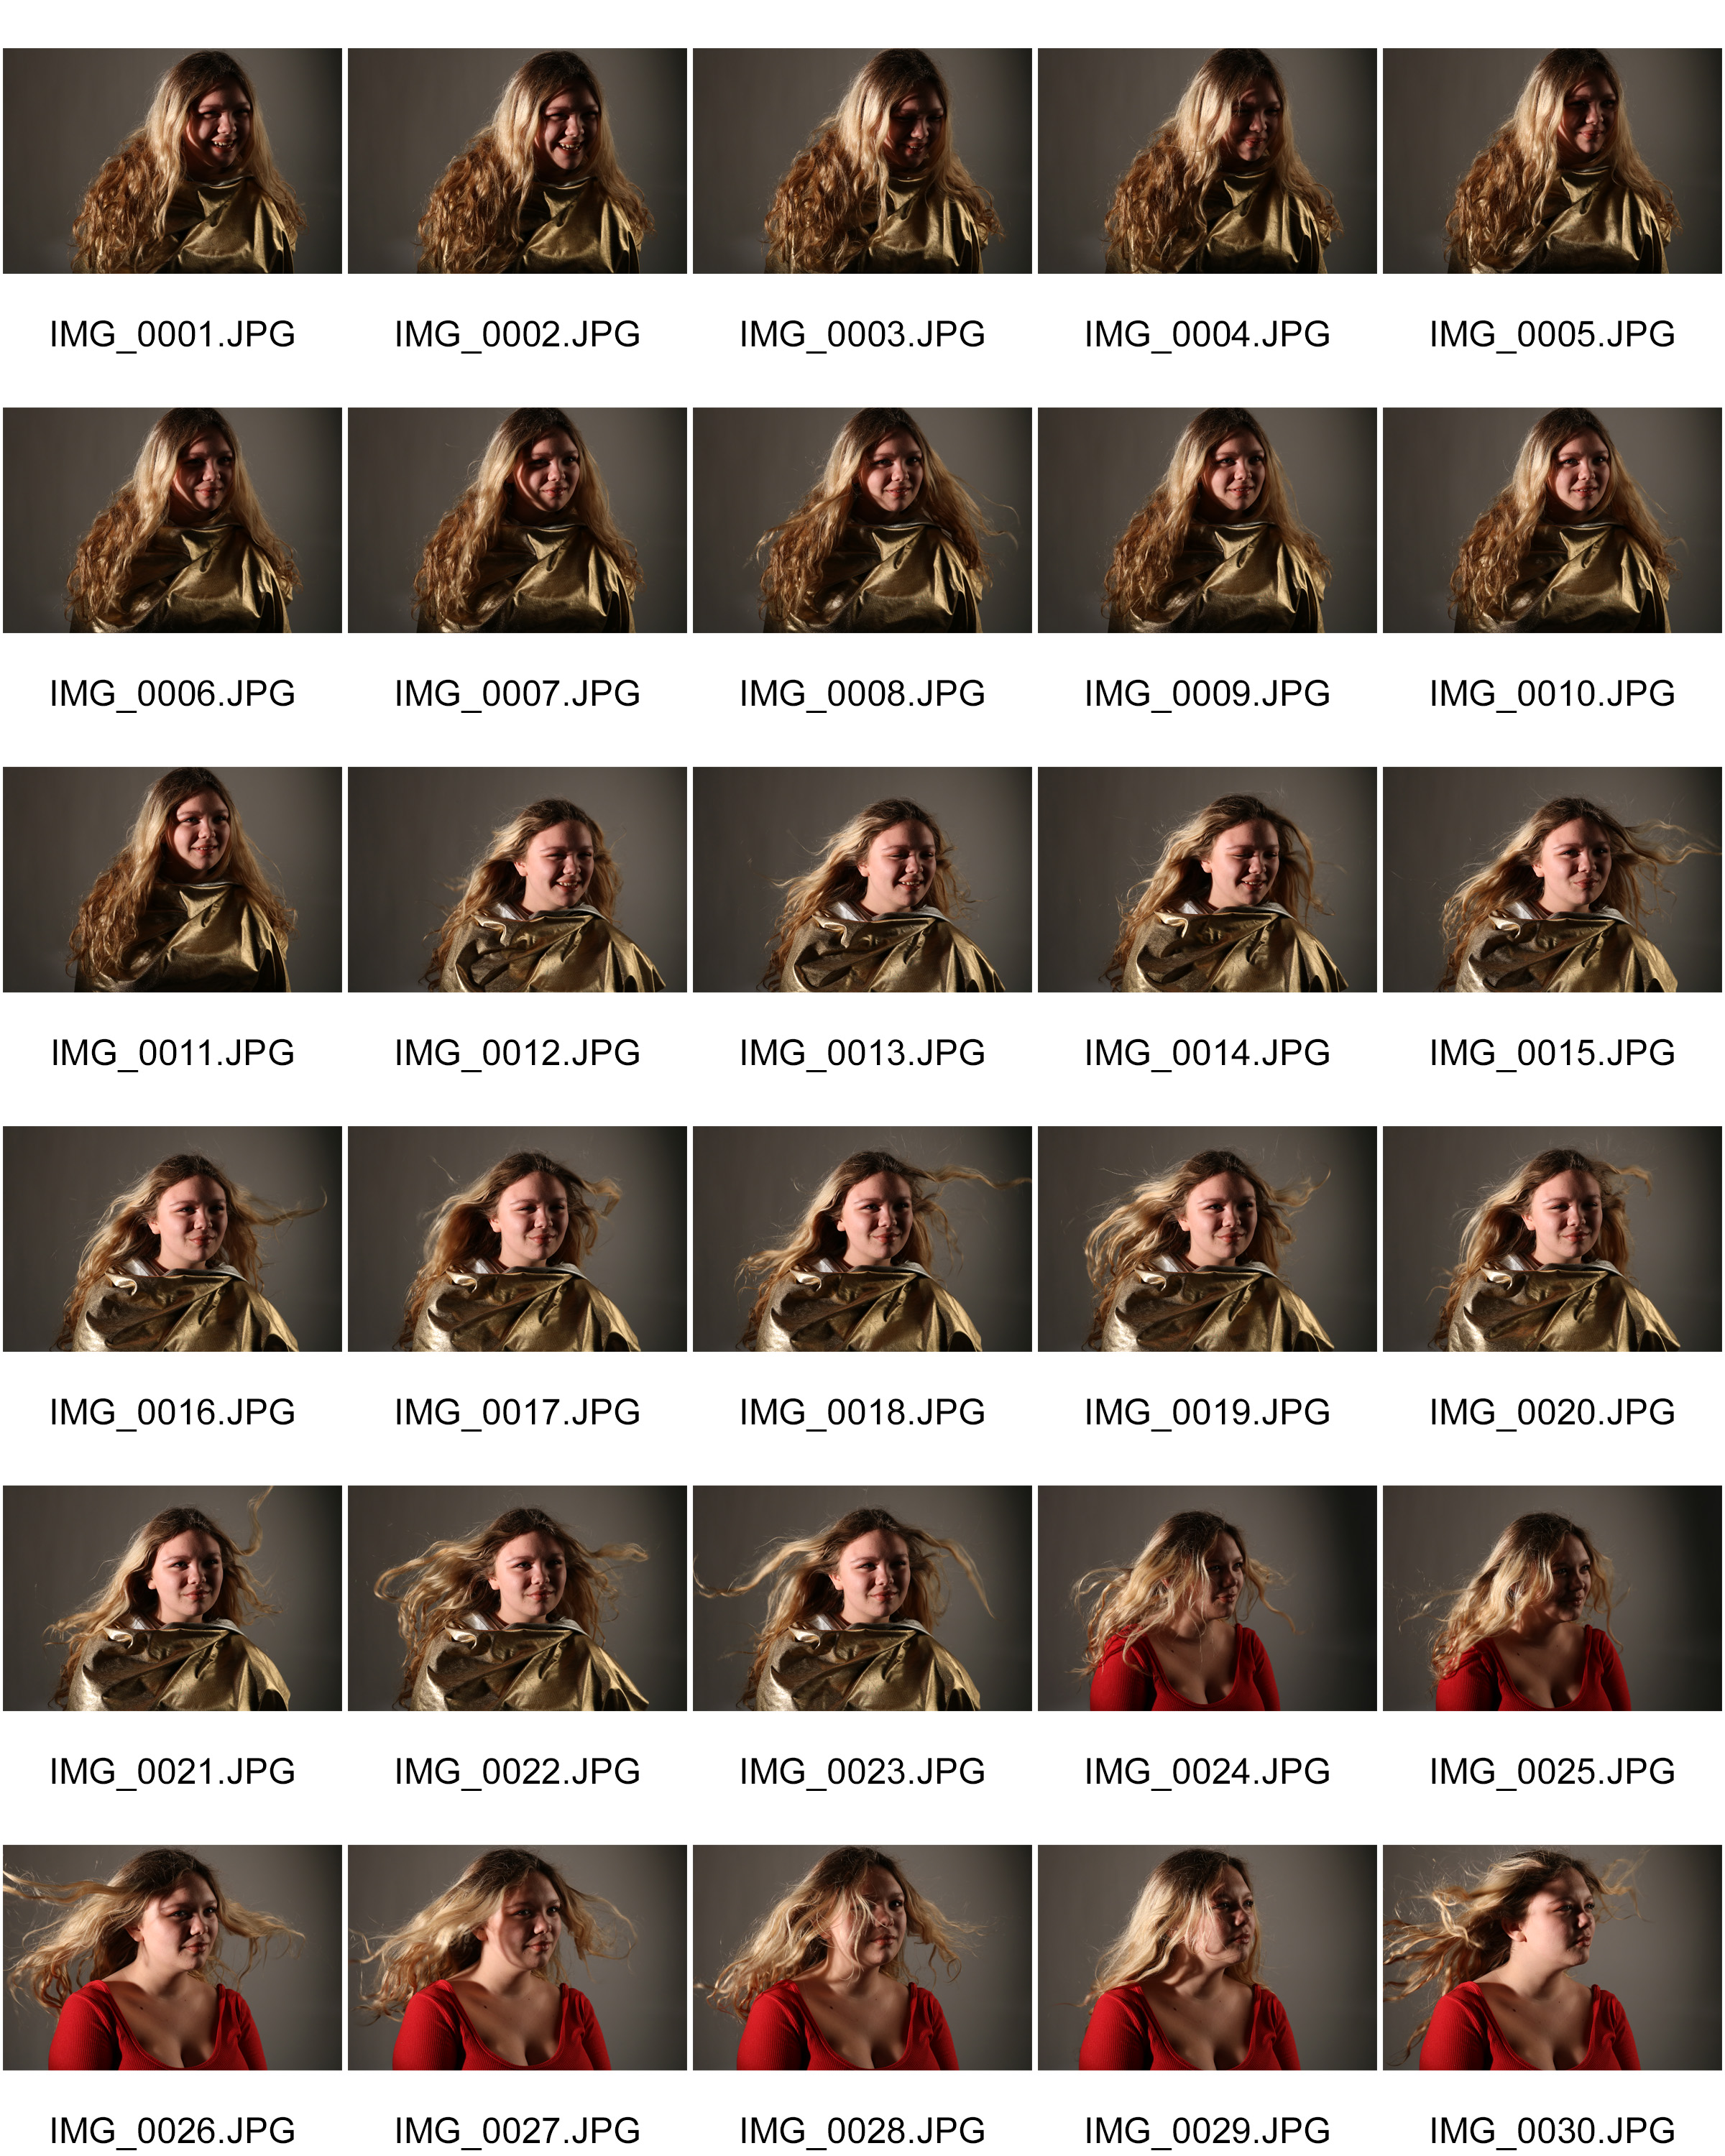
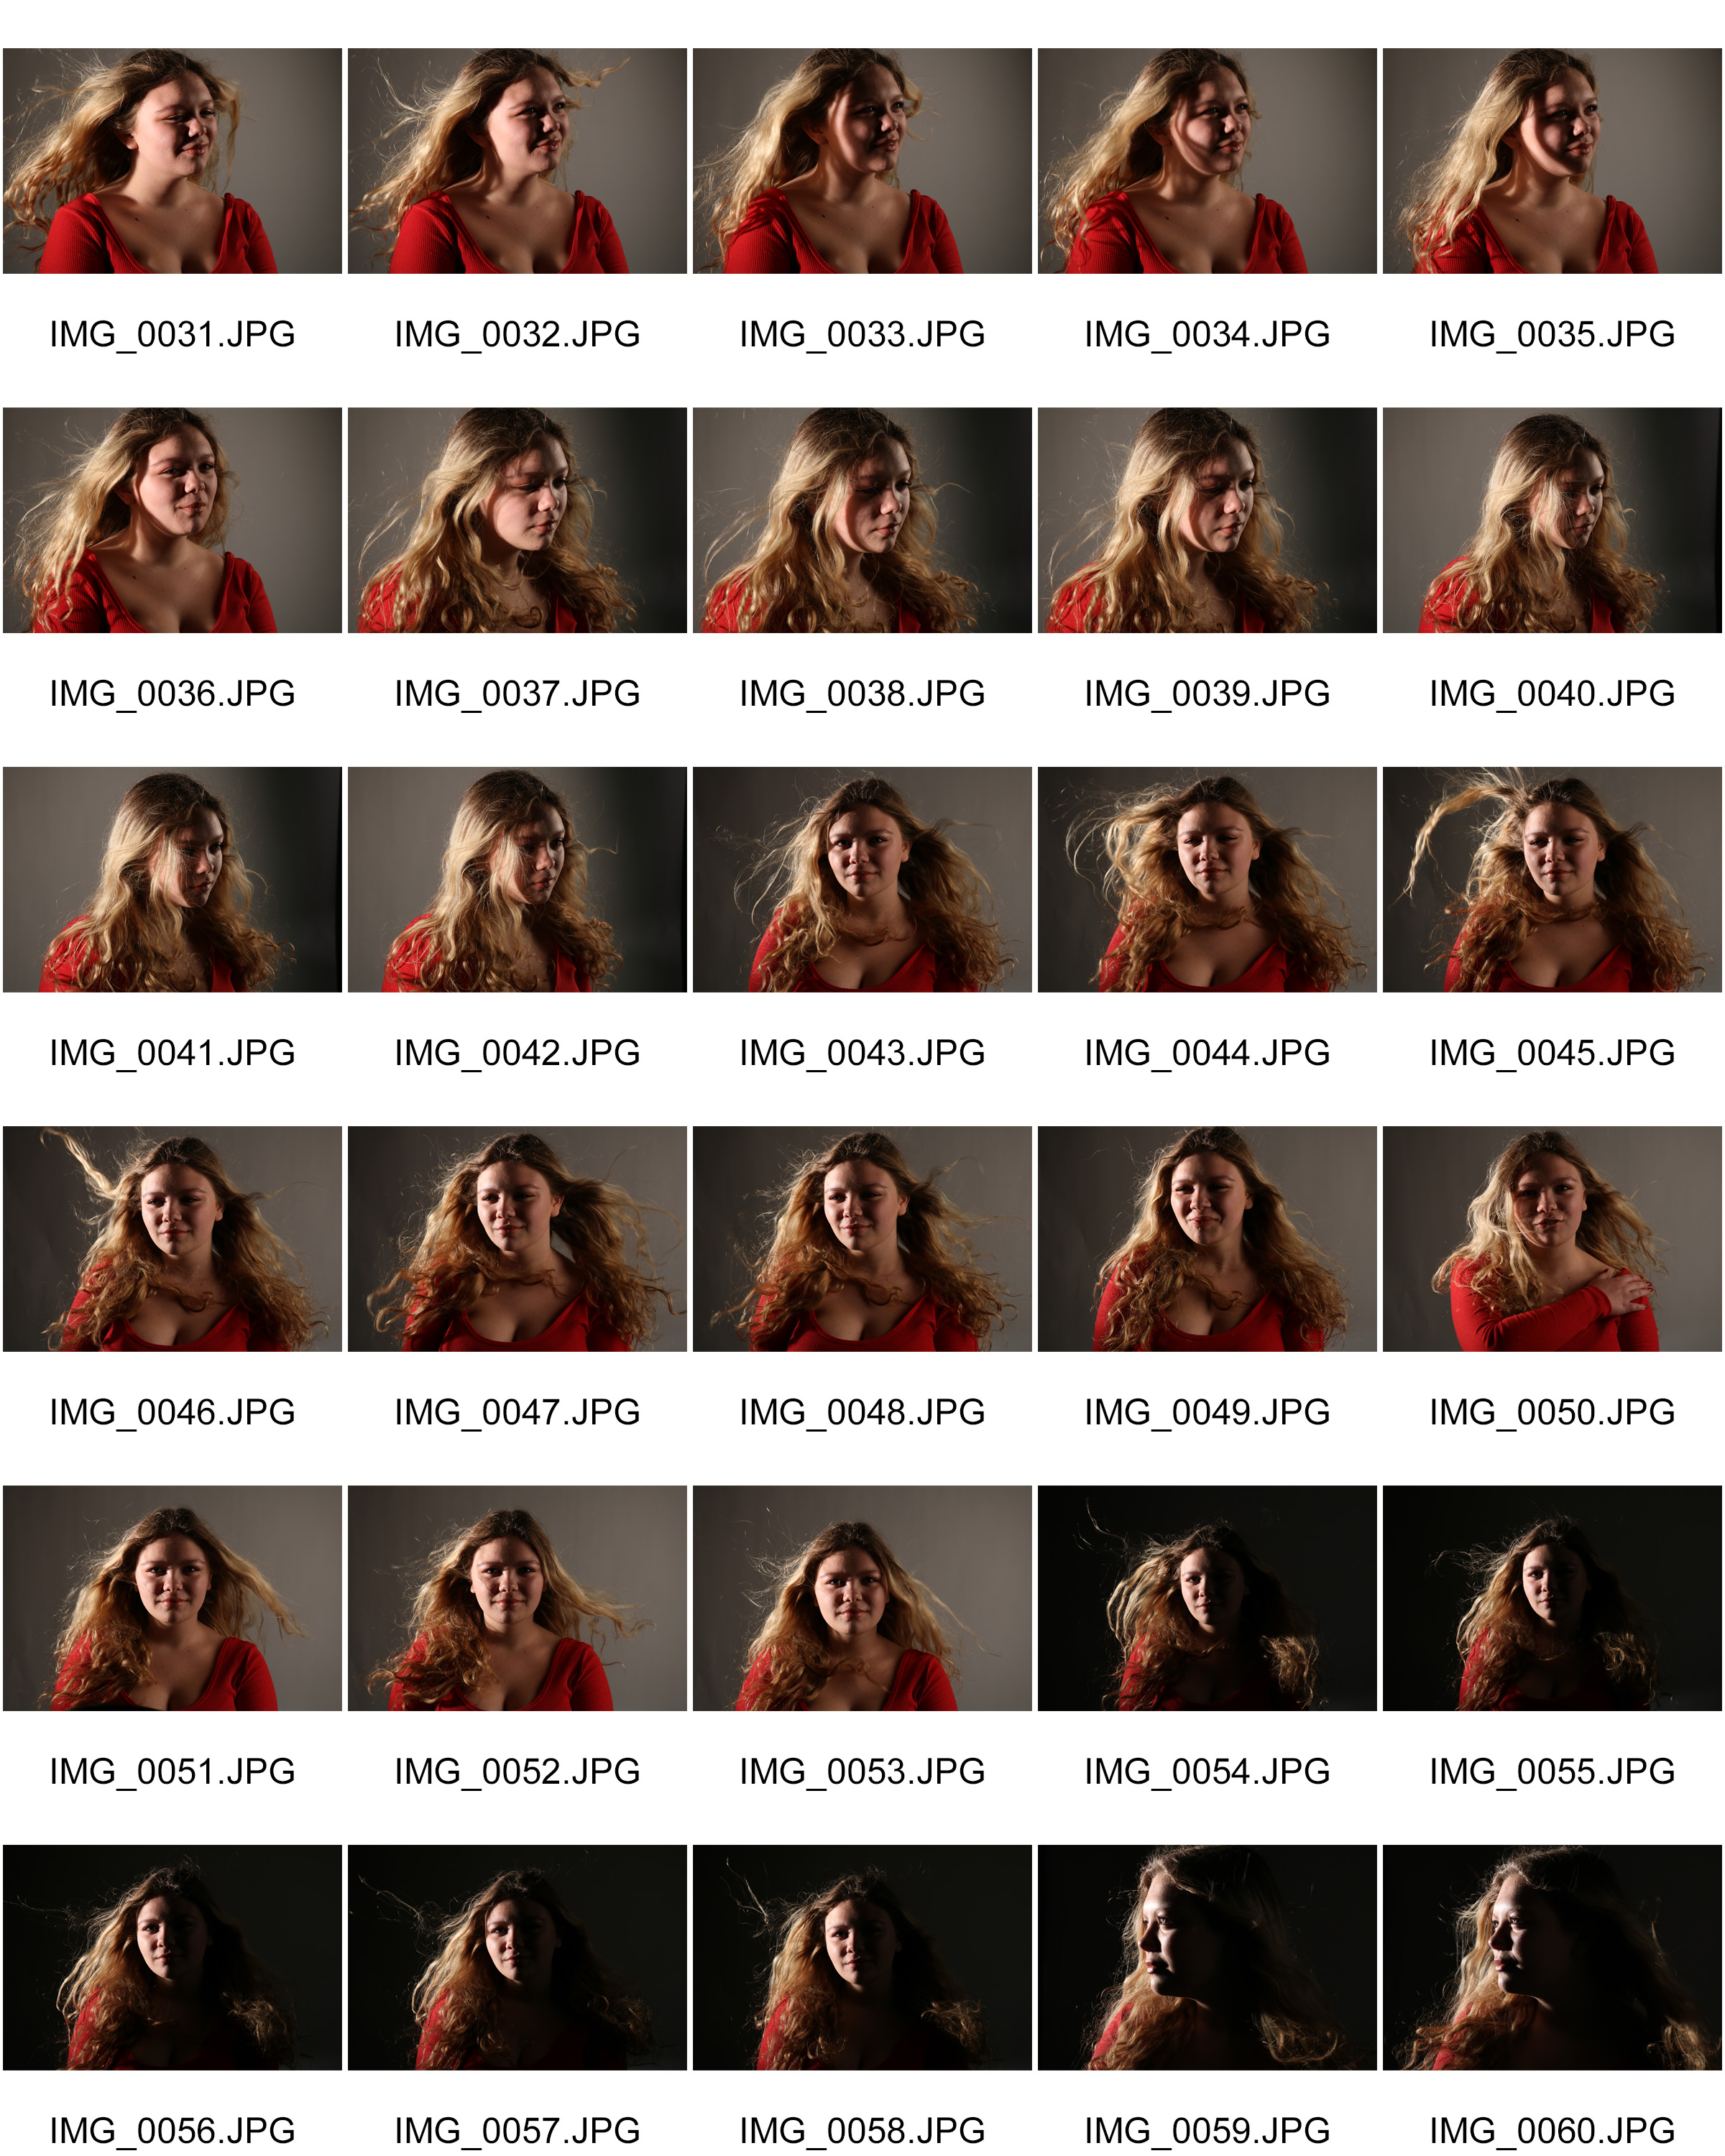
Experimentation
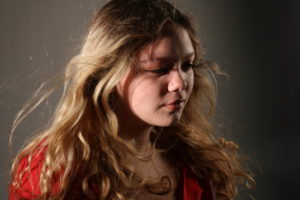
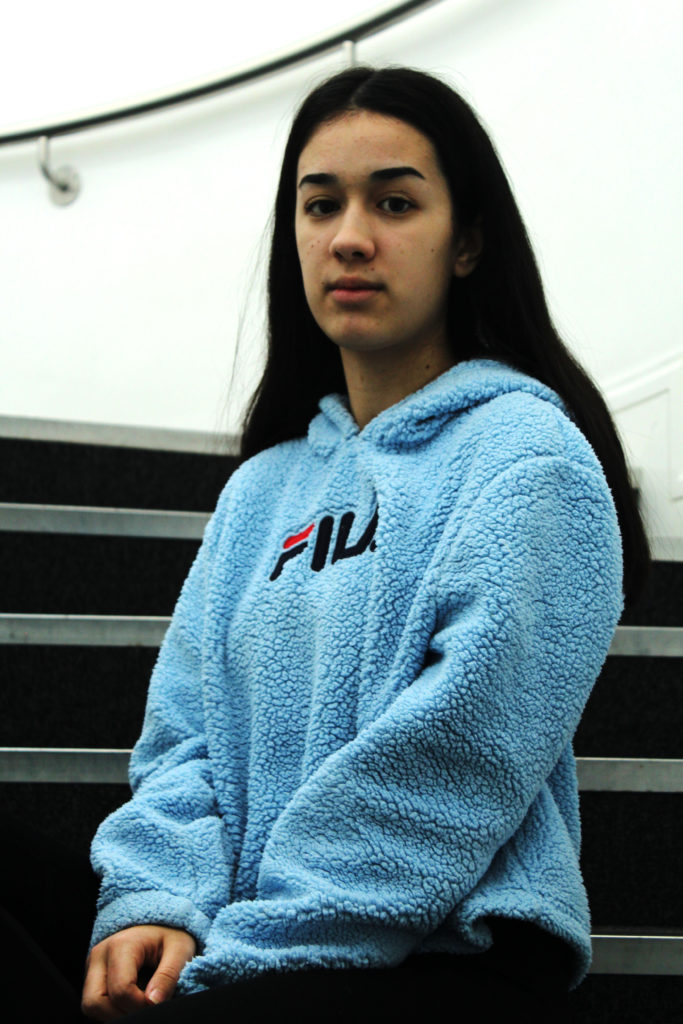
The aim of this shoot was to experiment with different white-balance, ISO, shutter speed and studio lighting.
The final ISO, shutter speed, and white-balance to execute a well lit studio photo shoot is ISO: 800, Shutter-speed: 60, and white balance for tungsten light.
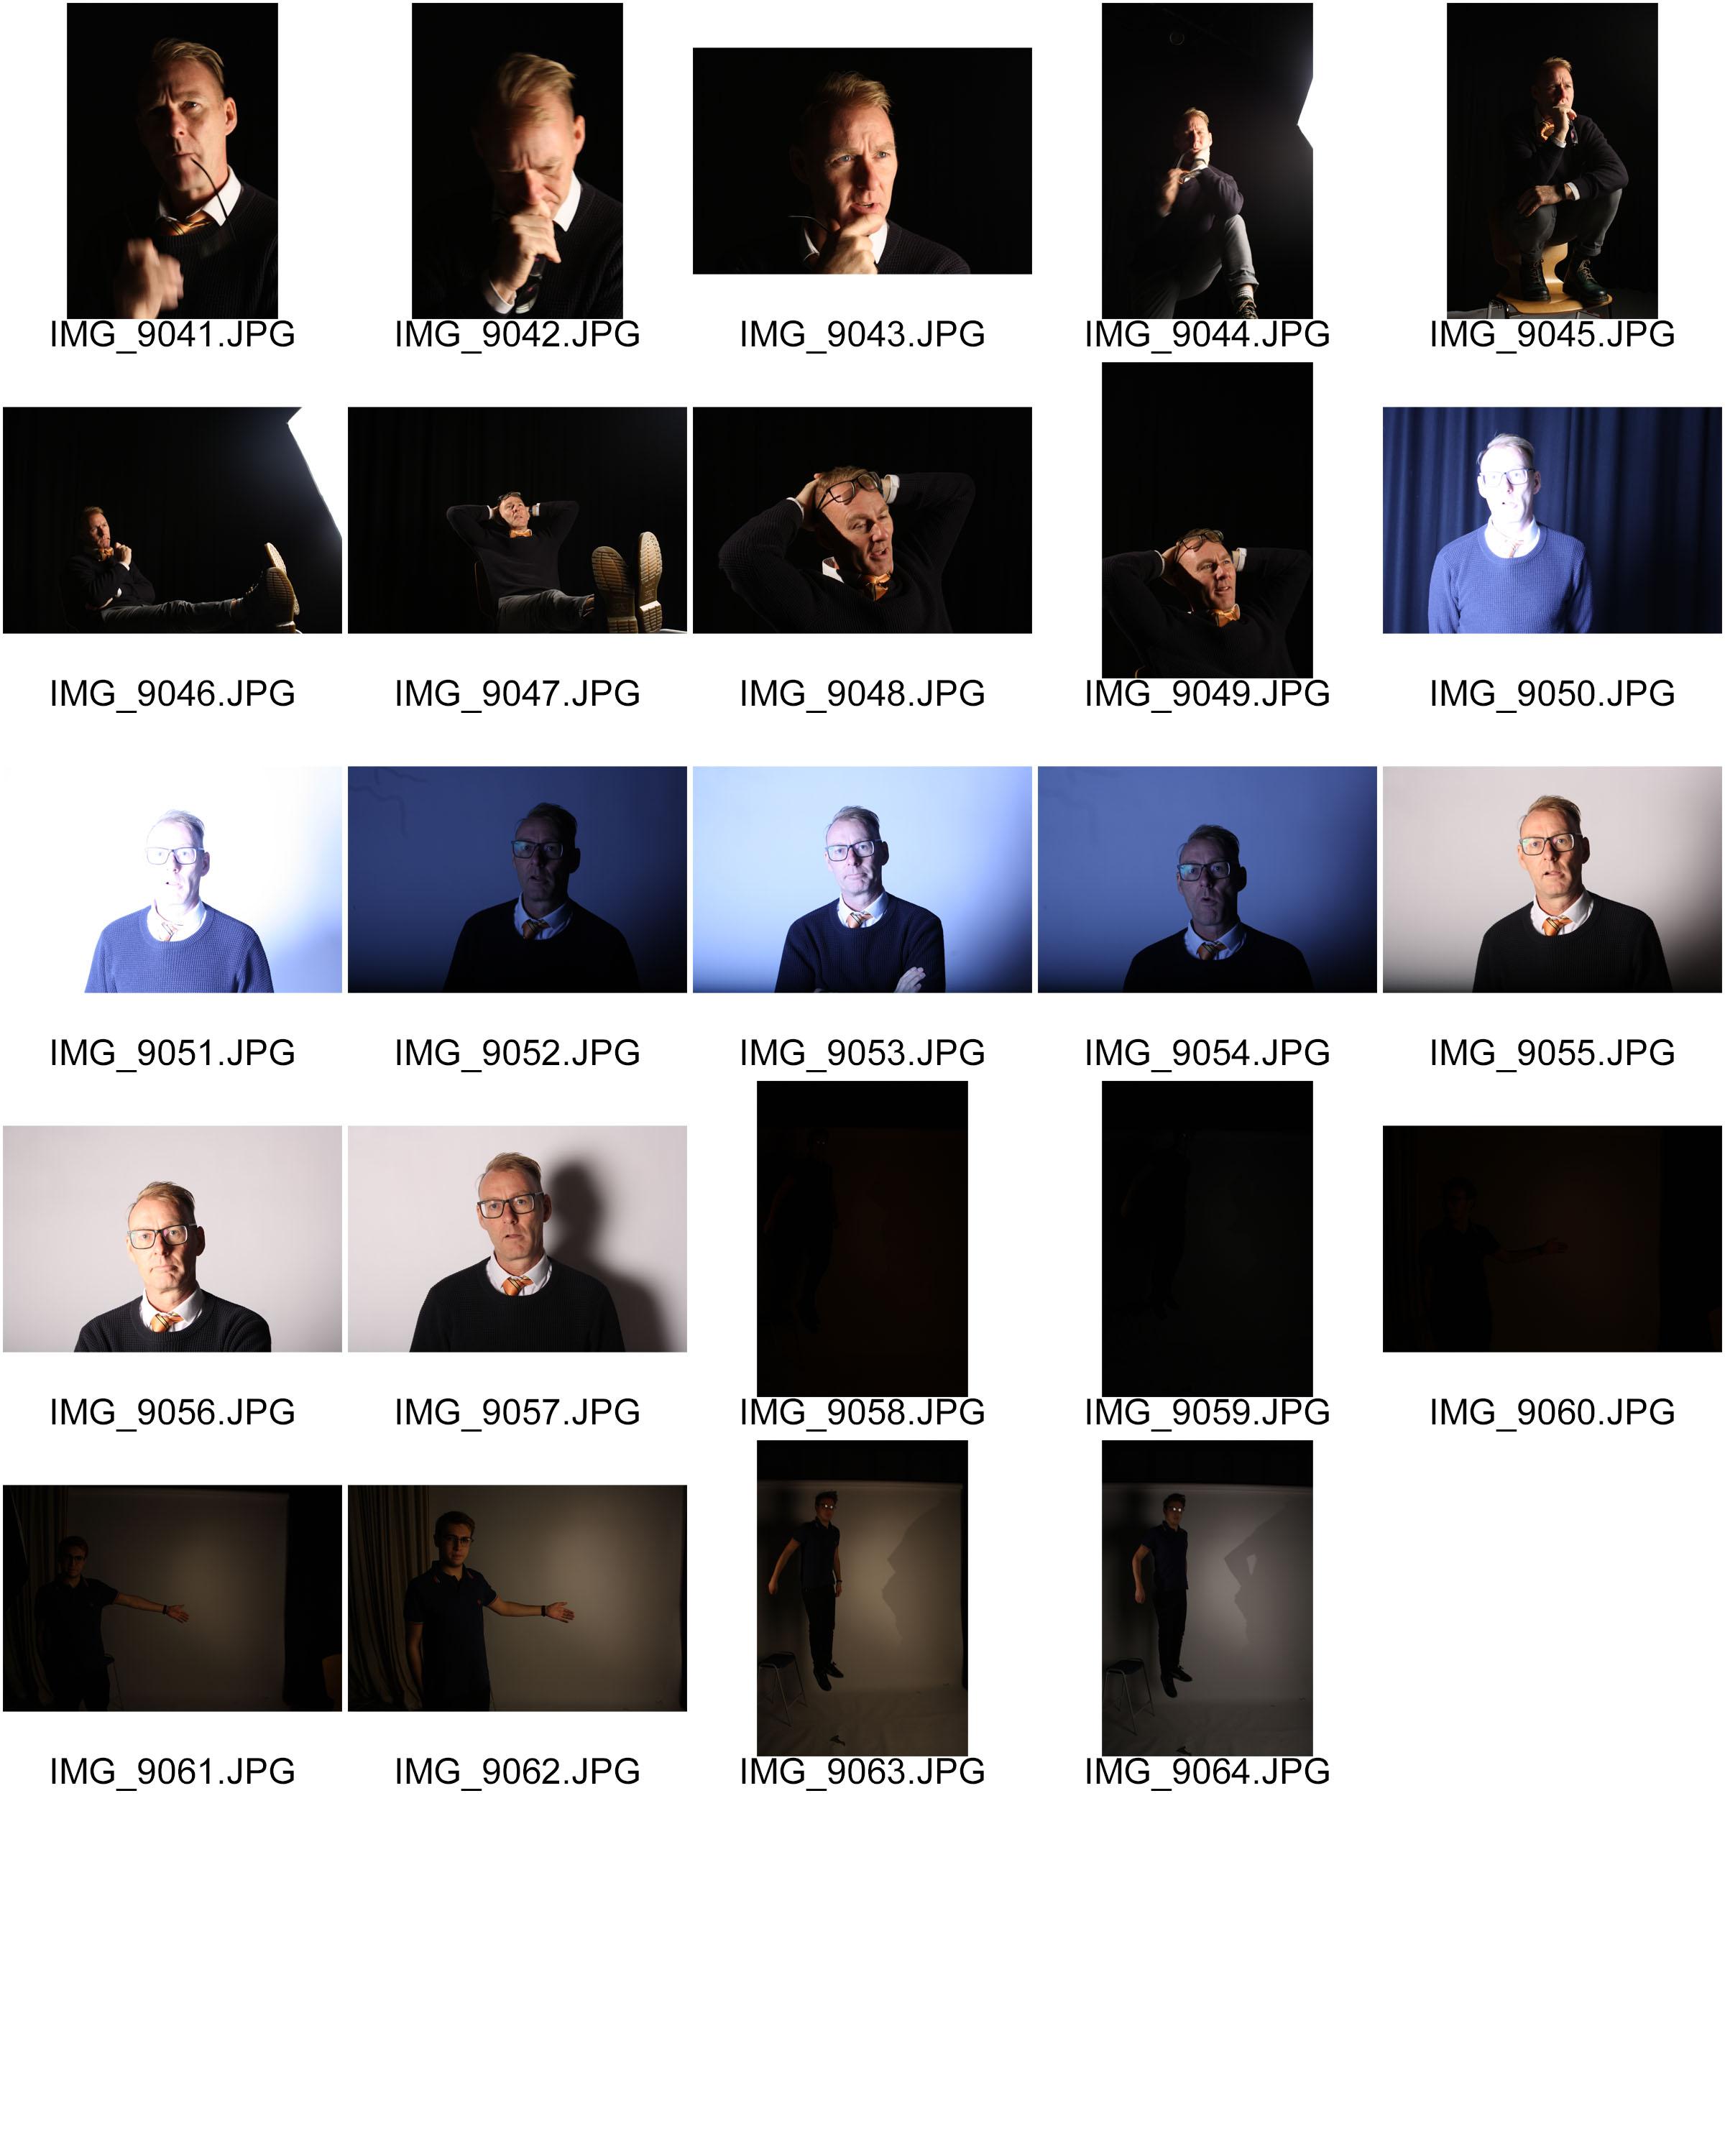
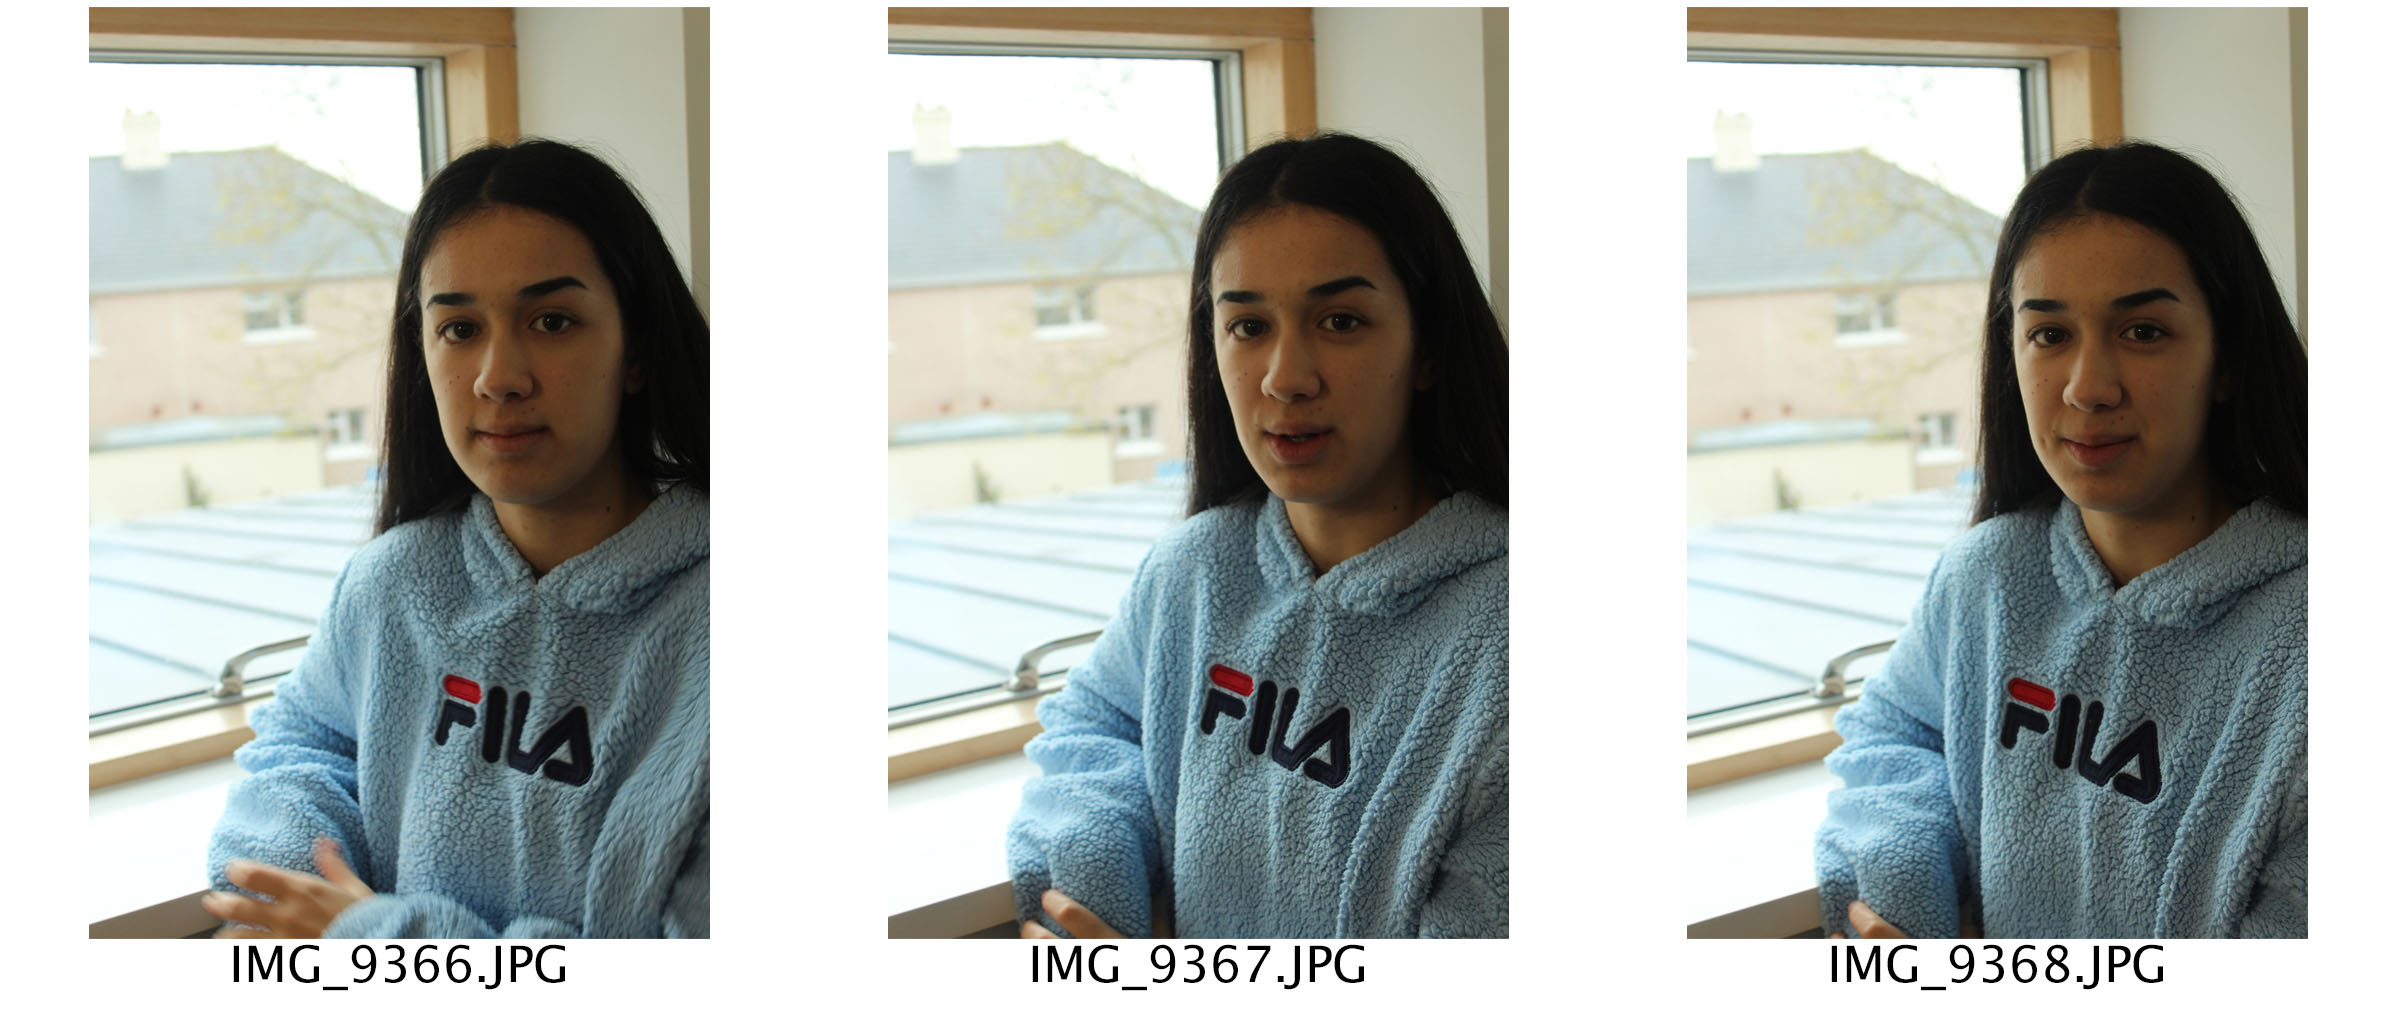
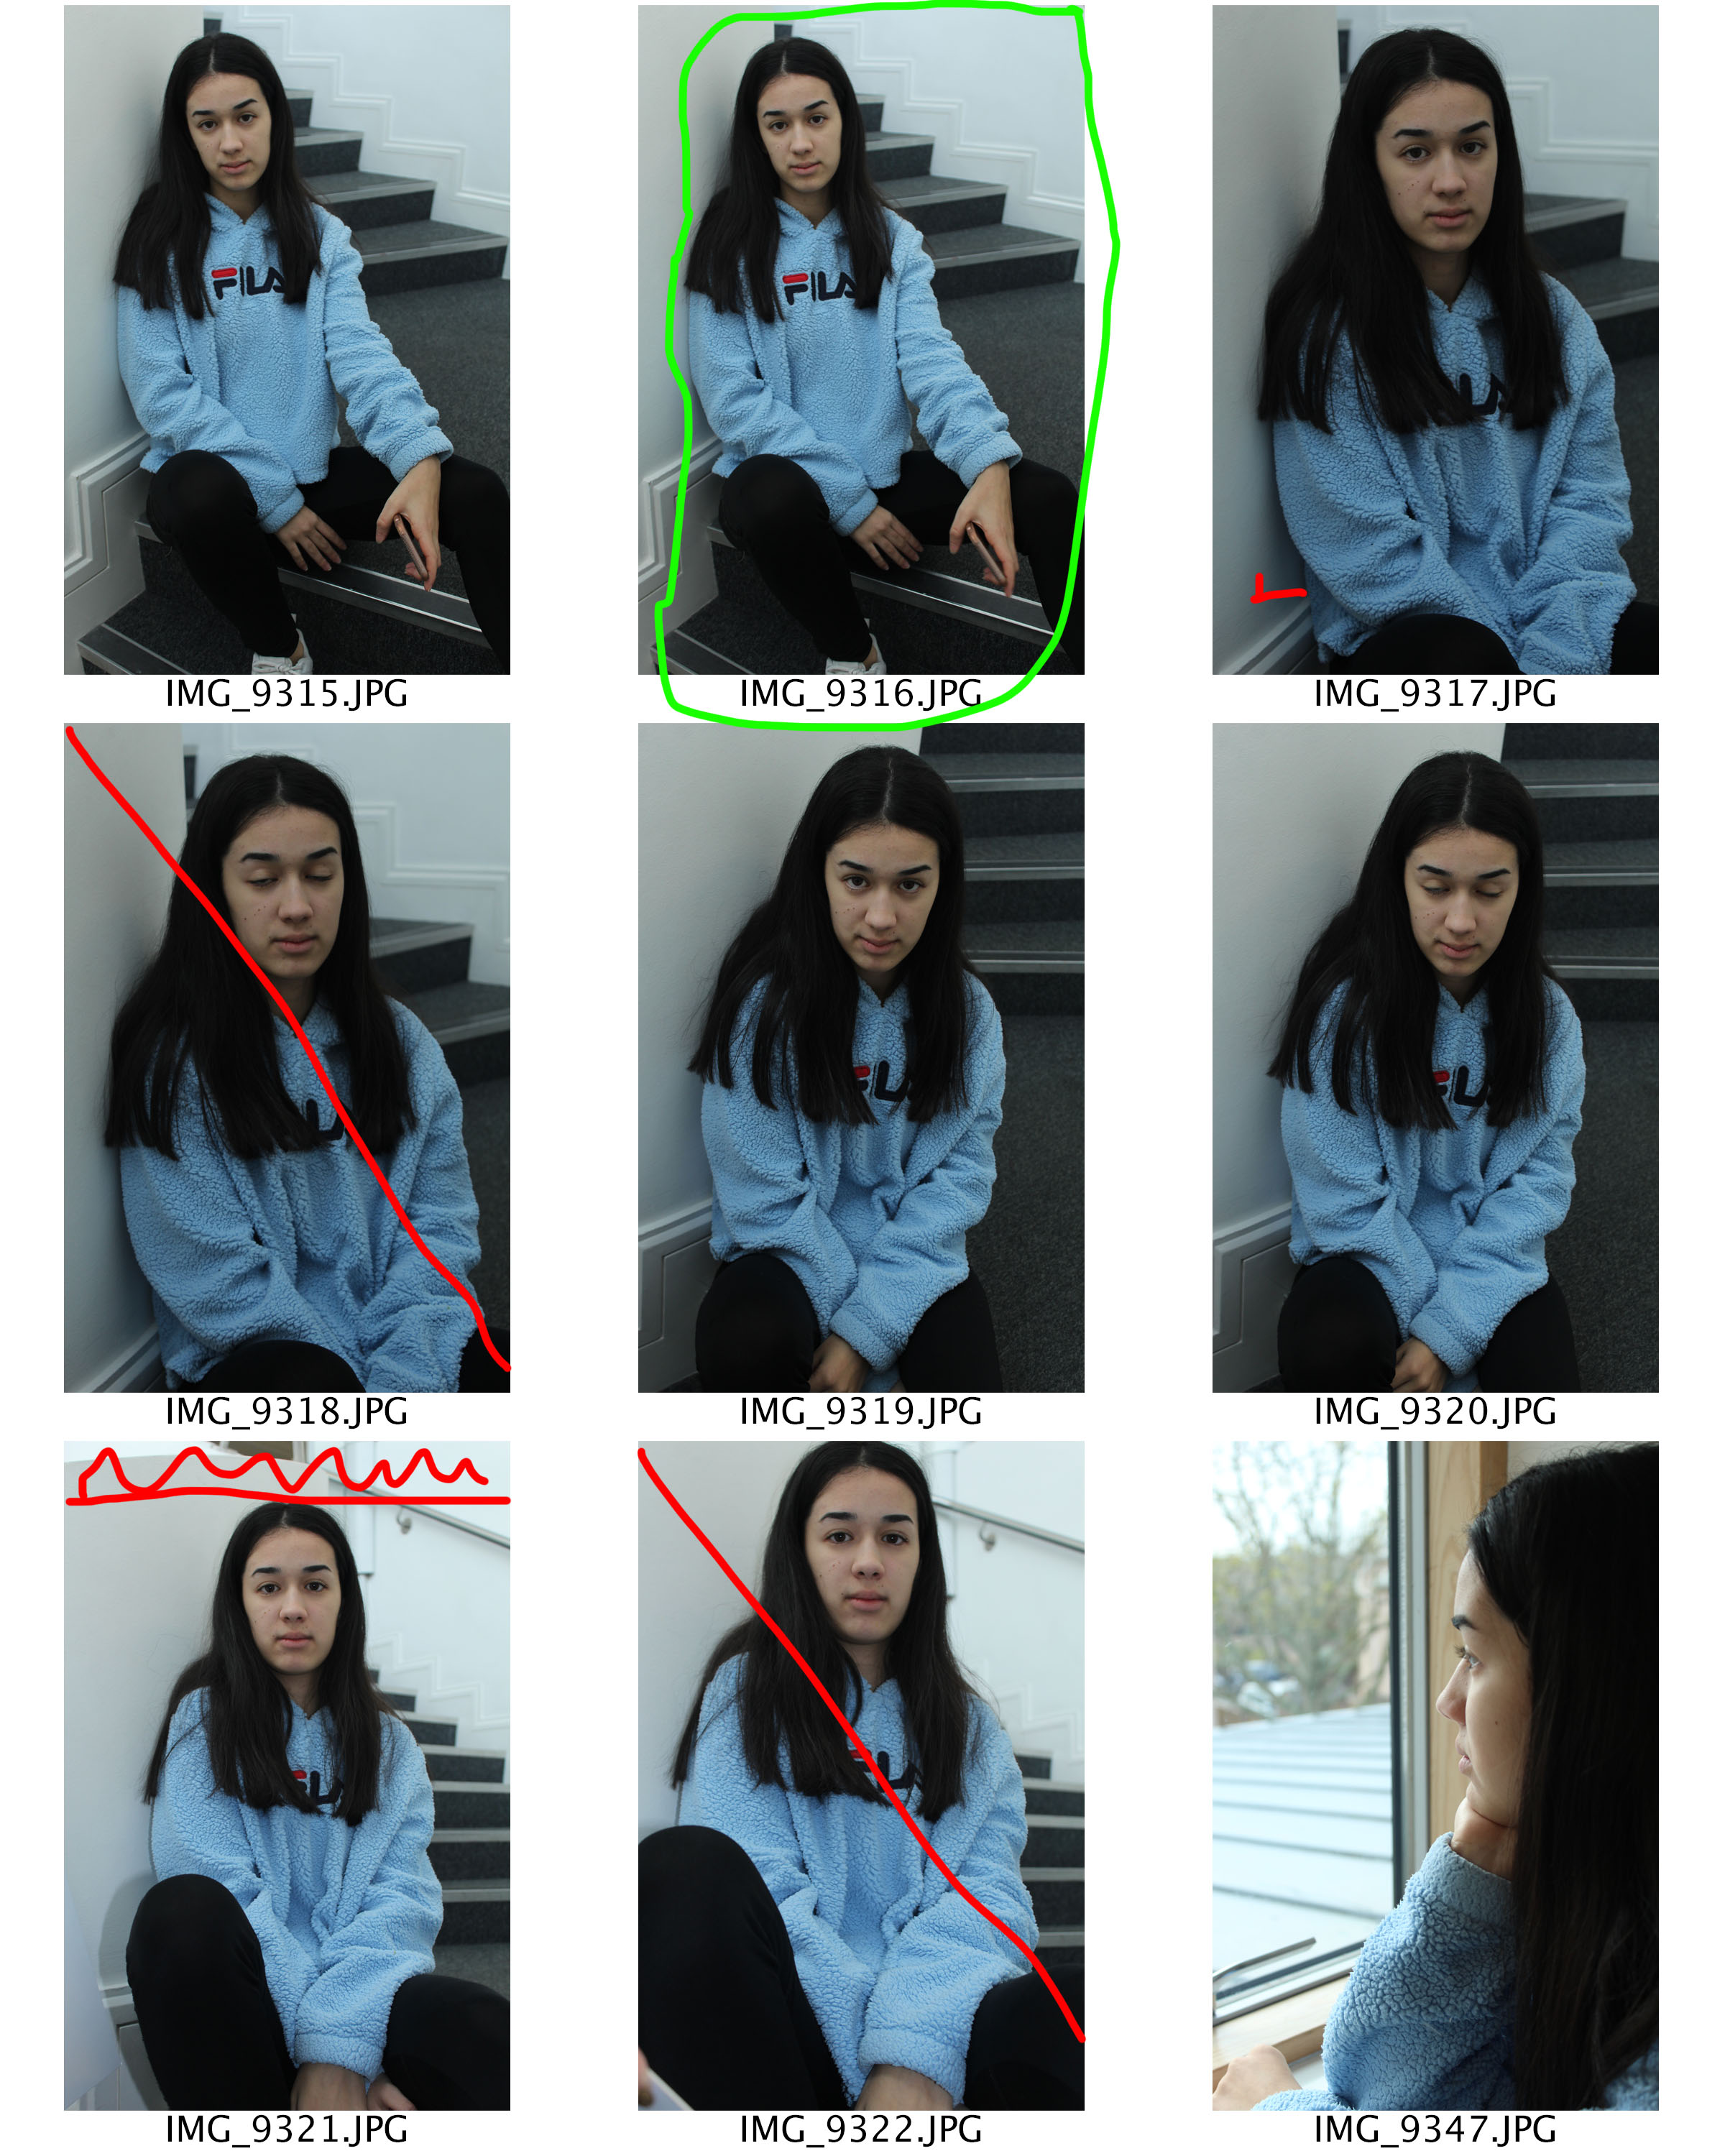
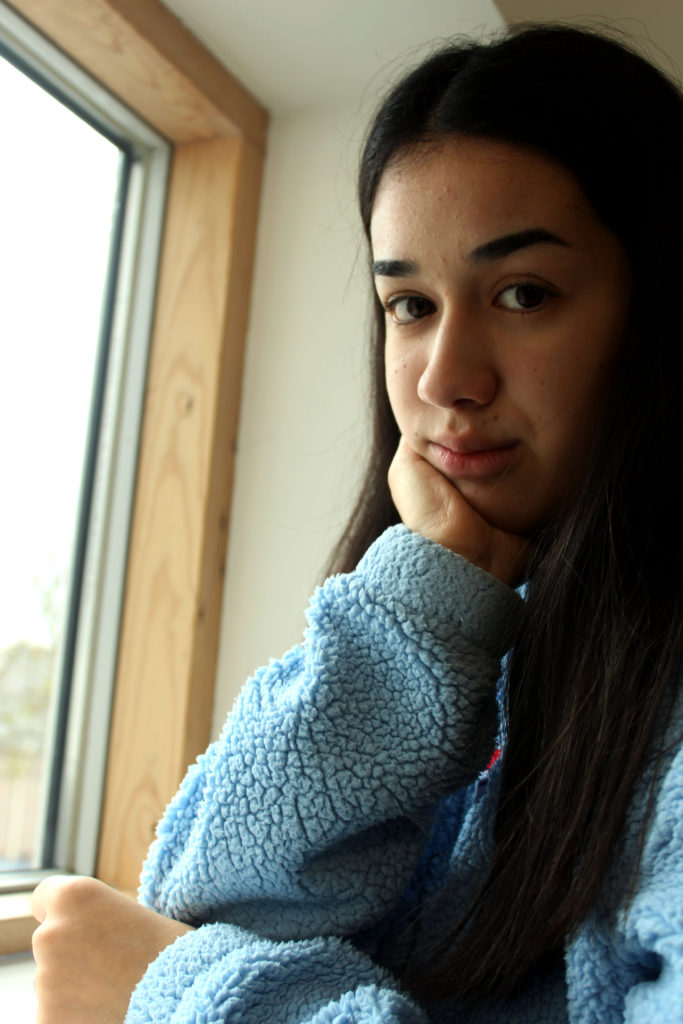
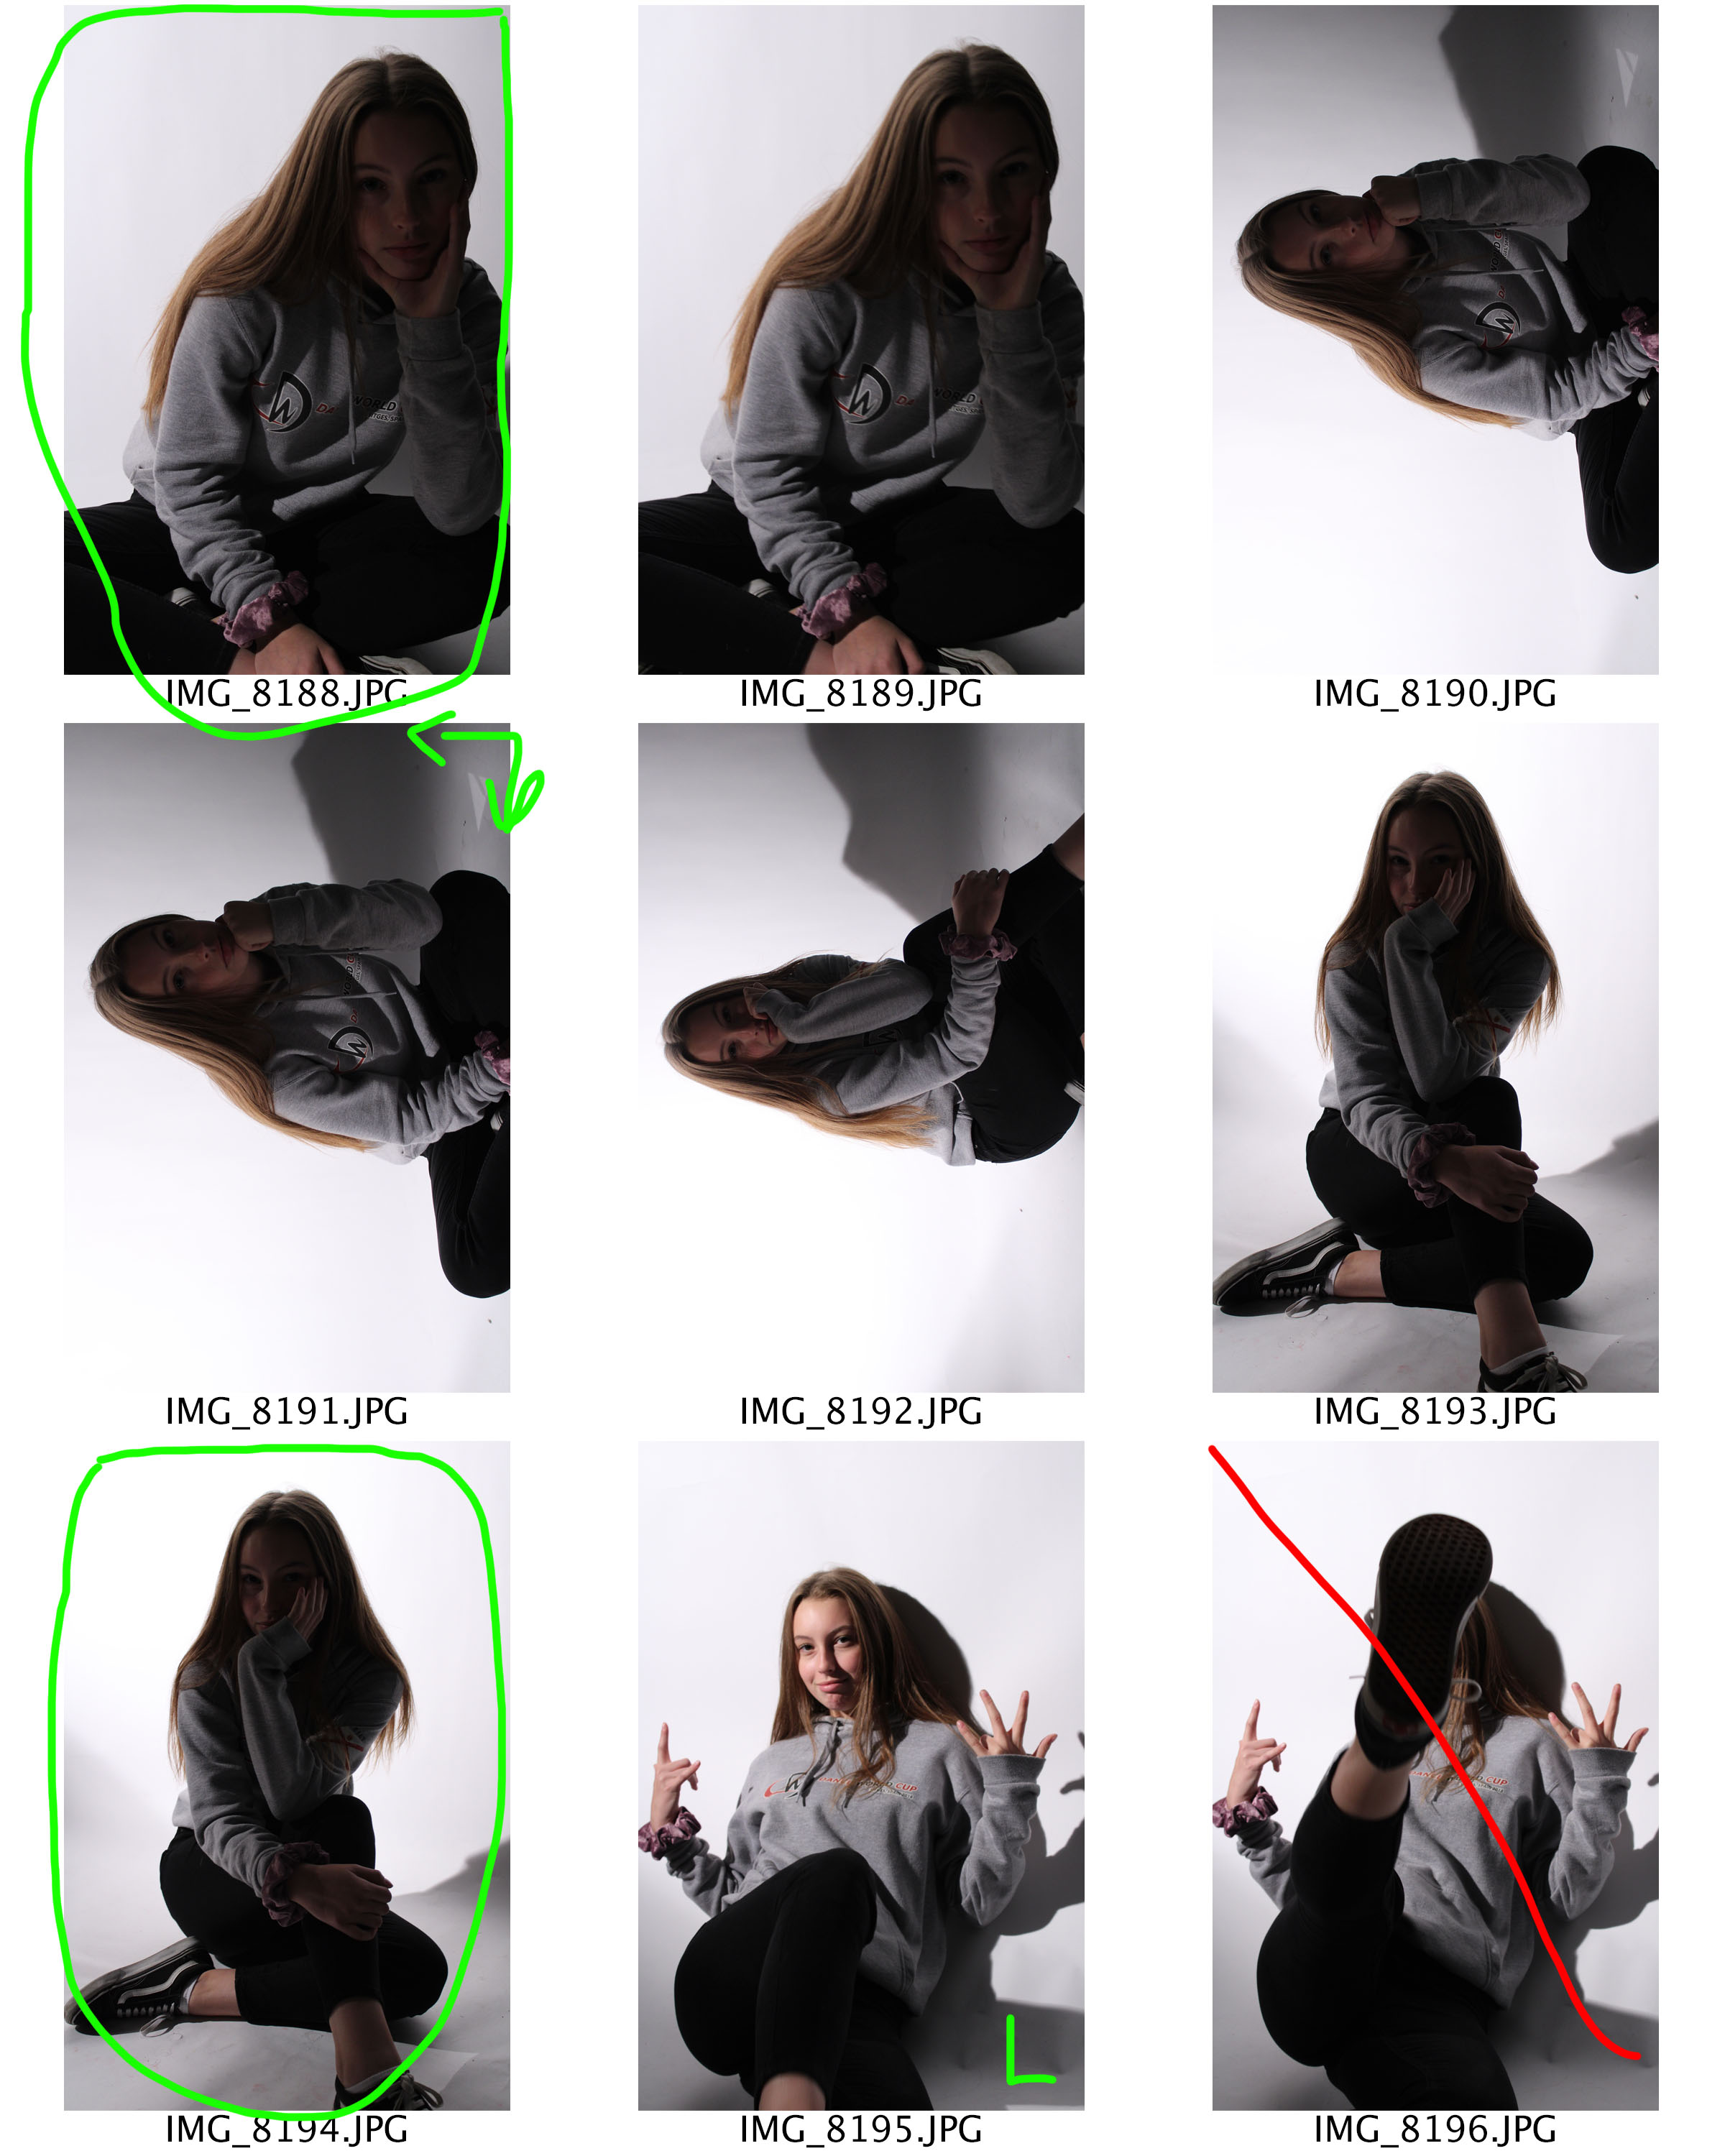
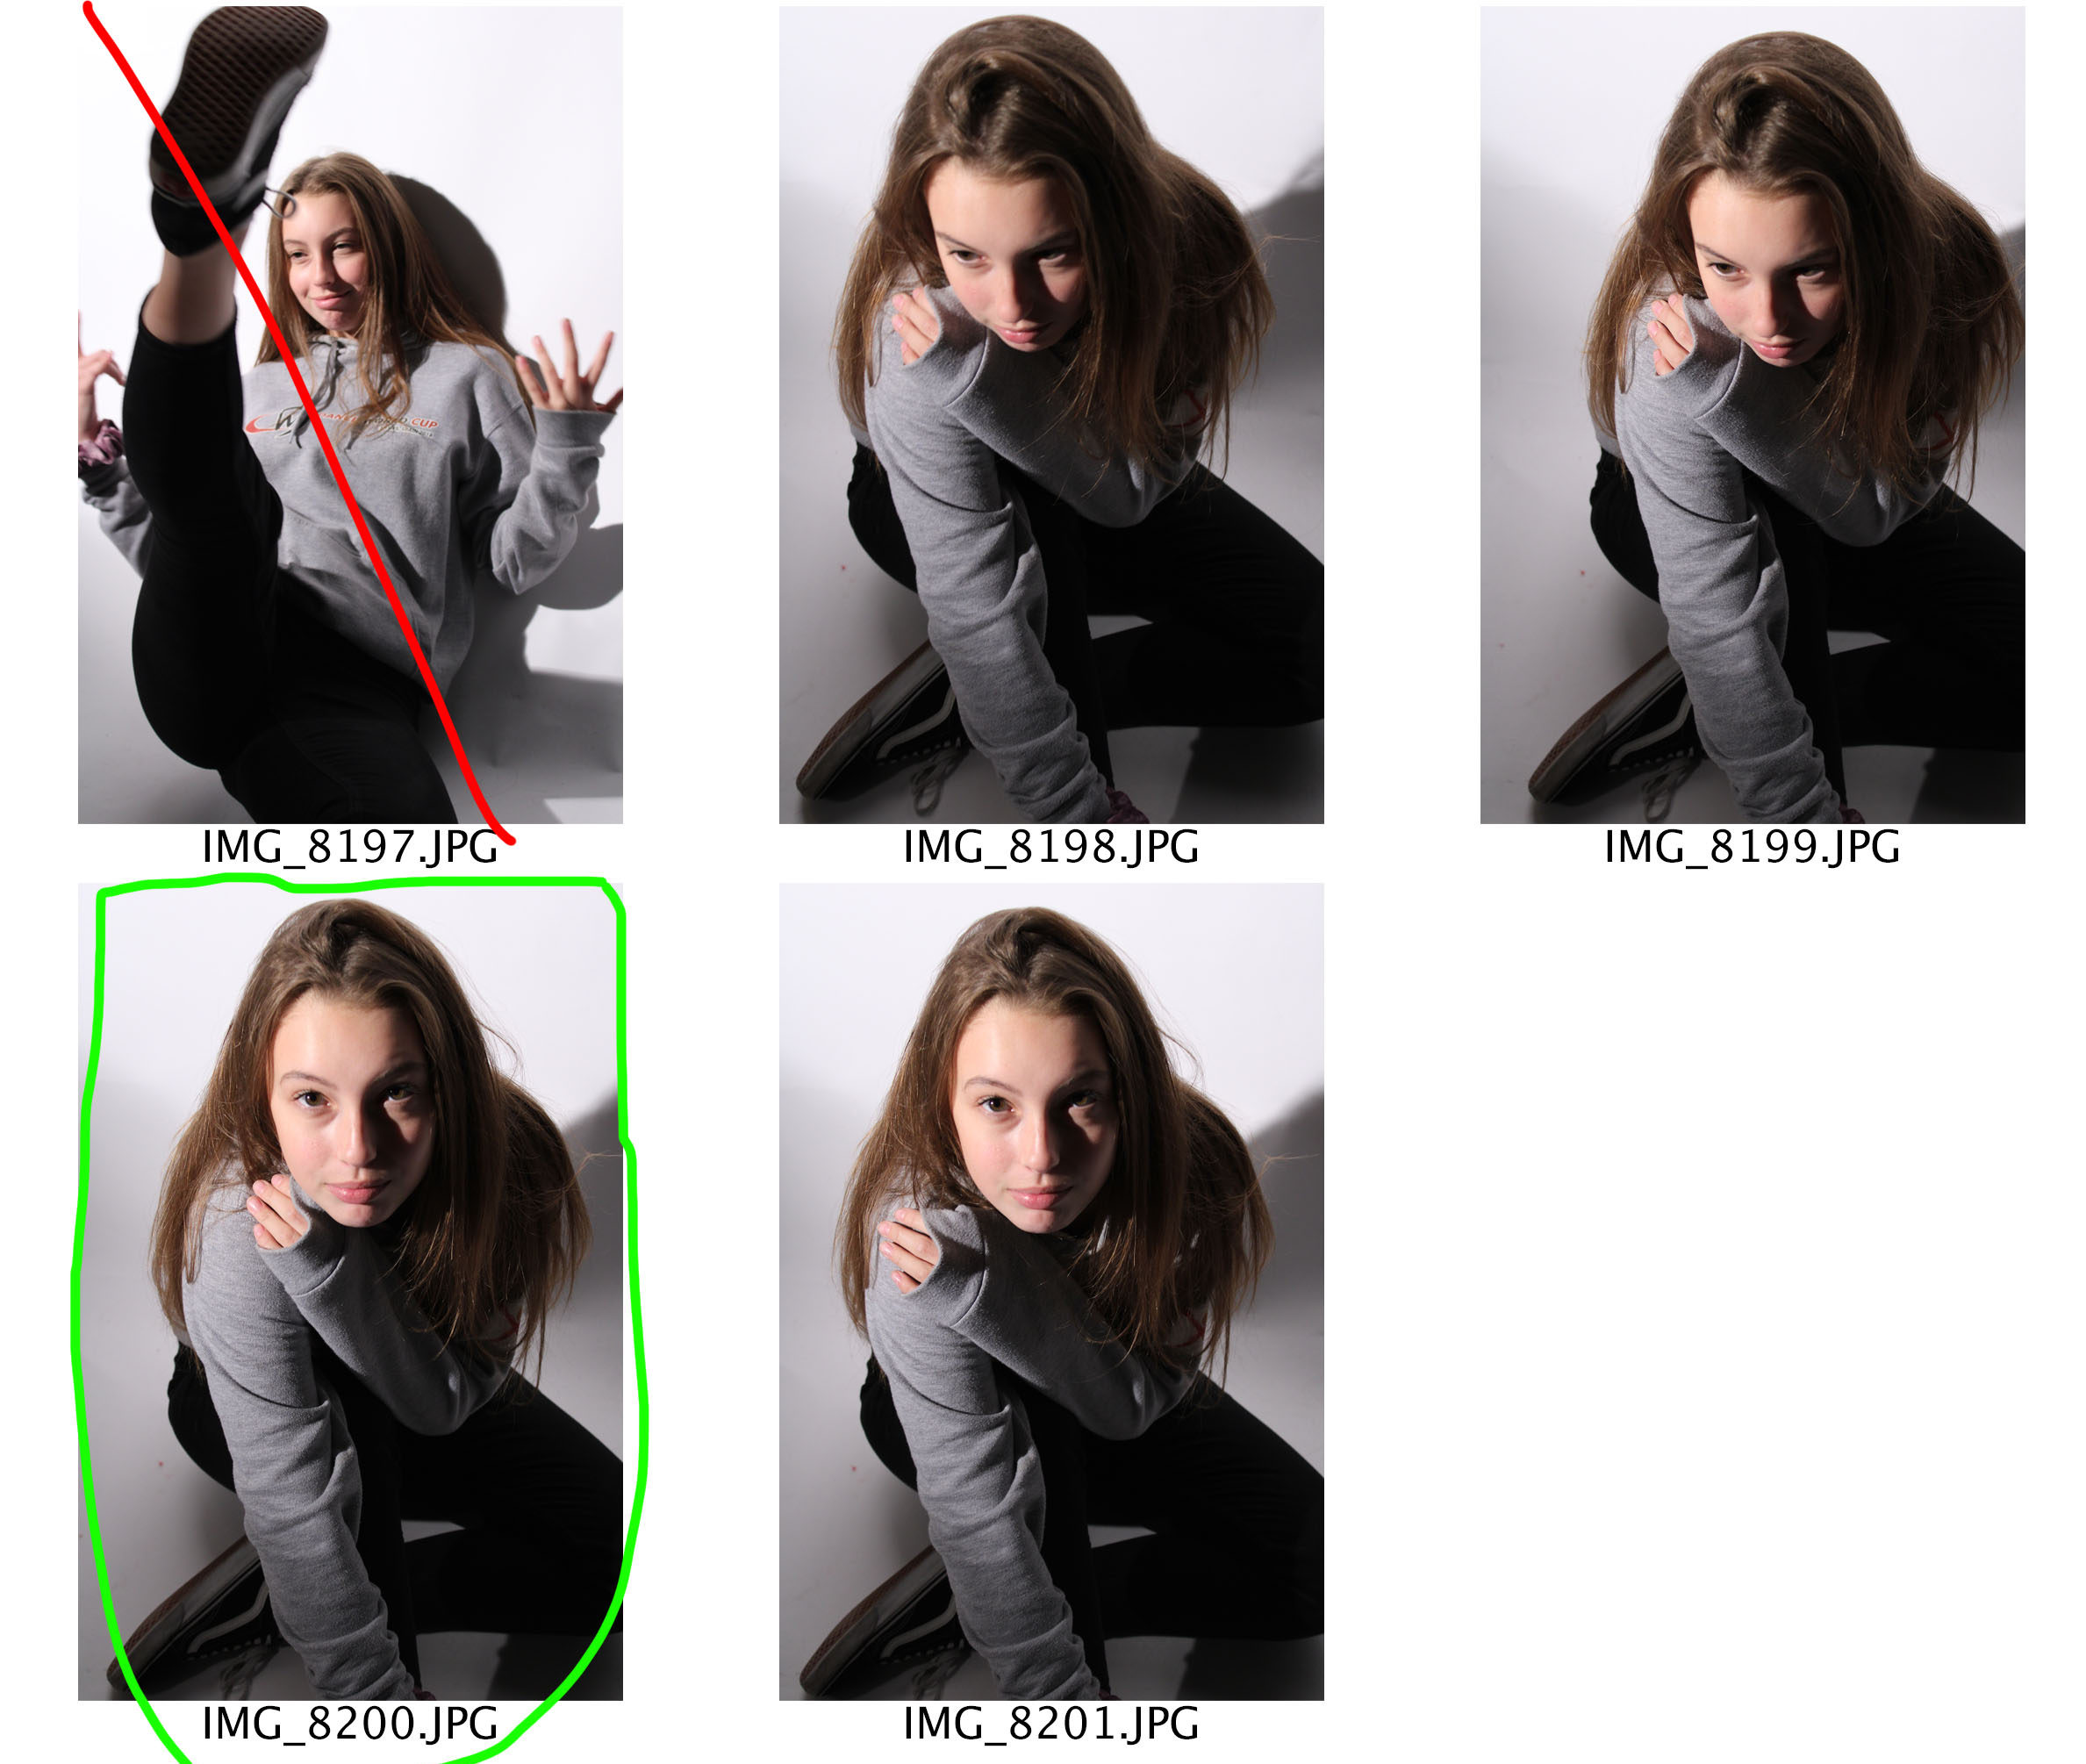
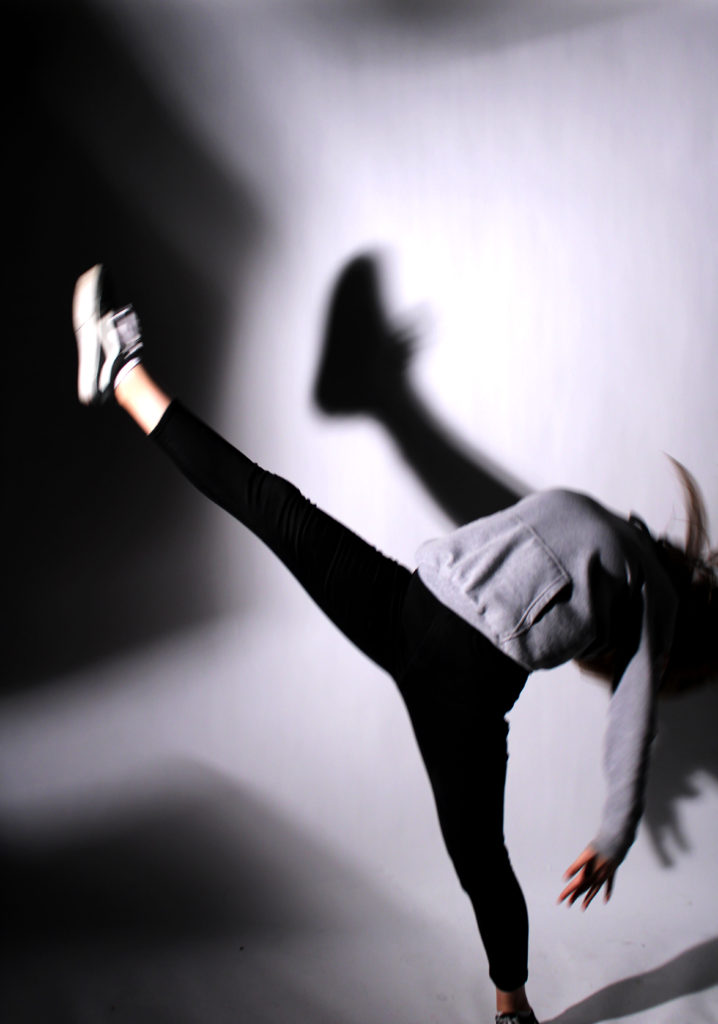
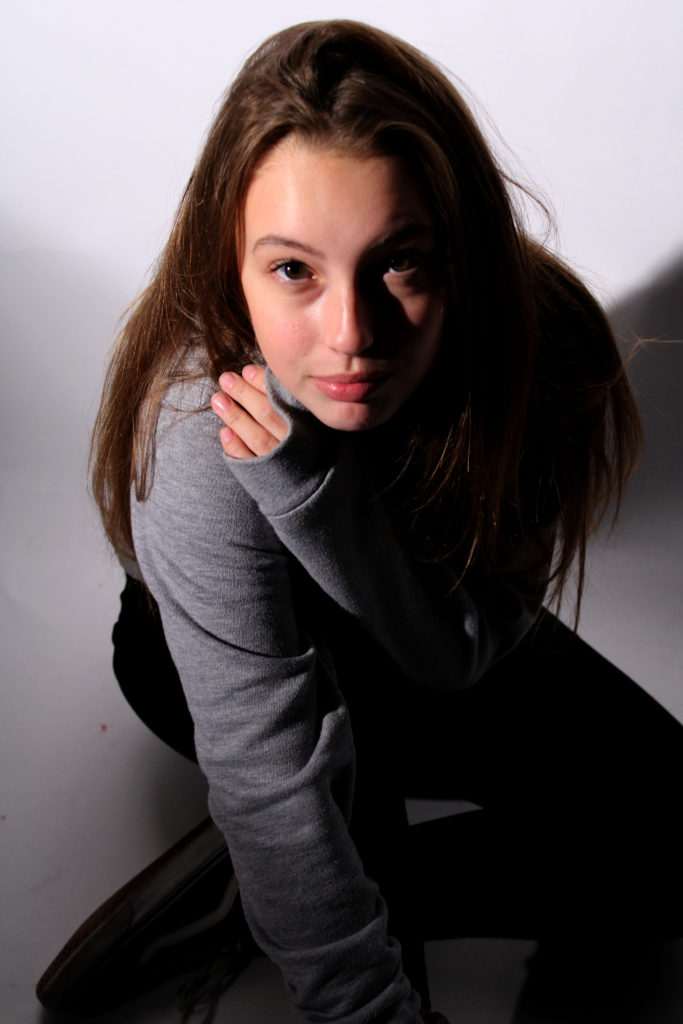
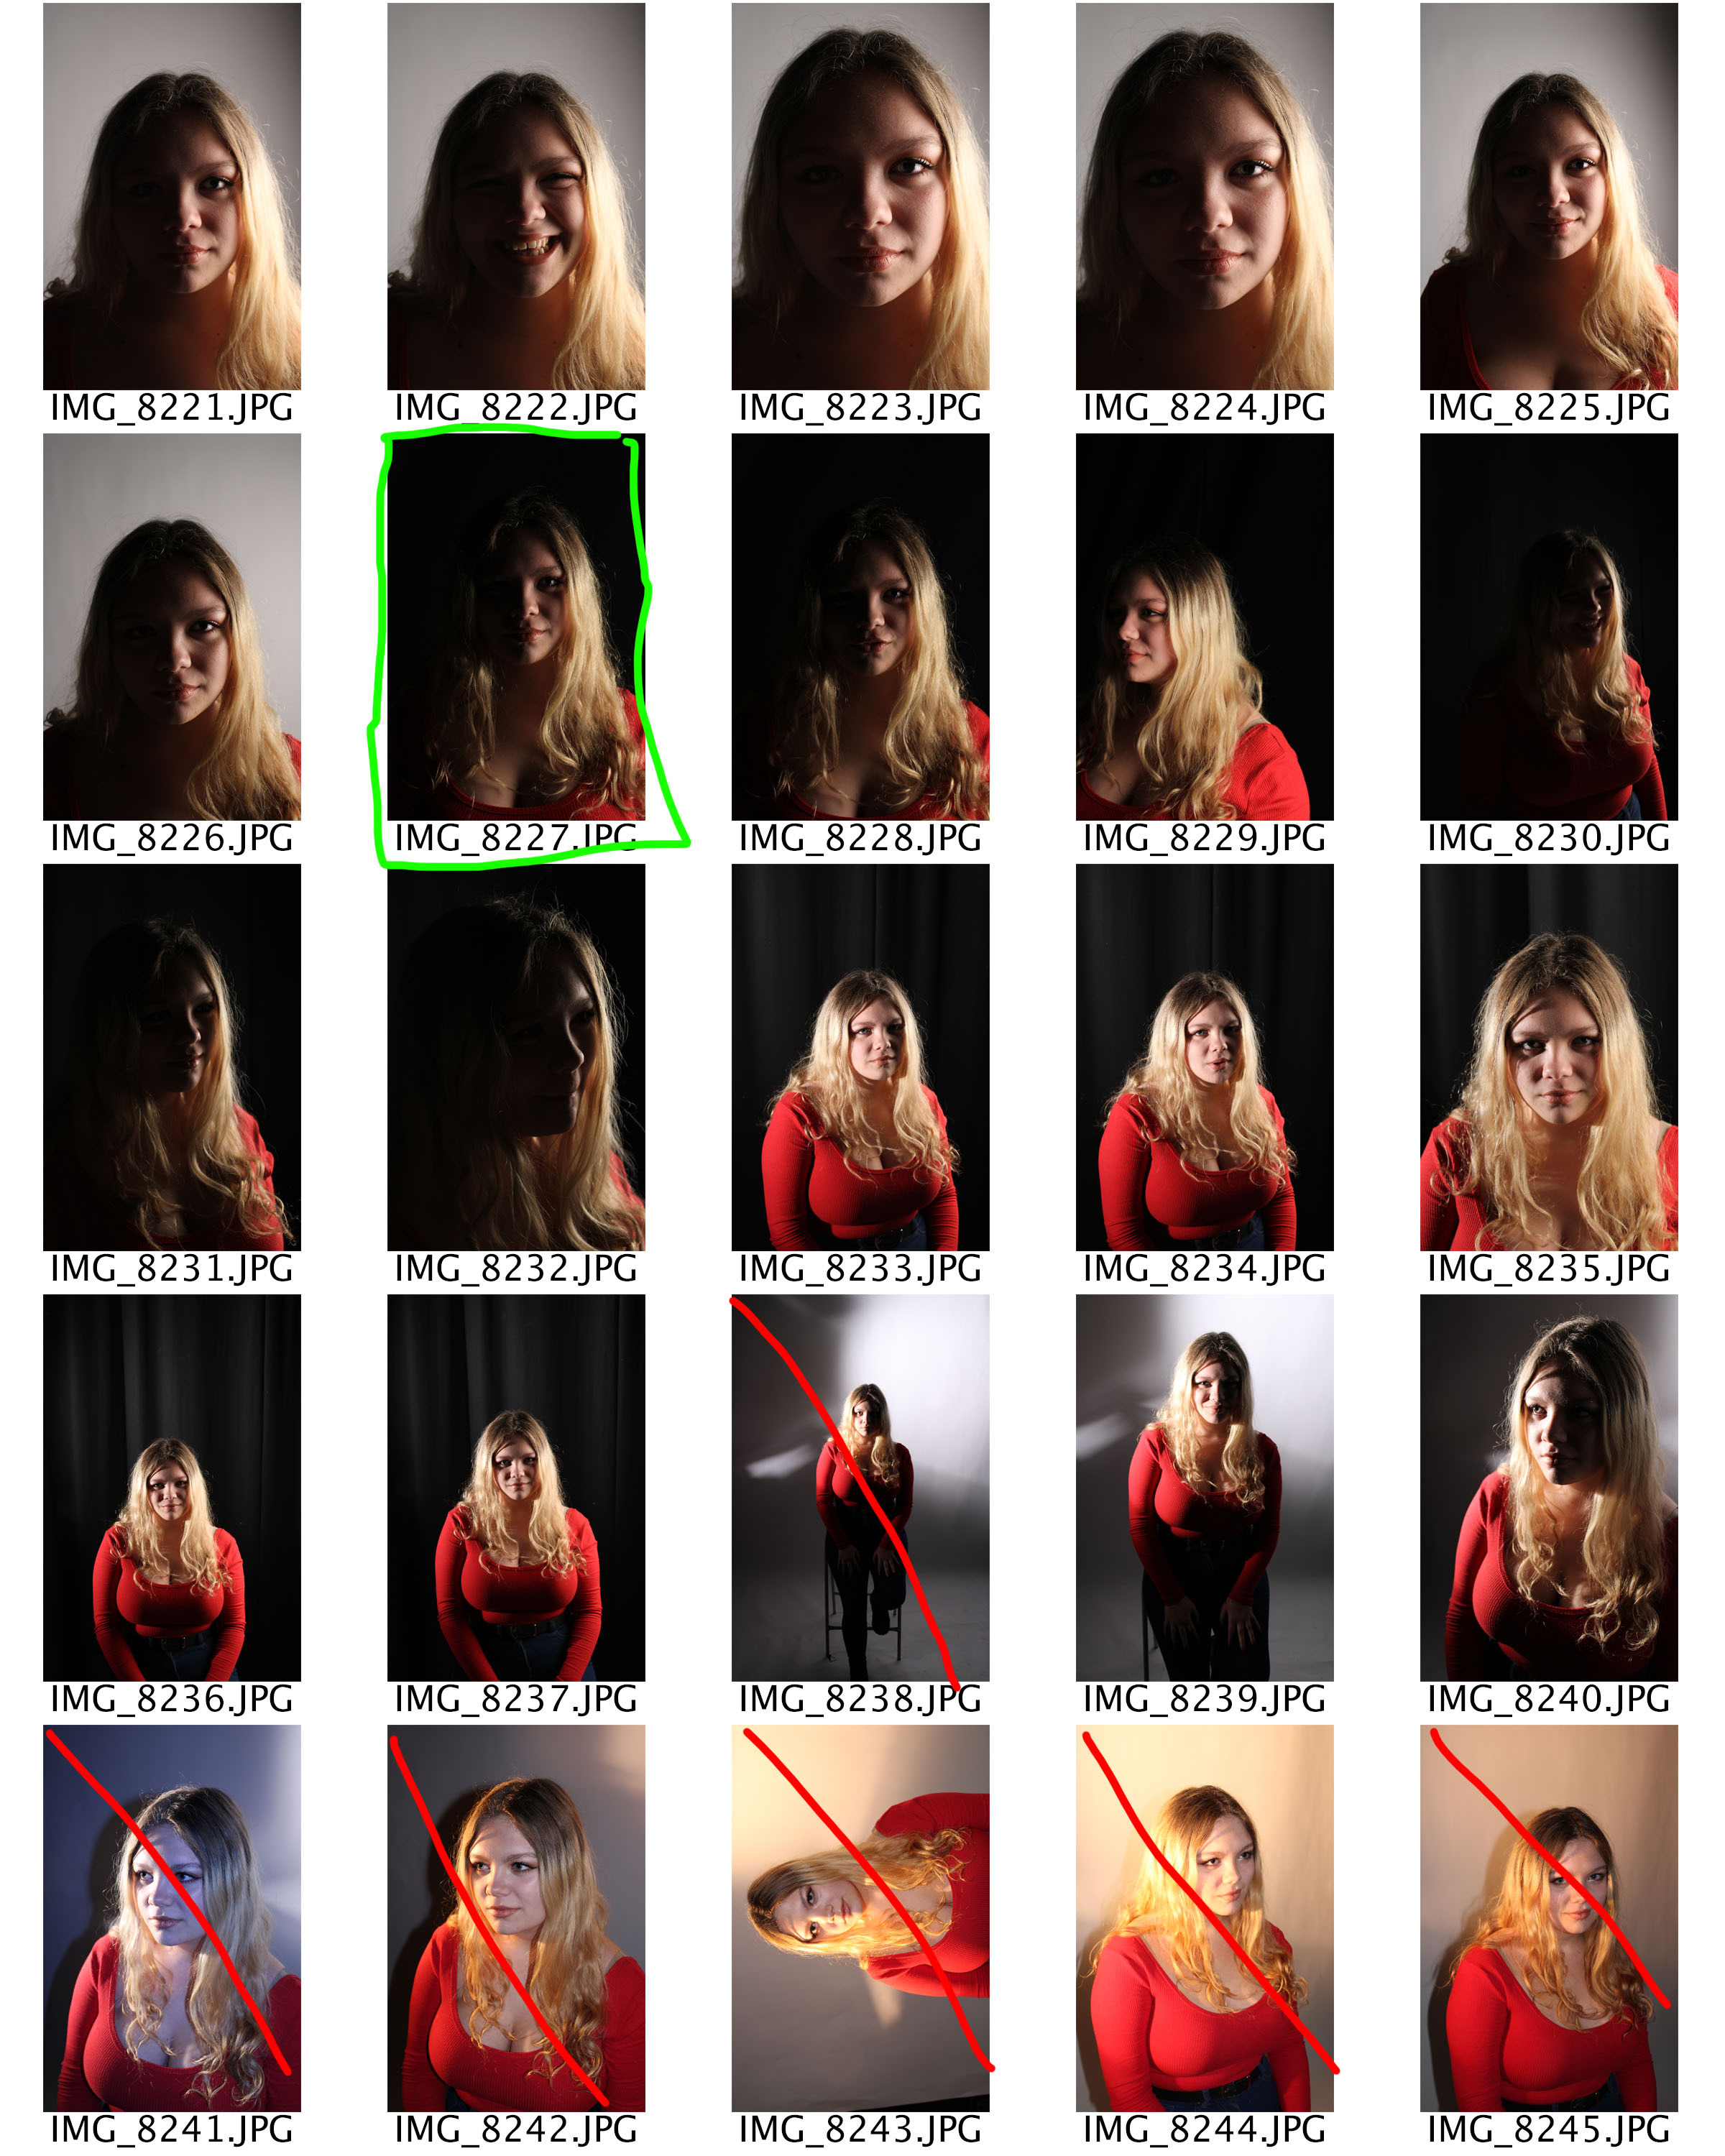
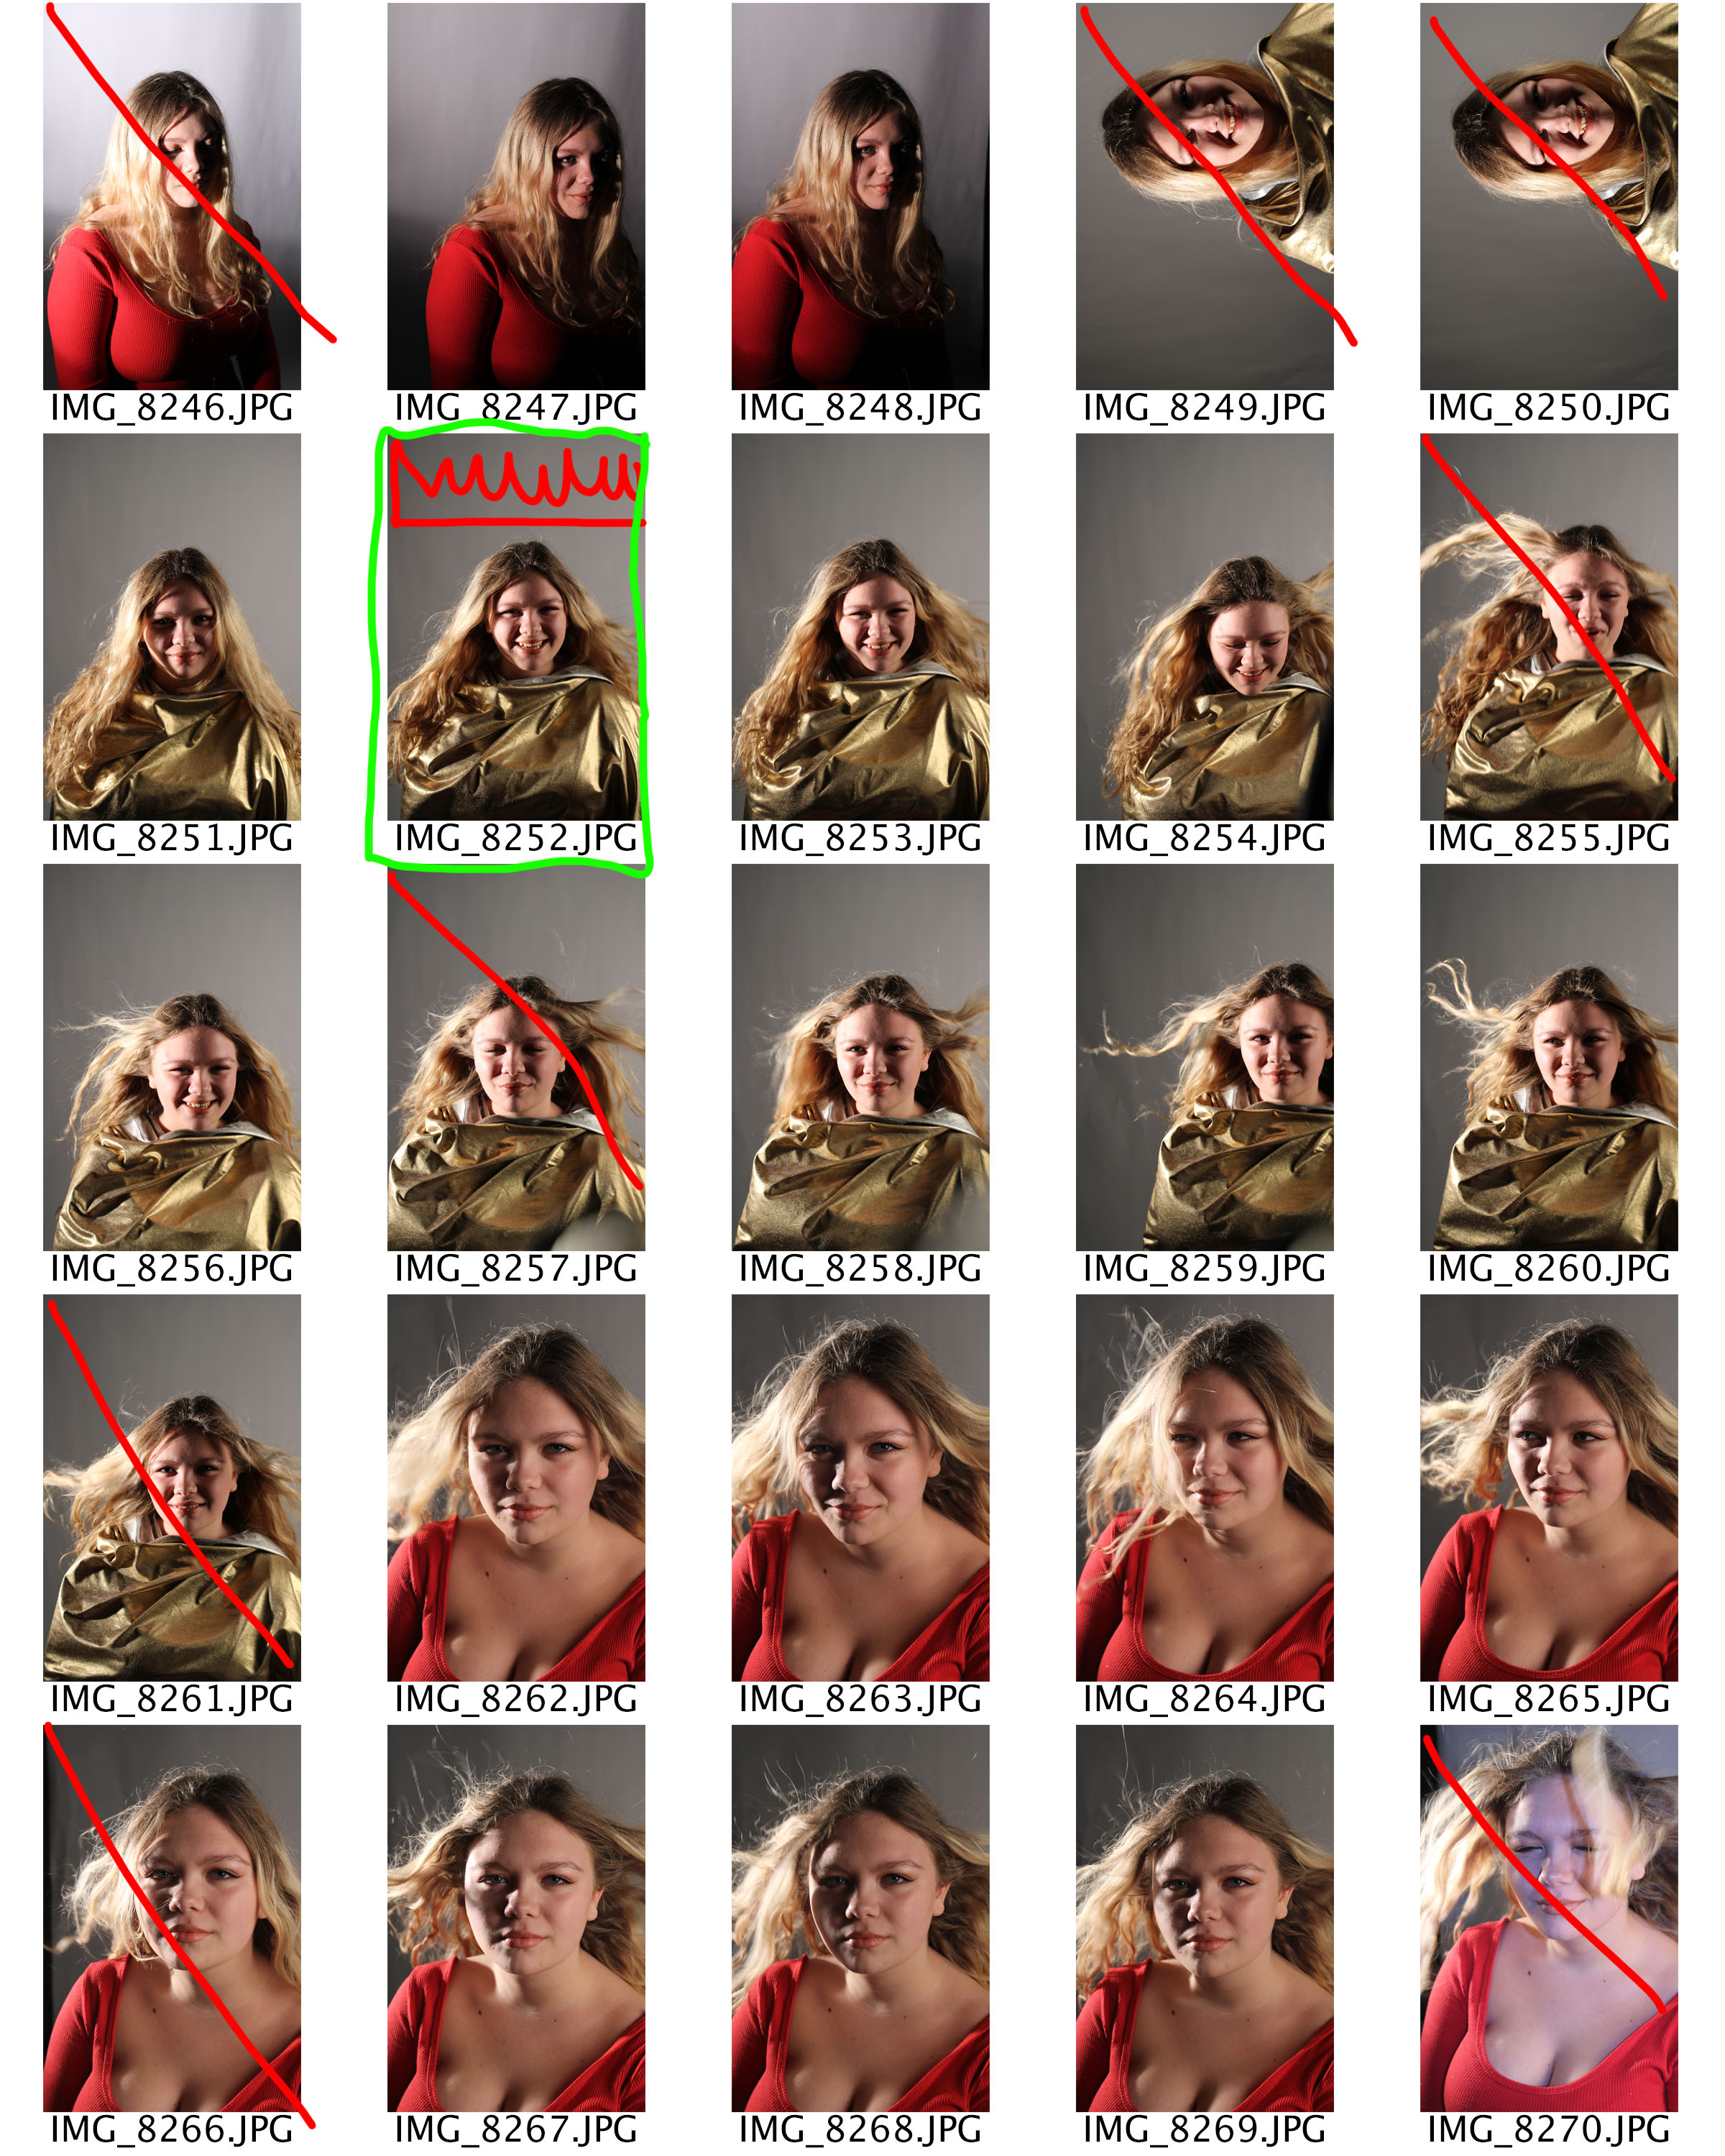
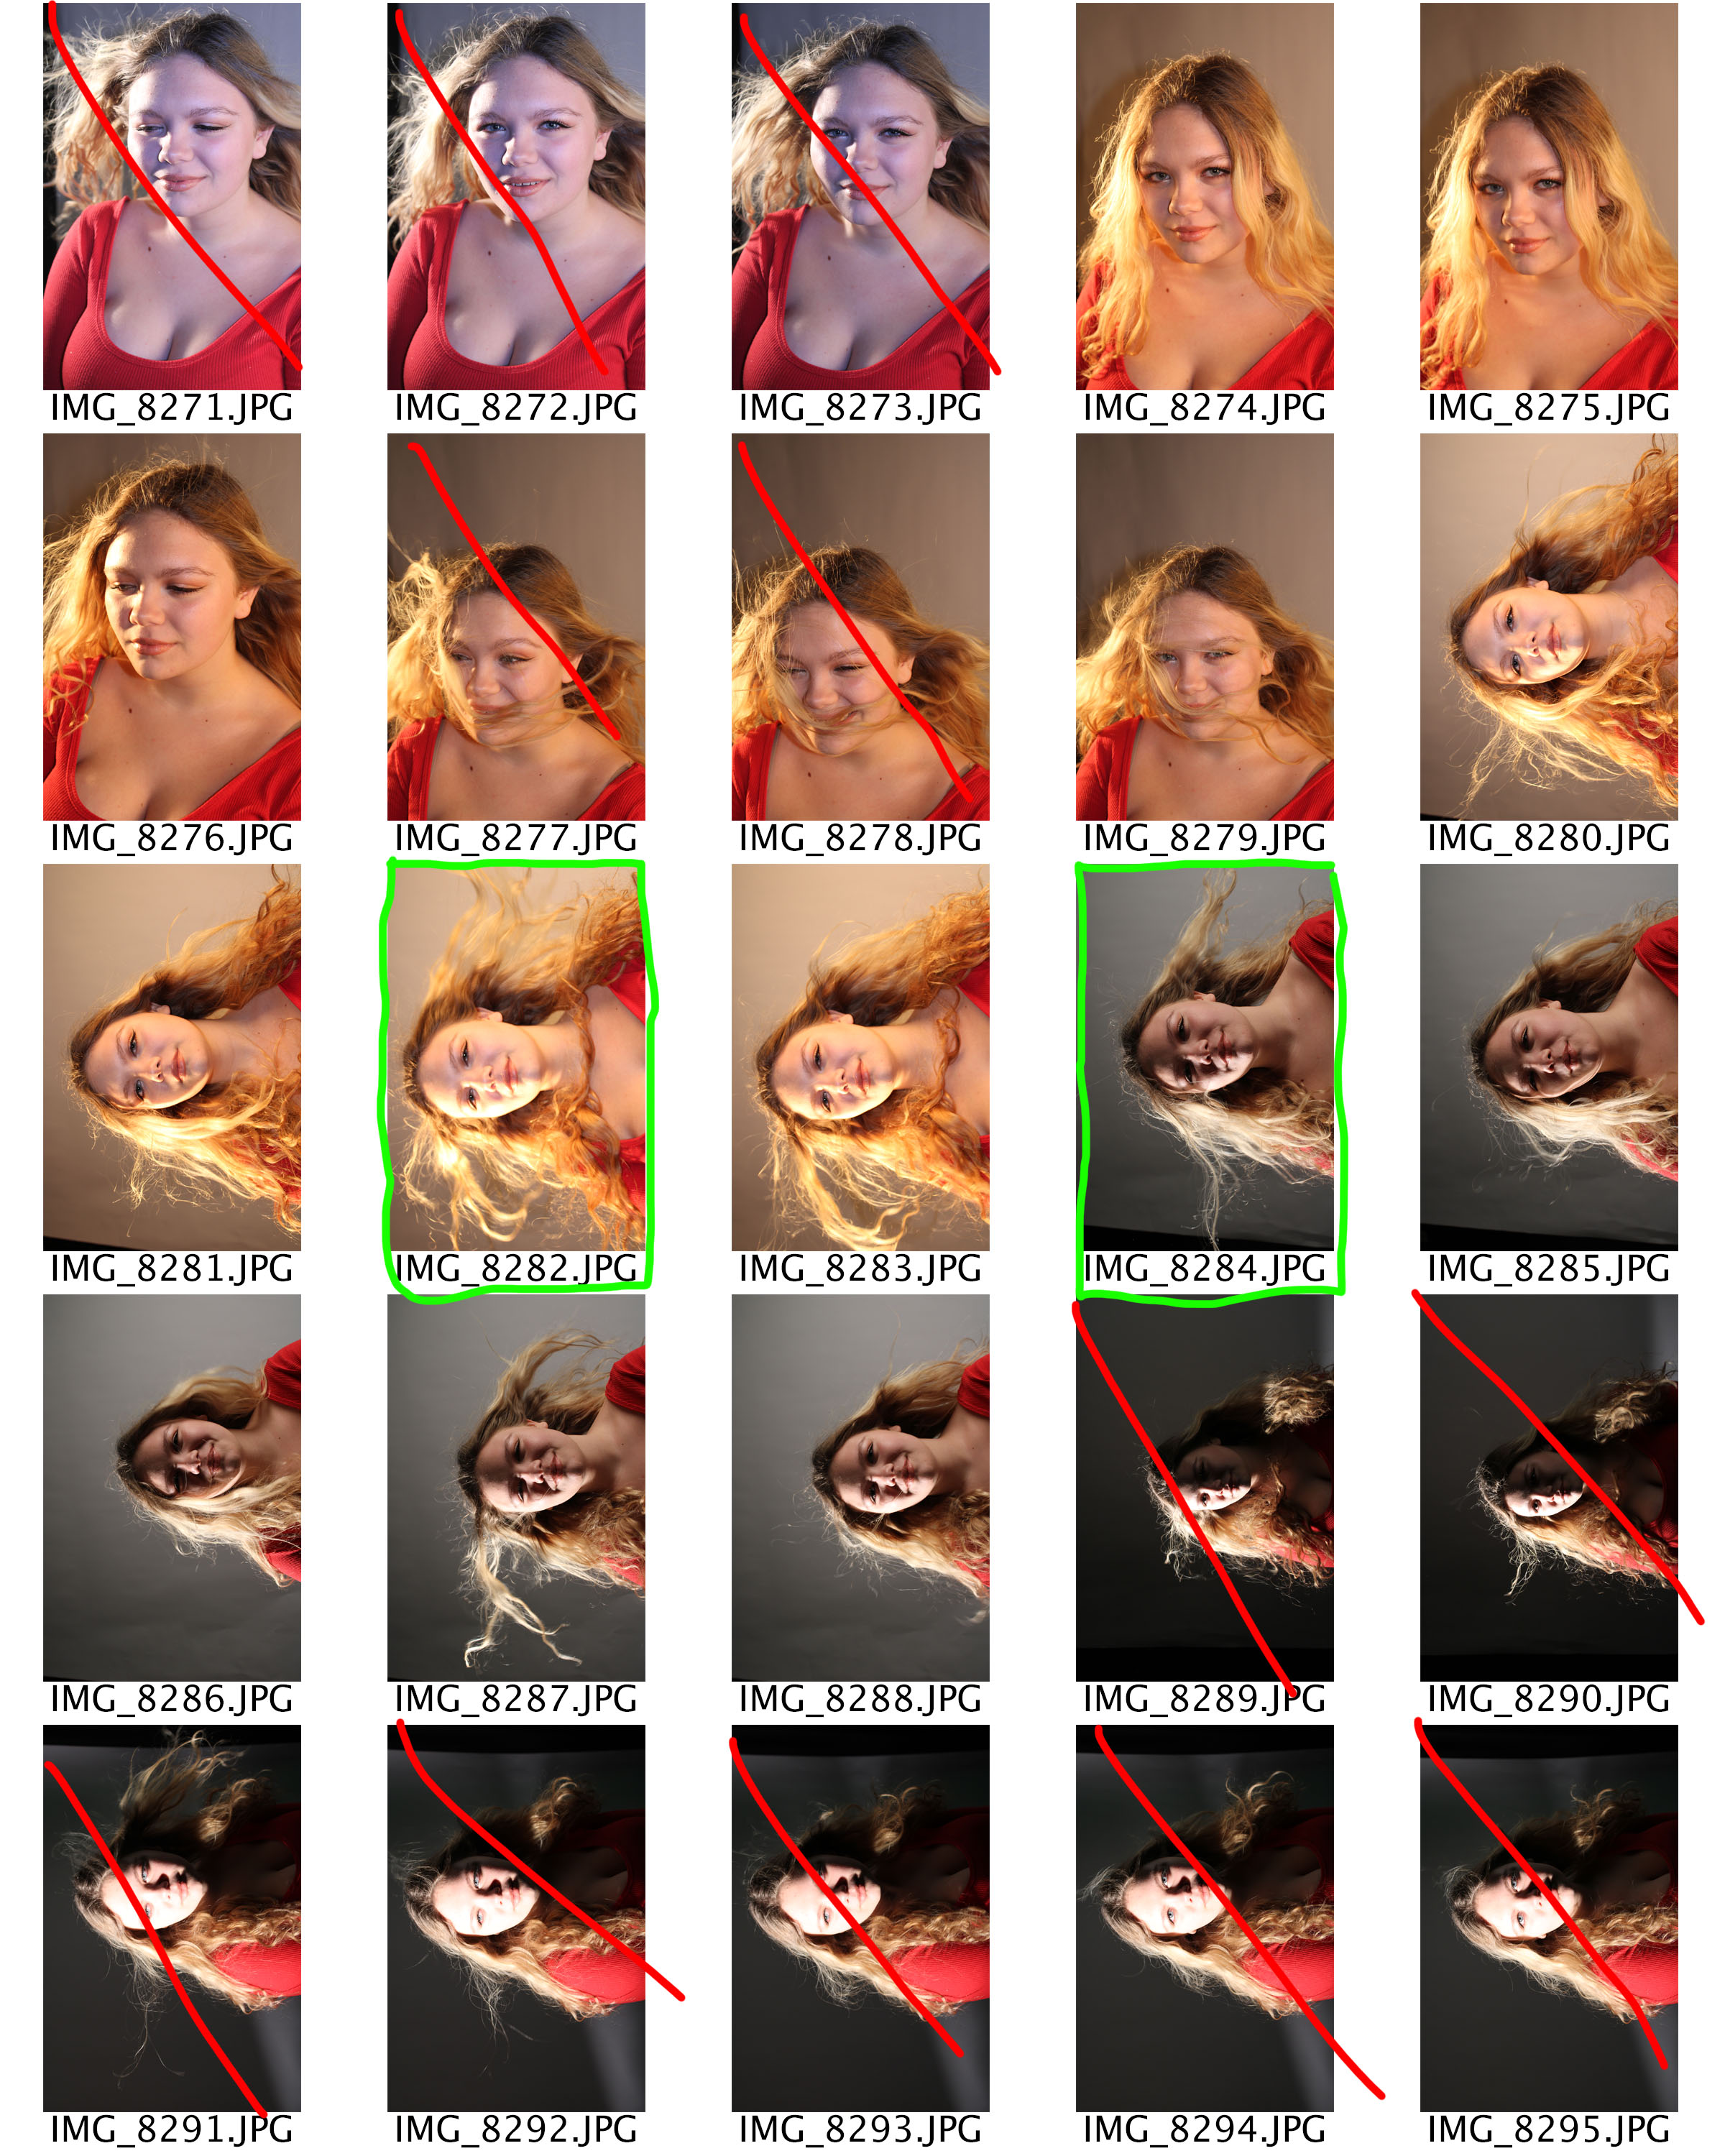
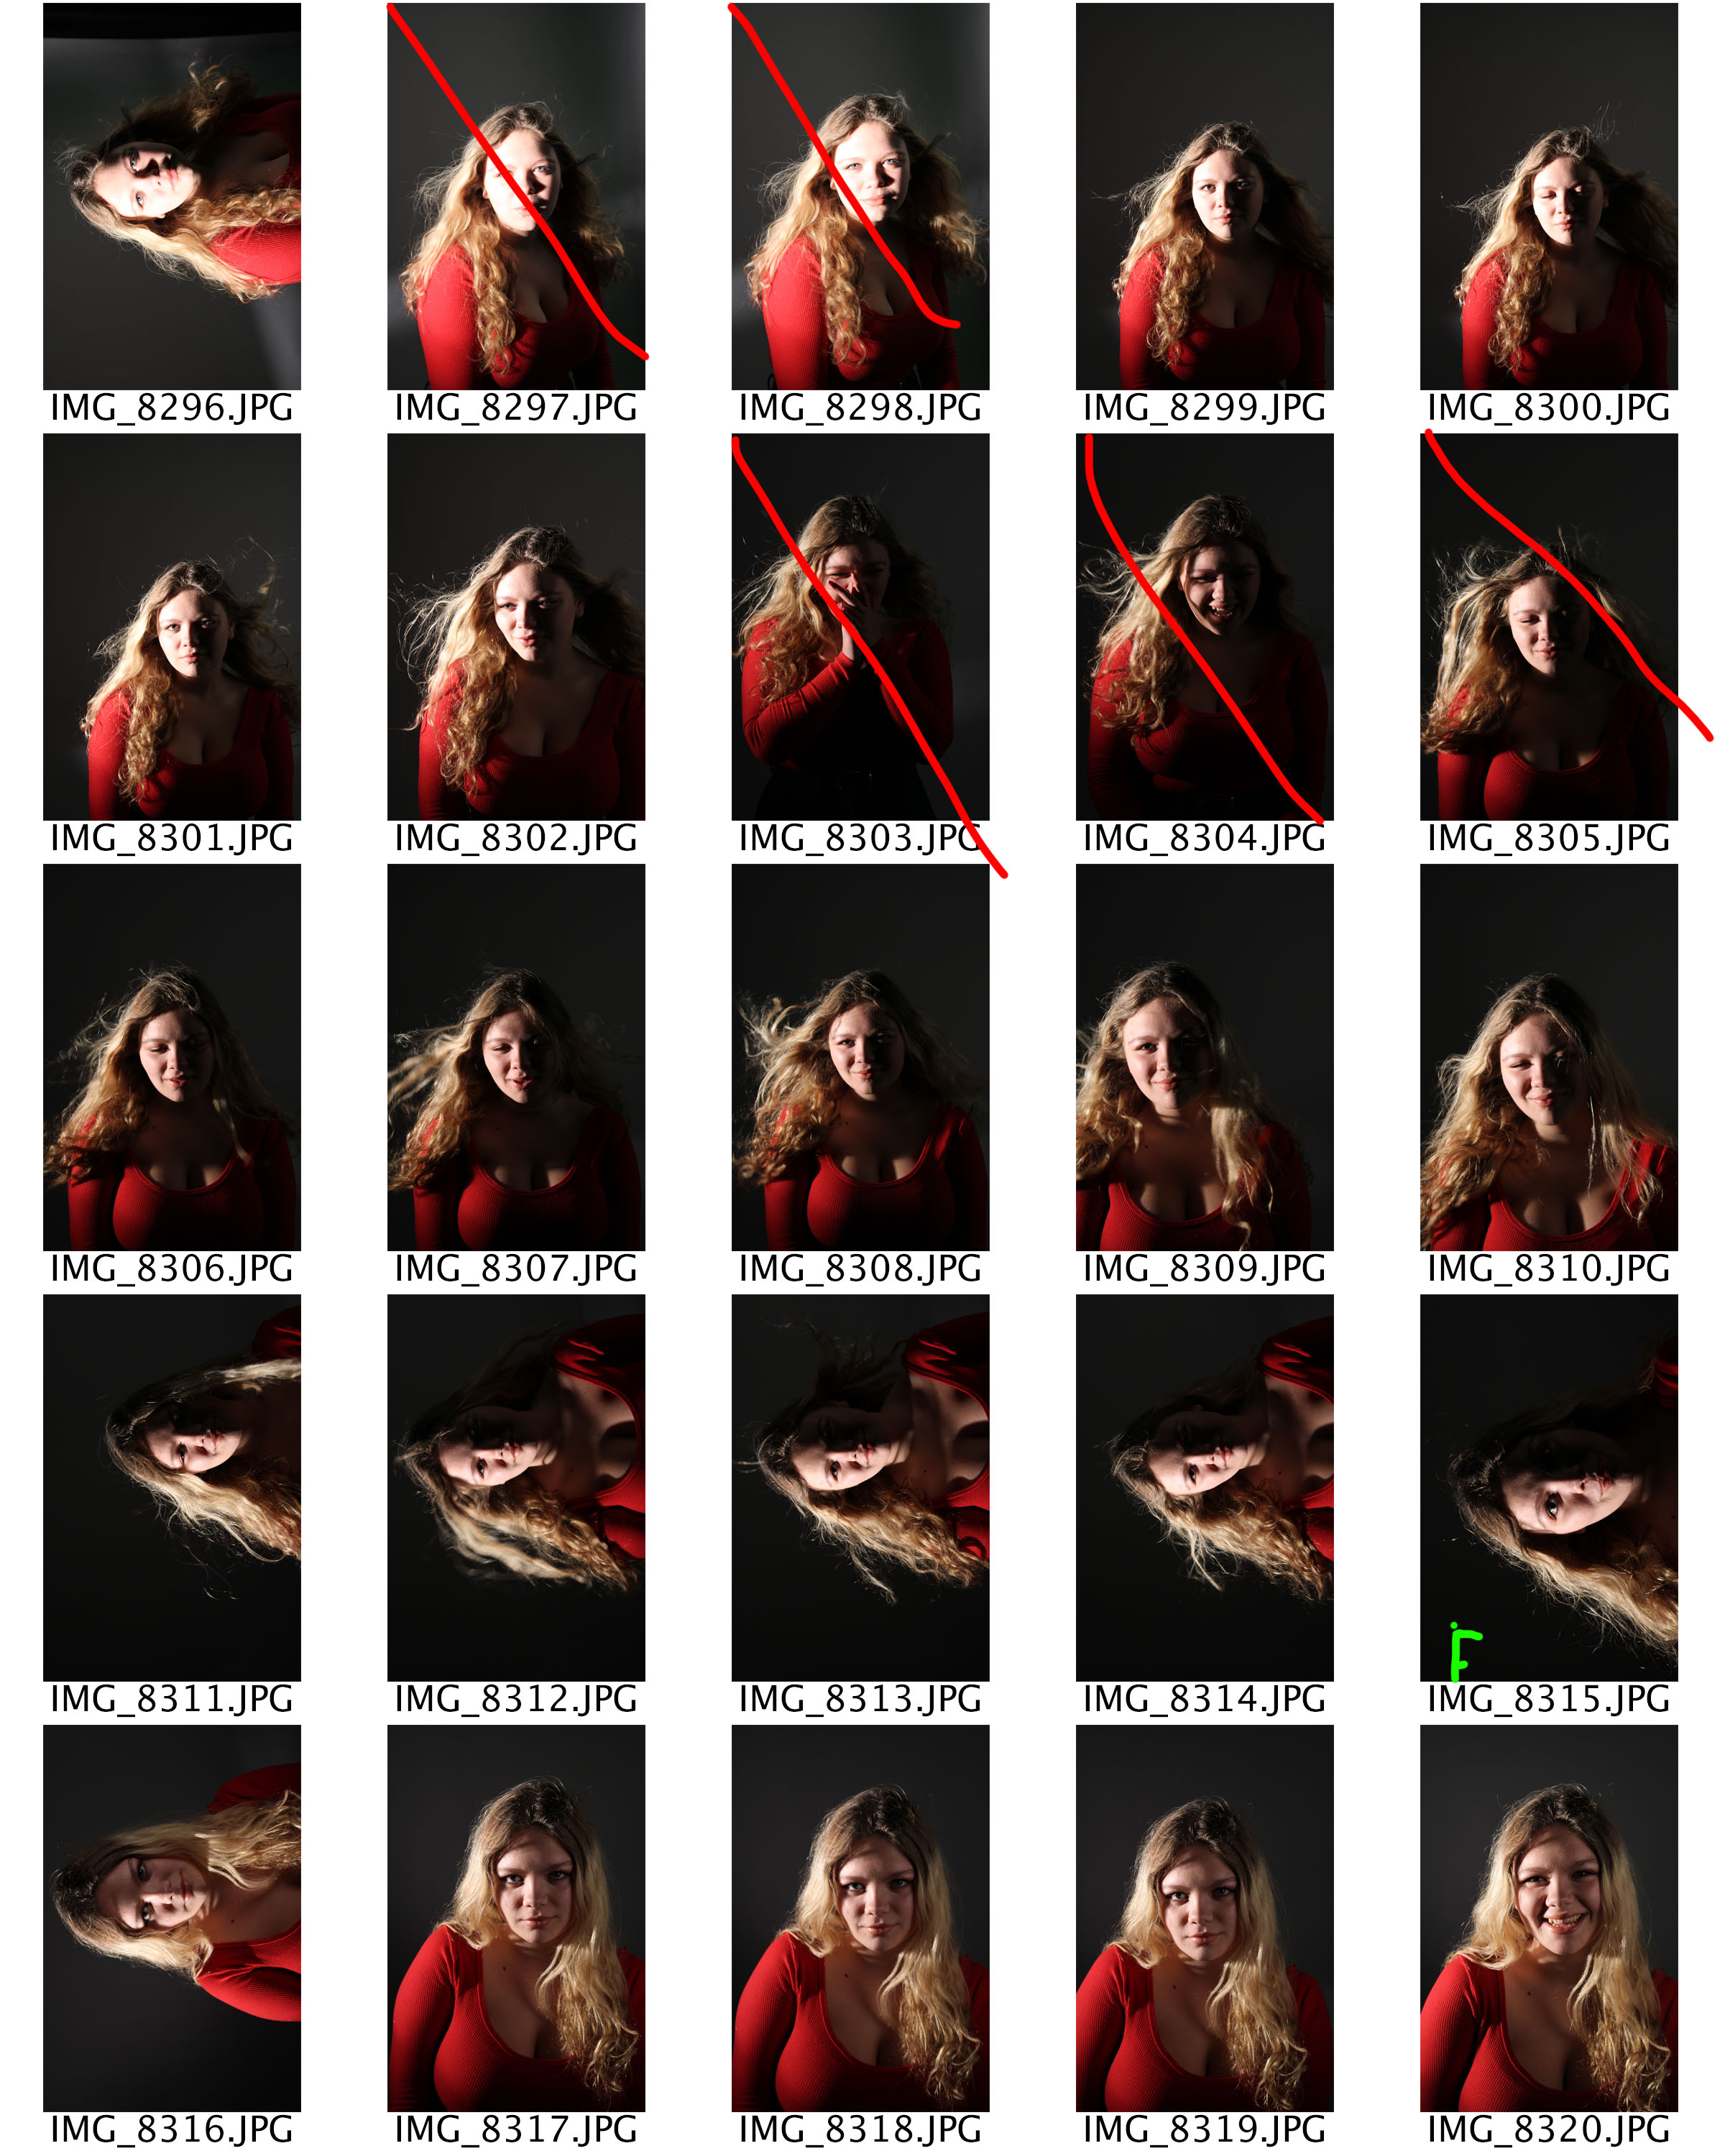
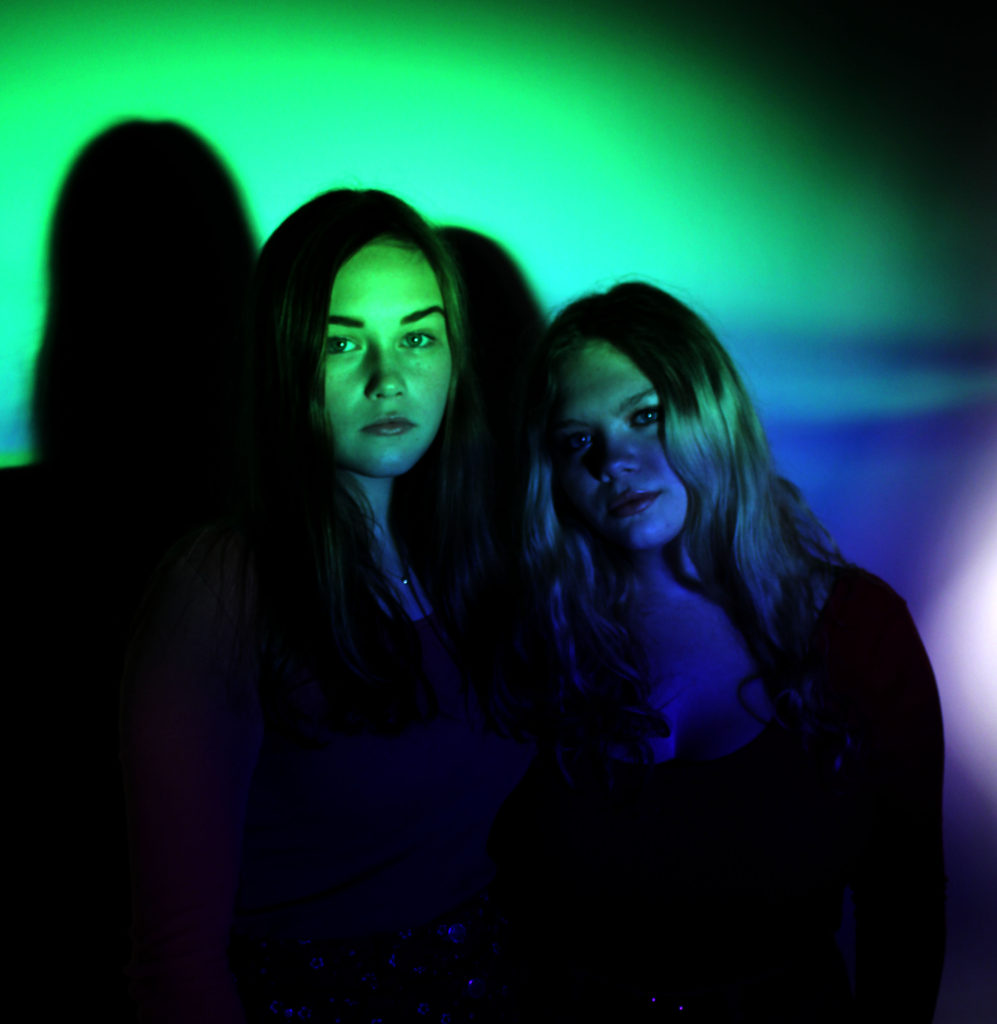
Favourite Outcomes from the Experimentation

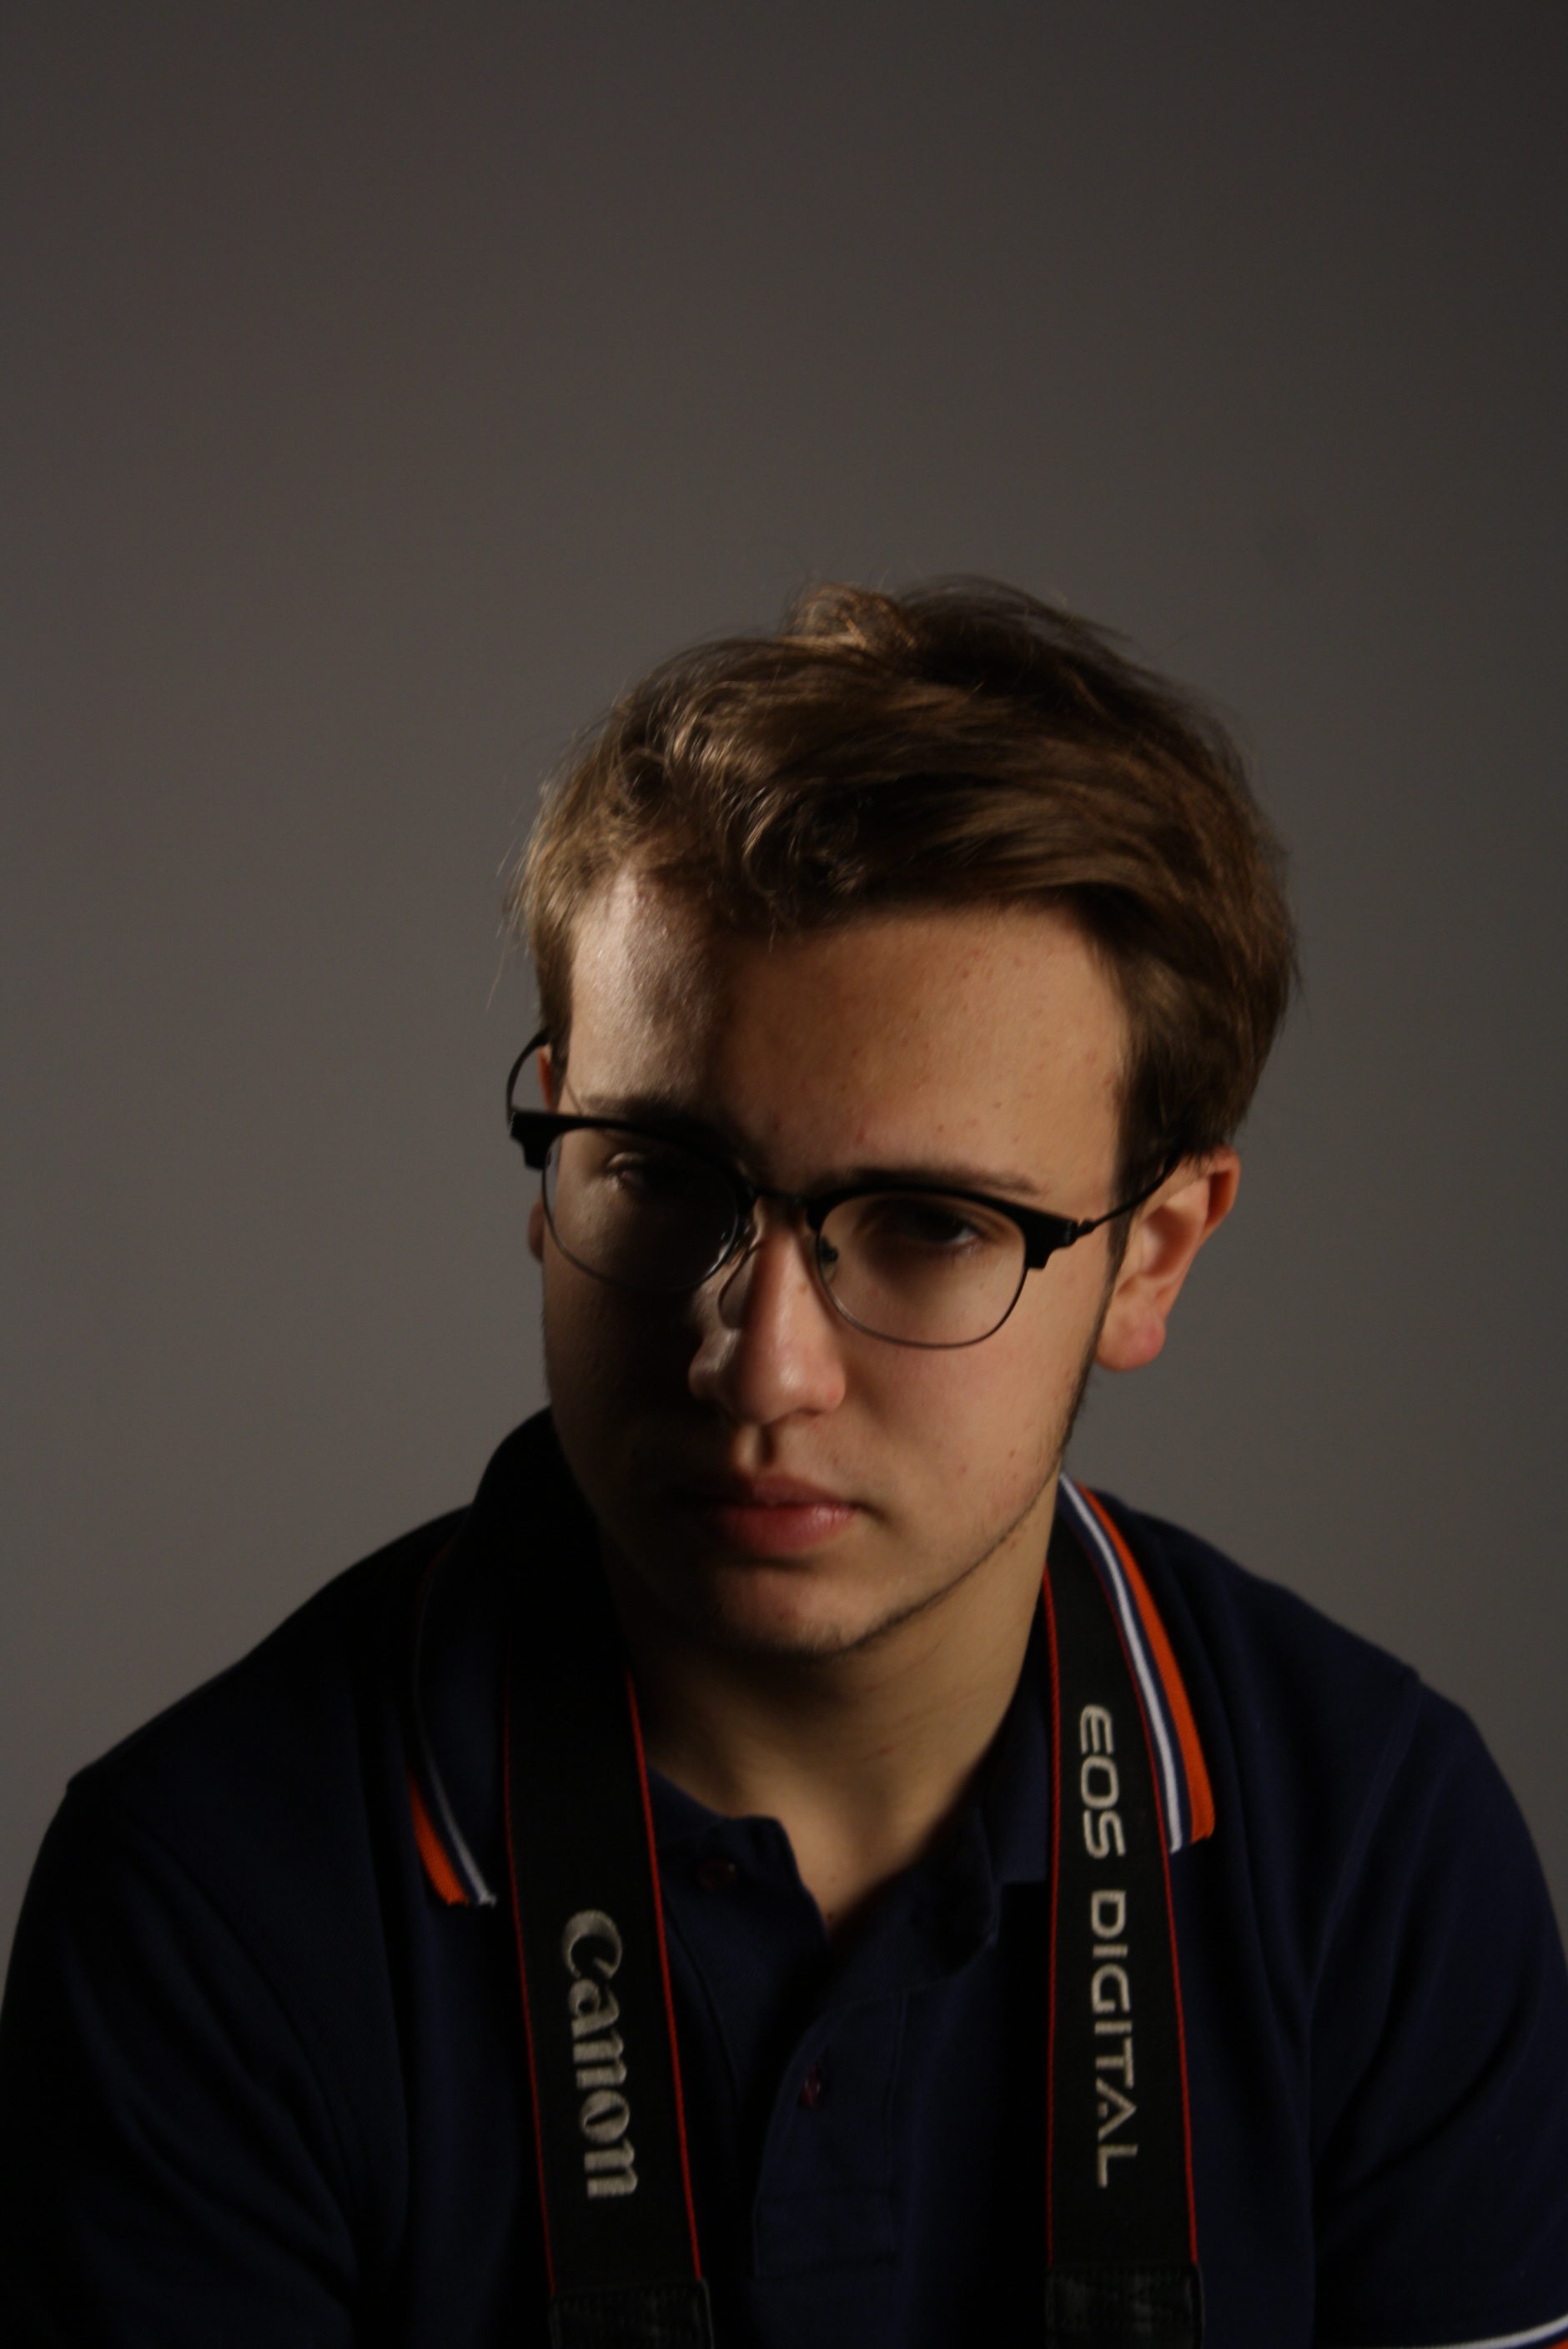
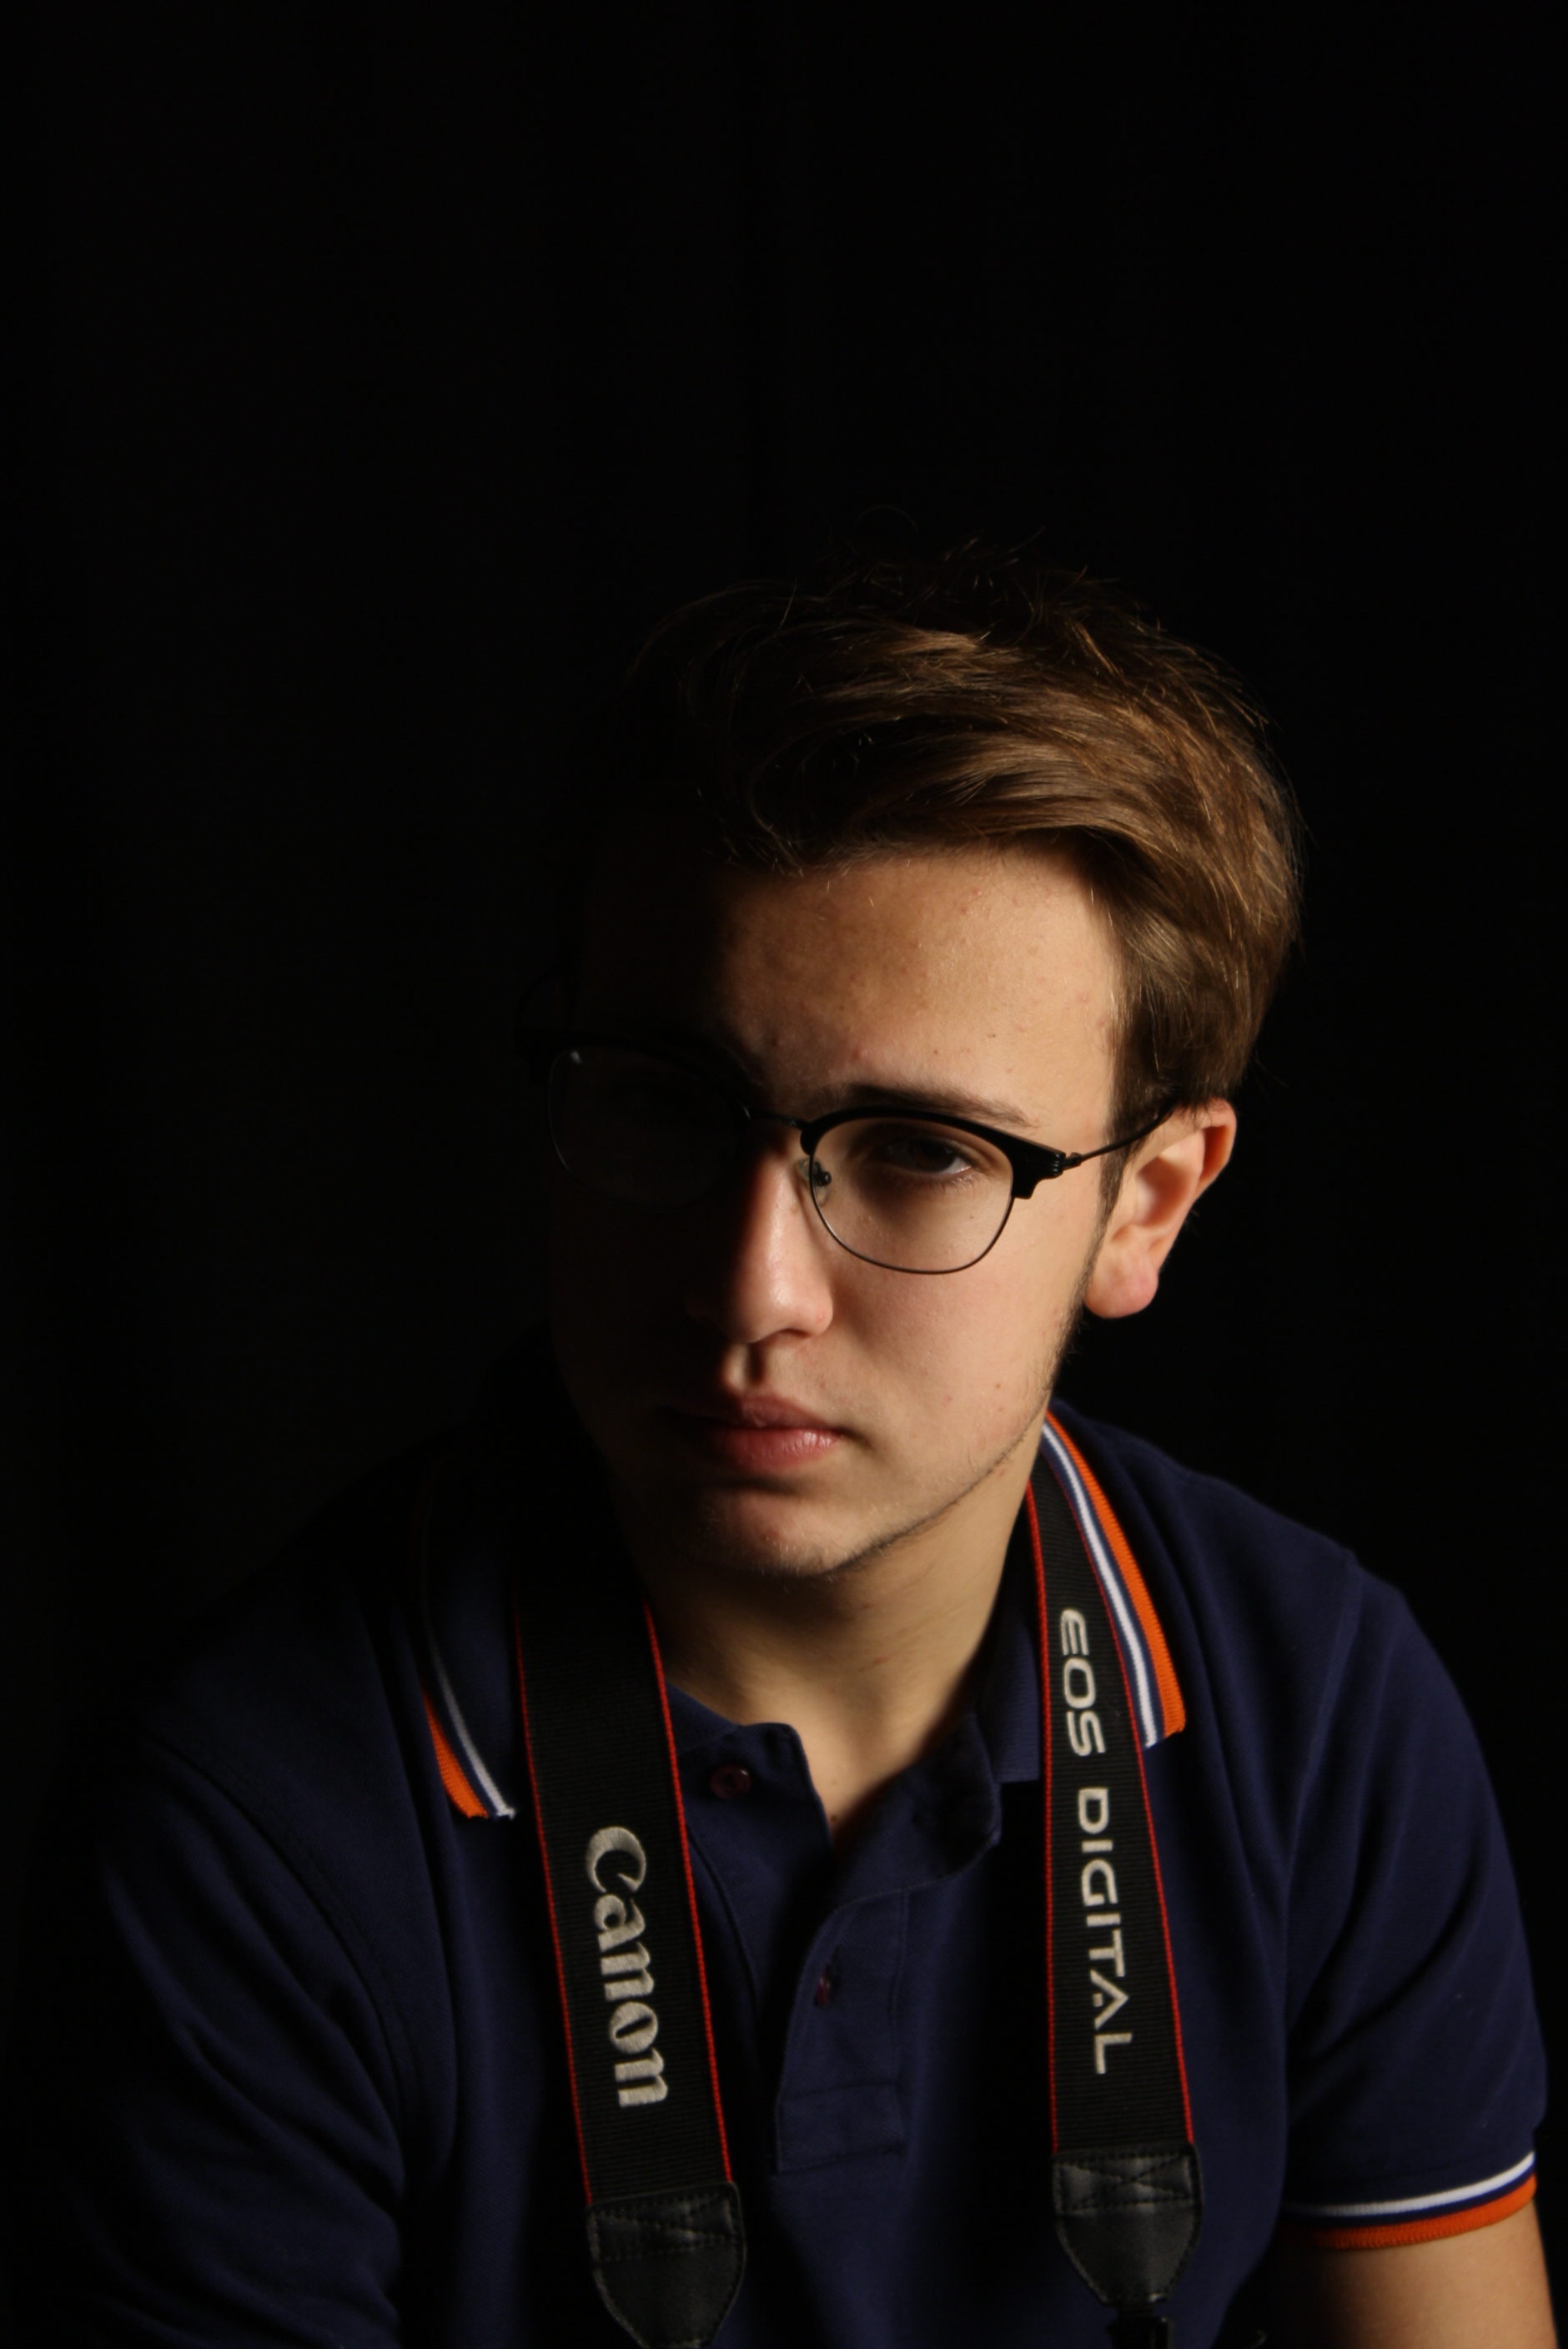
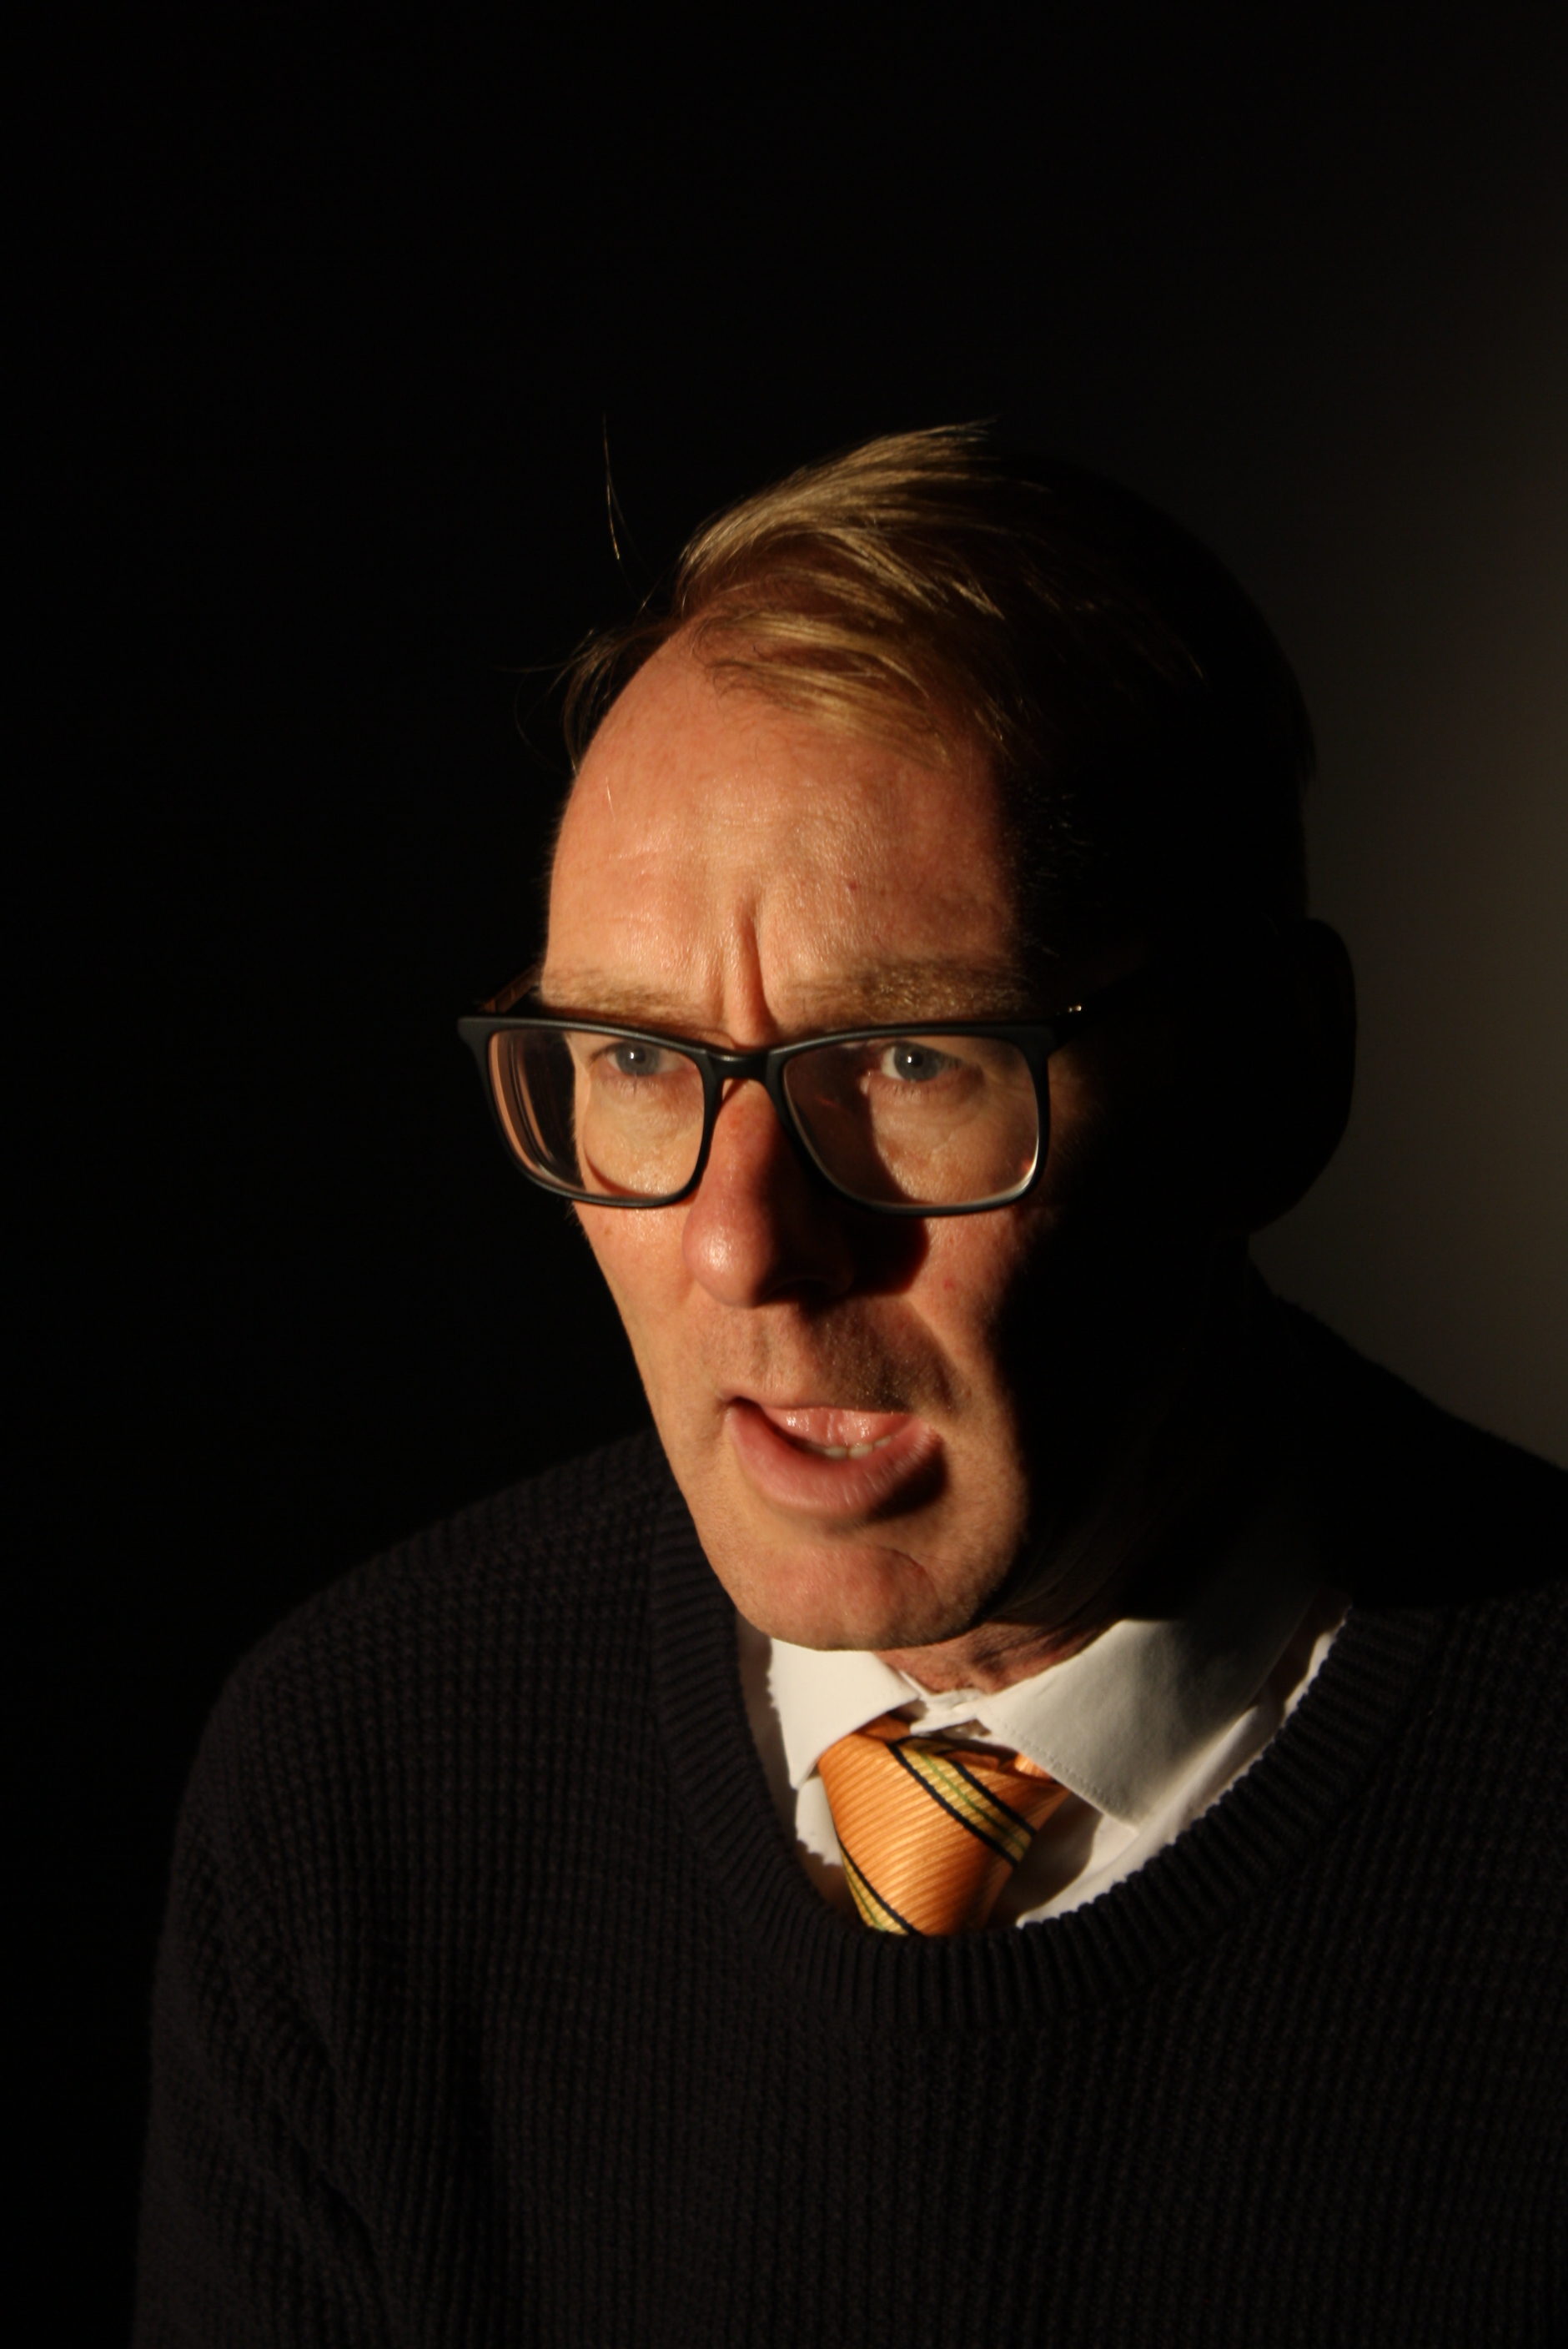

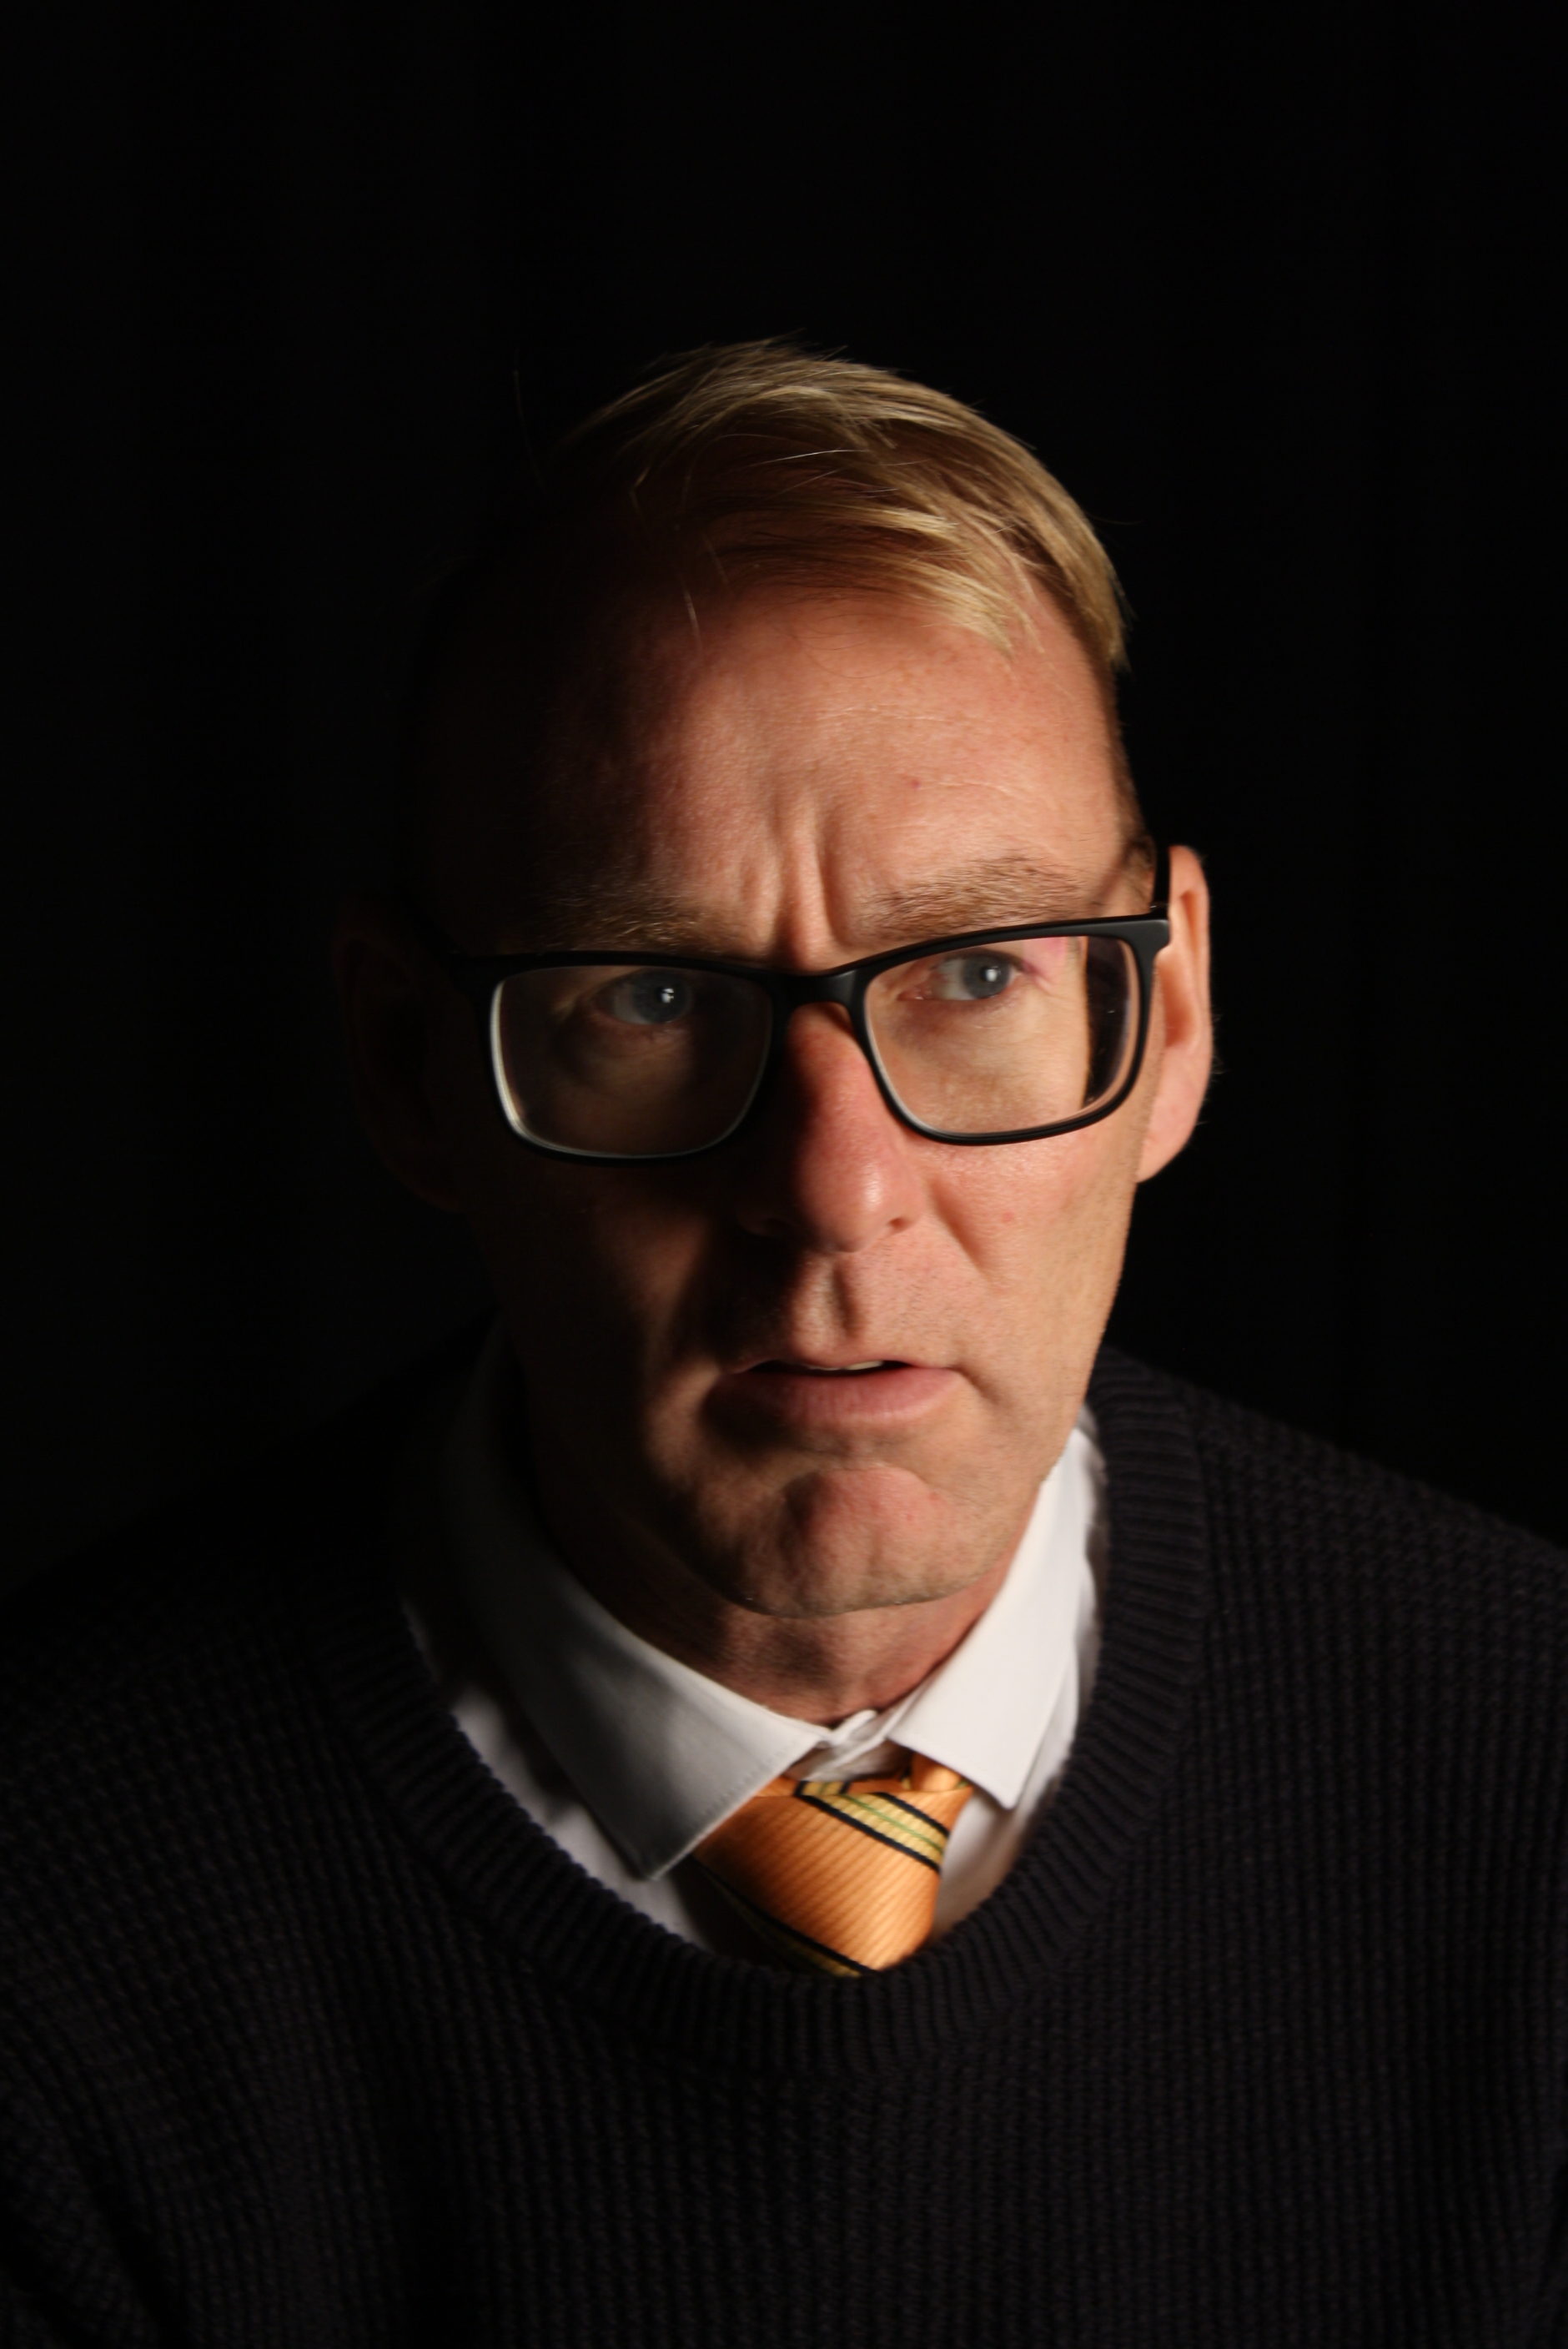
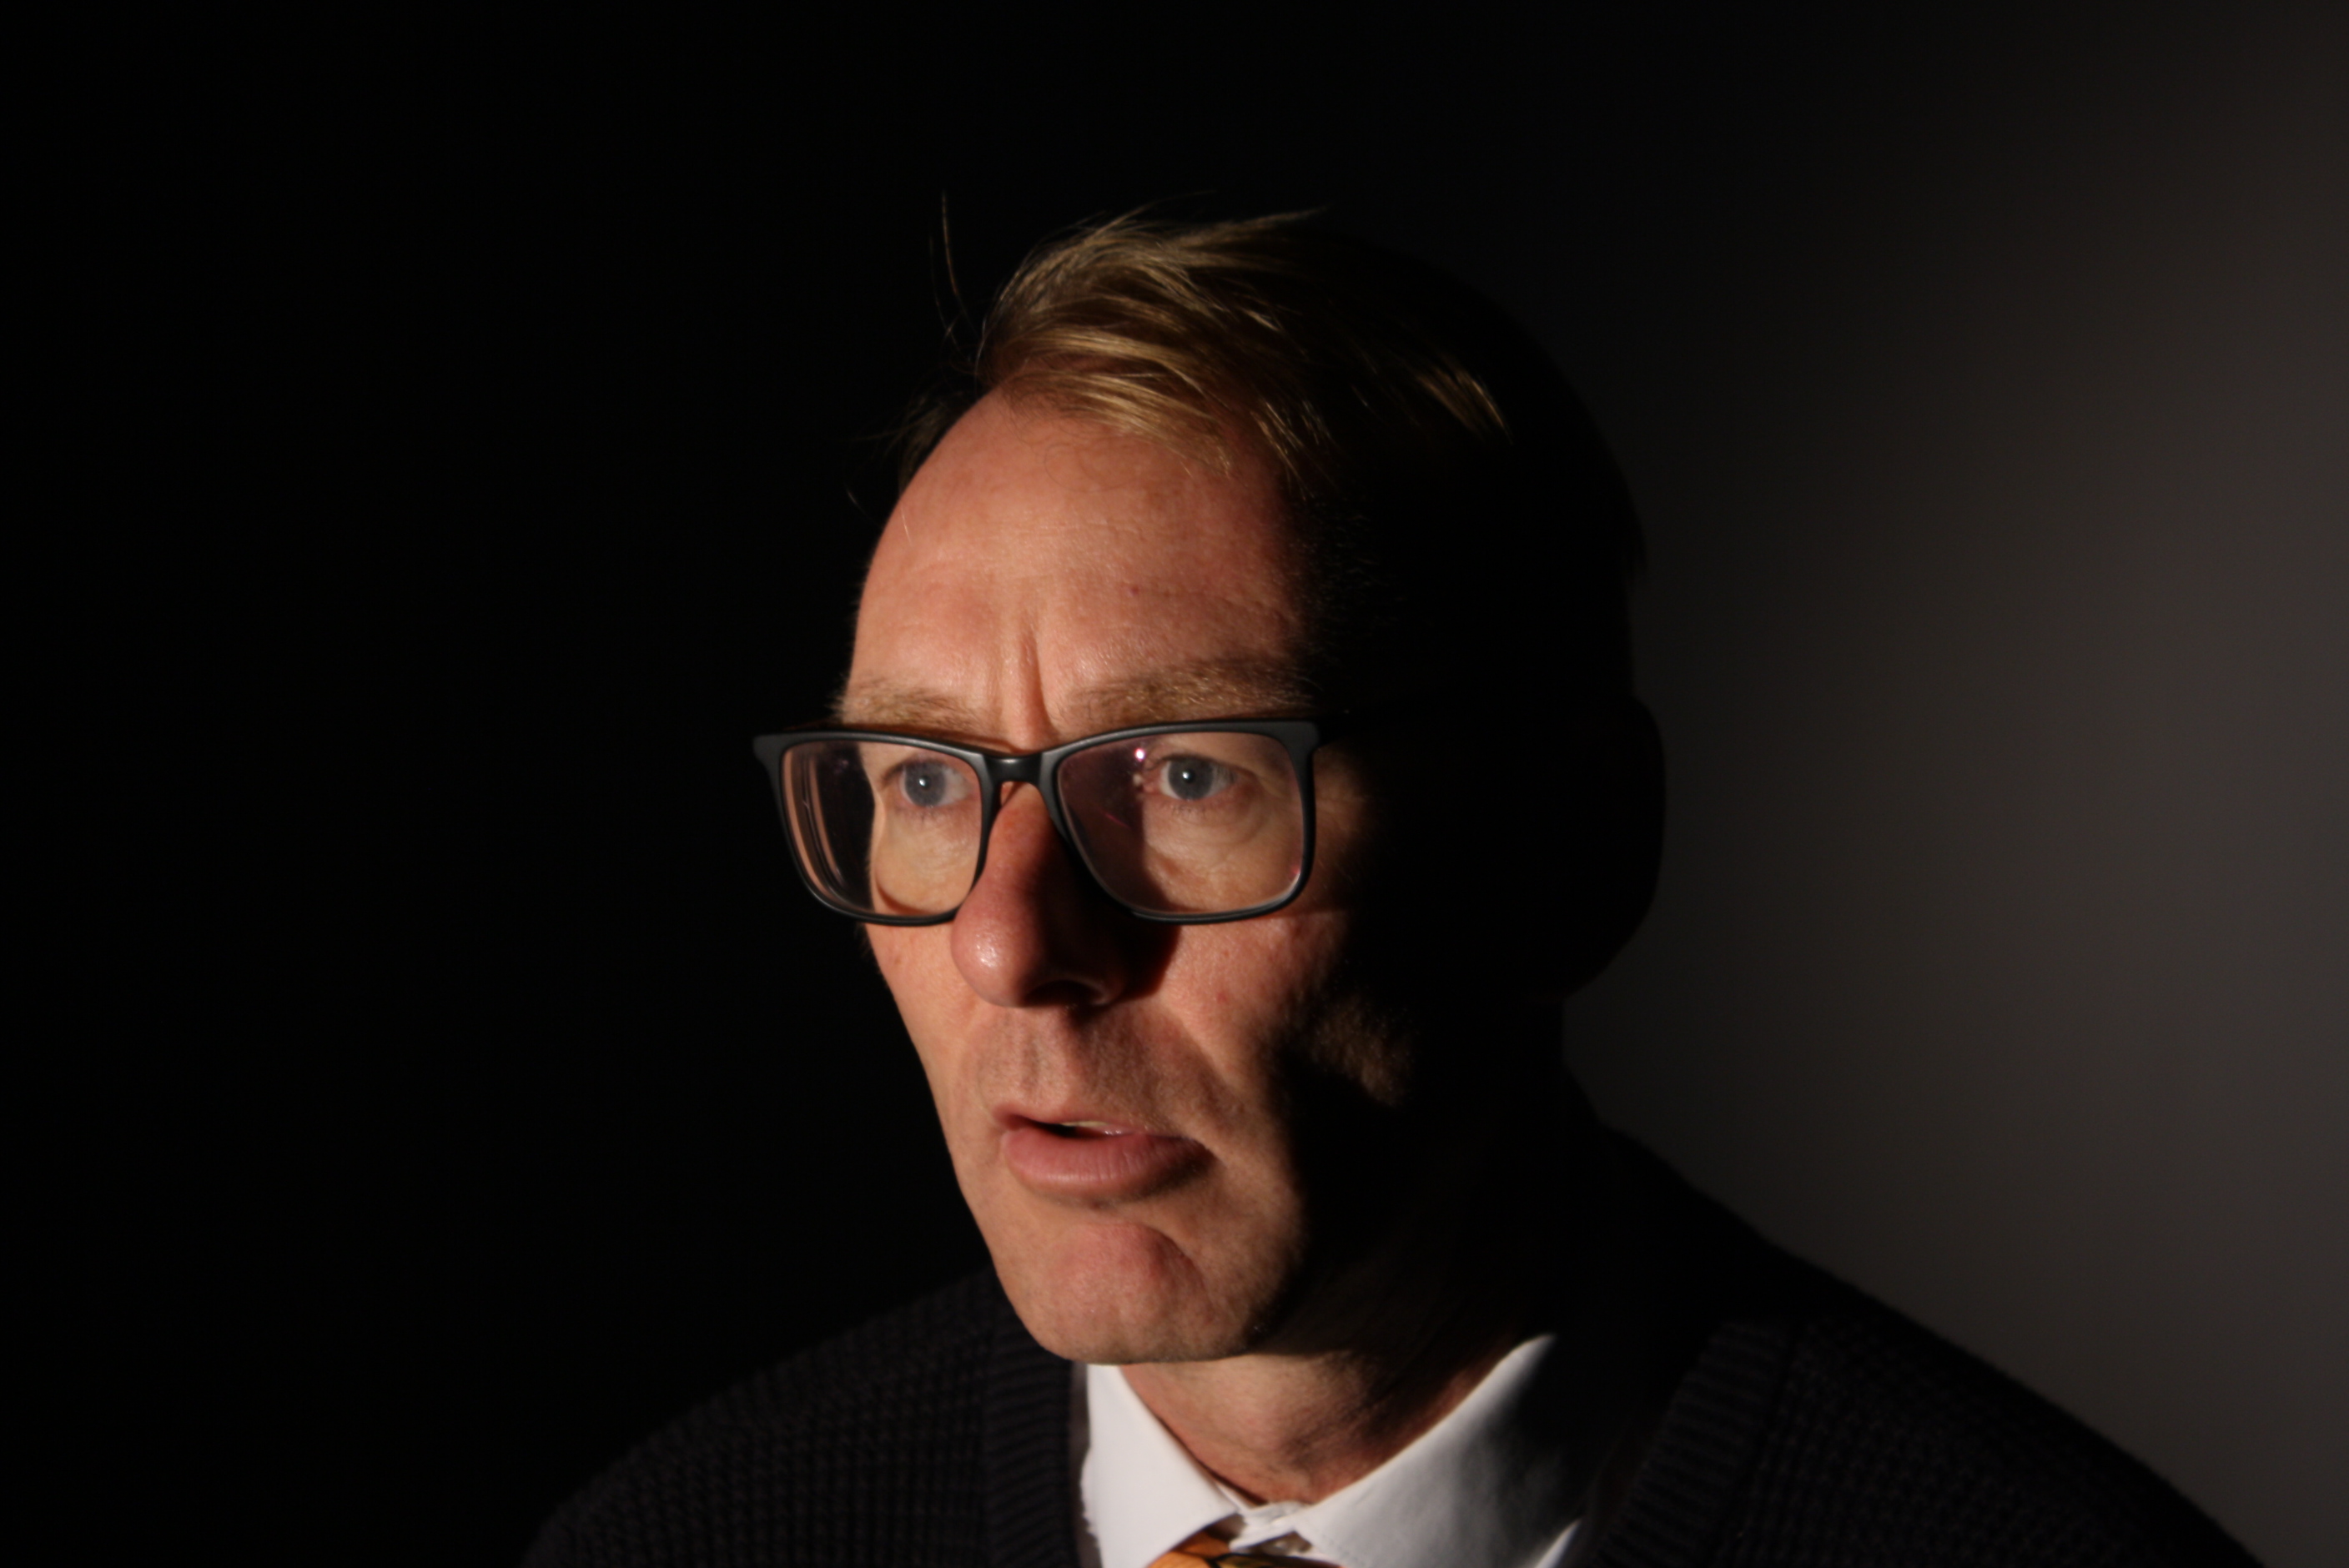
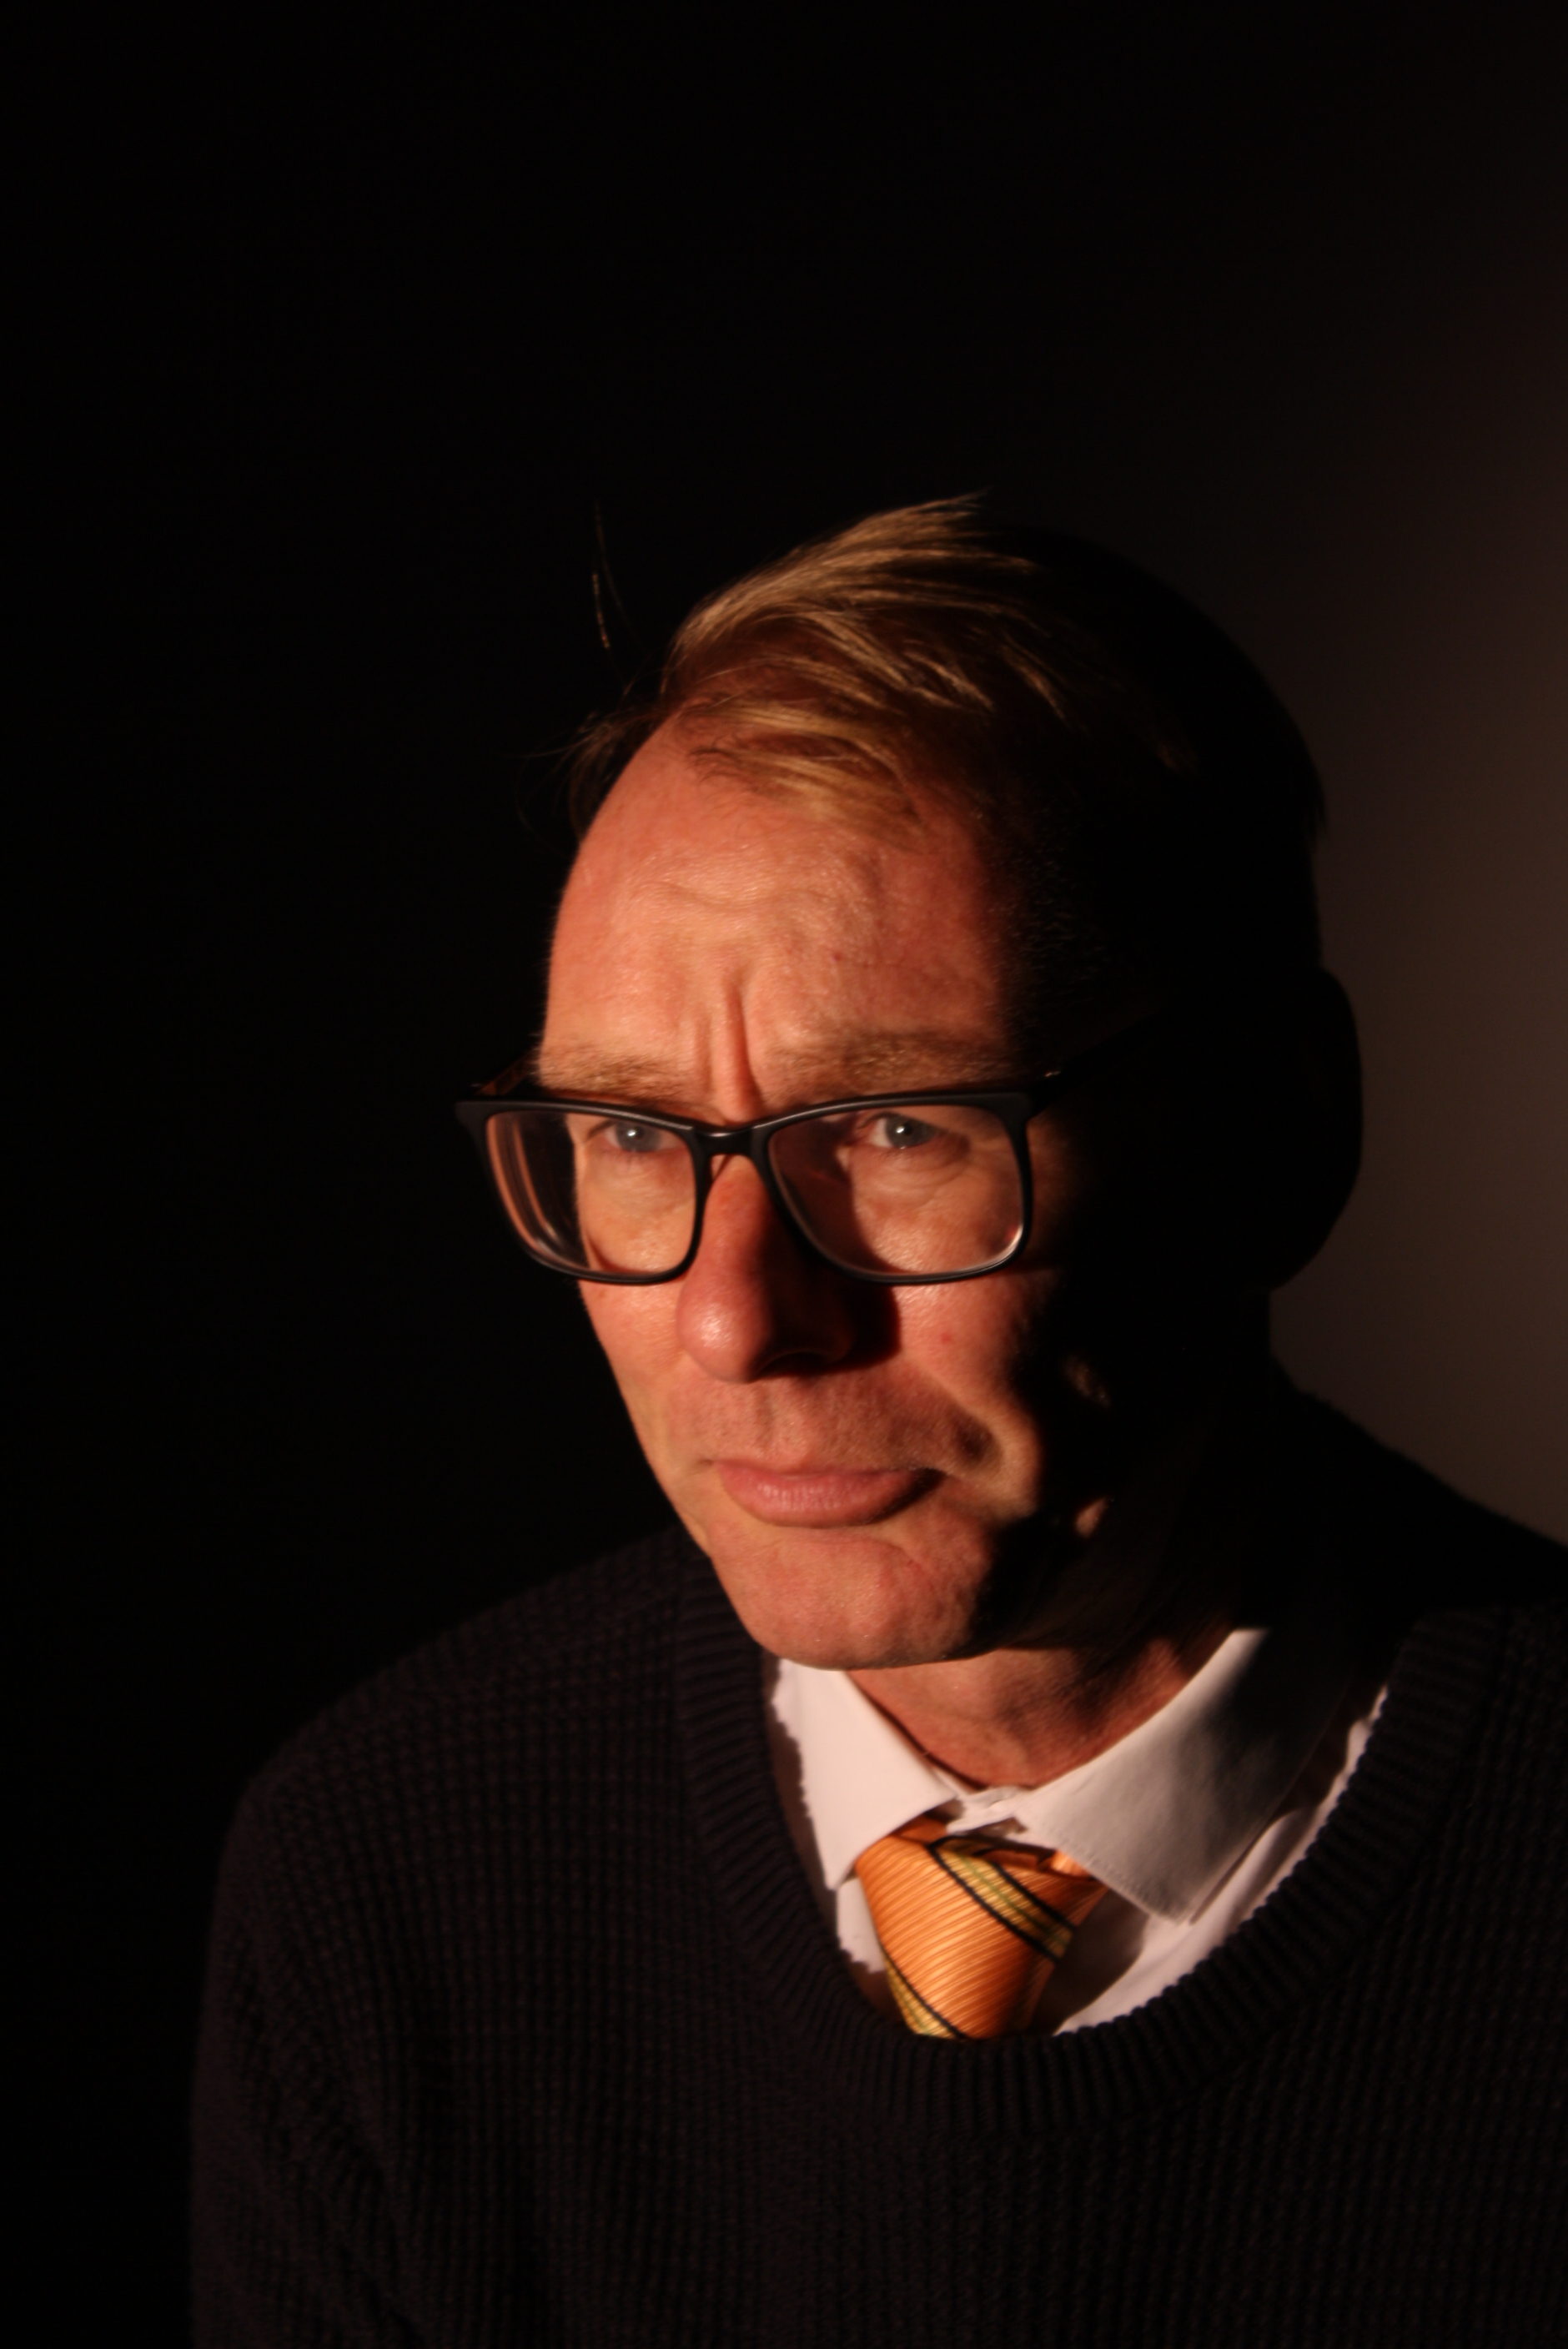
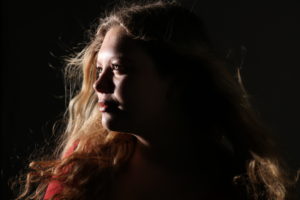
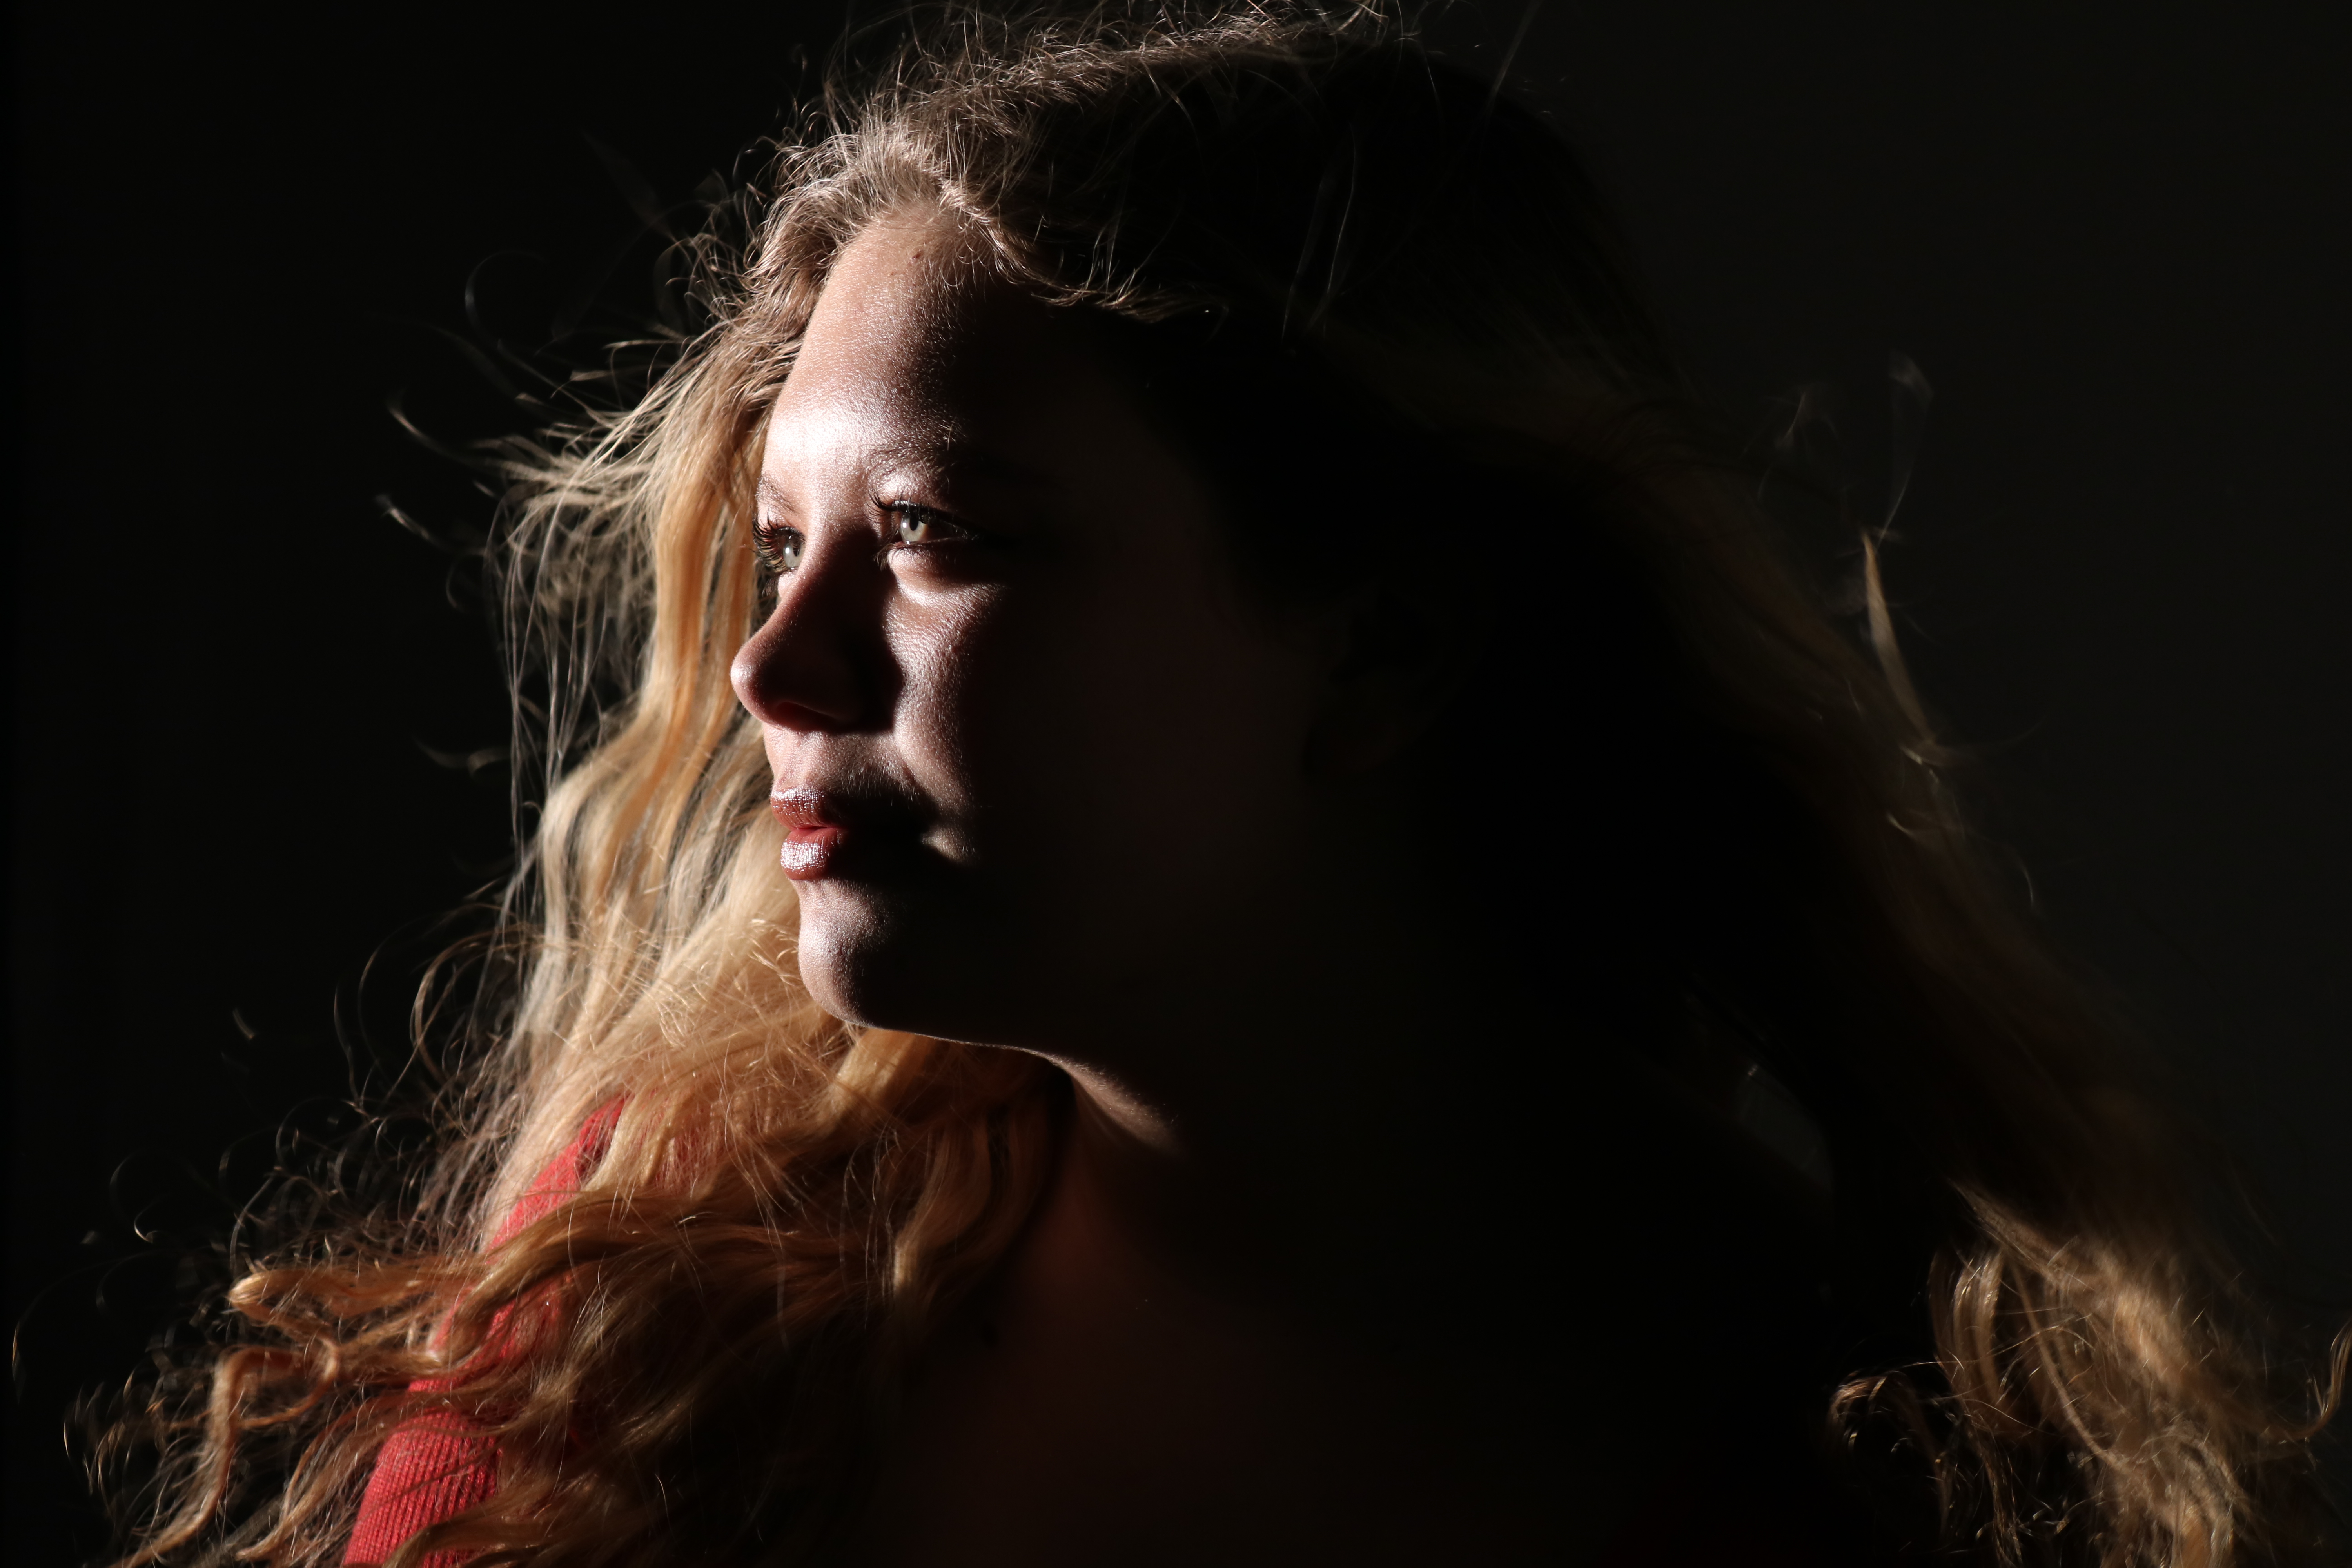
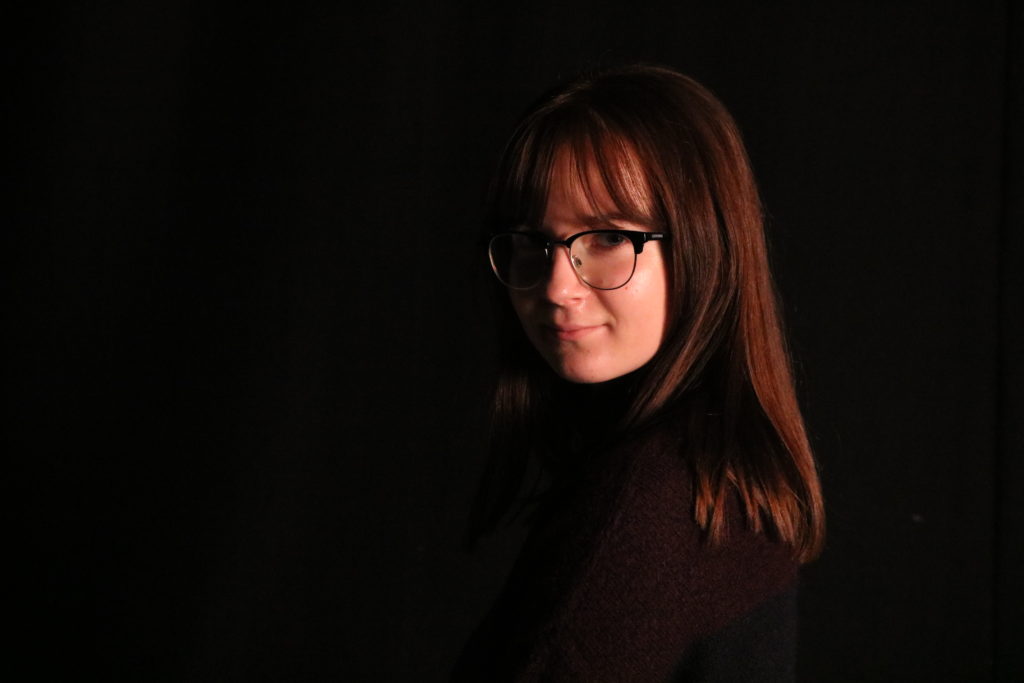
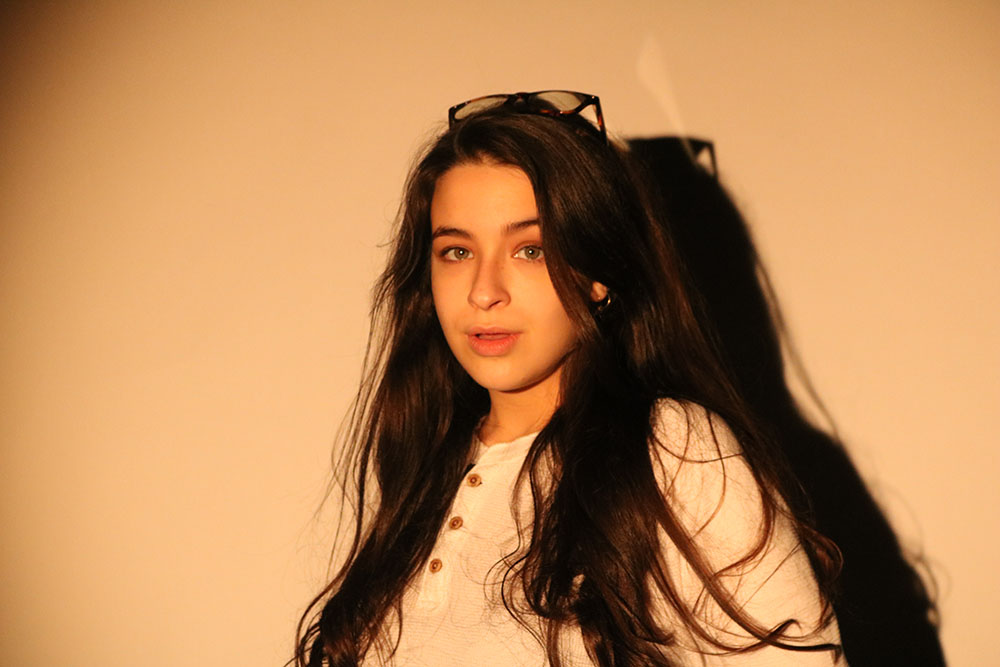
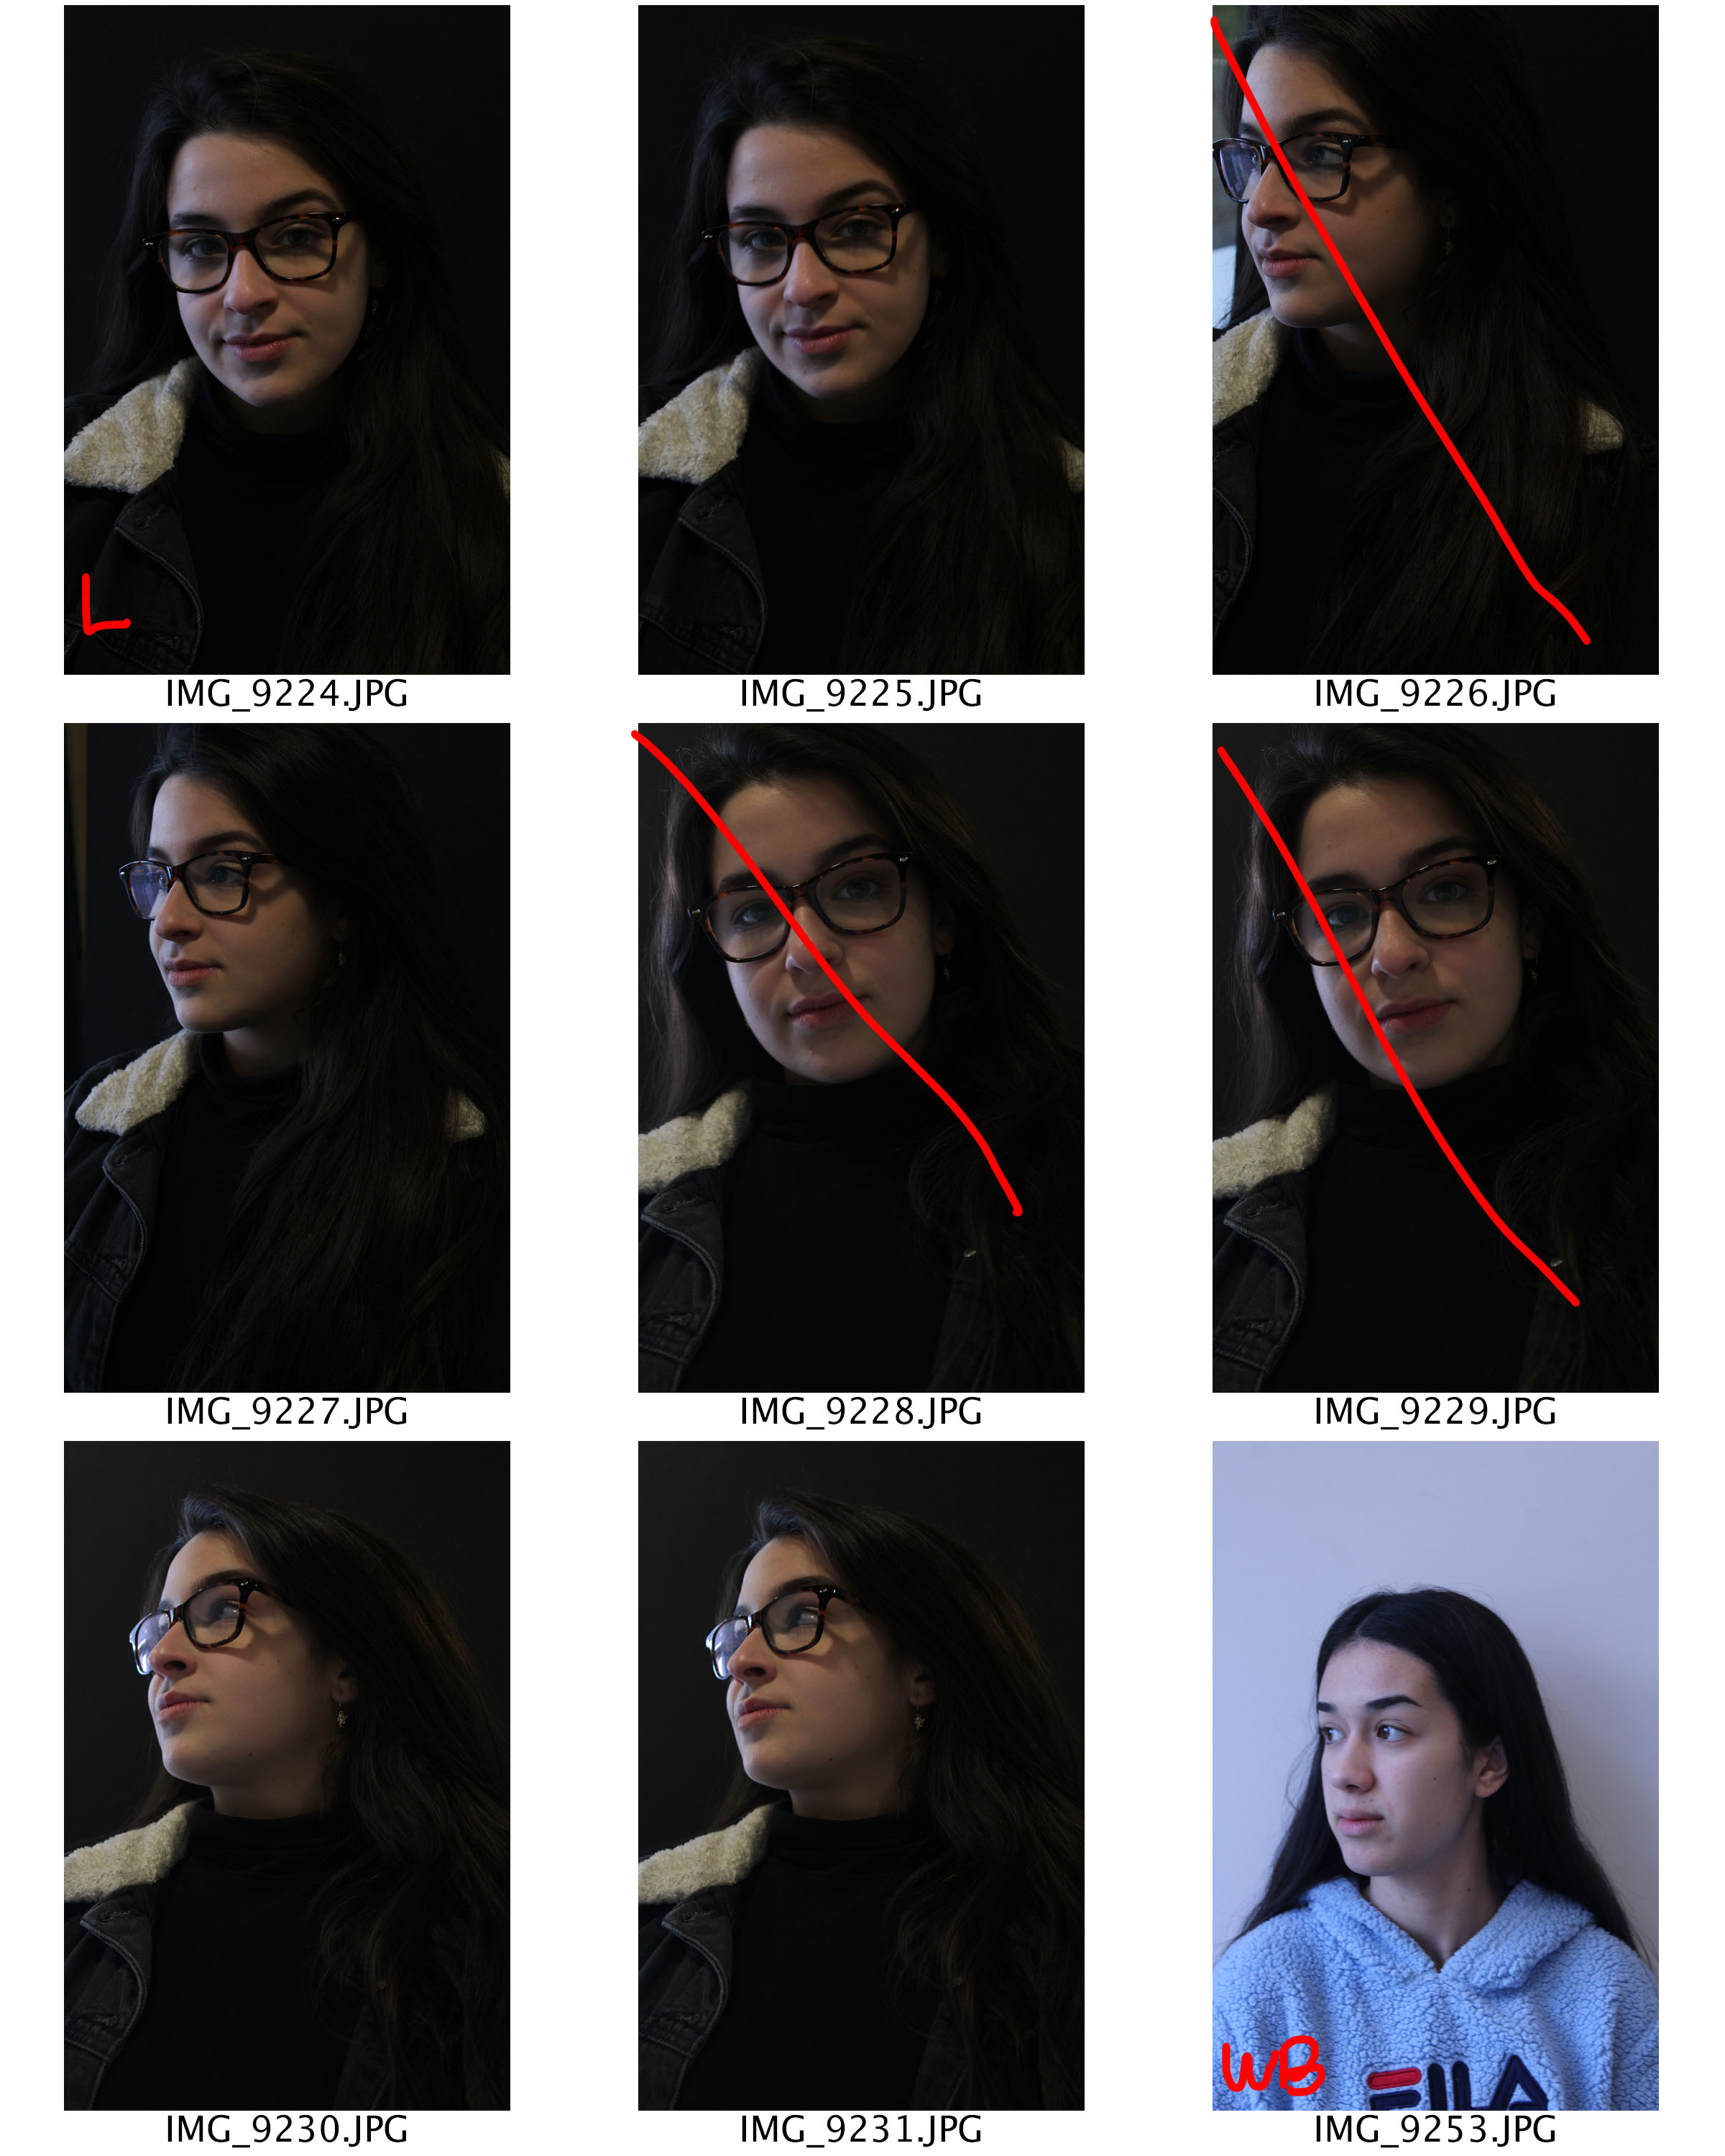
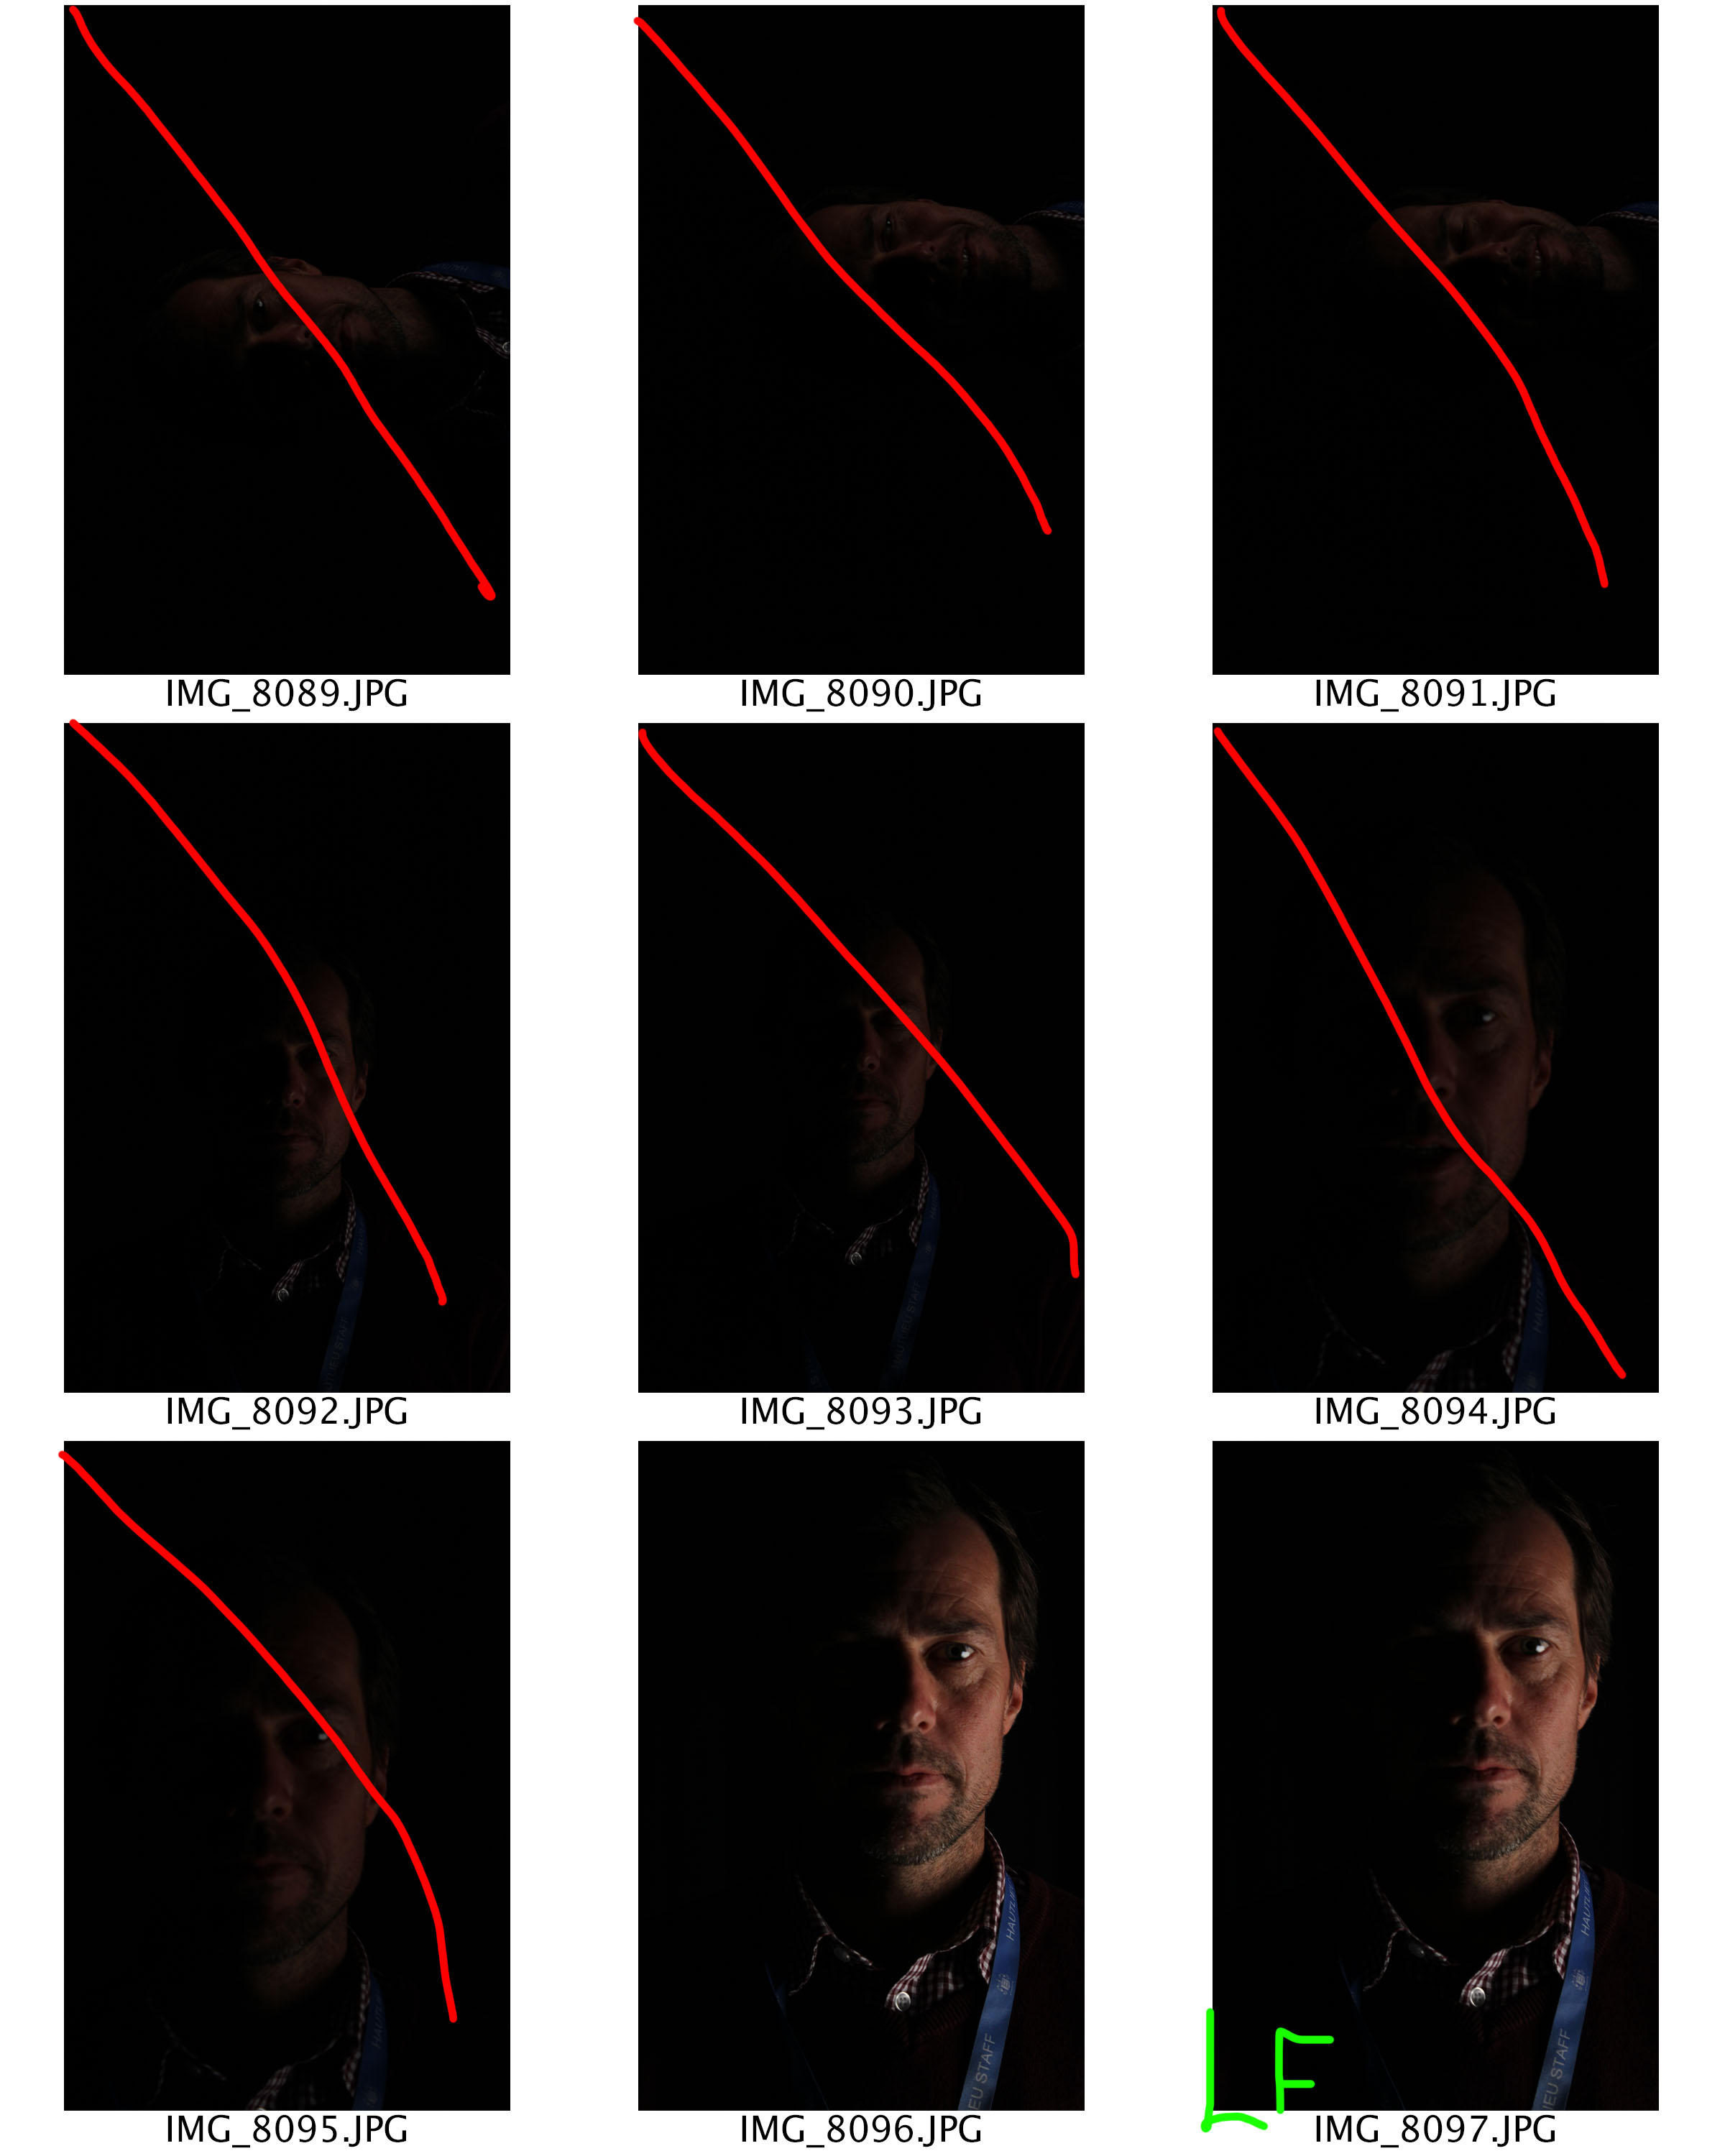
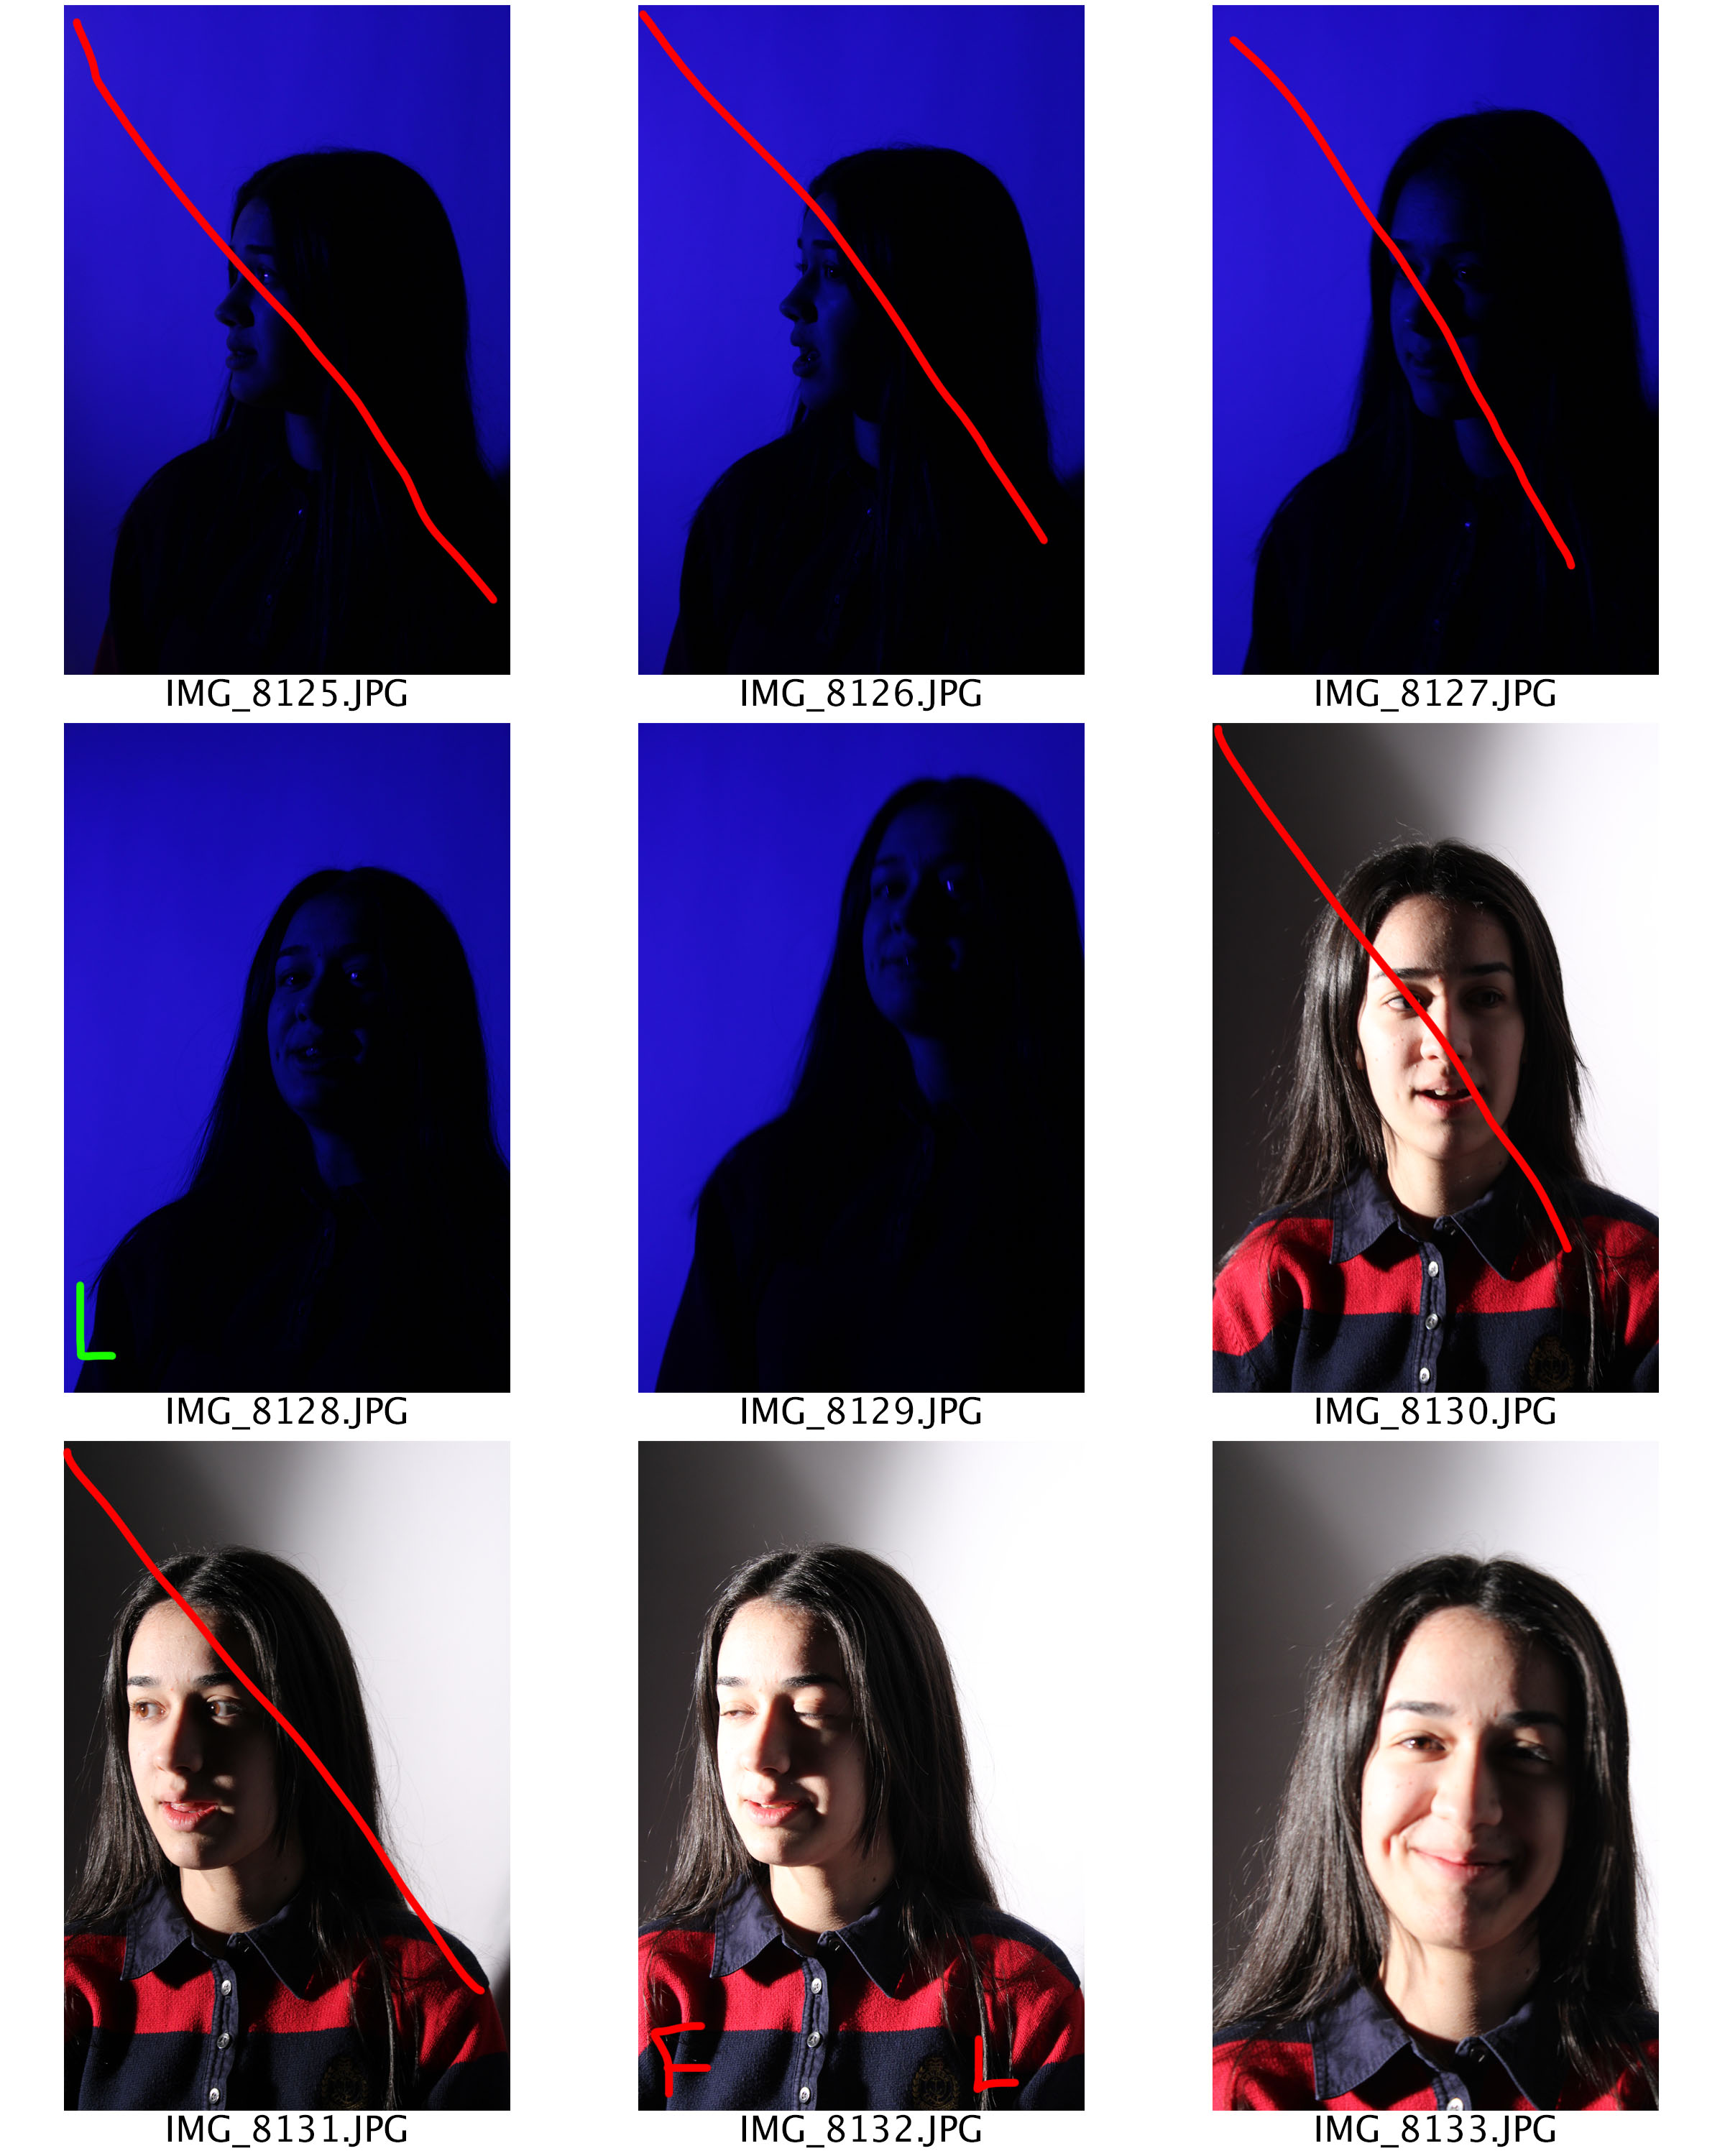
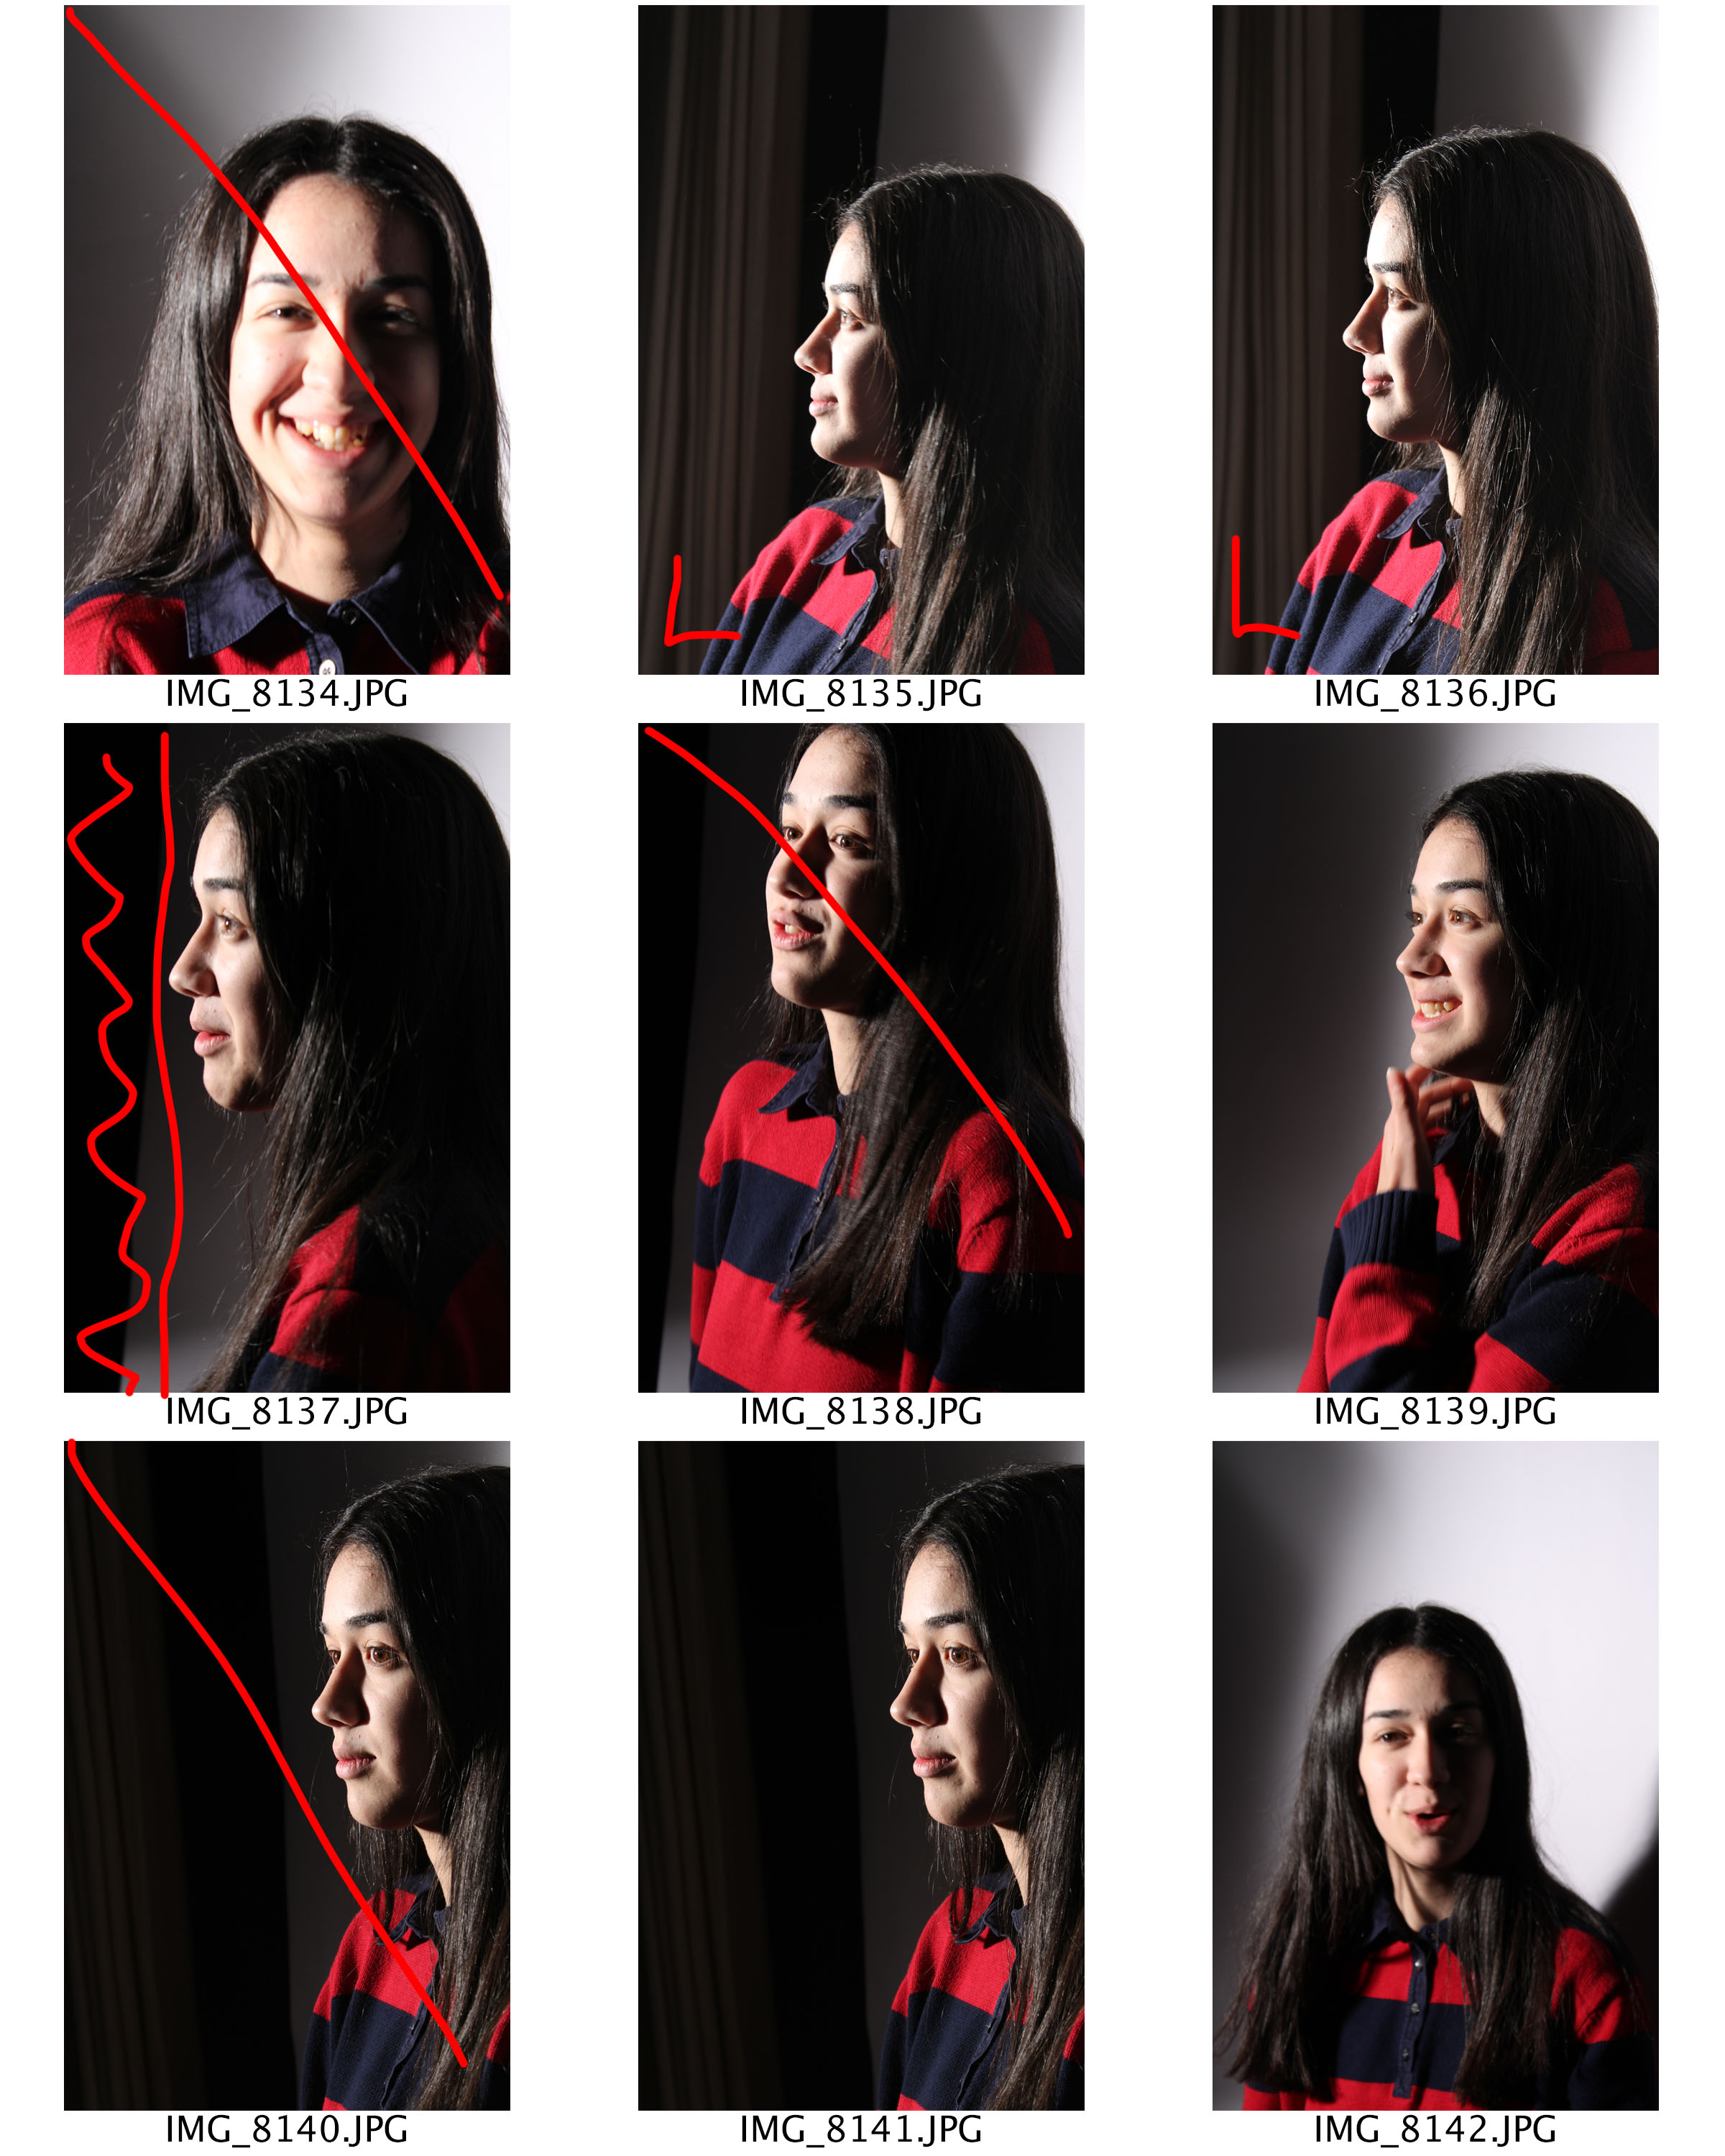
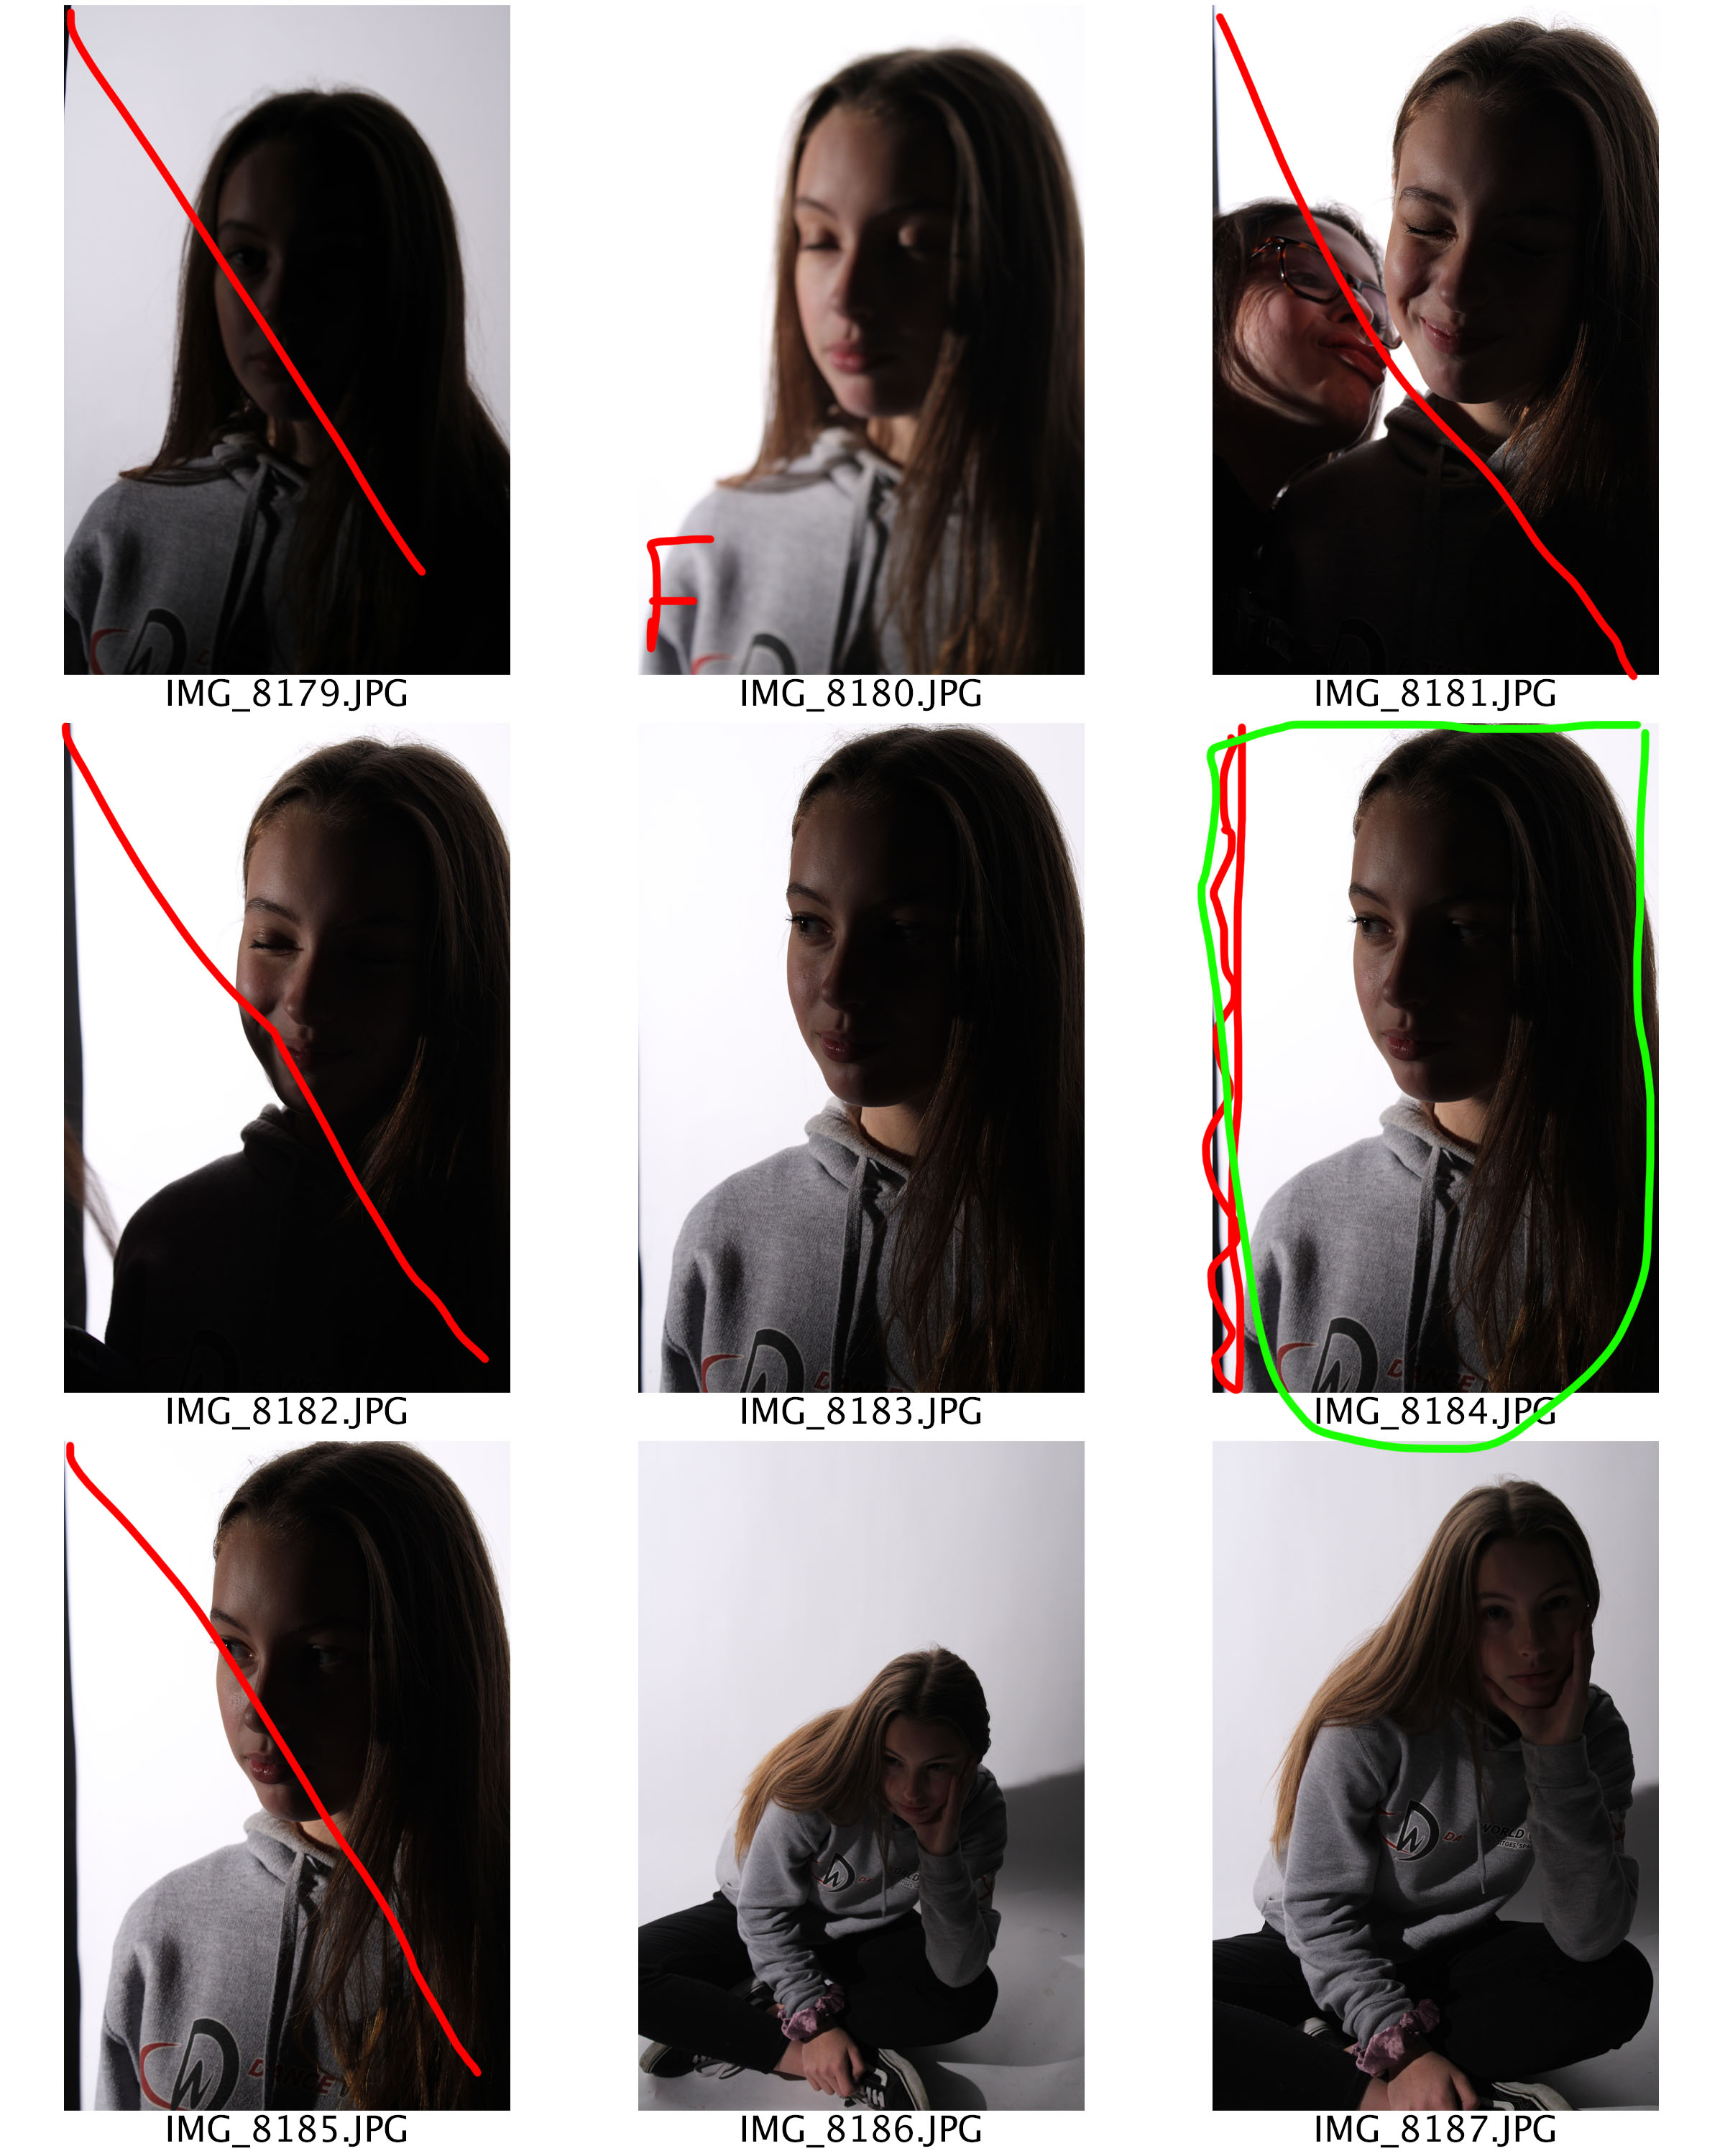
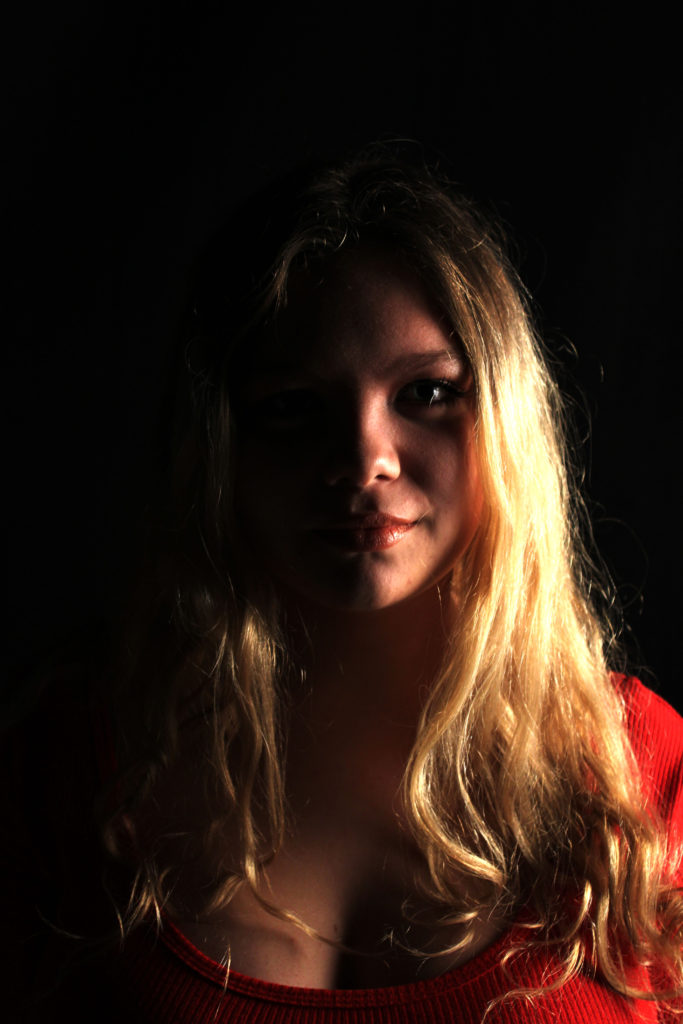
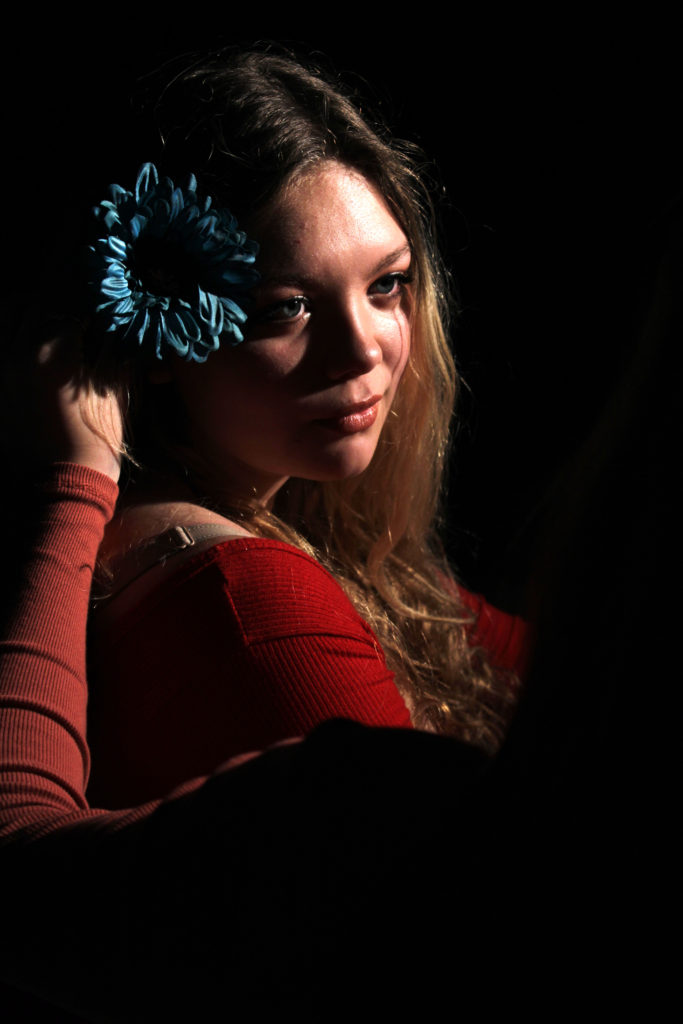
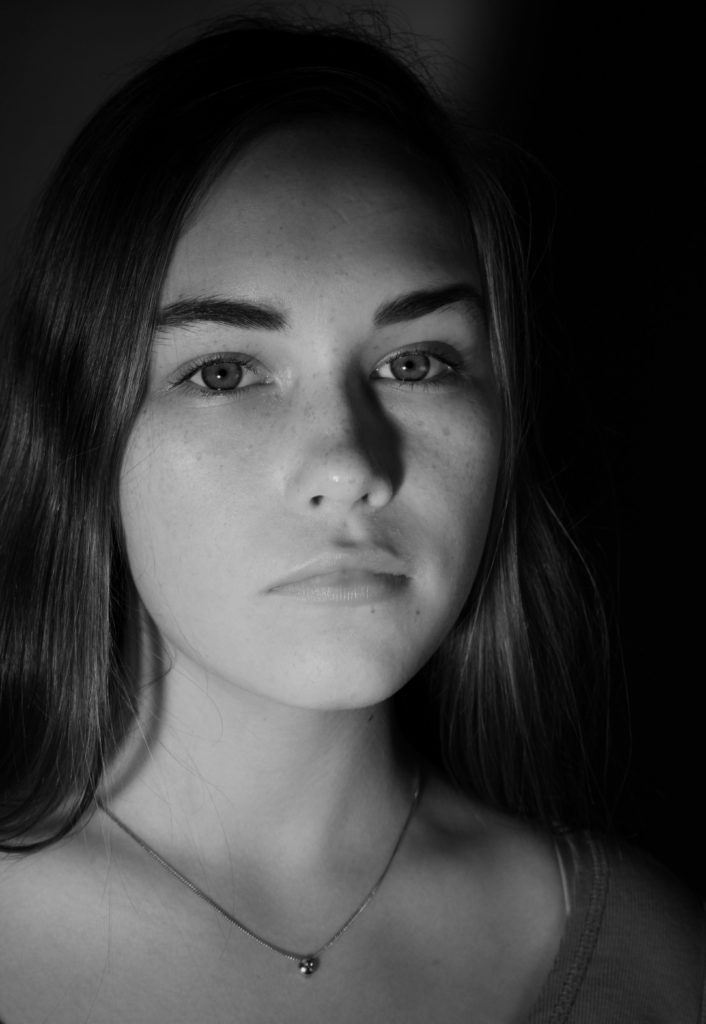
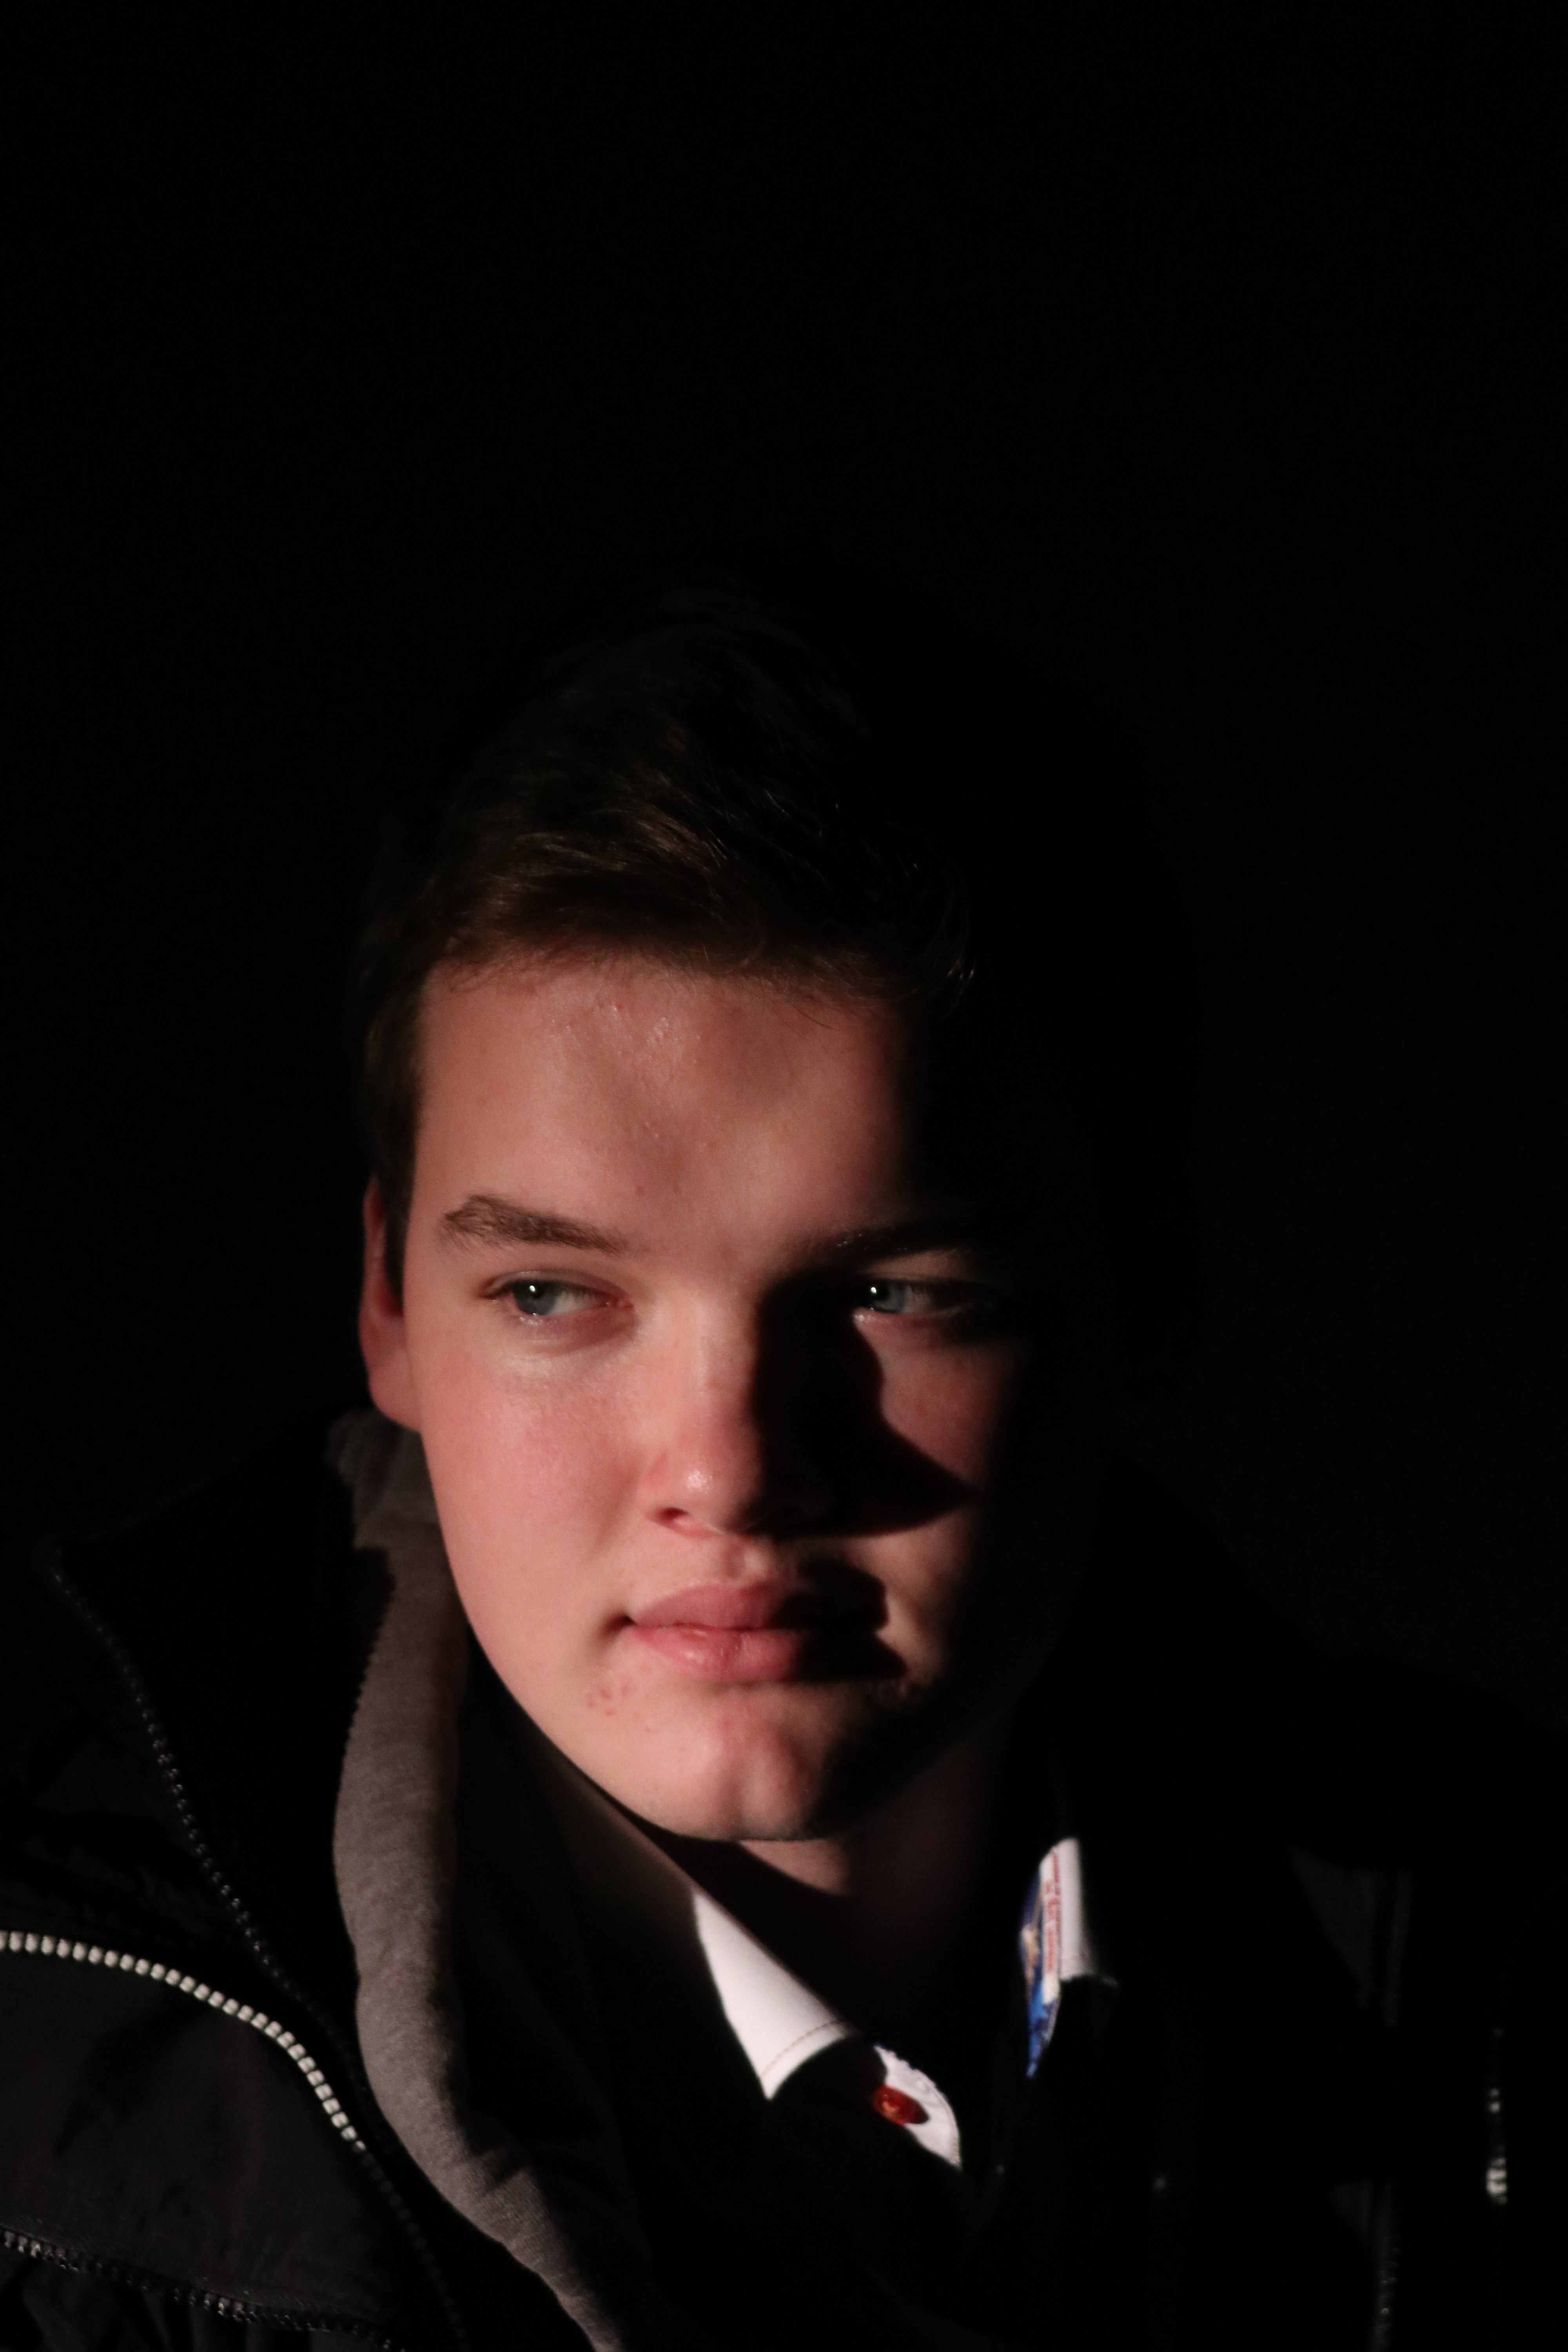
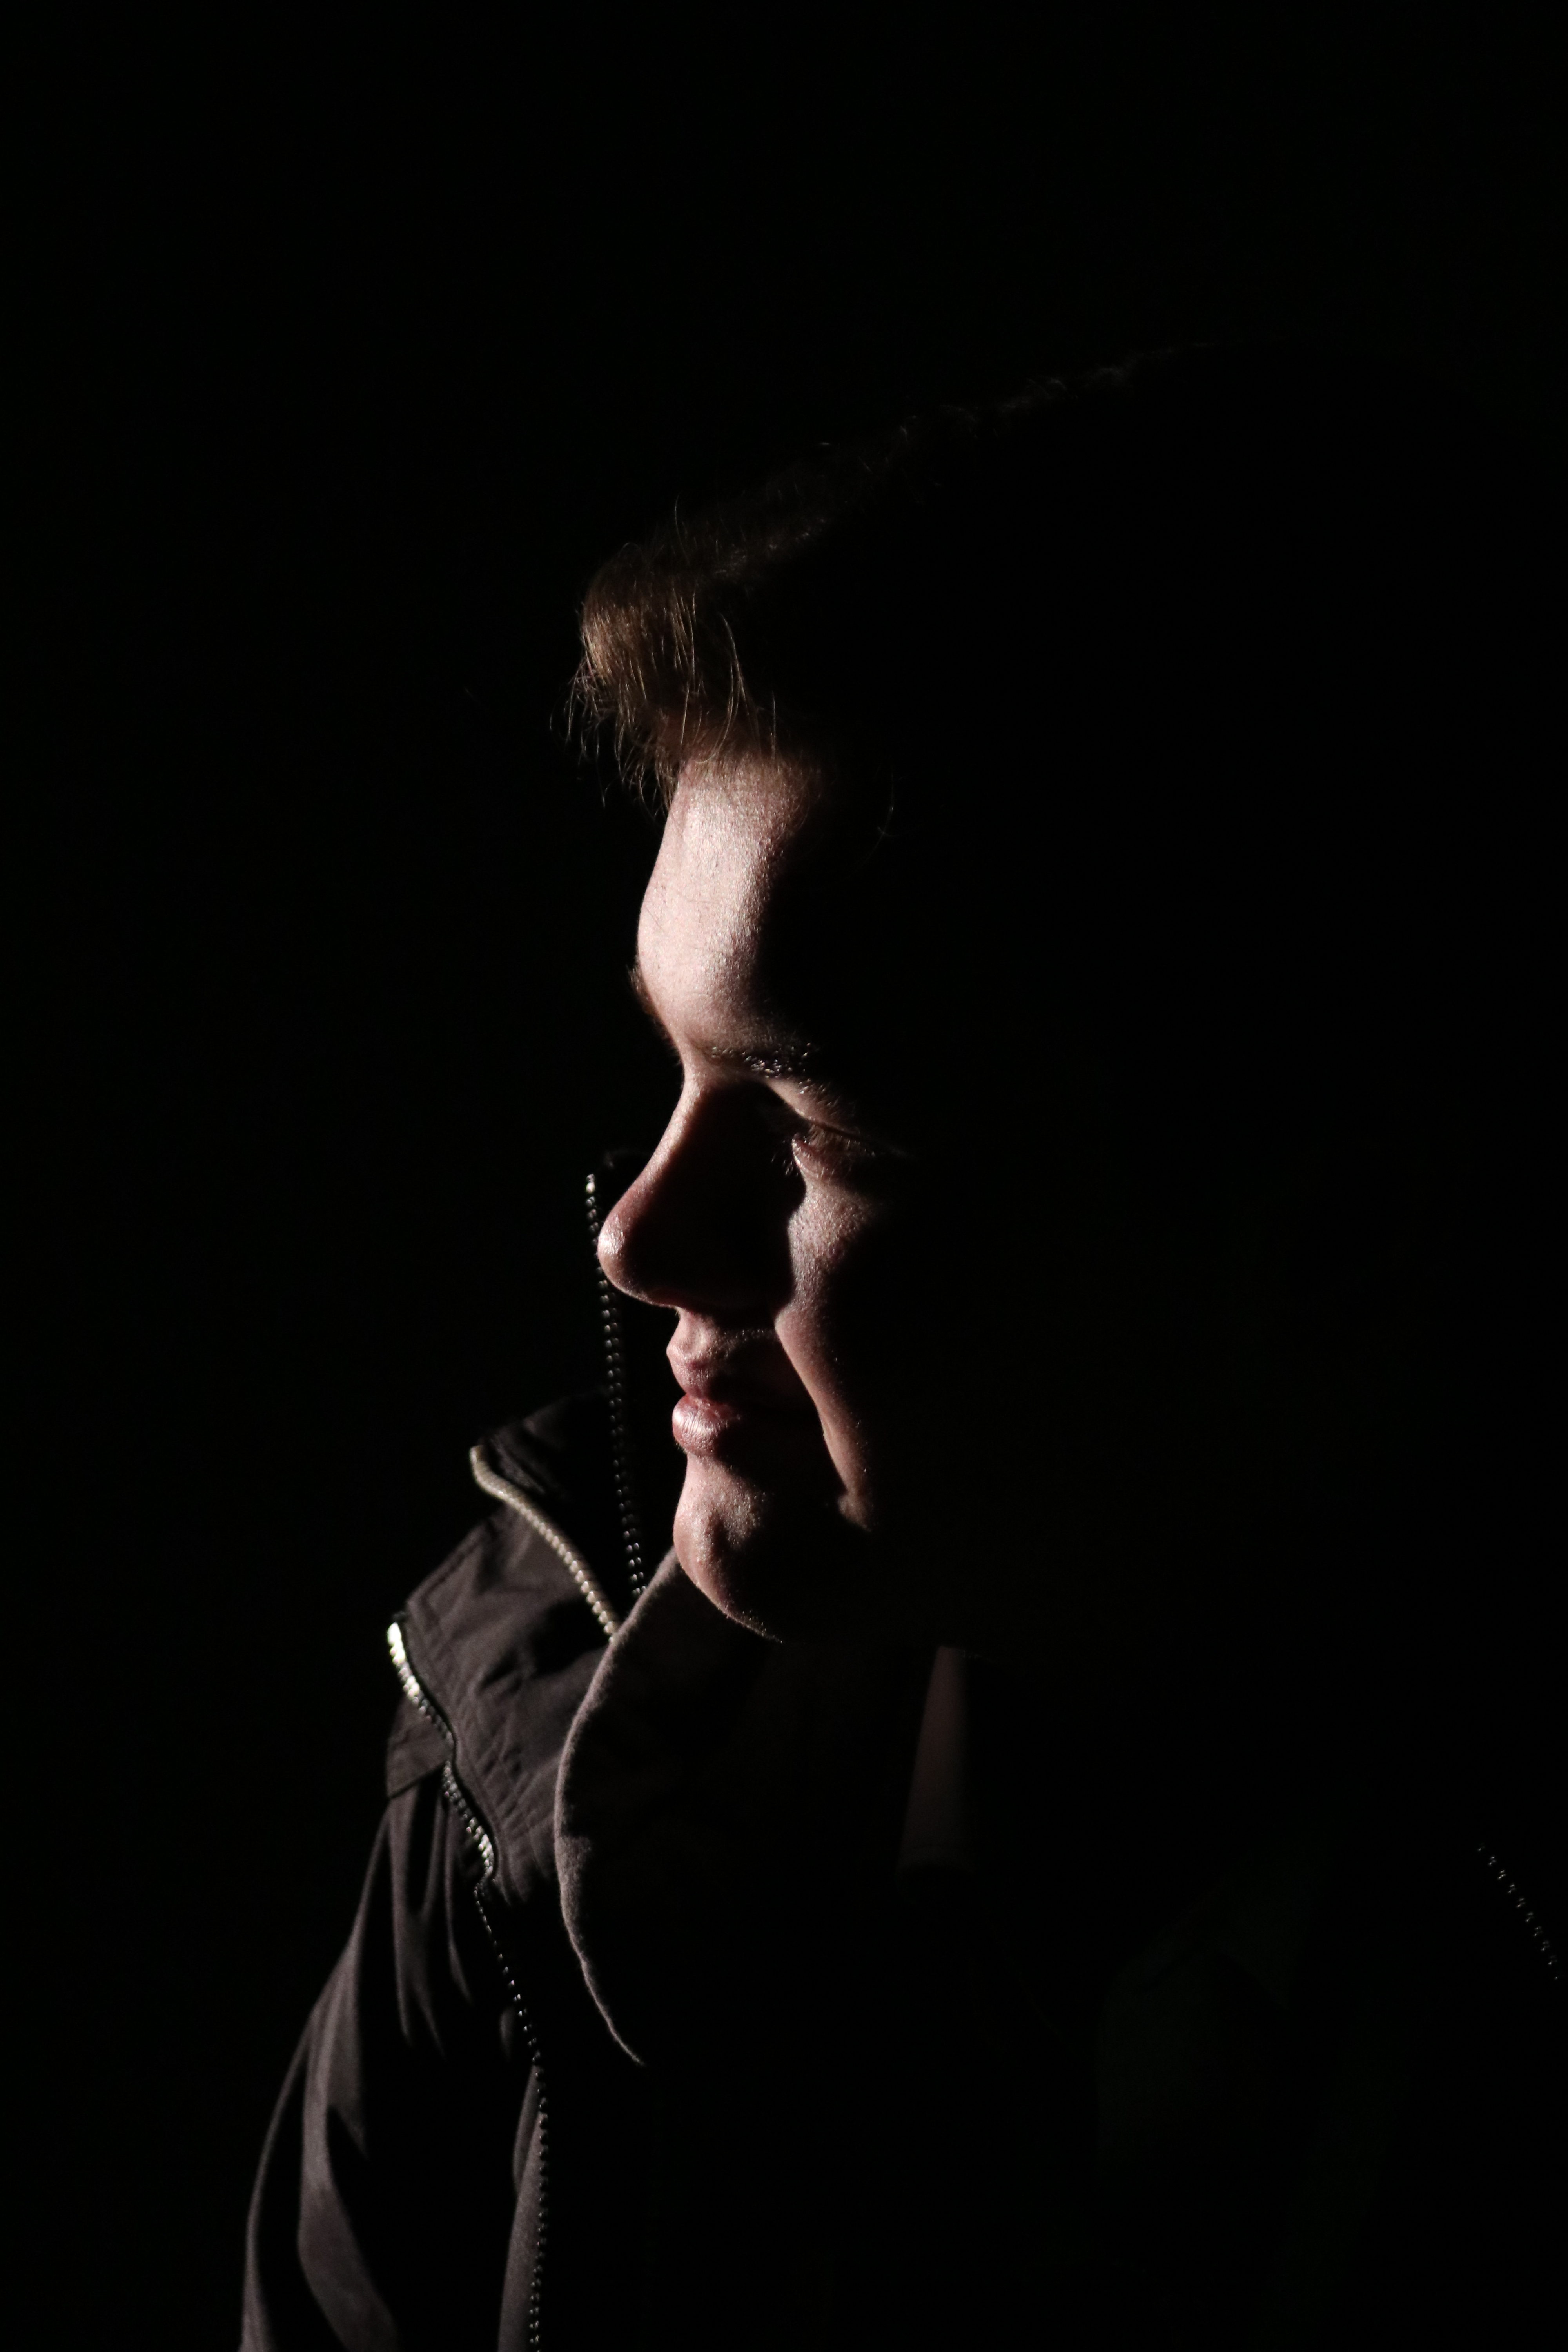
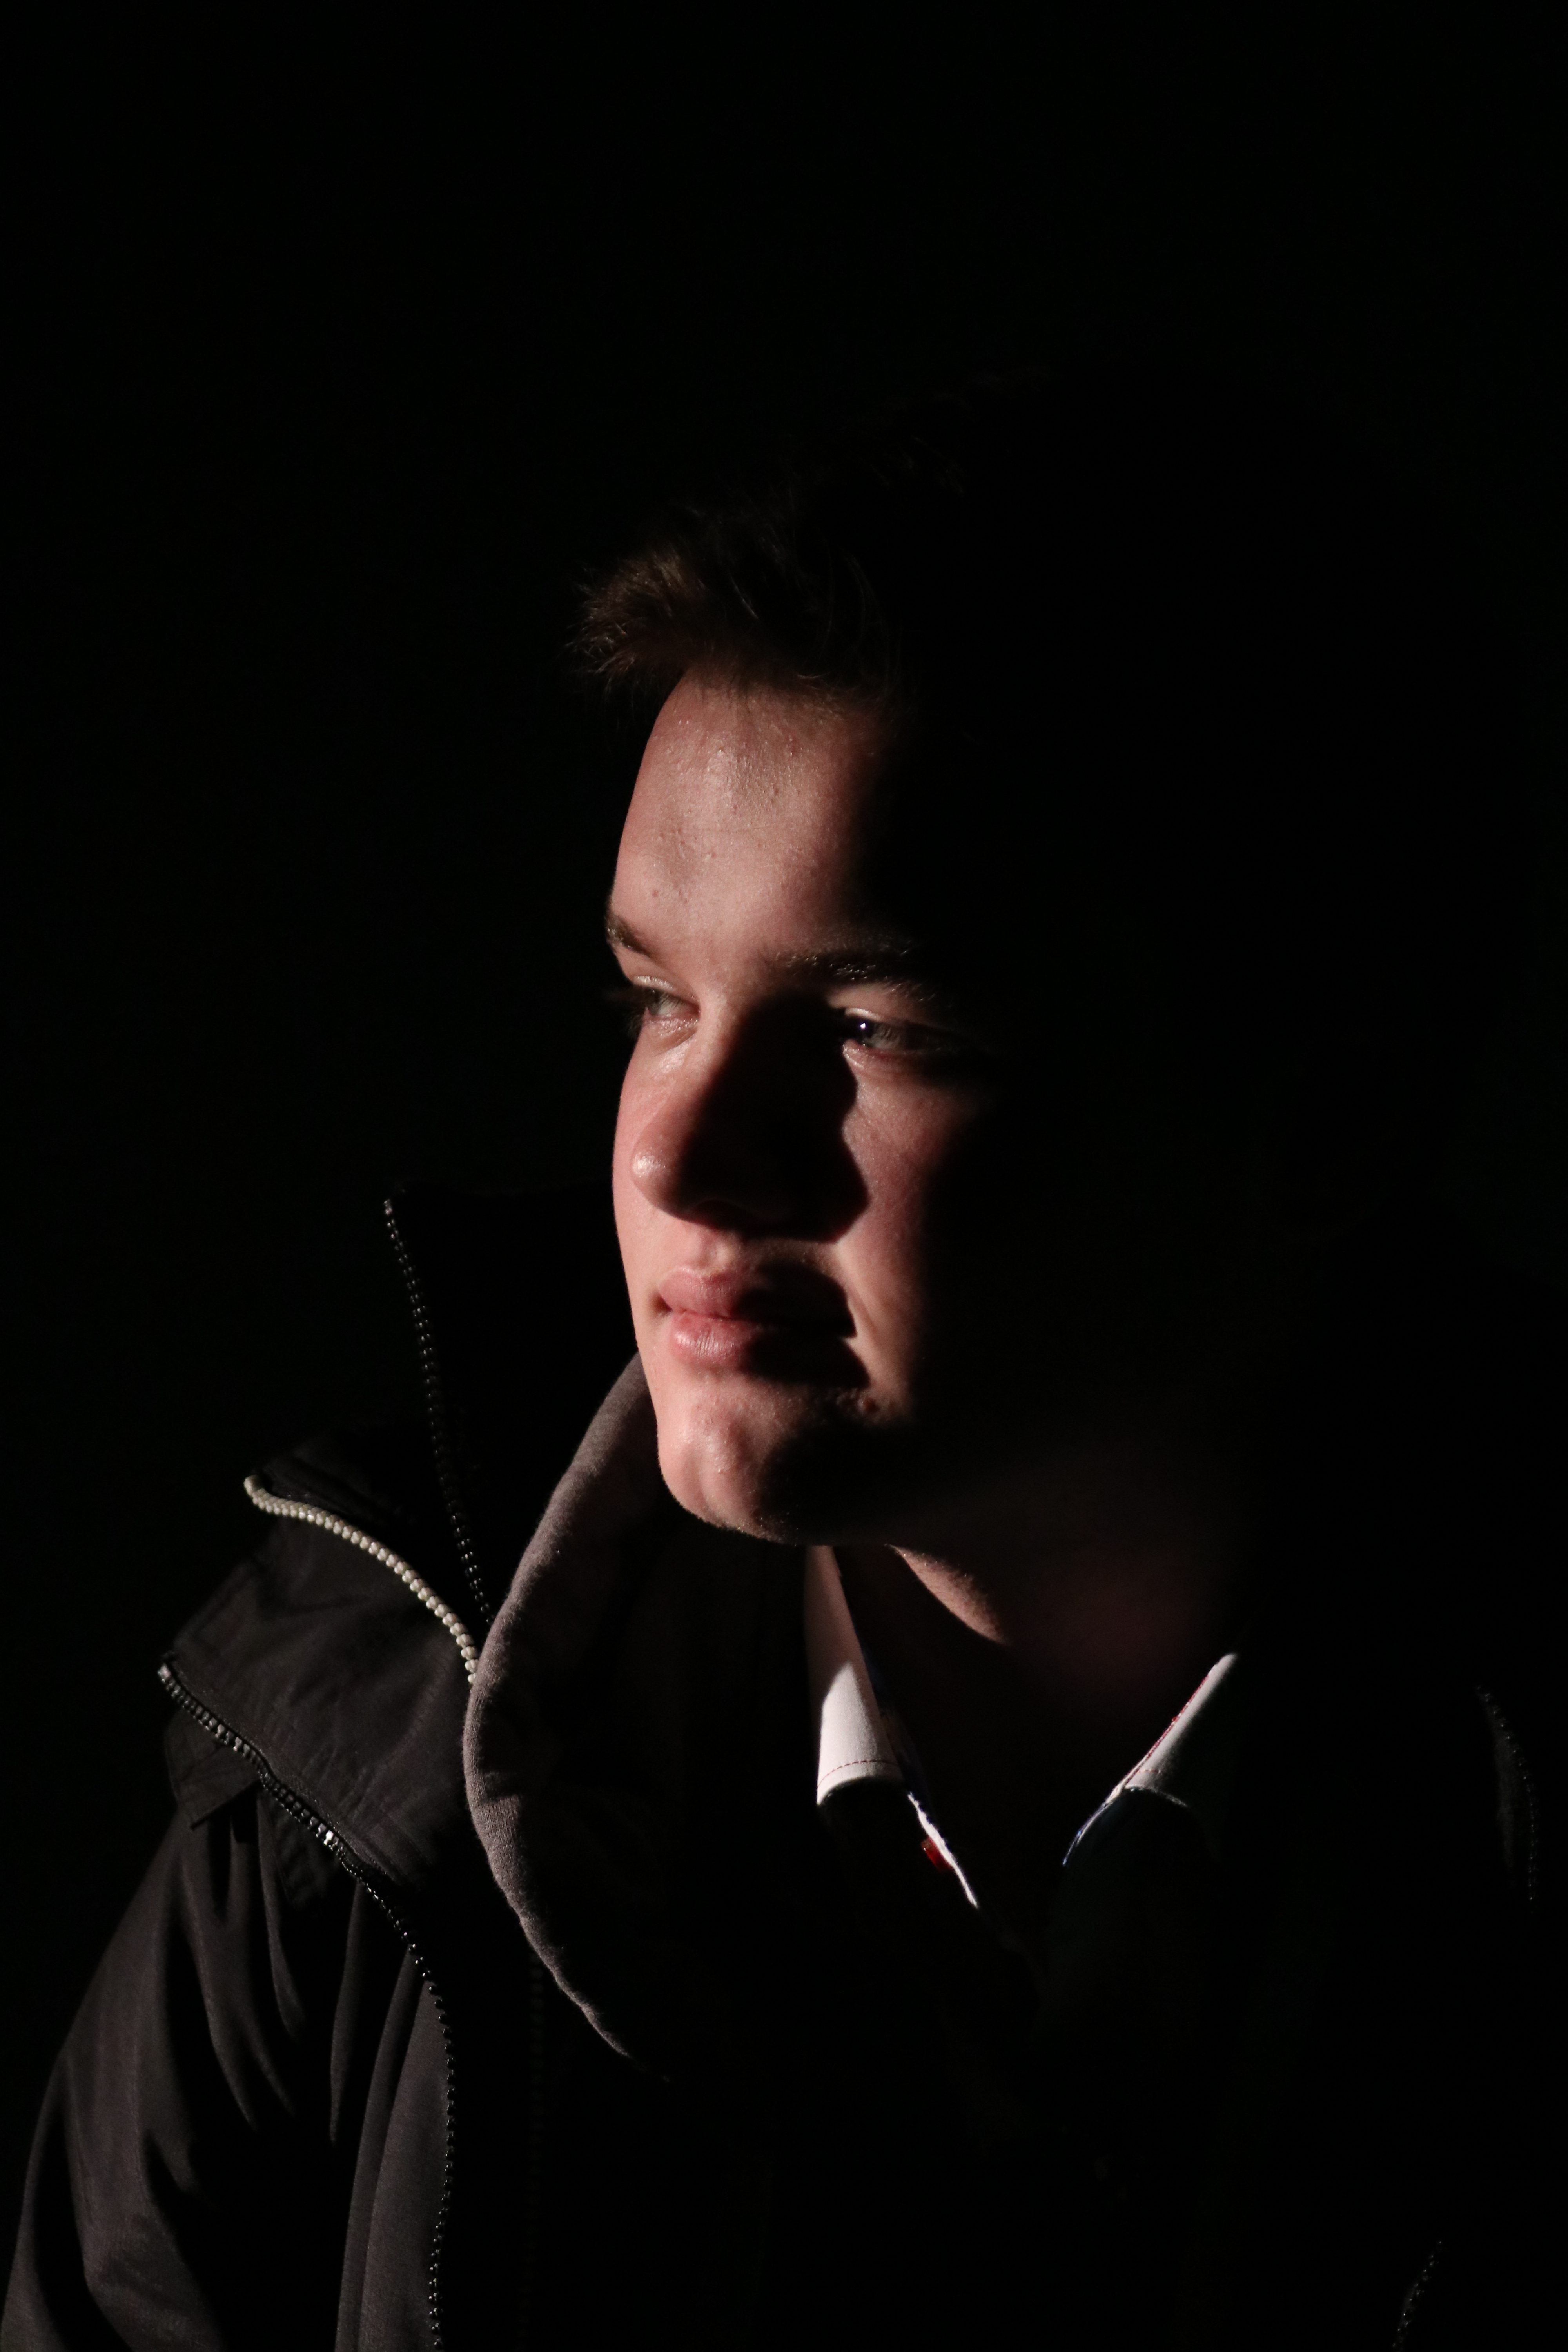
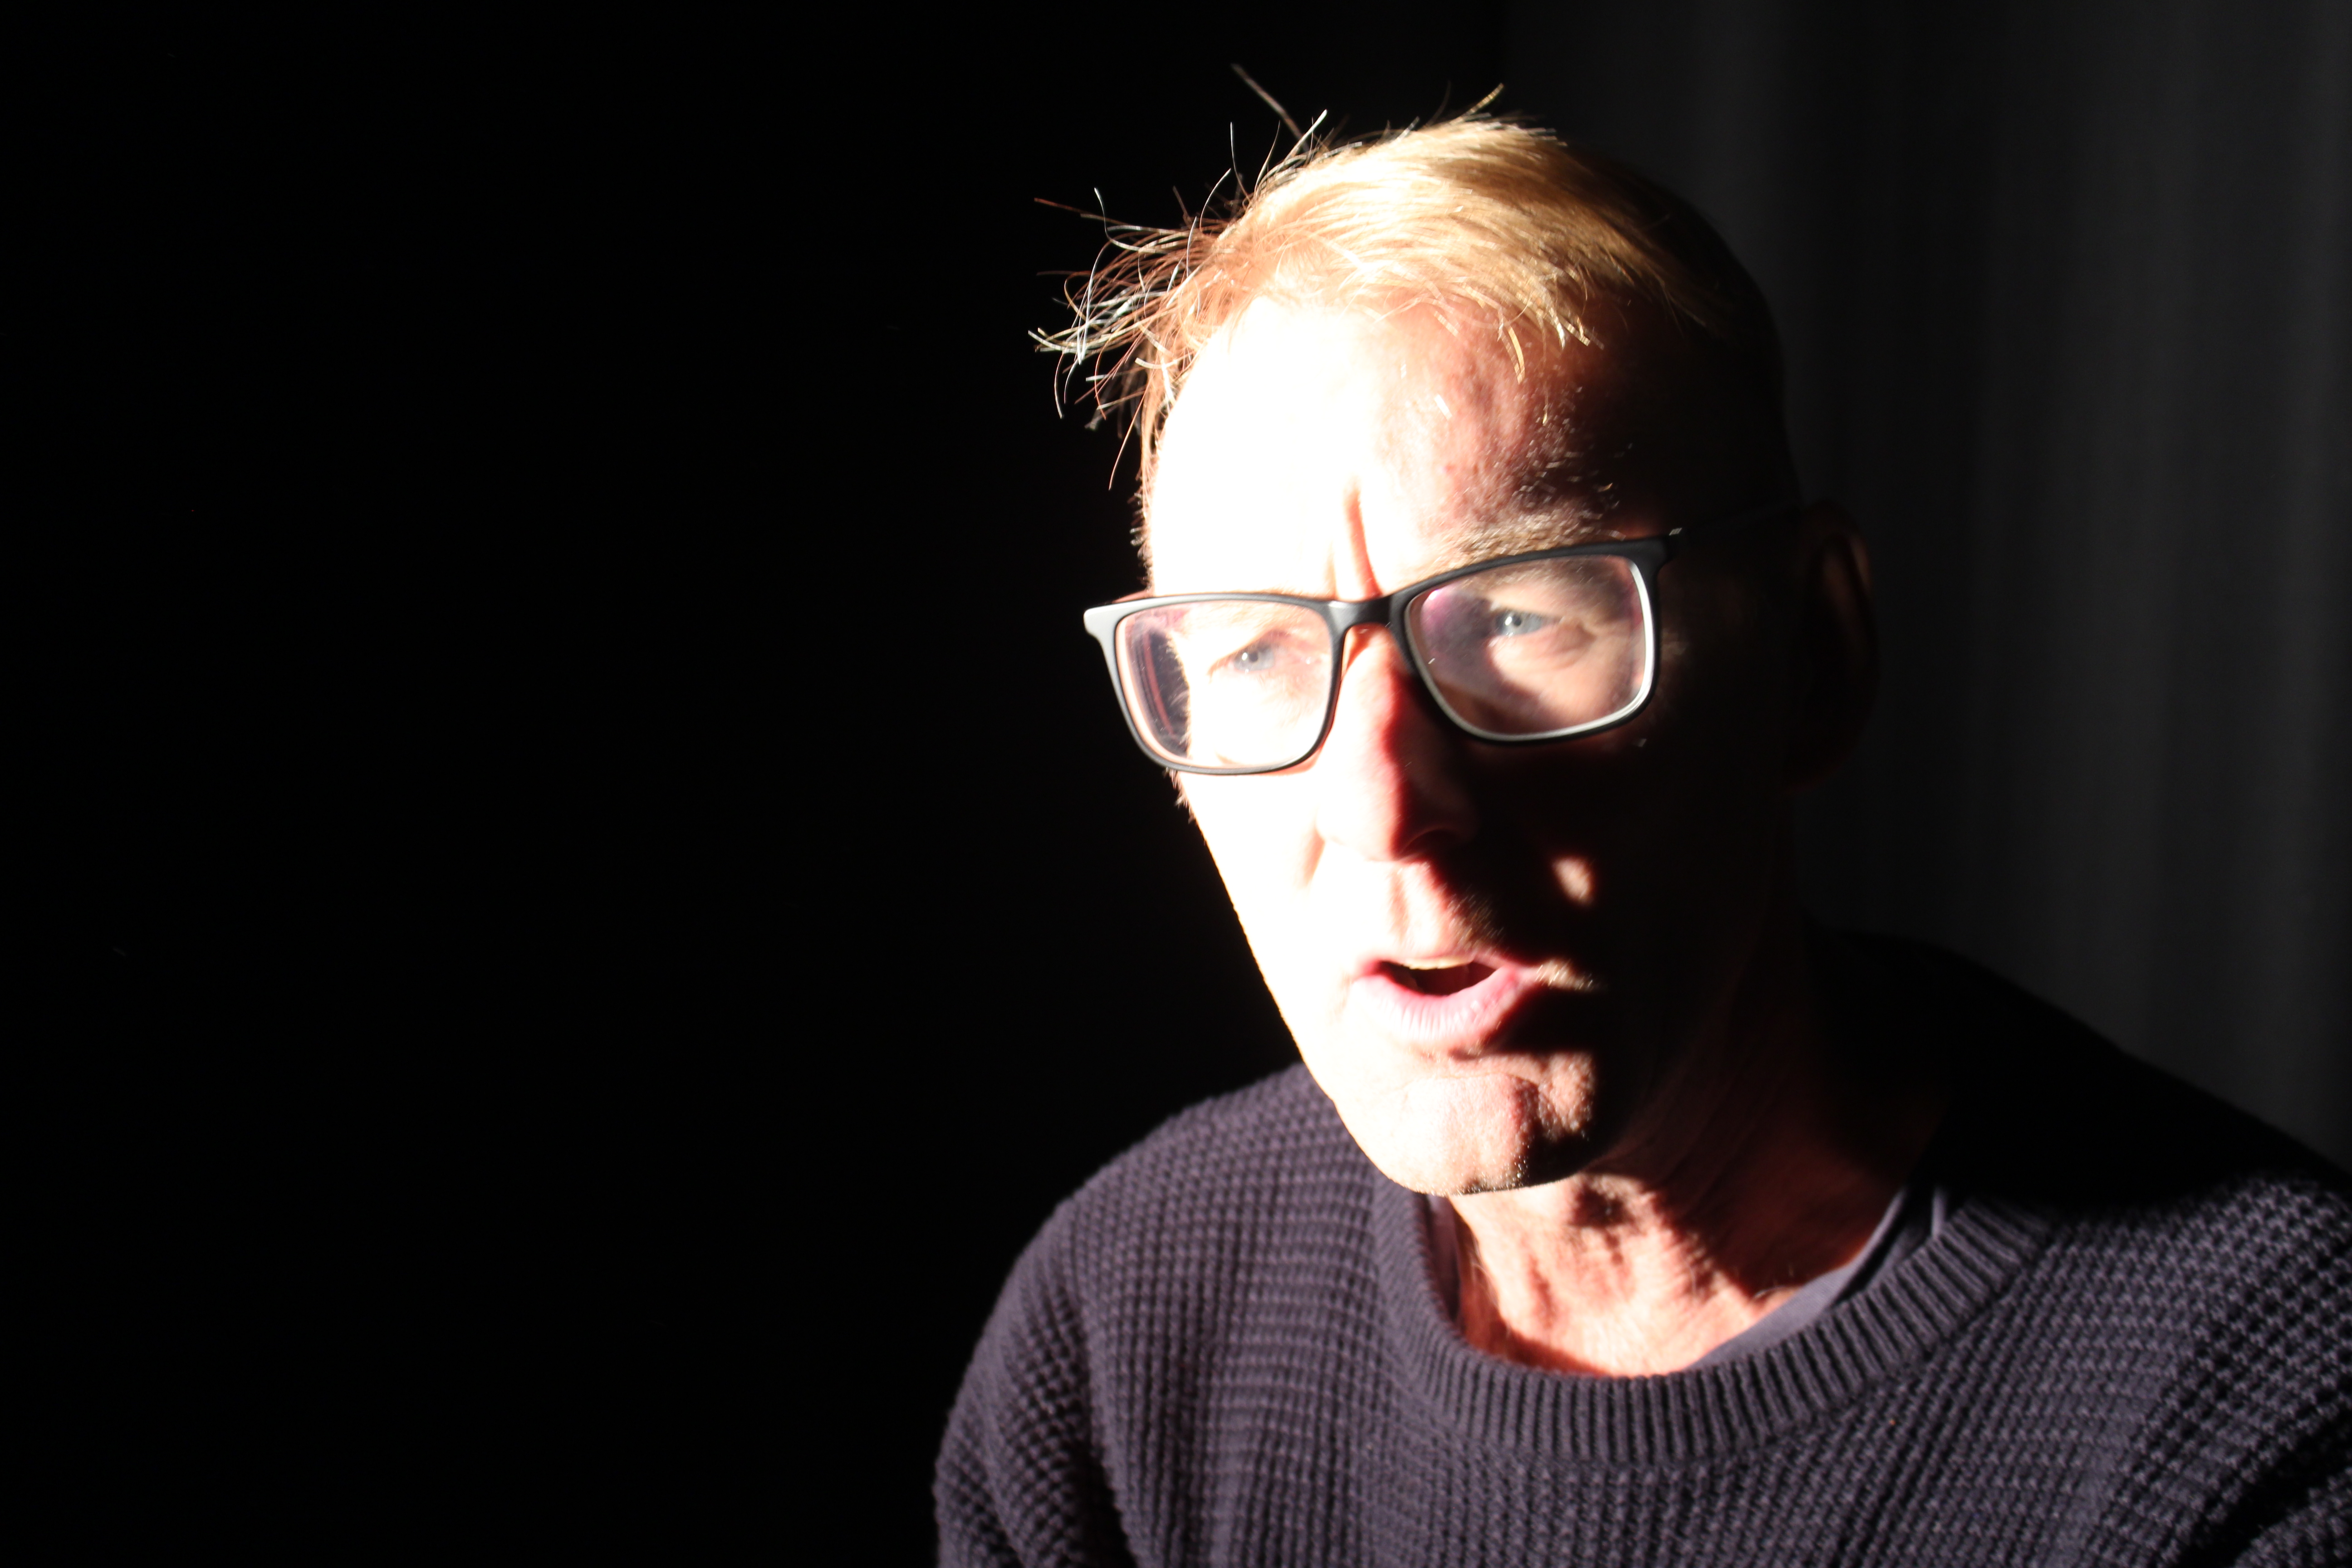
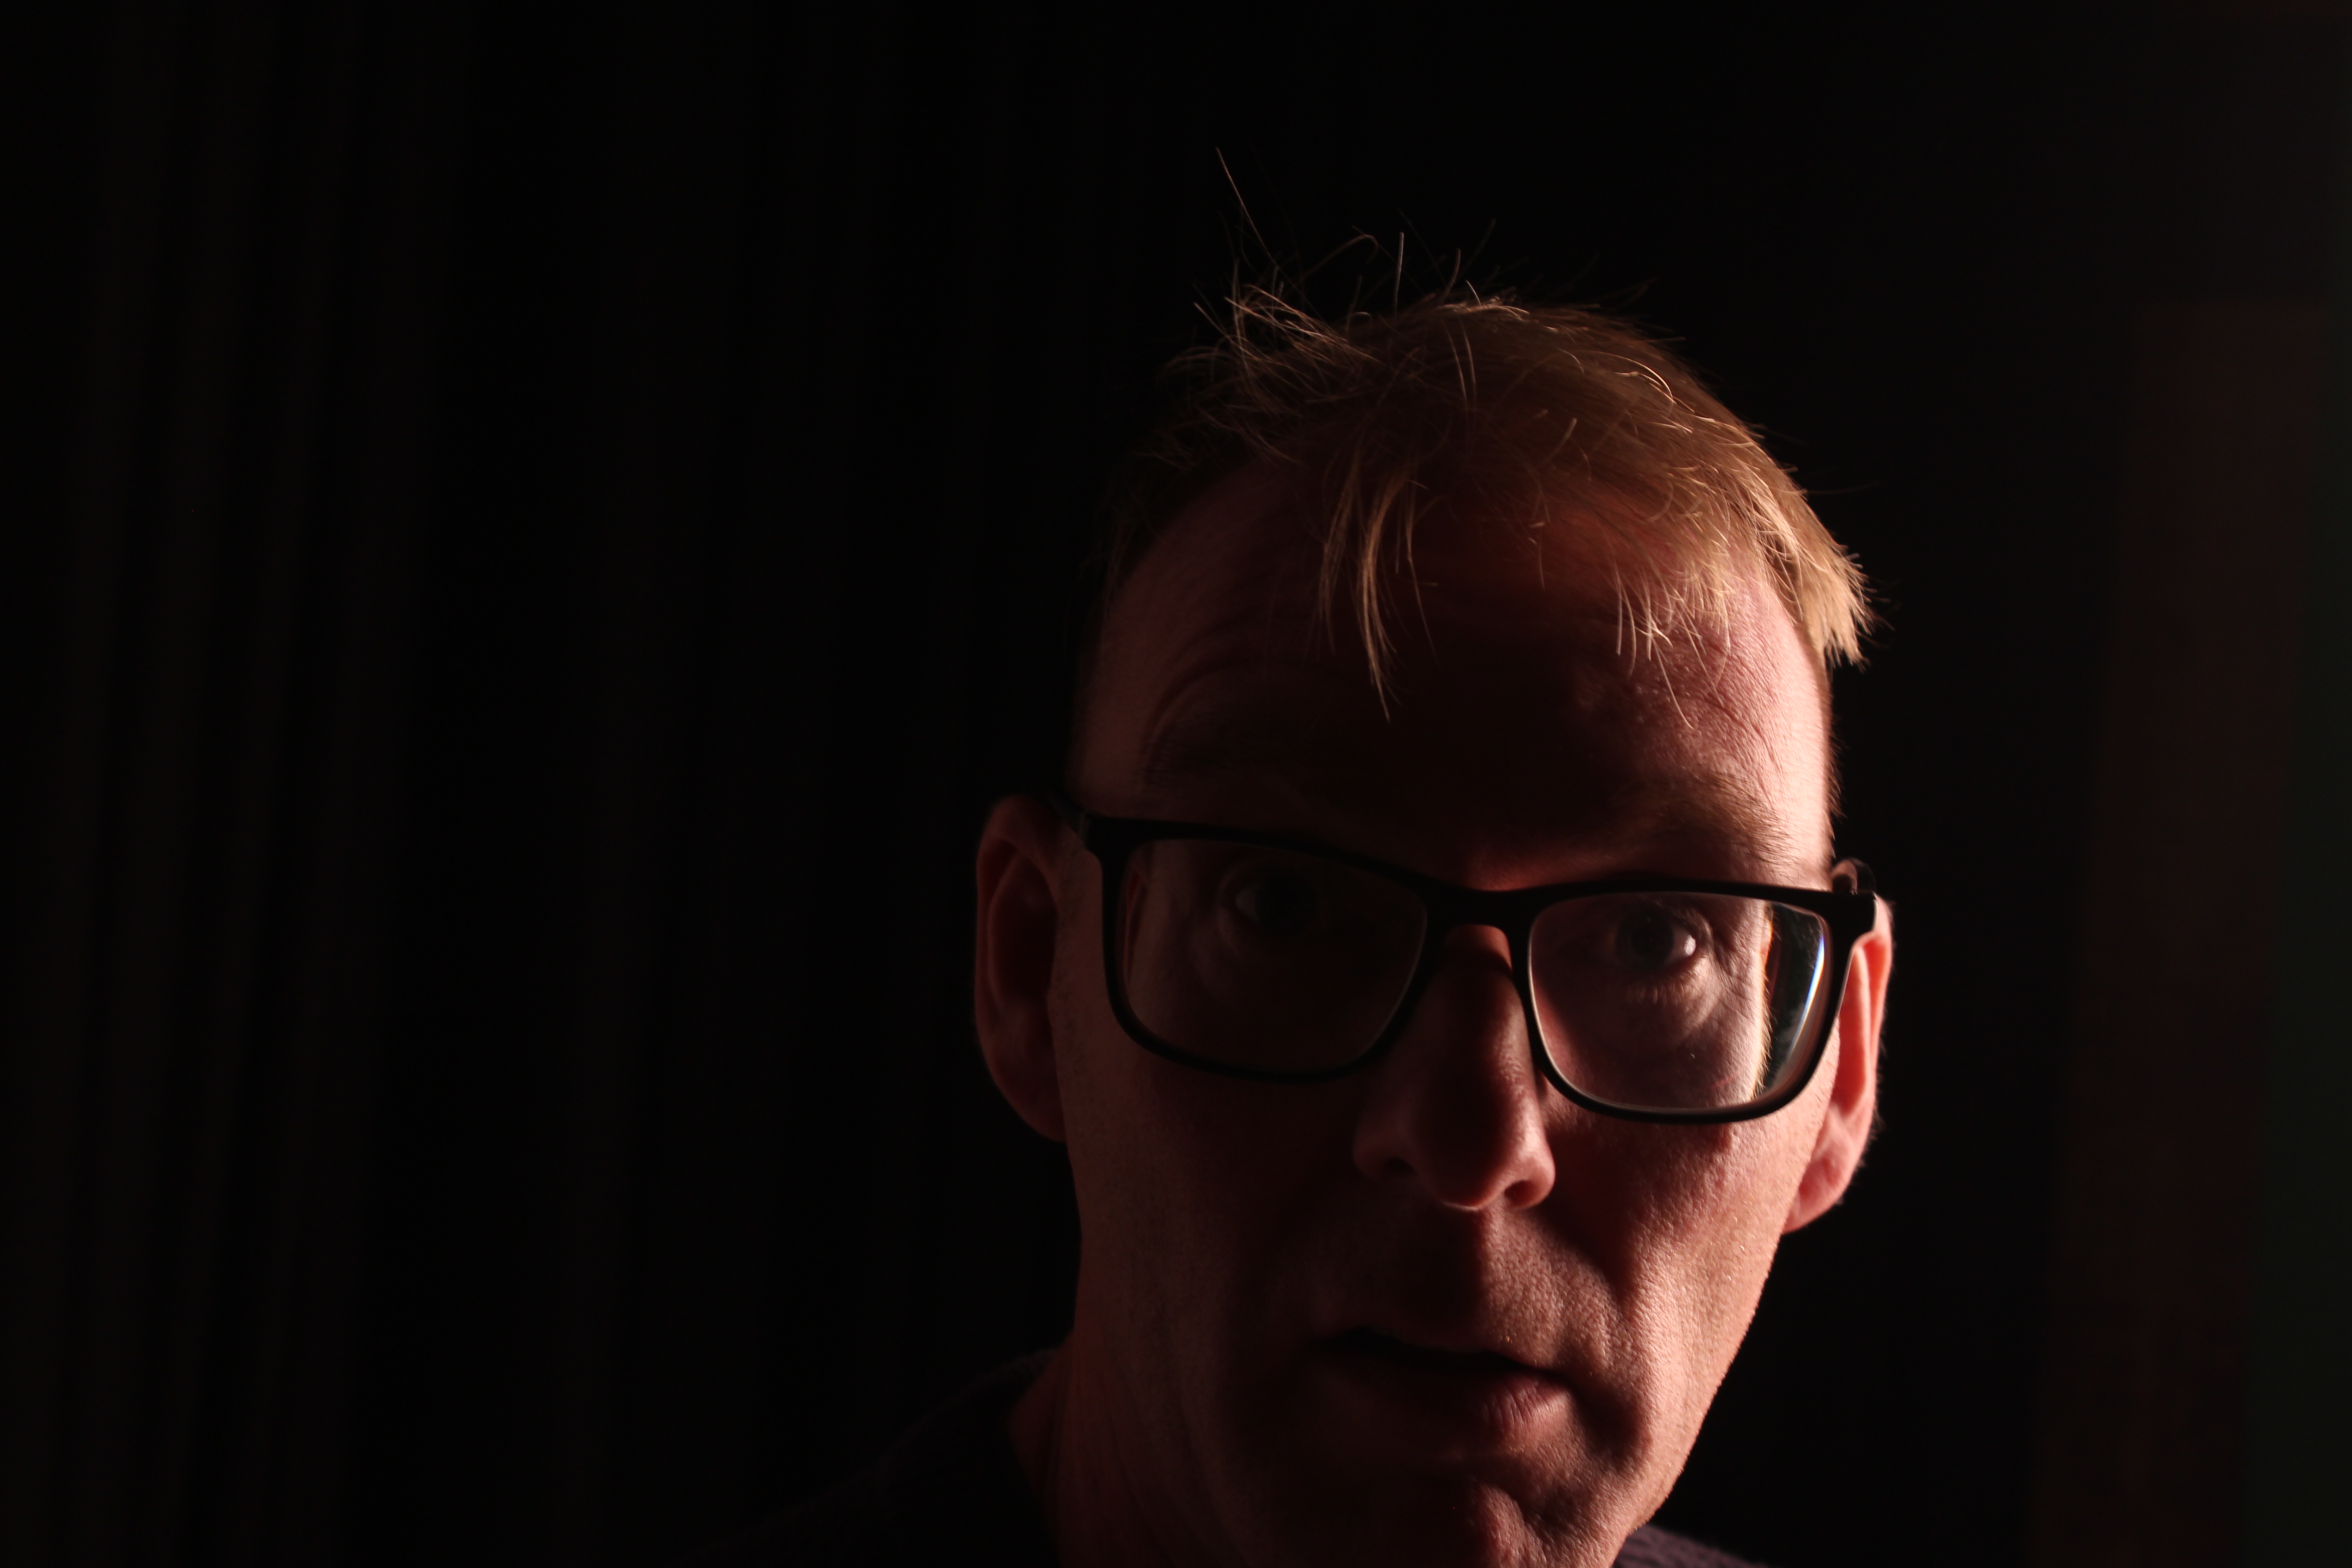
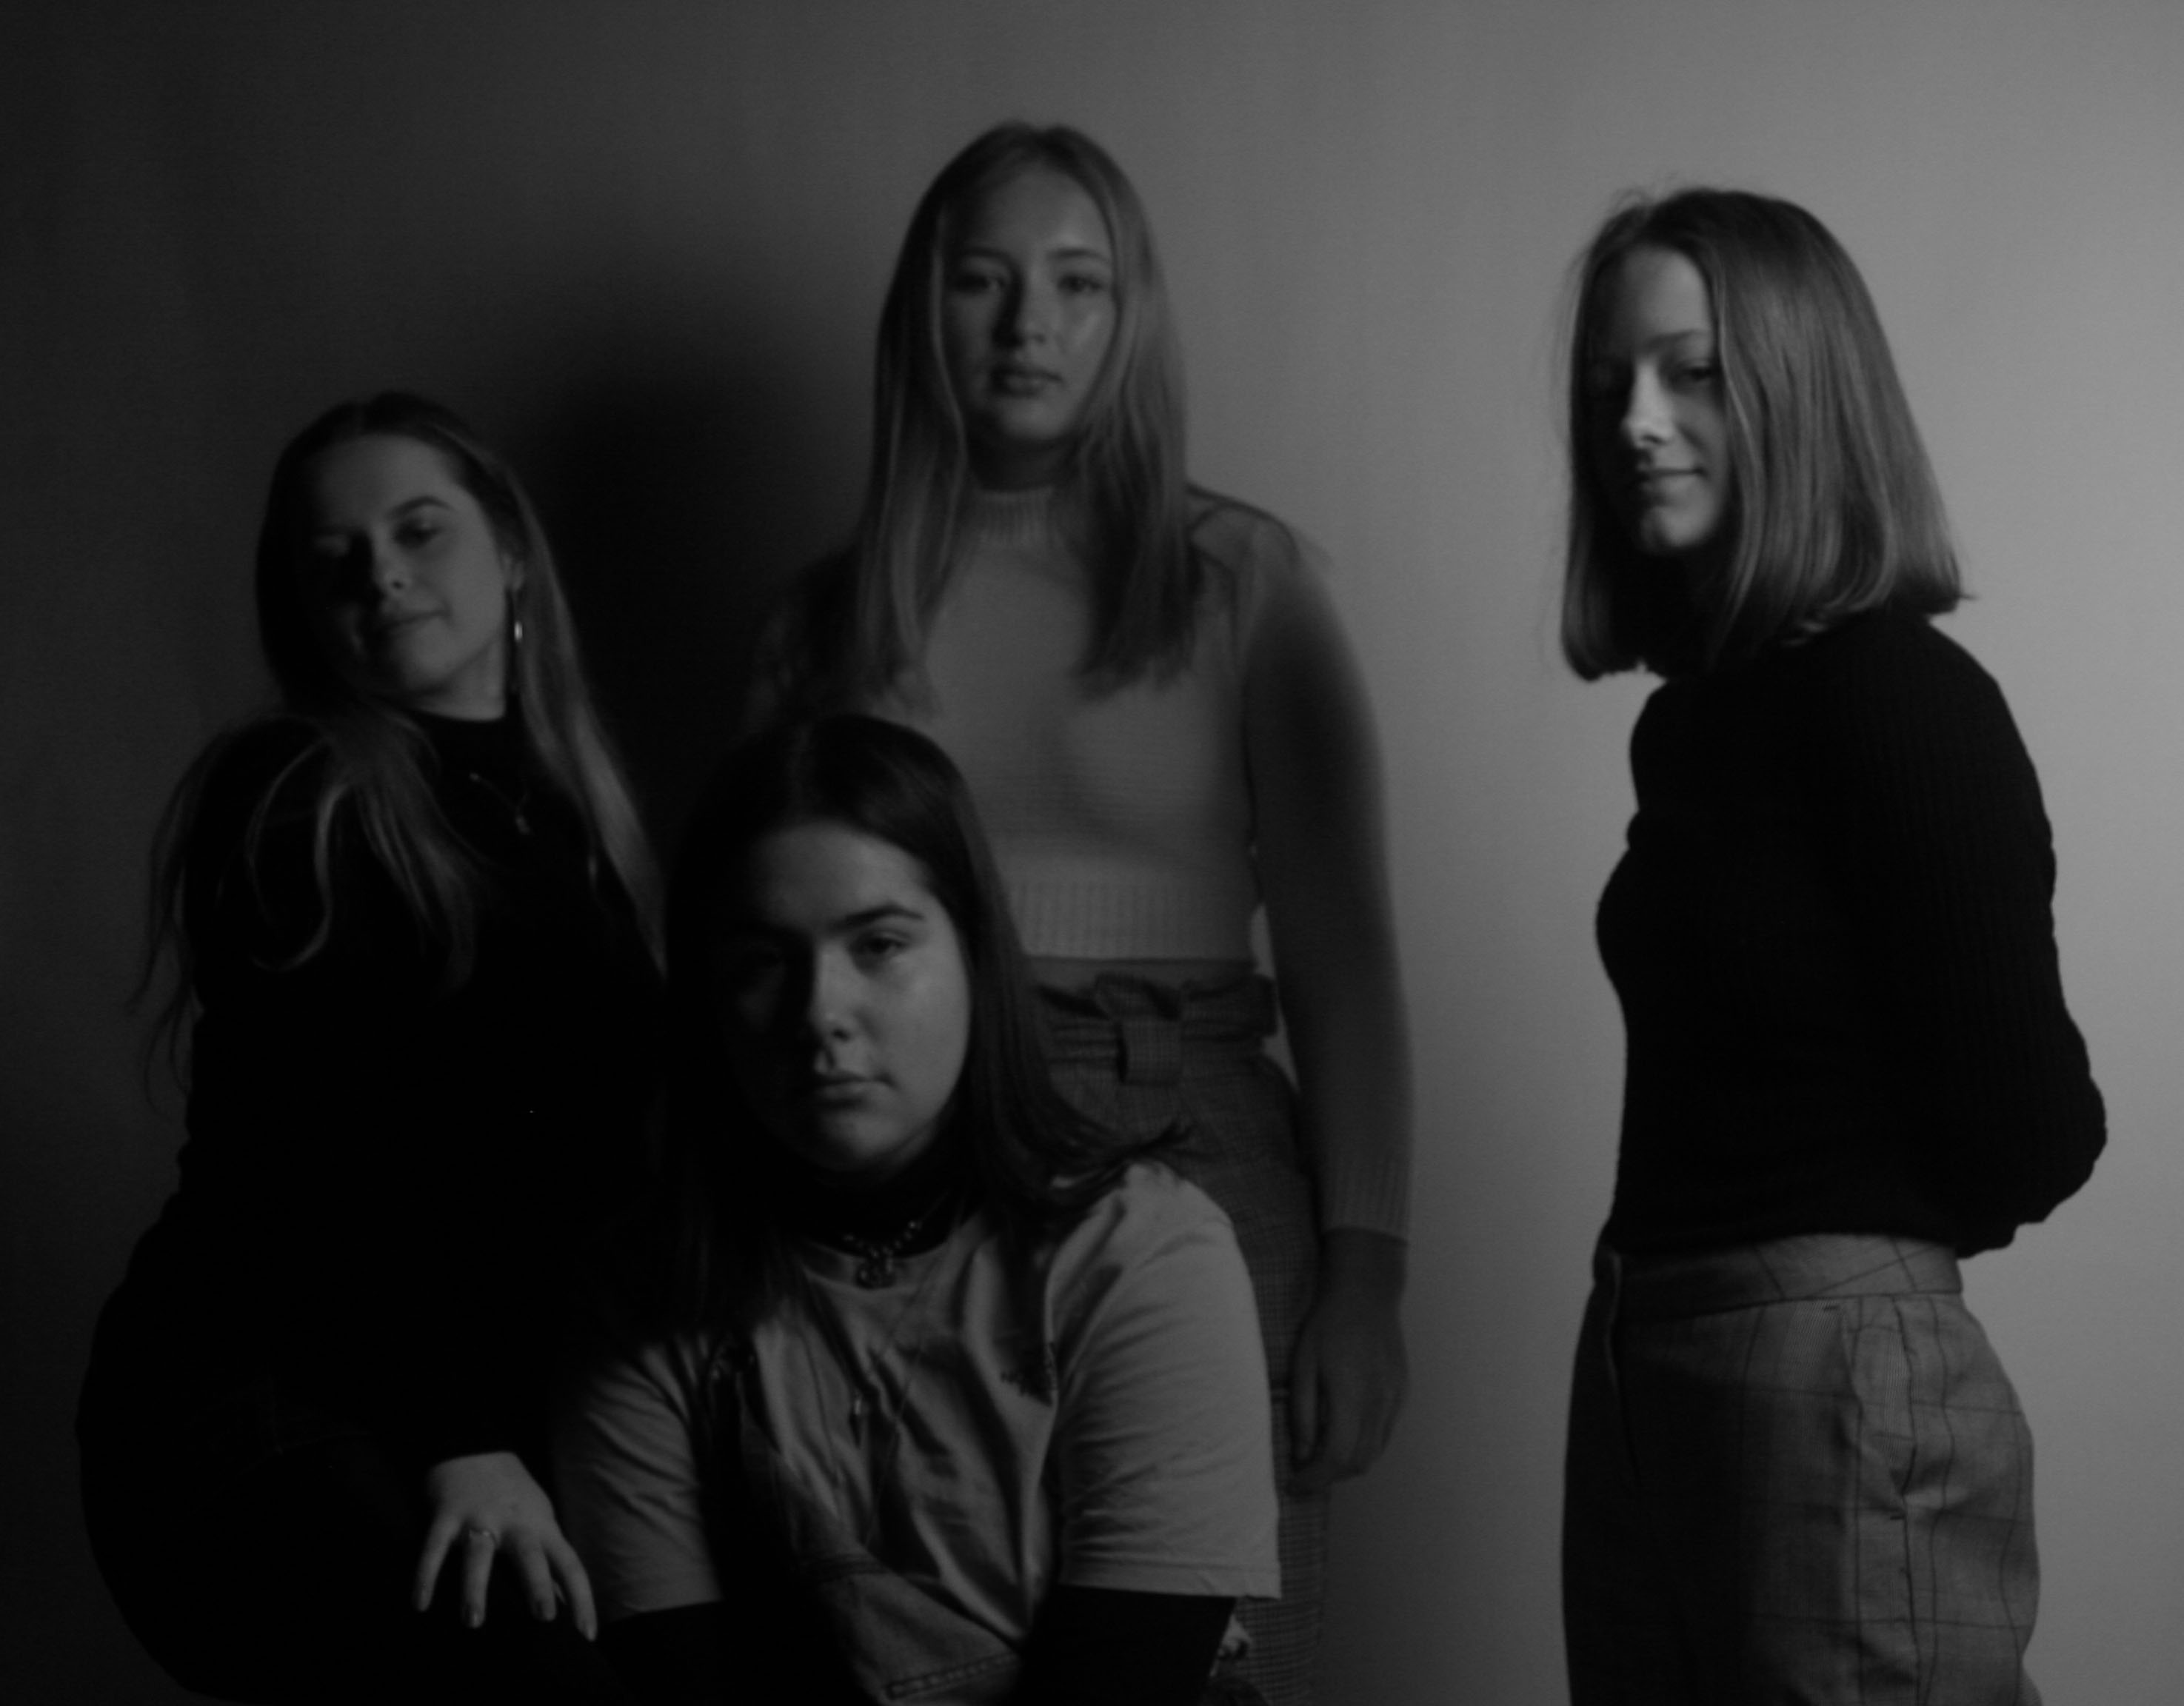
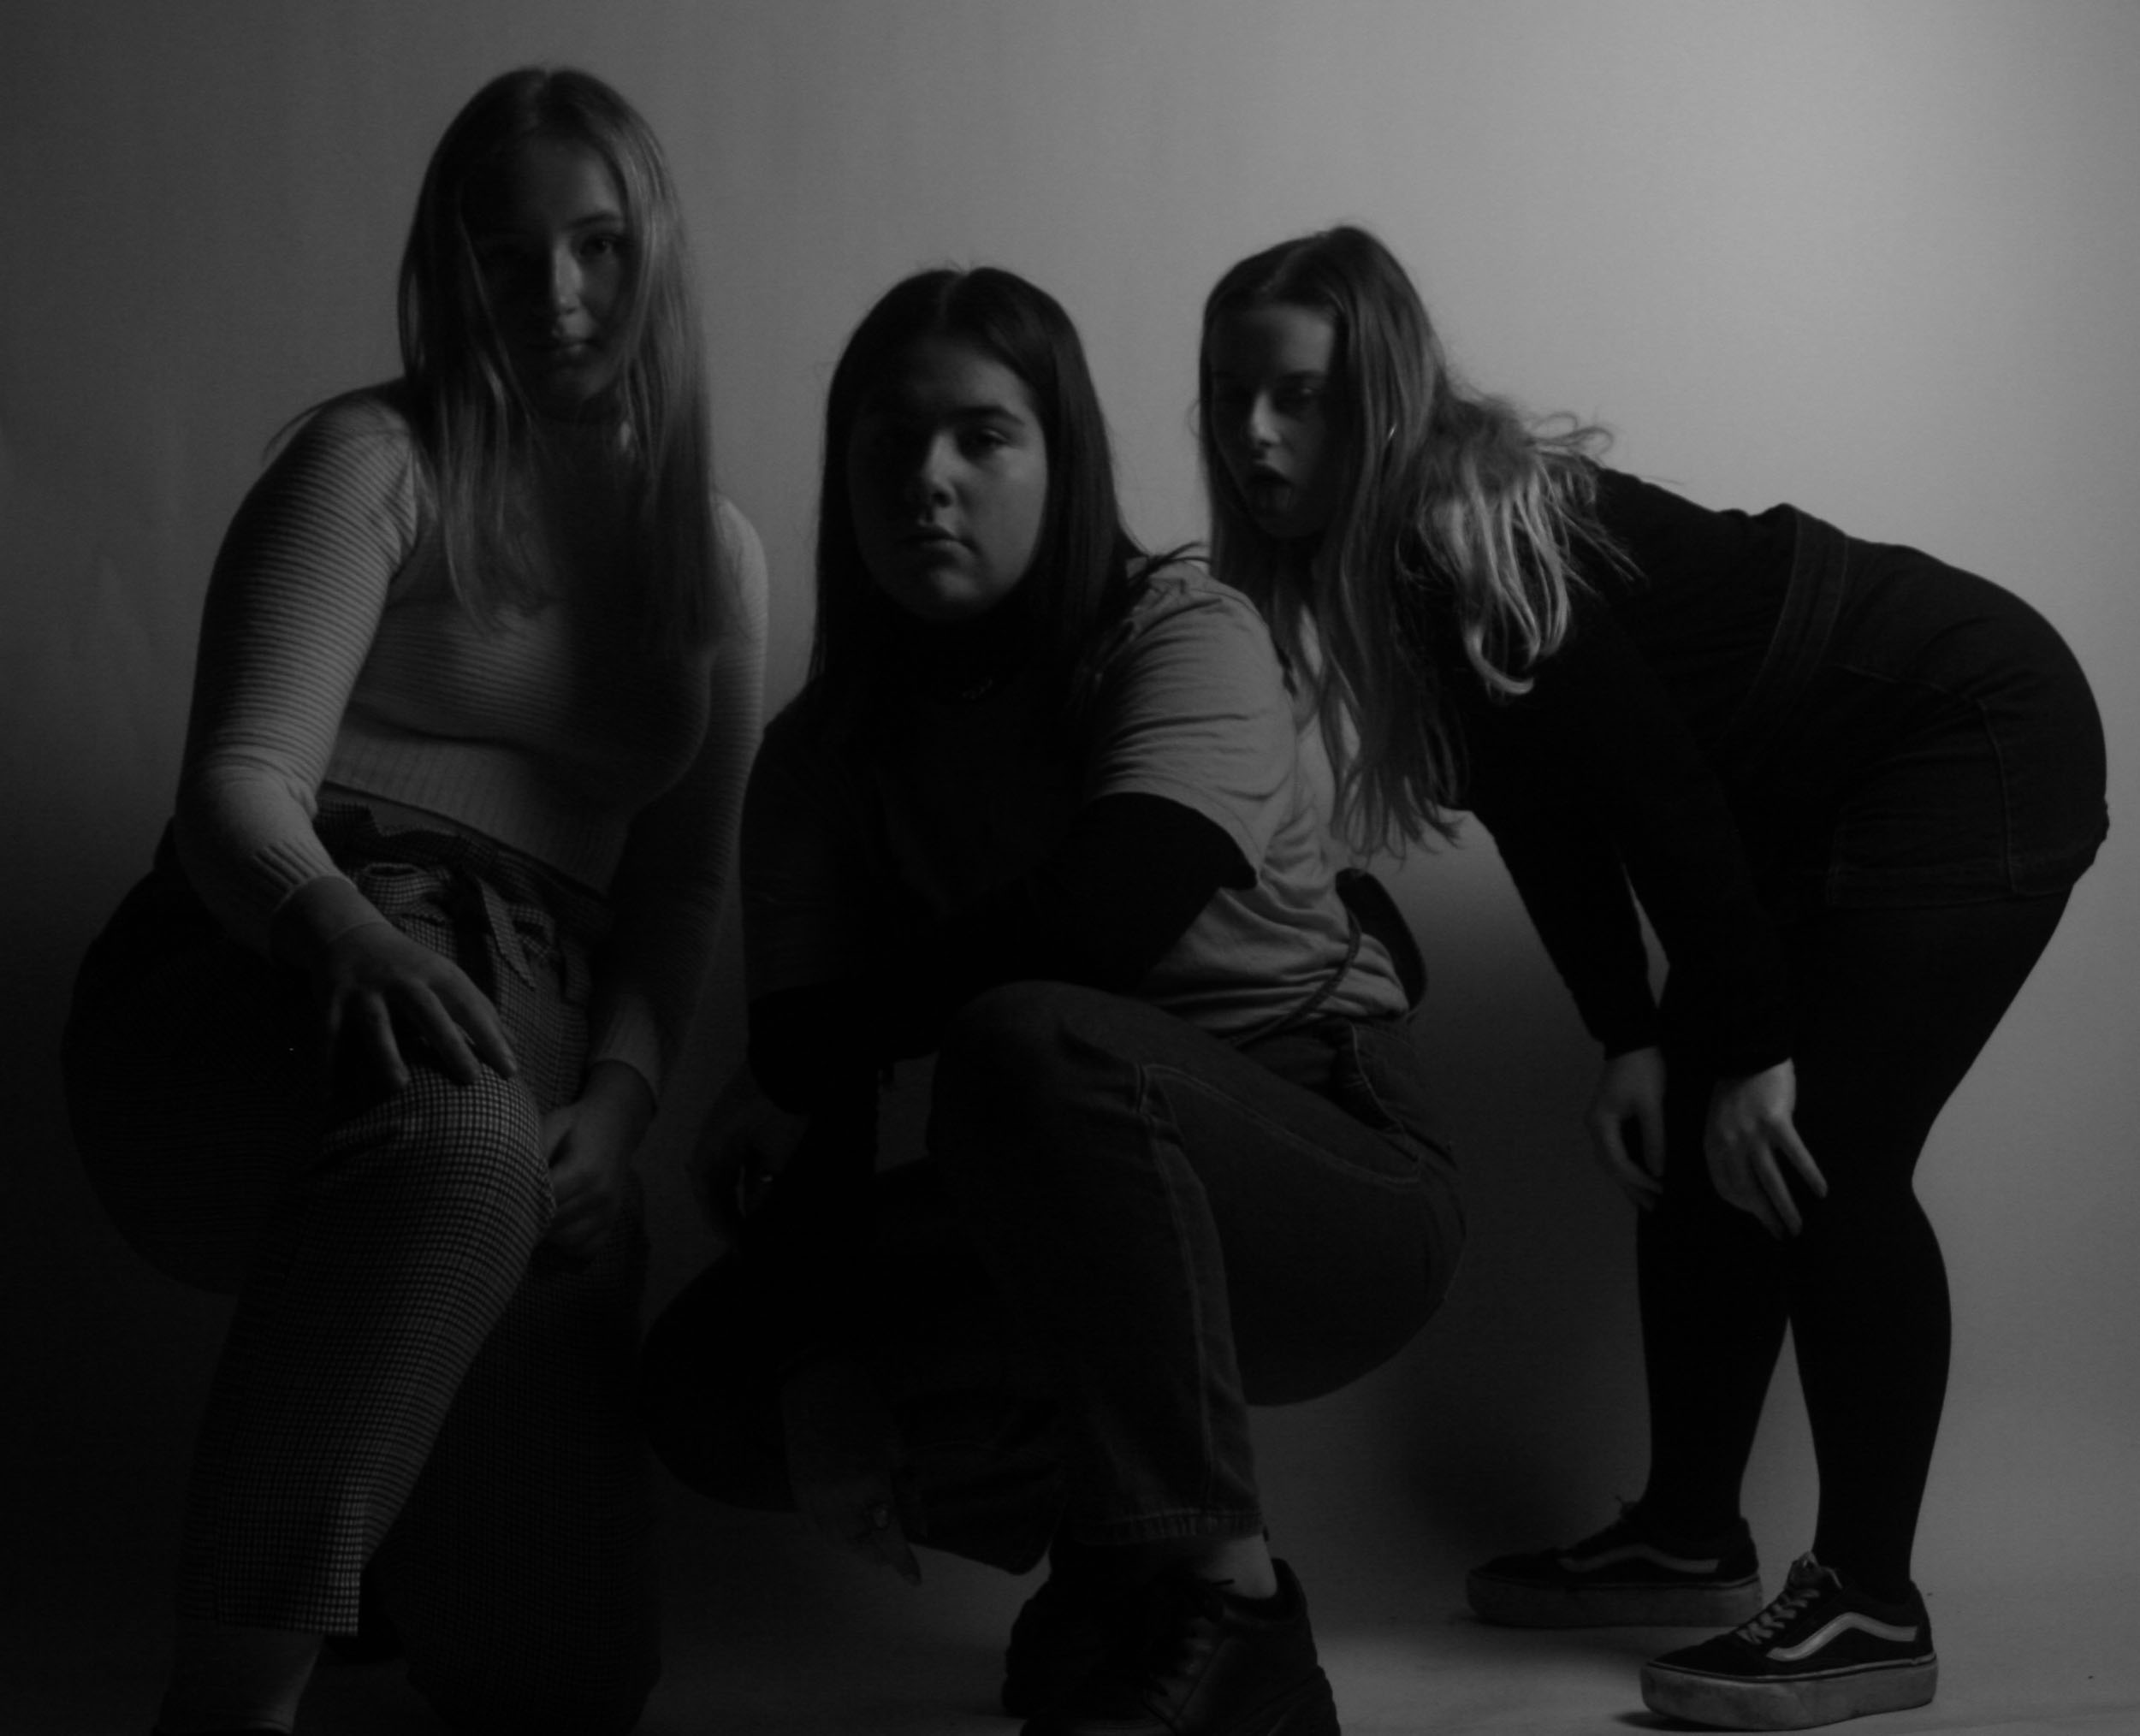
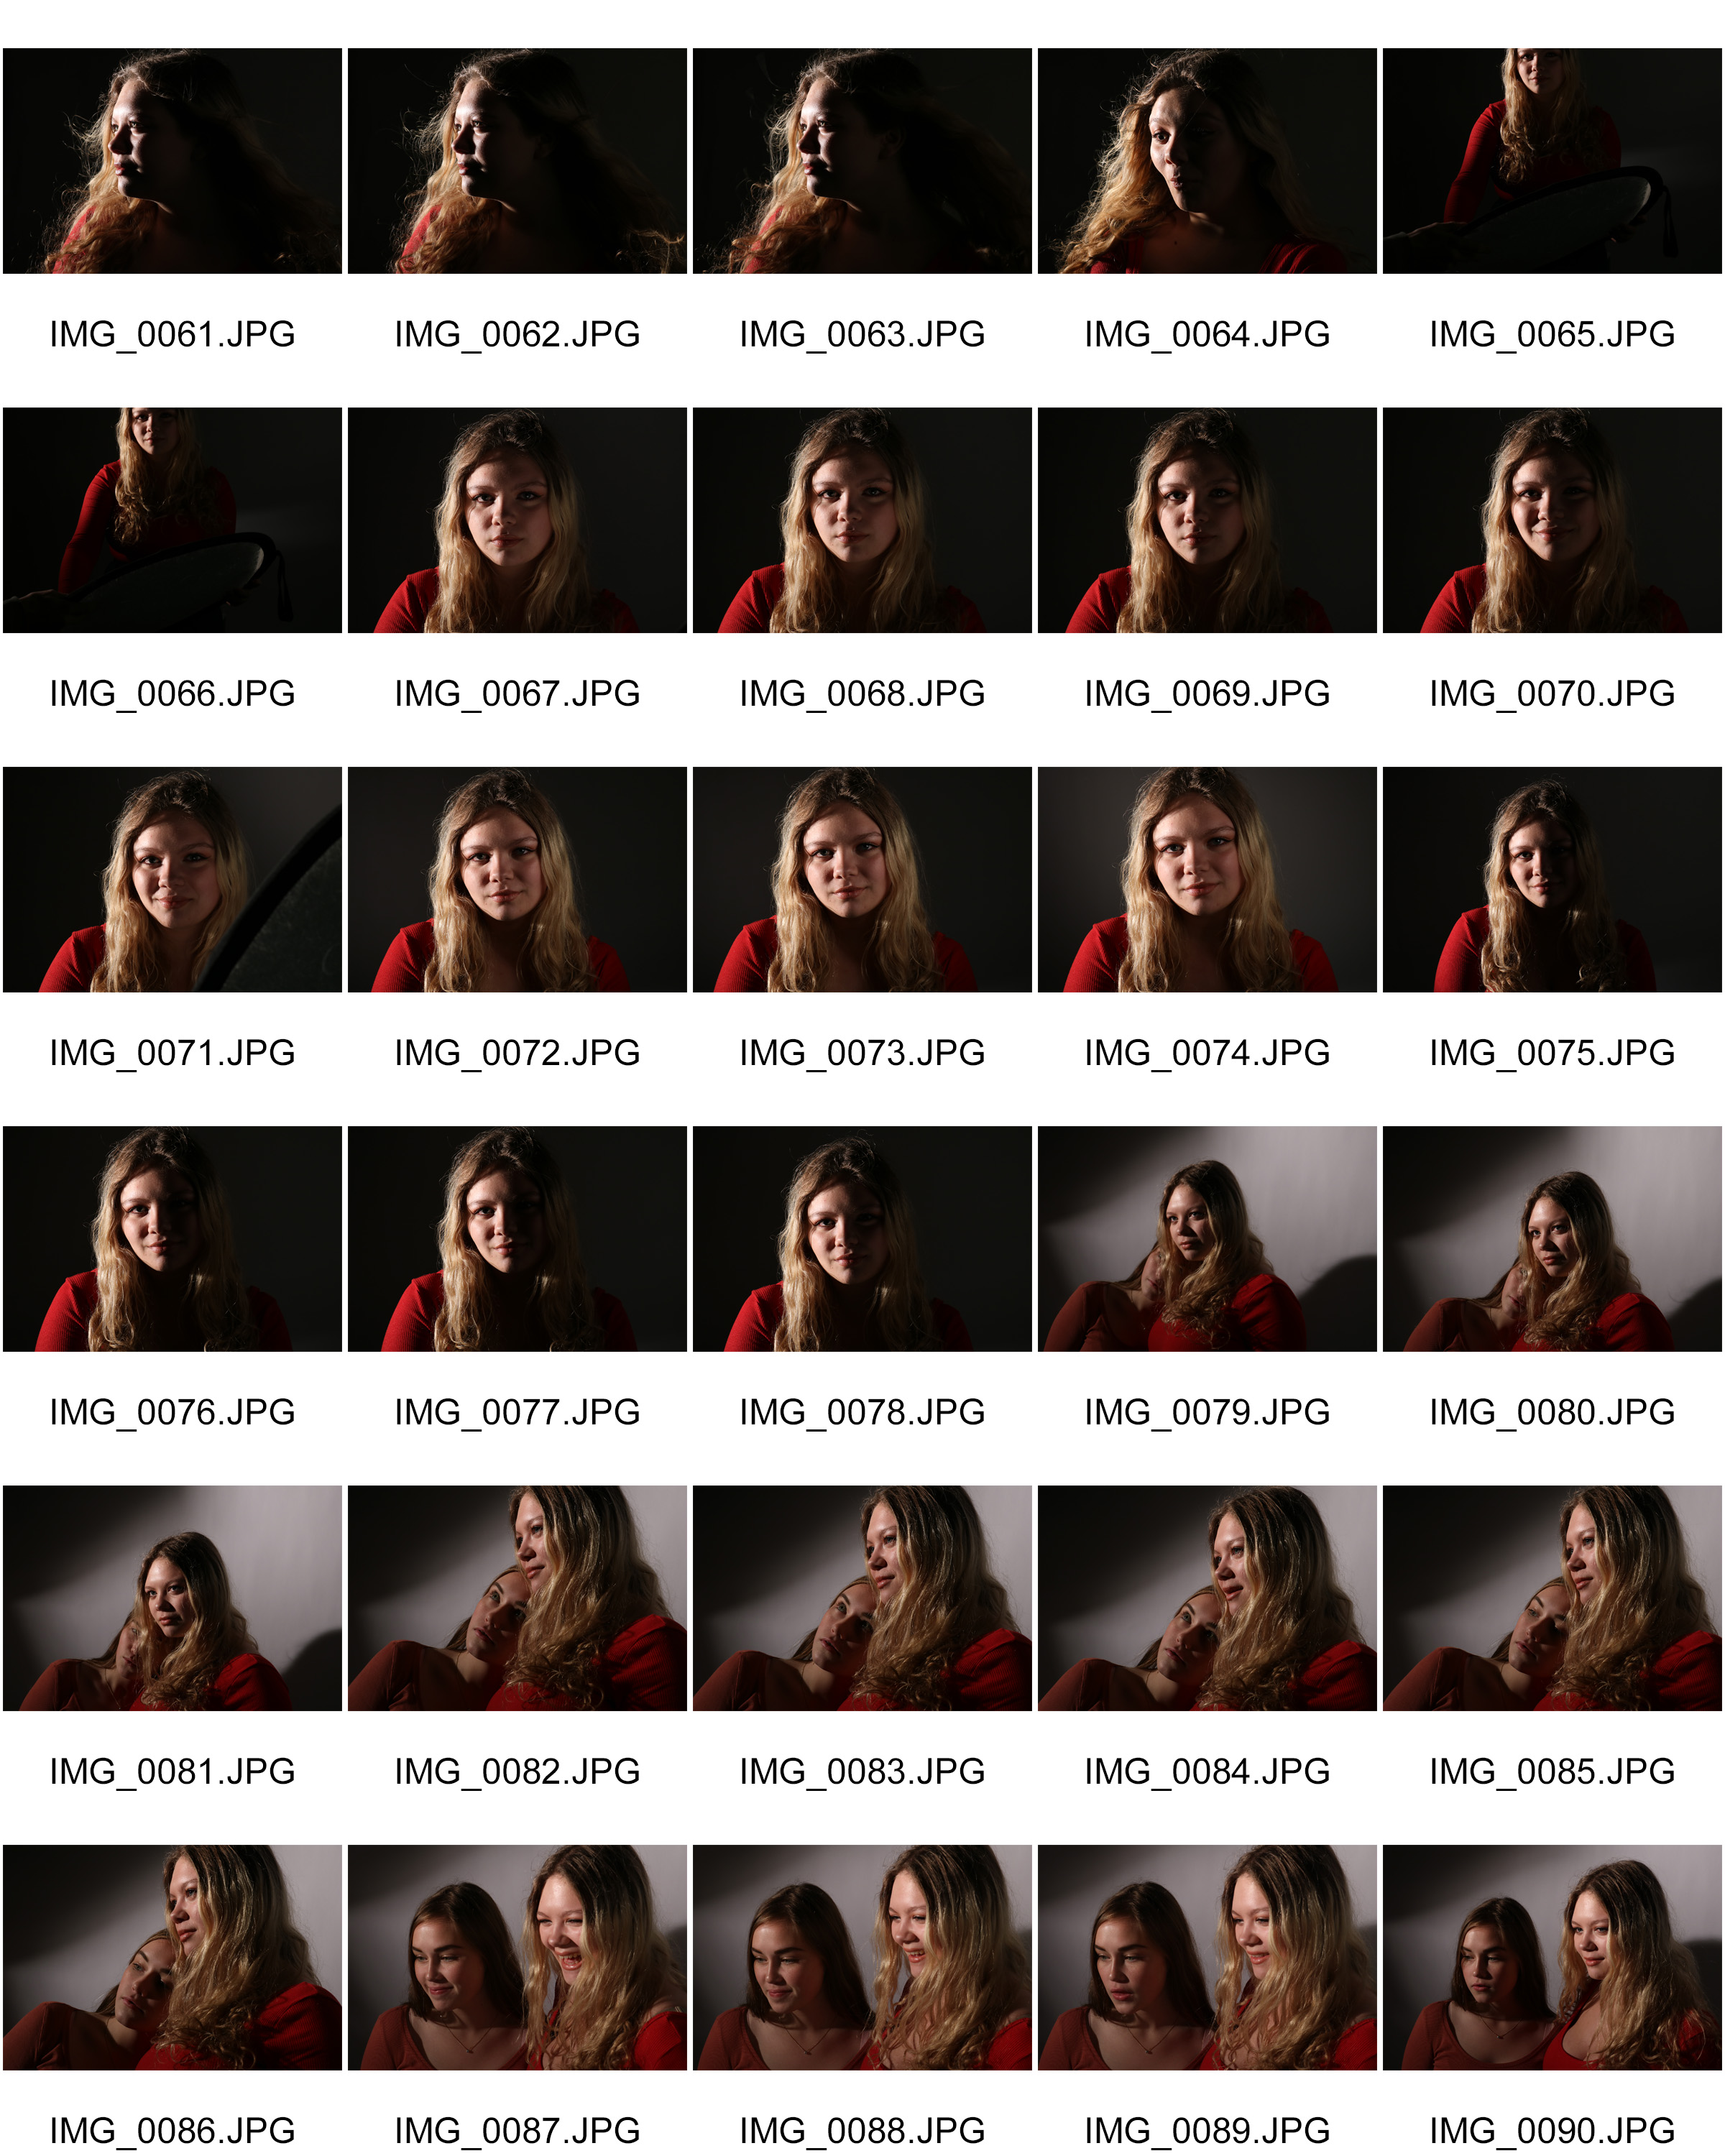
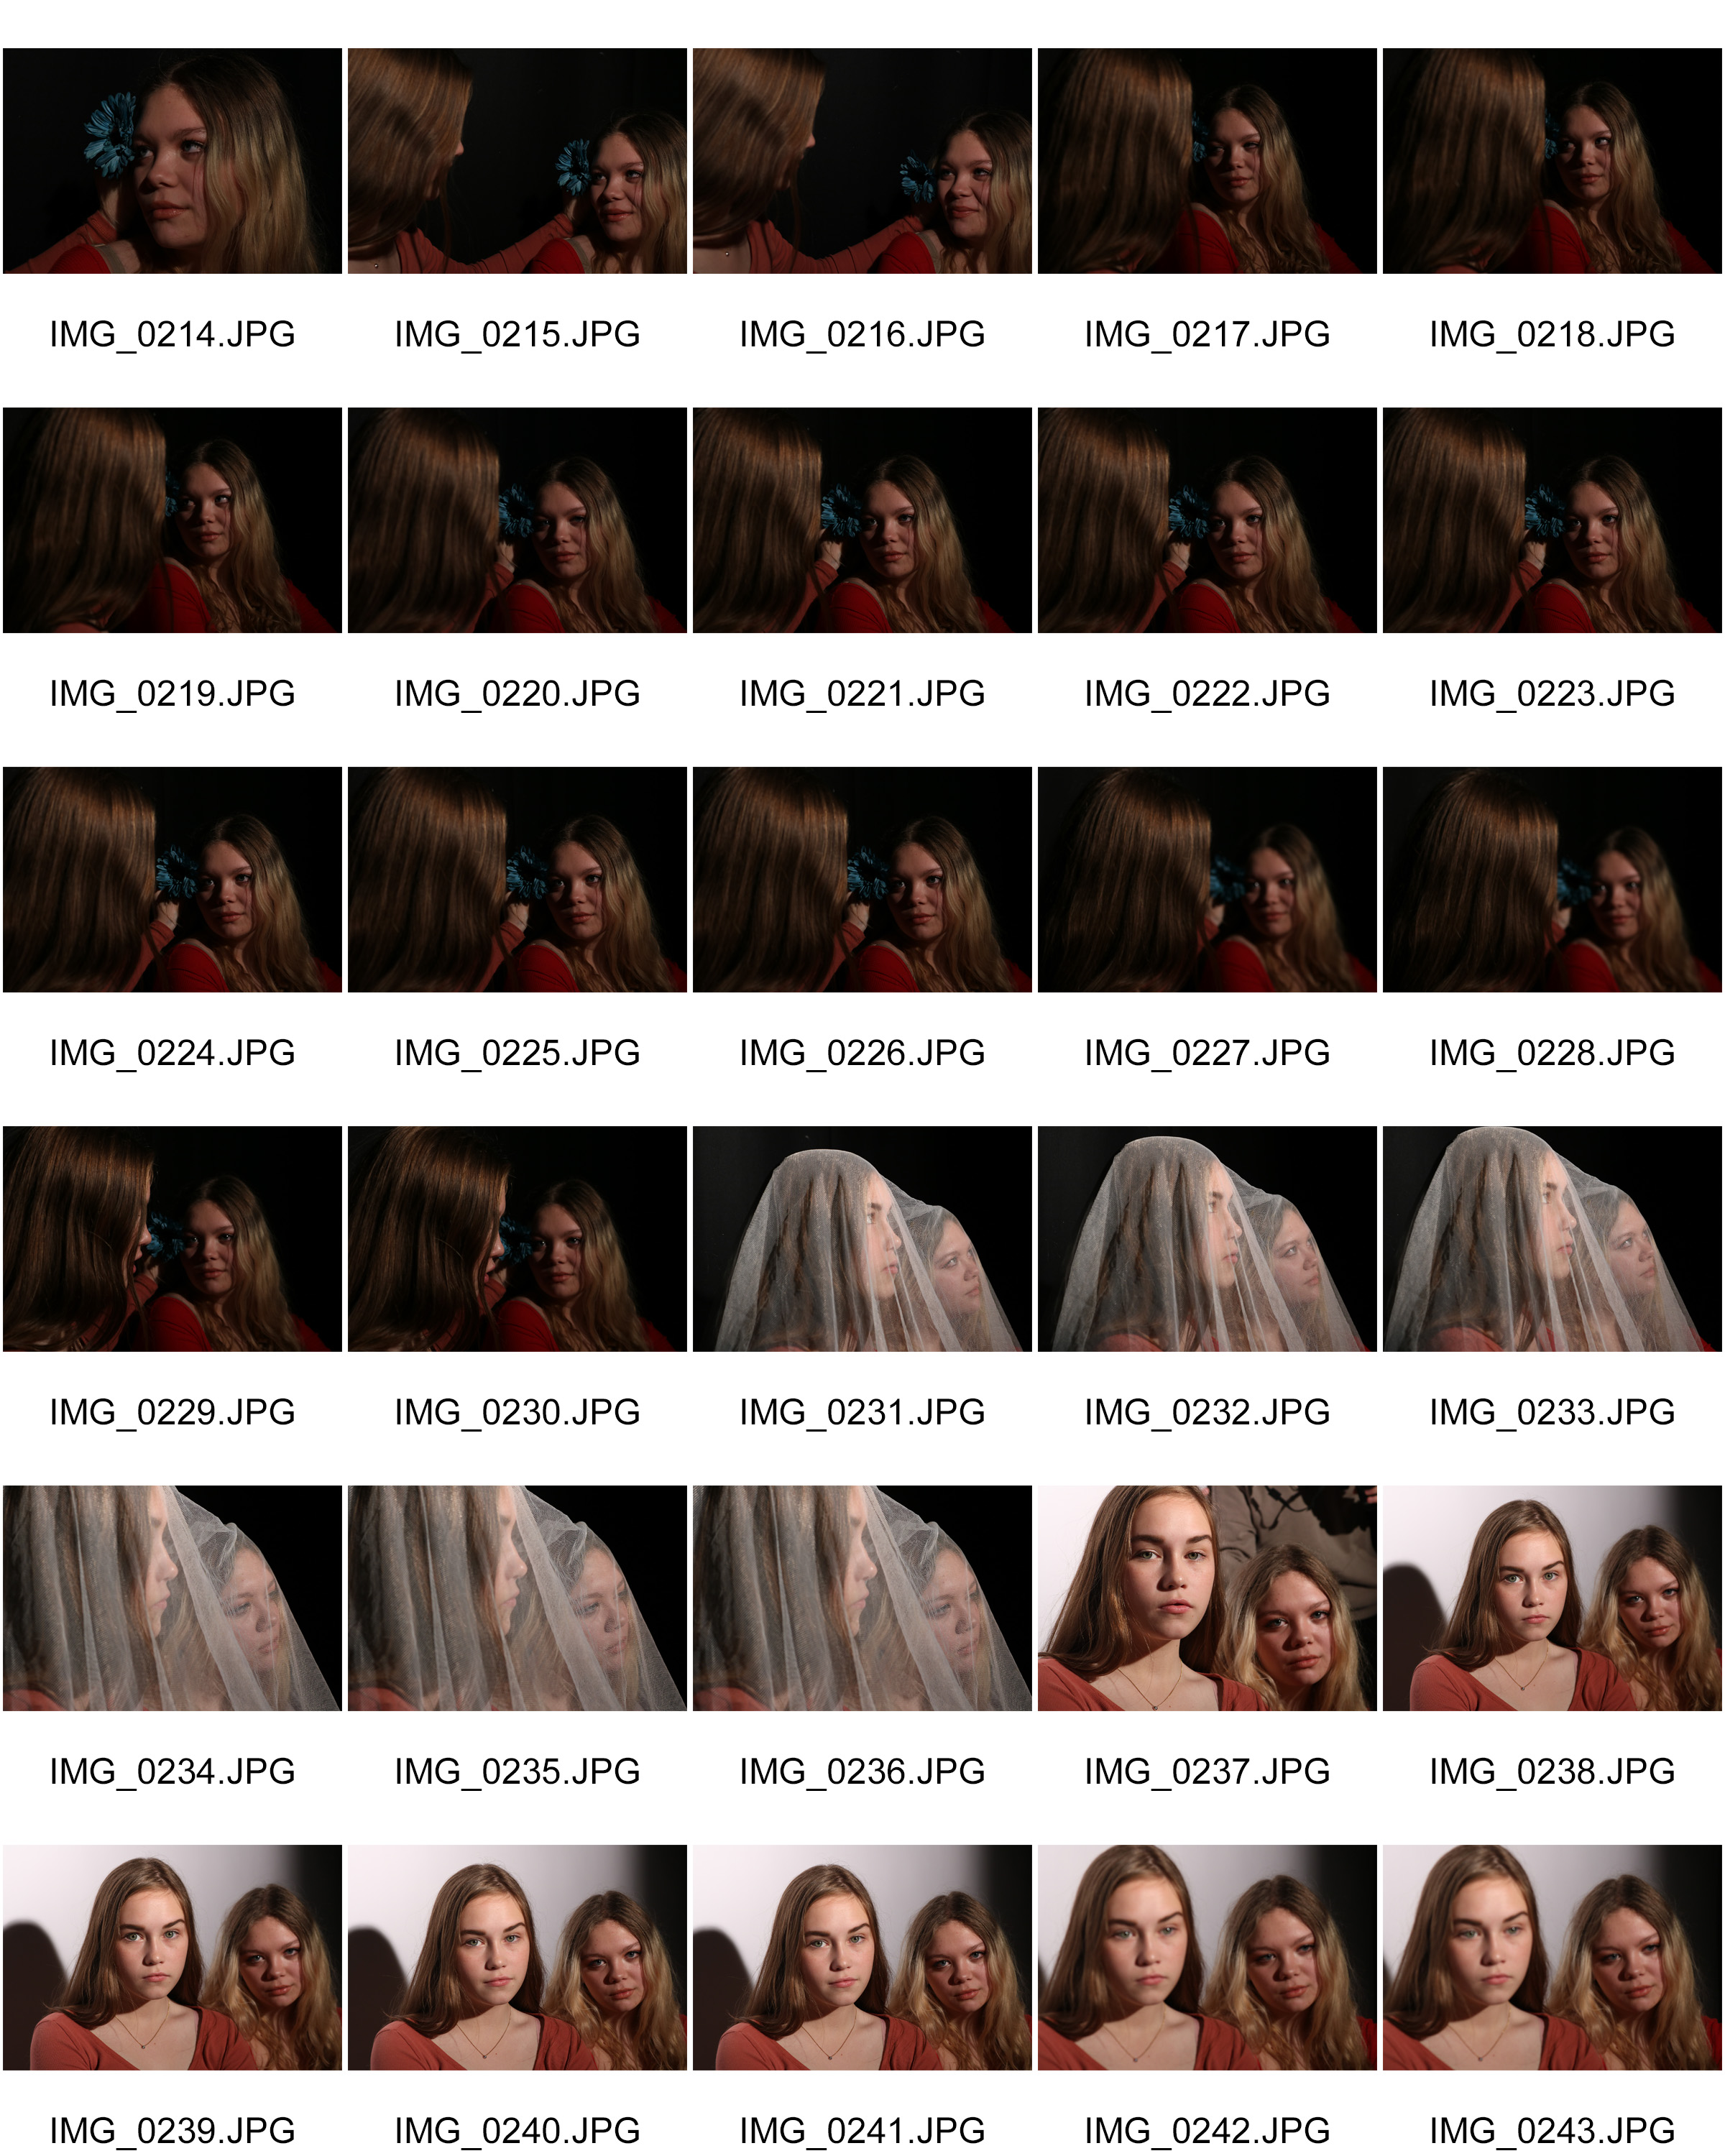
Studio Lighting; Low Key, Chiaroscuro
Chiaroscuro lighting is an artistic term dating back to the Renaissance that is noted by the contrast between dark and light. It is often times used in a bold manner so that it has a noticeable and dramatic effect on the entire composition of a work
Examples of Chiaroscuro lighting
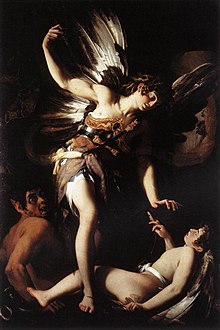
Giovanni Baglione. Sacred and Profane Love. 1602–1603, showing dramatic compositional chiaroscuro

Peter Paul Rubens’s The Elevation of the Cross (1610–1611) is modelled with dynamic chiaroscuro.
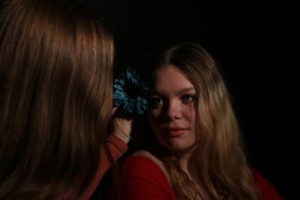
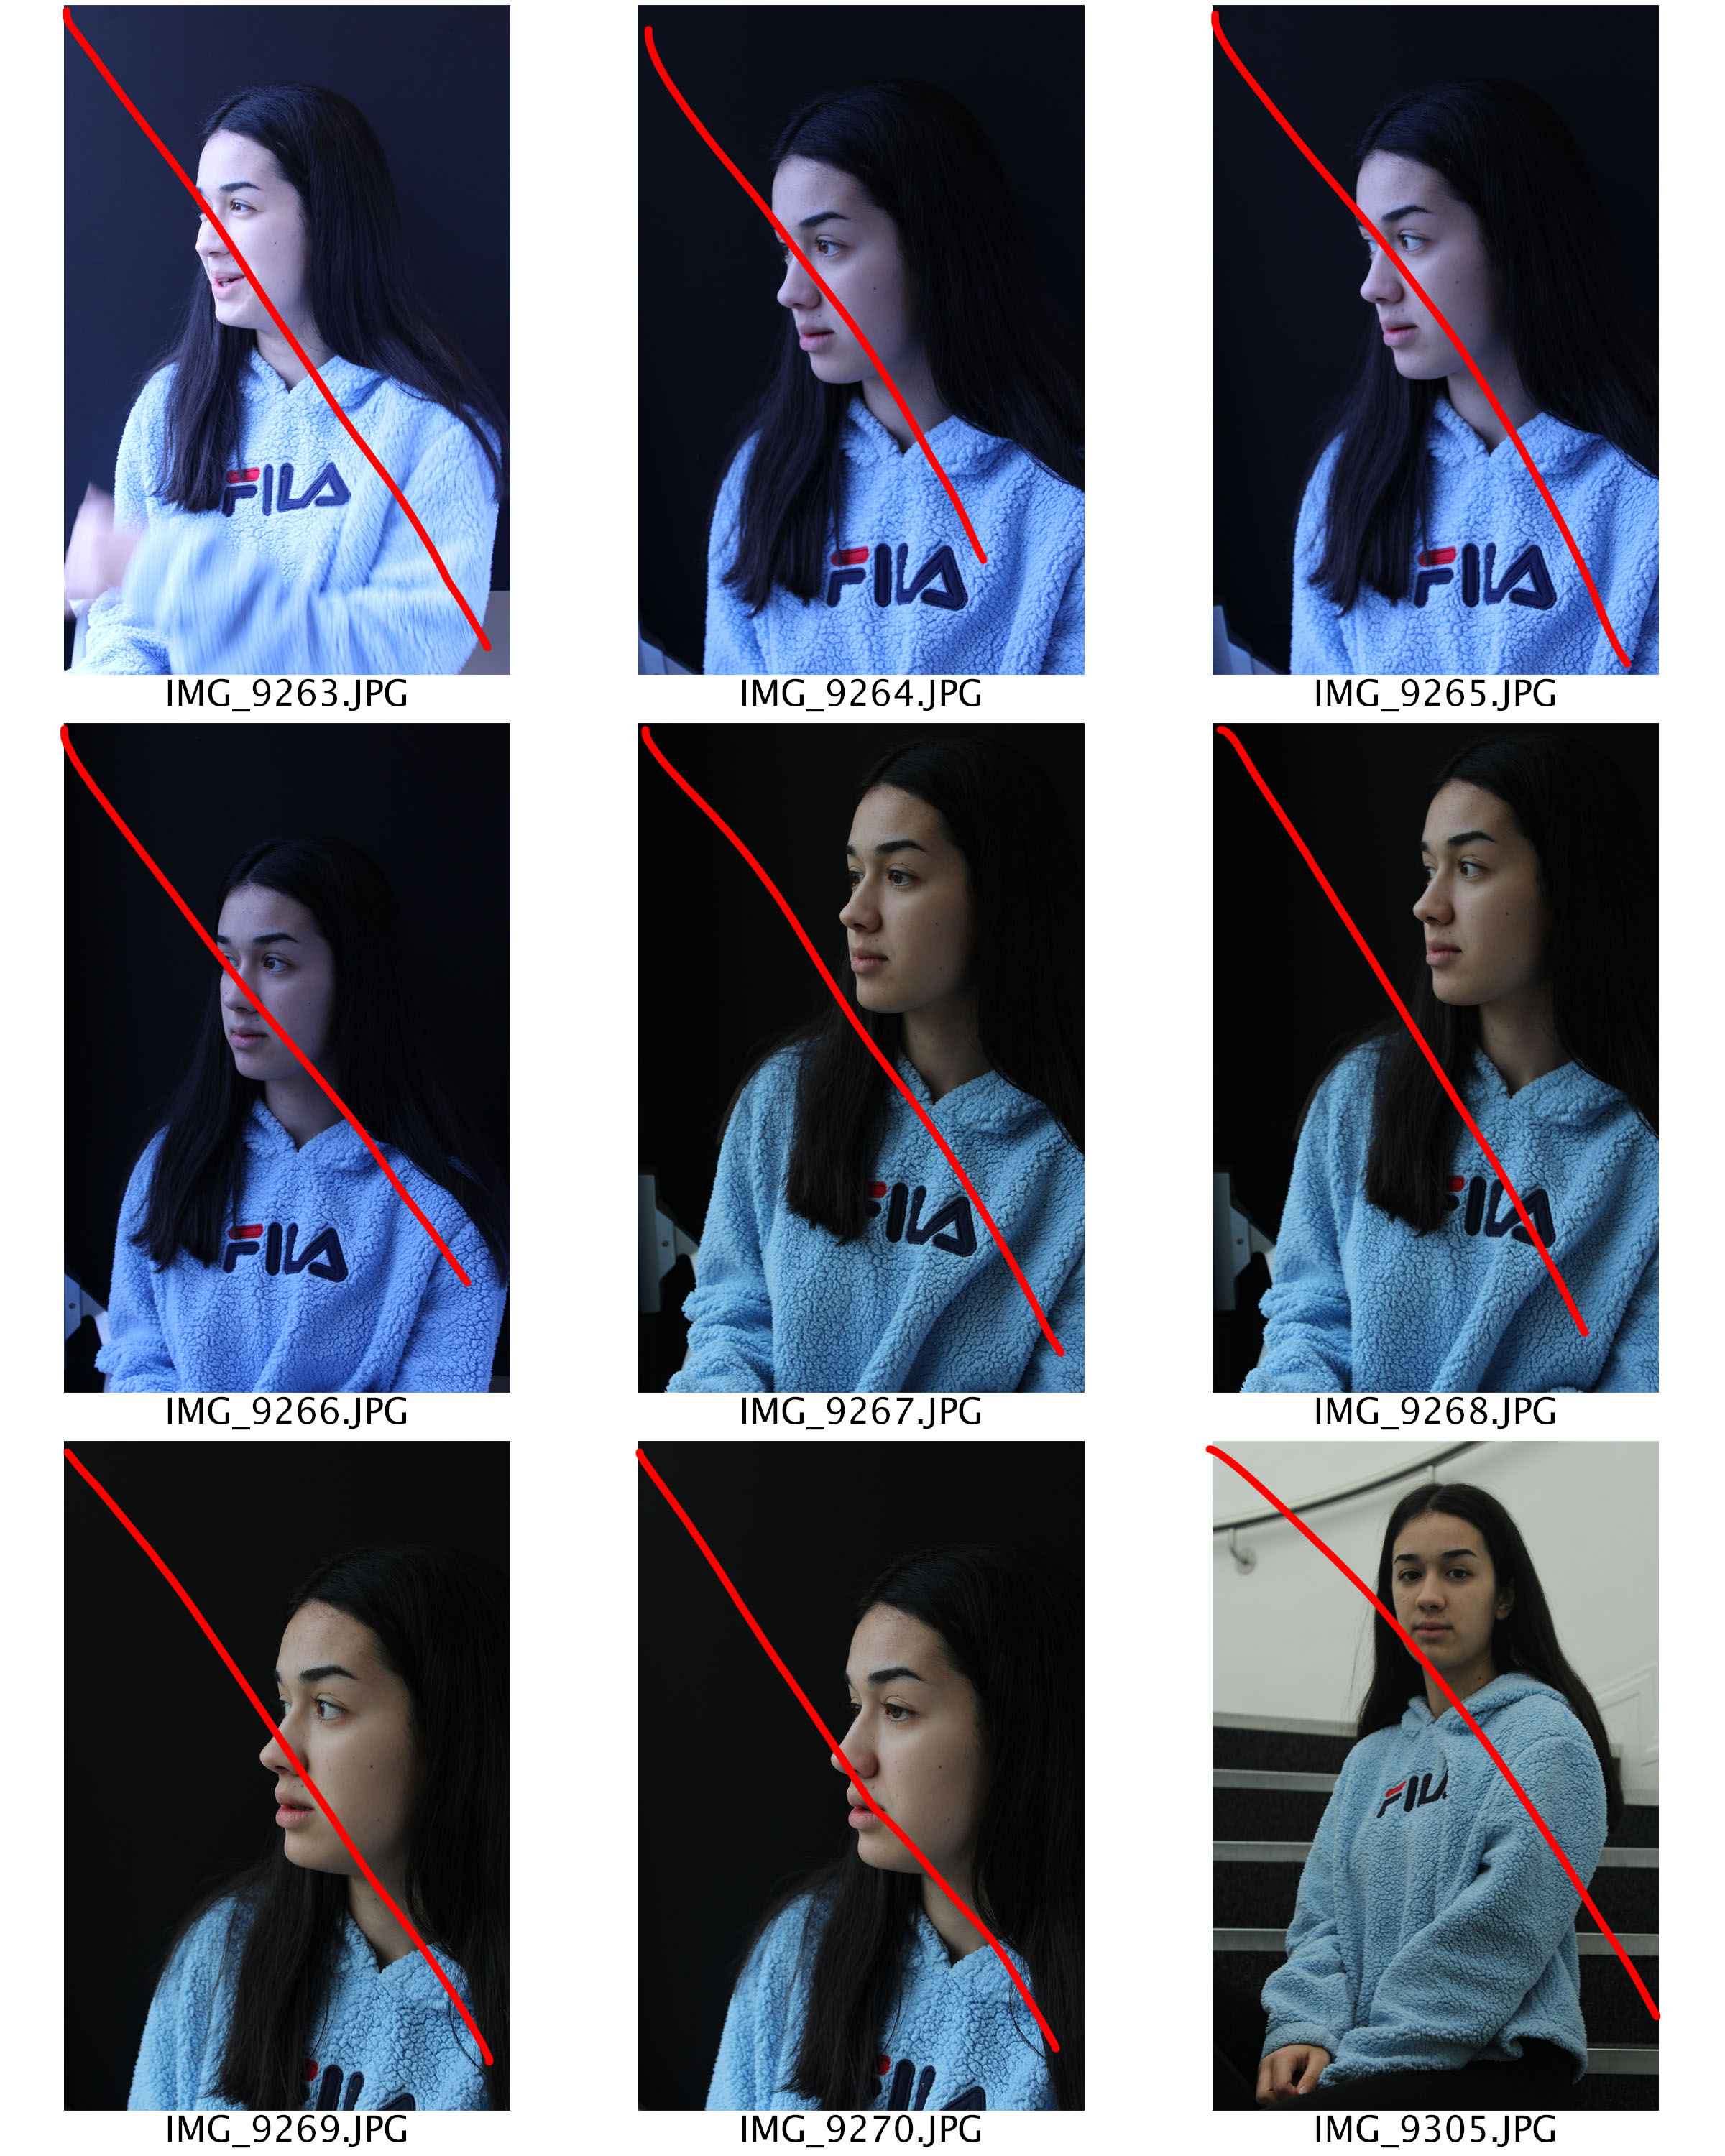
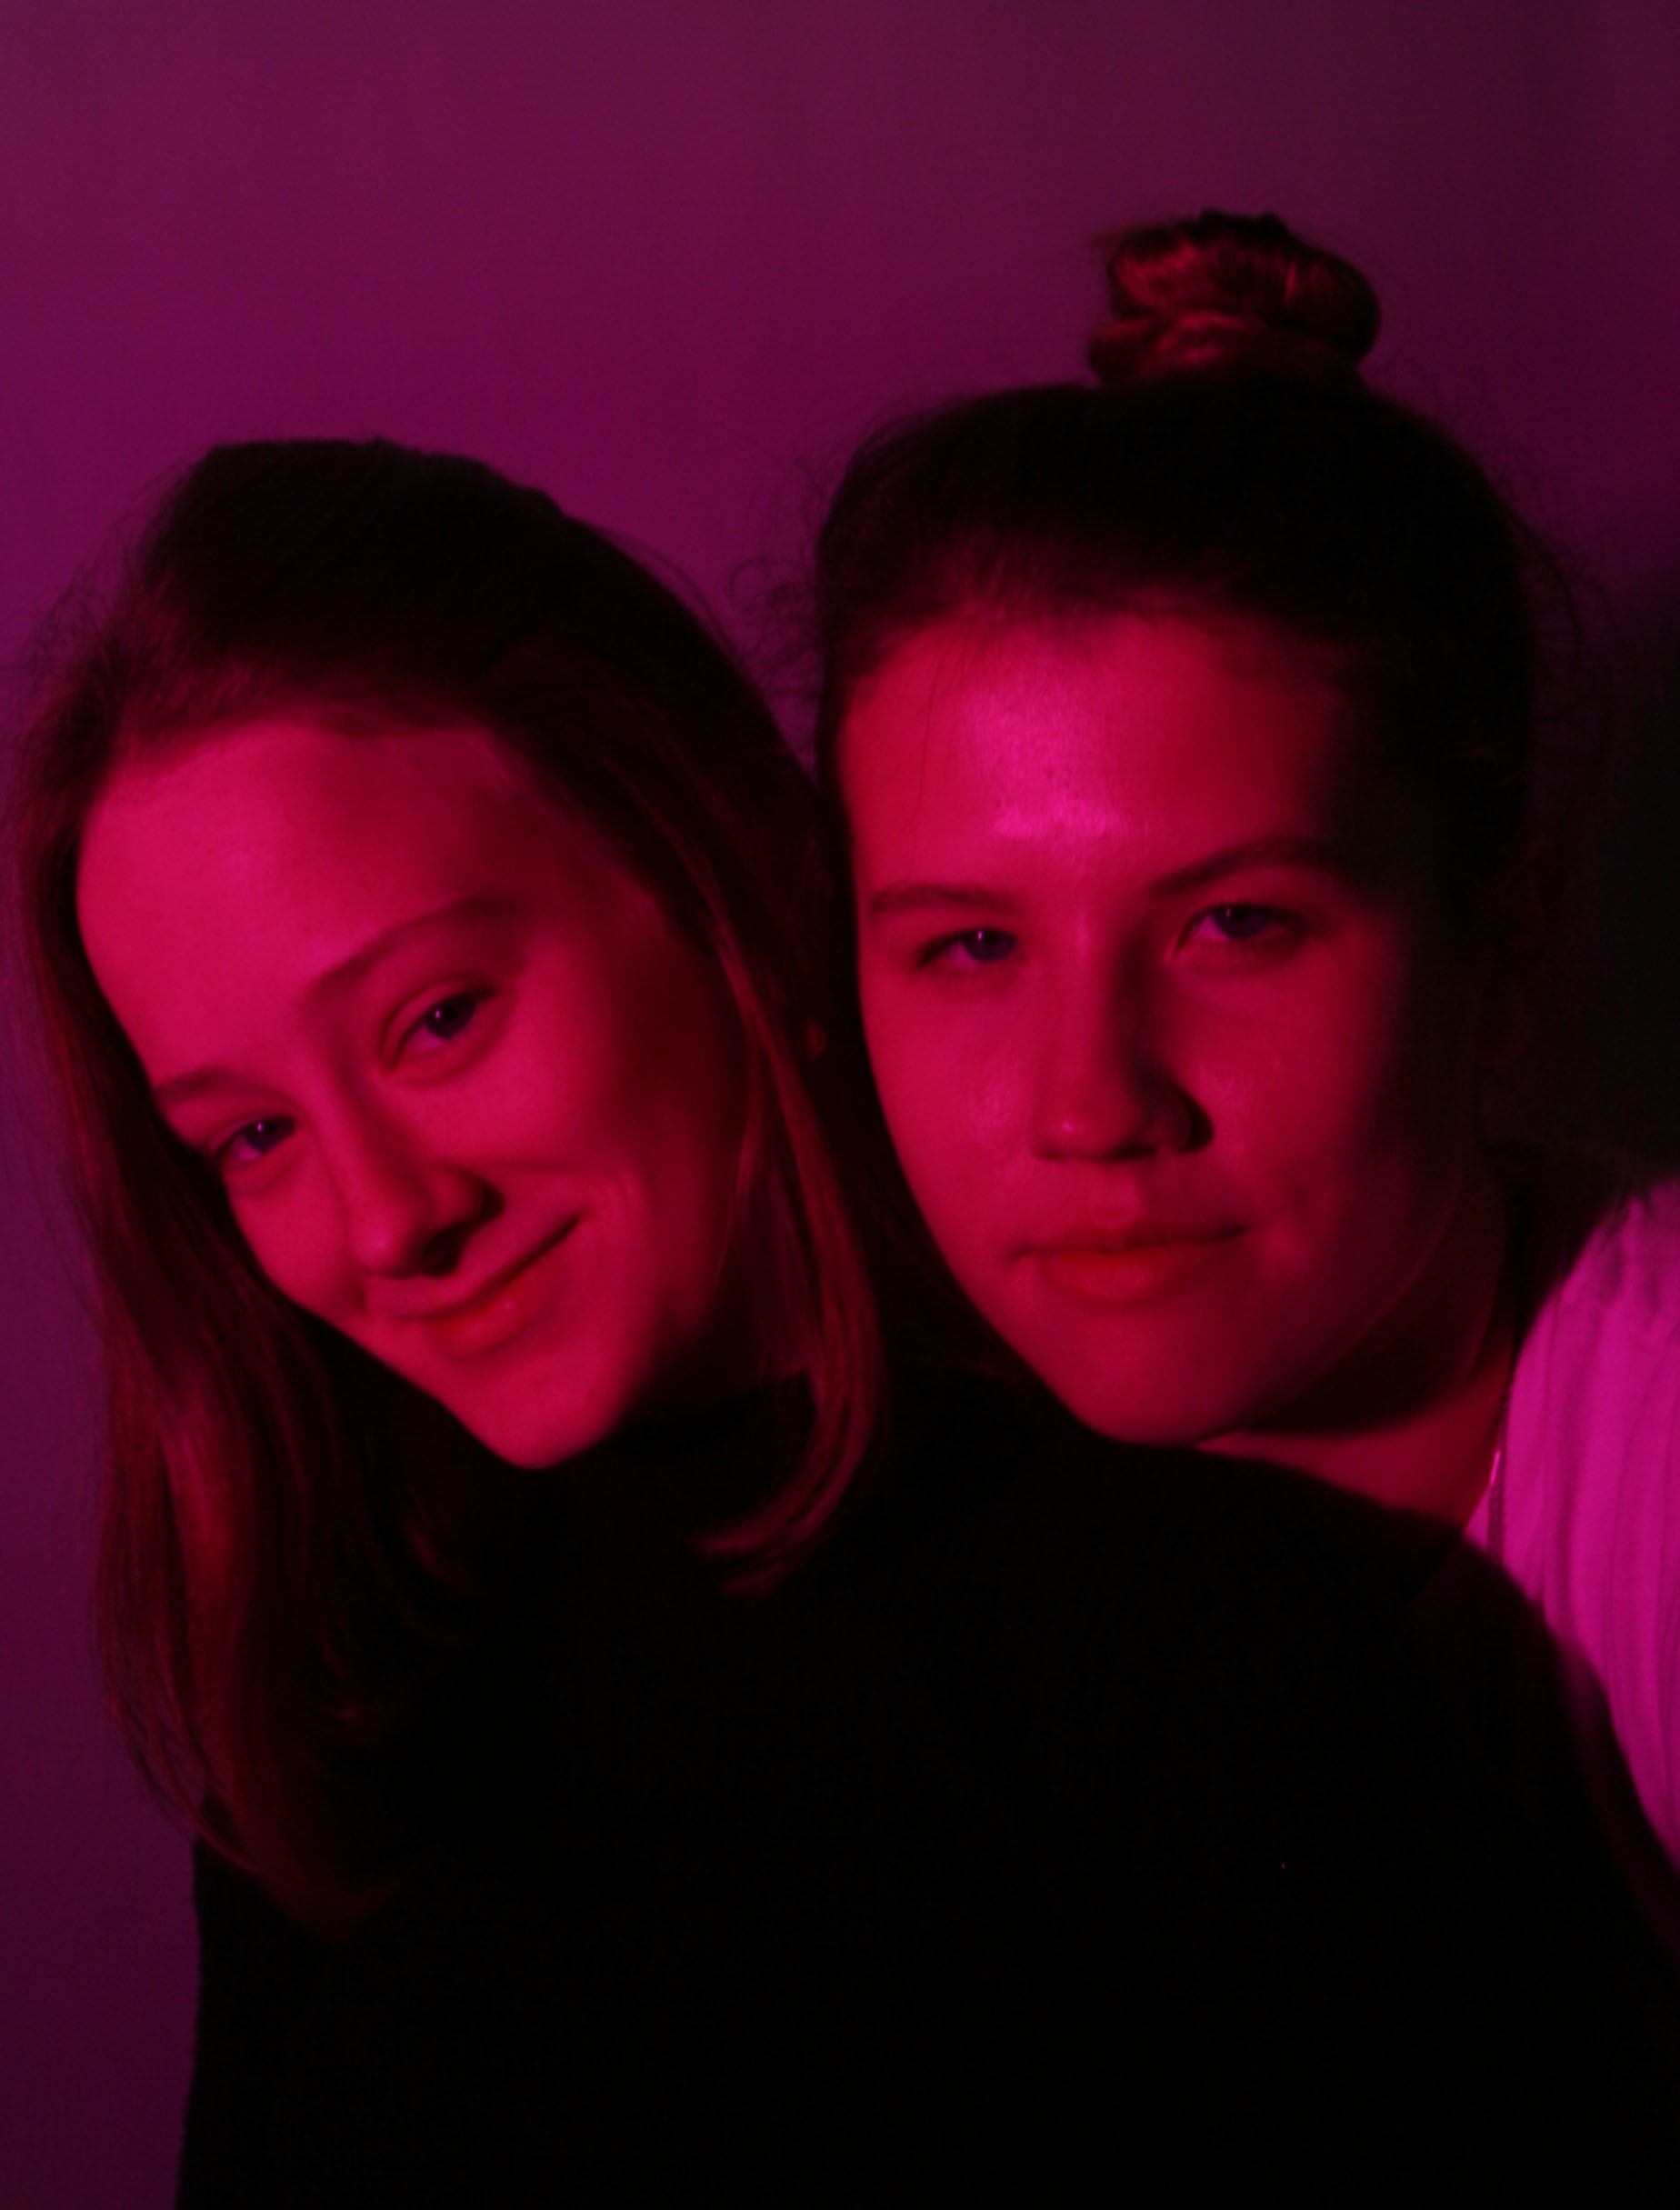
Chiaroscuro Shoot
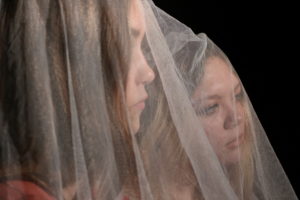
Favourite Outcomes for Chiaroscuro/Low Key lighting
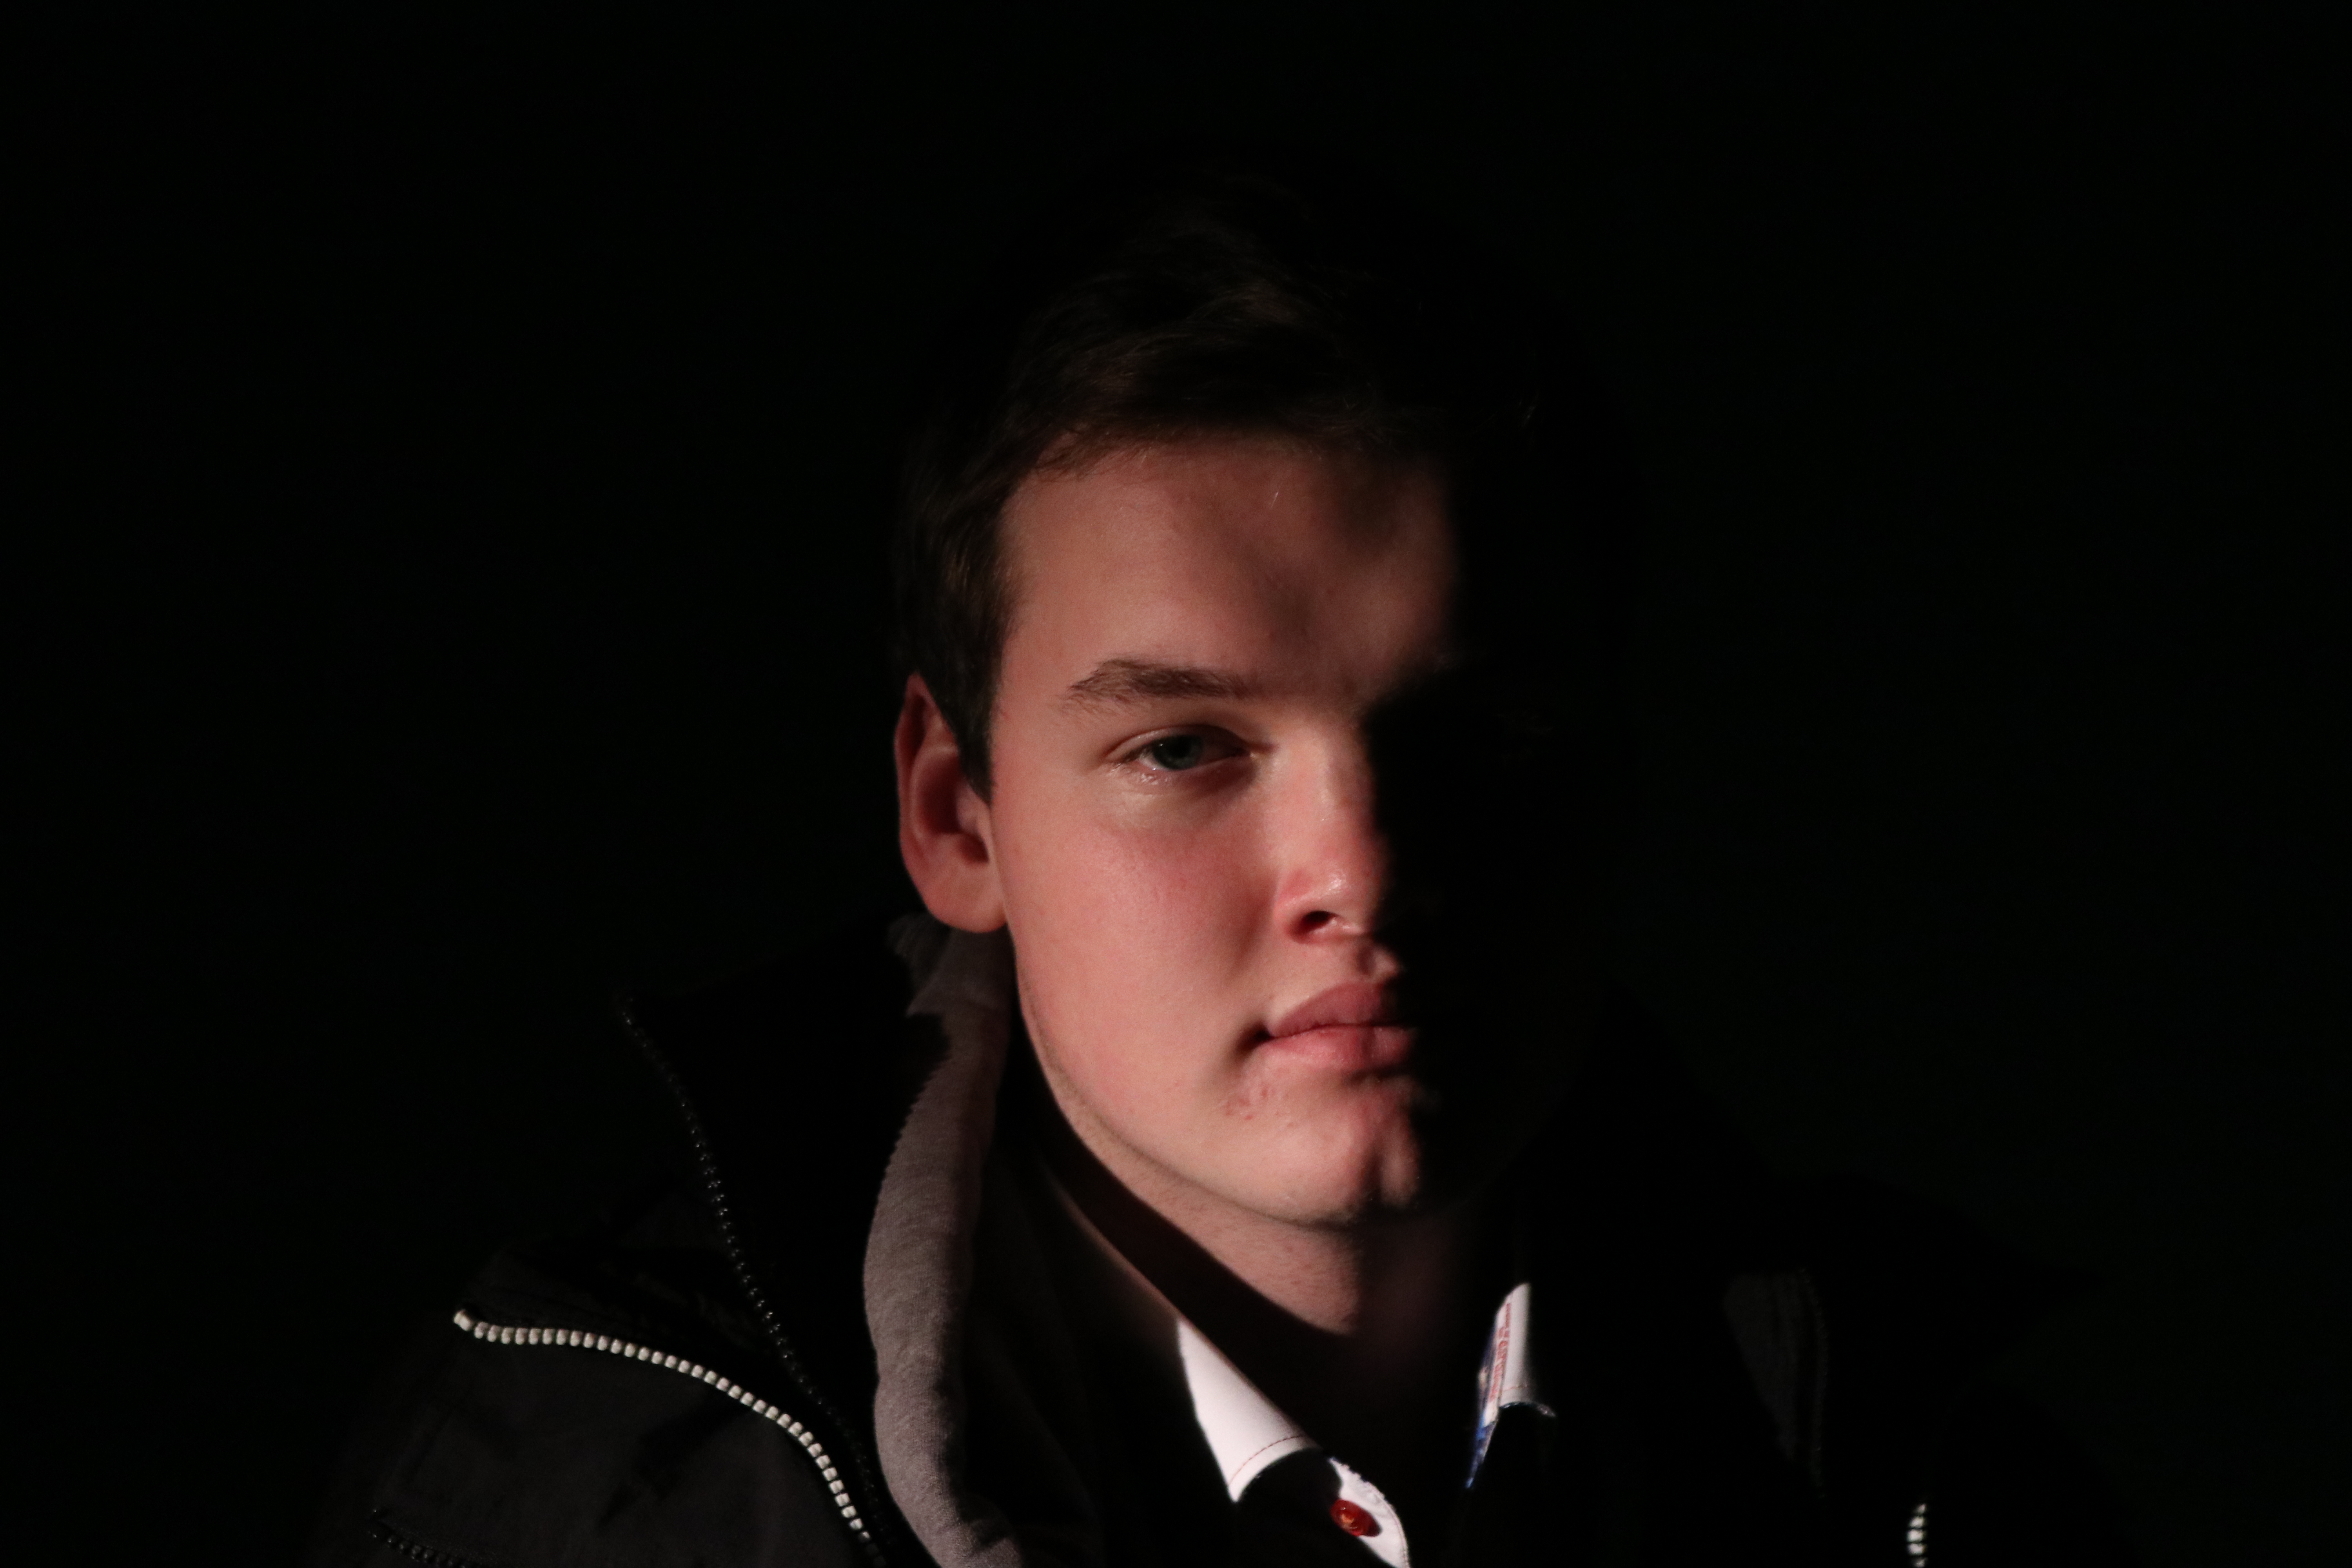
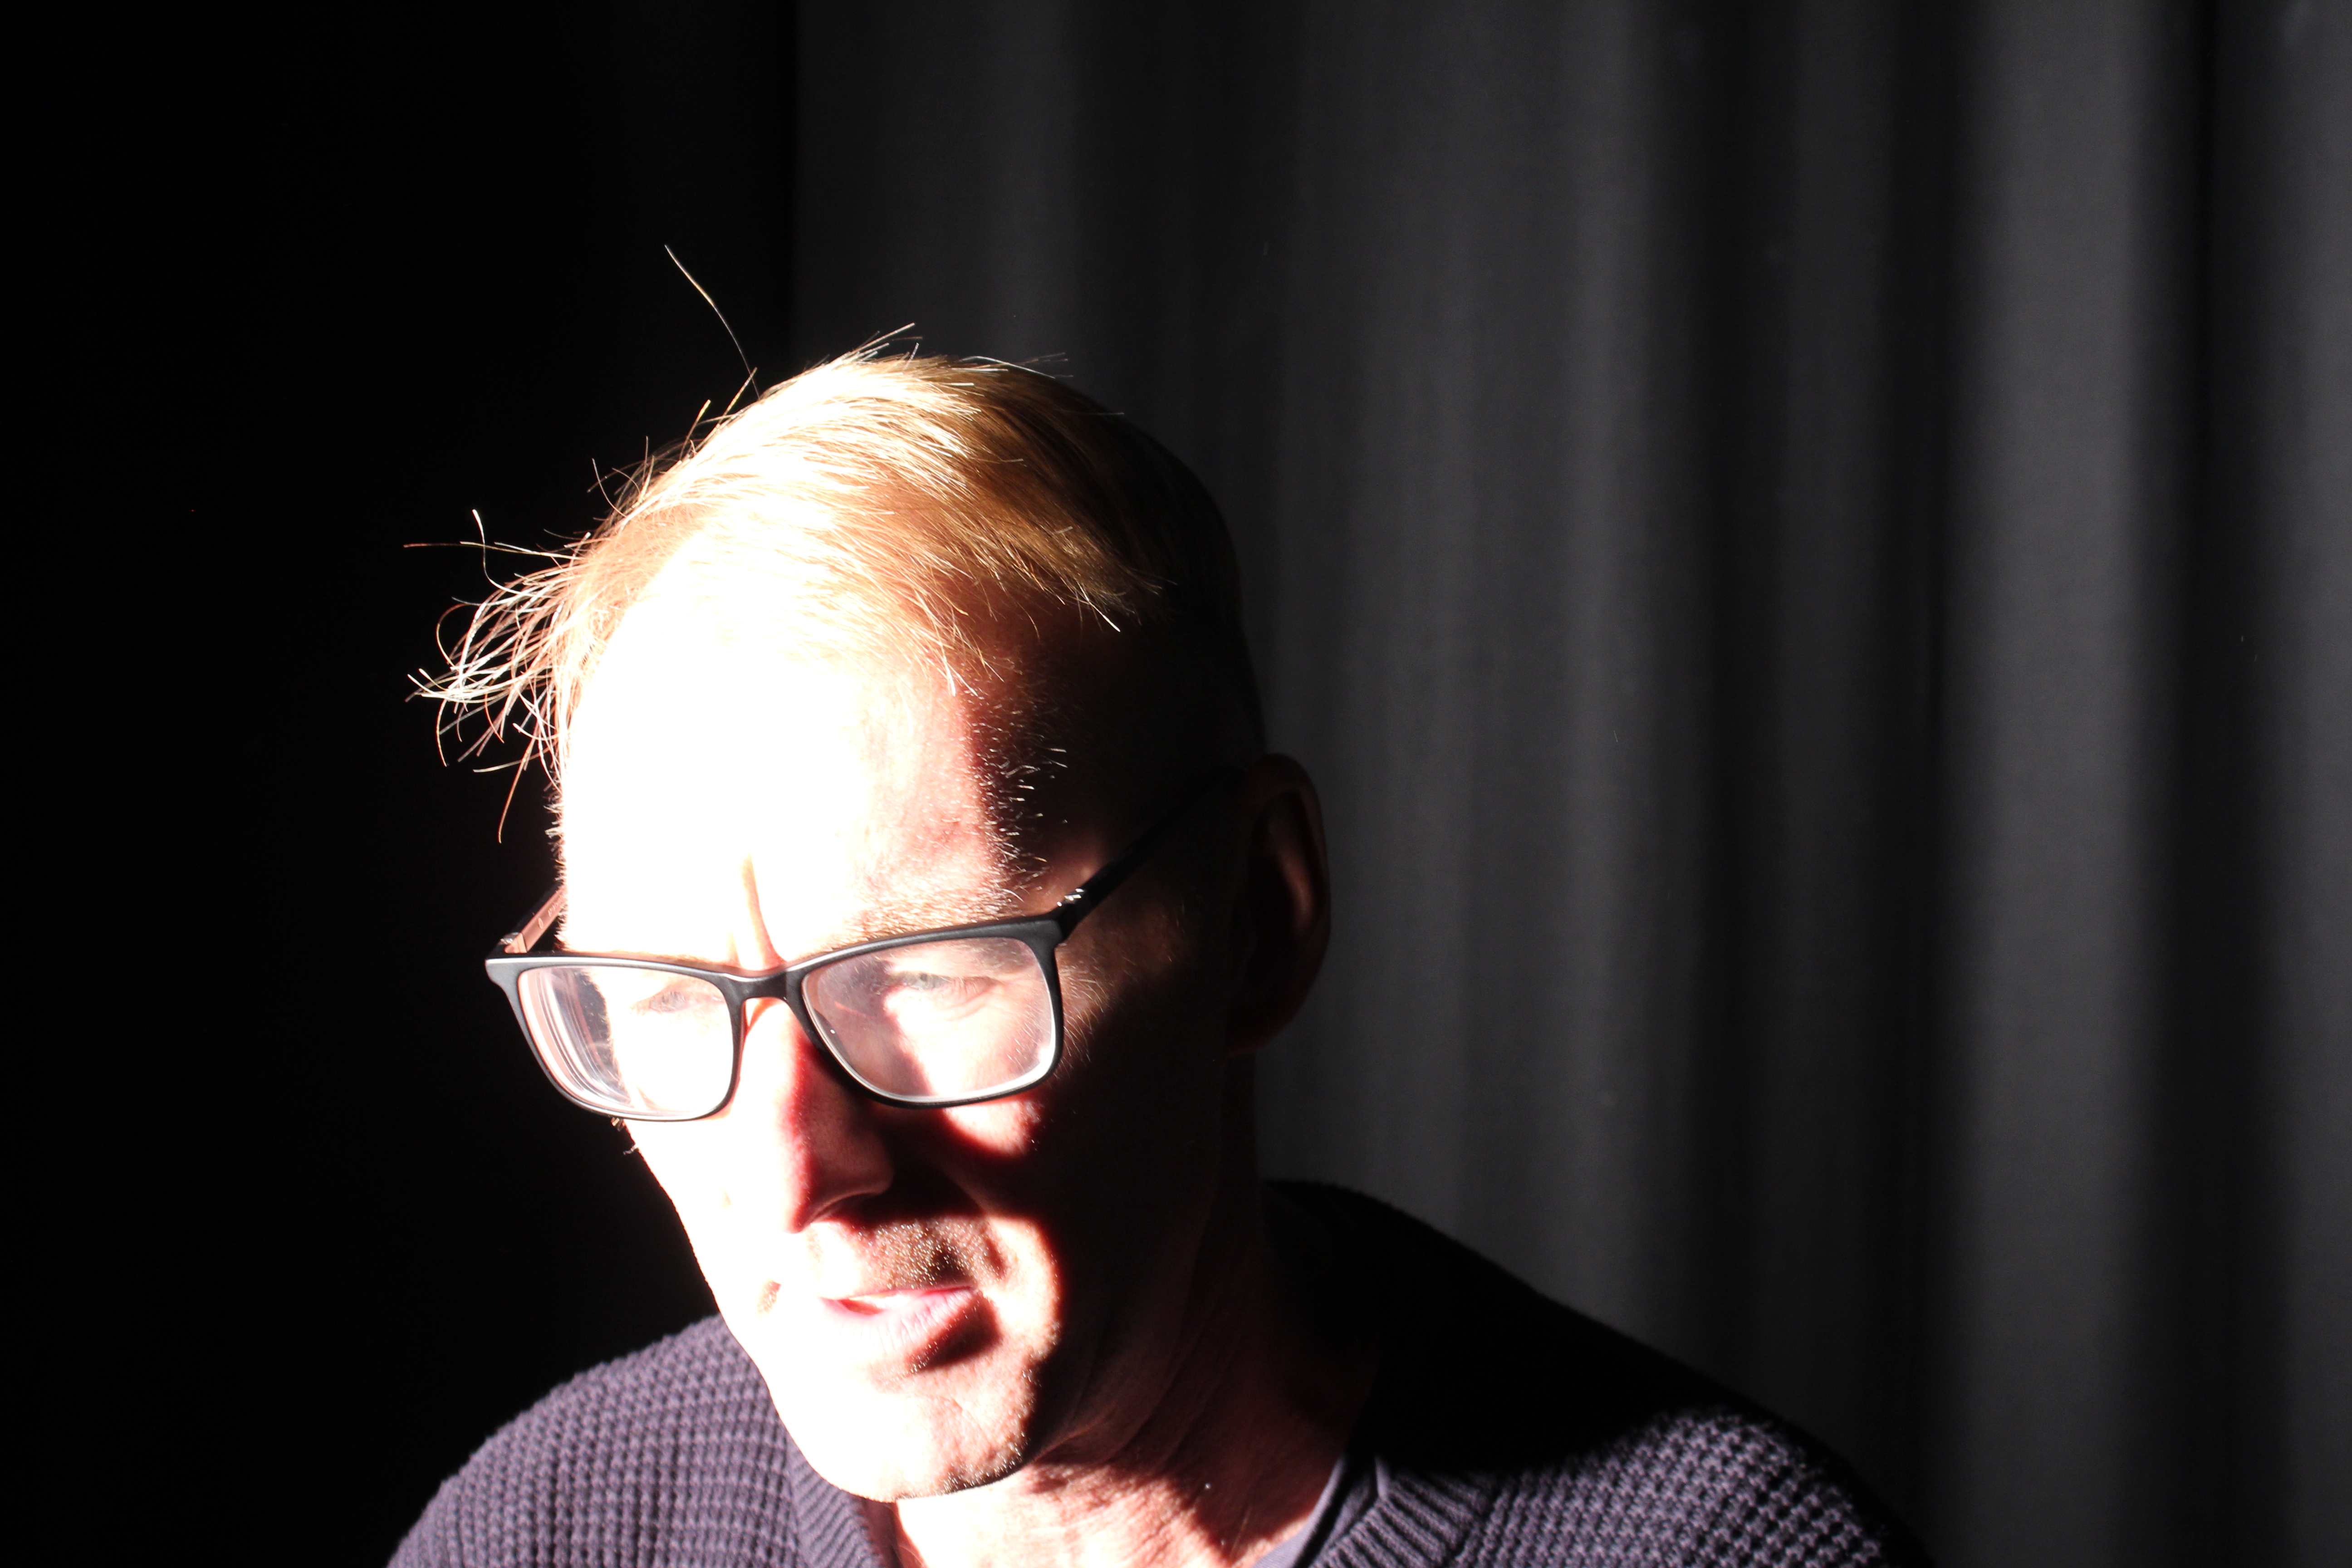
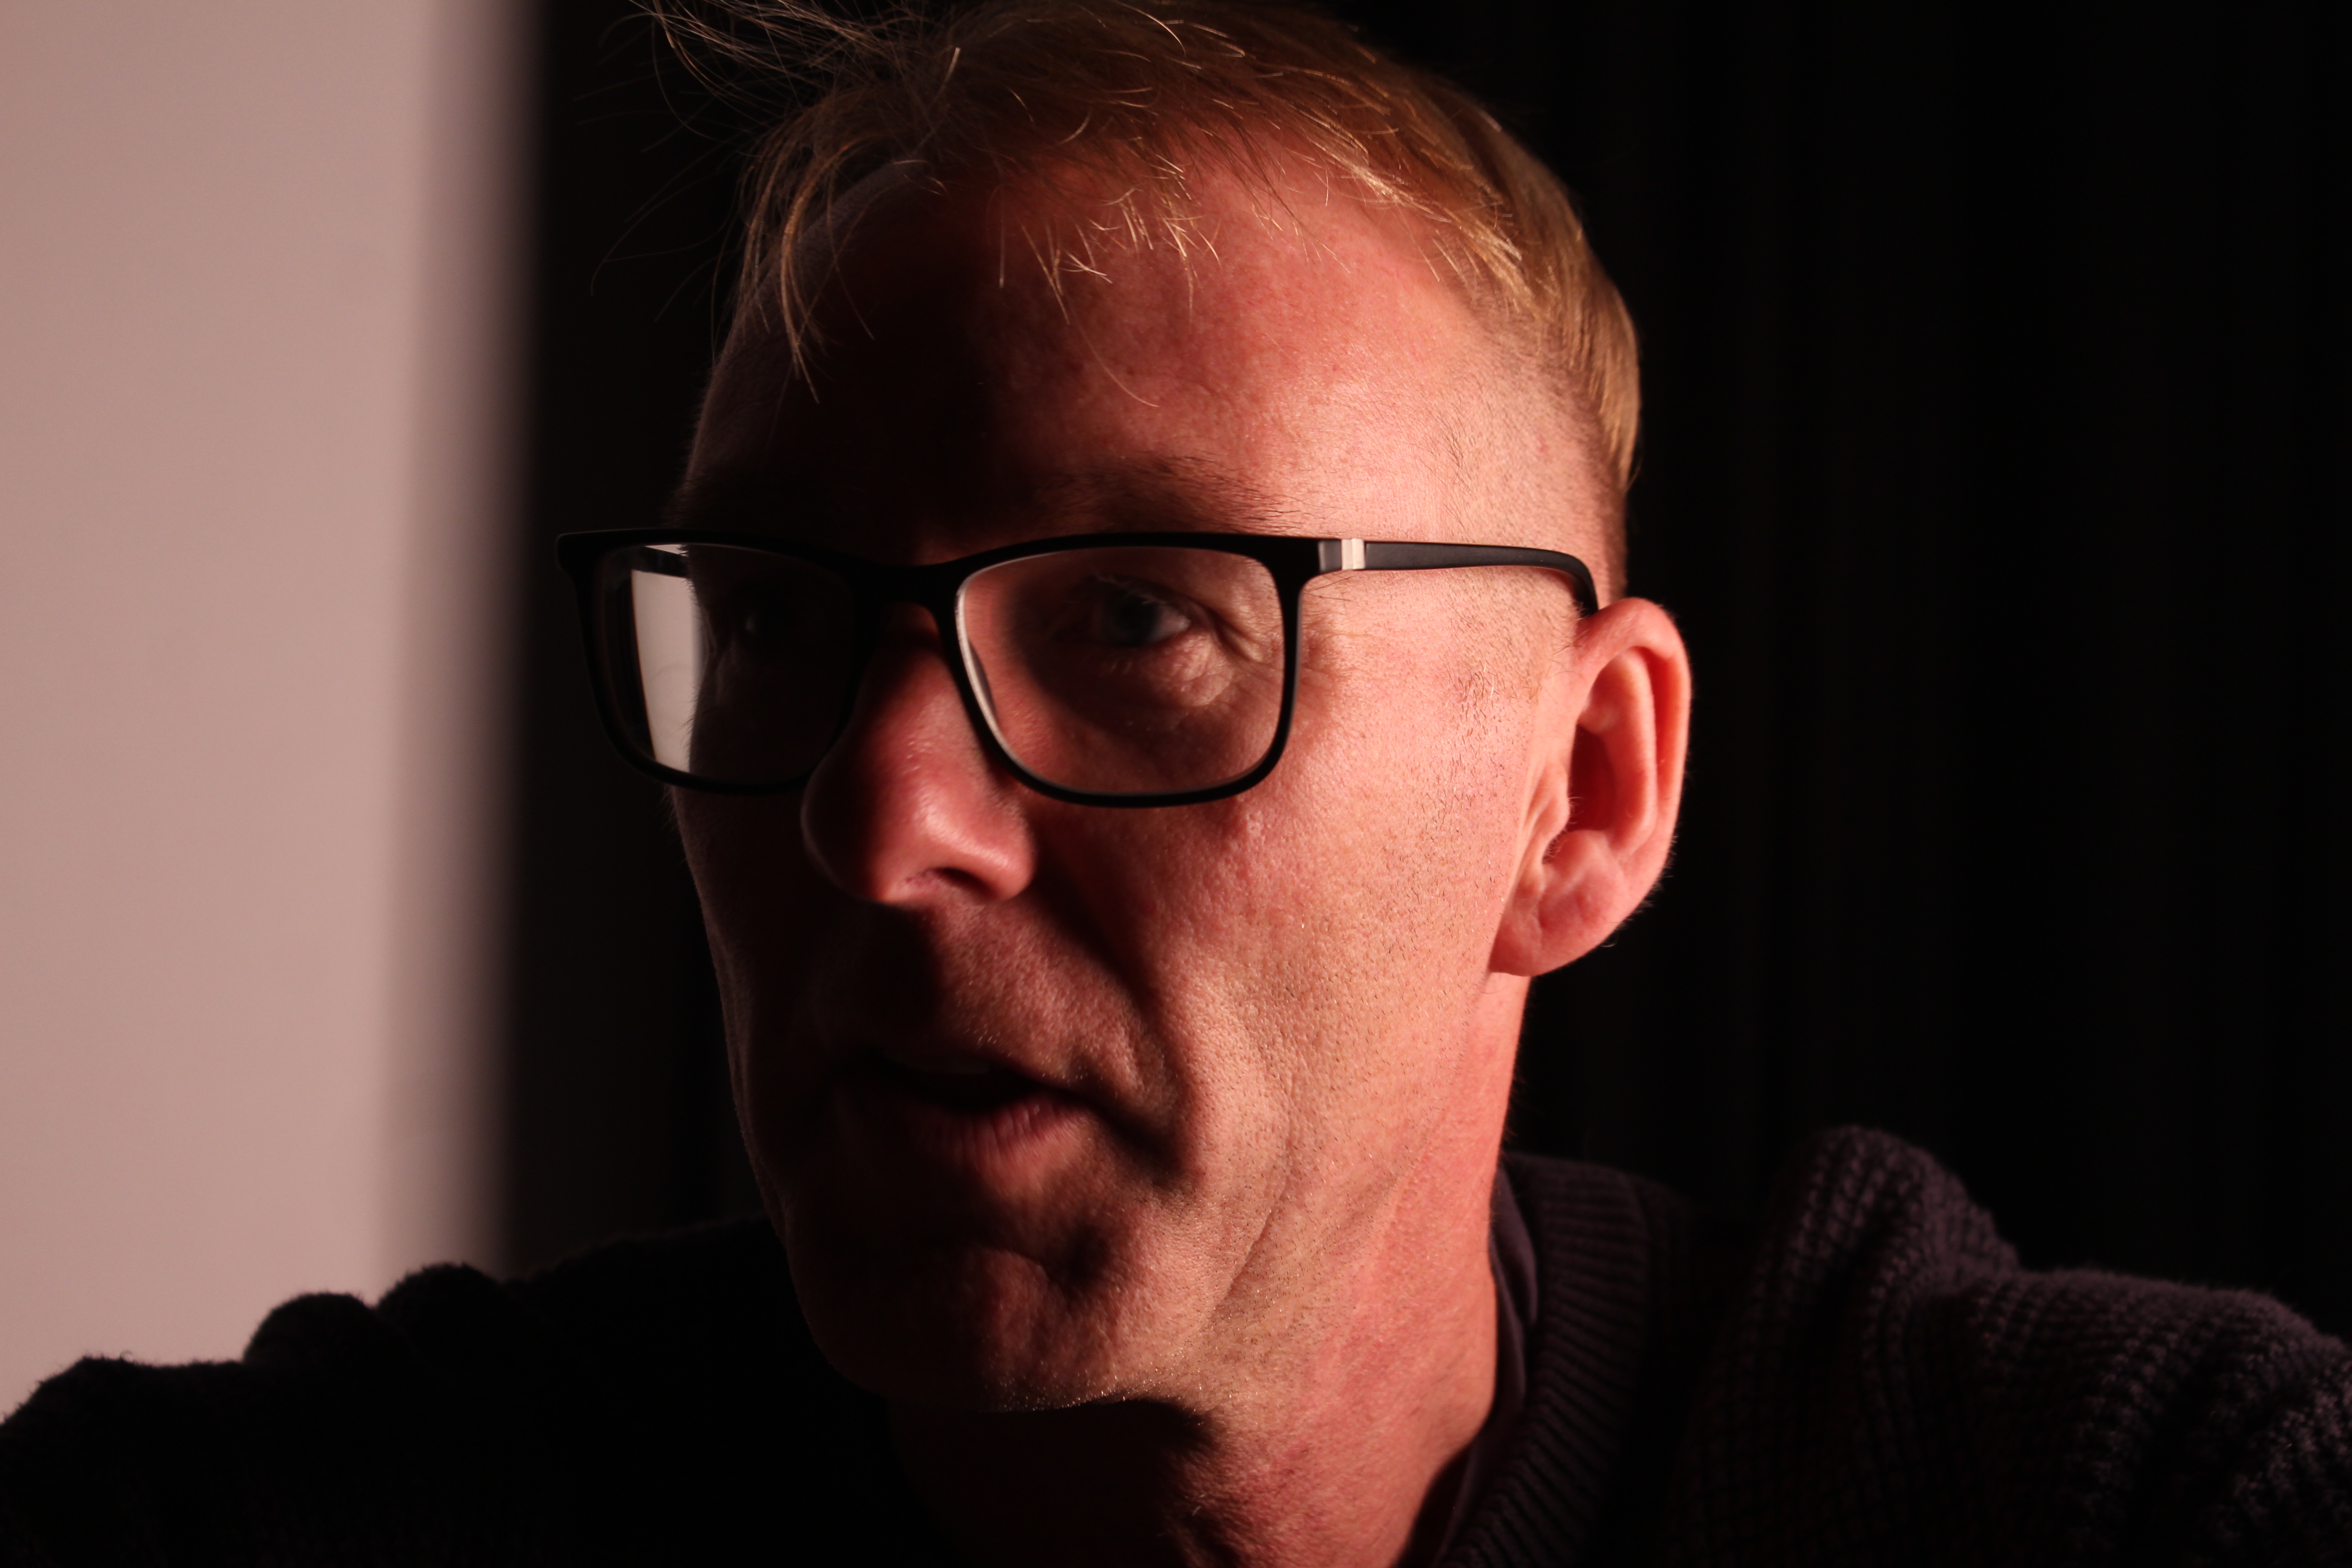
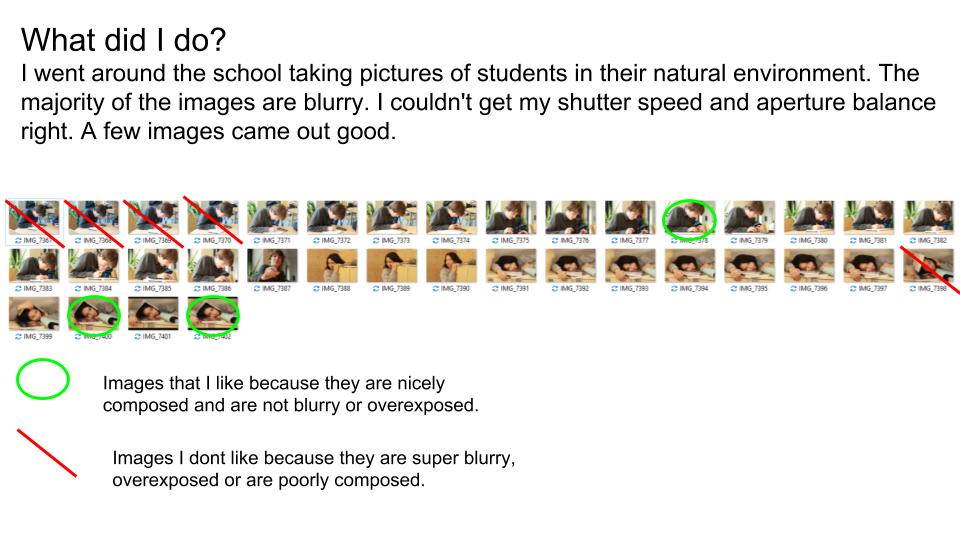


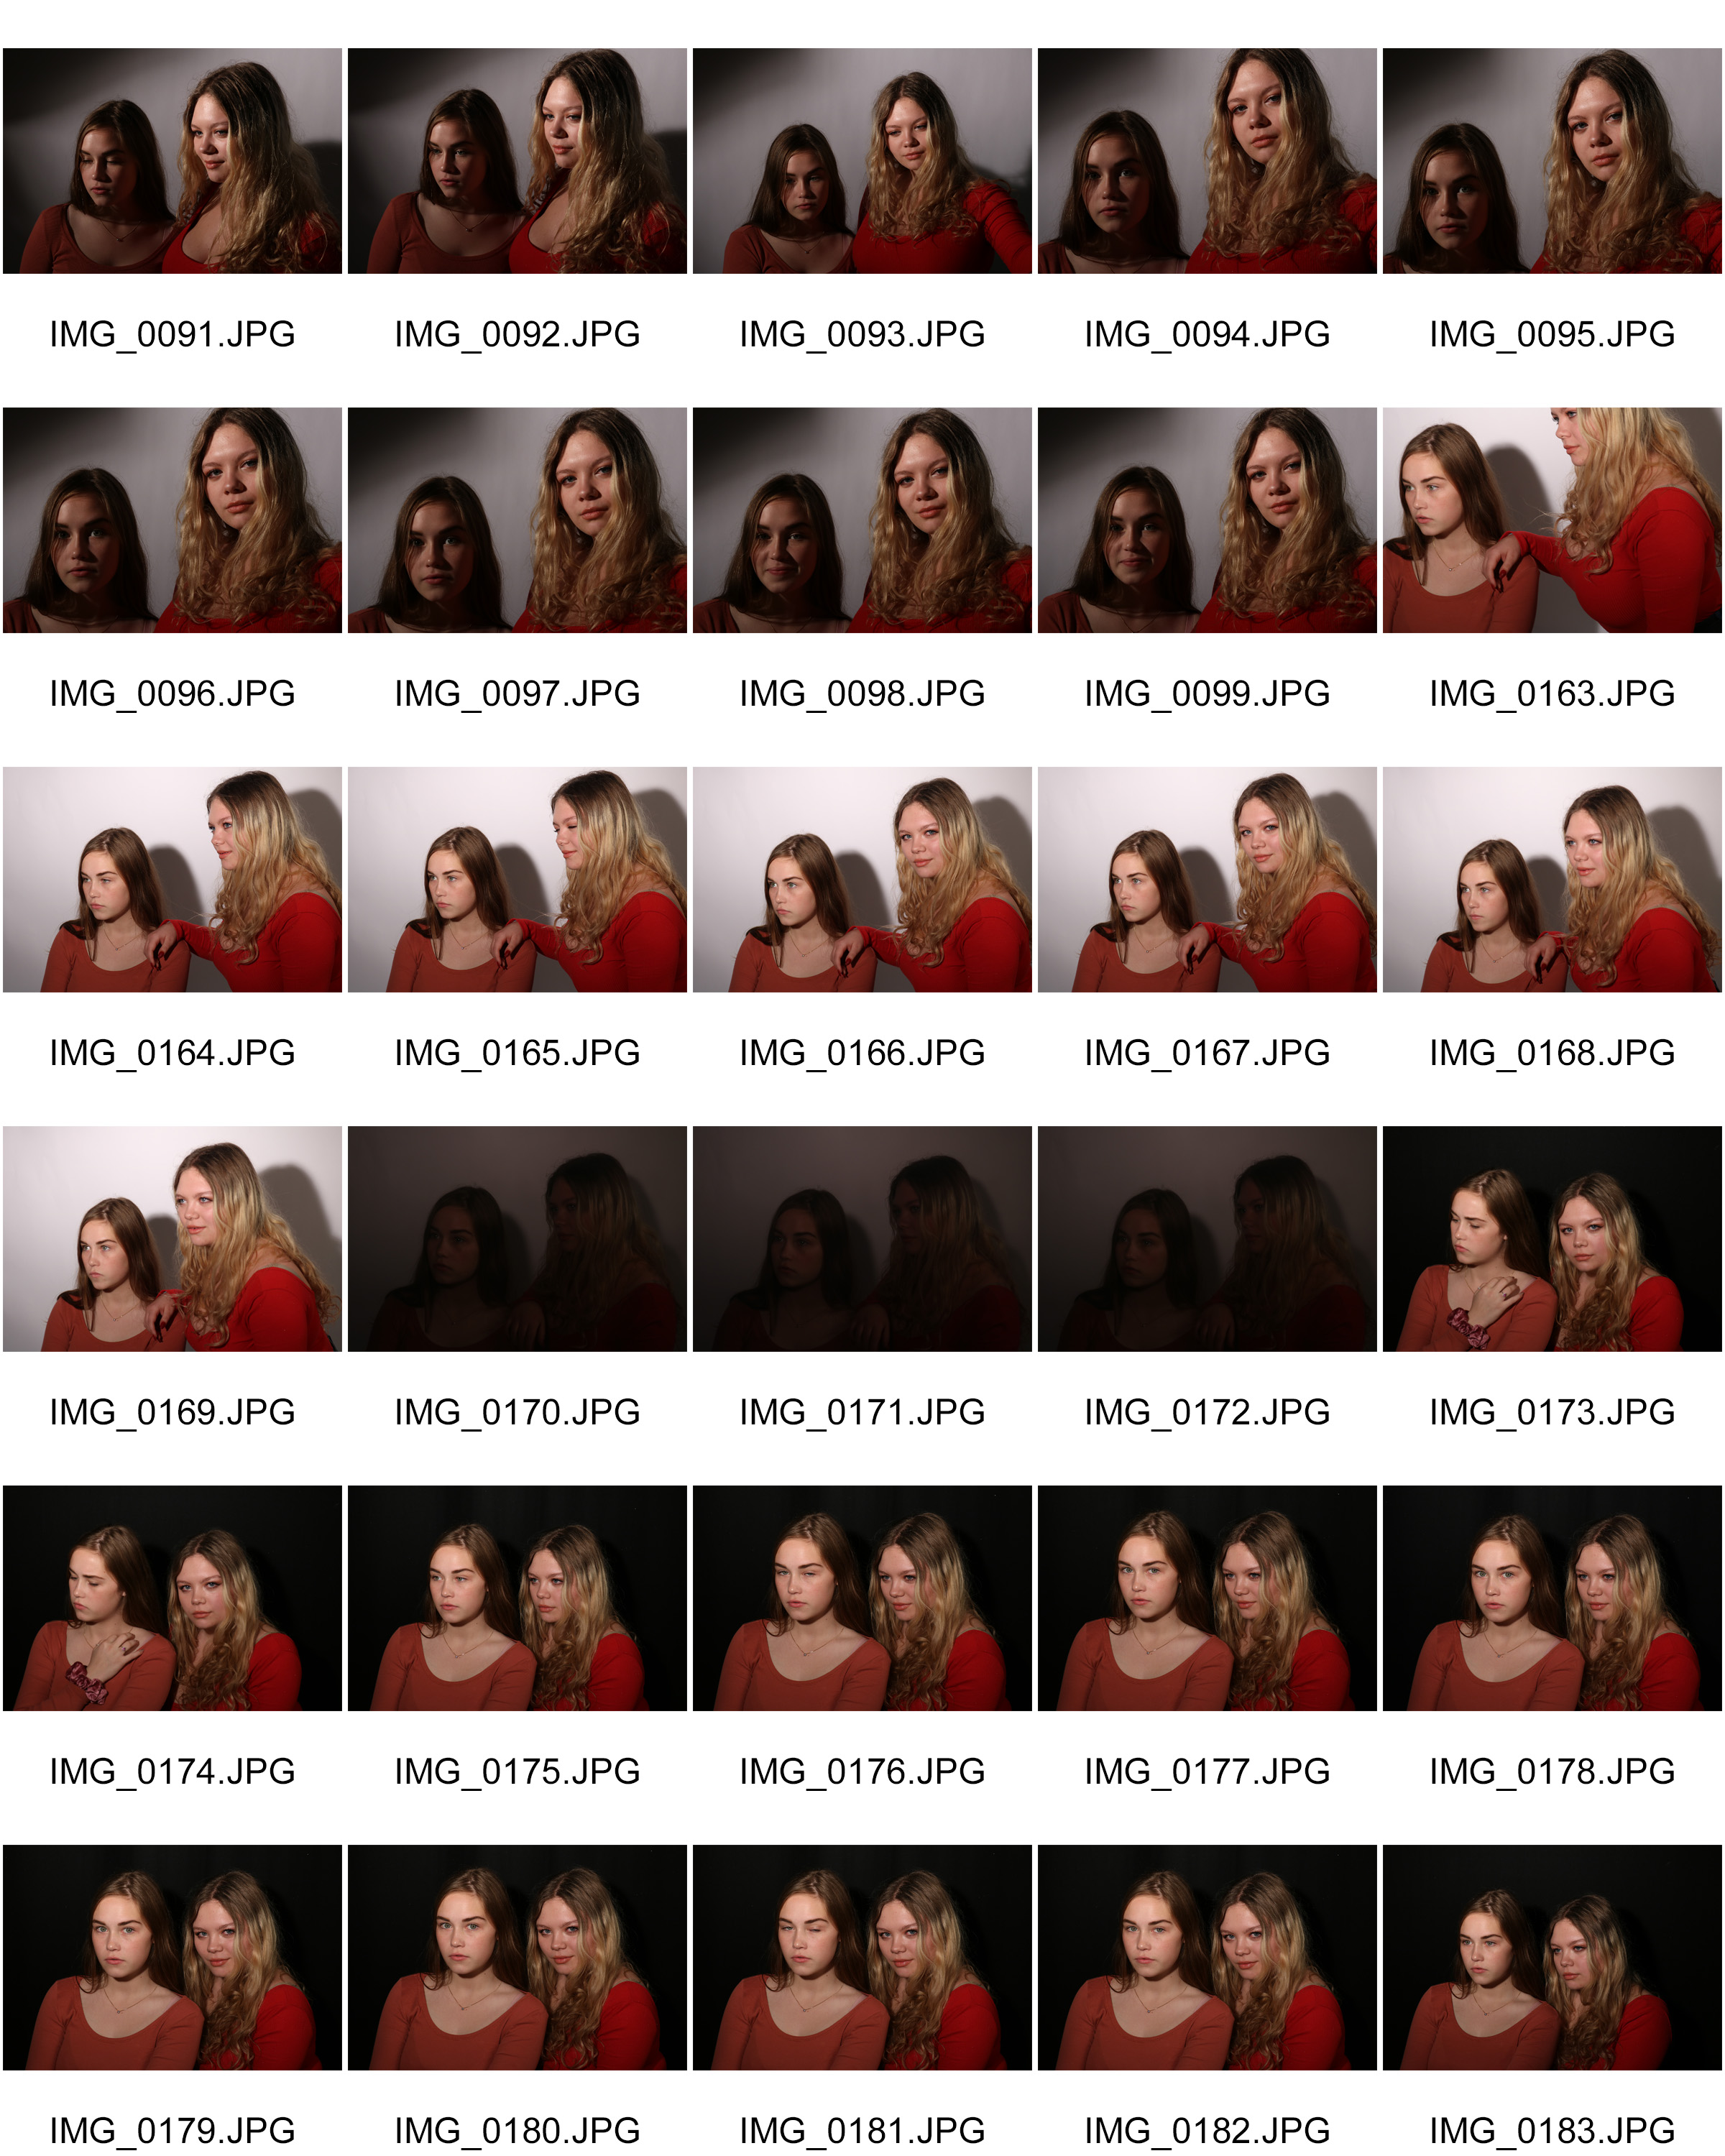

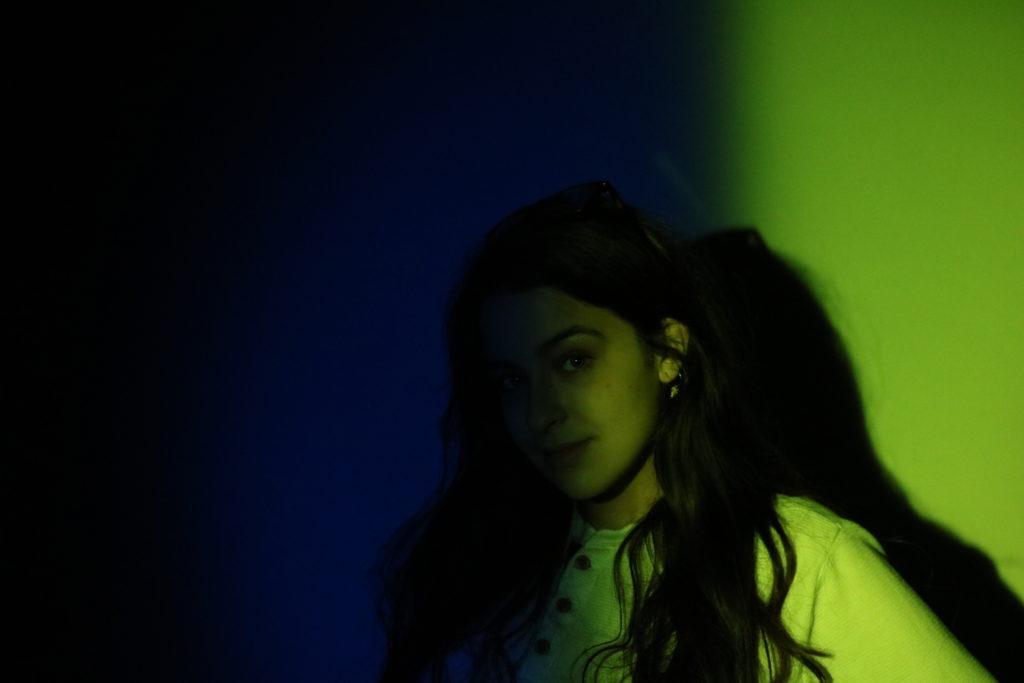
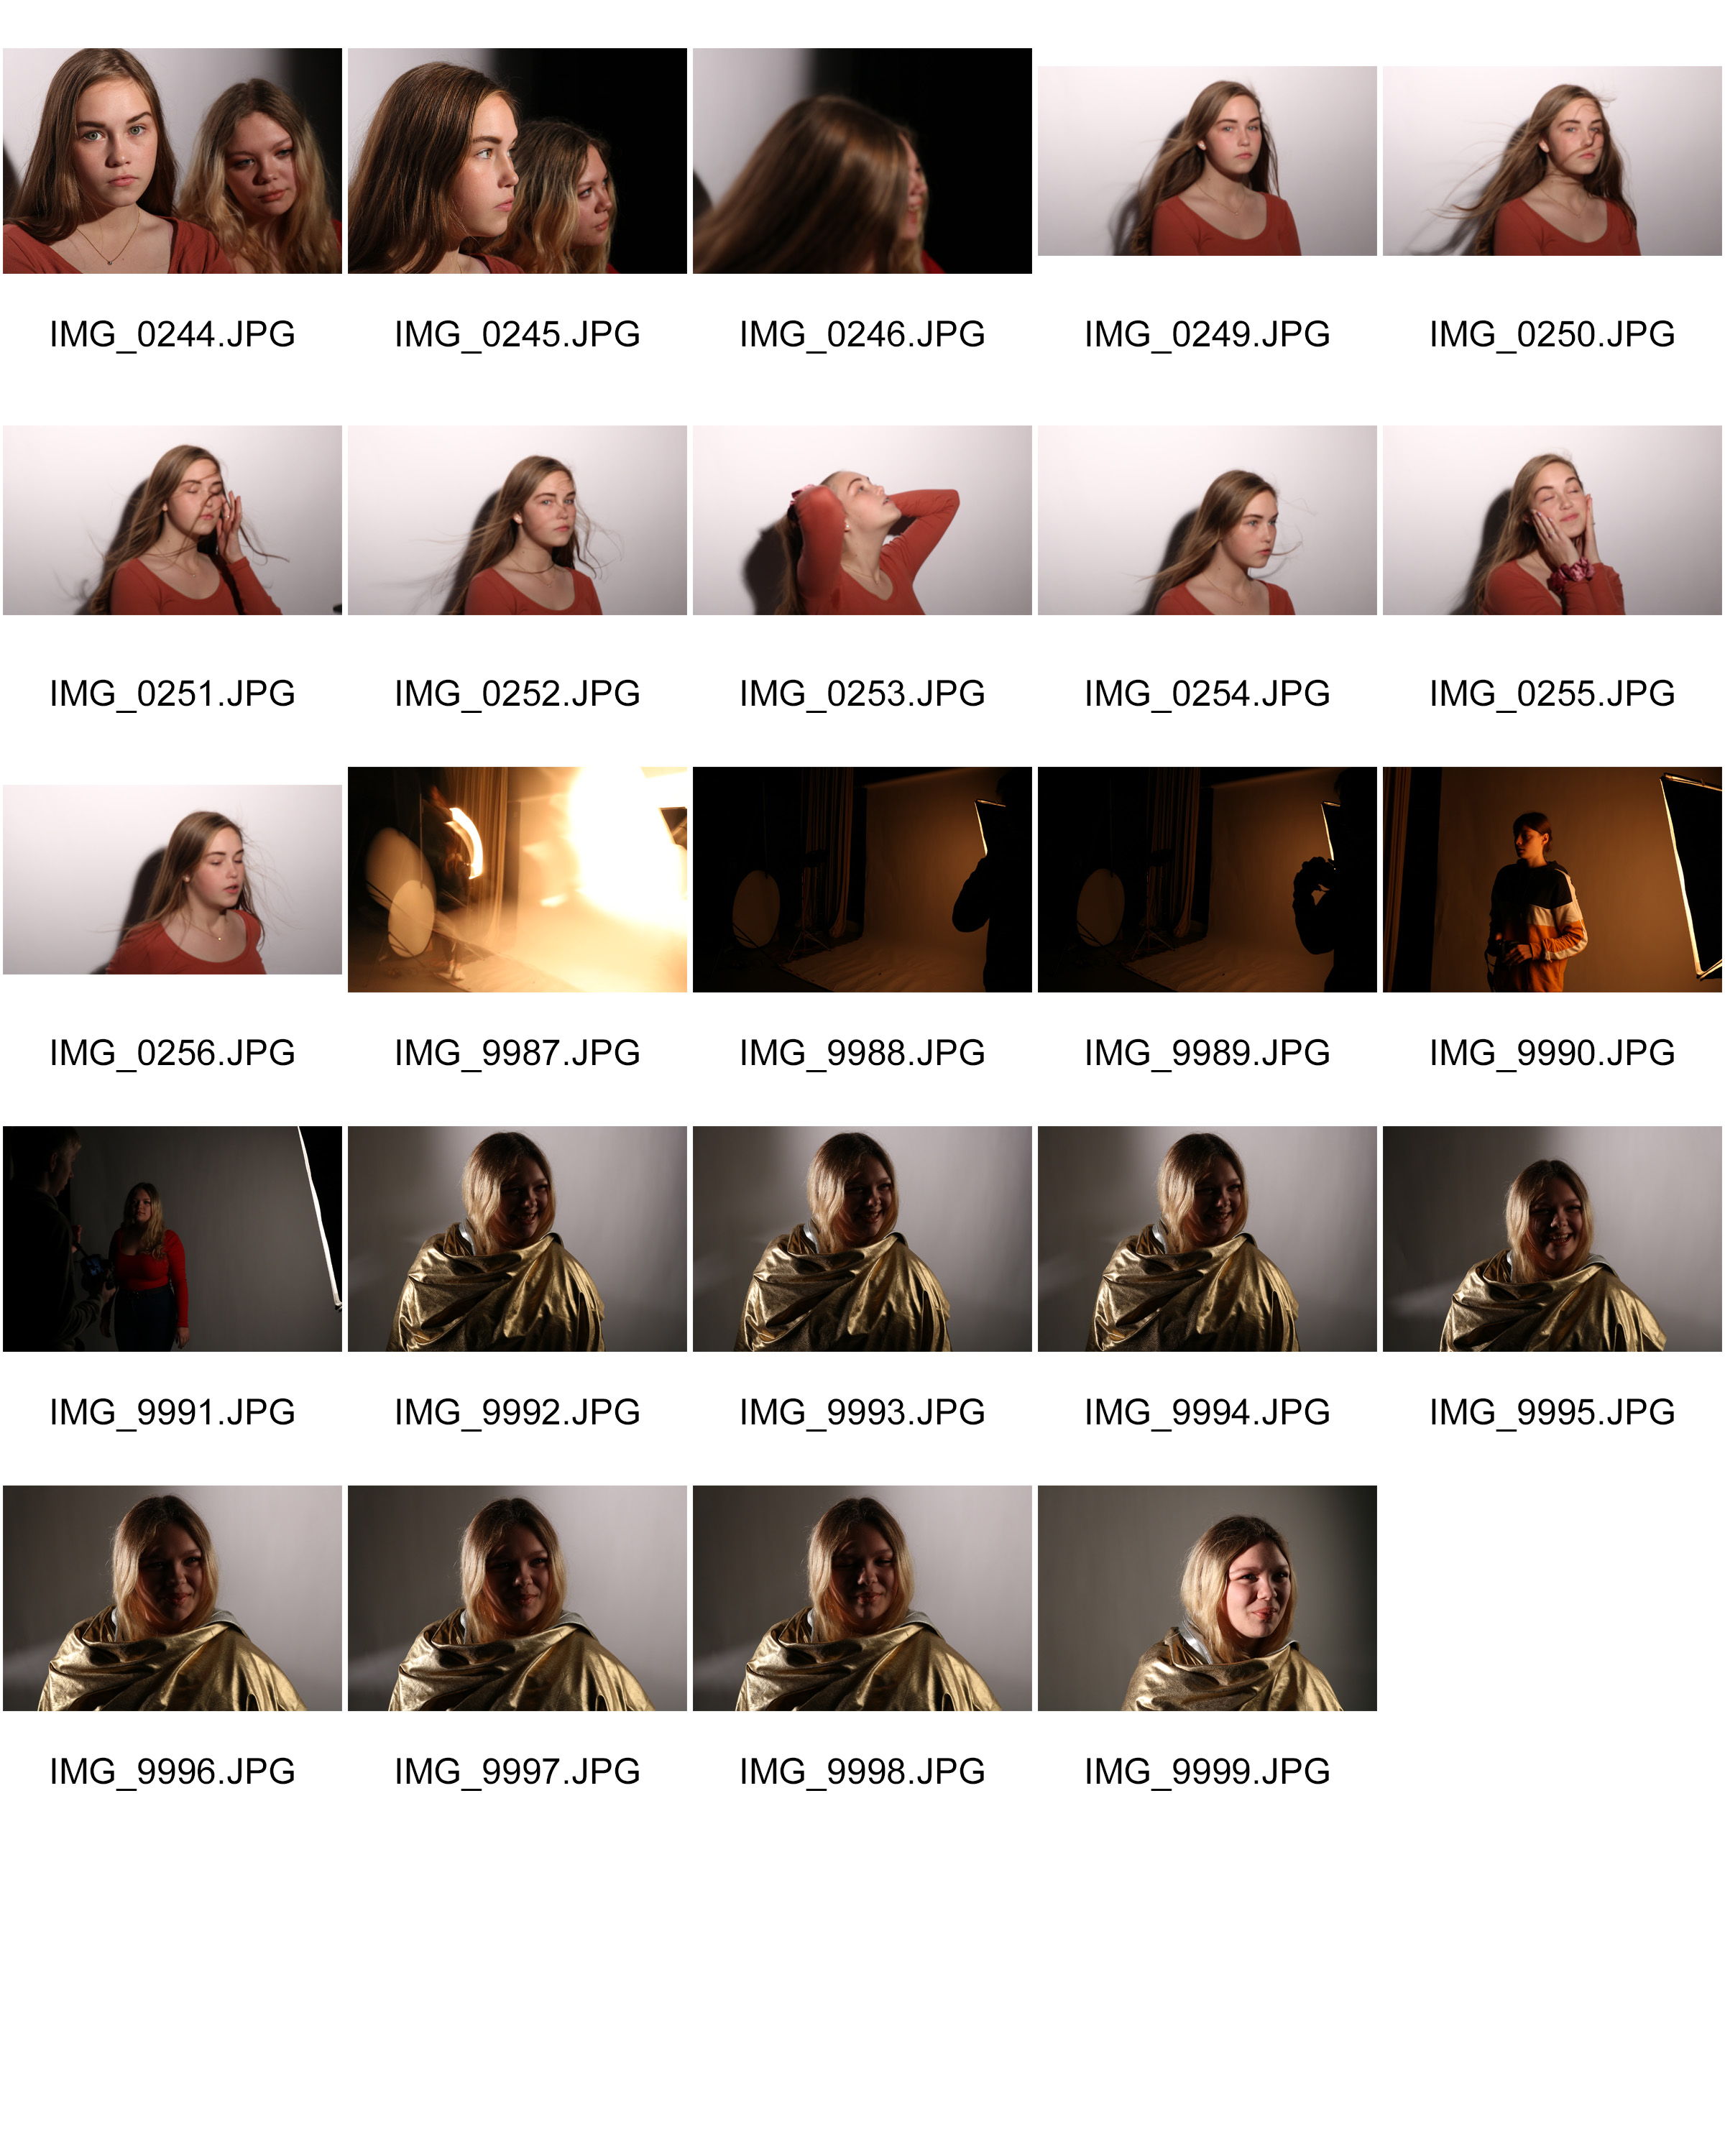 Best outcomes