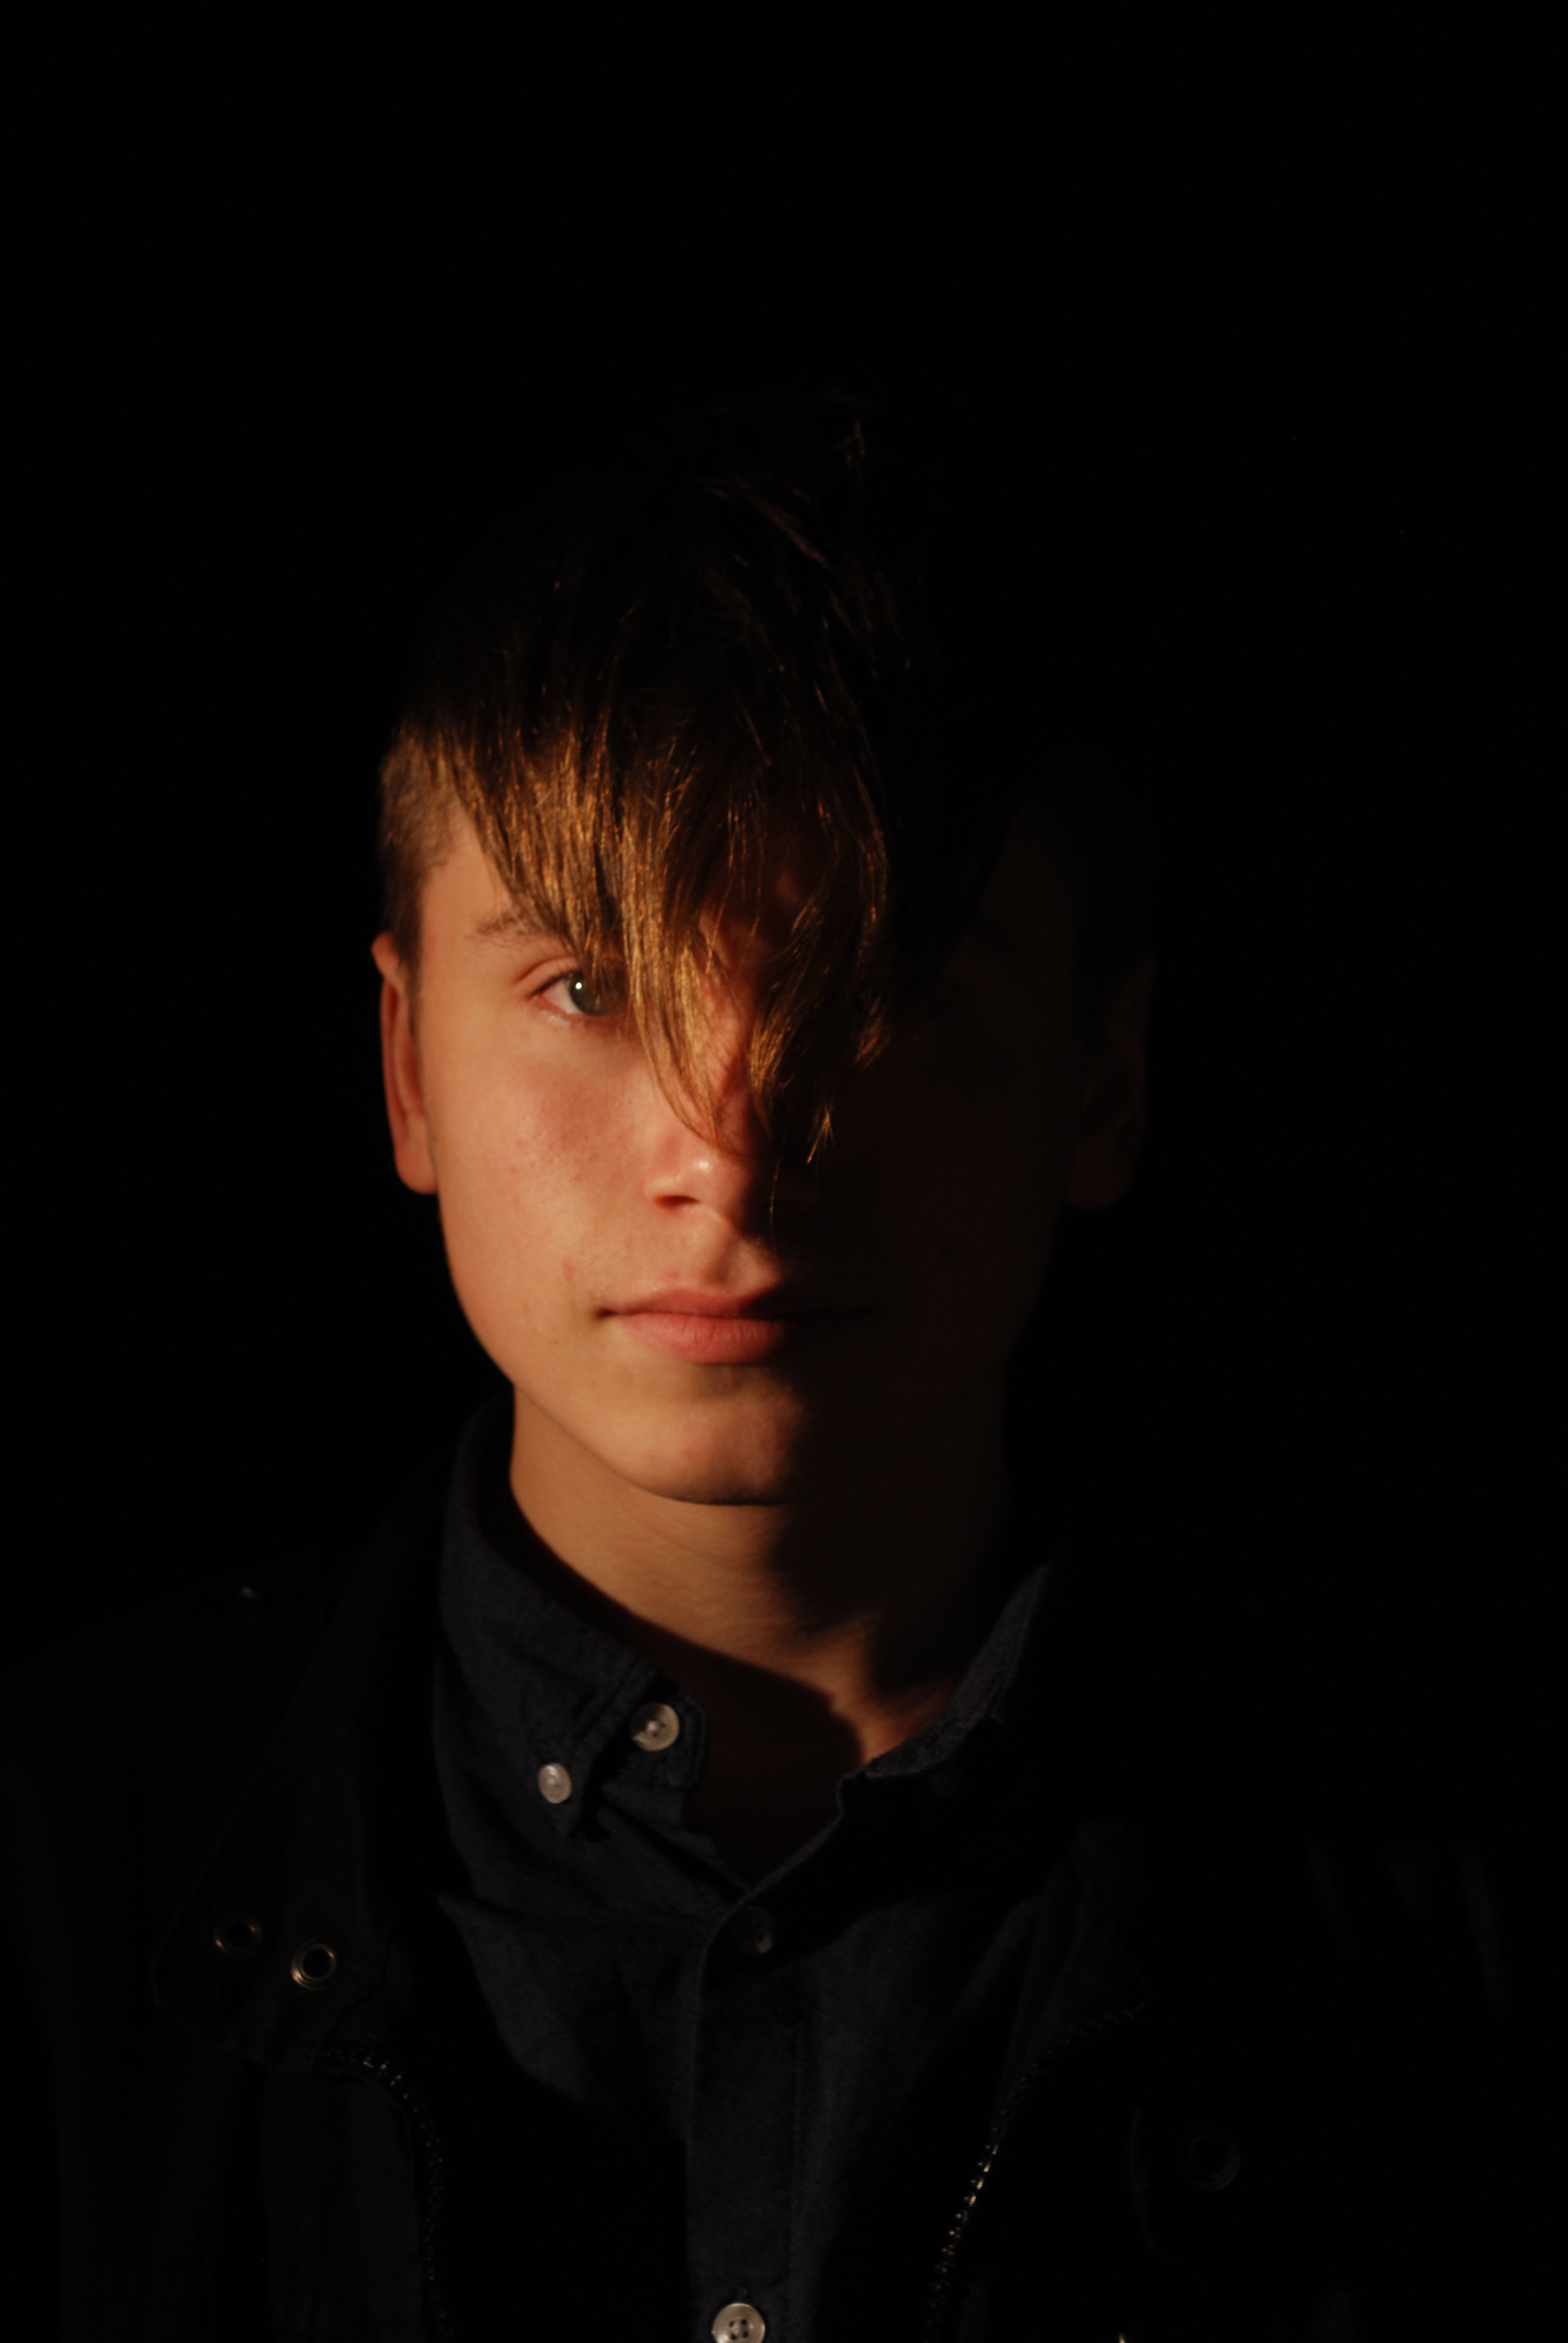
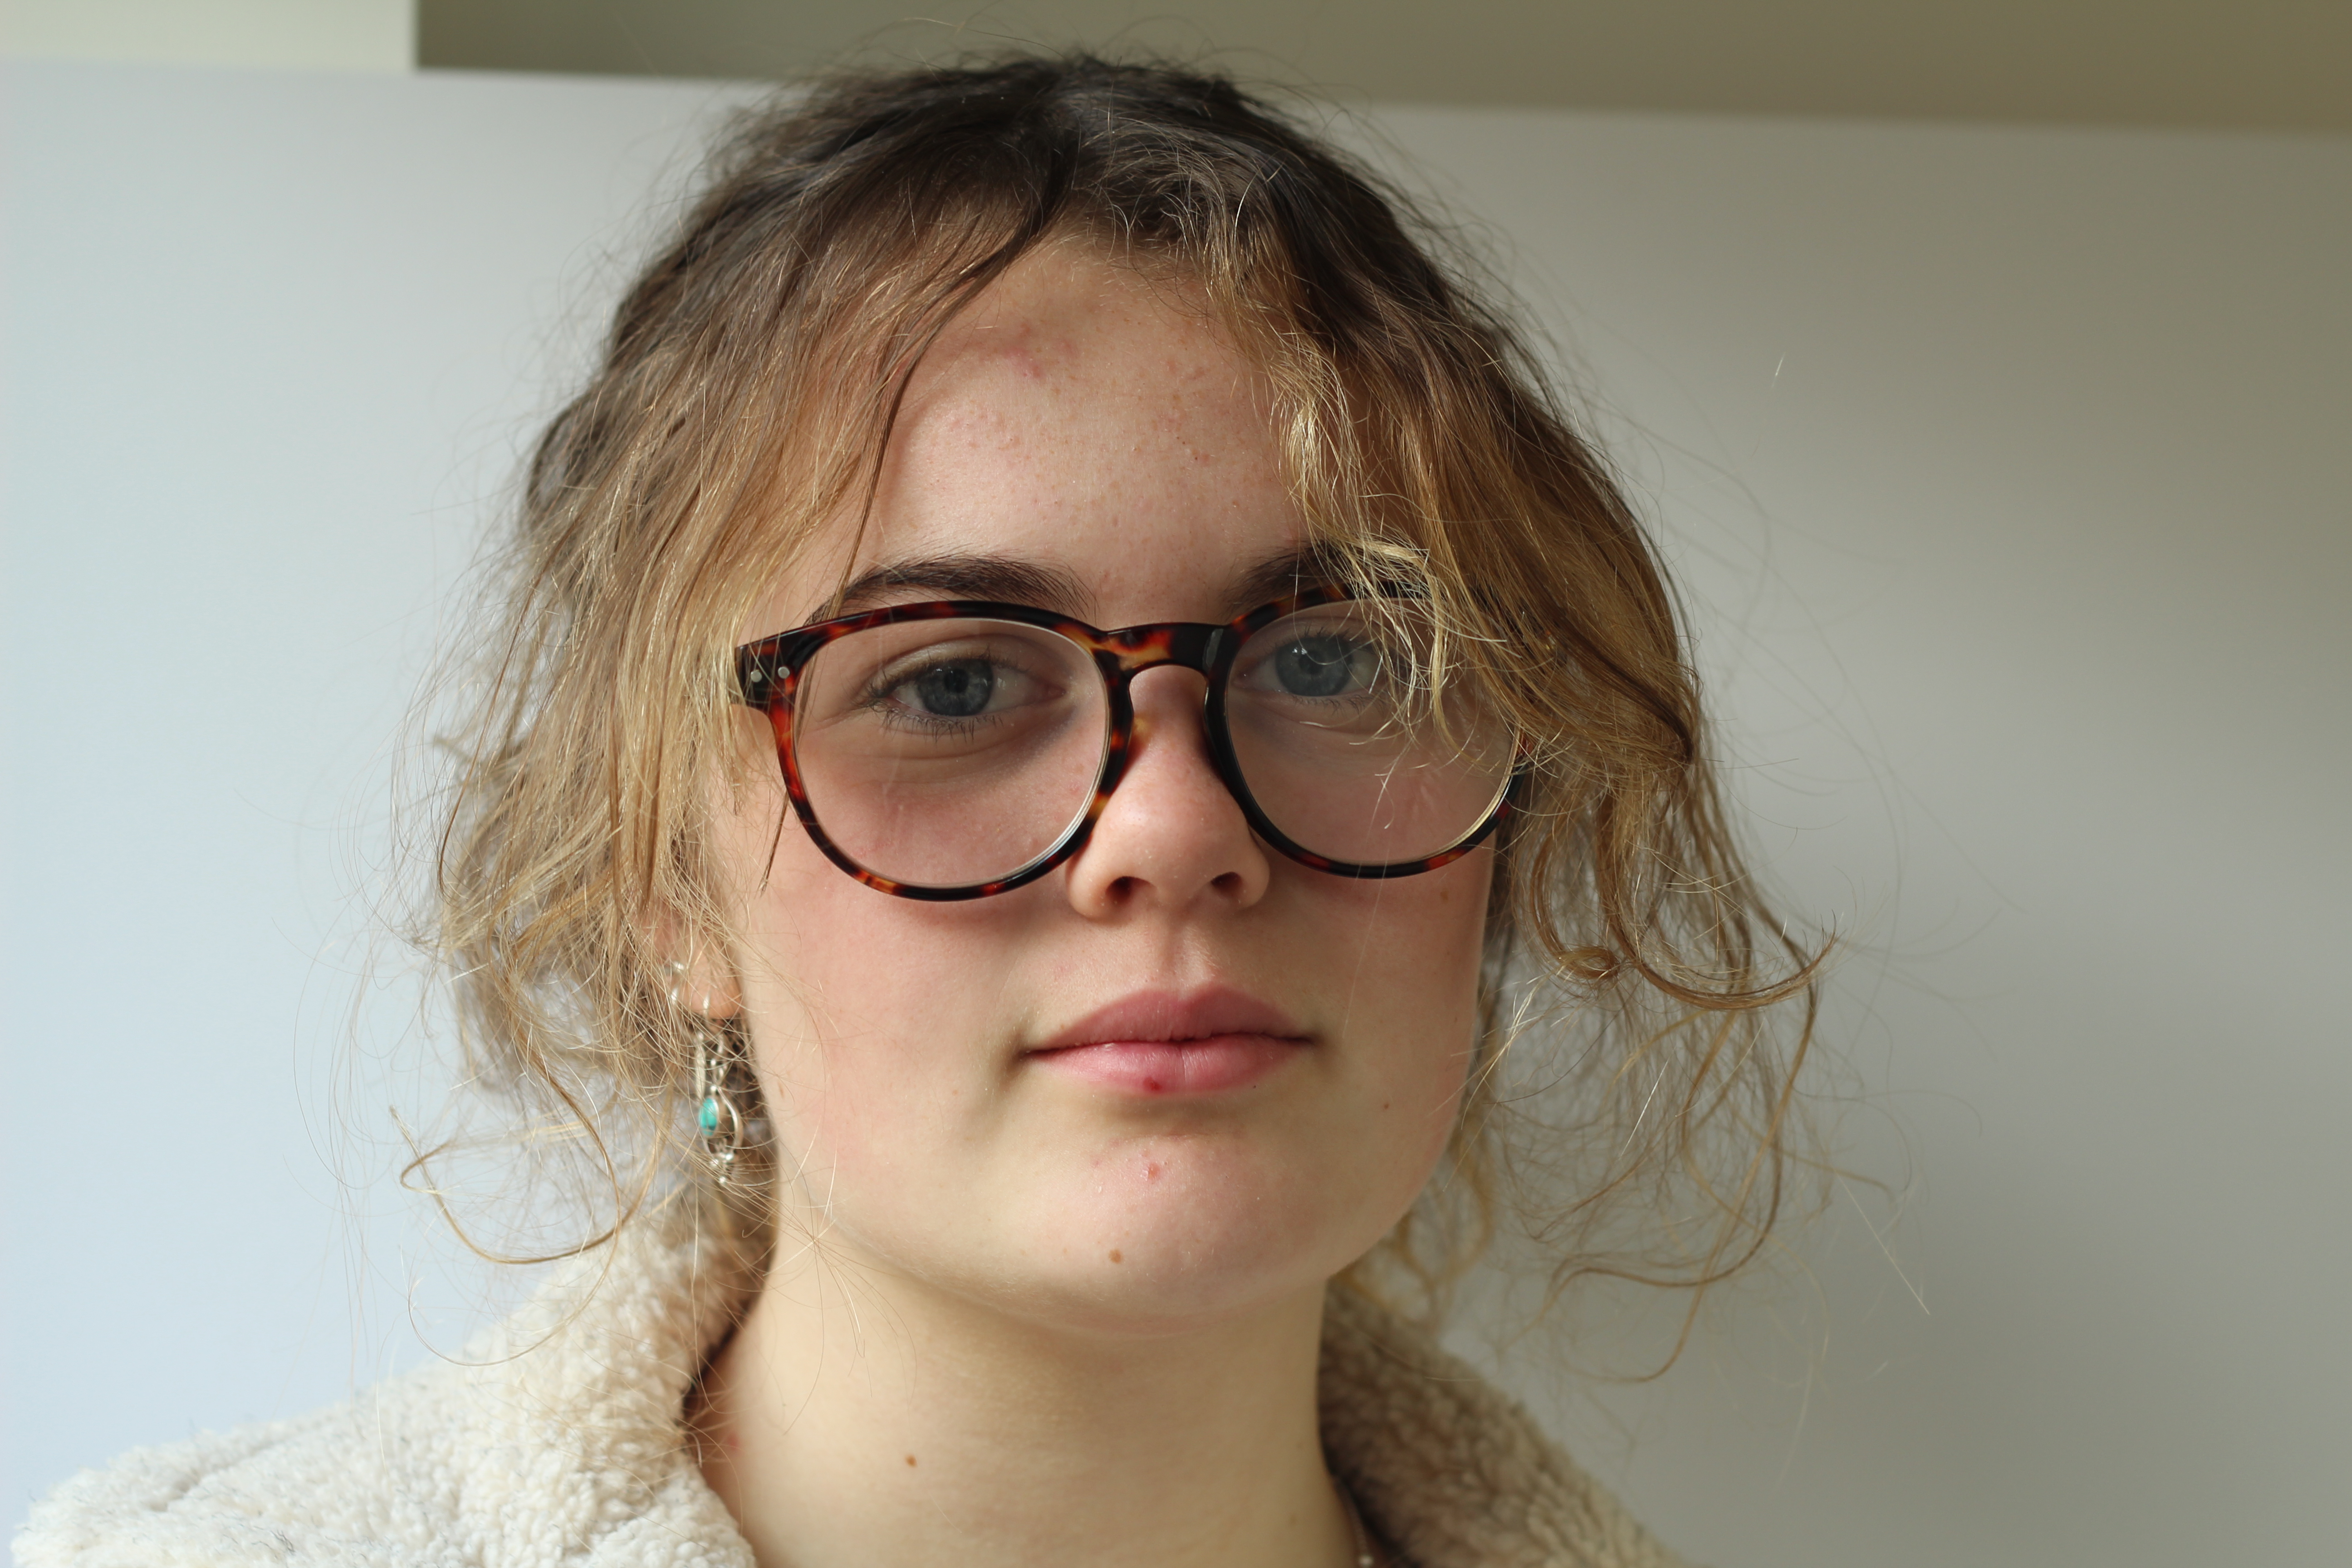
Unedited

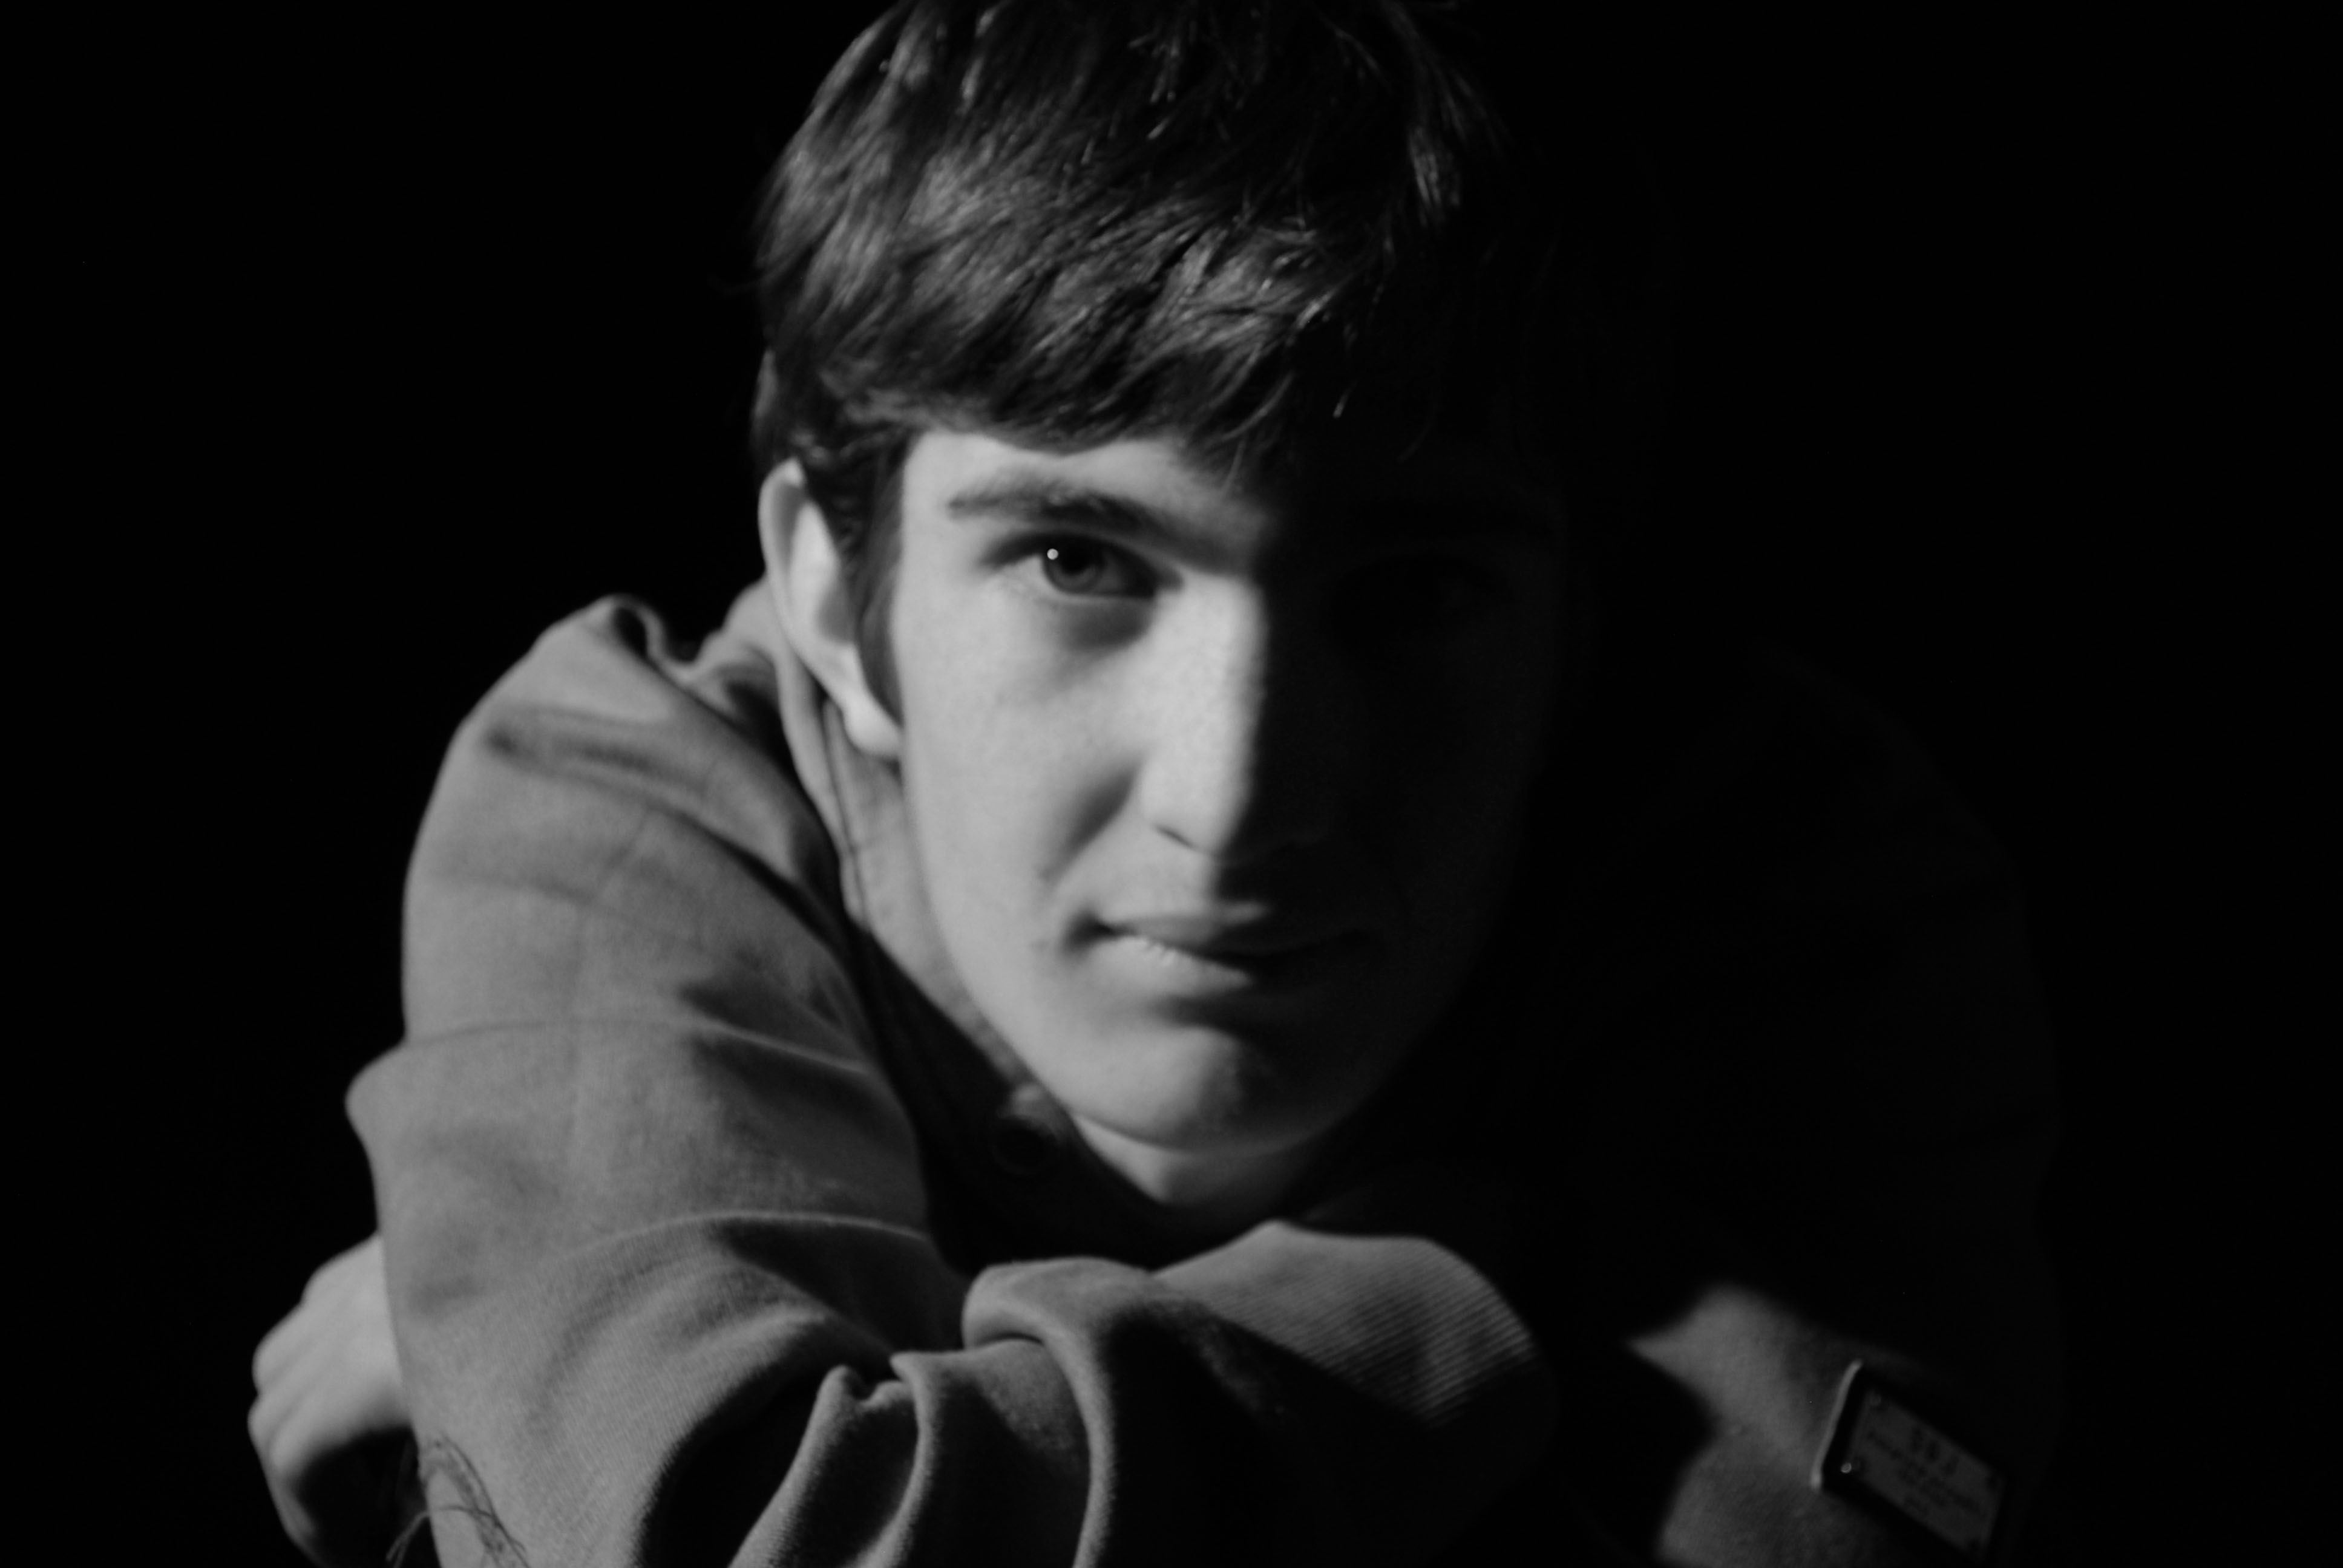
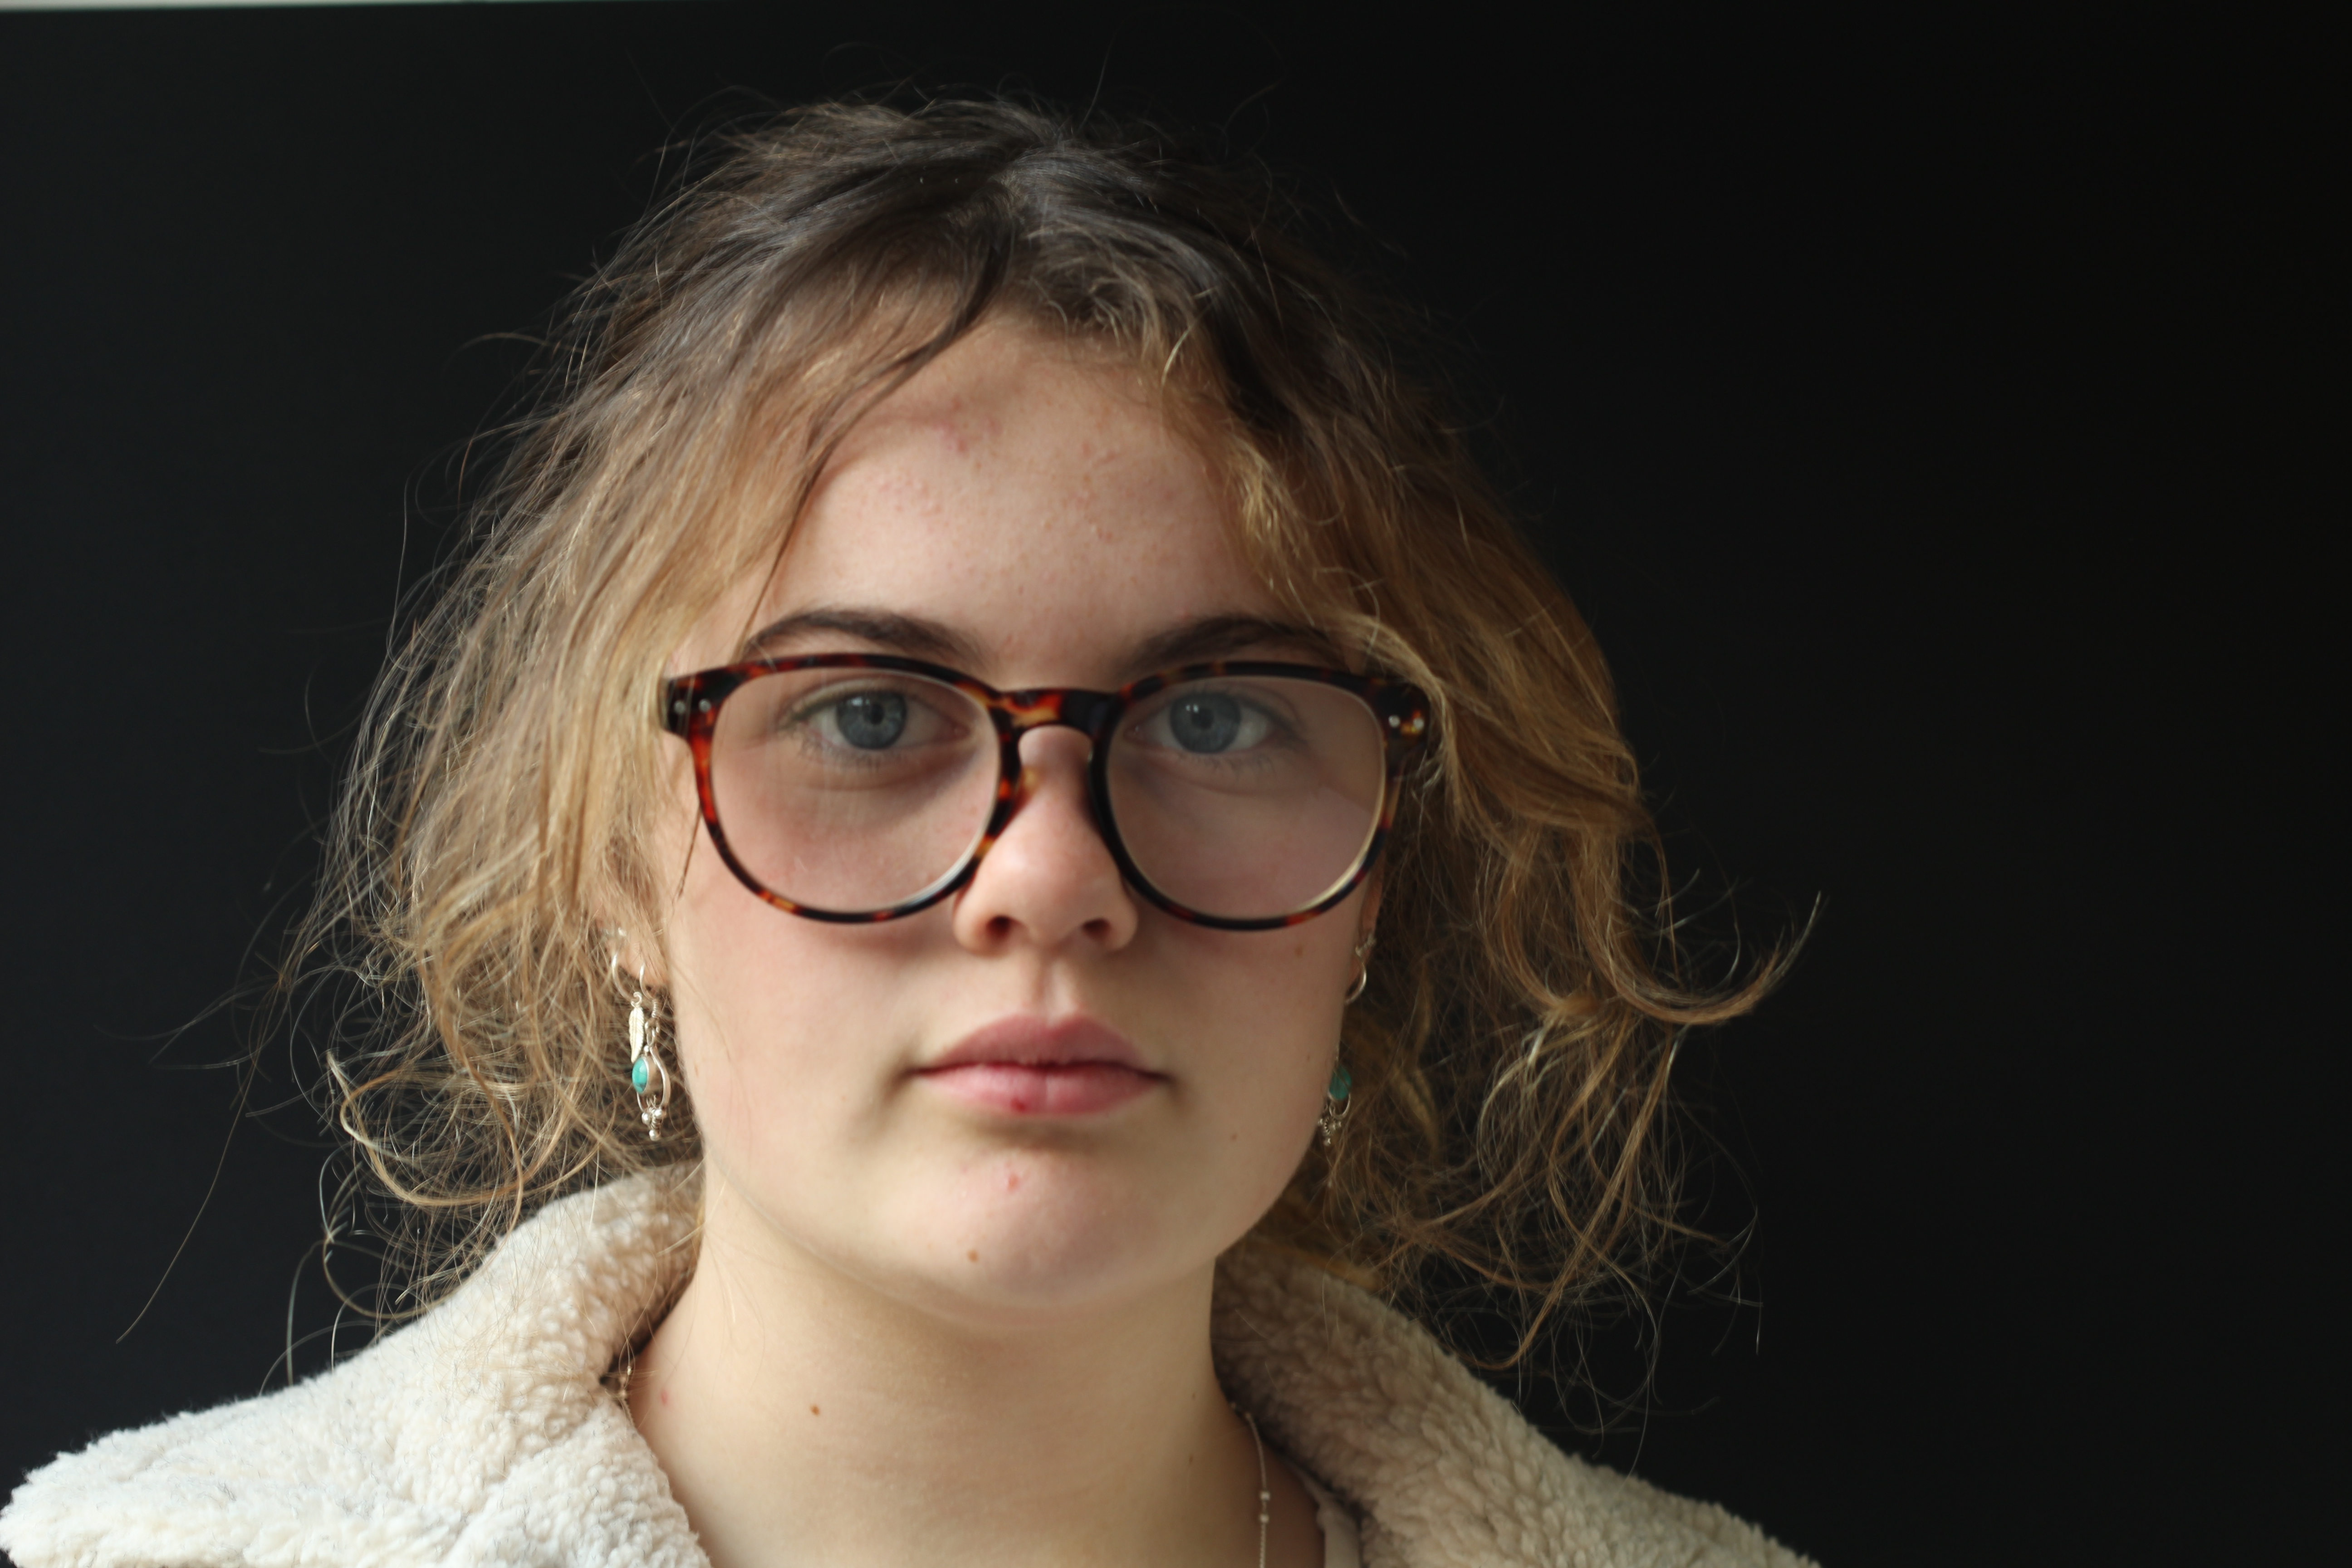
Edited

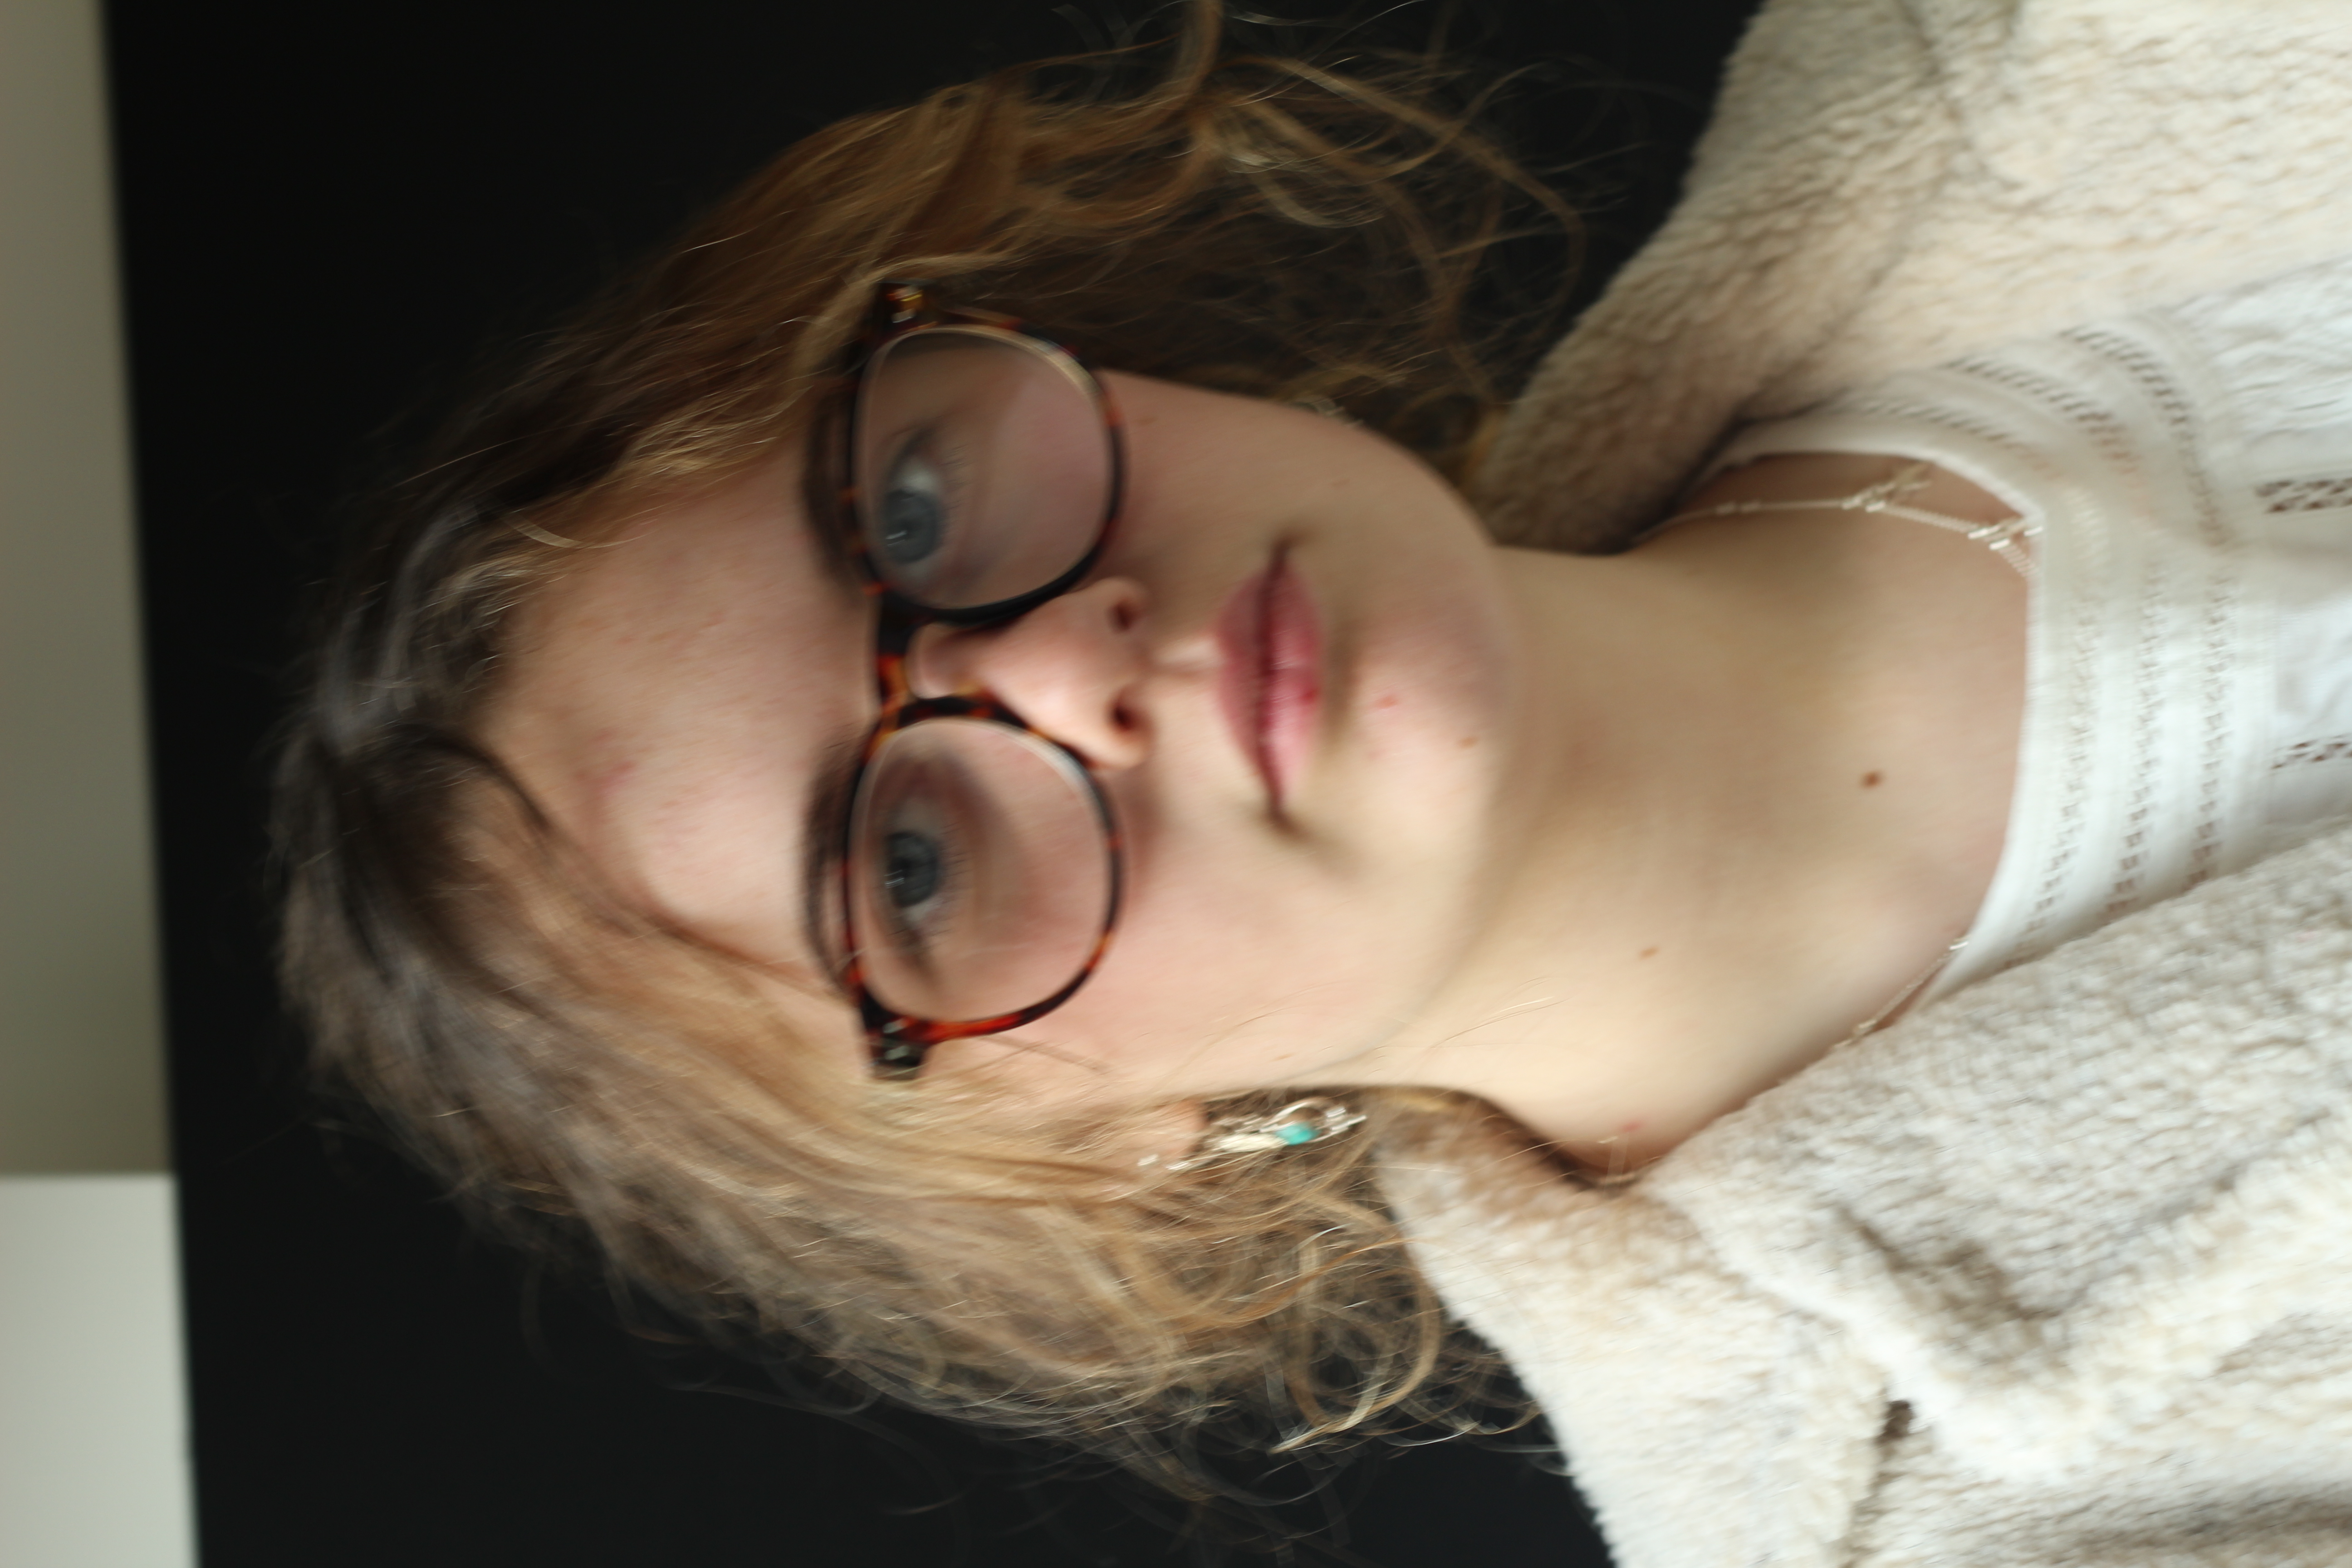
Unedited
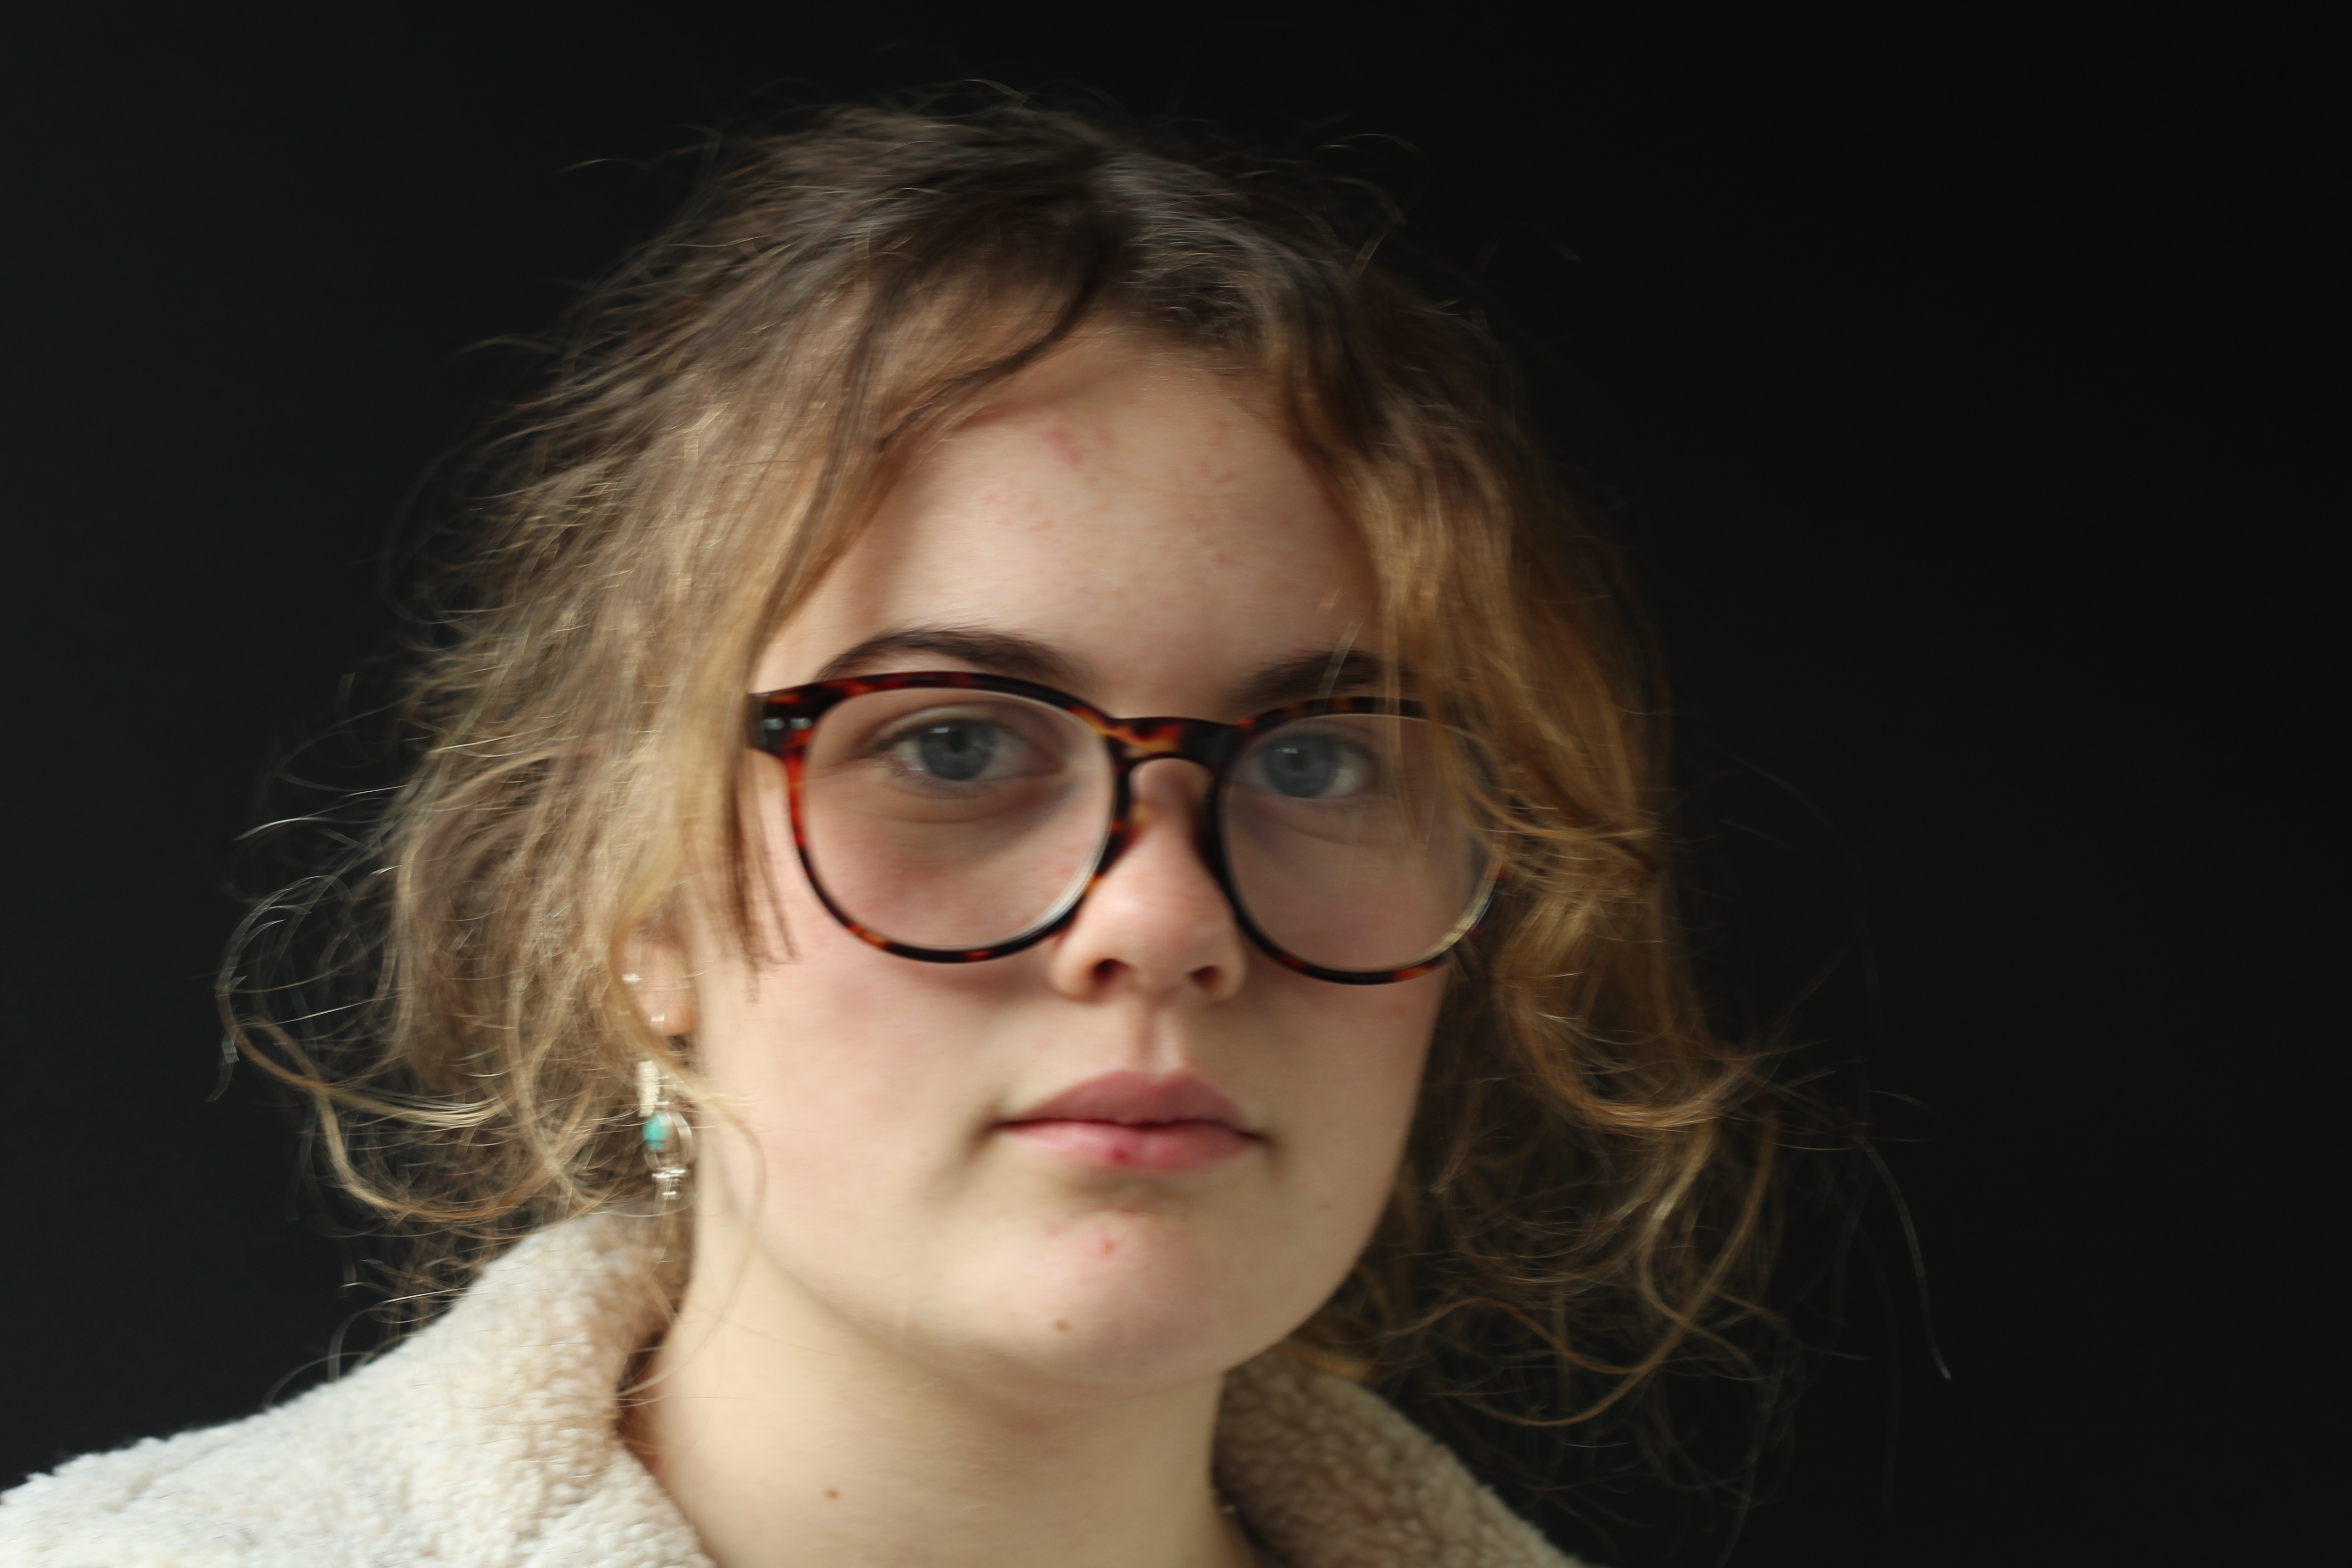
Edited
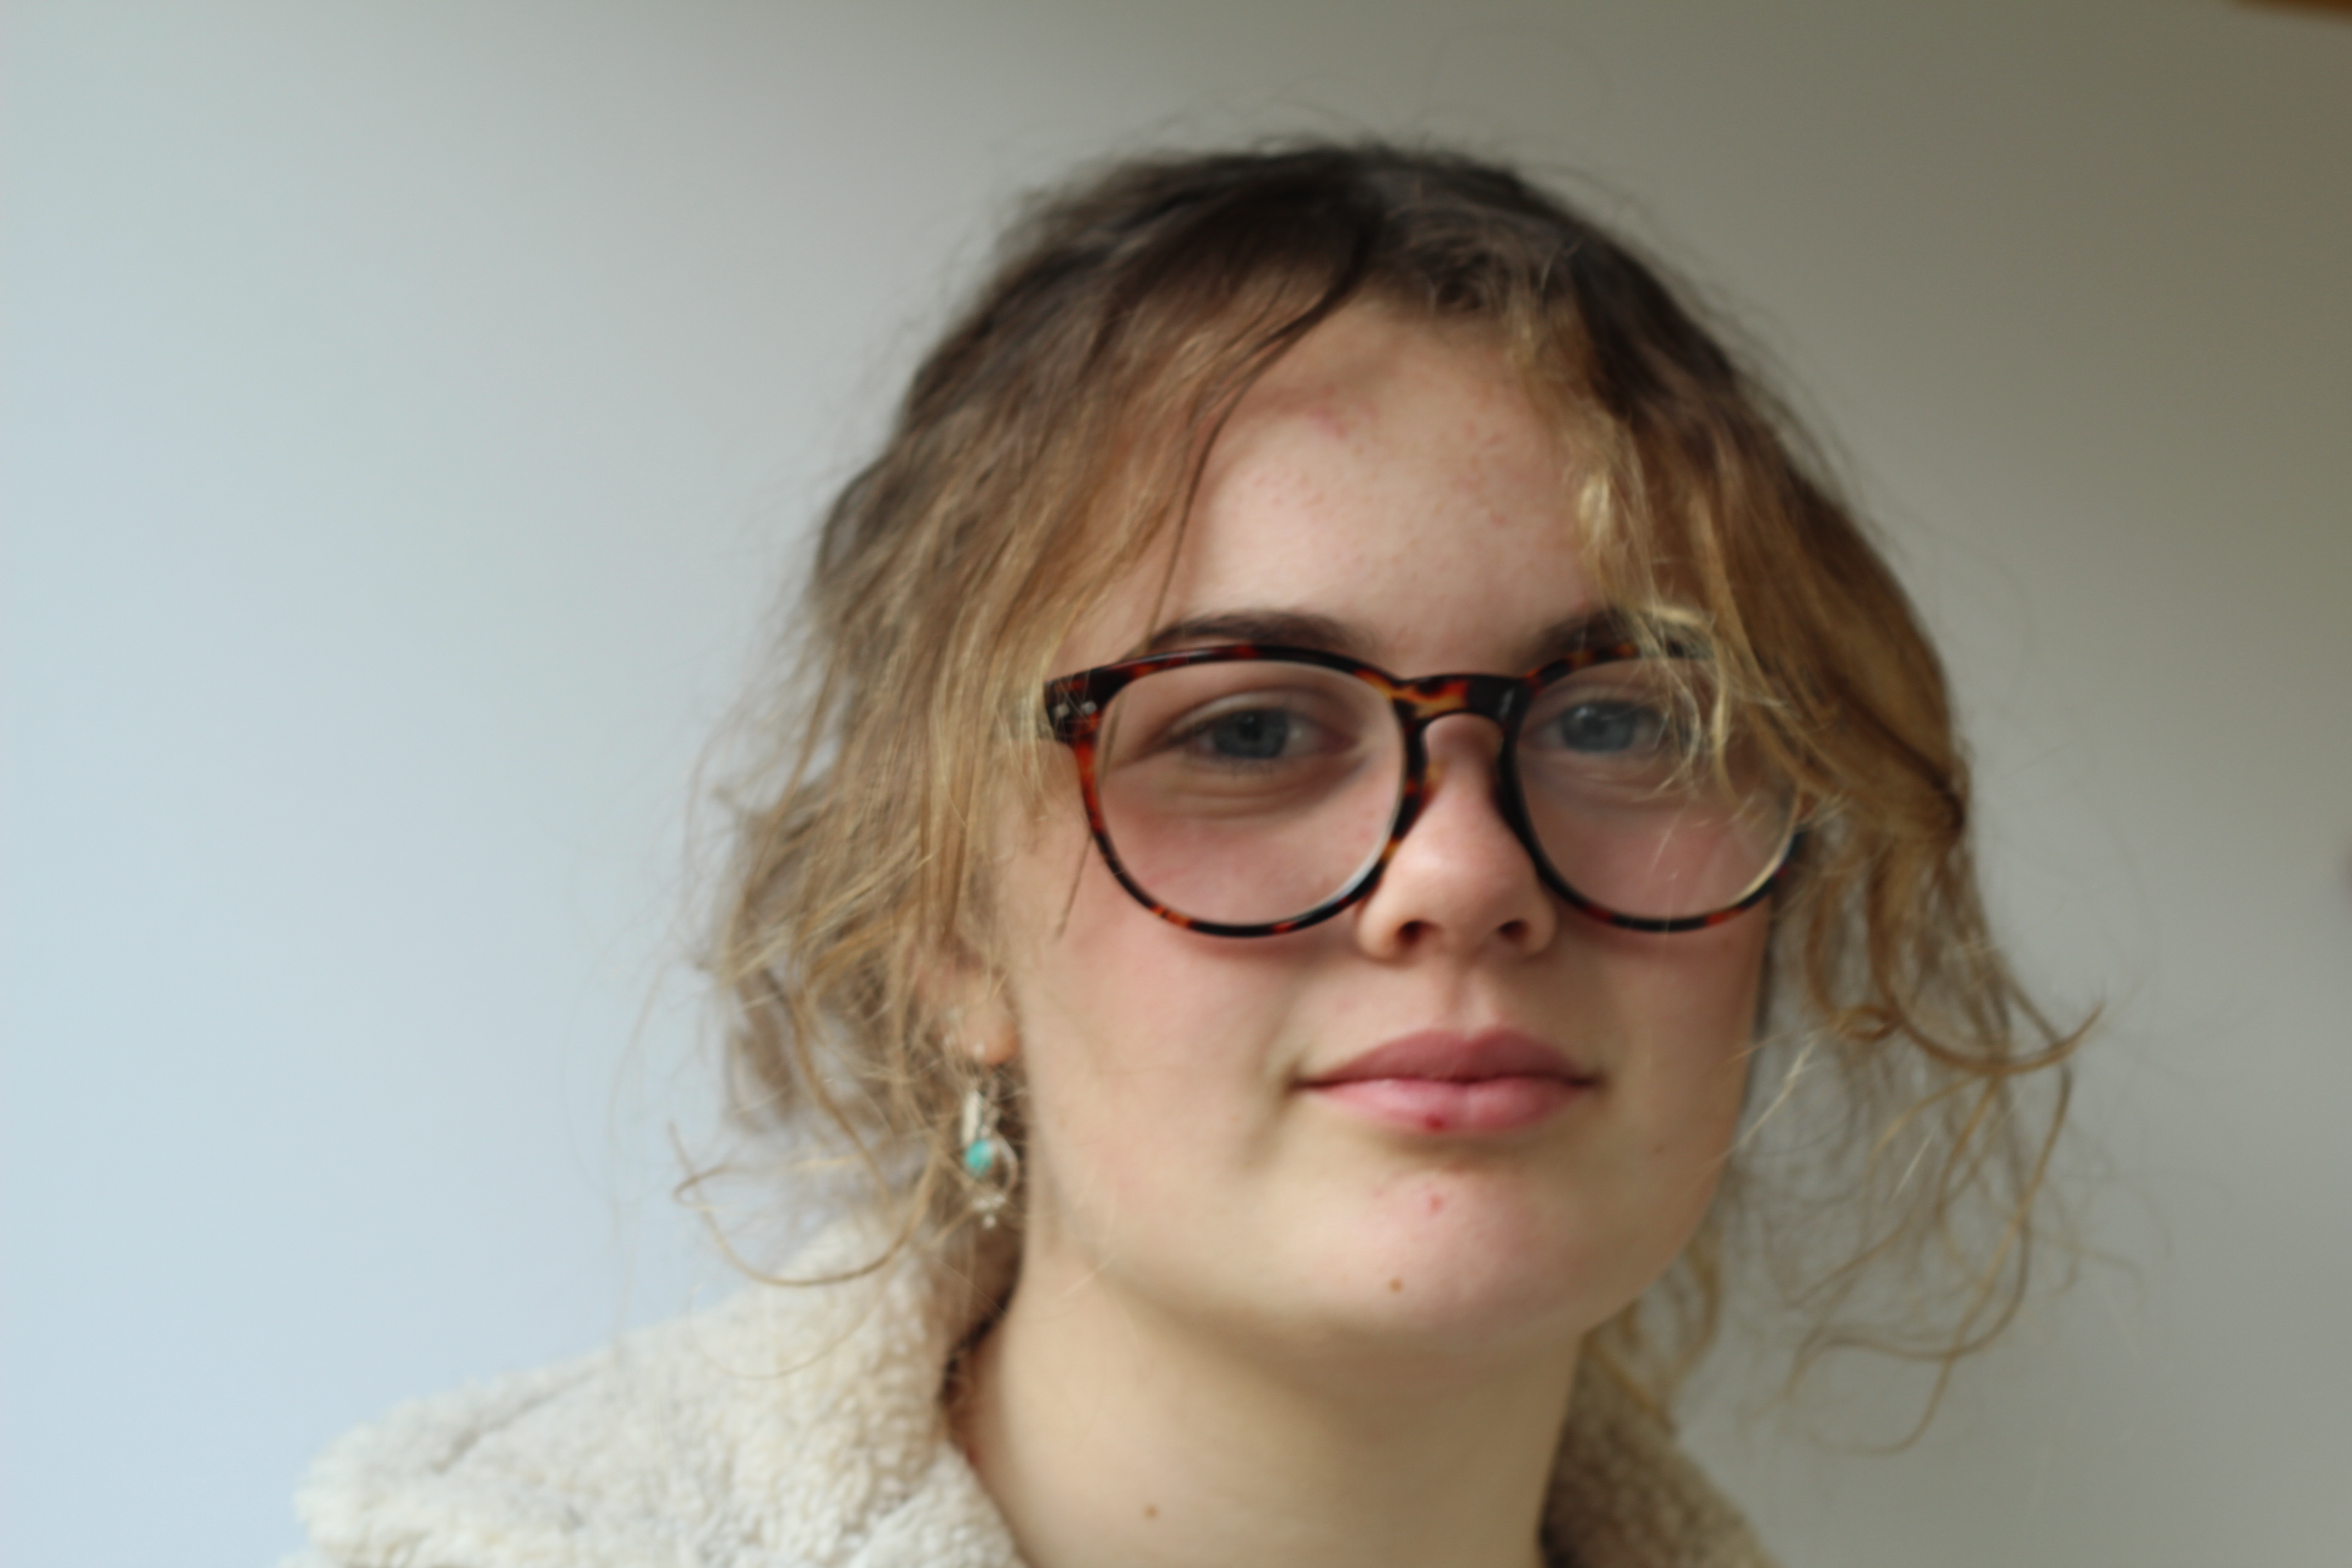
These are my final images, I would have liked to have more but because I was shooting on film and the focus is completely manual an that I had the aperture as low as I could, the depth of field was less forgiving. Both of these lead to some images not being focused correctly and then not being composed in the way that I wanted them to be.
For the editing of my photos I used photoshop to raise the exposure levels on the photos and raise the contrast levels I also brightened the shadows, the reason that I did this is because I was using a 200iso roll of film this meant that I was limited with the amount of exposure that I could input without slowing down the shutter speed dramatically as I didn’t have a tripod or a mono-pod.

Natural Lighting
Light Intensity, White Balance & Temperature
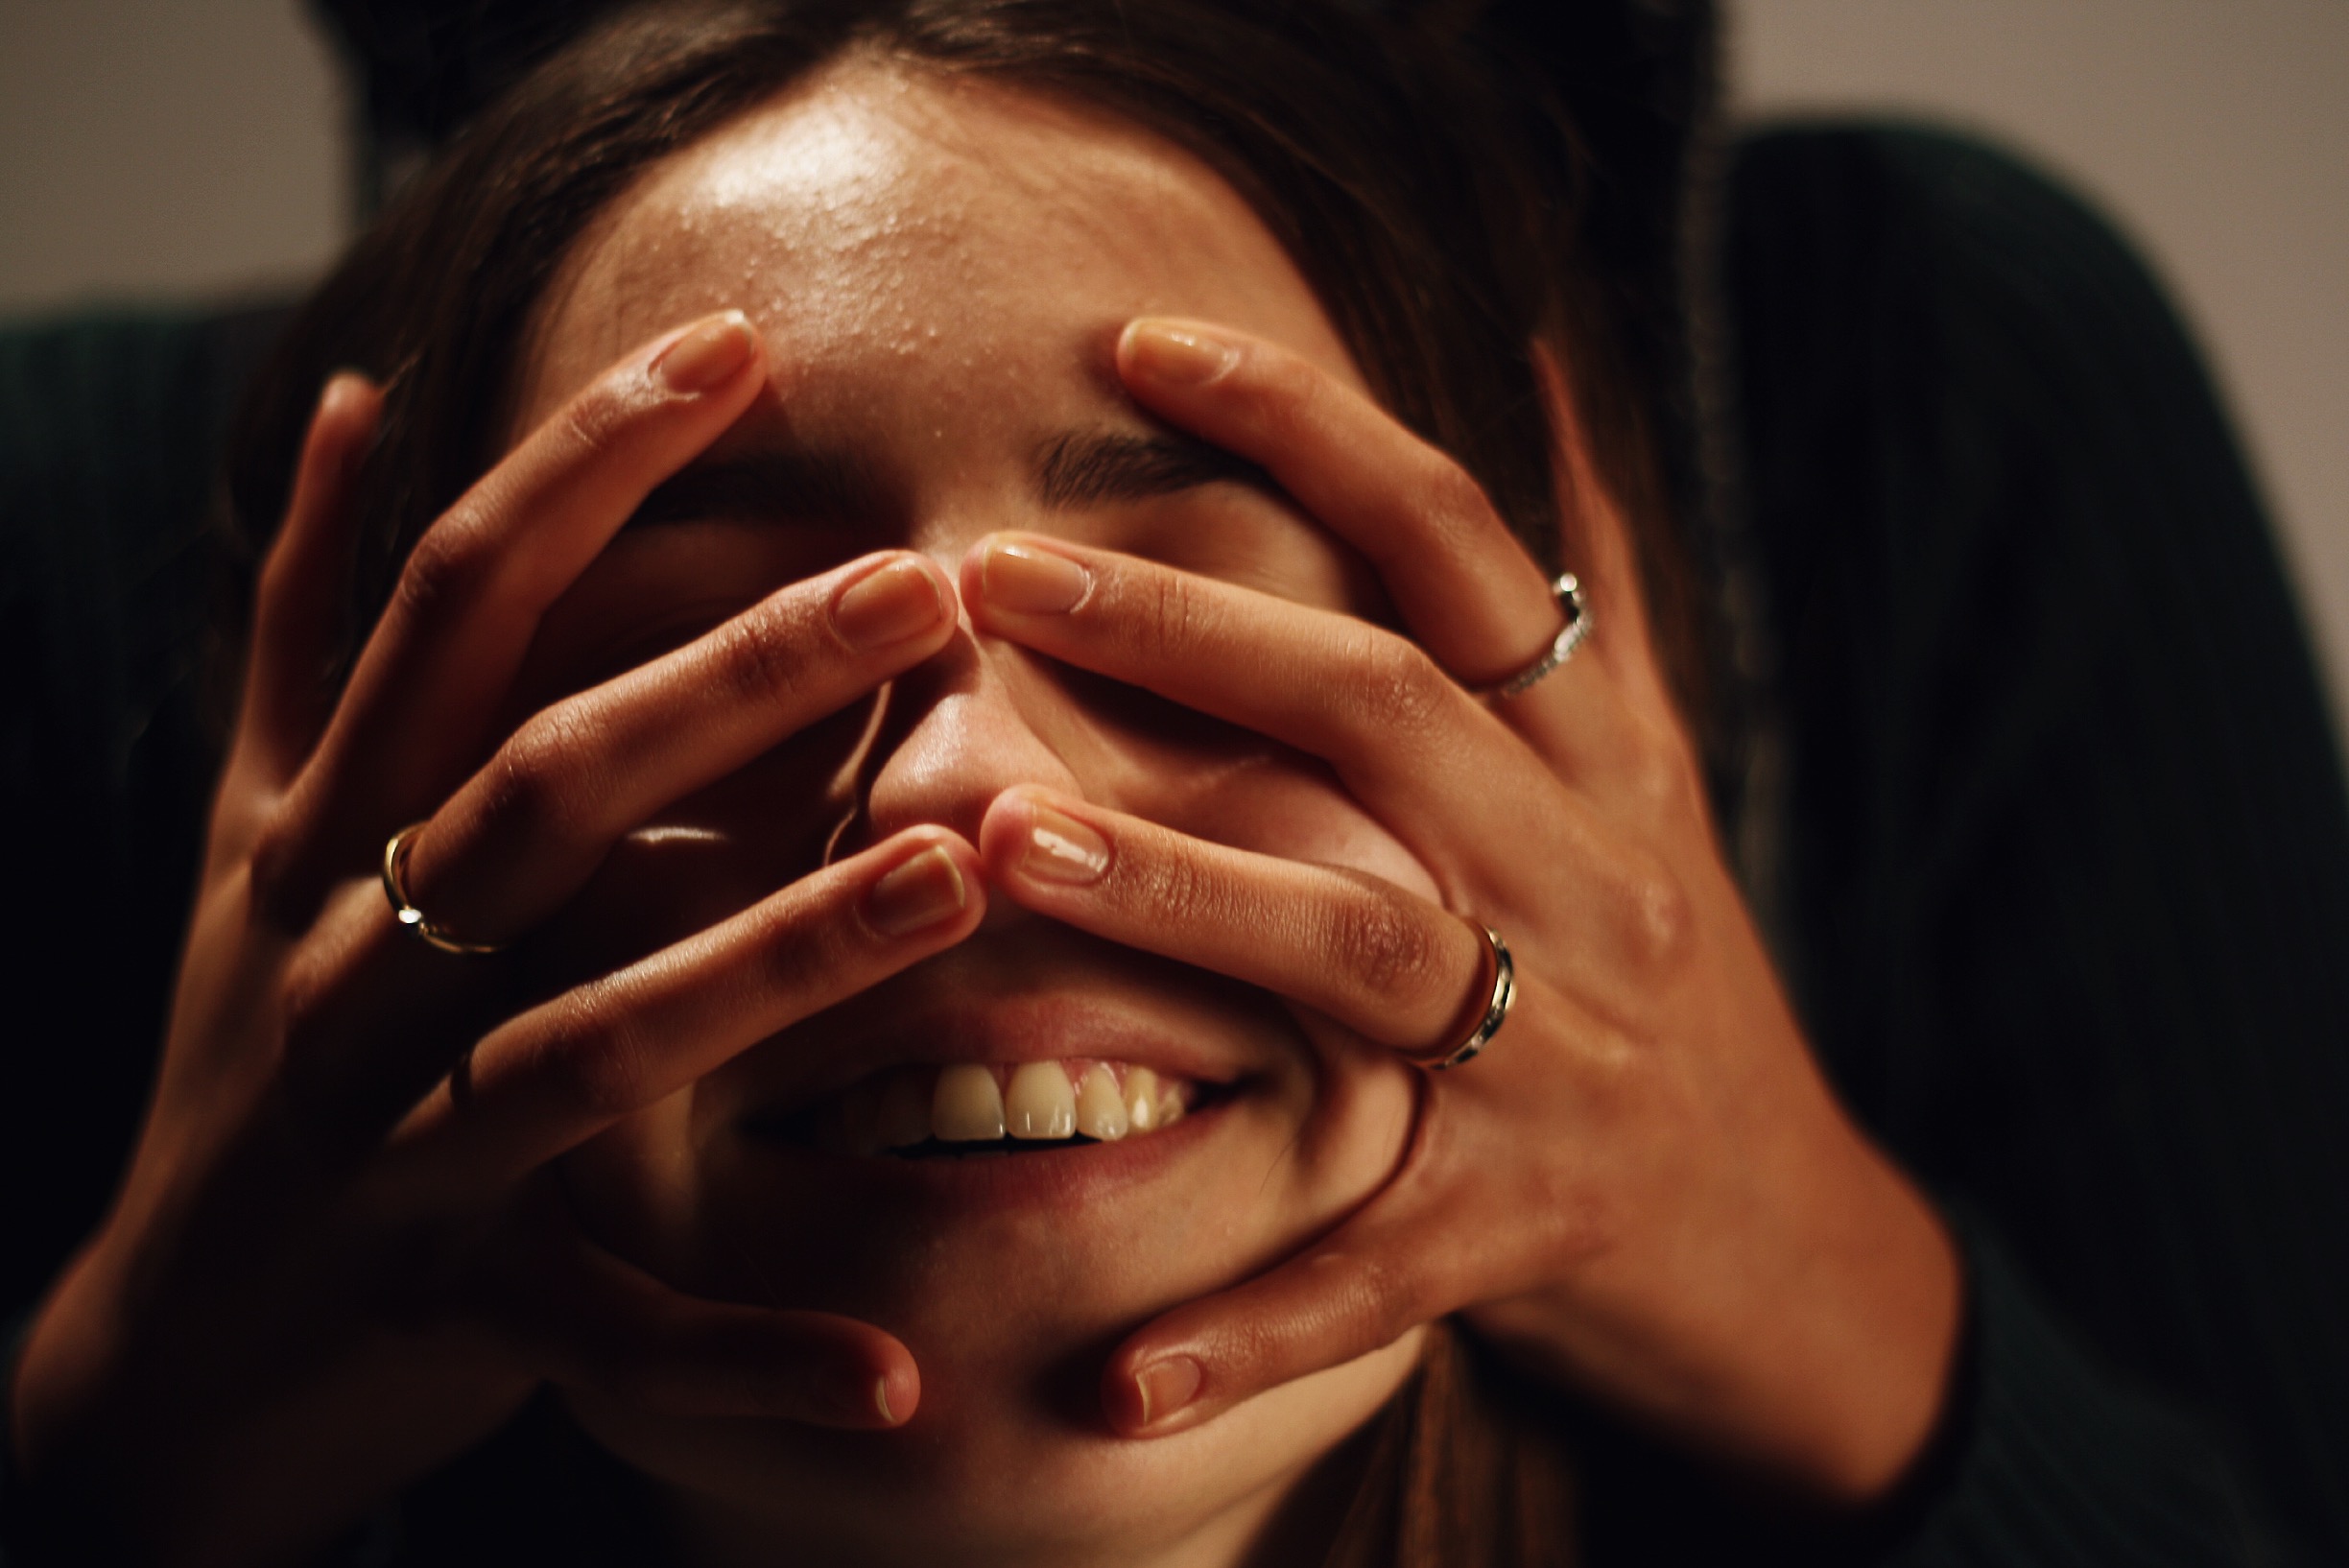
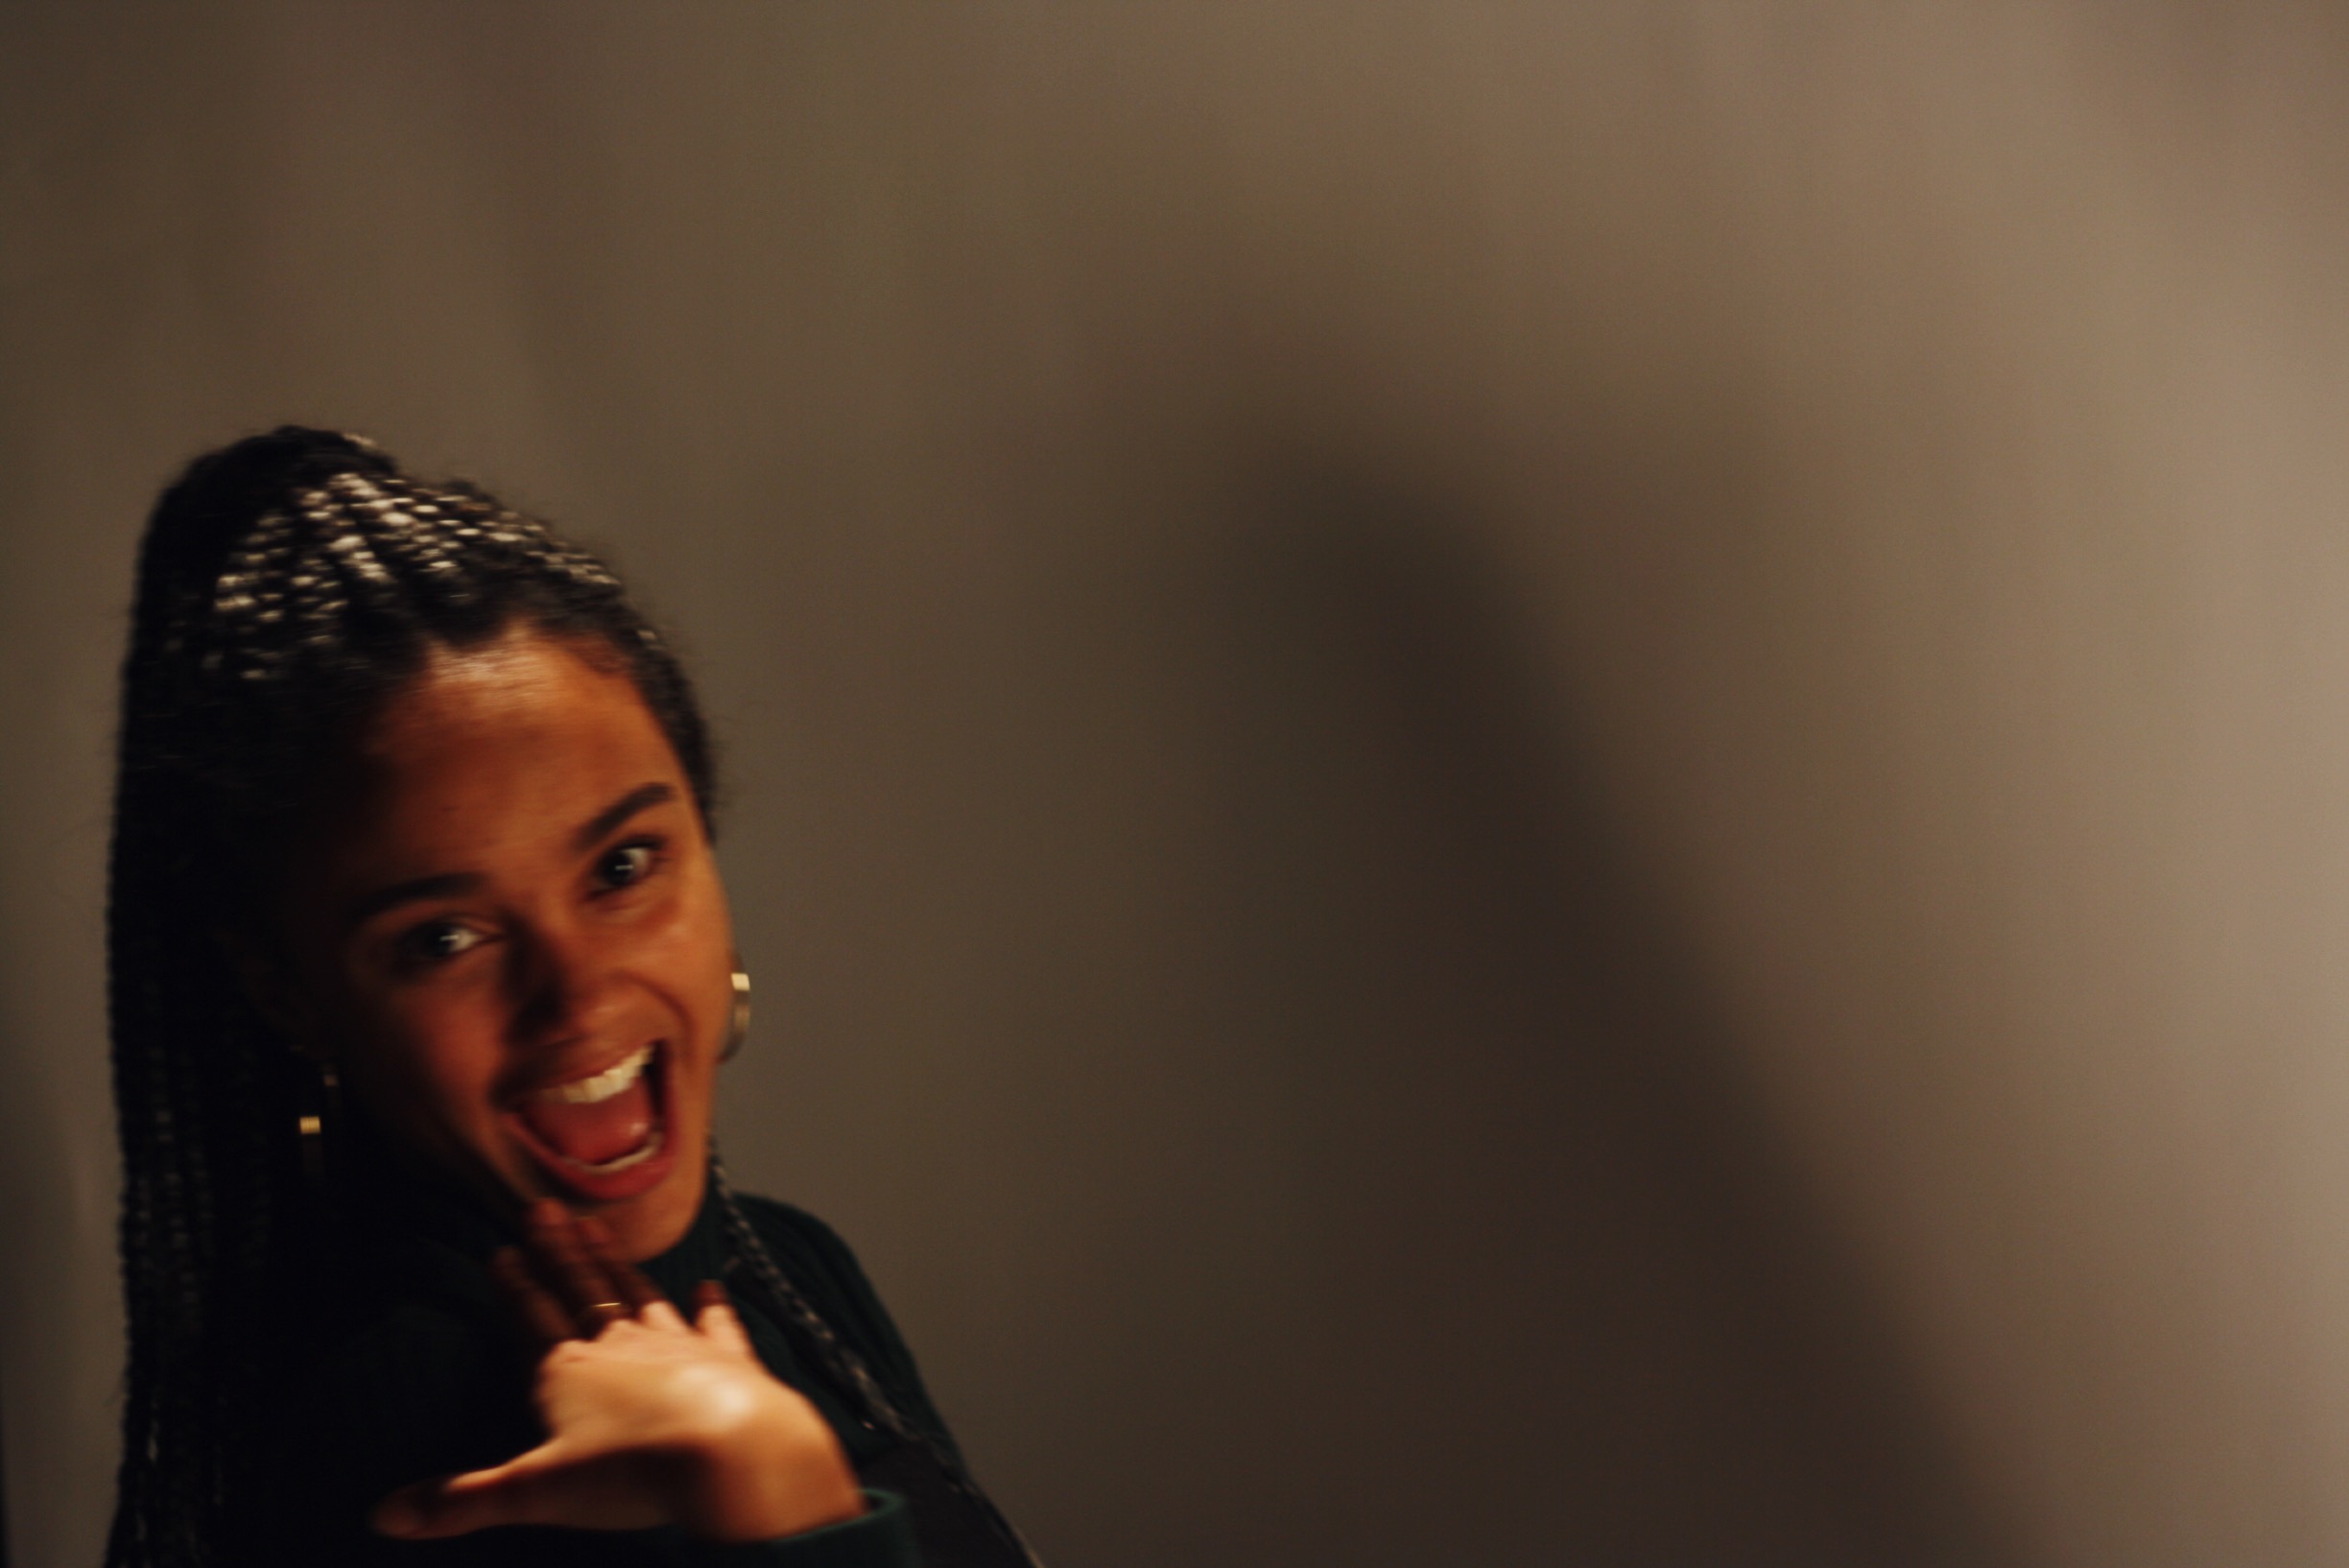
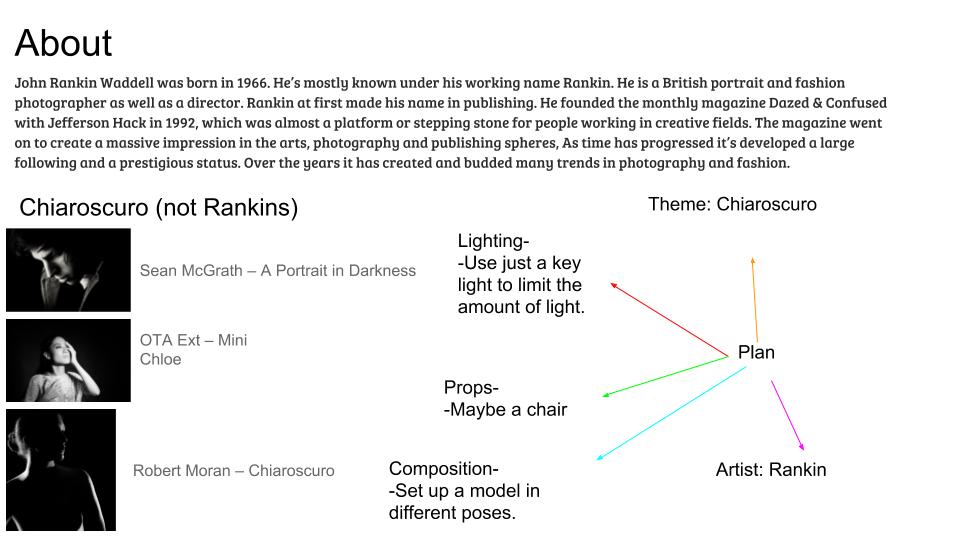
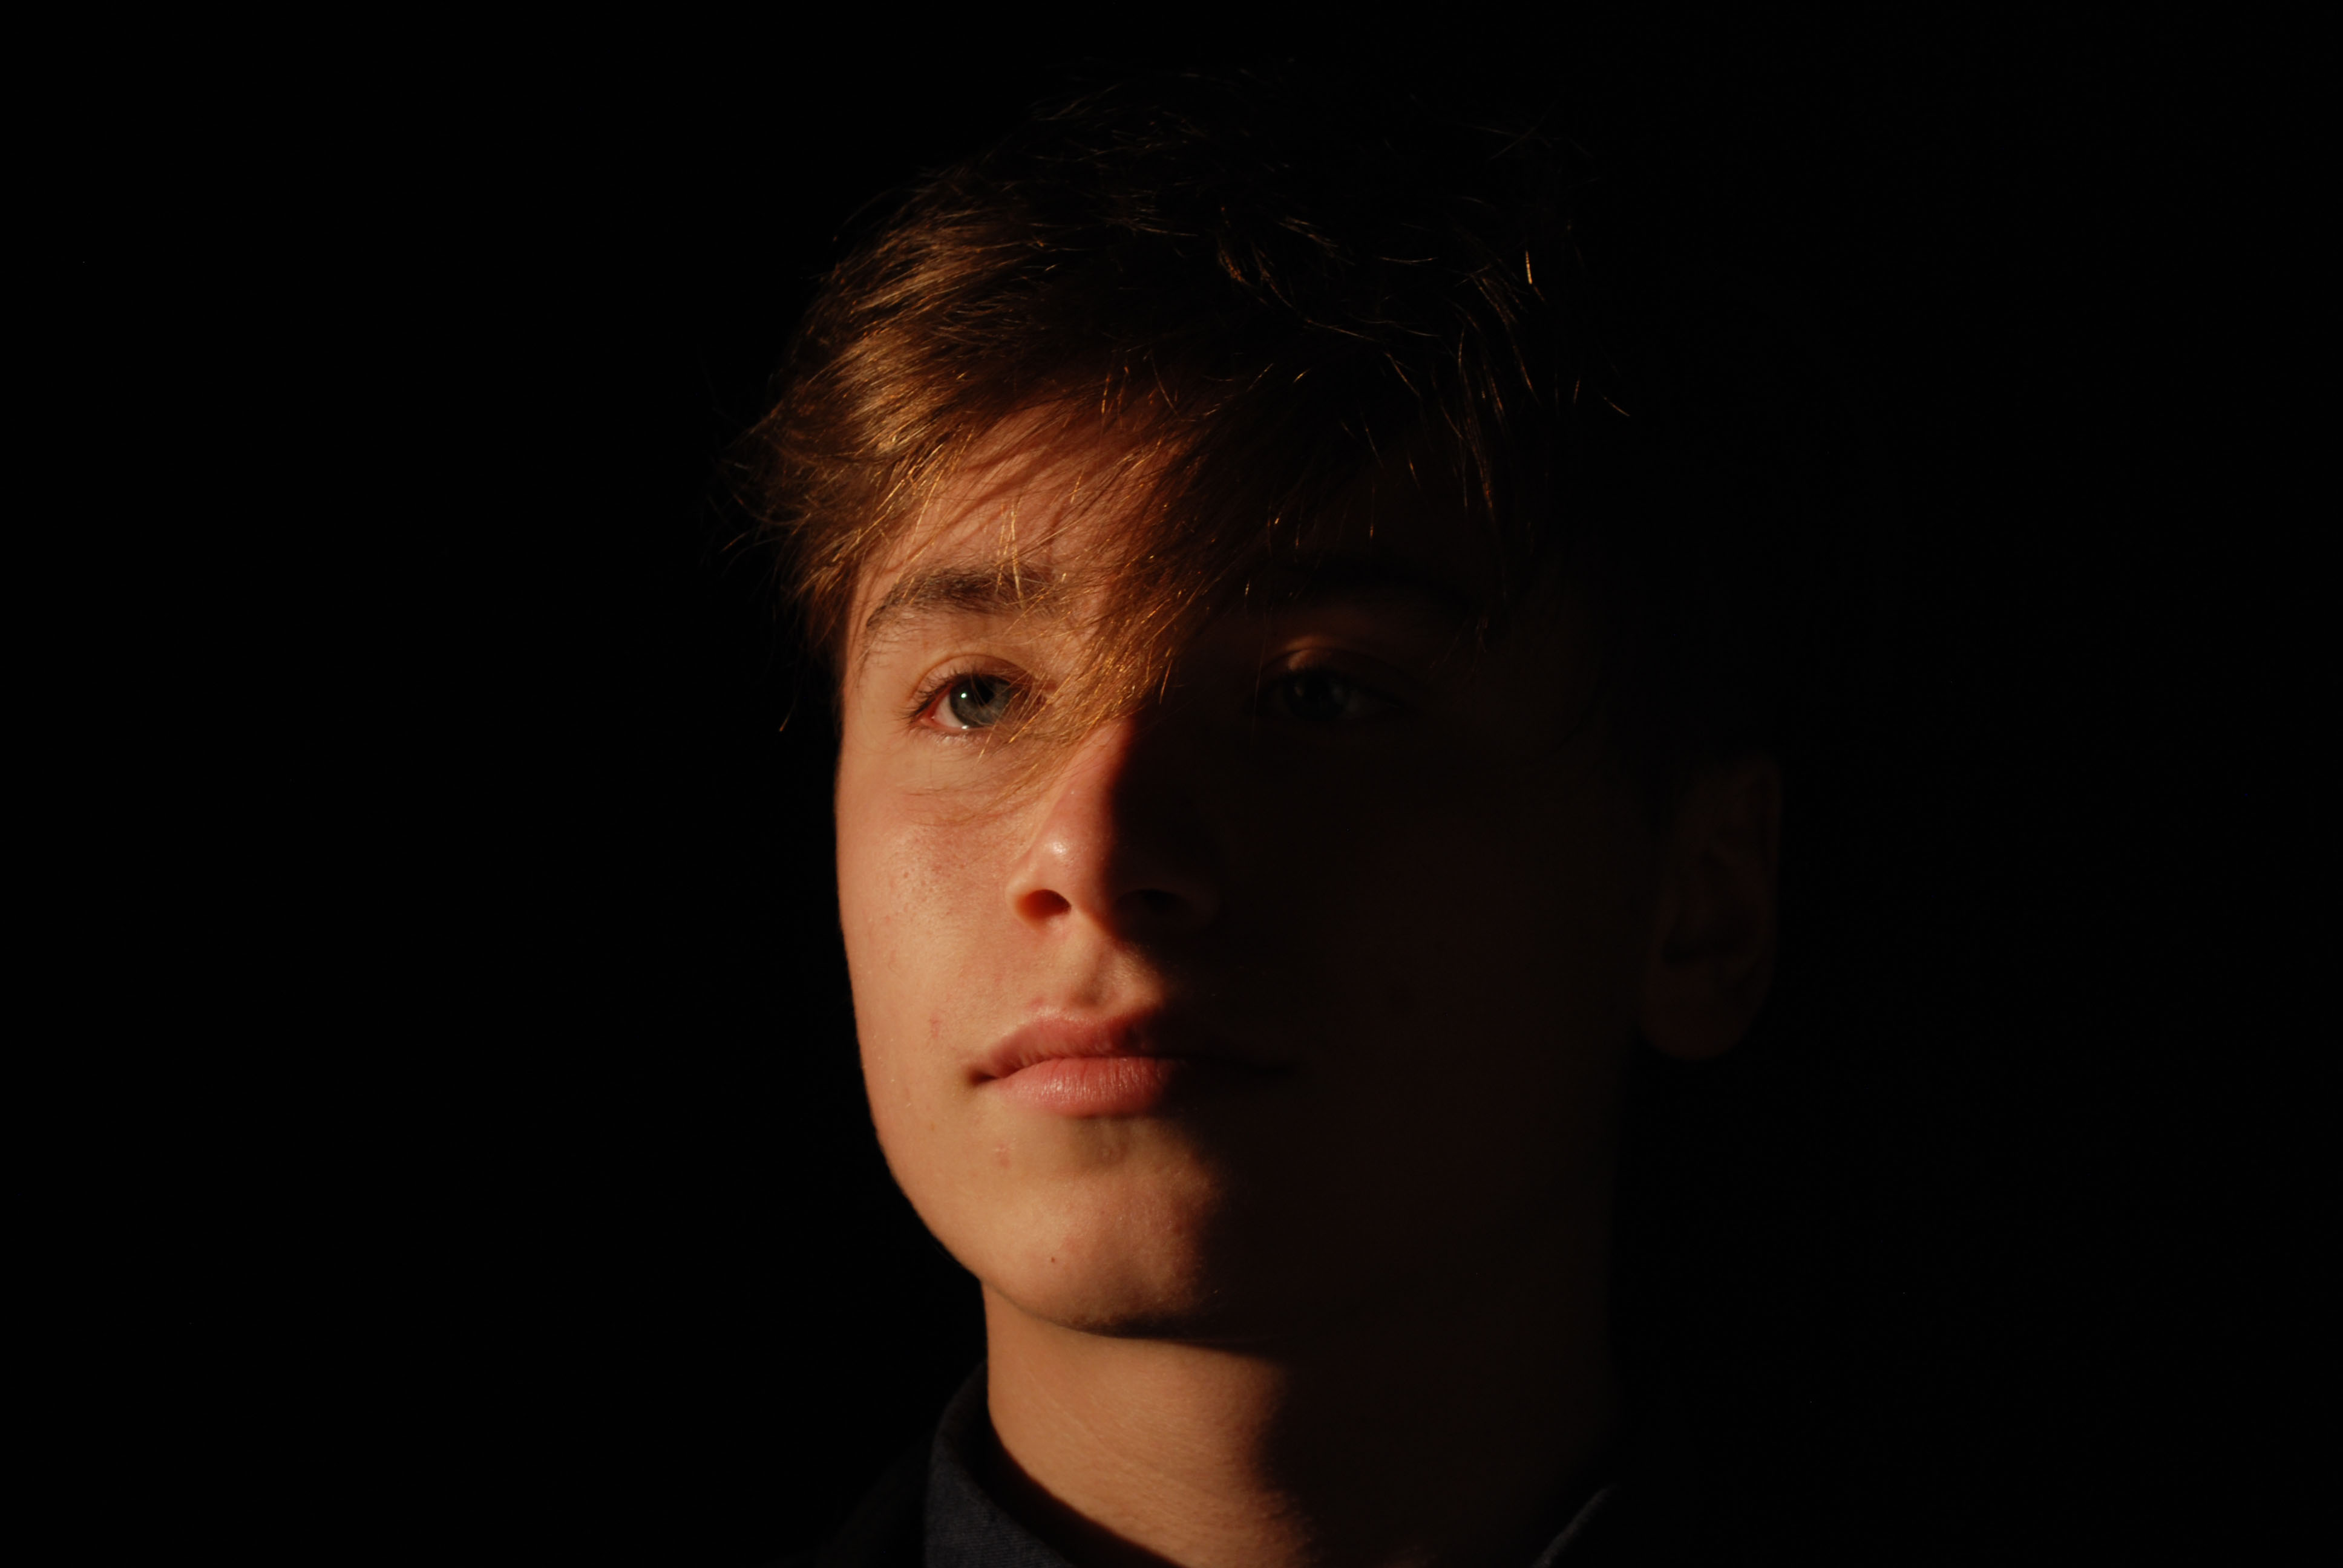
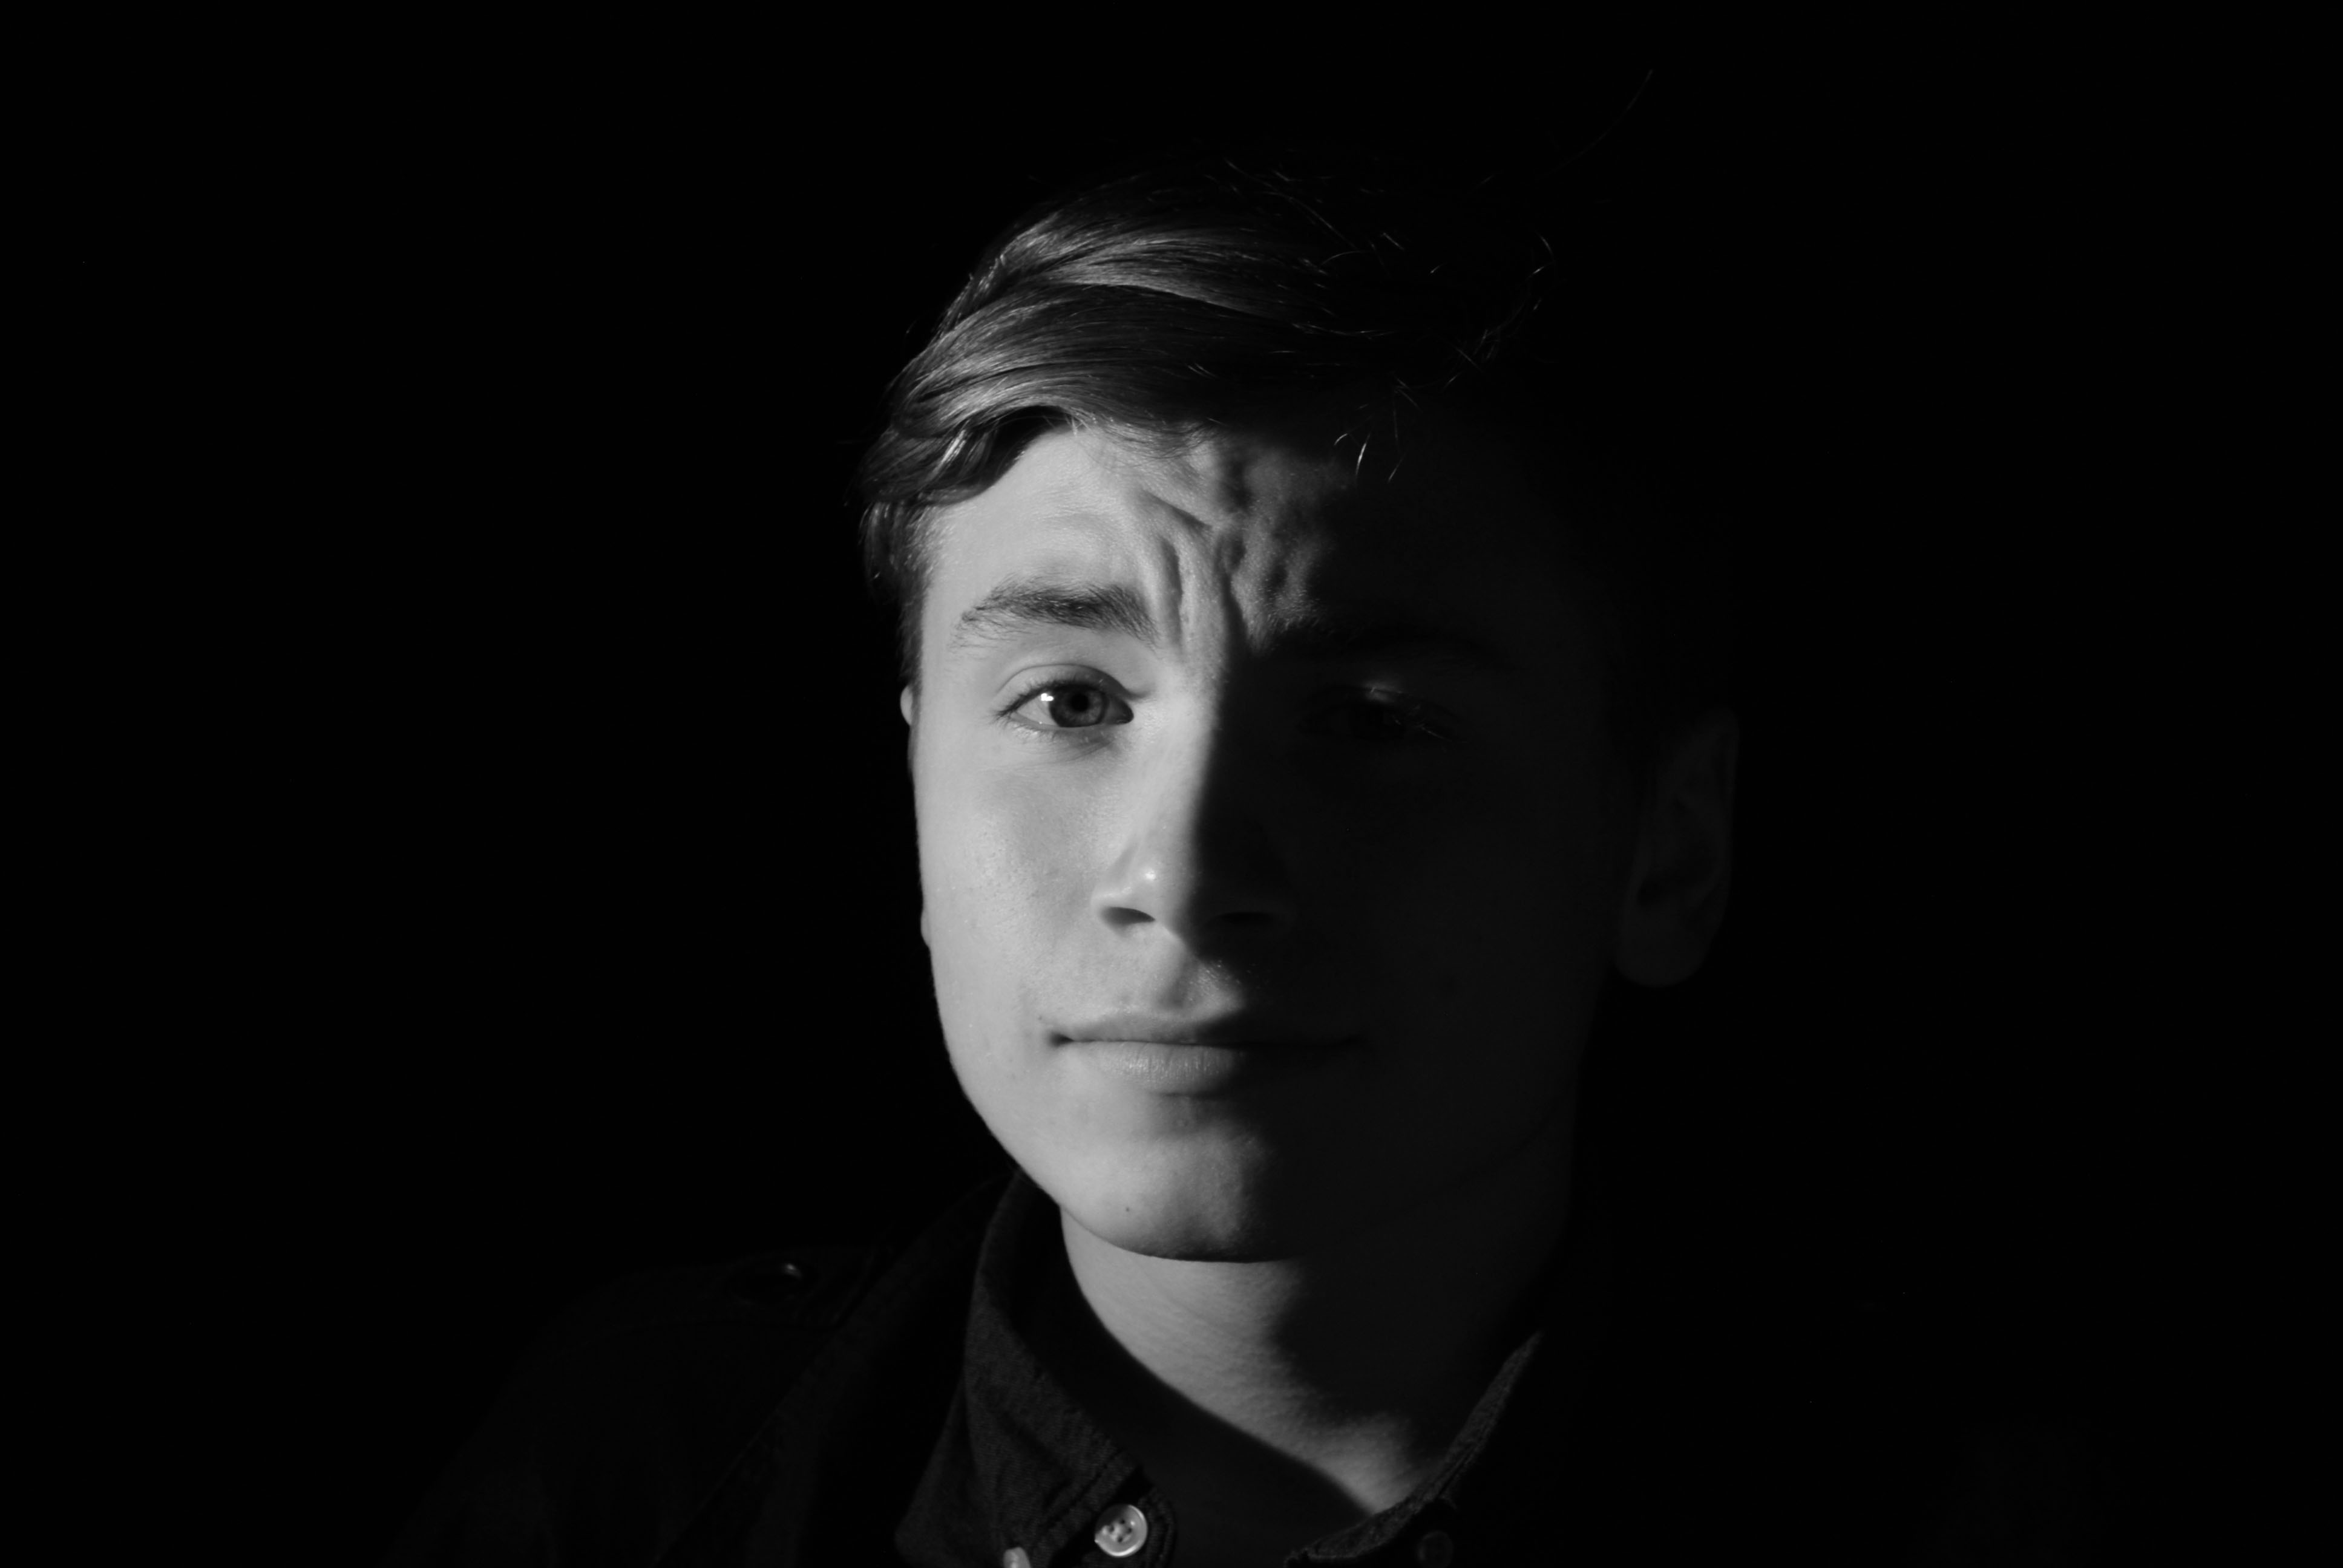
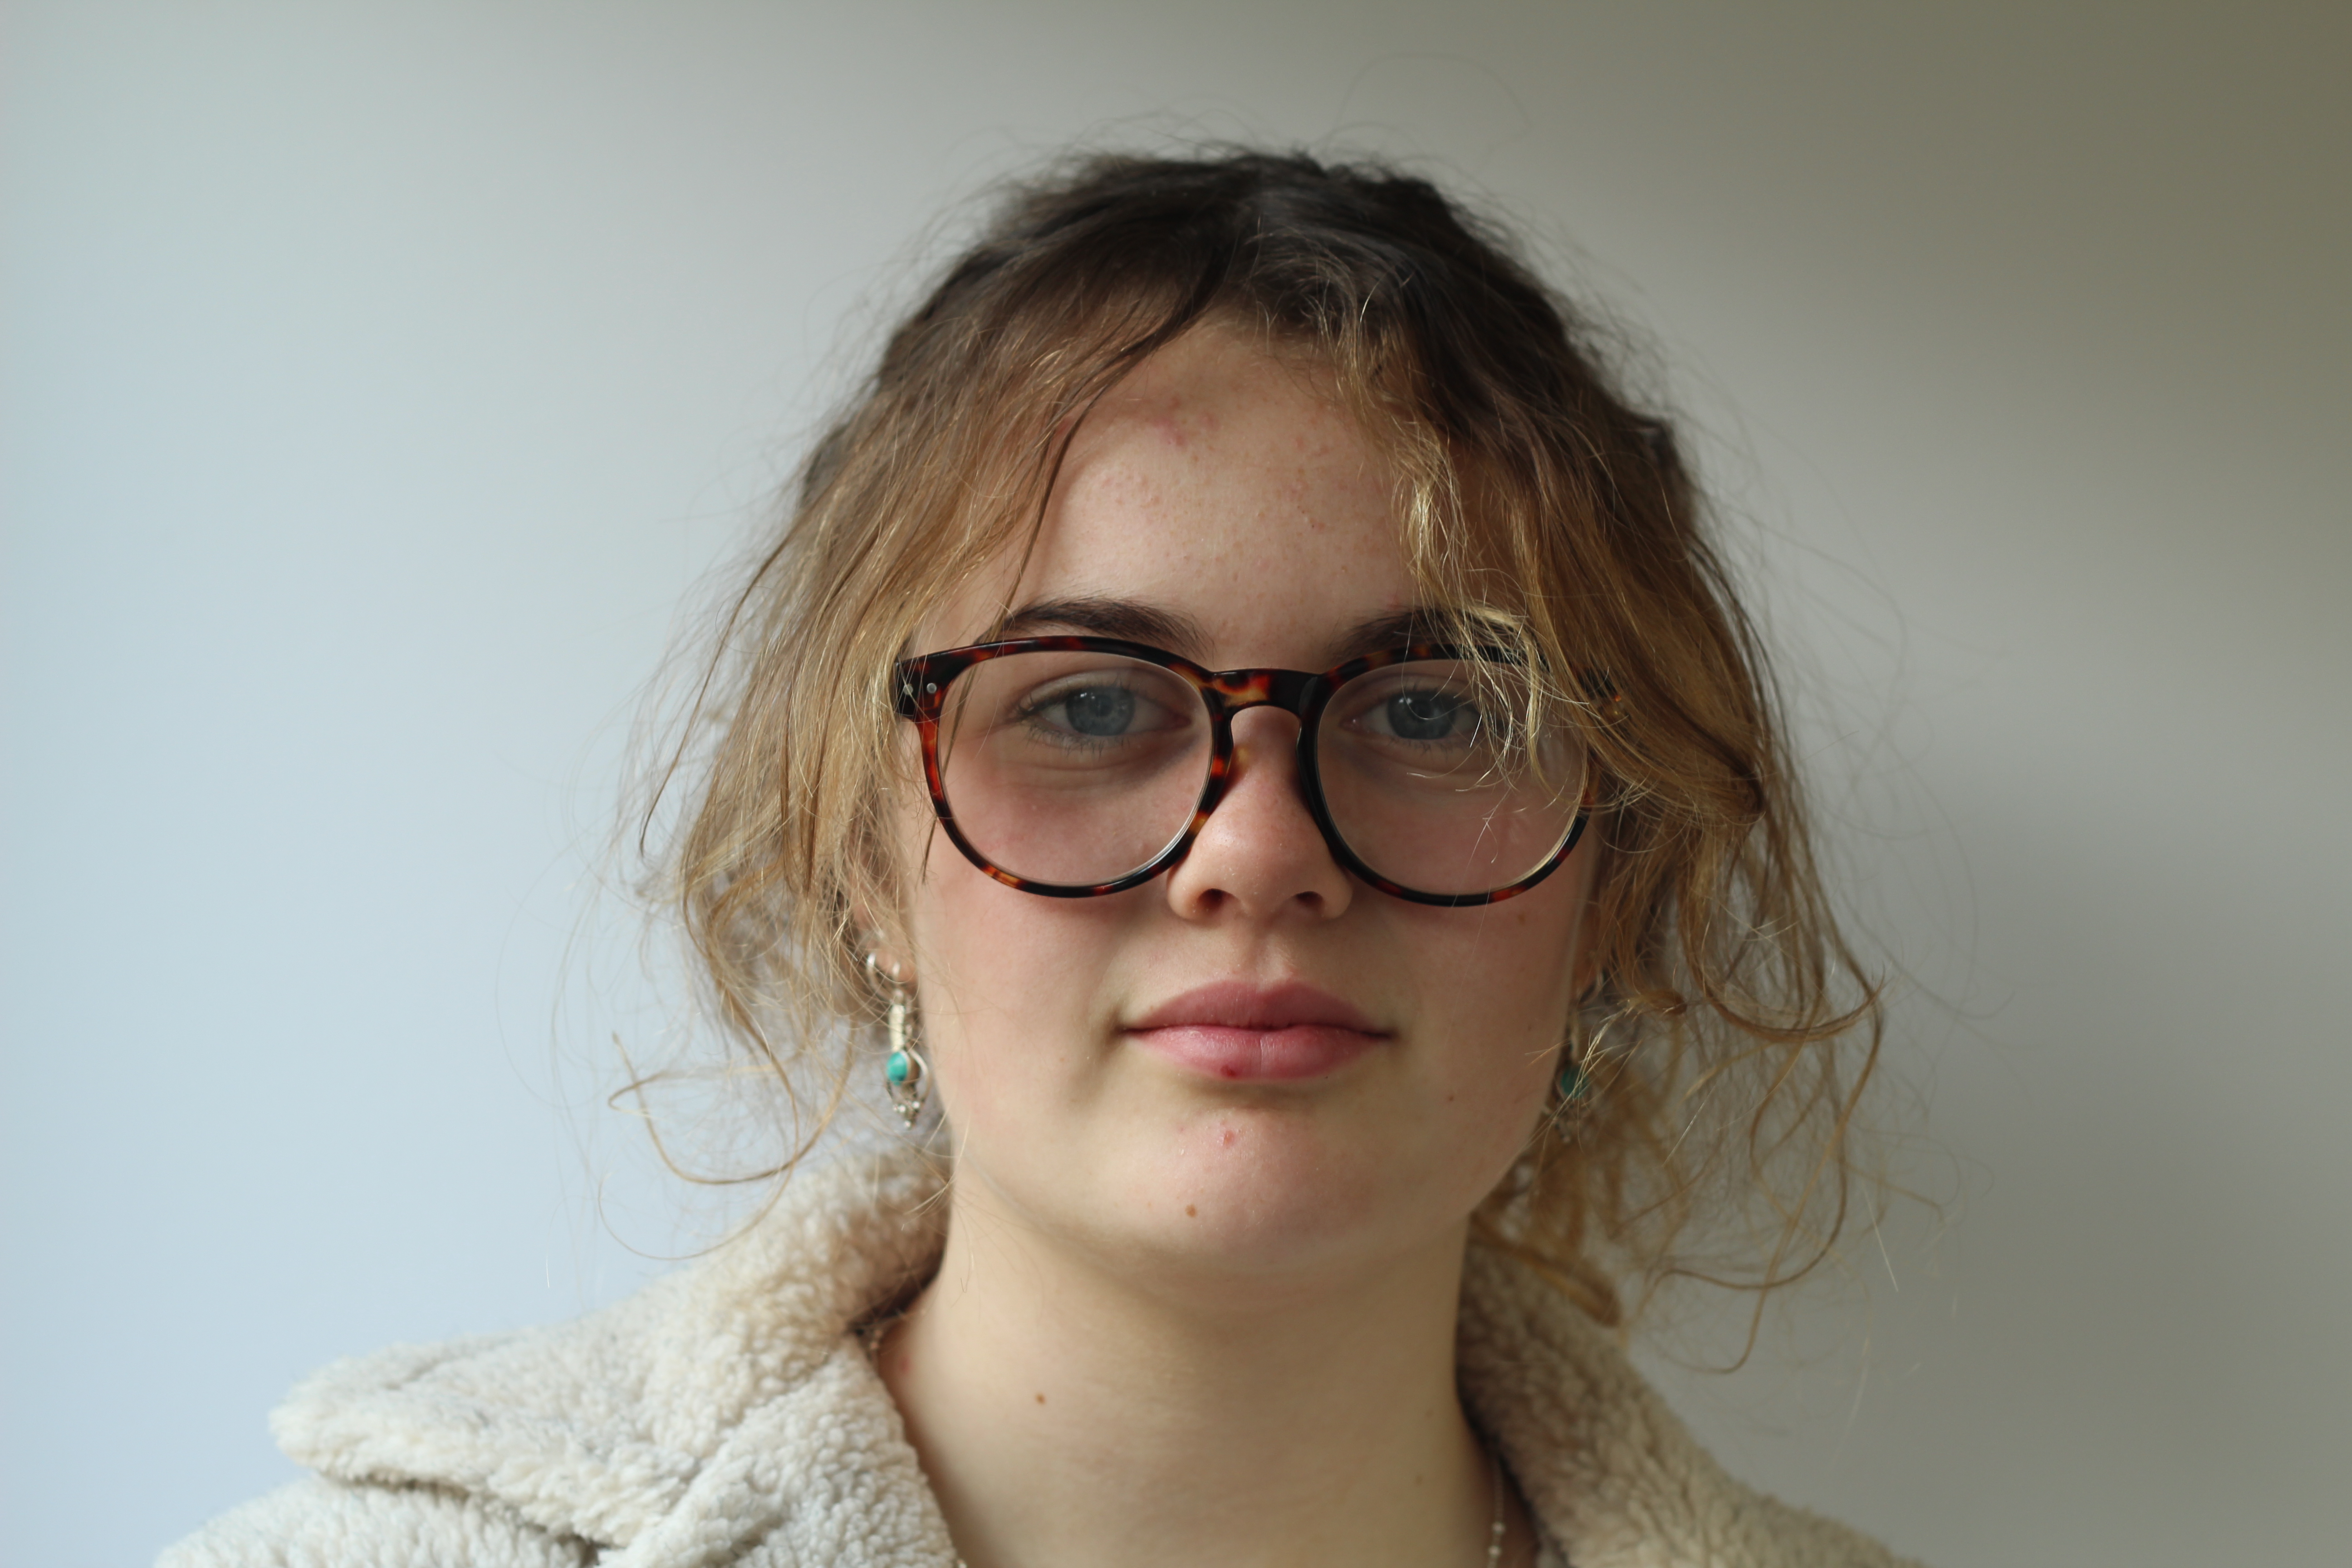
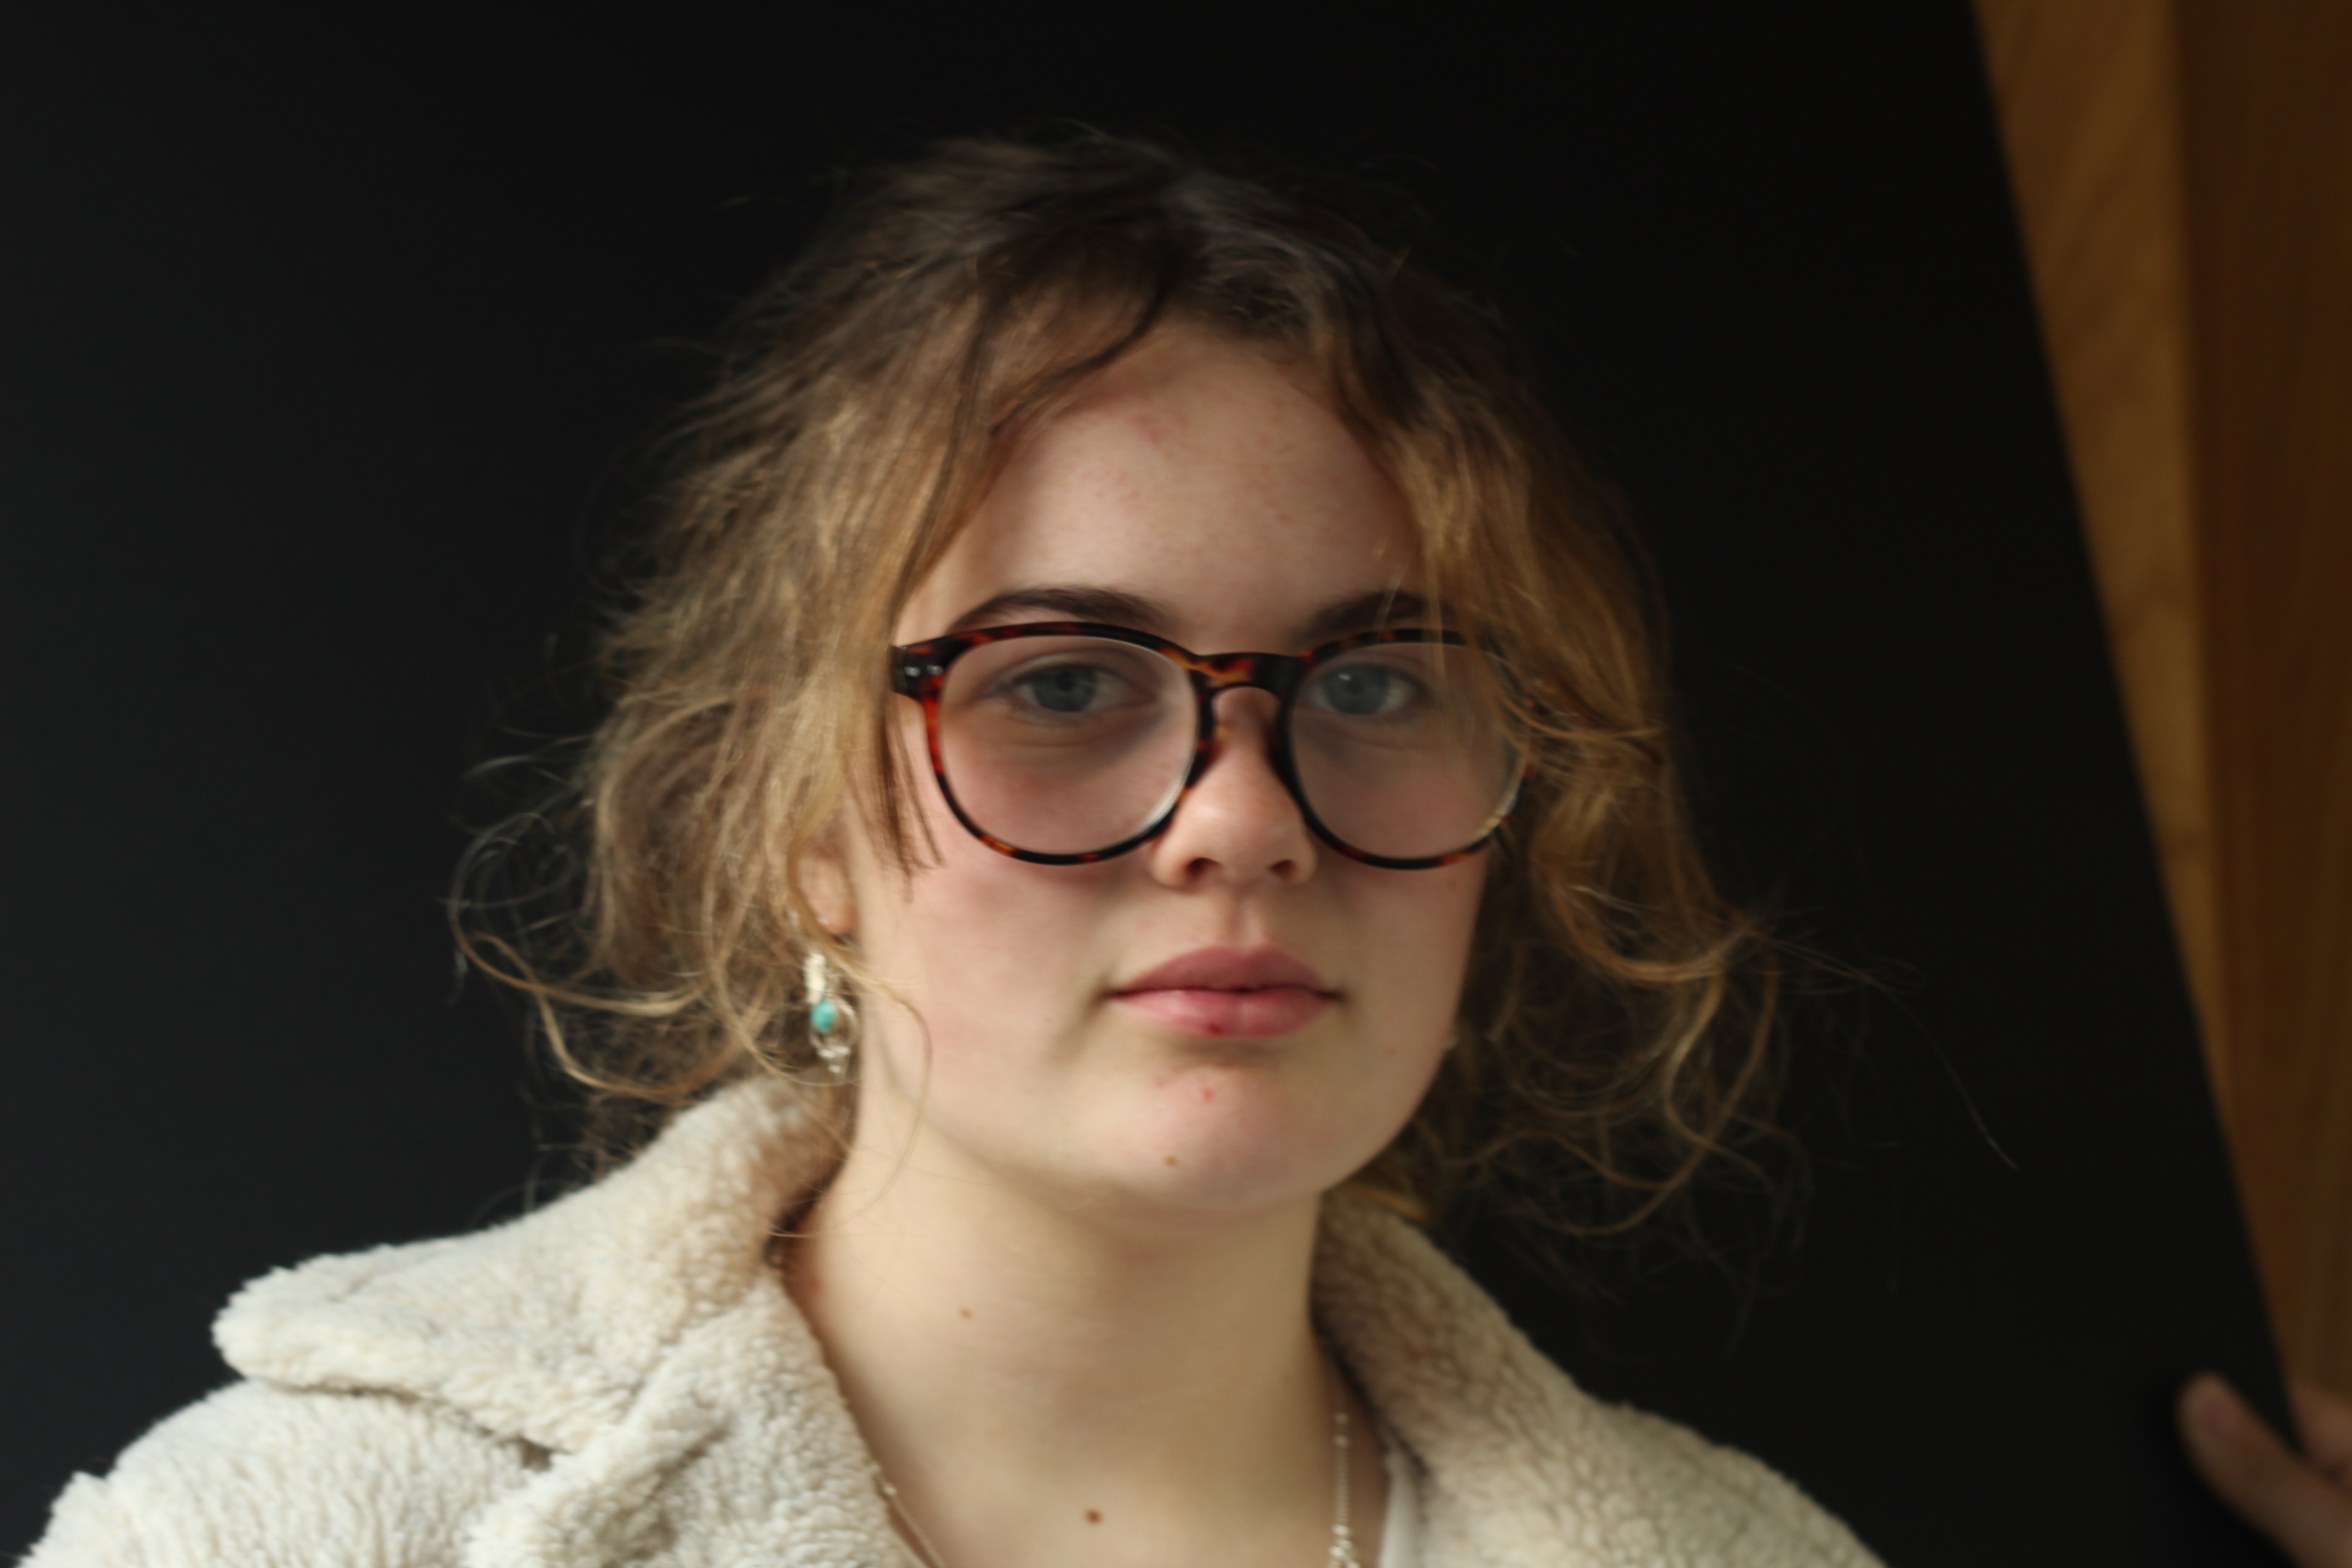
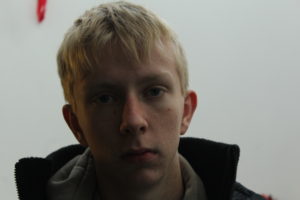
Light intensity refers to how harsh or soft the light is and can change quickly. Direct sunlight usually produces harsh light, especially during the middle of the day. This is not ideal for portraits because shadows are short and deep and contrast will be high. As I was next to a window here and inside: the light is soft and cool toned, there is no warmth from the sun or any artificial lighting. I’ve found that when taking photos in the day it is better to take them inside as there is no harsh lighting. If you are shooting outside in the sun, the subject will have warm tones and the lighting will be harsher. However you can still shoot outside and avoid harshness, for example, shooting in the “golden hour” produces a soft, diffused light and is more flattering than the harsh sun. Clouds covering direct sunlight can create a softer more diffused light as well making or a more flattering cooler toned portrait.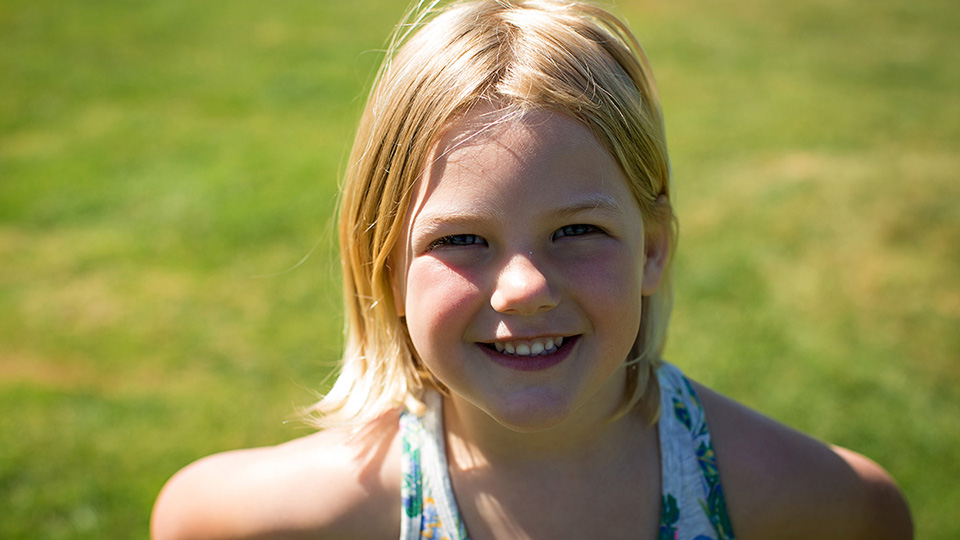
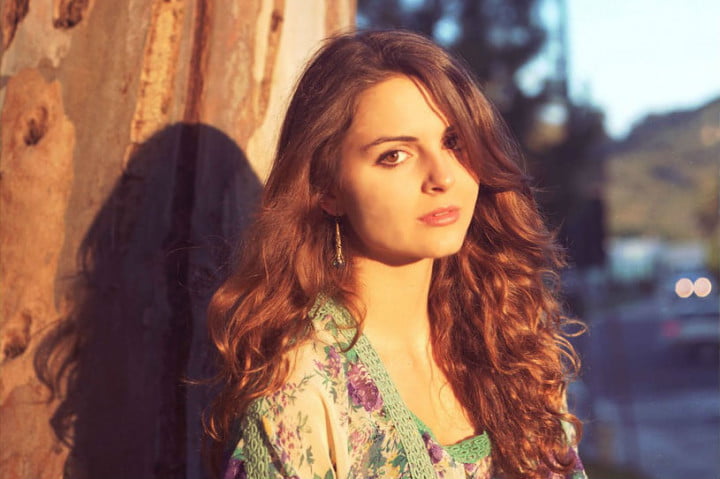 Examples of harsh direct sunlight and golden hour:
Light Direction
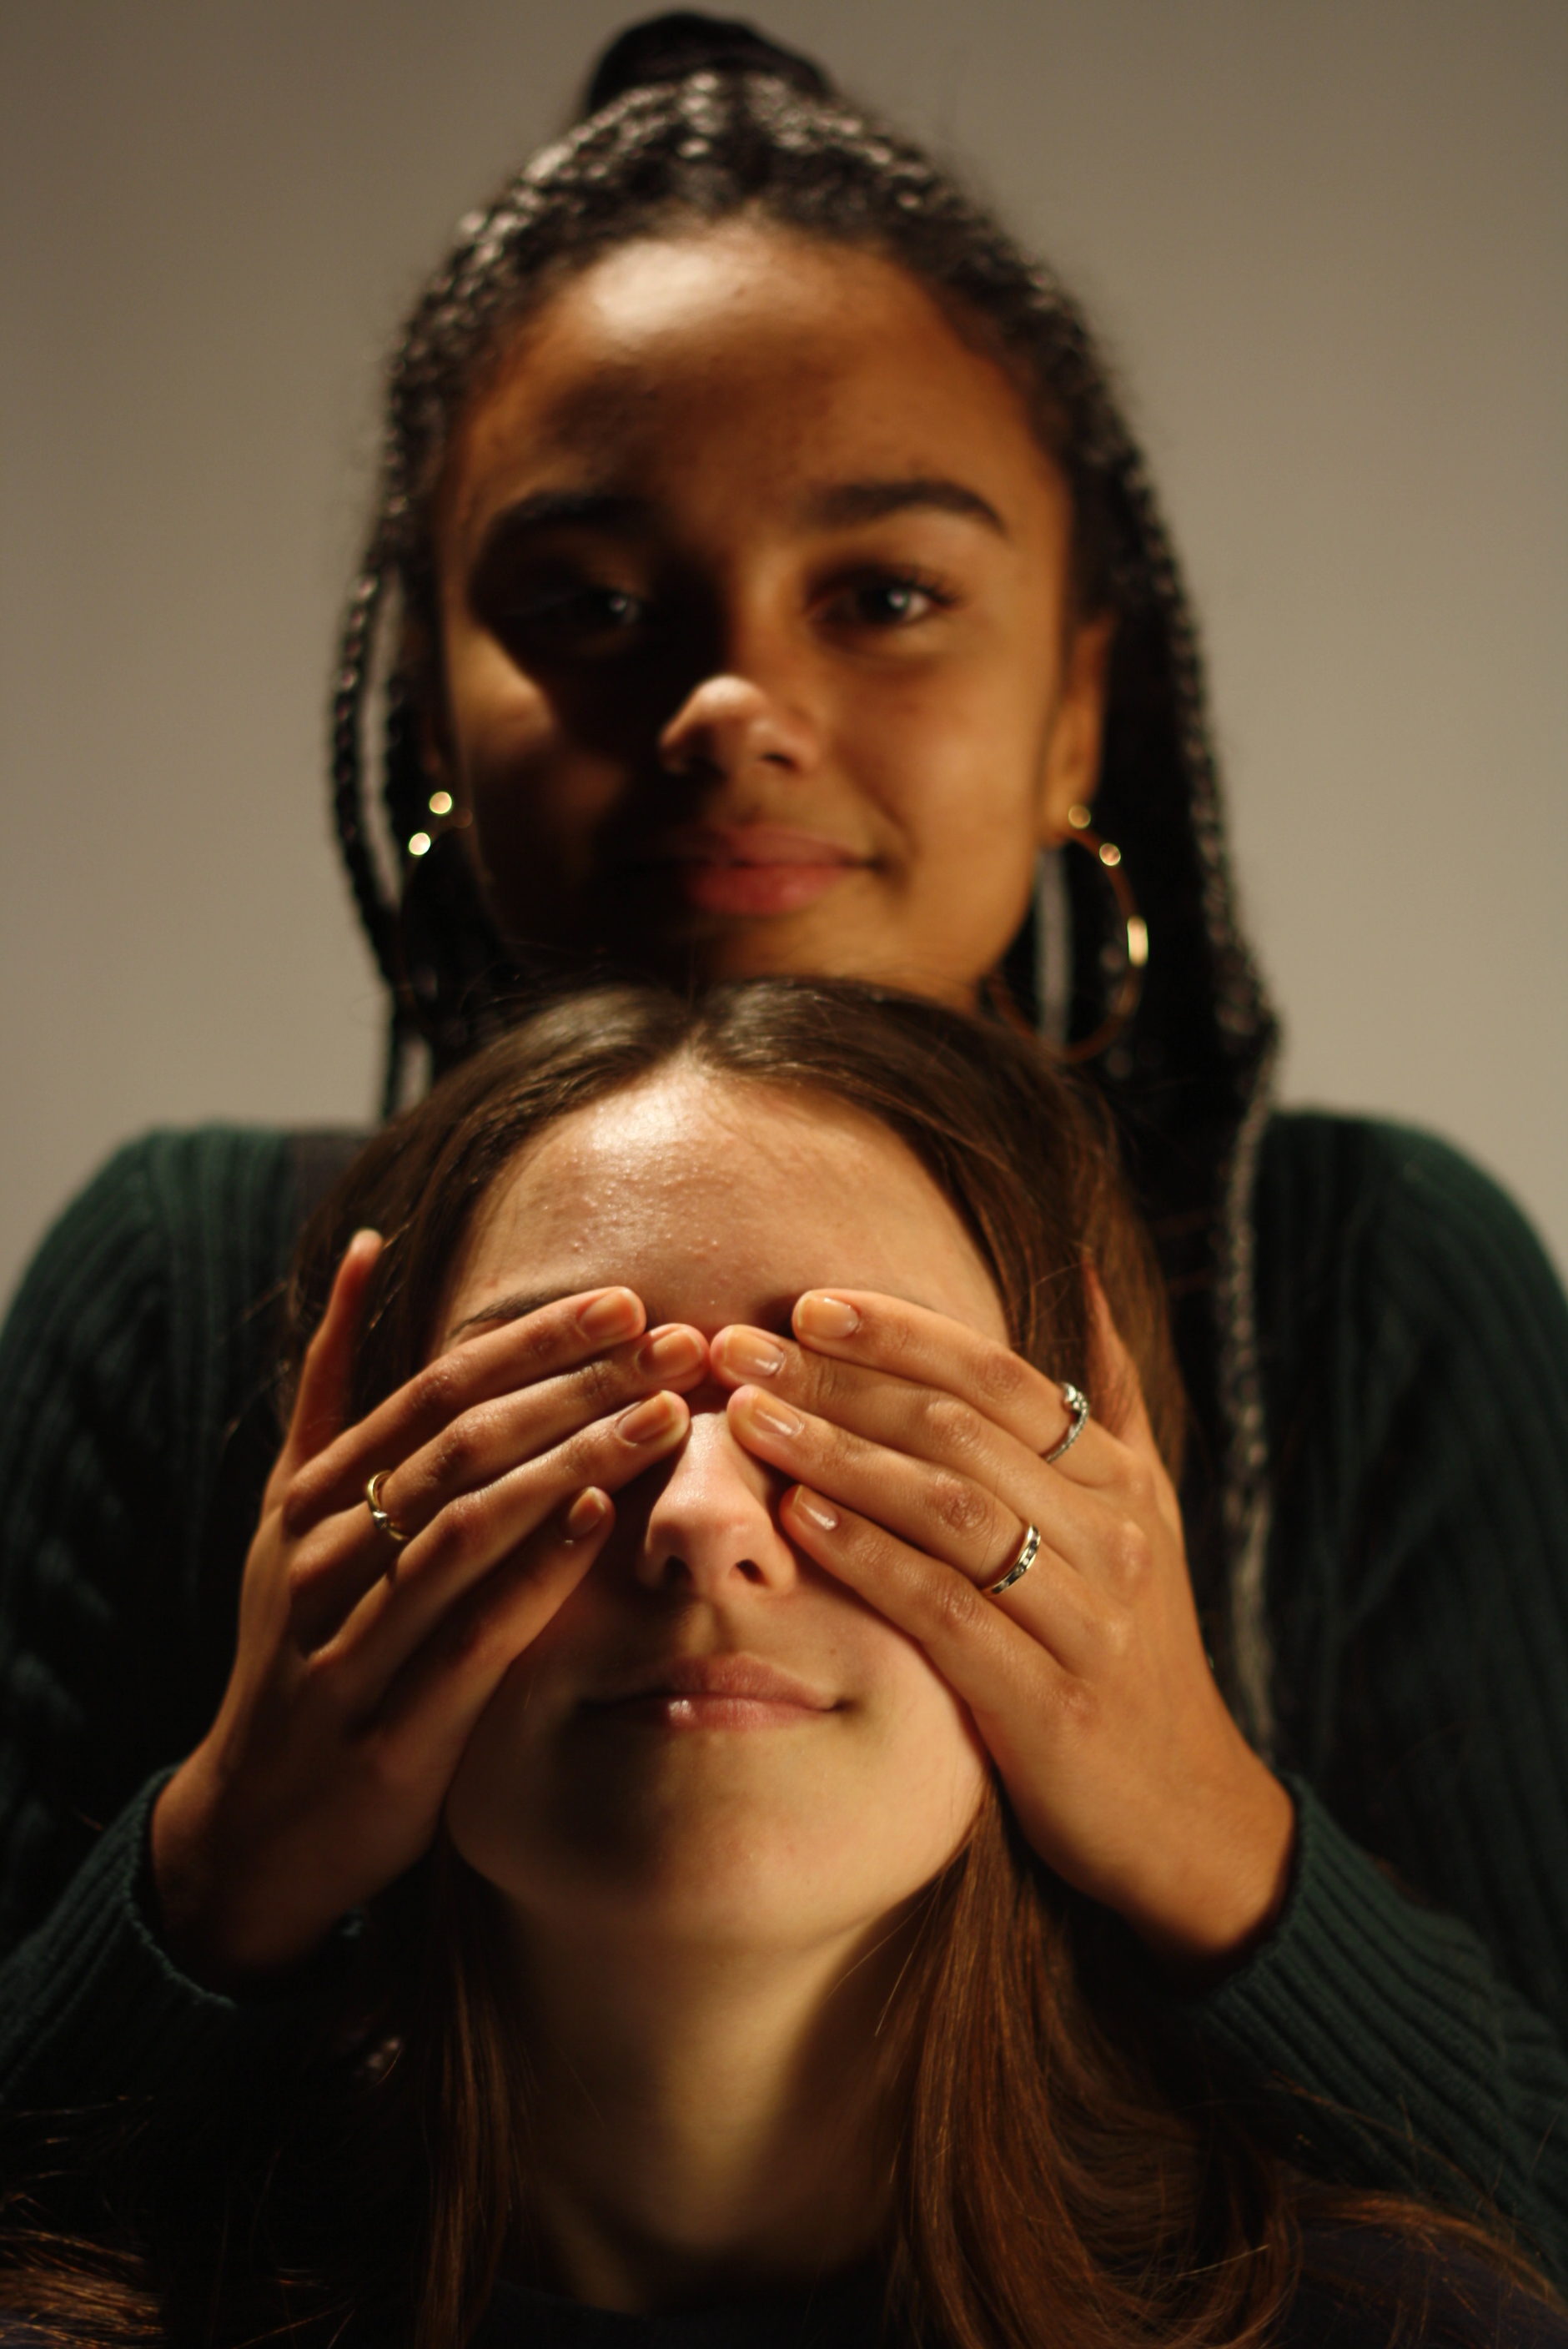
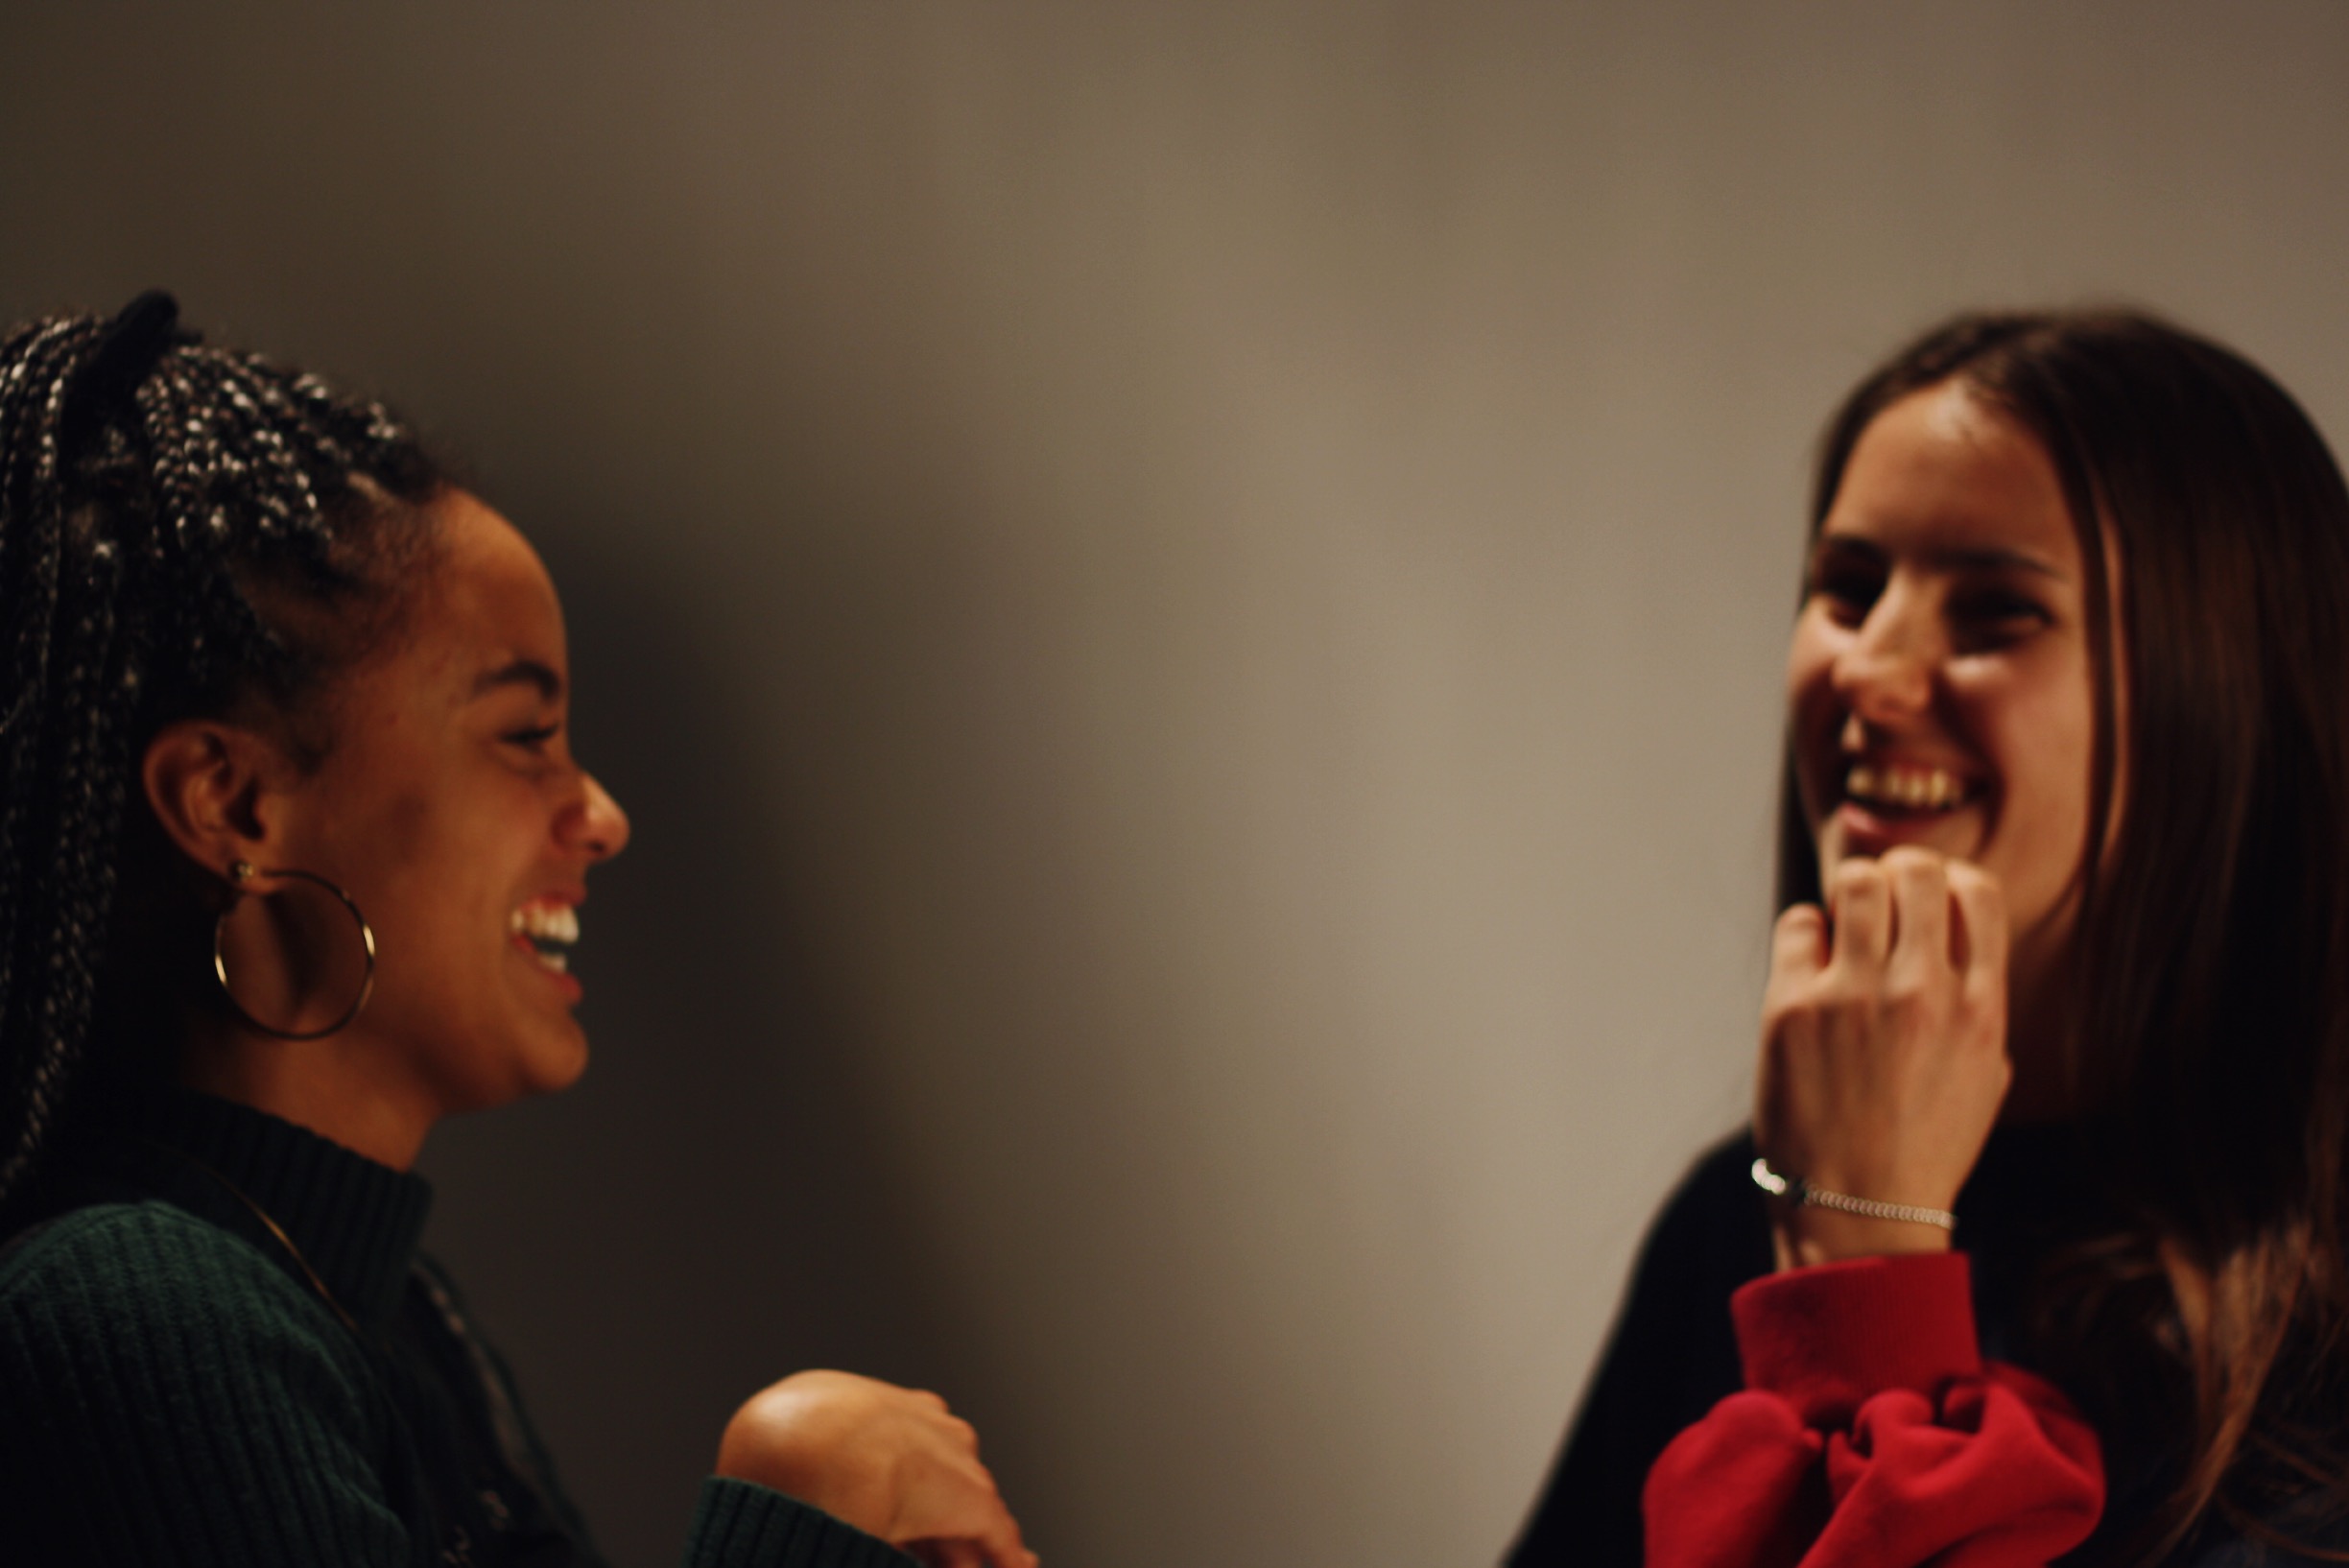
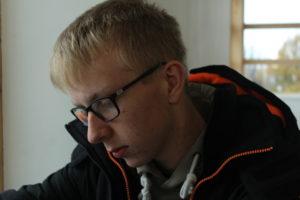
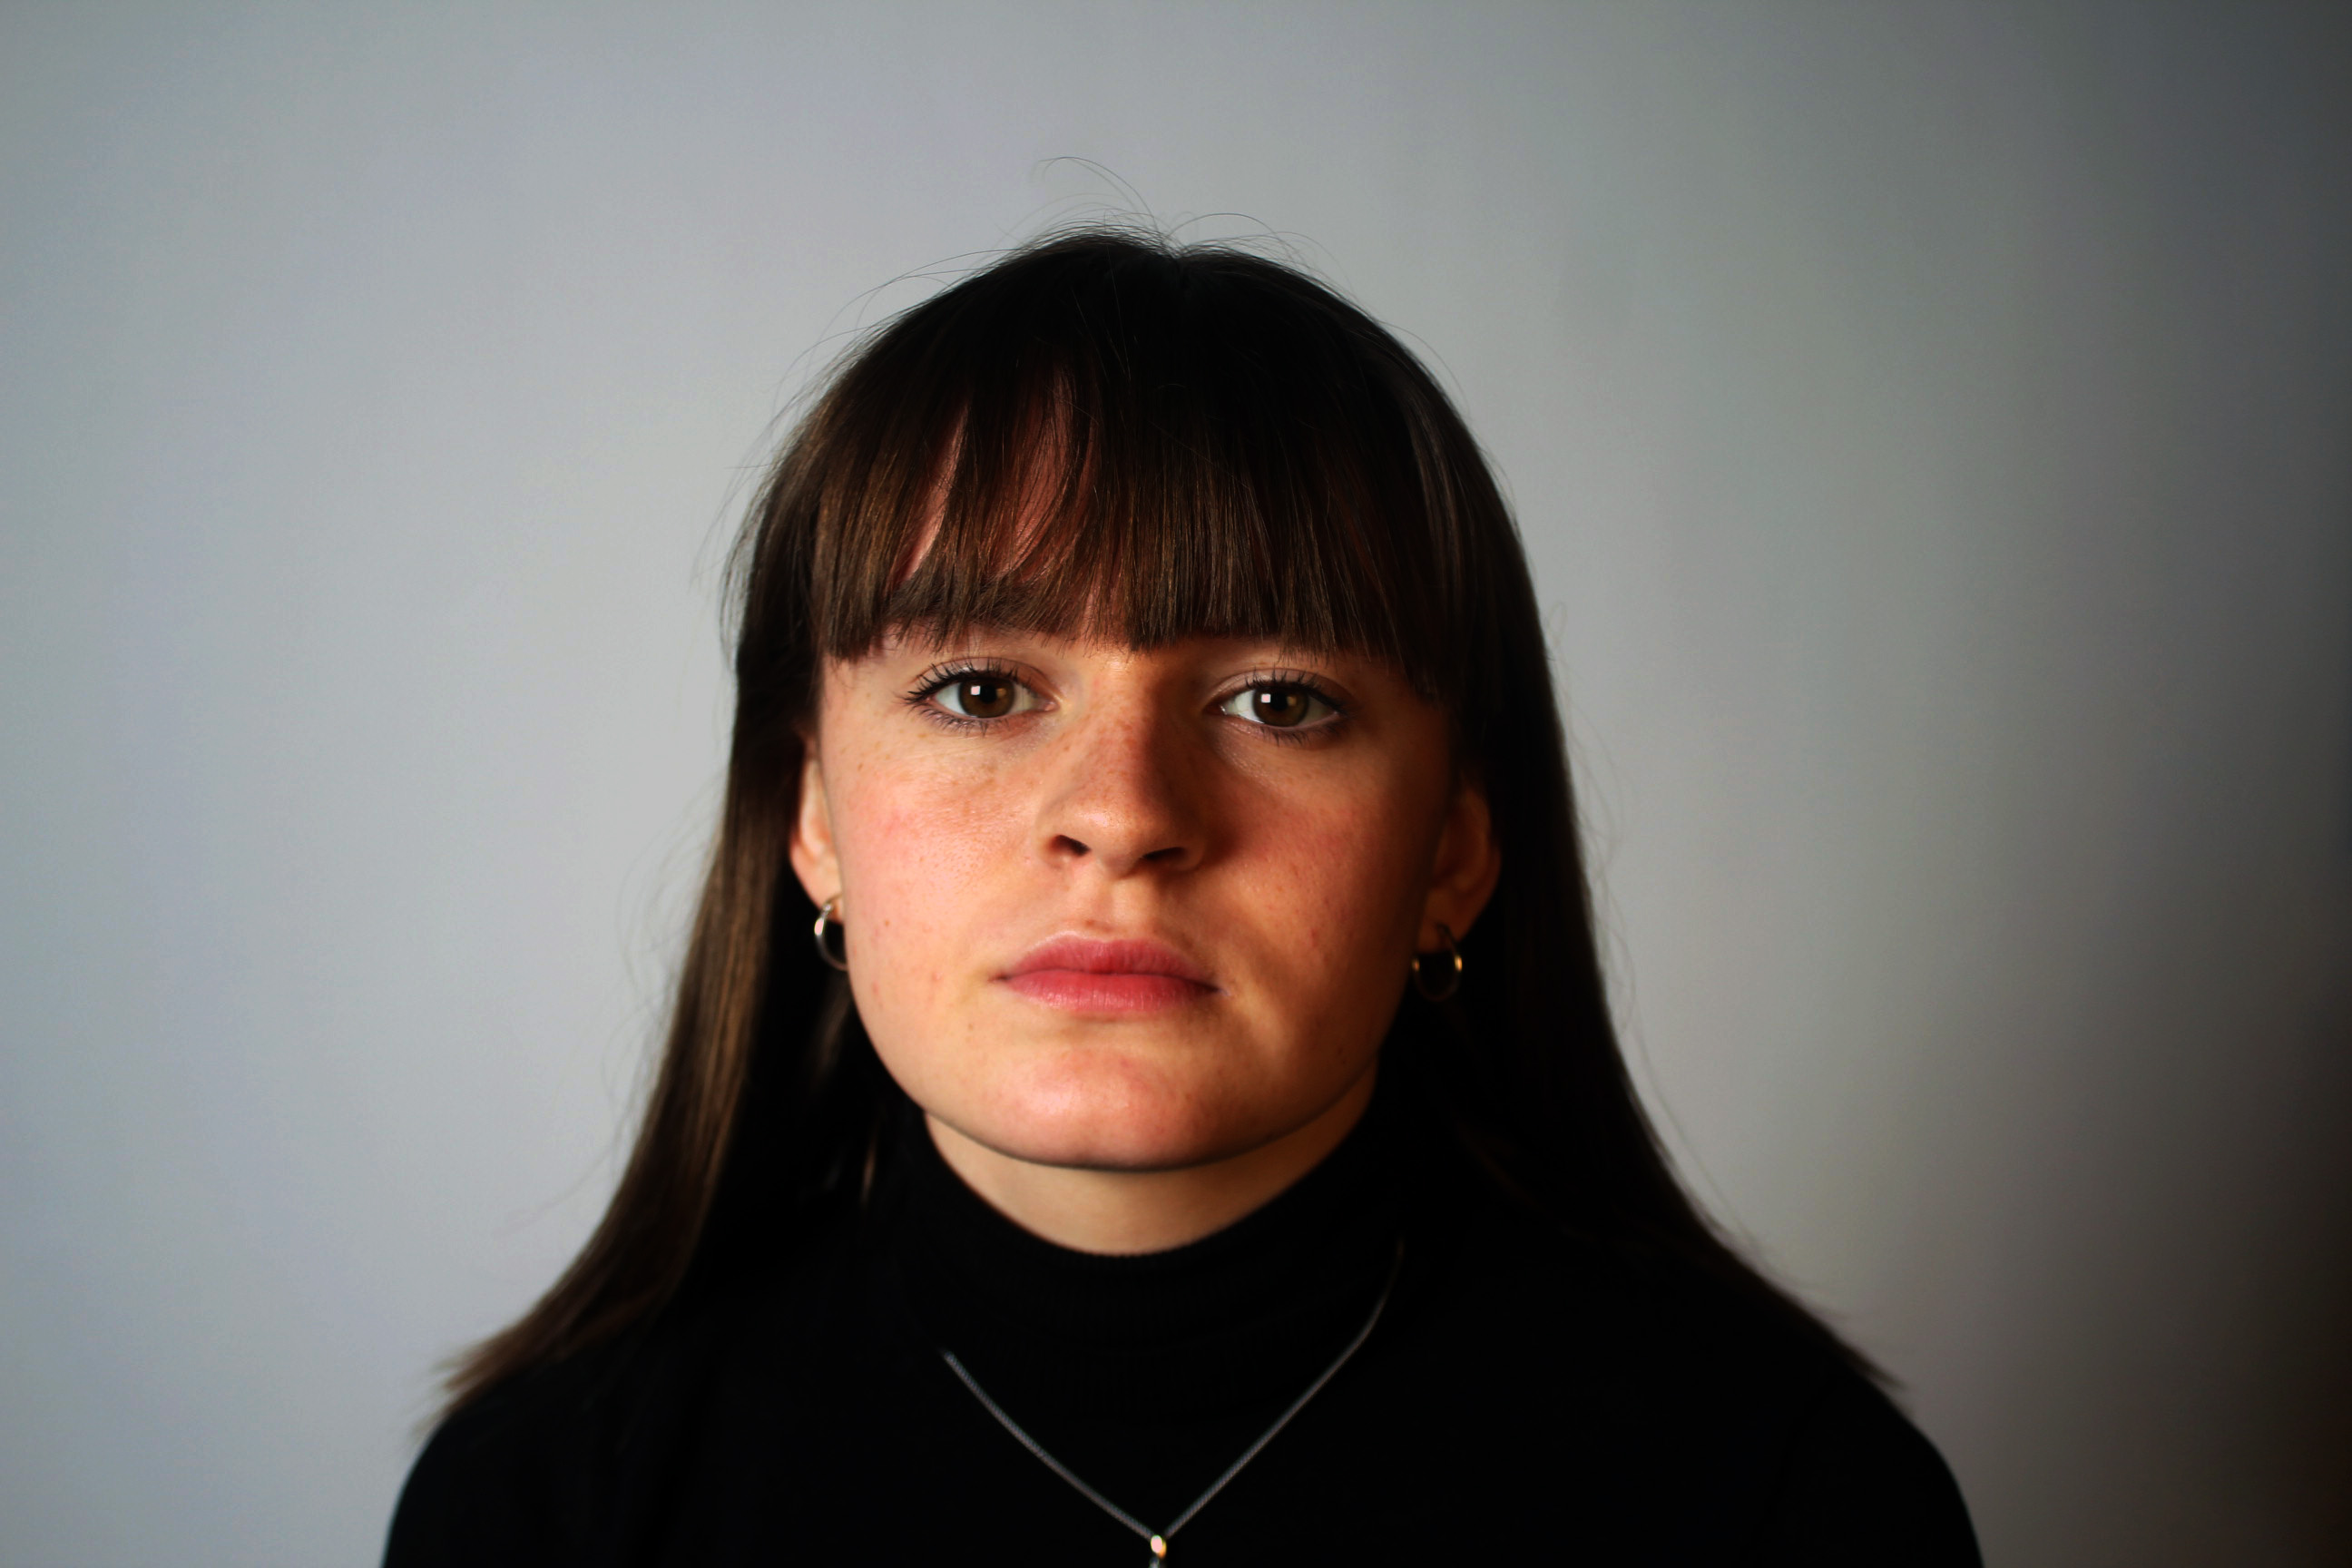
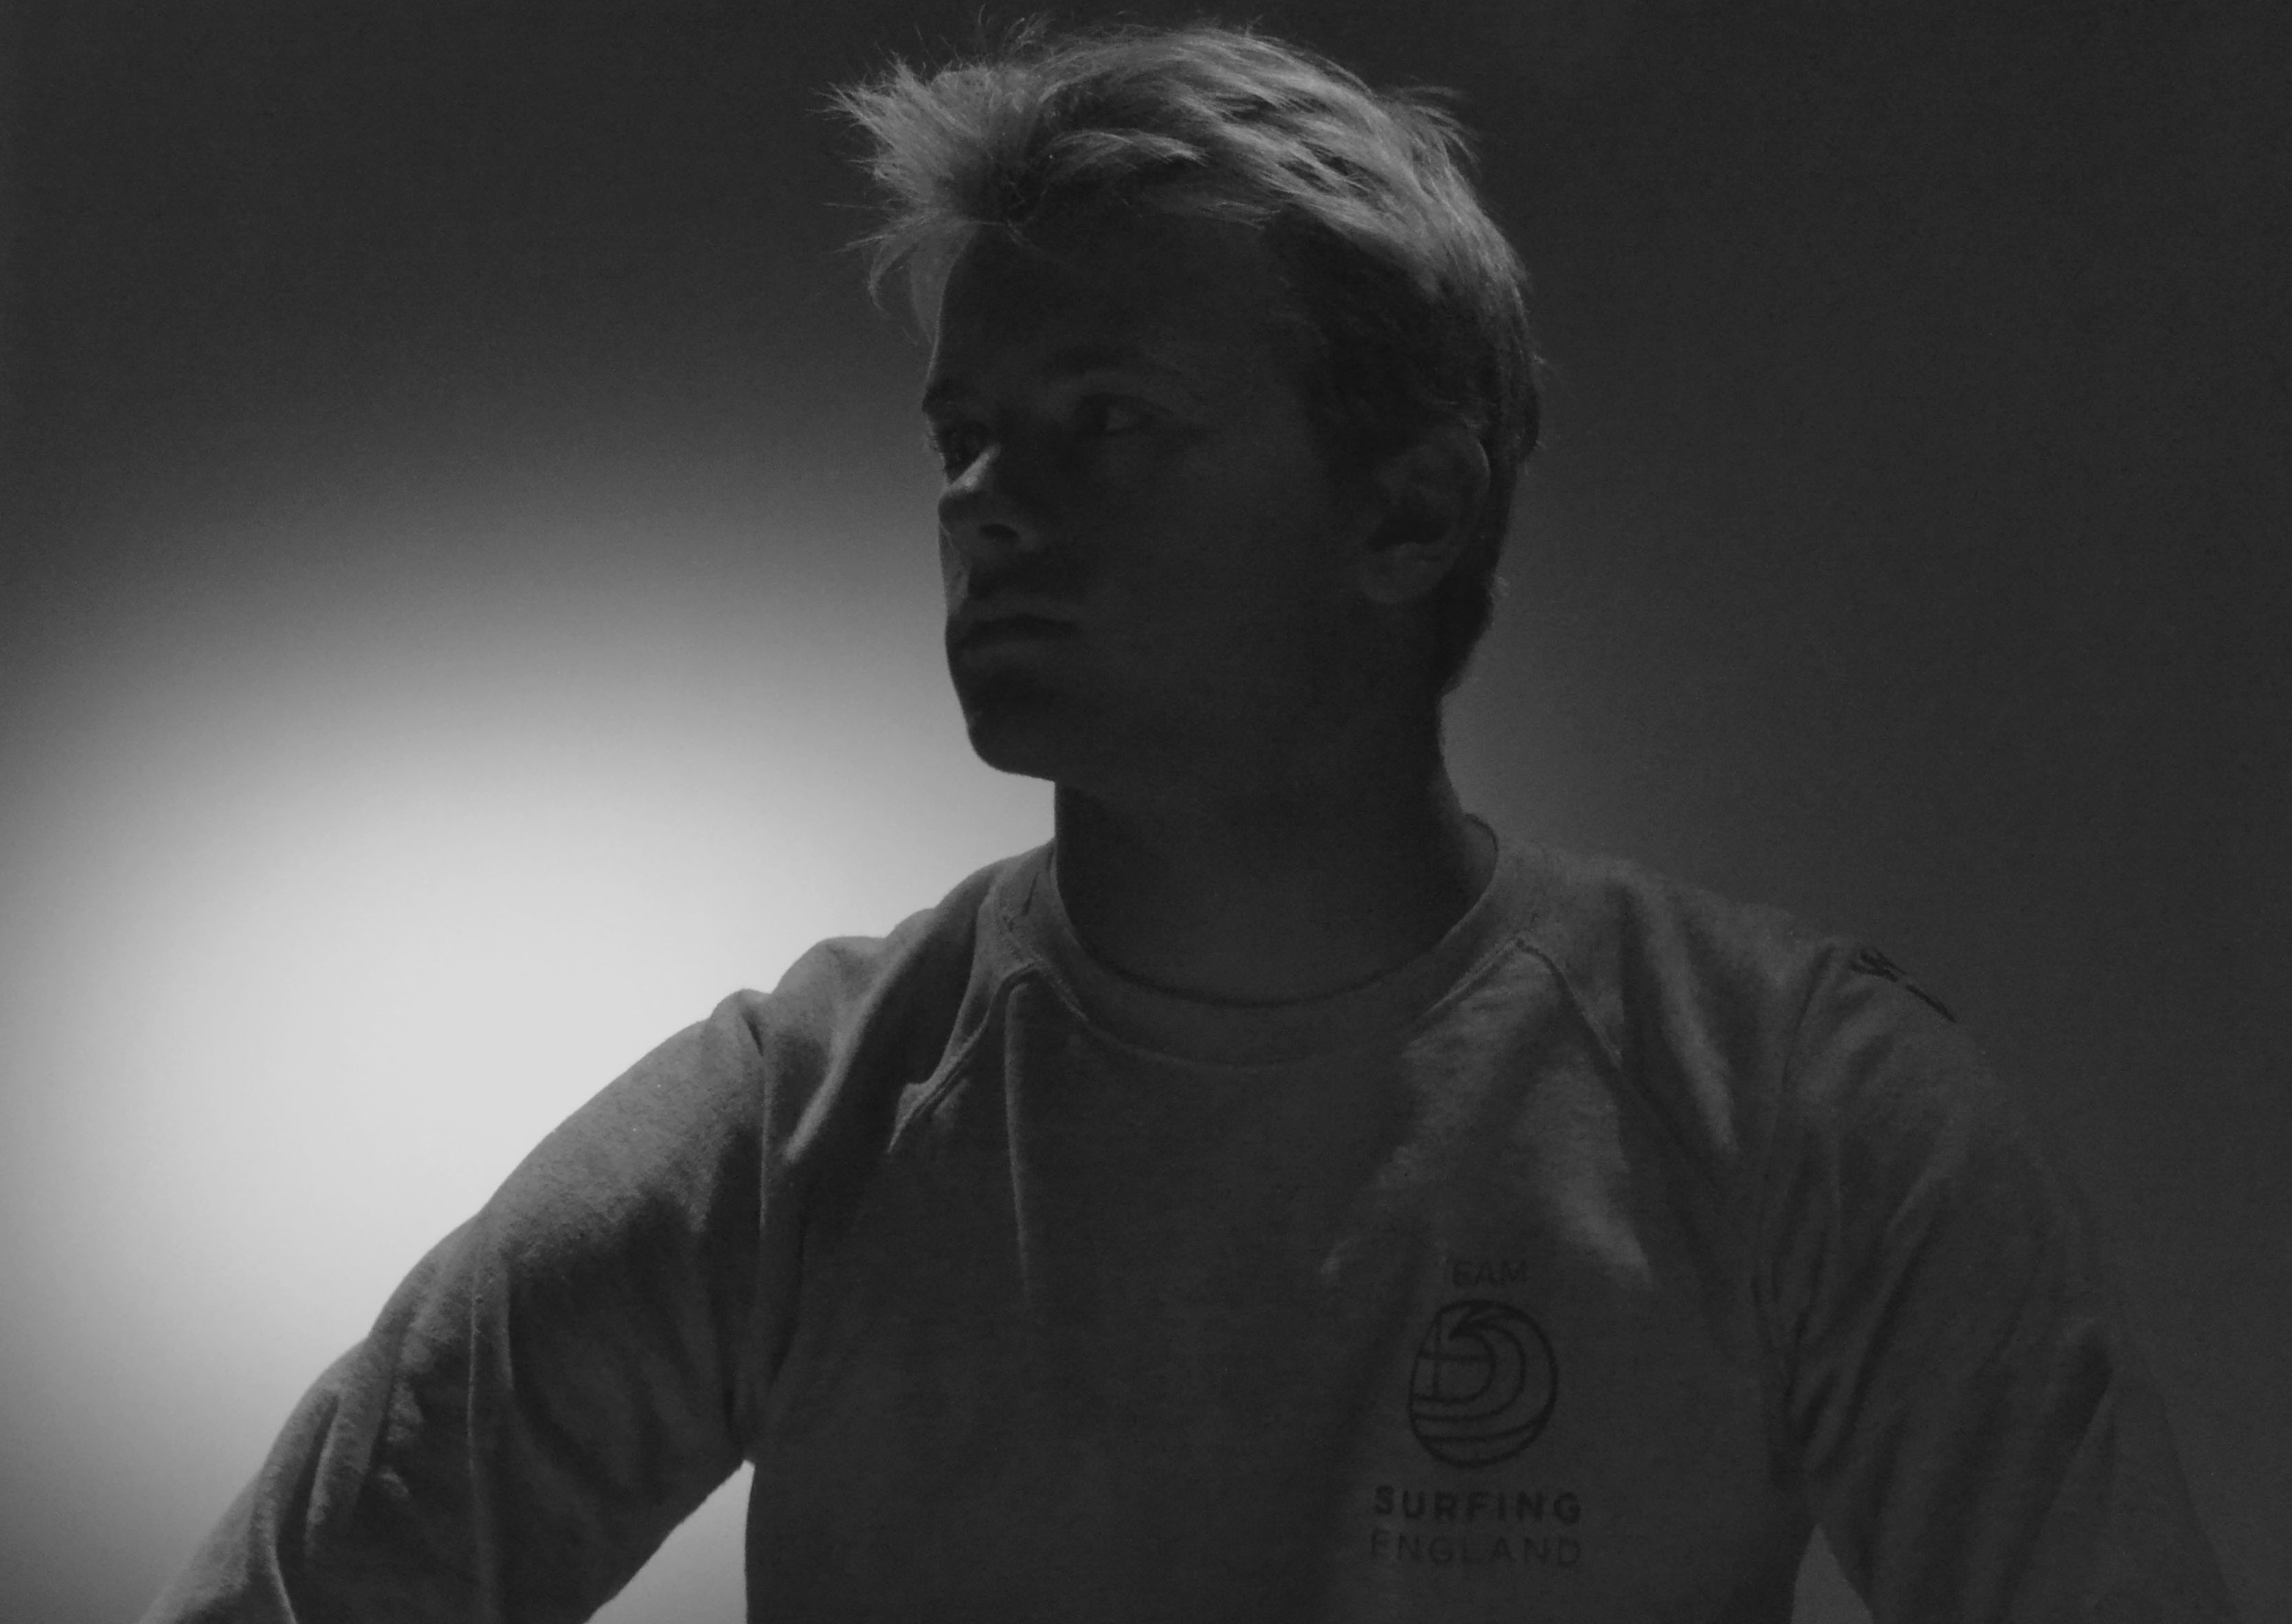
This is the direction that the light is coming from, the direction of light on your subject is one of the most important aspects of creating a strong portrait. The way light hits your subject will display the highlighted features, the emotional appeal and the viewer’s perception. Back lighting, front lighting, side lighting and top lighting are the four main types of directional lighting. Here I have used side lighting as it can easily be done by moving your subject into a doorway or next to a window. Side lighting gives more depth to a person and can help to create stronger emotions.
Reflectors
Reflectors are often used by photographers to redirect light towards a given subject or scene. Many reflectors have a black side that can be used to block out light instead of to reflect it. Reflectors are also great for bouncing a flash when there’s nothing around to bounce off of. There are white, silver, gold and black reflectors which all do different things. The white side casts a very soft, clean light and is useful in studio where flash is used, or when there is good light outside like during a sunny noon-time shoot. The metallic gold material casts a very strong warm light onto the subject. The black side isn’t actually a reflector at all. It’s an anti-reflector, black reflector to cast a shadow on certain areas of the image. For example, if the lights are producing too even of a light on the model’s face, a the black side of the reflector can cut out the light on one side to create more artistic shadows. The silver side is great for shooting in low light or where a strong light is needed; however, the light is often too strong for mid-day shooting.
Gallery of my photos:

Best Outcomes
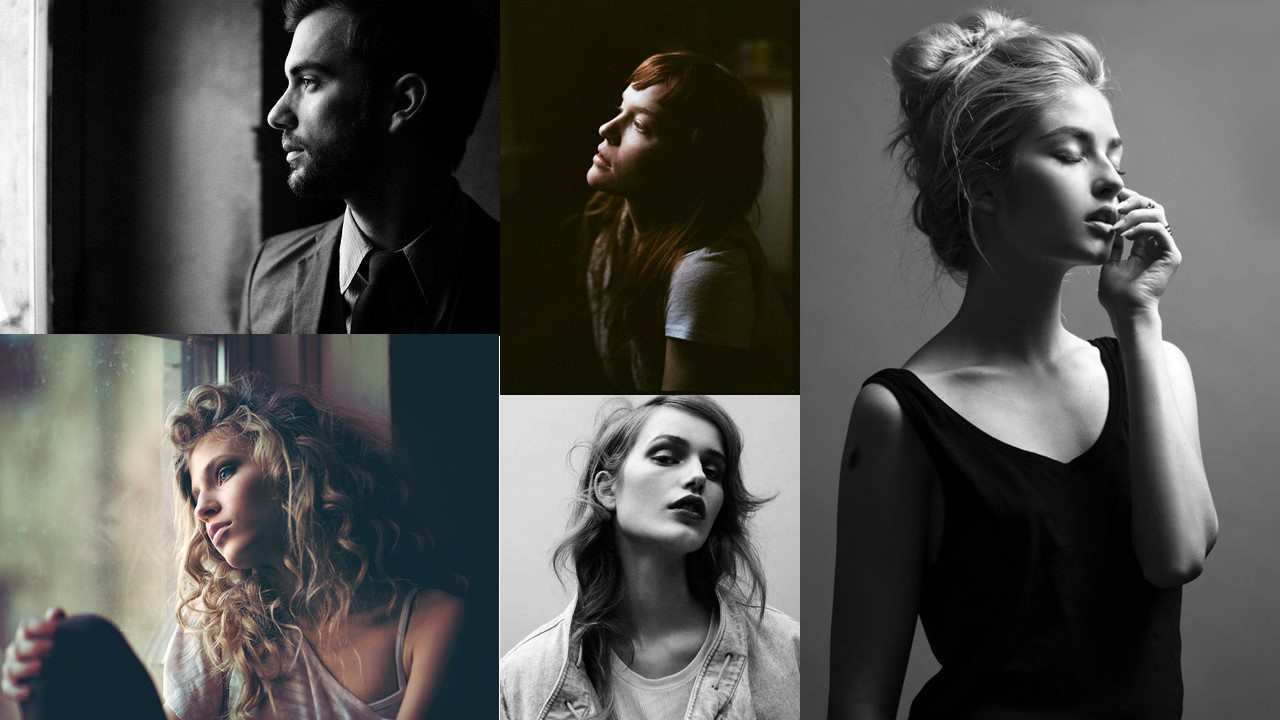
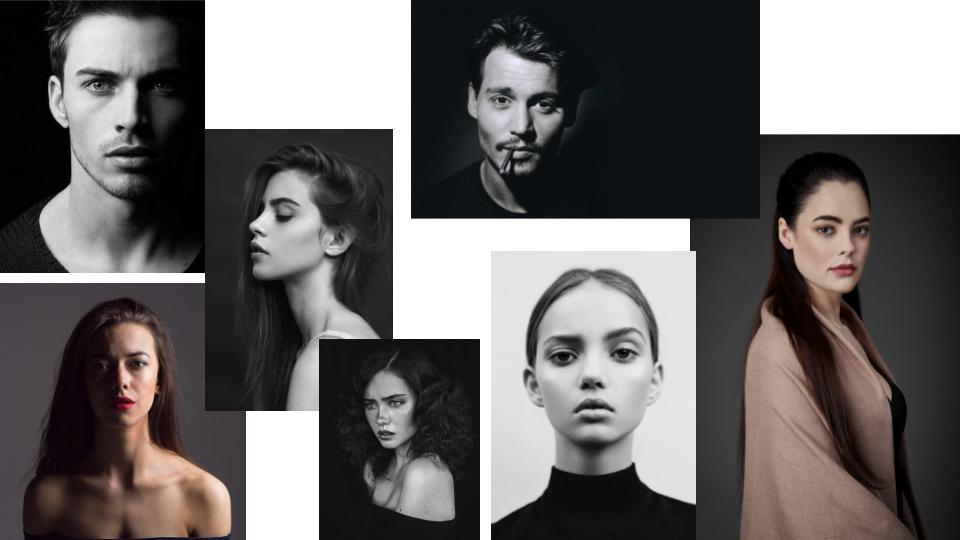
Natural lighting is the form of lighting that is mostly used in portraiture. Natural lighting can come at different intensities, temperatures and directions. These are all important to consider as all these factors can cause things like shadows, so you must use the lighting to your advantage in order to achieve the outcome that you want. I also used reflectors in this photoshoot so I could choose how the lighting illuminated certain parts of my models’ faces. Below is a mood board that I used as inspiration on how to use natural lighting in portraiture:
 Best outcomes
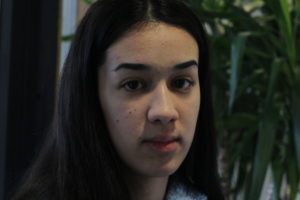

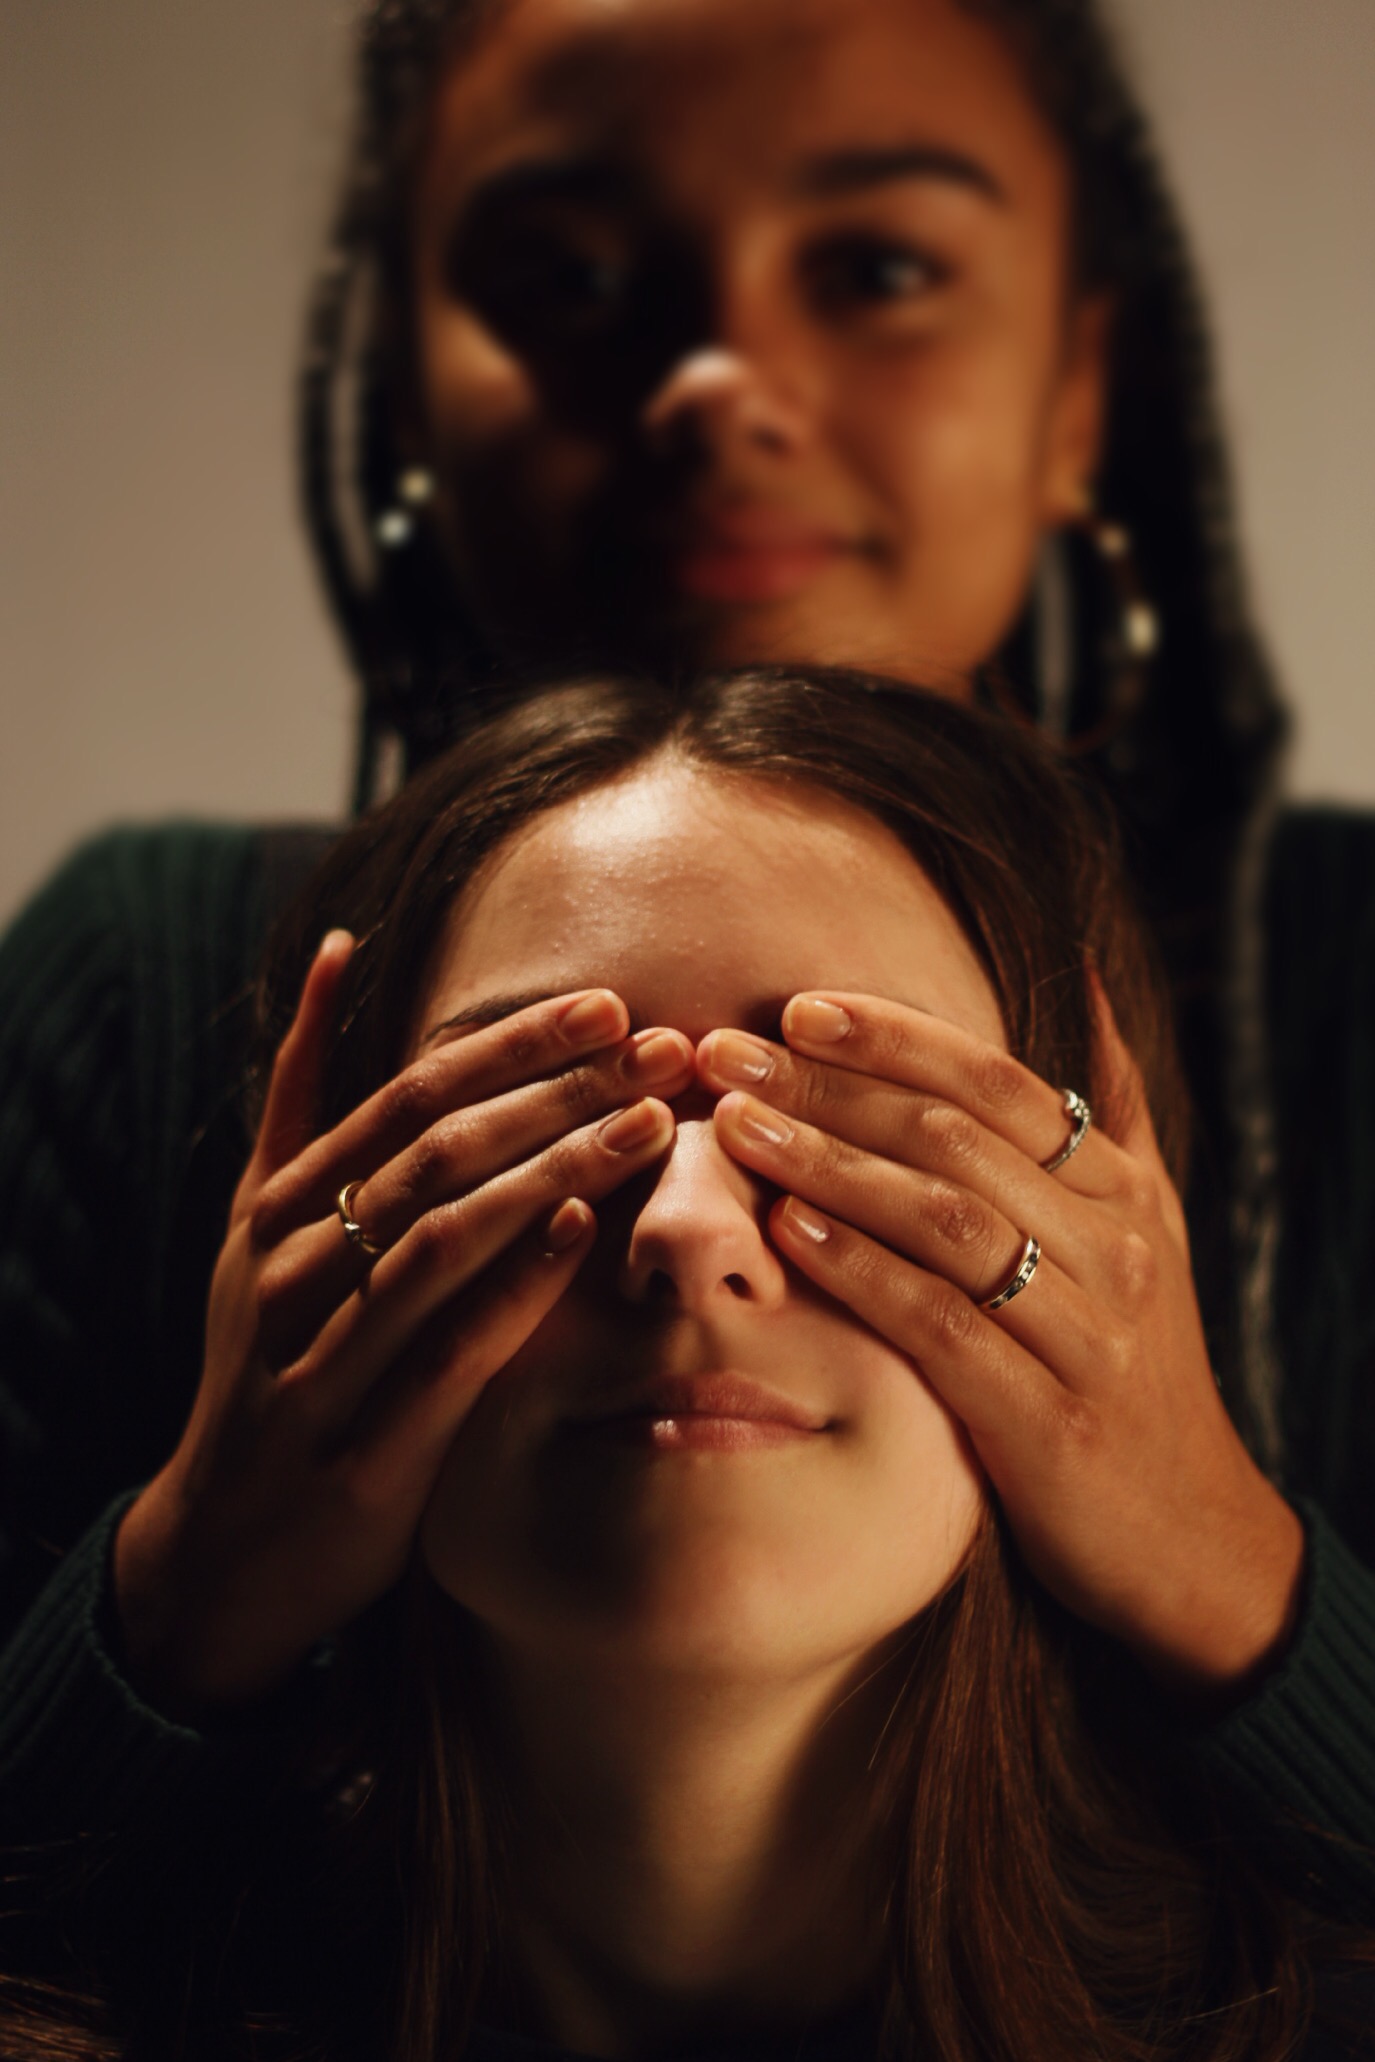
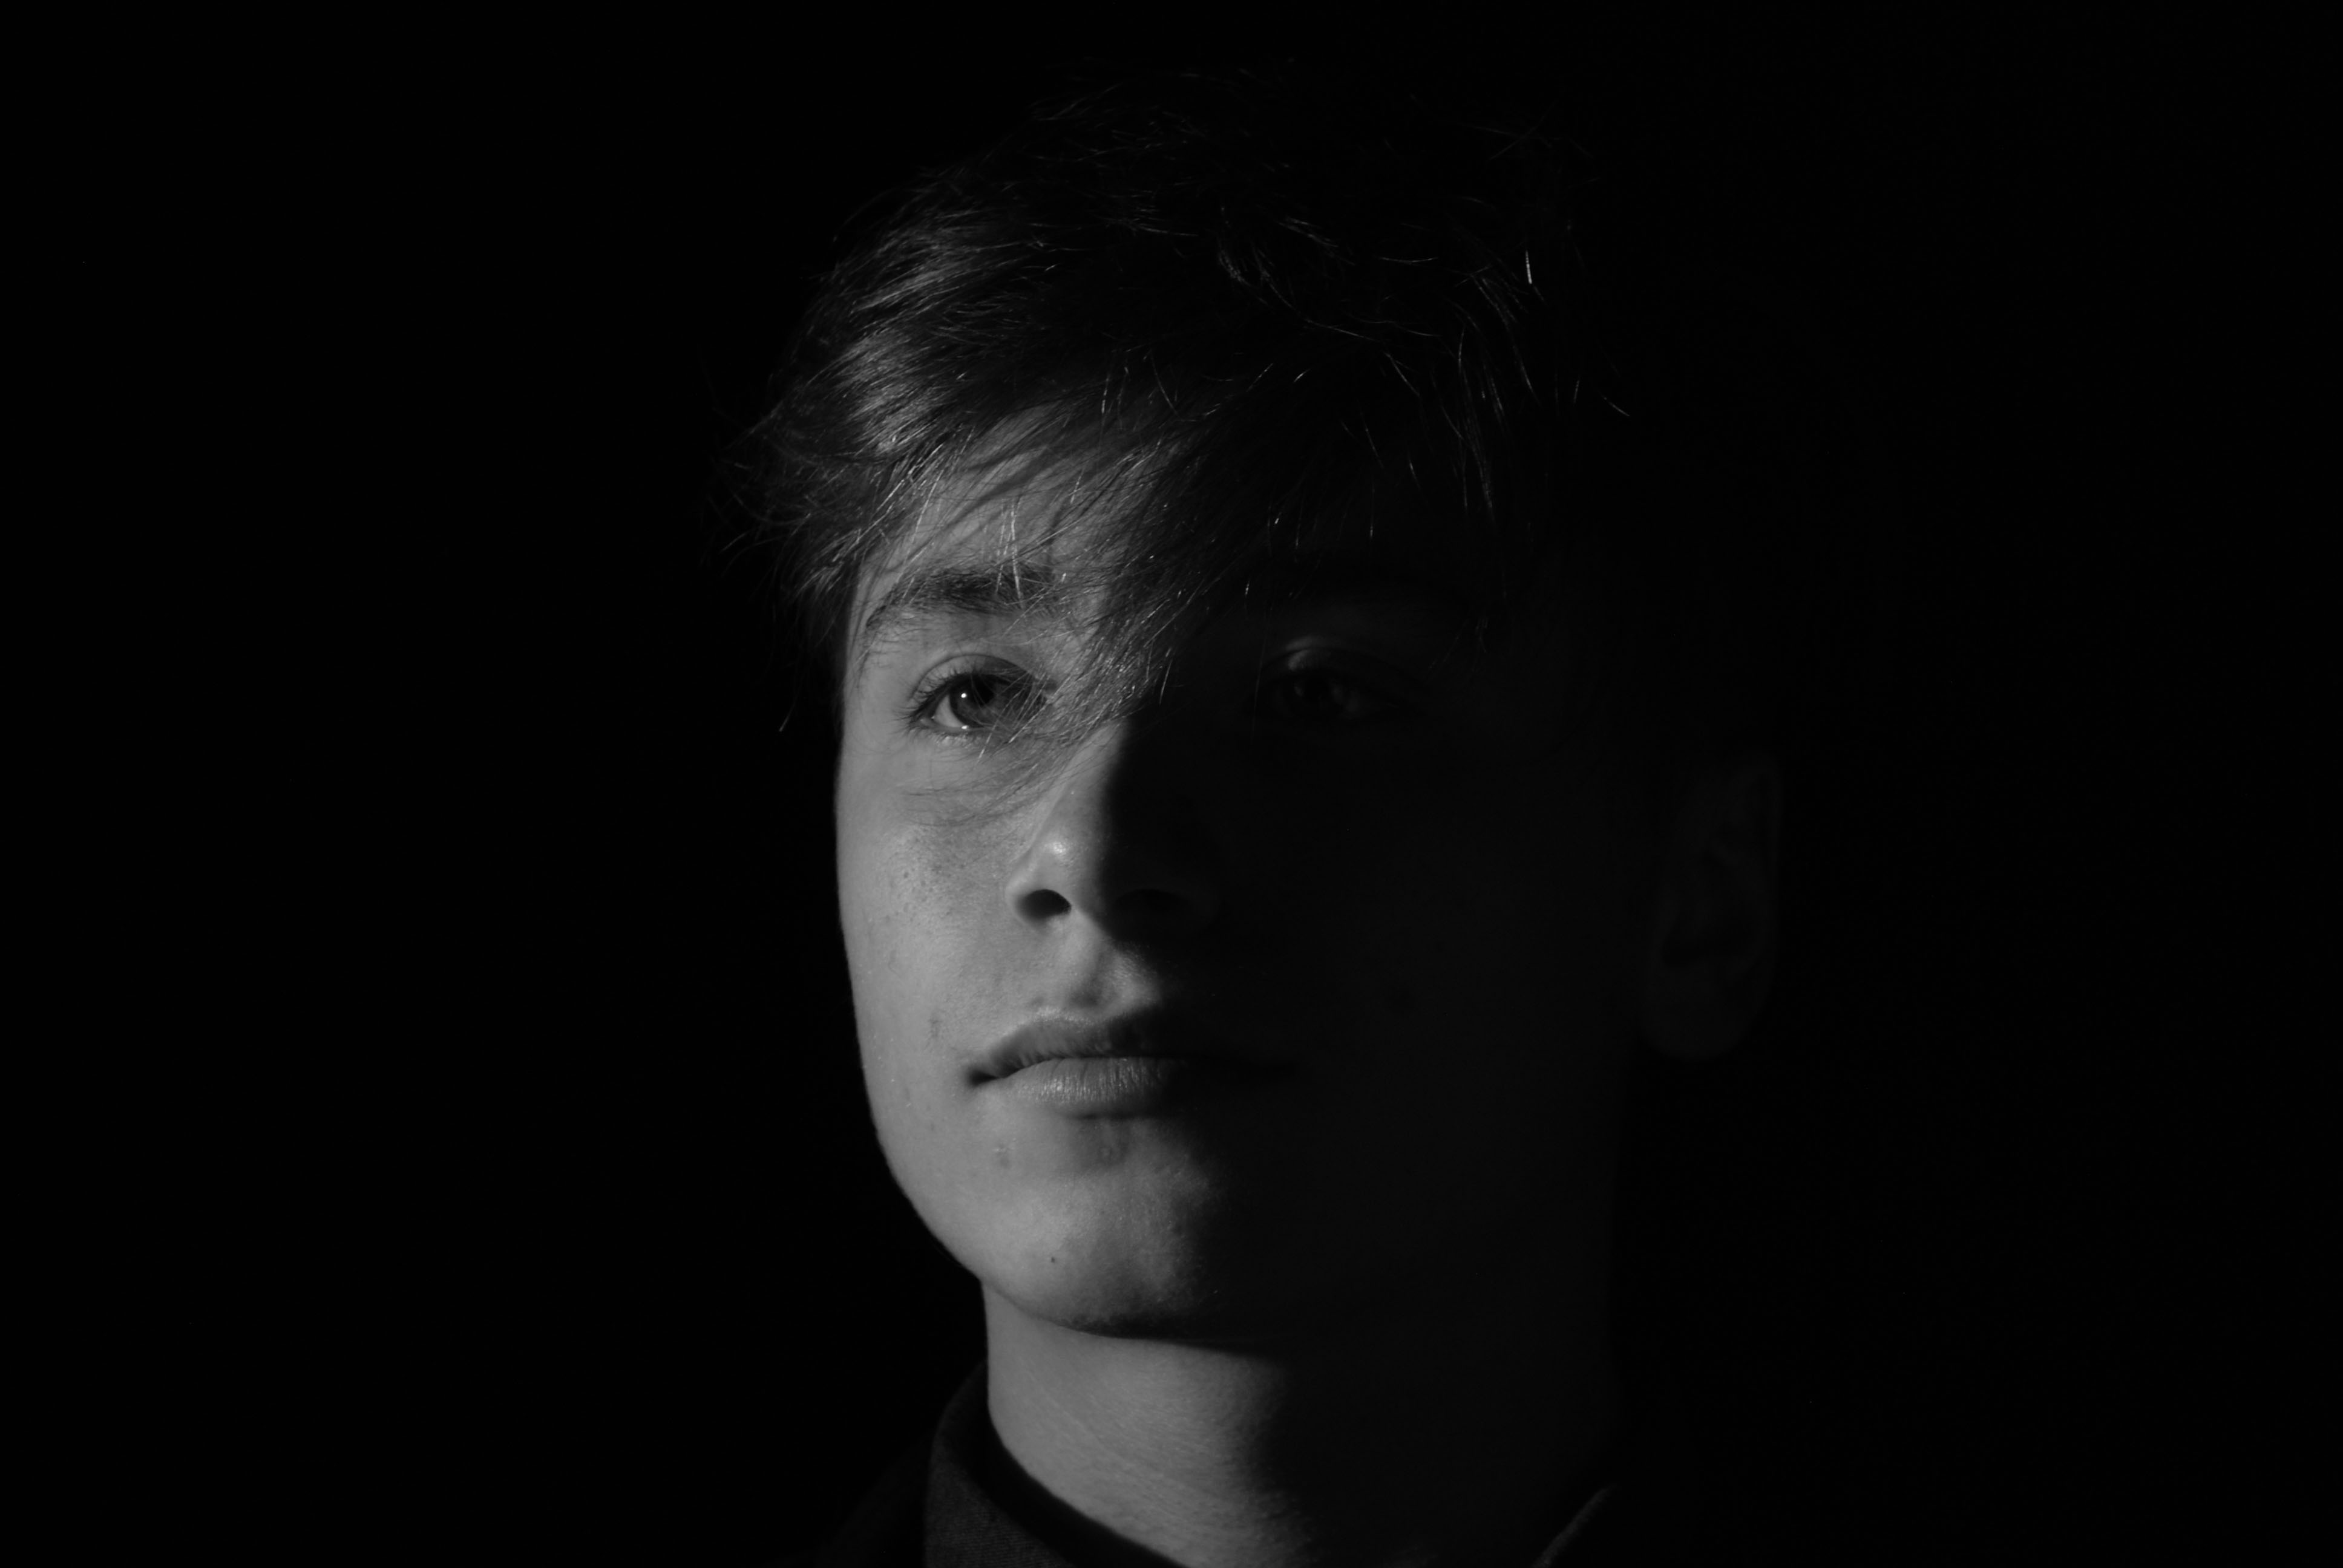
Below are 2 examples, using my own images, showing how using reflectors can change how a portrait look:
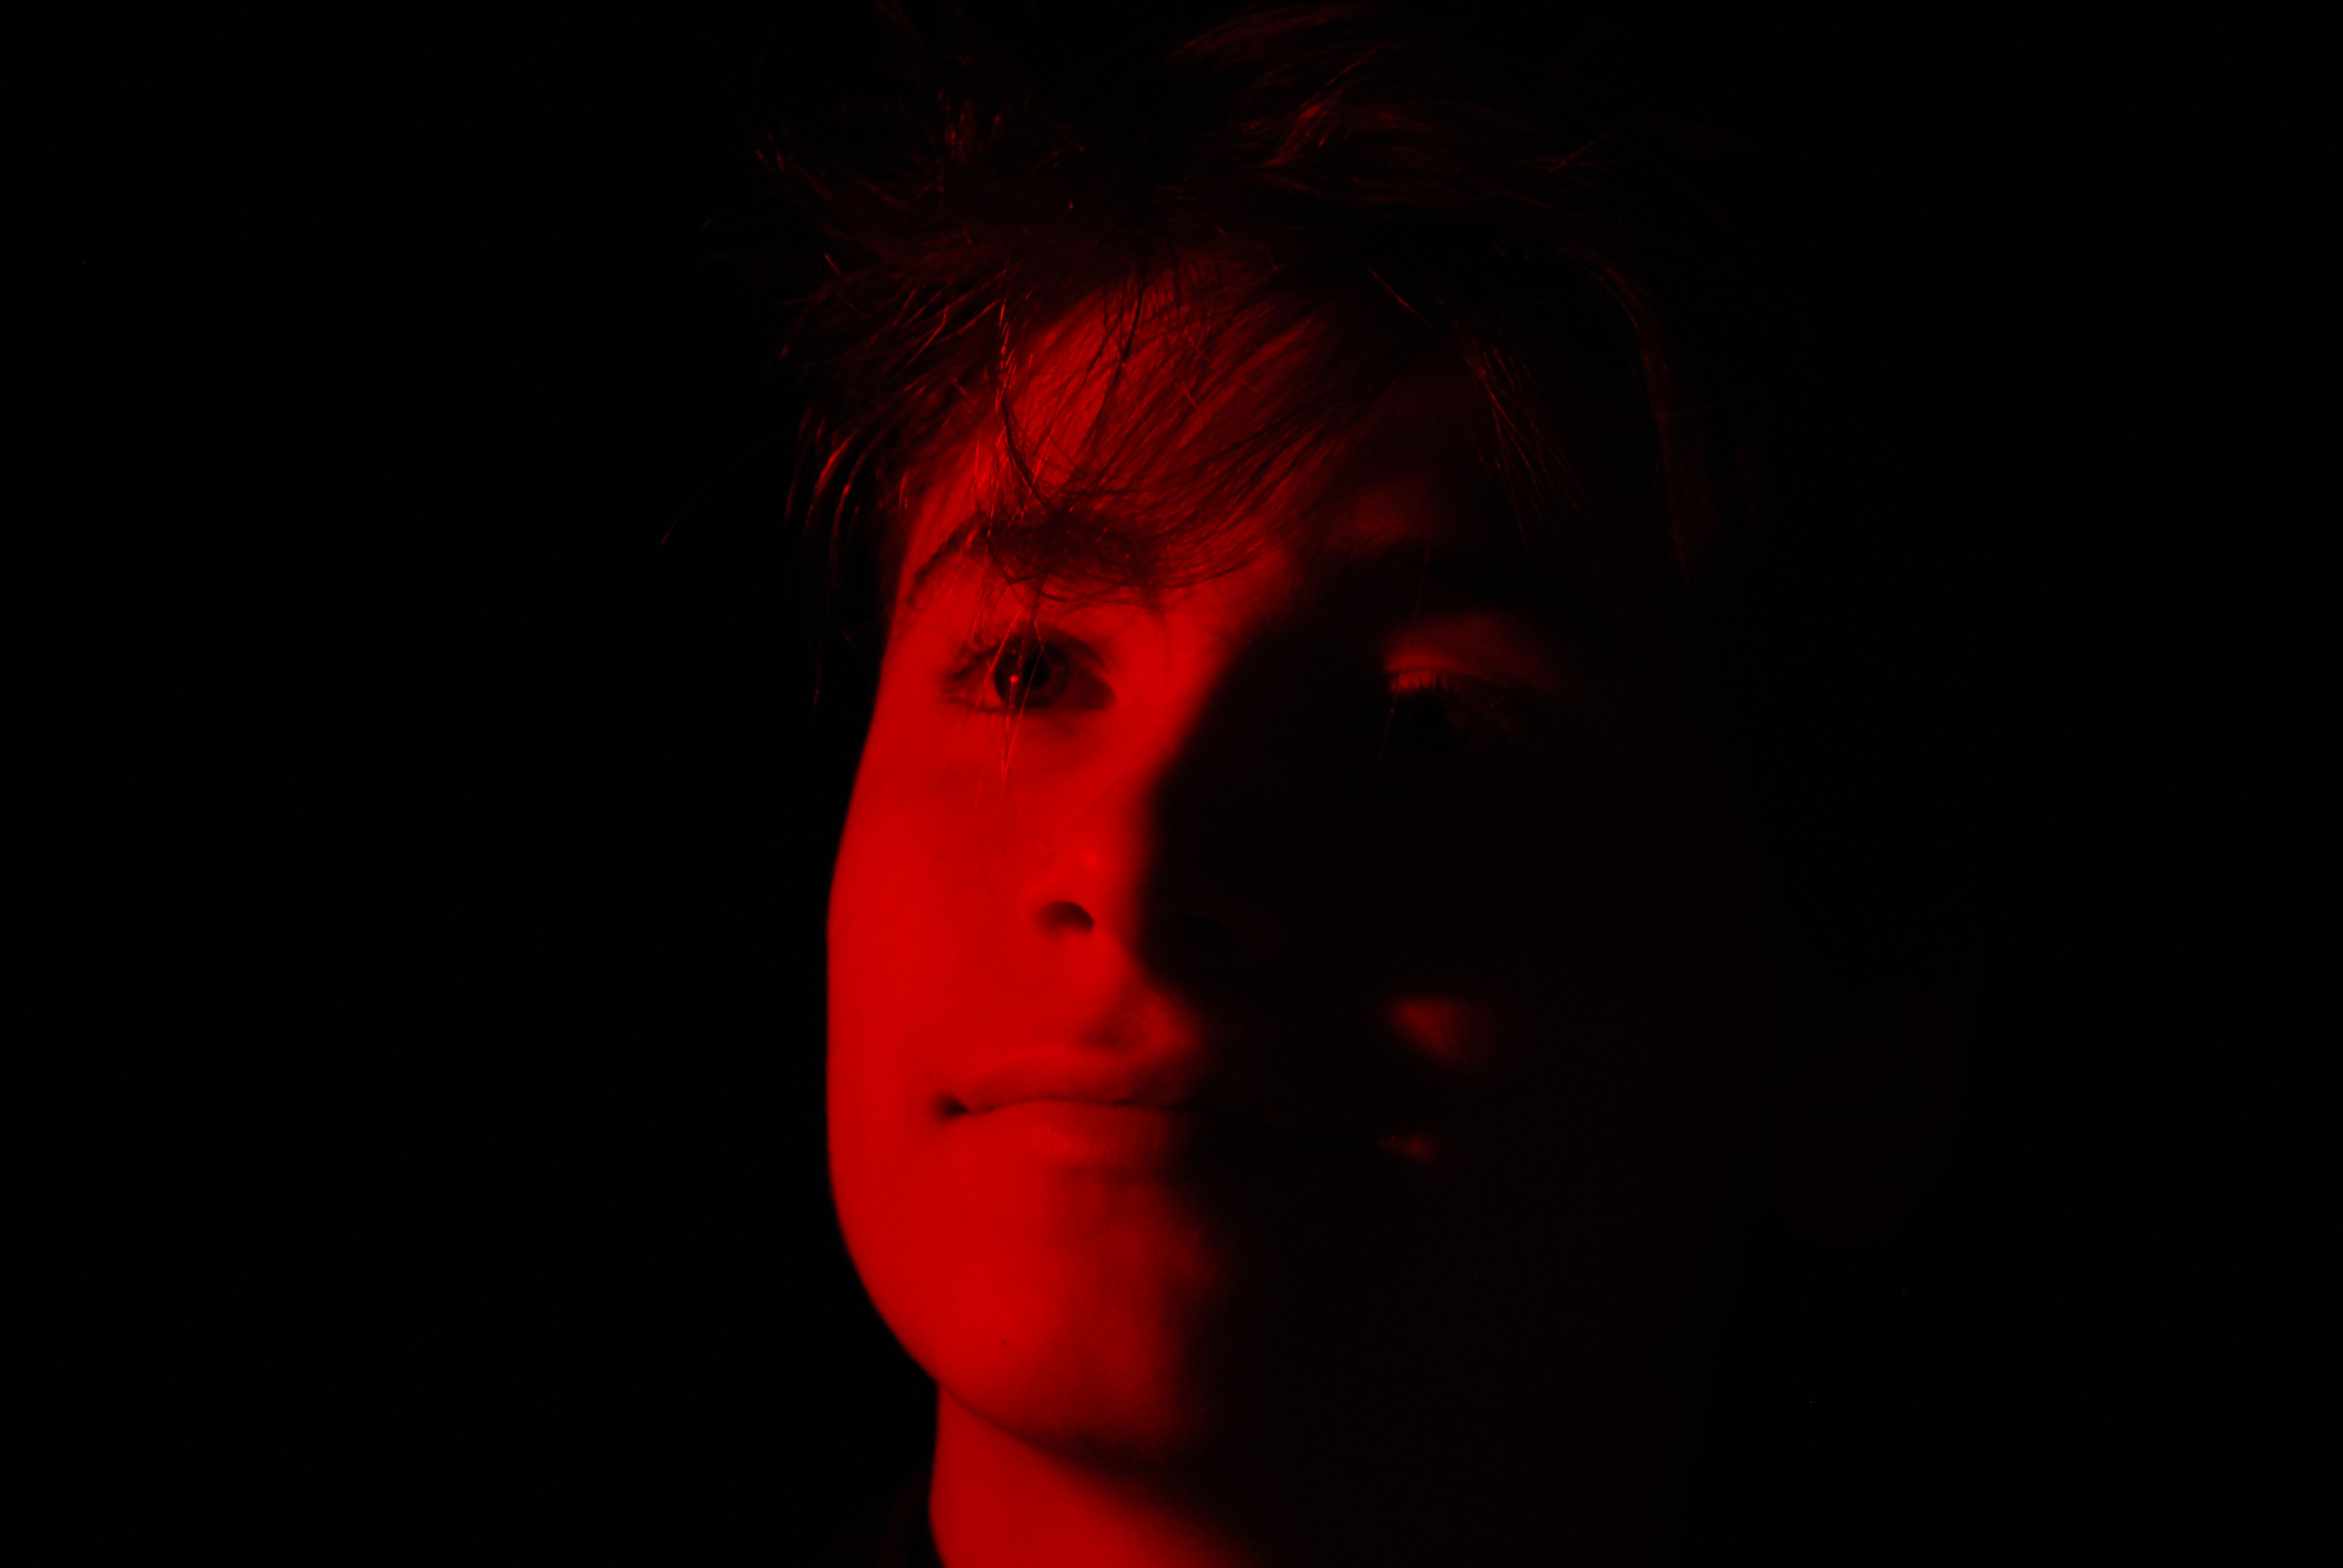
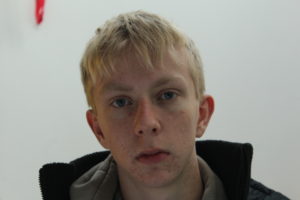
The images on the left were taken without a reflector. You can tell as the parts of the faces that aren’t in direct contact with the light, ended up shadowed. The images on the right are taken using white card as a reflector. You can tell as it made the other side of the face ended up lit up.
 Technical
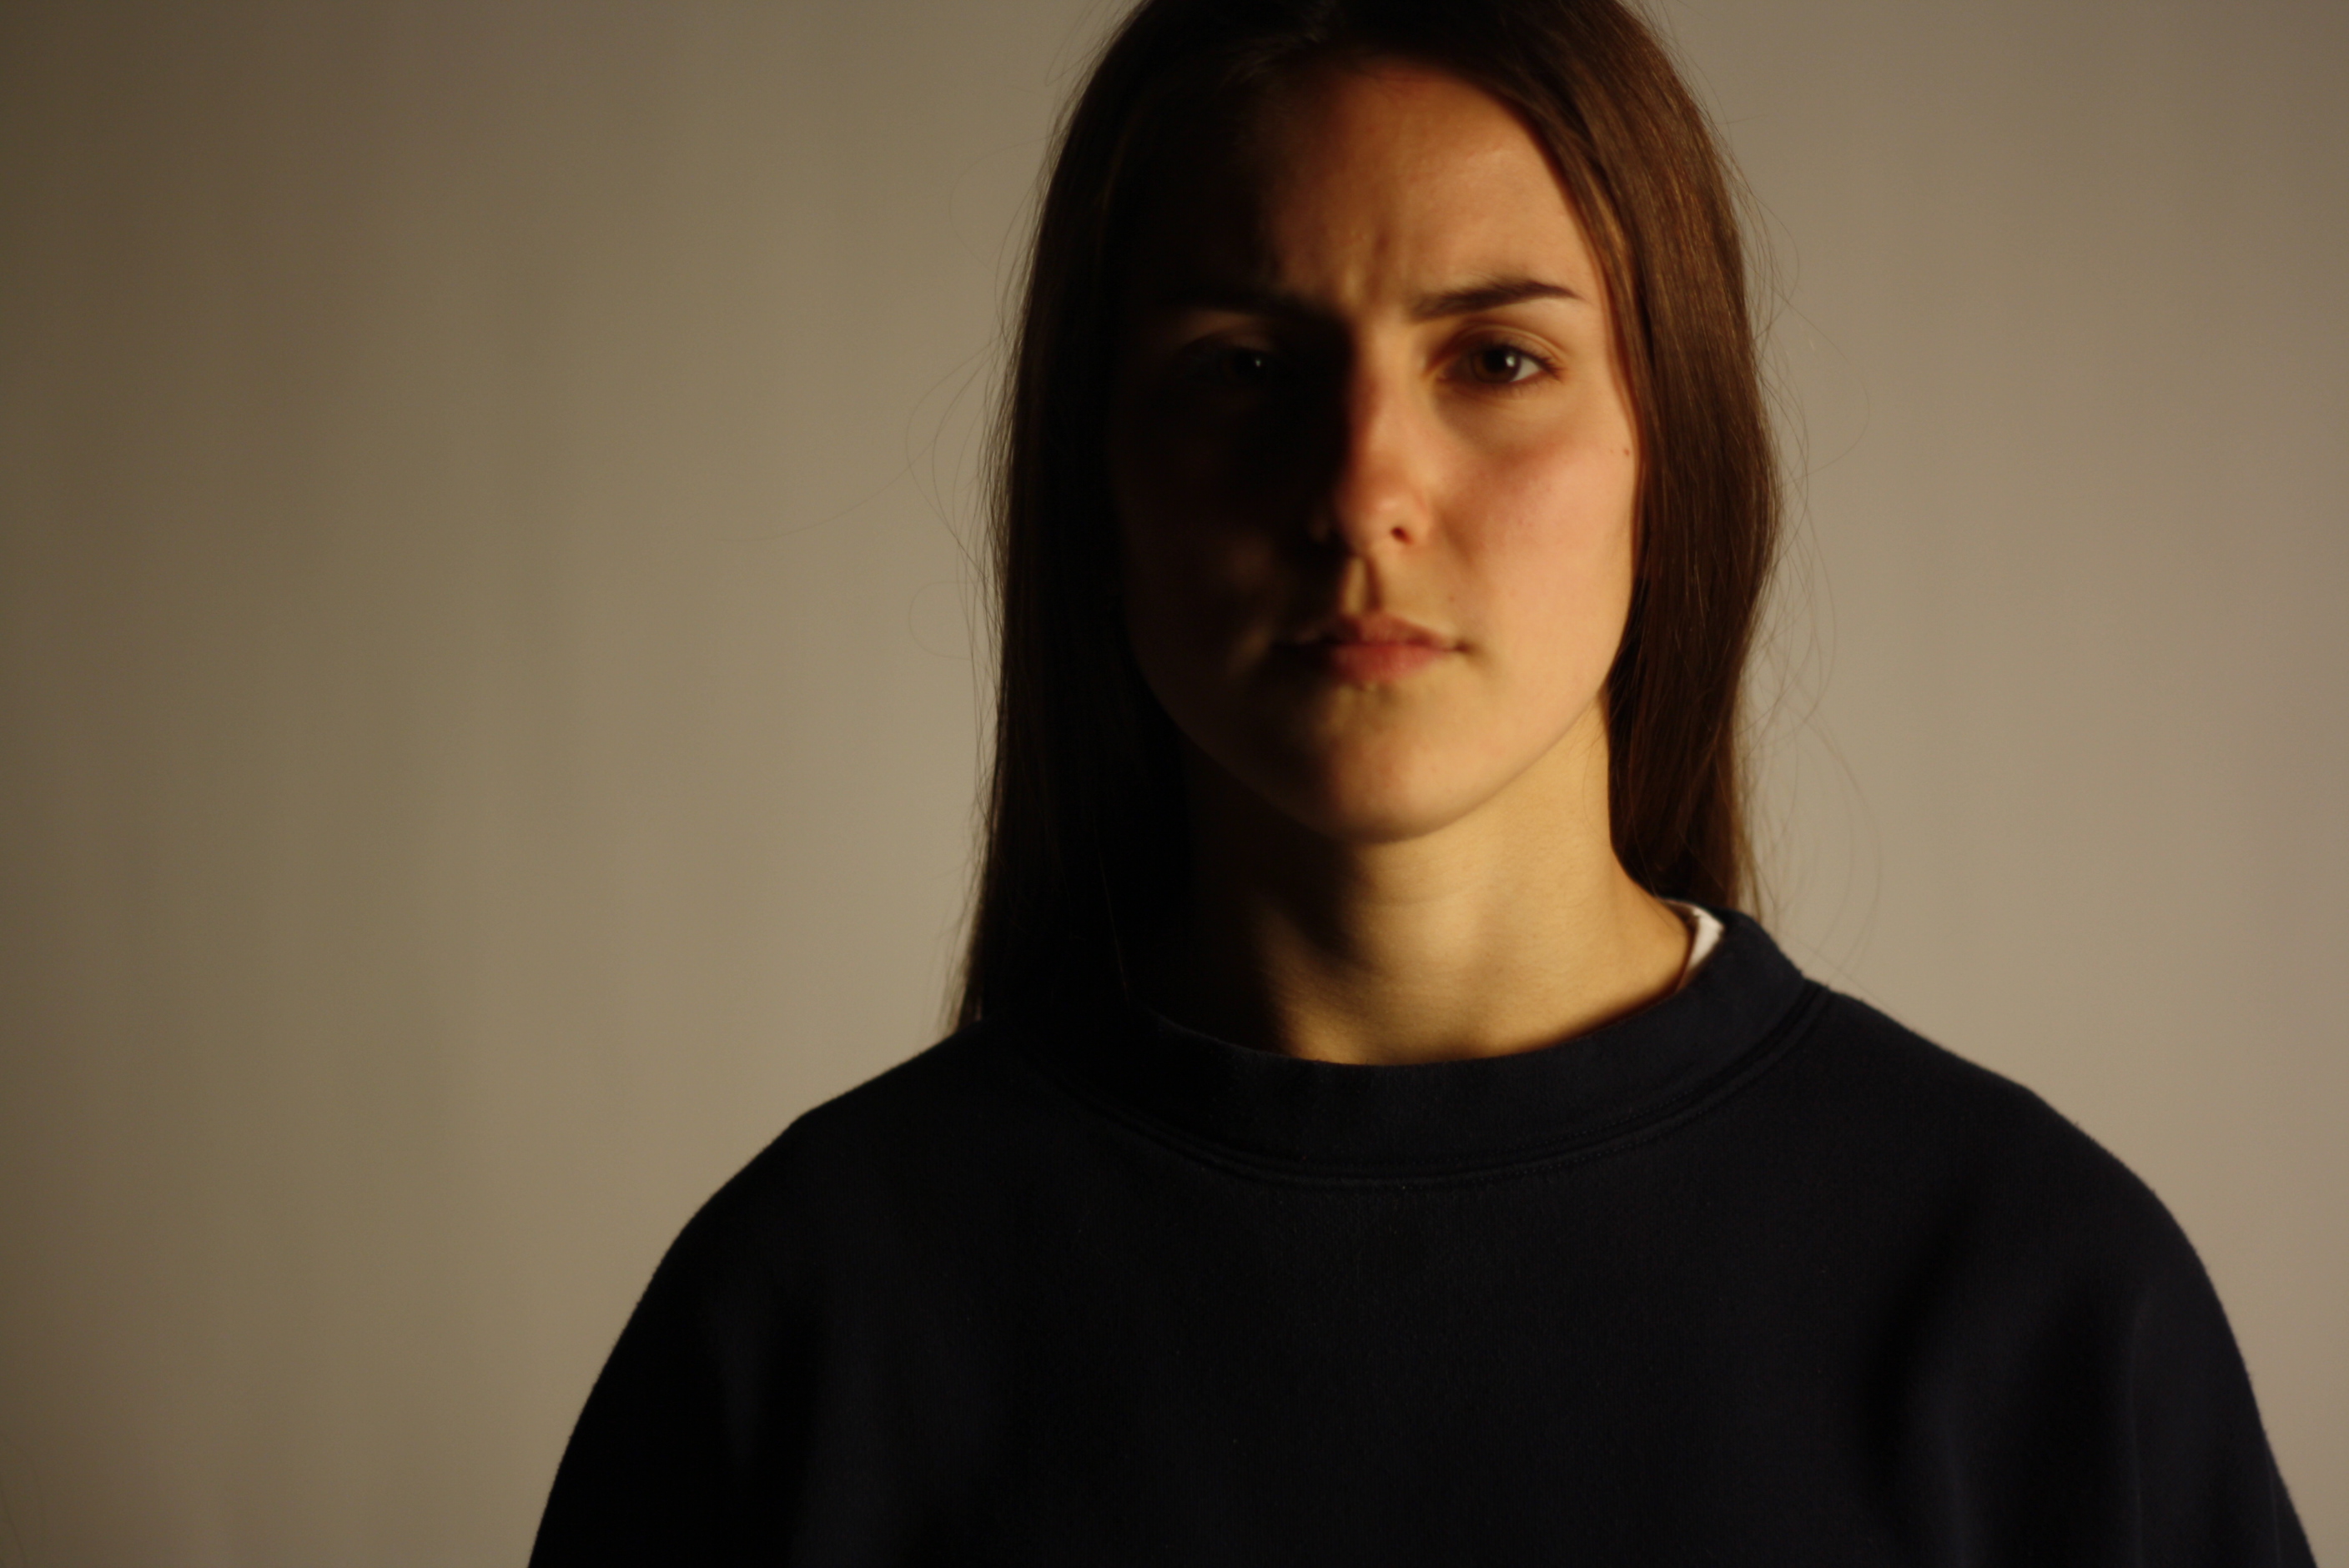
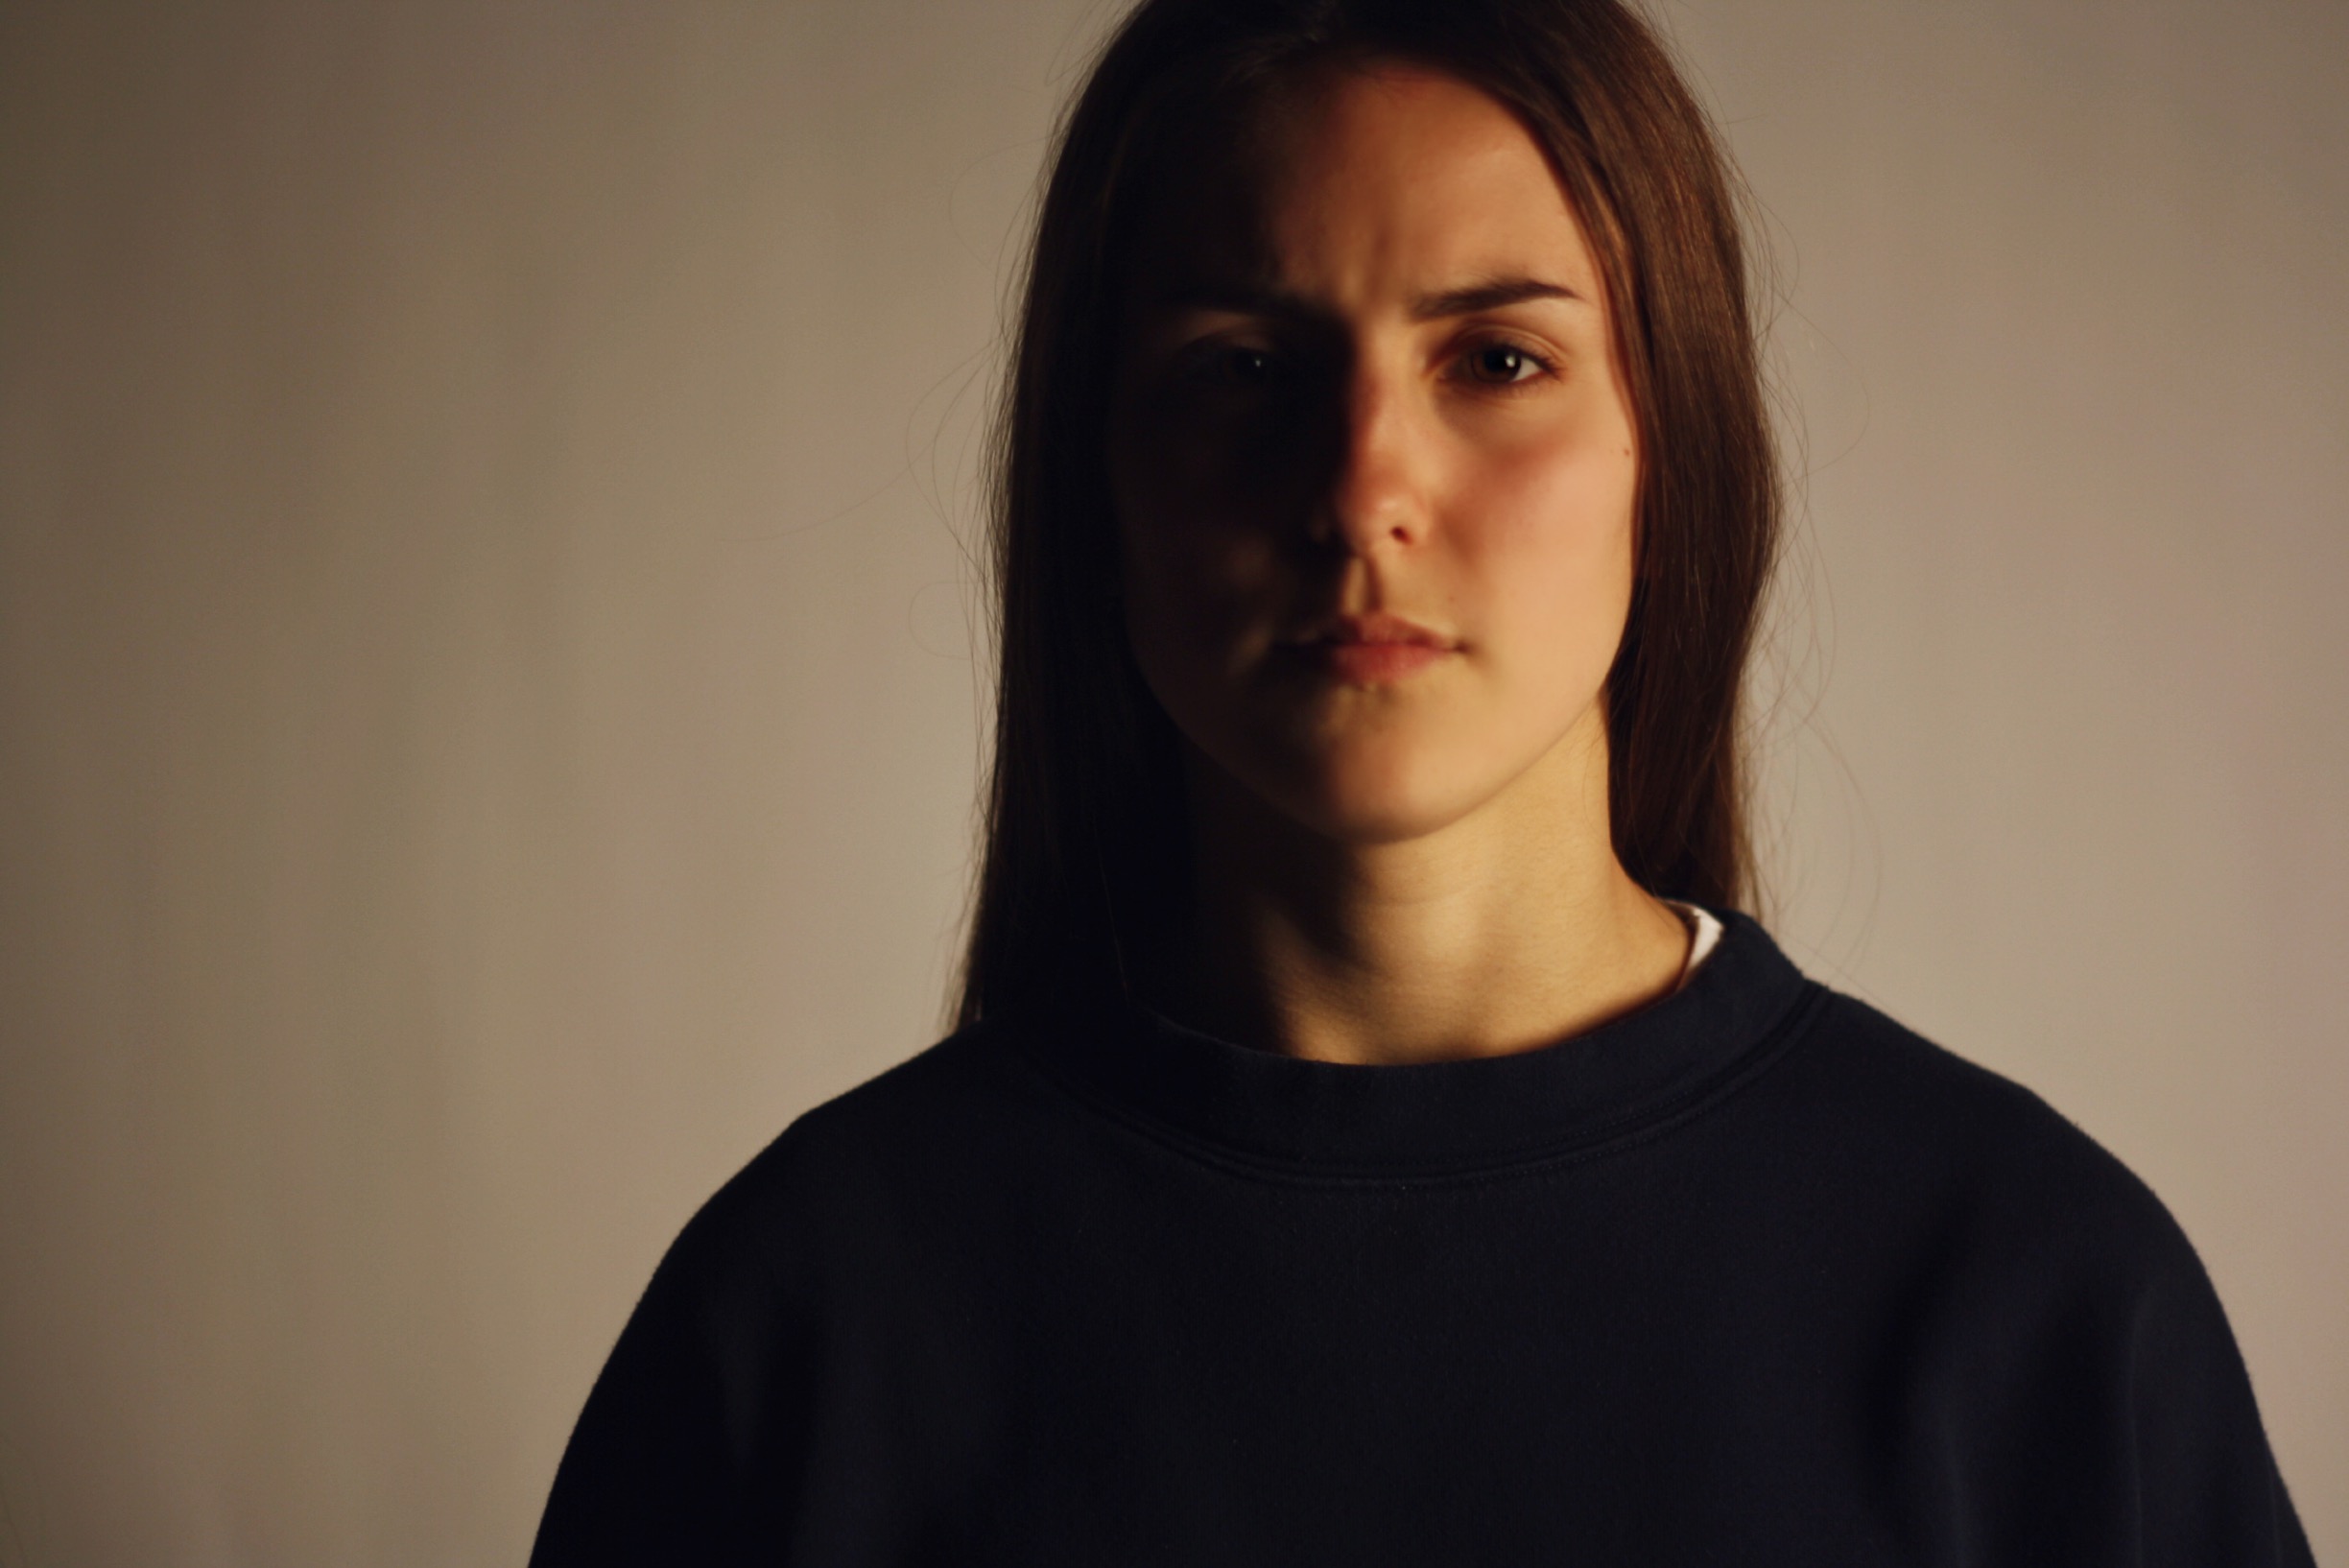
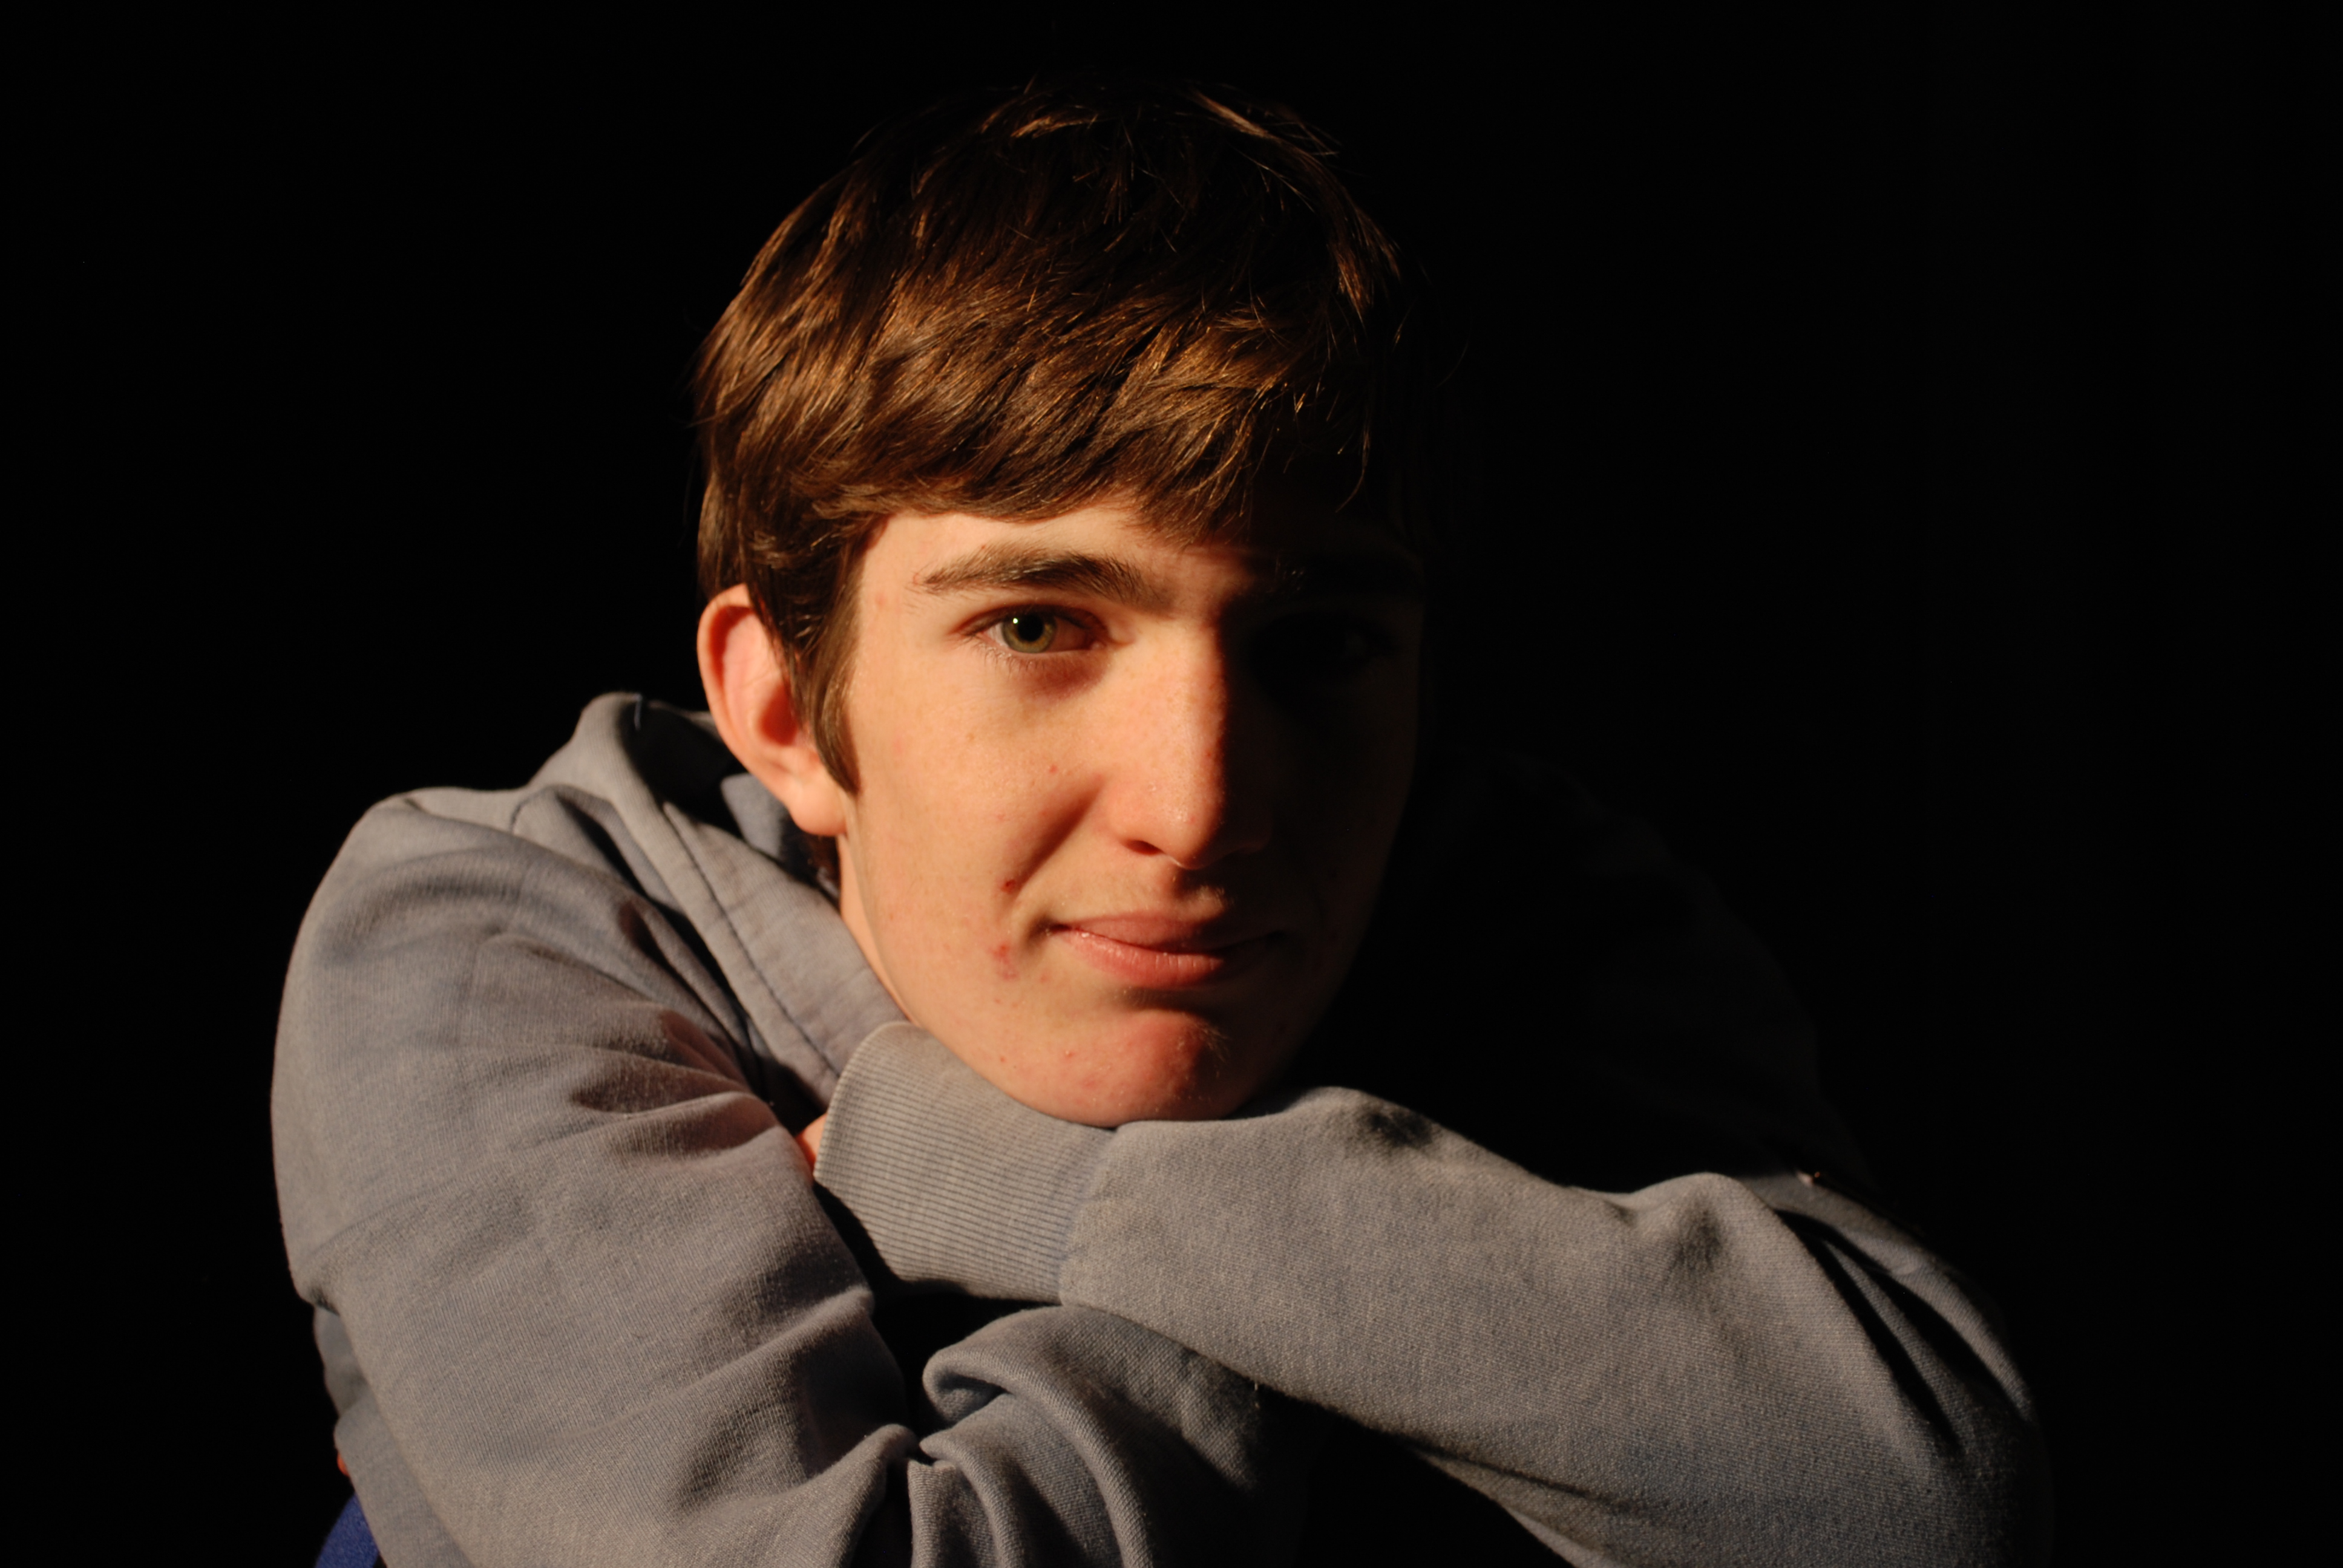
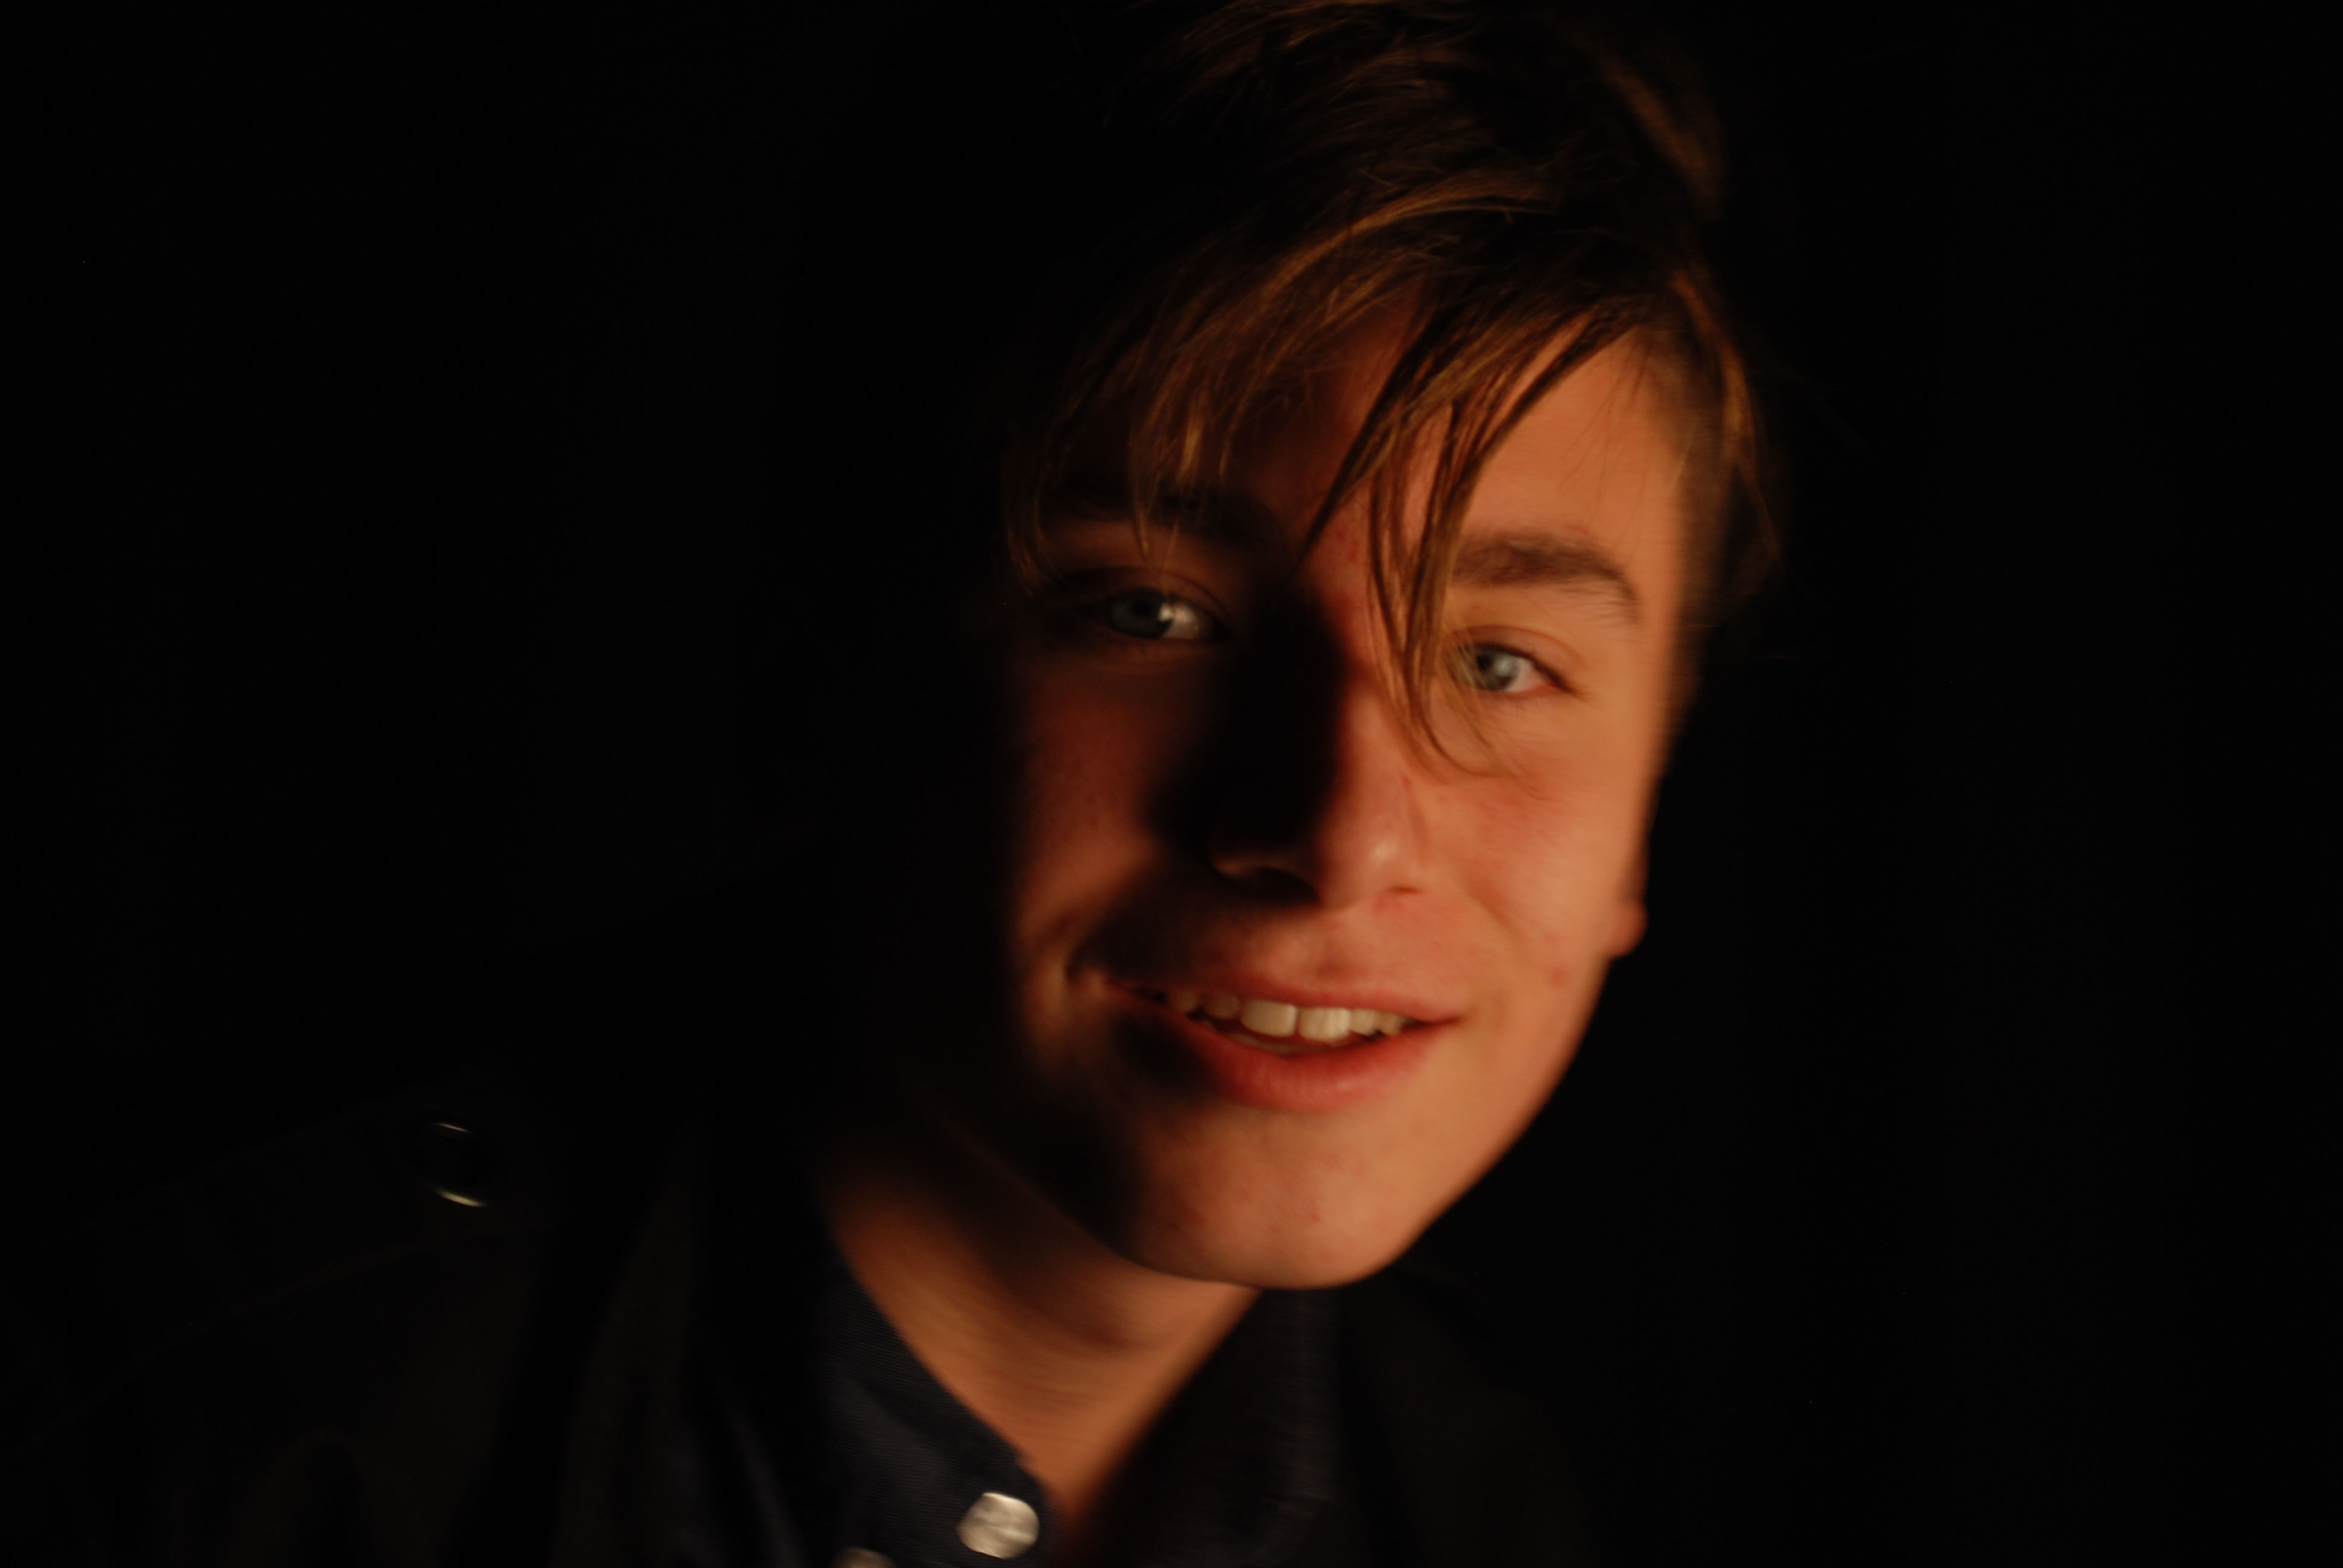
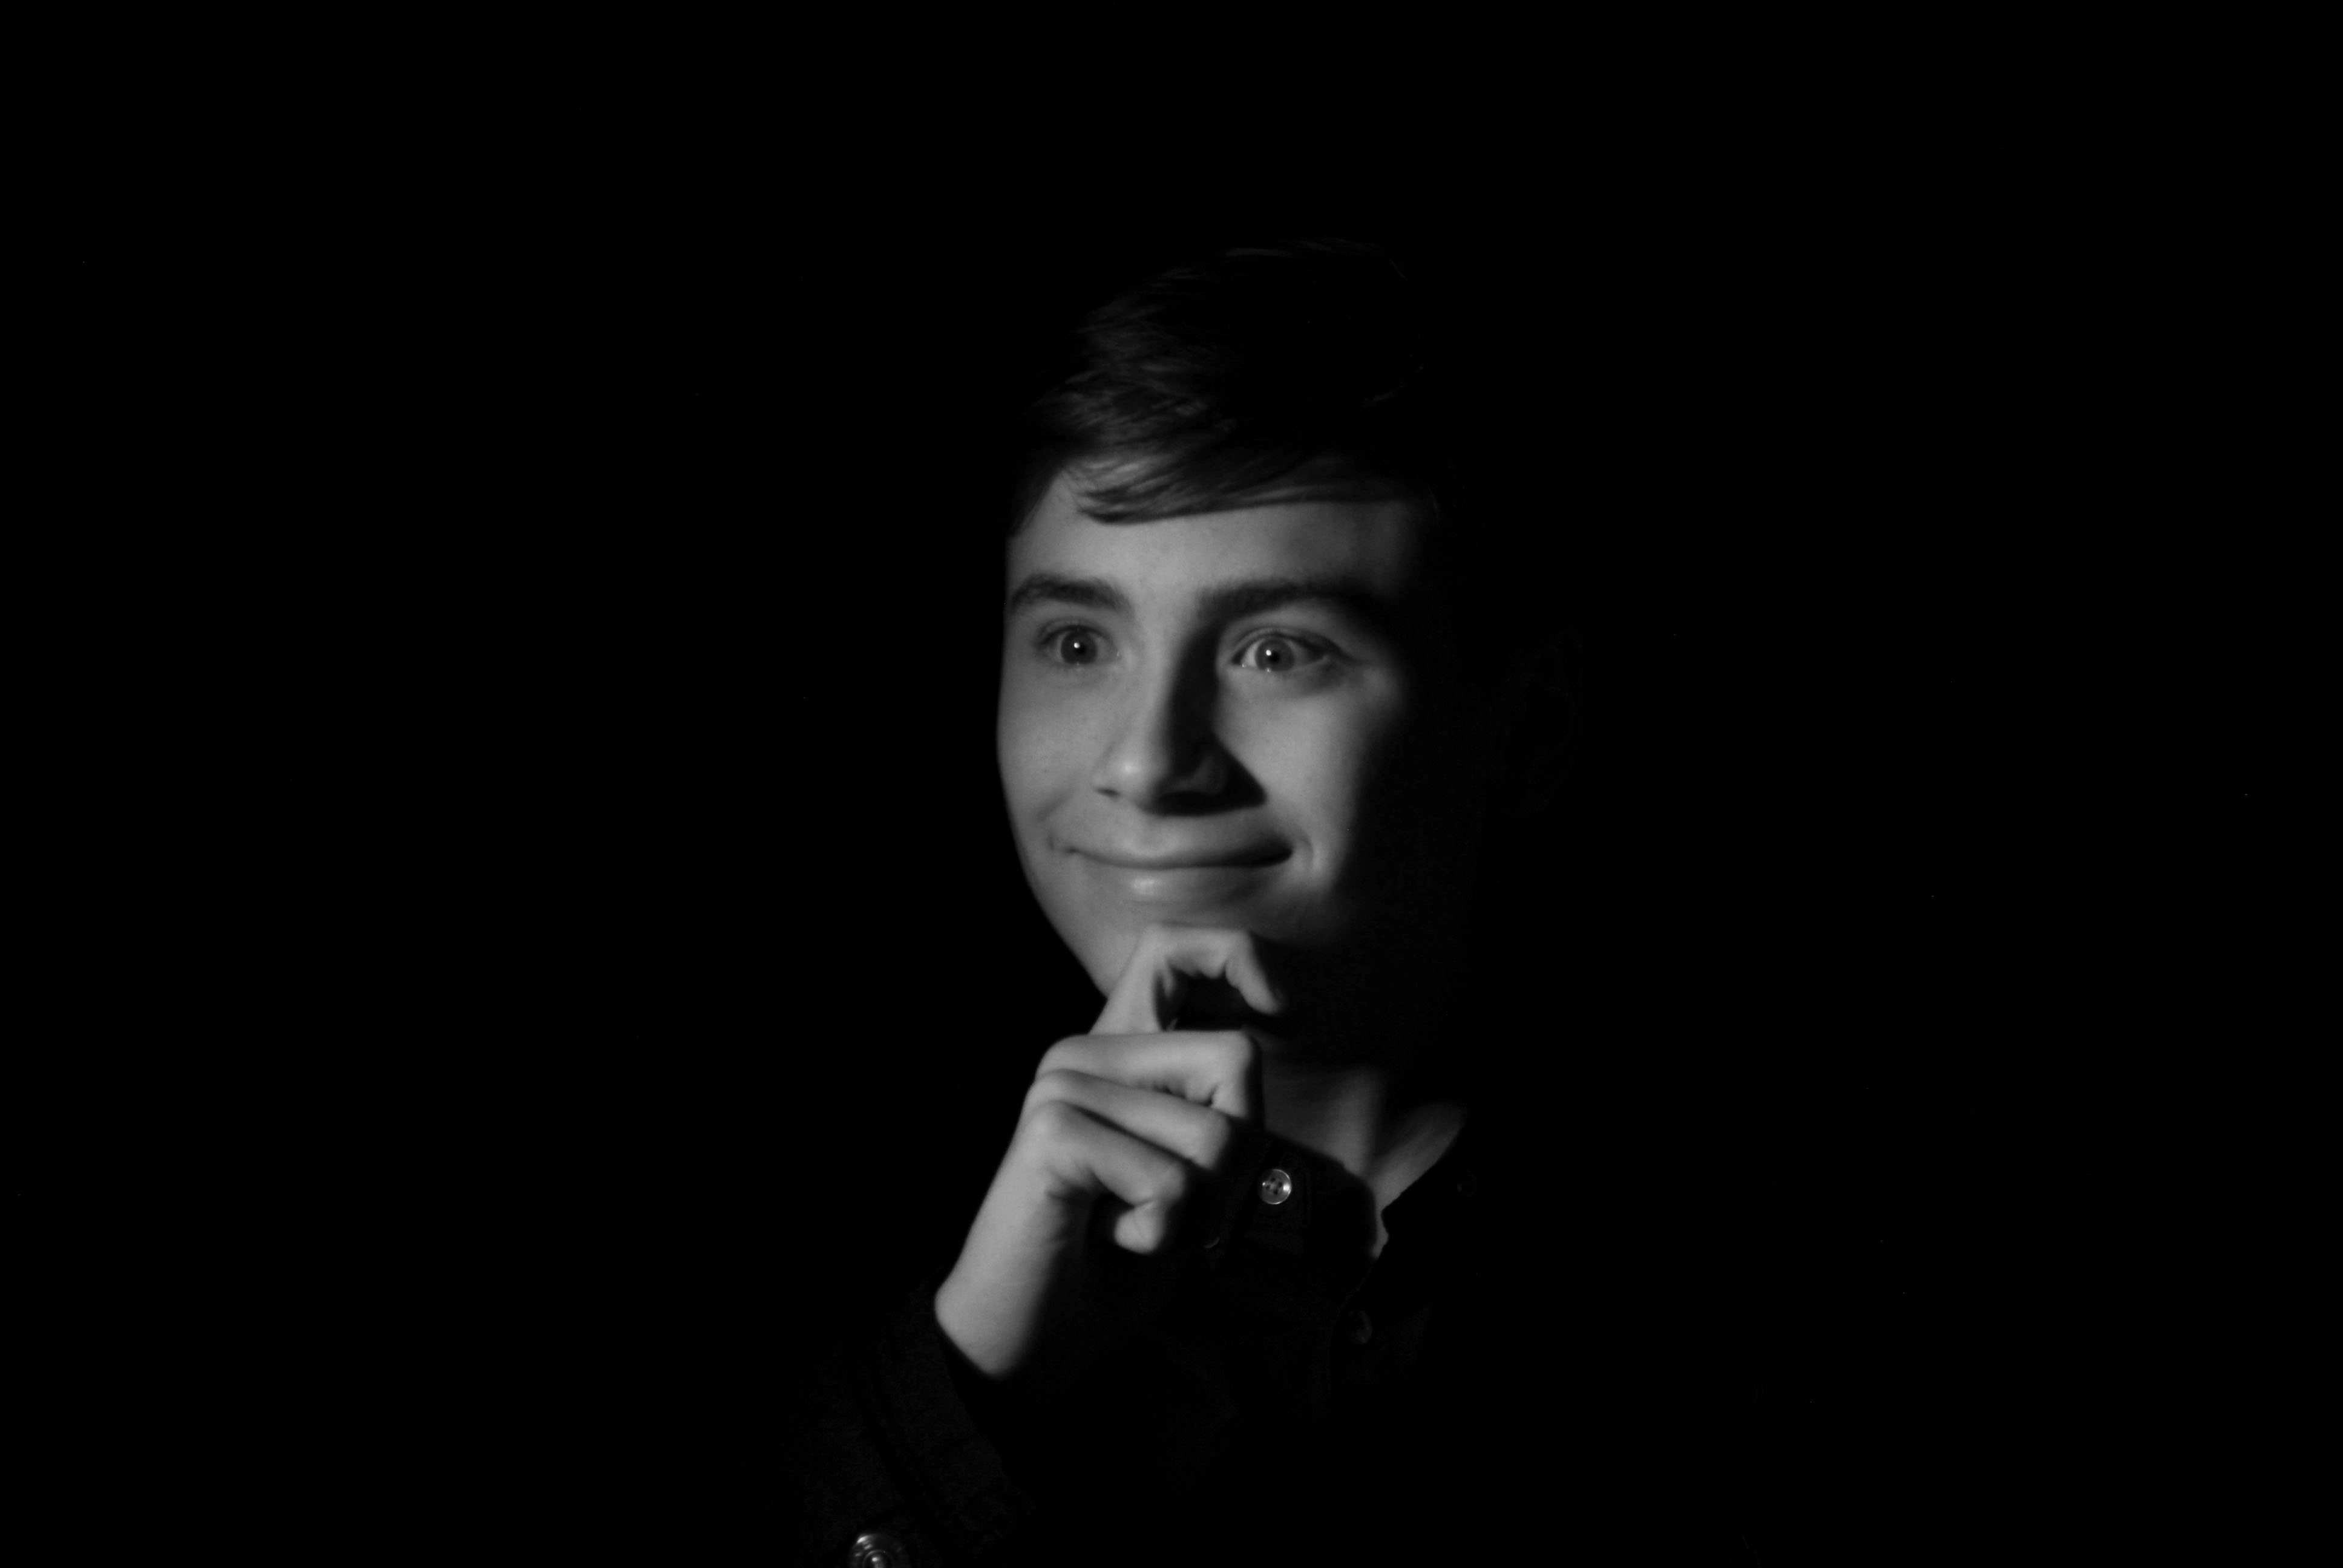
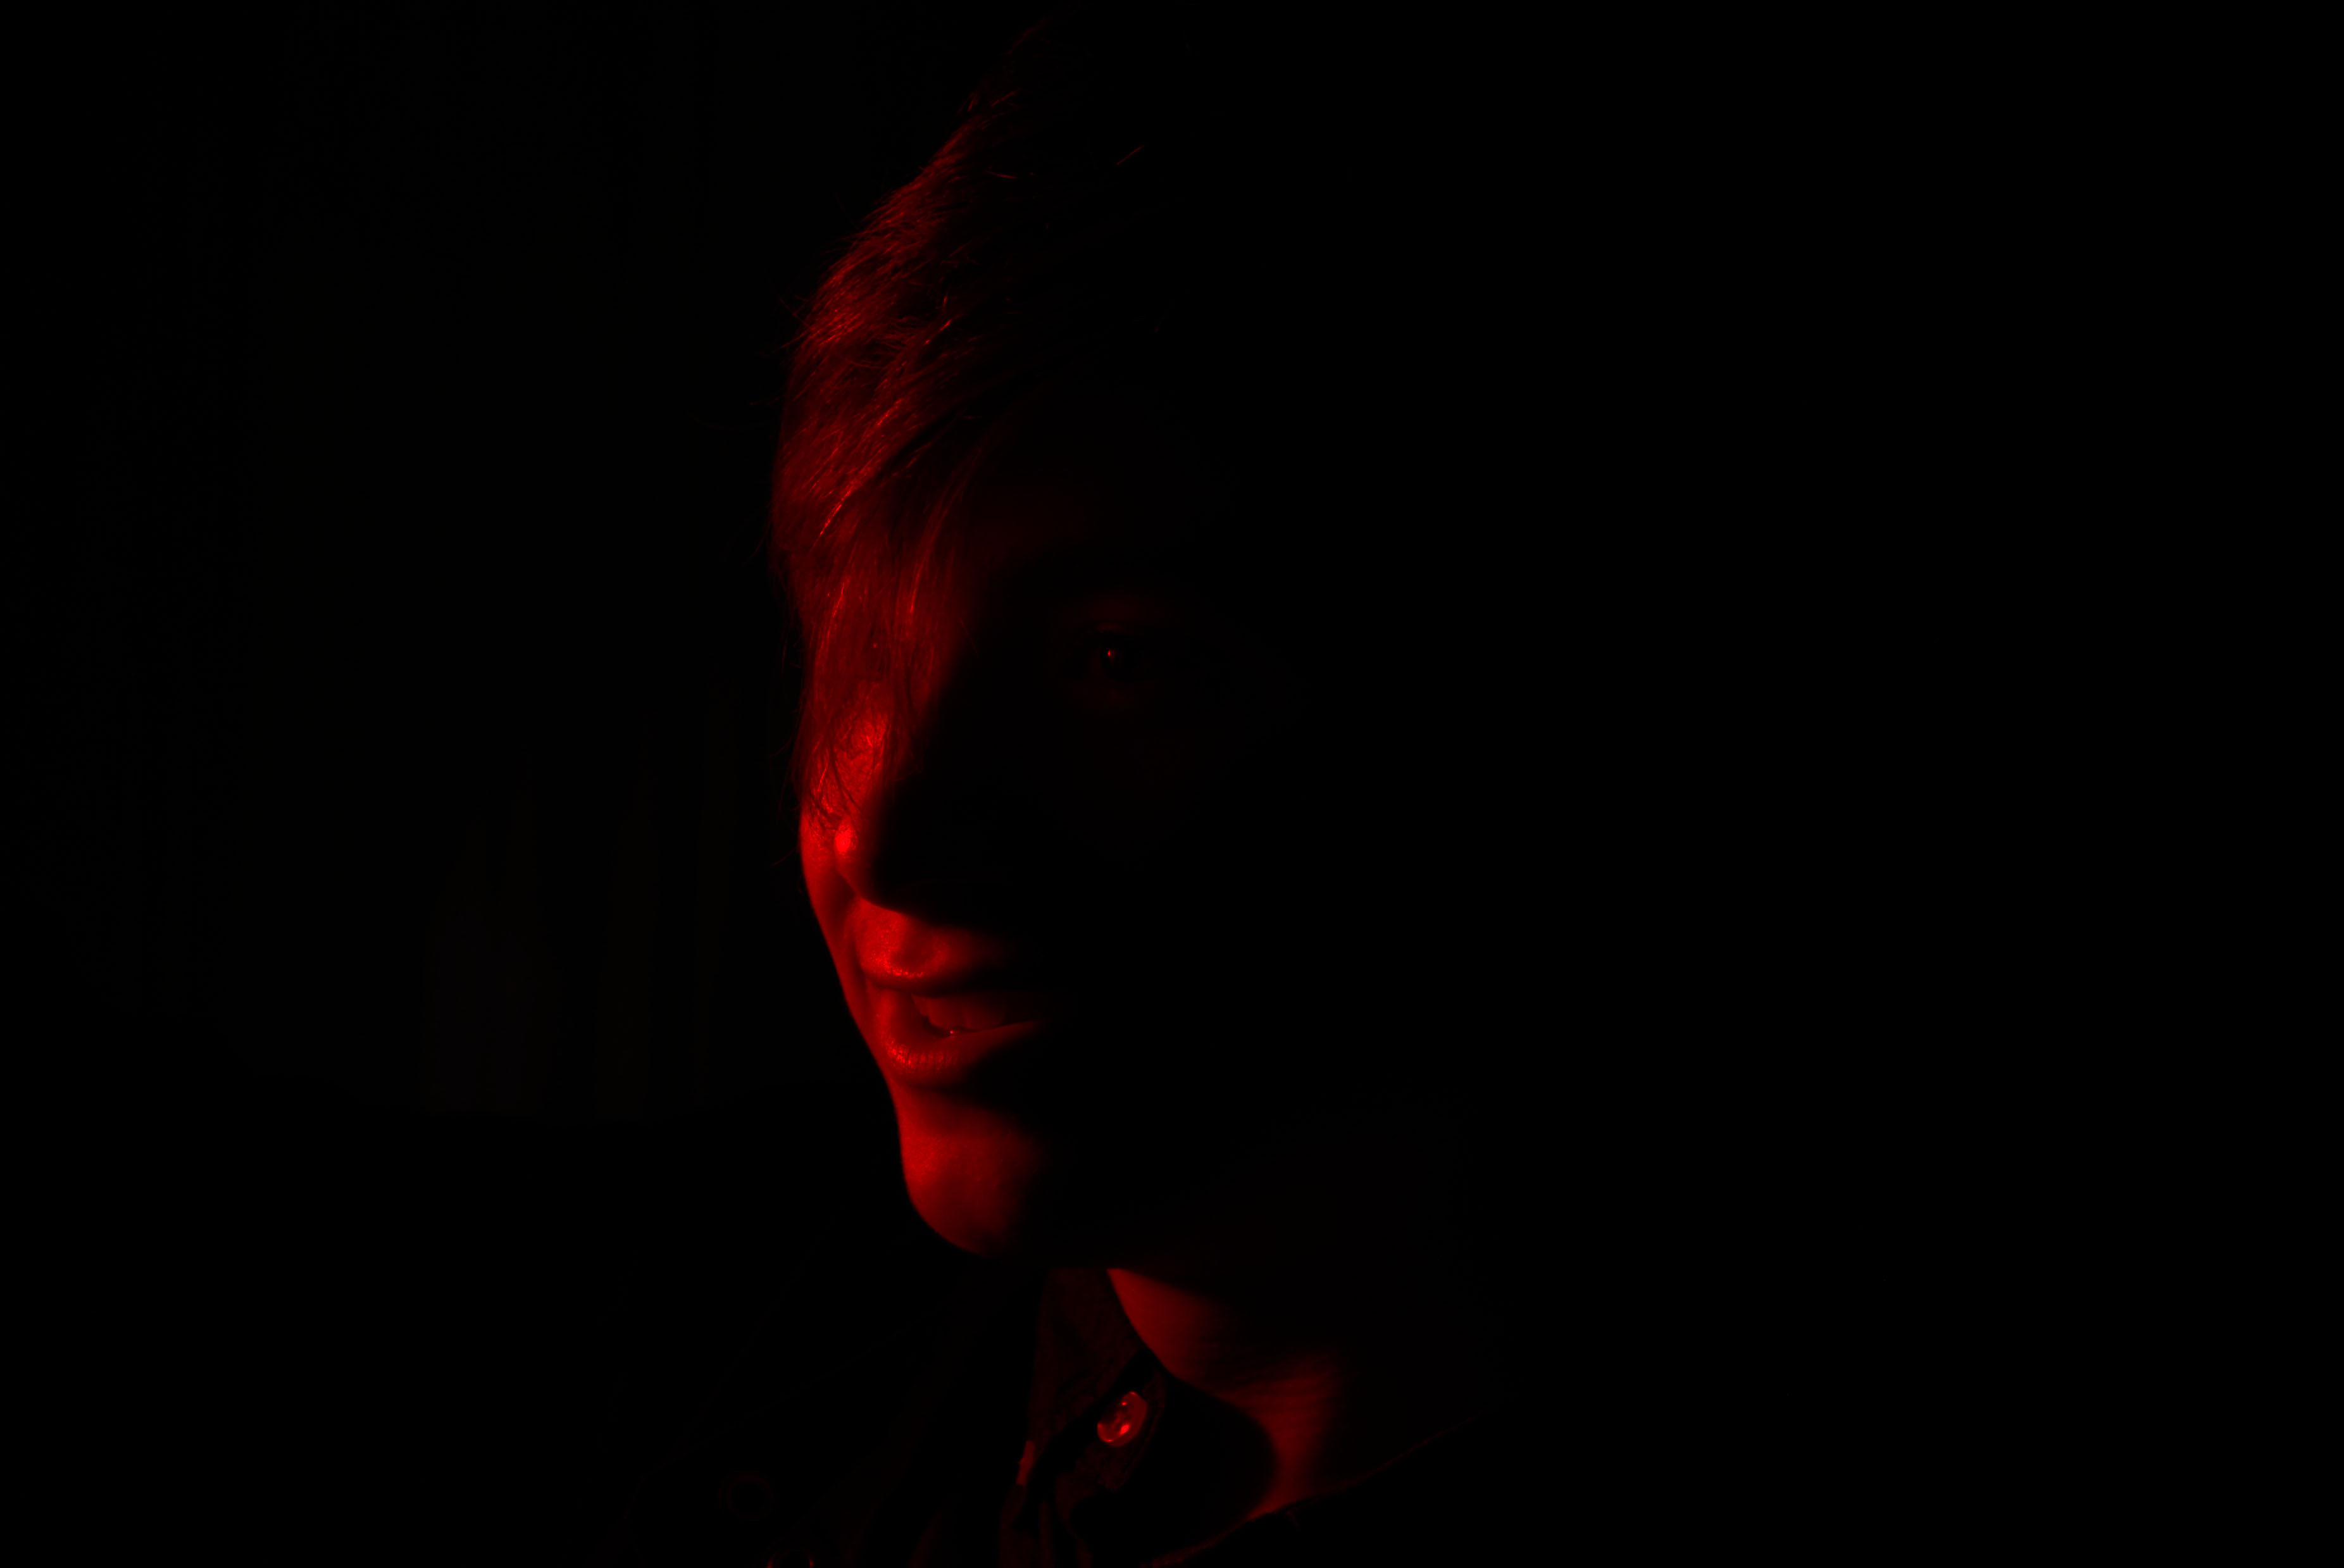
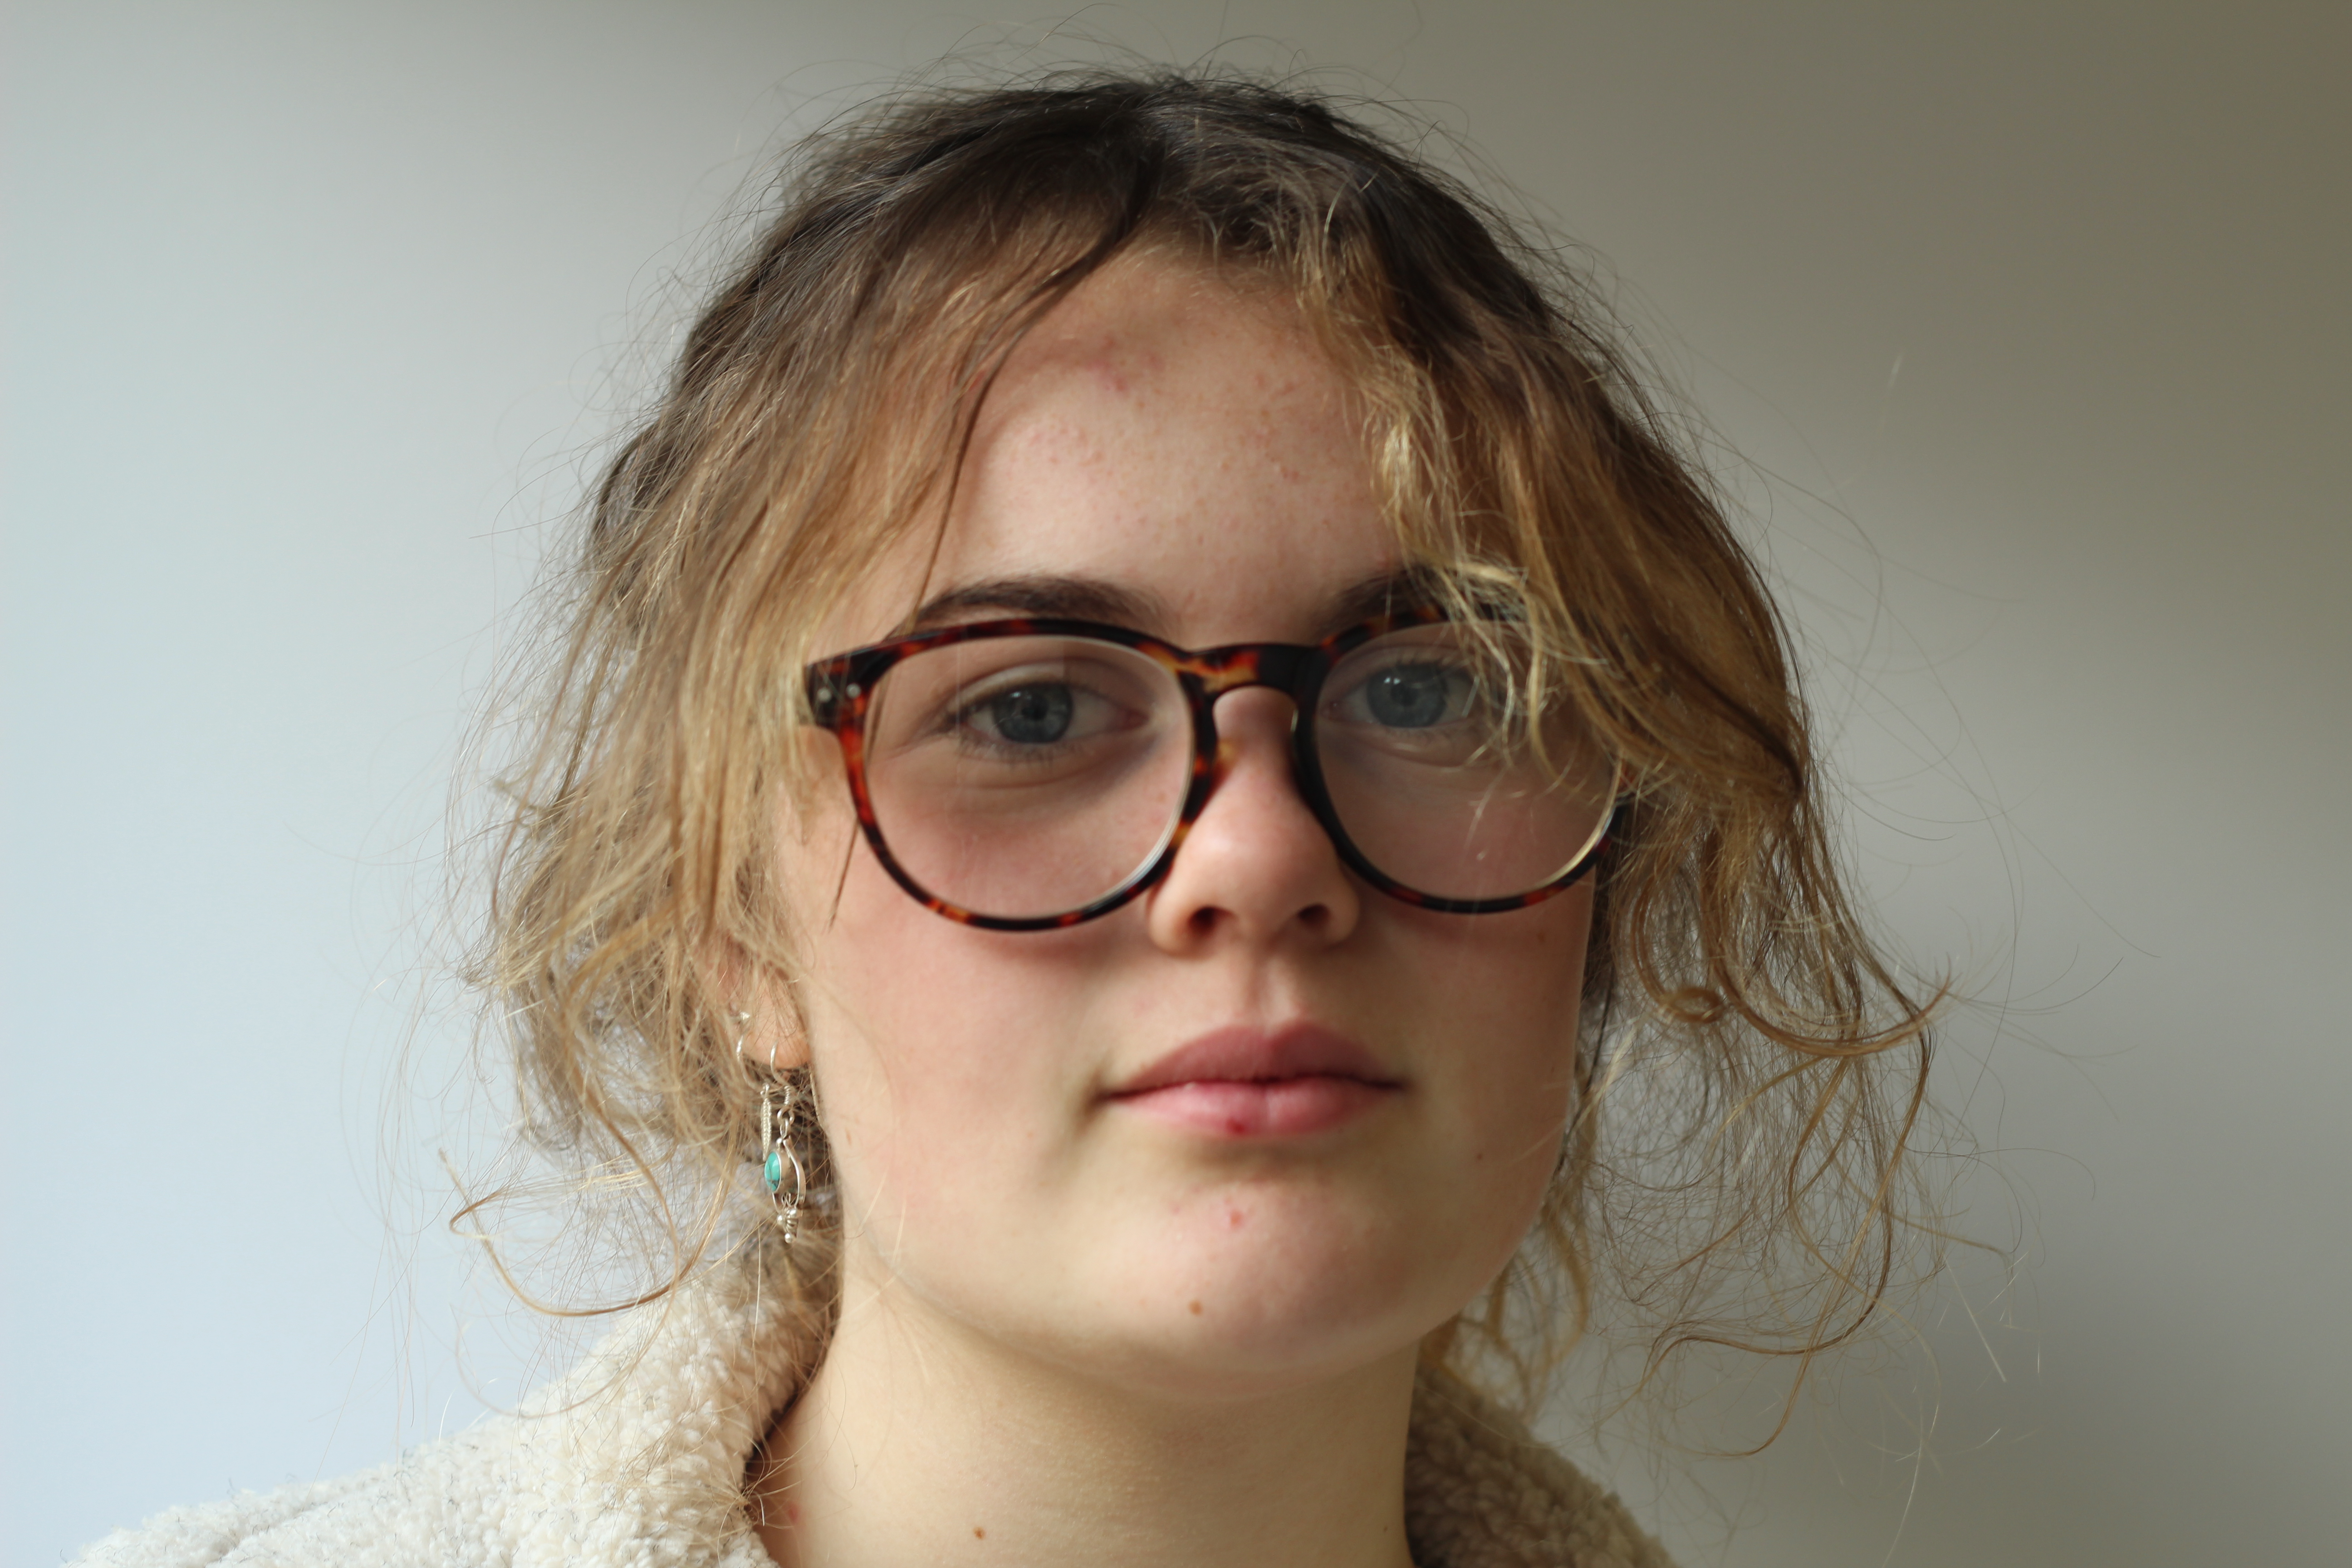
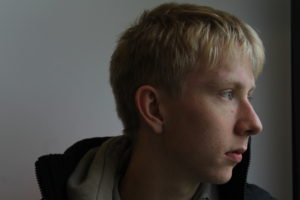
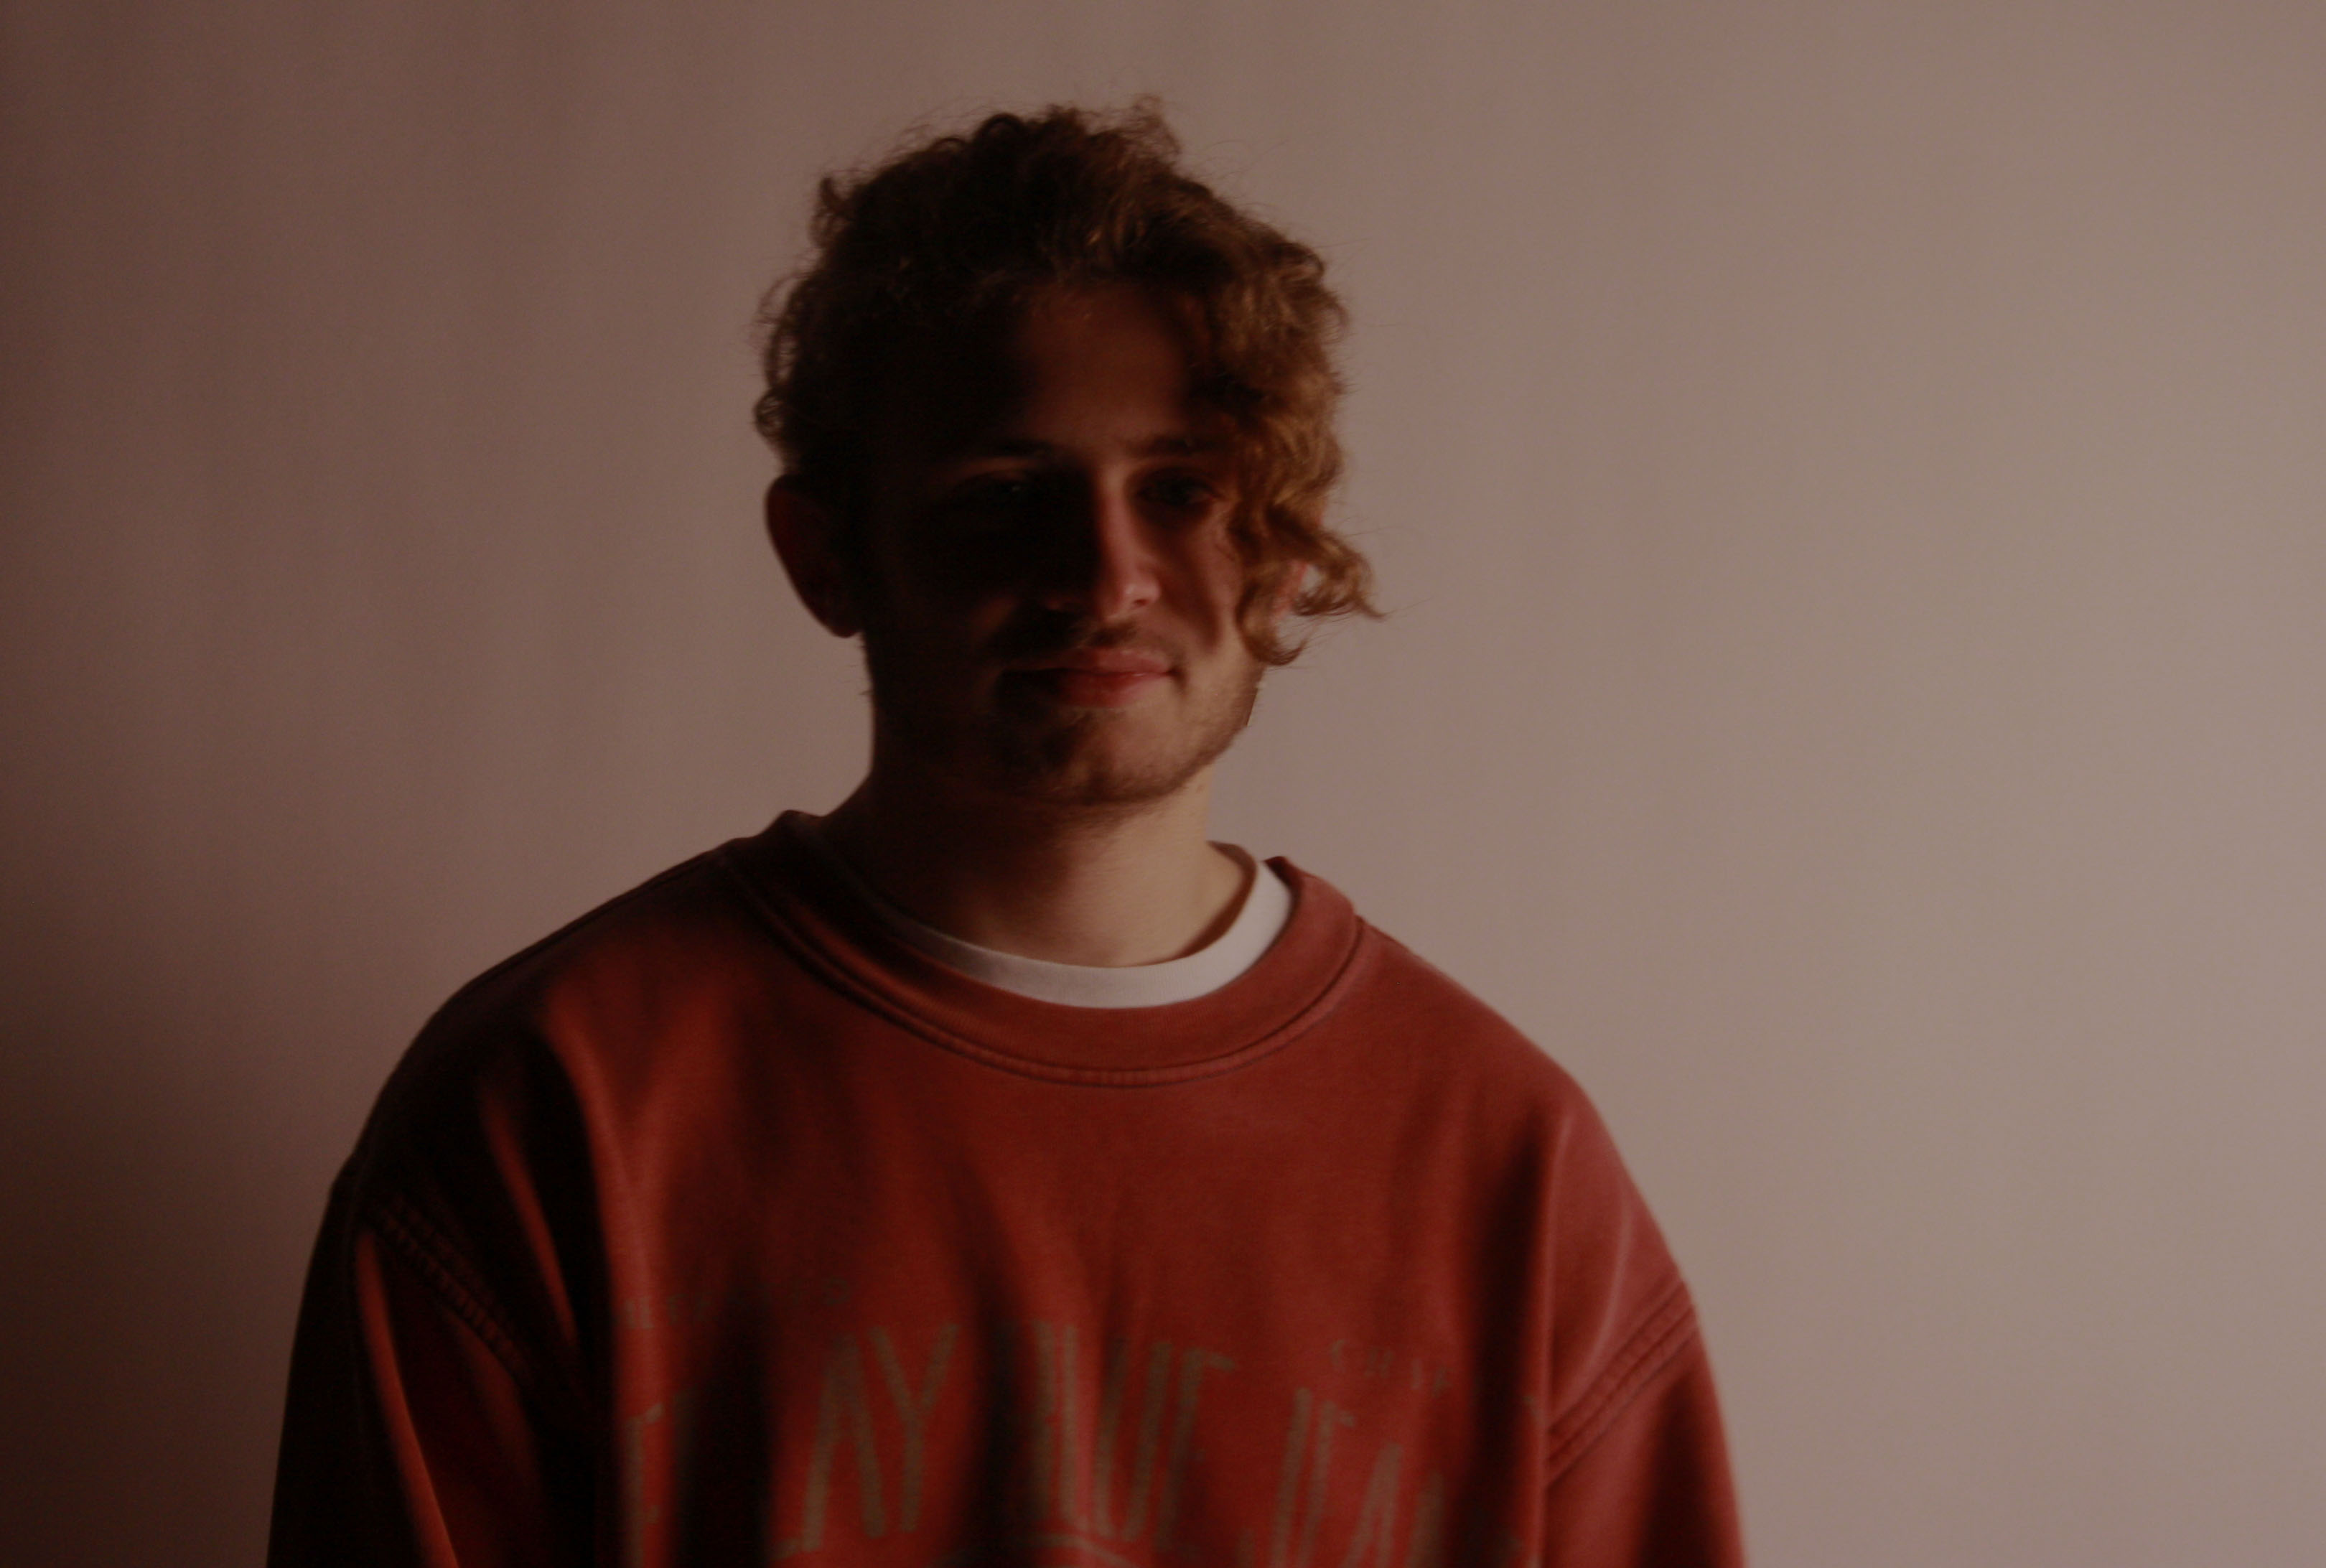
when taking this image my ISO was set to 800, and my shutter speed was set at 1/60. These settings meant that this image had a long exposure time, so that it wasn’t dark and under exposed.
I think this is one of my best outcomes due to how the lighting looks on the model’s face. I like how part of it is lit and the other half isn’t, giving the image a chiaroscuro effect. I think the image would’ve also looked good if I had also reflected the light onto the other said of the face too. However, I think the chiaroscuro lighting and the slight low-key lighting in the image pair together nicely to create a really dramatic and mysterious image. I also like how the model is positioned nicely in the middle of the image, as it adds symmetry to the photo. However, I think the image would’ve looked a lot better if it had been taken with a better background as the plant in the background would’ve been less distracting.
Studio Lighting:
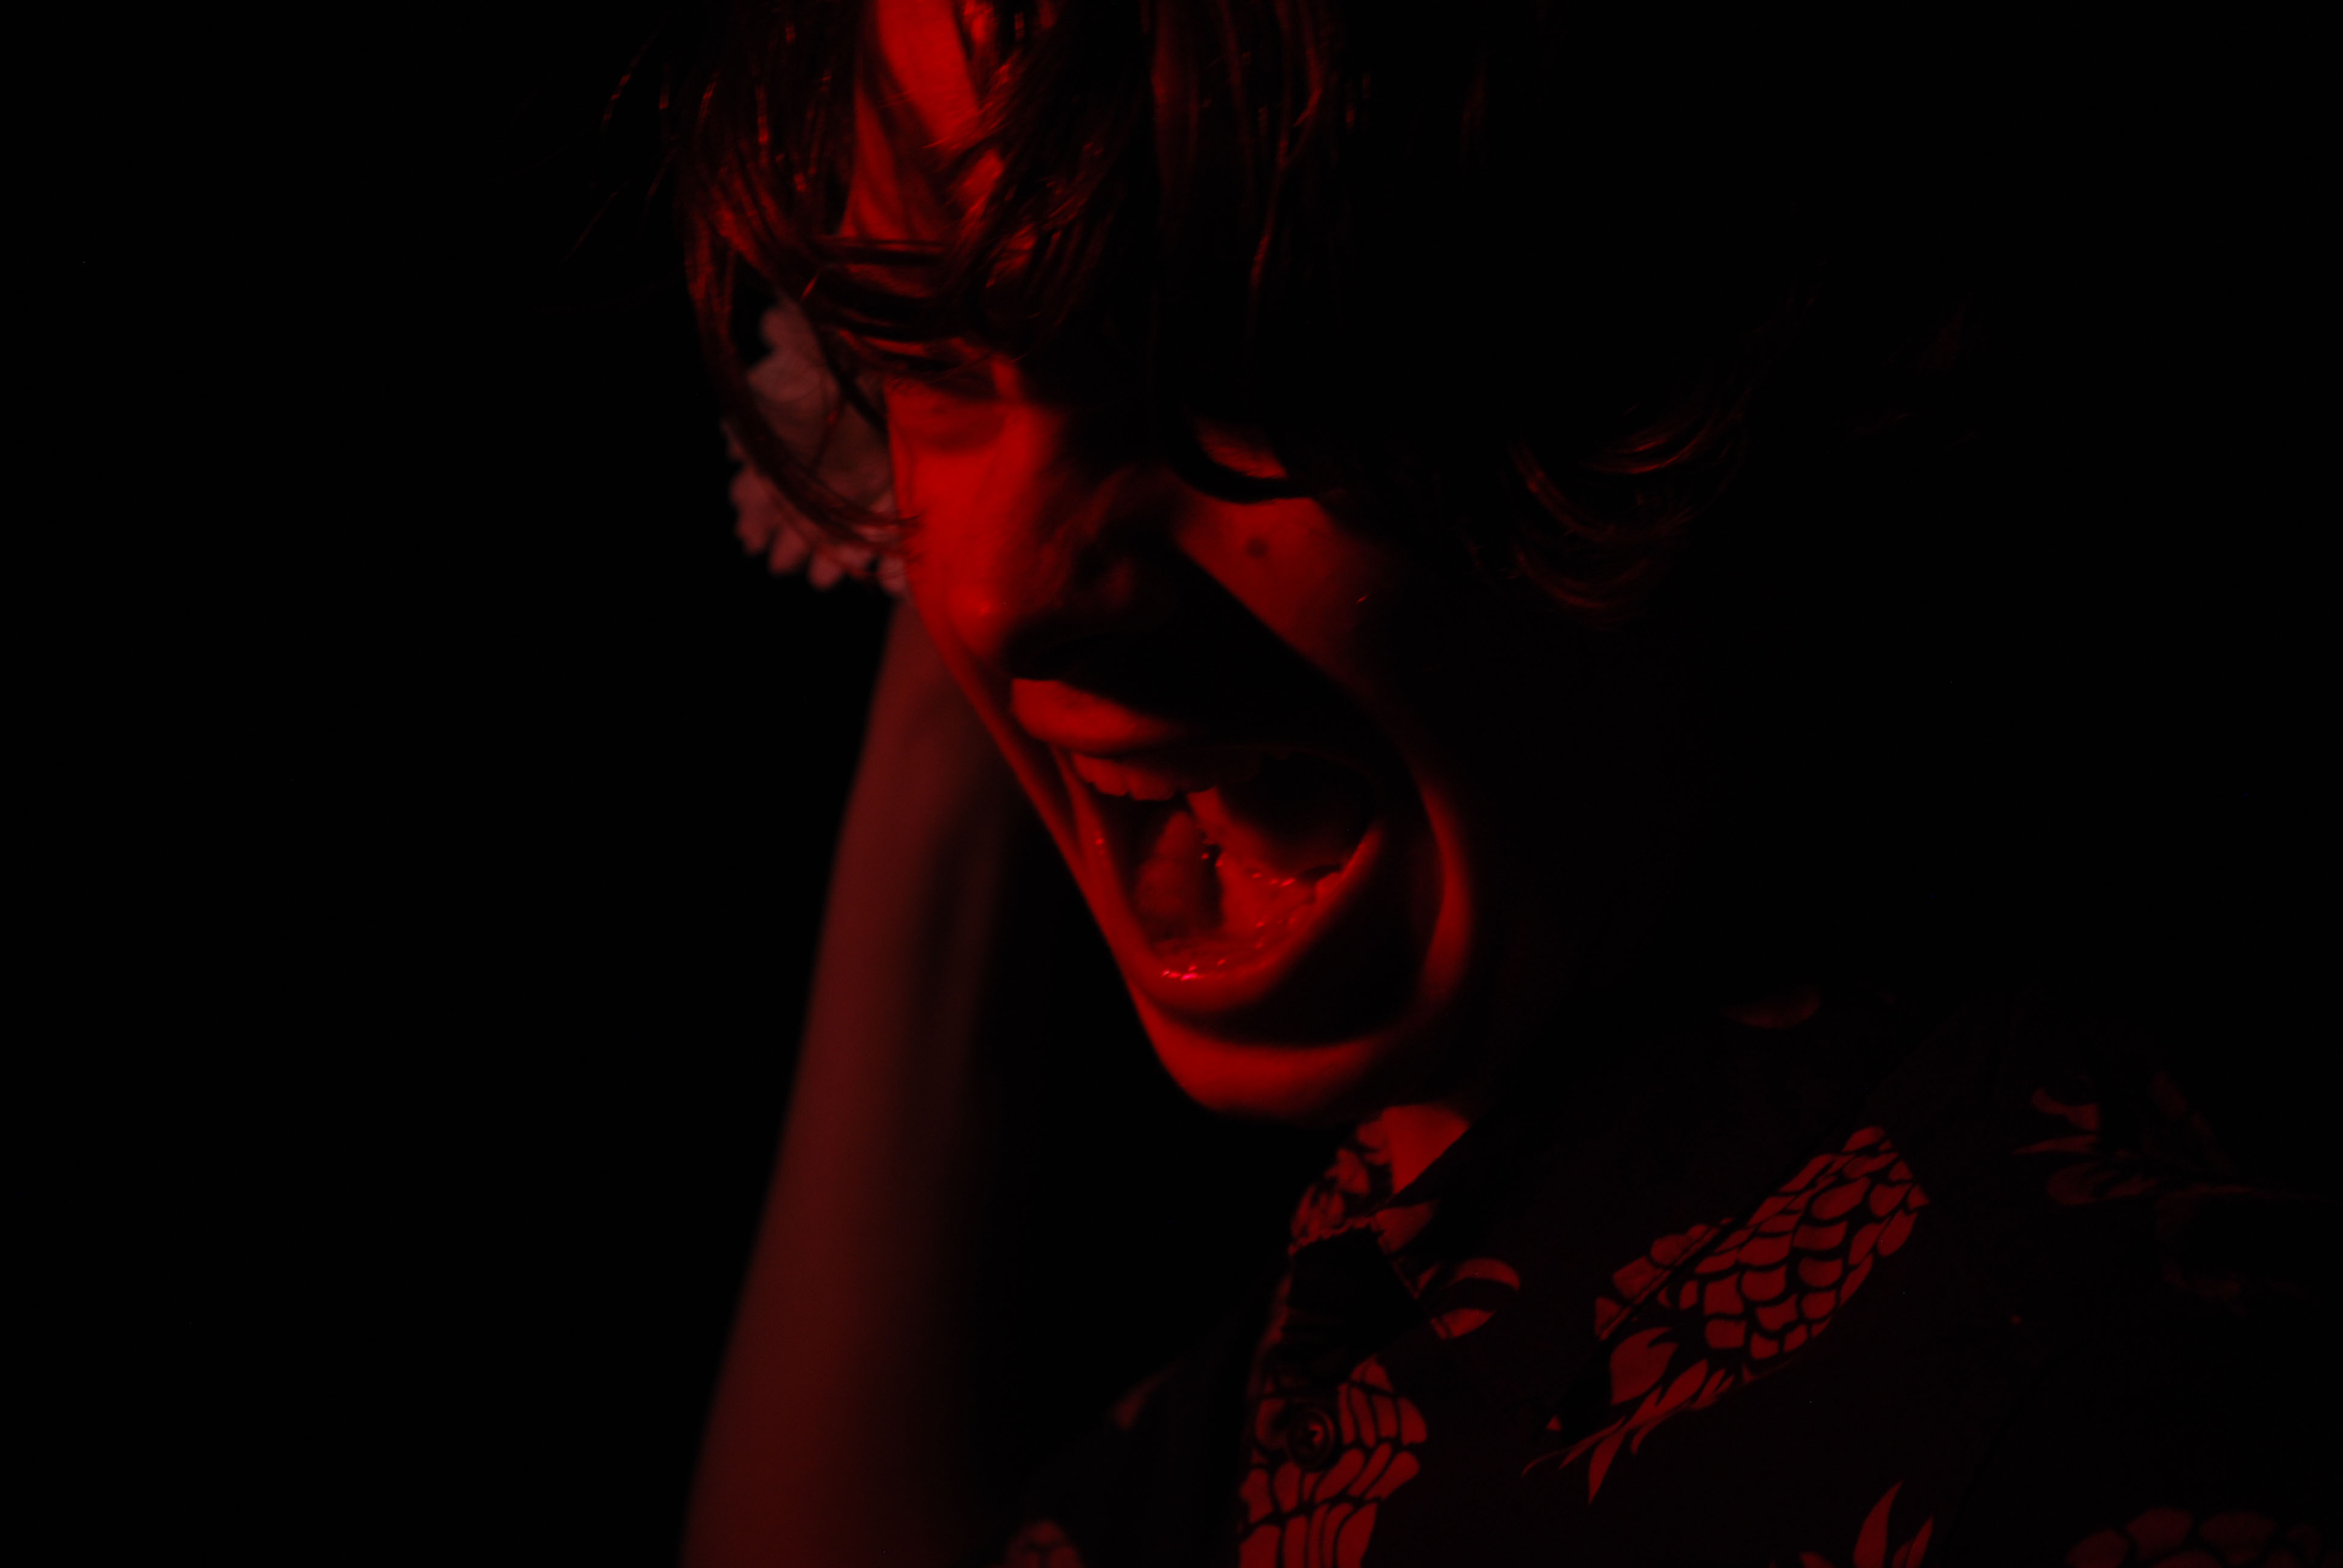
Photographic lighting is the use of different lights to create illumination of scenes or subjects. In many cases illumination of an image is desired to give an accurate rendition of the scene. In other cases the direction, brightness, and colour of light can be contro manipulated for effect. Lighting is particularly important for monochrome photography, where there is no colour , only the interplay of highlights and shadows. Lighting and exposure are used to create effects such as low-key and high-key light.
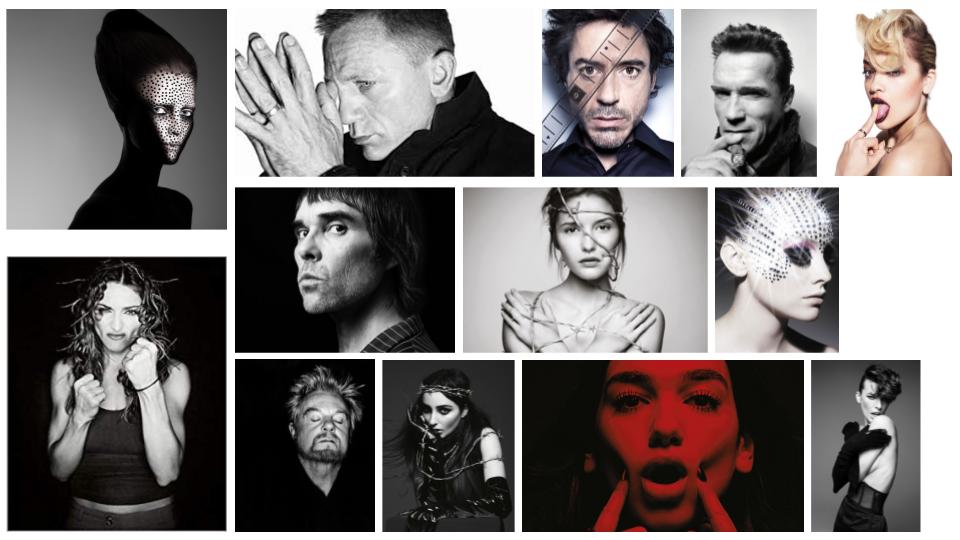
Mood Board:

My Response:

Best Images:


CLICK HERE FOR LINK TO TATE DEFINITION
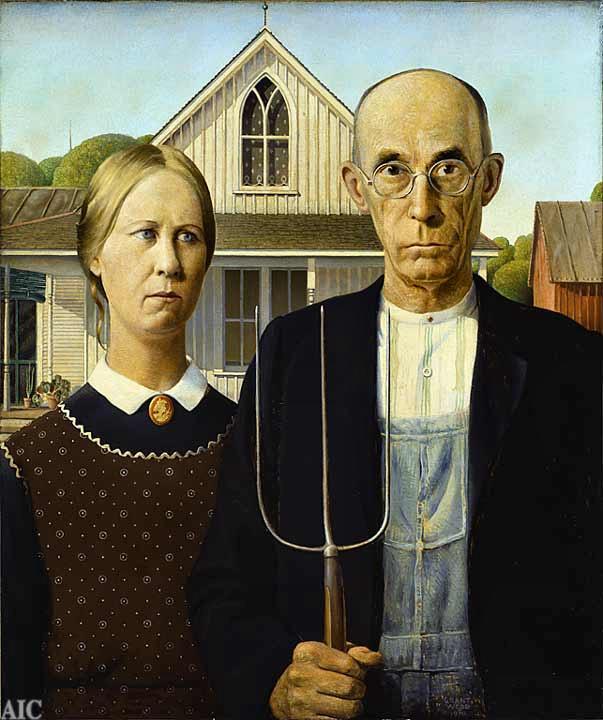
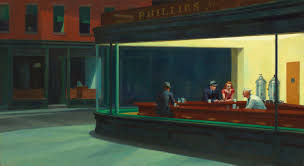
A tableau vivant (often shortened to tableau, plural: tableaux vivants), French for ‘living picture’, is a static scene containing one or more actors or models. They are stationary and silent, usually in costume, carefully posed, with props and/or scenery, and may be theatrically lit.
Tableau Photography is staged. Think of it like theatre.
Tableau Photography is dependent on a defined NARRATIVE, theme or storyline
COMPLETE TABLEAU UNIT BY FRIDAY 14th DECEMBER
Just a few notes on DiCorcia’s working methodology:
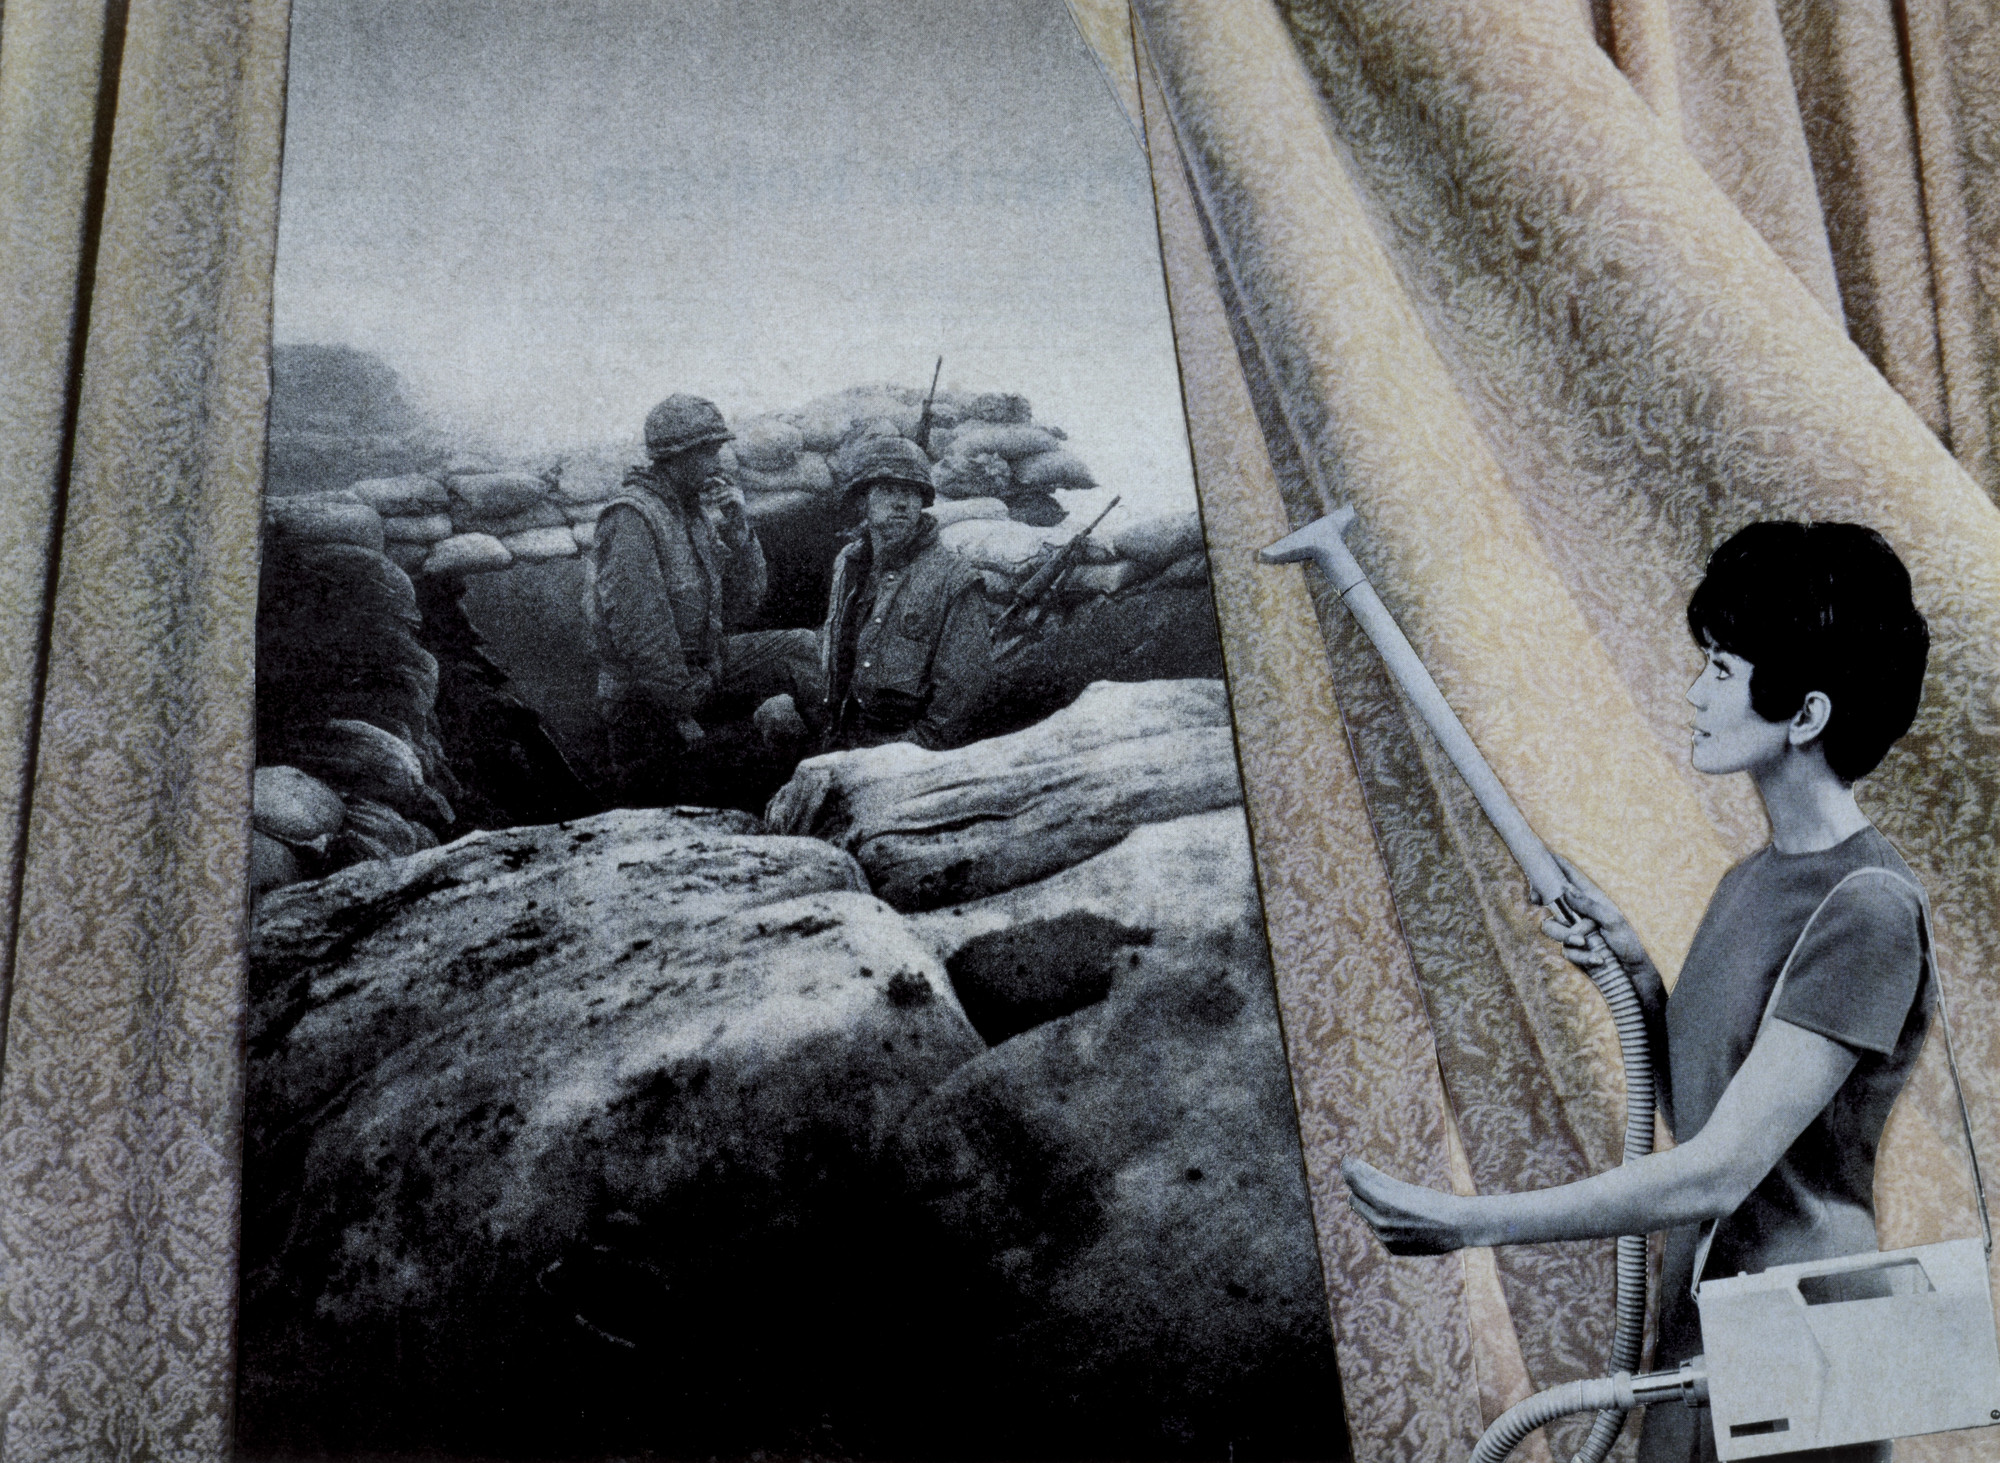
DiCorcia has no patience for visual passivity. “I’ve been trying to create photographs in which the emotional and psychological content is time-released… From the very beginning, I was fighting against this media-created idea that imagery is so disposable that it’s exhausted within a very short amount of time.” His tendency is to slow time down, an apprehension that has nothing to do with entropy. Instead, it is a seduction into the act of looking.
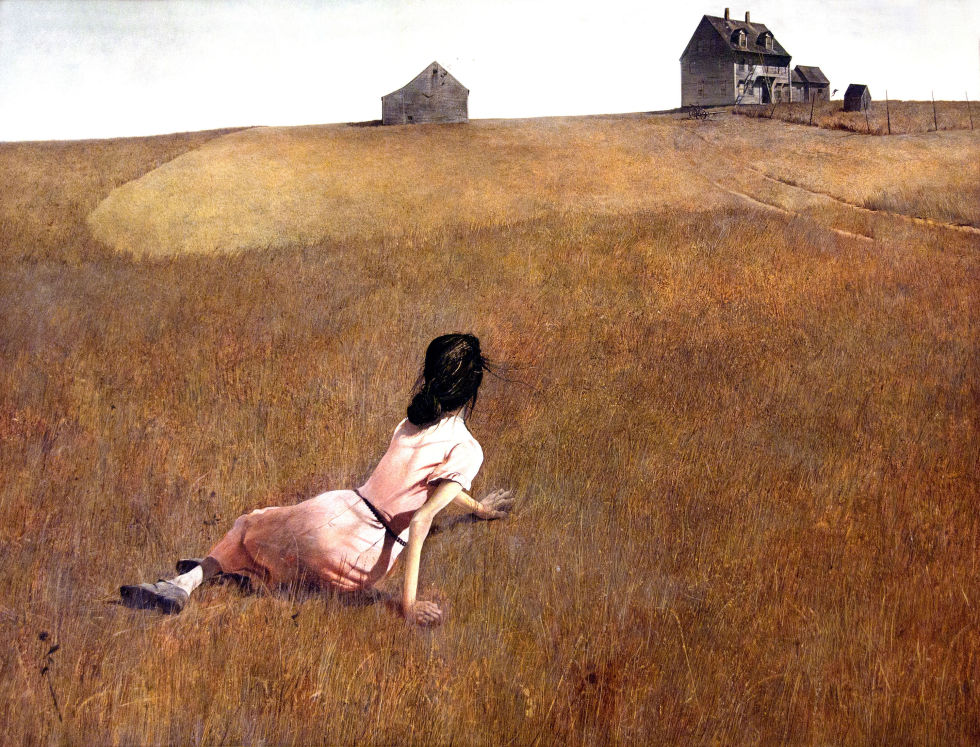
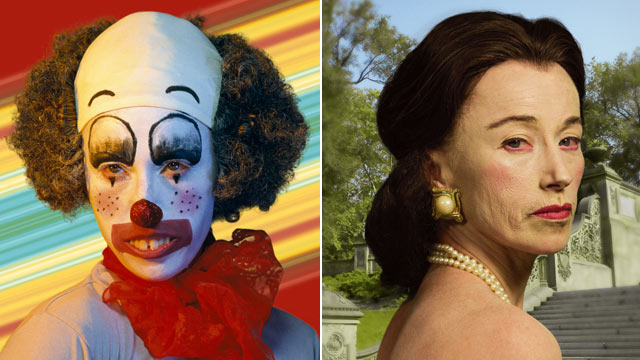
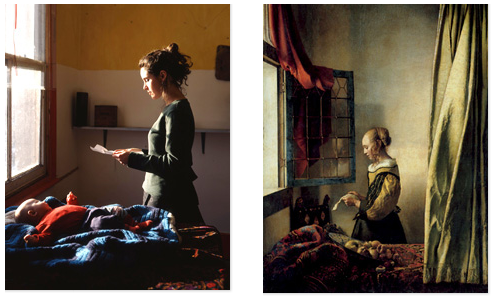
… amongst the art historical references glimpsed within Hunter’s oeuvre, the voyeurism of Vermeer is most discernible. Subjects are often shown full figure, in private spheres (e.g. sites of domesticity), and set in the mid-ground in order to include something of their environment.
Birch, Tim
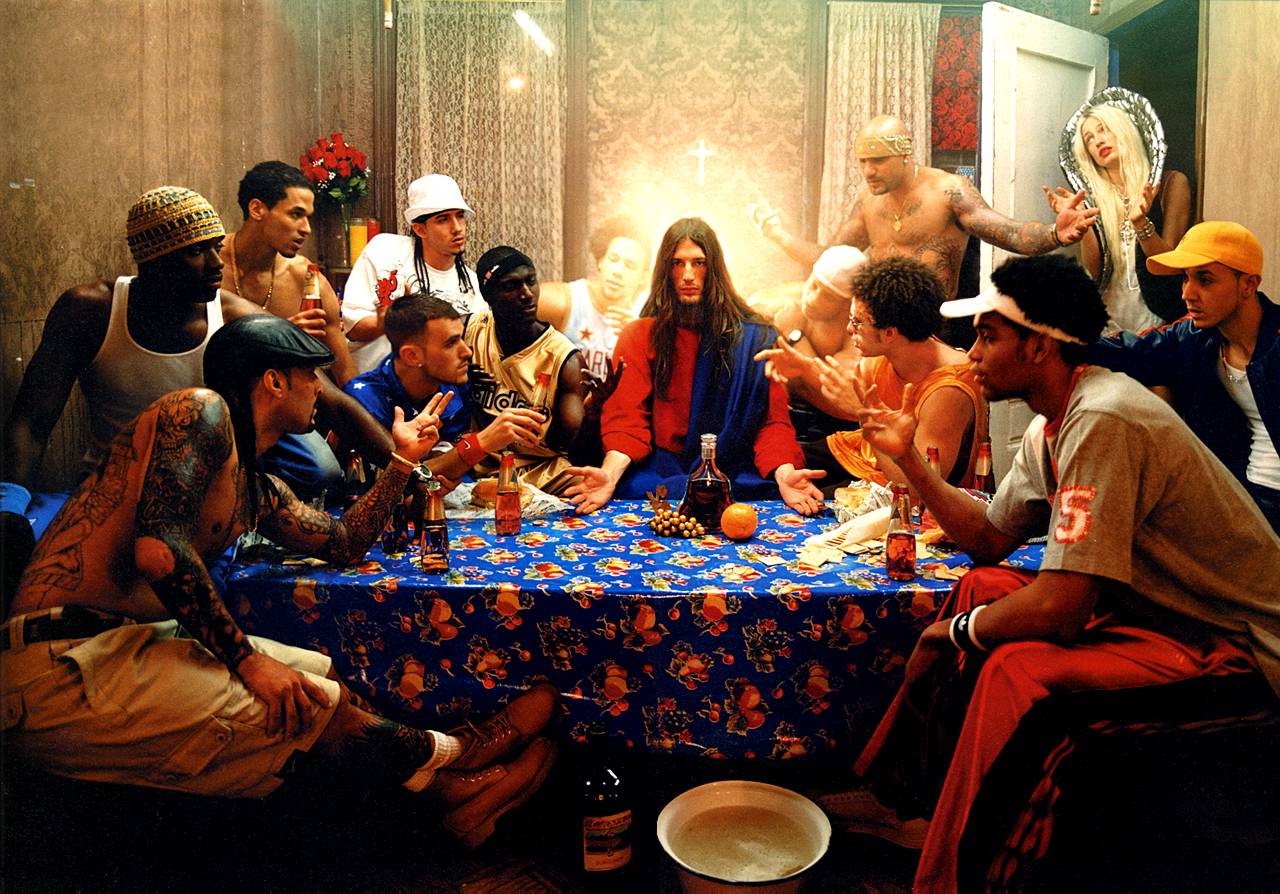
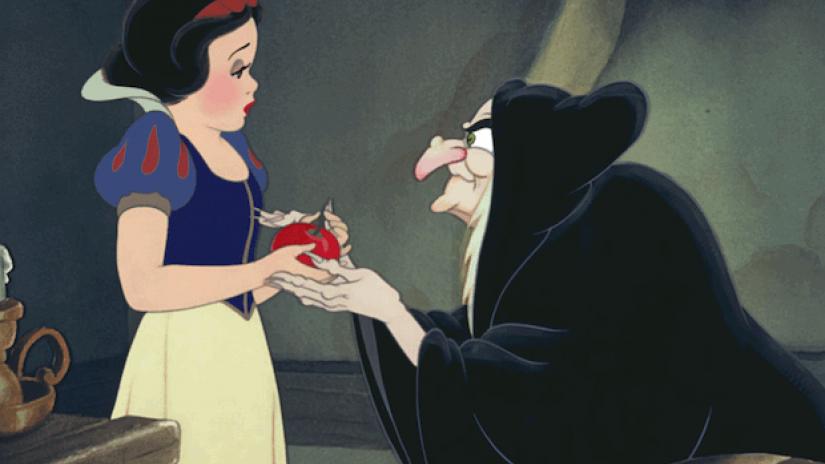
Tableau Photography makes use of symbolism and metaphor.
Allegorical paintings / photographs contain metaphor and symbolism
Pictorialist Photography was the starting point for Tableaux art
Narrative is vital to successful tableau / staged reality
Research each of these examples…


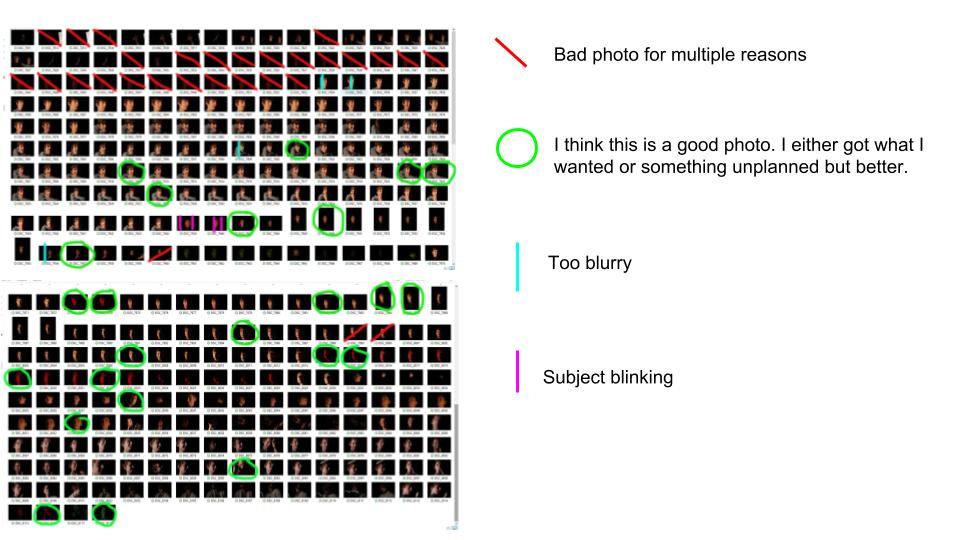
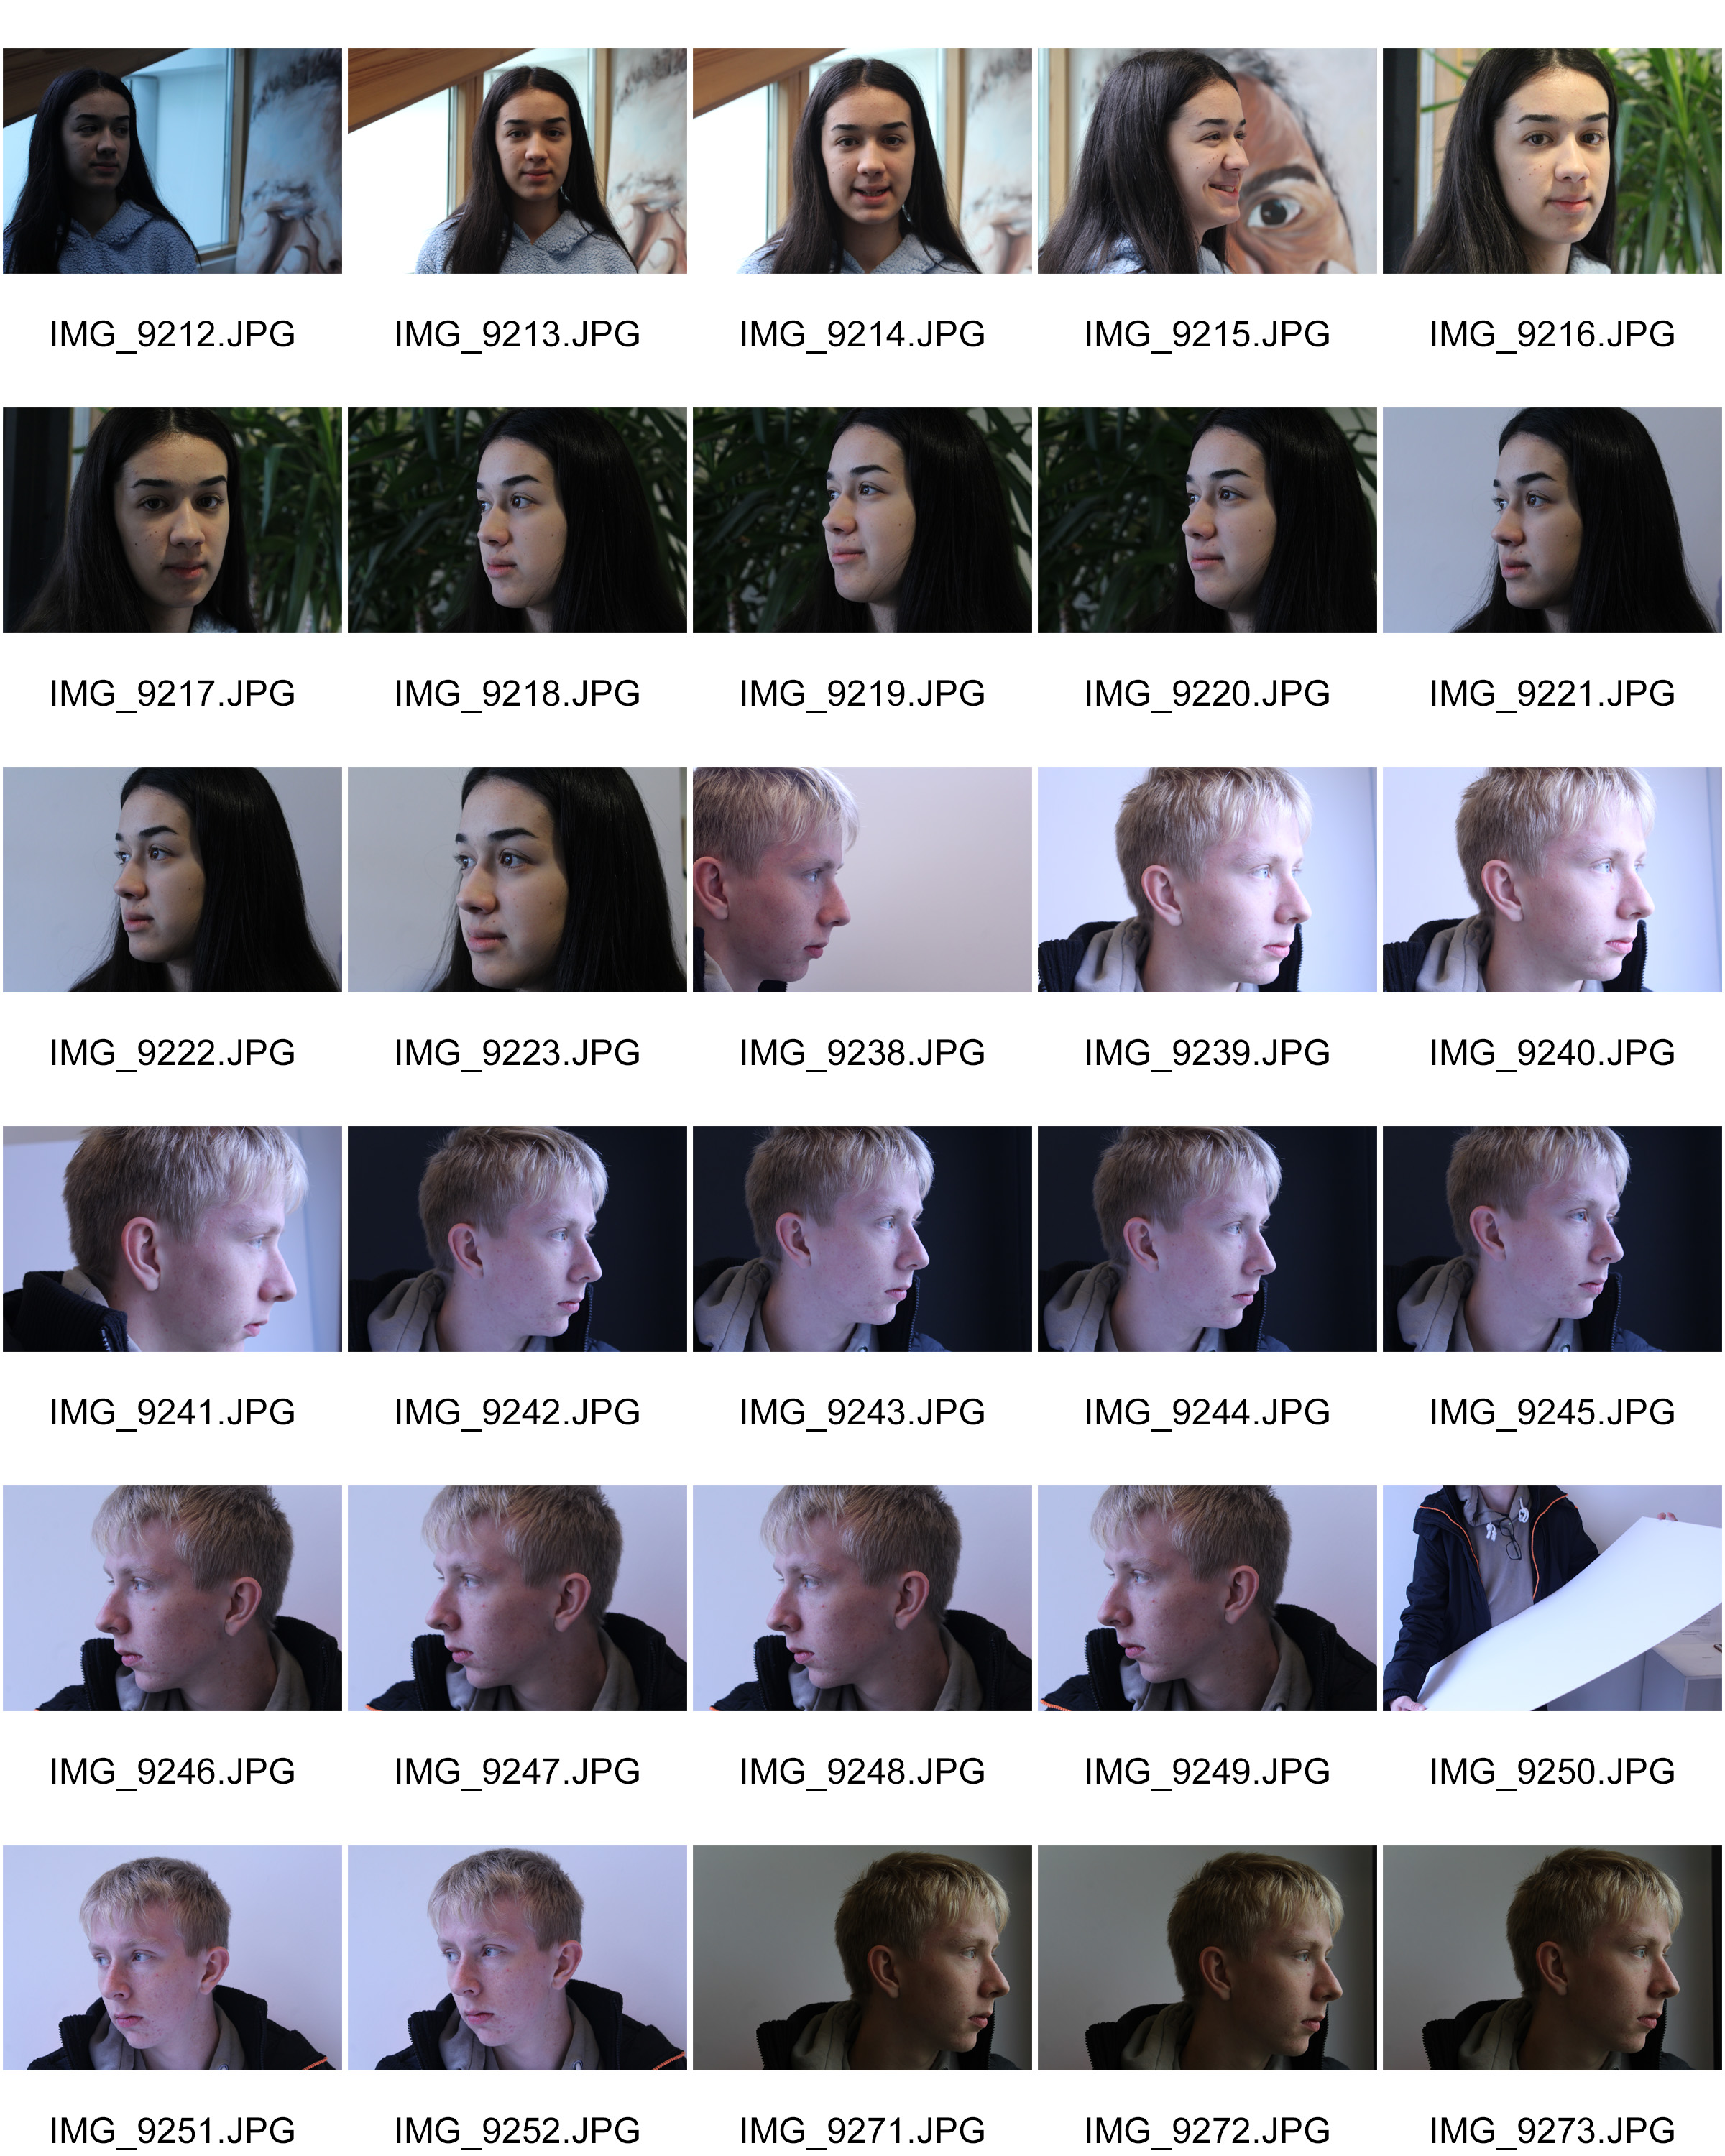
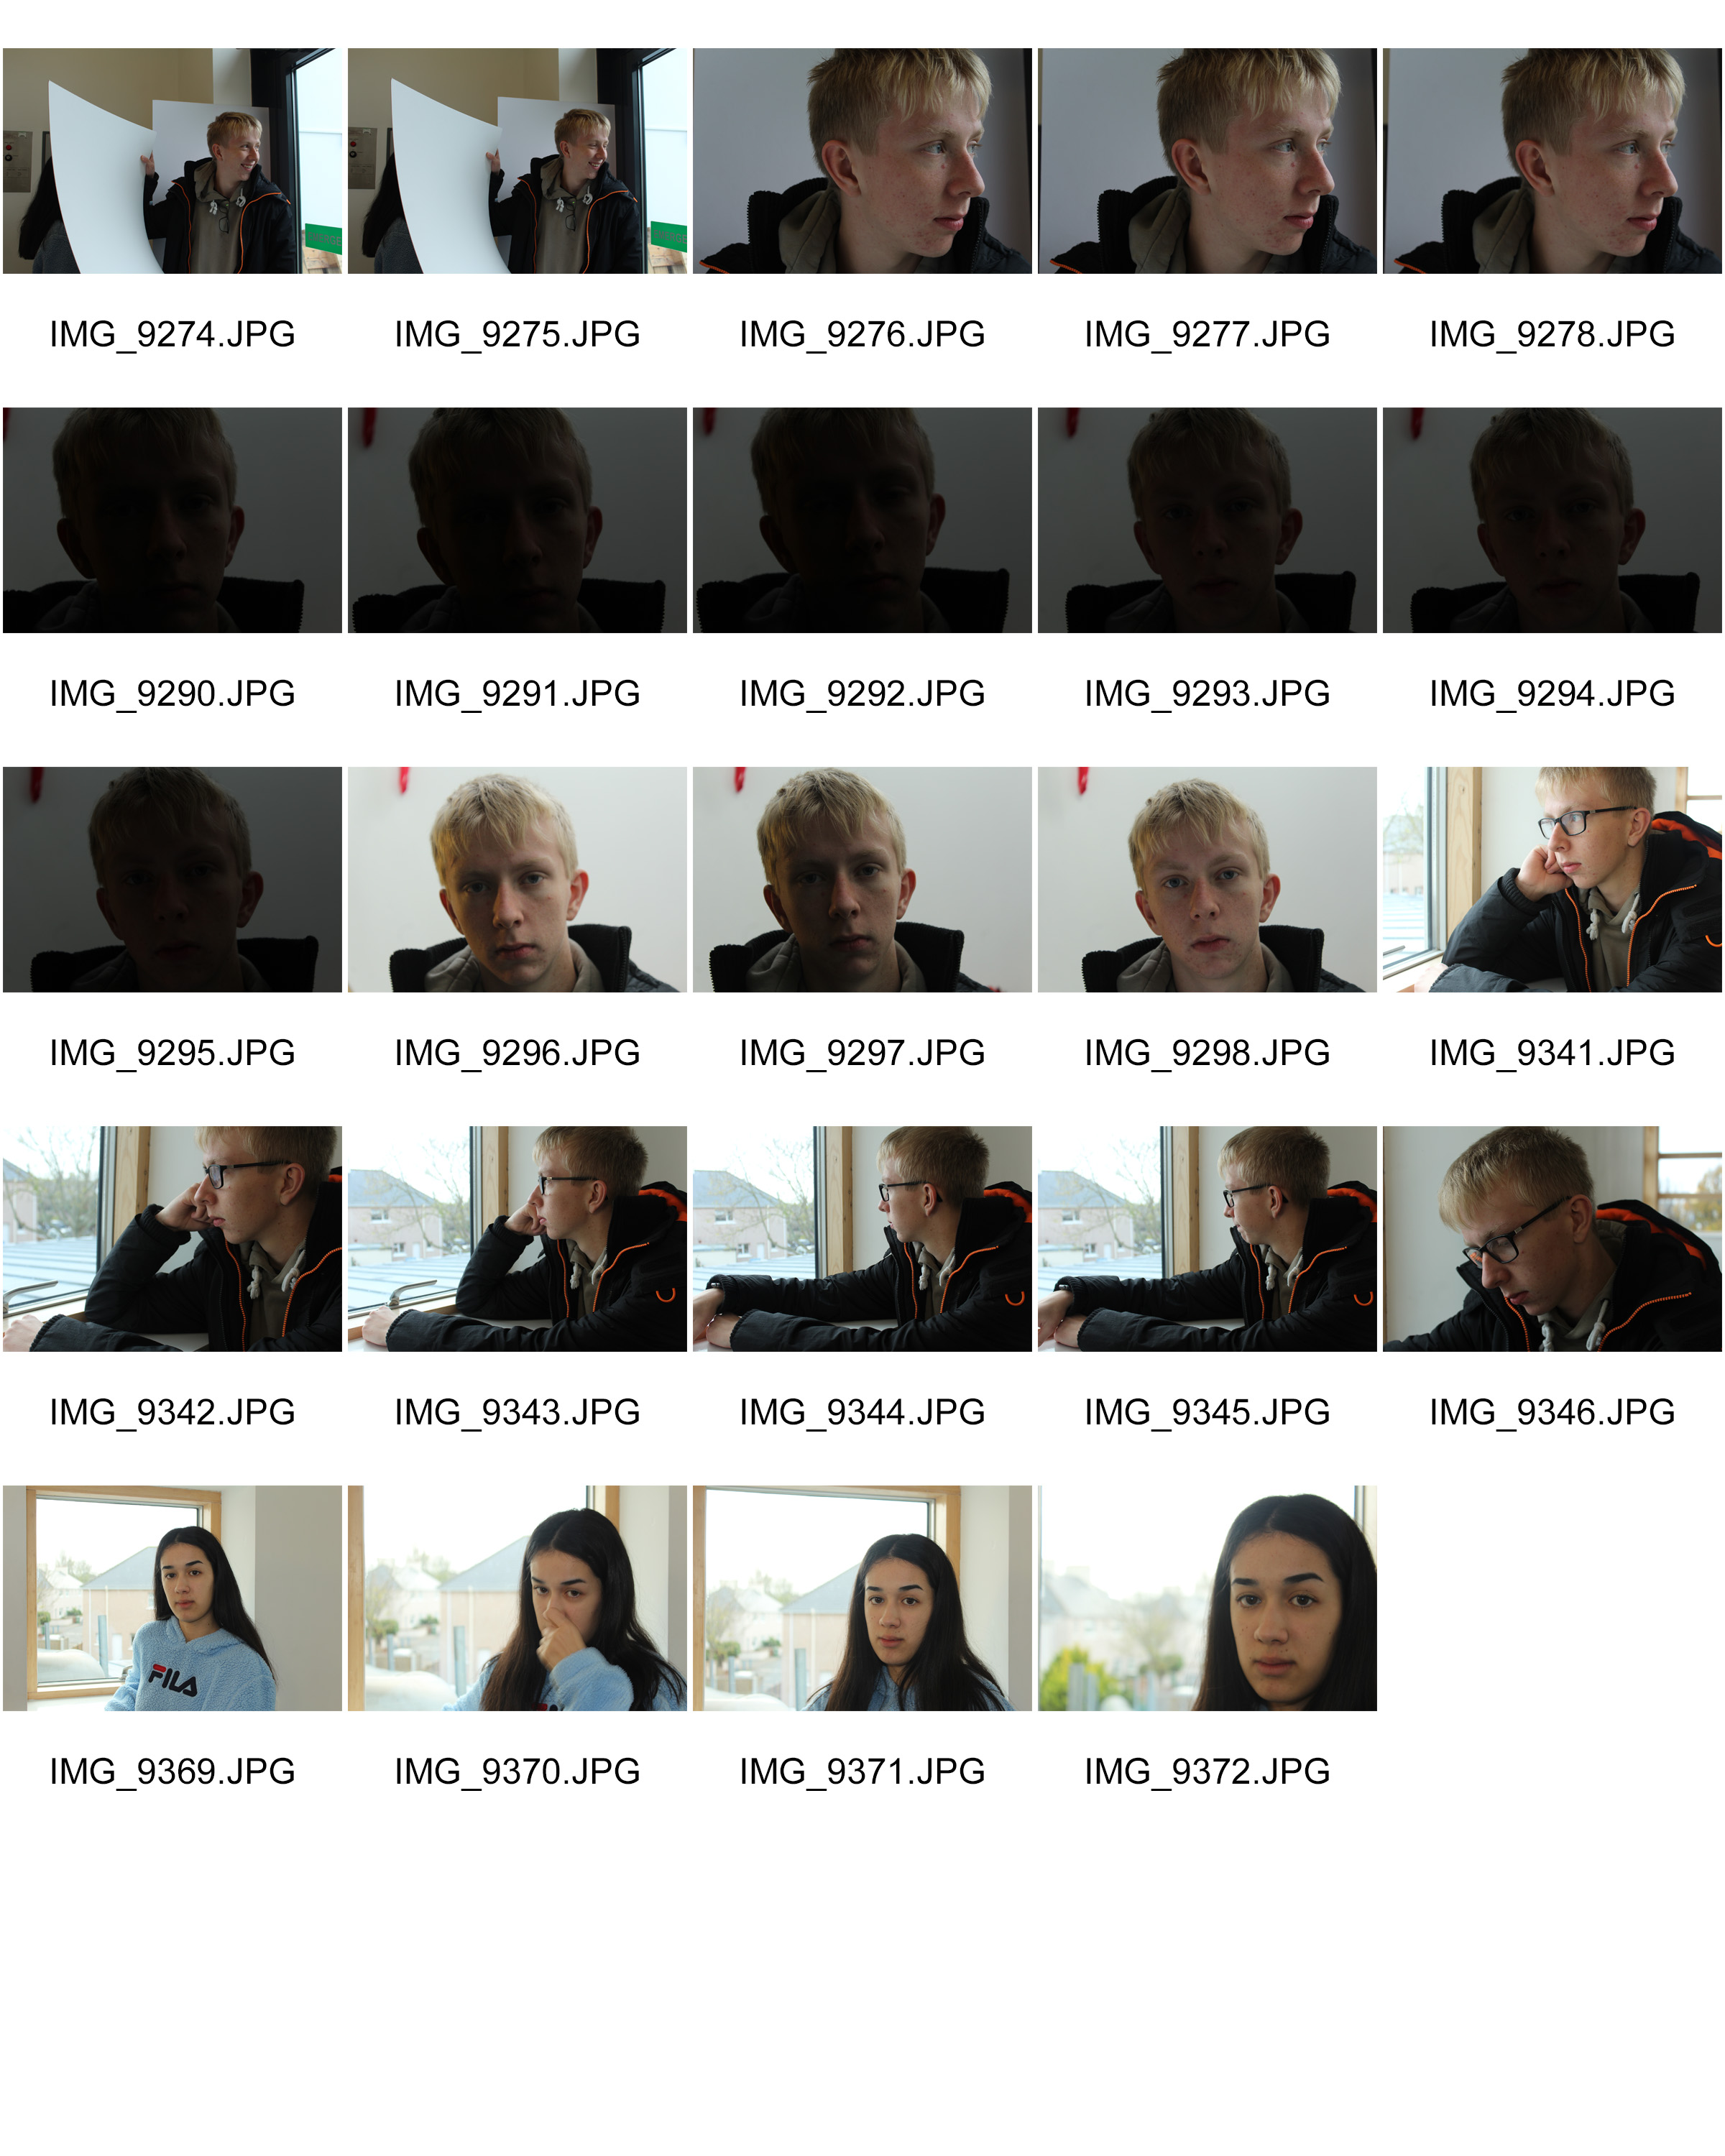
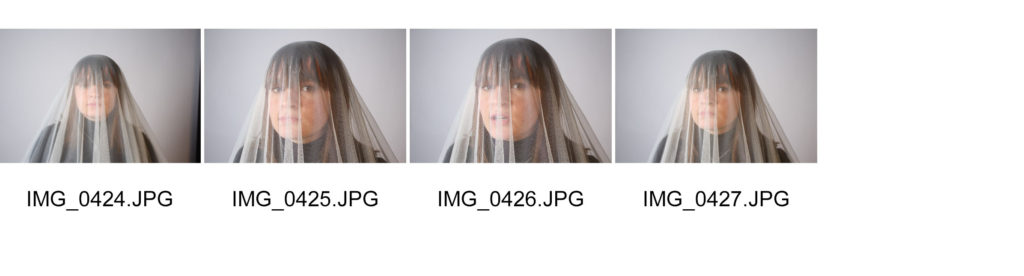
Here are my contact sheets to help me cut down to my final images. These are all the unedited photos compiled side by side in order to pick out the best of the lot.

From these images I was able to isolate and identify the photos I wanted to work with
Here are all my final images some edited, some left unedited due to achieving the perfect lighting effect I was after.
Desaturated with a heavy exposure drop

Just a drop in exposure with a crop of the background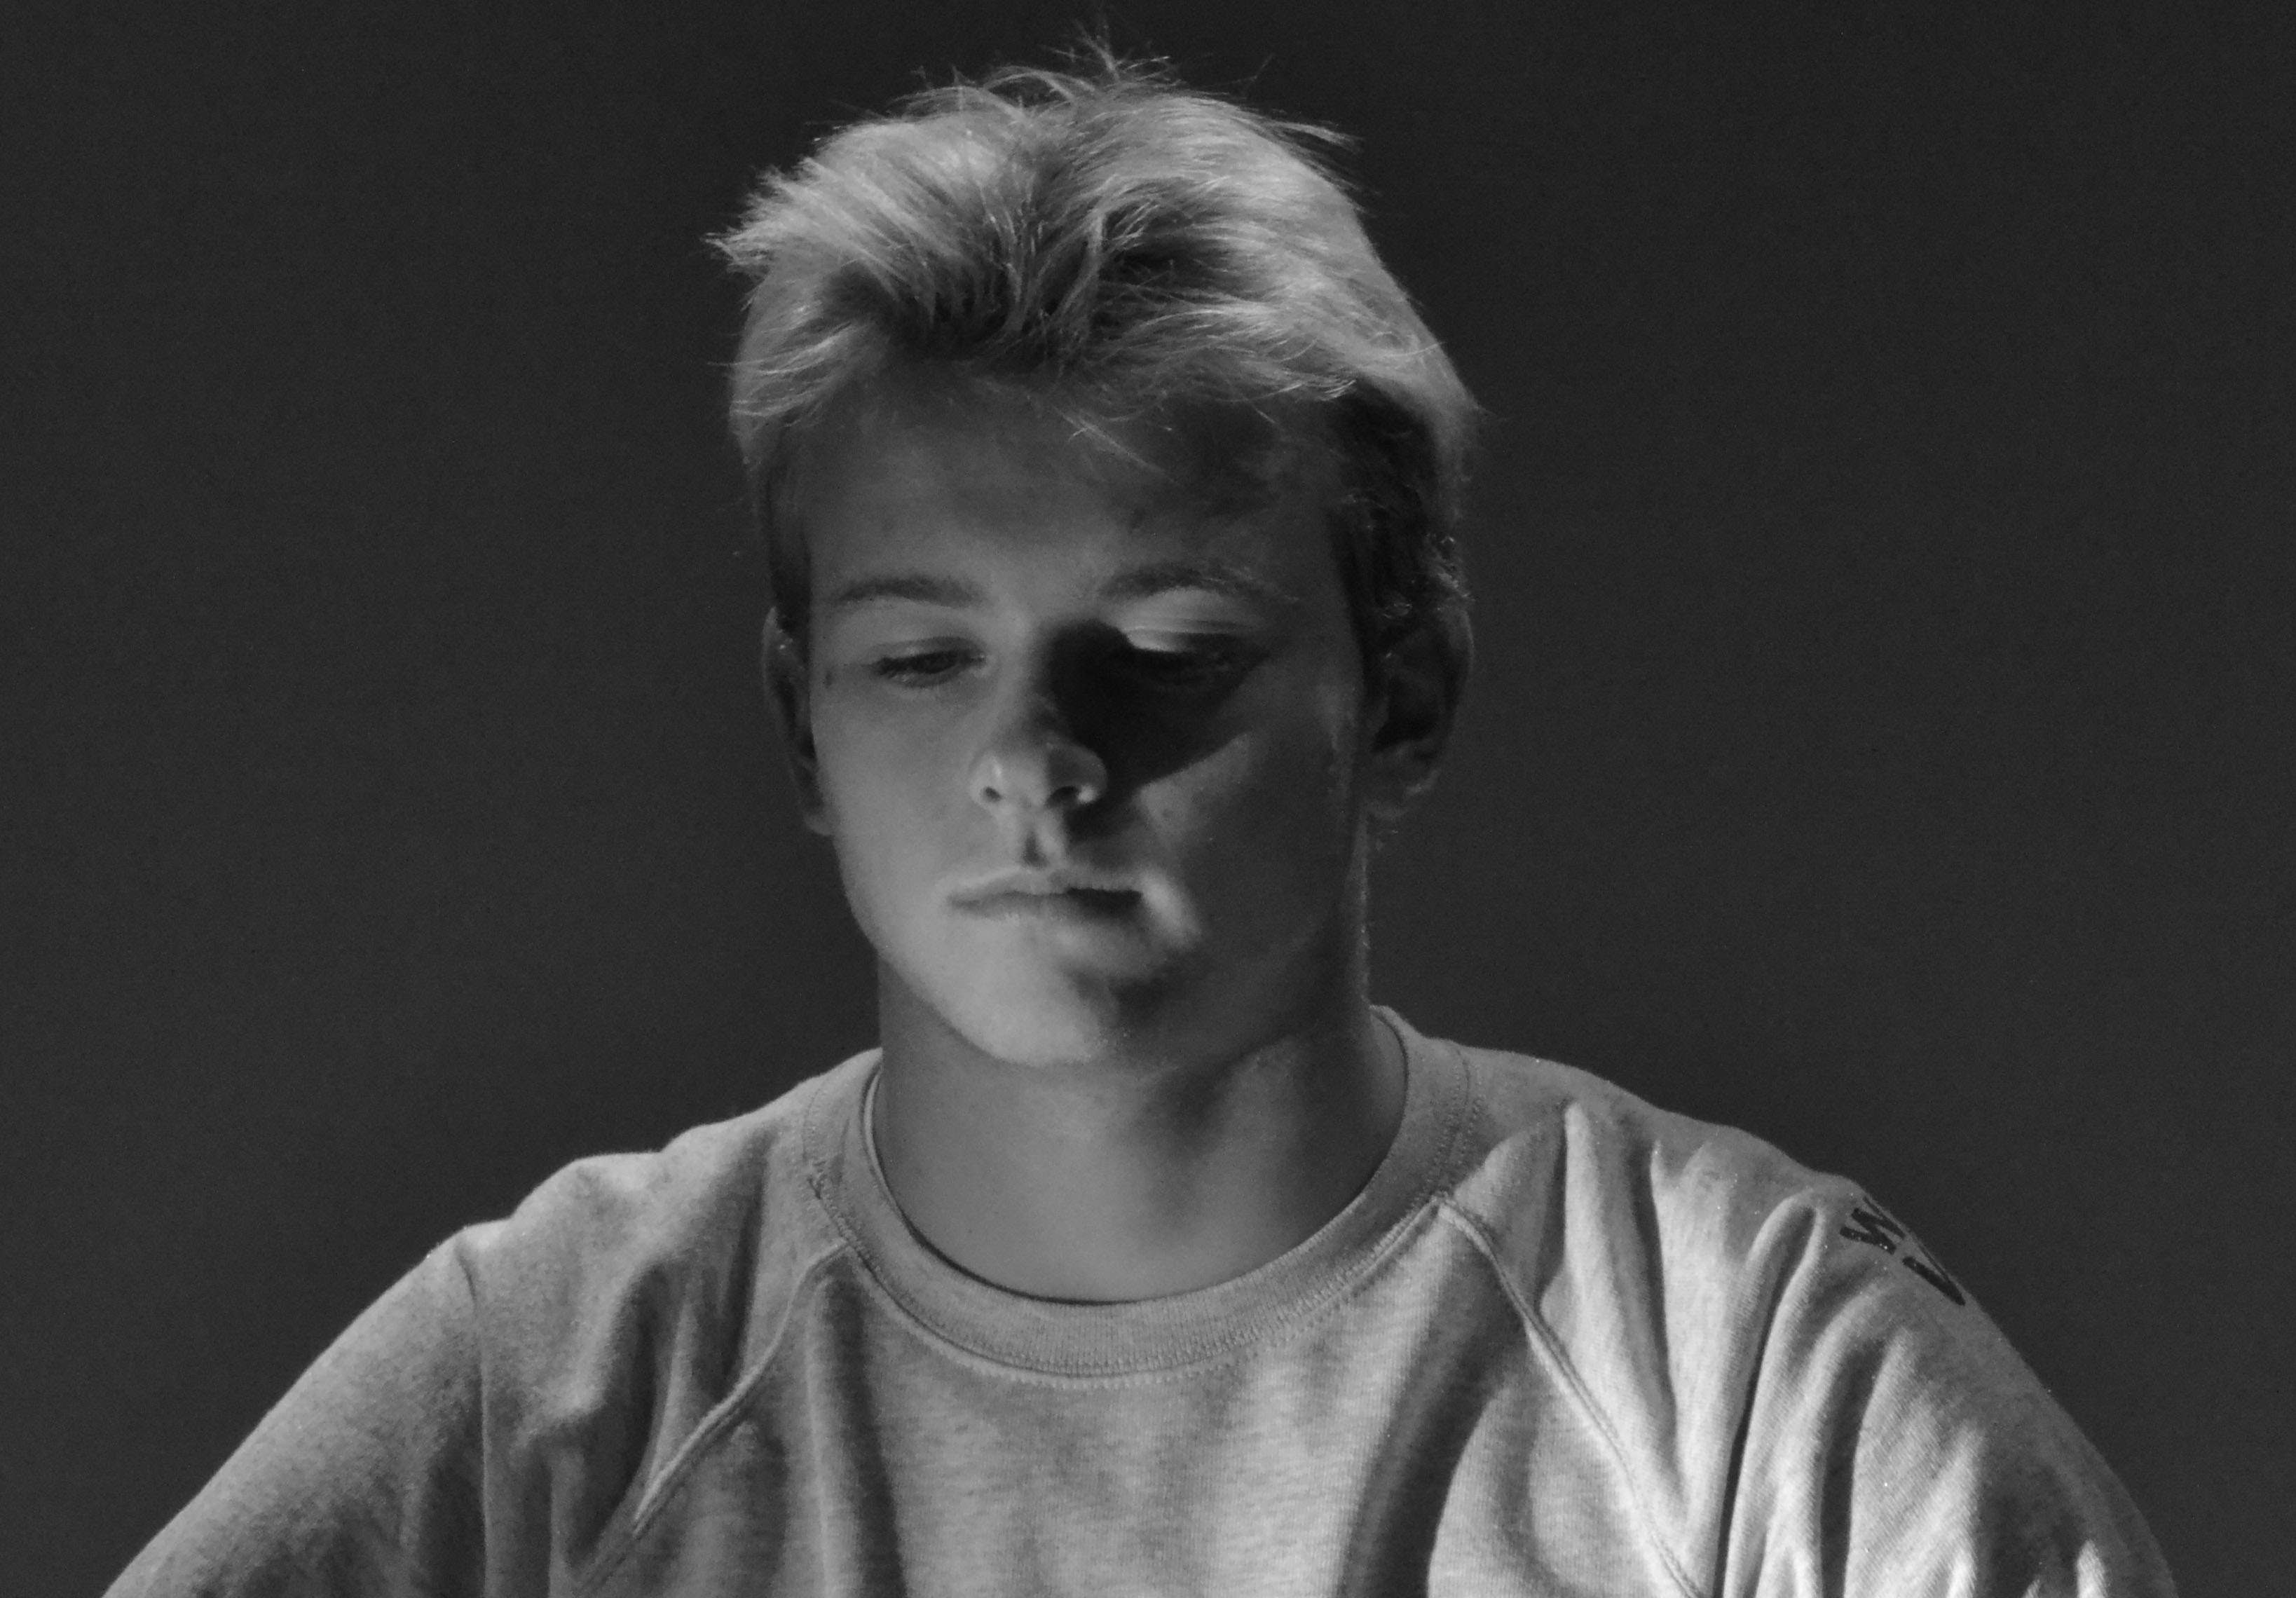
Desaturated with lowered exposure and raised contrast to highlight the shadows on the subjects face
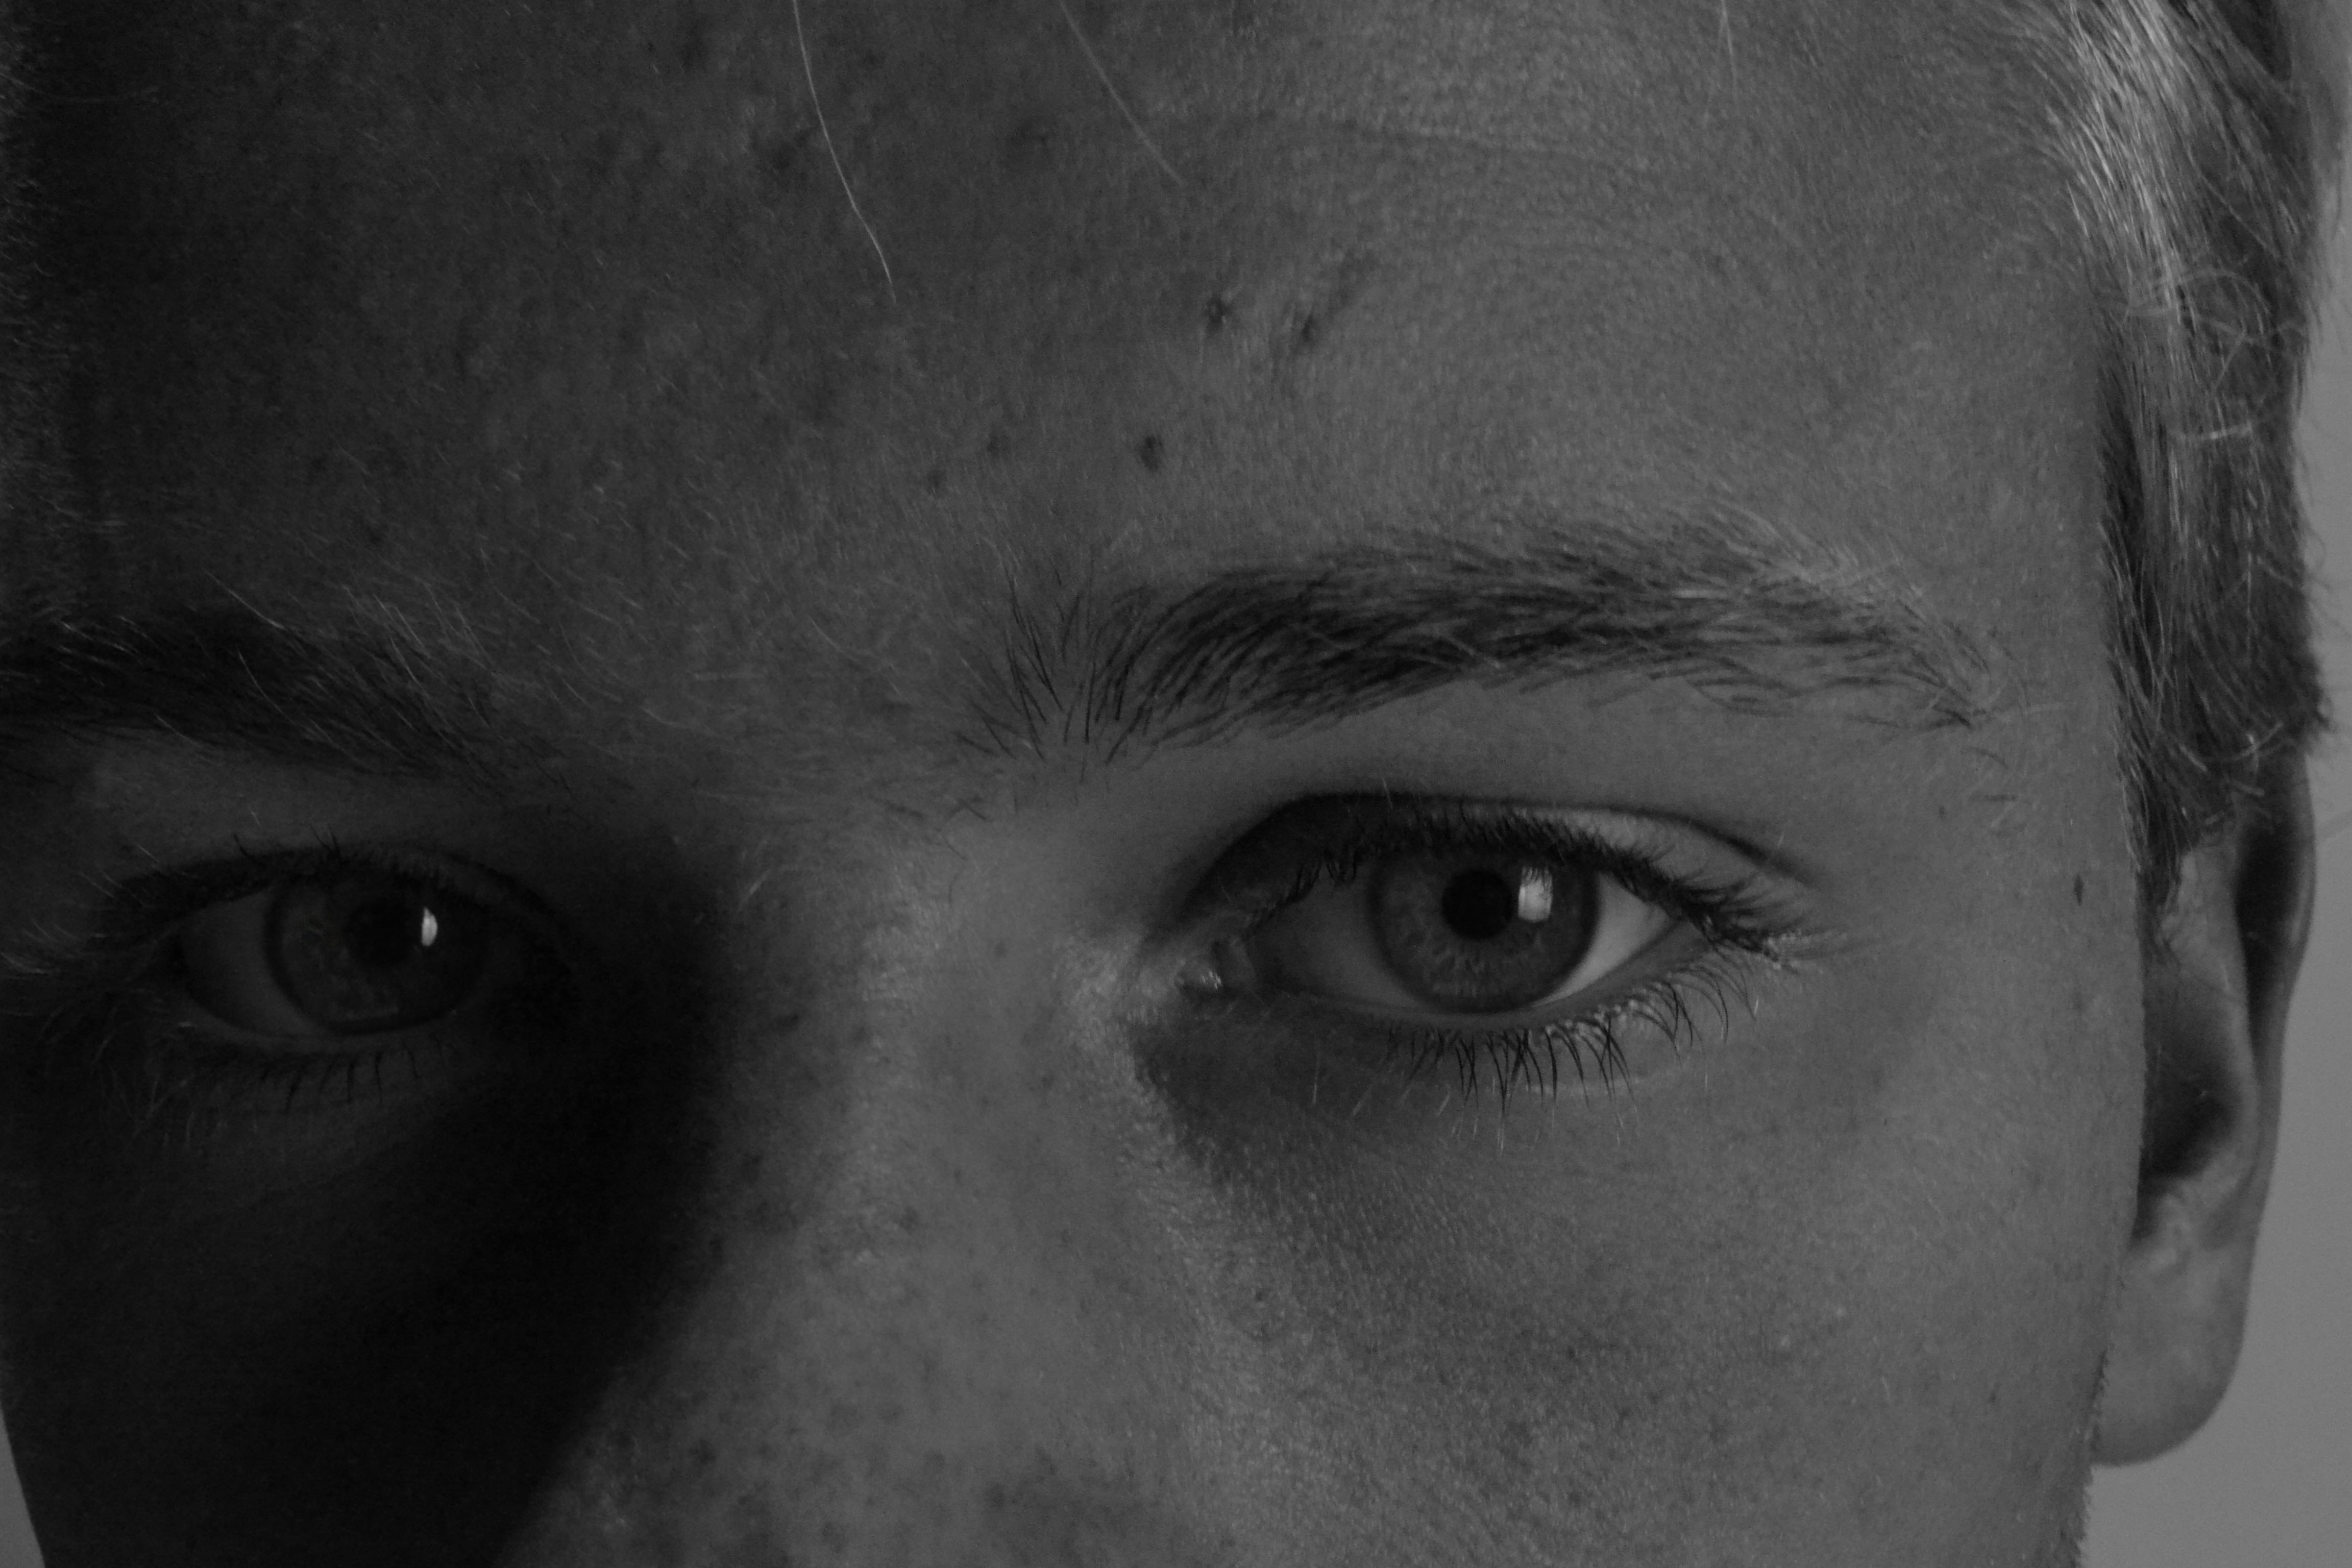
A close up of the subjects eyes, desaturated and exposure dropped slightly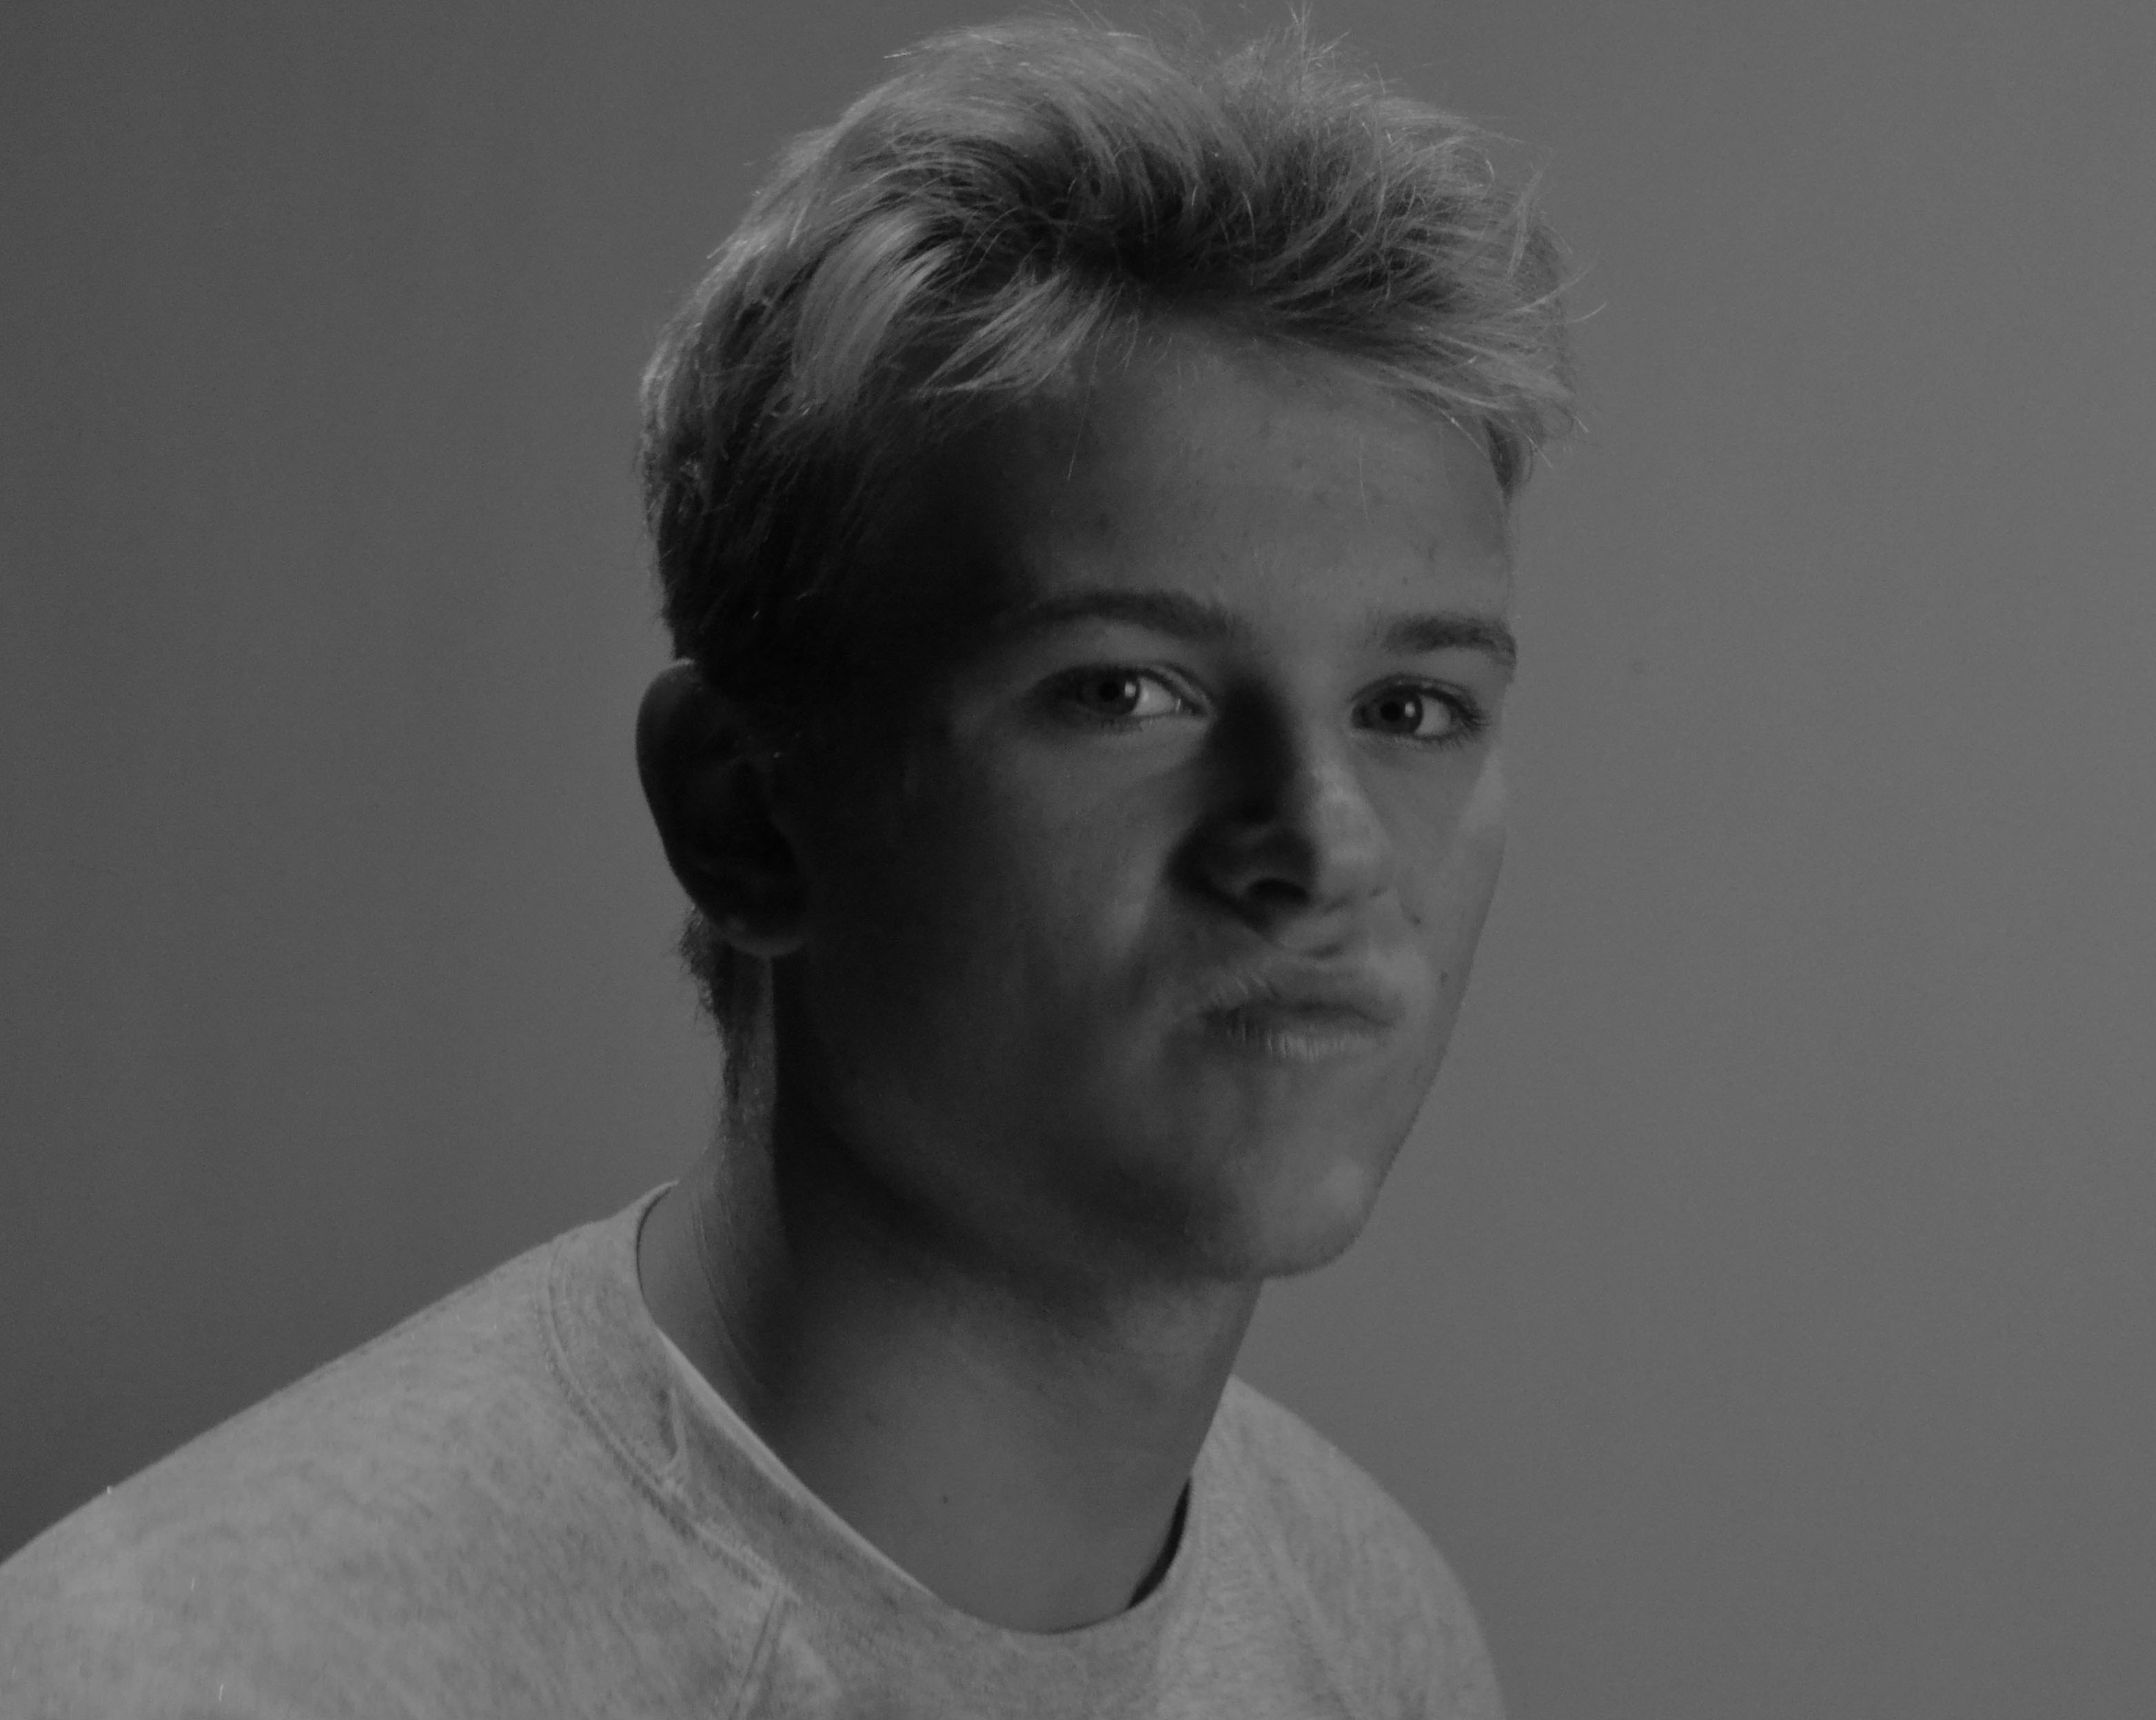
Desaturated with contrast dropped slightly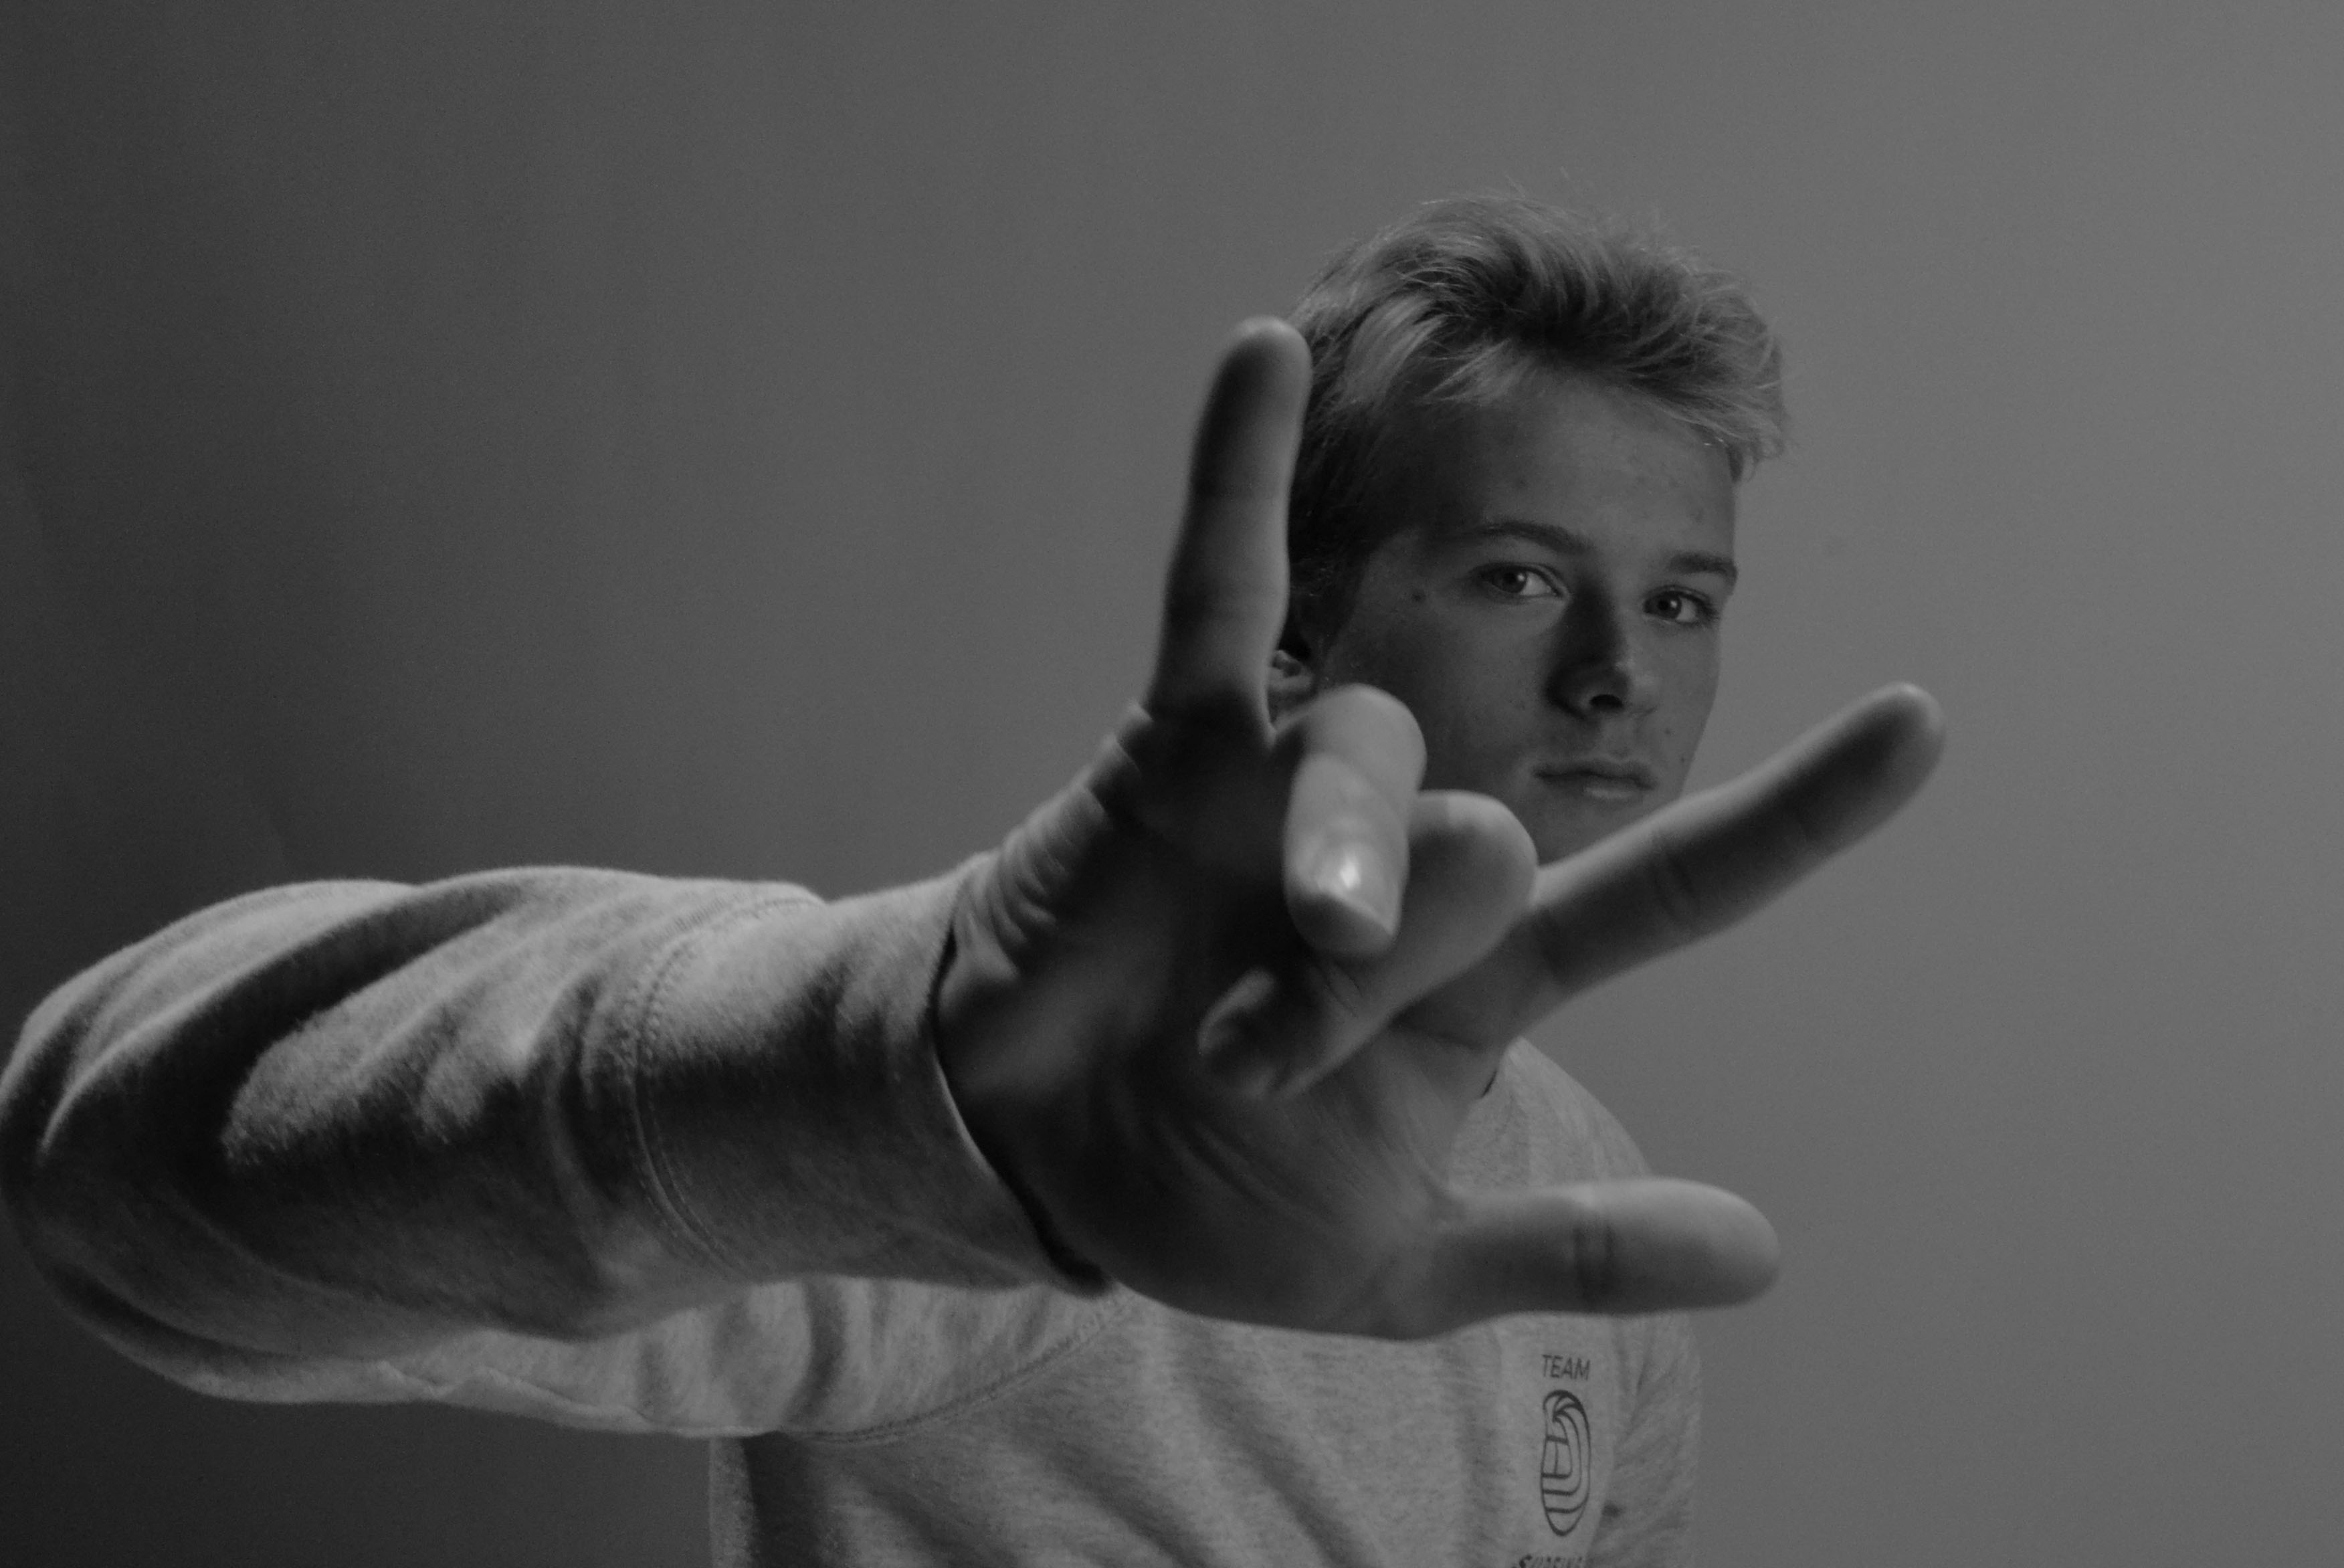
Desaturated
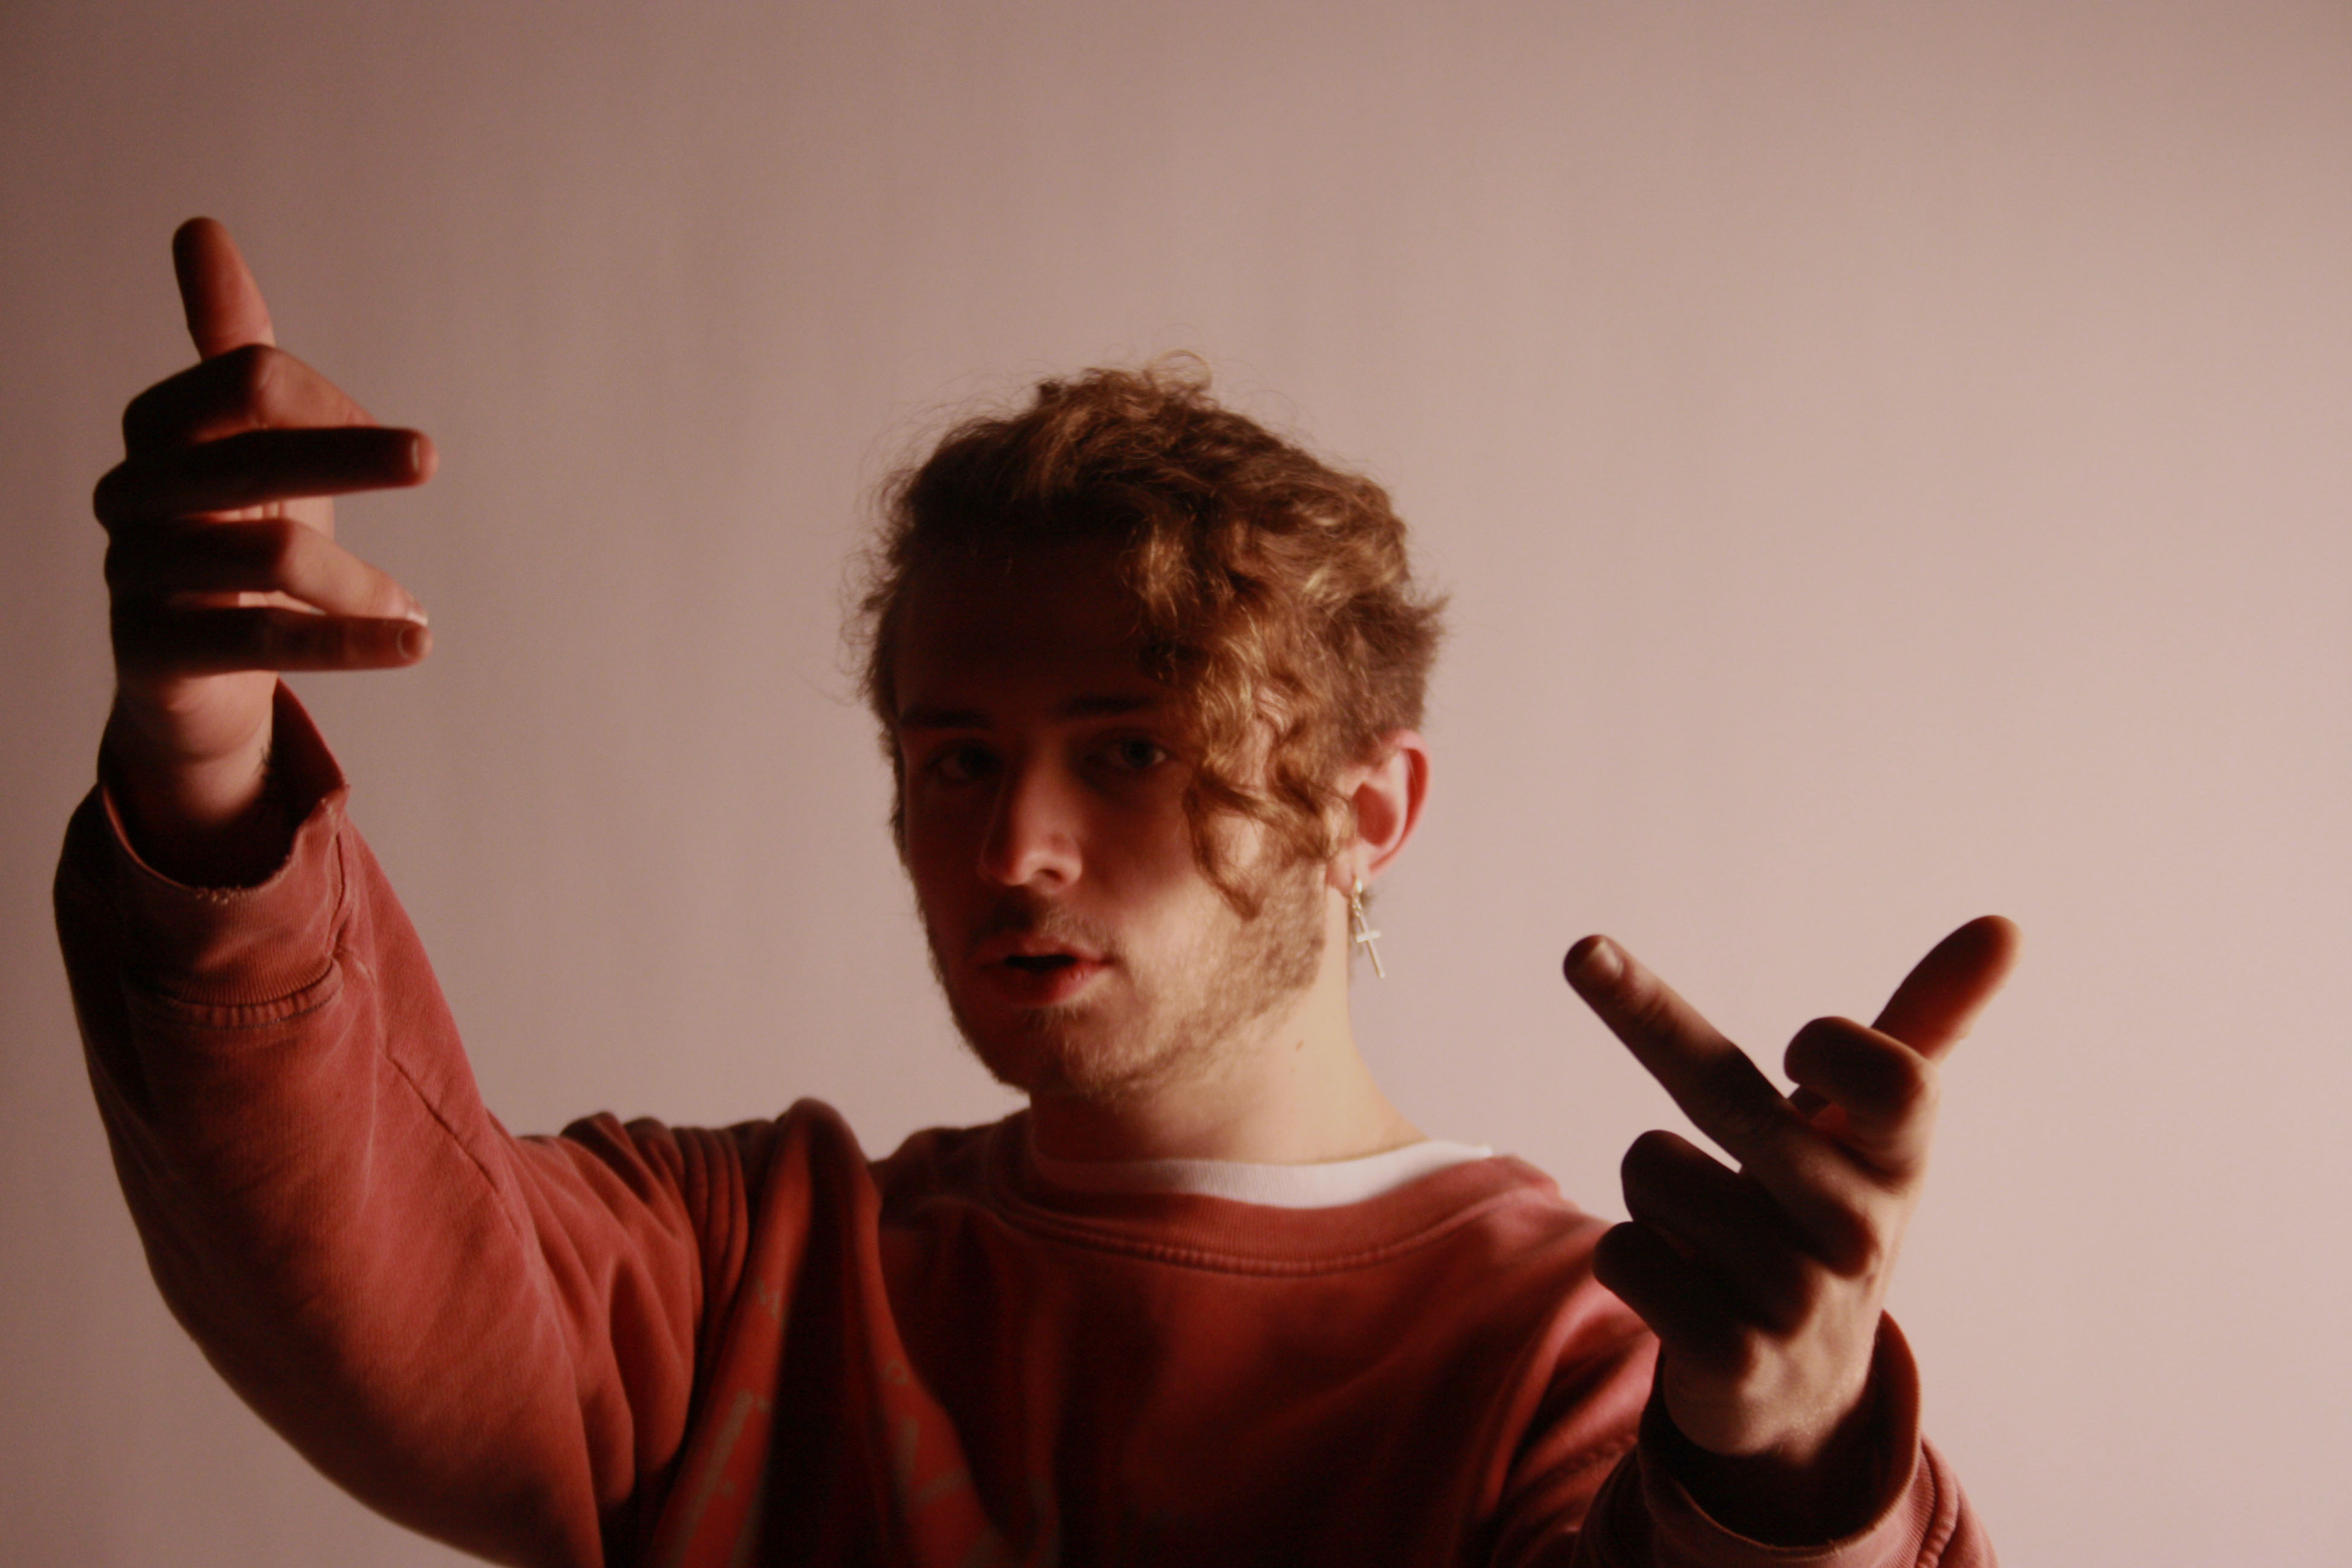
Lowered exposure and vibrance toned slightly down to give faded pink effect
Unedited, I really like the shadow created by the lighting falling on the subjects hand gesture and face.
These were the main images from the photoshoot and some turned out as intended some had issues with exposure and focus. I then chose my final images from this and then took them to photoshop to edit them.
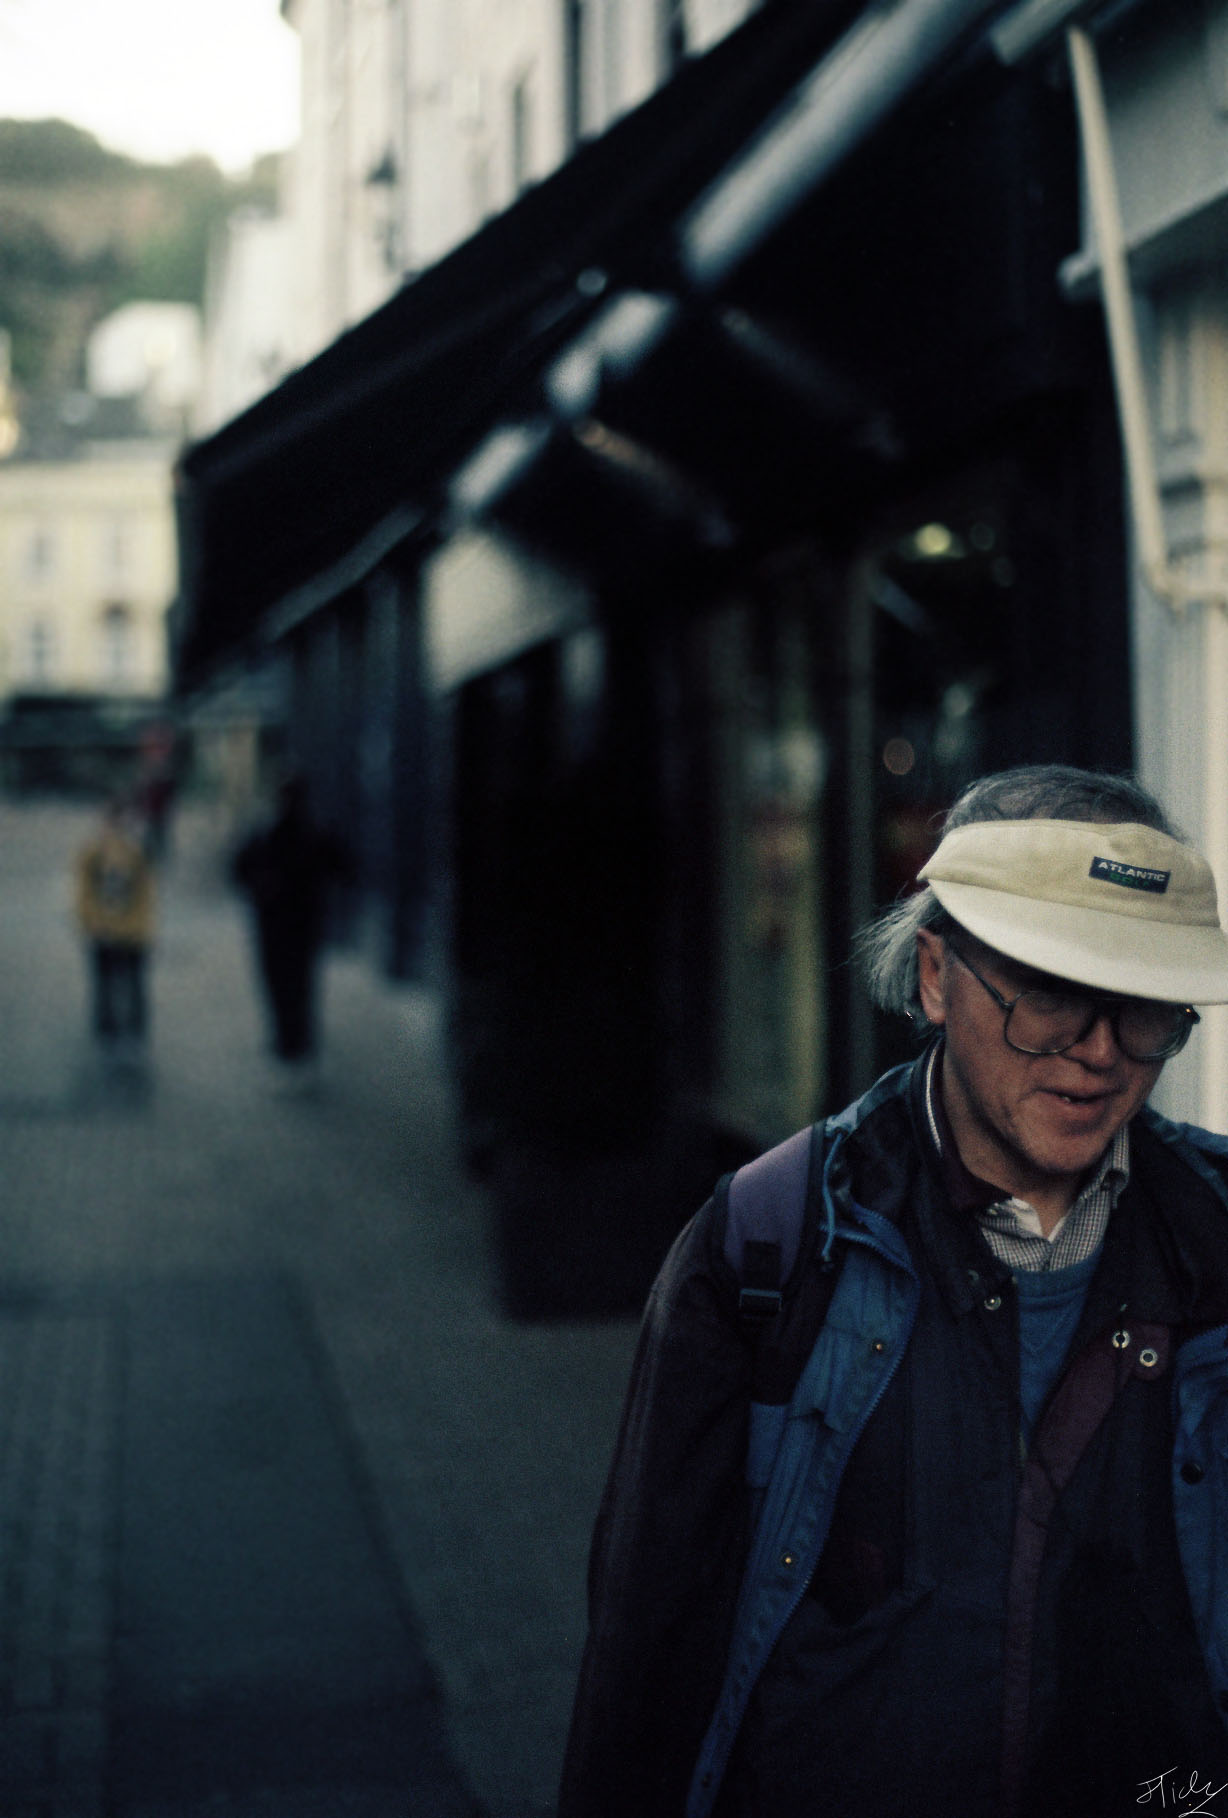
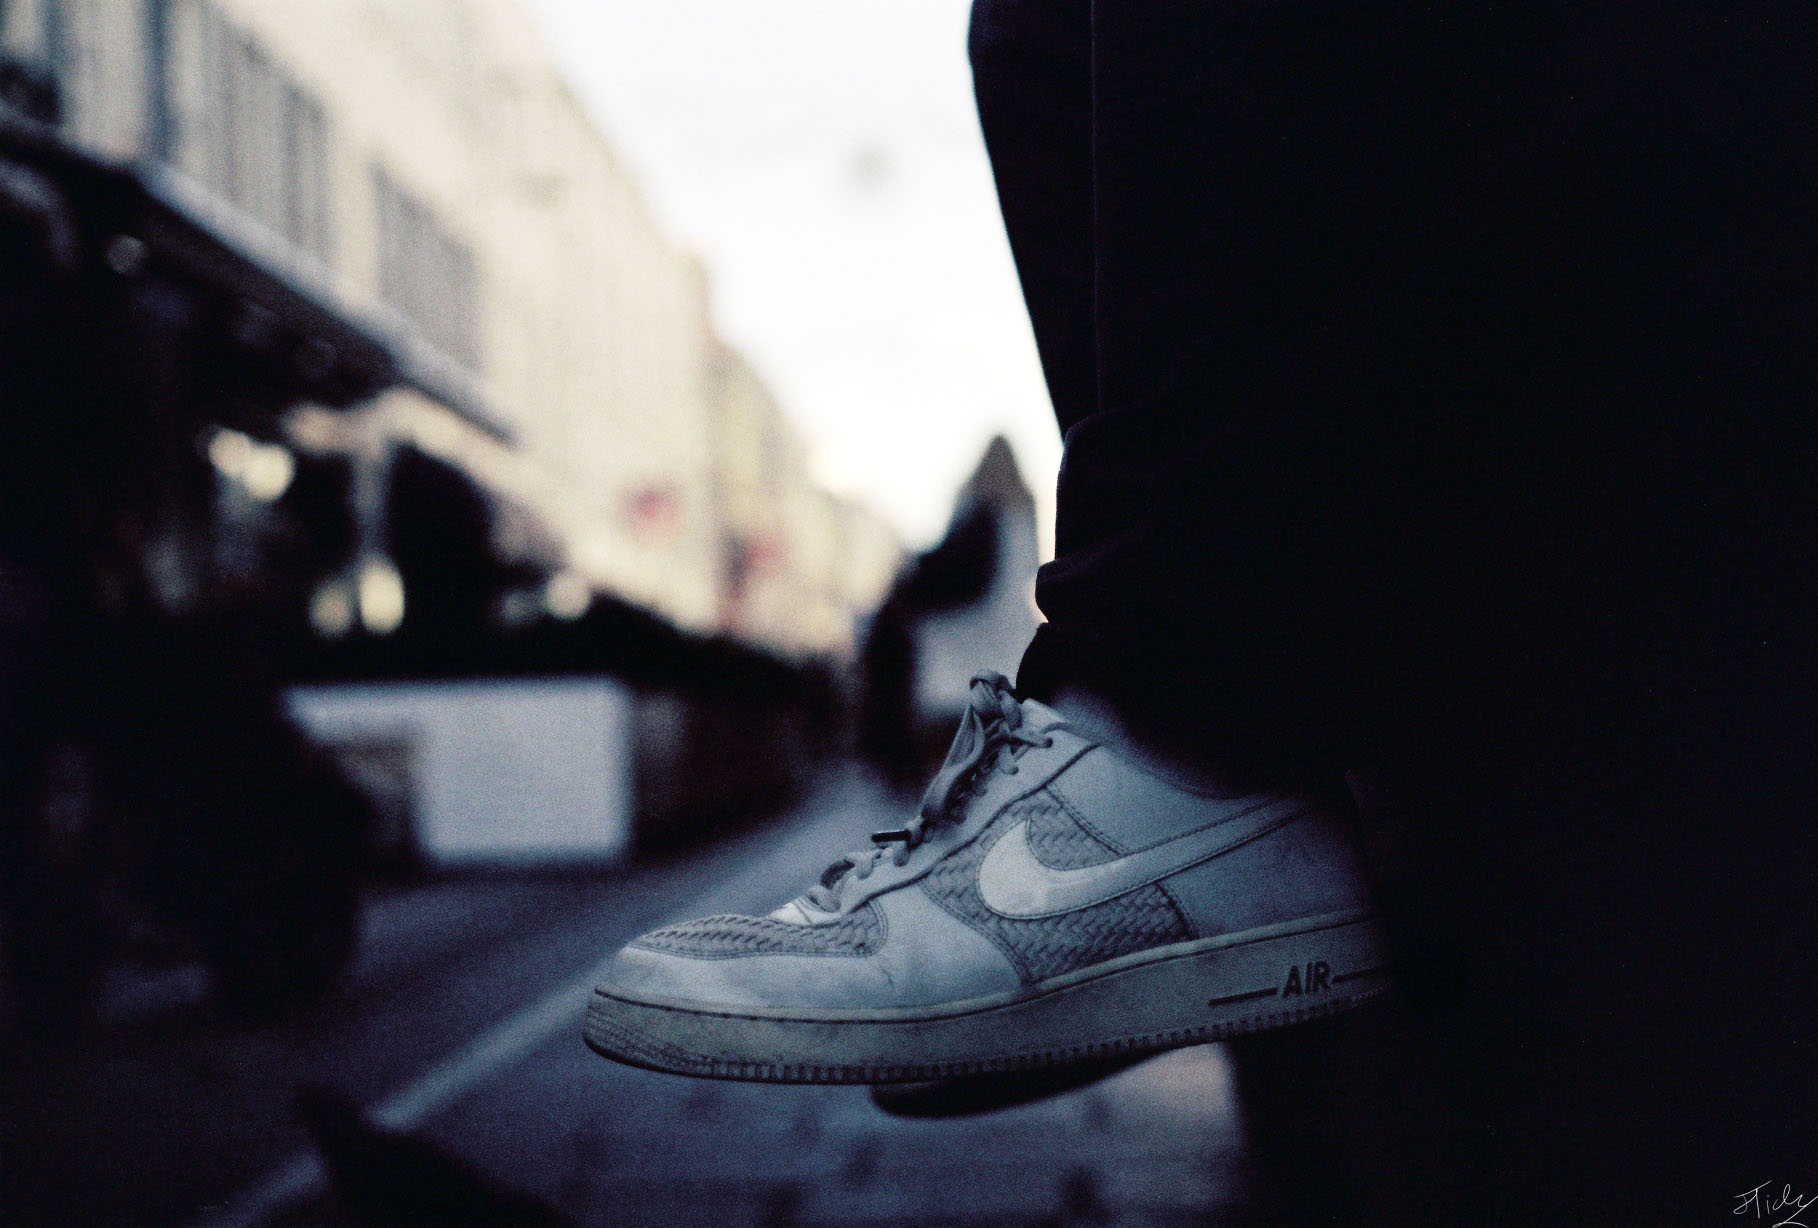
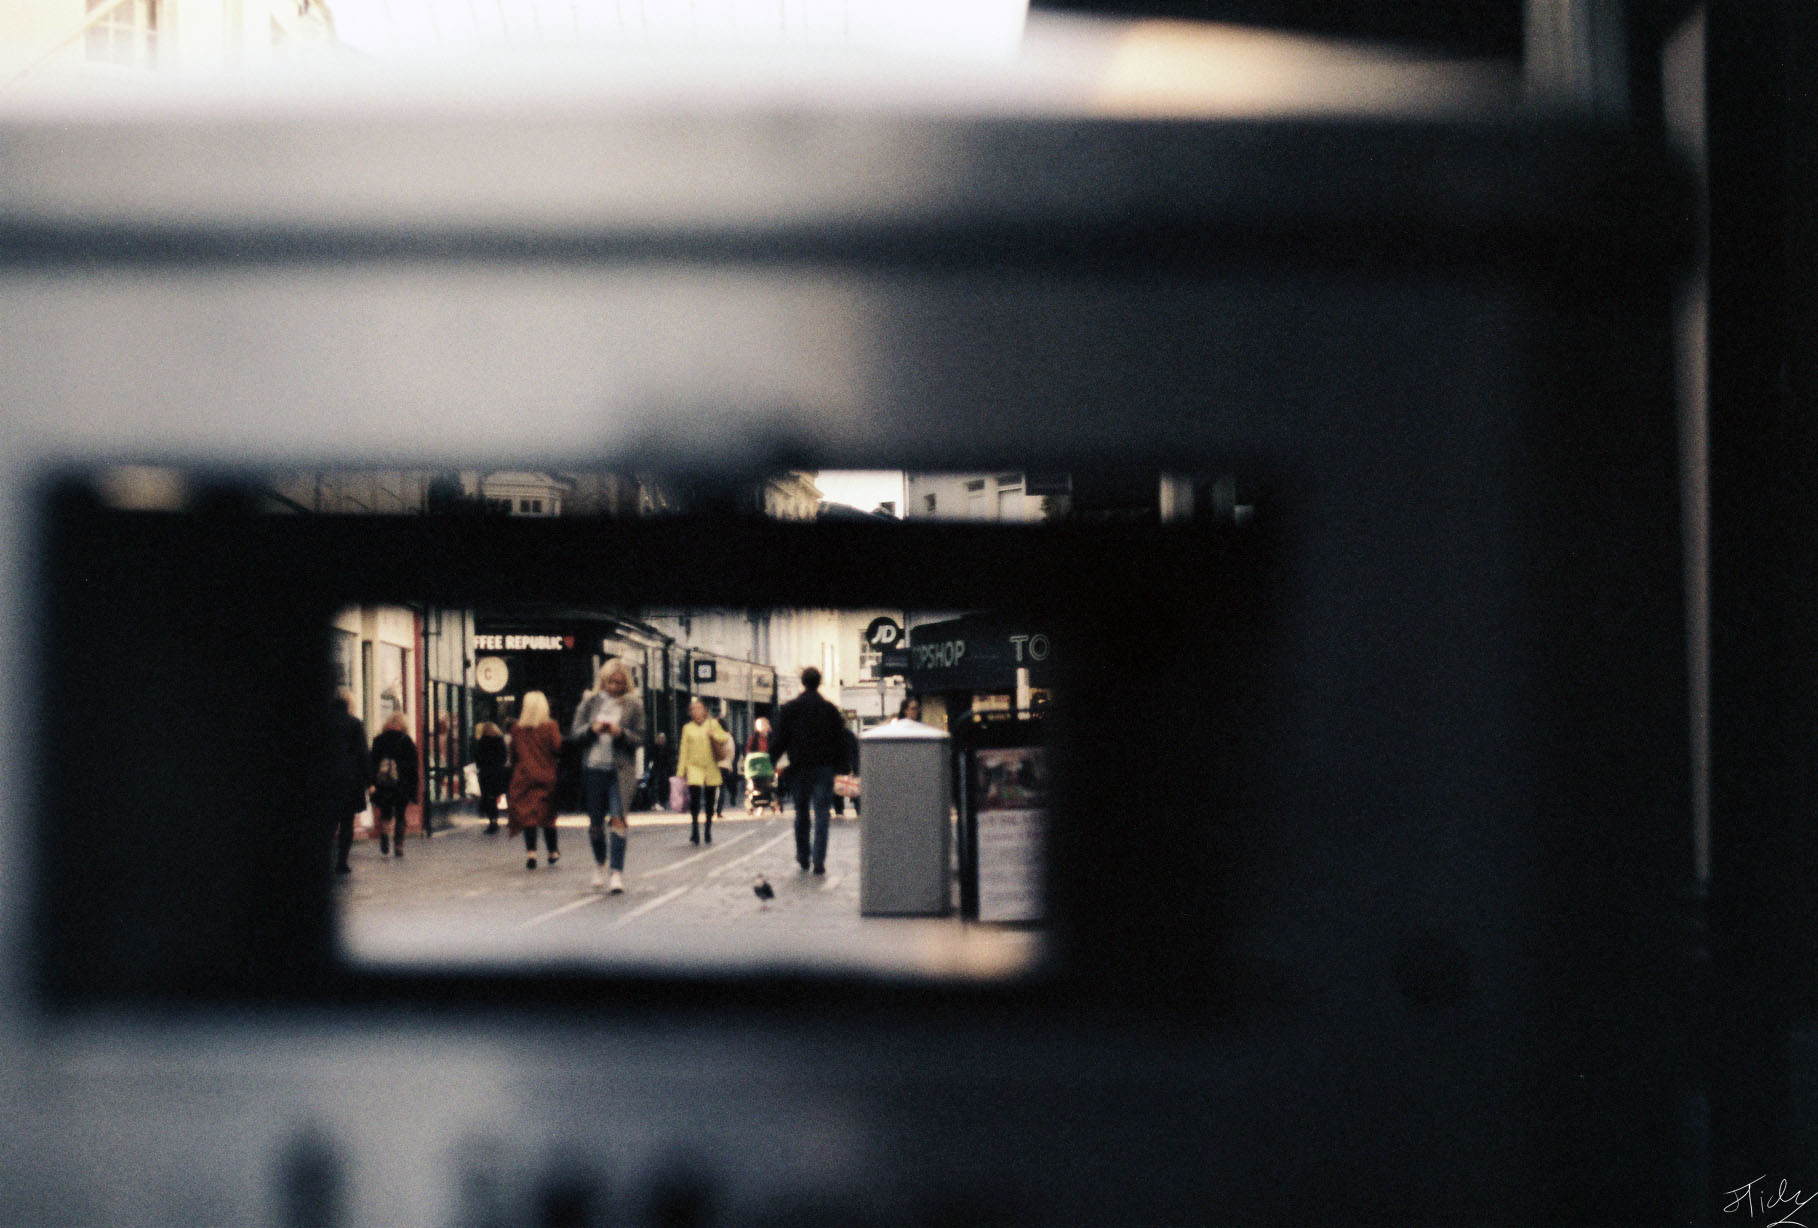
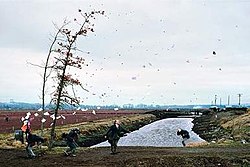
My main goal for the street photography project was to show the character of the roads and streets of Jersey. I tried to do this by having a main subject in the frame, mainly a person or part of a person. The reason that I did this is because it makes the viewer focus mainly on the front subject and then there is still a noticeable amount of detail that can be seen in the background.
